Shrimp and Grits

We’re eating healthy again! Sort of. Matt is in a weight loss competition among volunteer fire department members. So he is counting calories.  And I don’t want him to shed way more than me so I’m going to make a little more of an effort. Sadly, that means less ice cream, and more moderation.

You wouldn’t think that shrimp and grits is a low-calorie option. But I pulled this recipe out of a recent Cooking Light magazine, and supposedly one serving is less than 300 calories!  And Matt loves shrimp and grits, as a rule, so I was excited to make it for him.  The only issue was that I did have to do a bit of actual grocery shopping for it. I did have the the half-and-half hanging around, and the green onions from the farm share. Polenta makes yet another appearance. The shrimp is from a frozen 2 pound bag from Costco that hangs out in the freezer. The mushrooms I did buy fresh.

Shrimp and Grits with Mushrooms
Adapted from Cooking Light
Serves: approximately 6

  • 3 Cups water
  • 1 Tablespoon butter
  • 3/4 cup uncooked quick-cooking grits or cornmeal polenta
  • 1.5 ounces grated Parmesan cheese (about 3/4 Cup slightly packed in)
  • 5/8 teaspoon kosher salt, divided

  • 3/4 teaspoon freshly ground black pepper, divided

  • 2 center-cut bacon slices, chopped

  • 1 Cup chopped white onion
  • 1 Tablespoon minced garlic
  • 8-ounces of presliced mushrooms (I used 4 ounces white mushrooms and 4 ounces exotic mushroom mix)

  • 1 pound medium shrimp, peeled and deveined
  • 1/2 teaspoon crushed red pepper (if you’re afraid of spice, lower the amount to 1/4 teaspoon)
  • 1/4 Cup half-and-half
  • 2 tablespoon all-purpose flour
  • 3/4 Cup fat-free, lower-sodium chicken broth

  • 1/3 Cup chopped green onions

Bring 3 cups water and butter to a boil in a small saucepan. While heating, make sure most ingredients are chopped, measured, and ready.
DSC_5194
Heat a large nonstick pan and cook bacon until crisp.  While this is cooking, you could whisk the grits/cornmeal into the boiling water and cook, stirring frequently, about 5 minutes, until smooth and desirable.
DSC_5198
Remove from heat. Stir in 1/4 teaspoon salt, and 1/2 teaspoon black pepper and cheese. Cover to keep warm.

A note about the cheese: the original recipe said 2 ounces, about 1/2 cup. But the size of your grated Parmesan must make a huge difference, because with my trusty kitchen scale I was well over the 1/2 Cup mark on my bowl and had just passed 1 ounce.  It seemed like a lot of cheese to me, so I stopped there.  I didn’t miss the parmesan flavor too much, more so on the second day reheat, so I would say 1.5 ounces is a safe bet.
DSC_5197
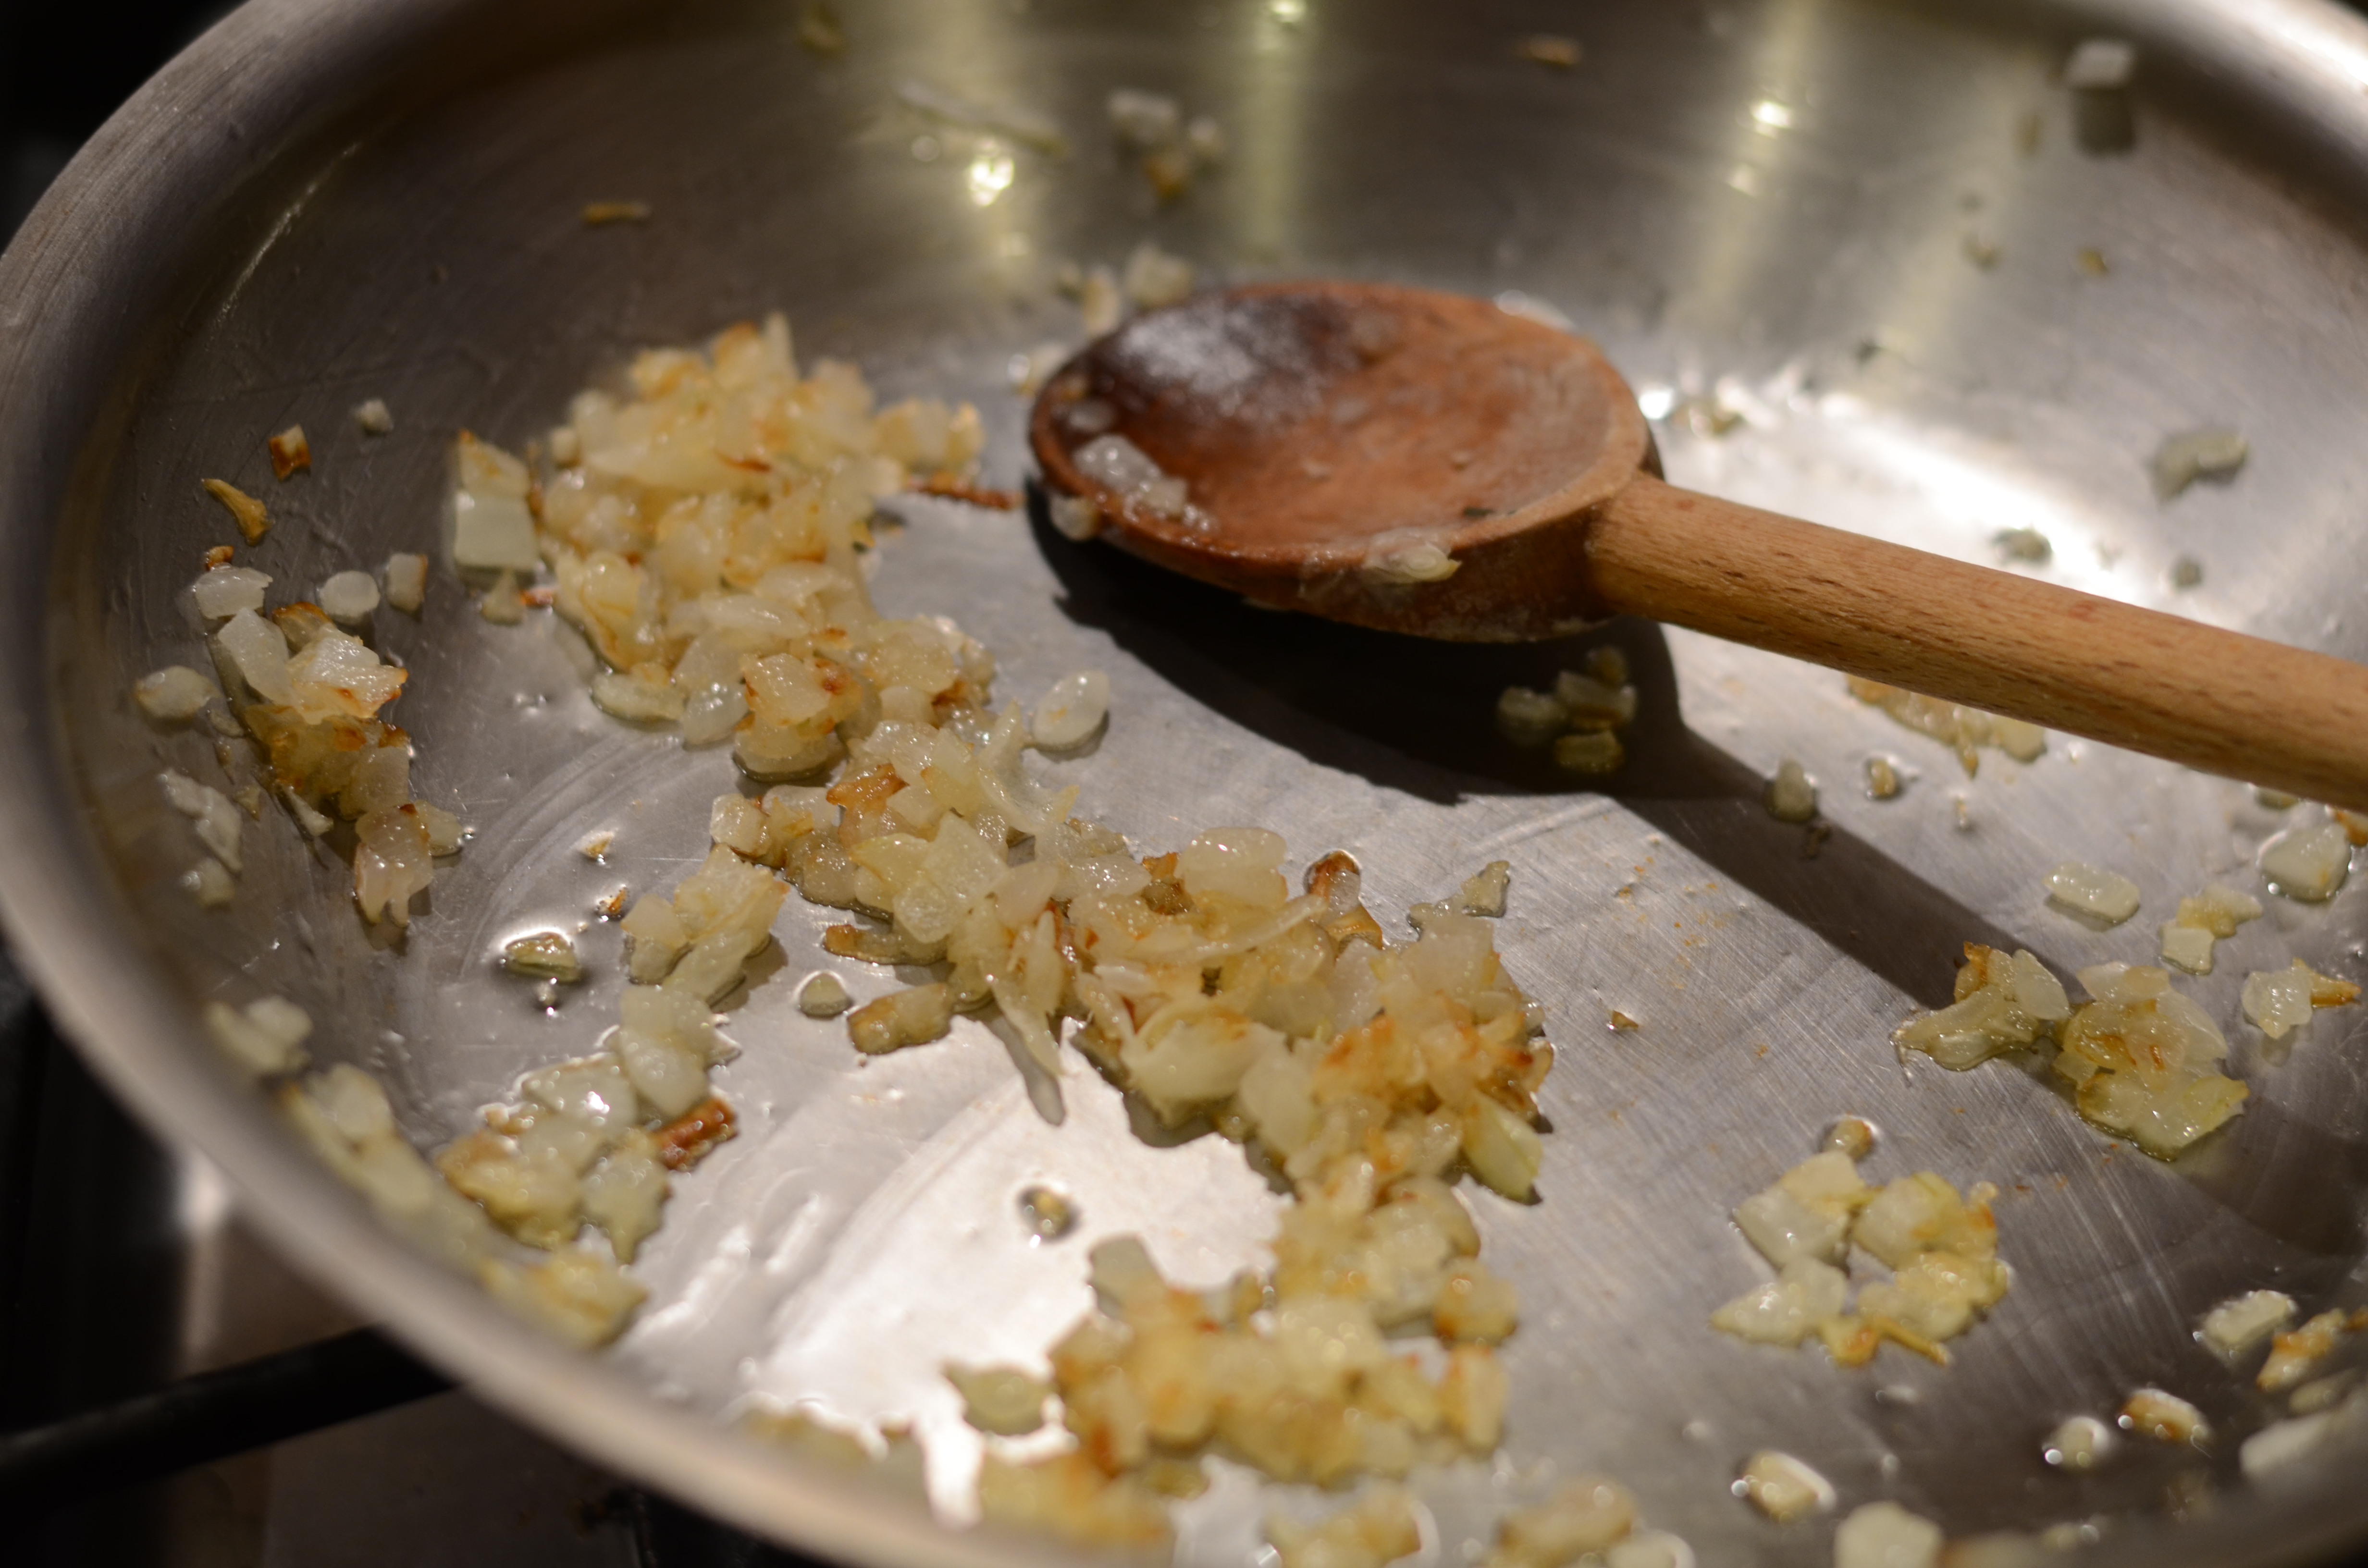
Add white onion, garlic, and mushrooms to pan; cook 8 minutes or until mushrooms begin to brown and give off liquid, stirring frequently. (At this point you could sautee a vegetable for the side, like green beans with garlic and red pepper like I did).
DSC_5201
Add shrimp and red pepper; cook 3 minutes.
DSC_5204
DSC_5206
Combine half-and-half and flour in a small bowl, stirring with a whisk until smooth. A note about the flour: you will see from my final product that the sauce is not quite as thick as I would  like. I used the original recipe, which called for 1 tablespoon of flour, but it did not really thicken up. I suspected that I should have mixed in more flour. My suspicion was proven correct based on this website at least, so I updated the website to specify 2 tablespoons.

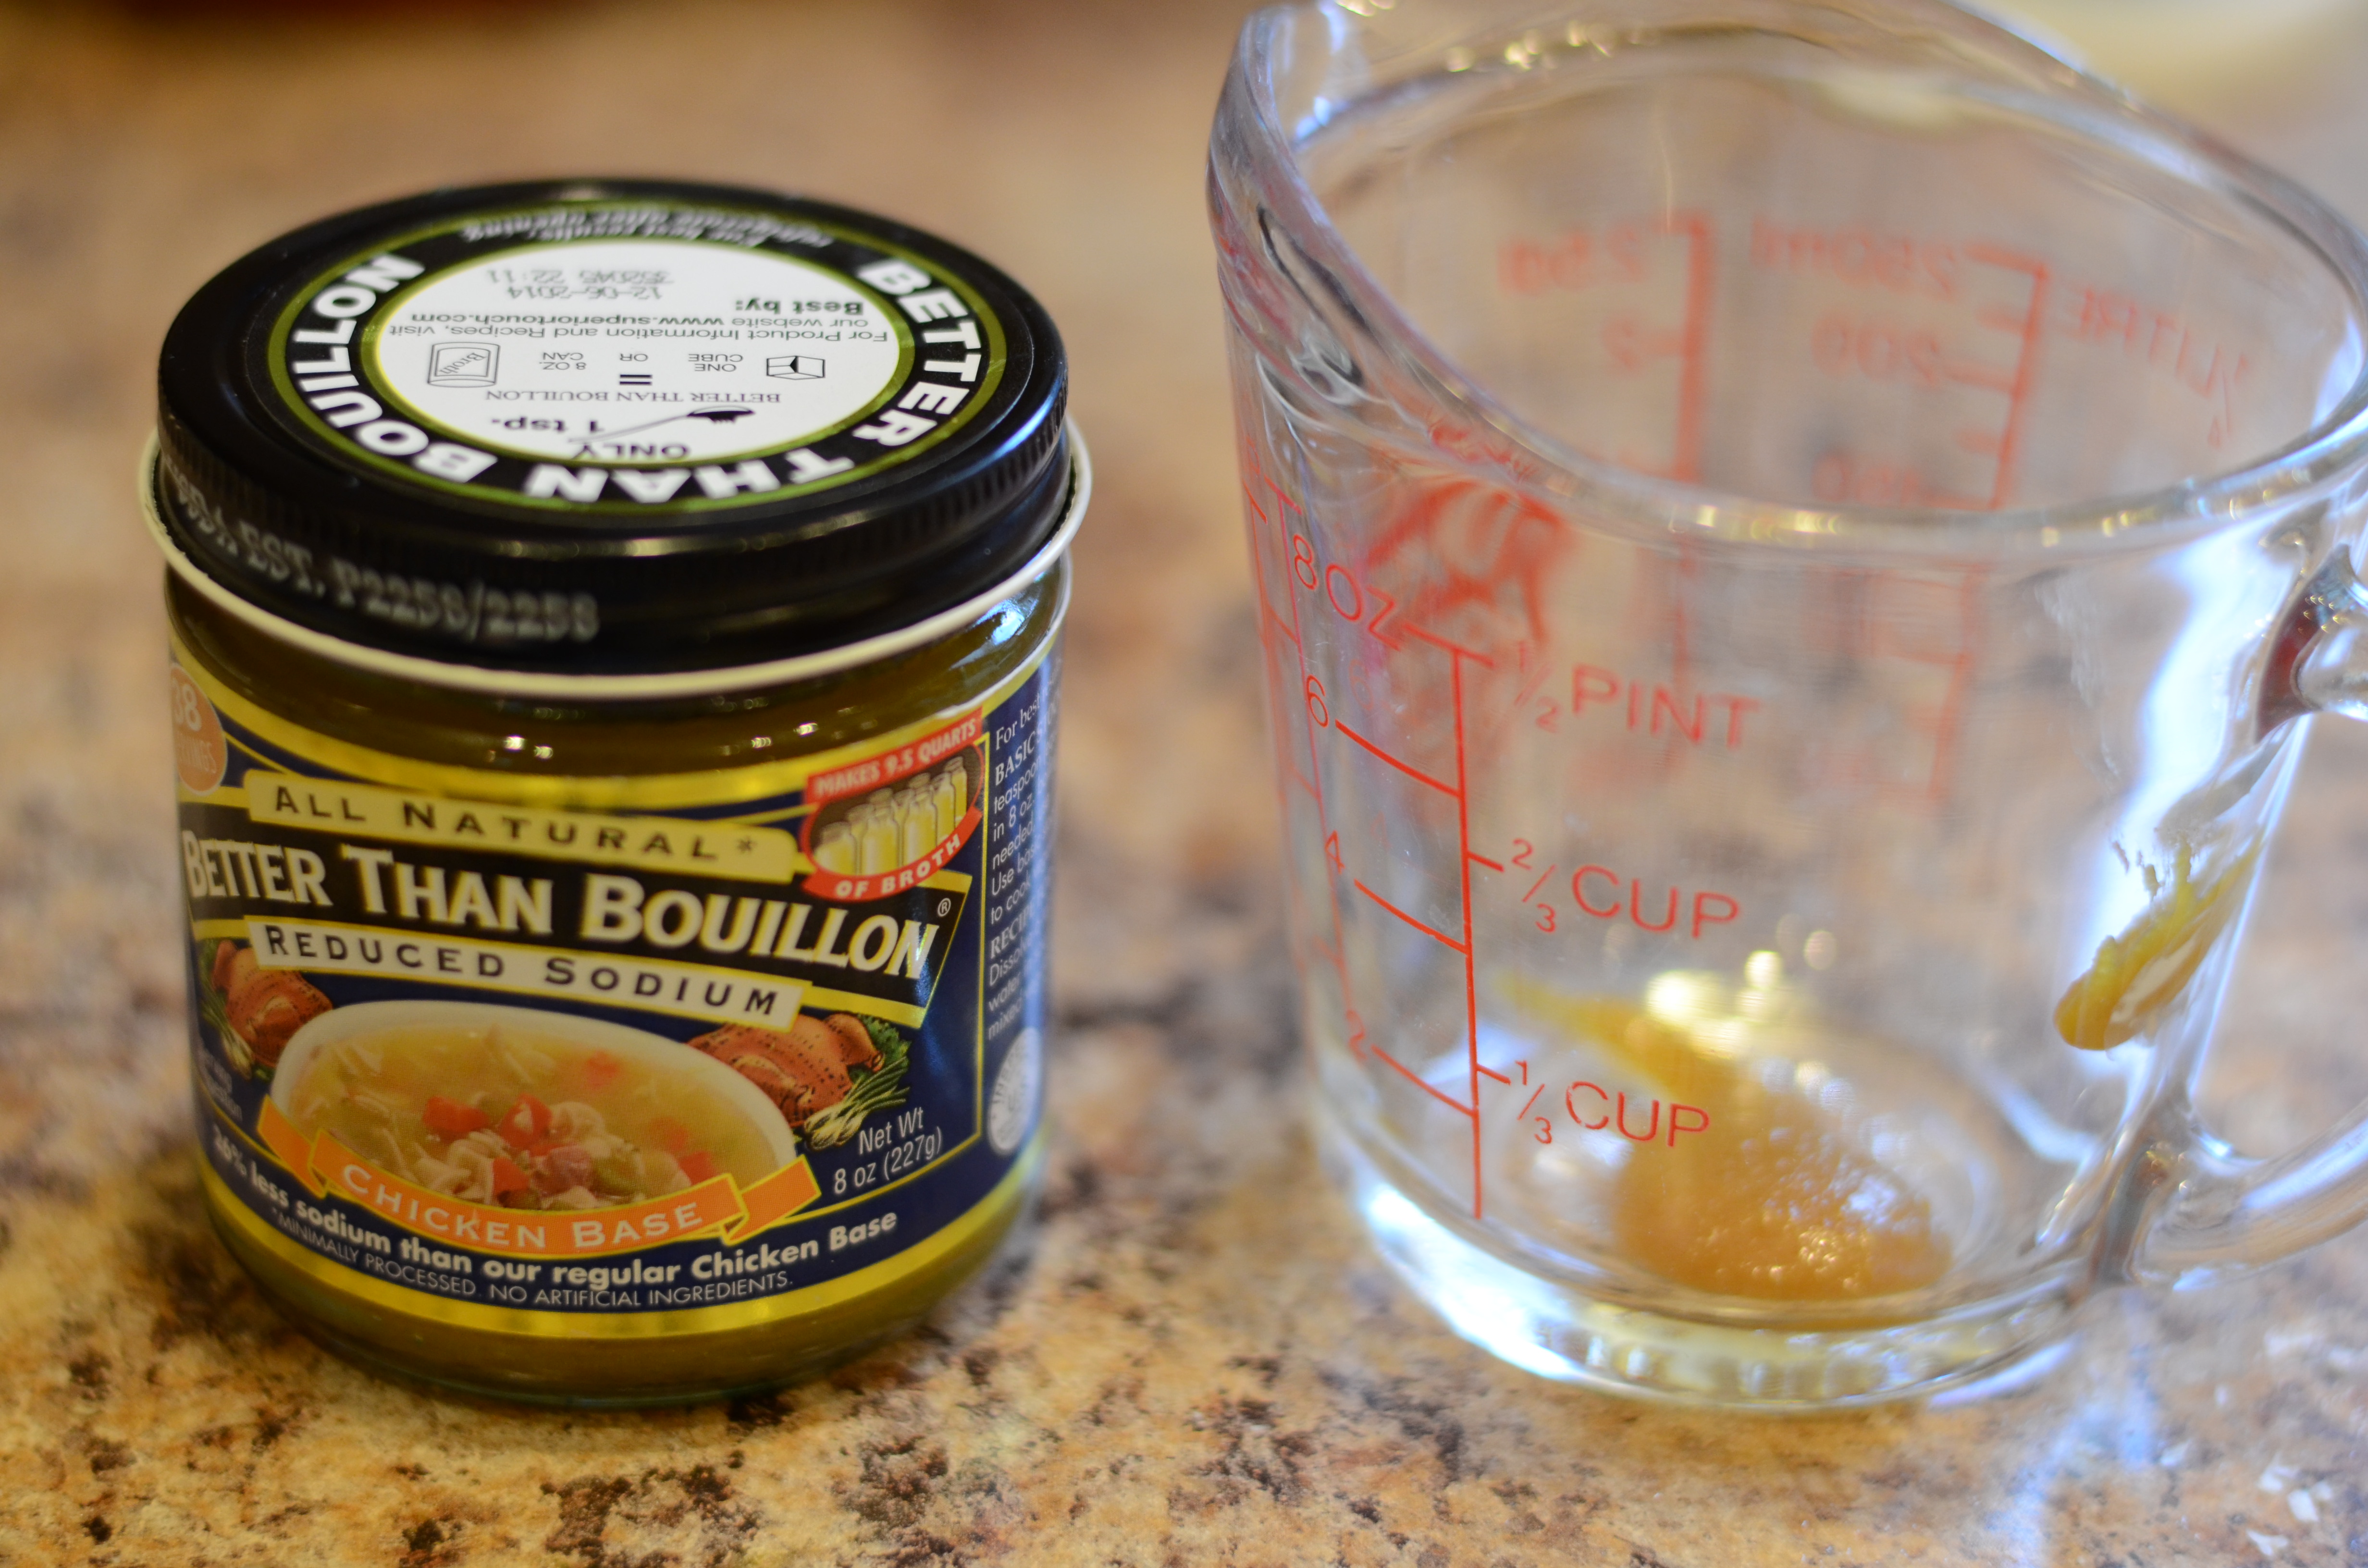
I suppose the texture of my sauce could have been affected by the fact that I used lower-protein Better Than Bouillion Chicken Base–which, for the record, I bought because Cook’s Illustrated did a chicken stock/chicken broth test and rated this one of the top choices!
DSC_5203
Add broth, flour mixture, remaining 3/8 teaspoon salt, and remaining 1/4 teaspoon black pepper to pan; bring to a boil. Cook 2 minutes or until thickened a bit.
DSC_5209
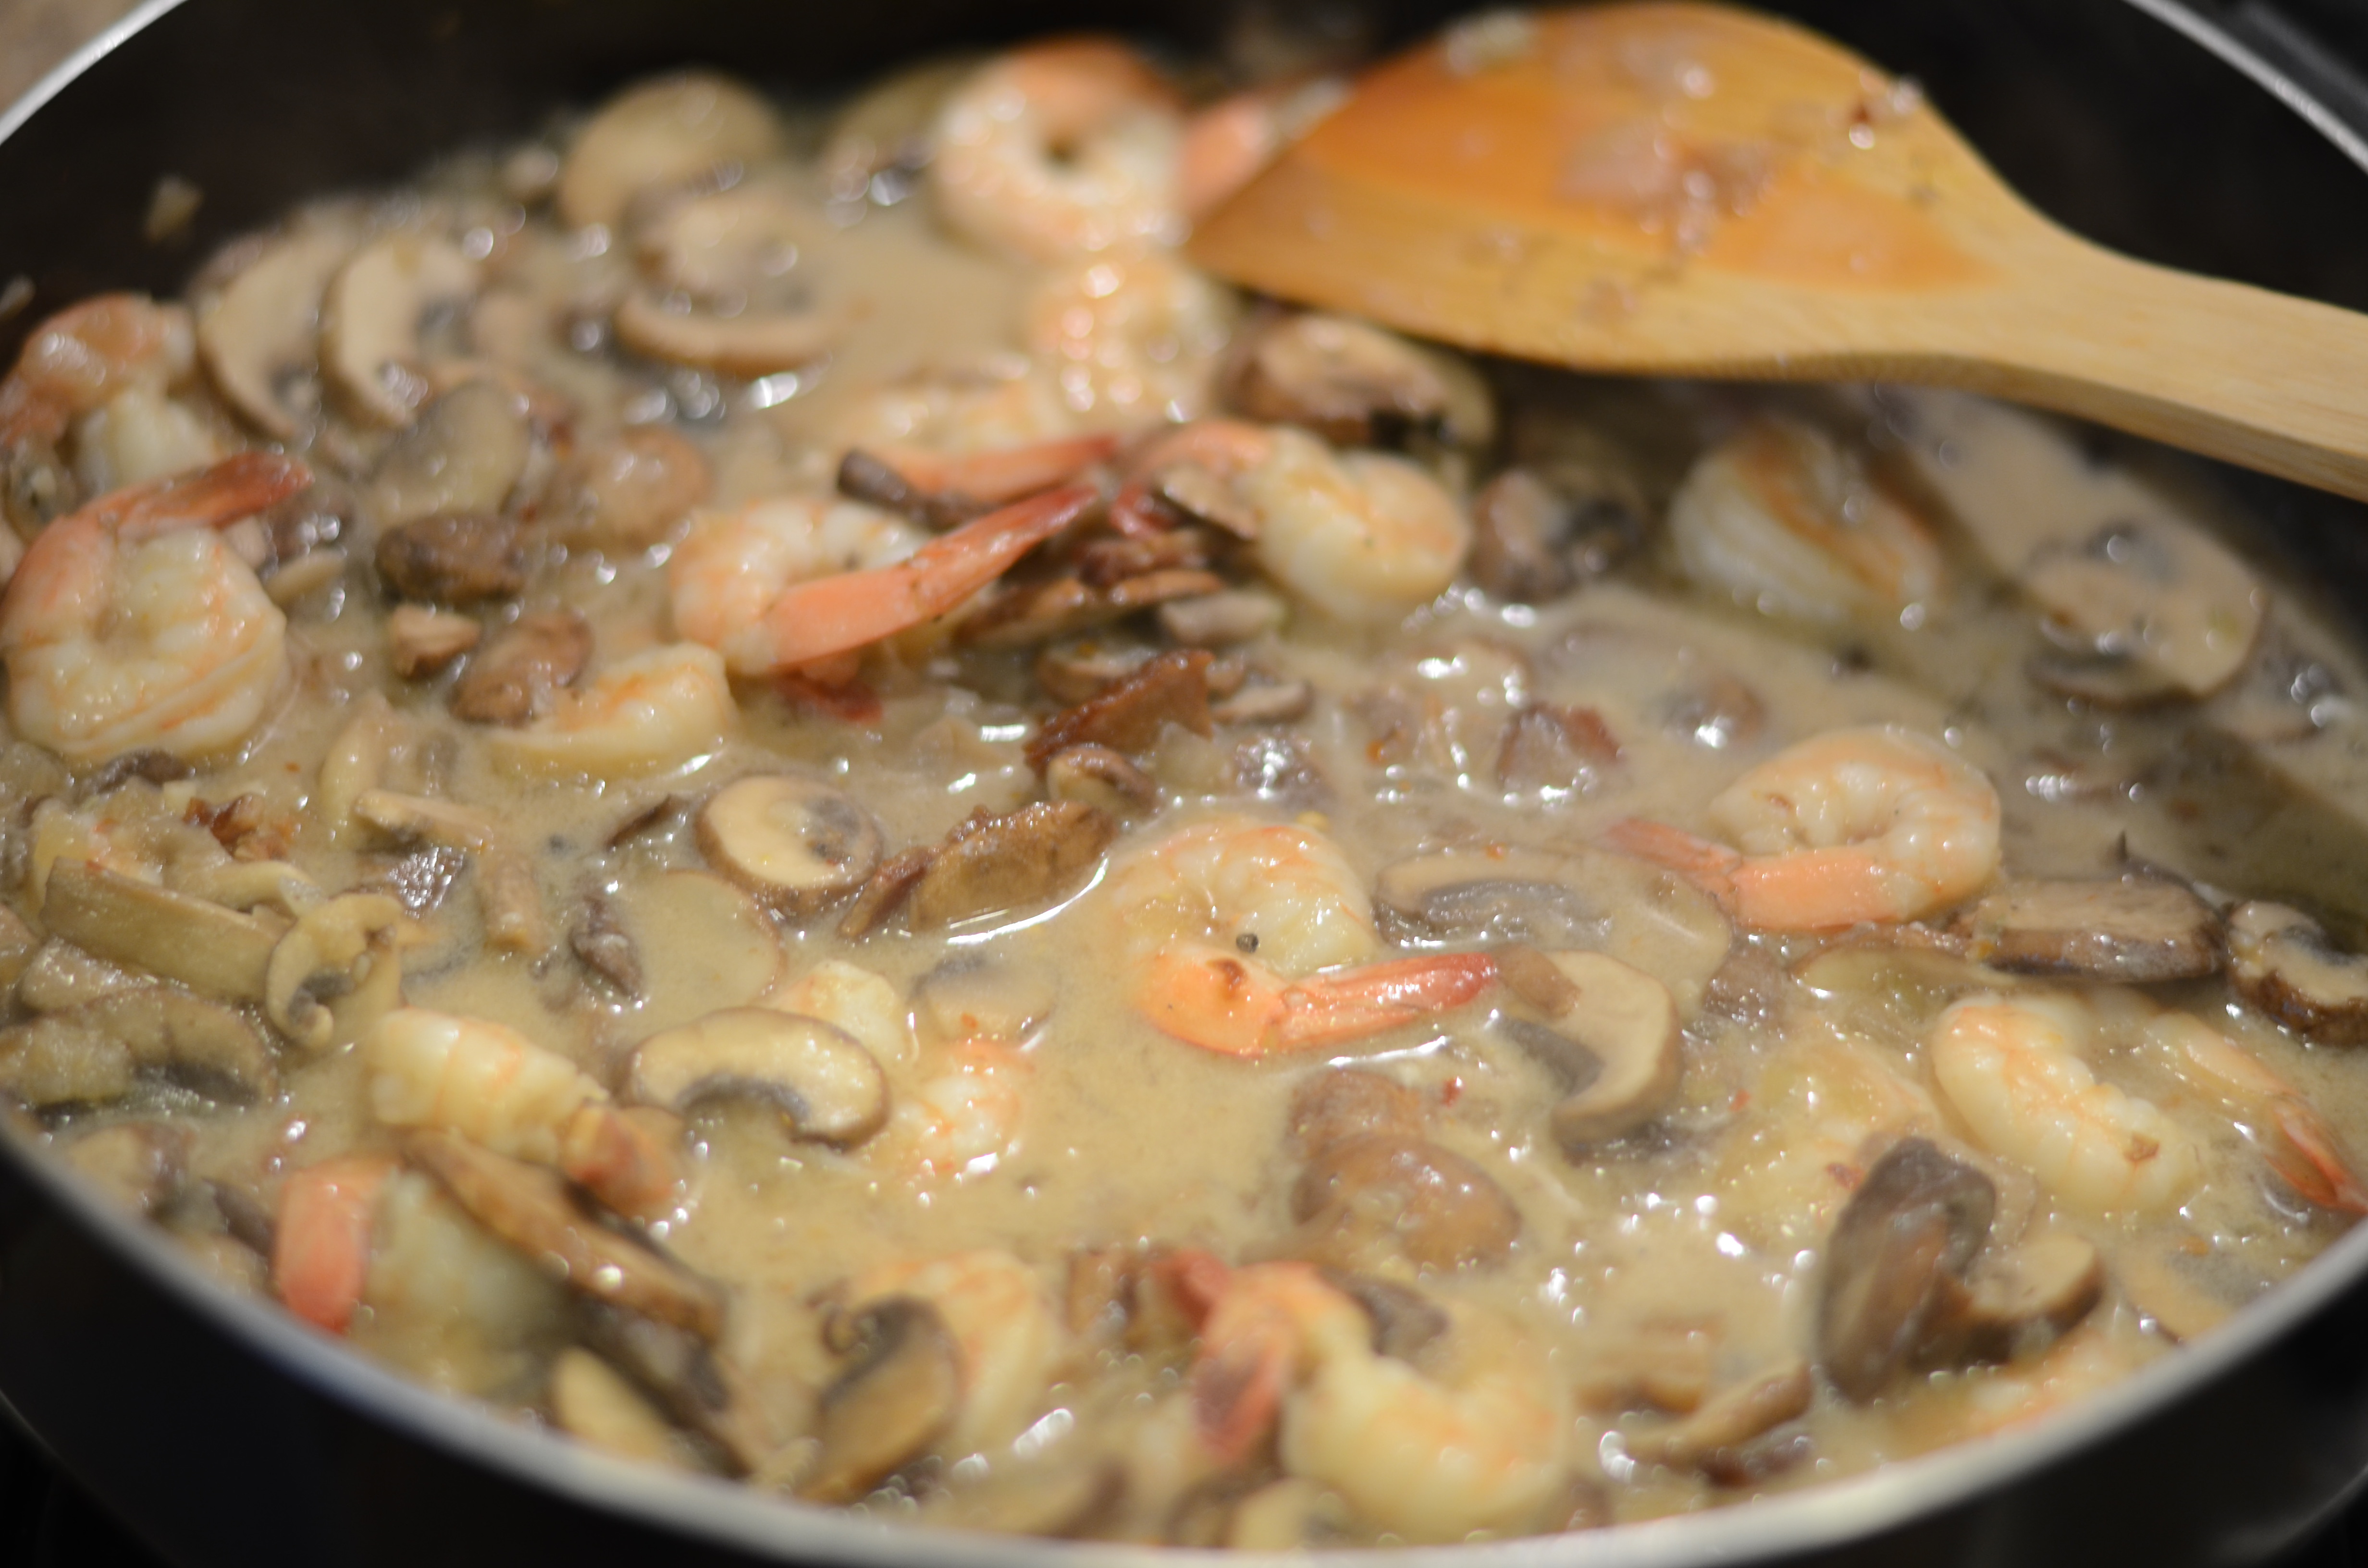
Top with green onions. Serve shrimp mixture with grits and green beans.
DSC_5213
Another great thing: it only took about 30 minutes to make this pretty fancy-looking meal!
DSC_5212

Appetizing Appetizers

You know how it is when you go out to a restaurant, you read over the menu, and you wish you could order a dinner made up of entirely of appetizers? Appetizers can be the most interesting and appealing options. It happens to be the same case sometimes with the food I cook at home! That is my excuse for providing two disparate appetizer recipes in this week’s blog entry.

The truth is, I did a good job cooking last week, including main dishes, but I did a poor job managing my time overall. After spending the days in front of a computer at work, I avoided the computer at home, even when there were important things to do there, including this blog! And I still managed to get an insufficient amount of sleep.

Anyway…I was excited to get eggplant in the farm share, because I had this article filed away for reference. I selected the below recipe, and used up the rest of my homemade garam masala!

A continuation on my garam masala notes: some grocery stores, like my beloved Wegman’s, have a bulk spice section, where you have total control over how much you commit to getting at once. I found great spices at a natural food store, also in Ithaca, called Greenstar. I’m not sure if Whole Foods has this option–it may depend on your area. You can also buy a small portion online through Penzeys (they give recipe suggestions too) or Amazon.com (woo hoo “Add-On Item”) or even eBay.

Baingan Bharta
Adapted from Mark Bittman’s New York Times recipe

1 pound eggplant
1 tablespoon lime juice
1+ tablespoons vegetable oil
1/2 medium onion
, peeled and chopped
2 cloves garlic, peeled and finely chopped
1 small fresh chile like a jalapeño, or more to taste, seeds removed as desired and thinly sliced
1/2 pound fresh tomatoes, plum, grape or whatever type you have, chopped
1/4 teaspoon turmeric
1/2 teaspoon kosher salt
or to taste
2-4 tablespoons cup chopped cilantro, including stems, or to taste
1 teaspoon garam masala

I like this method of cooking the eggplant, which I never have tried before. In fact, after reading this article, I realized that, as far as I can remember, I may have only cooked eggplant in the form of “parmesan,” or something closely related. I certainly enjoy it other ways, including the eggplant fries at Ithaca Ale House and baba ghanoush. It was good to branch out at home. And it certainly wasn’t hard!

As you can see, I was really stretching it with the last of some cilantro which had been wilting in my fridge.

As you can see, I was really stretching it with the last of some cilantro which had been wilting in my fridge.


Prick the eggplant with a thin knife or grill skewer.

Broil or roast on a heated cast-iron pan in the hottest possible oven, checking every few minutes to turn as necessary so that the skin turns black and the eggplant collapses. Don’t forget (if you’re me) that every time you open the oven you are in danger of setting off the smoke detector. It should be done in about 20 minutes. You can also do this over a grill set to high heat.
DSC_5165
When the eggplant is cool enough to handle, it is extremely easy to peel! Cut away the hard stem.
DSC_5168
Chop or mash in a bowl, with lime juice.

I put another kitchen tool to use! This actually probably mashed the eggplant more than I would have wanted.

I put another kitchen tool to use! This actually probably mashed the eggplant more than I would have wanted.

Add oil to a skillet set to medium-high heat. Add the onion and cook, stirring often, until it is golden brown, 5-10 minutes depending on your temperature control.
DSC_5173
Add the garlic and chiles and cook for another minute.
Add the tomato, turmeric and salt. Cook until the tomato is soft, 5 minutes or so.
DSC_5174
Stir in the eggplant purée and cook, stirring, 3 to 5 minutes. Stir in the cilantro and garam masala and turn off the heat.
DSC_5177
Serve hot with warmed pita bread, naan or another type of Indian flatbread.
DSC_5178

Next up: I followed another blogger’s recreation of one of the many tempting recipes from the Smitten Kitchen cookbook: Scallion Biscuits with Whipped Goat cheese and Tomato Salad. I’ll let you read it here because she already includes helpful substitution suggestions (like for me, I used variations of milk and half and half in place of the whole milk and whipped cream in parts of the recipe). Also, because I have decided I mostly hate the process of working with cold butter to make pastry, I employed the cheating method: cutting the butter up into small pieces, putting them in the freezer to get super cold, and using a food processor to combine the butter and flour and then make the dough.

I served this as a first course for guests on Friday. And then I had leftovers for lunch on Saturday!
DSC_5186

Note that both of these recipes used tomatoes…from my garden…more on that soon!

Here I am with the entrée I served.
DSC_5183
DSC_5184

Love Affair with Zucchini

I could barely contain my excitement when I came across coveted squash blossoms while visiting the Ithaca Farmer’s Market last weekend.

These lovely, edible, light orange flowers of the zucchini plant are a delicacy, for sure, because as far as I know, they are only available for a short time in the summer. There is something special about eating a flower, especially when it has the potential for preparation as a feature in a meal, rather than a garnish.
DSC_5090
I had to wait a day to cook them, so they did wilt a little bit. But I already had ricotta in my fridge, planning ahead for this very time when I would get to stuff the flowers.

Rather appropriately, I also had zucchini itself in my fridge. I added it to a Smitten Kitchen recipe I saw a few weeks ago, “One-Pan Farro with Tomatoes.” I had been dying to make this recipe, mostly because I stinkin’ LOVE farro. (So chewy and yummy…shaped kind of like orzo pasta but with a denser texture, as a grain. Barley is somewhat similar). But also because Deb gave a very useful guide for one-pan cooking, based on her reliable testing. You see, most people (including myself) expect that the grain gets cooked in its own pot, and then the vegetables sauteed separately in second pan. Not her!

Full disclosure: I did use a second pan to saute my zucchini, since I thought it might benefit from a little sear and pre-softening, in case it became soggy when dropped directly into the main pan. I had looked over one of Smitten Kitchen’s other recipes with zucchini first for inspiration. That recipe has the squash ending up in a tart, and it does call for using a saute pan. At least I used that same saute pan for frying the blossom, which made me fairly efficient at minimizing the dishes pile in my sink!

DSC_5088

Squash Blossoms Stuffed with Ricotta

adapted from Gourmet on epicurus
Can be served with your favorite tomato sauce for dipping.

1 Cup ricotta, freshly made is best, and whole-milk is better, but part-skim (I used) is fine
1 large egg yolk
1/4 Cup fresh mint or basil or a combination, finely chopped
2/3 Cup grated Parmigiano-Reggiano cheese, divided
12 to 16 large zucchini squash blossoms
1/2 Cup plus 1 tablespoon all-purpose flour
3/4 Cup chilled seltzer, club soda, or beer
Vegetable oil for frying

Equipment recommended: frying/candy thermometer.

For the filling, stir together ricotta, yolk, herbs, 1/3 cup parmesan, and 1/8 teaspoon each of salt and pepper.

You may end up with extra filling, so feel free to scale it down to match the approximate number of blossoms you have. Yes, I realize that involves using part of an egg yolk–you could cook and eat the rest (why not?). Otherwise, I think that eggs are inexpensive and biodegradable enough that you aren’t being too wasteful if you discard a portion.

I used a combination of fresh spearmint and fresh basil from my garden.

I used a combination of fresh spearmint and fresh basil from my garden.


Carefully open each blossom and fill with ricotta filling, gently twisting end of blossom to enclose filling. I wouldn’t recommend using a spoon. The process will be so much easier if you can get your hands on something with a tapered tip which you can insert into the flower. Some reviewers did use the Ziplock bag-with-a-corner-snipped-off method.
DSC_5100
Whisk together flour, remaining 1/3 cup Parmesan, 1/4 teaspoon salt, and carbonated liquid in a small bowl.
I didn't want to open a new bottle of seltzer to use only a small portion! But opening and using up a beer? That could be arranged.

I didn’t want to open a new bottle of seltzer to use only a small portion! But opening and using up a beer? That could be arranged.


Heat 1/2 inch oil to 375°F in a heavy skillet sized to fit half your blossoms. Meanwhile, dip blossoms in batter to thinly coat.
DSC_5101
Fry coated blossoms in batches, gently turning once, until golden, 1 to 2 minutes total.
DSC_5103
Transfer with tongs to paper towels to drain. (Check the temperature of the oil so it comes back up to 375°F between batches.) Season with salt. Serve alone or with tomato sauce.
DSC_5107

Farro with Summer Garden Vegetables
Adapted from Smitten Kitchen

1.5 Cups water
3/4 Cup semi-pearled/whole farro
1/2 medium onion
(I used about 3 ounces)
2 cloves garlic
4 ounces grape or cherry tomatoes
4 ounces zucchini
, diced
1 teaspoon kosher or coarse sea salt
Up to 1/4 teaspoon red pepper flakes (to taste)
2 teaspoons olive oil, plus extra for drizzling
Basil leaves, cut in chiffonade, for serving
Grated parmesan cheese, for serving

Place water and farro in a medium saucepan to presoak while you prepare the other ingredients.

Add a little olive oil to a saute pan over medium-high heat. Add diced zucchini and cook until slightly softened, about 3 minutes.
DSC_5094
Add to saucepan with farro.

Cut halved onion in half again, and very thinly slice it into quarter-moons. Add to pot with farro. Thinly slice garlic cloves and add to pot.

Halve tomatoes and add.

Fresh from my front-yard garden!

Fresh from my front-yard garden!


DSC_5096
Add salt, pepper flakes (to taste) and 1 tablespoon olive oil to pan.
DSC_5097
Turn on heat to medium-high and set a timer for 30 minutes. Bring UNcovered pan up to a boil, then reduce to a gentle simmer, stirring occasionally. Check the farro’s texture after 30 minutes–it should be tender, but will be still chewy, and most of the water should be absorbed. If you let your heat get too high and the water boils off, you may have to add extra liquid.

Transfer to a serving bowl. Drizzle with additional olive oil, basil and parmesan.
DSC_5106

It’s a zucchini + pasta/grain craze! Melissa Clark of the New York Times also used zucchini and tomatoes this week in her recipe.

Having the plant and the flower together!

Having the plant and the flower together!

Sourdough Carrot Cake

Have I mentioned that I am in possession of living culinary matter, matter that demands nurturing and care, also known as sourdough starter? I know I have mentioned my husband’s love of bread, and that is what led me to give him the starter as a birthday gift years ago. That same starter survives today, supplying tang to our breads, pizza doughs, and waffles, and this time, our cake.

The care I’m referring to is the regular “feeding.” Sourdough starter is kept in best tip-top shape by feeding it every week with some new flour and water. First, you dispose of, or use, 1 cup. And I will confess that we probably dispose of that cup more than 50% of the time, especially since many recipes call for FED starter.
DSC_5053
The latest King Arthur Flour catalog arrived, and one of the recipes that caught my eye was the Sourdough Carrot Cake that used UNFED starter! This recipe is a great example of my ability to cook my pantry with the addition of very few specially purchased grocery items. This time, that special item was crushed pineapple.

I followed this recipe almost exactly–I was surprised by how much oil it called for considering the pineapple added so much moisture, so I think I put in a smidge less oil than it called for, which I modify in the version below. This does make a generous amount of cake. It could also be served in a more bread-like form, similar to zucchini of banana bread. It would make at least two loaves. I completely eyeballed volumes with the various containers I used in an attempt to make cute little layer cakes. My output was the six ramekins (which puffed up) plus a full loaf pan.

Bonus: I ended up with little carrot cake cookies, when I sliced the top off these!

Bonus: I ended up with little carrot cake cookies, when I sliced the top off these!


Sourdough Carrot Cake
From King Arthur Flour

1 1/4 cups vegetable oil
2 Cups sugar
1 Cup sourdough starter
, right from the fridge, not fed
3 eggs
1 Cup (8 oz.) crushed pineapple
, mostly drained
2 Cups grated carrots
1/2 Cup chopped walnuts
1/2 Cup shredded coconut
2 teaspoons vanilla
2 1/2 Cups Unbleached All-Purpose Flour
2 teaspoons cinnamon
1/2 teaspoon salt
1 teaspoon baking soda
Cream Cheese Frosting
(optional)*

Grease desired baking pans – suggested single size is 9 x 13-inch – and sprinkle with flour. Set aside.

Combine oil and sugar, and stir in sourdough starter. Mix in eggs, one at a time, beating well after each. Fold in pineapple, carrots, walnuts, coconut and vanilla.

I was feeling lazy and used the food processor.

I was feeling lazy and used the food processor.


DSC_5052
In a separate bowl, combine flour, cinnamon, salt and baking soda.
DSC_5061
Add dry ingredients to wet ingredients, stirring just to combine.
I tried to capture the whir of the KitchenAId with my camera...haven't quite figured it out.

I tried to capture the whir of the KitchenAId with my camera…haven’t quite figured it out.


Spoon batter into pan. Bake in a preheated 350°F oven for 45 minutes, or until a toothpick or cake tester comes out clean. Remove cake from oven and cool completely before frosting.

DSC_5071
DSC_5073
*The frosting made the cake totally decadent, but I don’t think it is necessary. Feel free to half the below recipe, to incorporate with some but not all of the cake.

Simple Cream Cheese Frosting
1/4 to 1/2 Cup (1/2 to 1 stick) butter, at room temperature
8 ounces cream cheese, softened
1 teaspoon vanilla
3 1/2 cups (1 pound) confectioners’ sugar
milk, as needed for consistency

Combine butter, cream cheese and vanilla; beat until light and fluffy. Add sugar gradually, beating well. Add milk, a little at a time, until frosting is a spreadable consistency.

DSC_5069
Perhaps this recipe is irrelevant to you because you don’t have sourdough starter! Well, if you’re interested (and local), I’d be happy to get some of my starter in your hands. If you’re not interested in taking on such responsibility, King Arthur Flour has another similar, highly-rated carrot cake recipe.