I’m not always great with decisions. Ceramic, porcelain or stone tile for the bathroom floor? Buy the 2 year or 5 year extended warranty? What color fireplace stone and curtains will match our current living room? Should I get a green or a blue sweater; which do I have more of in my closet? Should I spend the next 45 minutes of free time cleaning the kitchen floor or filing the office receipts?
You can imagine that restaurant ordering presents a challenge for me. The worst (or best) example of a paralyzing menu is from Shopsin’s, known for a menu like none other. Ooh boy, I feel a twinge of anxiety coming. Can’t I have an extra stomach, available to access on the special occasions when I know I’ll never again get the chance to taste this particular preparation of food? I like to believe that my difficulties stem from some kind of advanced analytical ability, i.e. my brain is processing the complexities of the situation and considering all angles before reaching the best conclusion (not likely). The problem is, most of the time the choice is no big deal! Take my cooking choices: these are by no means life or death. Yet there are times I wish someone else would tell me, outright, exactly what to do with ingredient X, Y, Z.
That’s how I was feeling last week when I put a query out on Facebook, asking what to do with the leftover beer cans in our fridge.

I explained that I had no intention of drinking the beer plain, now six months past its purchase date (as if I ever choose to drink it “fresh”). I expected to catch a little more flack, since it sounds a bit snobbish. Indeed, I came home last Friday to find that my father, who was visiting for the weekend, had cracked one open to sample. My dad is no elitist. Born on a farm during the Great Depression, I can always count on him to check food for spoilage–allowing great leeway, of course. He consumes leftovers with a gusto. In other words, he’s great to have around.
People were quick to respond to my poll. Beer batter, fondue, brats, soup, and “target practice” were among the answers. The most popular idea, by far, was beer can chicken. Beer chicken wasn’t something I was tempted to make at the time, but the idea of using beer to cook shellfish was spot-on. Also, the runner-up response, beer bread, caught my eye. I knew adding cheese was an option. In fact, I could really add anything to the bread that pairs well with beer, which meant tapping into the CSA vegetable share. An oniony, starchy, gooey, boozy concoction was on its way.
In case you’re counting, six cans remained after my Dad’s refreshment. Two cans went into dinner on Saturday night, for Beer Cheese Bread with Everything Bagel Topping and Warm Beer Poached Shrimp and Fennel Salad. Two recipes for the price of one in this week’s post!


Beer Poached Shrimp and Fennel Salad
From Bryan Miller in The New York Times
Vinaigrette:
1 teaspoon fresh dill or fennel fronds, chopped
1½ teaspoons mustard, preferably spicy
6 Tablespoons extra virgin olive oil
2 Tablespoons sherry vinegar
Salt and pepper, to taste
Poached Shrimp:
12 ounces of light beer
2 cloves garlic, peeled and smashed
5 sprigs fresh dill or a combination of dill and fennel fronds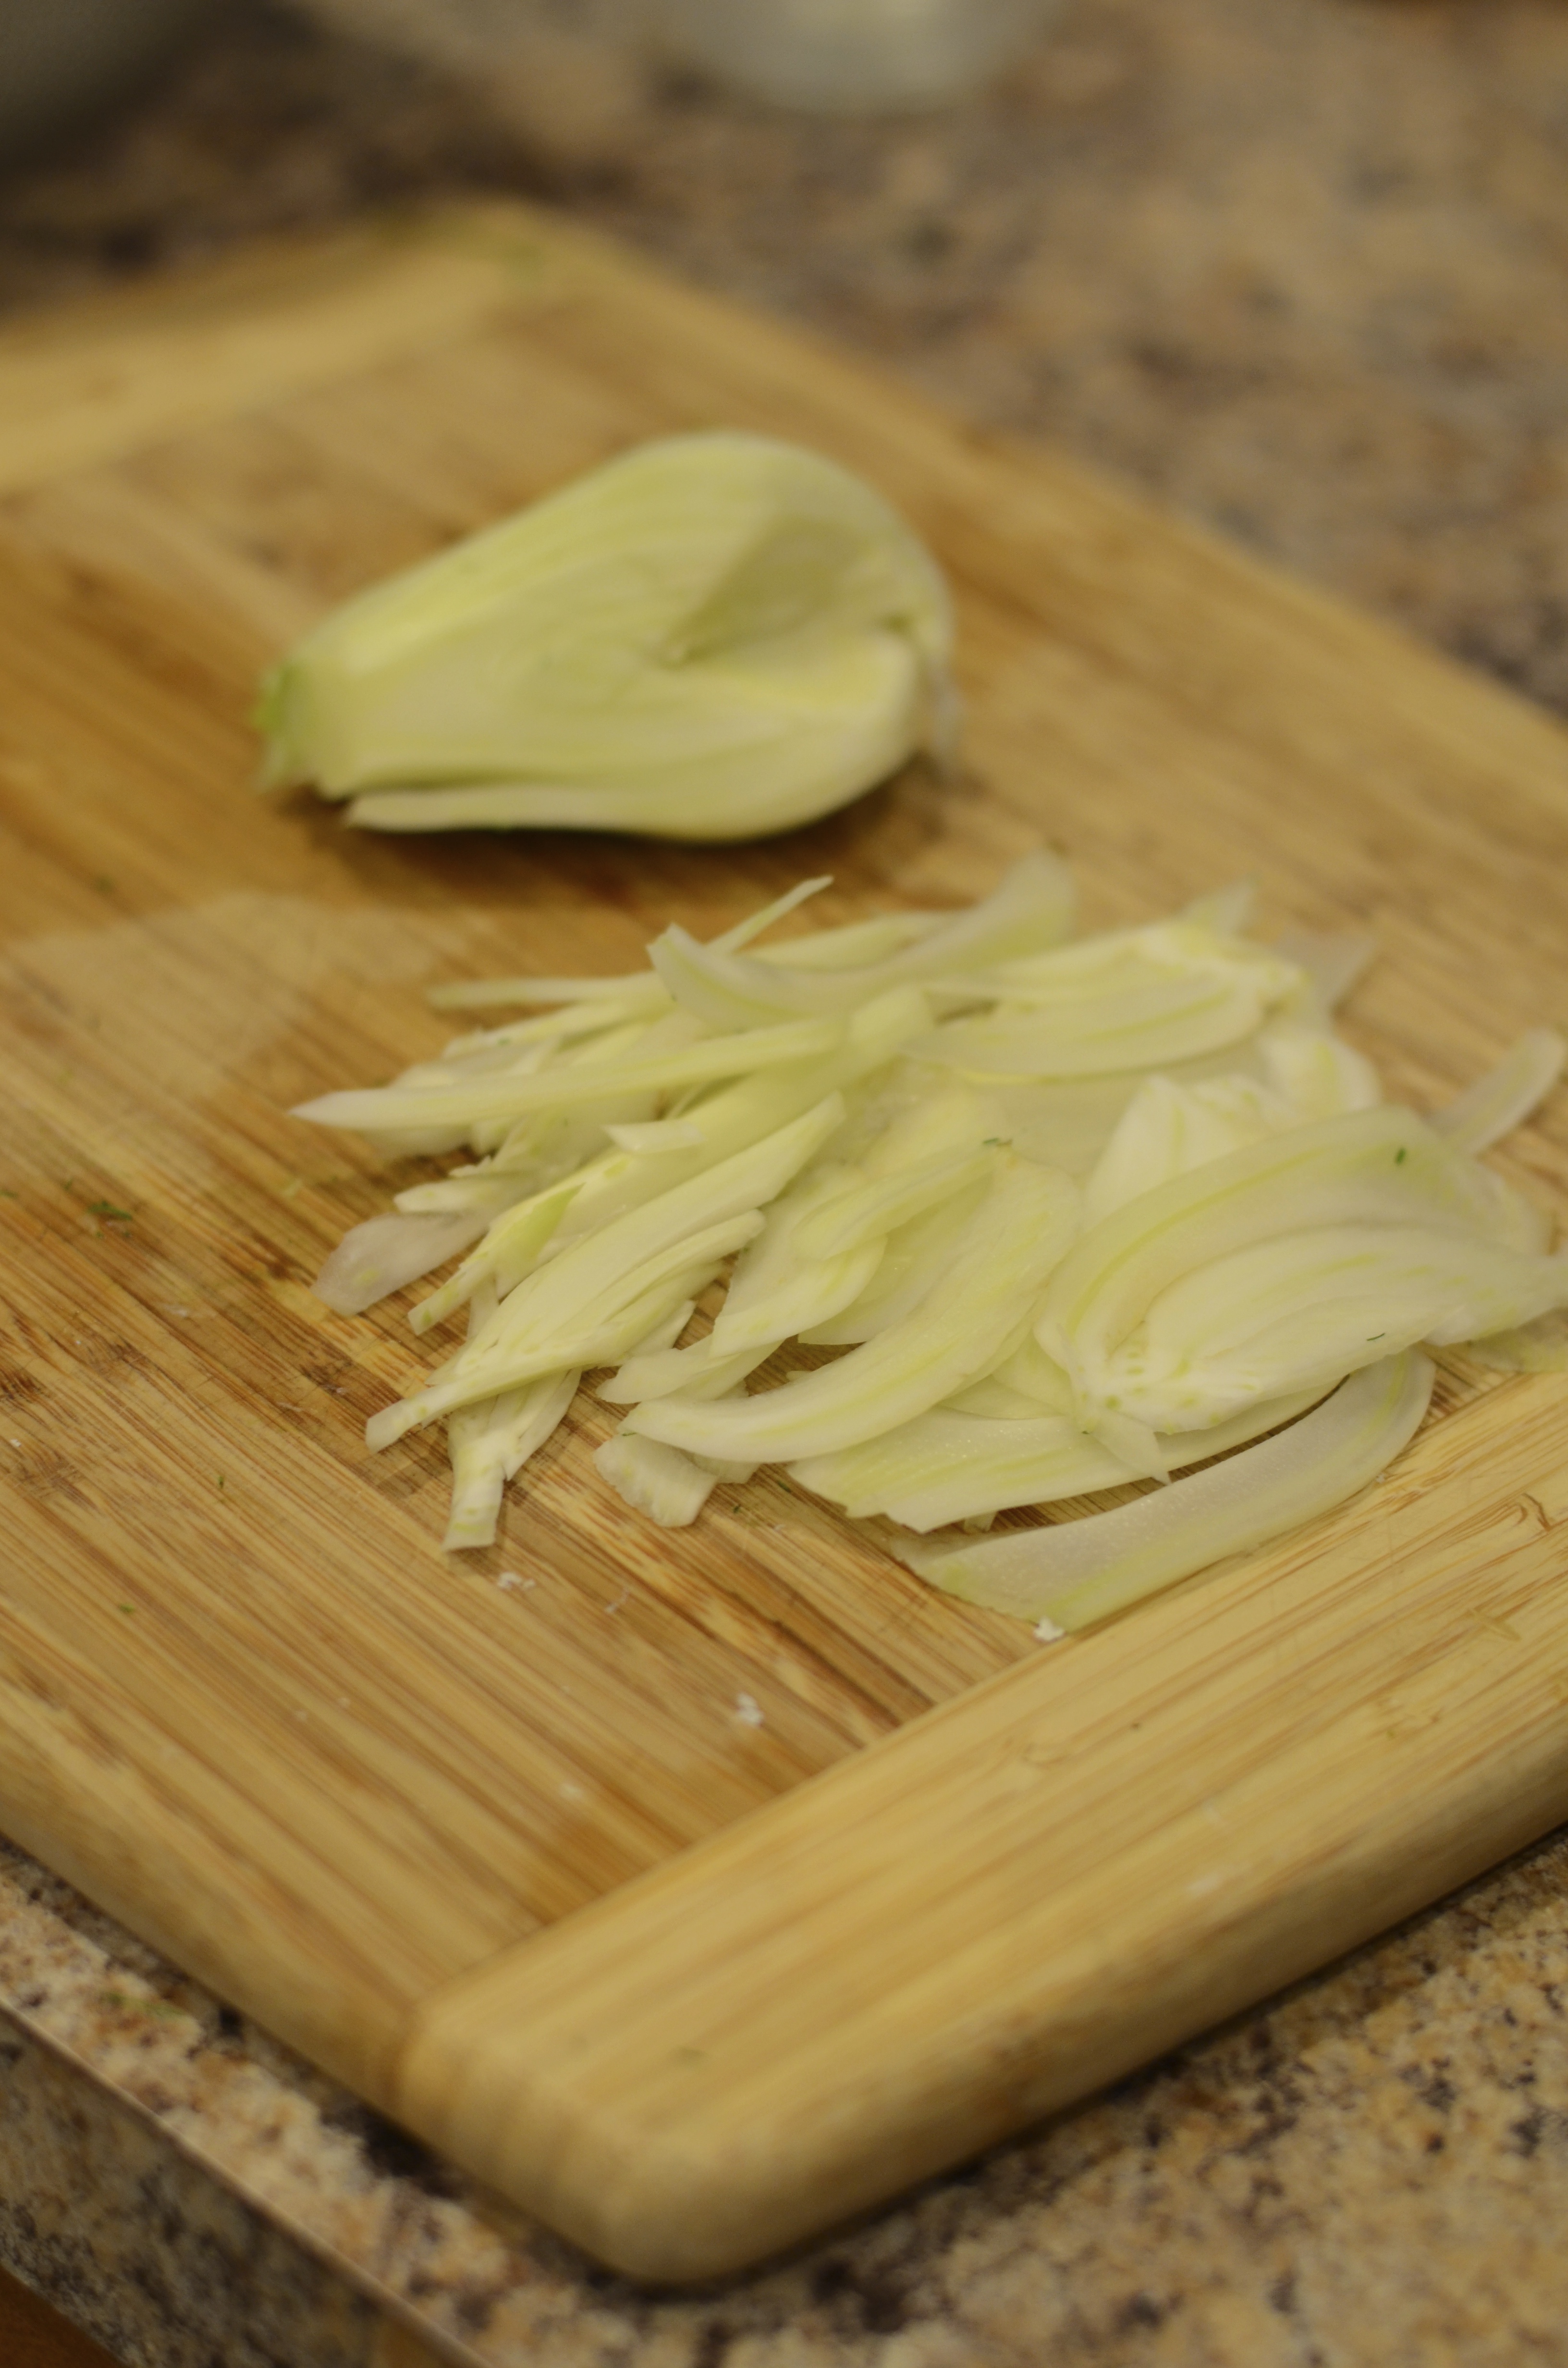
1 pound shrimp, peeled
Salt and pepper, to taste
Fennel, etc.:
3 Tablespoons olive oil
3 fennel bulbs, cored, sliced thin and cut into bite-size pieces
Salt and pepper, to taste
Additional dill or fennel fronds for garnish
Prepare vinaigrette. You will need to adjust seasoning according to your mustard. I used a combination of Dijon and coarse stone-ground mustard, enhanced with a touch of pepper. Fennel fronds made up a good portion of the herbs for my vinaigrette. I should have had plenty of dill, since I planted it in my garden this spring, but it went mostly to seed before I got the chance to use it!

In a deep saucepan (with lid reserved), pour beer and add garlic, dill sprigs/fennel fronds, and some salt and pepper. At medium-high heat, bring the mixture to a boil before lowering the heat and allowing it to simmer for ten minutes.

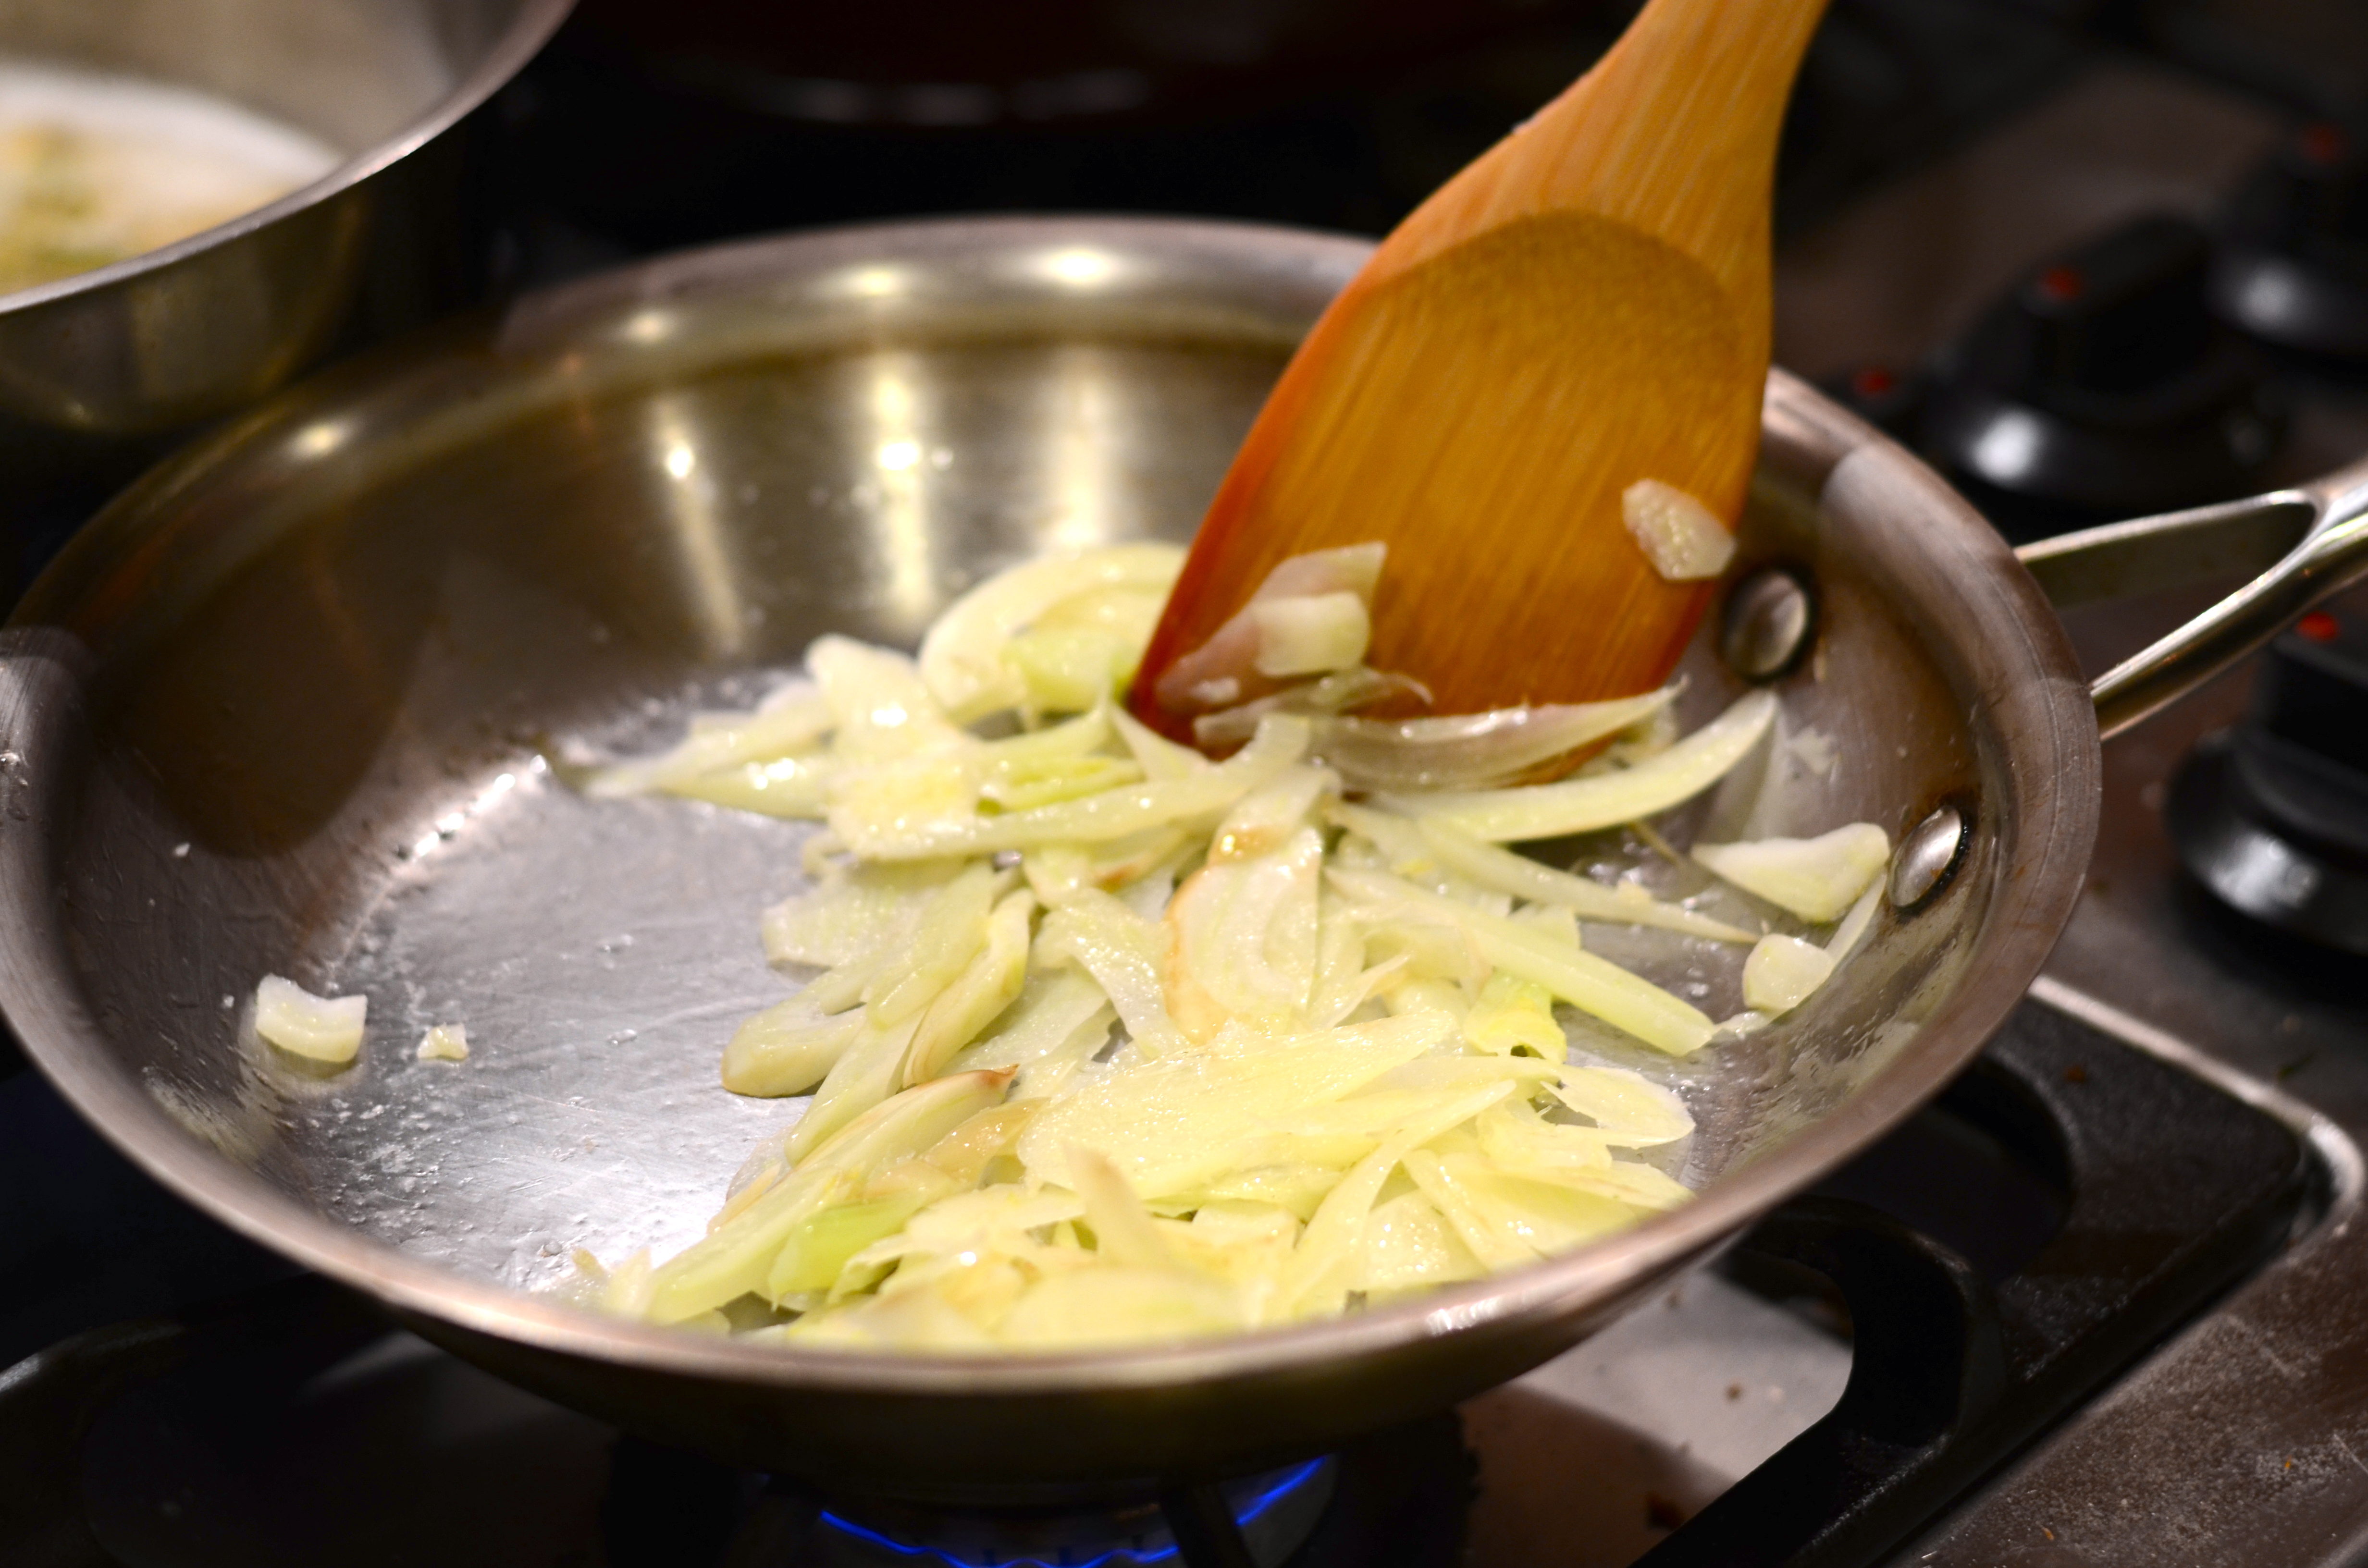
Meanwhile, take a separate skillet/saute pan and heat the olive over medium heat. Stir in your bite-sized fennel pieces and cook until they are starting to soften. Remove from stove. You can place the fennel on the serving plate, but keep warm.
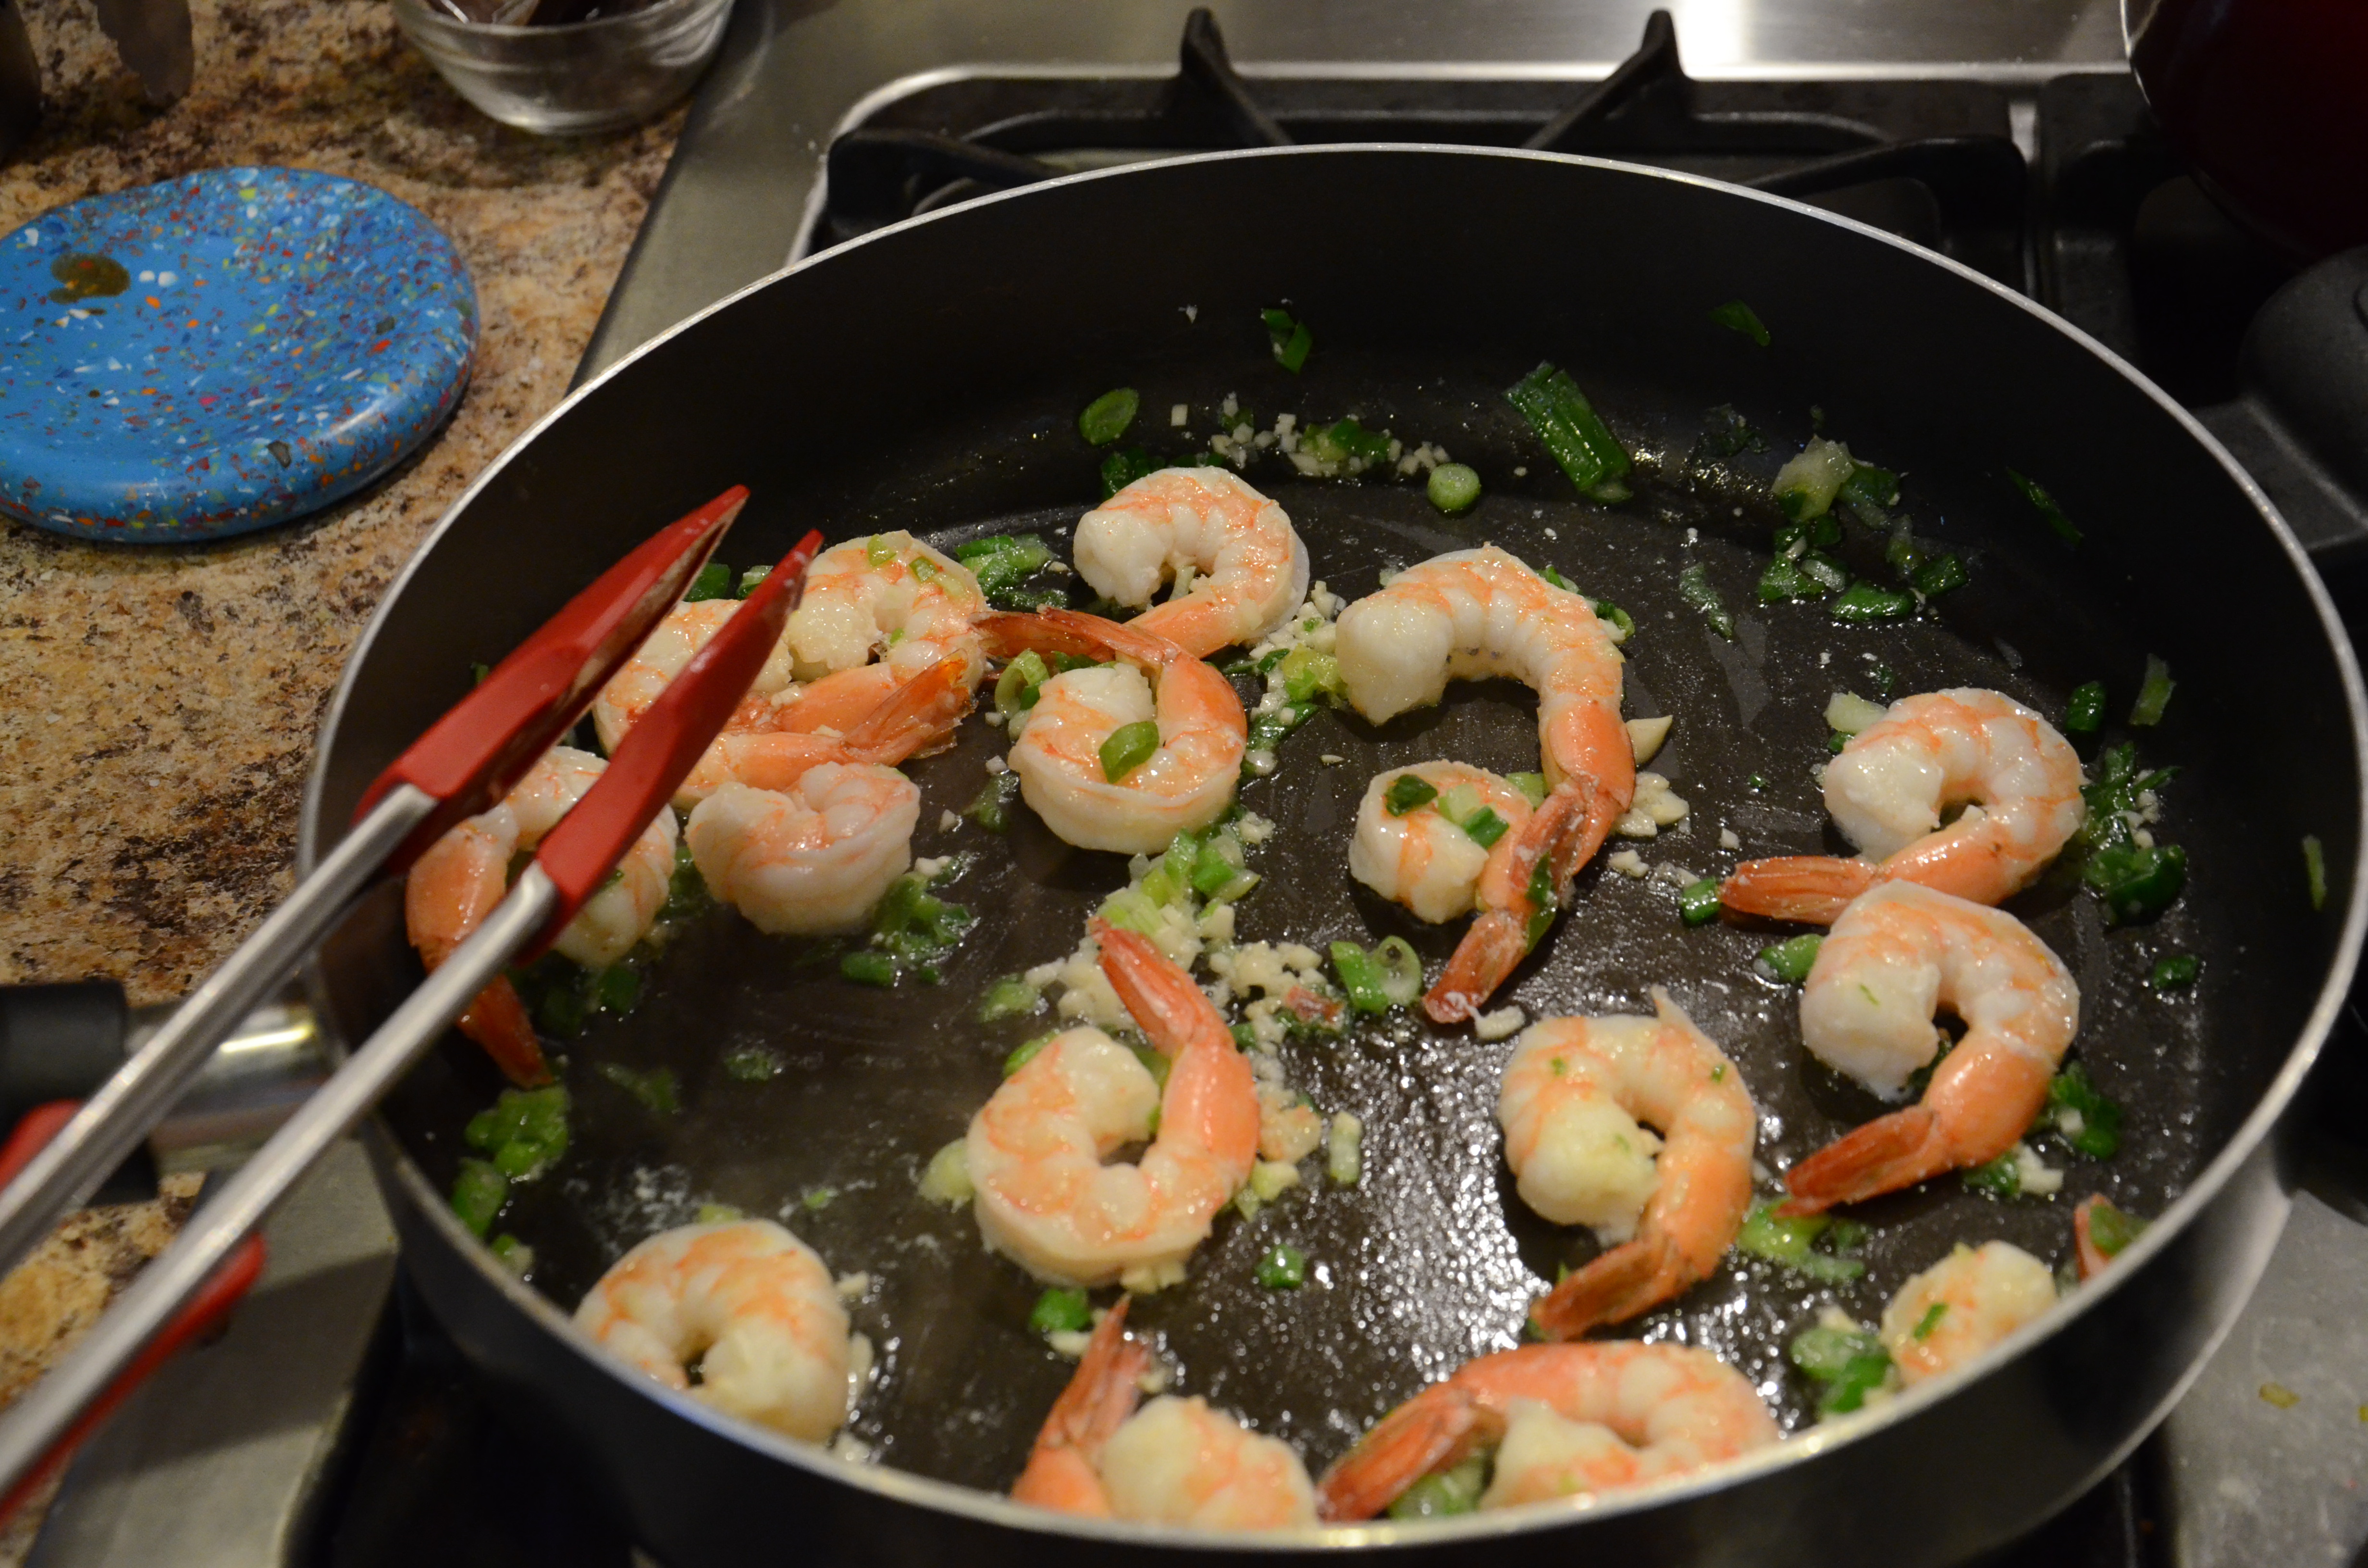
In the saucepan with the beer, drop the shrimp. Turn heat up, cover with lid and cook for about a minute. Turn off heat and remove lid.

Use a slotted spoon to remove and drain the shrimp. Arrange shrimp over the fennel. Pour vinaigrette over the salad and add more salt and pepper if needed. Garnish with fresh dill or fennel fronds.
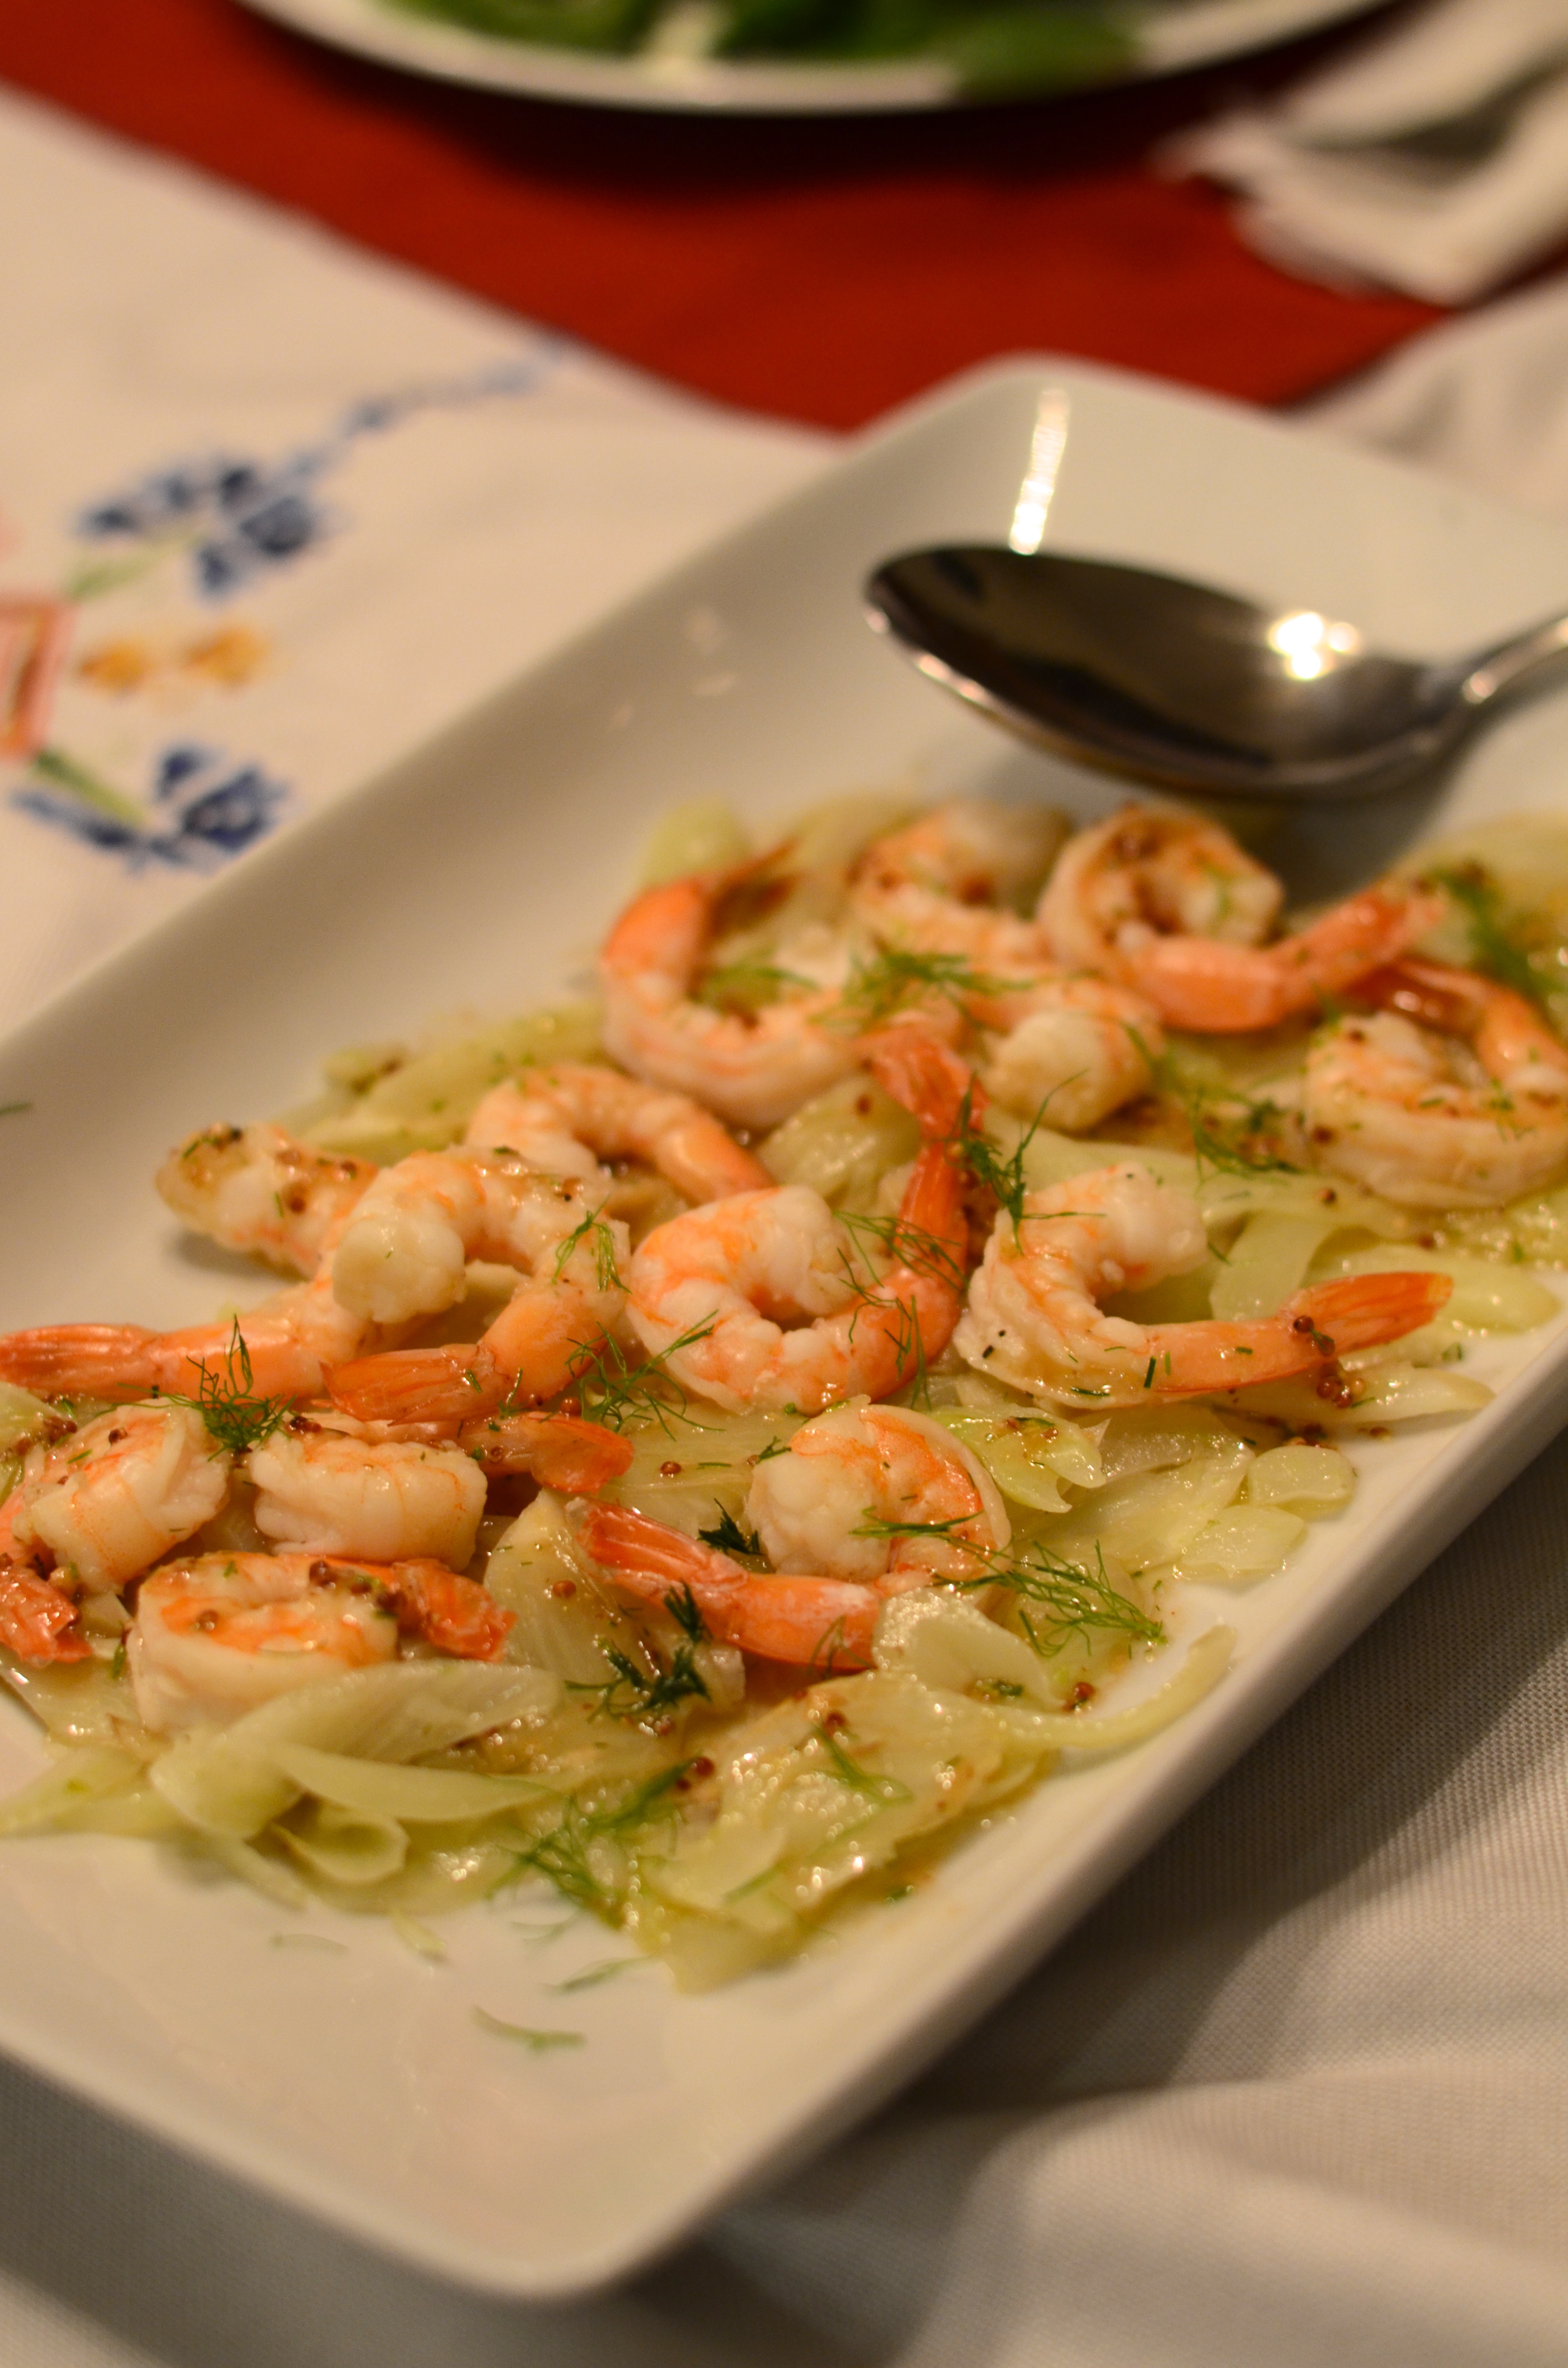
The quantity shown here is a scaled down portion of the full recipe.
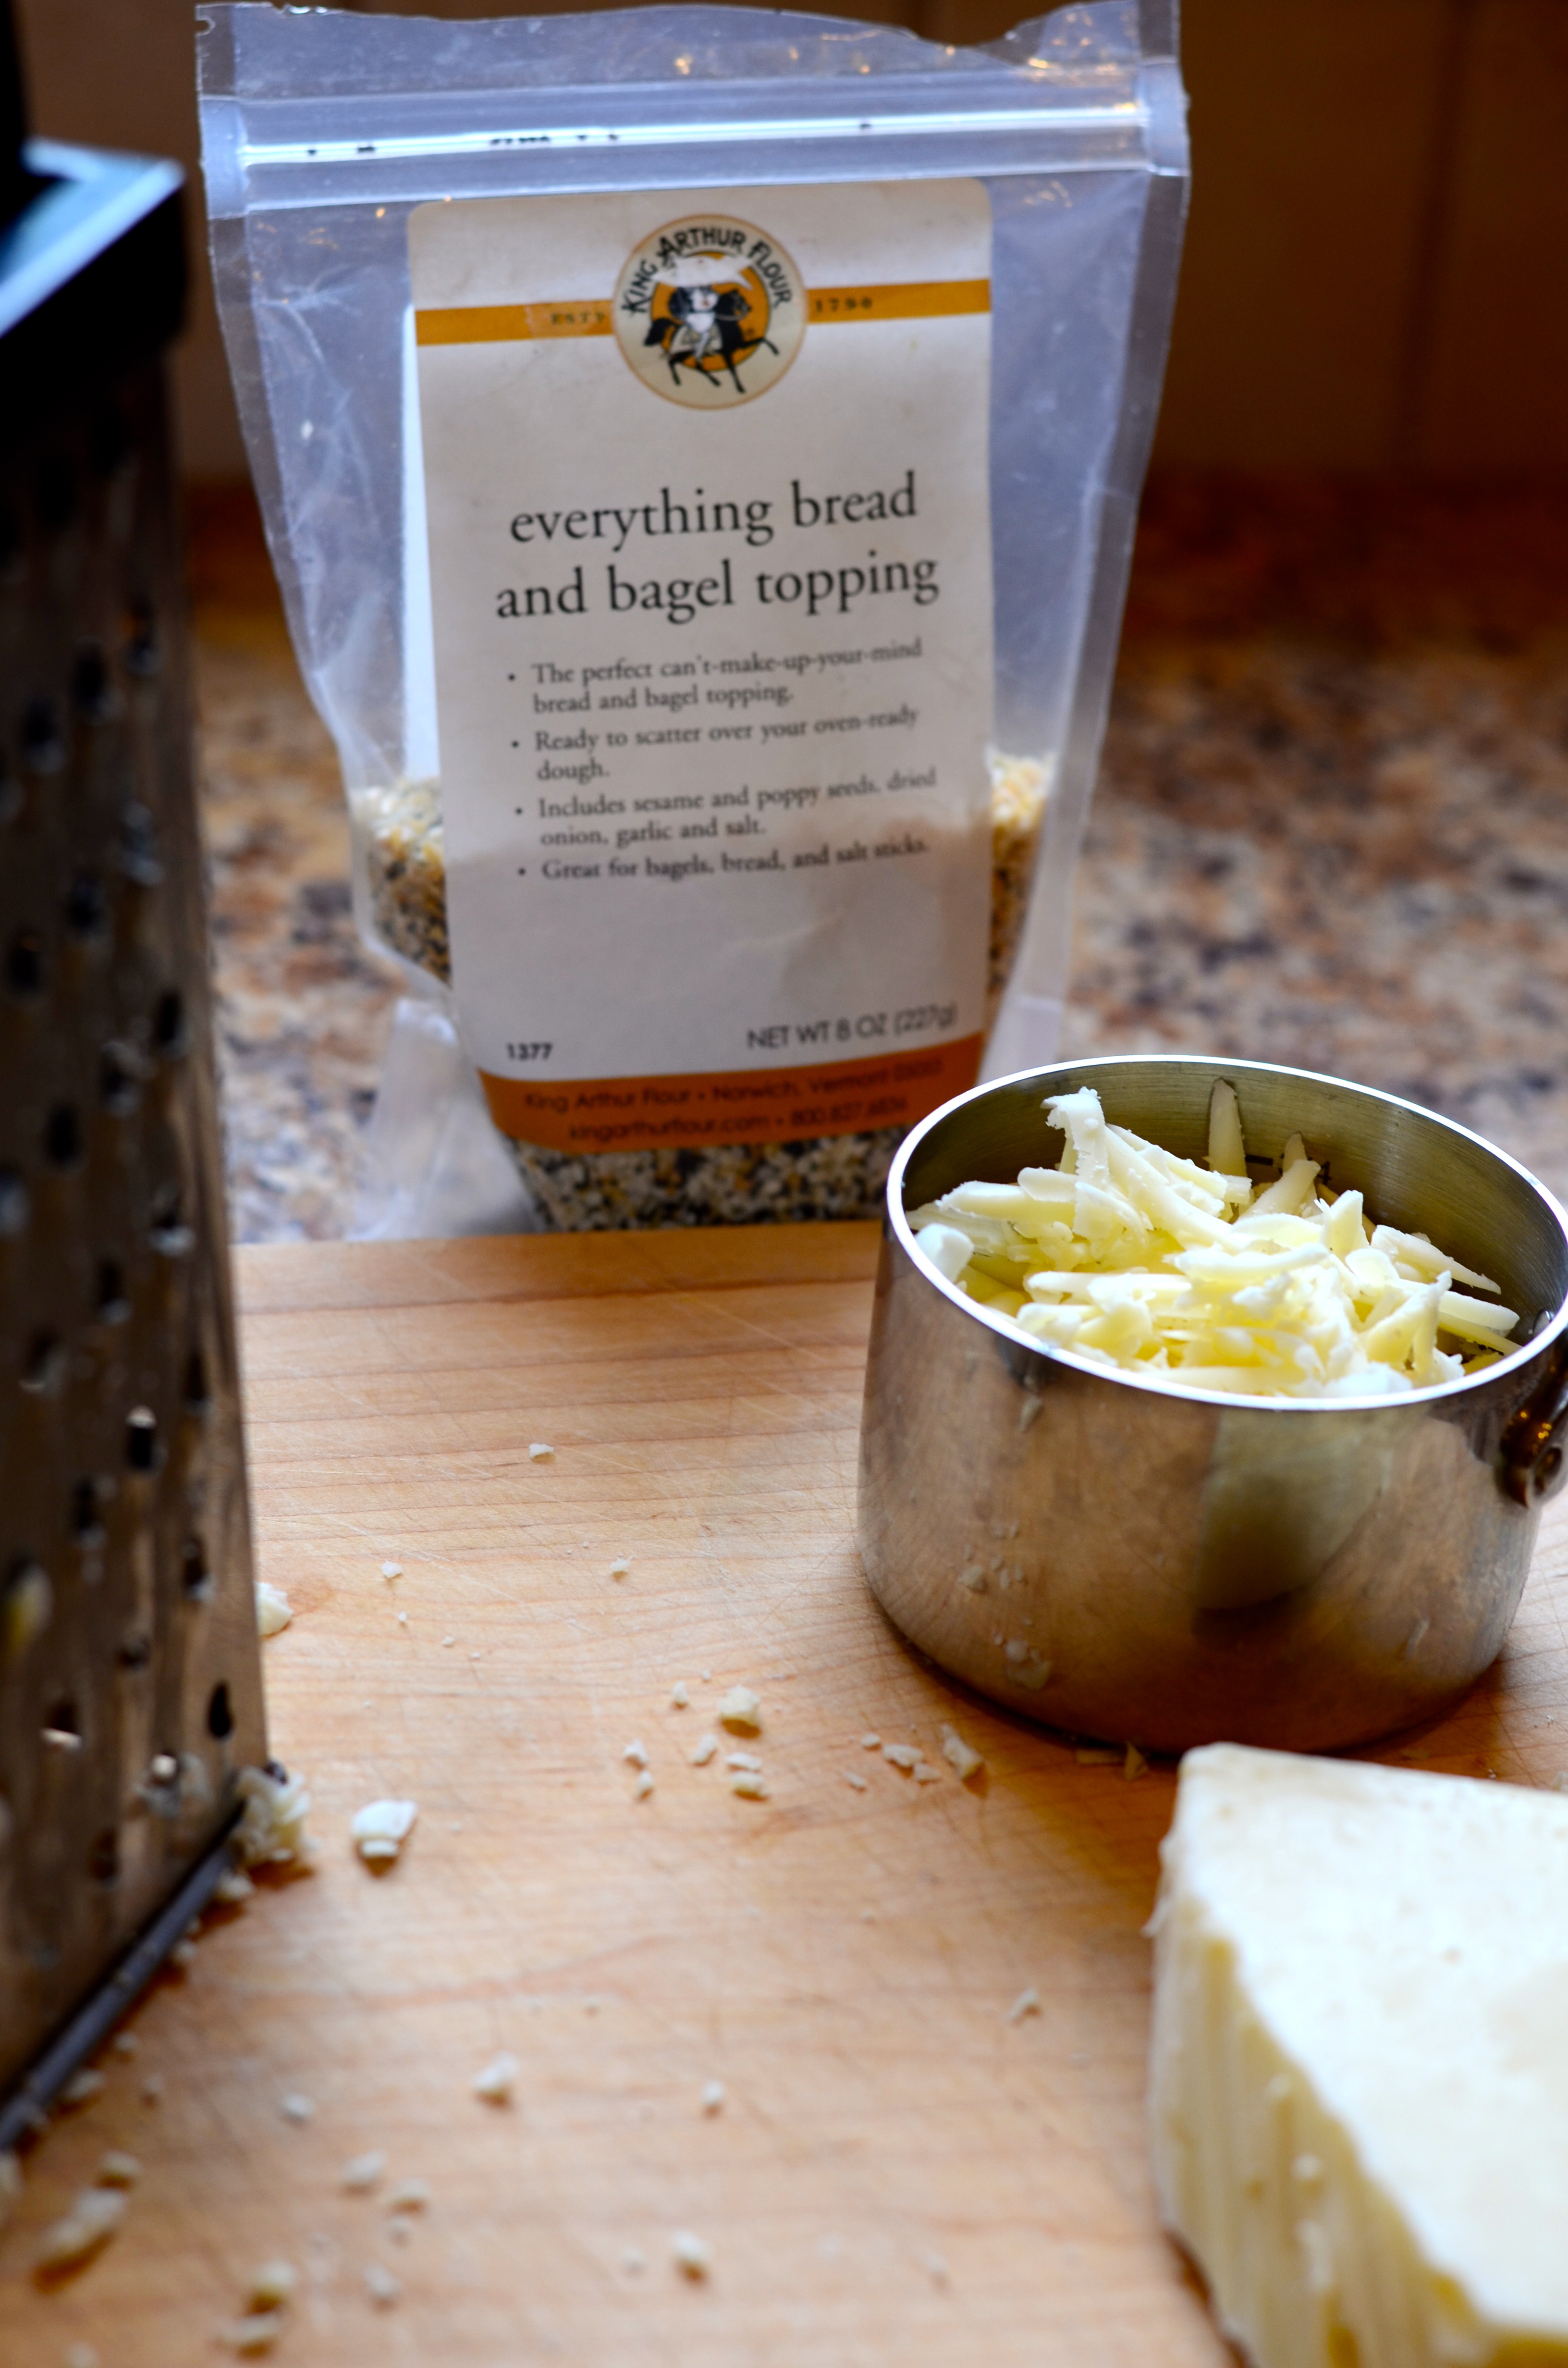
As I mentioned earlier, the beer cheese bread recipe is highly adaptable. The recipe on myrecipes.com includes several suggestions. I used shallots and scallions because I had some, already pre-chopped from other recipes. The scallions got me thinking of my favorite bagel spread, scallion cream cheese, which got me thinking about bagels, which reminded me of the Everything Bagel Topping I purchased from good ol’ King Arthur Flour. Of course, you can replicate everything bagel topping with the requisite individual ingredients of onion, sesame, poppy seed, garlic and salt. I thought all of this would pair well with cheddar cheese, a type I always have on hand, in place of the Monterey Jack cheese specified in the original recipe. What a delicious brainstorm. I imagine being asked at a restaurant if I would like something from the beer, cheese, or bread section of the menu. Easy answer: “Yes, please.”
Beer Cheese Bread with Everything Bagel Topping
Adapted from Cooking Light’s recipe on myrecipes.com
1 Tablespoon olive oil
1/4 Cup shallot, finely chopped
1/4 Cup scallions, sliced
1/4 teaspoon freshly ground black pepper
1 garlic clove, minced
13.5 ounces all-purpose flour (about 3 Cups)
3 Tablespoons sugar
2 teaspoons baking powder
1 teaspoon salt
1 Cup (4 ounces) cheddar cheese, shredded
12 ounces bottle light lager beer
Cooking spray
1 Tablespoon unsalted butter, melted
2-3 Tablespoons Everything Bagel topping

Preheat oven to 375°.
In a small skillet set on medium-low, heat the olive oil. Add shallots and green onions and cook, stirring occasionally, until just starting to caramelize (about 7 minutes).
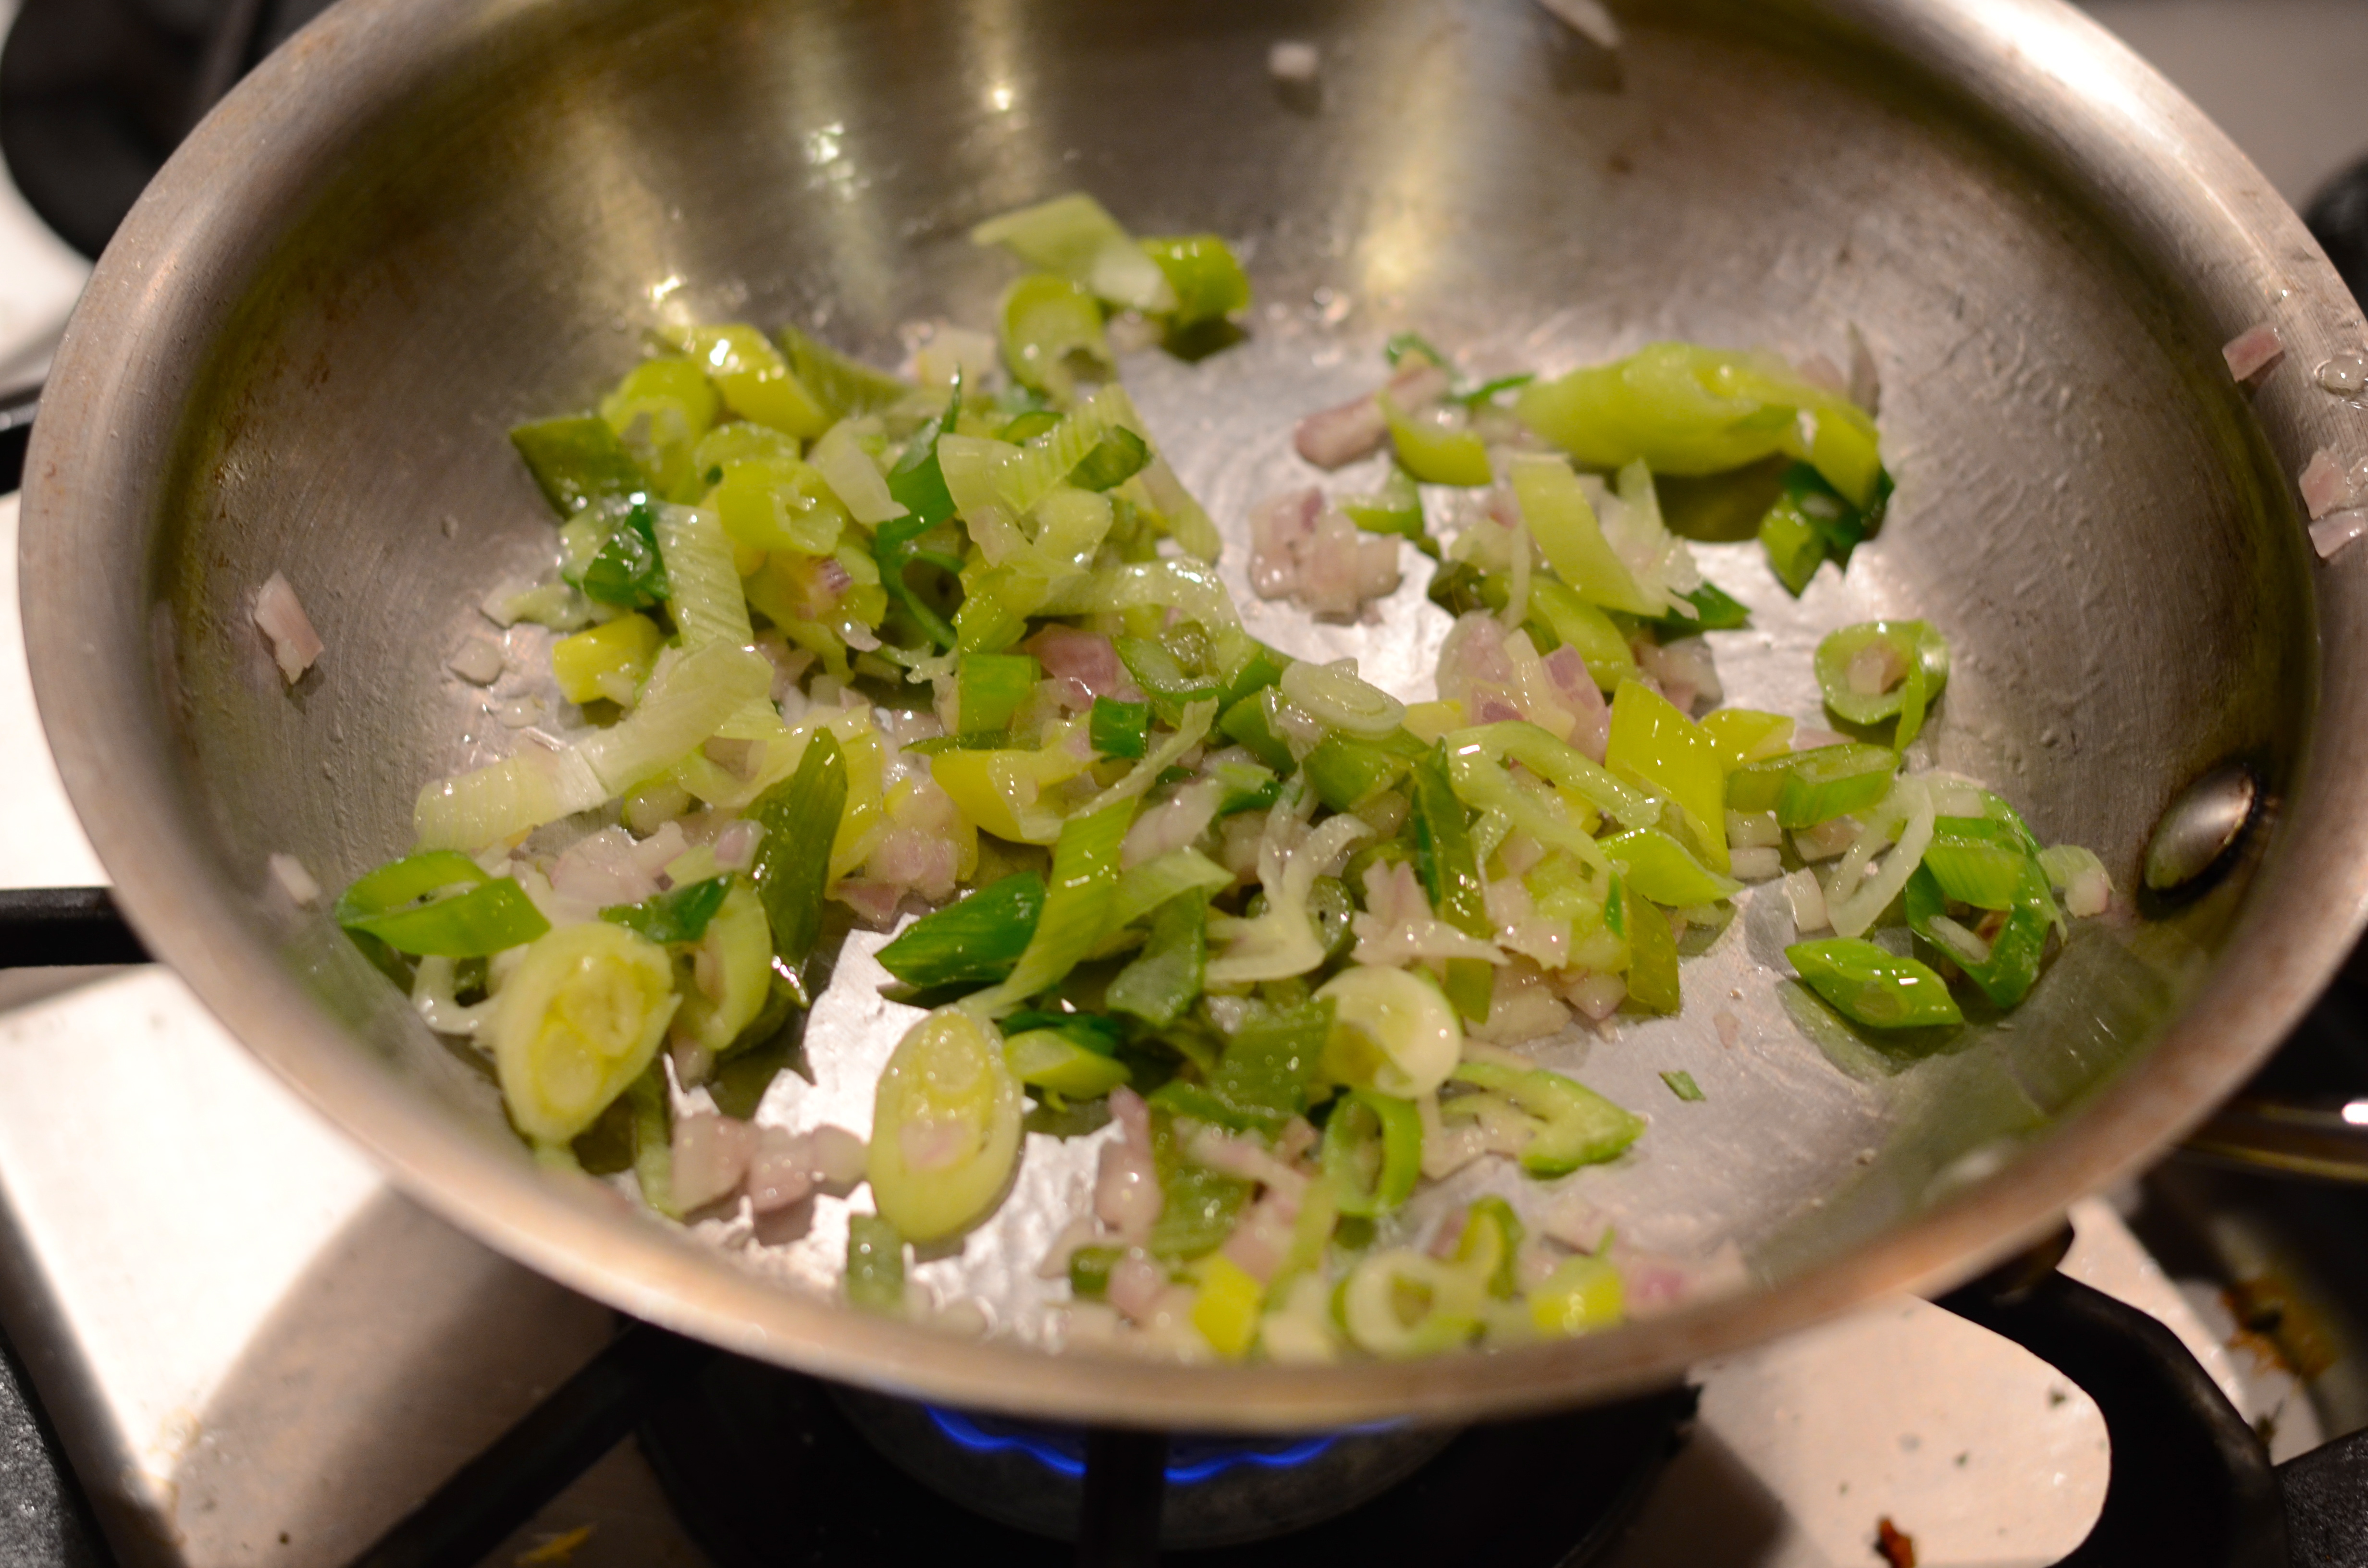
Add pepper and garlic, stir to incorporate for 1 minute.
Measure flour and combine with sugar, baking powder, and salt in a large bowl. Stir with a whisk.

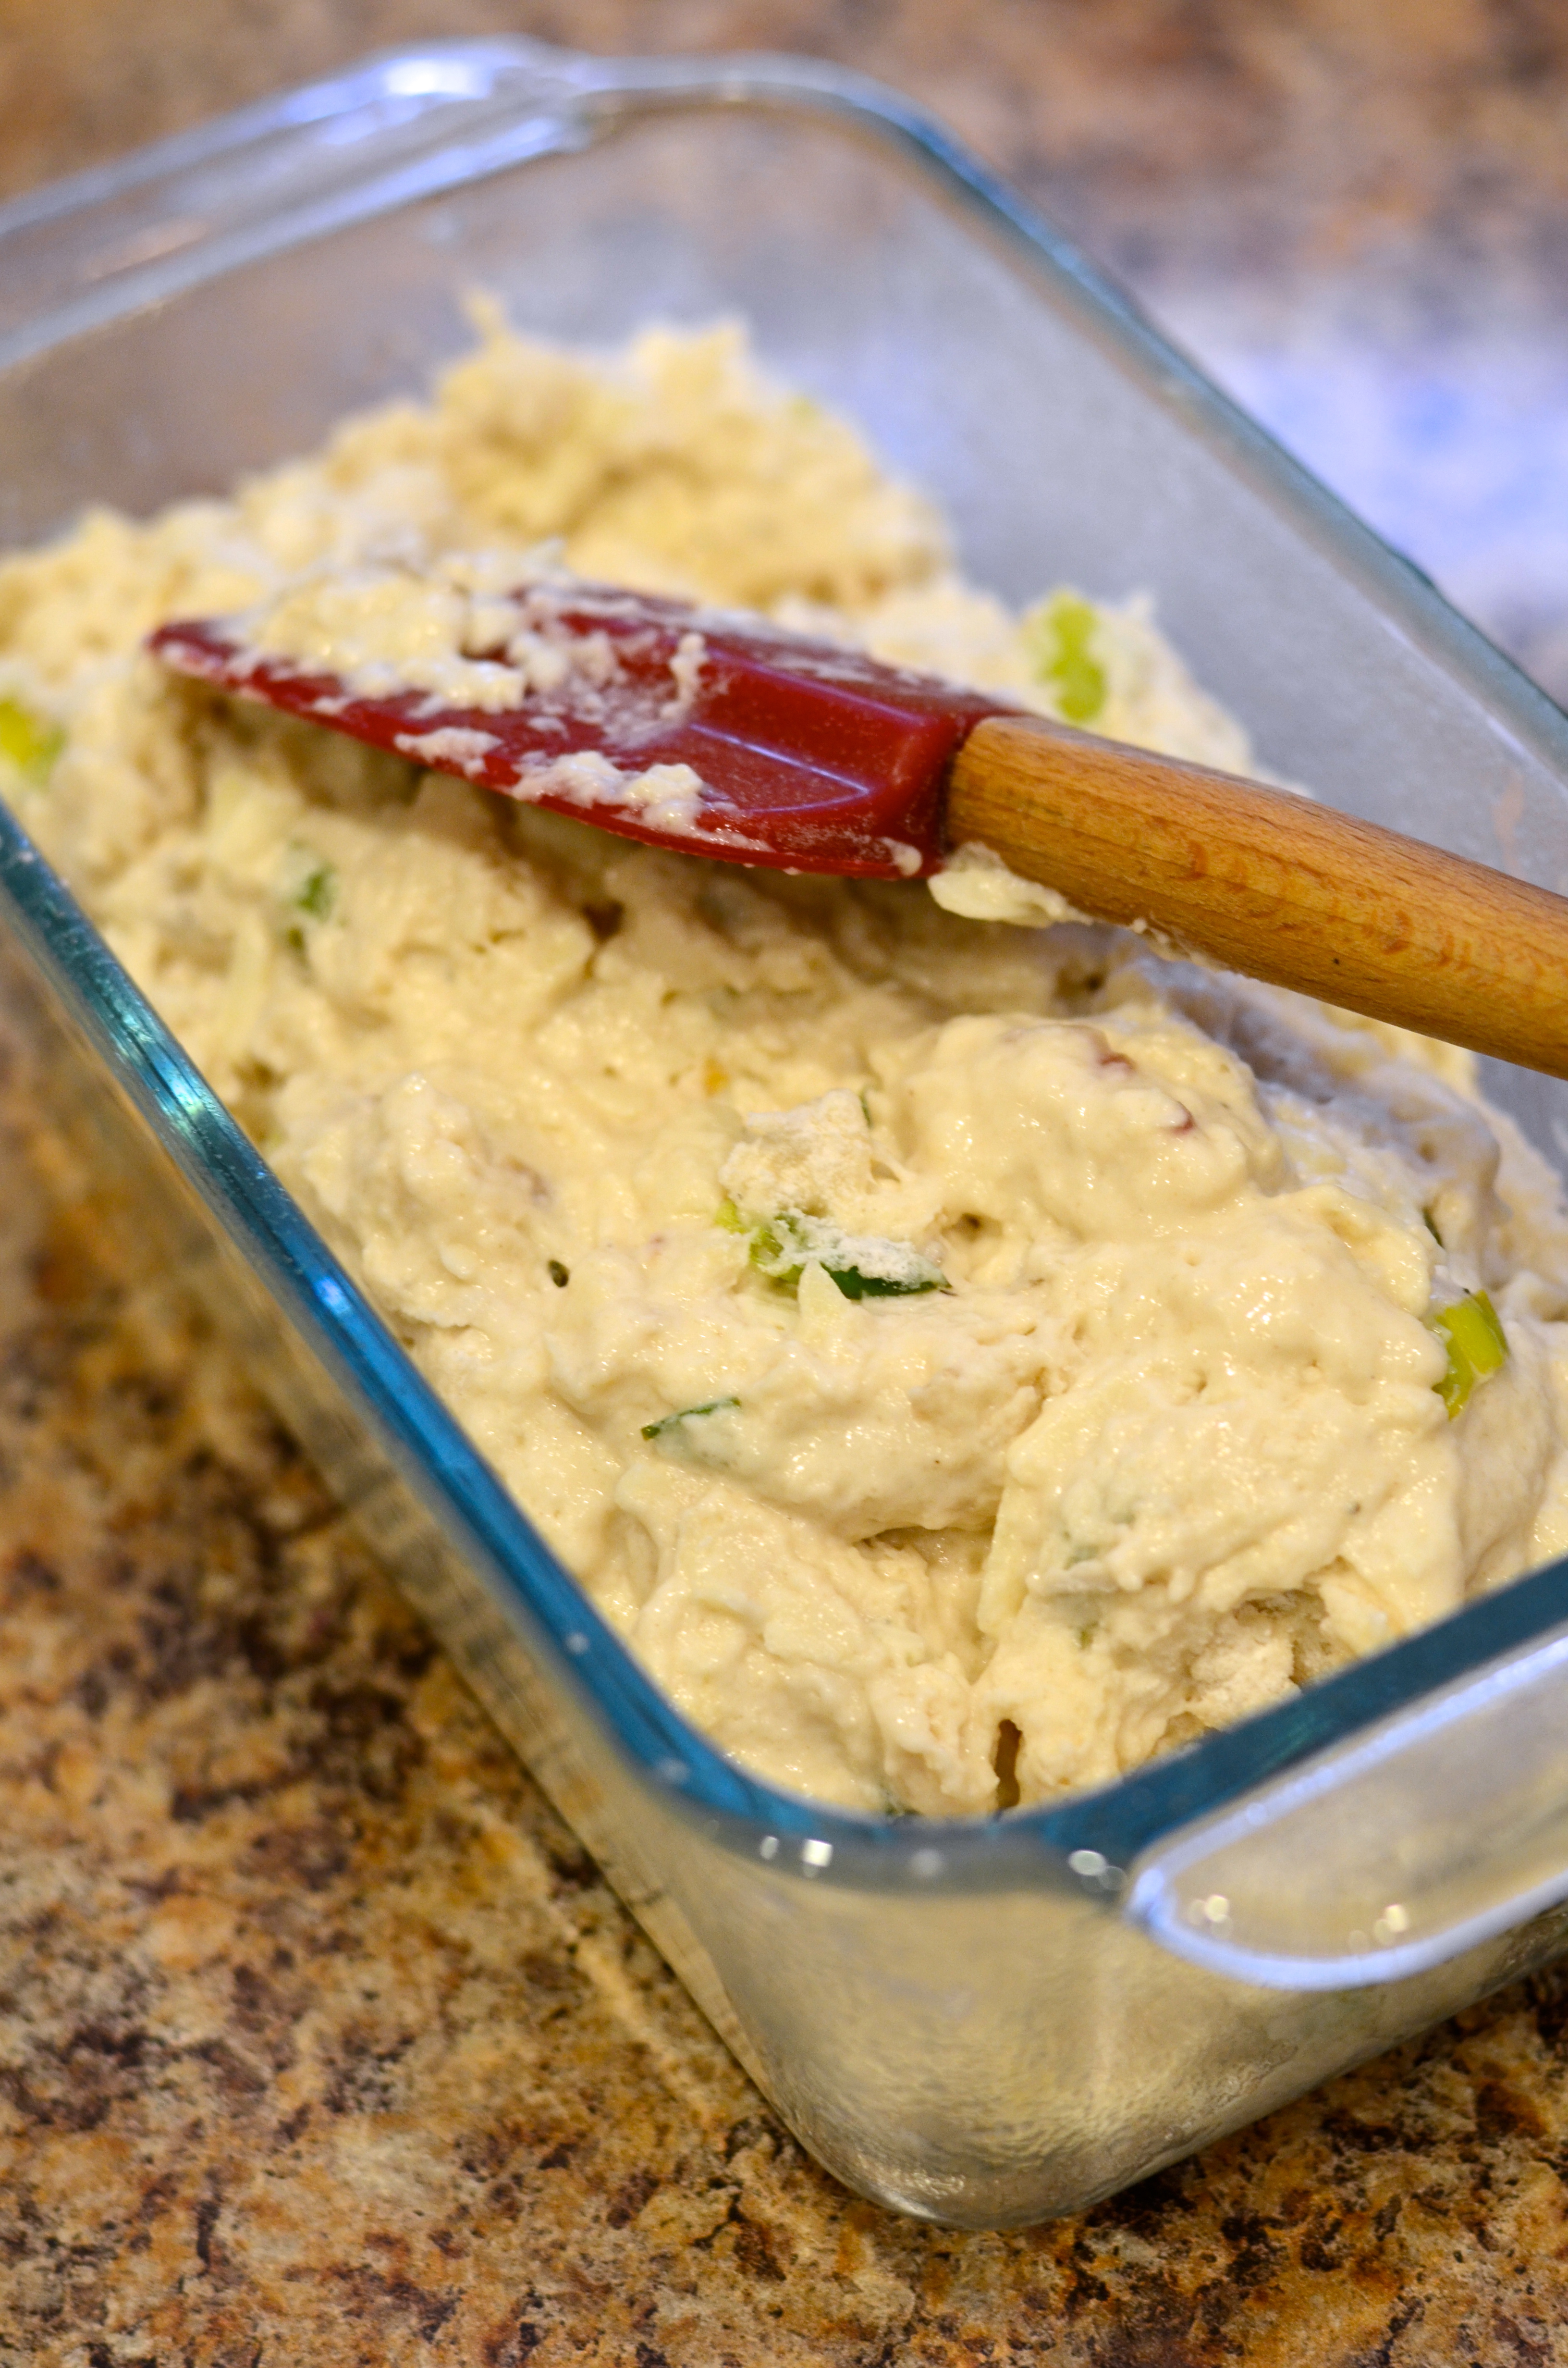
Make a well in the center of the dry mixture for adding the onion mixture, cheese, and beer. Stir to moisten the batter completely. Lumps are OK.
Coat a loaf pan with cooking spray. Pour batter in and drizzle 1 Tablespoon of melted butter. Sprinkle with the everything bagel topping.
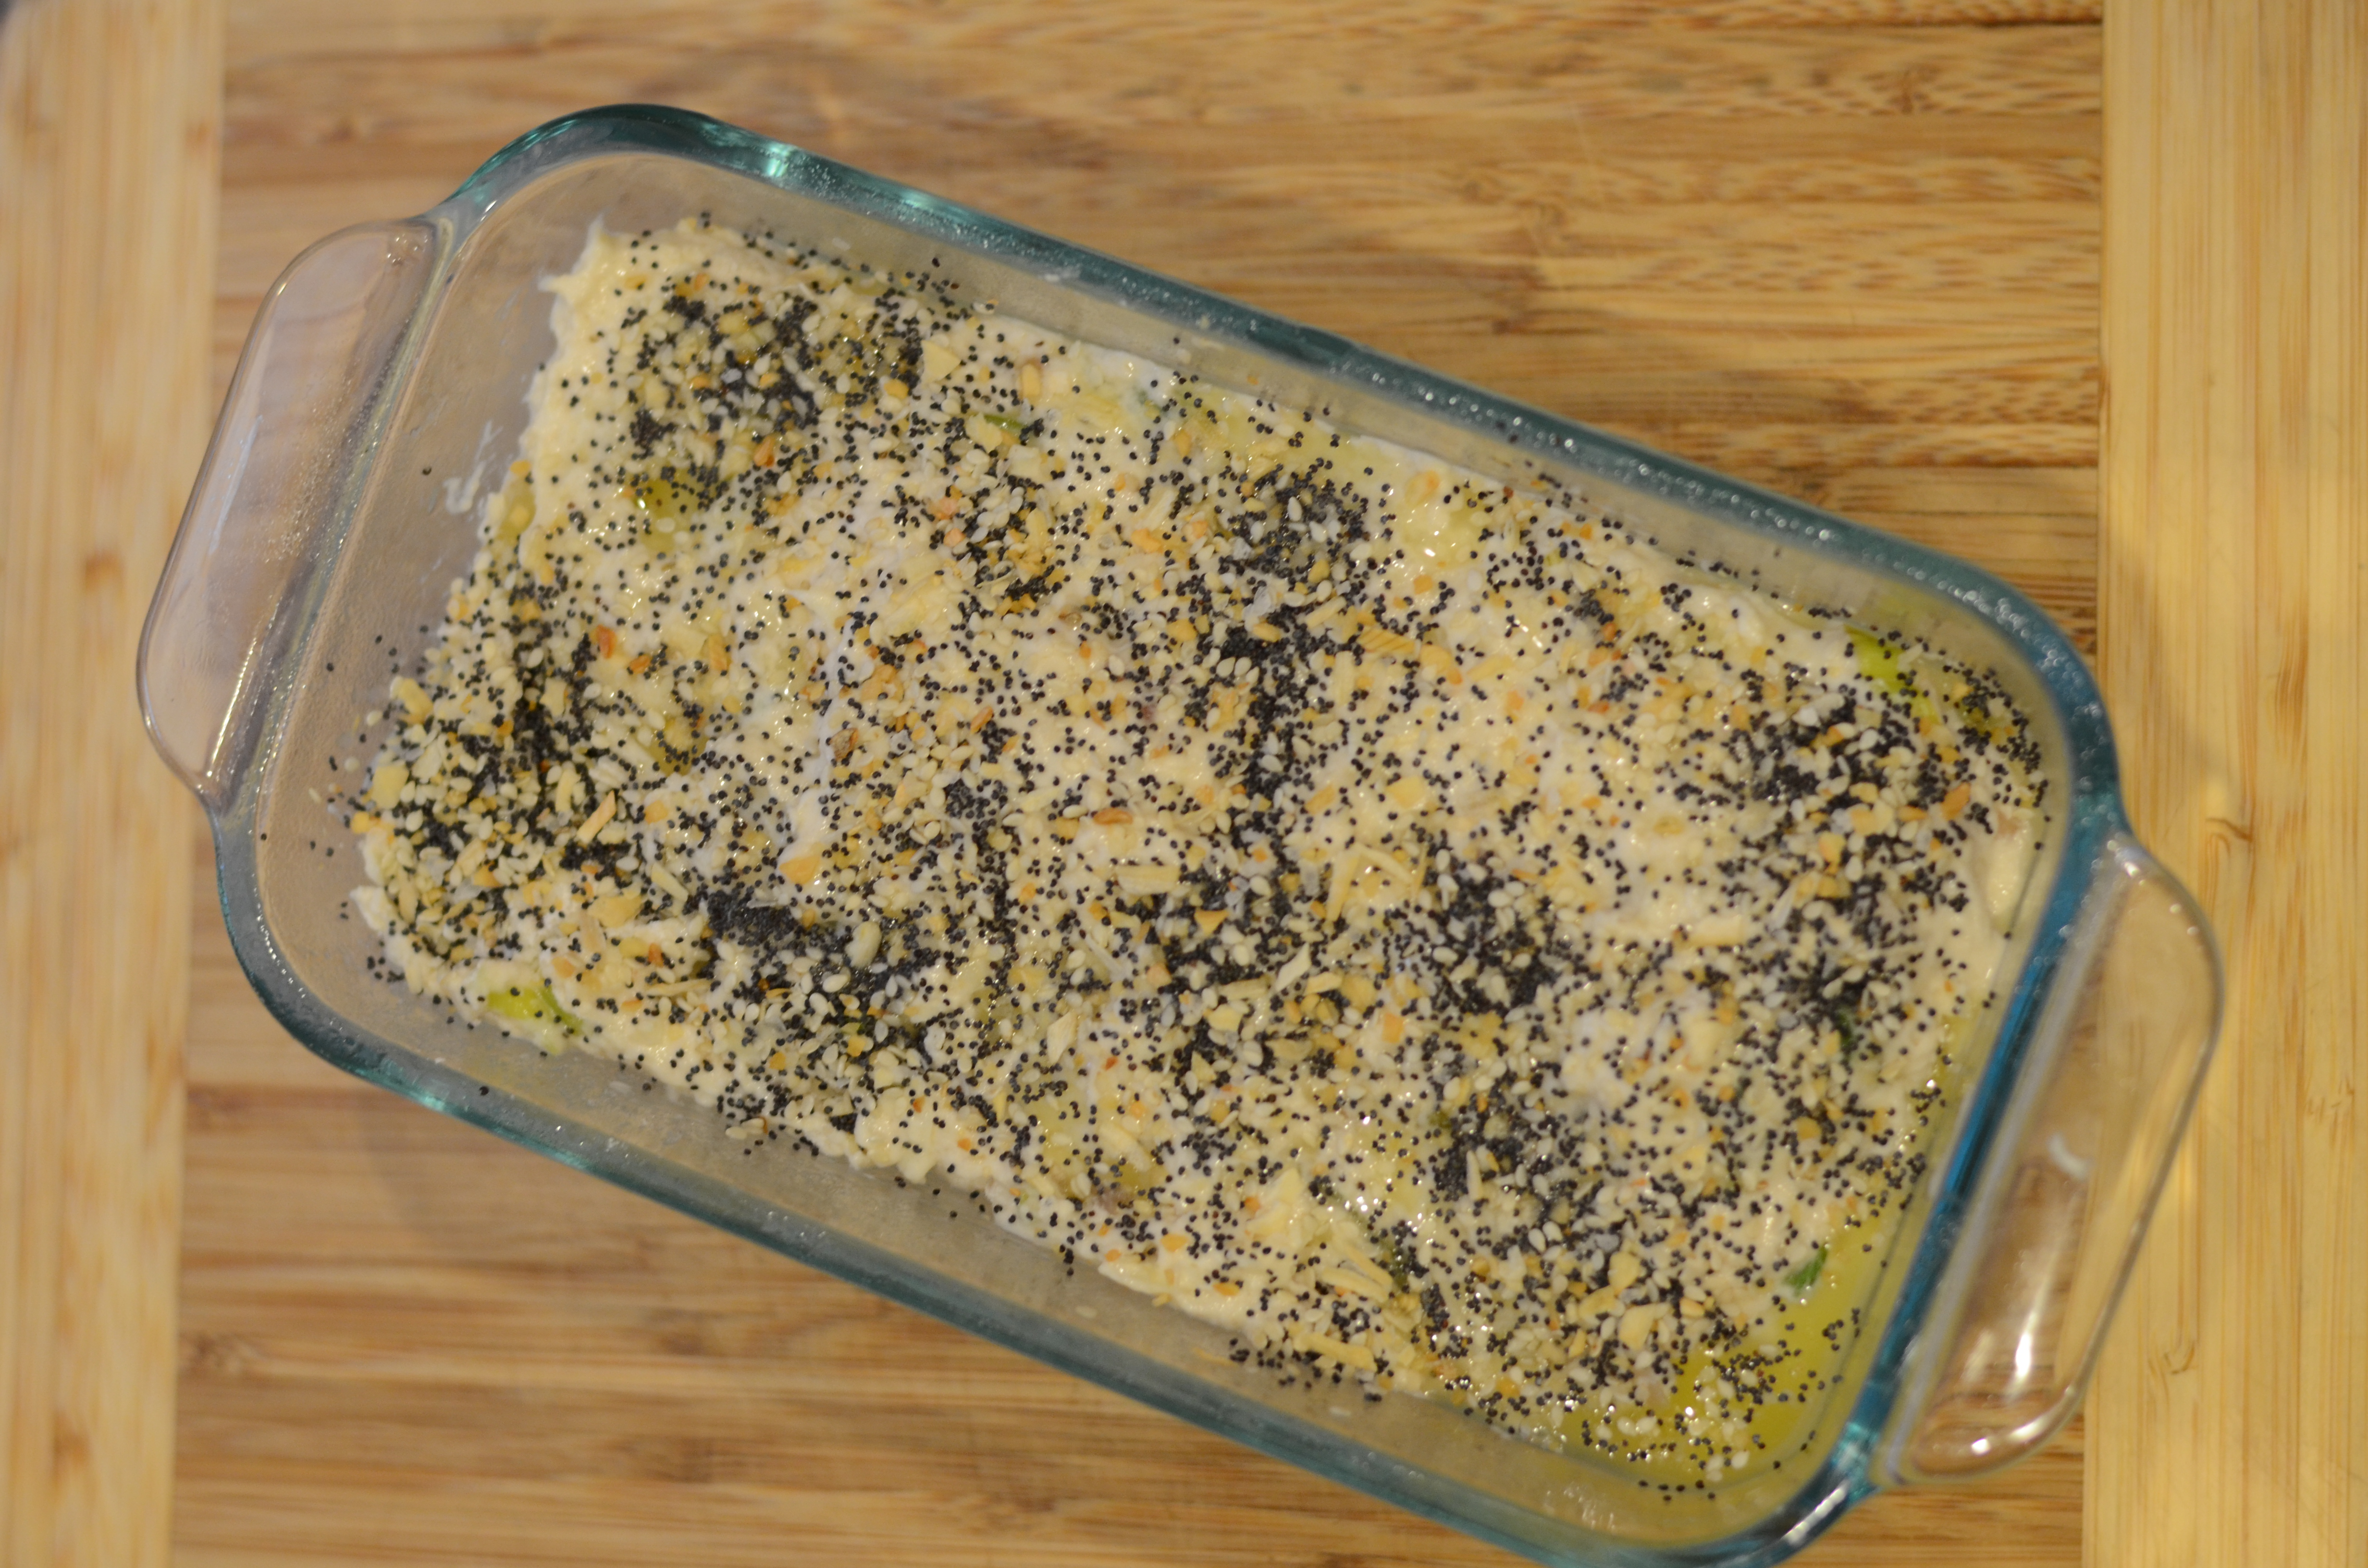
Bake at 375° for about 45 minutes or until golden brown. After about 30 minutes, you could drizzle additional butter on top.

Pay no attention to the beat-up oven mitts!
Cool for a few minutes, and then turn loaf out of pan to cool completely. I took my bread out of the oven a little early, so it was still very moist in the center. This gave it a deliciously tender, cake-like quality. If you want it more toasty, leave it in longer.
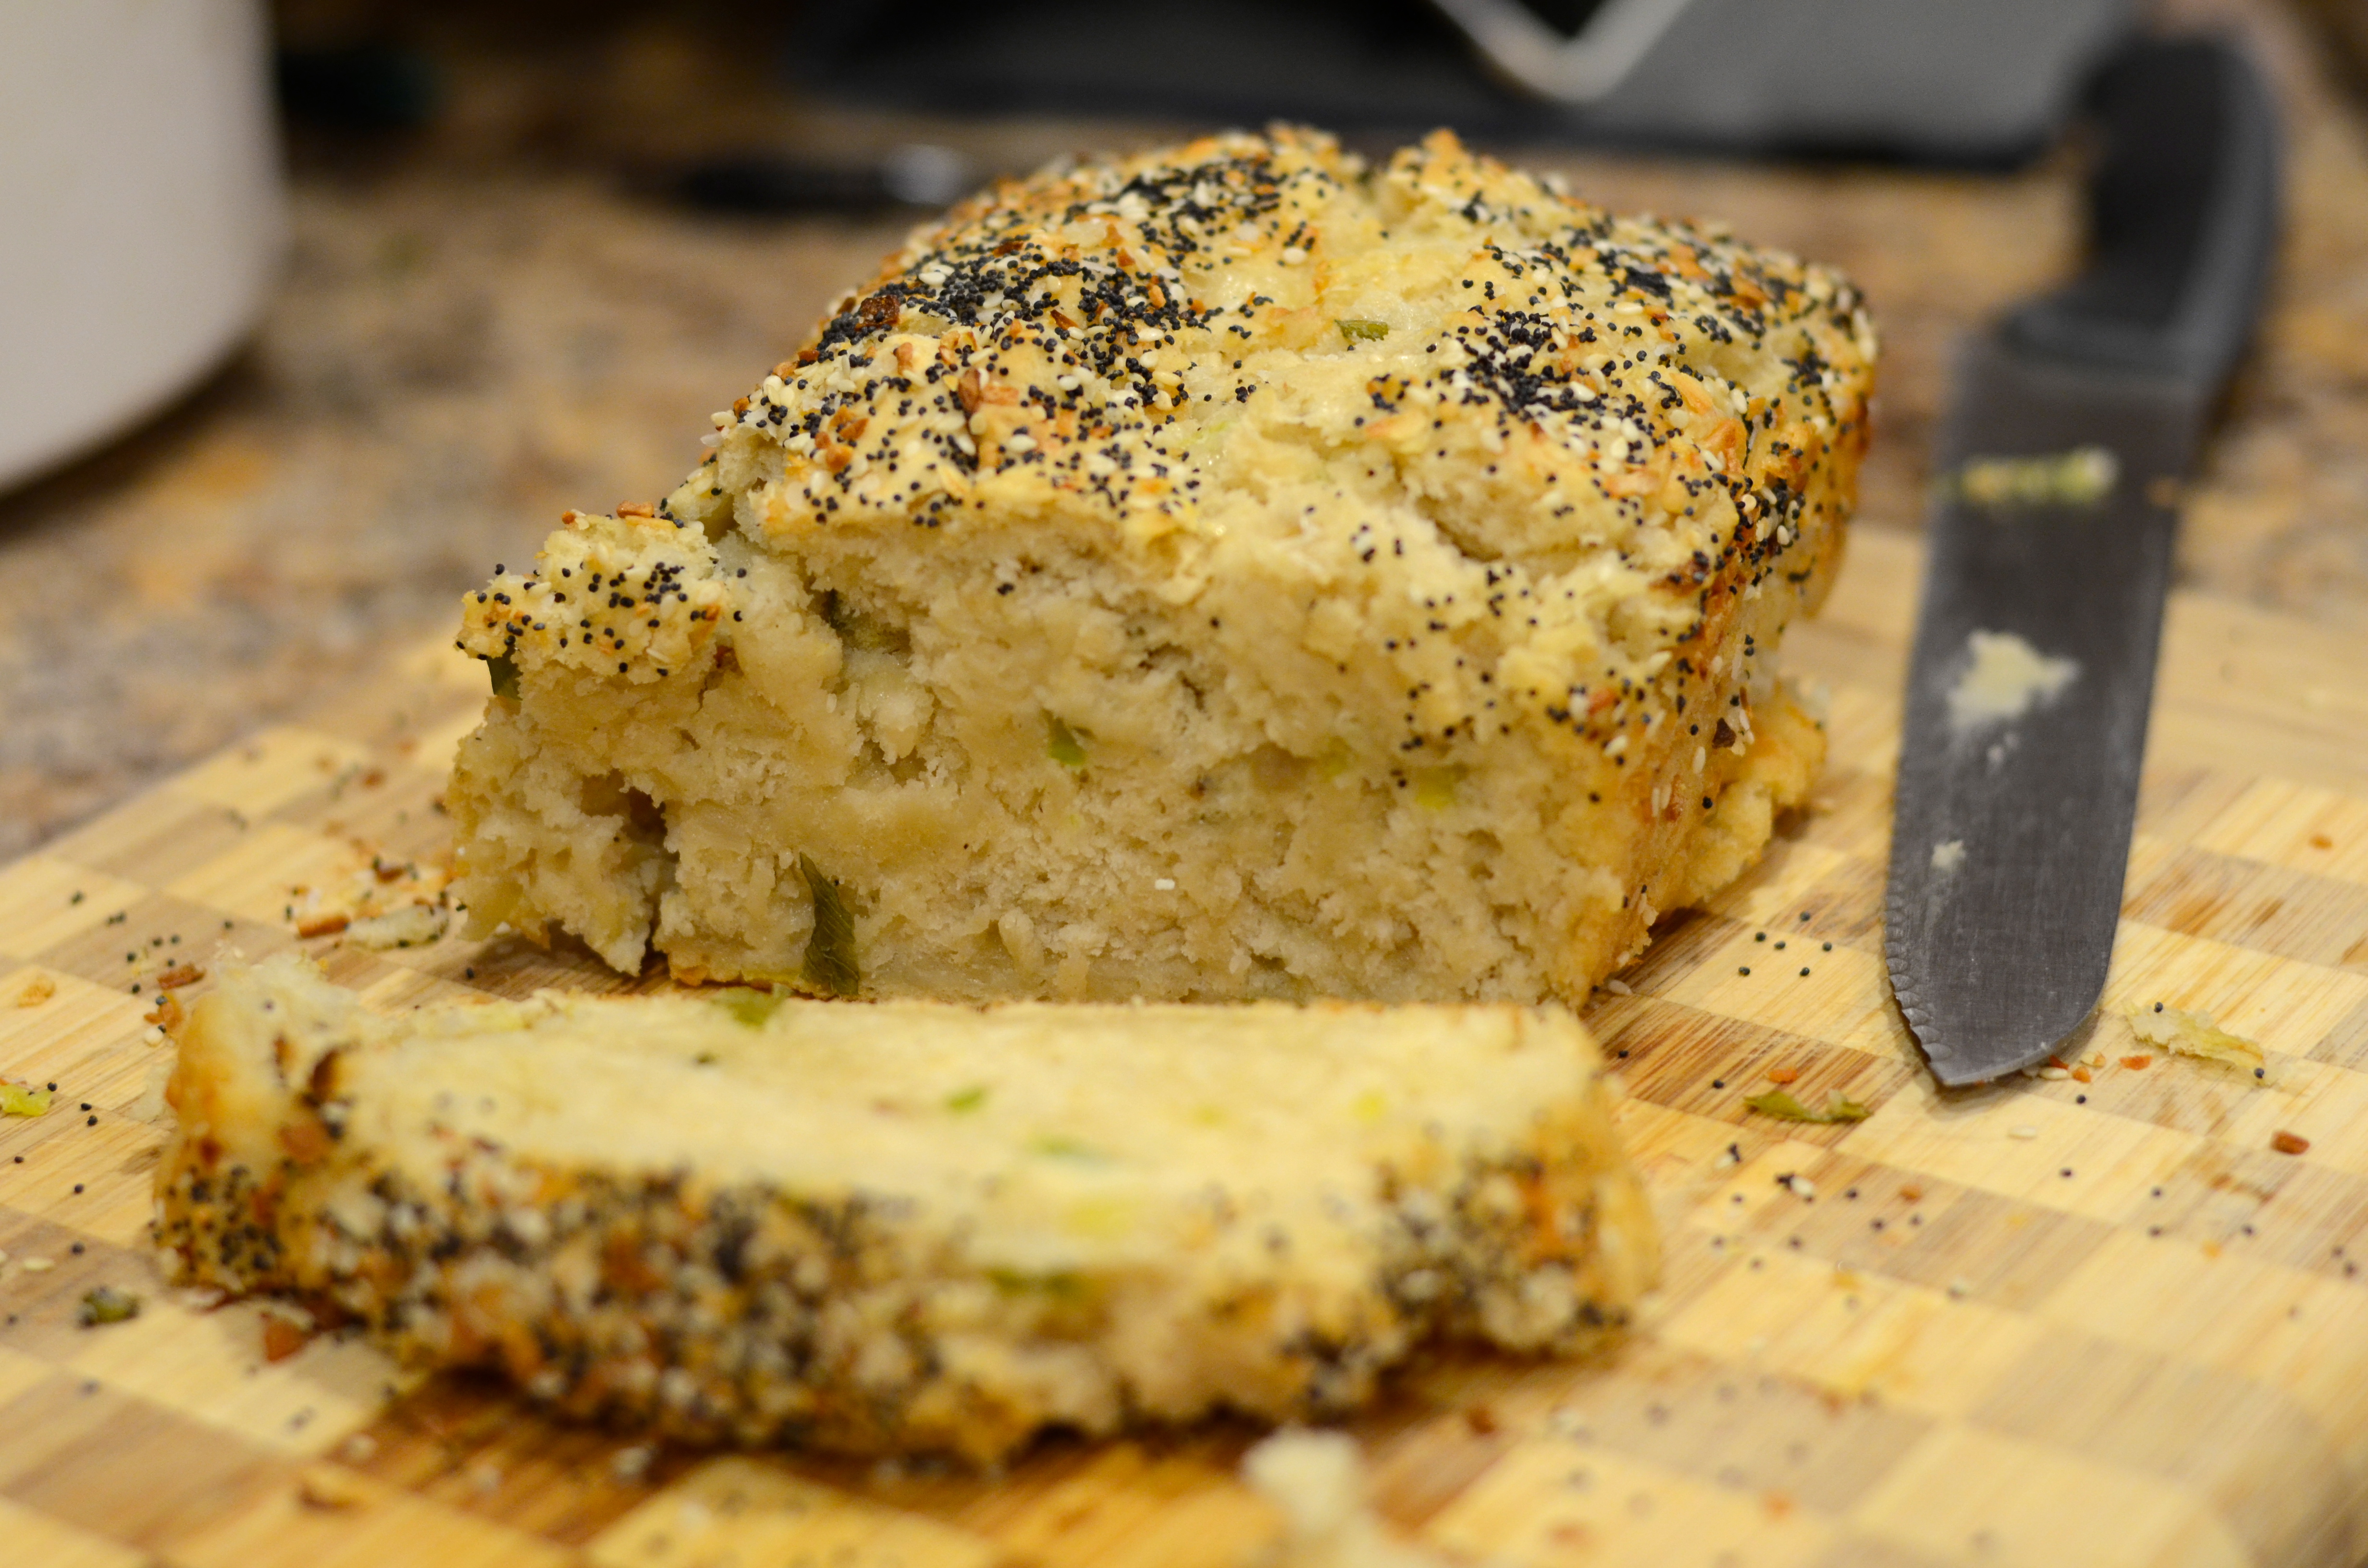
It’s hard to resist this bread, even under-done.
Try your best not to consume the whole loaf right away. As expected, it makes a wonderful breakfast. Haven’t you always wanted to have beer for breakfast? Breakfast of champions. Enjoy!