Today, I am excited to feature a guest post by my friend, Crystal. Crystal is an actual friend, not simply an acquaintance or networking contact. We go way back, to the line for having one’s caricature drawn during a college freshman orientation event (where did that drawing go, anyway?). I guarantee there was free food involved. Crystal and I have a lot in common; we both love preparing and eating food as well as efficient time and energy management. She happens to be a stellar writer. Crystal is much braver than me in a lot of ways, including this latest adventure. I know I have acknowledged before how a dedication to planning interesting meals and the desire for efficiency can contradict. I have noted that one can see an entire evening disappear while preparing food, perhaps while other tasks or pleasures loom. I will admit that my cooking doesn’t always come cheap. Crystal faced the facts–she is on a mission to cut it all back. Read on for part one!
—————————————–

Last month, the New Yorker published a piece on Soylent, a shelf-stable powder that can be mixed with water to become a meal replacement. “The End of Food,” the headline screamed, “Has a tech entrepreneur come up with a product to replace our meals?” Unlike Slim Fast and similar products, Soylent claims to be nutritionally complete, the only thing you’ll need to eat (er, drink) for the rest of your life (which hopefully will not be shortened due to diet). Also, it was invented by a bunch of young engineers who subsequently launched a successful Kickstarter campaign to manufacture Soylent for the masses. $755,000 later, we are that much closer to a humanity that doesn’t have to think about food ever again. This despite a name that was intentionally chosen for dark humor.
My gut reaction upon hearing the Soylent story was that it was a ludicrous idea. Why would anyone want to replace all of their meals with this shake? That would take all the fun and pleasure out of eating! The more I thought about it though, the more I started to see the appeal. As someone who loves food, cooking and works in the food industry on several levels, it’s hard for me to step away from my “Good food will bring world peace and cure cancer!” bubble. But I know for many people, food is a means, not a way of living, and it requires time, expertise and effort to craft meals three times a day. If you are cramming for finals and would otherwise drink soda and grab two dollar-slices of pizza, is Soylent such a bad alternative?
So, I went to the Soylent website and looked at the ingredients. It read like the elements of the periodic table: choline bitartrate, manganese sulfate, chromium chloride, and on and on. As someone who cares about understanding what goes into my body, this was not reassuring. (Yes, I realize that when I eat “real” food, these chemicals are also going into my body, but I would rather they come from recognizable foods than be artificially produced in a factory.)
Also, it was expensive. A week’s supply (21 meals) was $85. That is actually much higher than the amount I usually spend on groceries each week ($20-30). I suppose if you factored in the cost of my pantry ingredients plus the amount I spend eating out at restaurants, I spend more than $85/week on food, but even so, this seemed like a large amount to spend on a product that was widely acknowledged to taste mediocre.
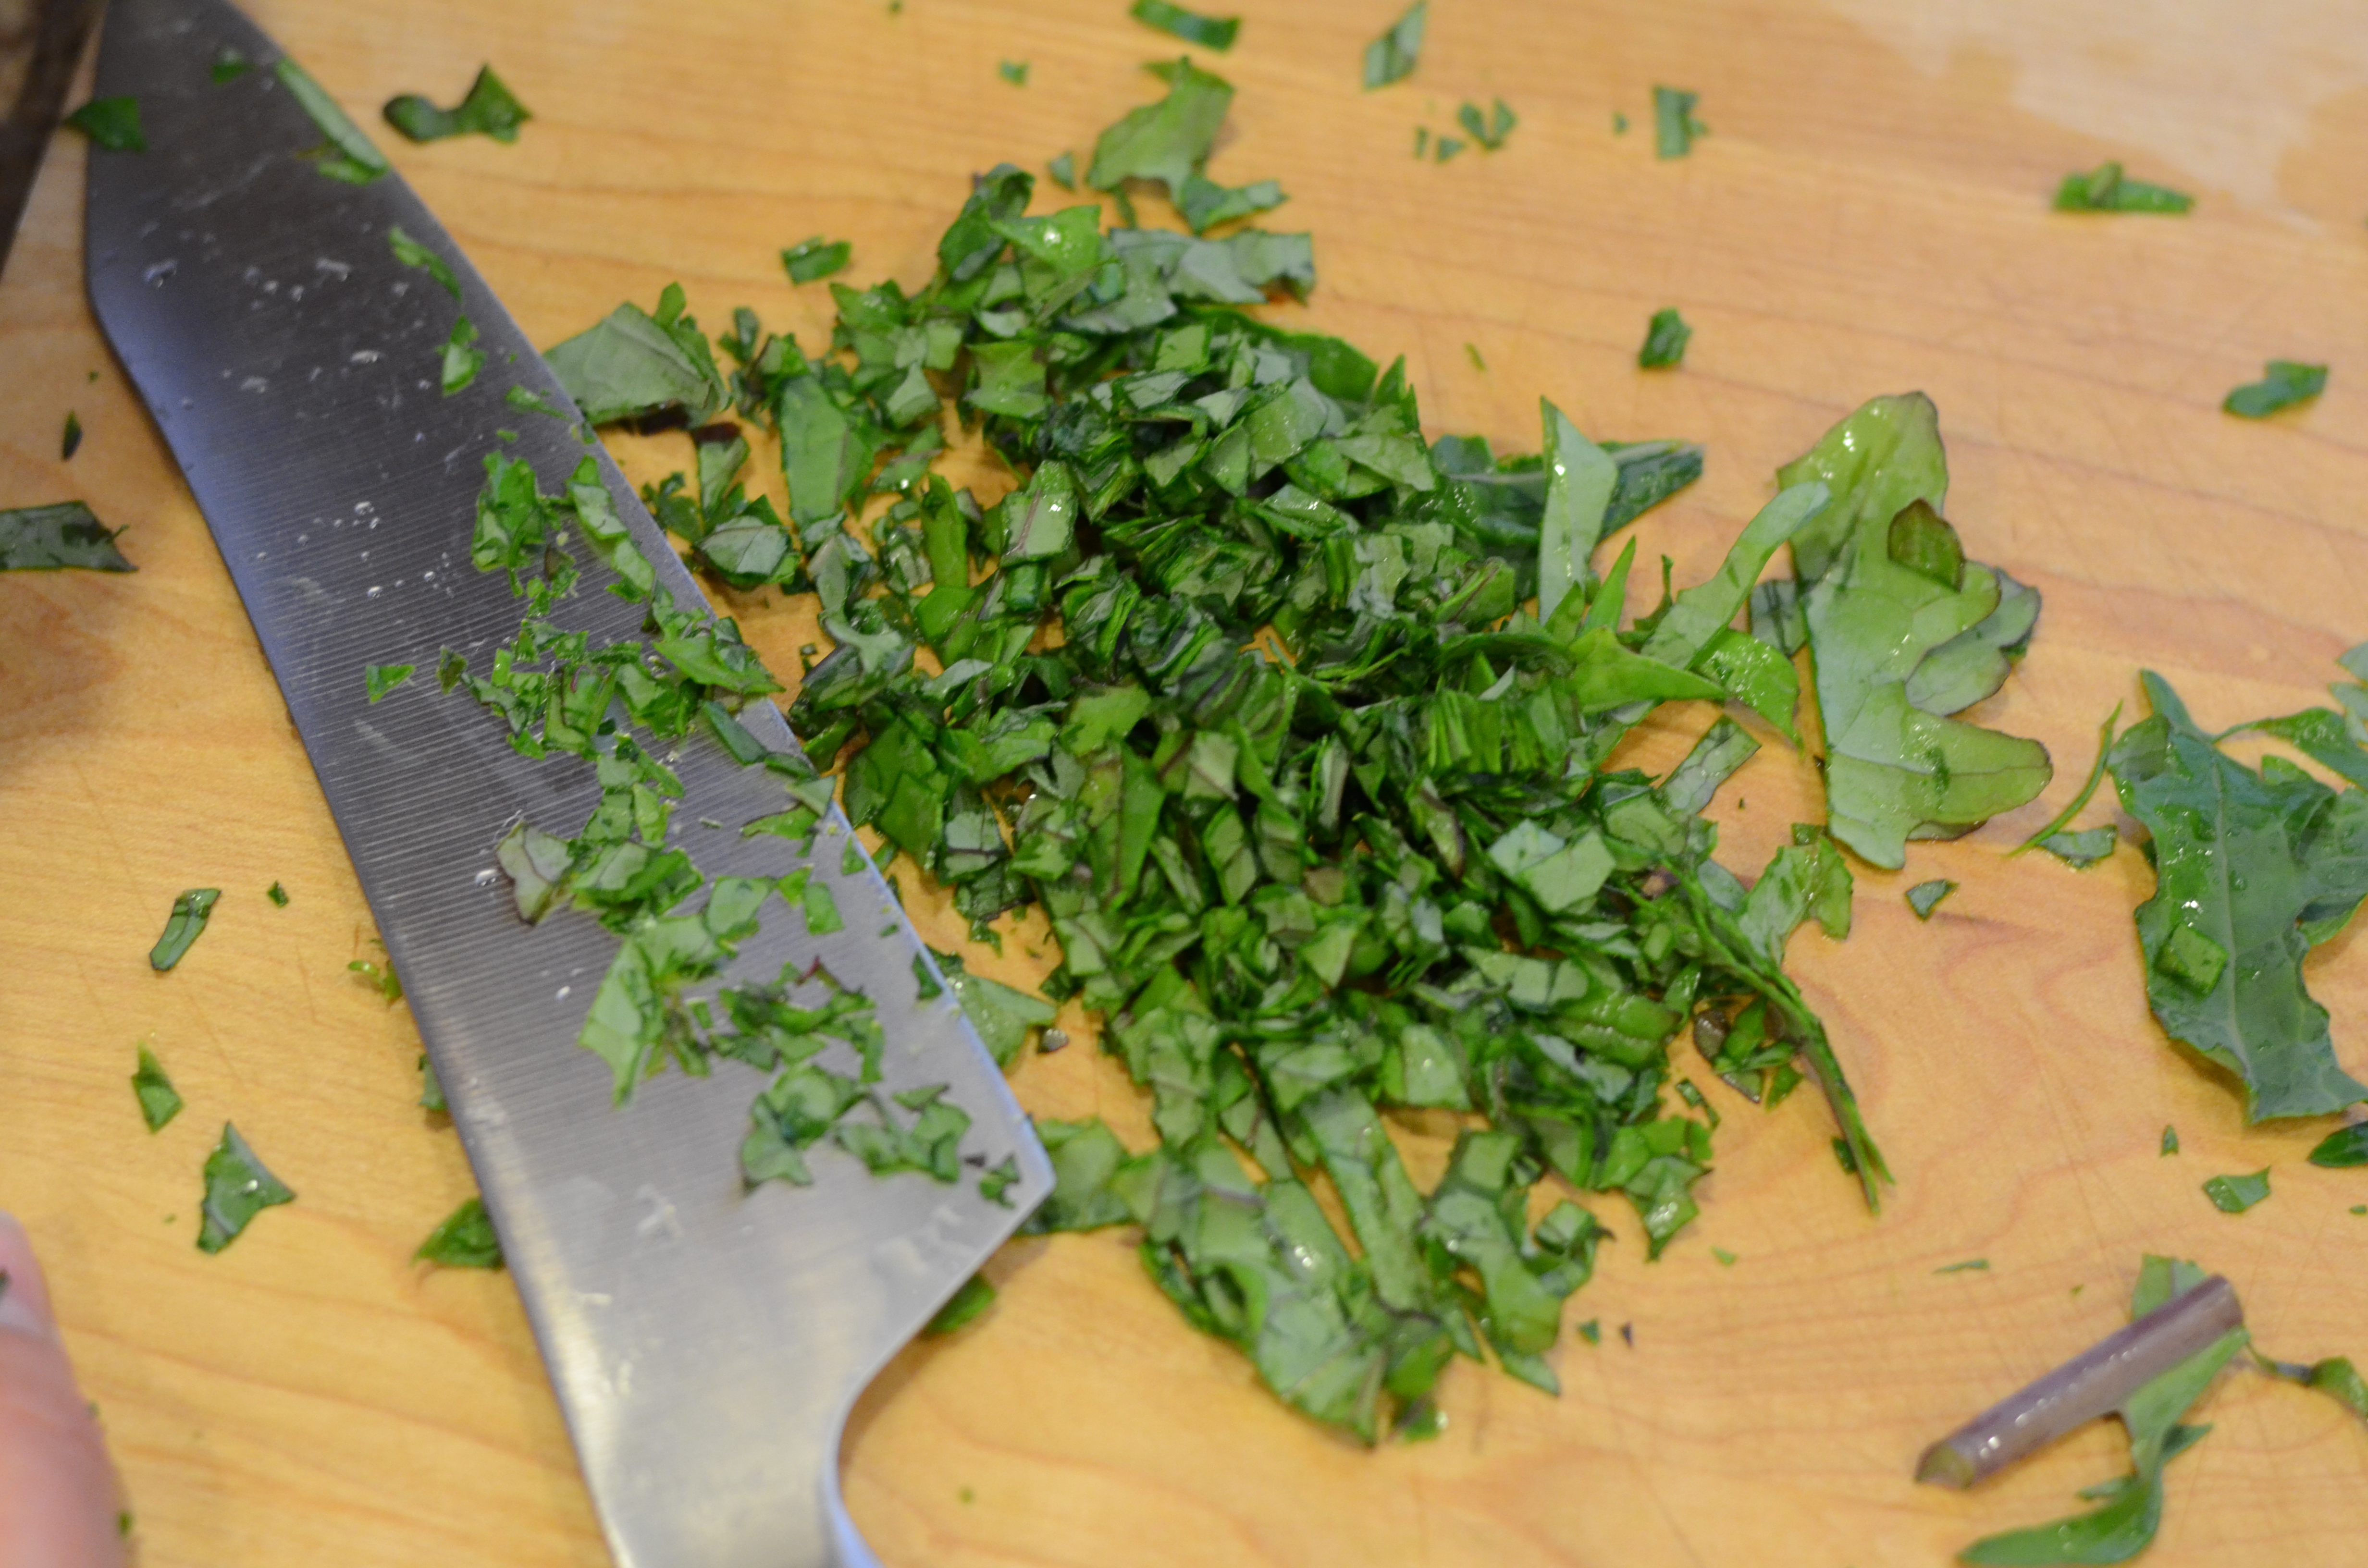
But what if I could make Soylent on my own? It turns out that there is a burgeoning DIY Soylent movement, with a rich variety of recipes designed for various needs (building muscle, losing weight, women’s health, etc). So, I set out to see if I could make Soylent on my own. And lo and behold, there was a recipe online for “All Natural Soylent.” I figured that if I could source all of the ingredients from the venerable Park Slope Food Coop, then it would indicate the quality and relative “naturalness” of my finished Soylent. It would also mean significant cost savings for me compared to buying Soylent directly.
Starting tomorrow (Mon 6/16), I am going to embark on a Soylent-only diet for one week. That means no solid foods, no alcohol, no cheating (I hope). I’ve never tried restricting my diet before in any manner, so clearly going cold-turkey on Soylent for a week will be a cakewalk.
Frequently Asked Questions

What’s in this “all-natural” Soylent?
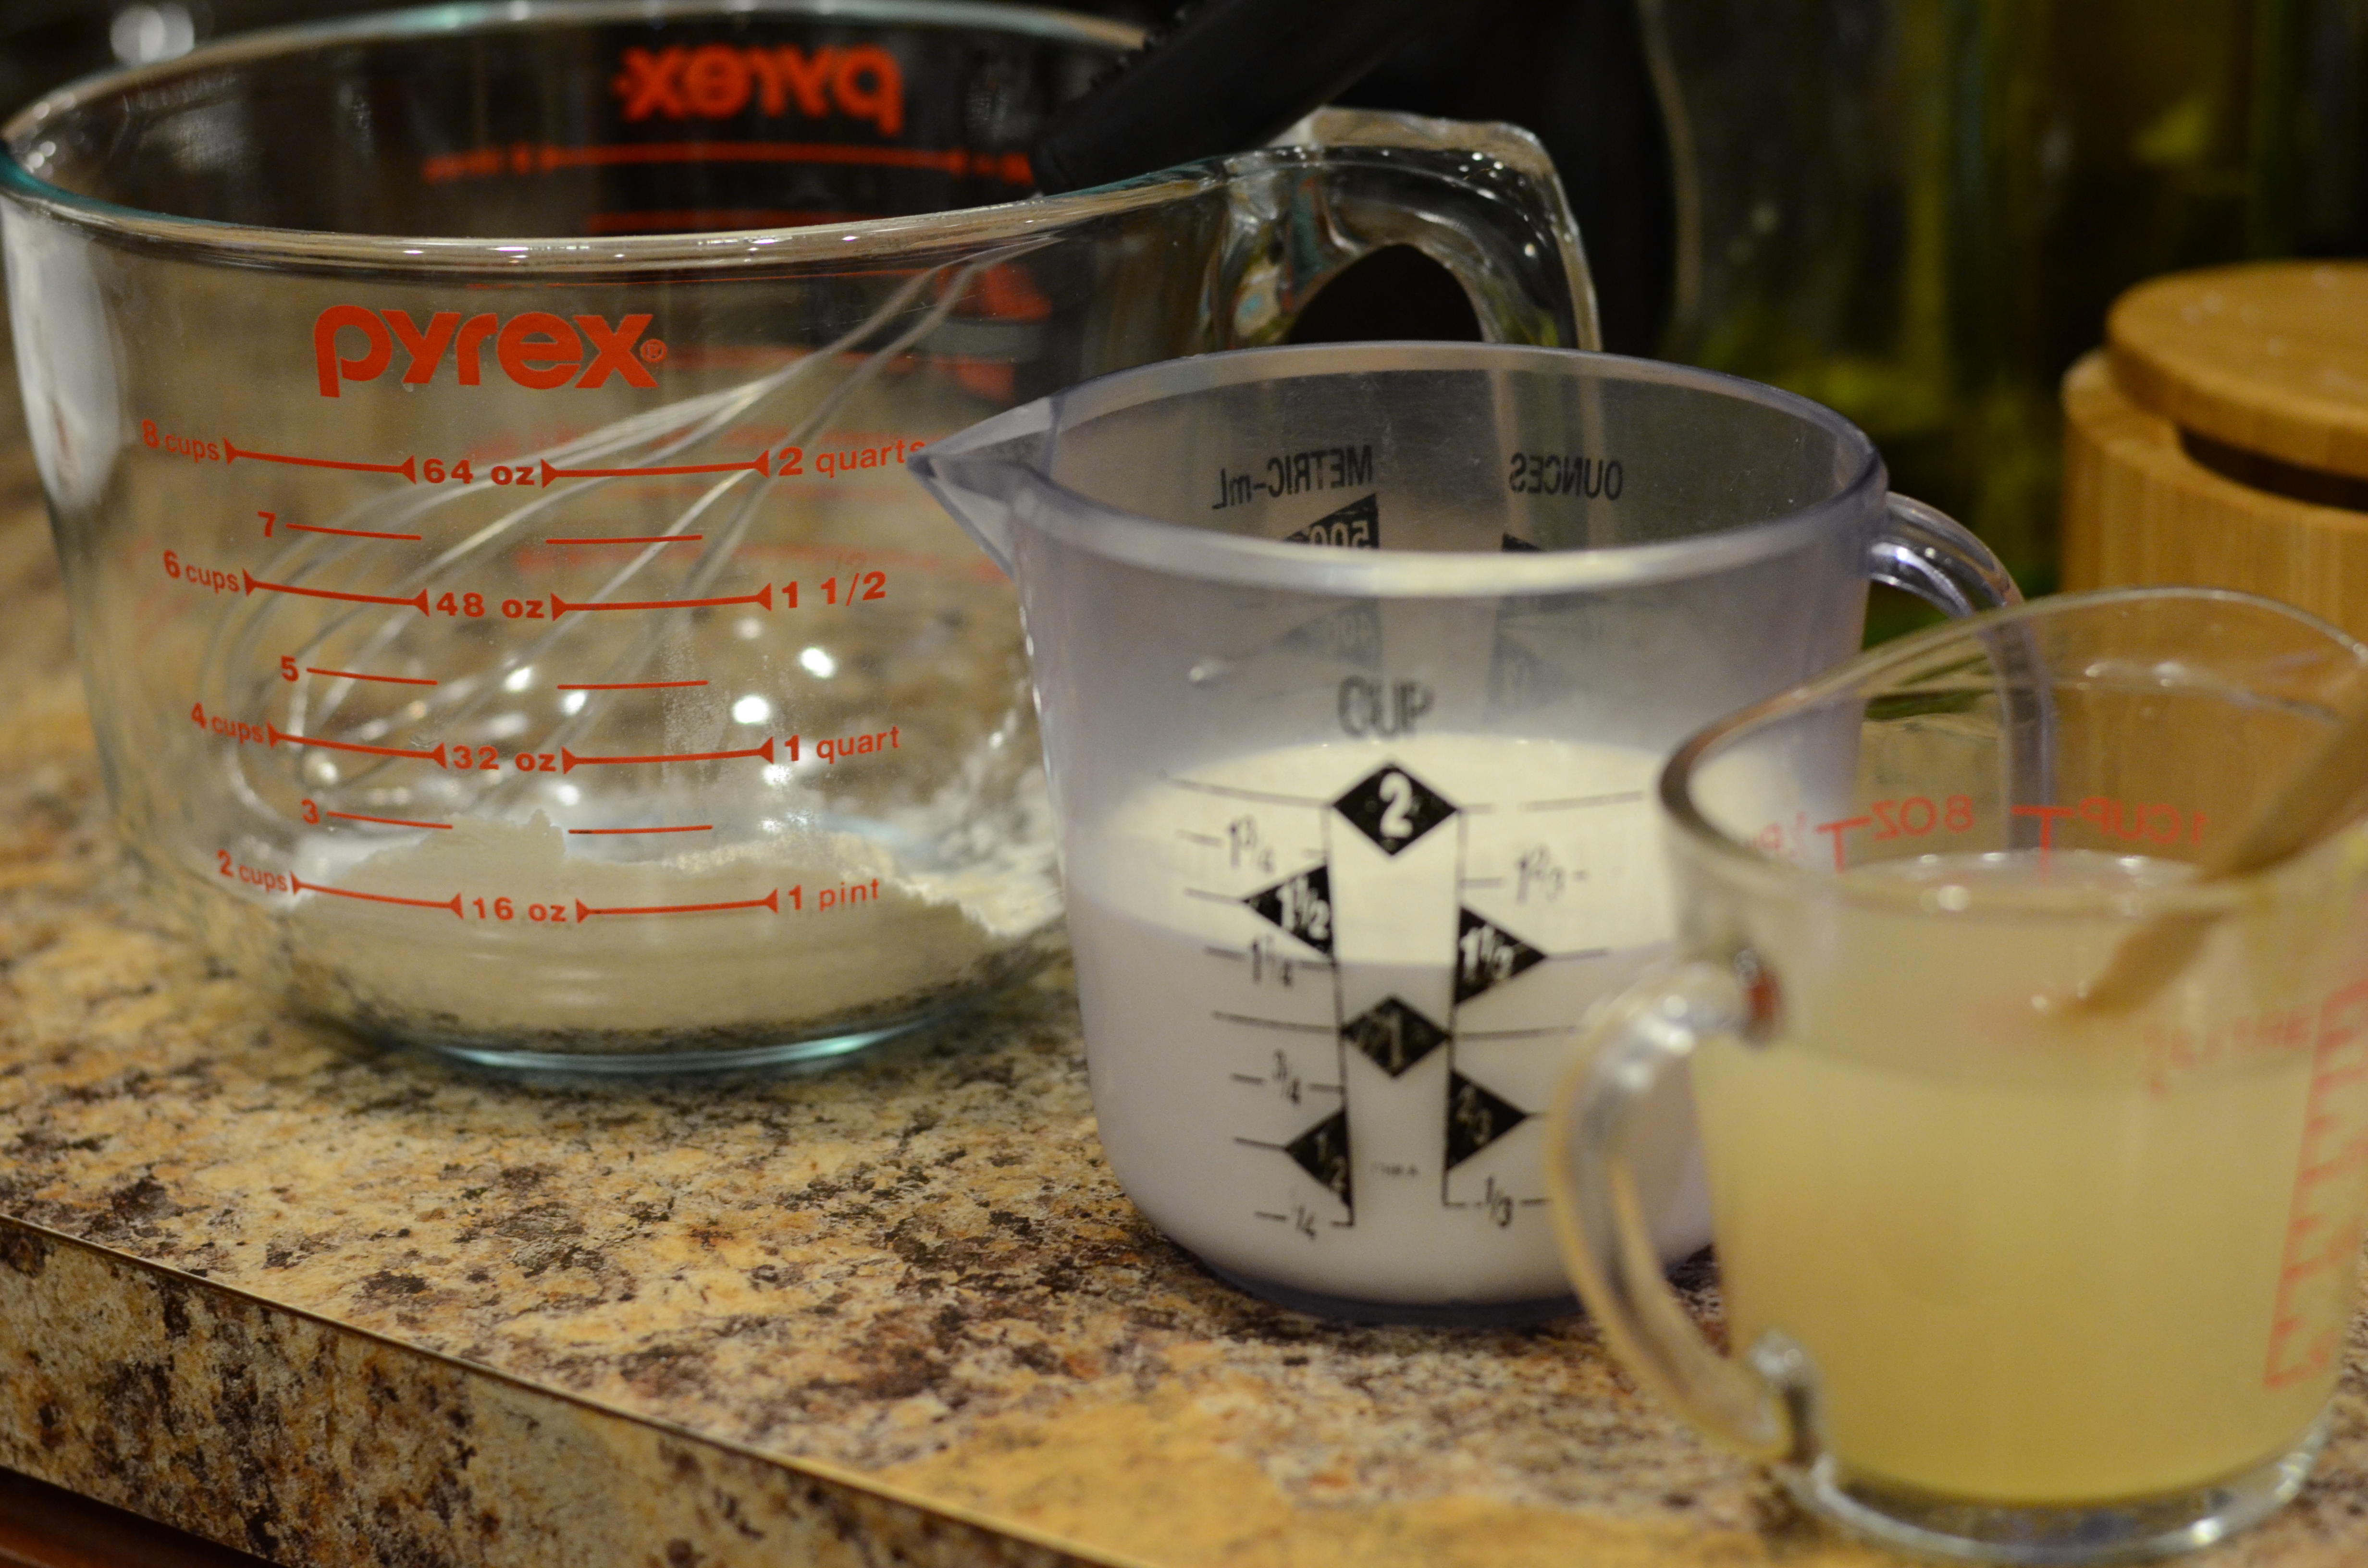
Milk, nuts, cocoa powder, dried spices, and other odds and ends, but primarily ingredients that you would know and recognize. Part of the appeal of using this mix was that any leftover ingredients I had at the end of the week could be used in regular cooking, whereas most Soylent recipes call for things like “GNC Mega Men Sport.” I ended up substituting a packet of Emergen-C for camu camu powder, since the Food Coop didn’t carry it, but since the recipe only includes 1 g of this, I don’t feel too bad about the compromise. Here’s the full recipe for a one day/3 serving batch, designed to give you 2,000 calories/day:
- 5 cups 1% milk, Vitamin D-fortified
- 55 g coconut sugar (potassium)
- 45 g cocoa powder
- 30 g chia seeds (fiber, protein and omega-3 fatty acids)
- 75 g sunflower seeds (thiamin, riboflavin, niacin, B6, and folate)
- 50 g hazelnuts
- 25 g peanuts (niacin)
- 10 g dried spearmint (vitamin K)
- 5 g dried basil (vitamin K)
- 10 g soy lecithin (choline)
- 3 g iodized salt
- 1 g Emergen-C powder (vitamin C)
- 1 g paprika (vitamin A)
What’s it taste like?
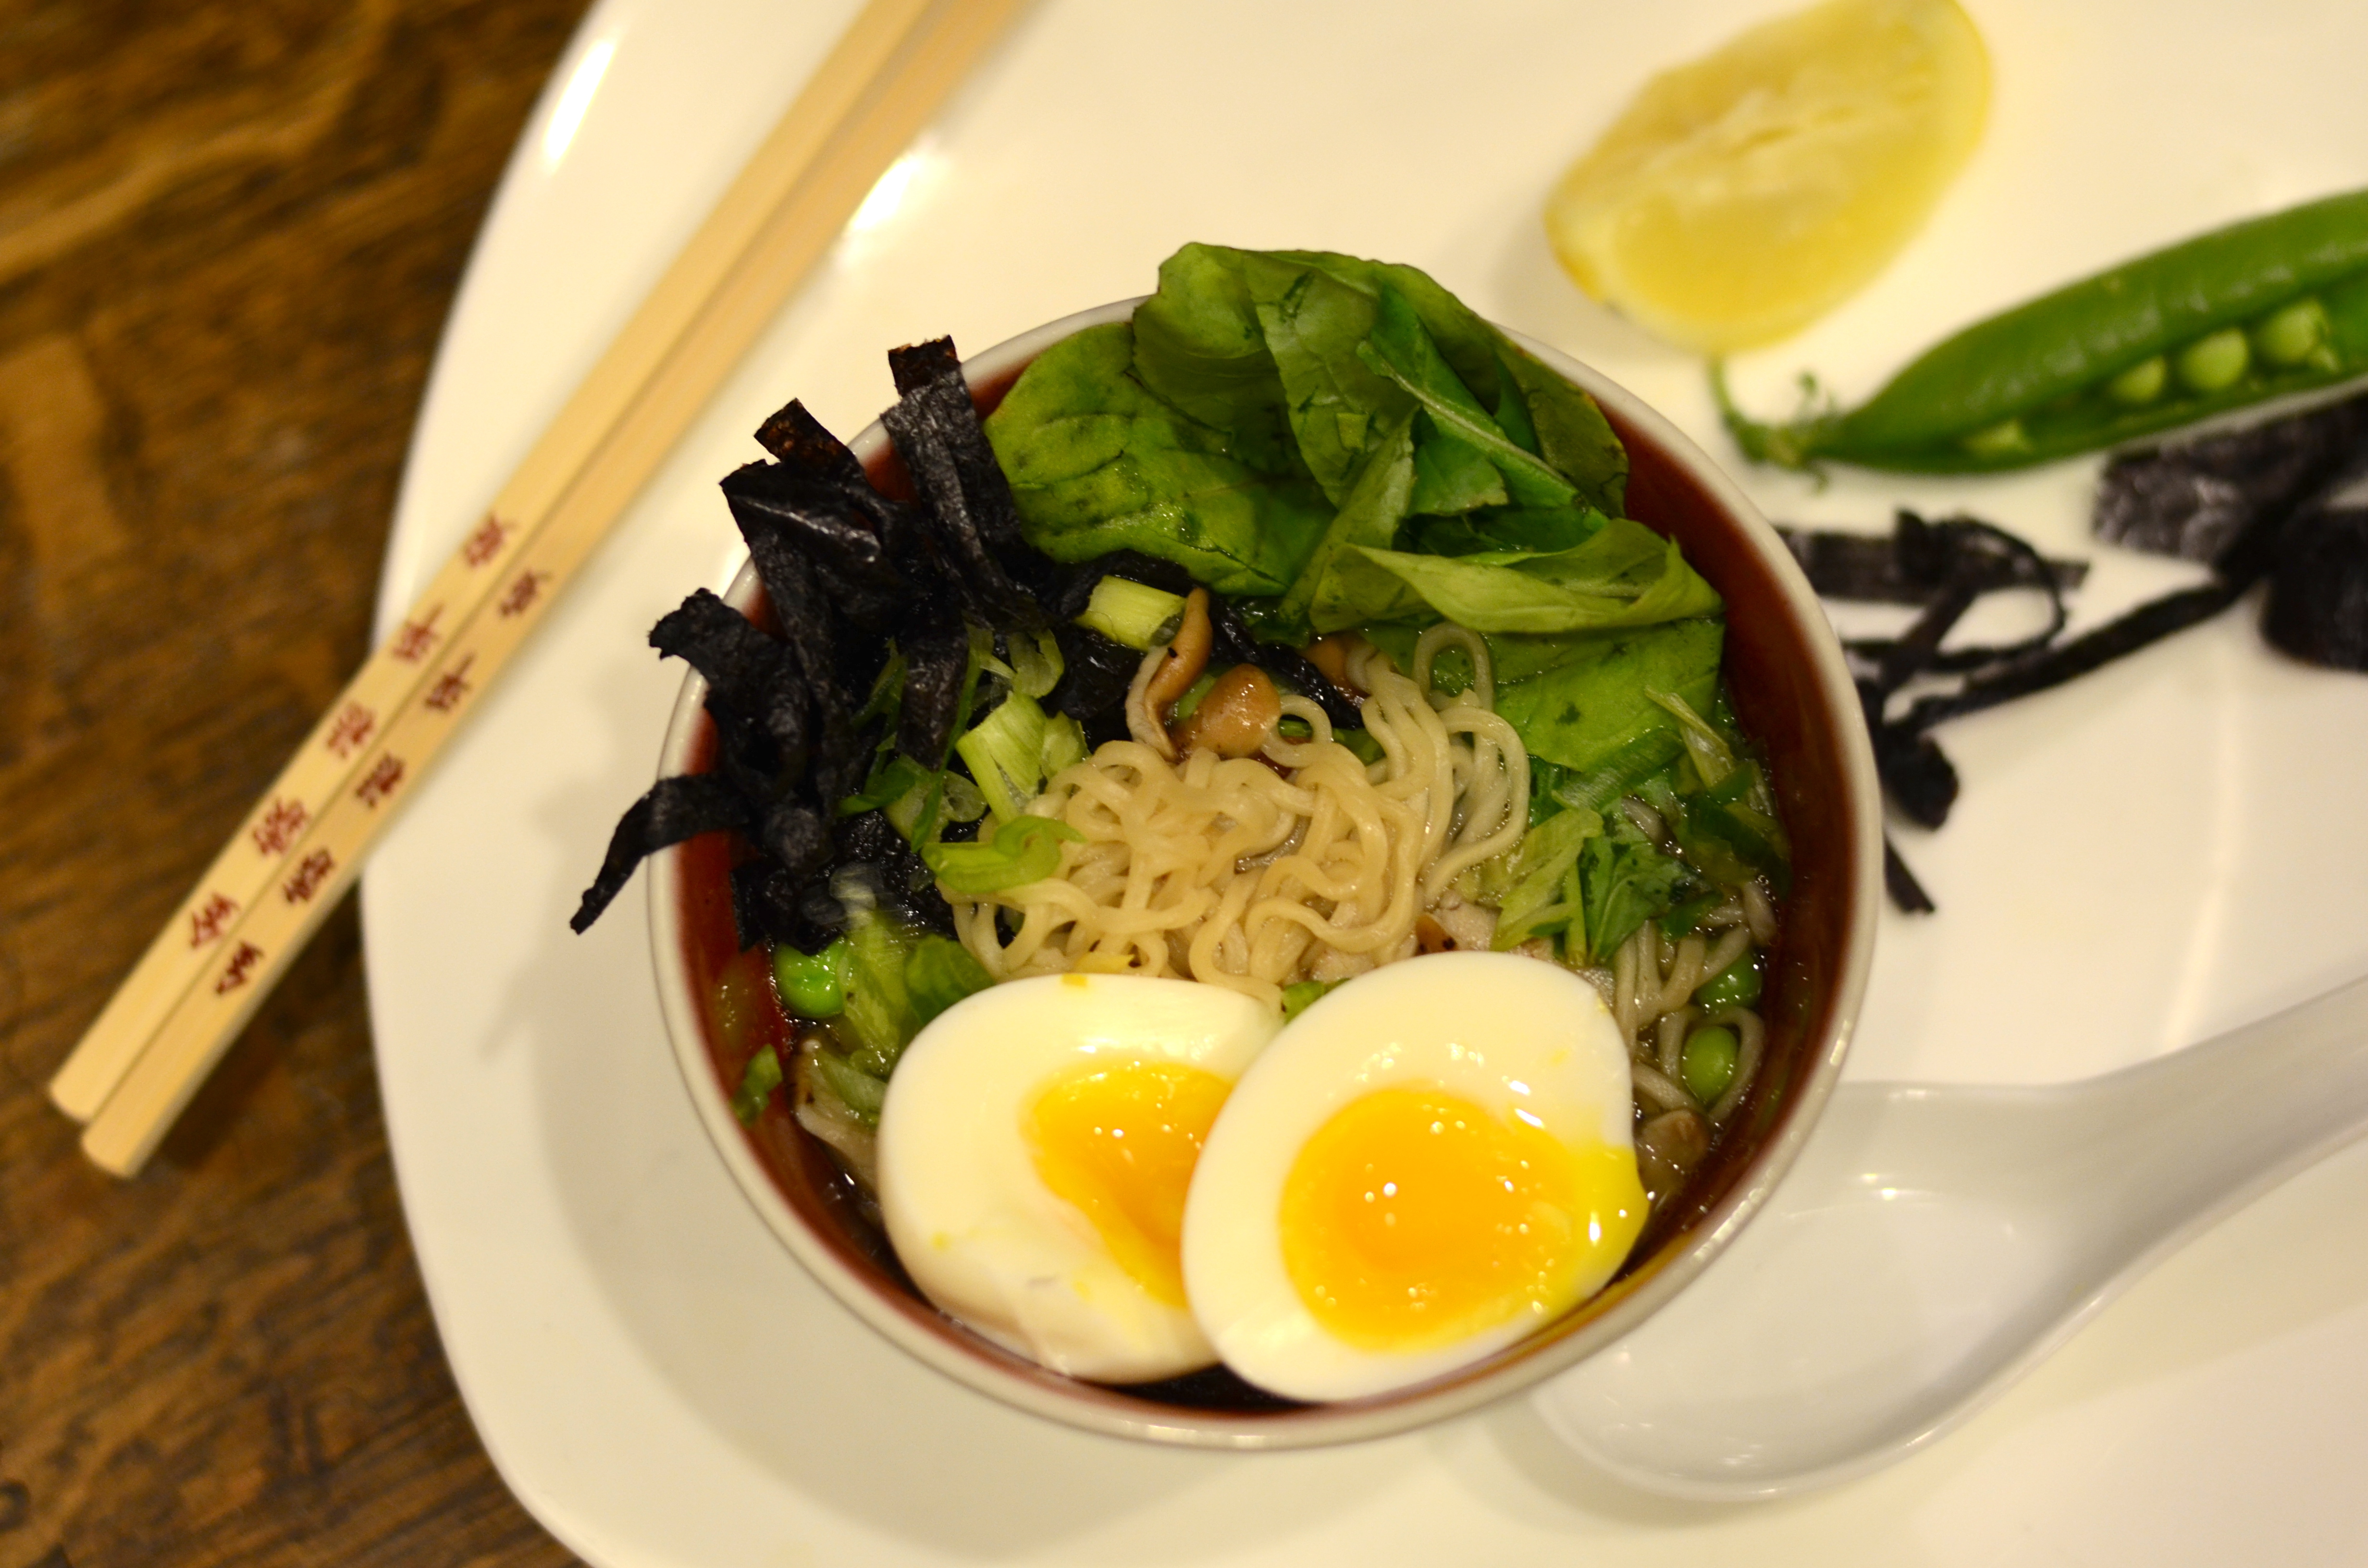
Honestly, it tastes all right. The dominant flavors are chocolate and mint, so it basically tastes like minty chocolate milk, which would be really appealing if I only liked chocolate more. The texture is a little gritty but tolerable. If I work on my blender technique and experiment with blending the liquids and solids in smaller batches, I think I’ll be able to get a totally smooth shake. Or, if anyone wants to lend me a Vitamix blender, I’m all ears.
No really, why are you doing this? Why are you kicking puppies and taking all the fun out of food?
Anyone who knows me knows that I LOVE to eat. Moreover, I cook frequently and do it well. So I don’t think there’s any question that I’m lacking the skills or motivation to make my own meals. However, I also REALLY love efficiency and good time management. Right now, I spend a good chunk of my time planning meals, assessing my kitchen inventory, grocery shopping, prepping and cooking food. If I freed up that time, what could I do with an extra 5-10 hours each week? That idea excites me immensely. Can you imagine what you could accomplish with that block of time?
I’m also doing this as a social and psychological experiment. What’s it like to eat the same thing every day? I certainly don’t lack for options in NYC, but there are people in developing countries who can’t afford a diverse diet. How do I explain what I’m doing to my friends, family and coworkers? I tried to block off a relatively quiet week for my Soylent diet, so that I could avoid missing out on parties, work events, etc. Of course, it didn’t work out that way, and I’ll definitely be forced to drink my Soylent while at public gatherings. But that’s fine, I’m happy to share my story, even if I come off as a bit of a kook. More importantly, I hope my experiment will inspire some radical conversations about why we eat what we eat, and why the idea of Soylent feels so repulsive and icky to people…or not.
Wait, I heard Soylent makes you burp/fart/[unmentionable effects on your gastrointestinal system] a lot?
Prolific flatulence does seem to be one of the most “dangerous” side effects of the Soylent diet. This is probably because most Americans (97%) don’t eat enough fiber. So when you suddenly start eating the proper amounts of fiber, your system may have some trouble adjusting.
I’m not too concerned about this (though maybe my coworkers should be) because I already eat tons of leafy greens and whole grains, but there’s only way to find out what happens when I’m hitting the minimum recommended fiber level…
Will Soylent be healthier than what I normally eat?
Here’s a one-week snapshot of what I usually eat. In red, I’ve marked the meals which were from restaurants or that I otherwise didn’t make and don’t truly know what went into the food. I am a firm believer that homecooked meals, where you can control exactly what goes into your food, are better for you than food made in commercial settings. (Though I also recognize that some homecooked meals, including my own, can be just as unhealthy/even tastier than restaurant meals.)

As you can see, much to my chagrin there is a lot of red. This was a week where I attended several events after work, and also had leftovers from Szechuan Gourmet from when I treated my mom and aunt to dinner. So I didn’t do a ton of cooking for myself that week. Weekend mornings are also tough because I’m working as a line cook, which means I end up cramming leftover food scraps into my mouth while I work, then eat at the end of my shift around 4:30 pm.
Without running a full nutritional analysis, I have no way of knowing how healthy my normal diet is, but it’s probably a bit high in fat and not nutritionally complete.
Will I save money by drinking Soylent?
I mentioned above that I felt buying Soylent was expensive, so how does making Soylent compare in terms of cost? I ran the calculations for my version of Soylent, and it comes out to $2.01/meal, which is definitely cheaper, about half the cost of buying official Soylent. If you bought all of the ingredients on Amazon, it would be just a bit more, about $2.75/meal.

So that’s that for now. I will be posting throughout the week with updates on the Soylent experiment, whether it’s worth the time savings, cost savings or health benefits, and any other unexpected effects. Stay tuned!
Crystal Cun is a writer, cook and oystermonger in Brooklyn who loves sharp cheeses, knives and ideas. You can read more of her work here or follow her on Twitter at @LadyParmalade.

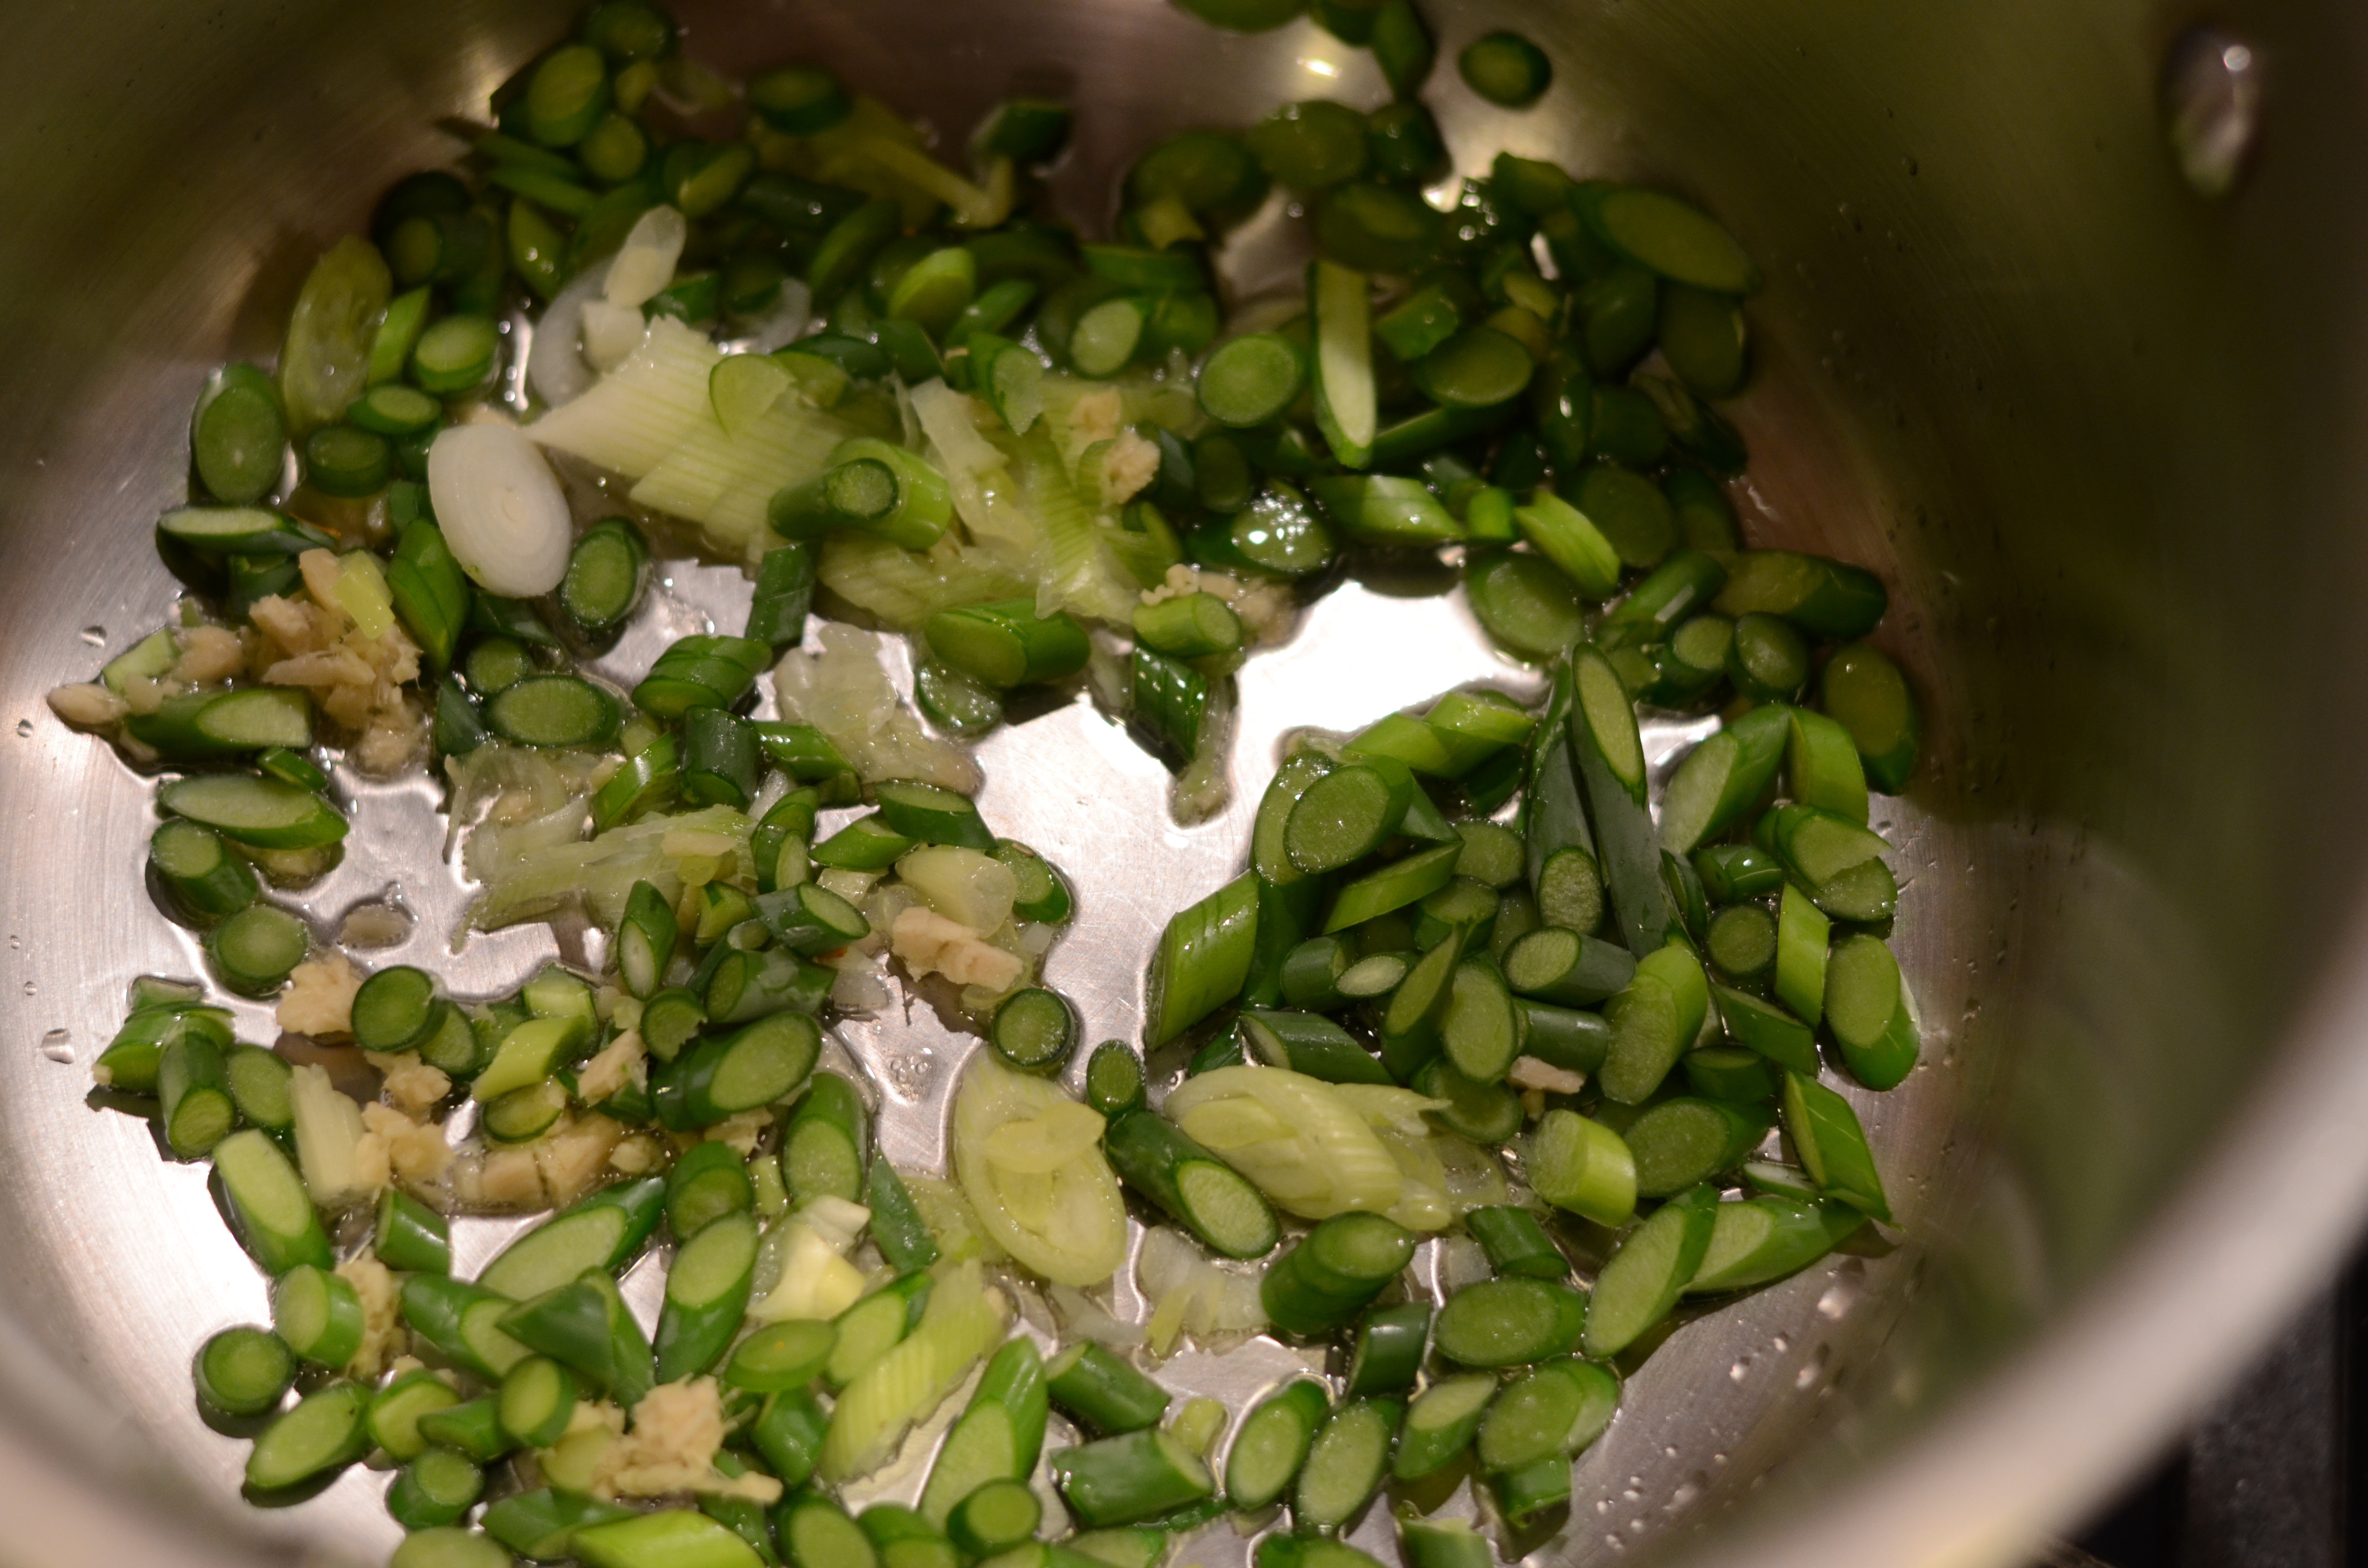
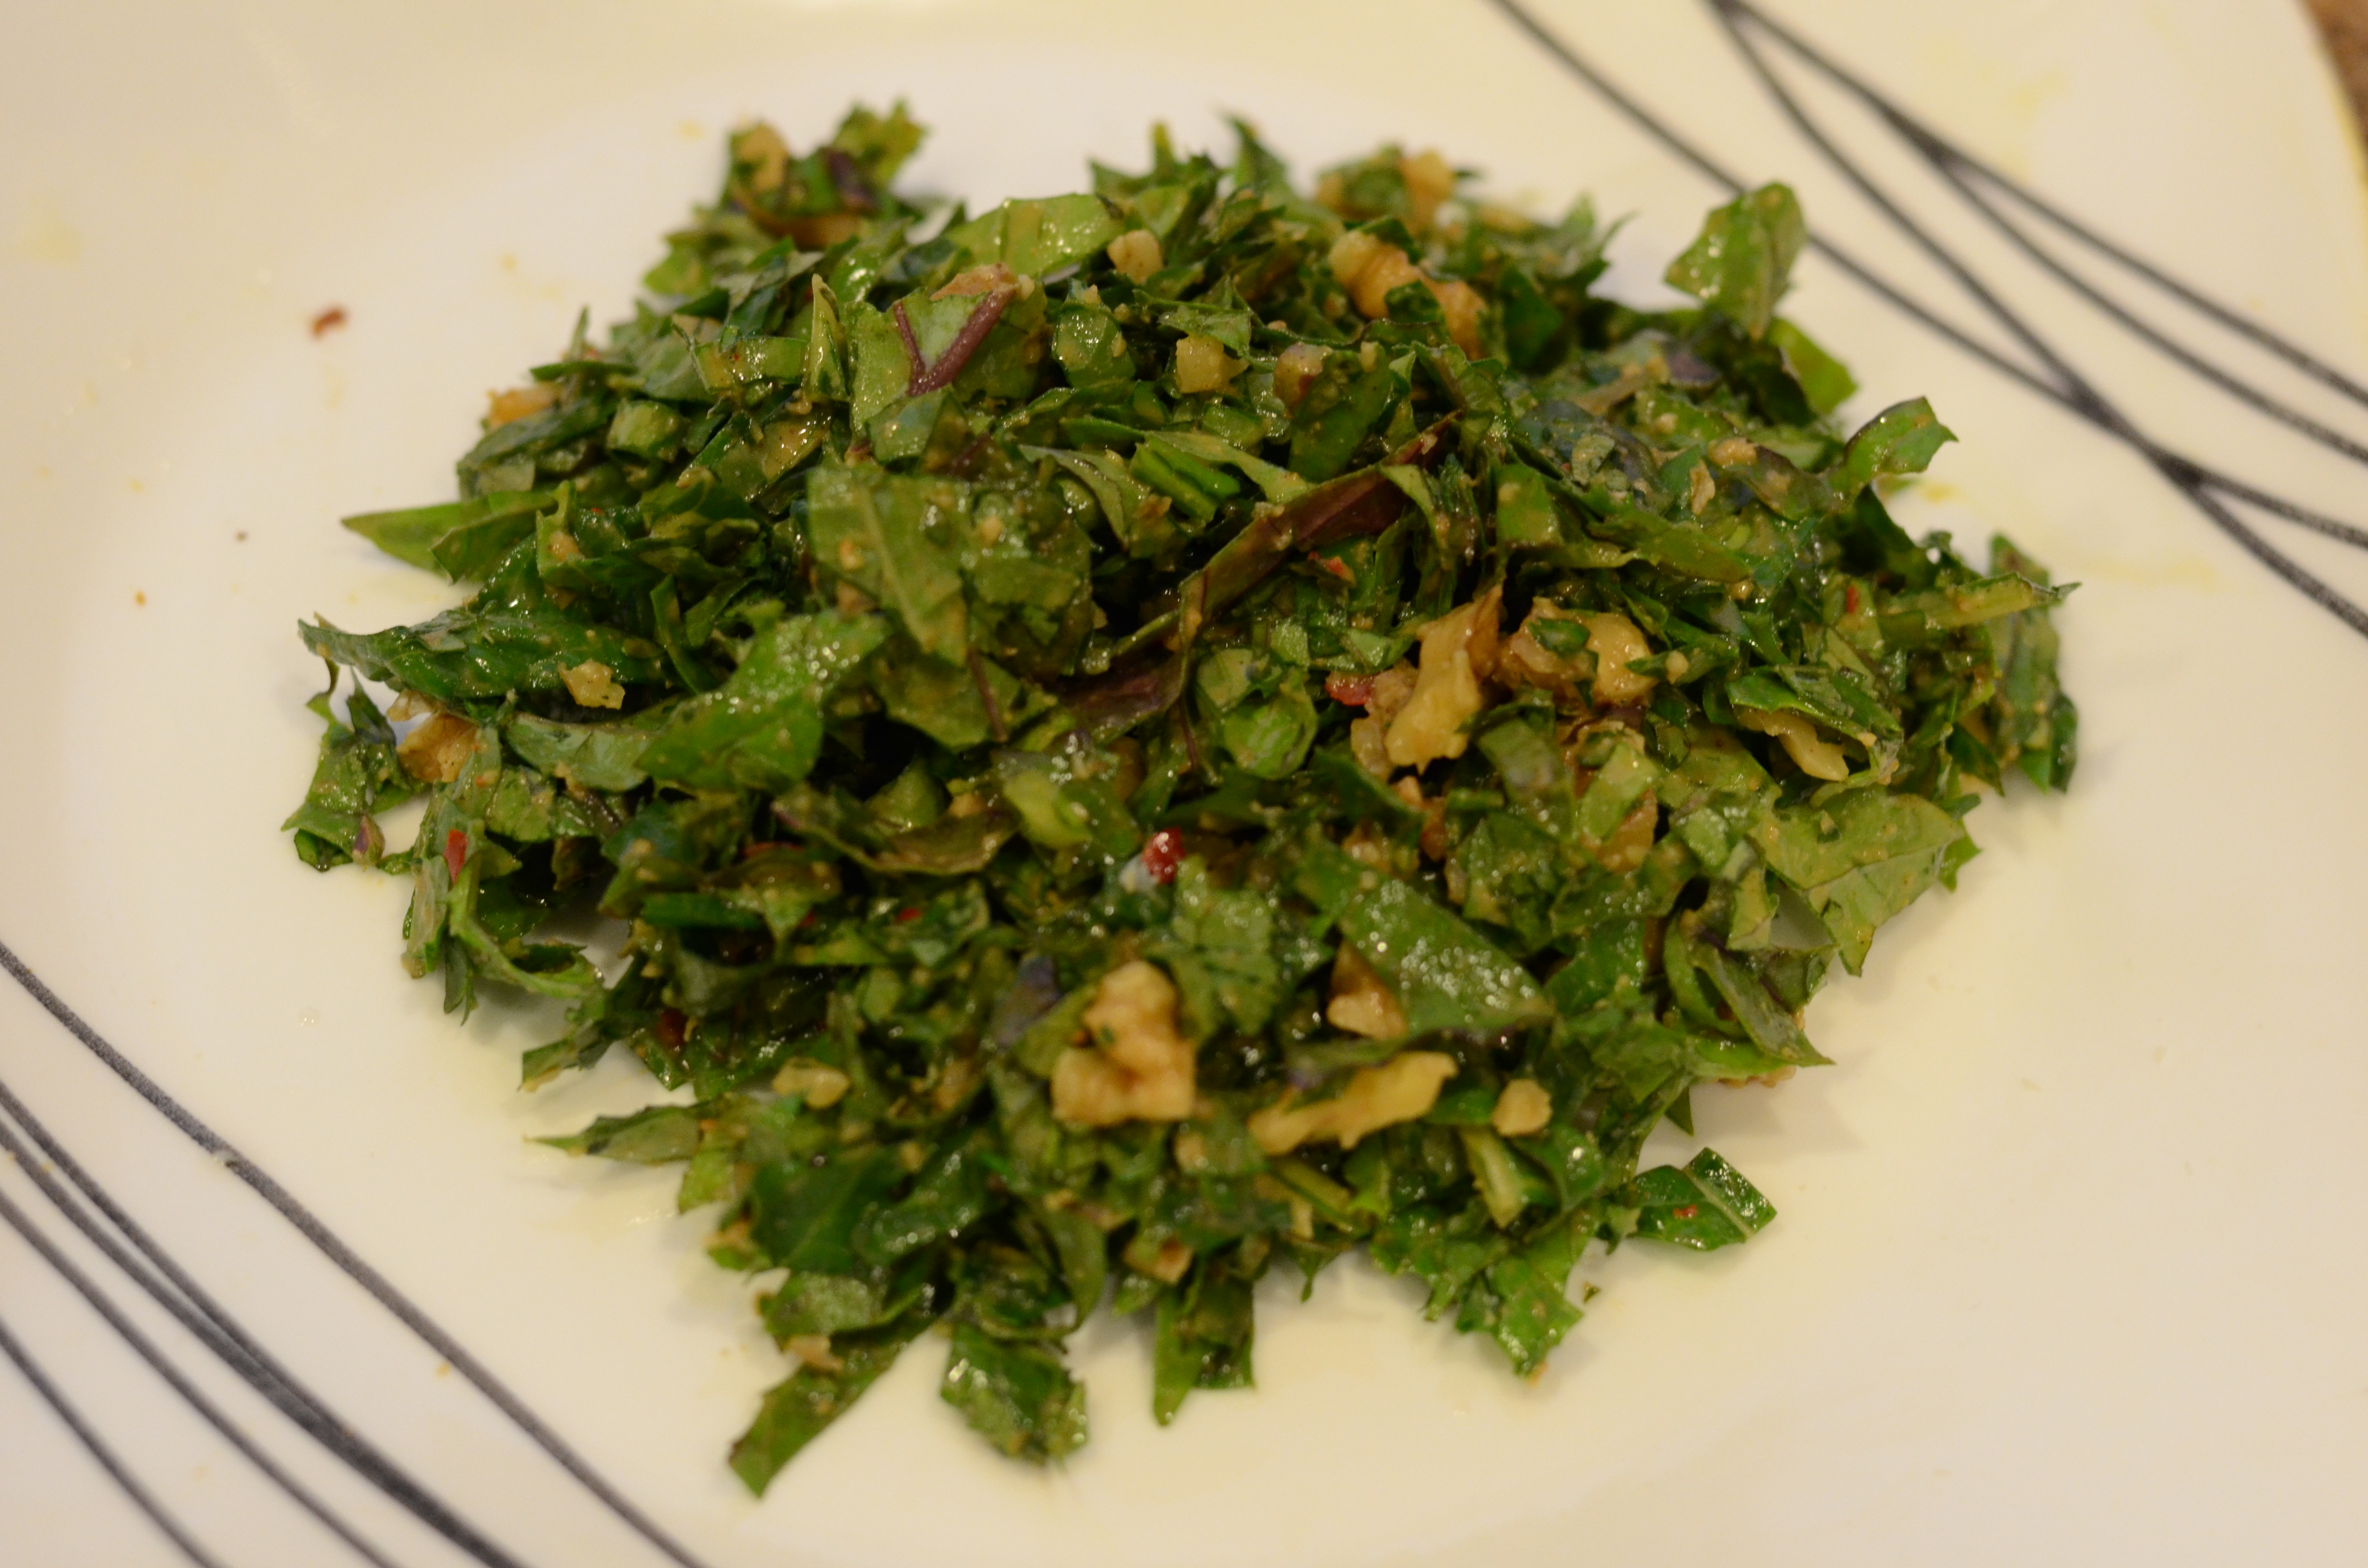
 It’s no big secret that I’m a big fan of vegetables in the garlic and onion family, also known as Allium vegetables. I haven’t yet gone to the trouble of calculating, but Allium species ingredients may be in 95% of my recipes on this blog!
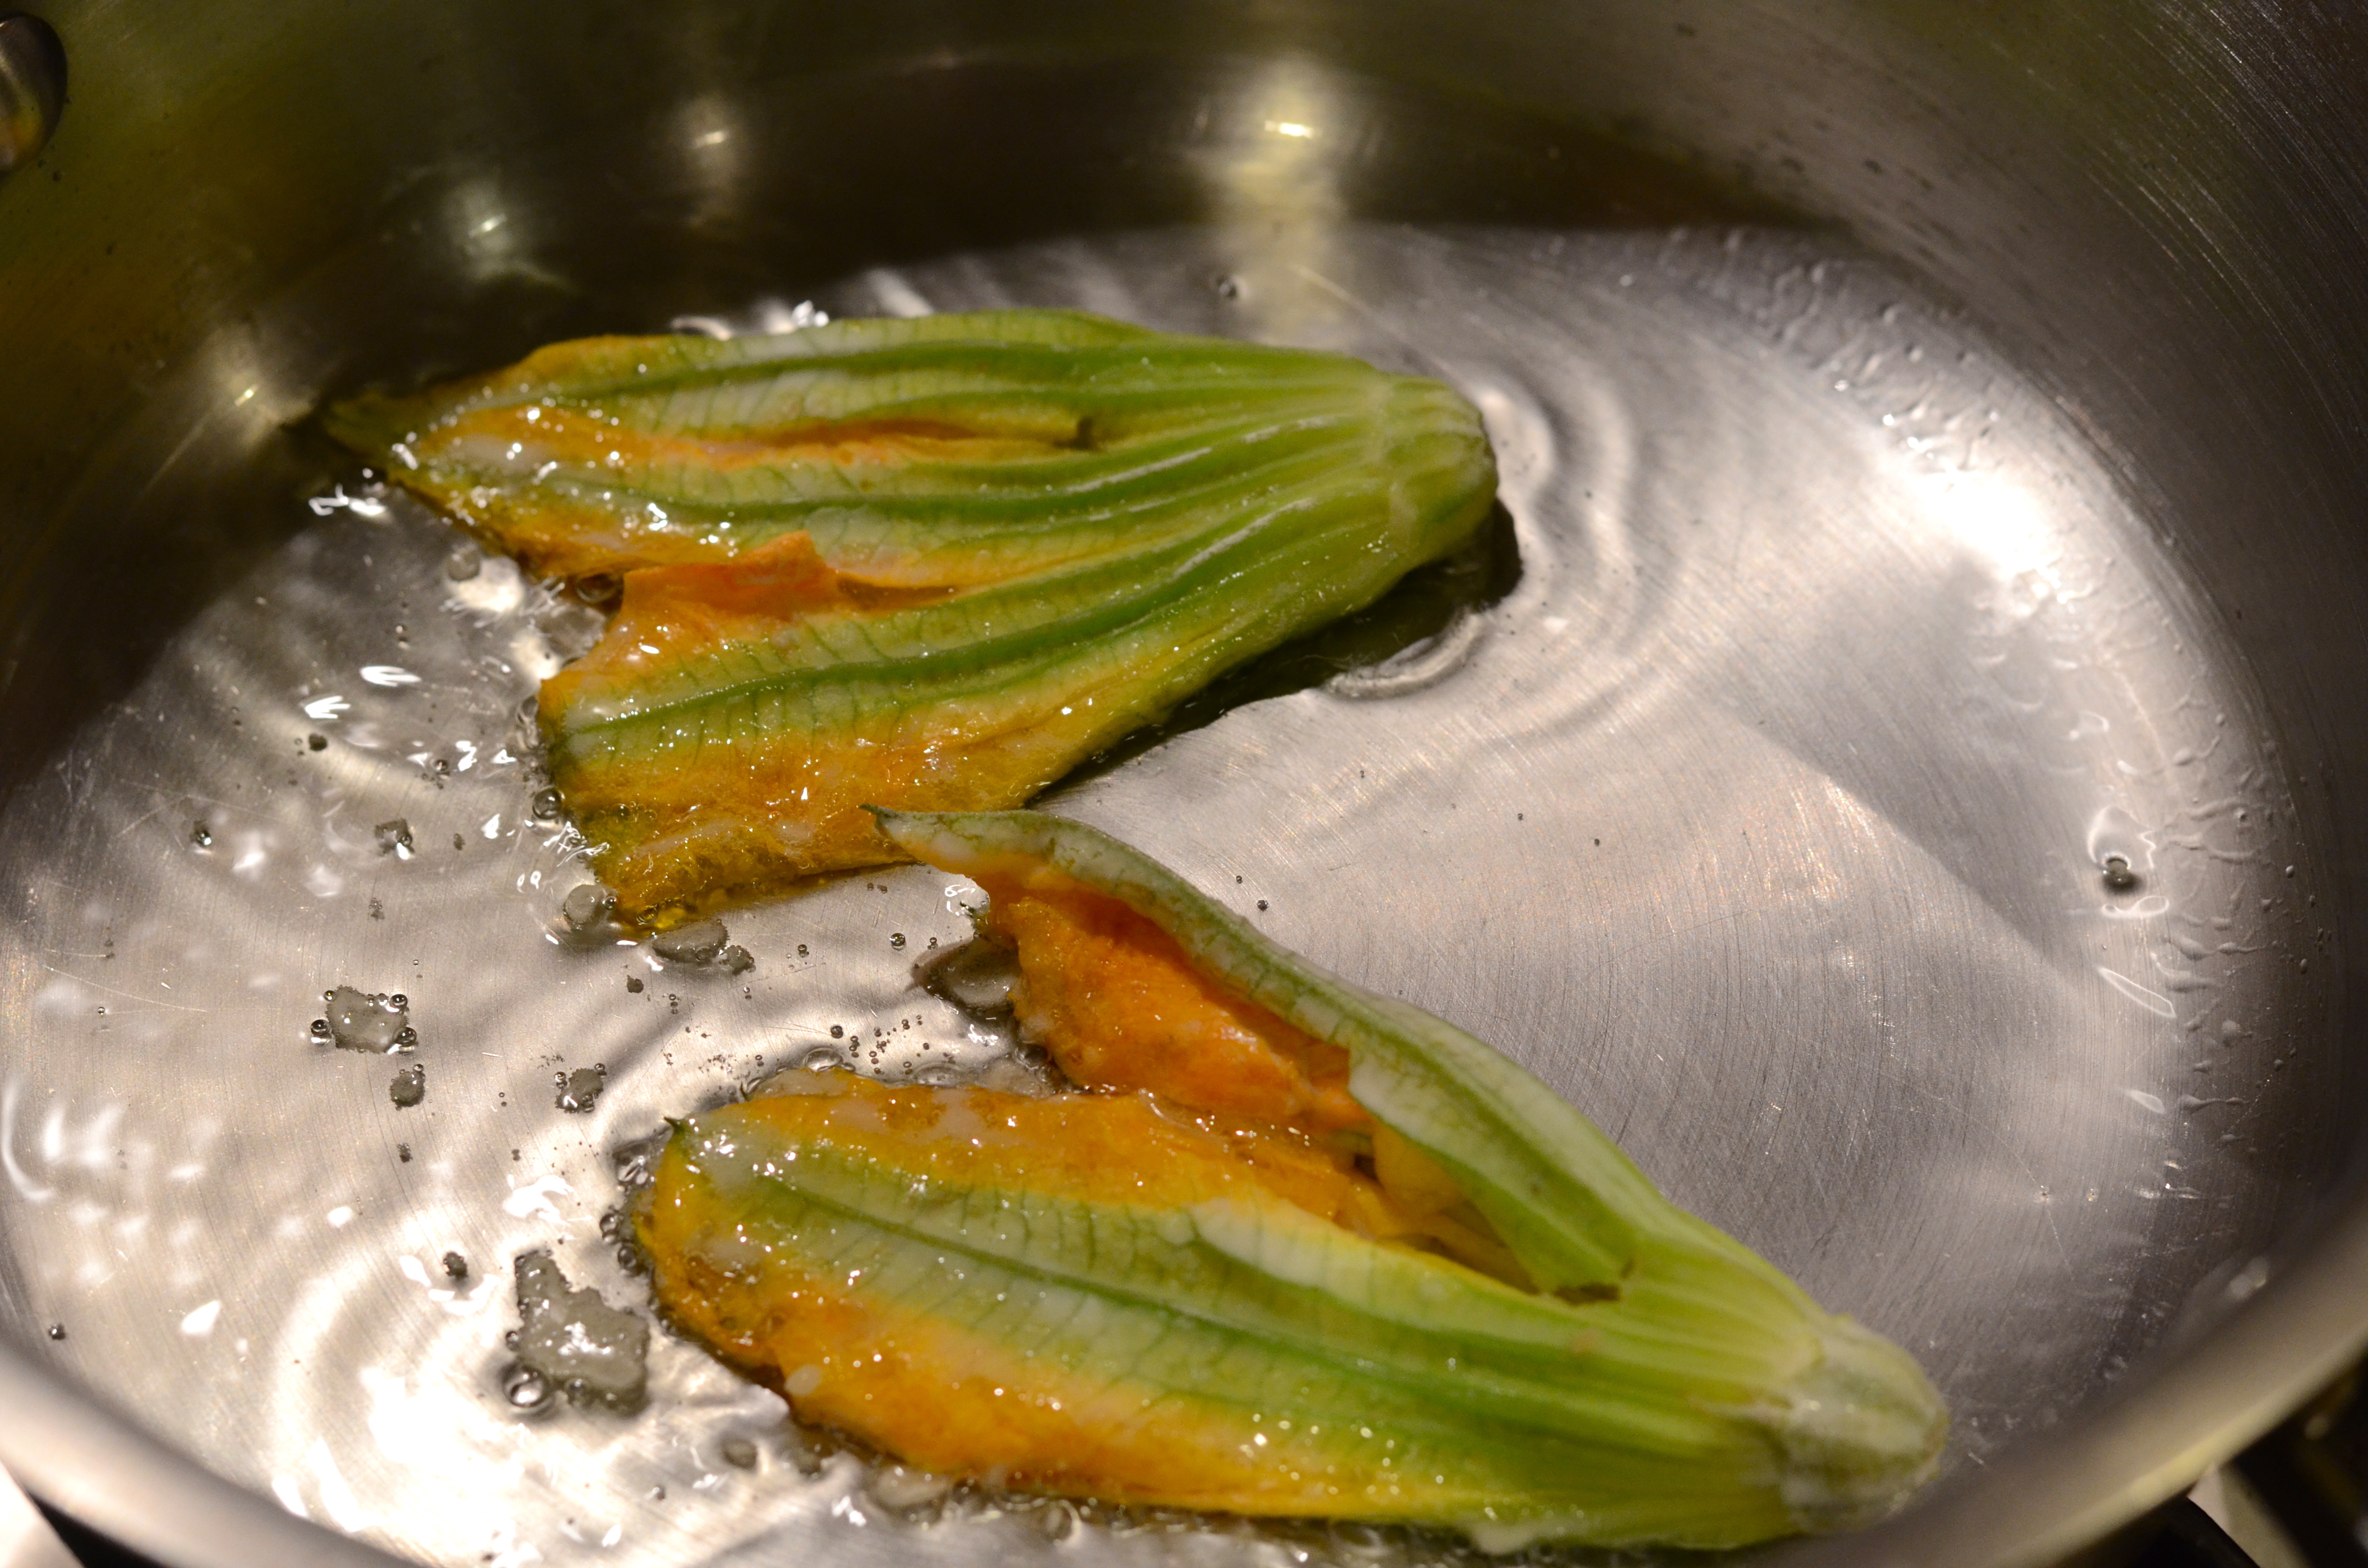
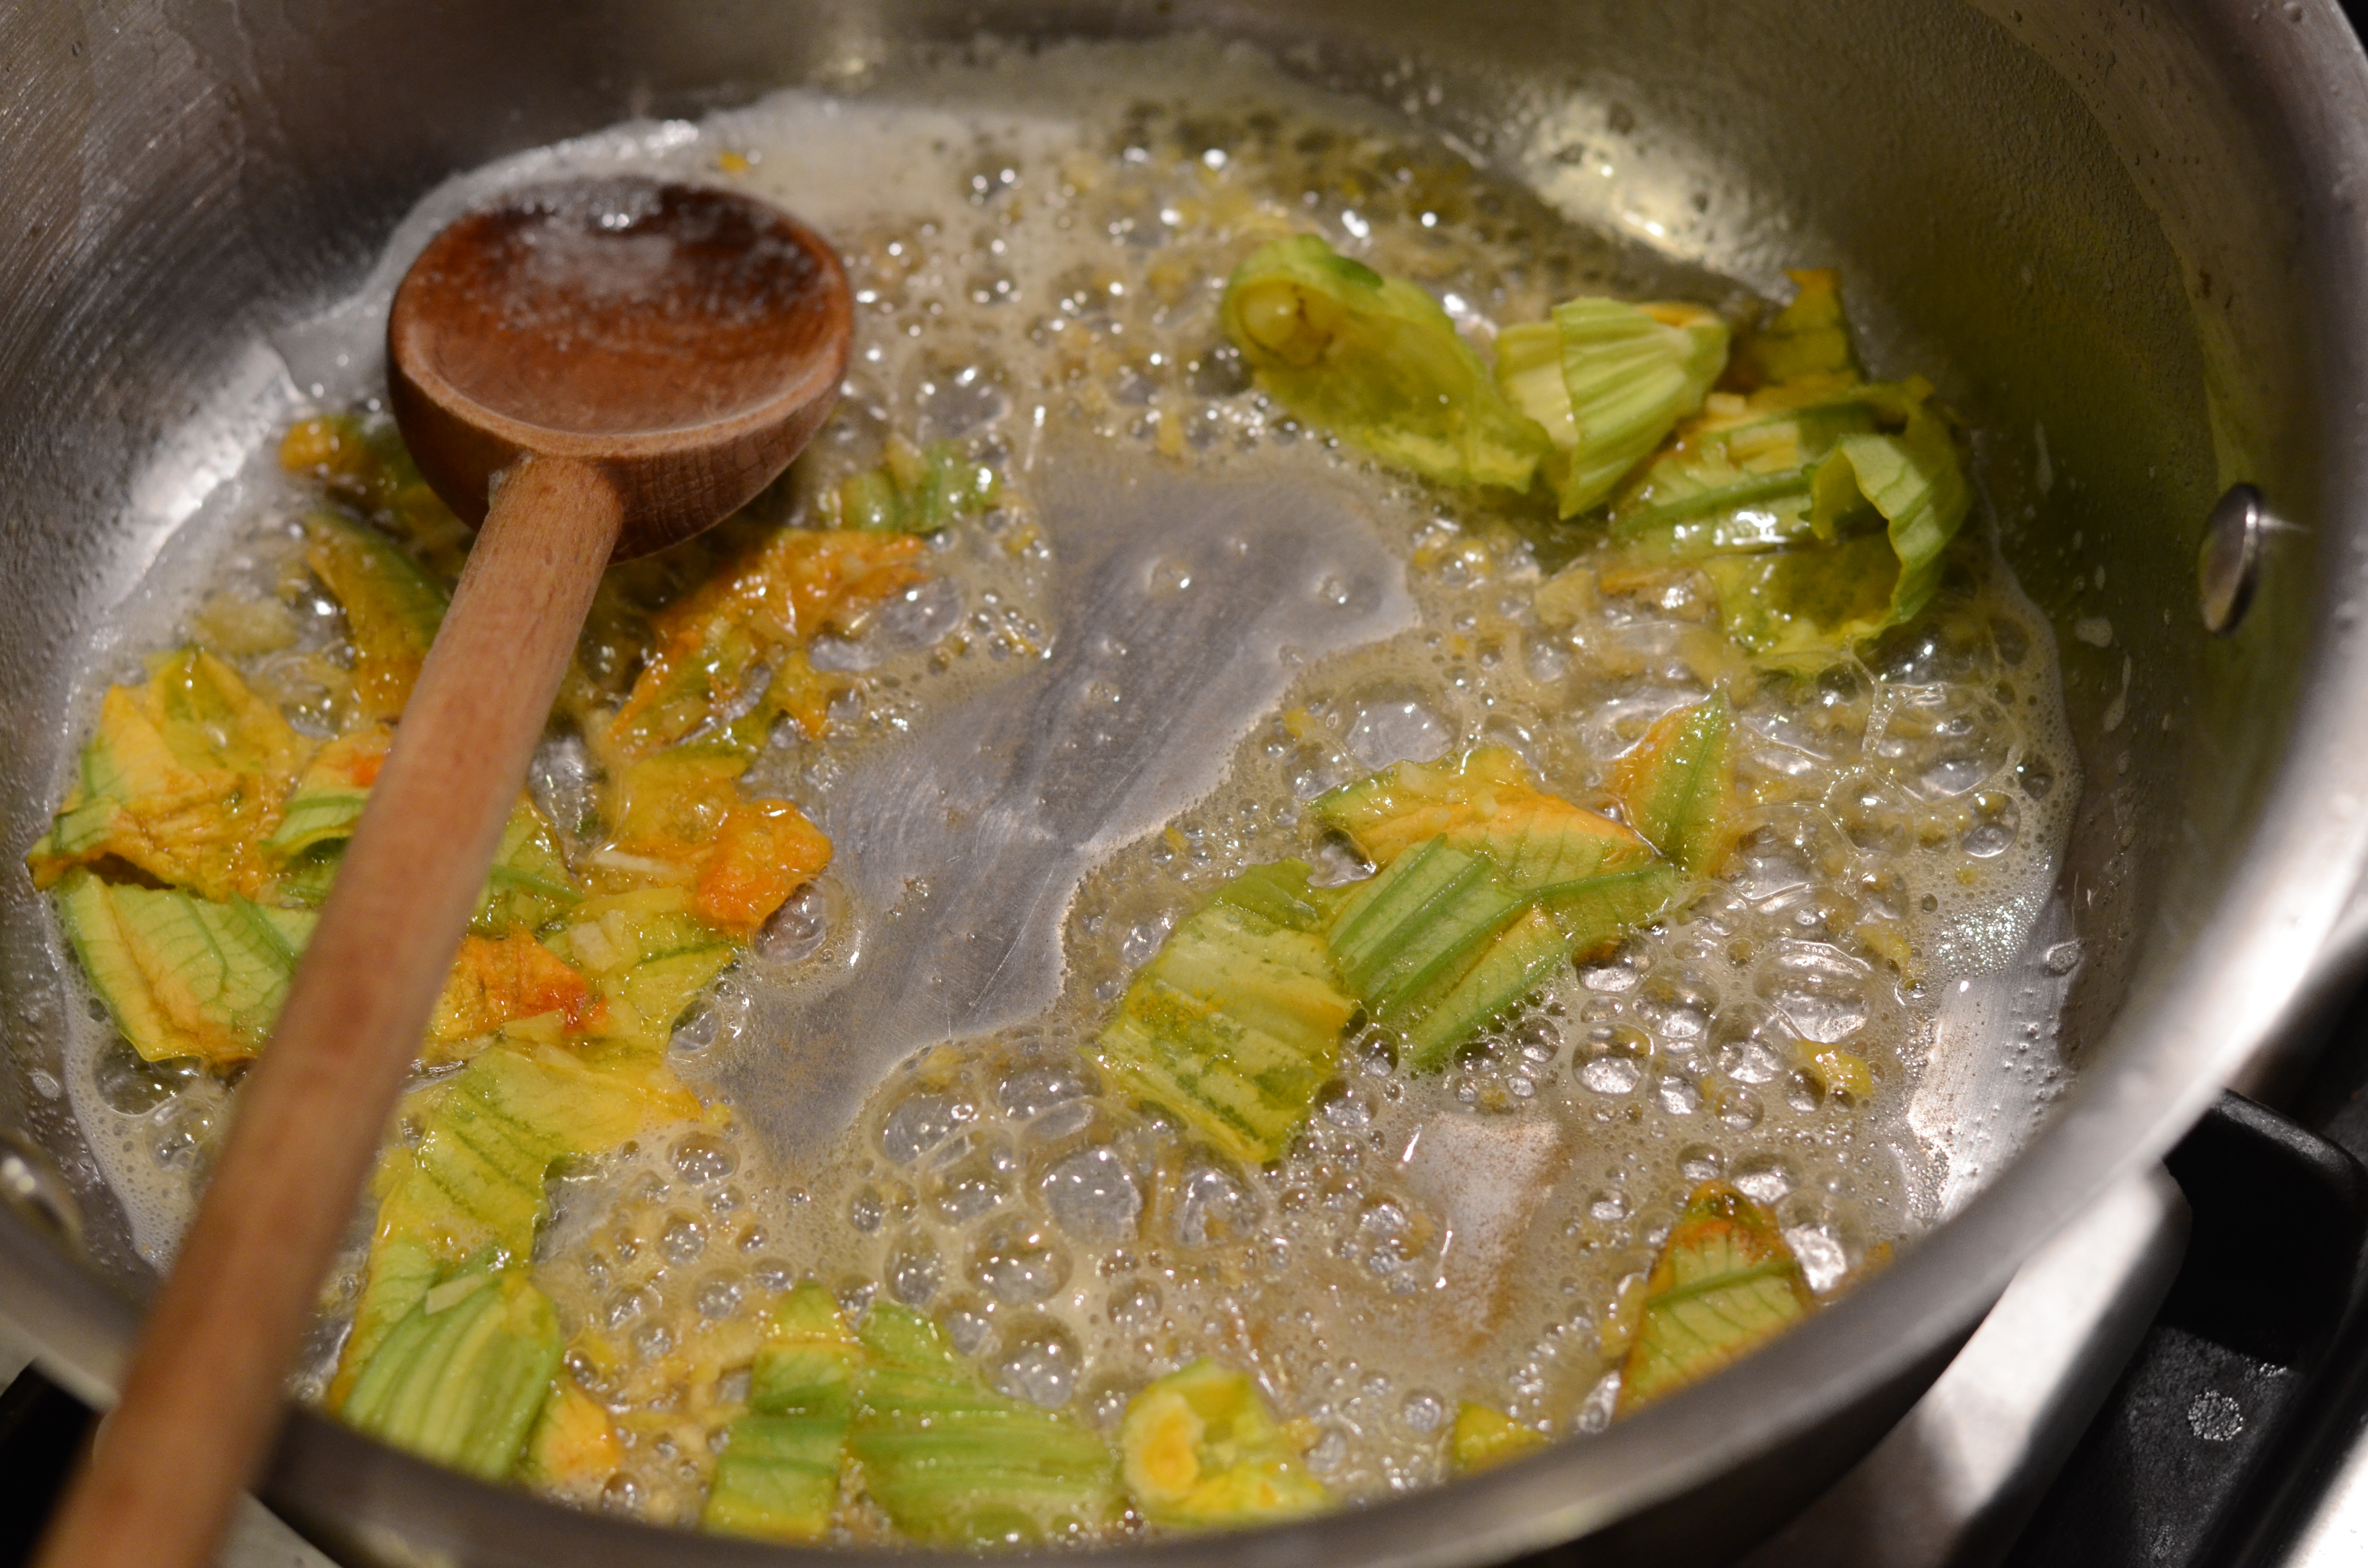
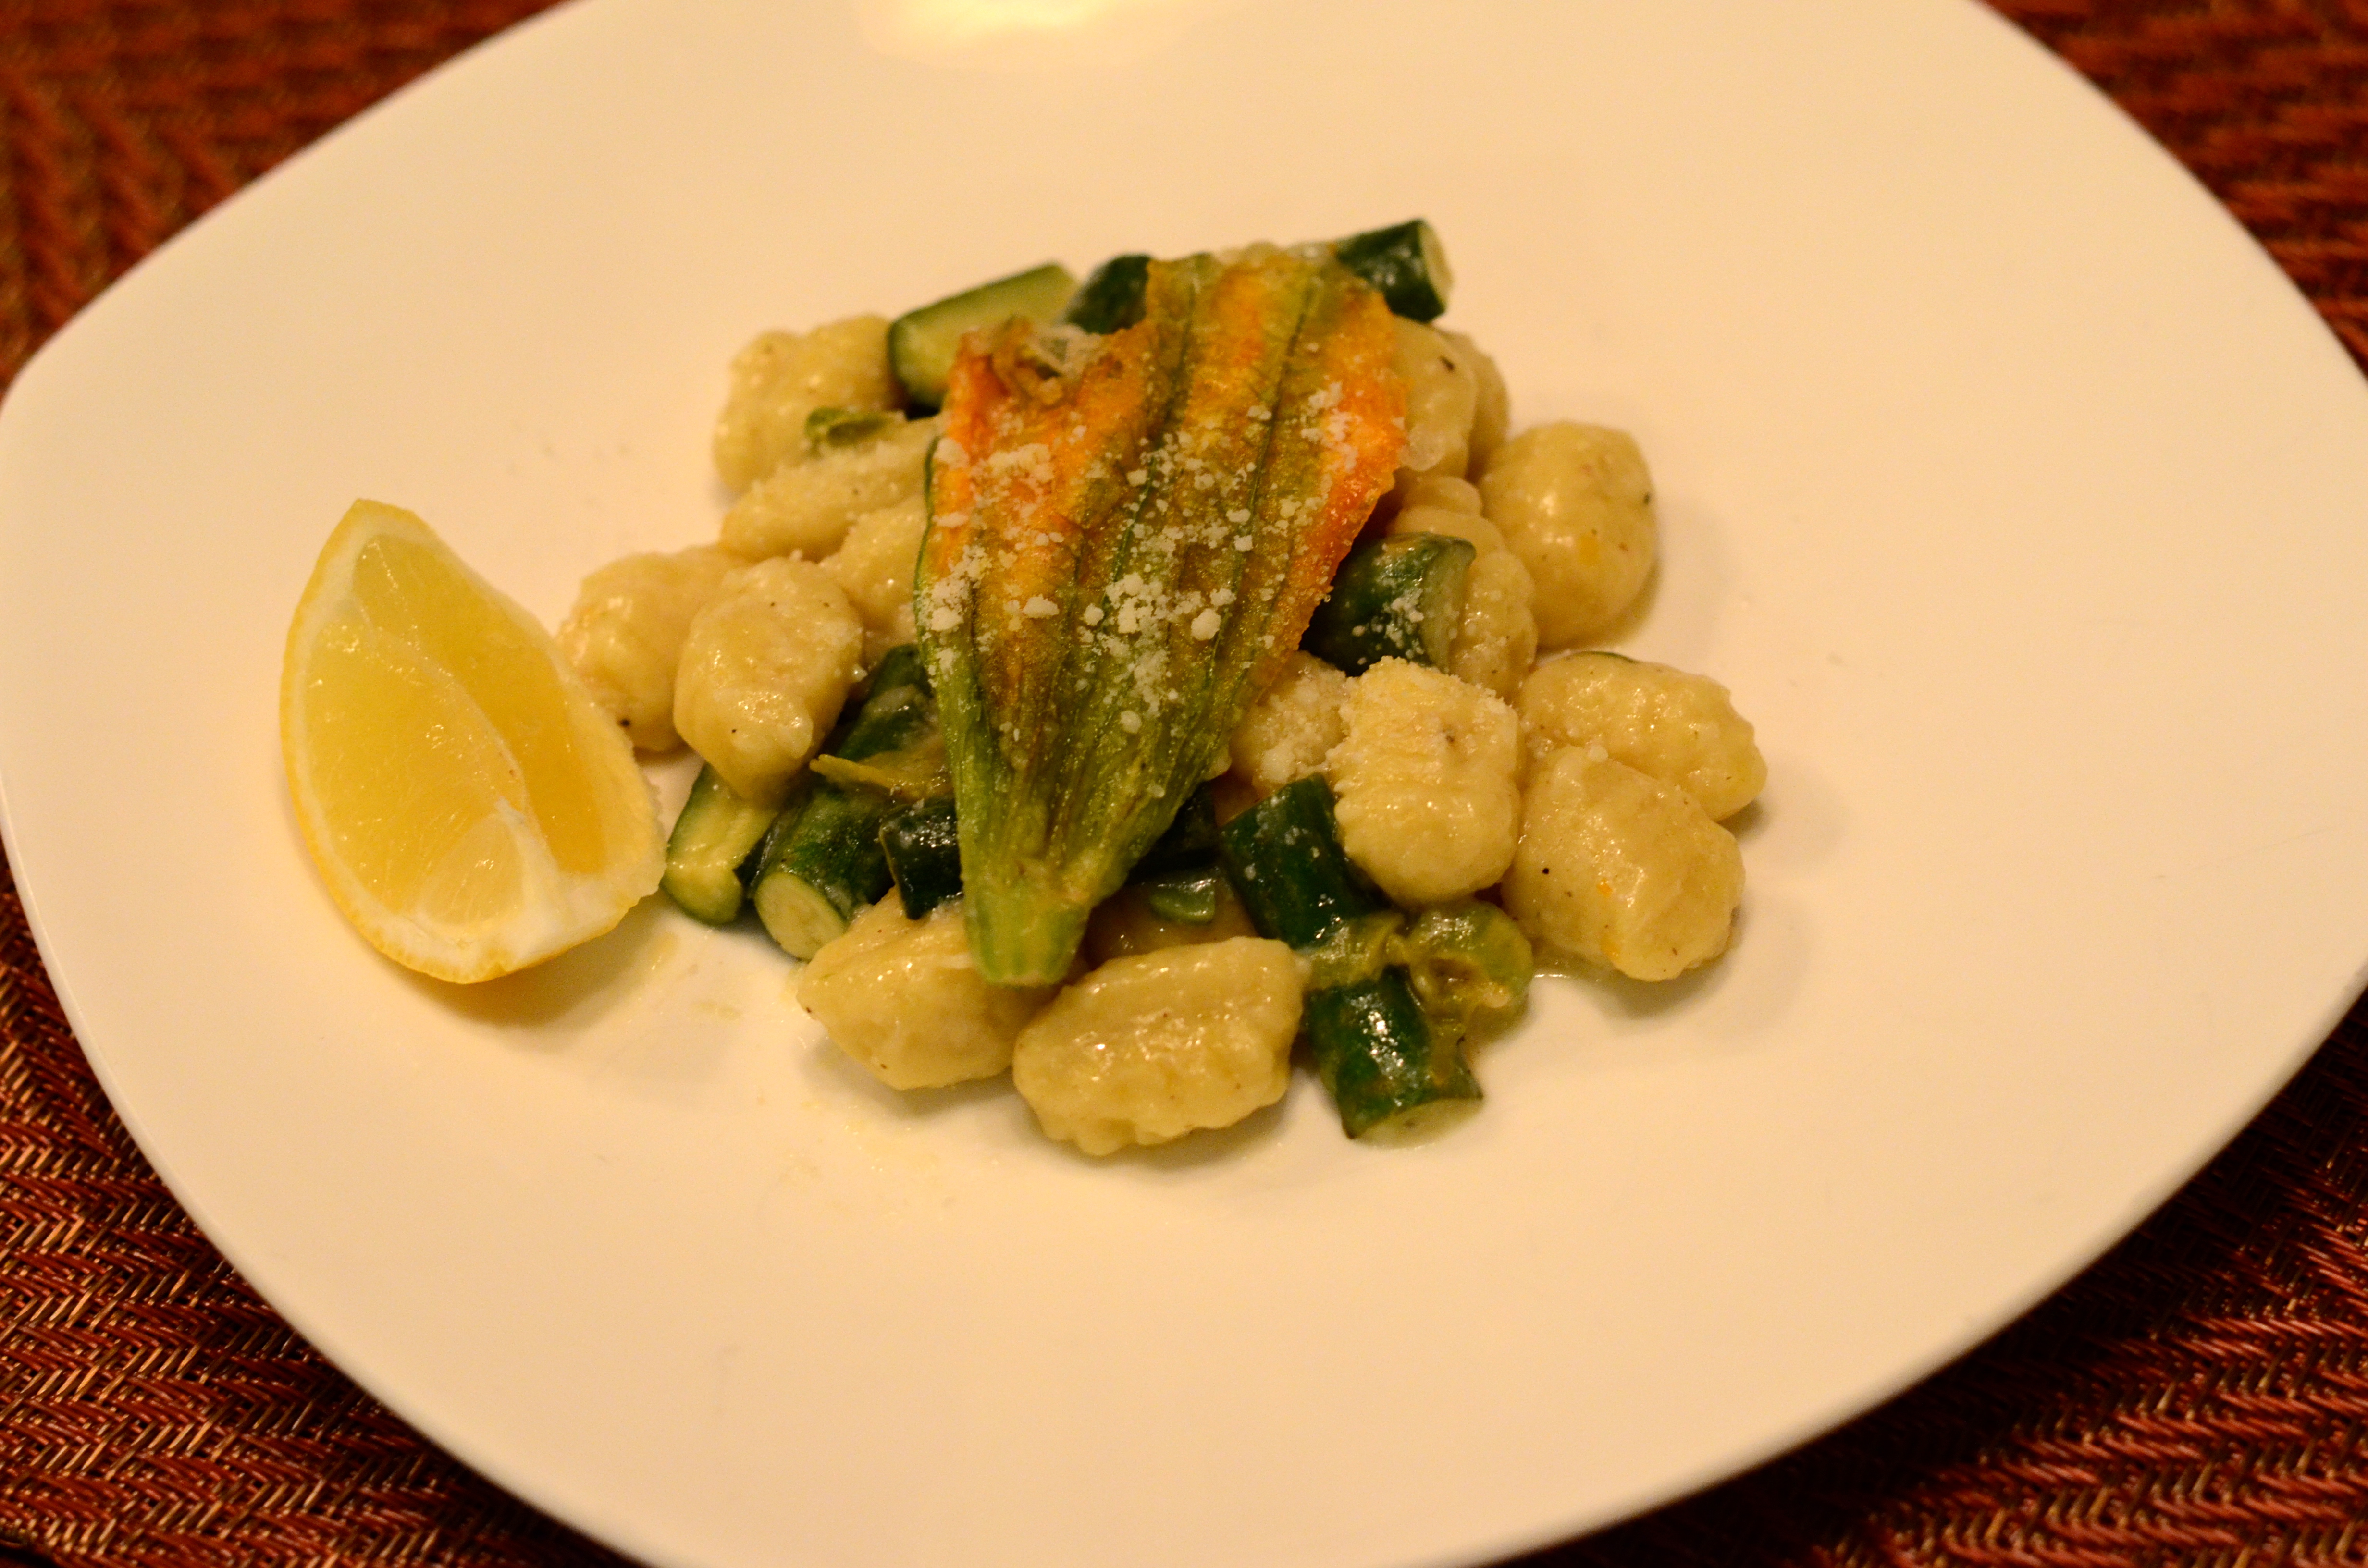
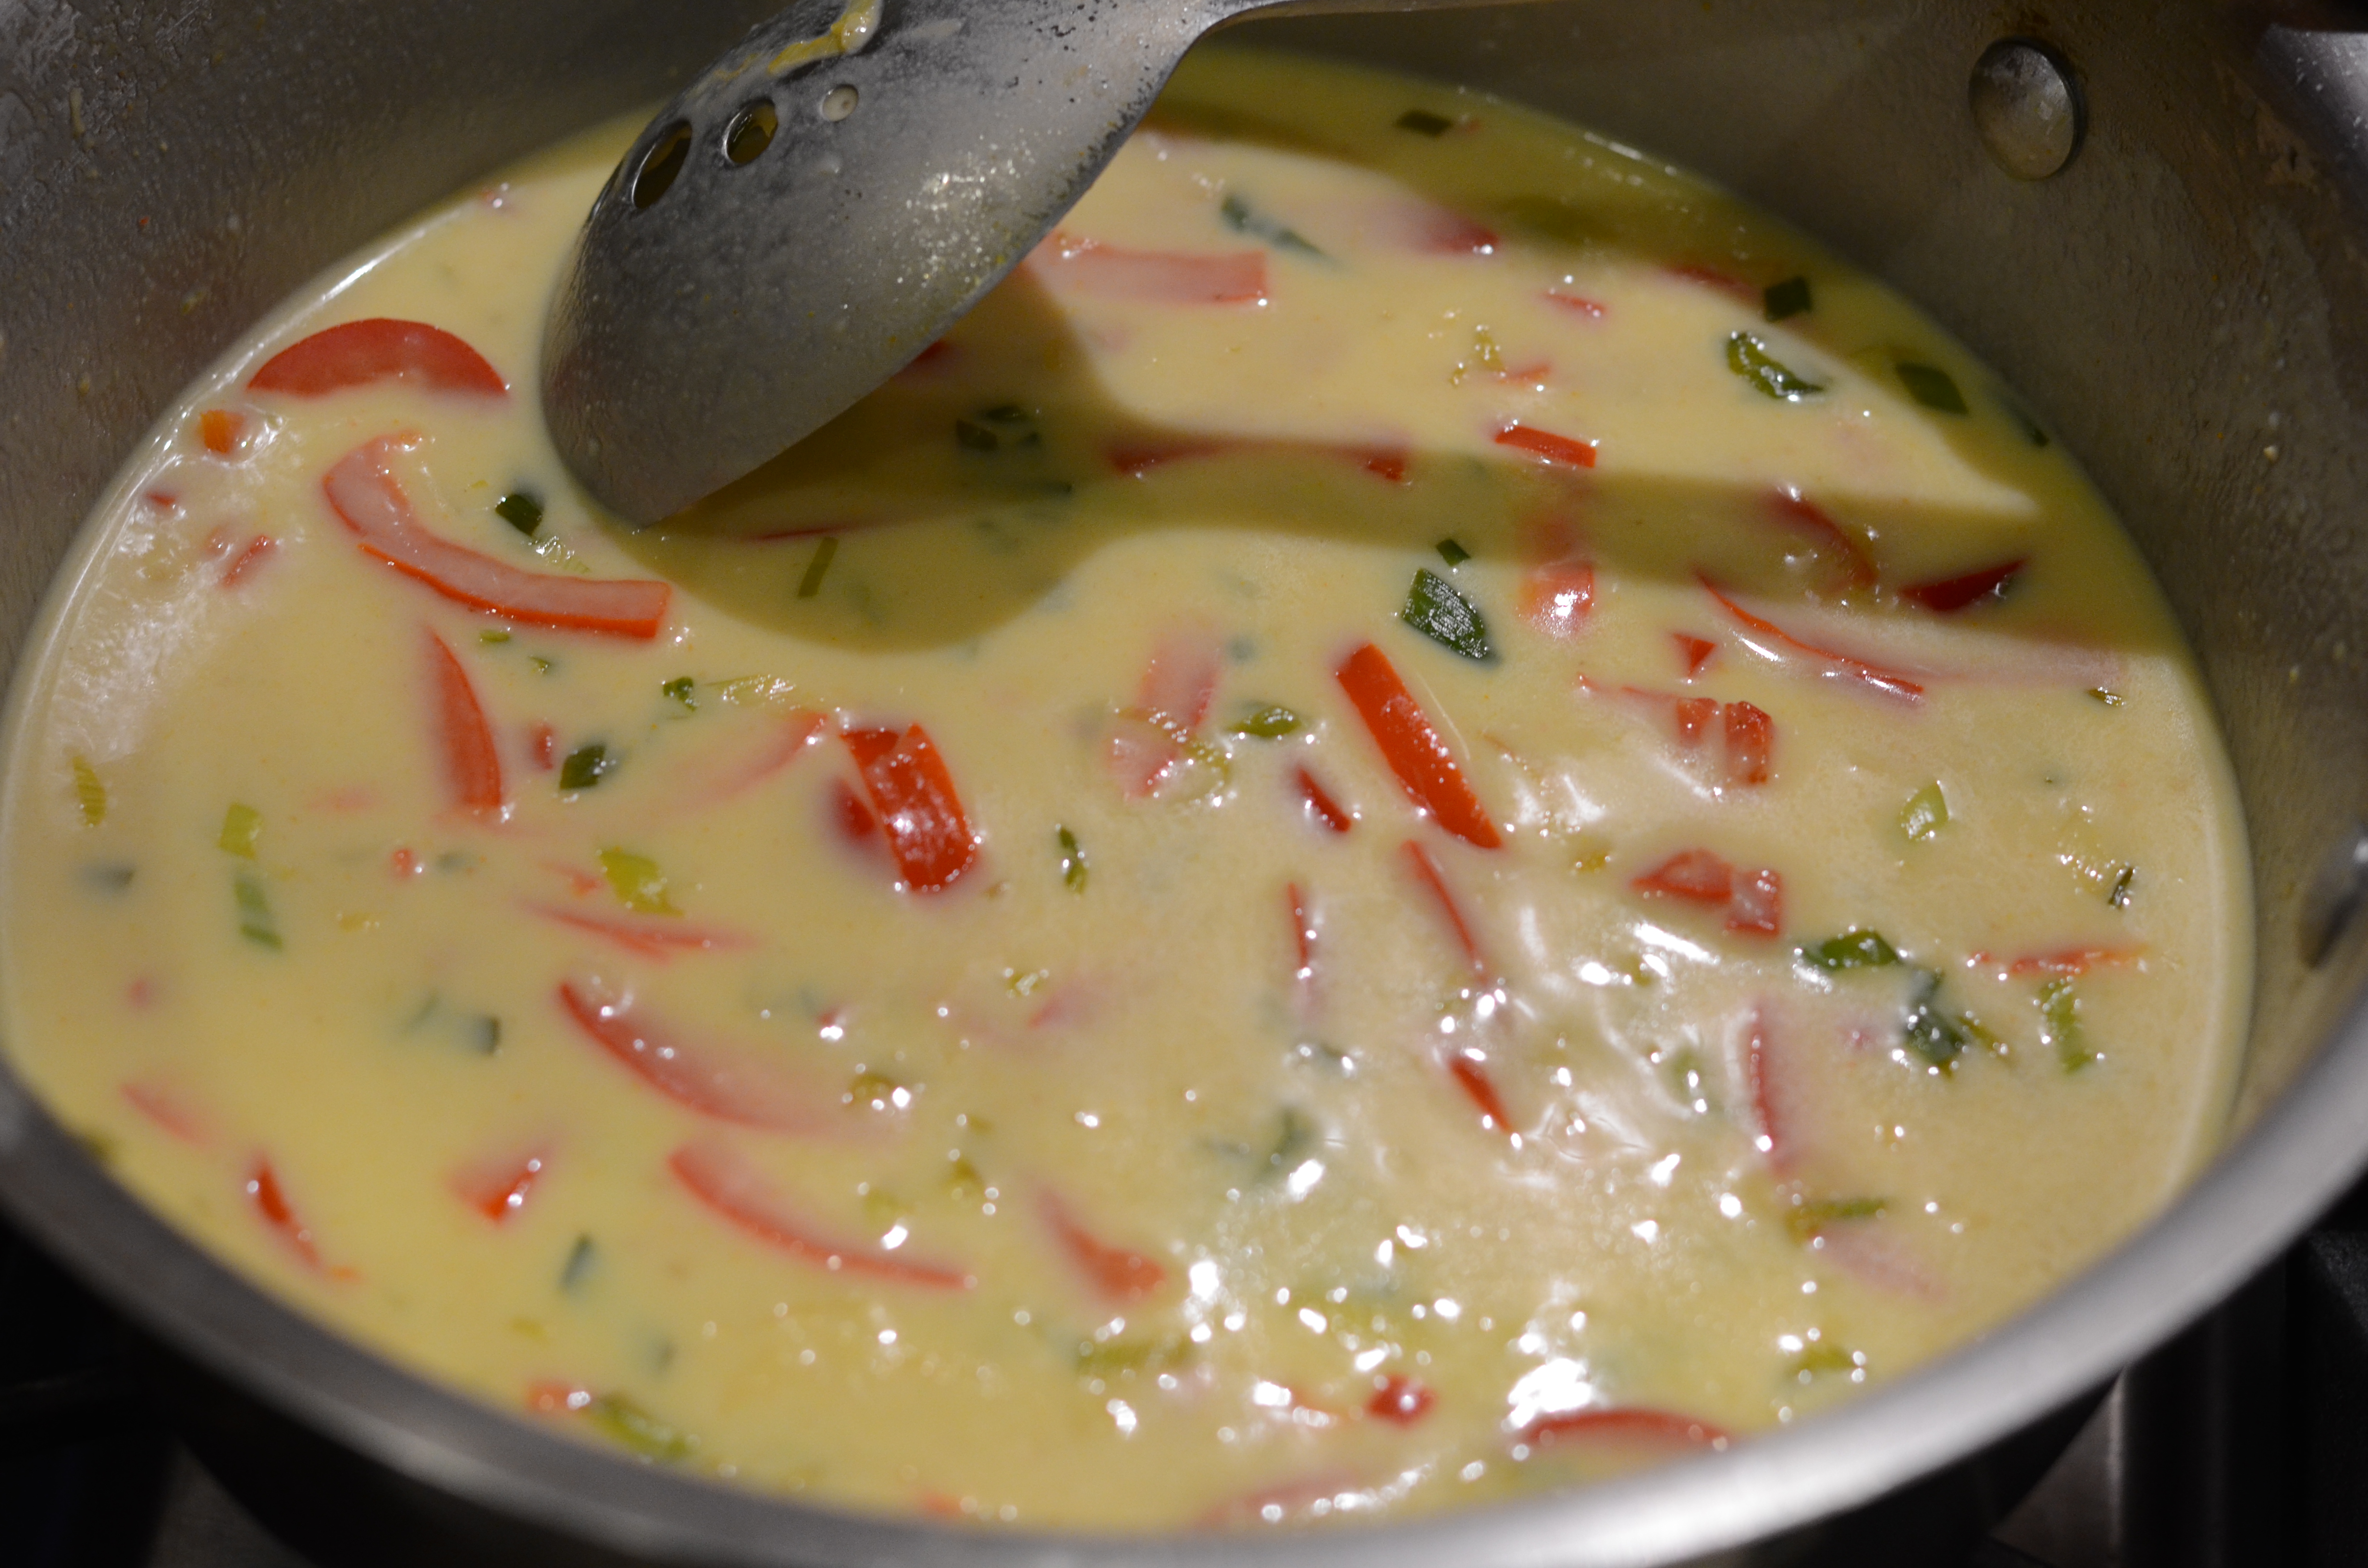
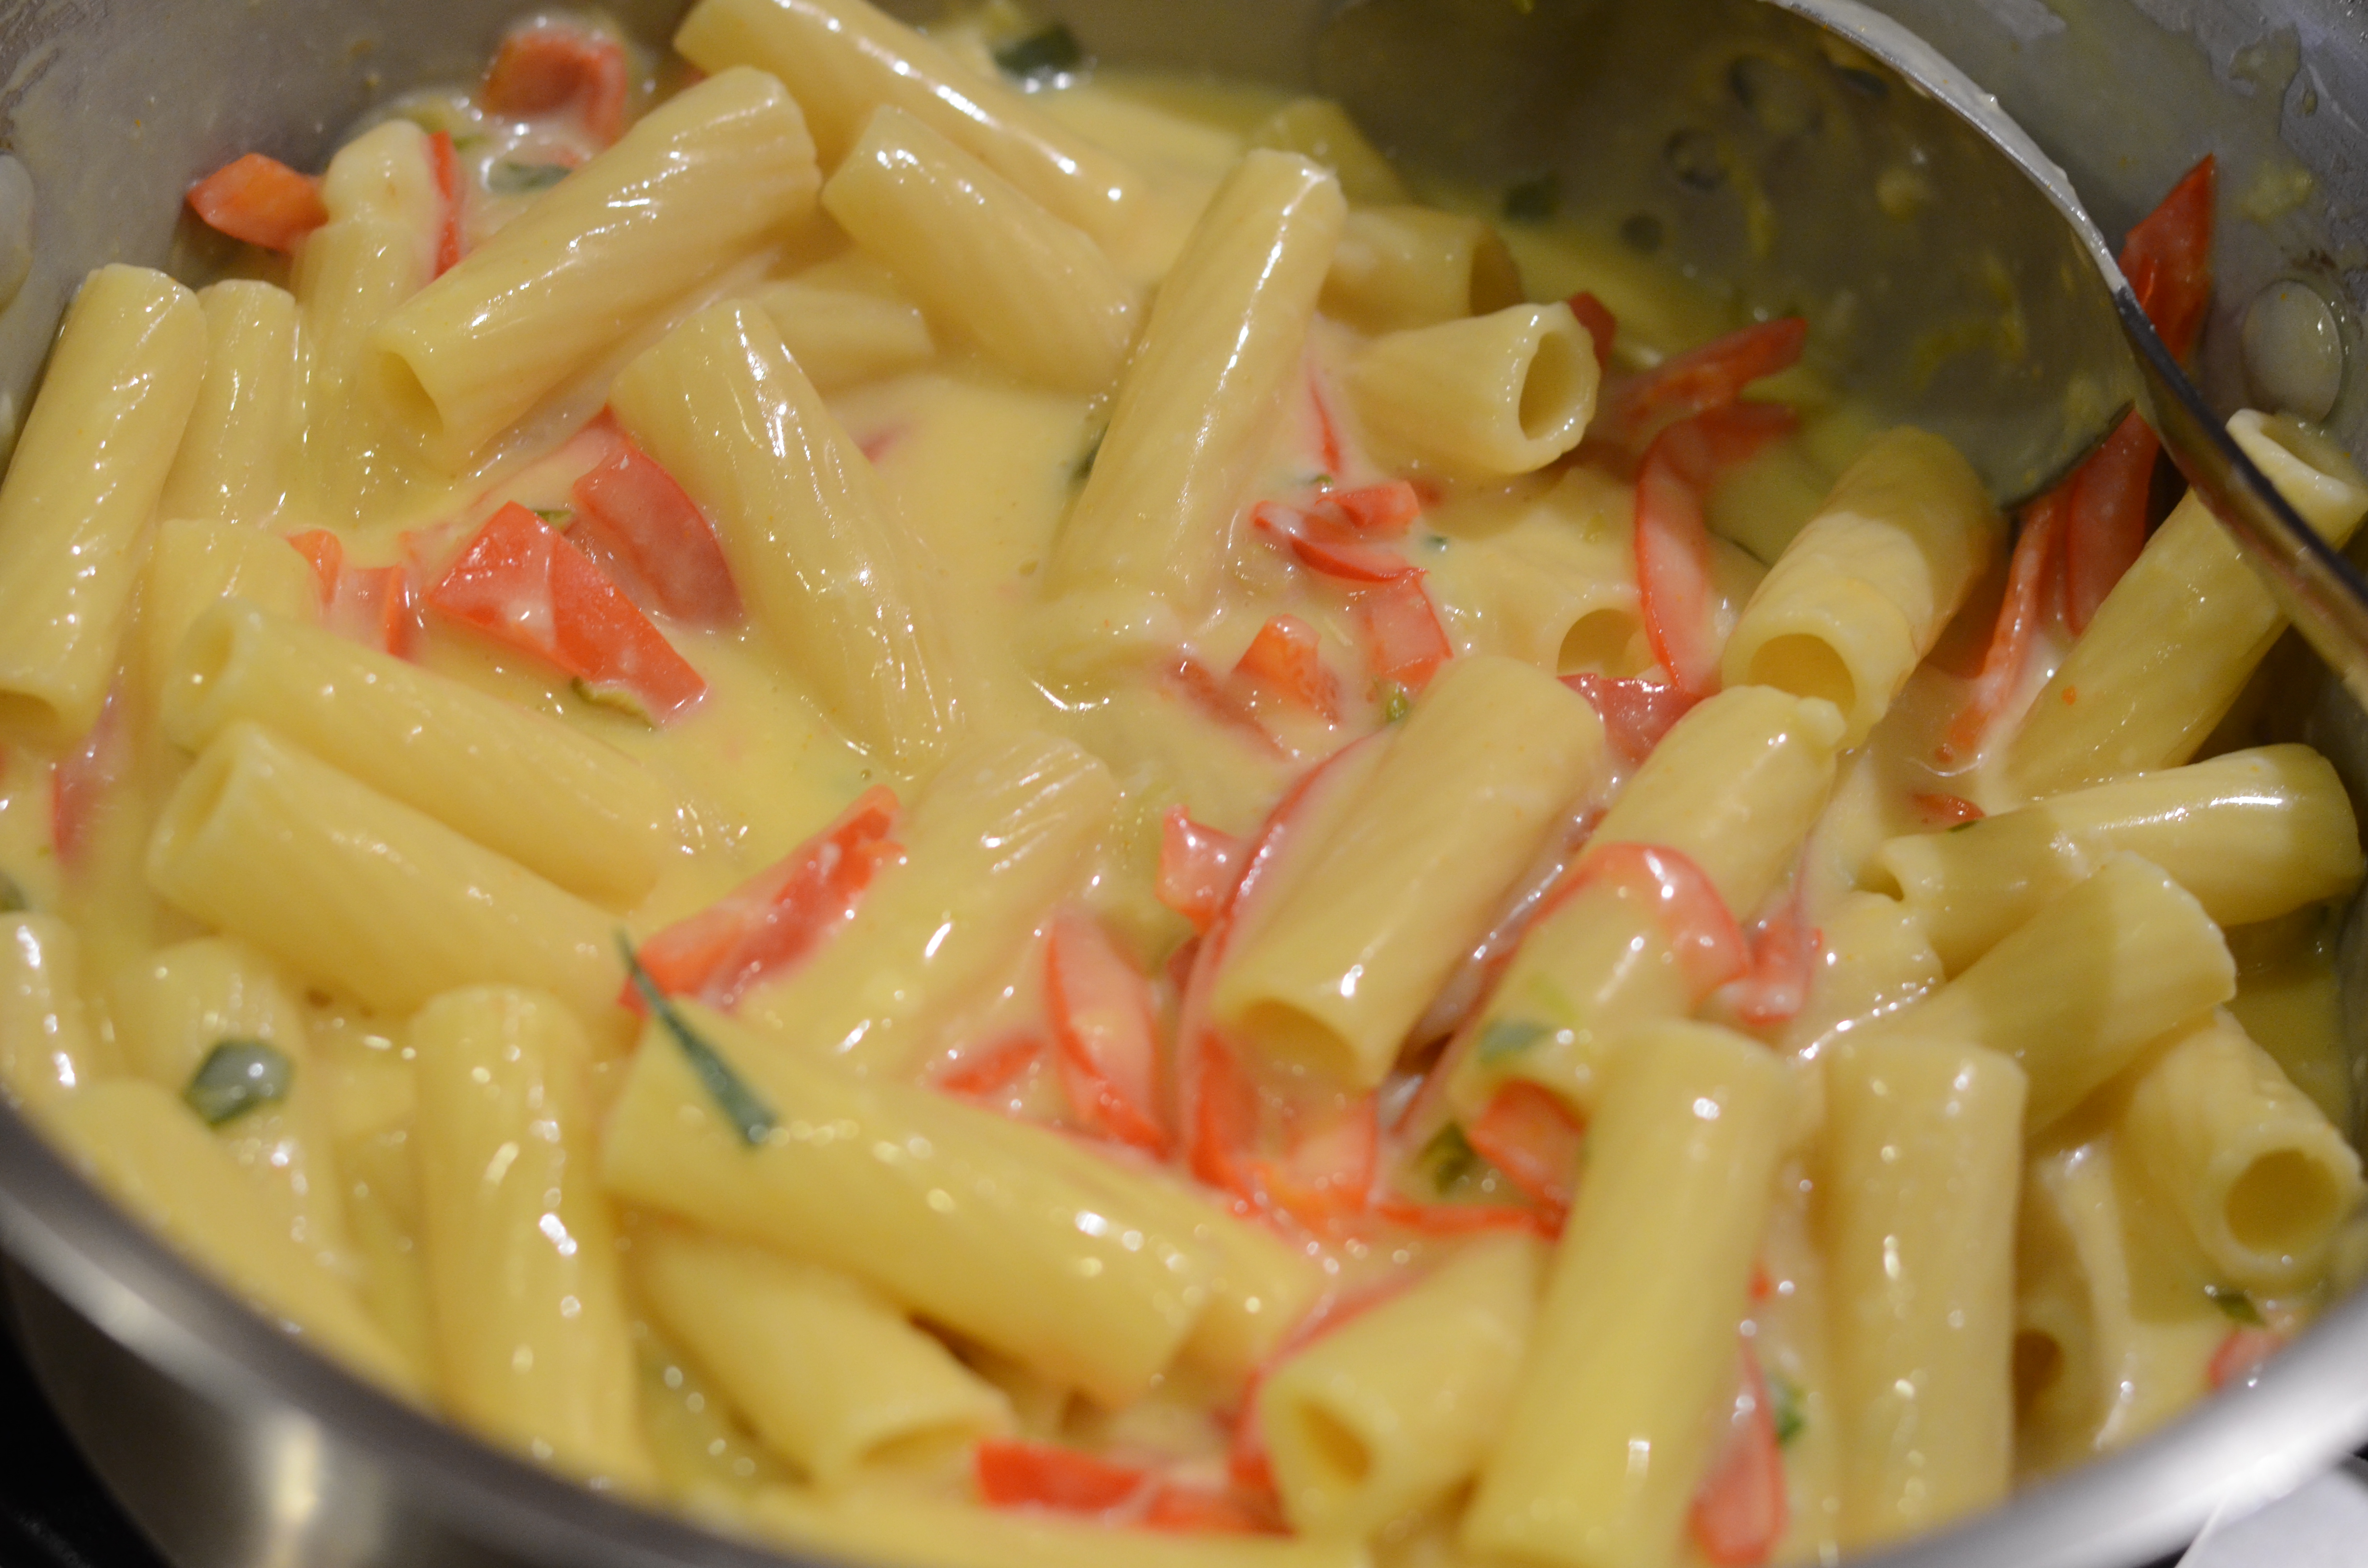
  Onions, garlic, scallions, shallots, chives–I love ’em all. One of my favorite bulbs that blooms in spring happens to be named Allium as well! Those flowers peaked weeks ago. The time for ramps has passed. Summer officially began last Saturday, and what do we have now? Garlic scapes. Those are the antennae in the goofy photo above.