Life and Lemon Bars

IMG_0974 (1)
What does one do at 39 weeks pregnant, during a heat wave, after accepting an invitation to visit friends who are barbecuing food, and after agreeing to bring dessert? How about baking something that requires having the oven on for about an hour? And not only that, but why not try halving the recipe so that it is the same amount of work but half the delicious output?

Oh, just me? Perhaps I wasn’t thinking clearly. Let me explain. I was trying to come up with a refreshing dessert other than frozen treats, which I fully intended to incorporate in the day anyway, and lemon came to mind. I knew I had a lemon that needed to be used soon. And then when leafing through my saved magazine recipes, I found this recipe for lemon cheesecake bars made with cream cheese–and I knew I had cream cheese! But that was a leftover from another recipe- I only had half of the full block the recipe called for.

So I adapted. And we savored the fewer servings that resulted. My cooking activities aren’t about making specific or required amounts of food anyway. I’ve been finding the activity of cooking and baking wonderfully distracting lately as I carry around an extra human being. In fact, I’m considering what I might cook when I start early labor….

Lemon Cheesecake Bars
Adapted fromCooking Light Magazine

I am sharing with you my version with the recipe cut in half, but I expect you may want to make a full batch.
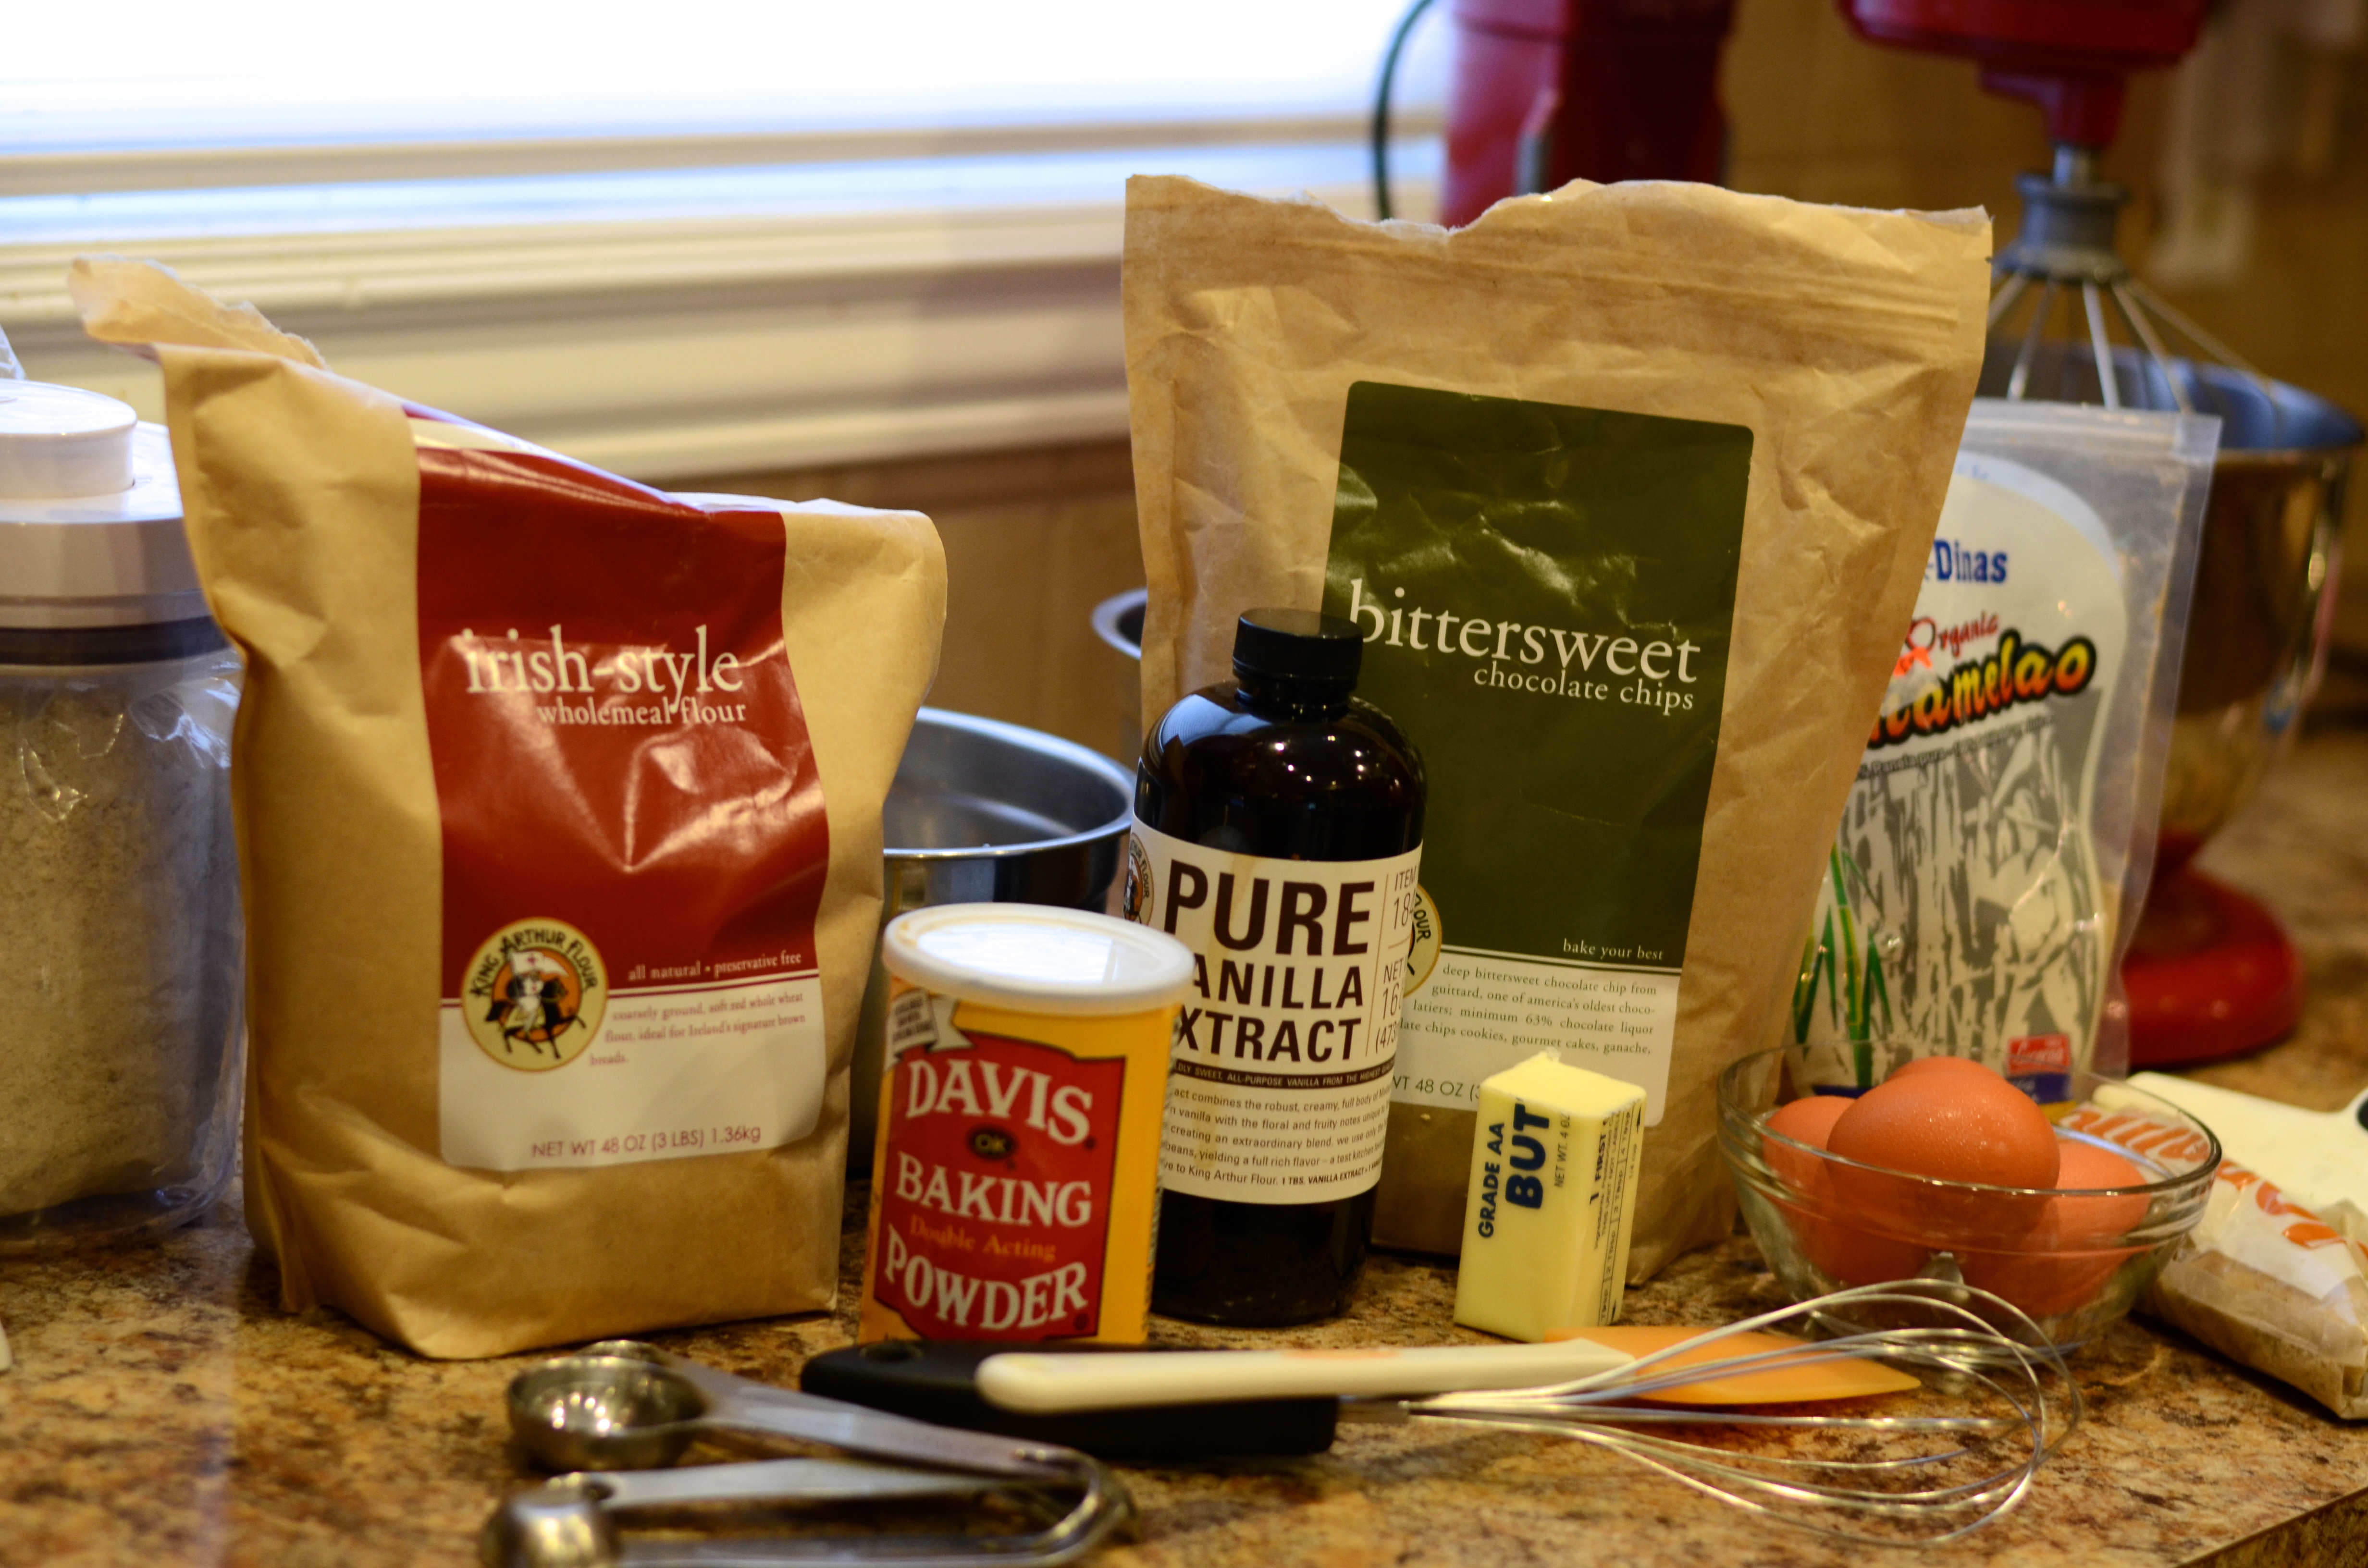
Crust:
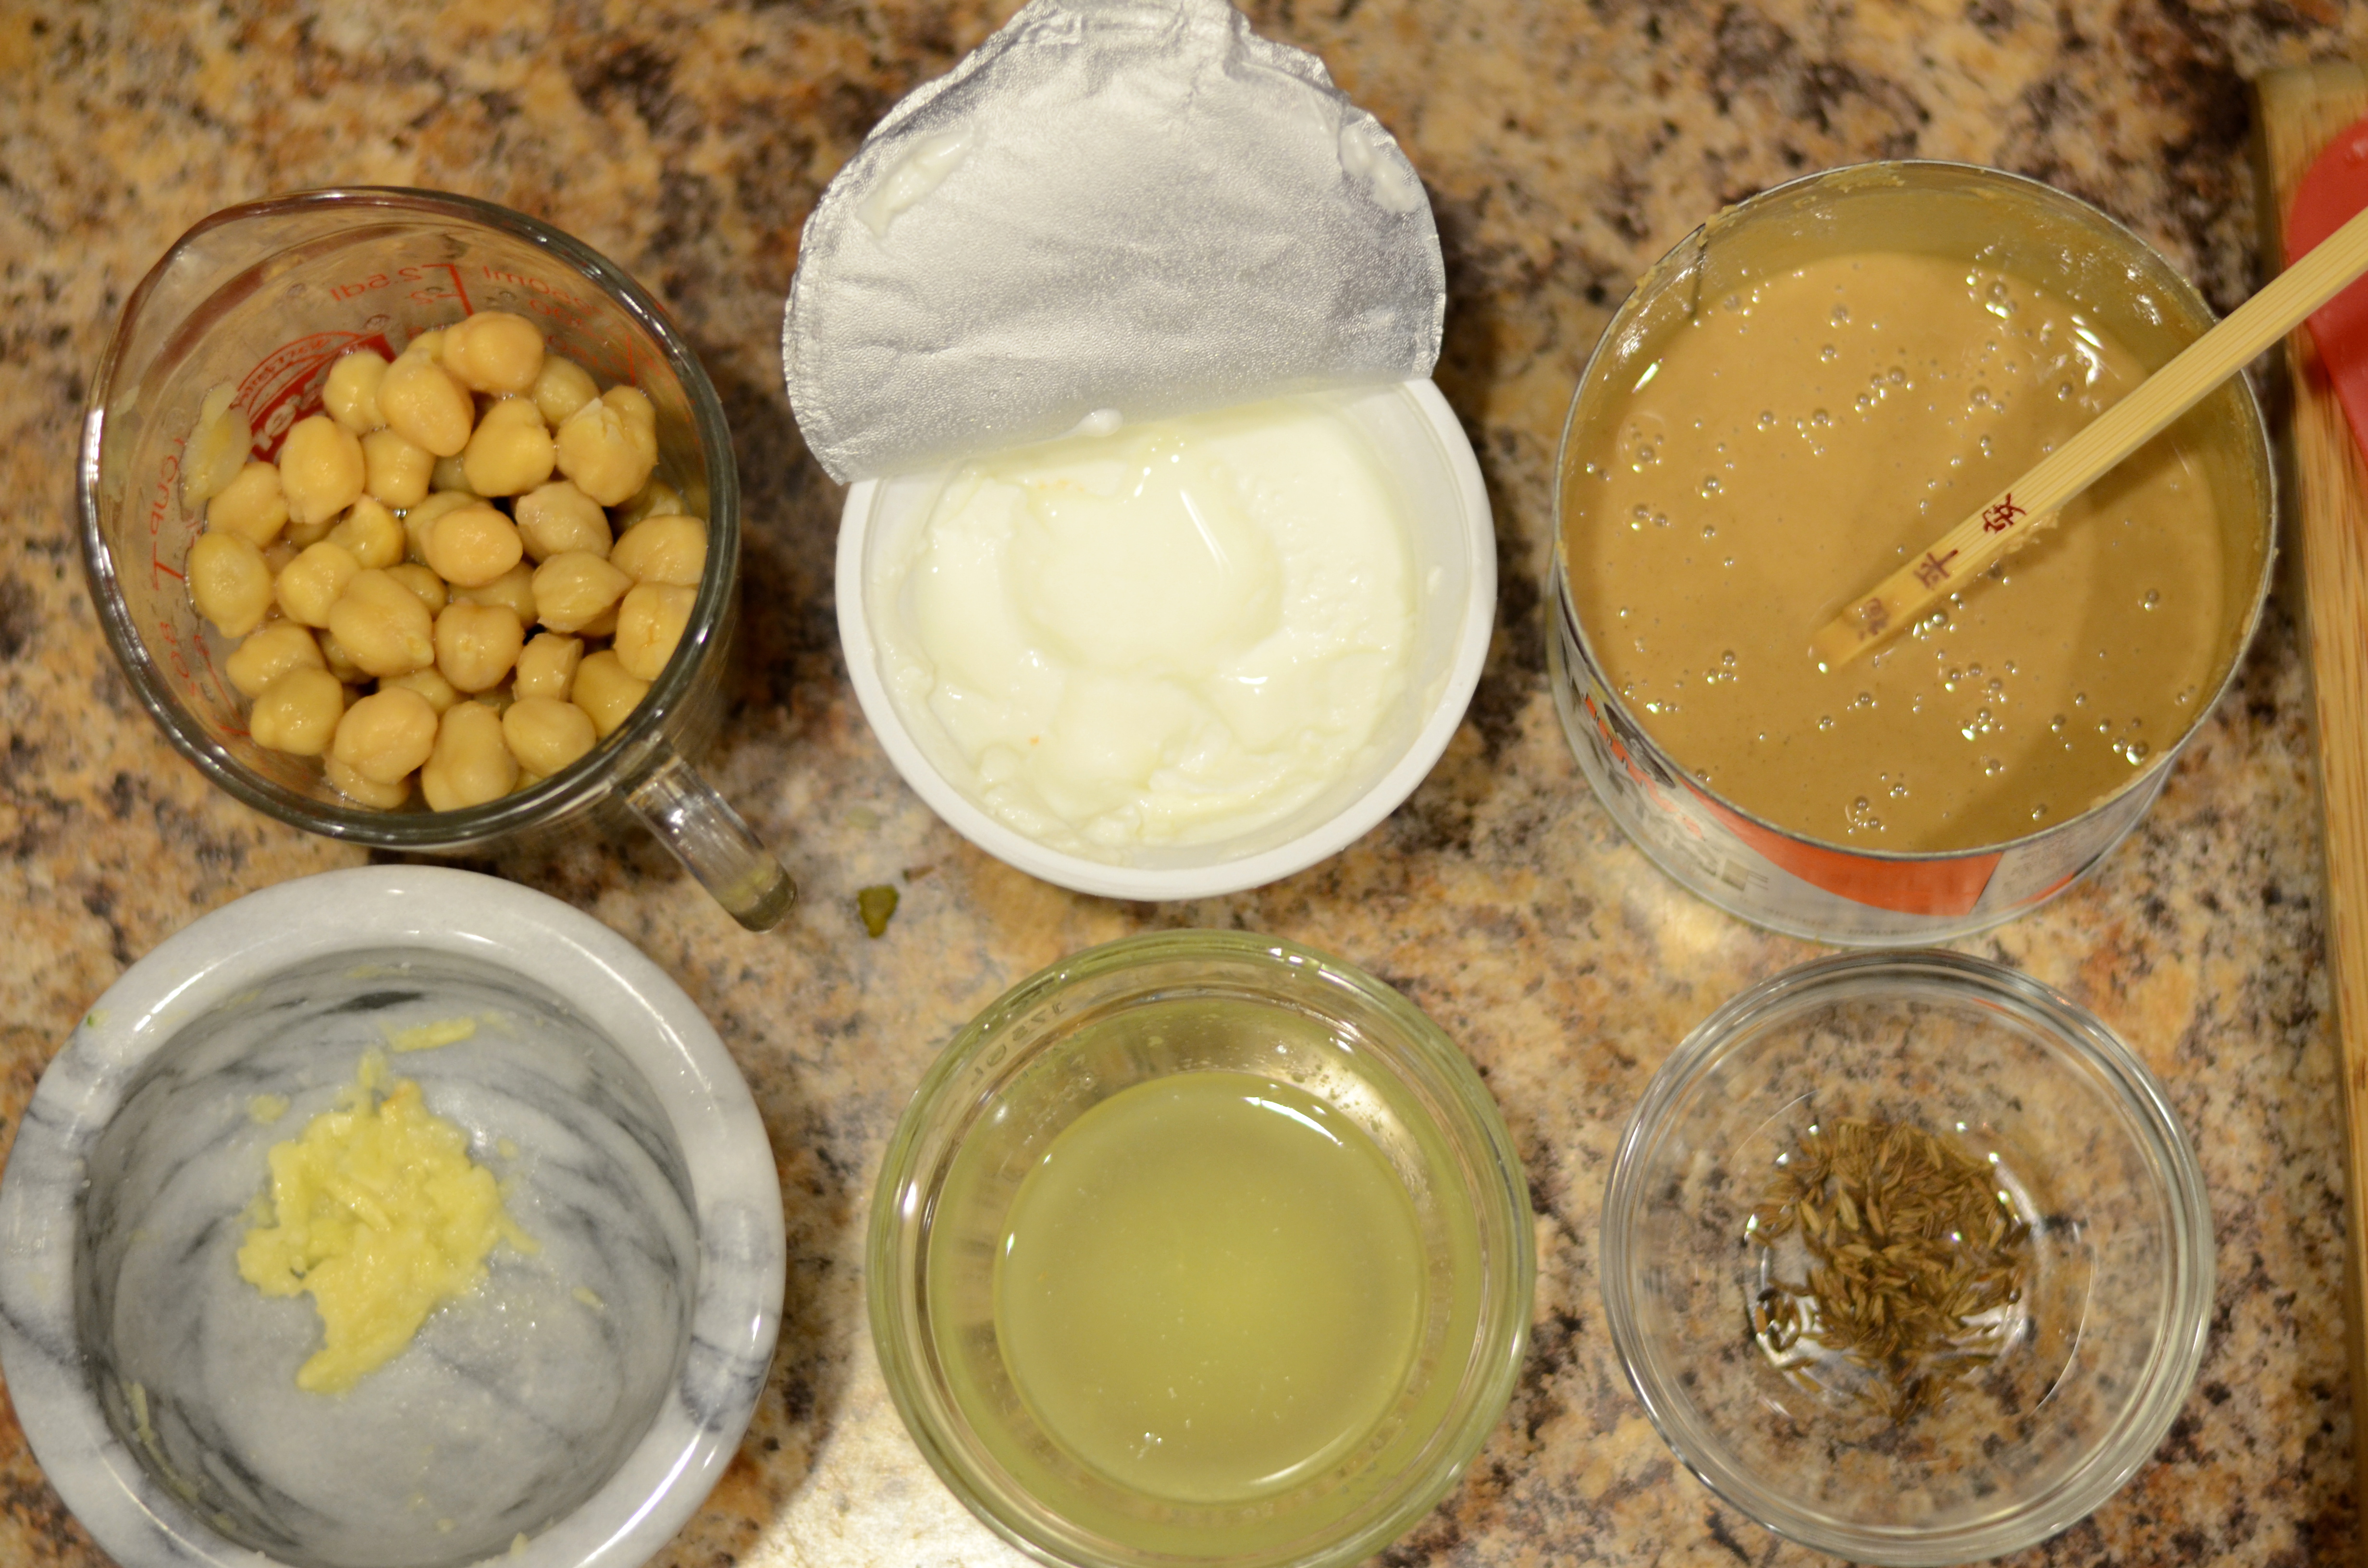
2 ounces whole-wheat pastry flour (about 1/2 Cup)
1/6 Cup sliced, toasted almonds
1.5 Tablespoons powdered or confectioner’s sugar
1/2 Tablespoon vegetable oil
1/8 teaspoon kosher salt

2 Tablespoons butter, cut into small pieces and chilled
Cooking spray

Filling:
6 Tablespoons Greek yogurt (I used 2%)
1.3 ounces or about 1/6 Cup sugar
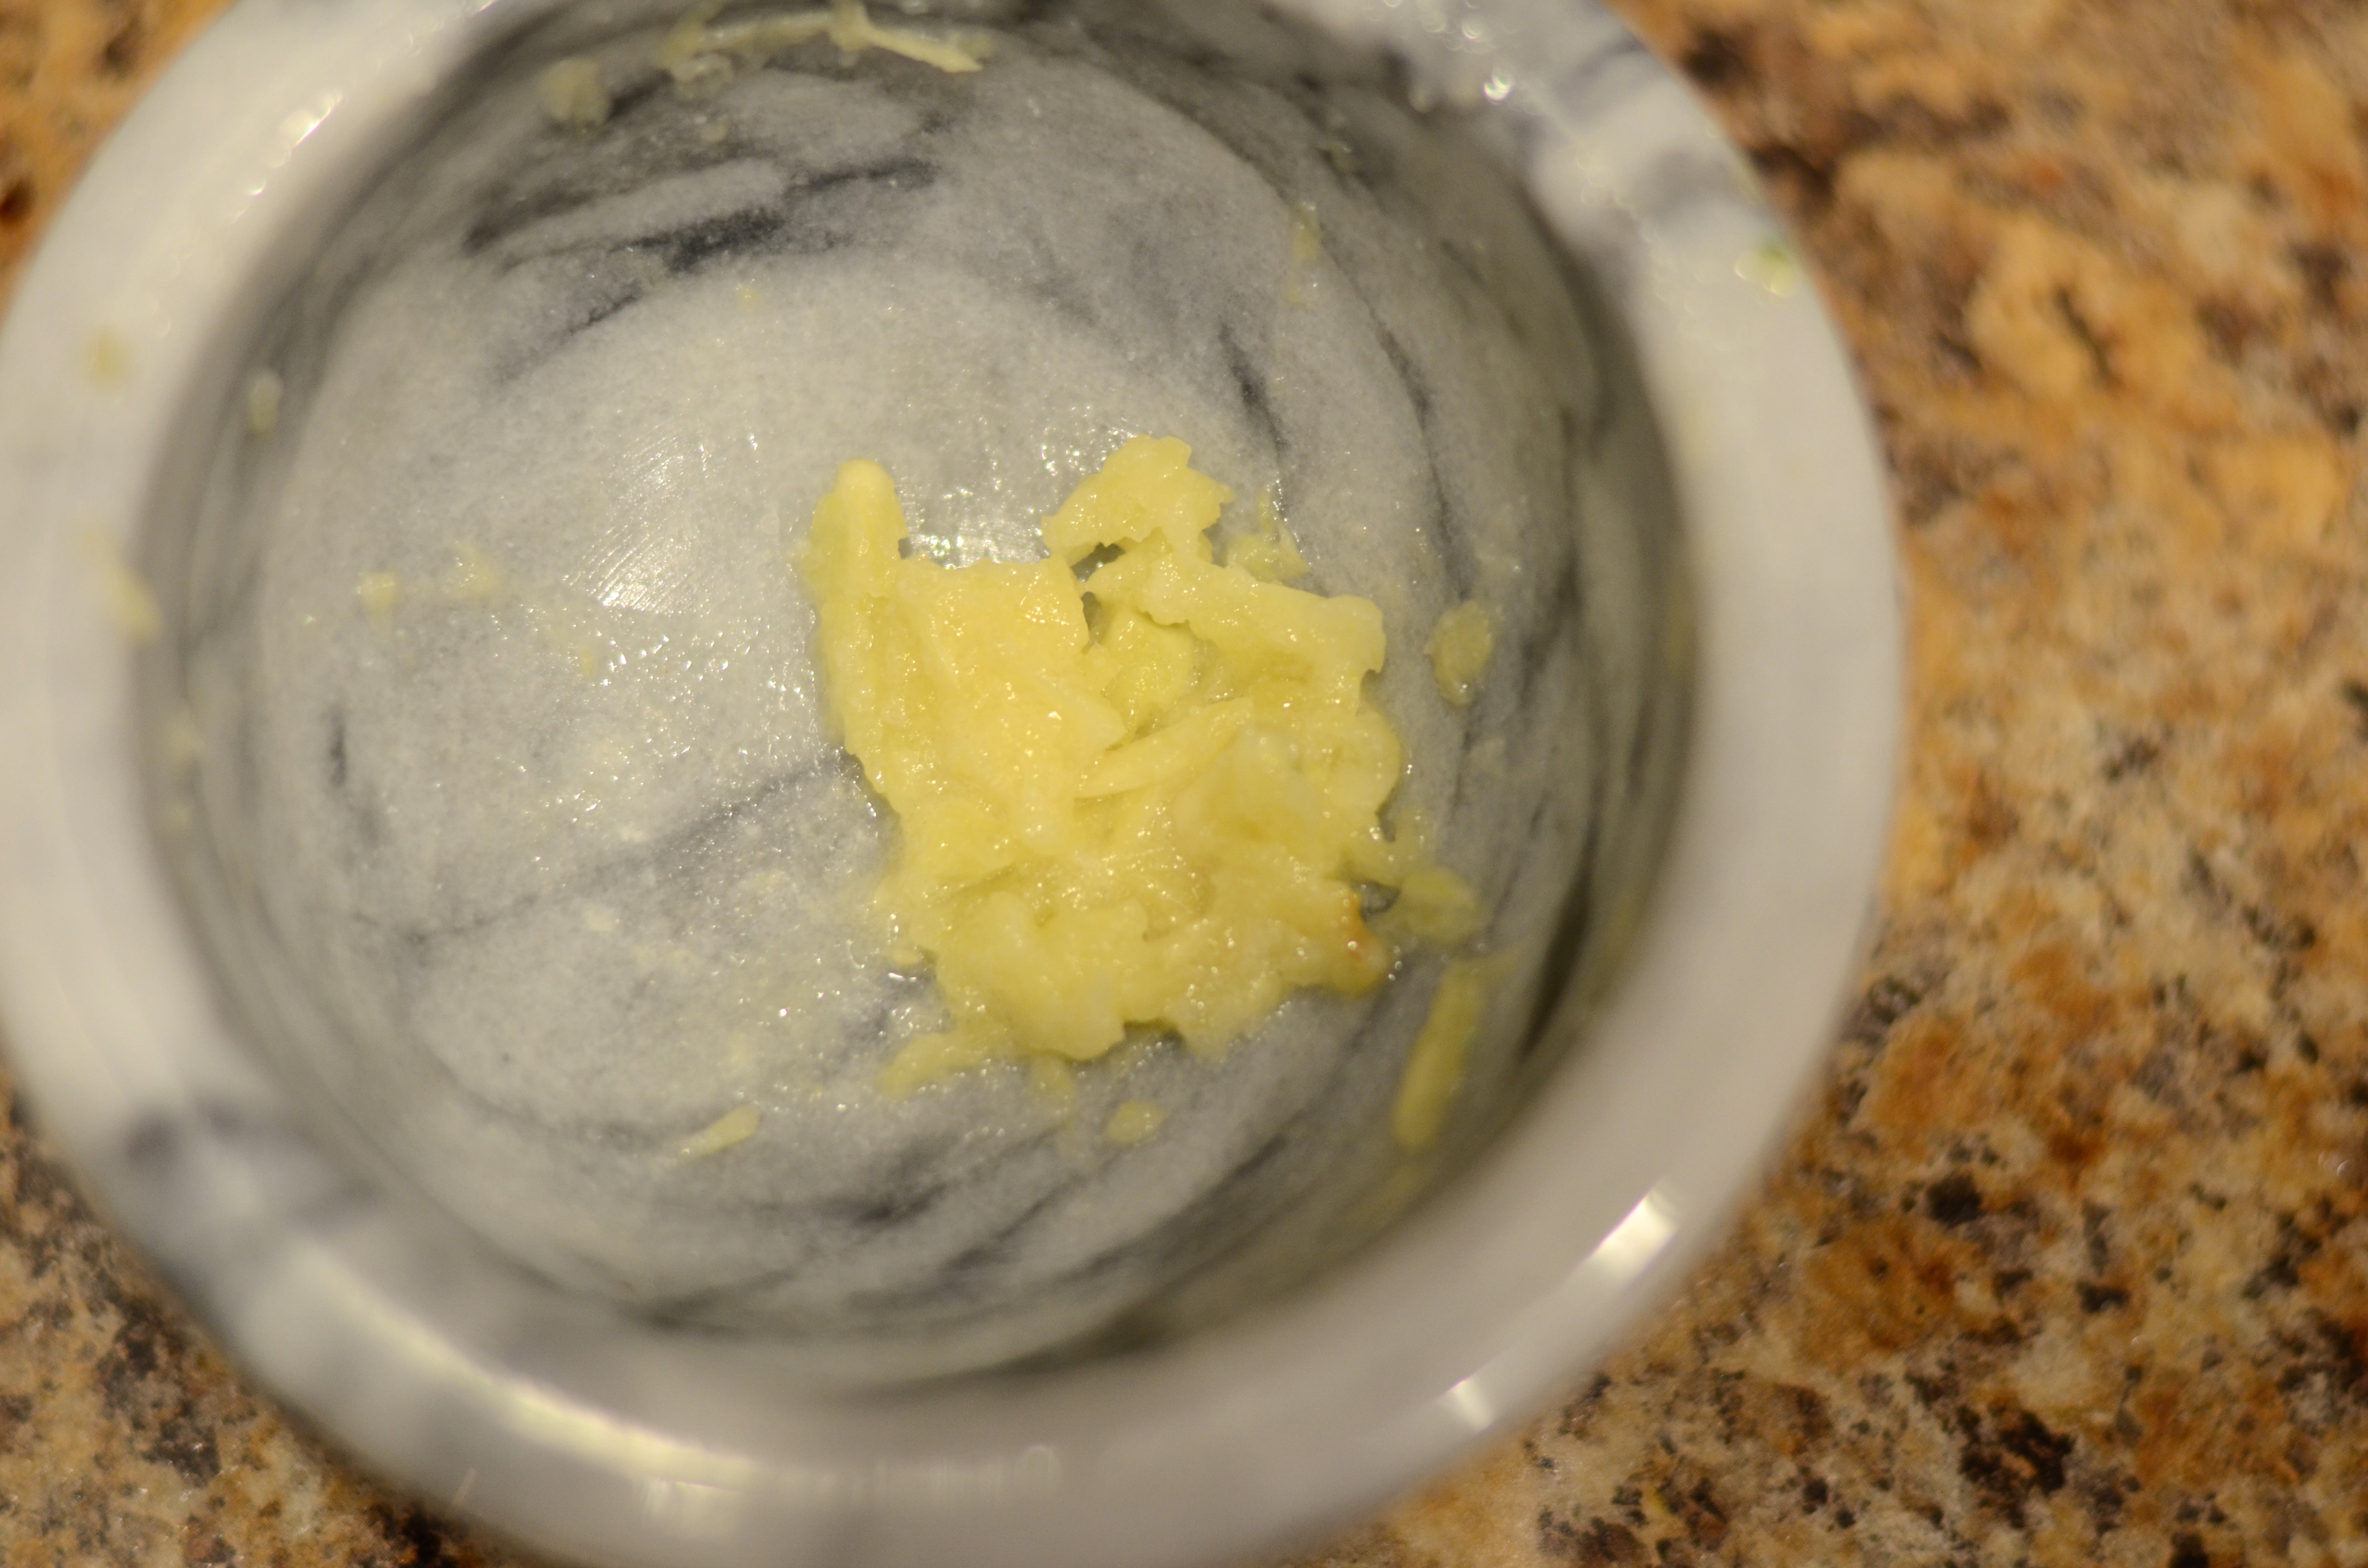
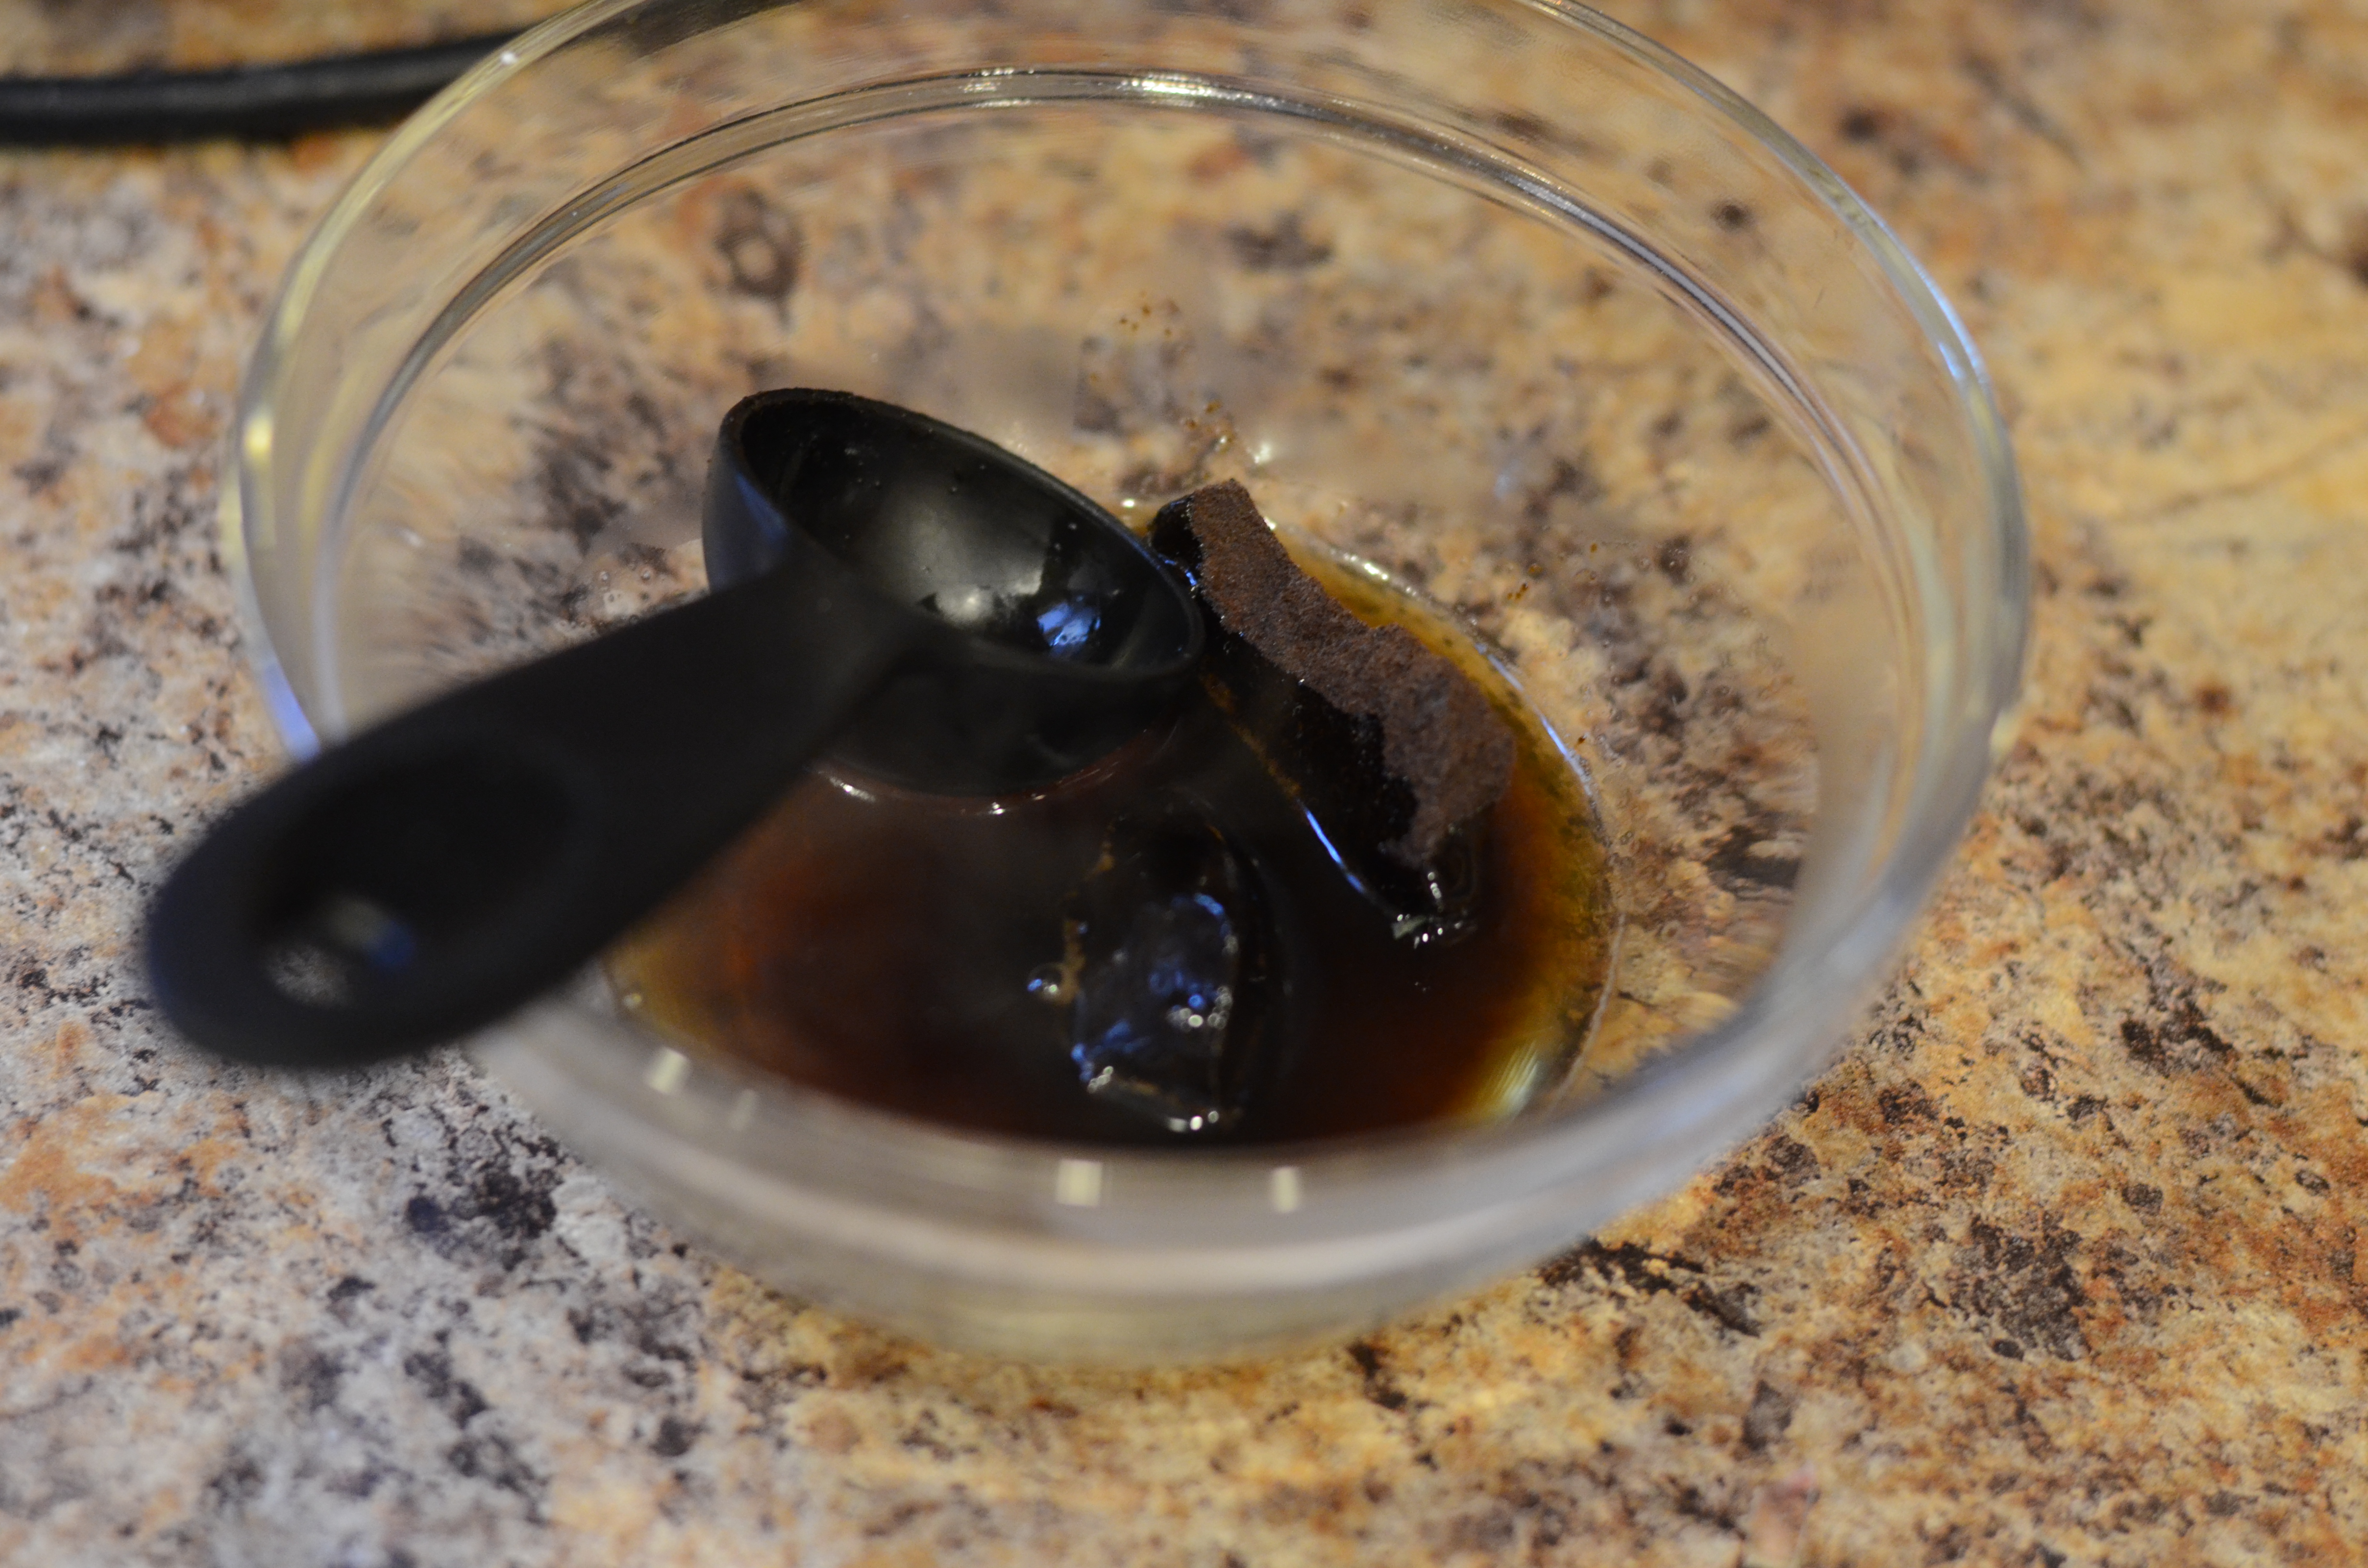
1/2 Tablespoon grated or zested lemon rind (about 1 large lemon’s worth)
3 overflowing Tablespoons fresh lemon juice (from about 1/2 a large lemon)
1/2 teaspoon vanilla extract
1/8 teaspoon kosher salt
4 ounces (1/2 package) less-fat cream cheese
2 large eggs

DSC_4197
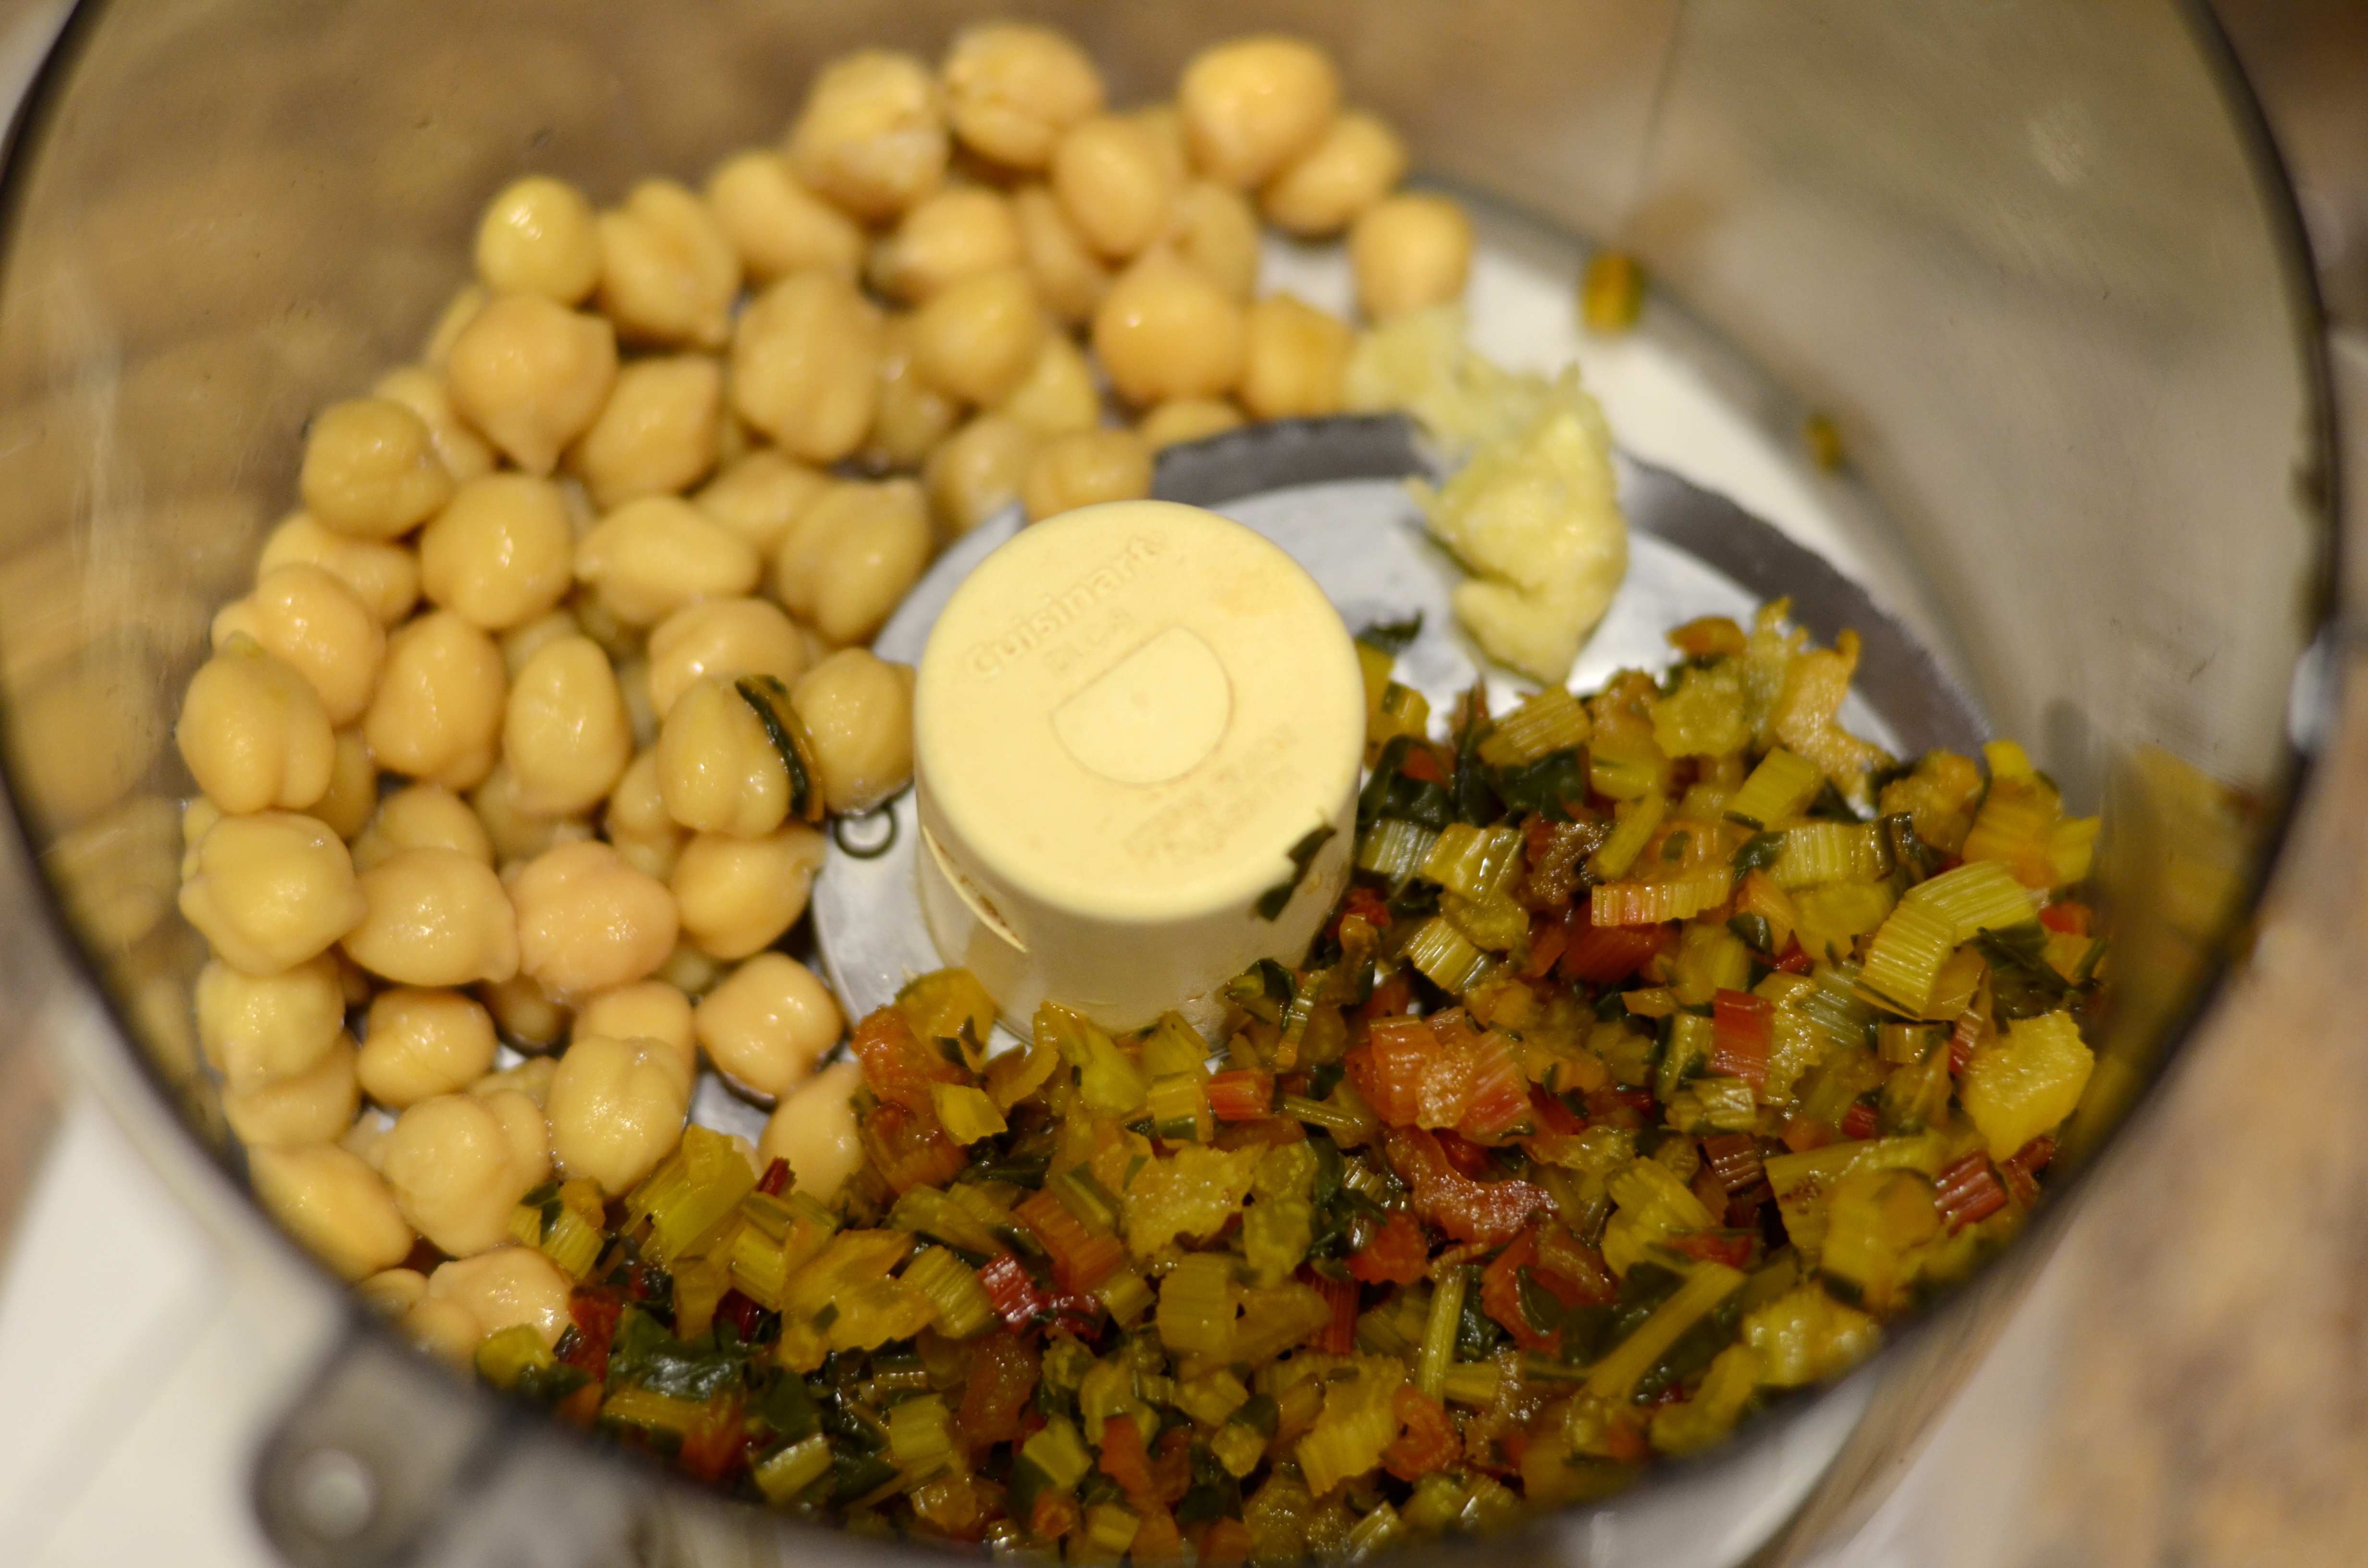
Another reason why it’s not that big of a deal that I was making only half the recipe: it’s the type of recipe that allows me to incorporate a number of my favorite shortcuts and conveniences, like using the food processor for crusts and blending and measuring with a kitchen scale.

As I alluded to in the introduction, however, be prepared for the multi-part process of pre-baking the crust, baking the filling, and allowing for chill time. No instant gratification with this one.

Preheat oven to 350°.
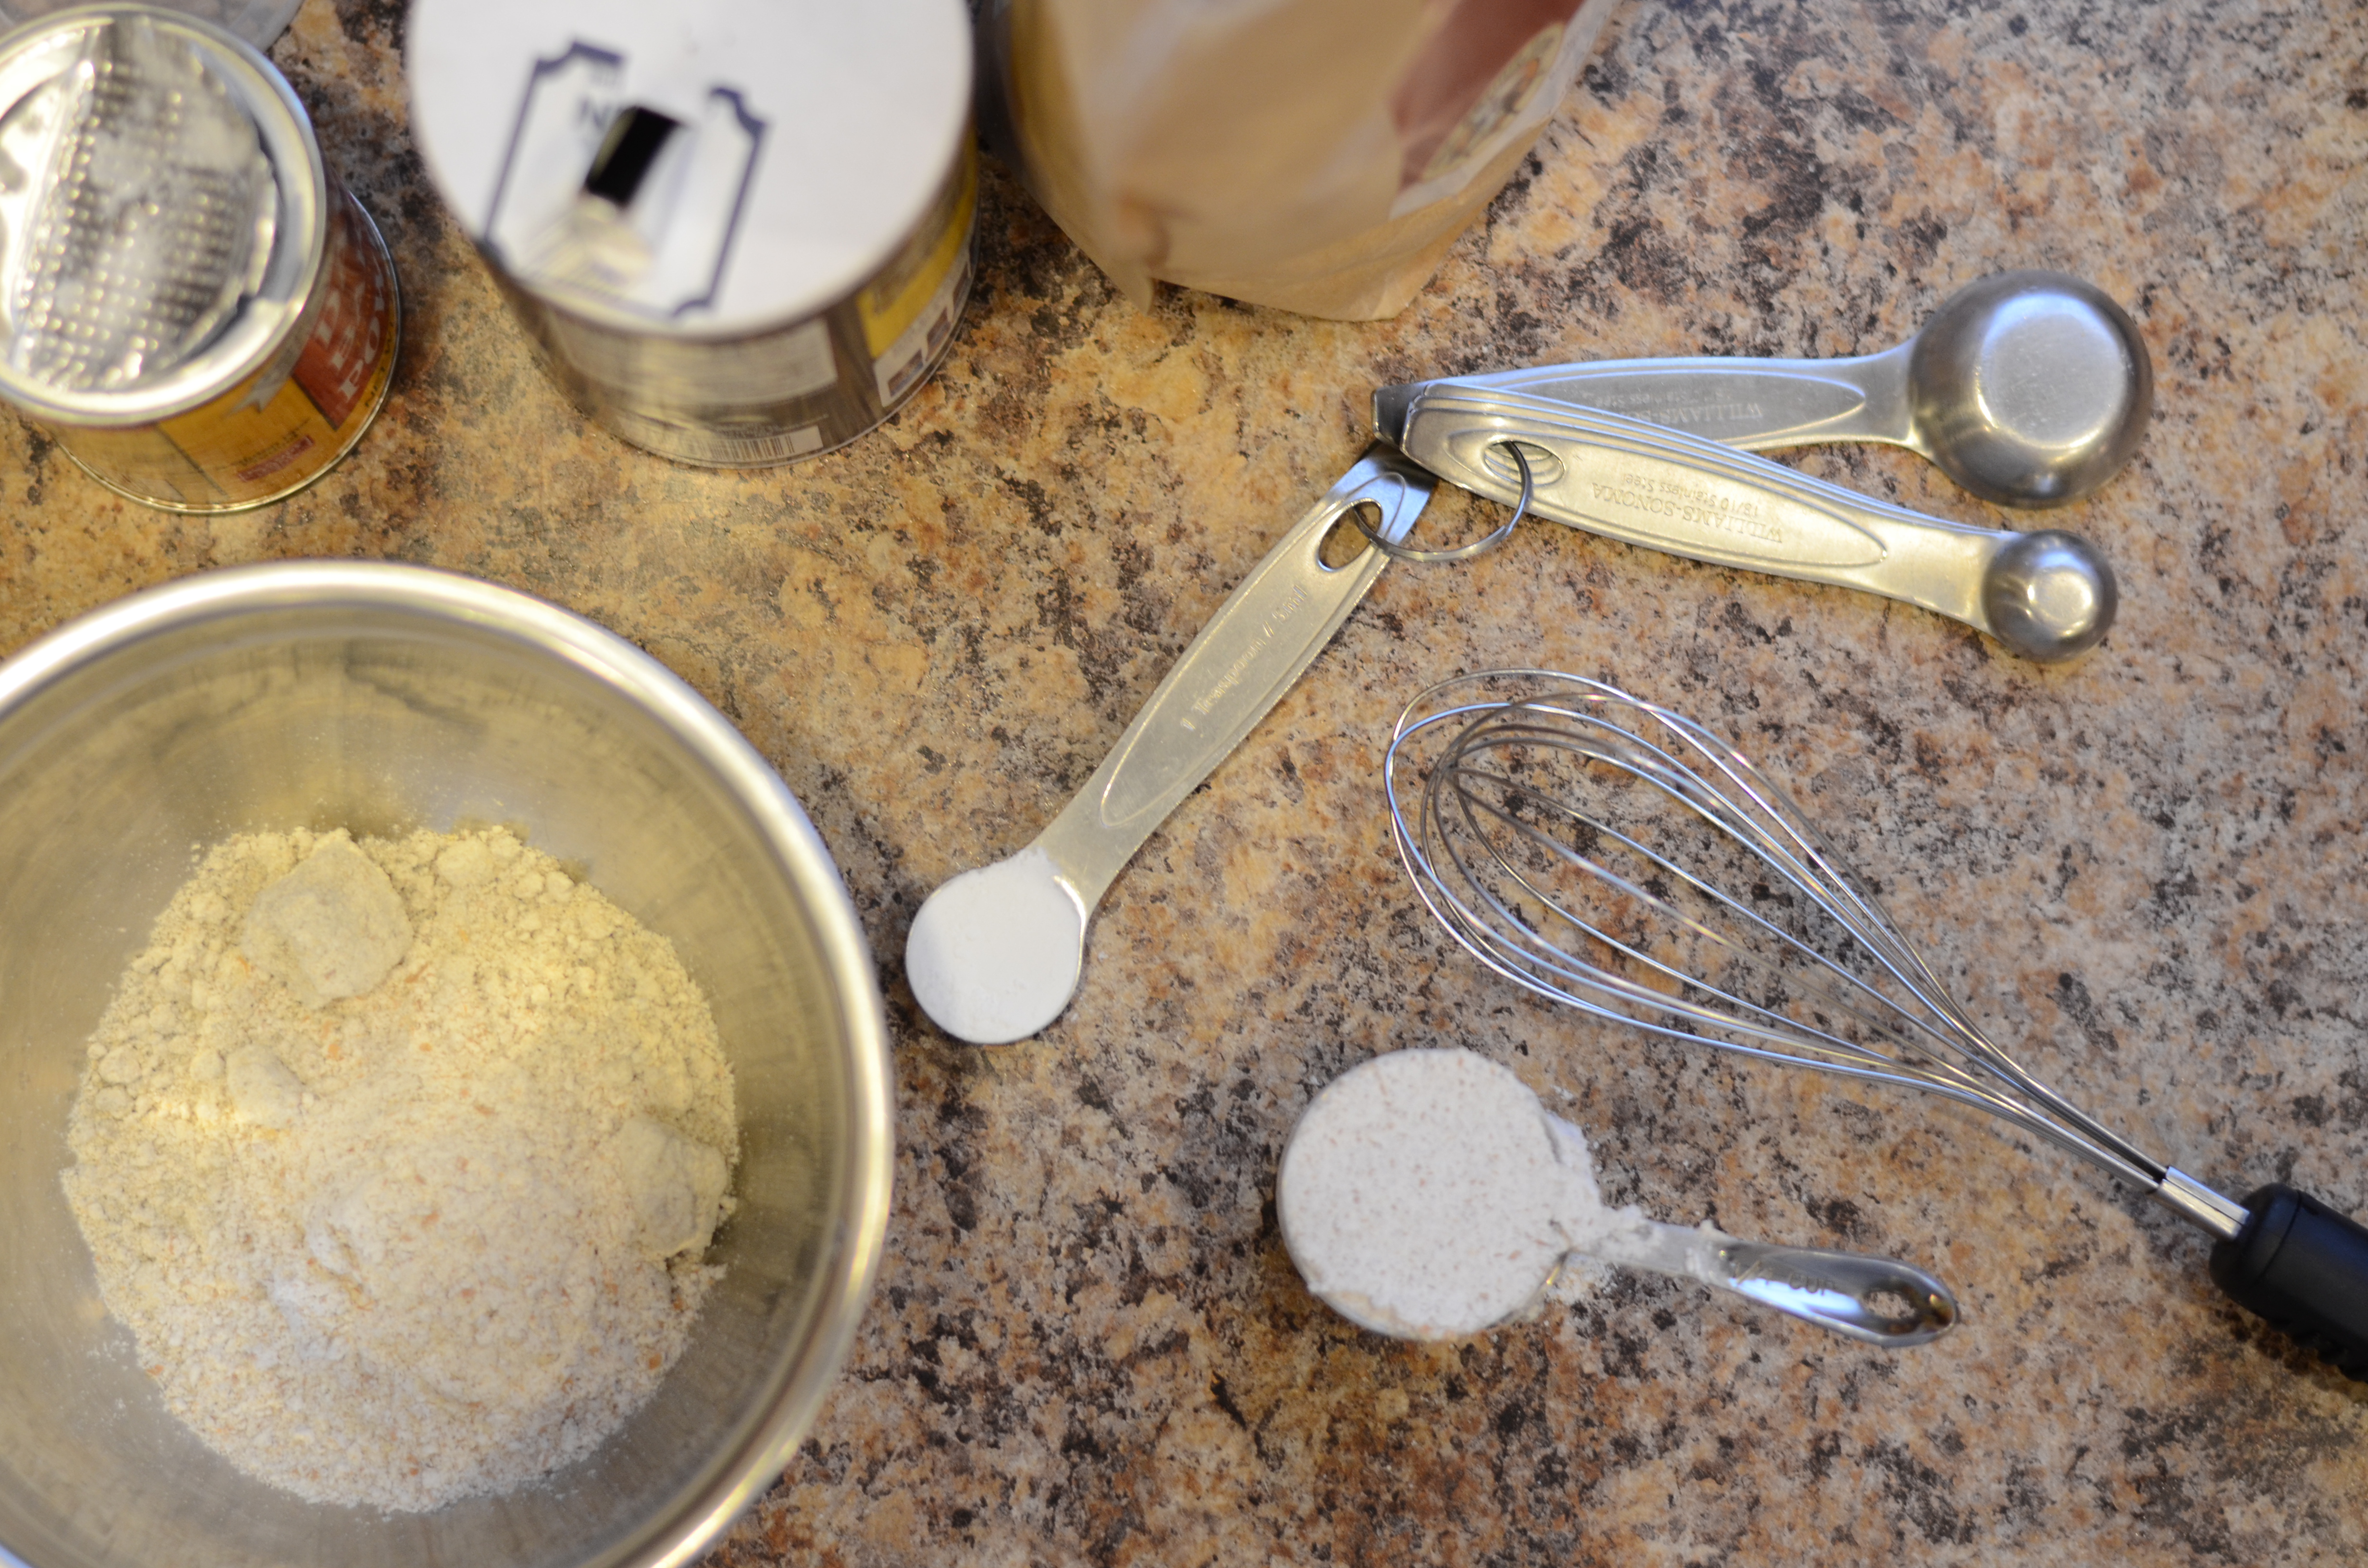
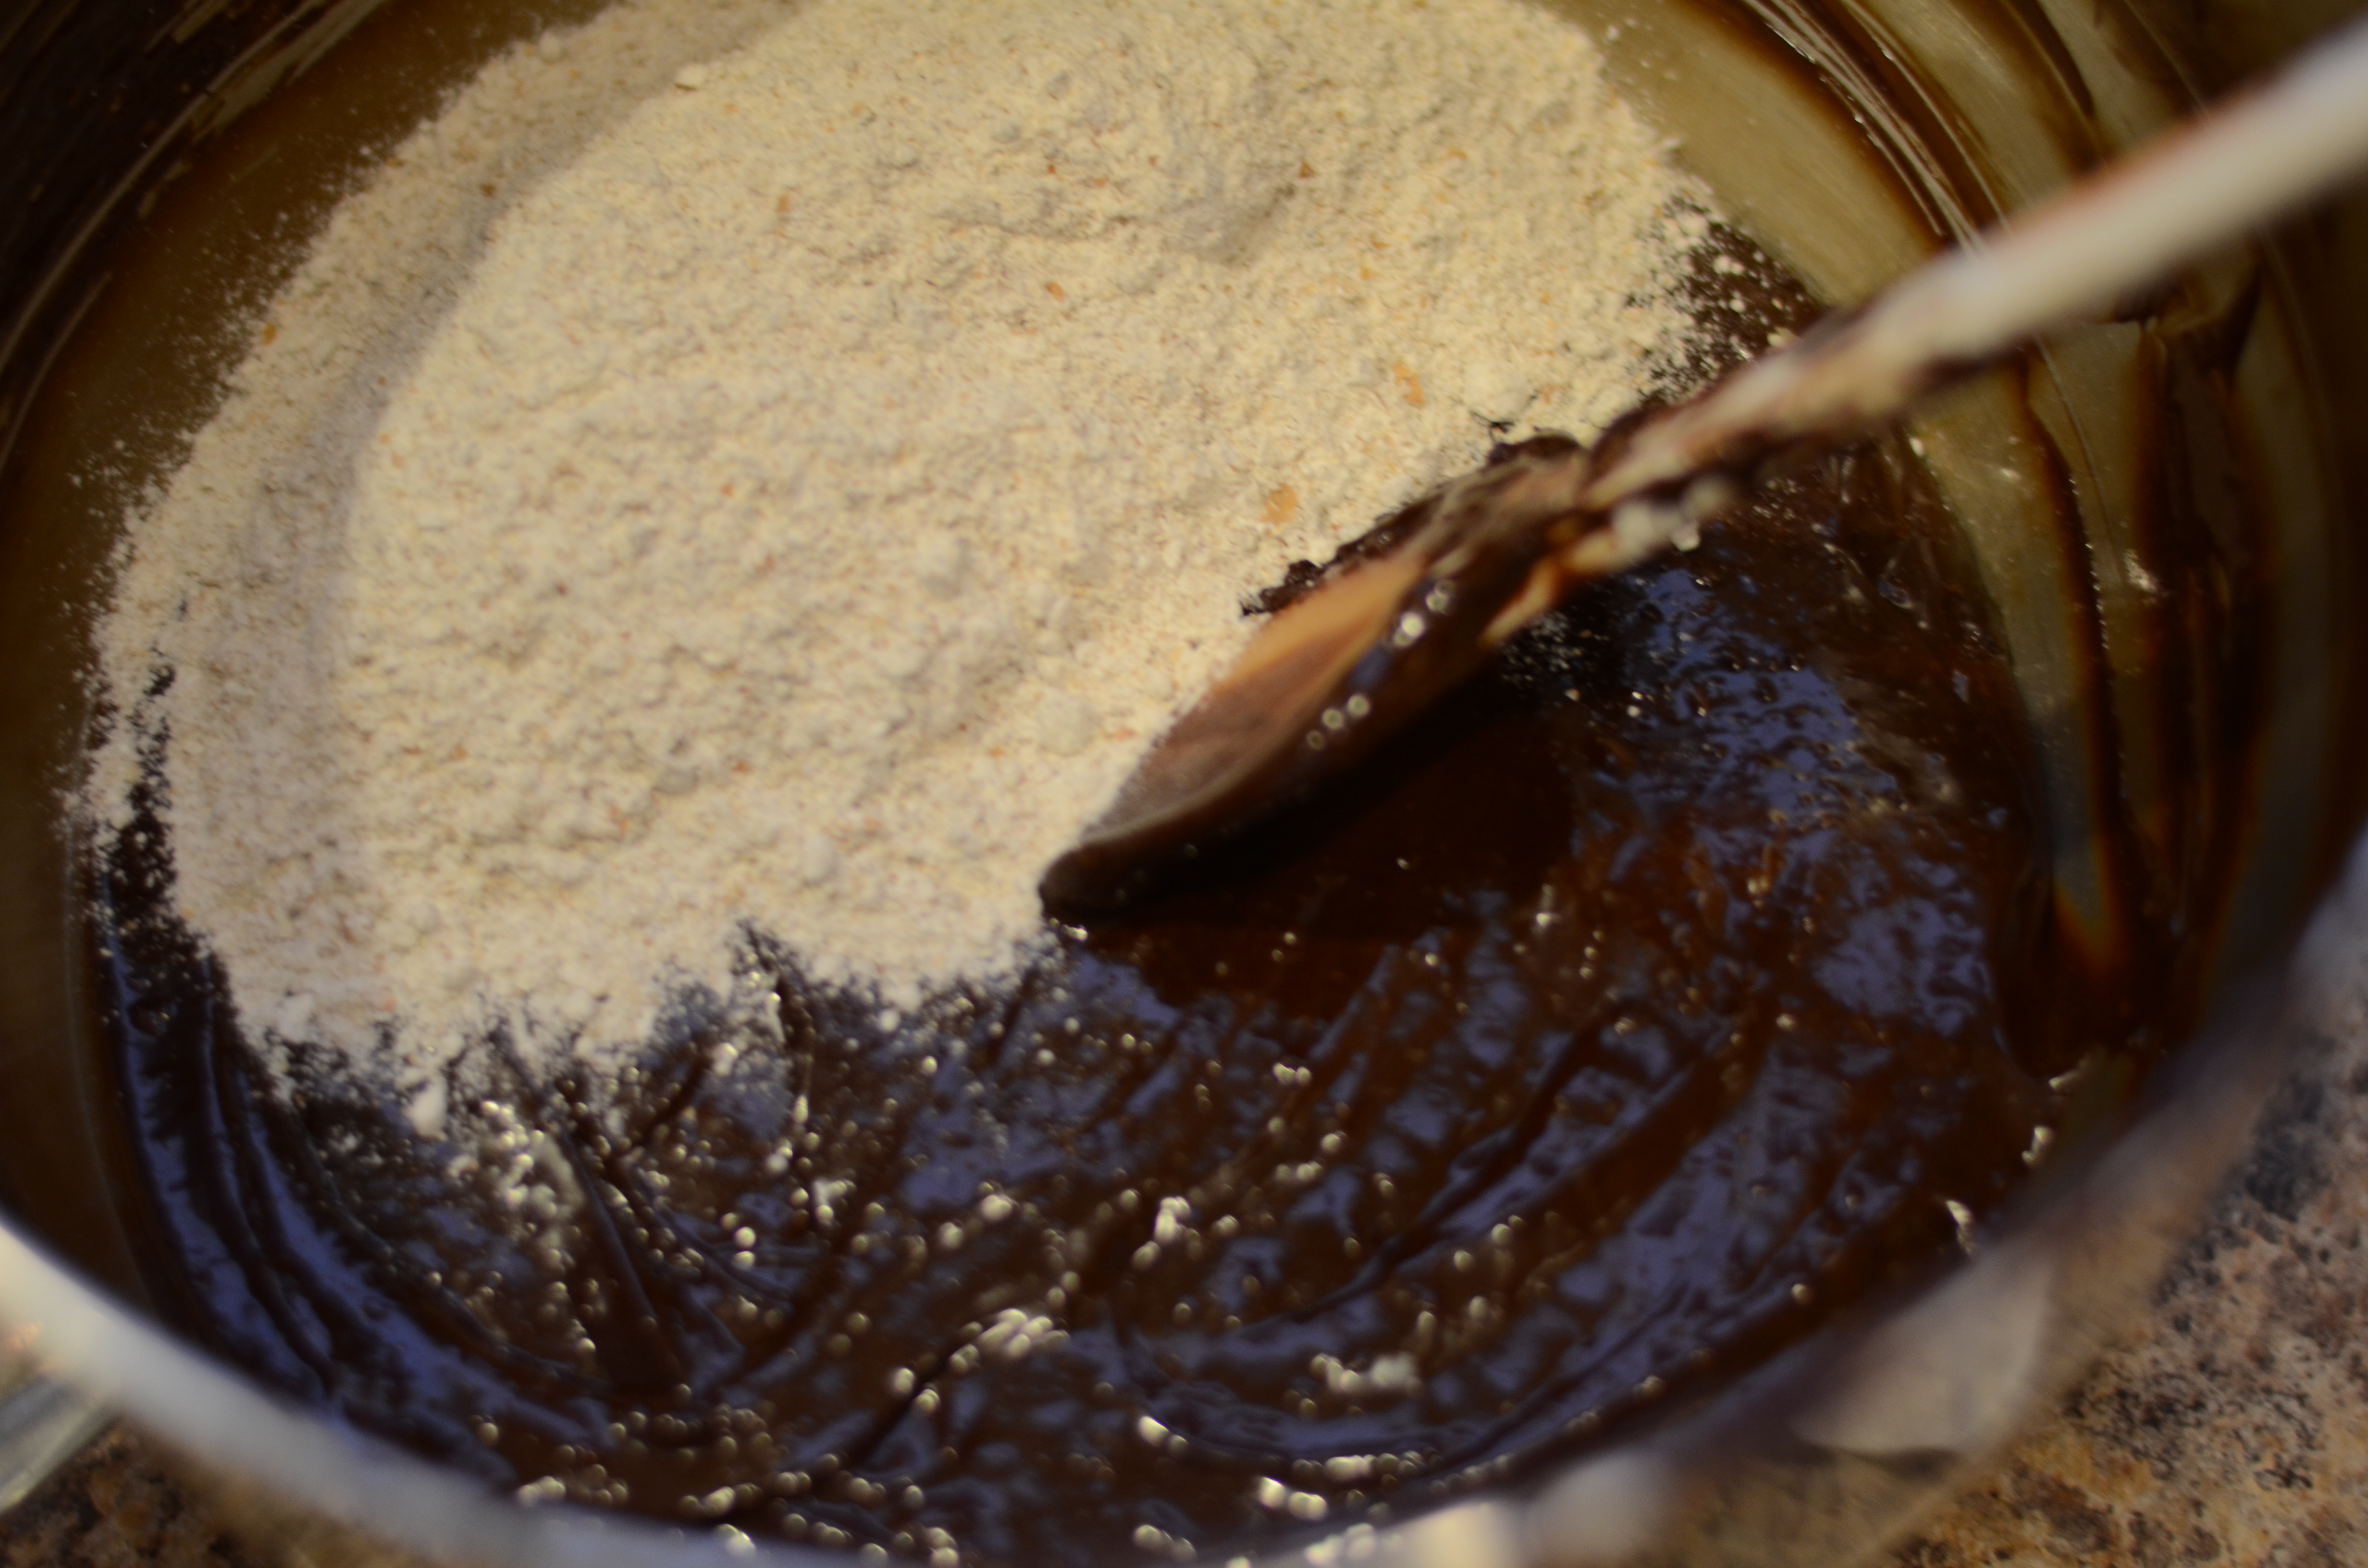
Prepare the crust: Cut butter into small pieces and place in freezer to thoroughly chill.
DSC_4198
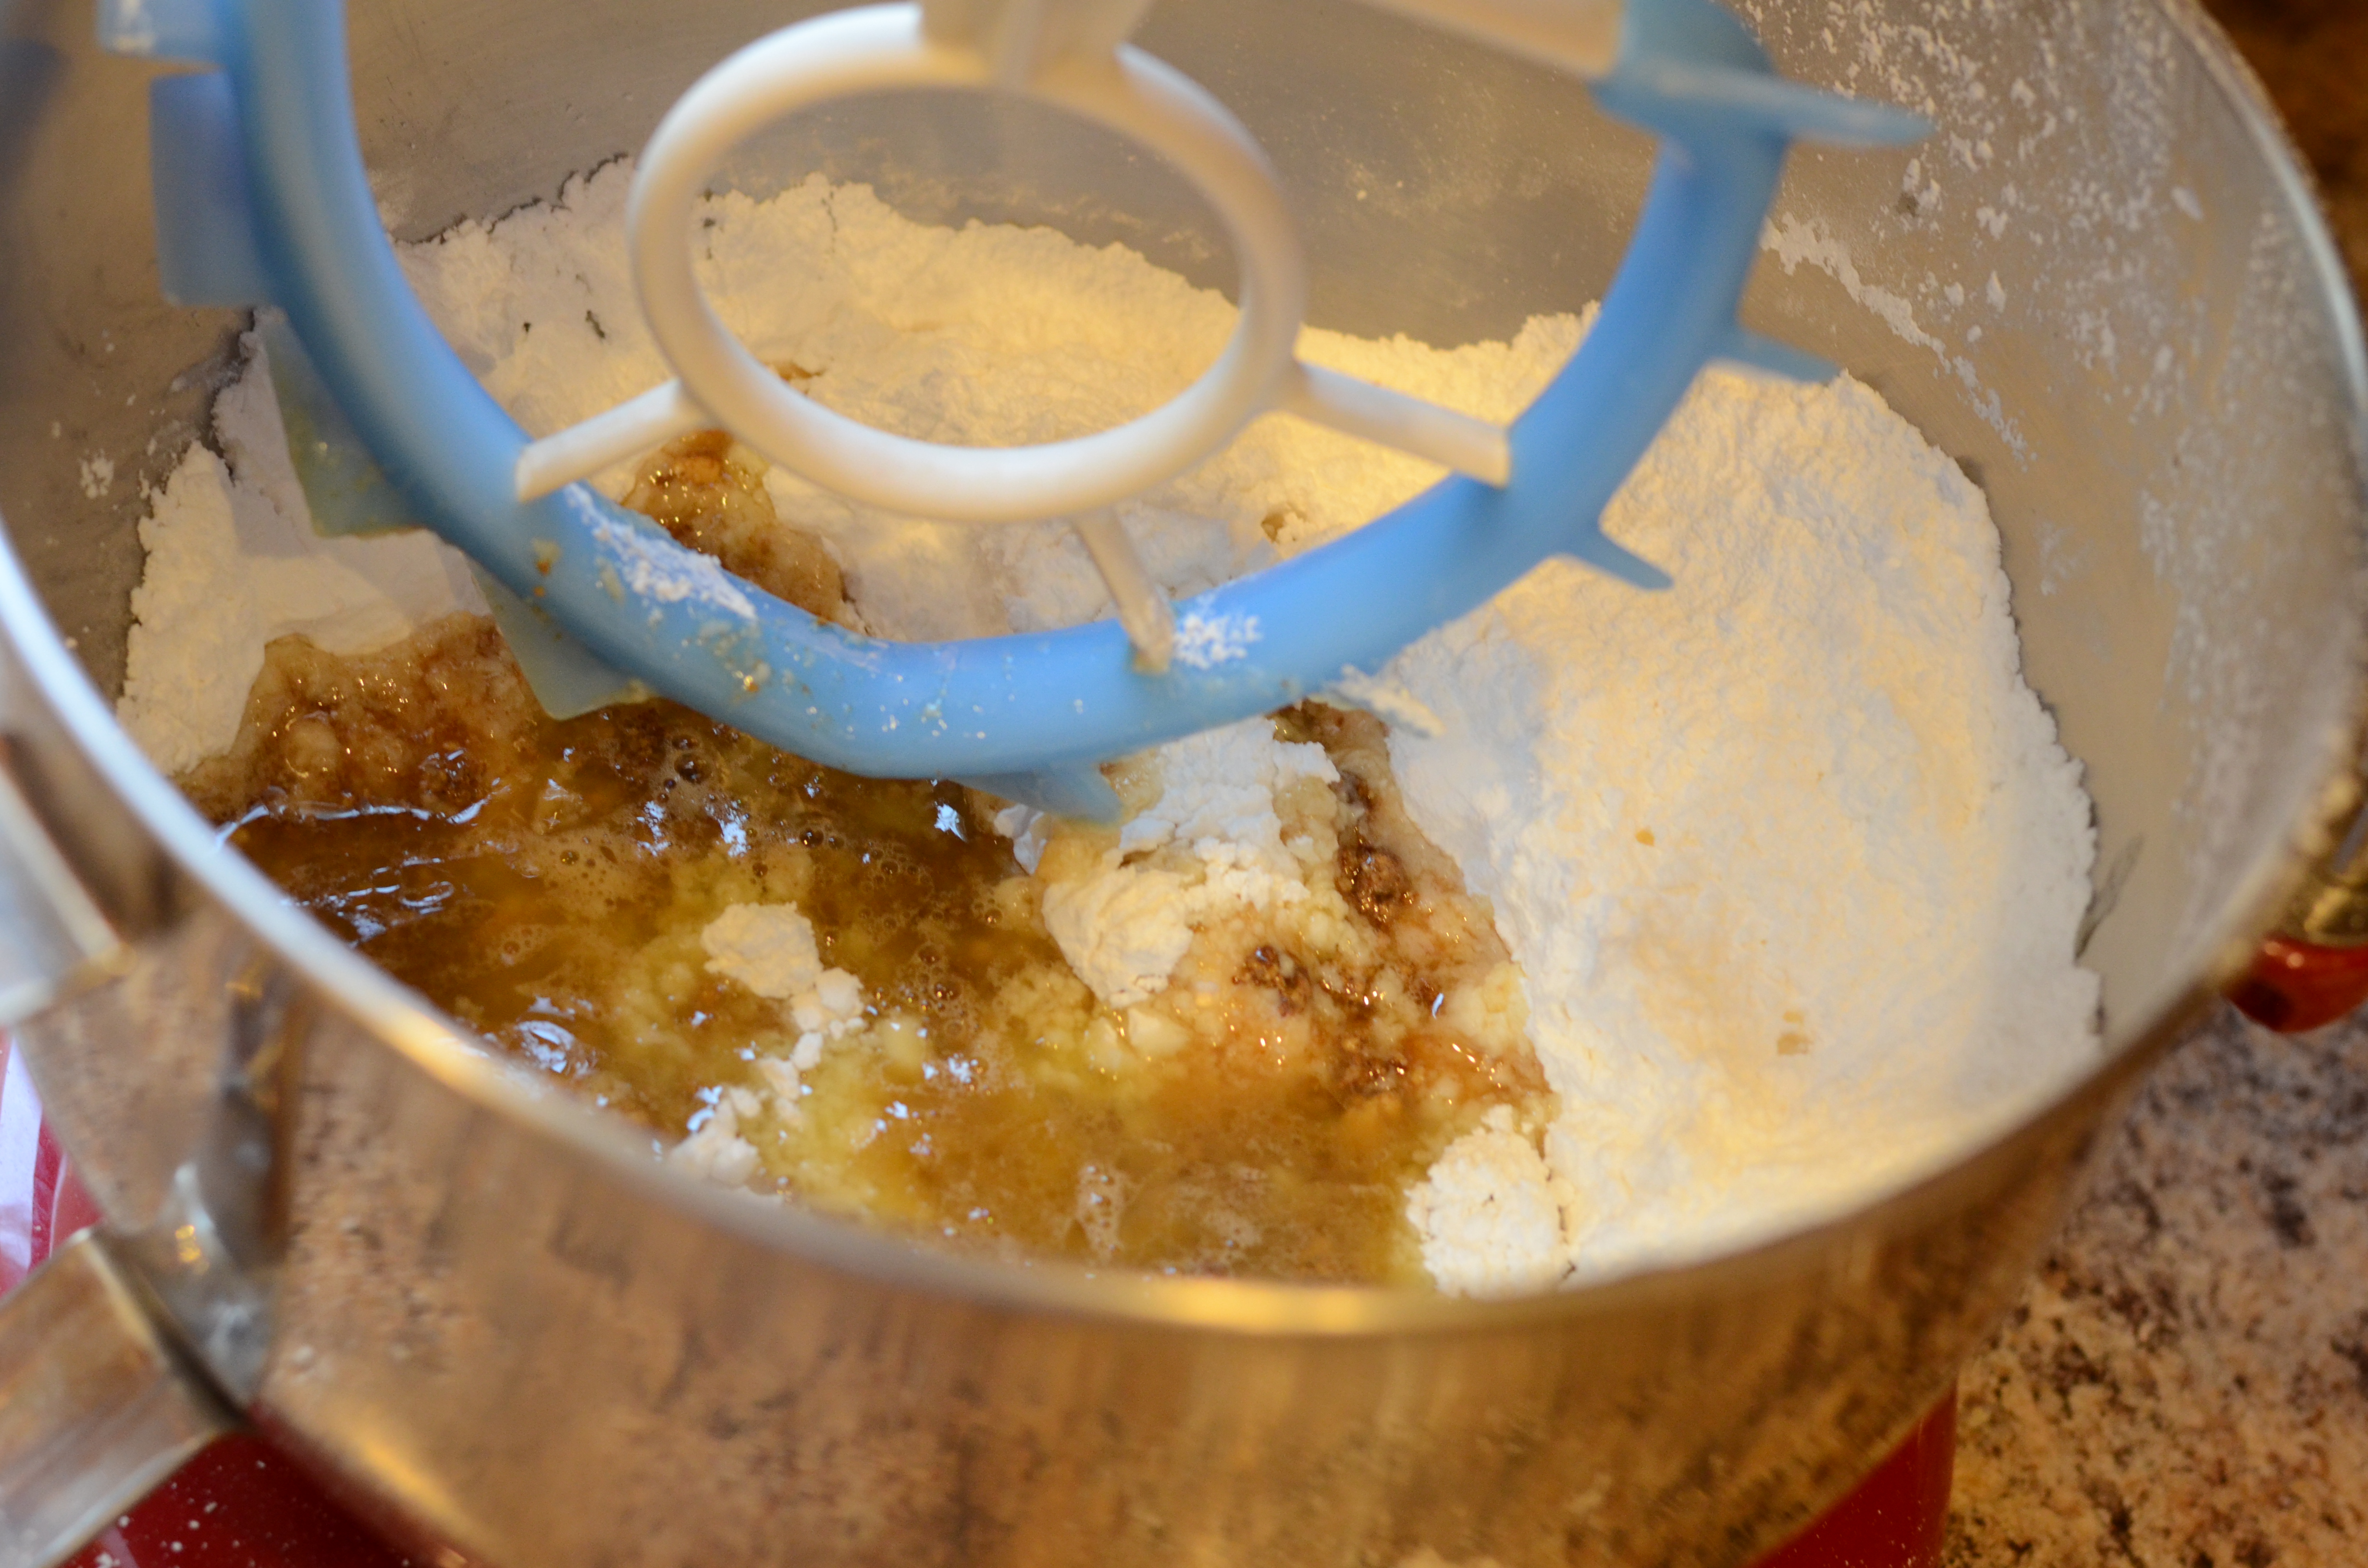
Measure and add flour, almonds, powdered sugar, oil, and salt to a food processor. Process until almonds are ground into small pieces.

Add butter to food processor; mix in pulses until the texture resembles a coarse meal.
DSC_4200
Spray small-medium glass baking dish with cooking spray (I calculated that my 8×8 glass storage container had a bit less DSC_4205than half the area of the 11×17 dish the original recipe called for) and add crust mixture. Pat down gently into an even layer. Bake for about 23 minutes, until slightly browned. Allow to cool.

Reduce oven temperature to 325°.
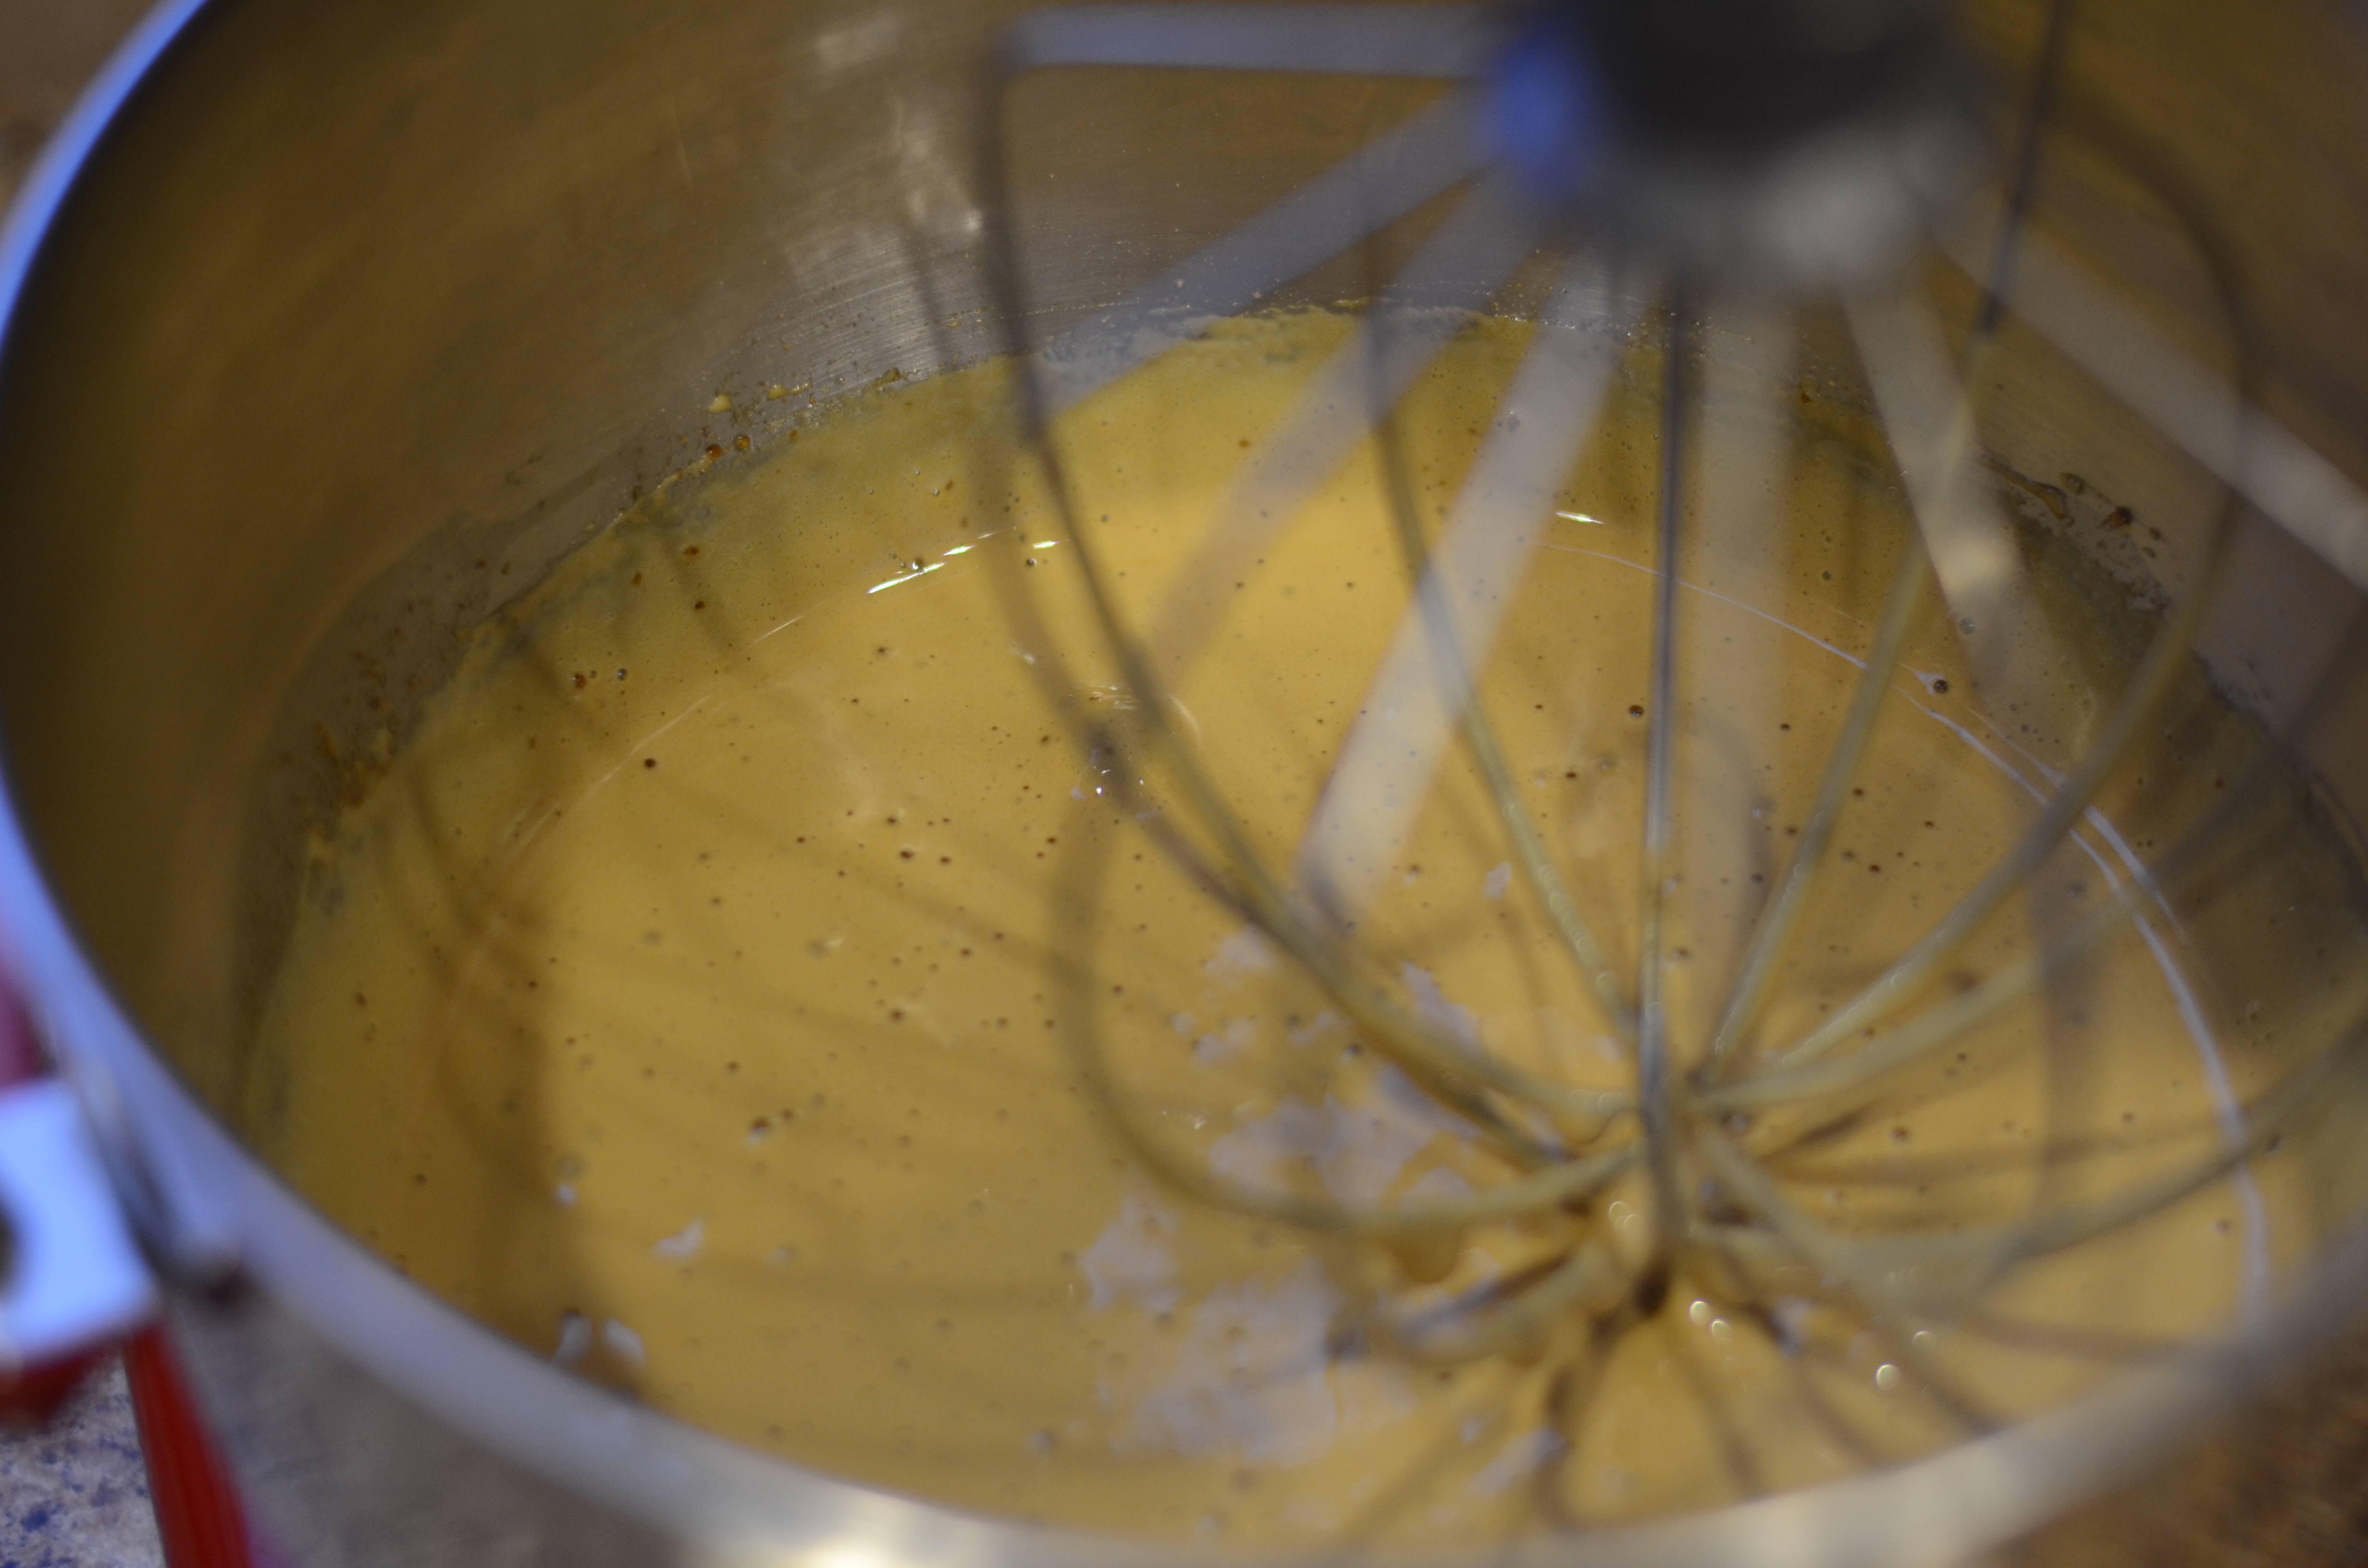
Prepare the filling:
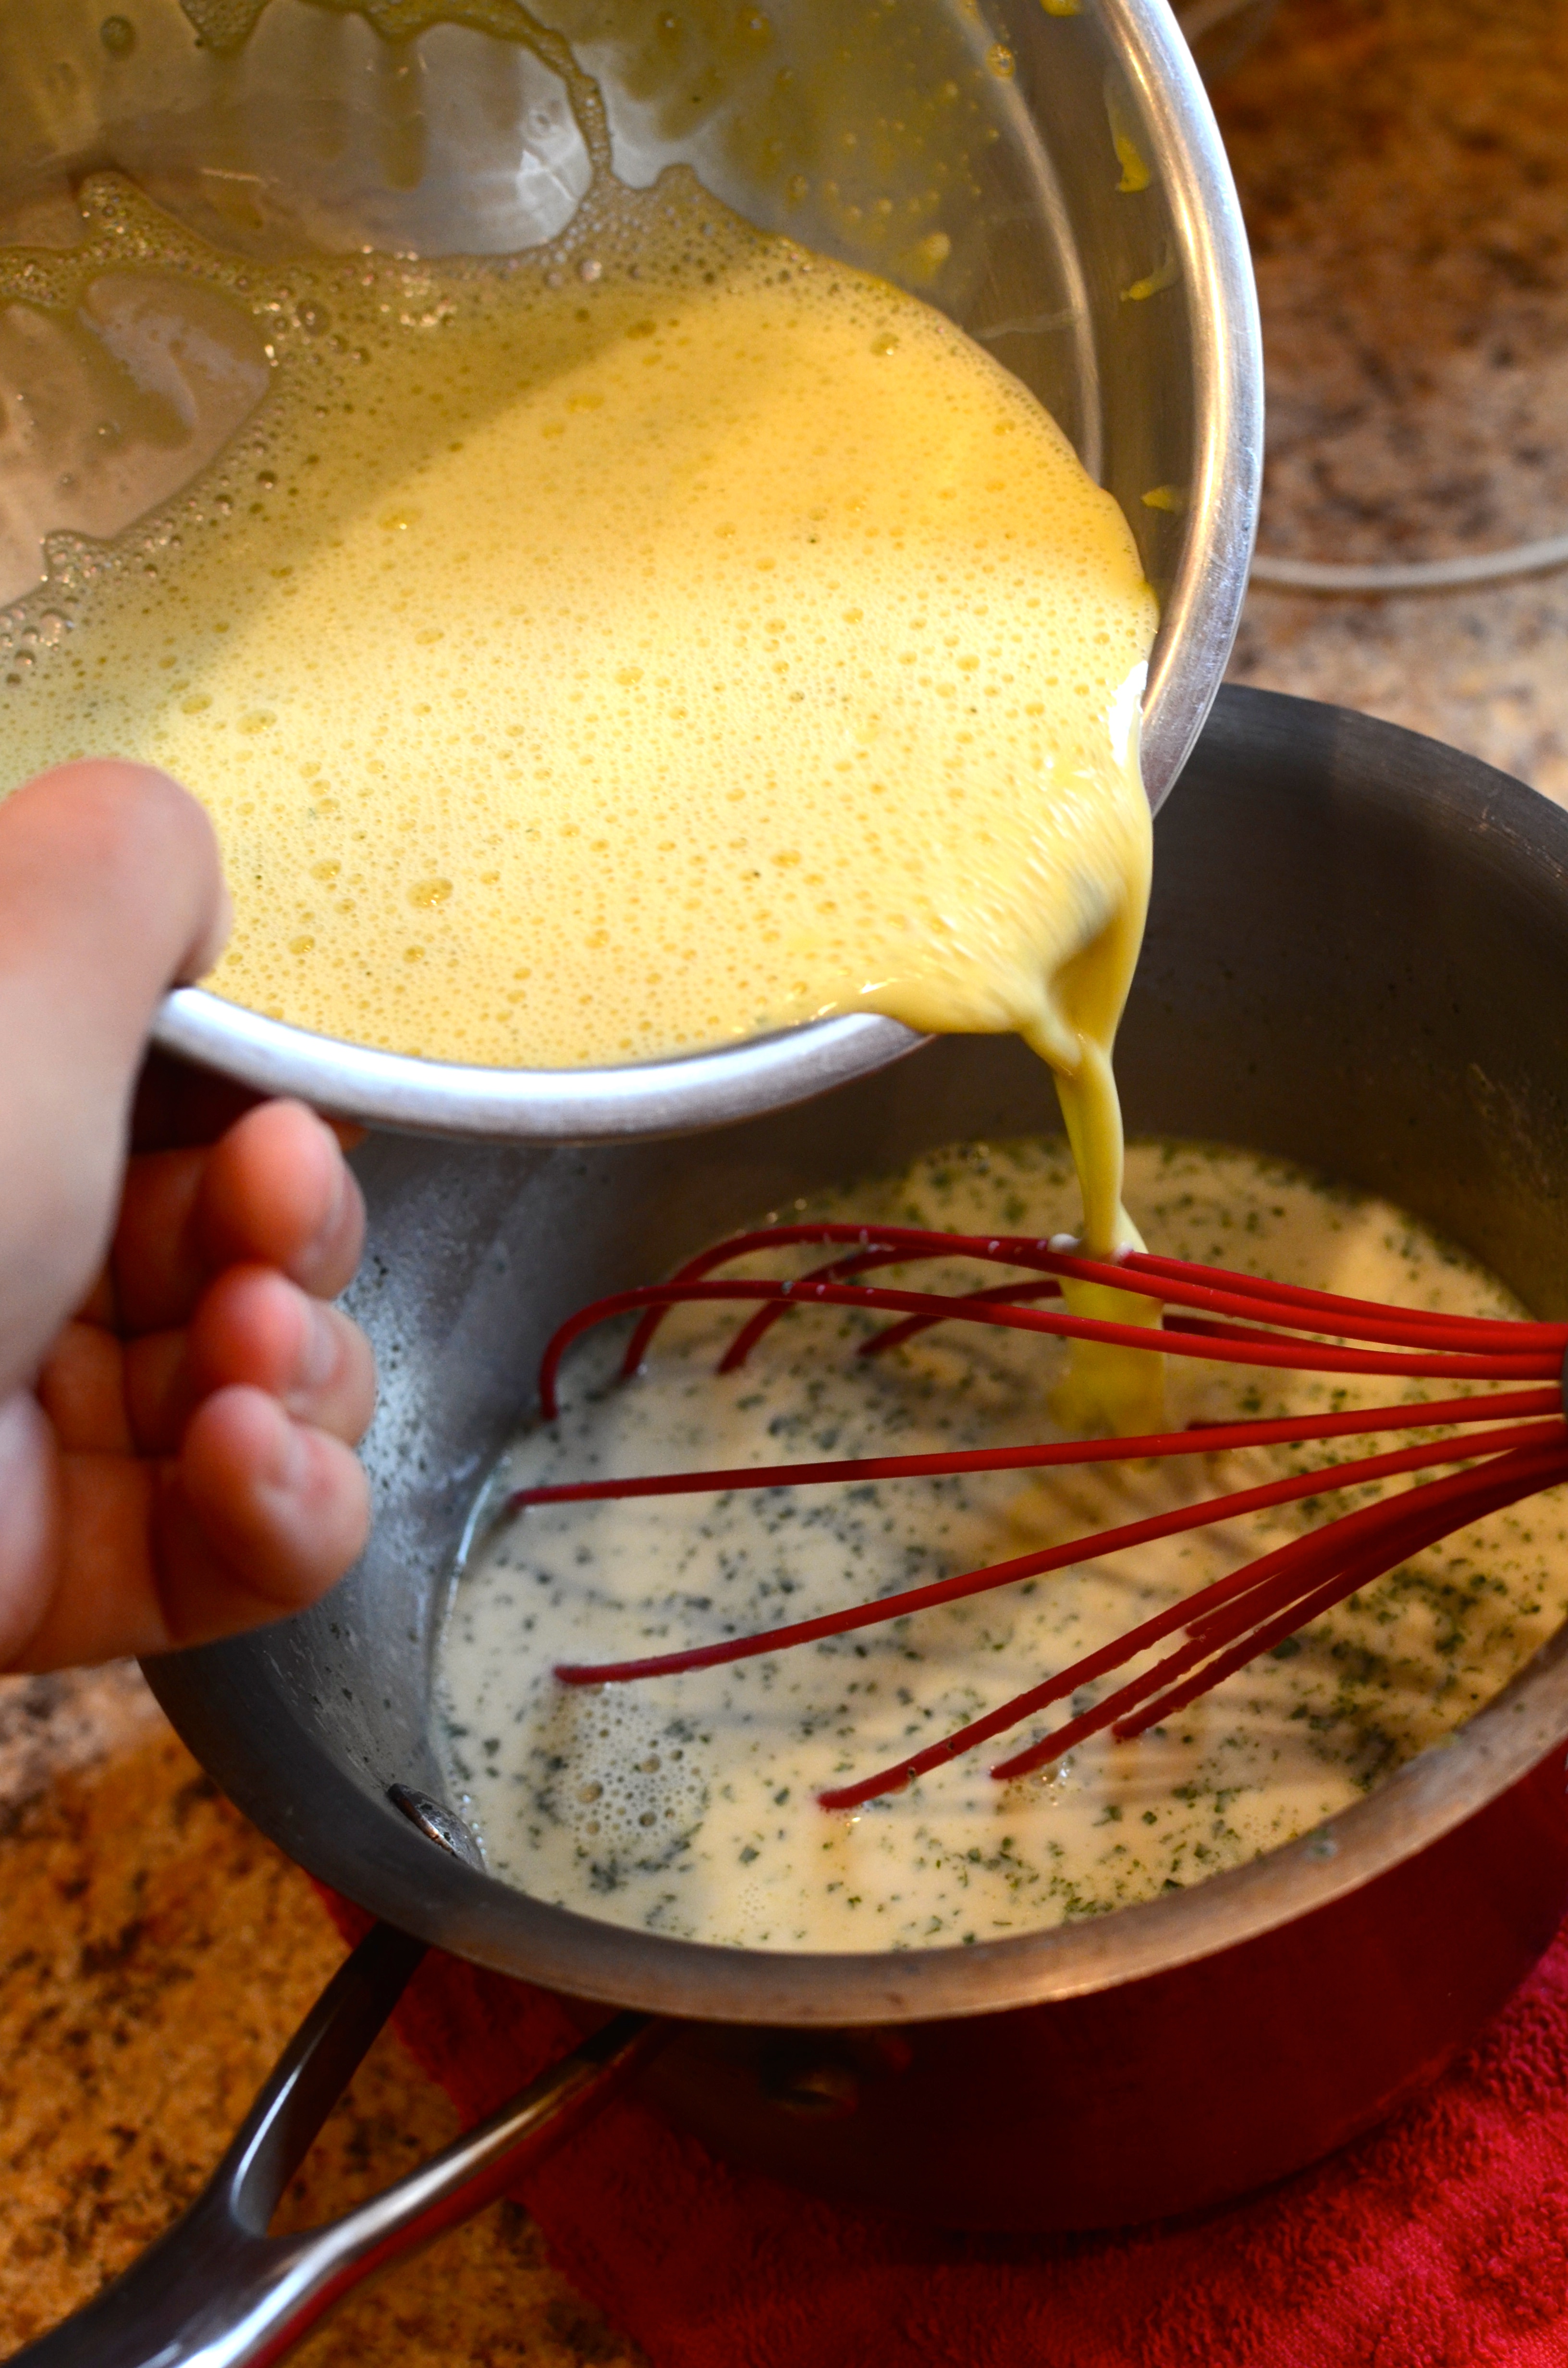
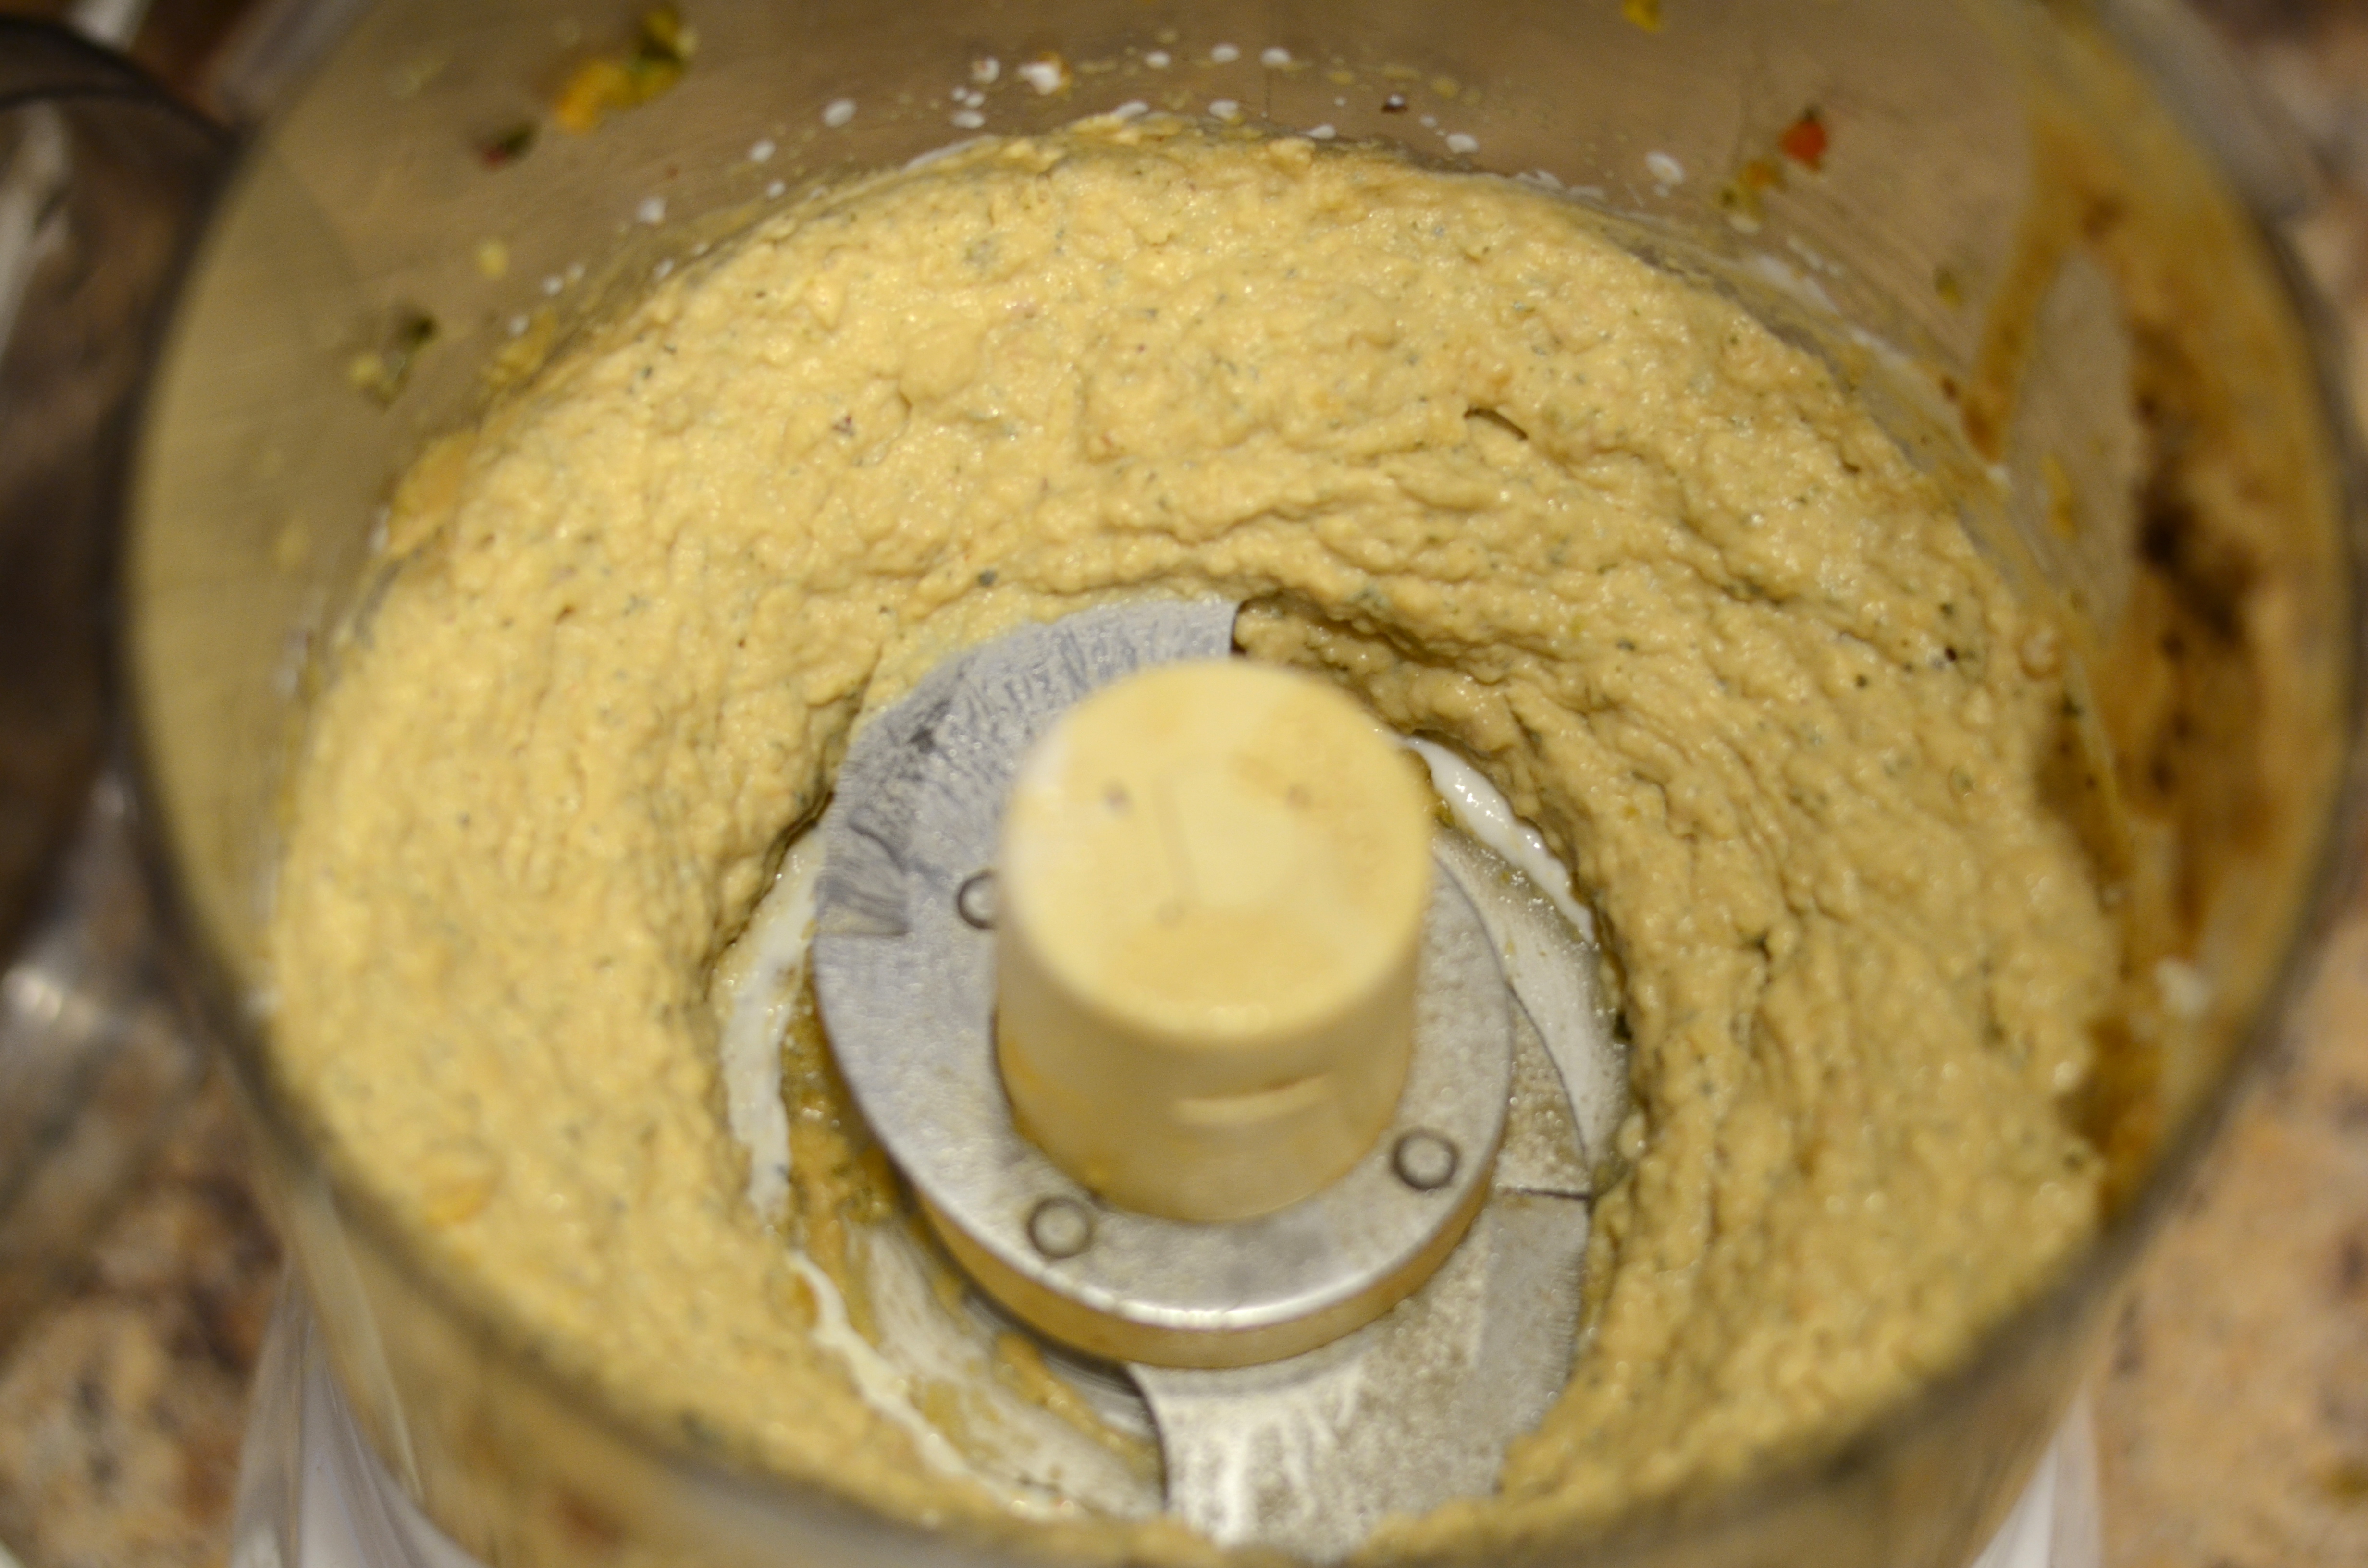
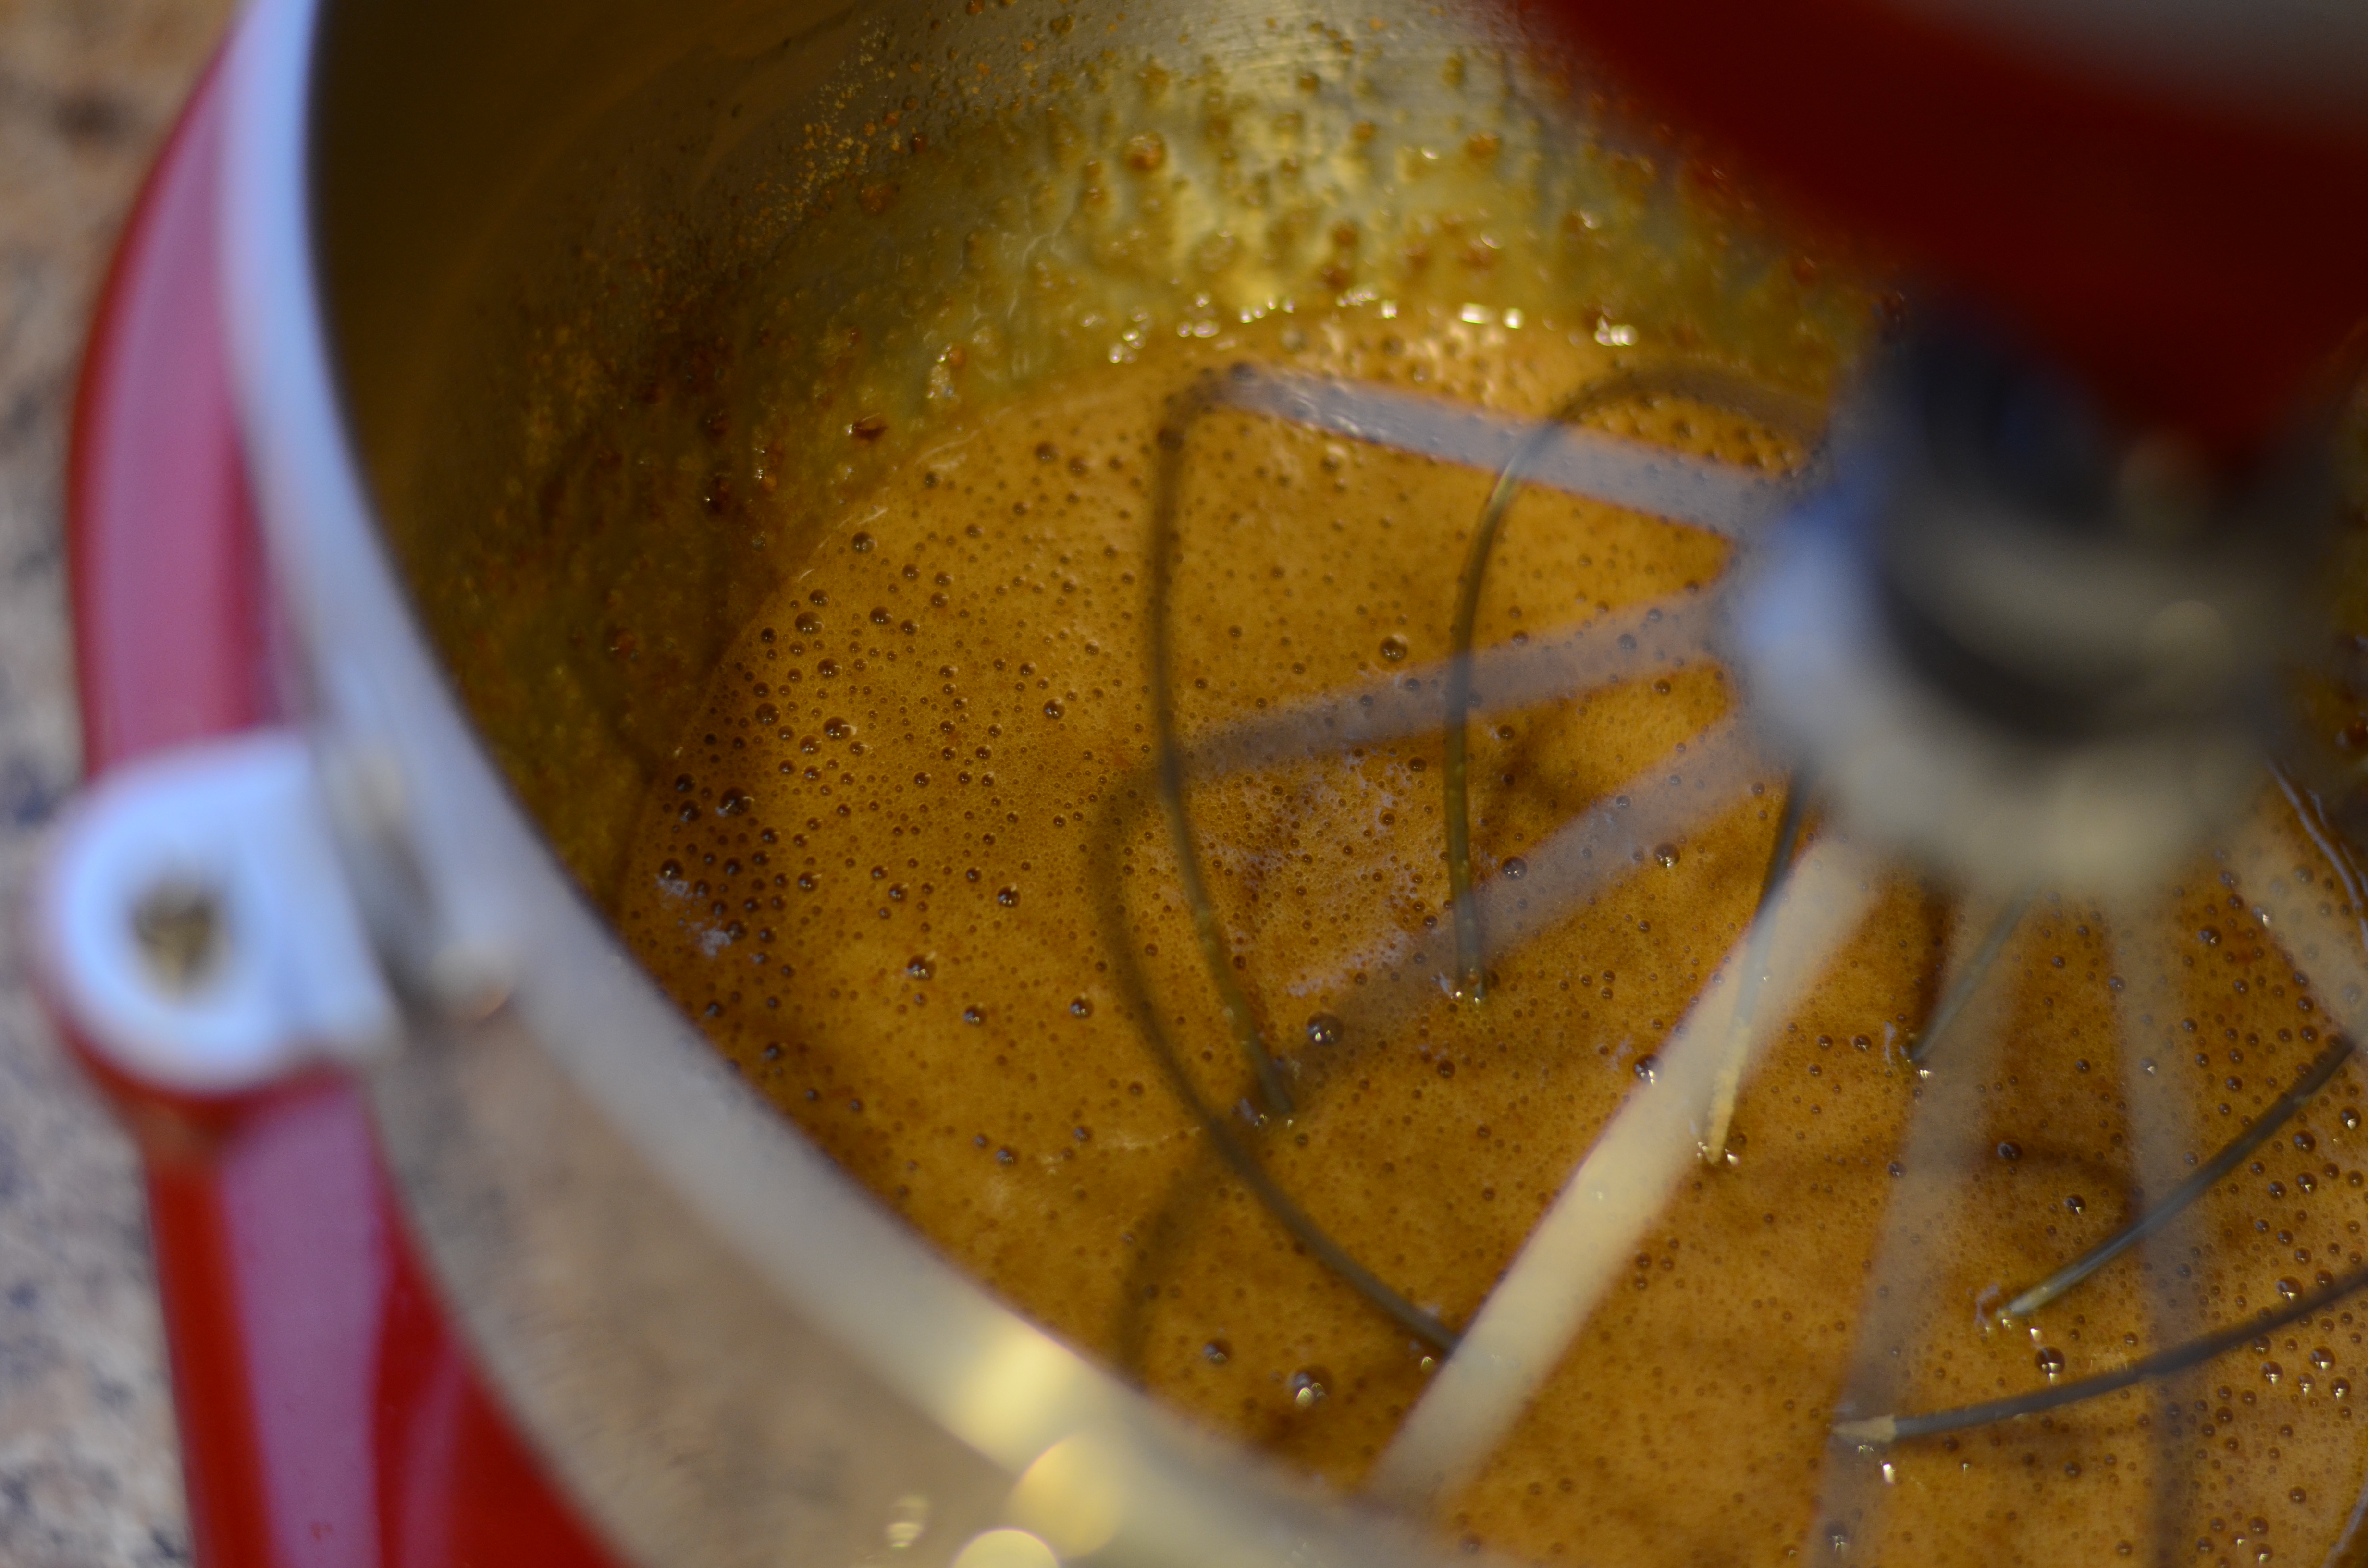
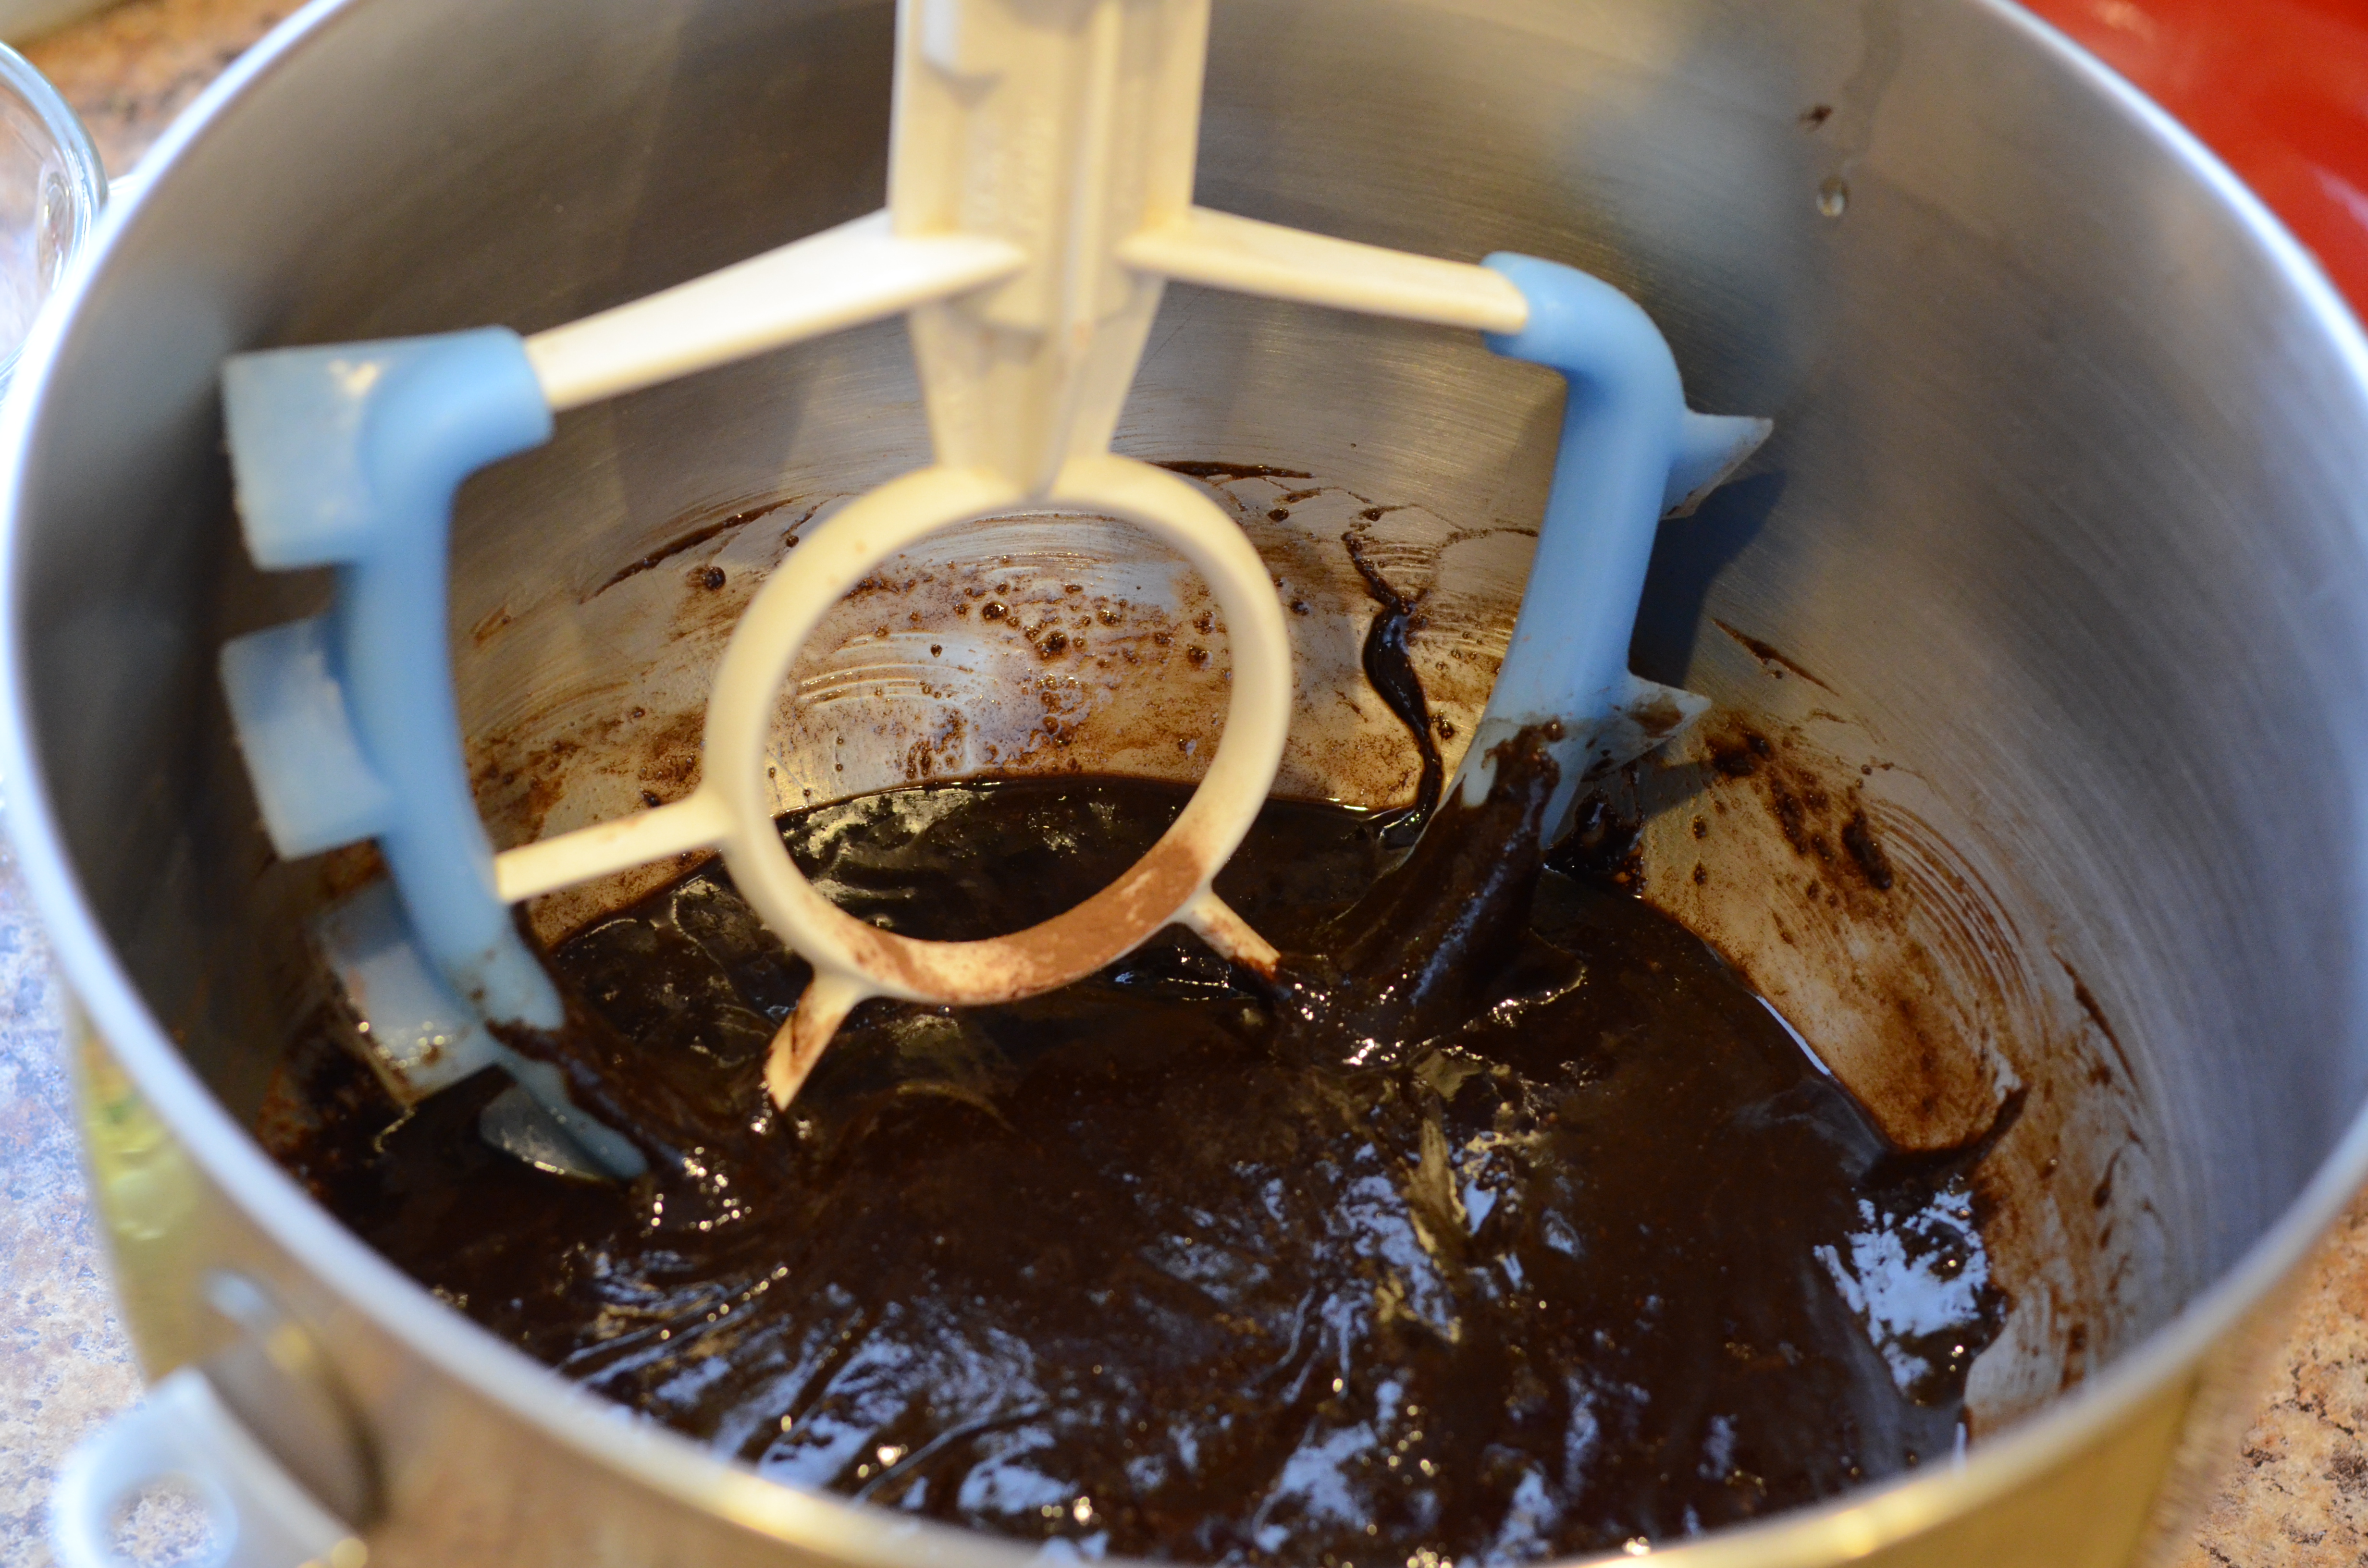
Clean out the food processor. Add all the ingredients except for the egg and process until smooth.
DSC_4203
Add egg and blend together.
DSC_4204
Pour mixture evenly over crust.
DSC_4210
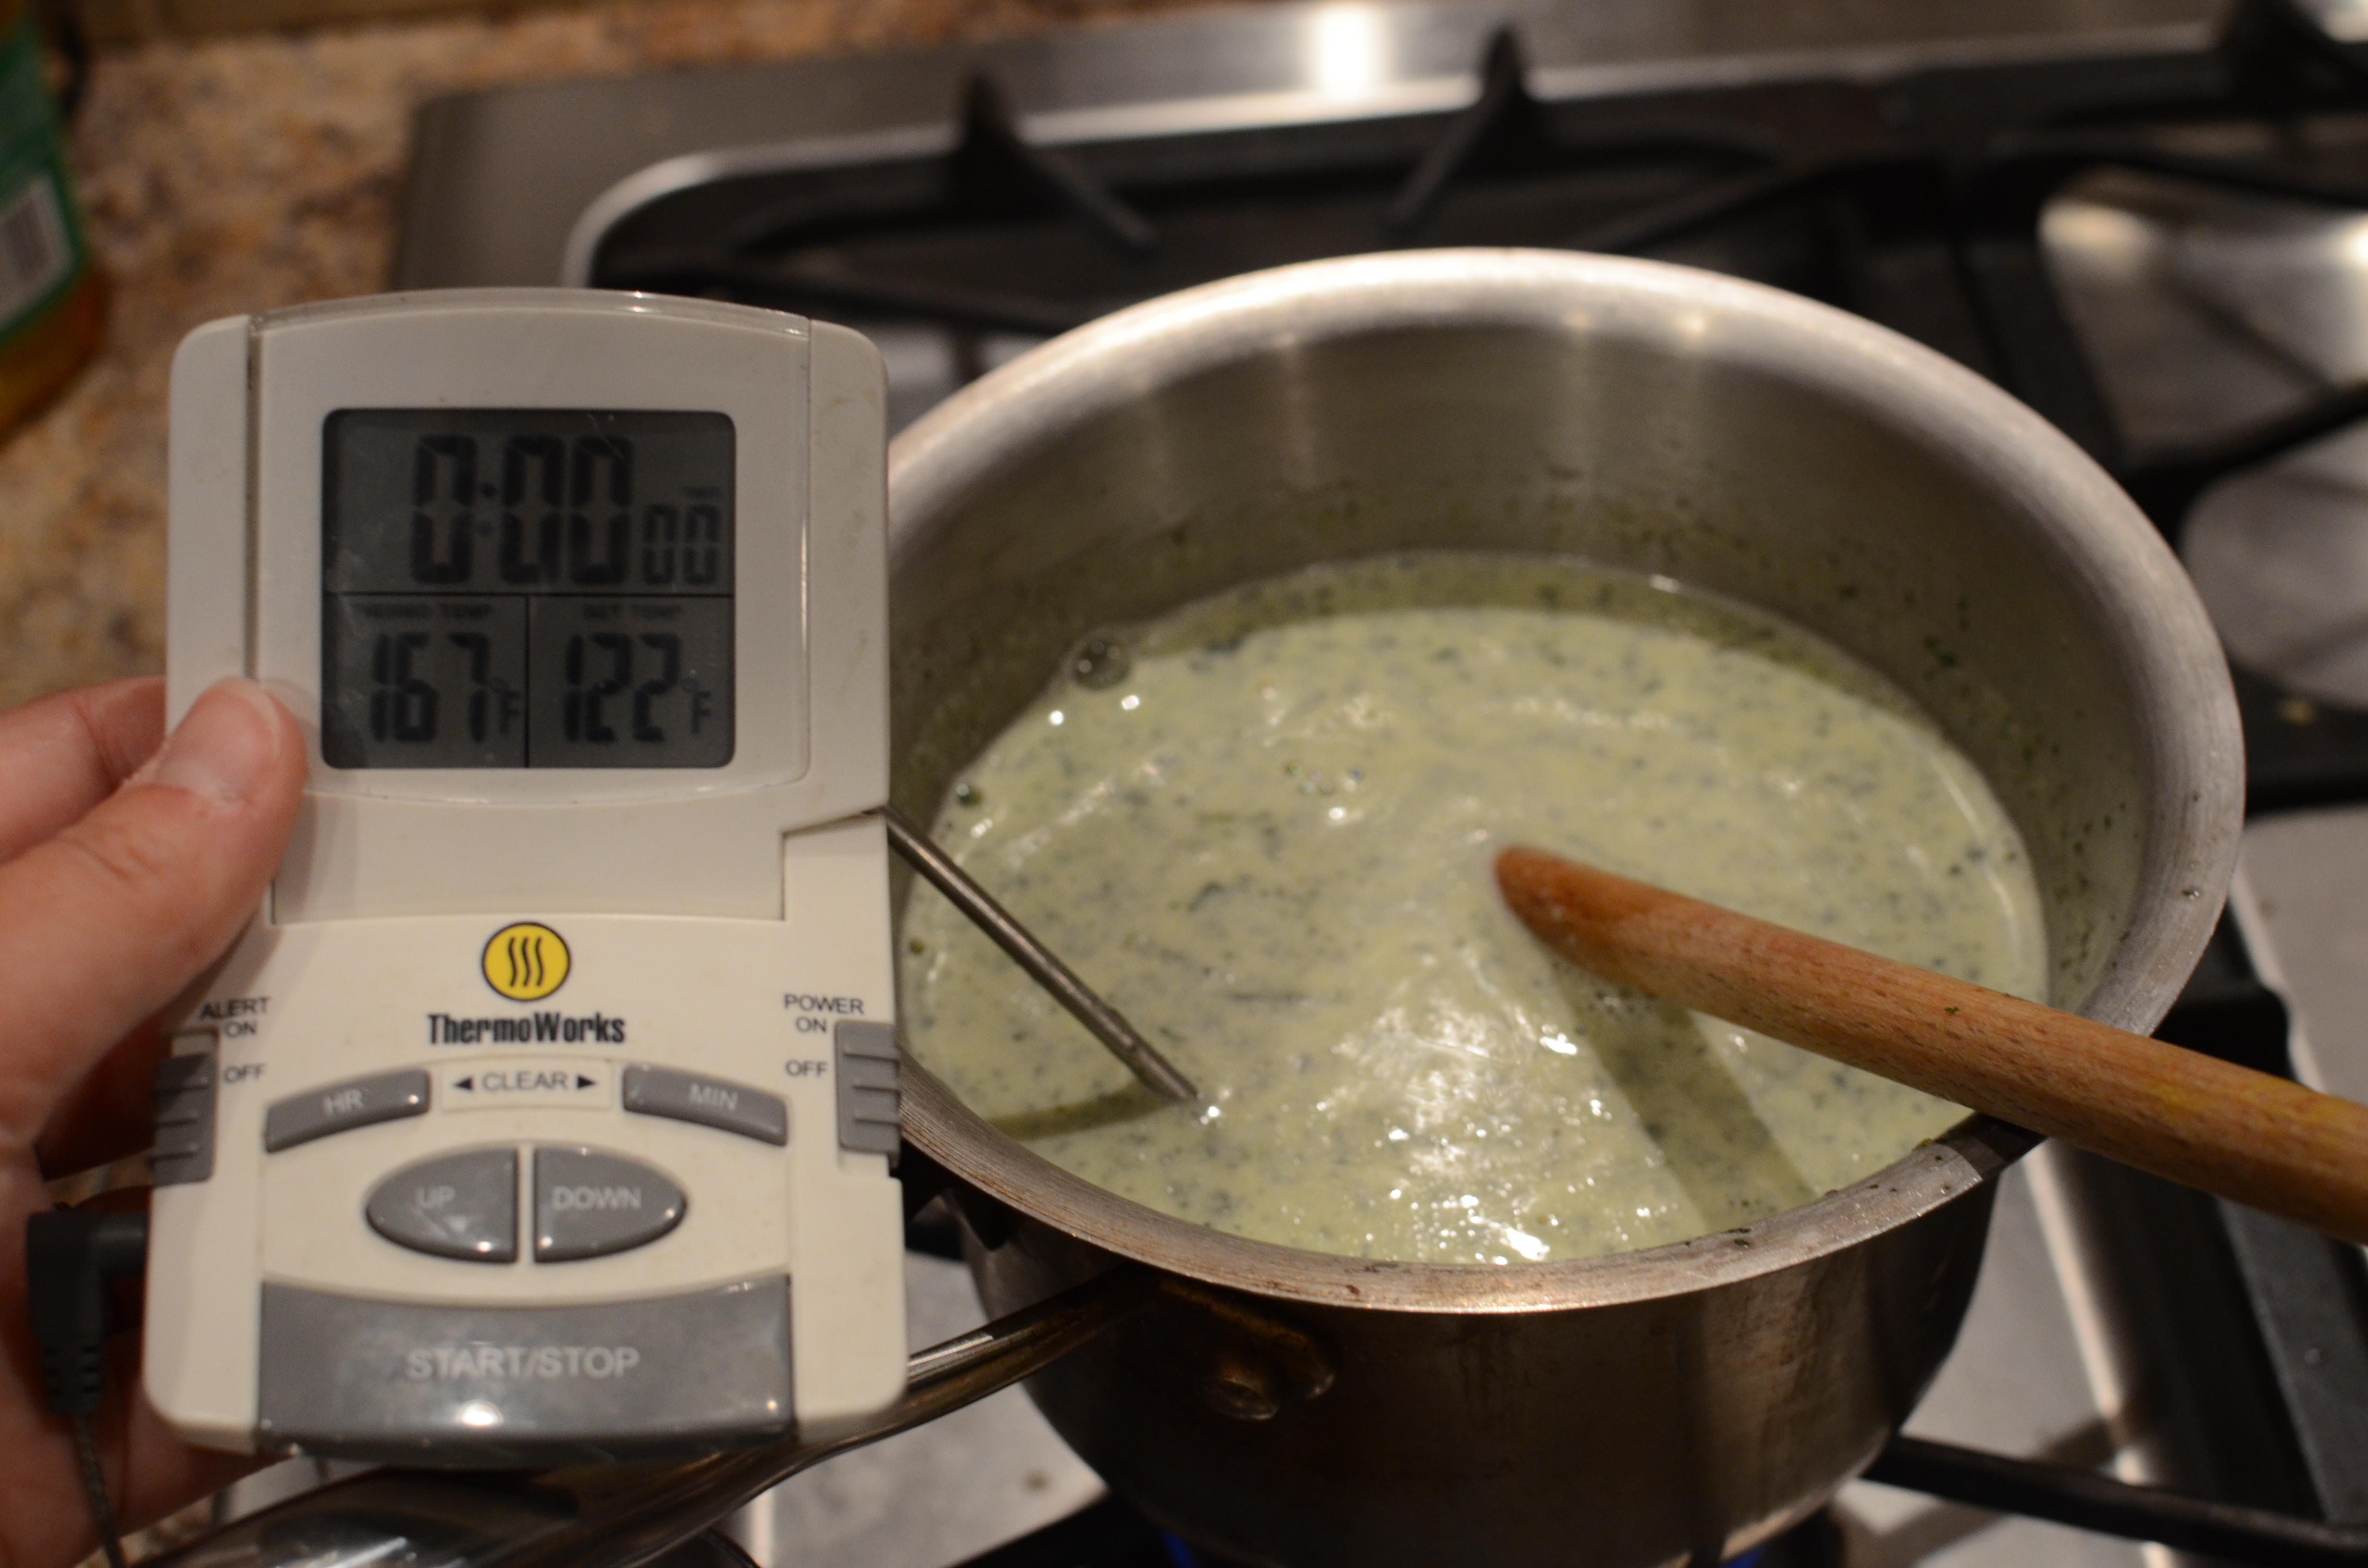
Place in 325°F oven for 30 minutes or until set. (check at 20 minutes, especially if your dish is larger so that your filling is spread more shallowly).

Cool completely on a rack or stovetop grate.
DSC_4212
Cover and refrigerate until chilled. If desired (like in my case), accelerate the chilling with an ice water bath or some time in the freezer.

Cut into [small] pieces with a sharp knife and serve. Feel free to follow my example and serve on winter-themed plates, if that will help you to feel cooler (those are snowshoes peeking out from under the bar).

Both rich and refreshing!

Both rich and refreshing!

Feta-Brined Roast Chicken with Chimichurri Sauce

Brine is a magical thing. Besides its obvious role in pickled vegetables, an overnight brine has the ability to transform your average weekly roast chicken or even your holiday turkey from a bland or dry entrée to a juicy flavor bomb.

DSC_3219That is what I was thinking when I saved the brine from my feta cheese. The cheese was long gone, but it struck me that there had to be a use for that intensely flavored liquid, other than a future down the drain.

Once again, The New York Times Cooking website delivered. A recipe for feta-brined roast chicken, how perfect! Turns out Melissa Clark demonstrated it back in January. Her recipe includes instructions for creating the brine from scratch with chunks of feta cheese. Having some of the actual brine is even better.

What’s my twist? This time of year, it makes sense to make use of fresh greens and herbs and tangy sauces to brighten up rich meats. Herbs are thriving in the garden. I planted the oregano on a hot dry day in May and thought I killed it. Turns out it’s resilient, almost as resilient as the weeds!
DSC_3122
Along with parsley and some leftover cilantro, I blended together some quick chimichurri. You can do the same, with any combination of those three herbs, and with or without added heat.
DSC_3135

DSC_3149

DSC_3245
Feta-Brined Roast Chicken
from Melissa Clark of The New York Times

Leftover feta brine (7 oz)
Water to bring the total amount over 4 Cups (3.5 Cups)
2.5 teaspoons salt
, divided
1 whole chicken
2 Tablespoons freshly ground black pepper
, to taste
2 Tablespoons dried oregano
2 large or 3 small lemons, including zest
¼ Cup olive oil

DSC_3220To prepare the brine, add feta liquid, additional salt and water to a blender and whiz to combine. Select a container that will allow the chicken to sit mostly submerged in the brine; you can also use a large sealing plastic bag. Pour brine over chicken.

Place in refrigerator for at least 8 hours.

When ready to cook, discard brine and dry the chicken with paper towels. Allow to sit at room temperature for 1 hour.
DSC_3225

If you are hand-grinding the pepper now, settle in for the long haul! It took me forever to get 2 Tablespoons. Instead, I suggest using an electric spice grinder.

Combine the pepper, 1 1/2 teaspoons salt, oregano and the zest of the lemons.
DSC_3226
DSC_3228
Rub the mixture all over the bird. Cut the lemons in half and place at least 3 halves inside the chicken. Tie the legs together with twine.
DSC_3230
While the oven heats to 450 degrees, place an oven-safe skillet on a burner over medium high heat. Turn on your hood vent! Add oil, and once hot, set chicken in pan, breast-side up.
DSC_3231
Place the pan in the oven and cook for 50-60 minutes, checking once or twice to spoon the pan juices over the bird.
DSC_3232
The chicken is done when the juices run clear and/or temperature at the thickest parts reaches 165.
DSC_3237
Let chicken rest for about 10 minutes. Slice and serve with the pan juices, a little chimichurri sauce, and vegetables.
DSC_3238

How about some slightly burned yam fries on the side?

How about some slightly burned yam fries on the side?


With any luck, you’ll be enjoying both crispy wings and some of the juiciest white meat you’ve ever had. Enjoy!
DSC_3254
DSC_3253

Tastes of Summer – Watermelon and Ice Cream

I bought a whole watermelon the other day. I needed it to make a delicious heirloom tomato watermelon gazpacho recipe I planned to bring to a potluck.

I was surprised that I could actually make such a delicious gazpacho!

I was surprised that I could actually make such a delicious gazpacho!

I tasted the recipe after it was demoed by Chef Harold Deiterle, who recently released a cookbook, Harold Dieterle’s Kitchen Notebook Techniques. It won me over.

But mostly I wanted the watermelon for snacking. Fresh watermelon is one of those distinctly summer foods, a flavor I associate with backyard spitting contests of my childhood. The heat and humidity of summer bring on a kind of thirst that only watermelon can truly quench.

There are a few other flavors I lately connect to summer–even if I may in fact indulge all year long. Iced tea, ice-cold beer, and ice cream.

On the day I had about a quarter of my watermelon left, I heard someone mention watermelon rind as one of those trimmings that you’re going to be stuck composting, since there’s not much you can do to make it edible, sellable, and appealing. Not that I disagree. But I took it as a challenge. I was going to make watermelon rind pickles.
DSC_3161
Watermelon Rind Pickles
Adapted from Food.com for 1/4 watermelon
About 2.5 lb watermelon rind (flesh mostly removed, shell included)
For the brining:
1⁄4 Cup salt
1 quart water

For the pickling syrup:
2 Cups white vinegar
2 Cups water
4 Cups sugar
1/3 lemon
, sliced thin
Spices:
1 cinnamon sticks
1/3 teaspoon whole cloves
1/3 teaspoon whole allspice

DSC_3163
Remove all the juicy watermelon flesh and reserve for another use. (Admittedly, I will miss having the rind as a handle when I eat the remains later. Oh well.)

At this point, I had 2 lb 8.5 ounces.
DSC_3165
Next you will need to peel the outer hard rind from the softer white portion. It took a fair amount of muscle power and time to remove the green shell. I used a combination of peeler and knife. Your knife should be very sharp for this, and it’s important to be very careful. Cut away from yourself and always keep hands and fingers behind the direction you are cutting!
DSC_3170
After 5 minutes of labor, the green parts were gone. The next step is to remove any remaining pink, and slice into 1 to 2 inch by 3/4″ pieces. This took about 7 minutes.
DSC_3171
Final weigh in? 1 pound 8.6 ounces of rind. So 1 pound was still going to the compost, but if I had planned to use the whole watermelon’s rind (which would make more pickles than I would know what to do with), I would have saved more than 5 pounds.
DSC_3172
Make a brine by dissolving 1/4 cup of salt into 1 quart of water.
DSC_3174
I could have used less for this rind, and you may need to scale up for more.
DSC_3175
Allow to brine in refrigerator overnight.

Drain and rinse soaked watermelon rind.

At this point, I used the scale of 0.375 to approximate the other ingredients: allspice, cloves, cinnamon, and lemon. I could have scaled down a little less on the sugar, water, and vinegar that made up the syrup; in the end it would have helped to have more for inside the jars.
DSC_3181
If you’d like, combine the spices together in a cheesecloth.

Combine the syrup and spice ingredients and bring to a boil for about 5 minutes.
DSC_3191
Add half of the rind and simmer until it becomes translucent. It took about 36 minutes for my first batch.
DSC_3193
DSC_3206
Spoon rind out of the pan and into a clean jar. Be sure to sterilize, if you plan on preserving longer term.
DSC_3207
Repeat the simmering step with remaining rind.

Remove spice satchel and discard. Pour boiling syrup to cover the rind in jars. Why not include the lemon?
DSC_3209
Taste test results: Not bad. The cloves were a little more noticeable than I would like (I’ve complained about this before). Otherwise, the flavor resembled those Vlasic sweet and crunchy pickles, which were once the only type I could tolerate.
DSC_3213
Looking for other ideas for the watermelon flesh? Real Simple posted this yesterday:

onethread design via Real Simple

onethread design via Real Simple

Returning to the topic of ice cream….this same week, I thought I better make some before National Ice Cream month ends!

Ice cream (or sorbet) is another dish that can incorporate whatever you have around. Even cucumber. This time, I’m went to the herbs in my garden, and incorporated them into a rich base made with egg yolks.

Is tomato ice cream in my future?

Is tomato ice cream in my future?


DSC_3130
DSC_3196
Mint Ice Cream
Adapted from Melissa Clark’s New York Times recipe

1 Cup mint leaves
⅔ Cup sugar

1.5 Cups heavy cream
1.5 Cups milk
(I used my skim)
⅛ teaspoon sea salt, finely ground
6 large egg yolks

DSC_3137
Combine mint leaves and sugar in a food processor. Grind together until fully combined and green.
DSC_3183
DSC_3189
Pour cream, milk, sugar mixture and salt into a small saucepan and cook until the sugar dissolves. Whisk yolks in a separate heat-proof bowl.

When the sugar has dissolved, remove pan from heat and slowly whisk in about a third of the hot mixture into the yolks.
DSC_3199
Then pour the yolk mixture back into the pan and whisk with the remaining hot cream.
DSC_3200
Place pan back on a medium-low burner and cook slowly, thickening at about 170 degrees Fahrenheit.
DSC_3202
Turn off heat and allow mint to steep in the mixture for about 30 minutes.
Pour through a sieve to catch any solids.
DSC_3203
Cool mixture to room temperature and then chill in refrigerator for at least 4 hours.
DSC_3210
Follow the directions for your ice cream machine and churn away.
DSC_3211
After 20 minutes in this frozen-bowl style, you’ll have soft-serve.
DSC_3215
Transfer to a freezer container to harden.
DSC_3217
Happy summer!
DSC_3223

Christmas in July

This is embarrassing.

I still have a Panettone I received as a holiday gift.

How terrible is that? For one, it’s an embarrassment of riches to be able to say “woe is me, I have extra cake/bread that I haven’t felt like eating!” This problem is not unique to me, as I confirmed from subsequent Googling. The part that makes it so embarrassing is that I have come to JULY without touching it.

At one point, the cake was tucked in a cubby of a shelf while the months ticked by. Oh, it wasn’t hidden from sight. Just from my apparent consciousness.

Now I’m determined. Cautiously excited. I’m not sure how wise it is to eat the cake so late, and I’m not sure if it would be accepted as a donation. I will justify using it by pointing out that the cake was labeled by someone to be good for about 5 months. What’s another 2.5?
DSC_3043
I slowly removed it from the packaging, inspecting for decay. So far, so good.
DSC_3054
The perfumey smell of fruitcake hit me as I removed the paper covering around the sides and bottom. Determination: good to go.
DSC_3056
French toasts and bread puddings are the top ways to use this sweet, cake-like bread studded with dried fruit. Since I love soaking bread until it becomes a custard consistency, I’m all for it. But with whom am I going to share a large, rich casserole any time soon? To my delight, PJ Hamel’s blog and recipe came up in my searches. It transforms the cake into the form of moist bread loaves, a much more convenient way to keep (i.e. freeze) and share!

The original recipe calls for 9 to 10 cups of diced bread. The full cake totalled about 13 cups for me, so I scaled the recipe accordingly.
DSC_3042

Panettone Bread Pudding Loaf
Adapted from King Arthur Flour

4 large eggs
2 2/3 Cups
of some combination of milk and cream (I used 2 Cups skim milk and 2/3 Cup heavy cream)
1/4 Cup plus 1 Tablespoon granulated sugar
1 Tablespoon plus 1 teaspoon vanilla extract
1 panettone or about 13 Cups panettone or other bread
, diced into 1″ cubes
about 1 1/4 Cup fresh lemon curd, split (recipe below-prepare ahead of time to allow for chilling, or purchase pre-made)
coarse sparkling sugar, for sprinkling on top; optional

Microwave Lemon Curd Recipe
Also from King Arthur Flour
Makes at least 2 Cups (more than needed; feel free to halve the recipe, if preferred)

1 Cup lemon juice, freshly squeezed
1 Cup granulated sugar
1/2 Cup (8 Tablespoons) butter
, melted
2 large eggs

I ended up using 2 large and 3 small lemons to reach 1 Cup of freshly squeezed juice.

I ended up using 2 large and 3 small lemons to reach 1 Cup of freshly squeezed juice.


In a large microwave-safe bowl or measuring cup, melt the butter. Add the remaining ingredients and mix well to combine.
DSC_3072
Place bowl in microwave and cook in 1-minute increments. After each minute, remove from the microwave and stir to combine.

The curd is done when it is thickening and coating the back of the spoon. Or, when it reaches 185°F – the instant-read thermometer is your friend!
DSC_3074
Mine took about 6 minutes to reach 185, but after 3 minutes some of the egg already cooked! Straining is required in this case. I happen to notice my new pasta scoop might have the right size holes for simply scooping out the solids–and it was!
DSC_3075
Stir, transfer to a container, and refrigerate (or freeze, if in a rush) until firm.

    On to the bread pudding!

Prep your bread by cutting or tearing into pieces.
DSC_3058
DSC_3070
In a separate bowl, whisk together the eggs, dairy, and vanilla. Pour the mixture over the bread and stir. Allow the bread to absorb much of liquid-anywhere from 30 minutes to, in my case, 90+ minutes.

When the soaked bread and curd is ready, preheat the oven to 350°F. Butter up some loaf pans.

Mix the soaked bread some more, and then scoop 1/4 of it into each pan. Plop a heaping 1/2 Cup of lemon curd on top of that layer.
DSC_3084
Cover with the rest of the bread/custard.

Now more fun stuff: the recipe calls for sprinkling with white sparkling sugar. It makes me laugh how out of season this is!
DSC_3091
Put the pudding loaves in the oven and bake for 40 to 50 minutes, until the top becomes golden brown.
DSC_3093
Allow to rest and cool at room temperature for at least 1/2 hour.

Another reason why the title of this post is so appropriate: one of my go-to loaf pans has this festive design!

Another reason why the title of this post is so appropriate: one of my go-to loaf pans has this festive design!


Slice the loaf and top each slice with a little sifted confectioners’ sugar, for good measure.
DSC_3120
The verdict? Delicious. The lemon curd adds some nice freshness to counteract the intensity of the dried fruit. The richness of the dessert goes a long way. The recipe author suggests serving the pudding with some less-sweet vanilla ice cream or whipped cream. To me, it begged for an espresso or coffee or black tea on the side.
DSC_3114
Now I just need some classy holiday dinner party guests. Are you in?

I decided to commemorate my “Christmas in July” in yet another way: dropping off donations to the Salvation Army. It was probably around the holidays that I last dropped off my extensive collection of rejected clothing and shoes.

The cat sitting on the sweatshirt? That's Riley. I didn't give her away.

The cat sitting on the sweatshirt? That’s Riley. I didn’t give her away.


The piles were doing no good in my closet. Here’s hoping they find a good home!
DSC_3110
DSC_3121

Everything Beer Cheese Bread and Beer Poached Shrimp with Fennel

I’m not always great with decisions. Ceramic, porcelain or stone tile for the bathroom floor? Buy the 2 year or 5 year extended warranty? What color fireplace stone and curtains will match our current living room? Should I get a green or a blue sweater; which do I have more of in my closet? Should I spend the next 45 minutes of free time cleaning the kitchen floor or filing the office receipts?

You can imagine that restaurant ordering presents a challenge for me. The worst (or best) example of a paralyzing menu is from Shopsin’s, known for a menu like none other. Ooh boy, I feel a twinge of anxiety coming. Can’t I have an extra stomach, available to access on the special occasions when I know I’ll never again get the chance to taste this particular preparation of food? I like to believe that my difficulties stem from some kind of advanced analytical ability, i.e. my brain is processing the complexities of the situation and considering all angles before reaching the best conclusion (not likely). The problem is, most of the time the choice is no big deal! Take my cooking choices: these are by no means life or death. Yet there are times I wish someone else would tell me, outright, exactly what to do with ingredient X, Y, Z.

That’s how I was feeling last week when I put a query out on Facebook, asking what to do with the leftover beer cans in our fridge.
DSC_9487
I explained that I had no intention of drinking the beer plain, now six months past its purchase date (as if I ever choose to drink it “fresh”). I expected to catch a little more flack, since it sounds a bit snobbish. Indeed, I came home last Friday to find that my father, who was visiting for the weekend, had cracked one open to sample. My dad is no elitist. Born on a farm during the Great Depression, I can always count on him to check food for spoilage–allowing great leeway, of course. He consumes leftovers with a gusto. In other words, he’s great to have around.

People were quick to respond to my poll. Beer batter, fondue, brats, soup, and “target practice” were among the answers. The most popular idea, by far, was beer can chicken. Beer chicken wasn’t something I was tempted to make at the time, but the idea of using beer to cook shellfish was spot-on. Also, the runner-up response, beer bread, caught my eye. I knew adding cheese was an option. In fact, I could really add anything to the bread that pairs well with beer, which meant tapping into the CSA vegetable share. An oniony, starchy, gooey, boozy concoction was on its way.

In case you’re counting, six cans remained after my Dad’s refreshment. Two cans went into dinner on Saturday night, for Beer Cheese Bread with Everything Bagel Topping and Warm Beer Poached Shrimp and Fennel Salad. Two recipes for the price of one in this week’s post!

DSC_9521
DSC_9518

Beer Poached Shrimp and Fennel Salad
From Bryan Miller in The New York Times

Vinaigrette:
1 teaspoon fresh dill or fennel fronds, chopped
1½ teaspoons mustard, preferably spicy
6 Tablespoons extra virgin olive oil
2 Tablespoons sherry vinegar
Salt and pepper
, to taste

Poached Shrimp:
12 ounces of light beer
2 cloves garlic
, peeled and smashed
5 sprigs fresh dill or a combination of dill and fennel frondsDSC_9511
1 pound shrimp, peeled
Salt and pepper, to taste

Fennel, etc.:
3 Tablespoons olive oil
3 fennel bulbs
, cored, sliced thin and cut into bite-size pieces
Salt and pepper, to taste
Additional dill or fennel fronds for garnish

Prepare vinaigrette. You will need to adjust seasoning according to your mustard. I used a combination of Dijon and coarse stone-ground mustard, enhanced with a touch of pepper. Fennel fronds made up a good portion of the herbs for my vinaigrette. I should have had plenty of dill, since I planted it in my garden this spring, but it went mostly to seed before I got the chance to use it!
DSC_9501

In a deep saucepan (with lid reserved), pour beer and add garlic, dill sprigs/fennel fronds, and some salt and pepper. At medium-high heat, bring the mixture to a boil before lowering the heat and allowing it to simmer for ten minutes.
DSC_9509

Meanwhile, take a separate skillet/saute pan and heat the olive over medium heat. Stir in your bite-sized fennel pieces and cook until they are starting to soften. Remove from stove. You can place the fennel on the serving plate, but keep warm.
DSC_9514

In the saucepan with the beer, drop the shrimp. Turn heat up, cover with lid and cook for about a minute. Turn off heat and remove lid.
DSC_9515
Use a slotted spoon to remove and drain the shrimp. Arrange shrimp over the fennel. Pour vinaigrette over the salad and add more salt and pepper if needed. Garnish with fresh dill or fennel fronds.

The quantity shown here is a scaled down portion of the full recipe.

The quantity shown here is a scaled down portion of the full recipe.


As I mentioned earlier, the beer cheese bread recipe is highly adaptable. The recipe on myrecipes.com includes several suggestions. I used shallots and scallions because I had some, already pre-chopped from other recipes. The scallions got me thinking of my favorite bagel spread, scallion cream cheese, which got me thinking about bagels, which reminded me of the Everything Bagel Topping I purchased from good ol’ King Arthur Flour. Of course, you can replicate everything bagel topping with the requisite individual ingredients of onion, sesame, poppy seed, garlic and salt. I thought all of this would pair well with cheddar cheese, a type I always have on hand, in place of the Monterey Jack cheese specified in the original recipe. What a delicious brainstorm. I imagine being asked at a restaurant if I would like something from the beer, cheese, or bread section of the menu. Easy answer: “Yes, please.”
DSC_9480
Beer Cheese Bread with Everything Bagel Topping
Adapted from Cooking Light’s recipe on myrecipes.com

1 Tablespoon olive oil
1/4 Cup shallot
, finely chopped
1/4 Cup scallions, sliced
1/4 teaspoon freshly ground black pepper
1 garlic clove
, minced
13.5 ounces all-purpose flour (about 3 Cups)
3 Tablespoons sugar
2 teaspoons baking powder
1 teaspoon salt
1 Cup (4 ounces) cheddar cheese
, shredded
12 ounces bottle light lager beer
Cooking spray
1 Tablespoon unsalted butter
, melted
2-3 Tablespoons Everything Bagel topping

DSC_9479
Preheat oven to 375°.

In a small skillet set on medium-low, heat the olive oil. Add shallots and green onions and cook, stirring occasionally, until just starting to caramelize (about 7 minutes).
DSC_9492
Add pepper and garlic, stir to incorporate for 1 minute.

Measure flour and combine with sugar, baking powder, and salt in a large bowl. Stir with a whisk.
DSC_9491
Make a well in the center of the dry mixture for adding the onion mixture, cheese, and beer. Stir to moisten the batter completely. Lumps are OK.

Coat a loaf pan with cooking spray. Pour batter in and drizzle 1 Tablespoon of melted butter. Sprinkle with the everything bagel topping.
DSC_9495
DSC_9500

Bake at 375° for about 45 minutes or until golden brown. After about 30 minutes, you could drizzle additional butter on top.

Pay no attention to the beat-up oven mitts!

Pay no attention to the beat-up oven mitts!


Cool for a few minutes, and then turn loaf out of pan to cool completely. I took my bread out of the oven a little early, so it was still very moist in the center. This gave it a deliciously tender, cake-like quality. If you want it more toasty, leave it in longer.
It's hard to resist this bread, even under-done.

It’s hard to resist this bread, even under-done.


Try your best not to consume the whole loaf right away. As expected, it makes a wonderful breakfast. Haven’t you always wanted to have beer for breakfast? Breakfast of champions. Enjoy!

Chard Stem Hummus

DSC_9260
I made a cooked vegetable dish this weekend that I fully intended to share on the blog. It displayed a medley of farm-sourced ingredients and required quite a bit of time to stir and cook. When it finally finished, I sat down and ate it…and didn’t like the flavor. One of the vegetables I incorporated was kohlrabi, and I think it was too dominant in the dish. More importantly, the vegetables were supposed to soften after pan frying for so long, and the kohlrabi didn’t. It stood out. It may have even been burnt–I couldn’t tell. The dish was edible, but it needed a lot of tweaking before sharing. Fortunately, it wasn’t served to guests–only to my husband, who years ago would have run away if I tried serving him a dish with kohlrabi. He didn’t love it either, but he ate it. I’m so proud of how far he has come.

It got me thinking about the people, young and old, who won’t eat vegetables, and their noble partners who, out of concern for the health and well-being of loved ones, find ways of sneaking in nutrition. Do you know one of those people? Maybe YOU are a sneaker. You probably use up even more of the vegetables you buy than I do, because you plan to throw them into a food processor to make a secret sauce, or soup, or dressing. In my ongoing search for recipes that use the Swiss chard stems, I found this recipe for a chickpea, tahini, and yogurt dip with hidden Swiss chard stalks. Last summer I pickled some stems, which was great for preserving, but I rarely reached for them in the fridge. When I tried this grilled Swiss chard stem recipe, I didn’t seem to have enough stems to make it substantial…and then some of them even blew off of the grill while they were being cooked! When tasting the hummus recipe I made this Monday, one would never guess it has Swiss chard. What a difference from that weekend vegetable medley! Are there those with the opposite view of a stealthy vegetable cook, who insist that each vegetable be featured prominently and celebrated, who are less than impressed with this approach? Perhaps. But this dip is undeniably delicious, and I do give the Swiss chard stems some of the credit.

DSC_9285
Chard Stem Hummus
From Martha Rose Shulman of The New York Times

4-5 ounces pound Swiss chard stalks, from about 1/2 pound bunch, sliced
Salt to taste
2 garlic cloves
(to taste), peeled
heaping 3/4 Cup cooked chickpeas (about half a small can), drained and rinsed
2.5 Tablespoons stirred sesame tahini
4 Tablespoons plain Greek yogurt
2 Tablespoons freshly squeezed lemon juice
, to taste
1/4 teaspoon cumin seeds, lightly toasted on the stovetop
1 Tablespoon extra-virgin olive oil

Steam chard stalks over 1 inch water until tender when pierced with a fork, 15 to 20 minutes.
DSC_9265
Collect the rest of your ingredients.
DSC_9272
Drain the Swiss chard stems well, about 10 minutes. Add to a food processor along with your chickpeas.
DSC_9274
Purée, stopping the machine from time to time to scrape down the sides.

DSC_9269
Using a mortar and pestle, mash garlic with 1/2 teaspoon salt until you have a smooth paste. Add to chard stalks and chickpeas. Process until smooth.

After the first whirring...

After the first whirring…


Wipe out the same mortar to grind your toasted cumin seeds.

Add to processor along with tahini and yogurt and run the machine until smooth once again.

With machine running, add lemon juice, olive oil and a touch of salt to taste. Test the dip for seasoning, and then transfer to a bowl.

The final product!

The final product!


Sprinkle with chopped fresh parsley, for garnish, and serve with crudités, along with some wonderful homemade whole wheat pitas.
DSC_9281
Stay tuned for what I made with the leaves this time!
DSC_9280

Salted-Chocolate Rye Cookies

“You don’t post much about sweets, do you?”

I contemplated Matt’s question. He was digging into a ramekin of bittersweet chocolate mousse I had made, and I had just told him I didn’t make it for the blog. You see, I took no particular twist on the recipe, and the heavy cream and eggs I used for it had been bought specifically for the mint chocolate cookie ice cream I made the previous week. Mousse and ice cream aren’t the kinds of dishes you make to use up leftovers, usually. He was right, I could expand on the number of dessert recipes on the site.

I opted to make a dessert for the first of many upcoming summer potlucks. I saved a recent Tasting Table recipe for Salted-Chocolate Rye Cookies. It was adapted from a recipe in a cookbook out of the reputable Tartine Bakery & Cafe series. It looked rich and delicious. So many times when I tell people that the recipe I plan to make for an event or dinner is one I’ve never tried before, I get reactions of shock and horror. But this recipe calls for one pound of bittersweet chocolate. How bad can it be? I figure as long as I don’t burn the chocolate, the cookies will be enjoyed by most party guests.

The main draw of the recipe was that it calls for whole grain rye flour, an ingredient I was having trouble getting through after buying from a King Arthur Flour sale.

On a side note, I am such a King Arthur Flour super-fan. I frequently look for excuses to shop their website. I have gone out of my way driving through Vermont to stop at its bakery and storefront. If one of their recipes told me to climb a cliff to bake the muffins, I would seriously consider it. (Guess what, today they announced another sale! I swear they aren’t paying me to say this.)
DSC_9132

DSC_9173
Salted Chocolate-Rye Cookies
From Tasting Table

2⅔ Cups (1 pound) bittersweet chocolate (63-72% cacao), chopped or in chip form
4 Tablespoons unsalted butter
¾ Cup whole-grain rye flour
1 teaspoon baking powder
½ teaspoon fine salt
4 large eggs
, at room temperature
1½ Cups muscovado, natural cane sugar, or light brown sugar
1 Tablespoon vanilla extract
Sea salt
, preferably flaky, for topping

Prepare a small saucepan filled with about 1 inch of water and heat over medium to bring water to a simmer. Add chocolate and butter to a heatproof bowl that can hover over the simmering water without touching. Place bowl over the water and melt the chocolate and butter together.
DSC_9134
Stir occasionally with a heatproof spatula, taking care to check the bottom of the bowl. The chocolate and butter may take several minutes to melt.

Once melted, remove from the heat.
DSC_9151
DSC_9138
In a small bowl, add the rye flour, baking powder, and salt and whisk together.

In the bowl of a stand mixer, add the eggs.

There’s a little piece of advice cooks like to give about cracking eggs for baking: never crack the egg directly over your bowl of ingredients. Instead, crack eggs one at a time into a small bowl, and then pour from that bowl to the mixing bowl. This is to prevent you from getting shards of eggshell hopelessly buried in your dough or batter. When you are terrible at cracking eggs, like me, this is good advice. It’s advice I don’t always follow. This time, I made the right choice, and you can see why:
DSC_9143

I used organic natural cane sugar from my pantry.

I used organic natural cane sugar from my pantry.

Using the whisk attachment on your stand mixer, begin to whip the eggs on medium high. Add the sugar gradually, and mix until incorporated. Turn up the mixer and whip until the eggs increased in volume nearly 3x (about 6 minutes).
Before whipping

Before whipping


After whipping

After whipping

DSC_9154Lower the mixer speed and add the melted chocolate-butter mixture and the vanilla, stirring until fully combined. Add in the flour mixture and stir just until combined. A spatula attachment or manual stirring would be best at this point. The dough will be soft, almost like brownie batter.

Refrigerate dough until firm, at least 30 minutes. If you leave it in the fridge longer, it will have to warm up for a little bit before you can scoop it easily.

Heat the oven to 350 degrees. Line baking sheets with parchment paper or Silpats.
Take dough from fridge and scoop rounded tablespoons onto the baking sheets, spacing the balls about 2 inches apart.
DSC_9164
Top with a few flakes of sea salt.
DSC_9168

Bake for 8 to 12 minutes, until the cookies have completely puffed up. They should have a smooth bottom and rounded tops.

Almost there!

Almost there!


Remove the cookies from the oven and let cool slightly on the baking sheets. Transfer to a wire rack to cool completely. Enjoy within a few days.
Dense, fudgy, salty goodness.

Dense, fudgy, salty goodness.


DSC_9198
DSC_9189

Beet Carpaccio Salad with Goat Cheese, Proscuitto, and Candied Walnuts

Isn’t it ironic that the most delicious, comforting foods can look ugly in photographs. while cold, bland dishes appear stunning? (I checked to make sure that I am using the word “ironic” correctly, especially after watching Weird Al’s music video this week). We live in a world where it can’t be true that you ate good food unless you got a good picture. I can be reluctant to post certain recipes on this blog because they look unimpressive in my pictures.

I’m not going to dwell on these facts, because today I have a recipe for you that is delicious for the eyes and the mouth. Hooray!
DSC_9116
When you receive something as visually lively as red and white candy cane beets in your farm share, you have to show them off. If you have one red beet leftover from the previous week, even better! Throw in some salt, some sugar, and some fresh herbs, and some creamy and crunchy texture, and you have a delightful dish.

Beet Carpaccio Salad with Goat Cheese, Prosciutto, and Candied Walnuts
Inspired by this, this, and this

About 3 medium-large beets, of various colors – such as 1 red and 2 Chioggia
For the dressing:
1 Tablespoon of fresh basil
, chopped
1/2 teaspoon lemon zest
1 Tablespoon red onion
or shallot, minced
juice from 1 lemon
5 Tablespoons of extra virgin olive oil

To top it off:
about 2 ounces crumbled goat cheese
, to taste
about 2 teaspoons capers, to taste
1 piece of proscuitto, chopped into bite-sized pieces, to taste
about 3 Tablespoons candied walnuts, chopped (see below for instructions), to taste

You can roast the beets and glaze the walnuts for this recipe the day or even days before, which eases the pressure of completing it for dinner guests.

Burnt edges but still edible!

Burnt edges but still edible!

I thought I would take a shortcut and use a microwave method for combining the sugar and walnuts. Not a good idea–even at 2 minute intervals, they started burning and sticking before they were supposed to be done. As a result, I don’t advise following this recipe. Anyway, I used 1 Cup walnut halves and 1/3 Cup sugar plus 2 Tablespoons of water. Using these quantities and caramelizing on the stovetop with a little more water would probably be fine. Once they are coated in melted sugar, pour onto a sheet to cool. Transfer to an airtight container and use for any and all salads. Or snacking.

For roasting the beets, heat the oven to 350F. Trim the beets before roasting.
DSC_9098
Wrap in an aluminum foil packet with a little sprinkle of water. Place on a roasting pan and cook until tender when pierced with a fork (check at 45 minutes). Once done and cool, they should be easy to peel.

The chioggia beets remind me of a beautiful sunset...

The chioggia beets remind me of a beautiful sunset…

Slice the beets thinly and layer on a white dish, alternating colors.
DSC_9103

Prepare the dressing ingredients: lemon, basil, onion, and olive oil.
DSC_9108
You could add a pinch of sugar or a drop of honey if you want more sweetness.

Drizzle dressing evenly over the beets.
DSC_9114

Top with crumbled goat cheese, walnuts, prosciutto slices, and capers.
DSC_9115
The assembled salad keeps well and develops more flavor in the refrigerator.
DSC_9120
Because it looks so beautiful, you won’t hesitate to reach for any leftovers!

Sourdough Chocolate Cupcakes with Espresso Icing

Sometimes you need to make cupcakes simply because you have some cute paper baking cups.
DSC_8682
OK, you caught me, the red, white and blue paper cups were not the only reason I planned to bake for our Memorial Day party on Monday. Another reason is that the recipe puts the sourdough to use again! Plus, I had all the other ingredients on hand.

Memorial Day certainly lived up to its reputation as the unofficial start of summer. I could not have asked for a more perfect day to spend almost entirely outdoors. Right away, I started the sourdough part of the cupcake batter so it could sit for its allotted time, and then spent the entire morning finishing up weeding and planting my flowers, herbs, and tomato plants in the gardens around my yard. During the afternoon, Matt and I socialized on the deck with friends and family, serving these cupcakes for dessert after enjoying a delectable shrimp boil and a couple of grilled pizzas.

Shrimp boil with potatoes and corn and a few crab legs--why not?

Shrimp boil with potatoes and corn and a few crab legs–why not?

DSC_8664The cupcakes were irresistible to our crowd, even members of which have a fair amount of self control when it comes to sugar. You can certainly swap in a different icing without the coffee flavor if you are serving to children. Espresso powder (another pantry ingredient that hadn’t been getting much use lately) has the magical effect of intensifying chocolate flavor in baked goods, so I suggest leaving it in the cake portion, if you have it in the first place. And if you don’t have sourdough? Well, if you’re the type who loves baking, get on that. Or just use another favorite chocolate cake recipe.

Sourdough Chocolate Cupcakes with Espresso Icing
Adapted from King Arthur Flour to make cupcakes
Makes about 18 full-sized cupcakes

Cake Batter:
1 Cup sourdough starter
, fed and “rested”*
1 Cup milk , whole or 2% is better (I improvised with skim plus a little heavy cream)
2 Cups unbleached all-purpose flour
1 1/2 Cups granulated sugar

1 Cup vegetable oil
2 teaspoons vanilla
1 teaspoon salt
1 1/2 teaspoons baking soda
3/4 Cup unsweetened cocoa powder
1 teaspoon espresso powder
(optional)
2 large eggs

Espresso Icing: (this has been scaled down for cupcakes–you’ll need the original recipe’s quantity, or more, if making a layer cake)
2 teaspoons espresso powder or instant coffee dissolved in 2 teaspoons hot water
1/2 Cup (1 stick, 4 ounces) butter
~1/3 Cup plain Greek or regular yogurt
, or you can use buttermilk or sour cream
4 Cups powdered confectioners’ sugar

*This is where you have to plan ahead. The sourdough starter needs to be fed regularly anyway, so you could do the feeding the night before to have it ready for this recipe. Remember you may have to “feed” the starter again after taking out a Cup, depending on whether it is overflowing. The process we follow is to discard 1 Cup, add 1 Cup flour and 1/2 Cup water, stir, and let it sit out for 2-4 hours before returning to the fridge. I remembered late that the discarded cup can be used to start a new batch of sourdough, so I could have also fed that to make my batch for the cake.
DSC_8663

To make the cake:
In a medium-sized mixing bowl, combine the starter, milk, and flour. Let this mixture rest for 2 to 3 hours in a warm place. It may start to bubble a little bit, and should smell slightly sour in a pleasant way.
DSC_8672
In a second bowl, or the bowl of a stand mixer, beat together the sugar, oil, vanilla, salt, baking soda, cocoa, and espresso powder.

Add the eggs one at a time, beating well after each addition.

Add the sourdough mixture to the creamed mixture, combining gently until it all comes together.
DSC_8667
The King Arthur Flour recipe warns you that the batter starts out very “gloppy,” and I agree with that description! Eventually it smooths out.
DSC_8666
Preheat the oven to 350°F. Grease or spray your pans or muffin tins and then pour or scoop in the batter.
DSC_8668
Bake for about 25 minutes to start, and use a toothpick or cake tester inserted into the center to check that it comes out clean–that means it’s done.

Remove and allow to cool.
DSC_8669

To make the icing:

My espresso powder had hardened into chunks, which wouldn't break up easily, so after a minute or two, I simply removed the chunks from the liquid.

My espresso powder had hardened into chunks, which wouldn’t break up easily, so after a minute or two, I simply removed the chunks from the liquid.


Dissolve the espresso powder or instant coffee in the hot water, and set it aside. I suppose you could use 2-3 teaspoons of strong coffee in its place.

Melt the butter in a saucepan over low heat. While it melts, sift the confectioners’ sugar into a large bowl. To the butter, add the yogurt, buttermilk or sour cream and mix well. Keep an eye on the pan and bring just to a boil.

Pour the mixture into the bowl with the confectioners’ sugar along with the espresso/water. Beat slowly until any lumps are gone. The icing will be very thin and drippy, so it is best to let it cool and stiffen for a bit before spreading on the cupcakes.

Let's just say that the drops of icing disappeared by the end of our party.

Let’s just say that the drips of icing disappeared by the end of our party.


DSC_8677

Scallion Pancakes with Ginger Dipping Sauce

There are some weeks when I hardly cook at all. Last week was one of those weeks. I figure that I generally cook at least three times a week, often four. This week I cooked once. The rest of the nights were dining out and leftovers. There were plenty of leftovers for lunches and snacks, thanks to the huge batch of meatballs that came out of Smitten Kitchen’s lamb meatballs recipe (which used up some pretty old feta cheese). Then Matt brought home the rest of the individual pastrami sandwich he ordered for lunch from Harold’s New York Deli. To get some perspective on the size of their portions, I once took a picture of a single slice of their cake next to a wine bottle, which matched it in length. Too bad I can’t find that photo.

It’s as though I’m still in that pre-vacation mode, careful to be realistic about how much time I’ll actually have to cook before the kitchen is abandoned for restaurants or food truck tasting events. As a result, I didn’t have a whole lot prepared when Mother’s Day crept up, and I had the assignment of appetizers for my family gathering.

With leftover scallions, ginger, shredded mozzarella and other italian cheeses from home, the provisions of my mom’s pantry, and a dozen and a half button mushrooms, Matt and I cranked out two crowd-pleasing hot apps with little to no shopping, and minimal labor!

DSC_8555I did a variation on this stuffed mushroom recipe. I will admit that hollowing out the mushrooms is a bit labor-intensive.
DSC_8578
This is an accomplishment for me, considering that I generally bite off way more than I can chew when it comes to recipes for entertaining. In addition, the first recipe I ever tried (and still use) for scallion pancakes is much more challenging, and has added steps. The most difficult part of making scallion pancakes is getting the scallions distributed throughout the dough, and not having them squeeze out everywhere and make a mess. The other recipe I use, an older one from Cooking Light, adds slippery sautéed mushrooms to the mix; those little suckers don’t like to stay in the dough.

But for a simple Sunday afternoon appetizer, a simplified recipe is the winner. You get most of your flavor from the dipping sauce, and it is much less messy to make.

Scallion Pancakes with Ginger Dipping Sauce
from Ming Tsai via The Food Network
Makes at least 24 slices of pancake for dipping

Pancakes:
2 Cups all-purpose flour
1 Cup boiling water
1/2 Cup scallions
, sliced
1 Tablespoon sesame oil
1/2 Cup canola oil

Salt and black pepper

Ginger Dipping Sauce (makes more than you need for 1 recipe of pancakes):
1/4 Cup soy sauce
1/4 Cup vinegar
, preferably Chinese rice vinegar, but don’t worry about substituting other light vinegars you have
1/4 Cup scallions, sliced
1 teaspoon ginger, minced
1 teaspoon red pepper flakes
1 teaspoon sugar

First, prepare the dough, which needs to rest for 30 minutes once made.
Sift flour into a bowl or a food processor. Pour the boiling water in at a steady stream while mixing, either with a wooden spoon or spatula or in a food processor. Add water until a ball is formed. After starting to mix with a spoon, we switched to mixing by hand to get the dough into a ball.
DSC_8551
Let dough relax for at least 30 minutes, under a damp towel, while you slice and dice.
DSC_8554
Prepare the dipping sauce. My substitution for Chinese rice vinegar was half seasoned rice vinegar and half regular white vinegar.
DSC_8556
DSC_8563

Prepare a lightly floured surface and roll out the dough into a thin rectangle. Brush to the edge with sesame oil.
DSC_8570
Sprinkle evenly with scallions. Leave a little bit of room around the edges. Season with salt and pepper.
DSC_8571
Roll from the long side like a sponge cake. Cut with a knife into 4 pieces.
DSC_8572
(I should have gotten more pictures of this next part, but I was distracted. Guests would be arriving soon, and my dear husband needed assistance.)

Take one of the four pieces and gently twist three times, like a Tootsie roll wrapper. As you are doing this, it should stretch the piece a bit lengthwise. Take that snake and make a spiral, like a lollipop.

This definitely doesn't look like a lollipop. Do what you can-it doesn't have to look good at this stage!

This definitely doesn’t look like a lollipop. Do what you can-it doesn’t have to look good at this stage!


Take a rolling pin to this circle and flatten into a 5 to 6 inch pancake. Repeat.
DSC_8574
The pancakes are then basically fried in canola oil. If you have a larger nonstick pan, you can do more than one at a time. With a smaller pan, I fried one at a time, adding canola oil as I went. You need a good coating of canola oil in the pan to get a golden brown.
DSC_8575
Cut into wedges (I prefer using kitchen shears) and serve immediately with dipping sauce. They will be gone before you know it!
DSC_8577