This is embarrassing.
I still have a Panettone I received as a holiday gift.
How terrible is that? For one, it’s an embarrassment of riches to be able to say “woe is me, I have extra cake/bread that I haven’t felt like eating!” This problem is not unique to me, as I confirmed from subsequent Googling. The part that makes it so embarrassing is that I have come to JULY without touching it.
At one point, the cake was tucked in a cubby of a shelf while the months ticked by. Oh, it wasn’t hidden from sight. Just from my apparent consciousness.
Now I’m determined. Cautiously excited. I’m not sure how wise it is to eat the cake so late, and I’m not sure if it would be accepted as a donation. I will justify using it by pointing out that the cake was labeled by someone to be good for about 5 months. What’s another 2.5?

I slowly removed it from the packaging, inspecting for decay. So far, so good.

The perfumey smell of fruitcake hit me as I removed the paper covering around the sides and bottom. Determination: good to go.
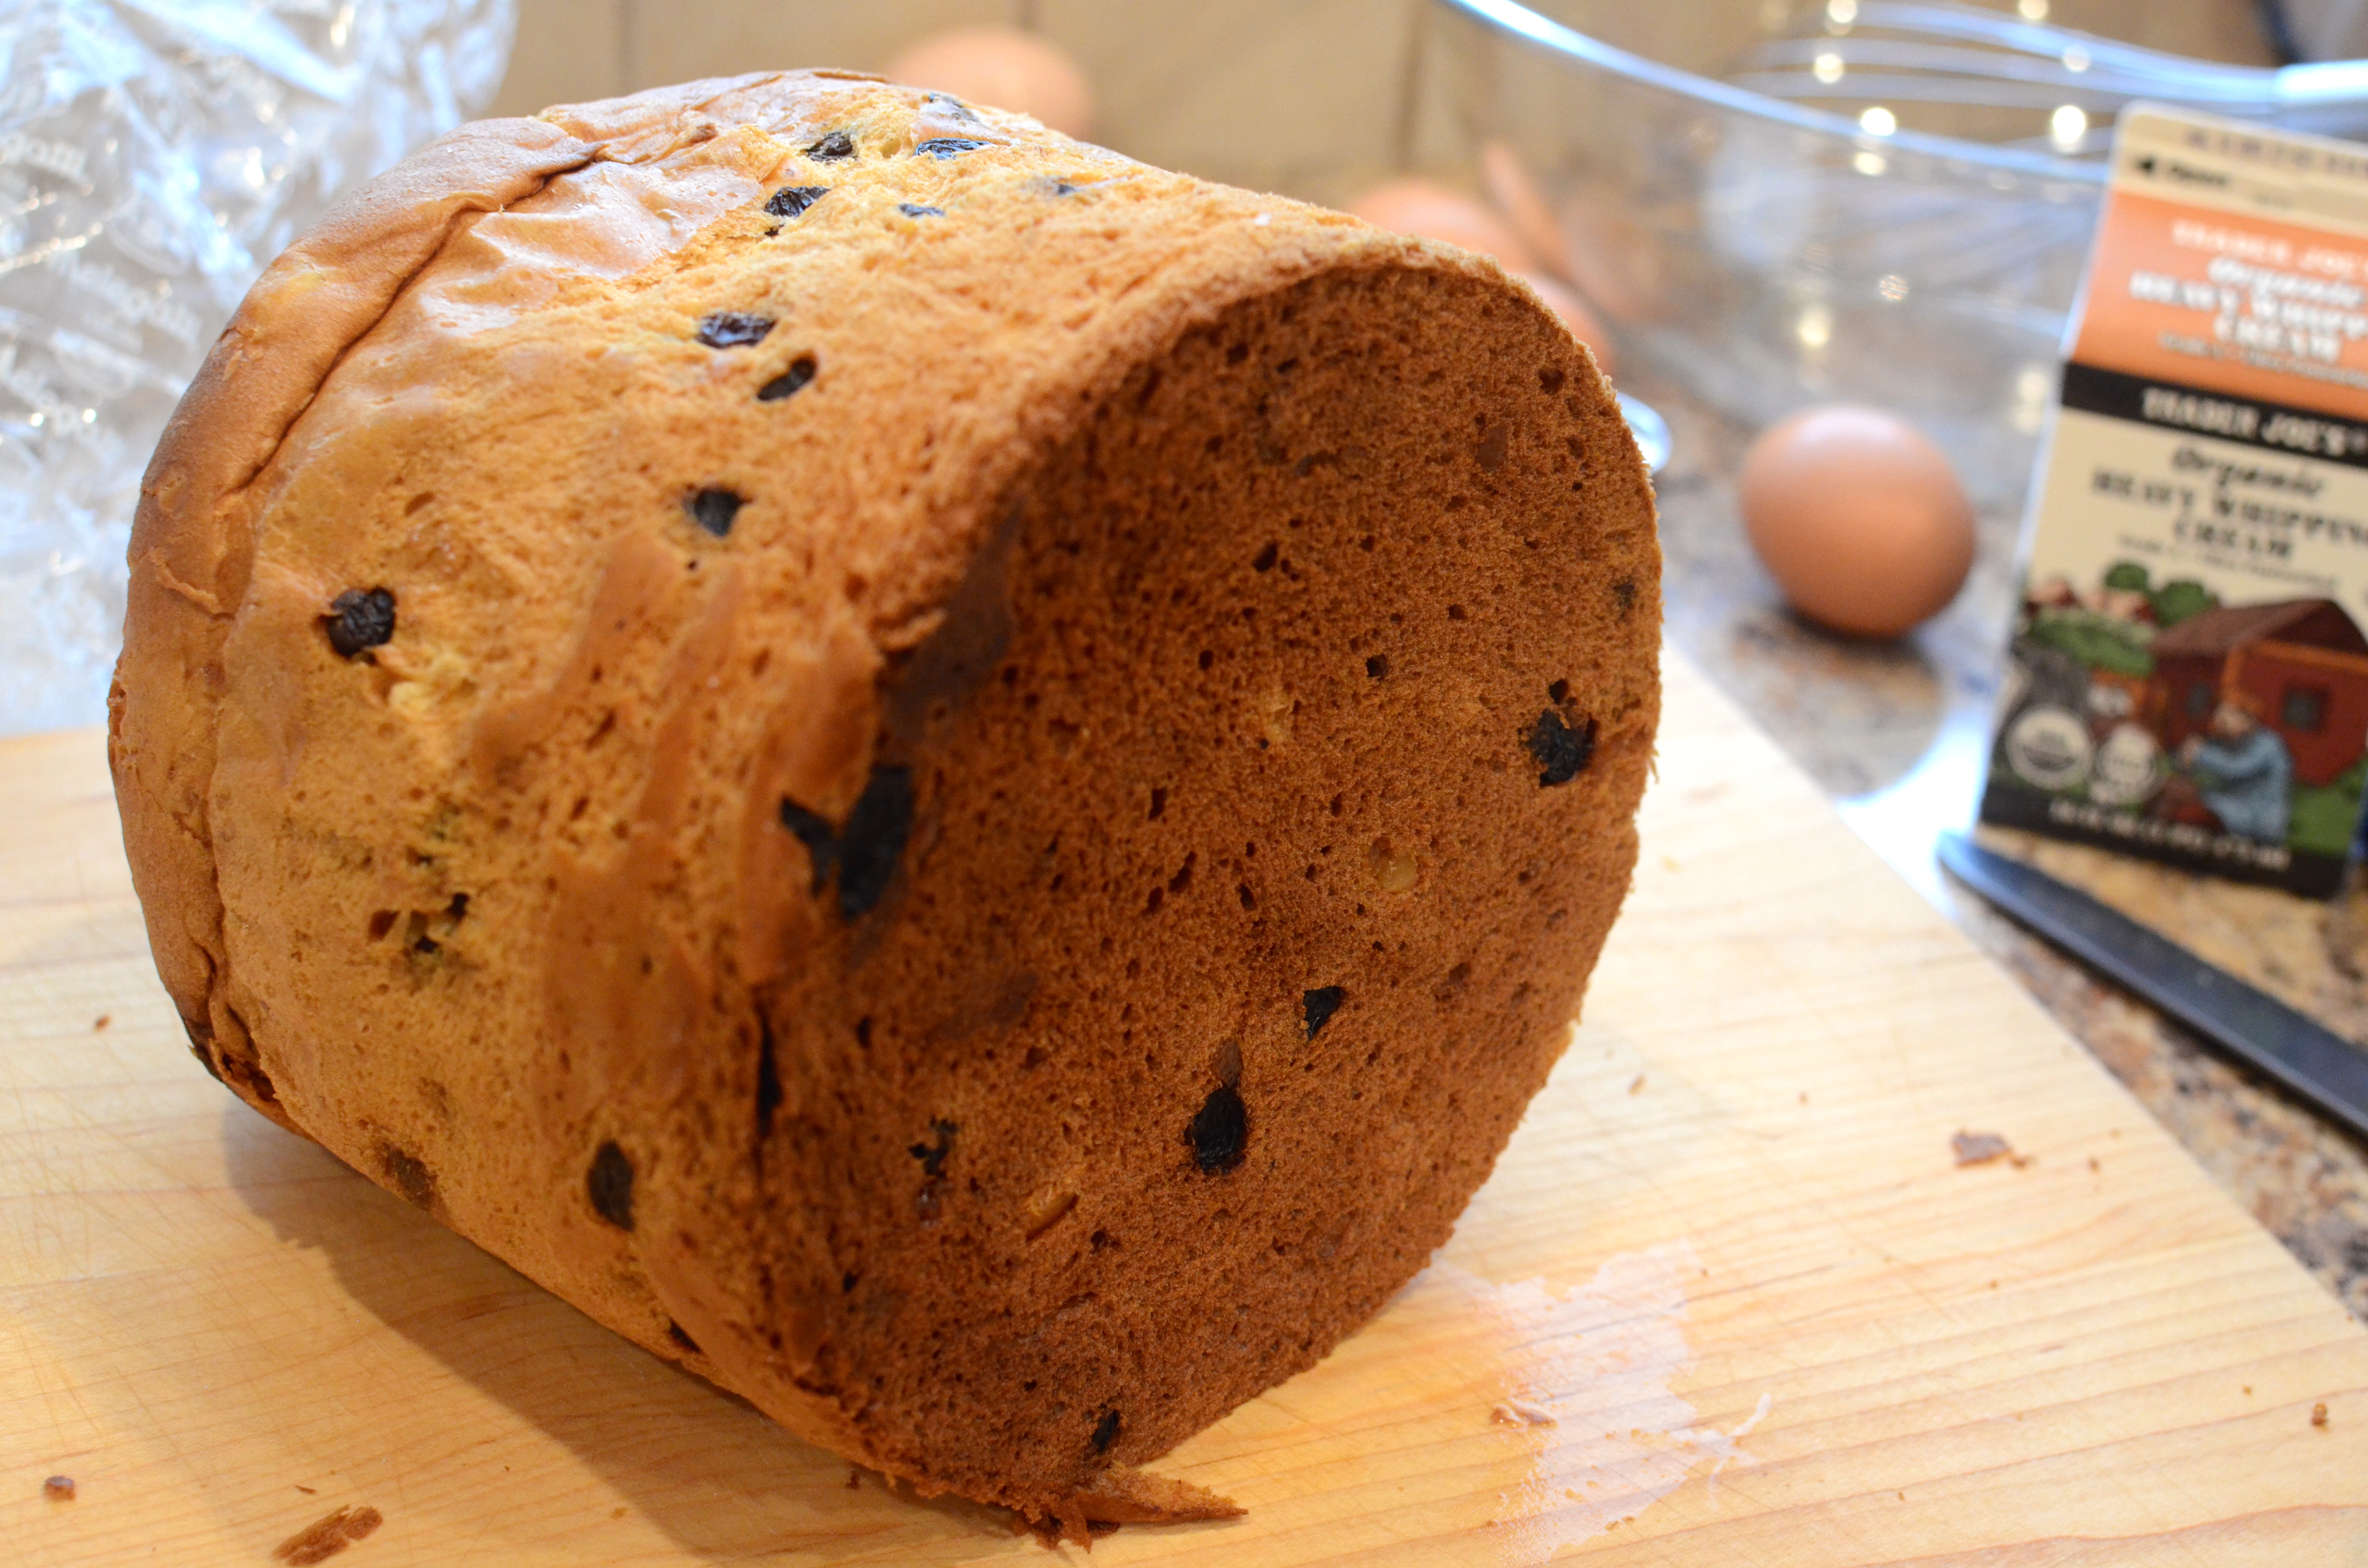
French toasts and bread puddings are the top ways to use this sweet, cake-like bread studded with dried fruit. Since I love soaking bread until it becomes a custard consistency, I’m all for it. But with whom am I going to share a large, rich casserole any time soon? To my delight, PJ Hamel’s blog and recipe came up in my searches. It transforms the cake into the form of moist bread loaves, a much more convenient way to keep (i.e. freeze) and share!
The original recipe calls for 9 to 10 cups of diced bread. The full cake totalled about 13 cups for me, so I scaled the recipe accordingly.

Panettone Bread Pudding Loaf
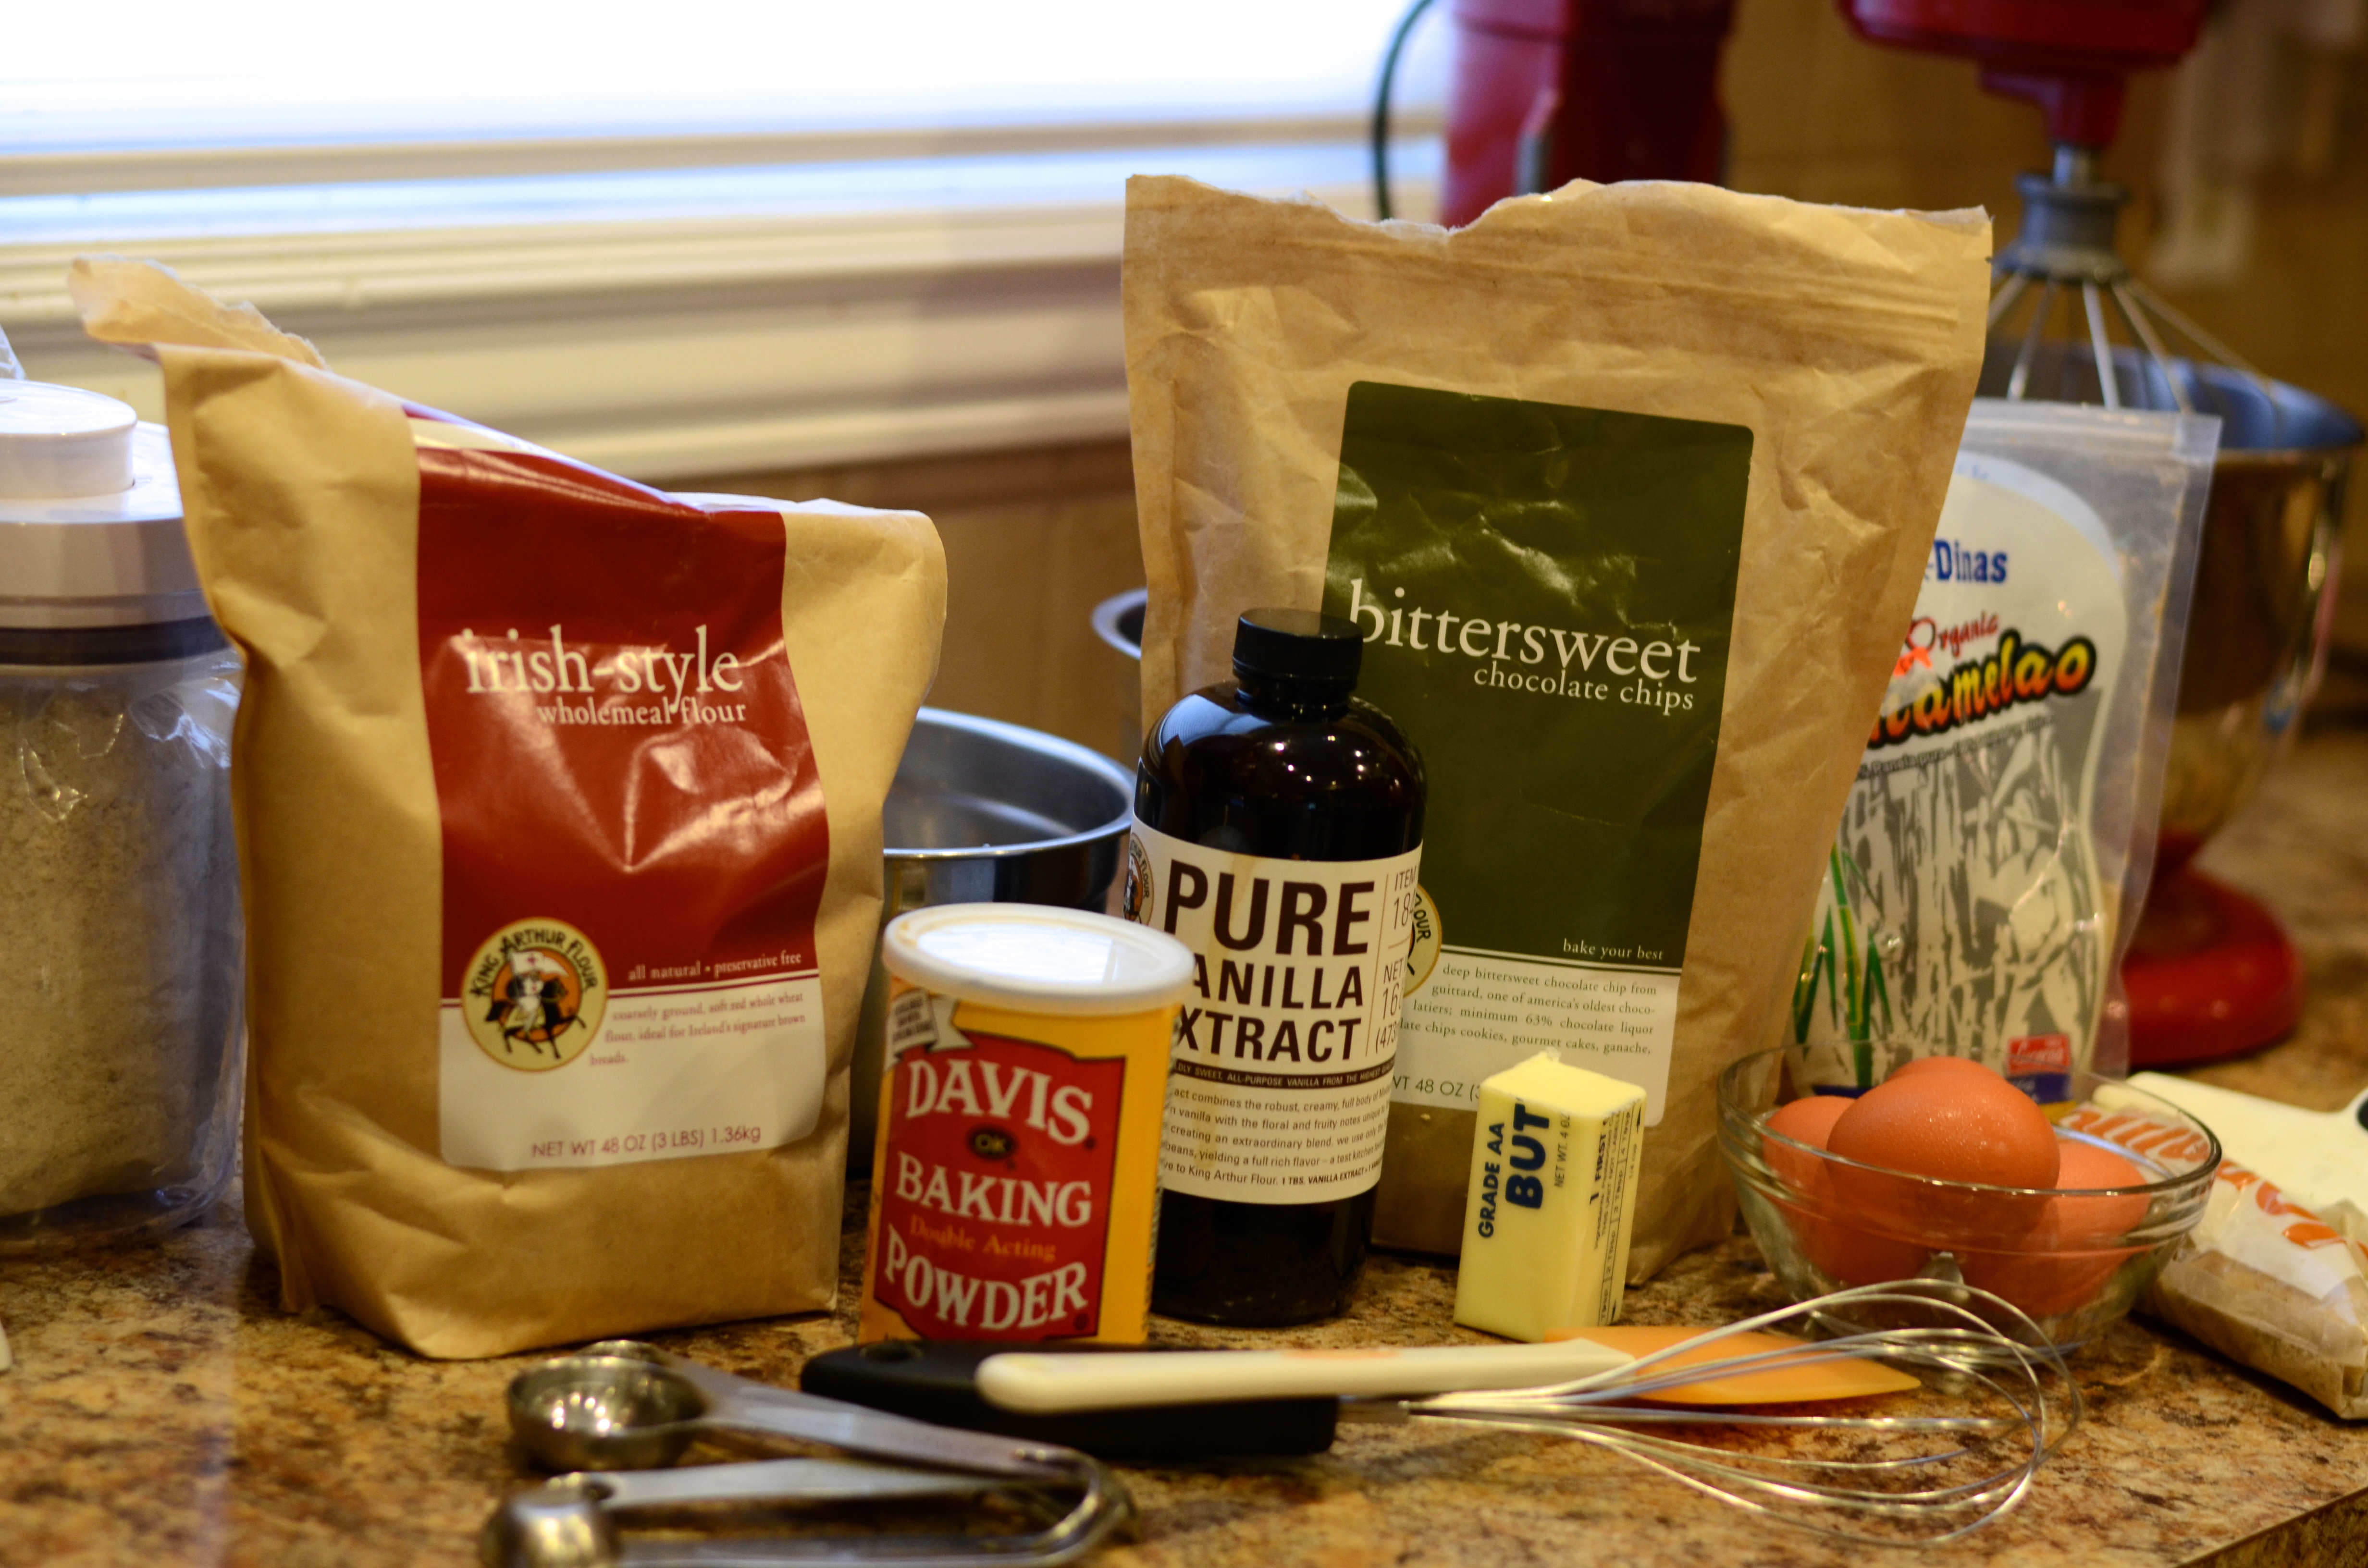
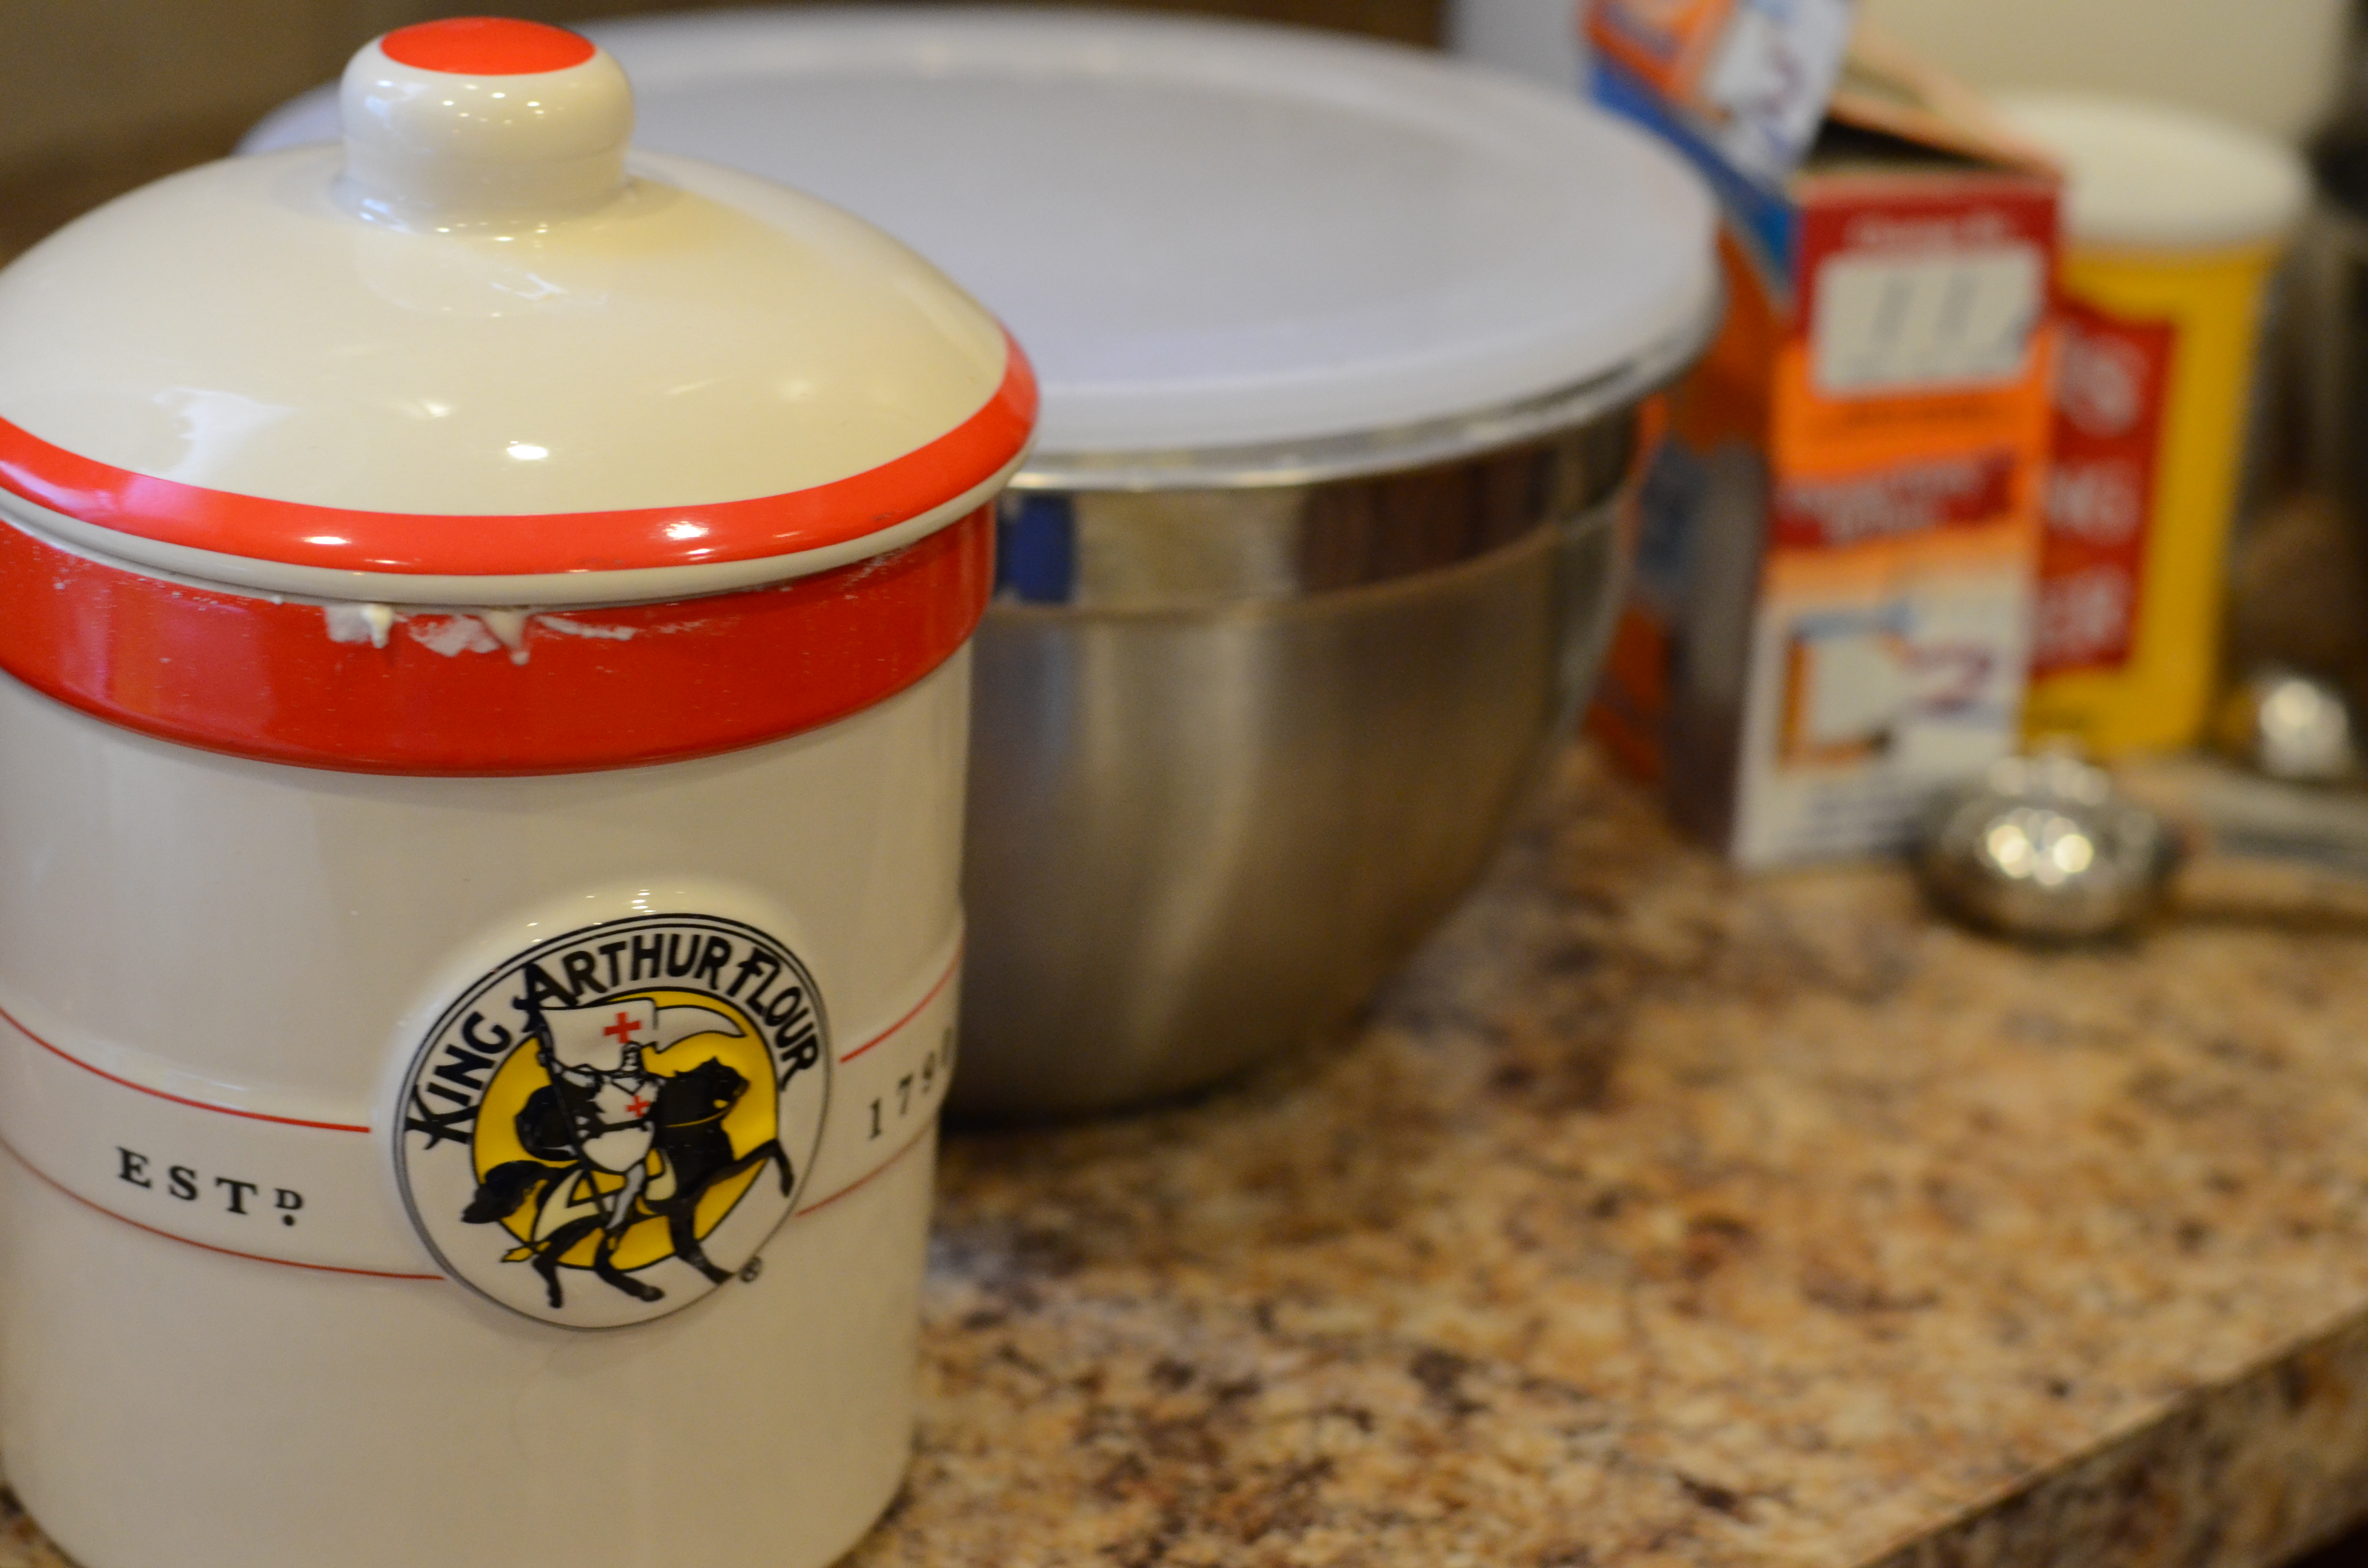
Adapted from King Arthur Flour
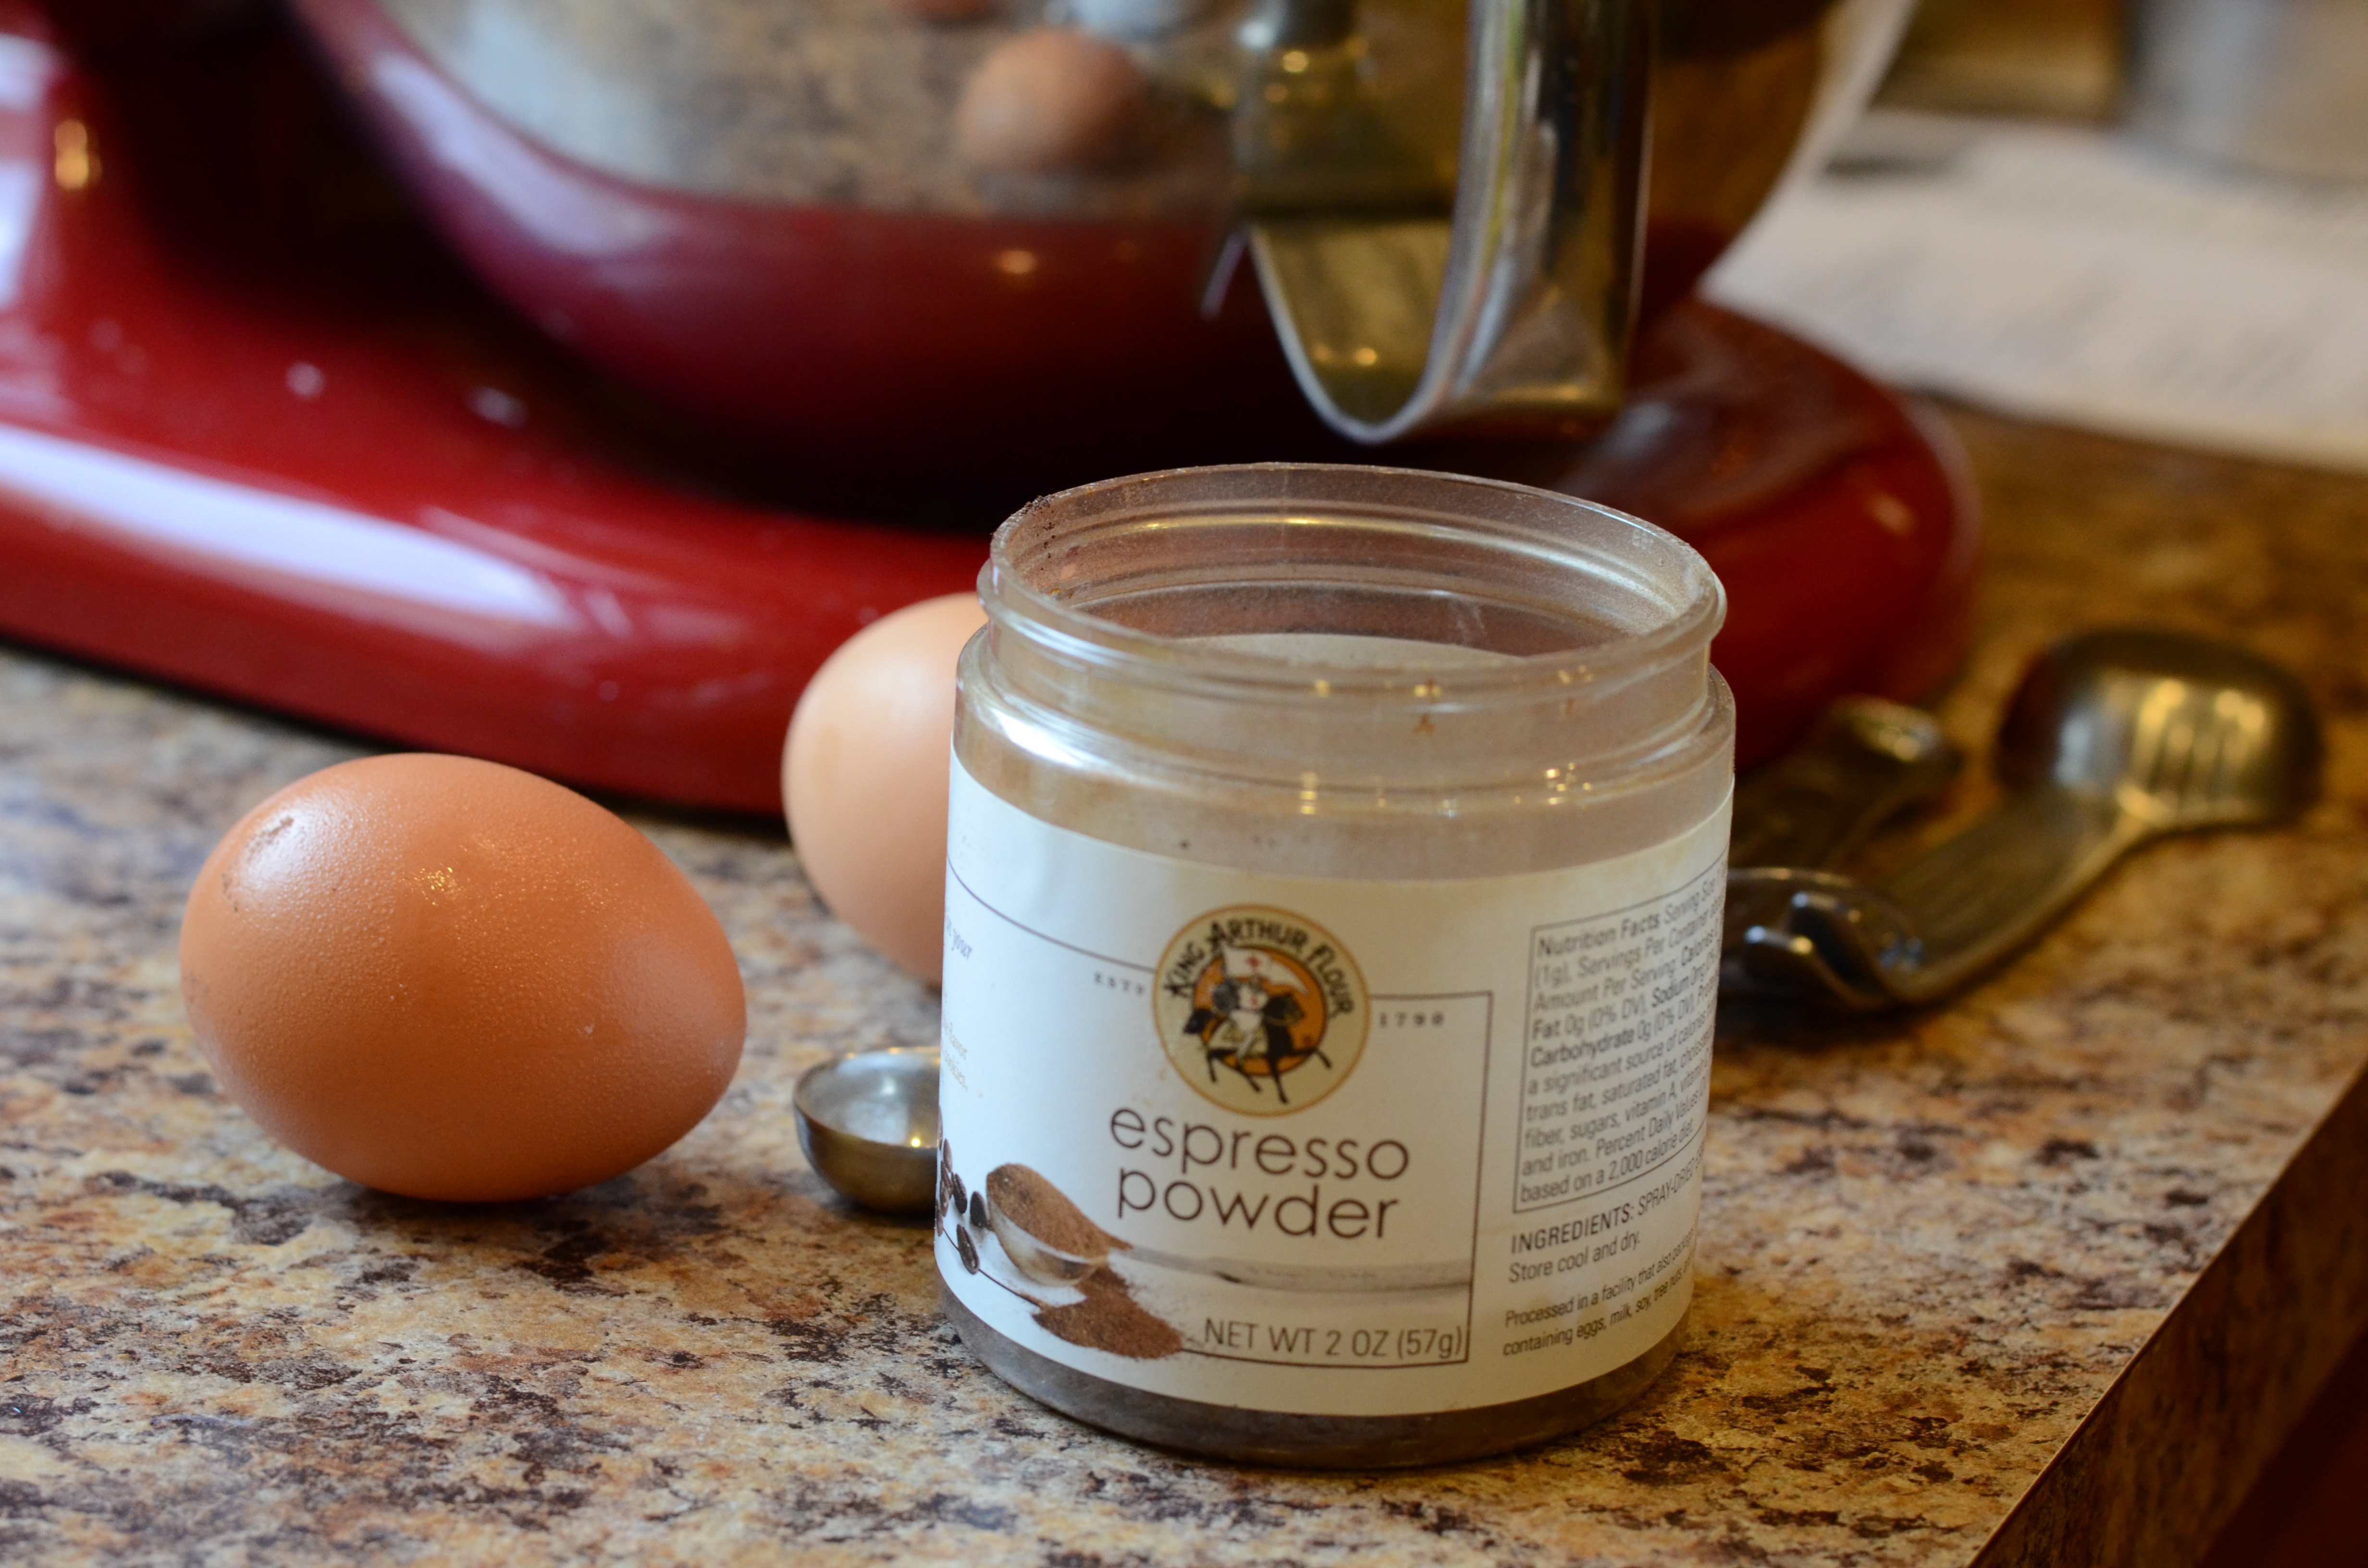
4 large eggs
2 2/3 Cups of some combination of milk and cream (I used 2 Cups skim milk and 2/3 Cup heavy cream)
1/4 Cup plus 1 Tablespoon granulated sugar
1 Tablespoon plus 1 teaspoon vanilla extract
1 panettone or about 13 Cups panettone or other bread, diced into 1″ cubes
about 1 1/4 Cup fresh lemon curd, split (recipe below-prepare ahead of time to allow for chilling, or purchase pre-made)
coarse sparkling sugar, for sprinkling on top; optional
Microwave Lemon Curd Recipe
Also from King Arthur Flour
Makes at least 2 Cups (more than needed; feel free to halve the recipe, if preferred)
1 Cup lemon juice, freshly squeezed
1 Cup granulated sugar
1/2 Cup (8 Tablespoons) butter, melted
2 large eggs

I ended up using 2 large and 3 small lemons to reach 1 Cup of freshly squeezed juice.
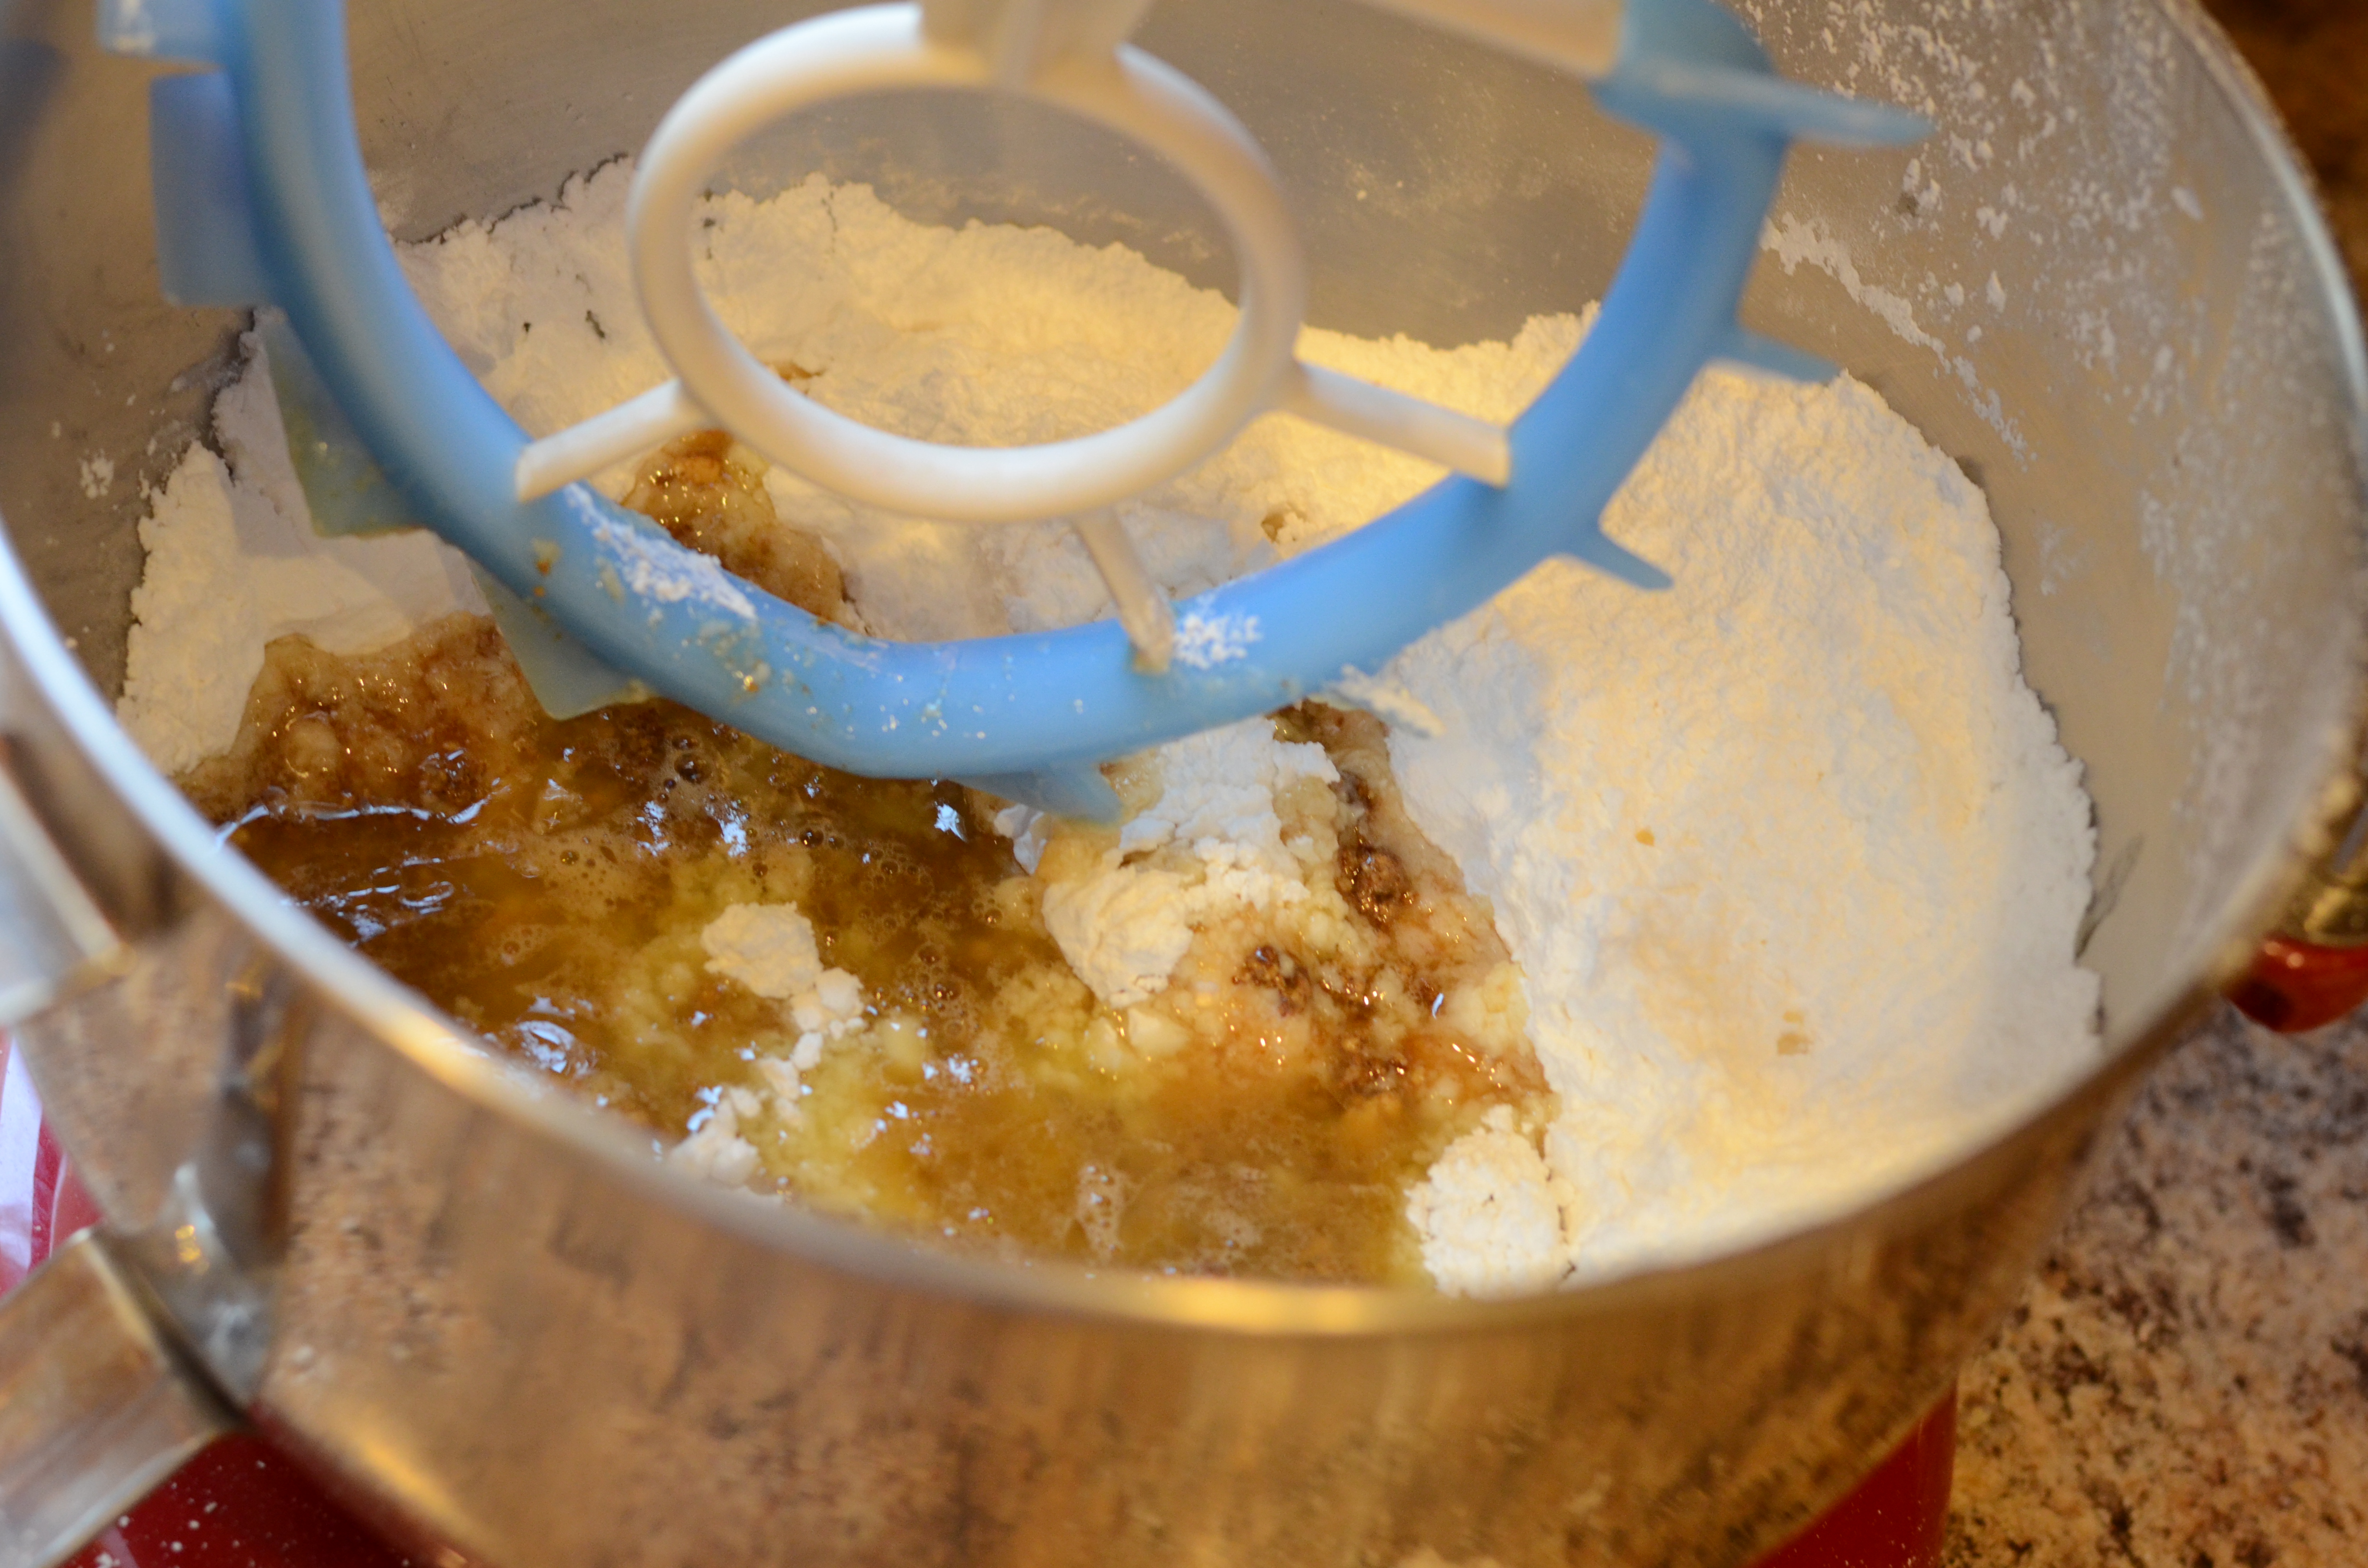
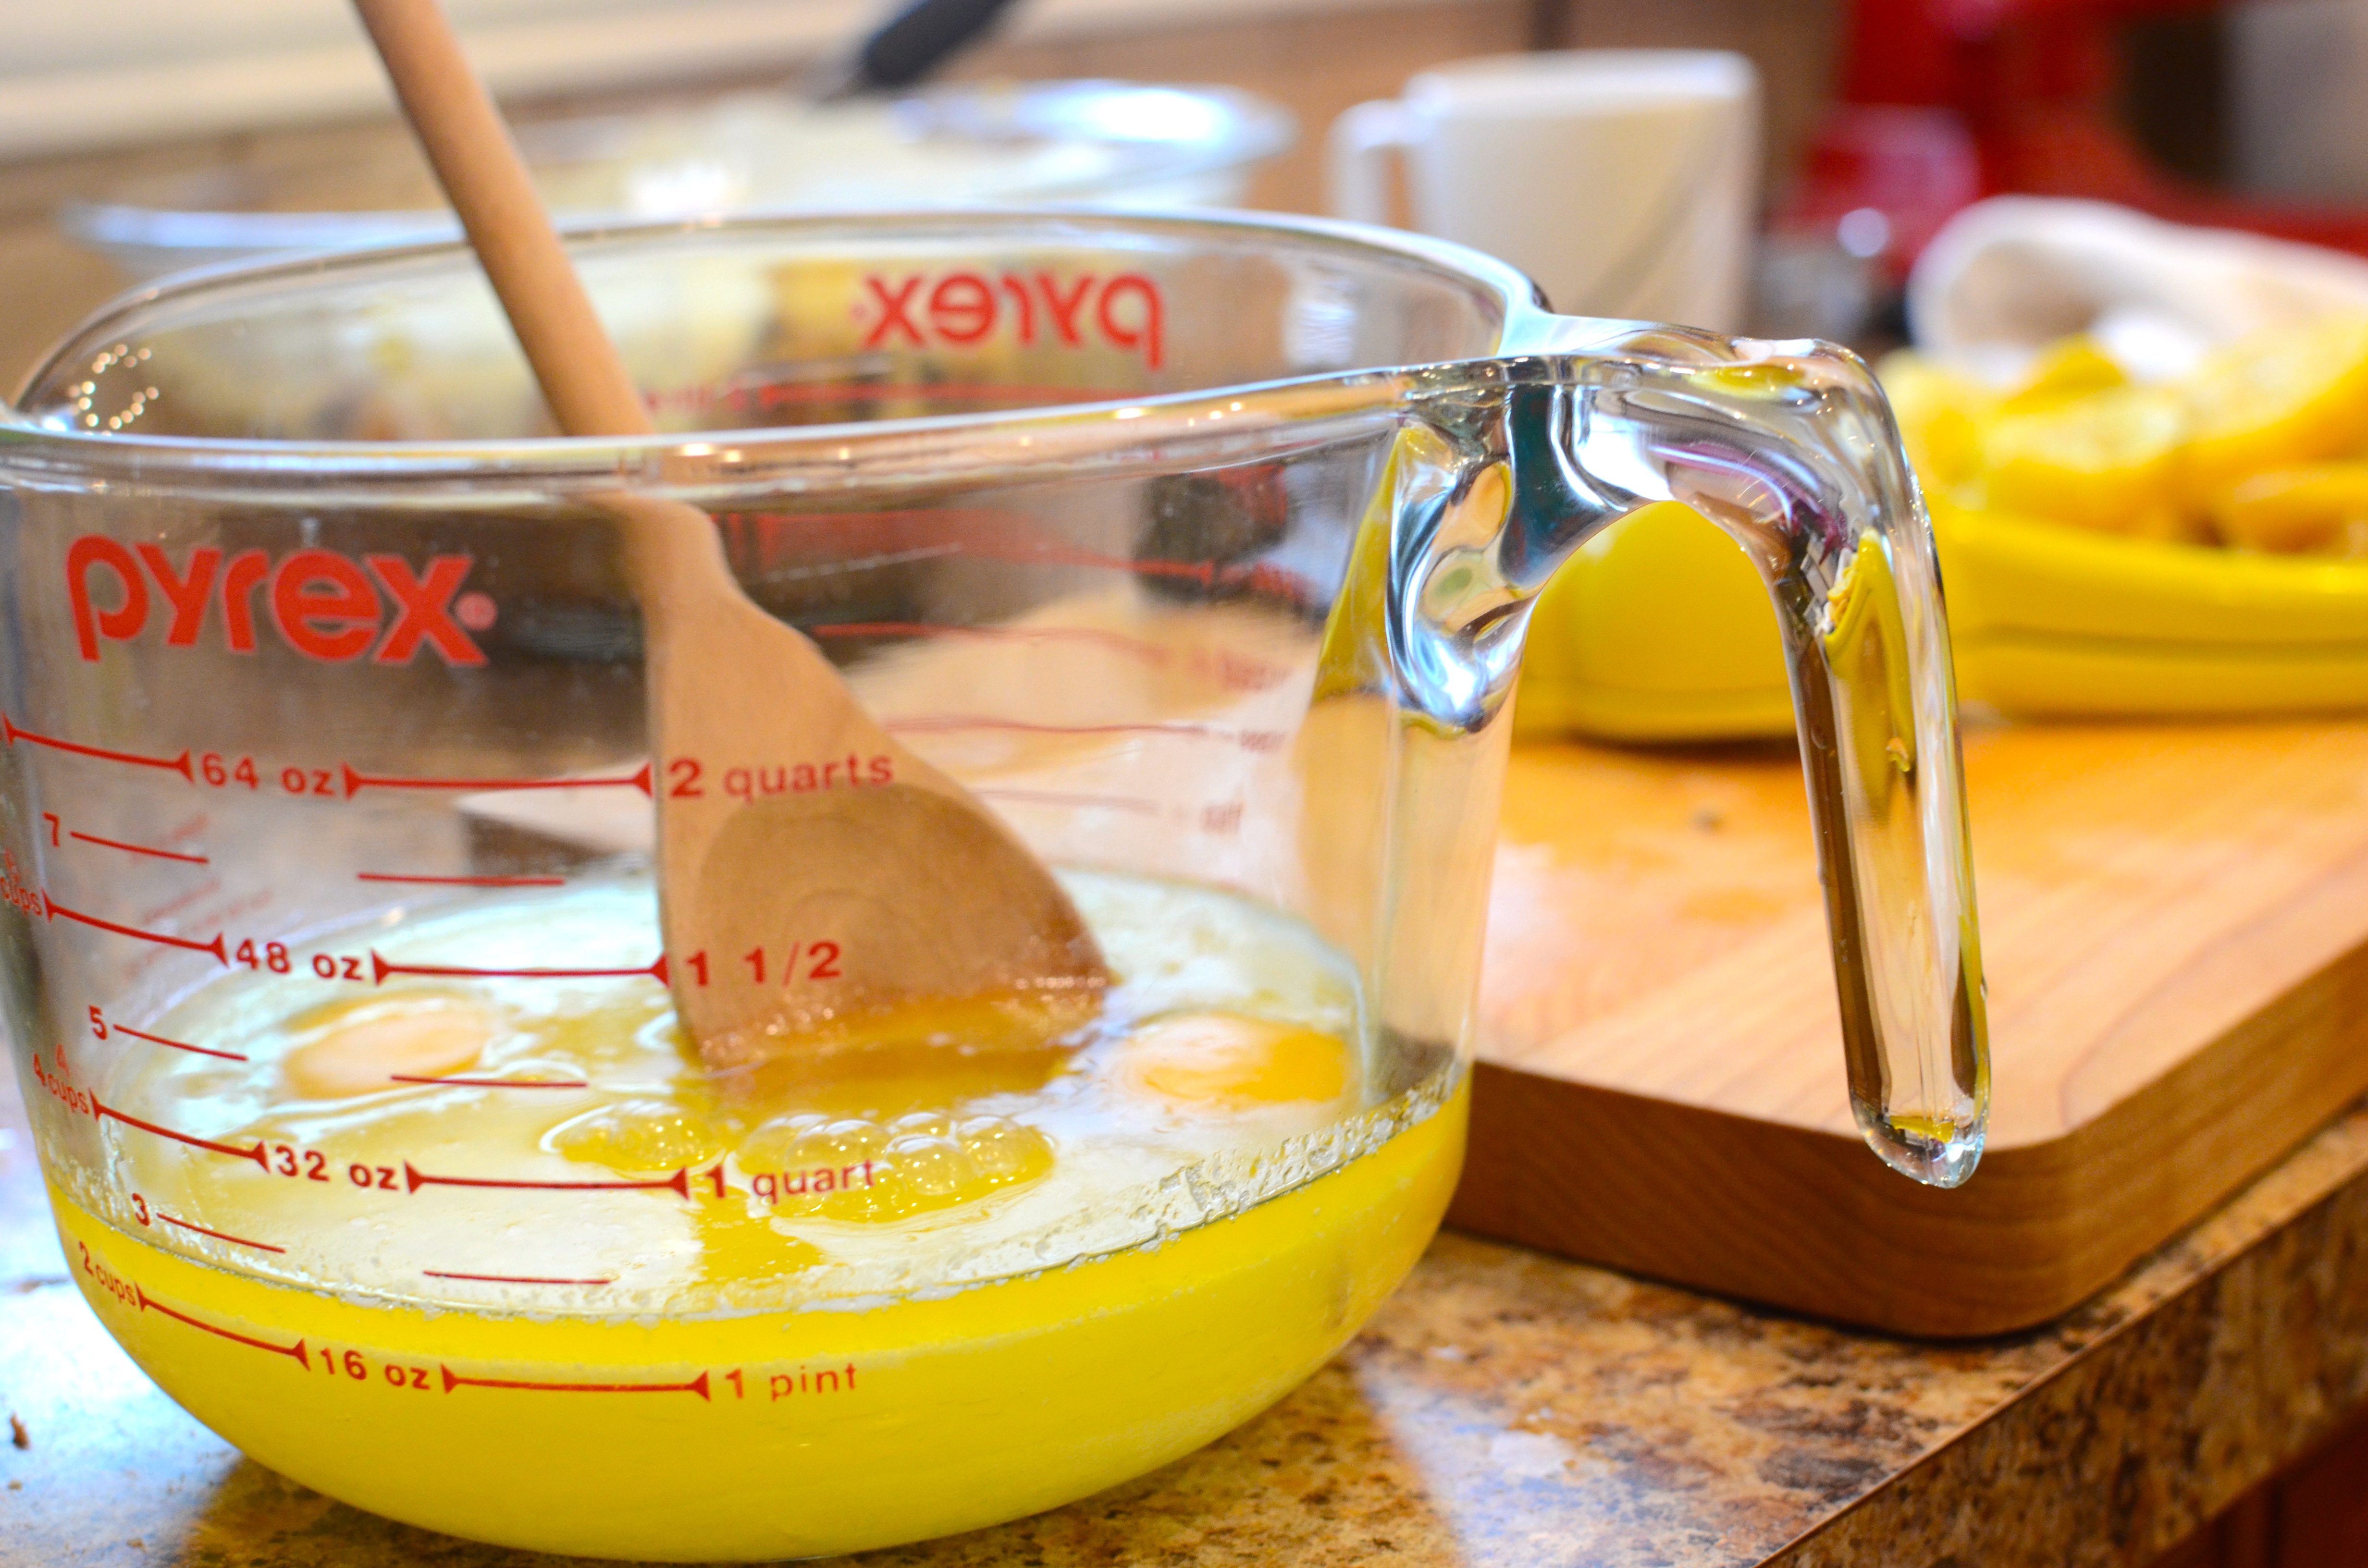
In a large microwave-safe bowl or measuring cup, melt the butter. Add the remaining ingredients and mix well to combine.
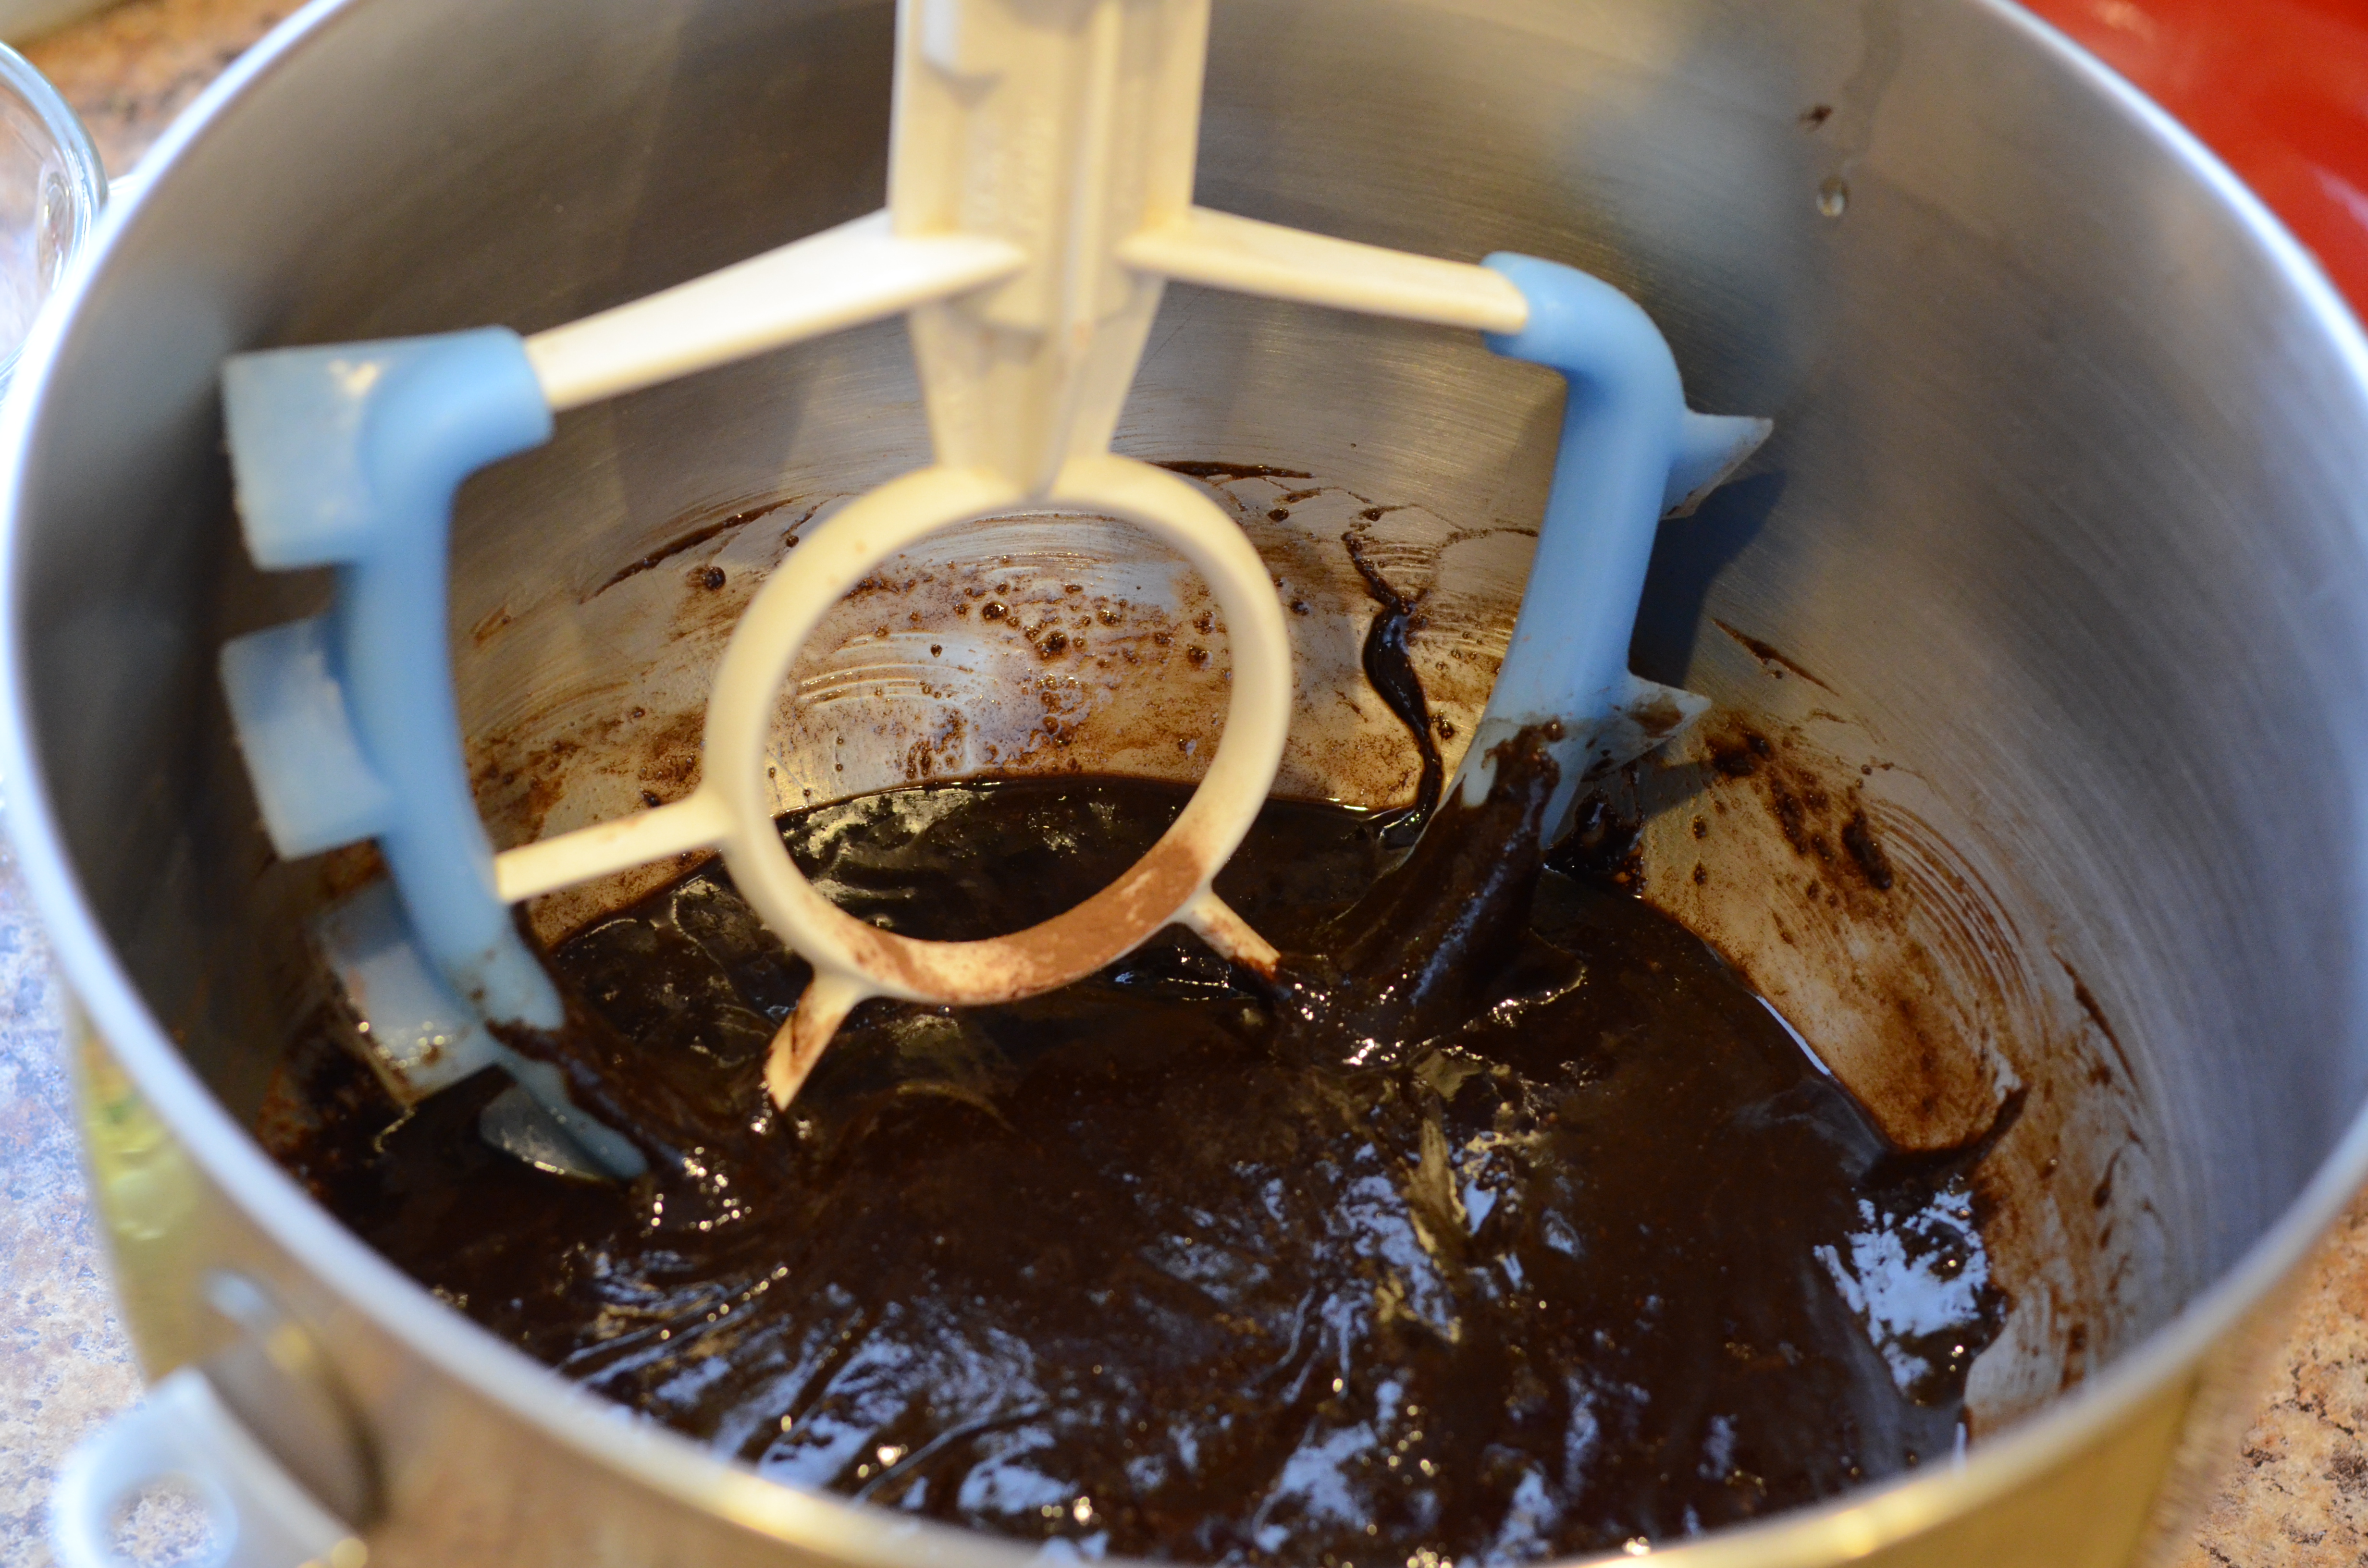
Place bowl in microwave and cook in 1-minute increments. After each minute, remove from the microwave and stir to combine.
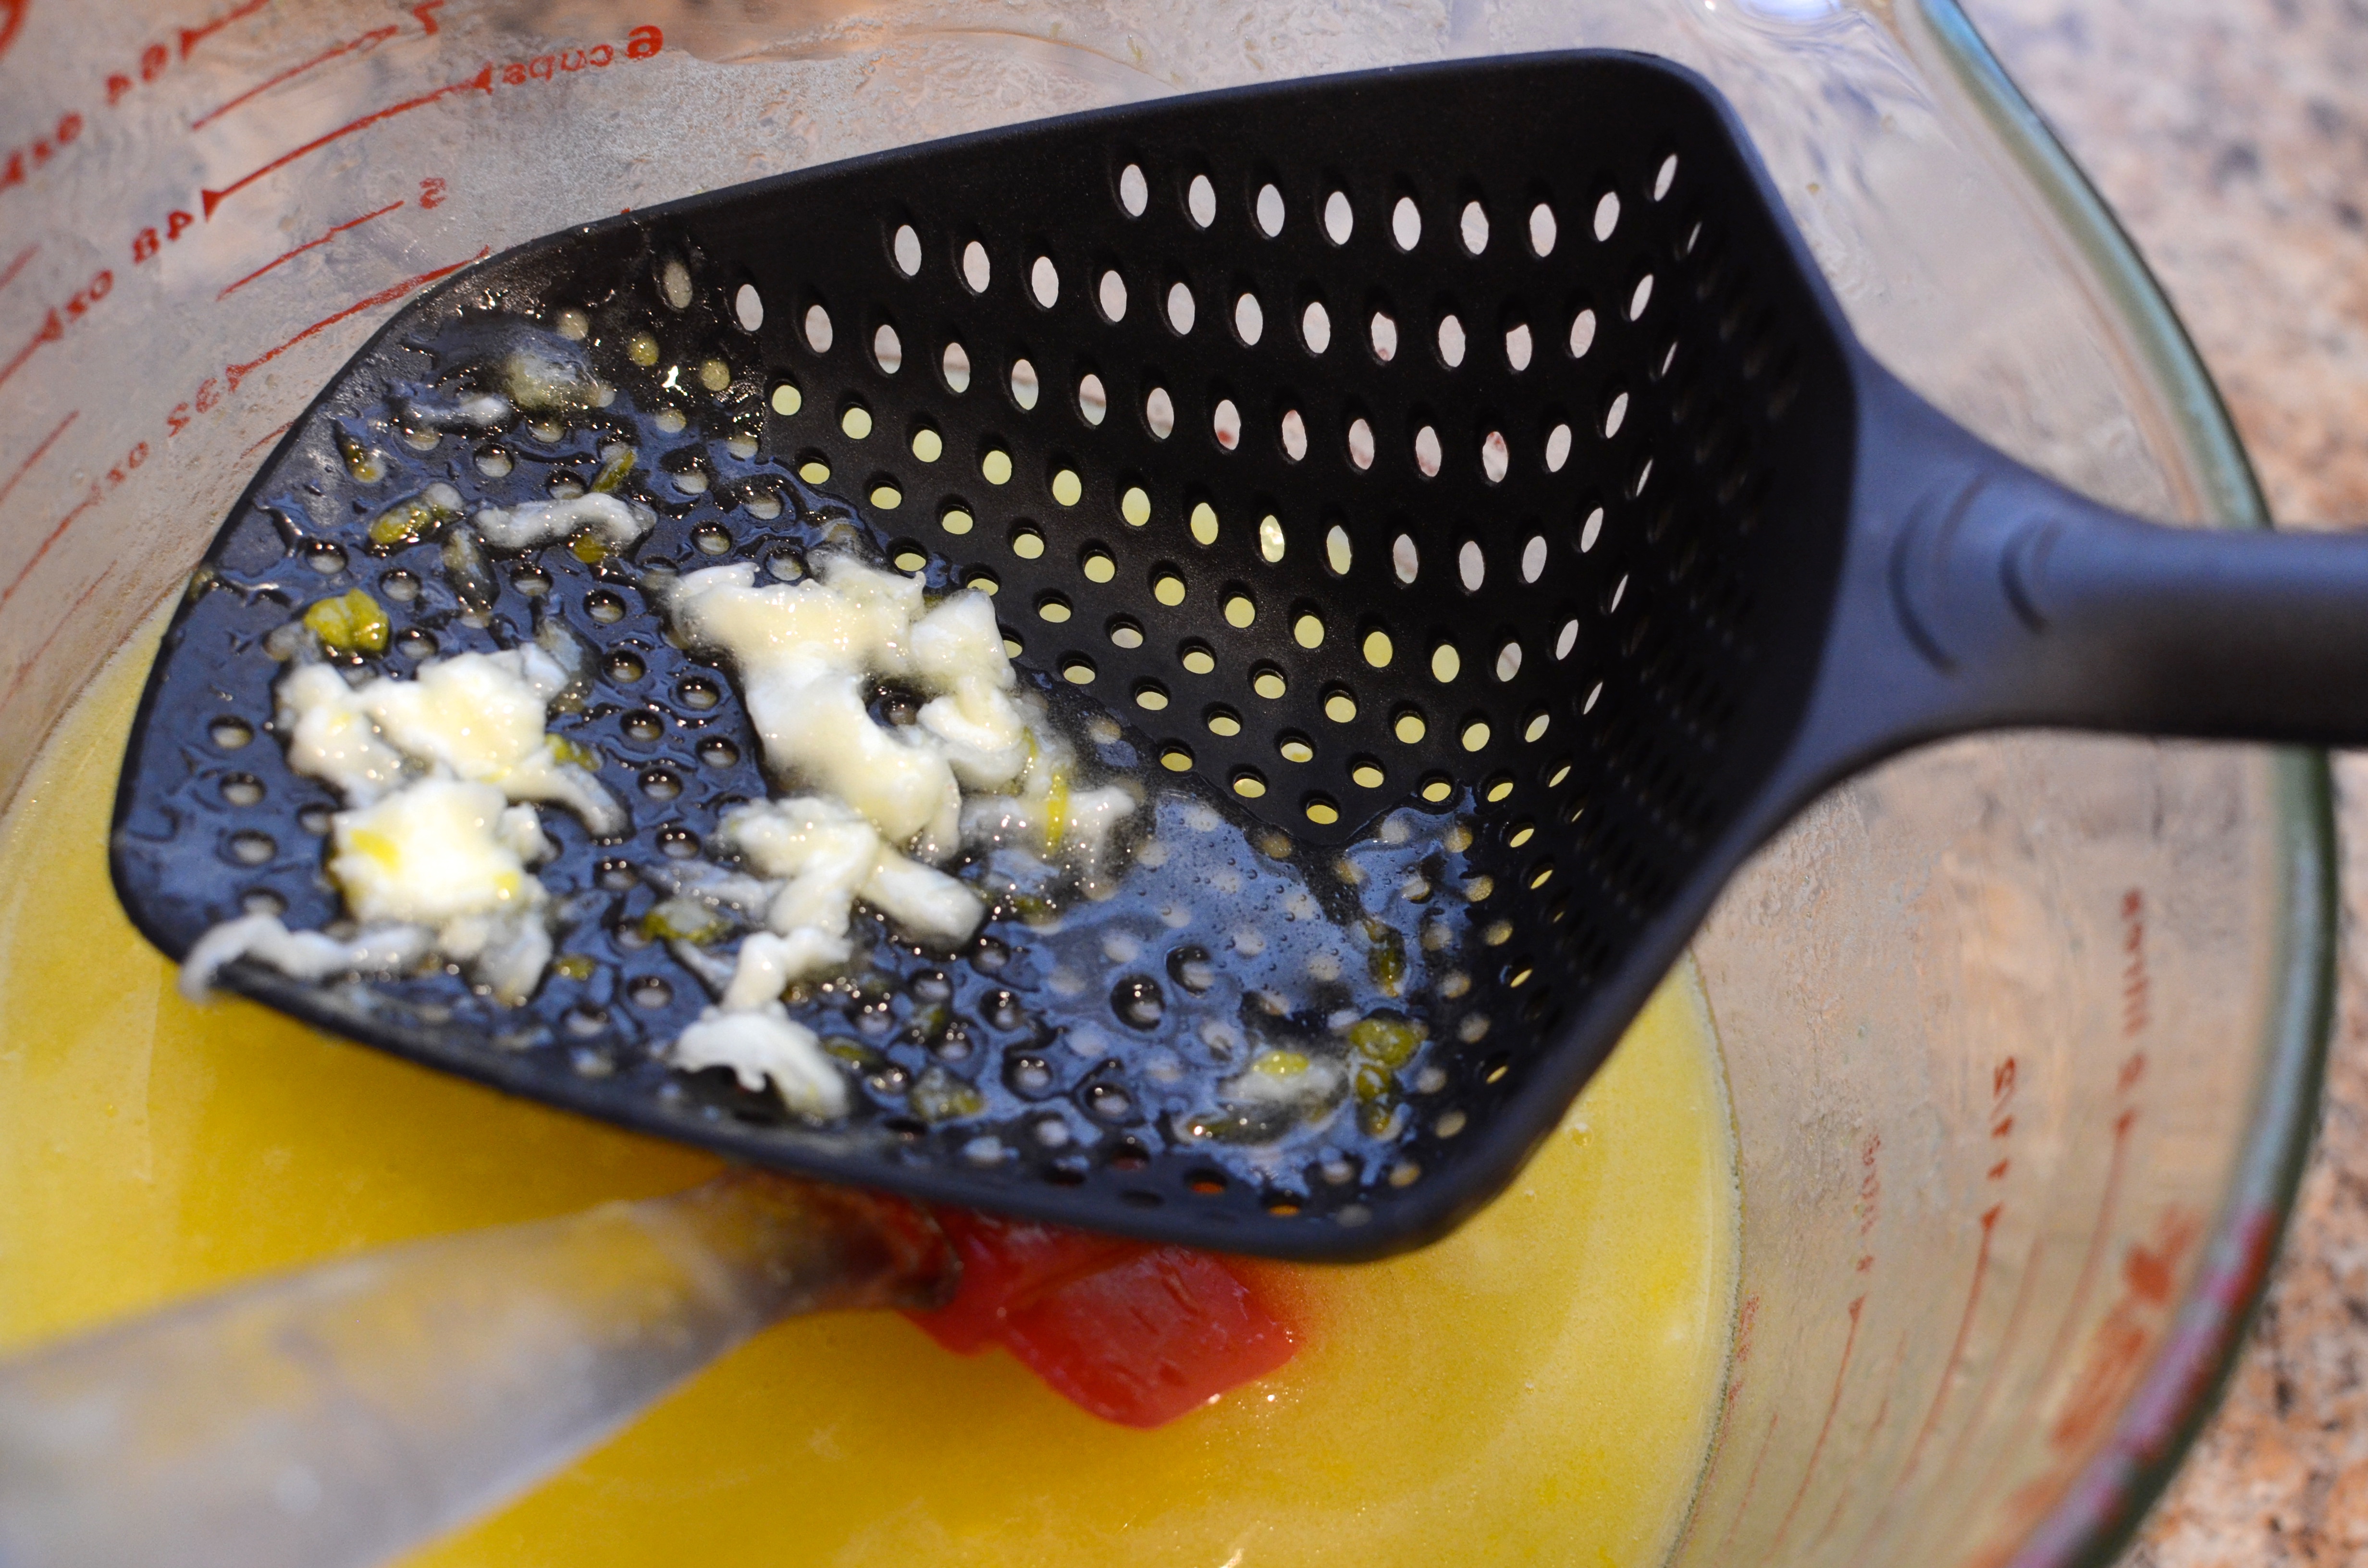
The curd is done when it is thickening and coating the back of the spoon. Or, when it reaches 185°F – the instant-read thermometer is your friend!

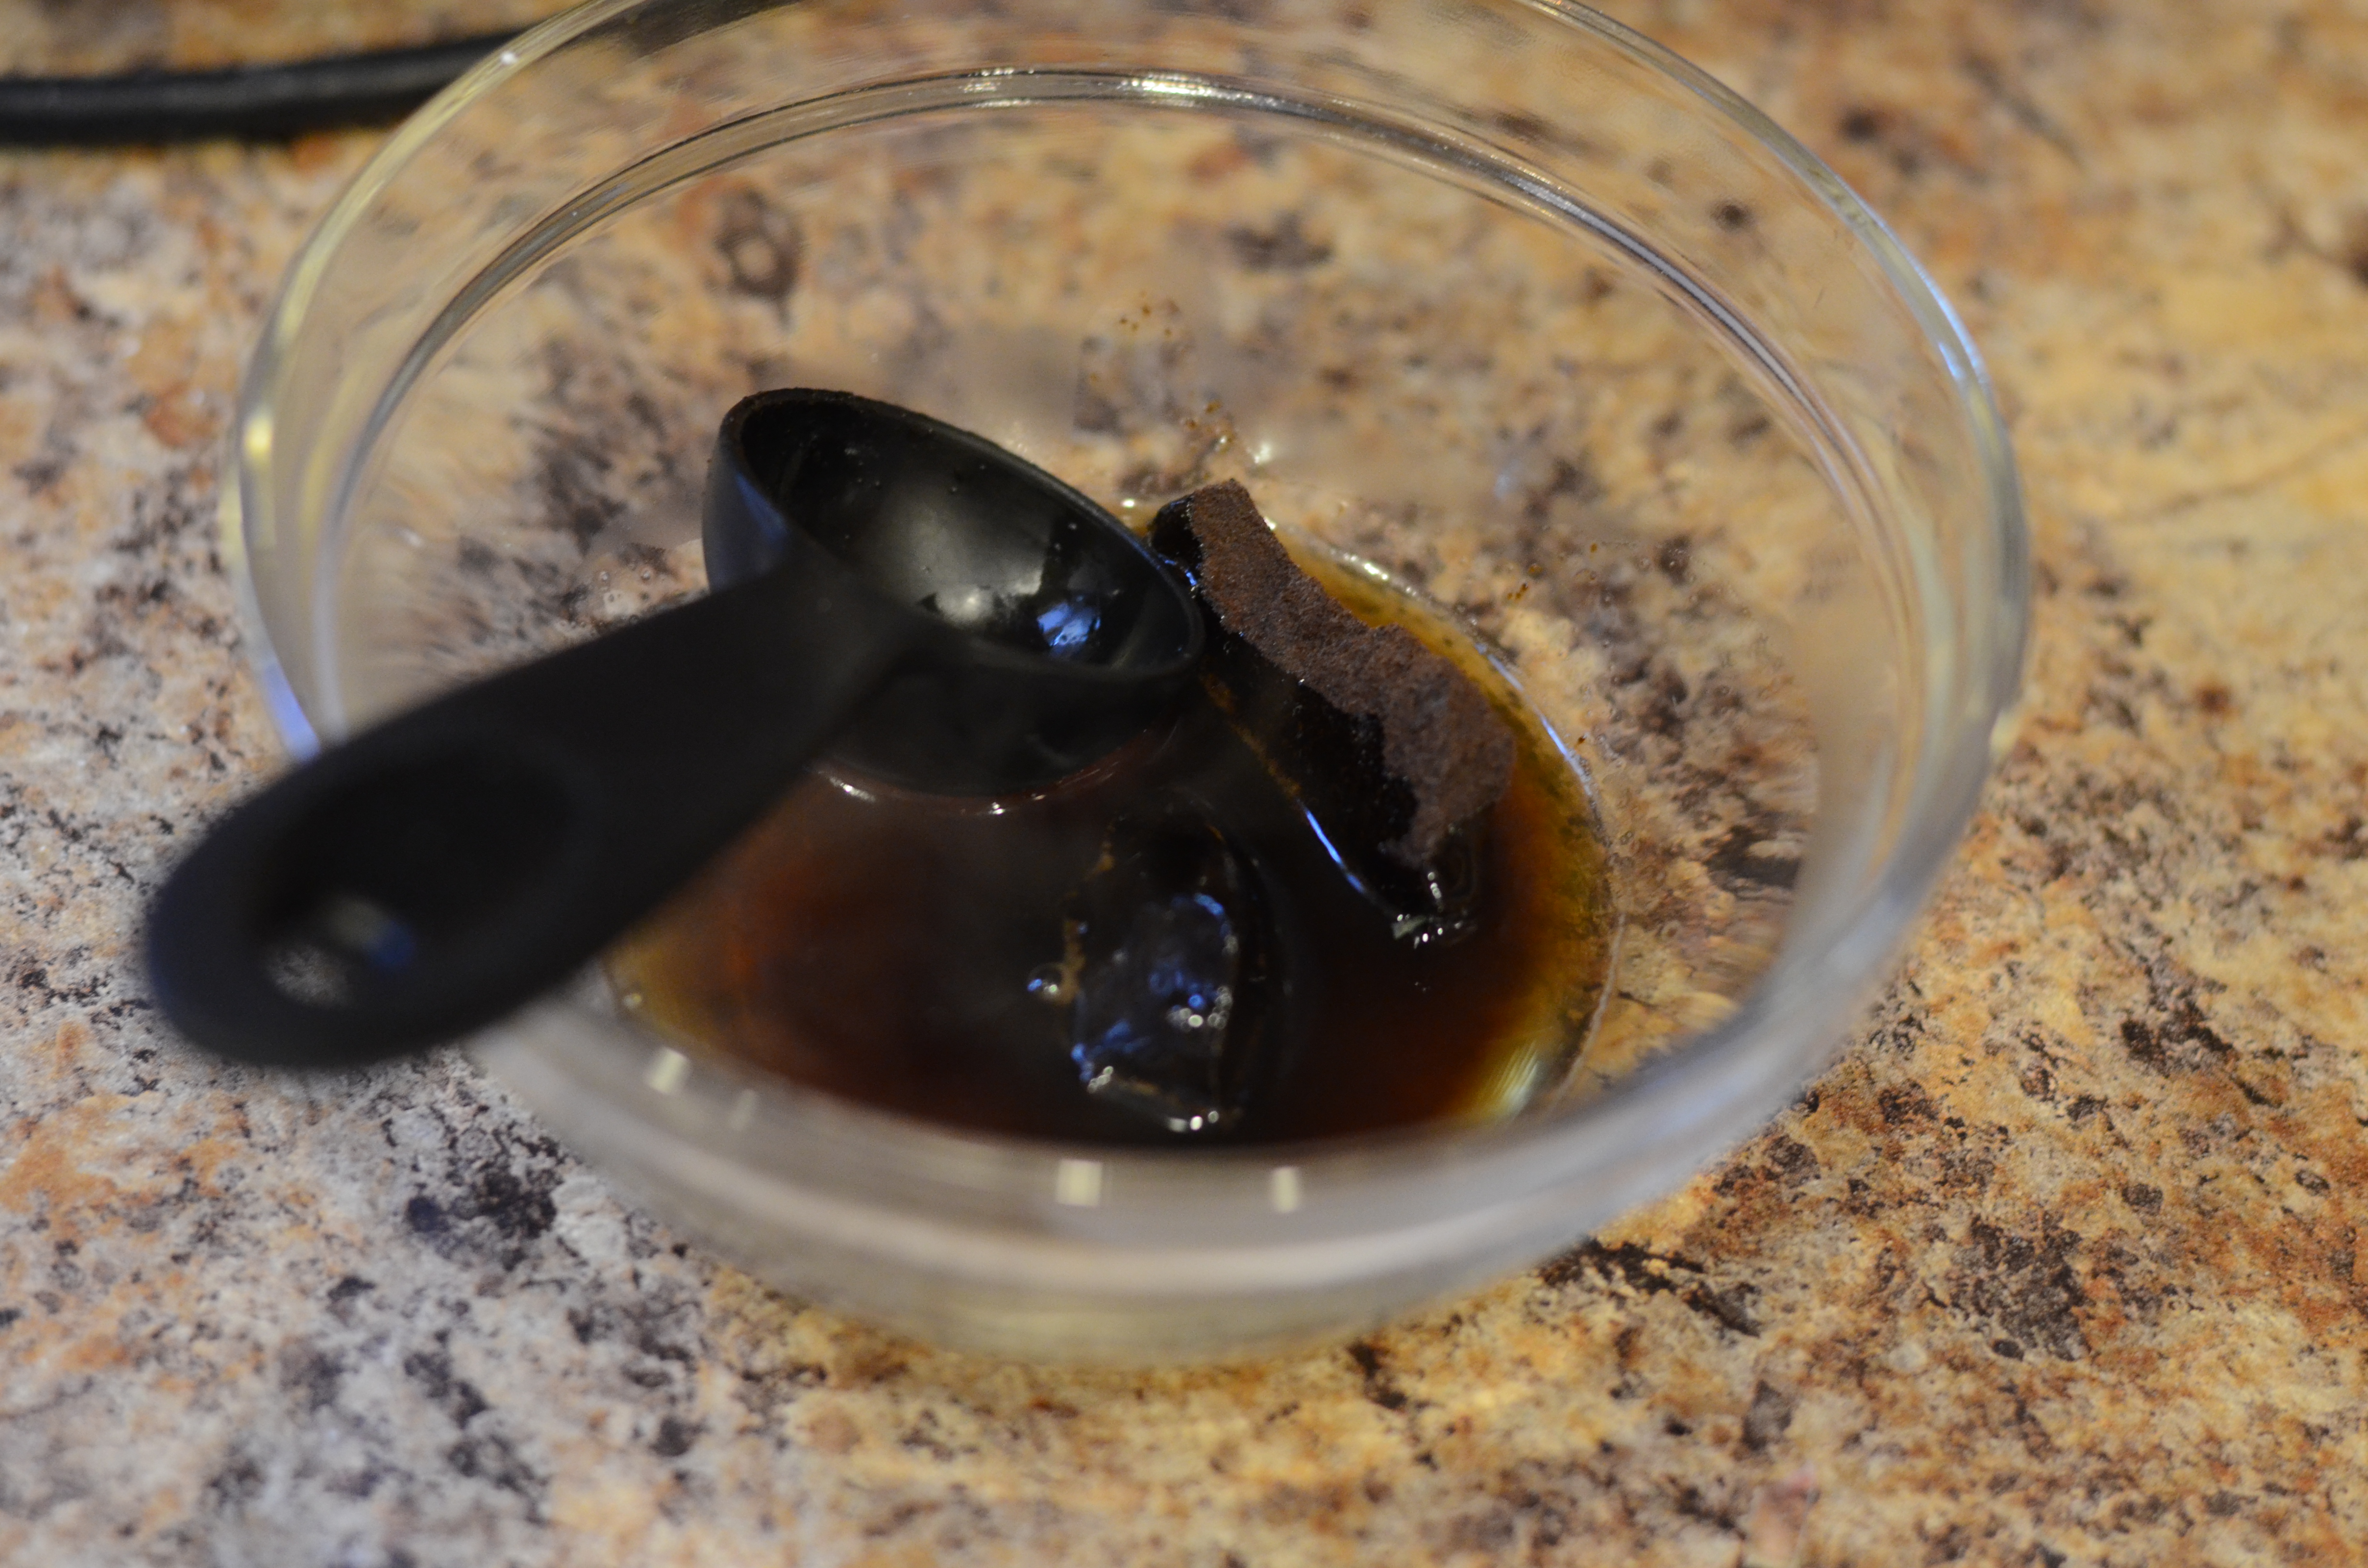
Mine took about 6 minutes to reach 185, but after 3 minutes some of the egg already cooked! Straining is required in this case. I happen to notice my new pasta scoop might have the right size holes for simply scooping out the solids–and it was!
Stir, transfer to a container, and refrigerate (or freeze, if in a rush) until firm.
- On to the bread pudding!
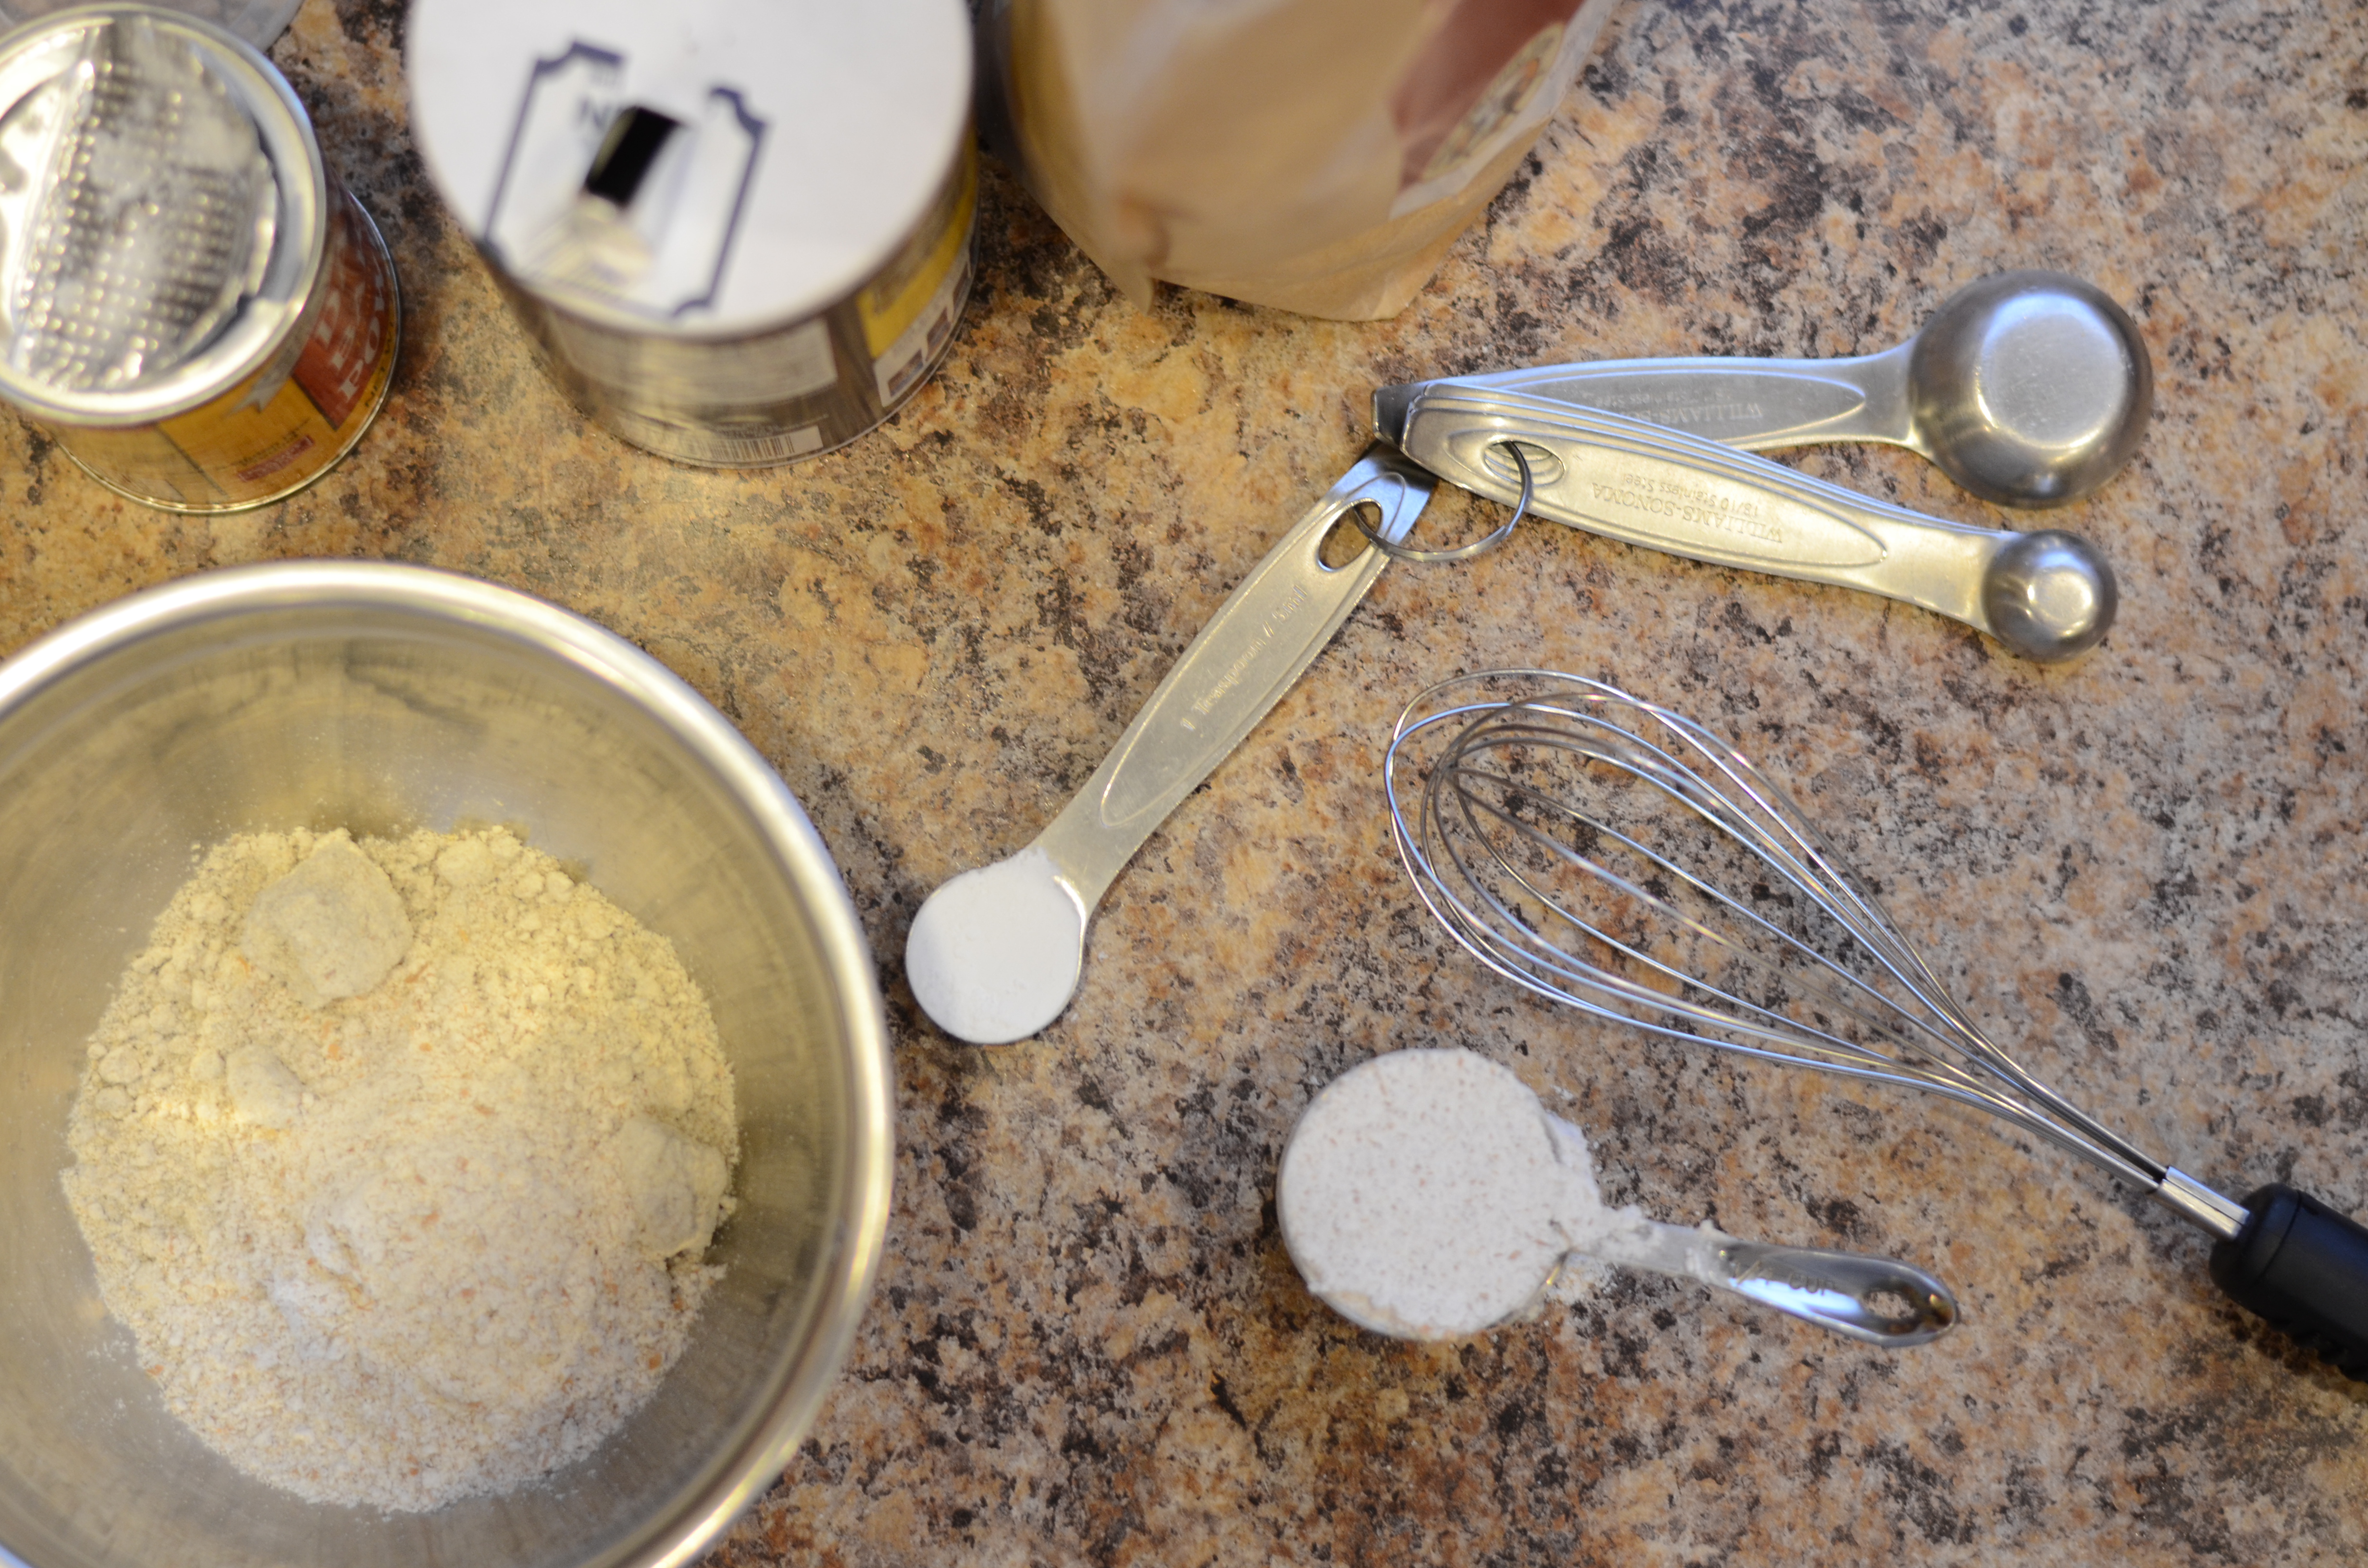
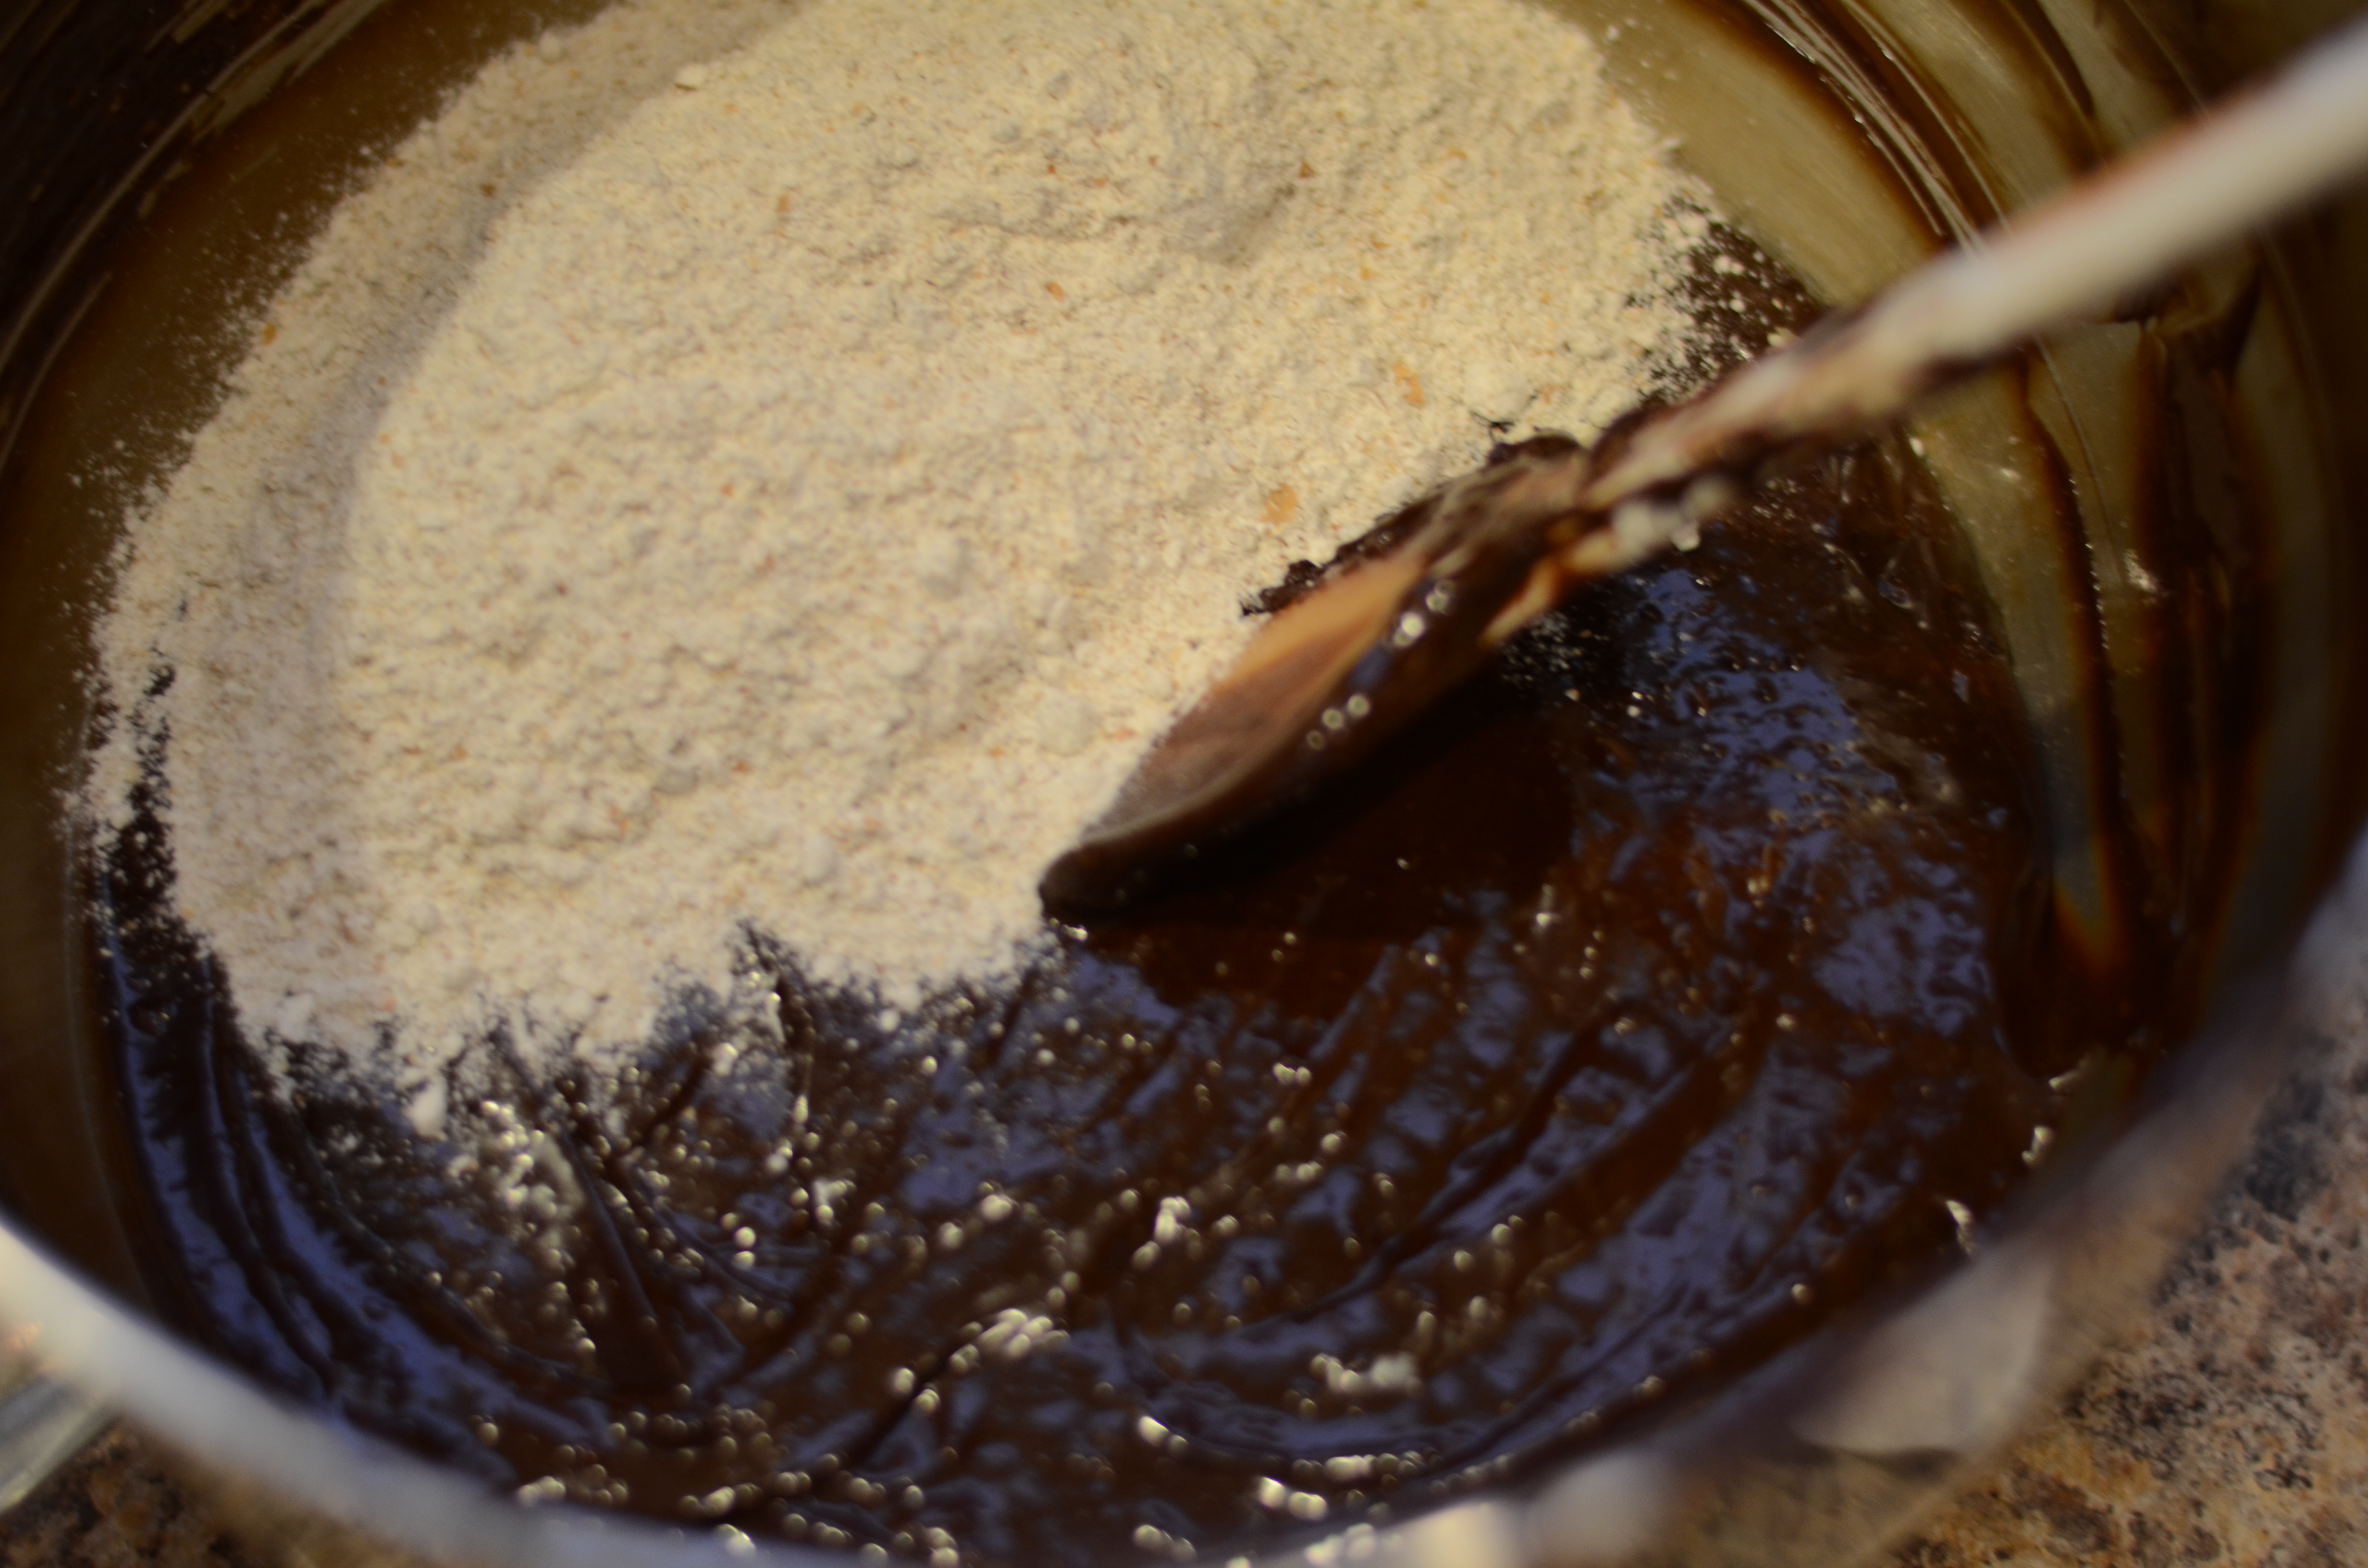
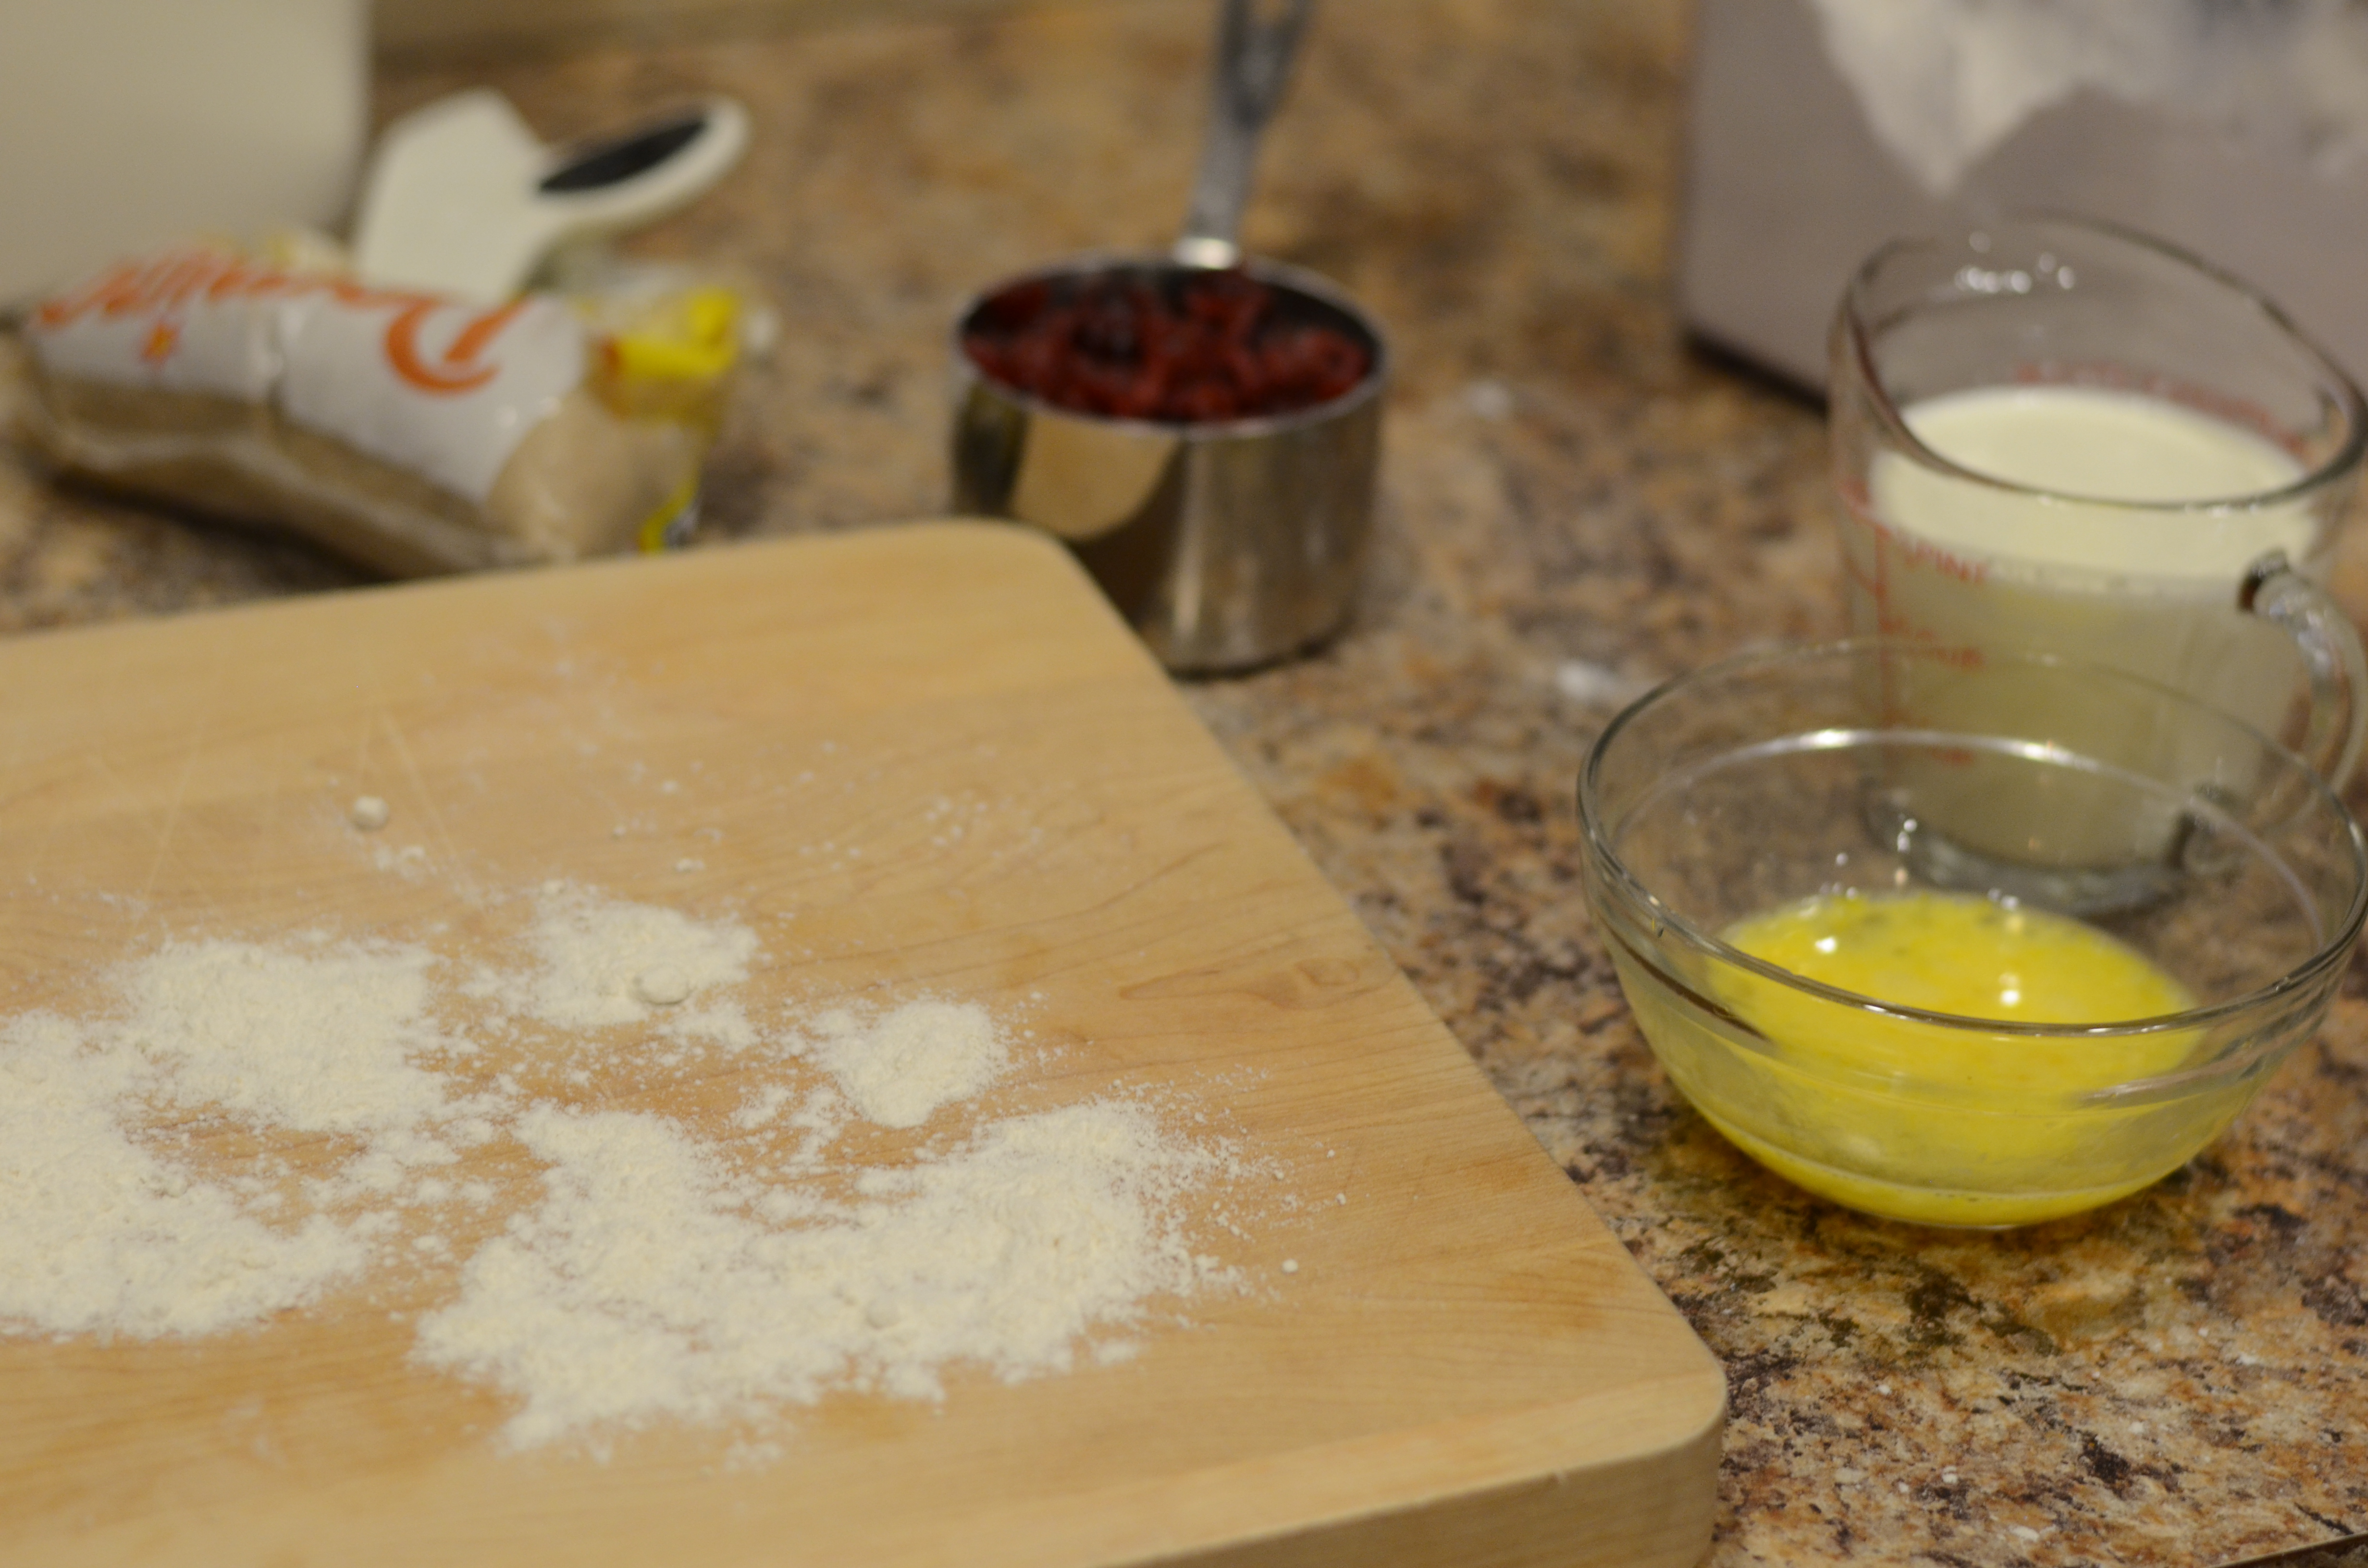
Prep your bread by cutting or tearing into pieces.

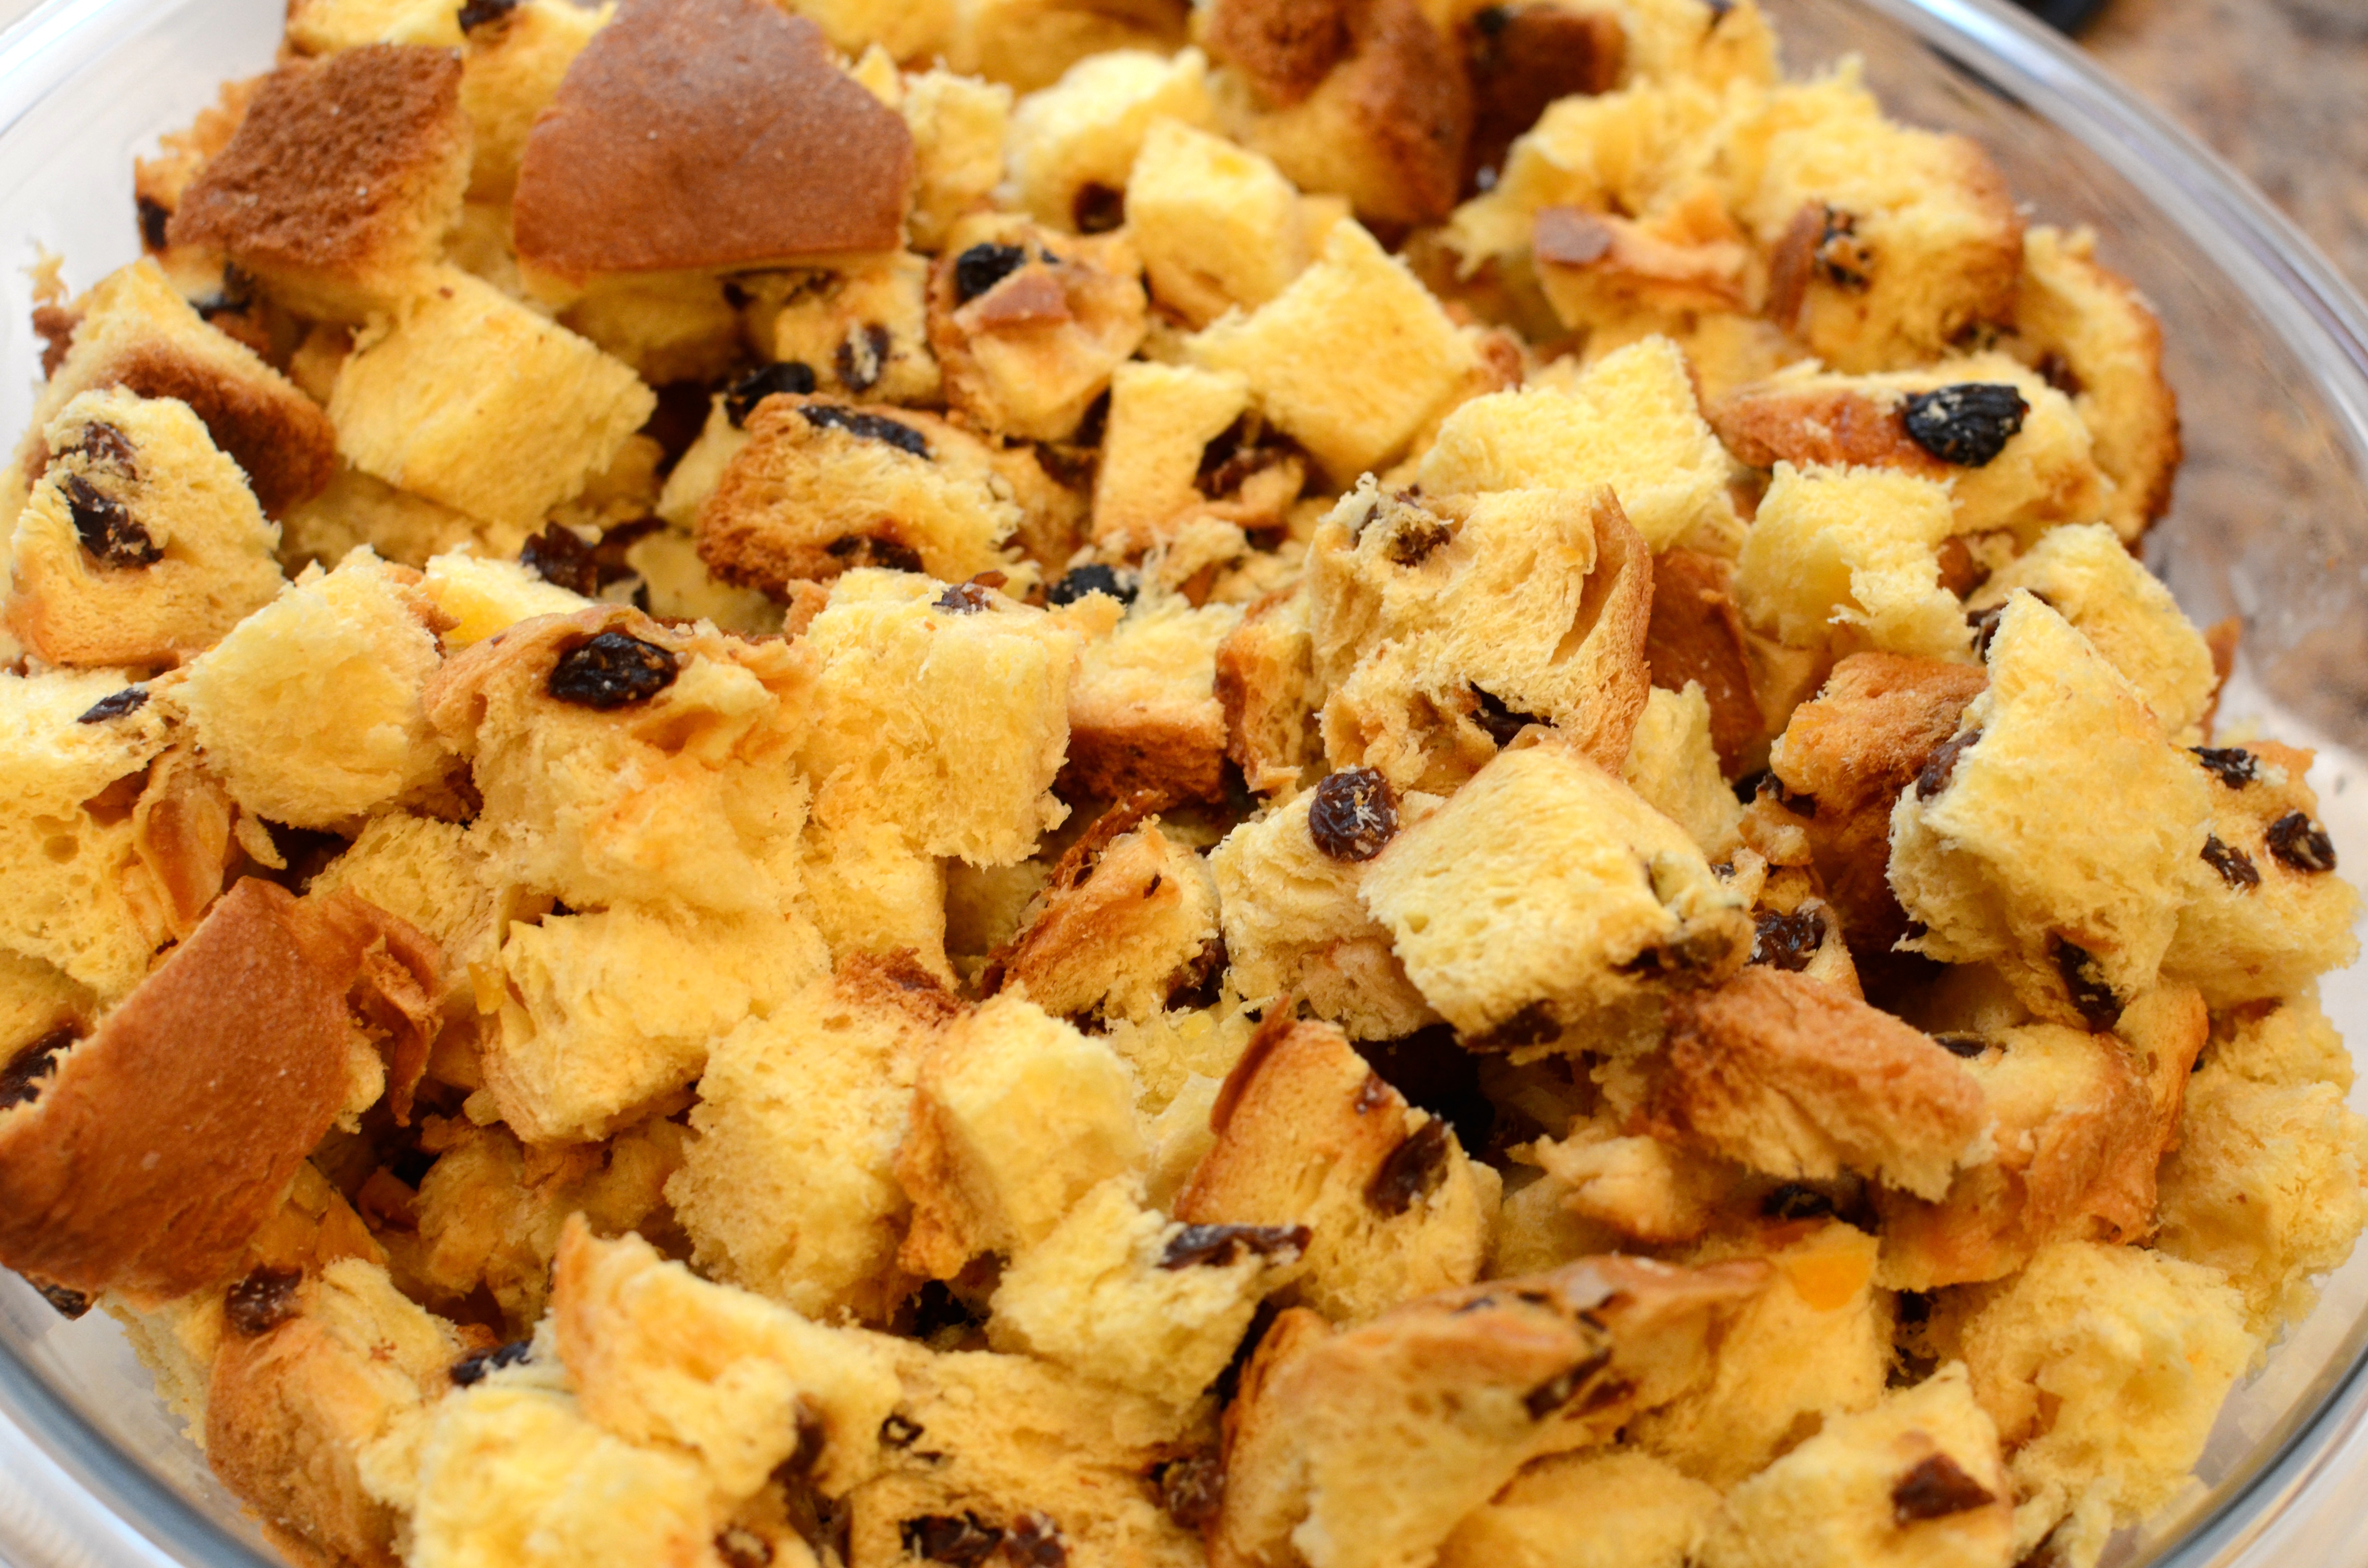
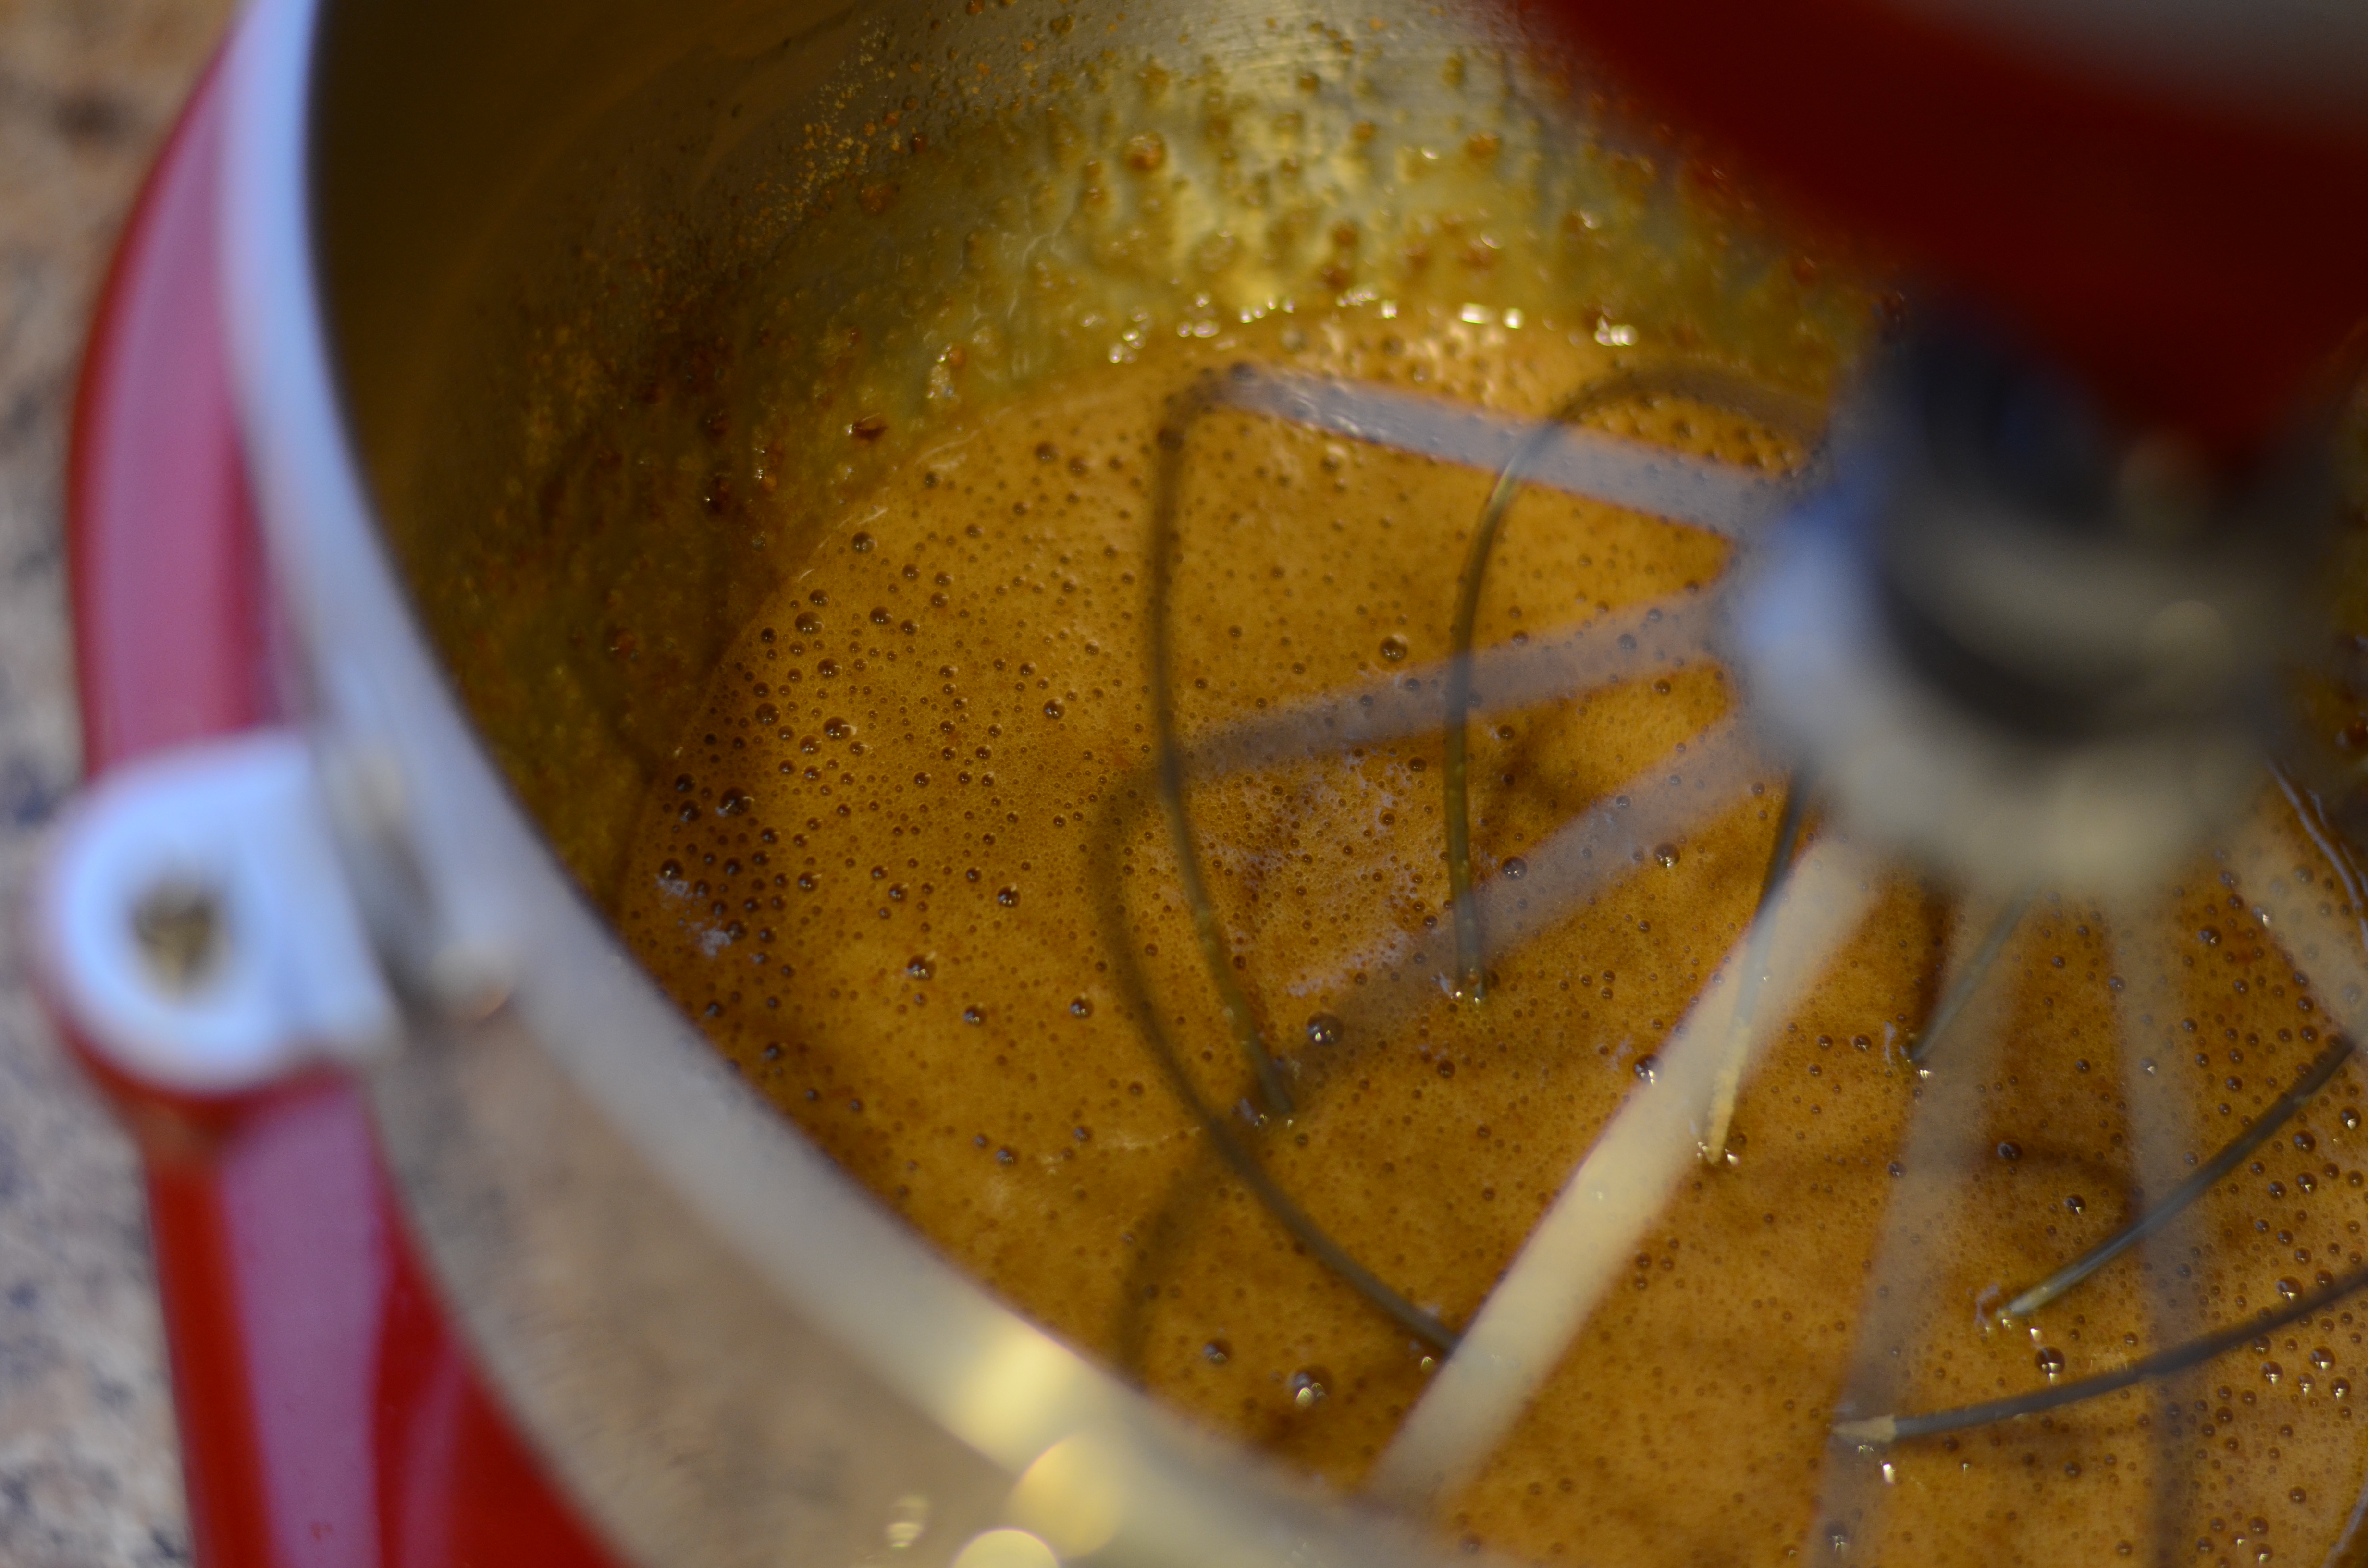
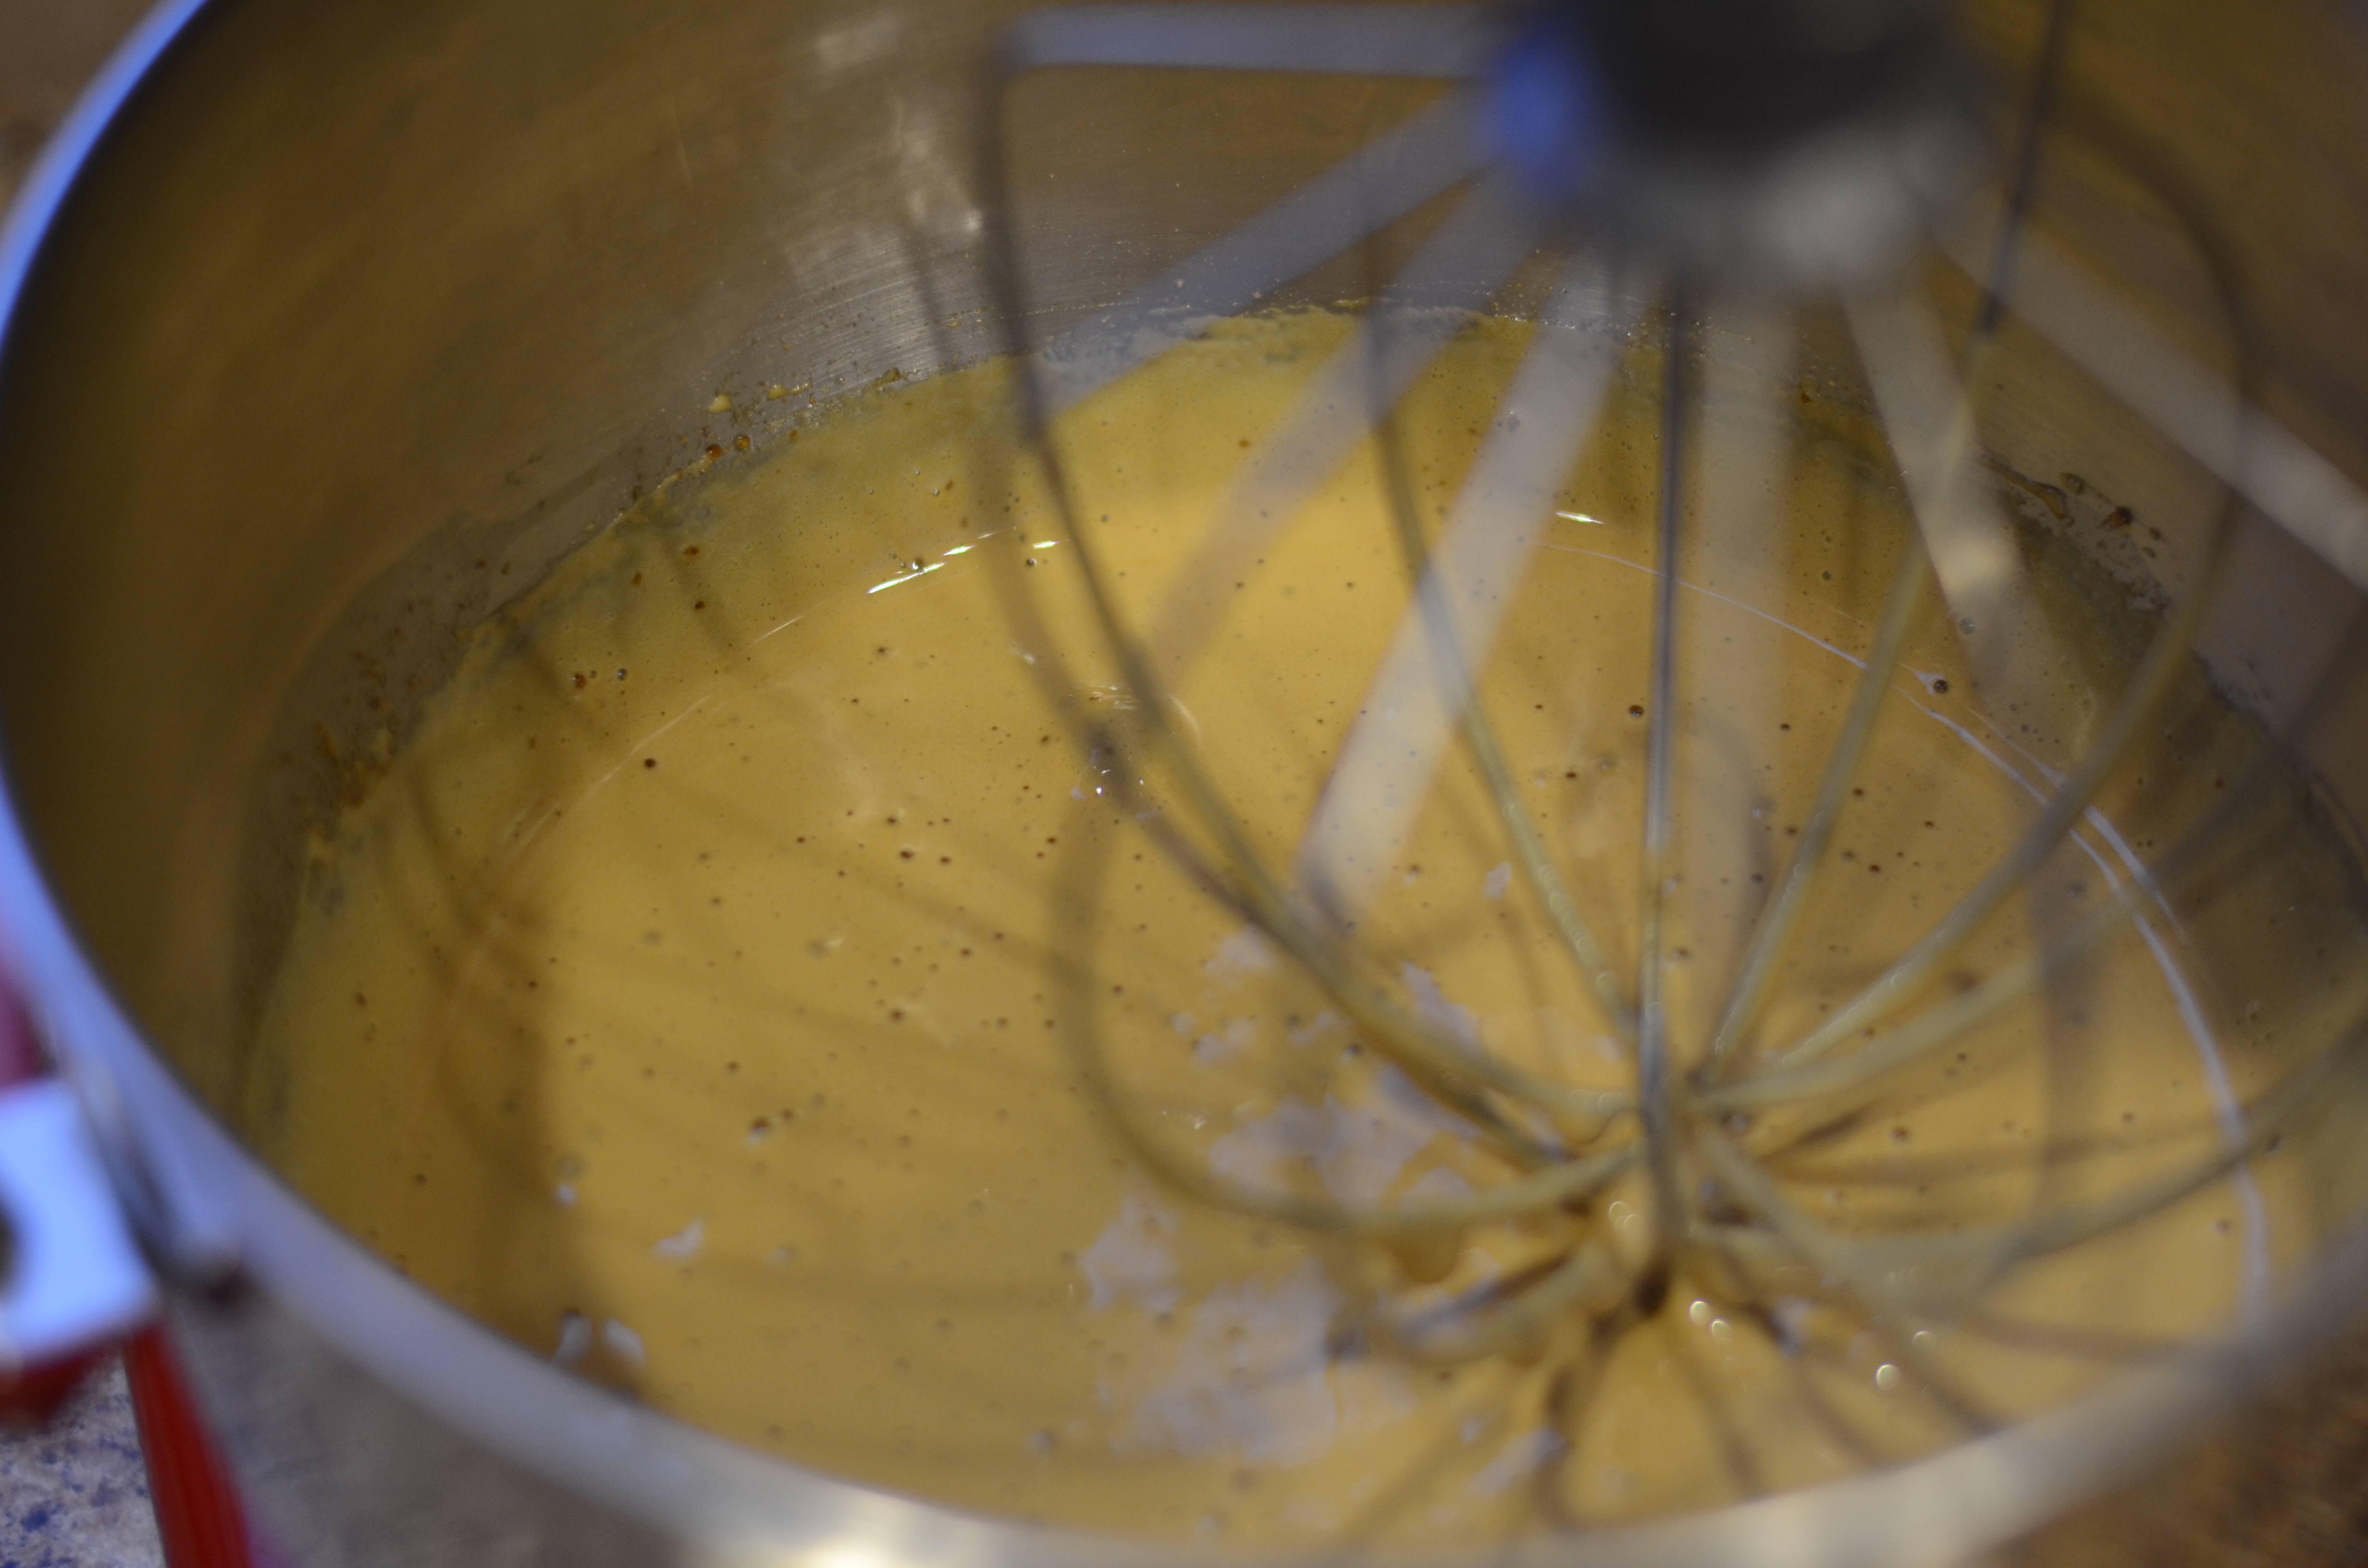
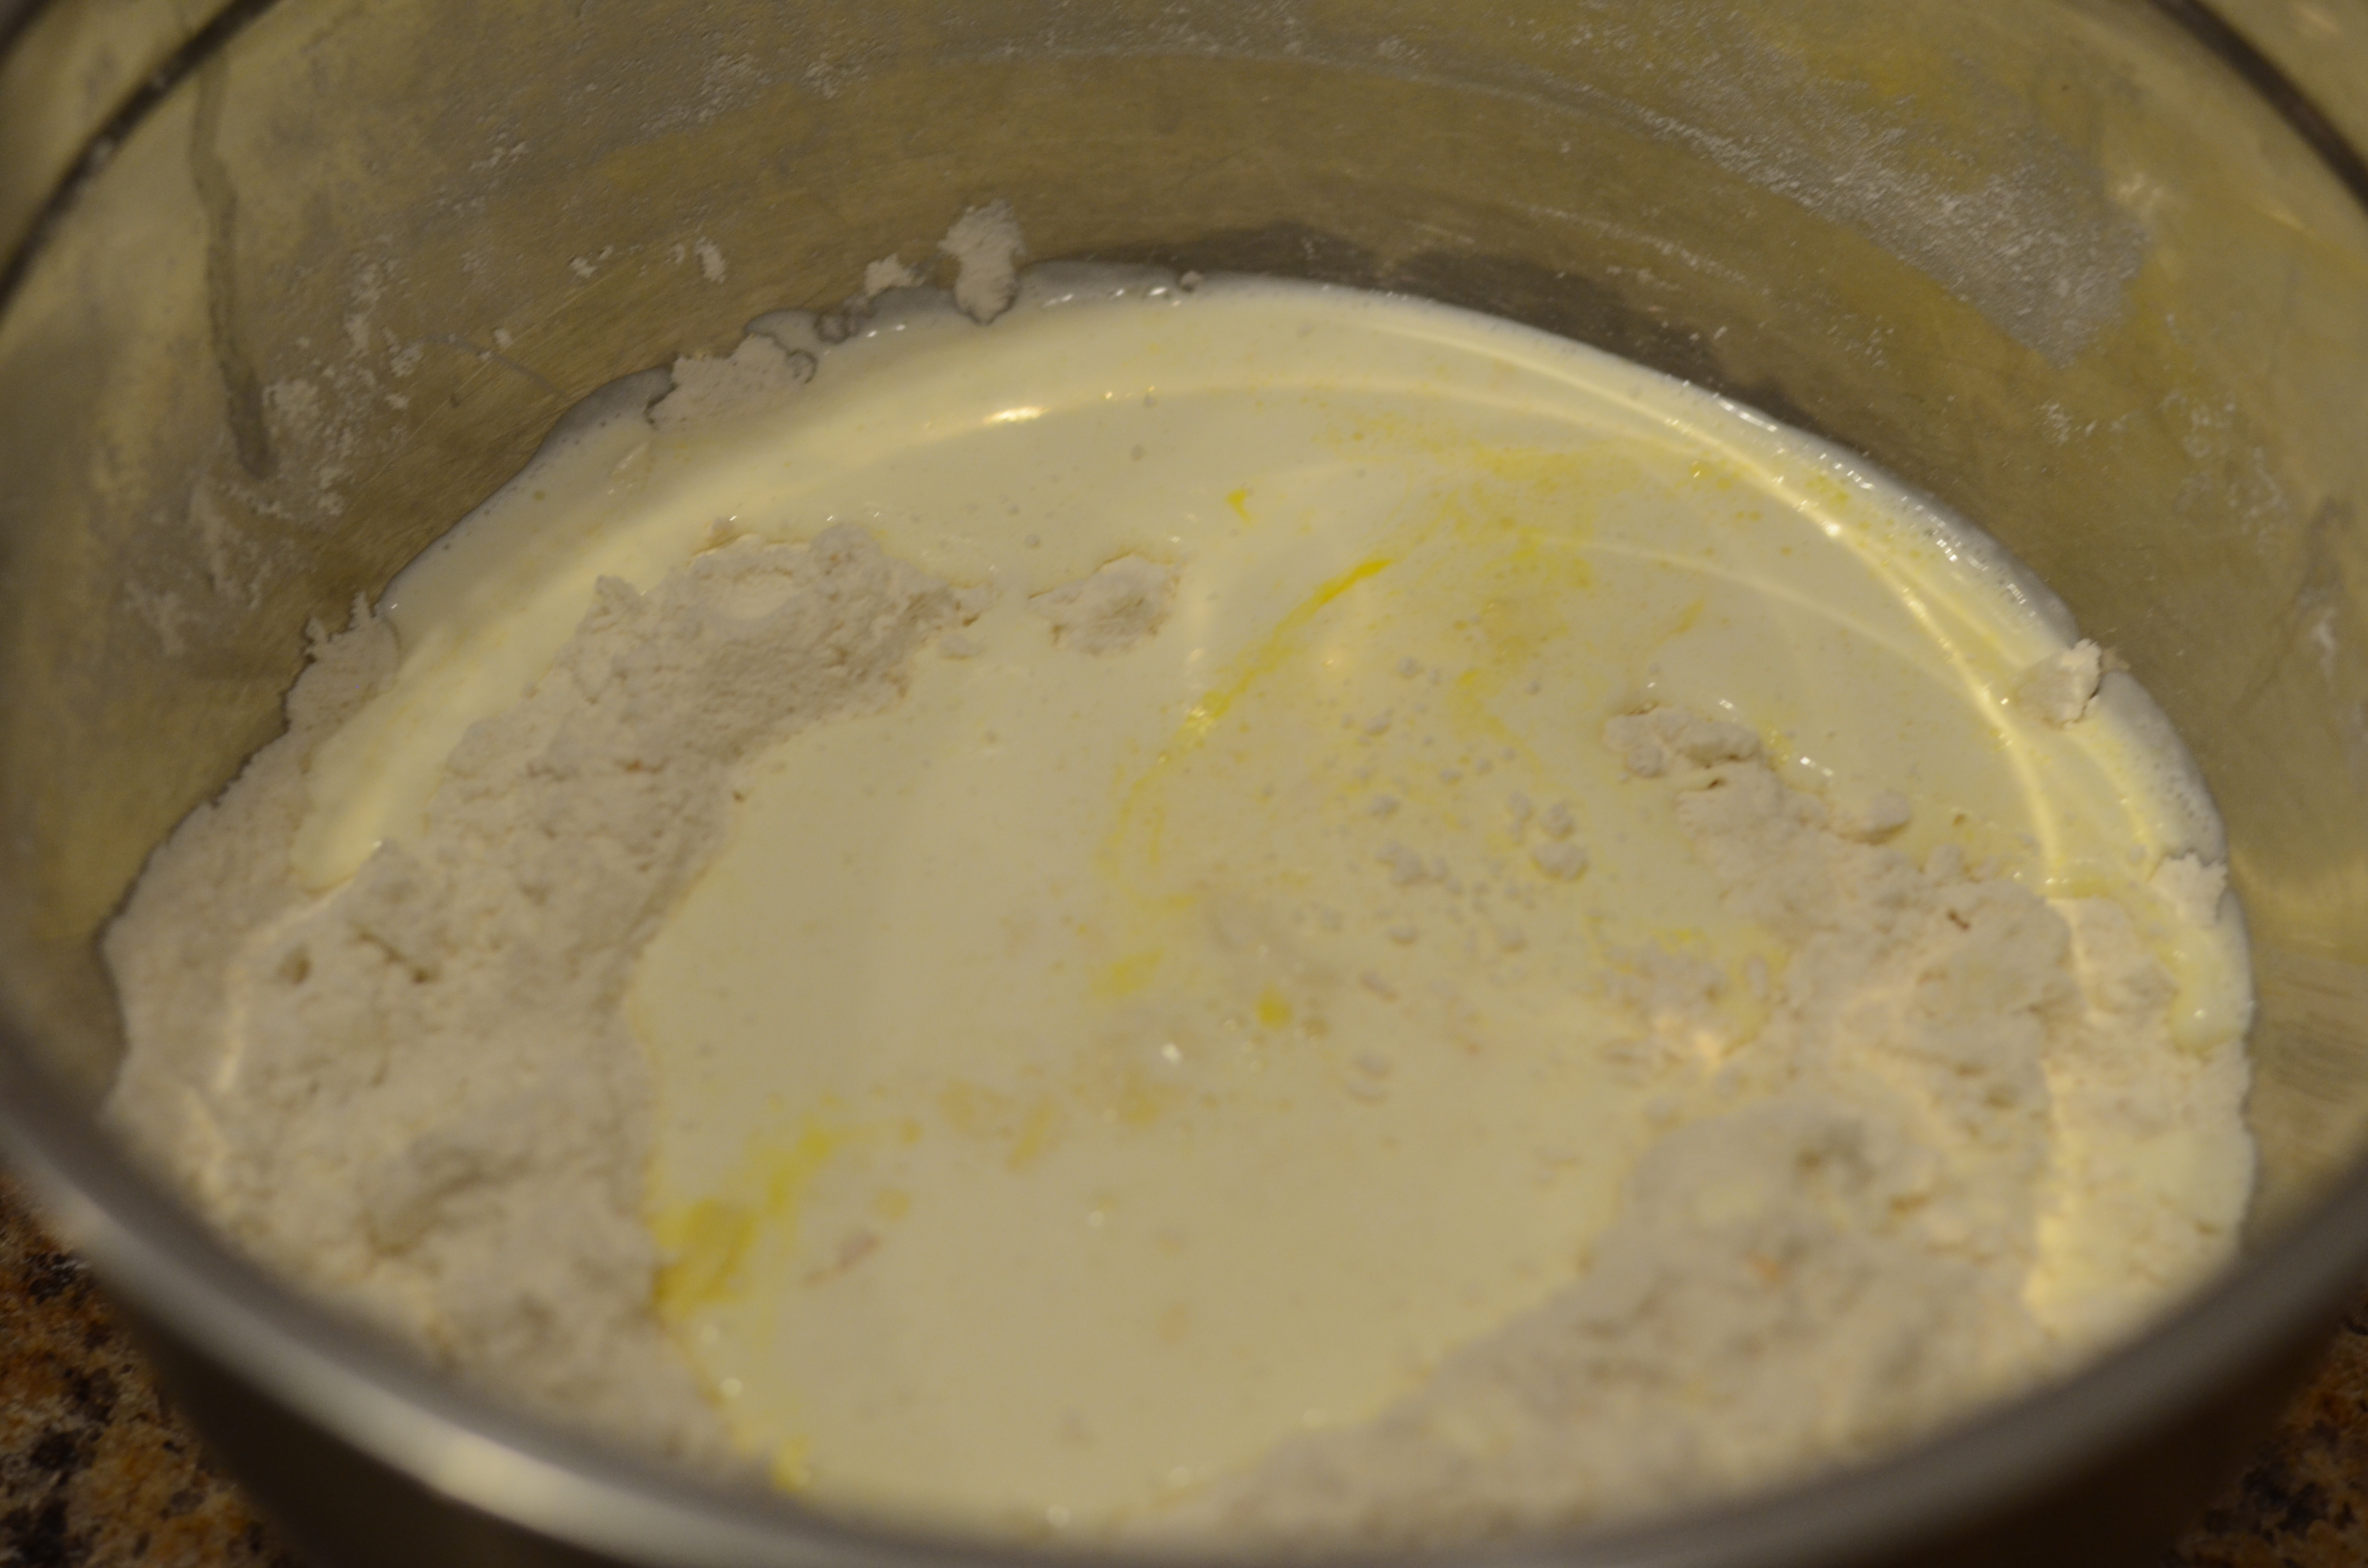
In a separate bowl, whisk together the eggs, dairy, and vanilla. Pour the mixture over the bread and stir. Allow the bread to absorb much of liquid-anywhere from 30 minutes to, in my case, 90+ minutes.
When the soaked bread and curd is ready, preheat the oven to 350°F. Butter up some loaf pans.
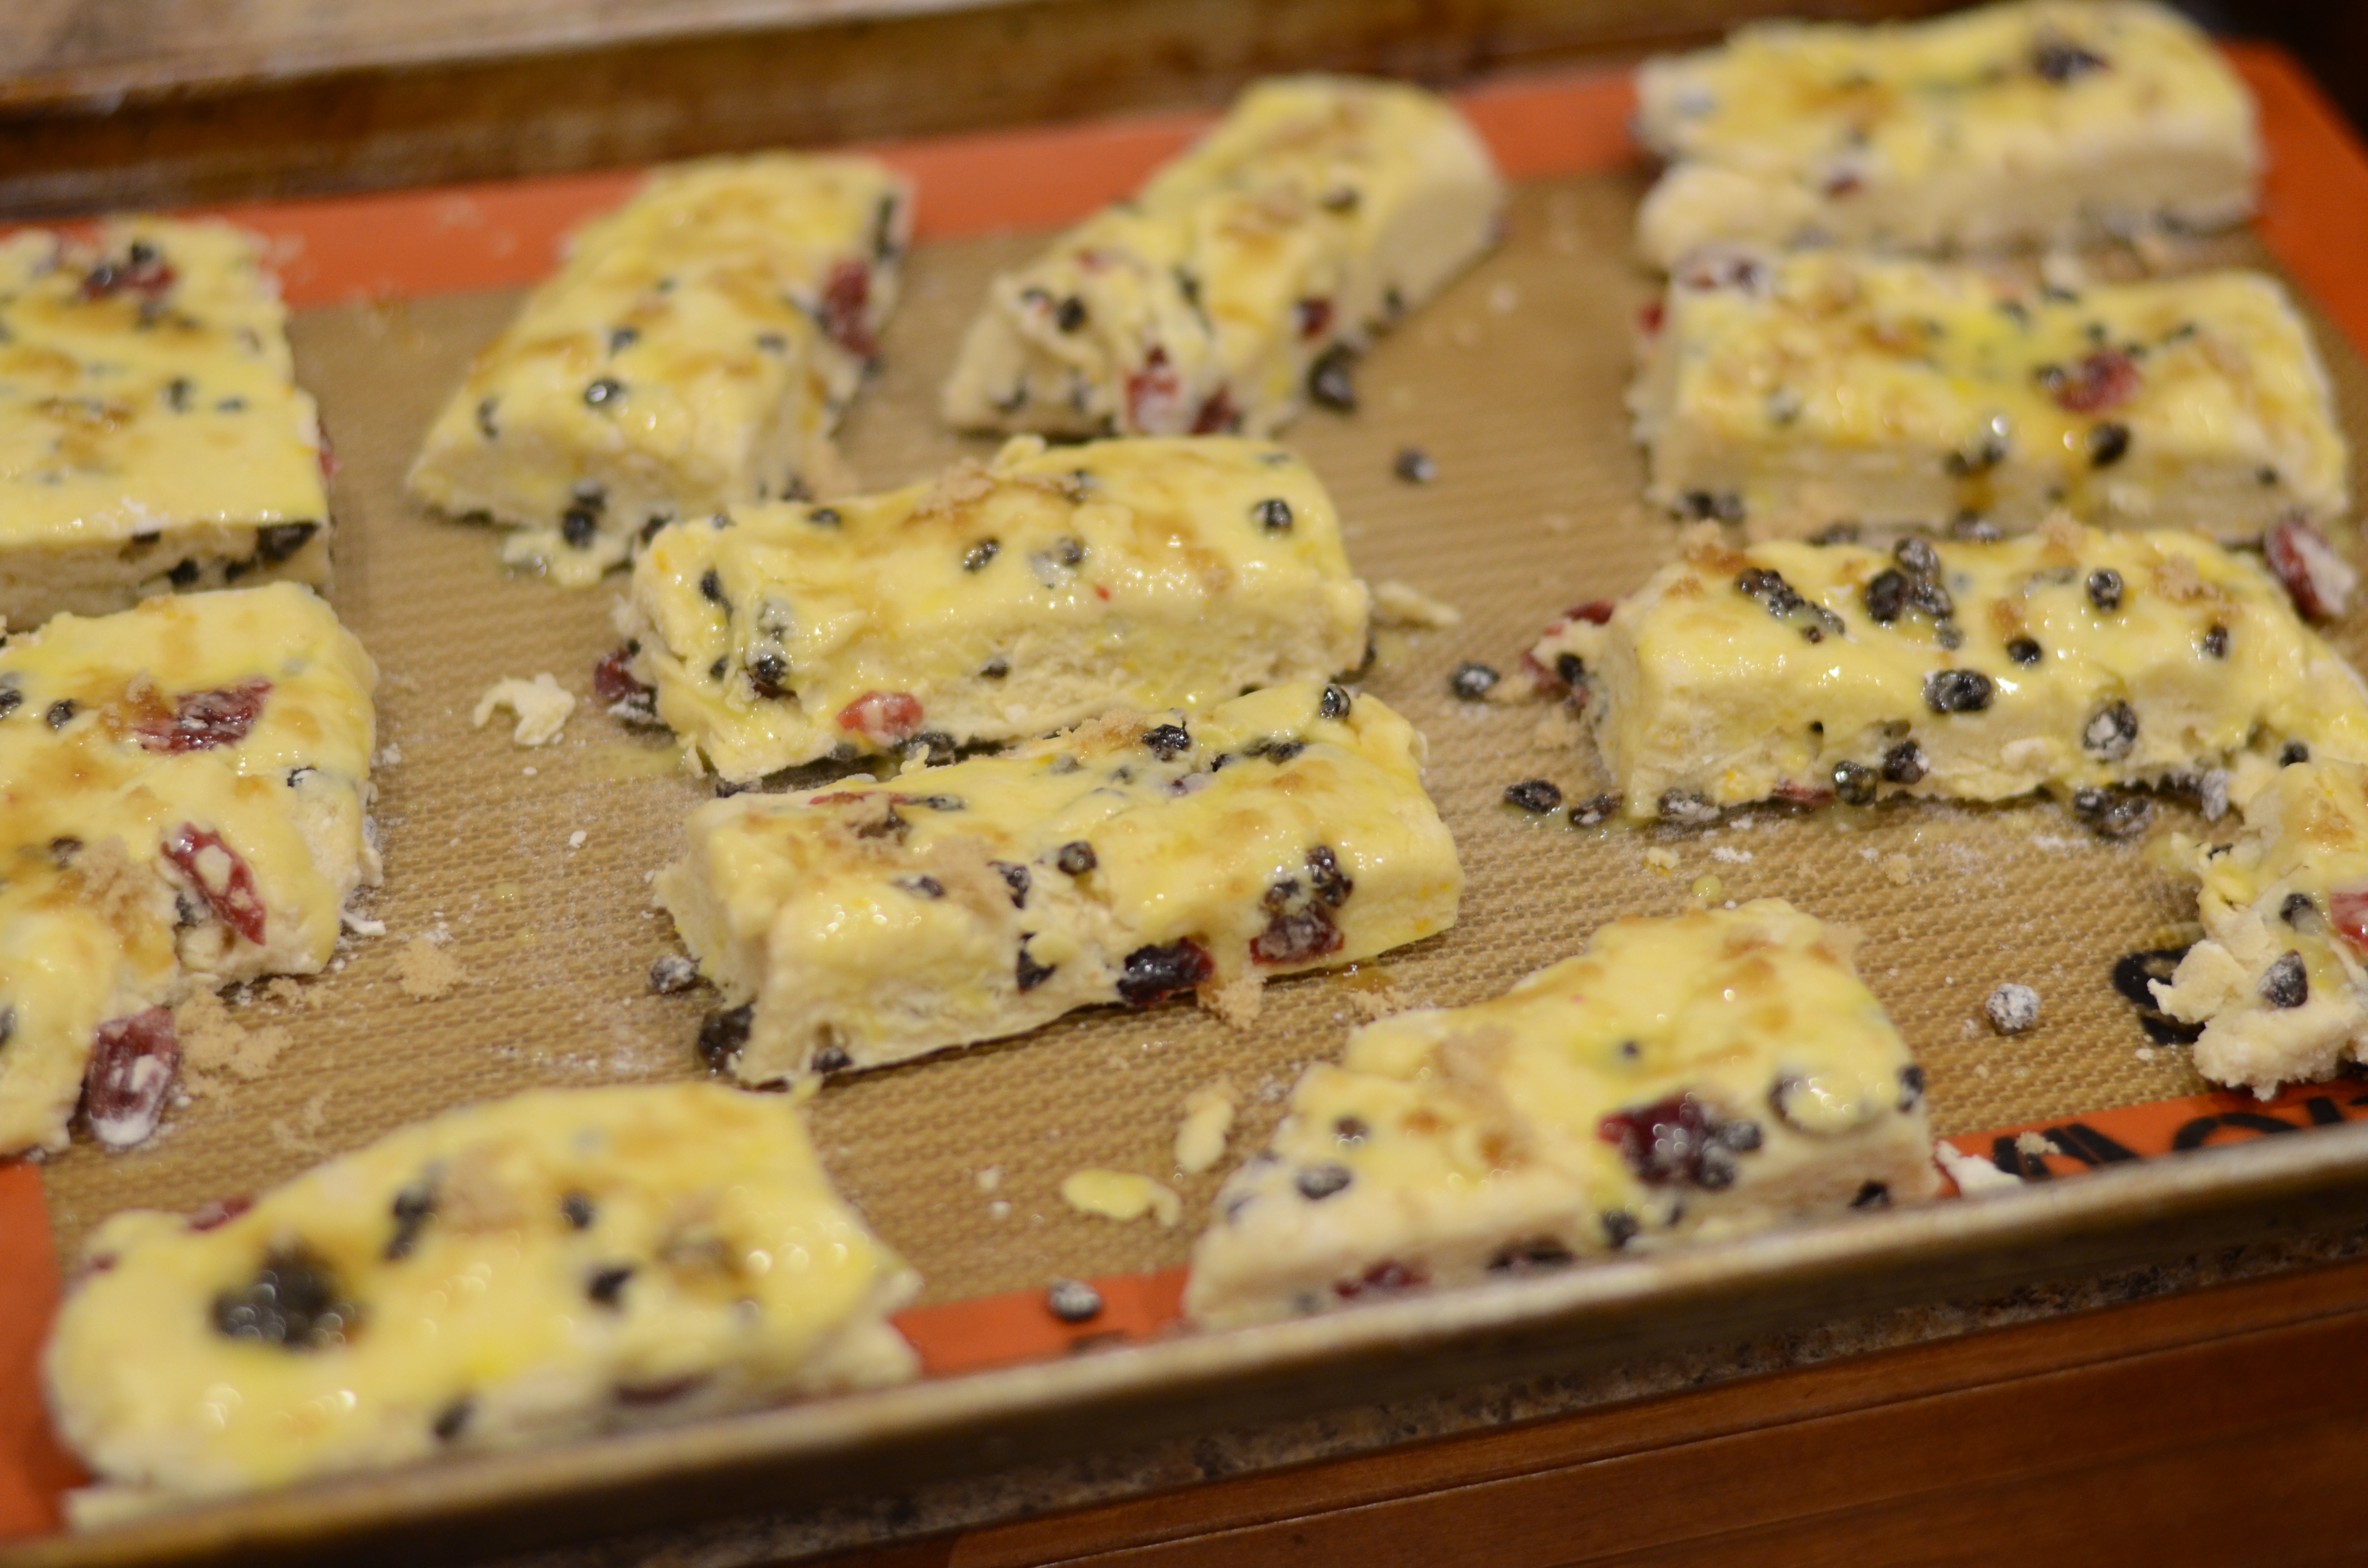
Mix the soaked bread some more, and then scoop 1/4 of it into each pan. Plop a heaping 1/2 Cup of lemon curd on top of that layer.

Cover with the rest of the bread/custard.
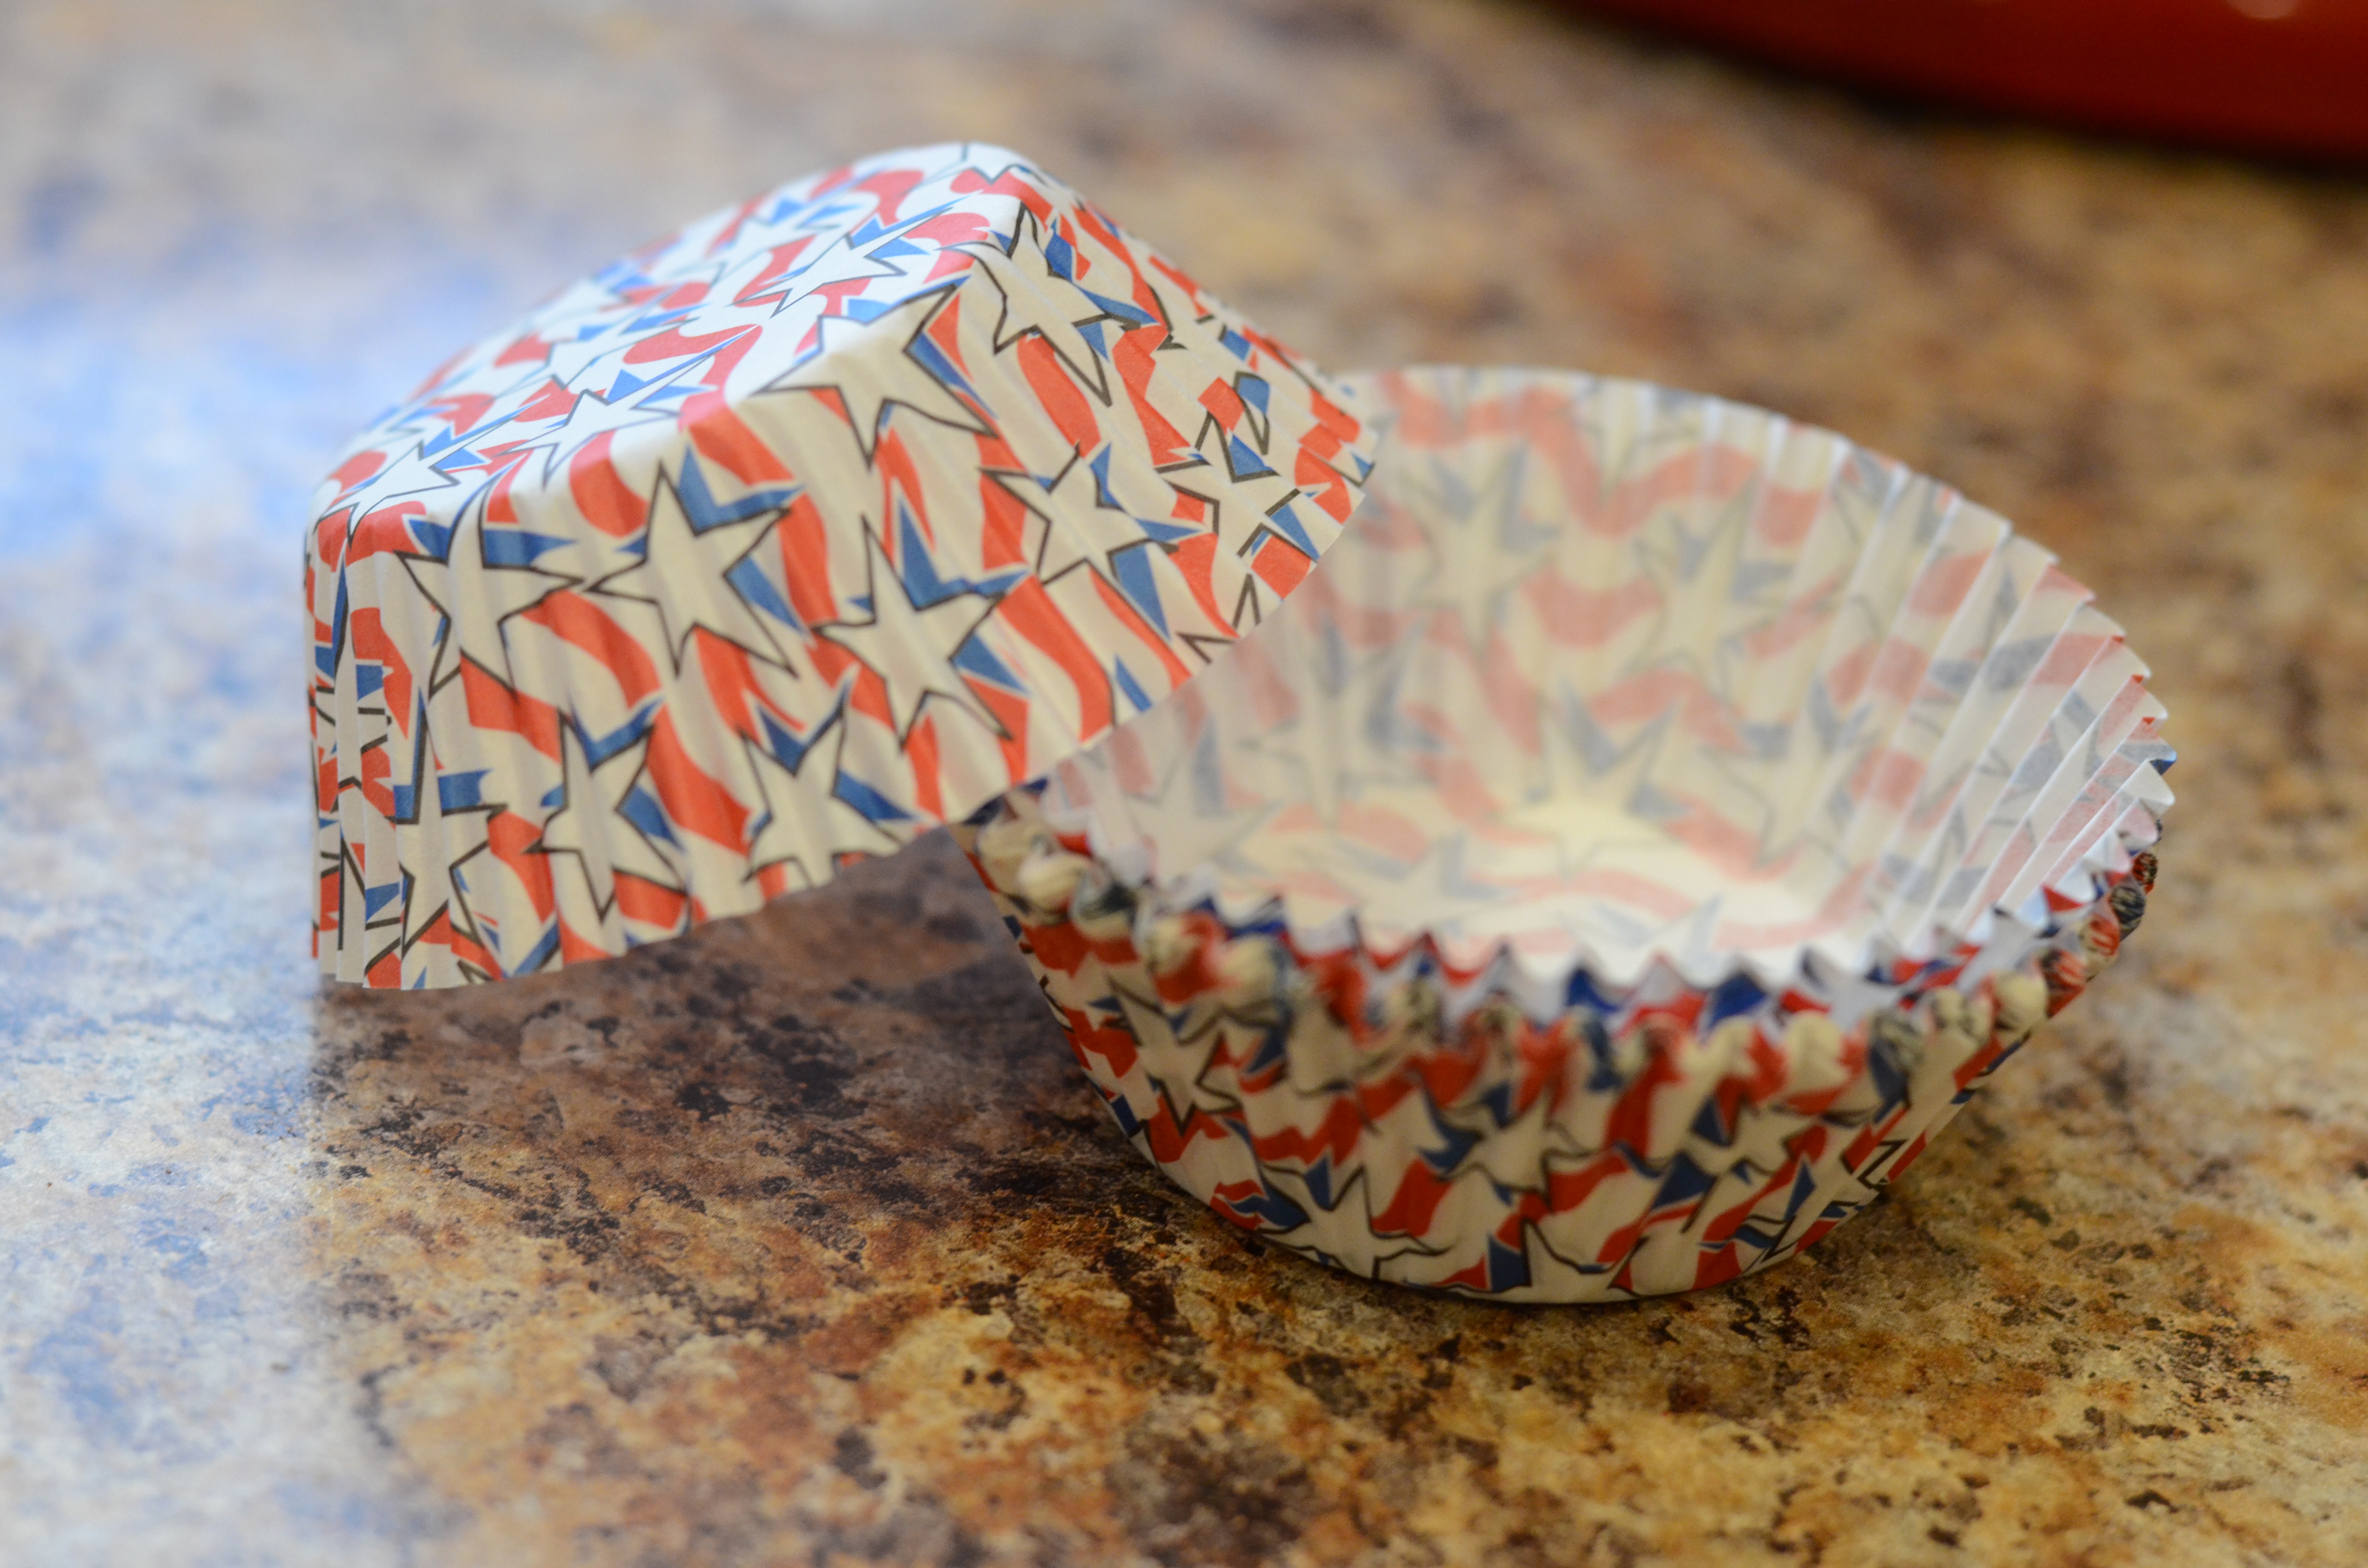
Now more fun stuff: the recipe calls for sprinkling with white sparkling sugar. It makes me laugh how out of season this is!

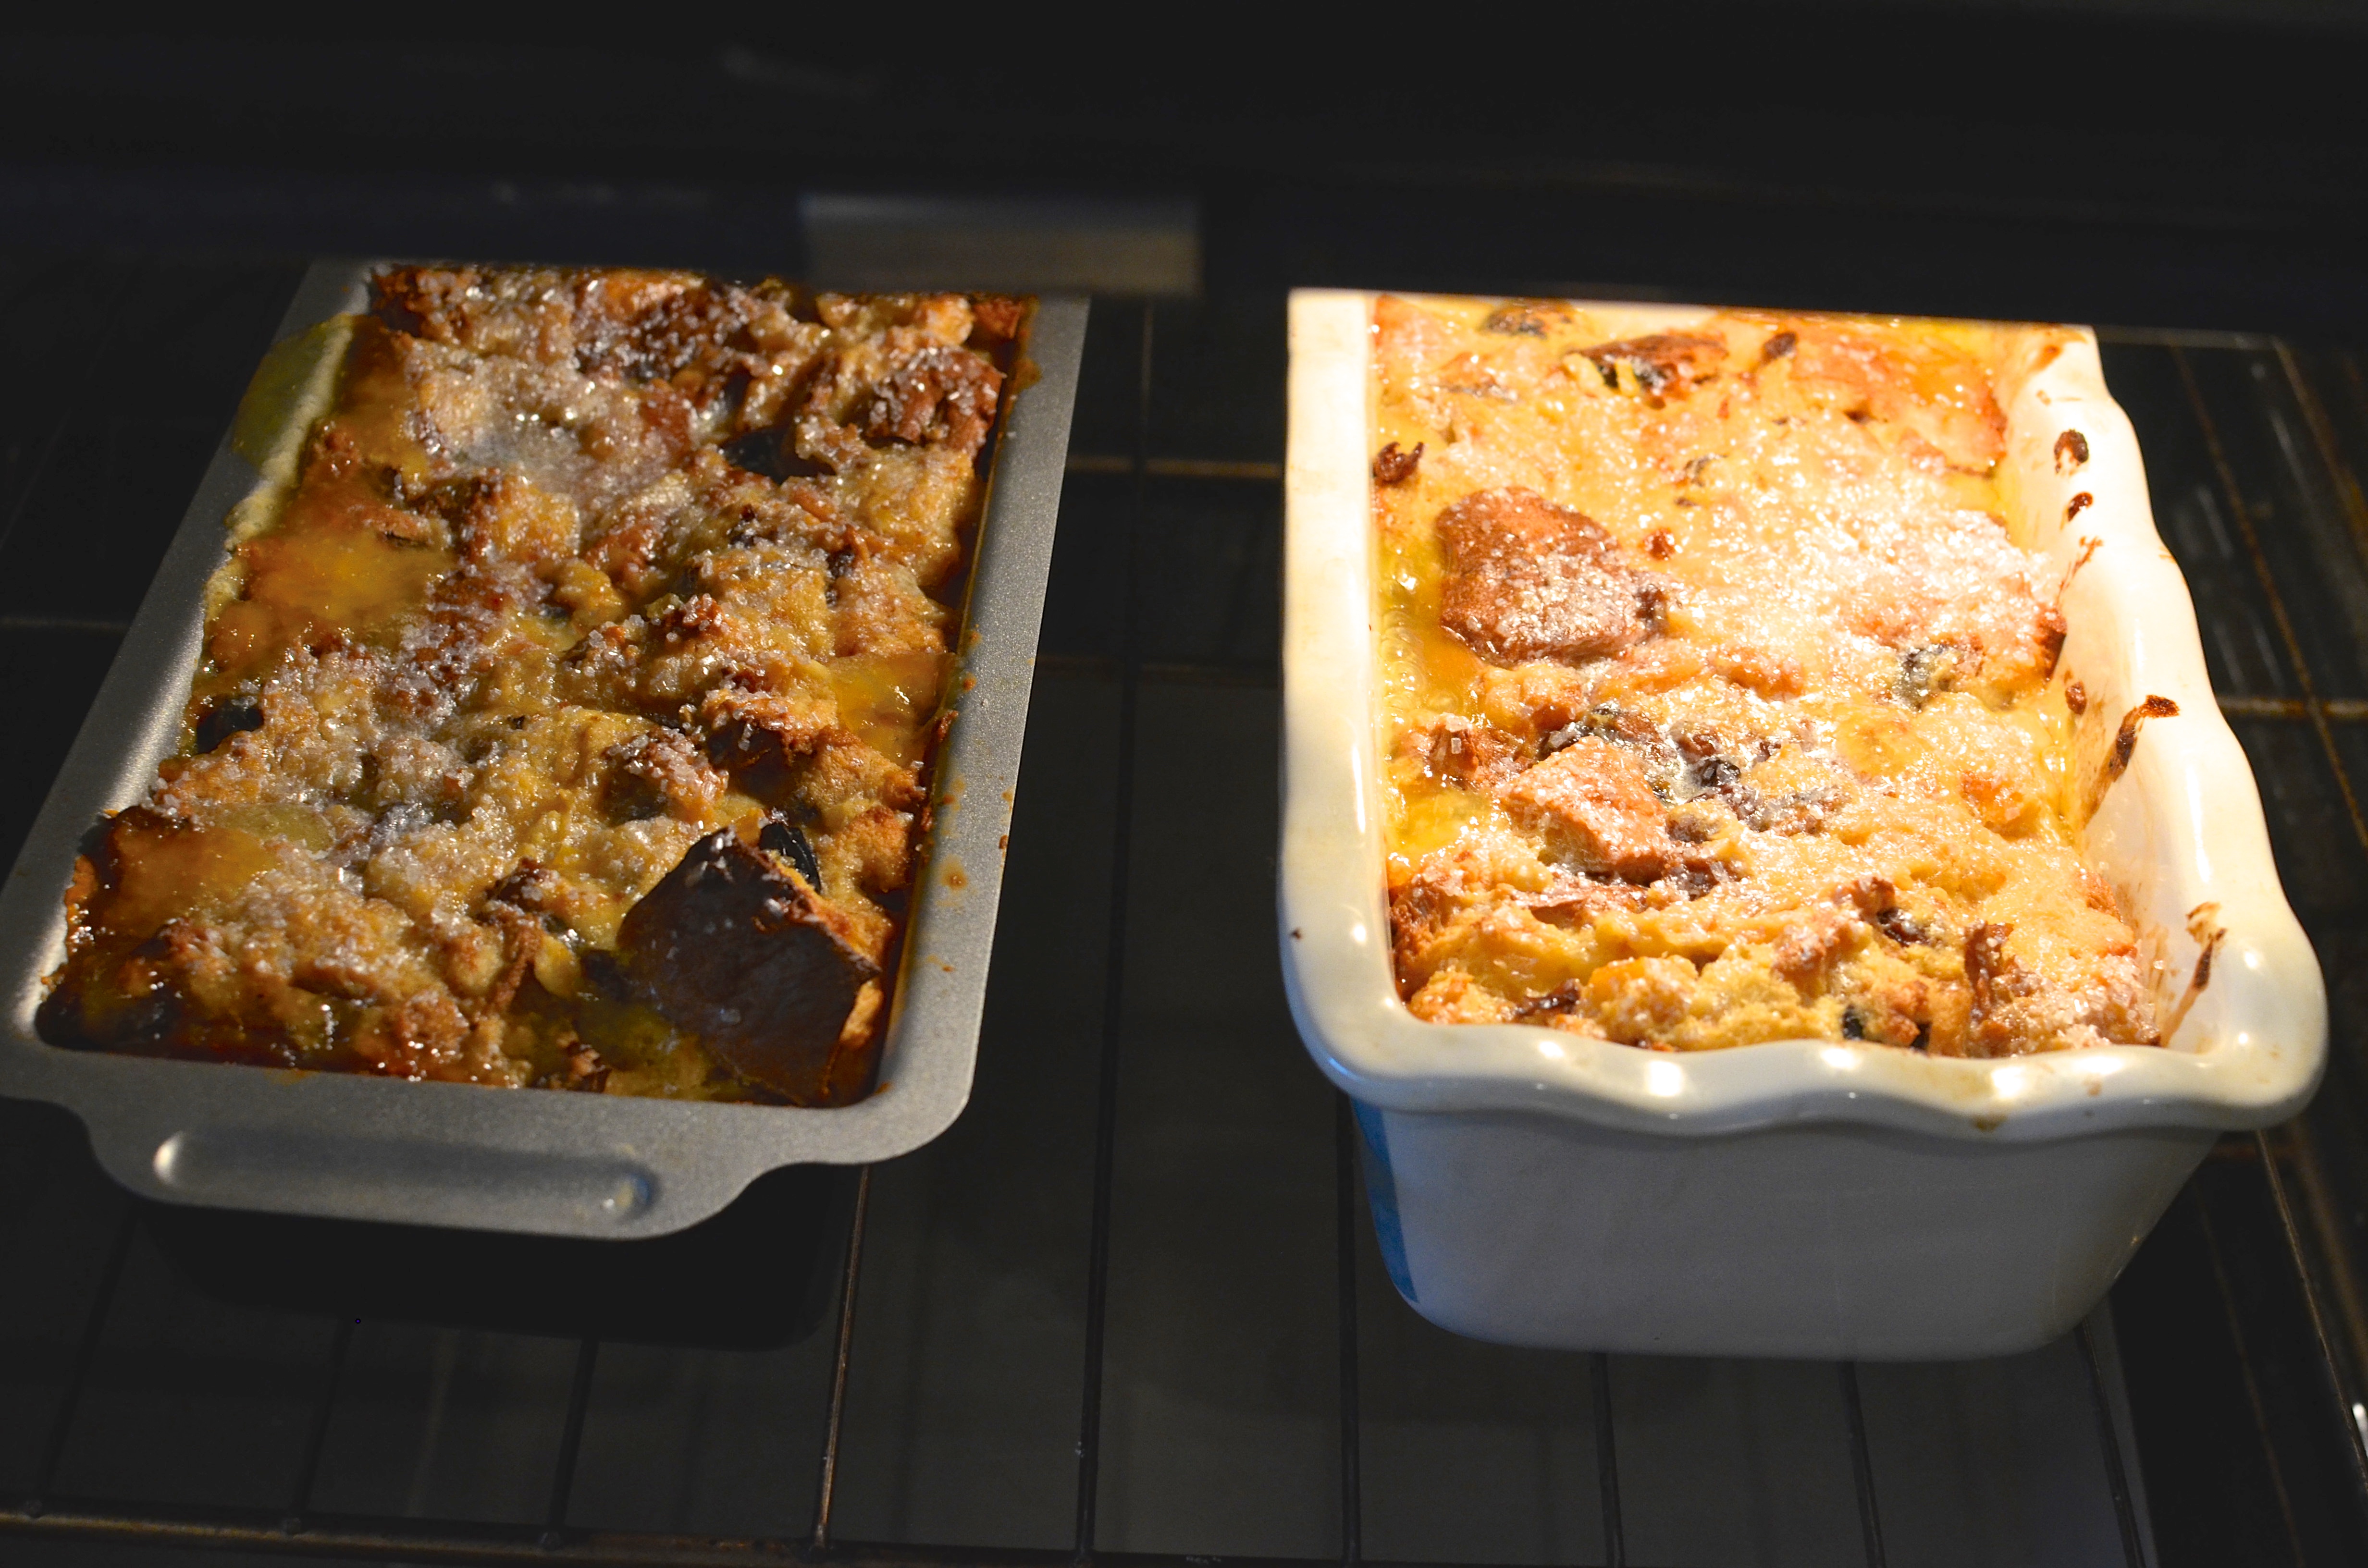
Put the pudding loaves in the oven and bake for 40 to 50 minutes, until the top becomes golden brown.
Allow to rest and cool at room temperature for at least 1/2 hour.

Another reason why the title of this post is so appropriate: one of my go-to loaf pans has this festive design!
Slice the loaf and top each slice with a little sifted confectioners’ sugar, for good measure.

The verdict? Delicious. The lemon curd adds some nice freshness to counteract the intensity of the dried fruit. The richness of the dessert goes a long way. The recipe author suggests serving the pudding with some less-sweet vanilla ice cream or whipped cream. To me, it begged for an espresso or coffee or black tea on the side.

Now I just need some classy holiday dinner party guests. Are you in?
I decided to commemorate my “Christmas in July” in yet another way: dropping off donations to the Salvation Army. It was probably around the holidays that I last dropped off my extensive collection of rejected clothing and shoes.
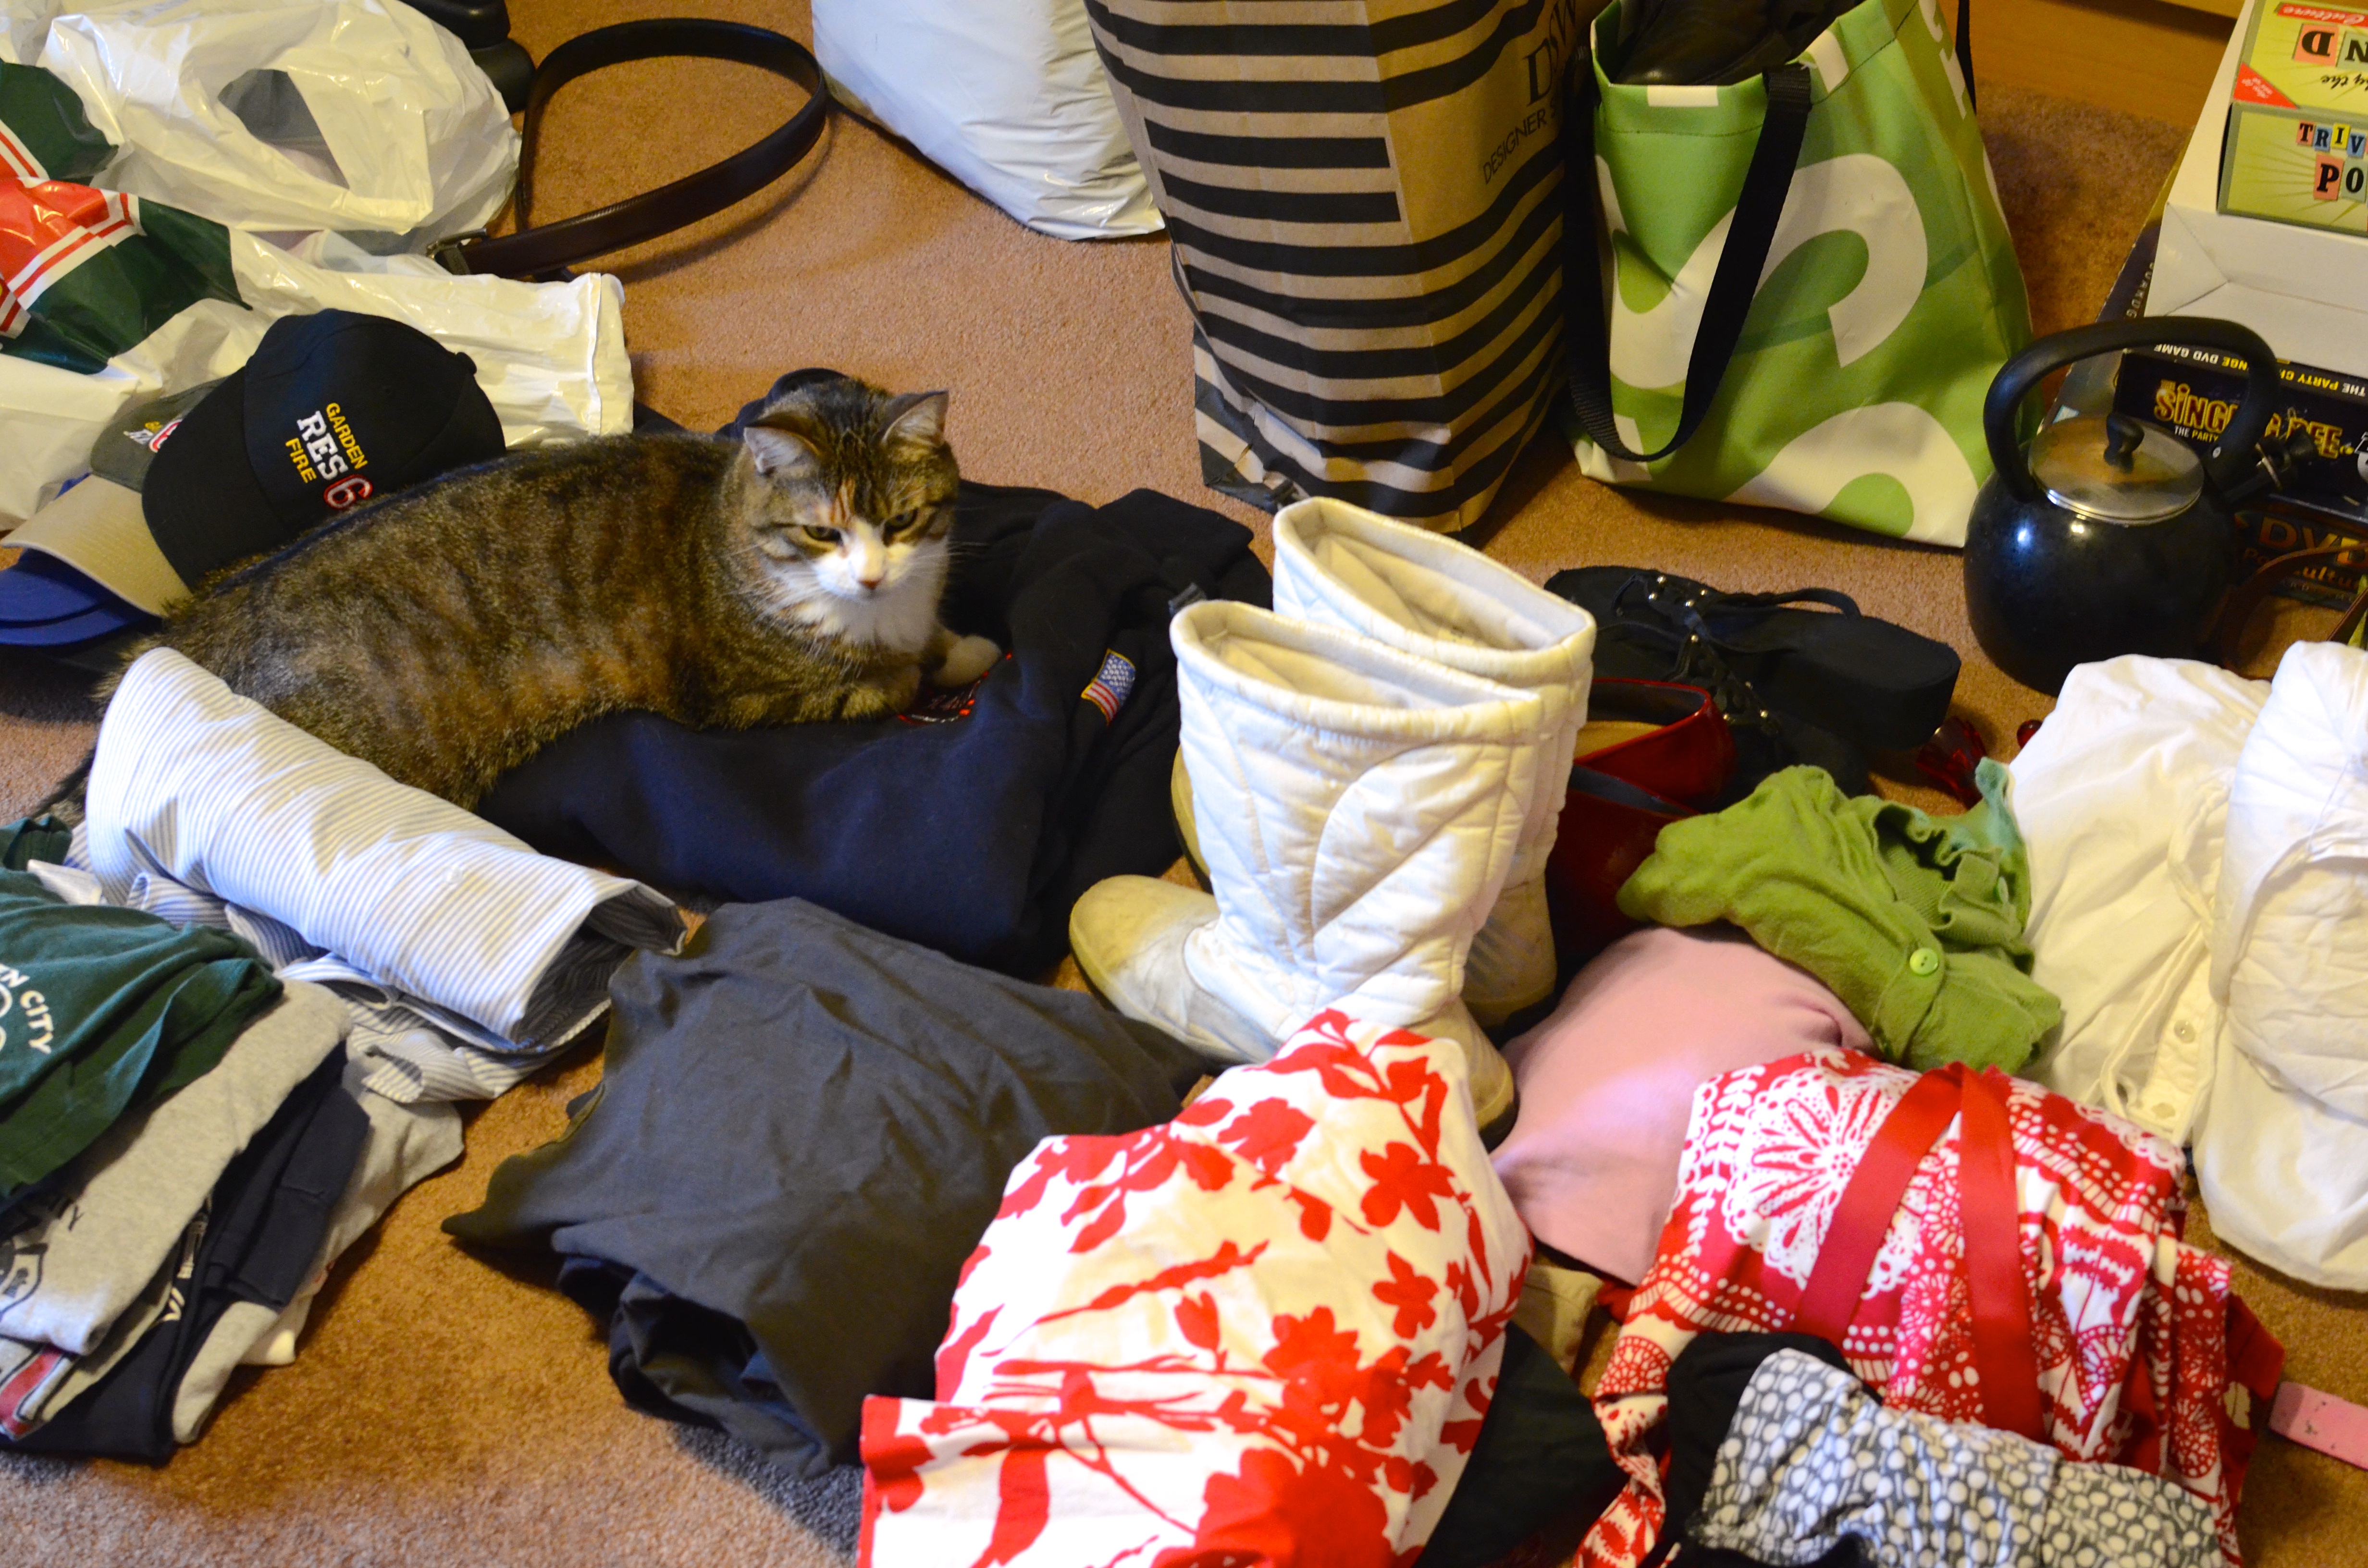
The cat sitting on the sweatshirt? That’s Riley. I didn’t give her away.
The piles were doing no good in my closet. Here’s hoping they find a good home!