I’m getting nervous that my food is starting to look the same.
I was going to make my next post about pasta with cauliflower pesto. I’m putting it off because I’m afraid it will remind you of a recent post, one that happens to use the same pasta and has many of the same textures. You’d rather have some visual variety, right?
As you know, with my mostly seasonal, vegetable-based, waste-minimizing cooking, I find myself looking for recipes that use up ingredients I have on hand, ideally many at once. Through this pursuit of efficiency, I have come to learn about certain important combinations. The sweetness of dried fruits counteracts bitter greens. Earthy vegetables take well to sugar. If a vegetable has a lot of sweetness, particularly after roasting, it will benefit from a touch of acid, from vinegar, or perhaps can be enhanced by the tang of a tomato from my garden. And orange and green make a solid couple.
Sure, I could learn these lessons through broad culinary study. But it is the personal experiences that make the facts “stick.”
I prepared the below two recipes a few weeks apart, realizing their connection only afterwards. The broccoli bowl recipe is from a Smitten Kitchen blog post, and the kale dressed with roasted vegetables and tahini through a random search. Both authors suggest that sweet potato could be replaced with butternut squash, which is also in season. I’m sure the kale and broccoli could be interchanged. Whatever items you choose to pair, they will look together.
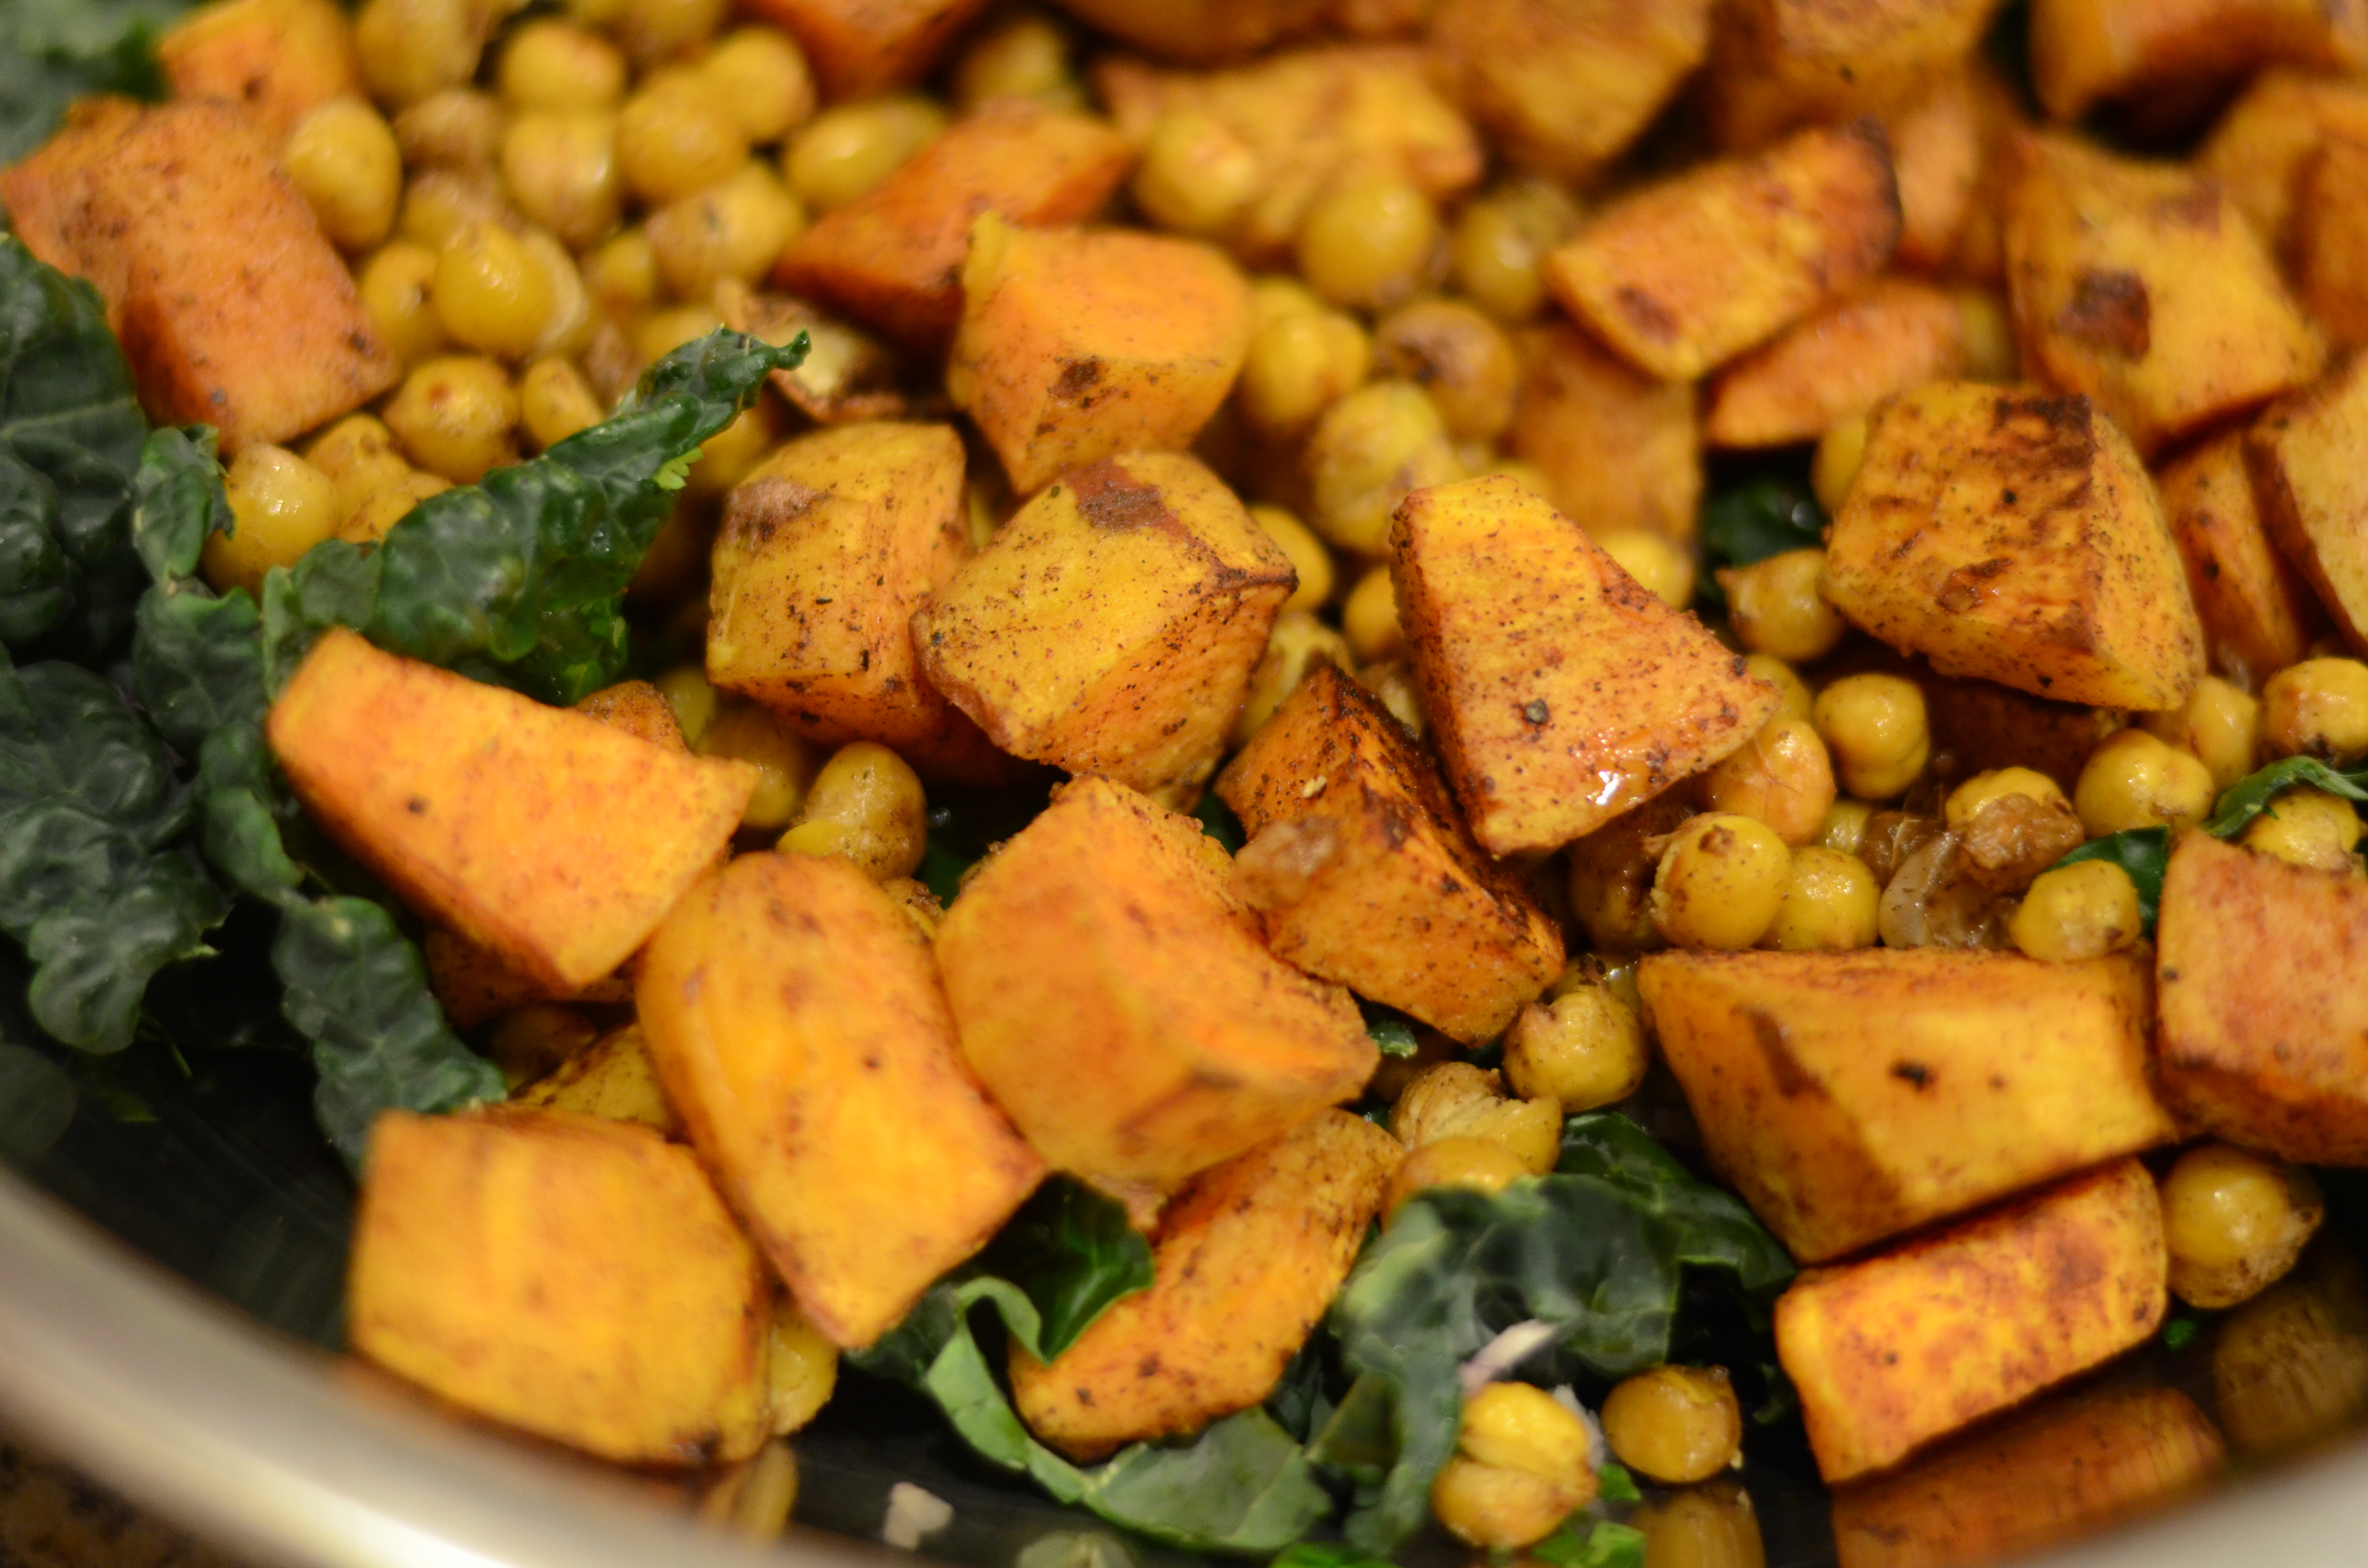
Roasted Sweet Potato and Chickpea Over Kale
From The Vegan Cookbook Aficionado adapted from Orangette
15-ounce can chickpeas (about 1 ½ cups, you can also attempt soaking and cooking from dried beans like me), drained and rinsed
2 lbs (about 3-4 medium) sweet potatoes cut into 1 ½-inch pieces
1 large garlic clove, smashed
3/4 teaspoon ground allspice
1/2 teaspoon cinnamon
1/4 teaspoon cayenne
2 tablespoons olive oil
Kosher salt and pepper, to taste
4 Cups kale, washed, stems removed and roughly chopped
1/4 of a medium red onion, finely chopped
1/4 Cup cilantro leaves, coarsely chopped
Sauce:
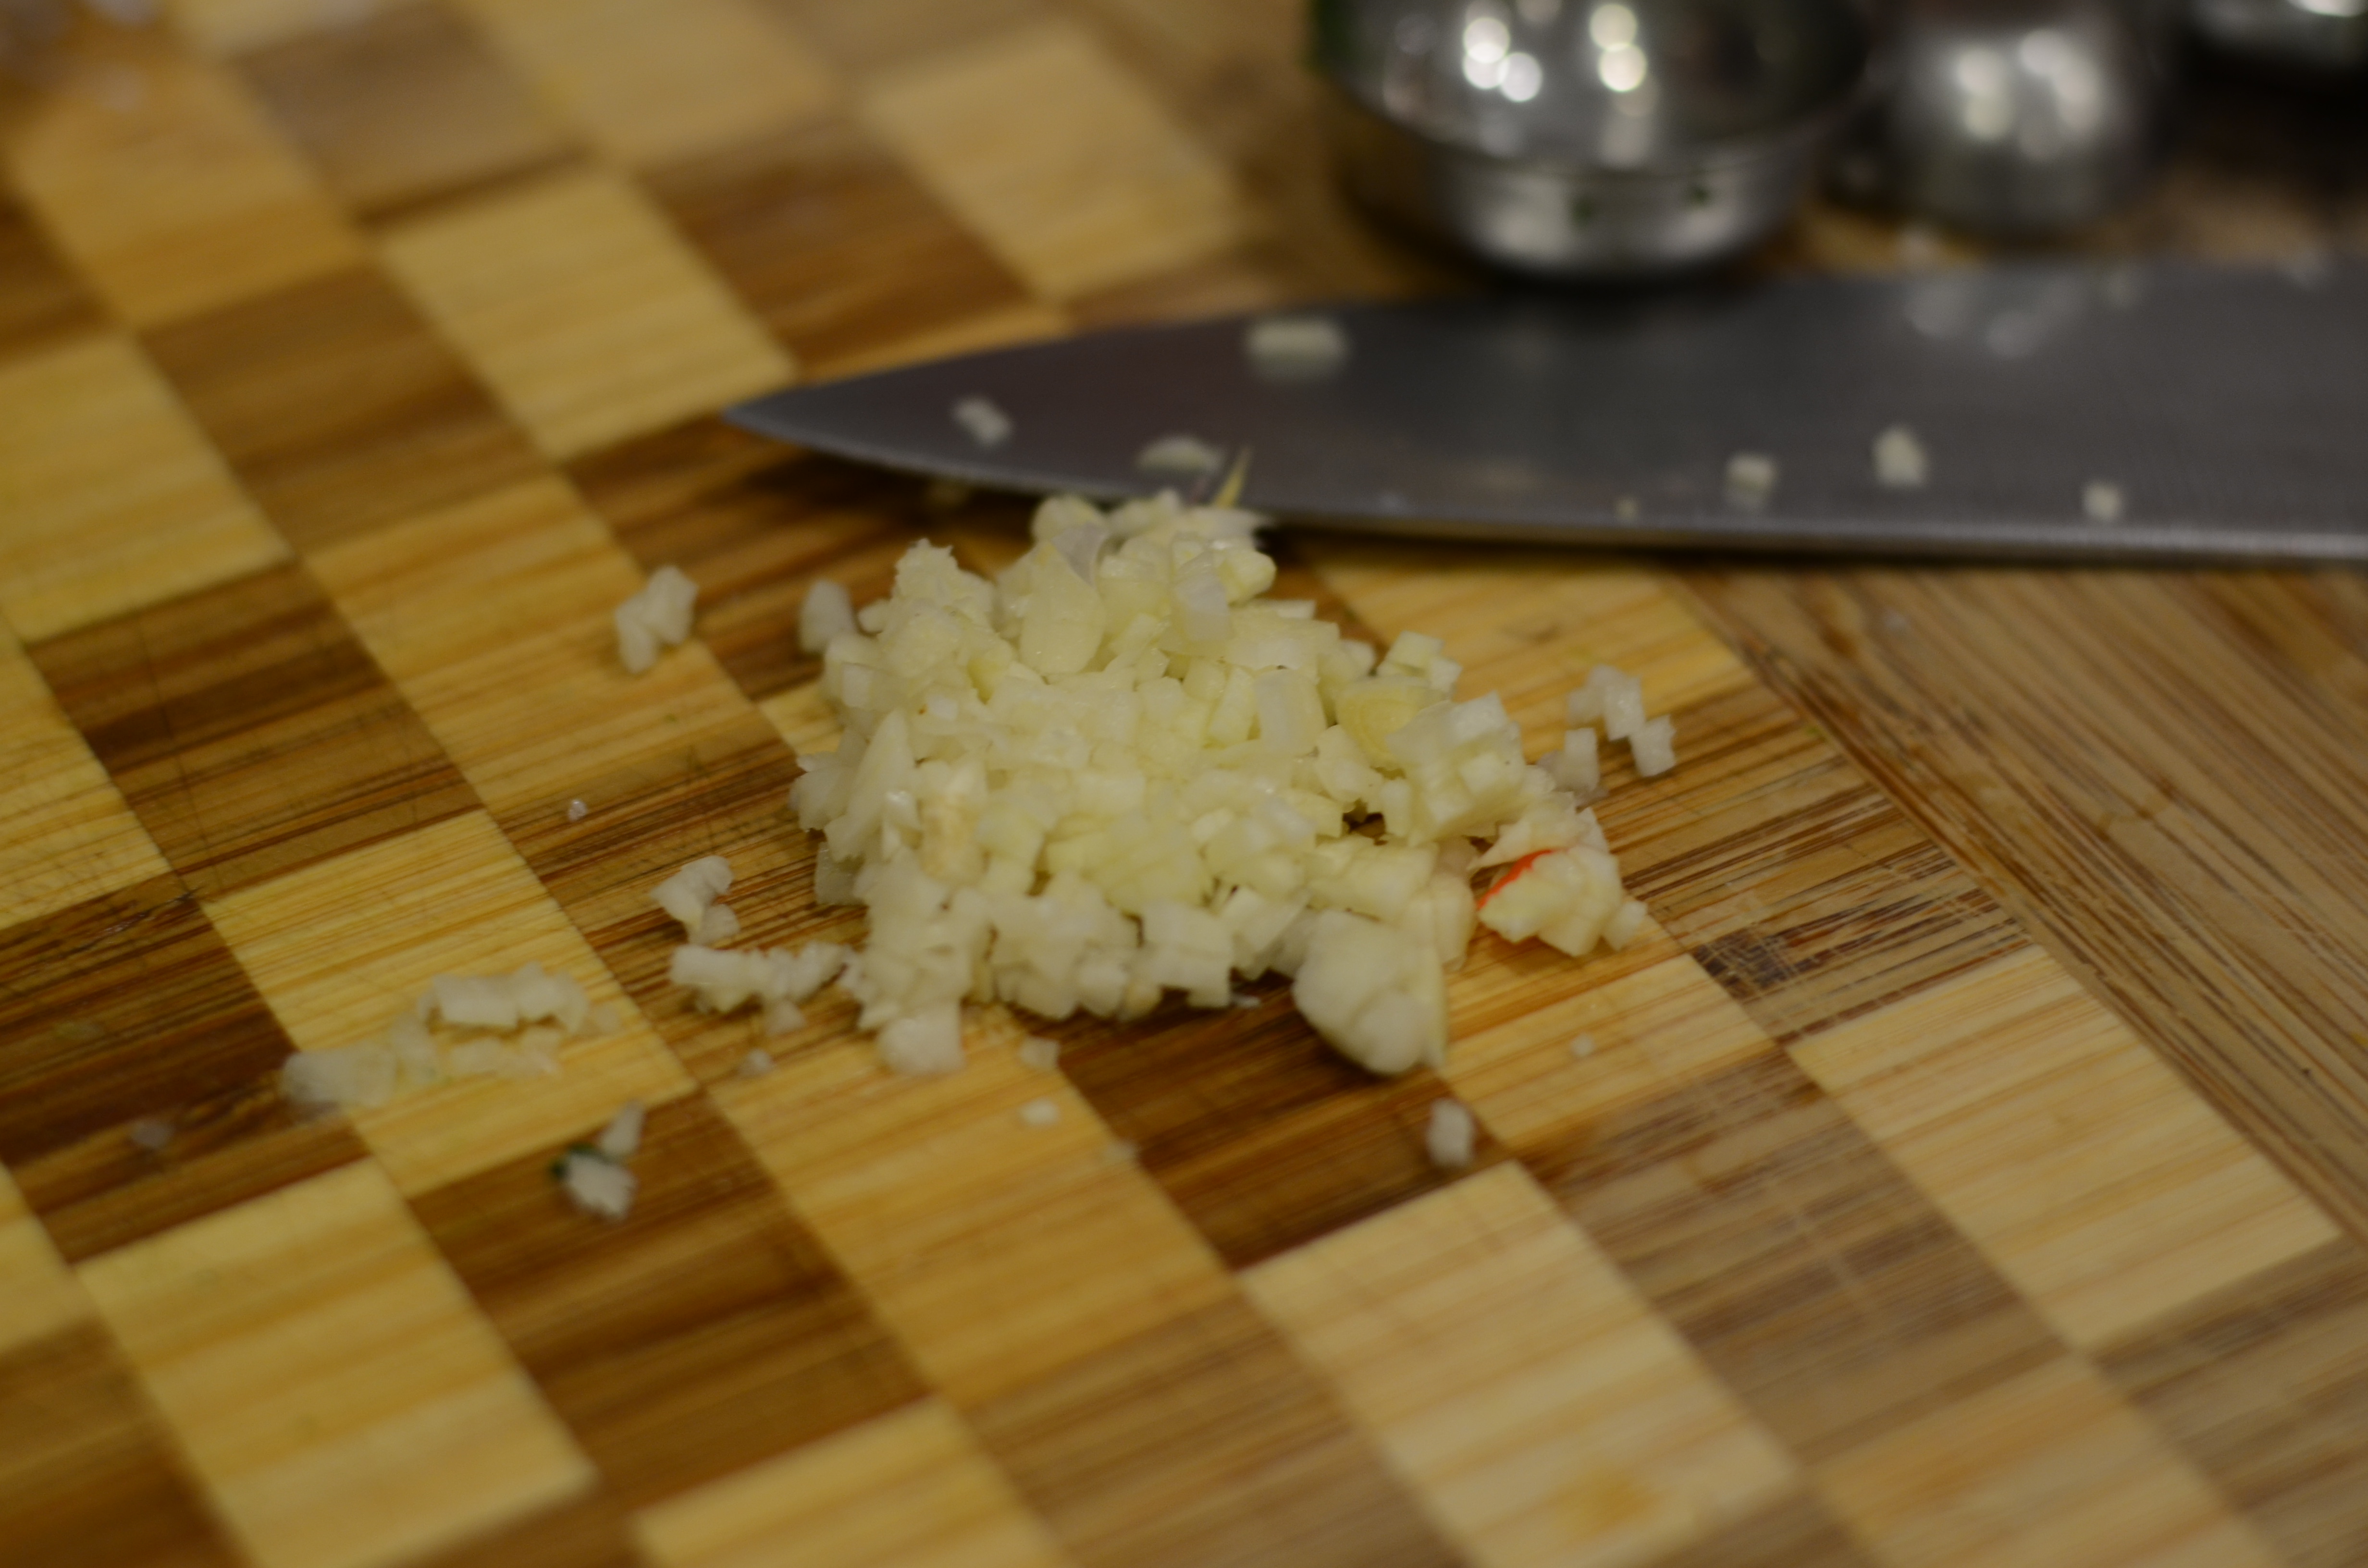
1 garlic clove, finely minced with a pinch of salt
3 1/2 tablespoons lemon juice
3 Tablespoons tahini (be sure to stir well)
3-5 Tablespoons water
up to 1 tablespoon olive oil
1-2 teaspoons maple syrup
Preheat the oven to 425 degrees F.
Dry chickpeas slightly by blotting with a paper towel in a large bowl. Add cut sweet potato, garlic, allspice, cinnamon, cayenne, olive oil, salt and pepper. Toss until the sweet potato and chickpeas are evenly coated. Spread on a baking sheet, and bake for 15 to 25 minutes, mixing from time to time until the sweet potato has softened.
While the sweet potato is baking, combine the kale, onion and cilantro in a mixing bowl. Set aside.

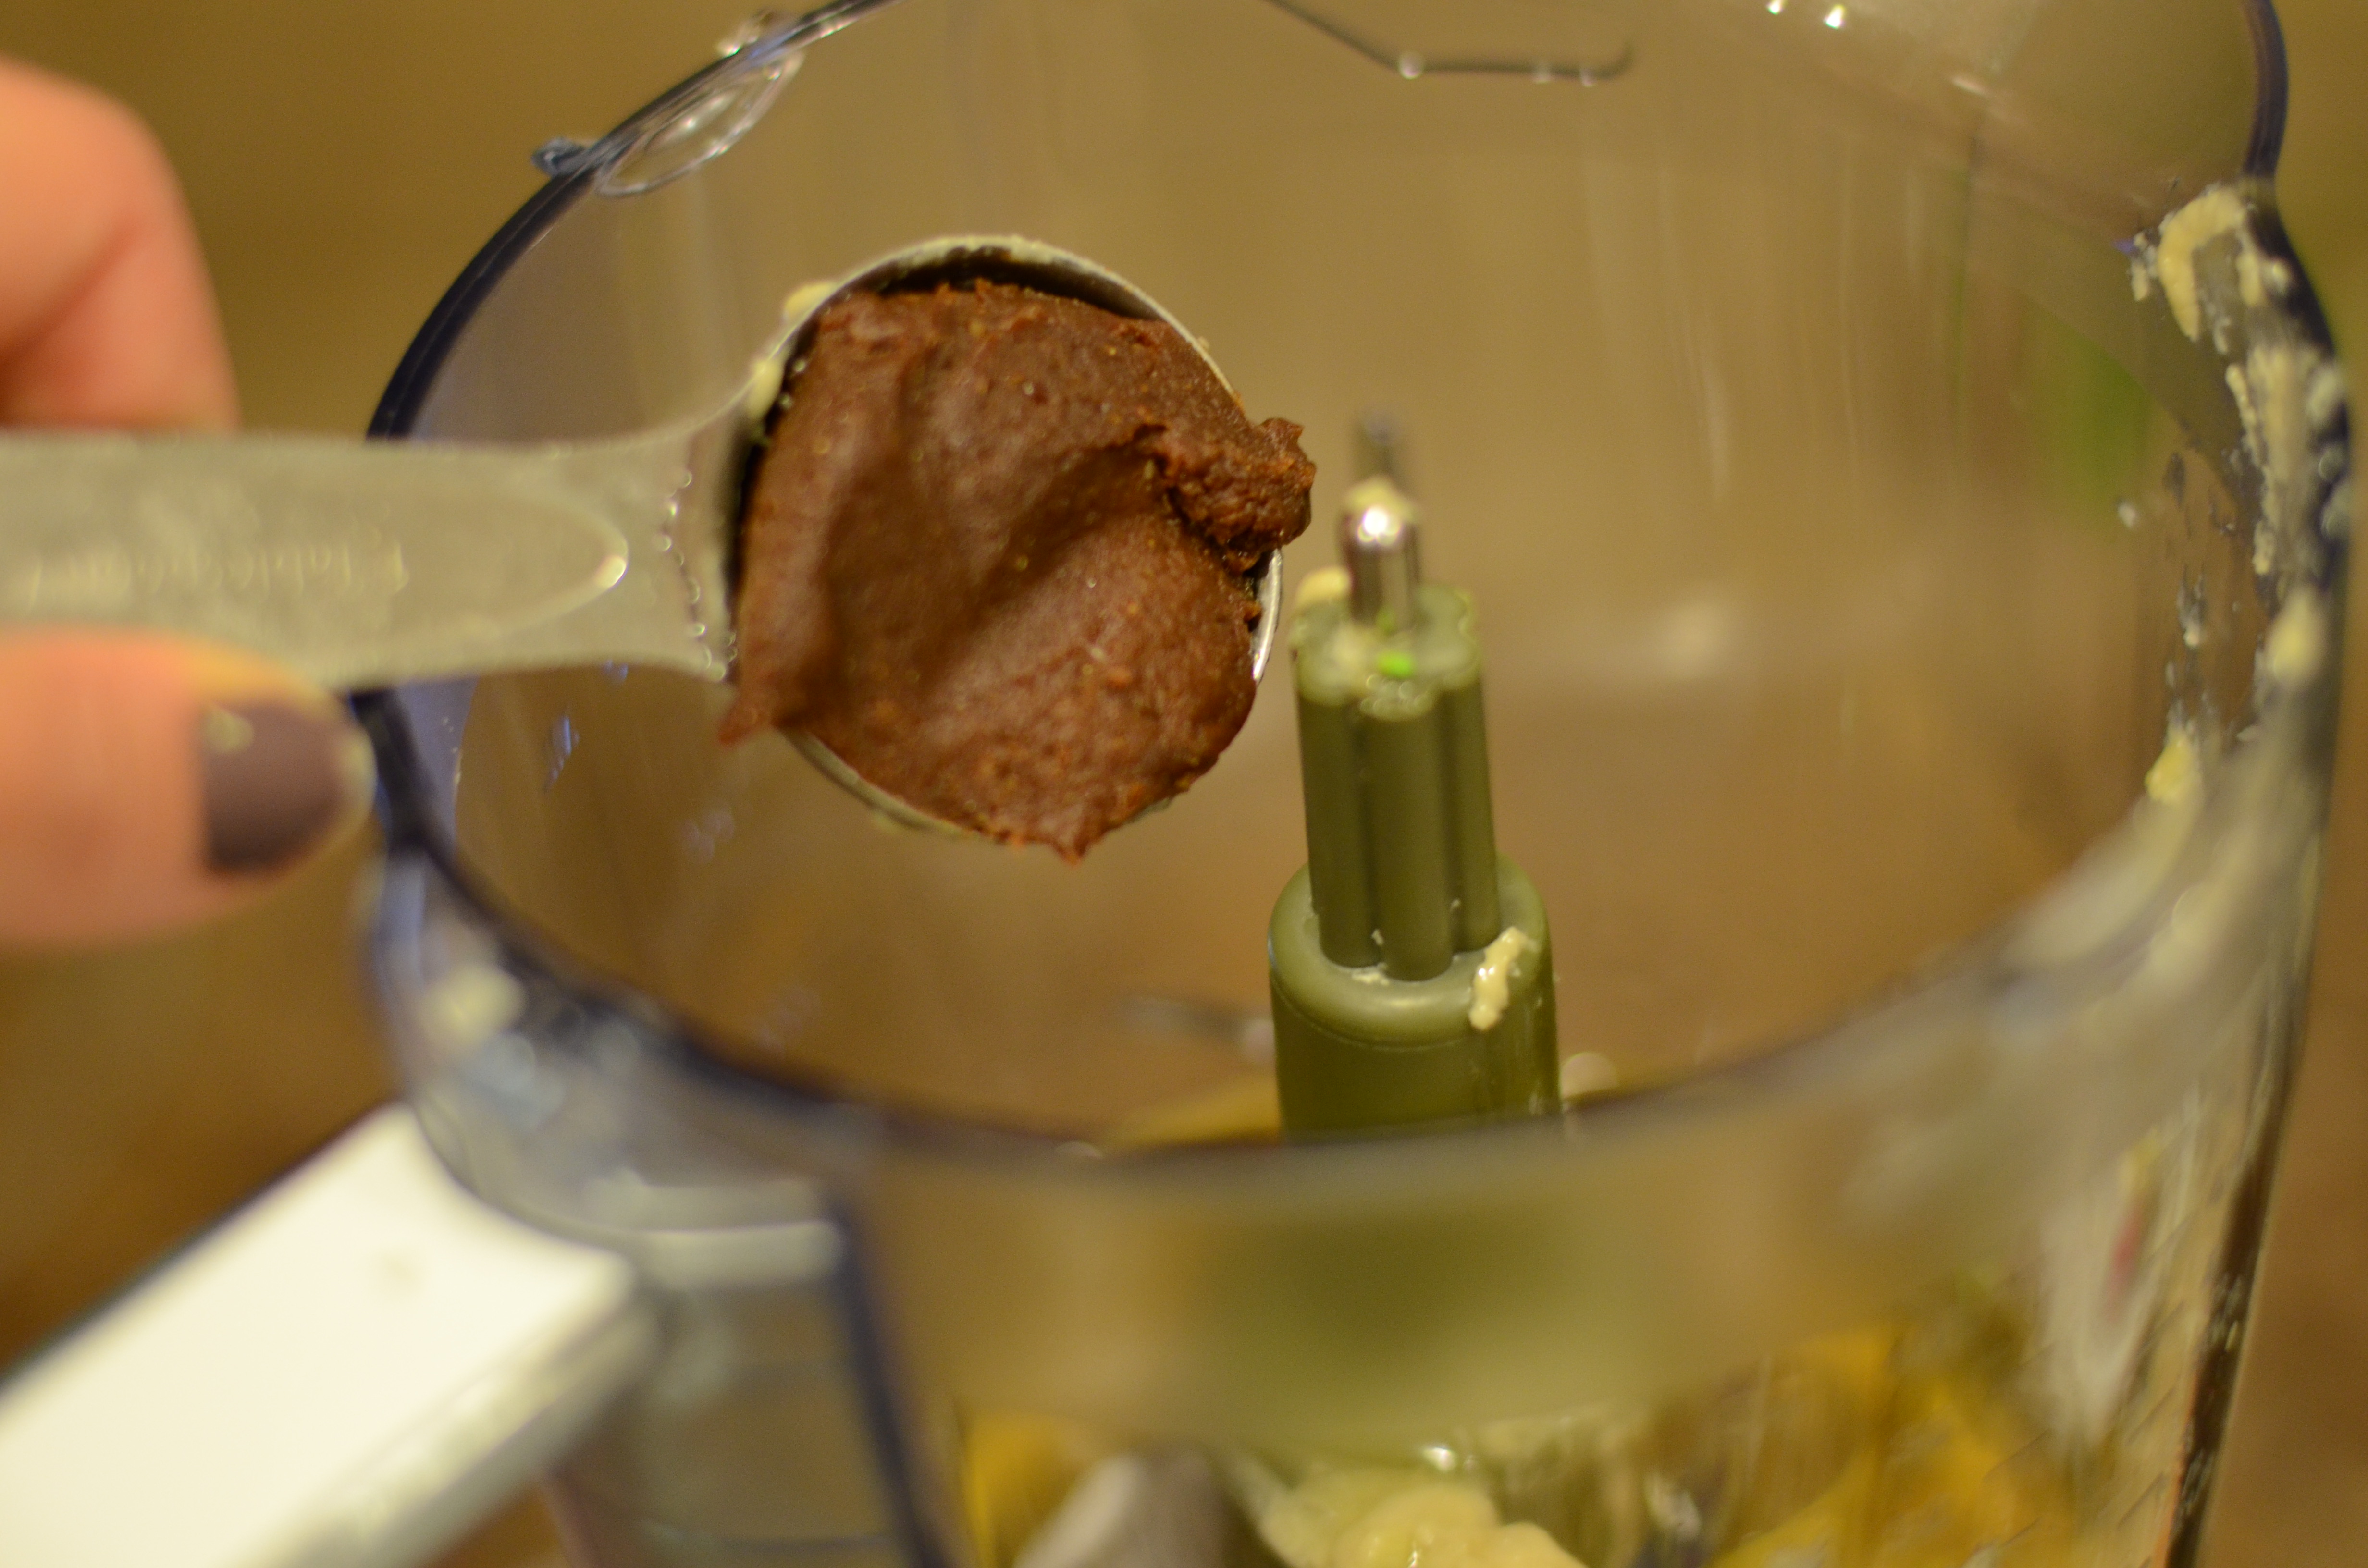
Make the tahini sauce. In a small bowl, whisk together the garlic and lemon juice. Add the tahini, and whisk to blend.

Add the water and olive oil, whisk well, and taste for seasoning. The sauce should have plenty of nutty tahini flavor, but also a little kick of lemon.
Transfer roasted chickpea-sweet potato mixture to the mixing bowl with the kale. Let the mixture rest for a minute while the heat wilts the kale, and then toss gently to combine.
 Add tahini sauce to taste, and toss carefully. If you are not serving the full recipe at once, you may want to keep the tahini sauce on the side.

Miso Sweet Potato and Broccoli Bowl
Adapted from Smitten Kitchen
Grain and vegetable bowl:
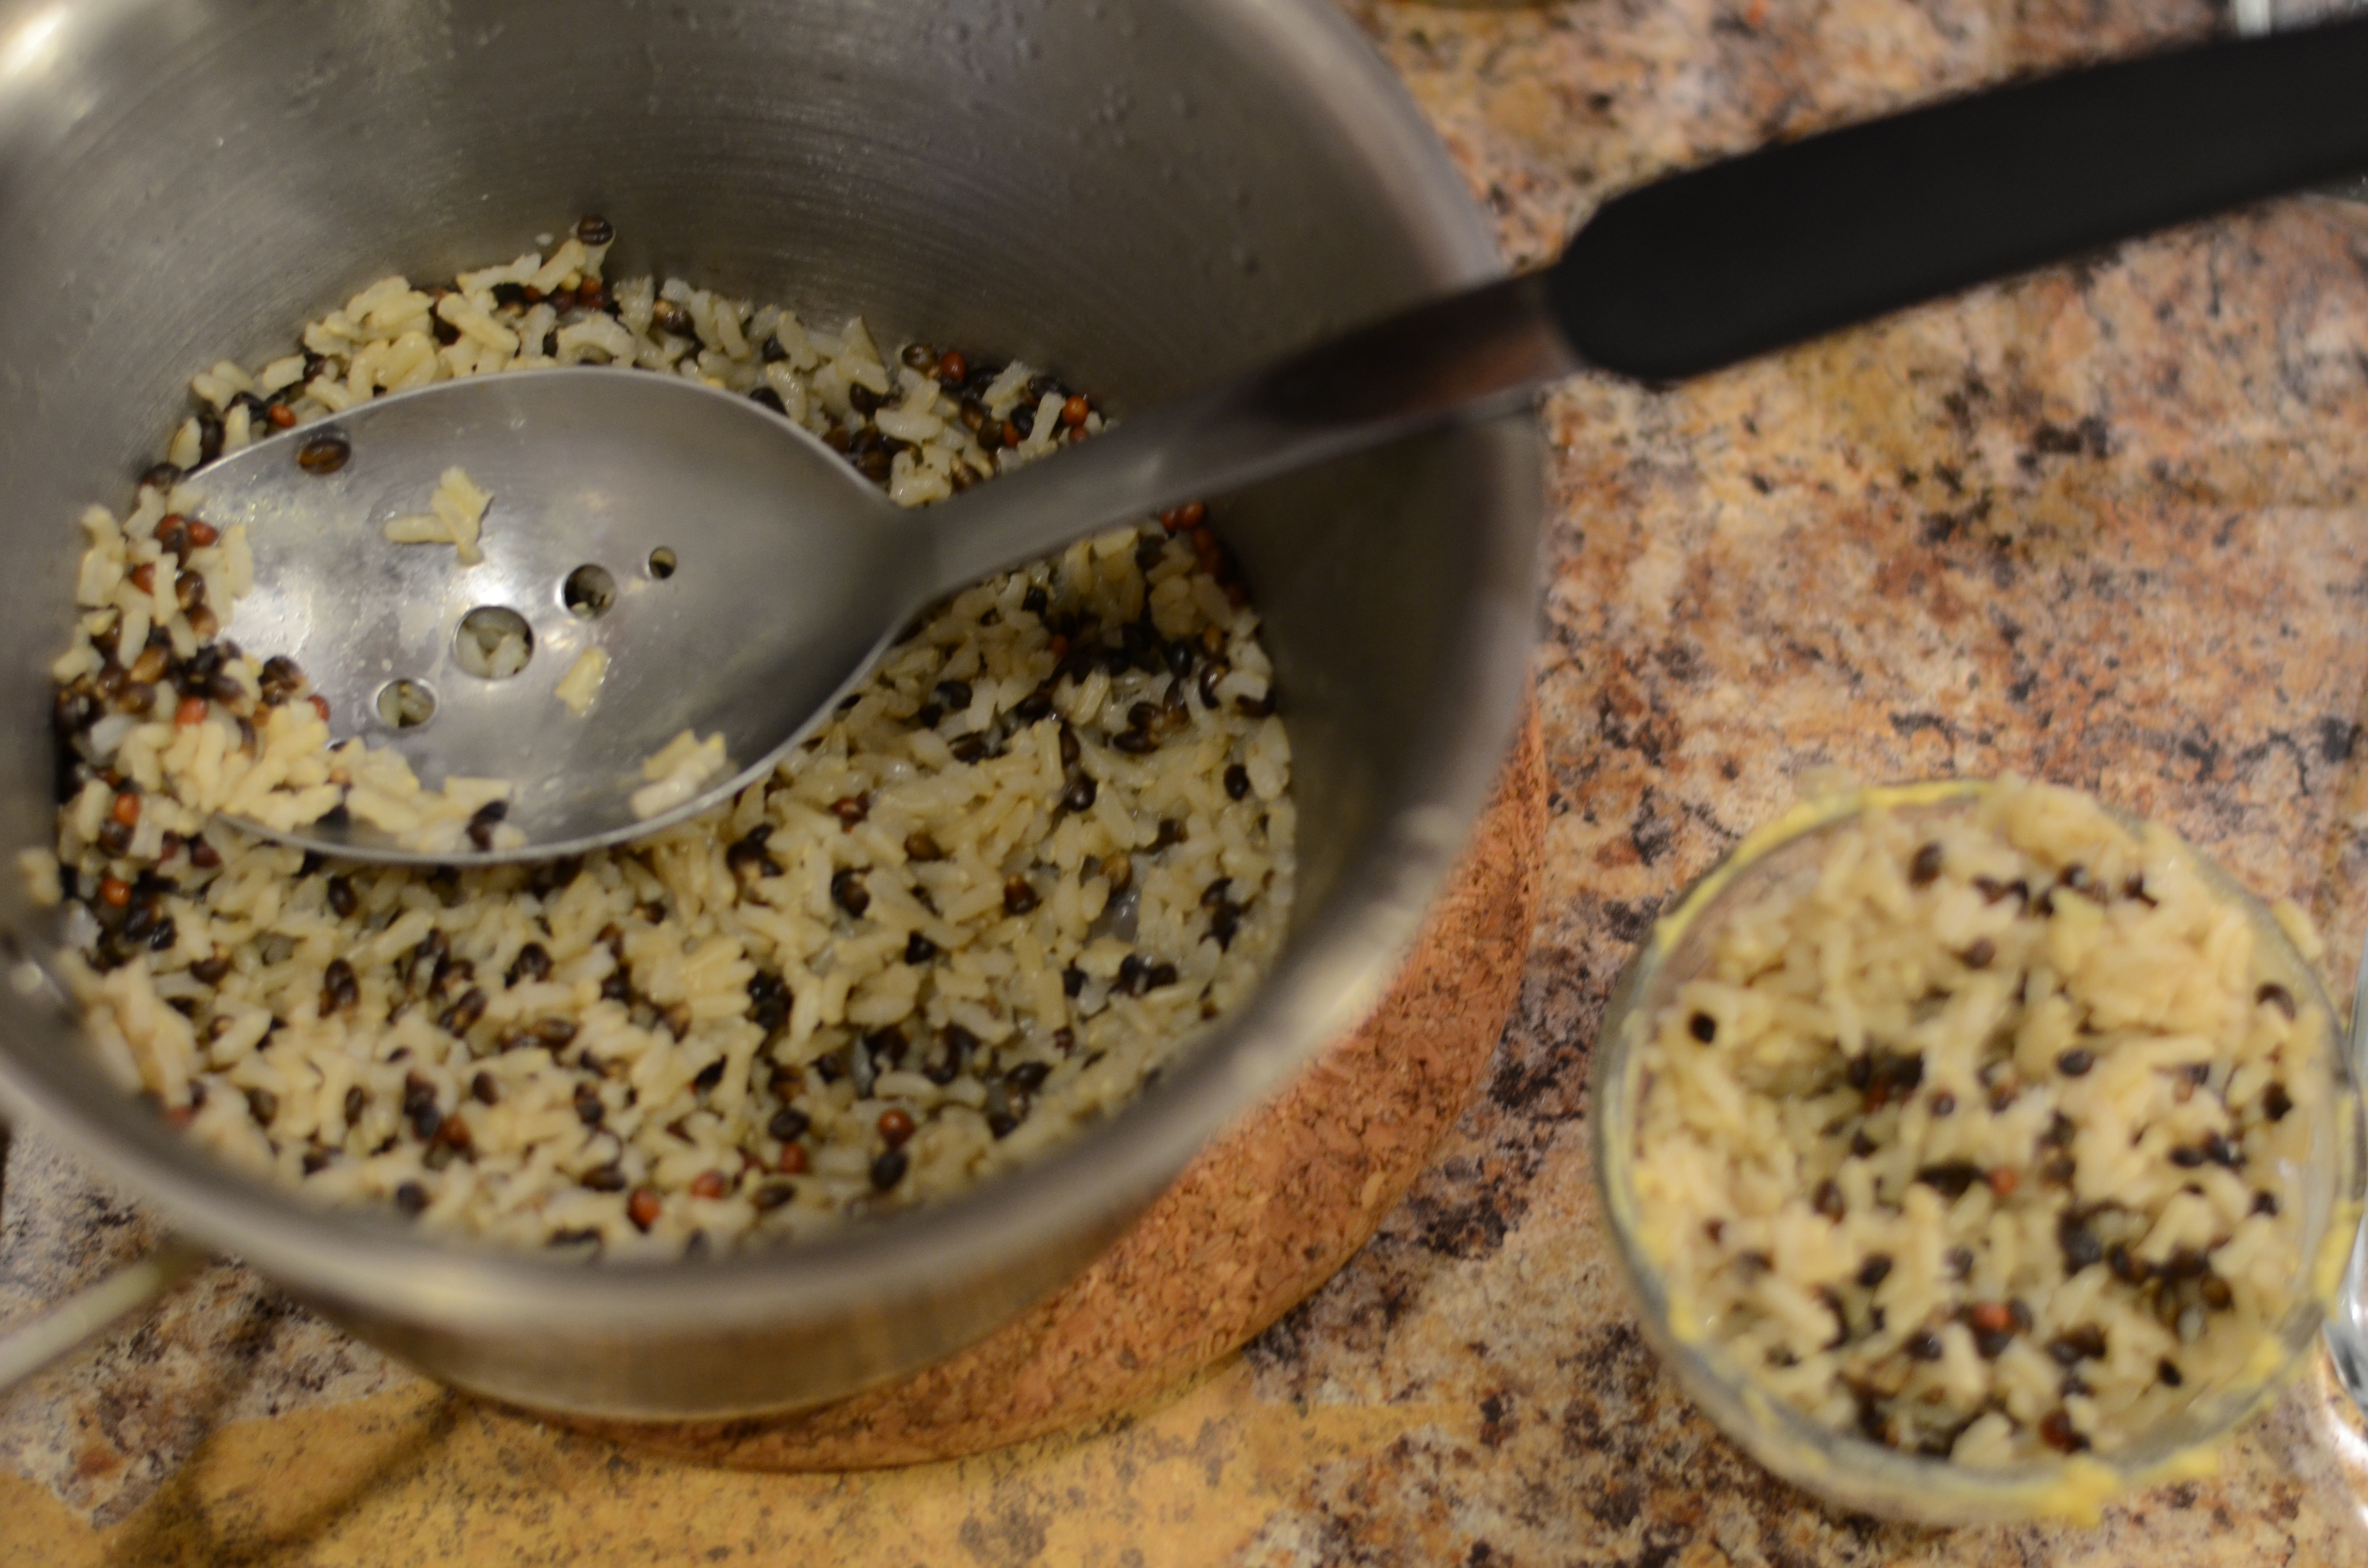
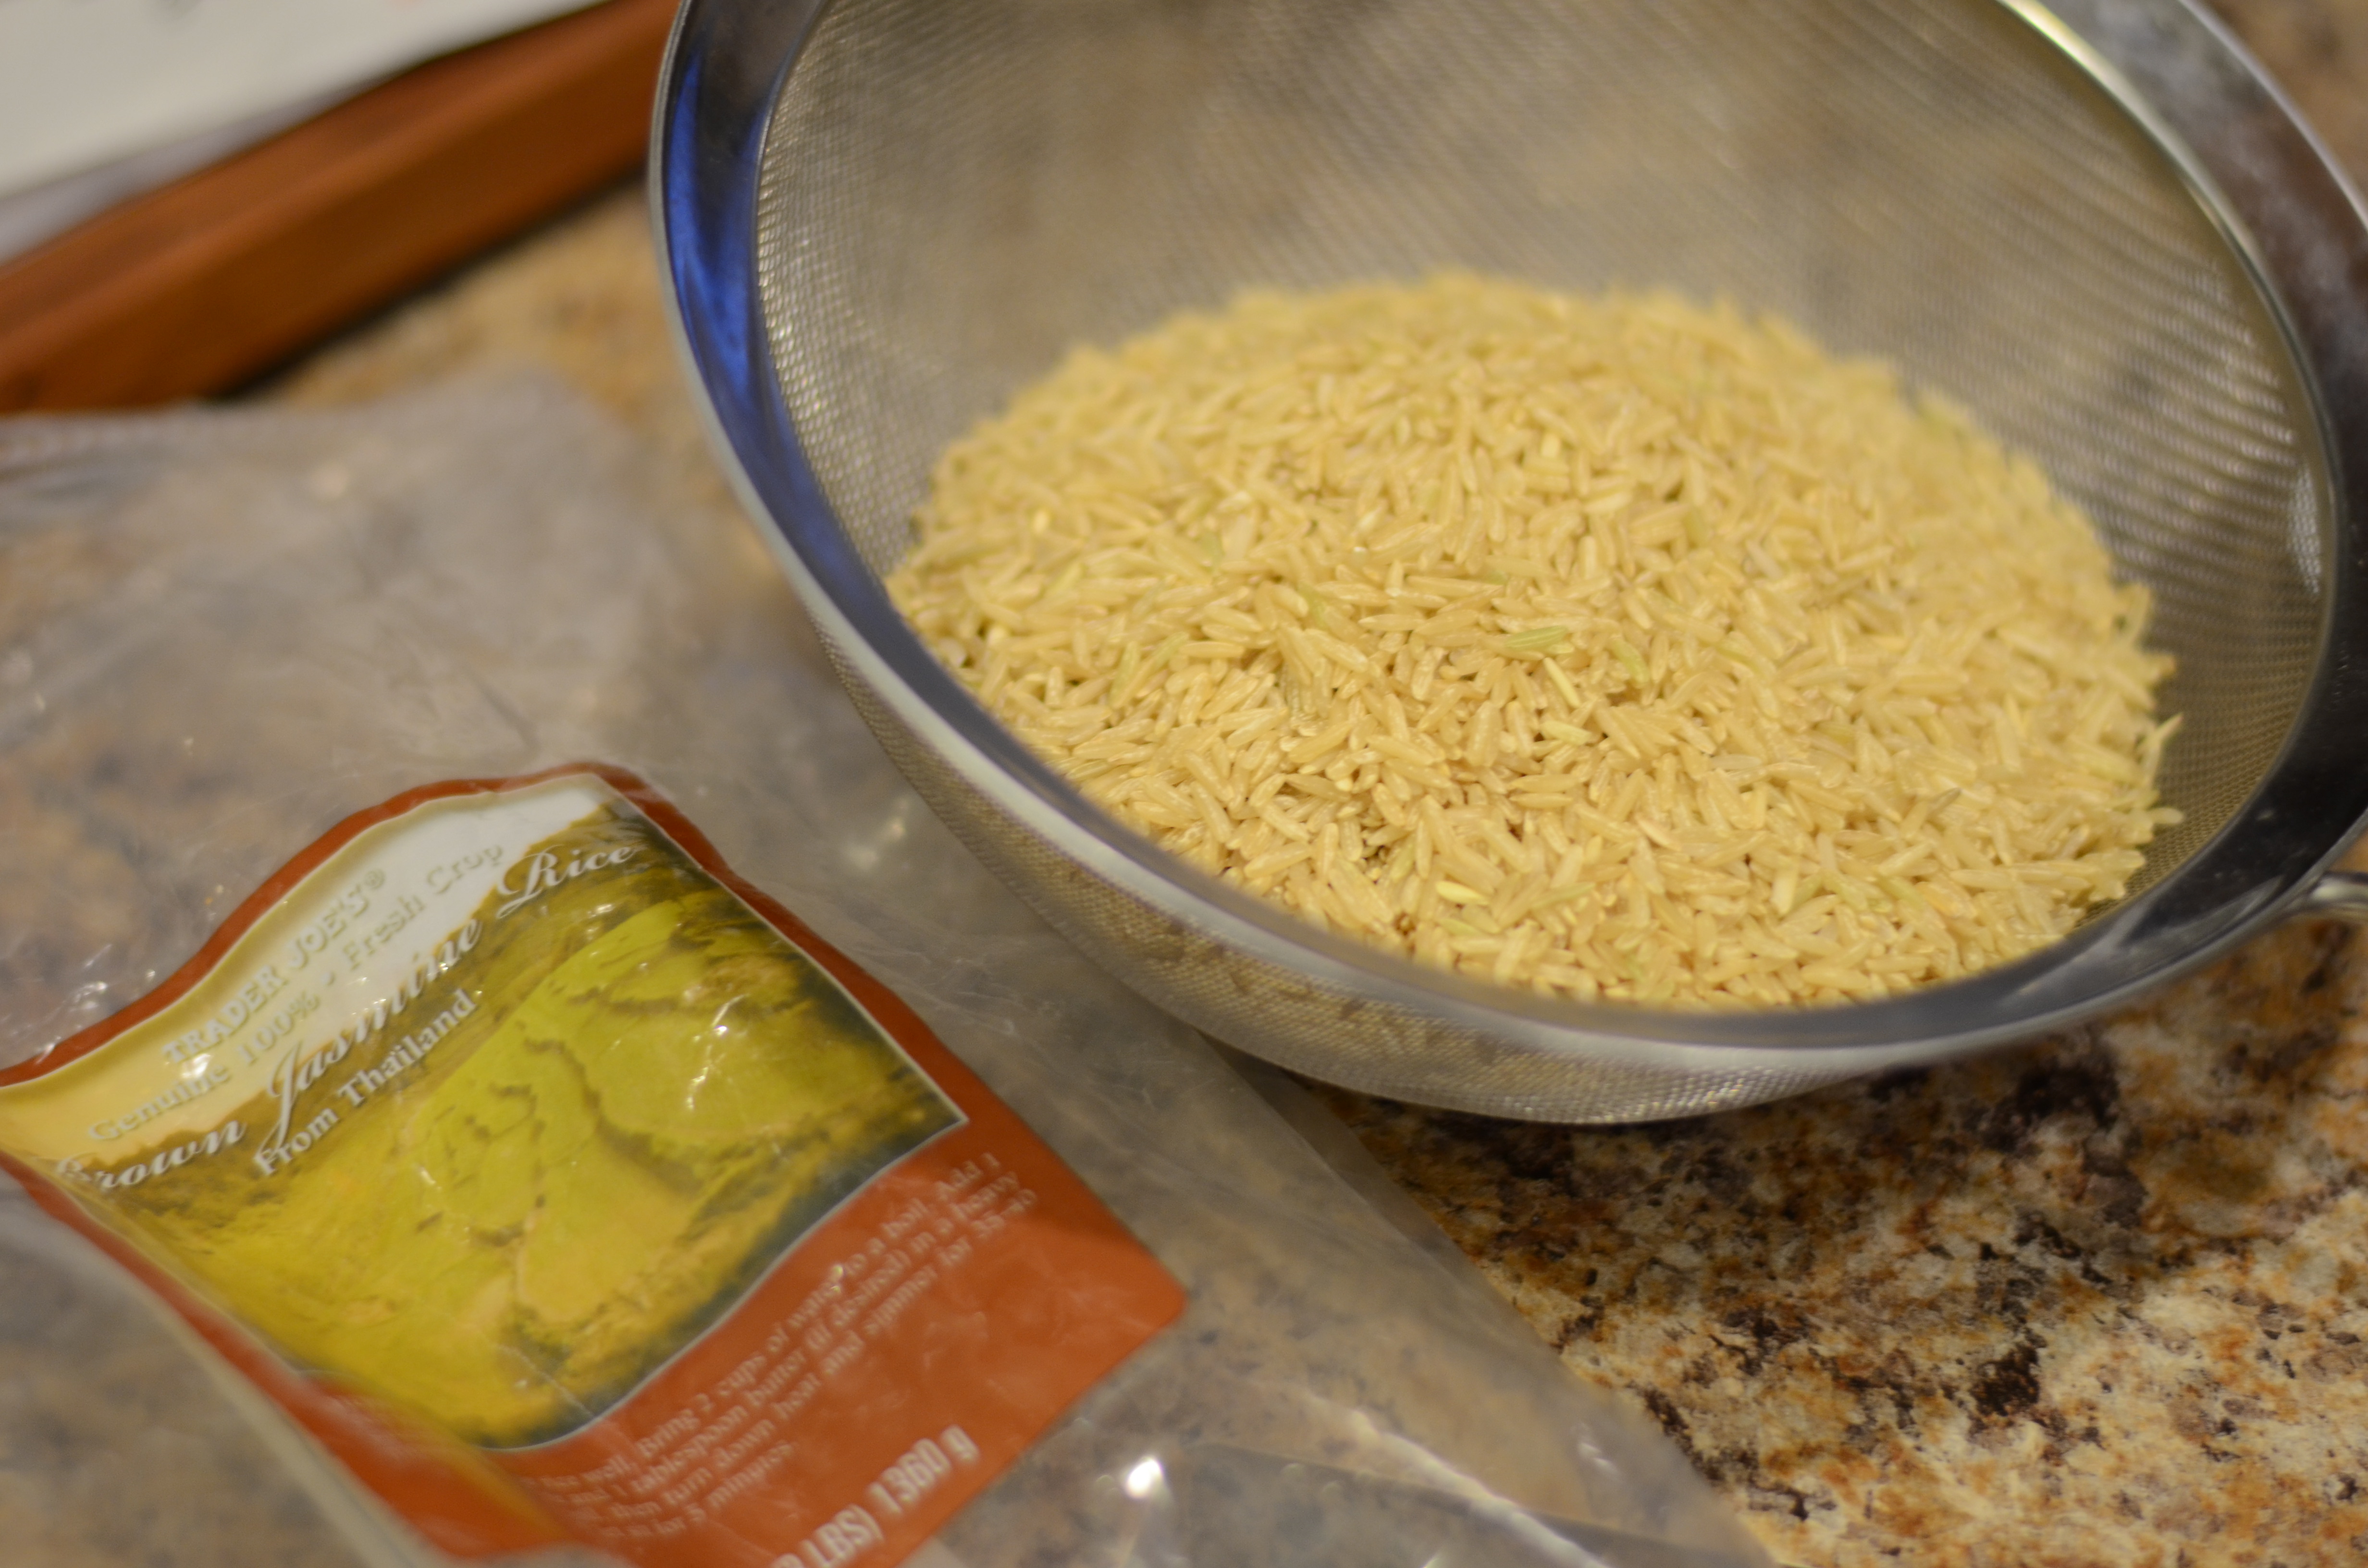
1 cup dried rice* or another grain
1 to 2 large sweet potatoes (about 1.5 pounds)
1 large bundle broccoli (about 1 pound)
1 to 2 tablespoons olive oil
Coarse or kosher salt
Freshly ground black pepper
2 teaspoon sesame seeds, ideally a mix of black and white
Dressing:
1 Tablespoon fresh ginger, minced
1 small garlic clove, minced
2 Tablespoons miso**
2 Tablespoons tahini
1 Tablespoon honey
1/4 Cup rice vinegar
2 Tablespoons toasted sesame oil
2 Tablespoons olive oil
—
Adaptation notes:
*The heartier the grain, the better, in my opinion. I used the deliciously nutty Trader Joe’s brown rice medley, the one used in the hummus fritters recipe.
**The original recipe (like so many I keep finding) suggested white miso, but I only had the red kind on hand, so I used that, dang it. Incidentally, when I first bought the red miso it was for a broccoli recipe. Since then, I have learned that the general rule for miso is “the lighter the color, the more mild the flavor.” Well, go bold or go home, I say.
—
Heat oven to 400 degrees.

While you prep, cook rice or grain according to package directions. Peel sweet potatoes and cut into 1-inch cubes. Cut broccoli into bite-sized florets.
Coat a rimmed baking sheet with olive oil. Layer sweet potatoes and sprinkle with salt and pepper. Roast for 20 minutes, until browning underneath. Flip and toss chunks around, then add broccoli.
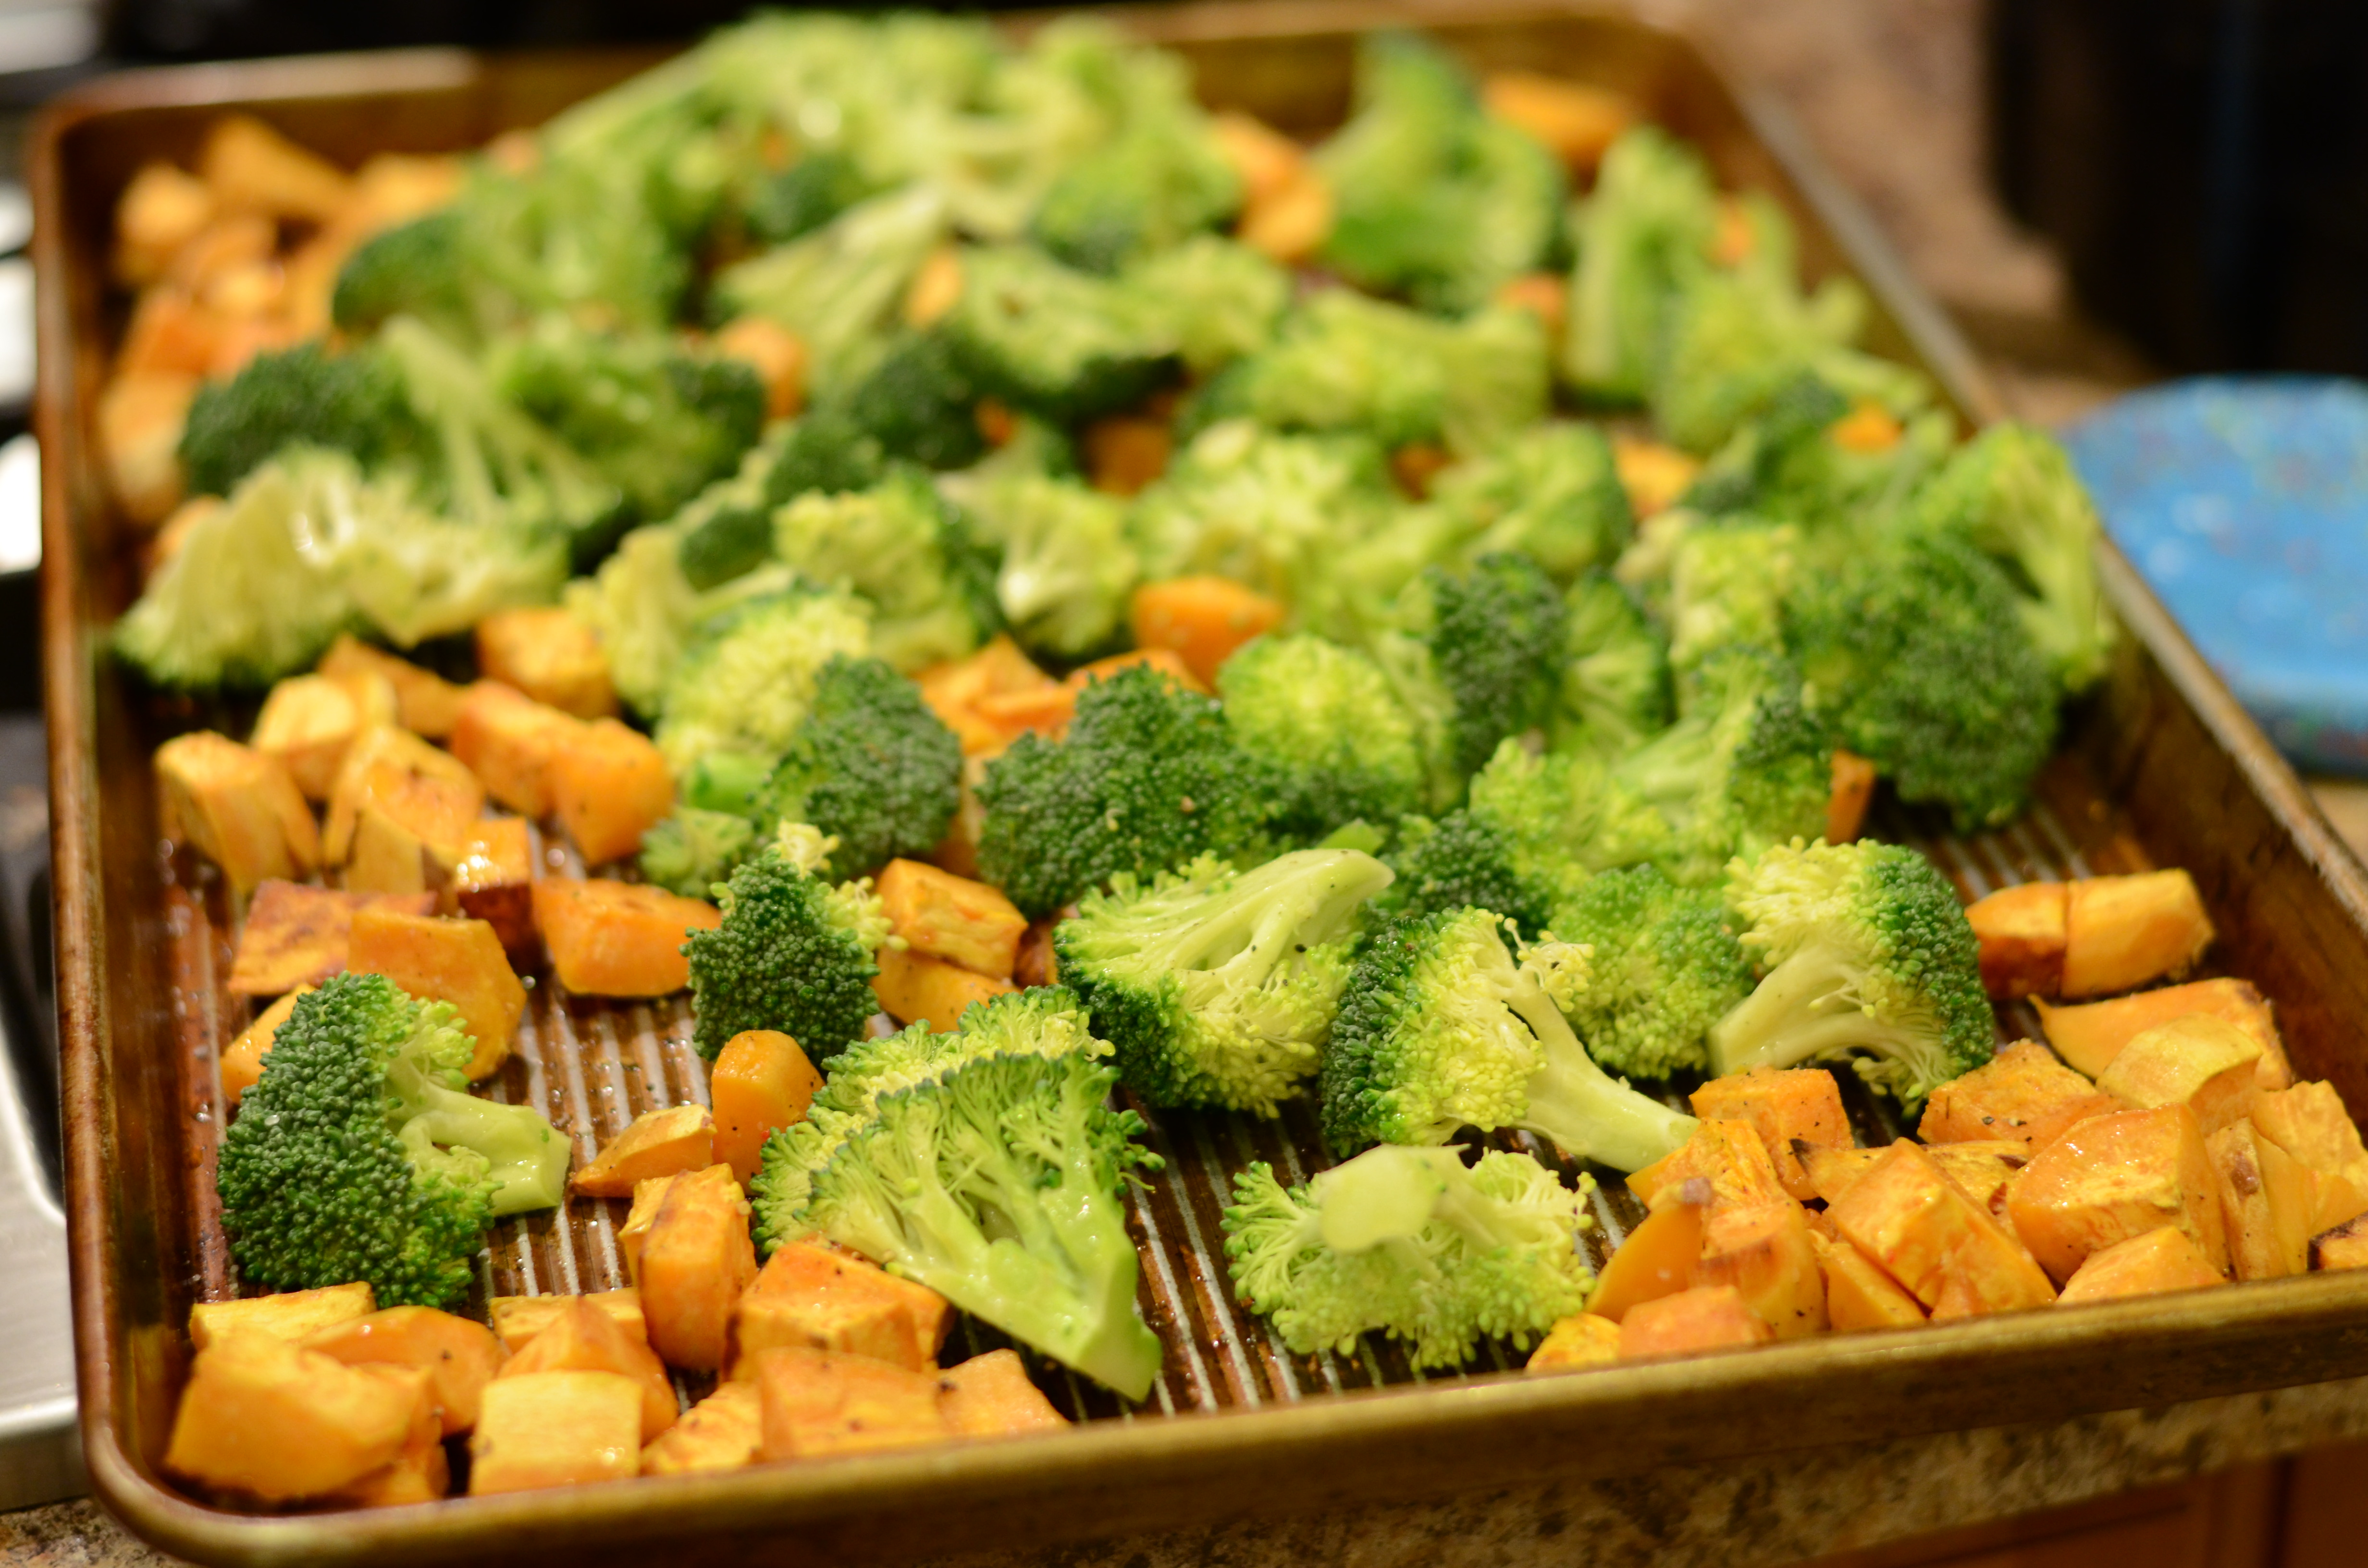
Season again with salt and pepper, and roast for another 10 to 20 minutes, until broccoli is lightly charred at edges and sweet potato is soft. Check periodically to see if you need to toss the vegetables more for even cooking.
Toast sesame seeds until fragrant, either on a stovetop skillet or in the oven (being careful not to burn).
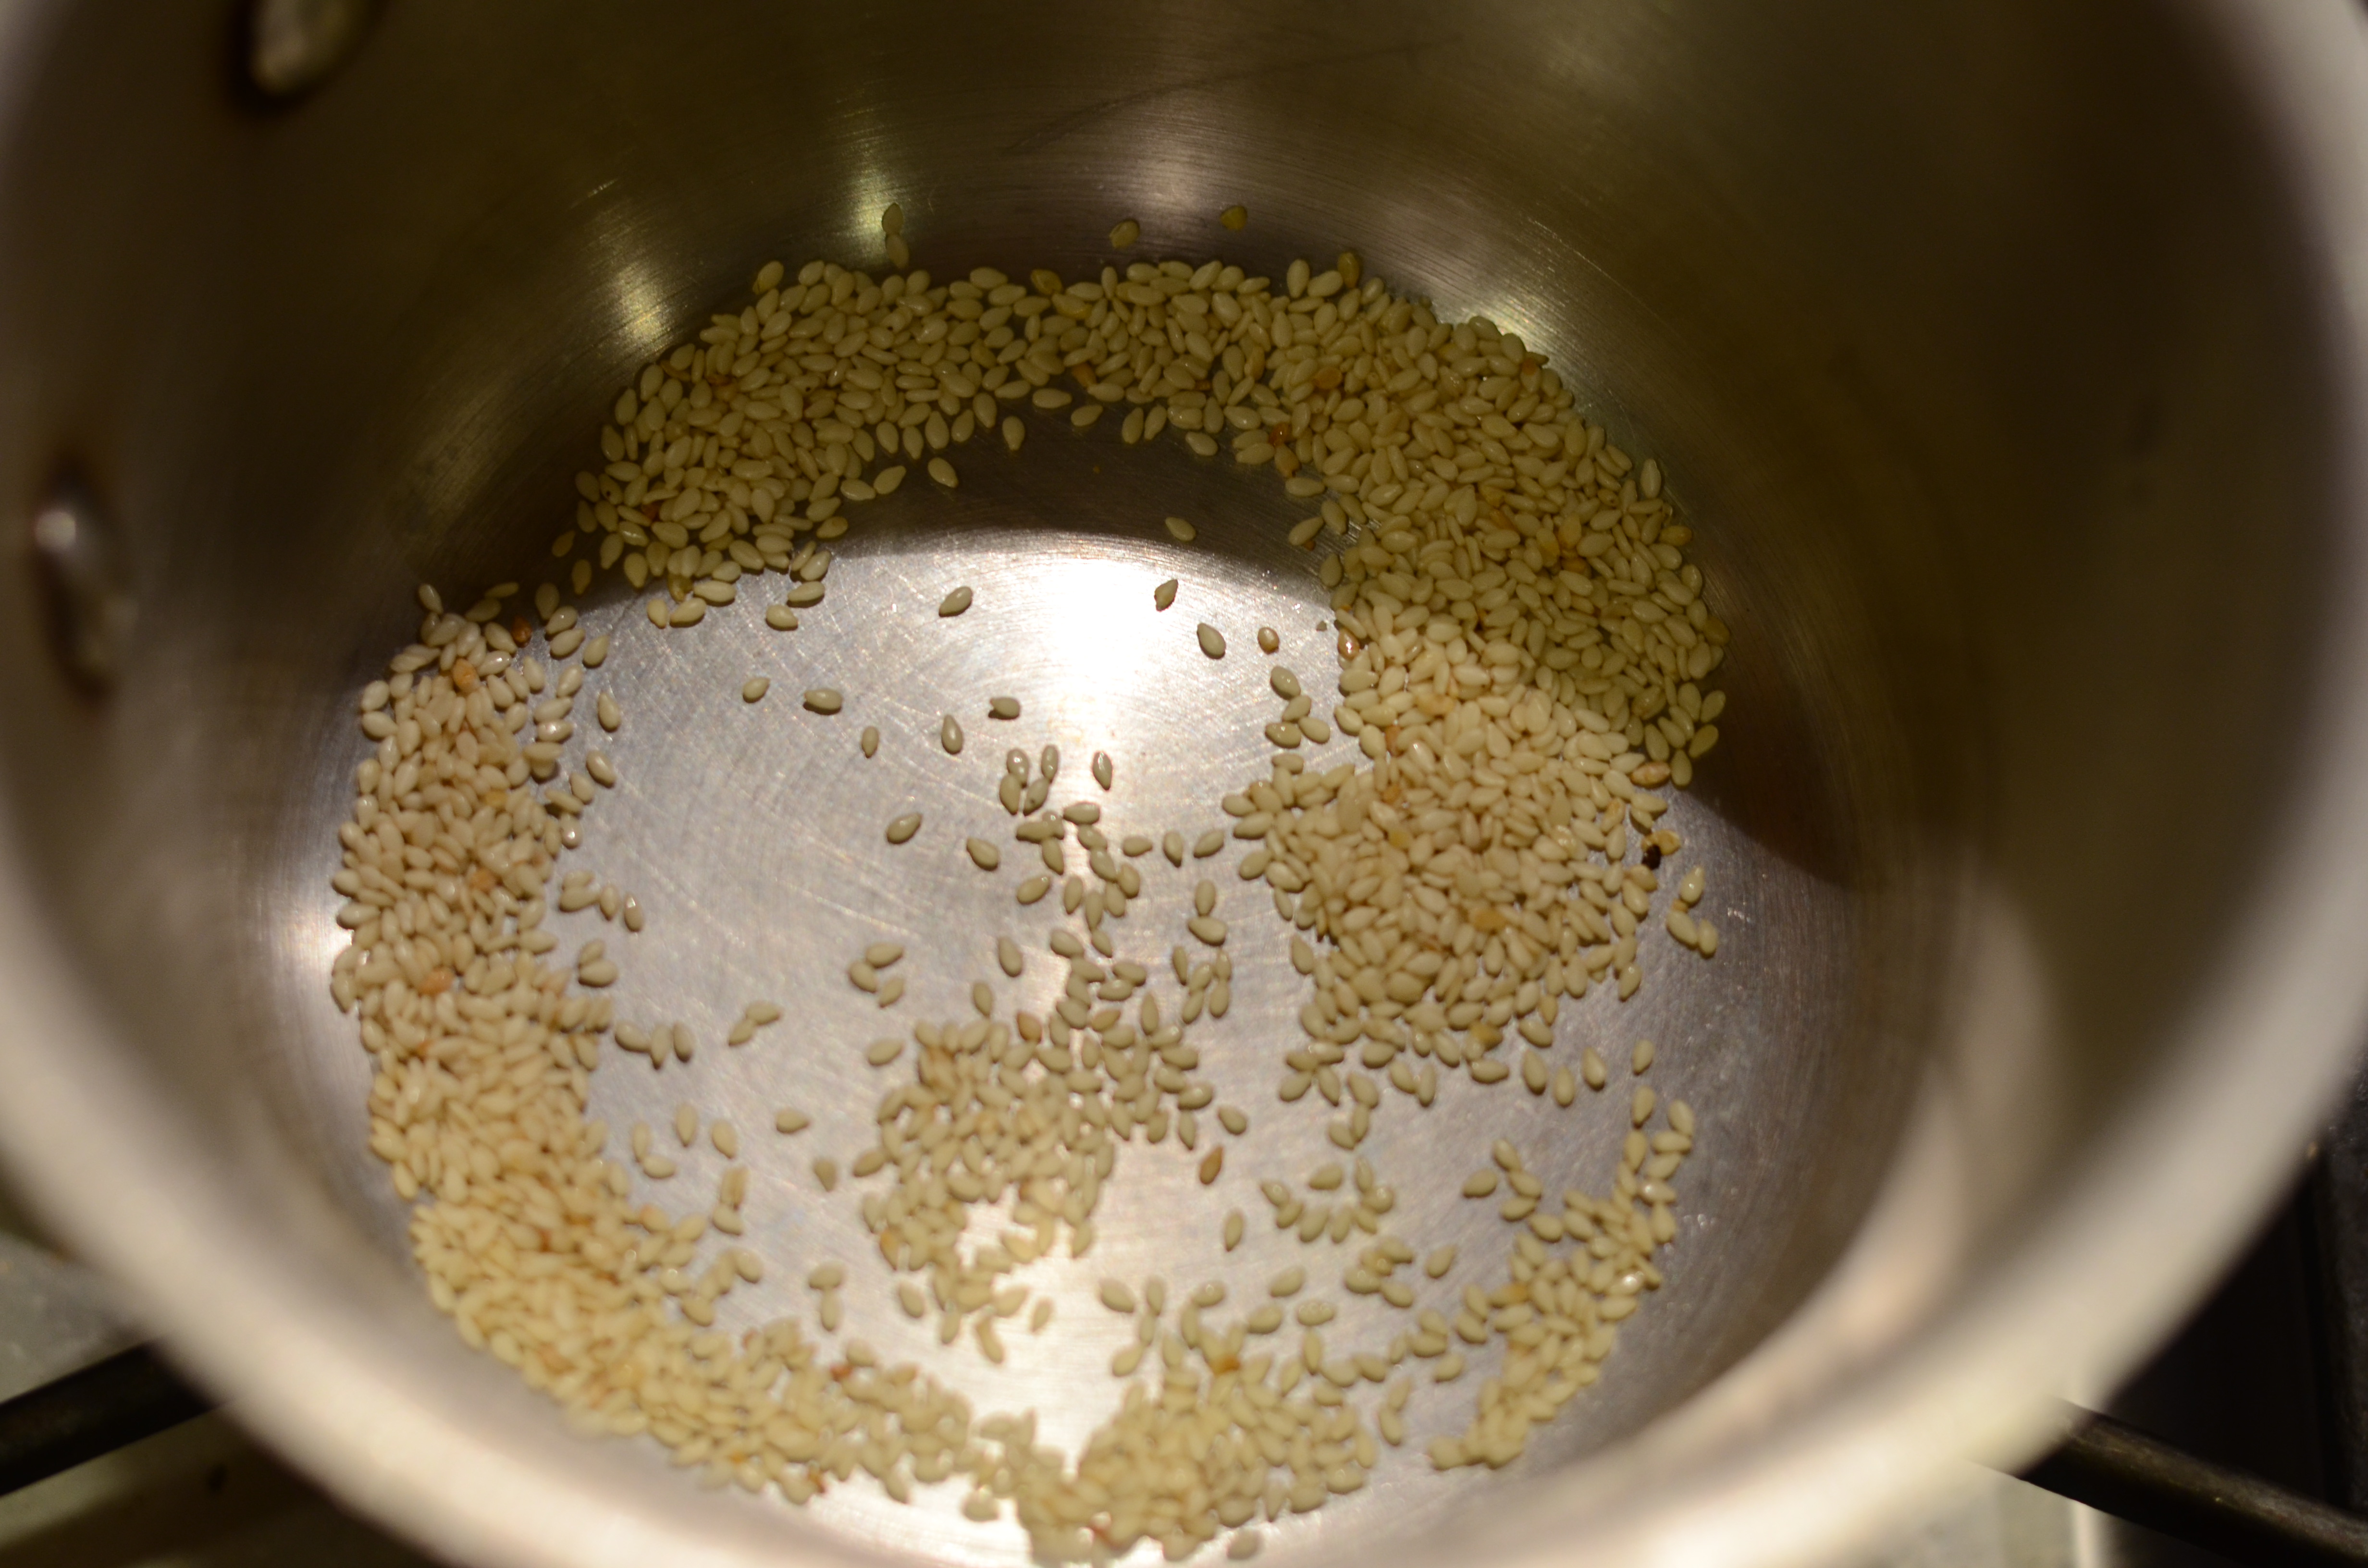
Black sesame seeds would have made this much prettier!
While vegetables roast, prepare dressing: Combine everything in a blender and run until smooth, scraping down sides once.
Taste and adjust seasonings. Deb suggests that the dressing should taste more salty than sweet for this dish.
Scoop some rice into bowls and top with the roasted sweet potatoes and broccoli. Coat with a little dressing and finish with toasted sesame seeds.

Set extra dressing on the side to add as needed.