Let me start off by saying that last week was a model week of non-waste. And yes, I’m proud.
It helps that I chiseled out time to “cook” at least four times. I shopped a couple times — once for two meats I used, and later in the week when I had to pick up milk anyway, I grabbed some additional vegetables. The rest of the ingredients came from leftover items or my “pantry stock.” Carrots, celery, onions, and garlic – even for those of you who cook infrequently, I recommend keeping these around. Maybe put some potatoes in this category too. They keep for a very long time (i.e. more than a month) and it is nice to not worry about them.
Monday
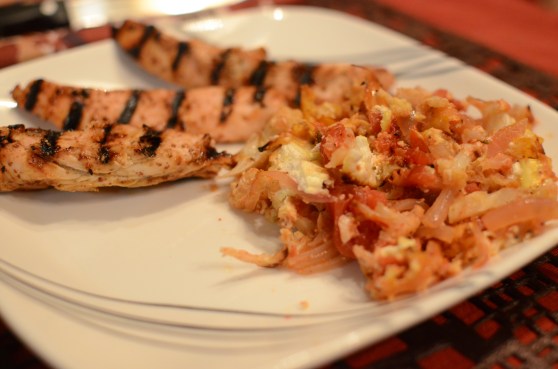
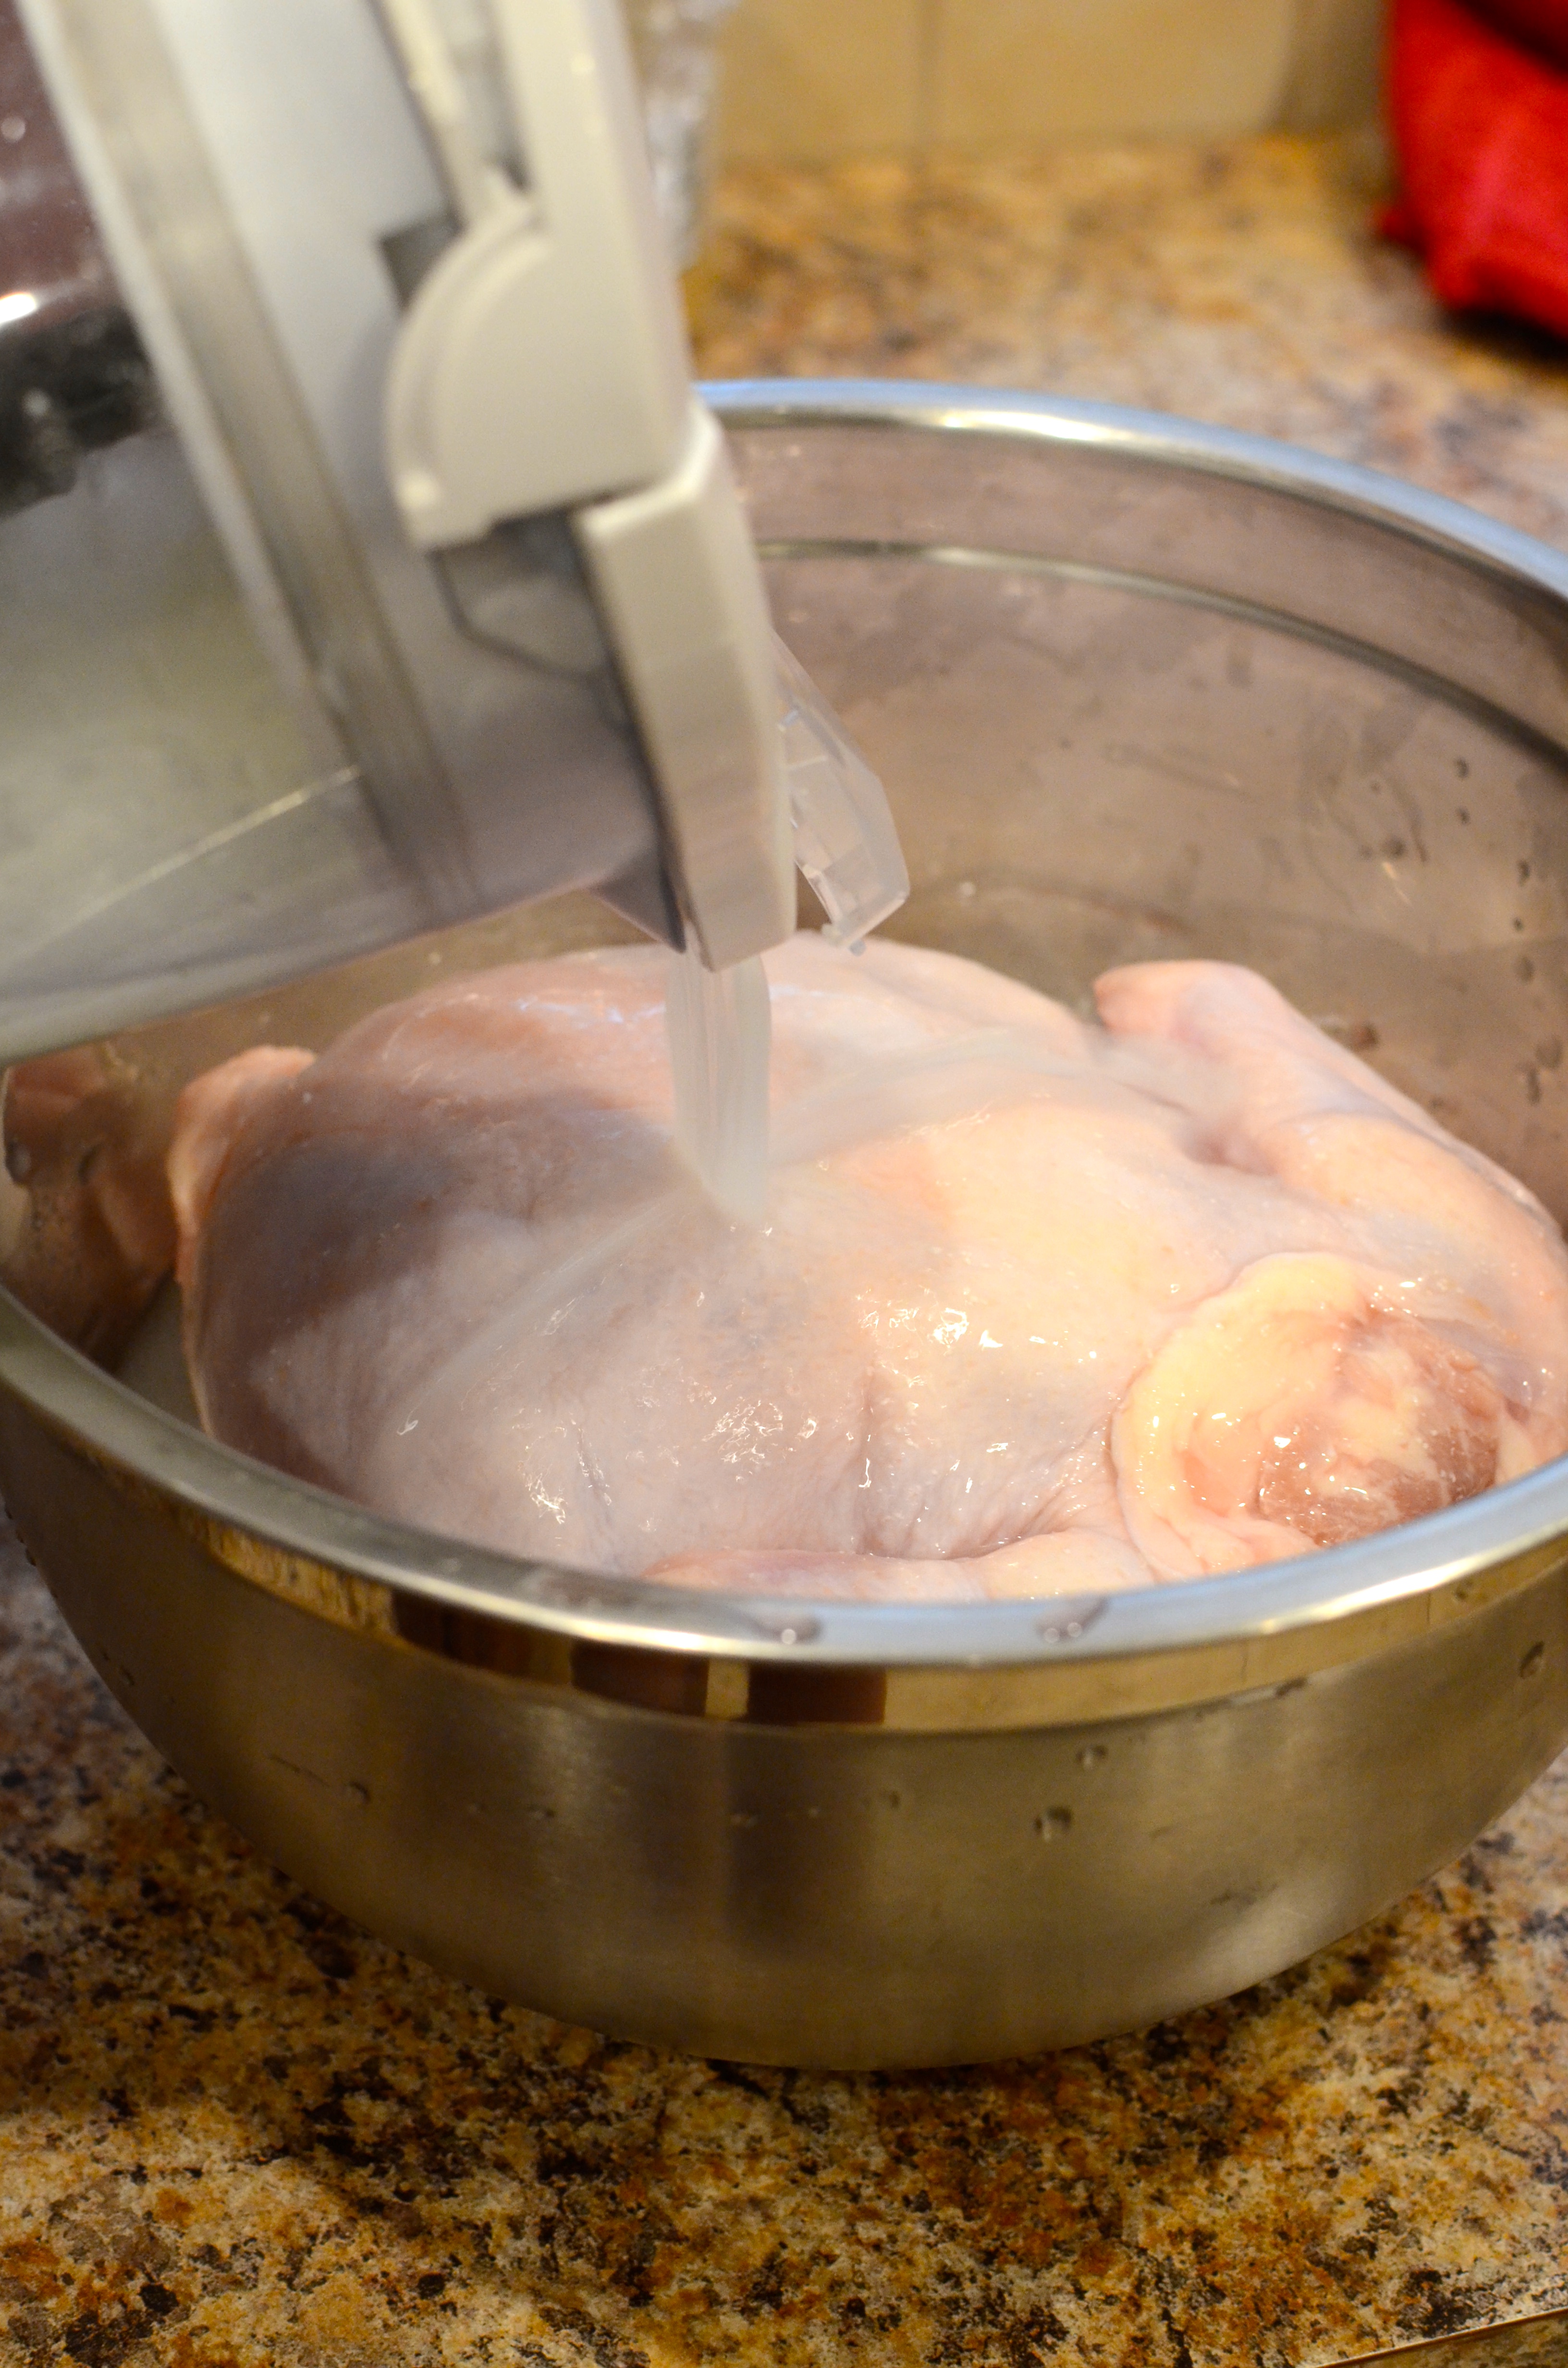
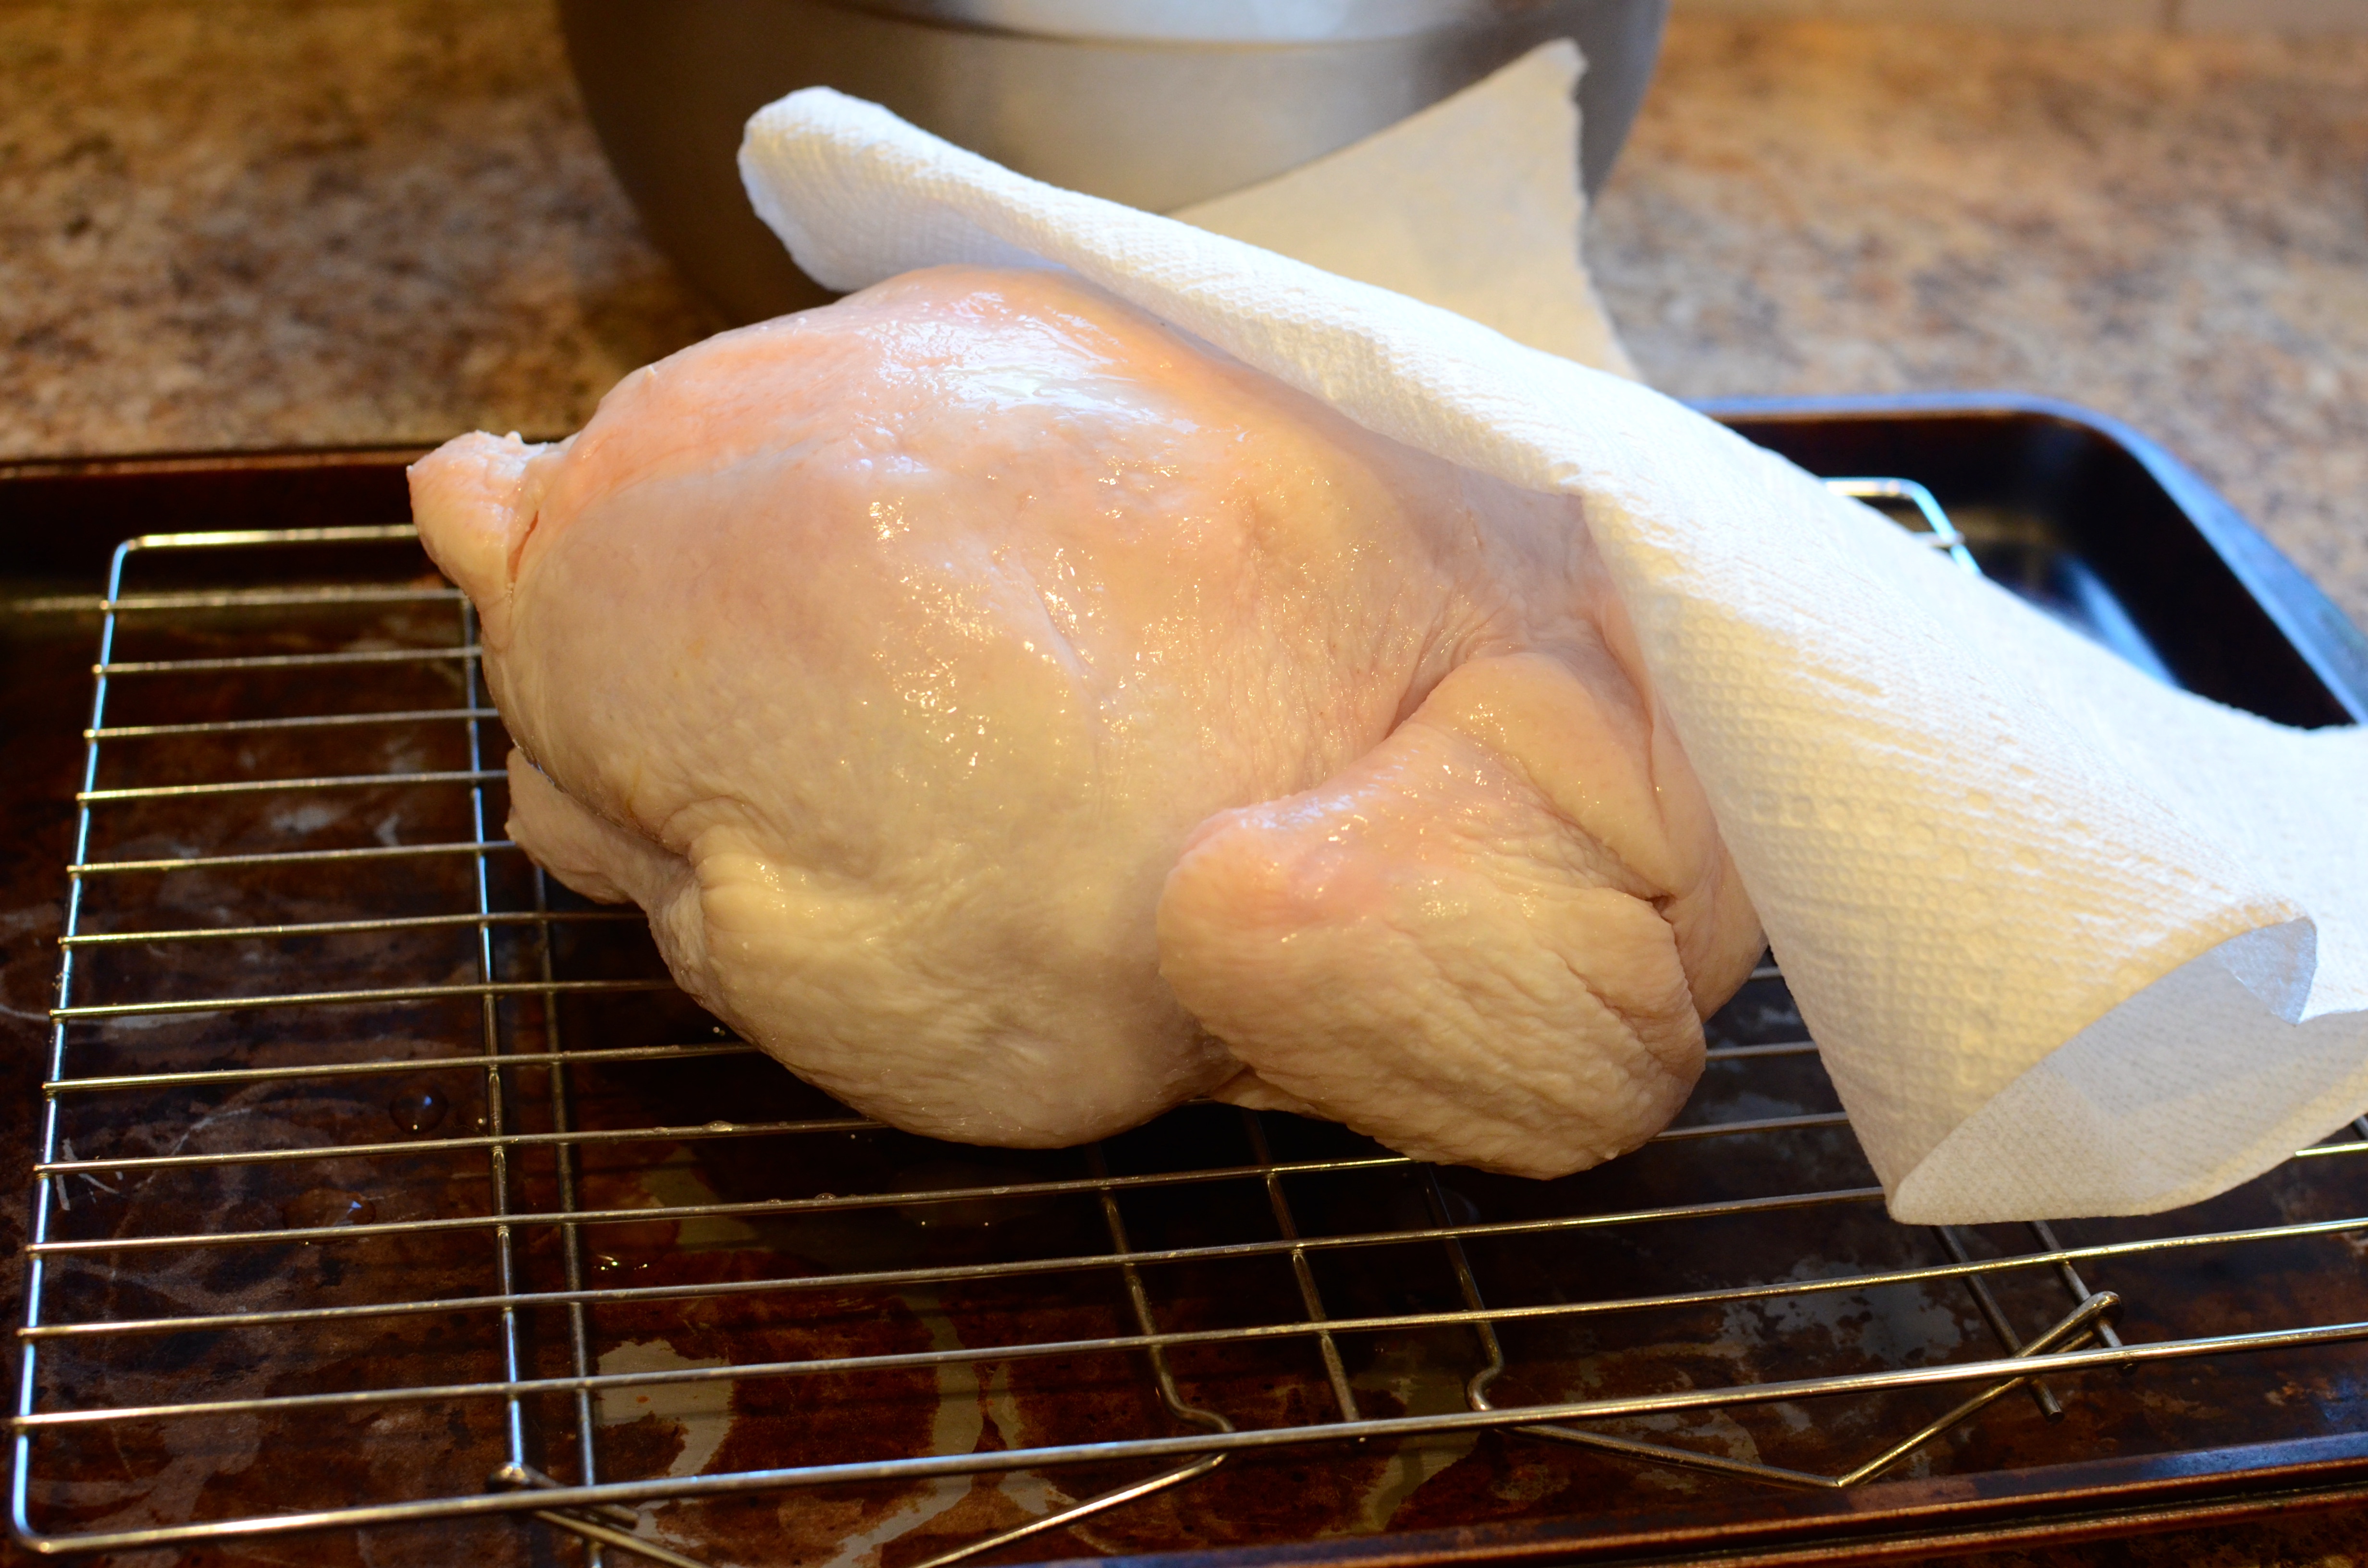
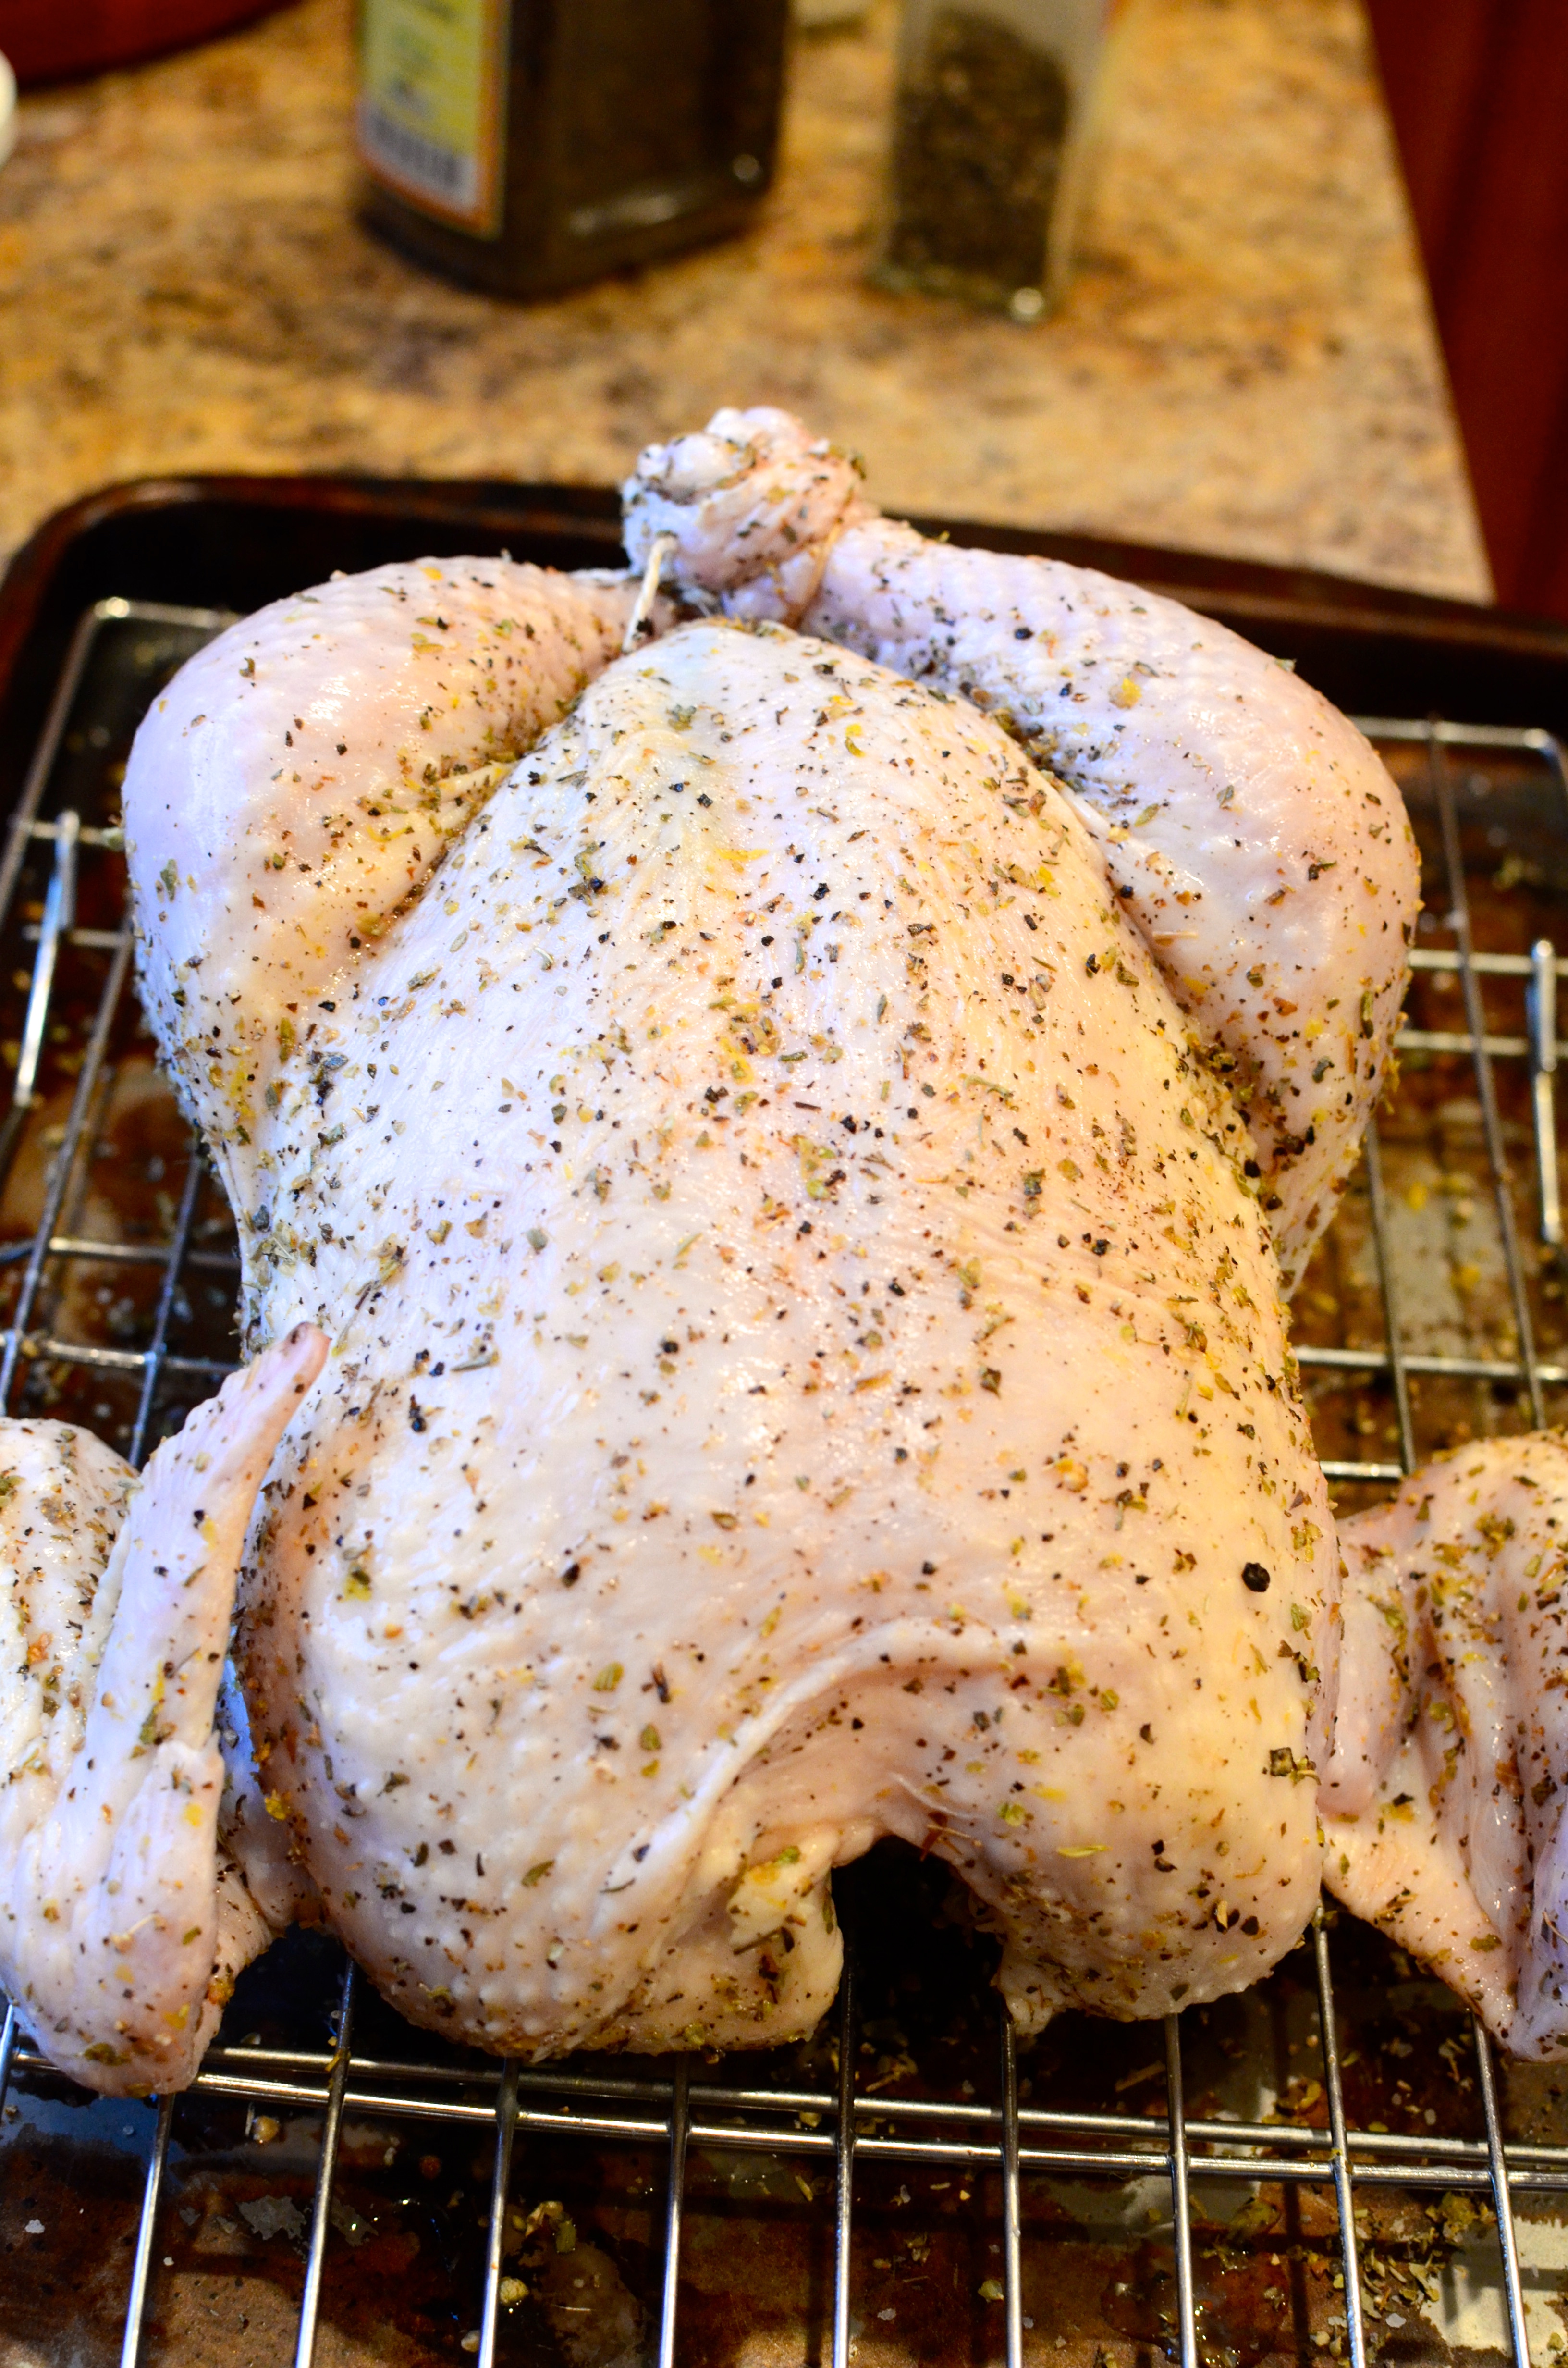
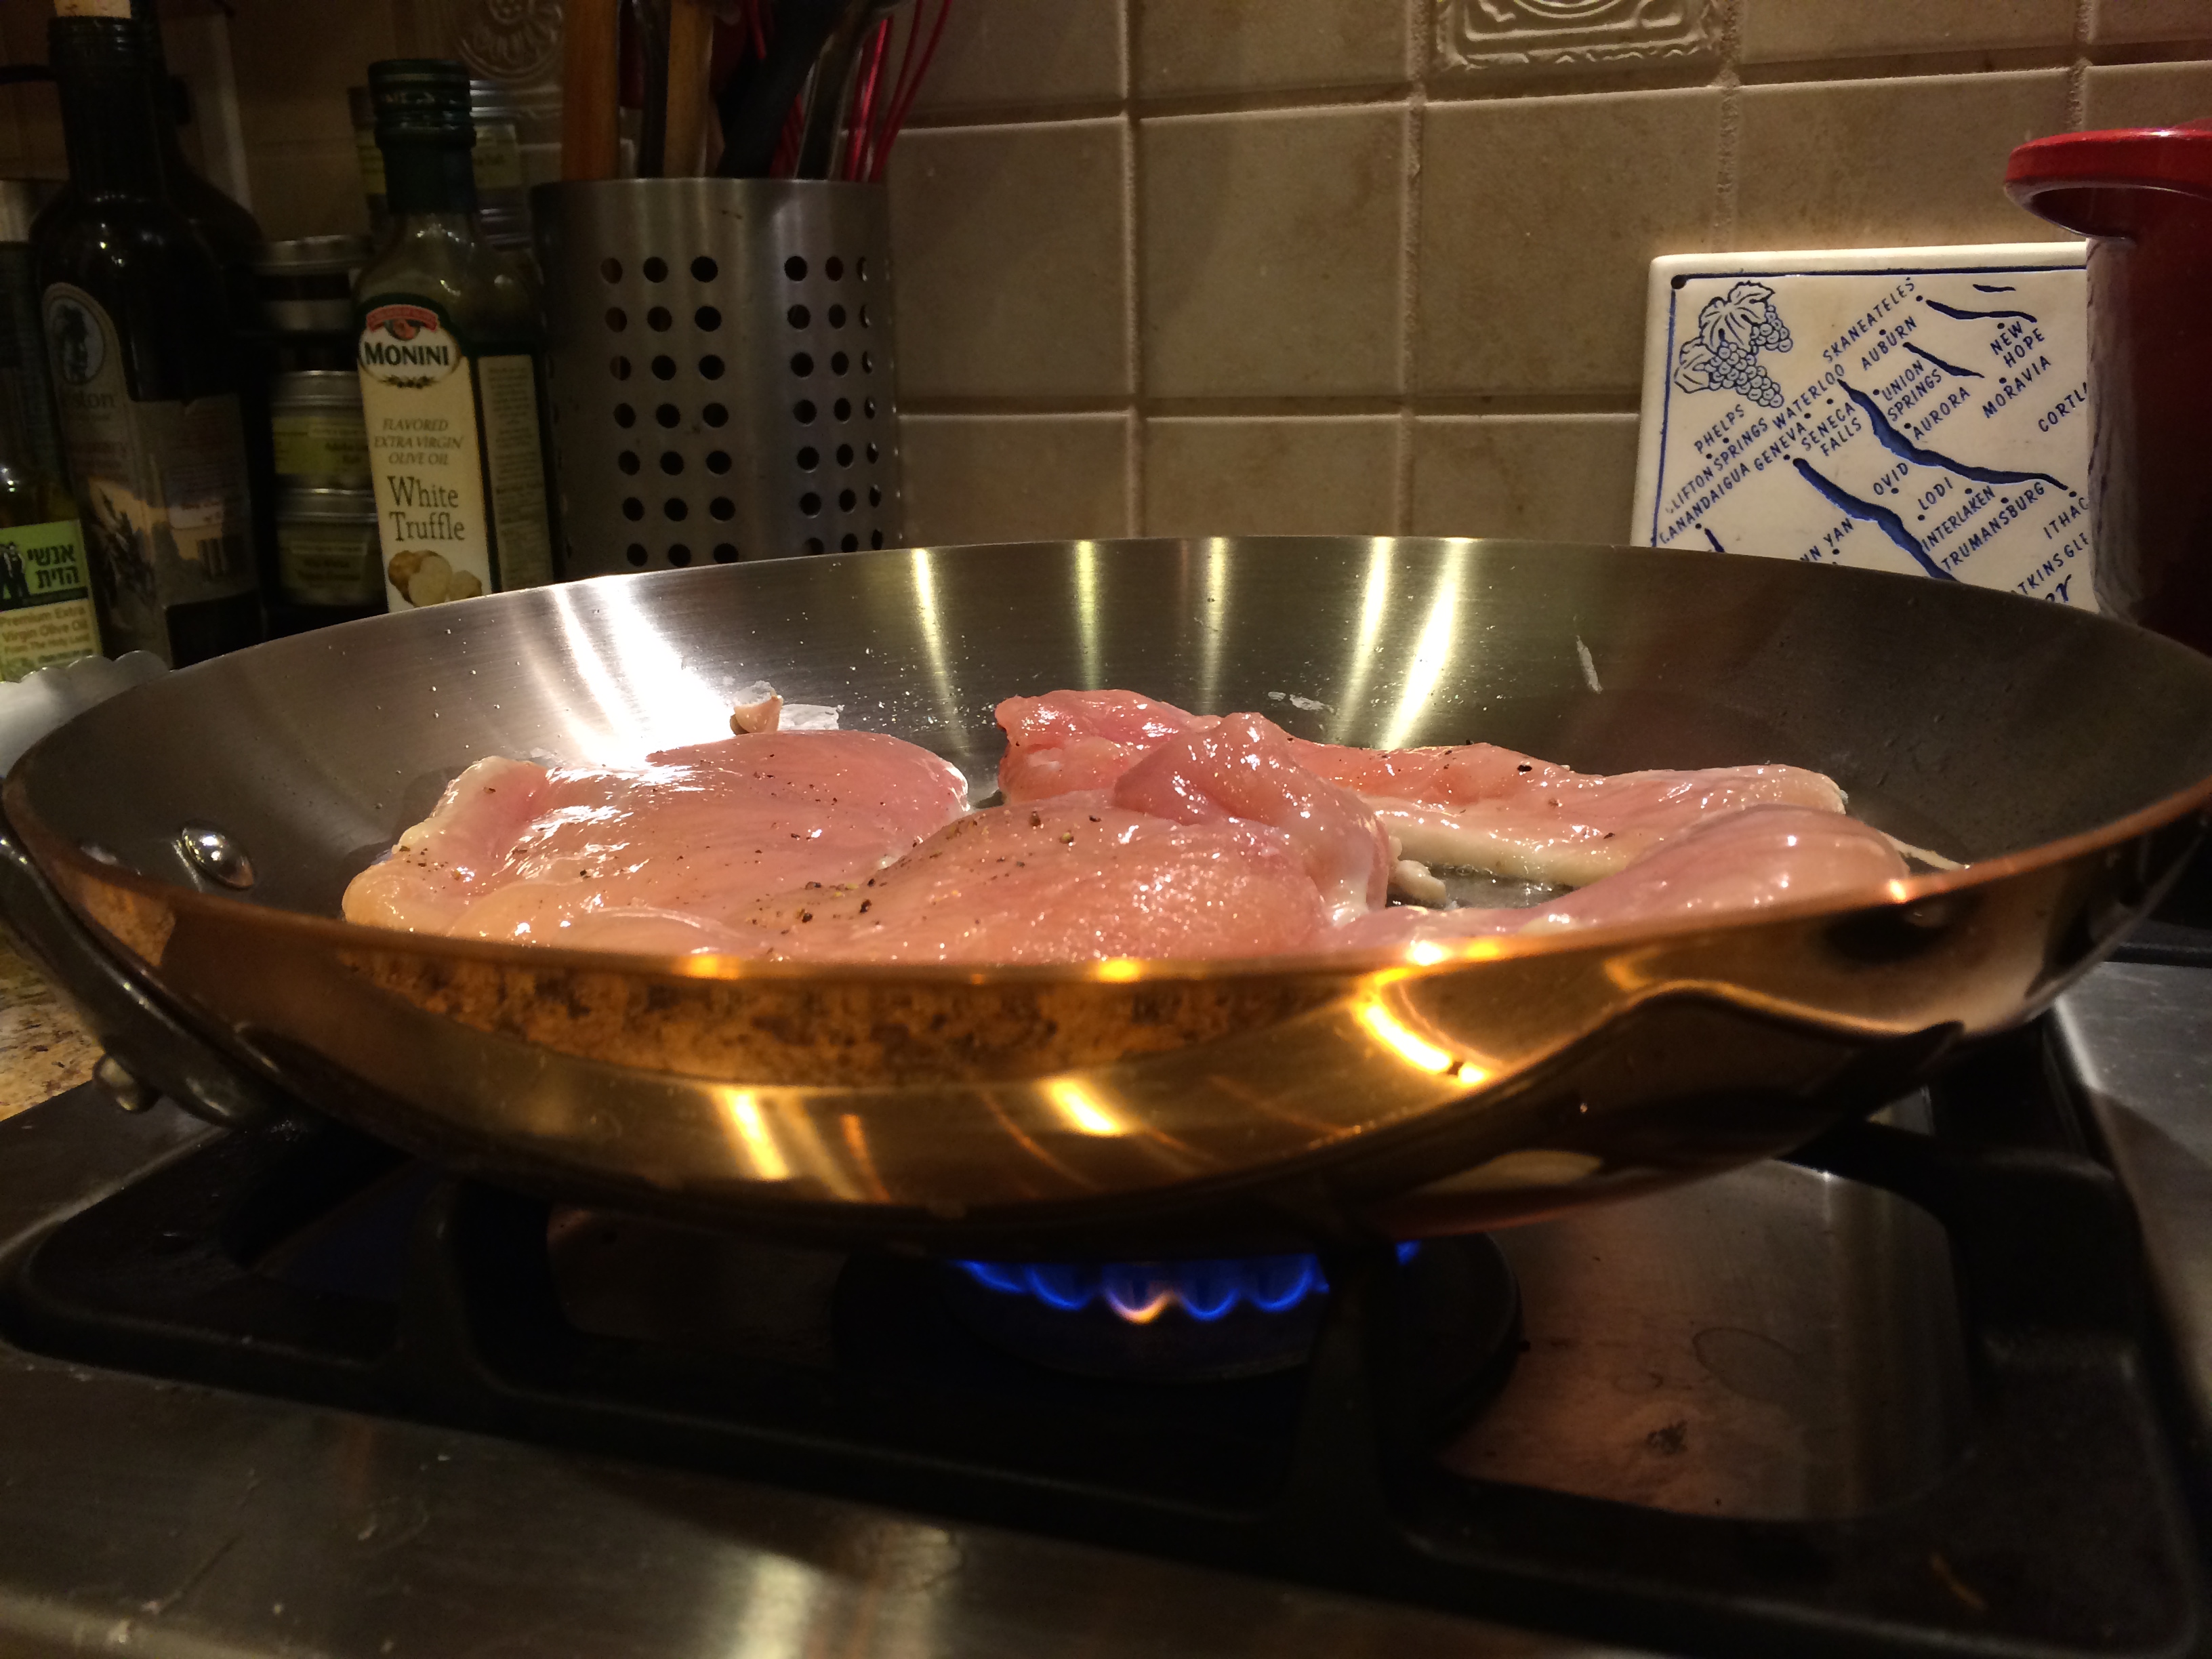
My friend Katie was coming over for dinner that night. In the morning, I put my ~6 pound roasting chicken, which was rubbed under the skin with a mixture of olive oil, rosemary, thyme, pepper, and salt, in the slow cooker, along with several whole cloves of garlic some some sliced onion. The timer was set for 9 hours, and it stood on “keep warm” for about 2 hours, which probably deteriorated the texture of the meat a little bit. But it was still quite moist.
Two leftovers were featured in a side dish: smashed potatoes. I have been working through a ginormous bag of red potatoes I had bought for the Super Bowl, so I boiled some potatoes and added a little buttermilk, leftover from making Irish Soda Bread for St. Patrick’s Day, and many of the roasted onions and garlic from the slow cooker. I also made some buttermilk biscuits and steamed broccoli florets for a healthy side.
Wednesday
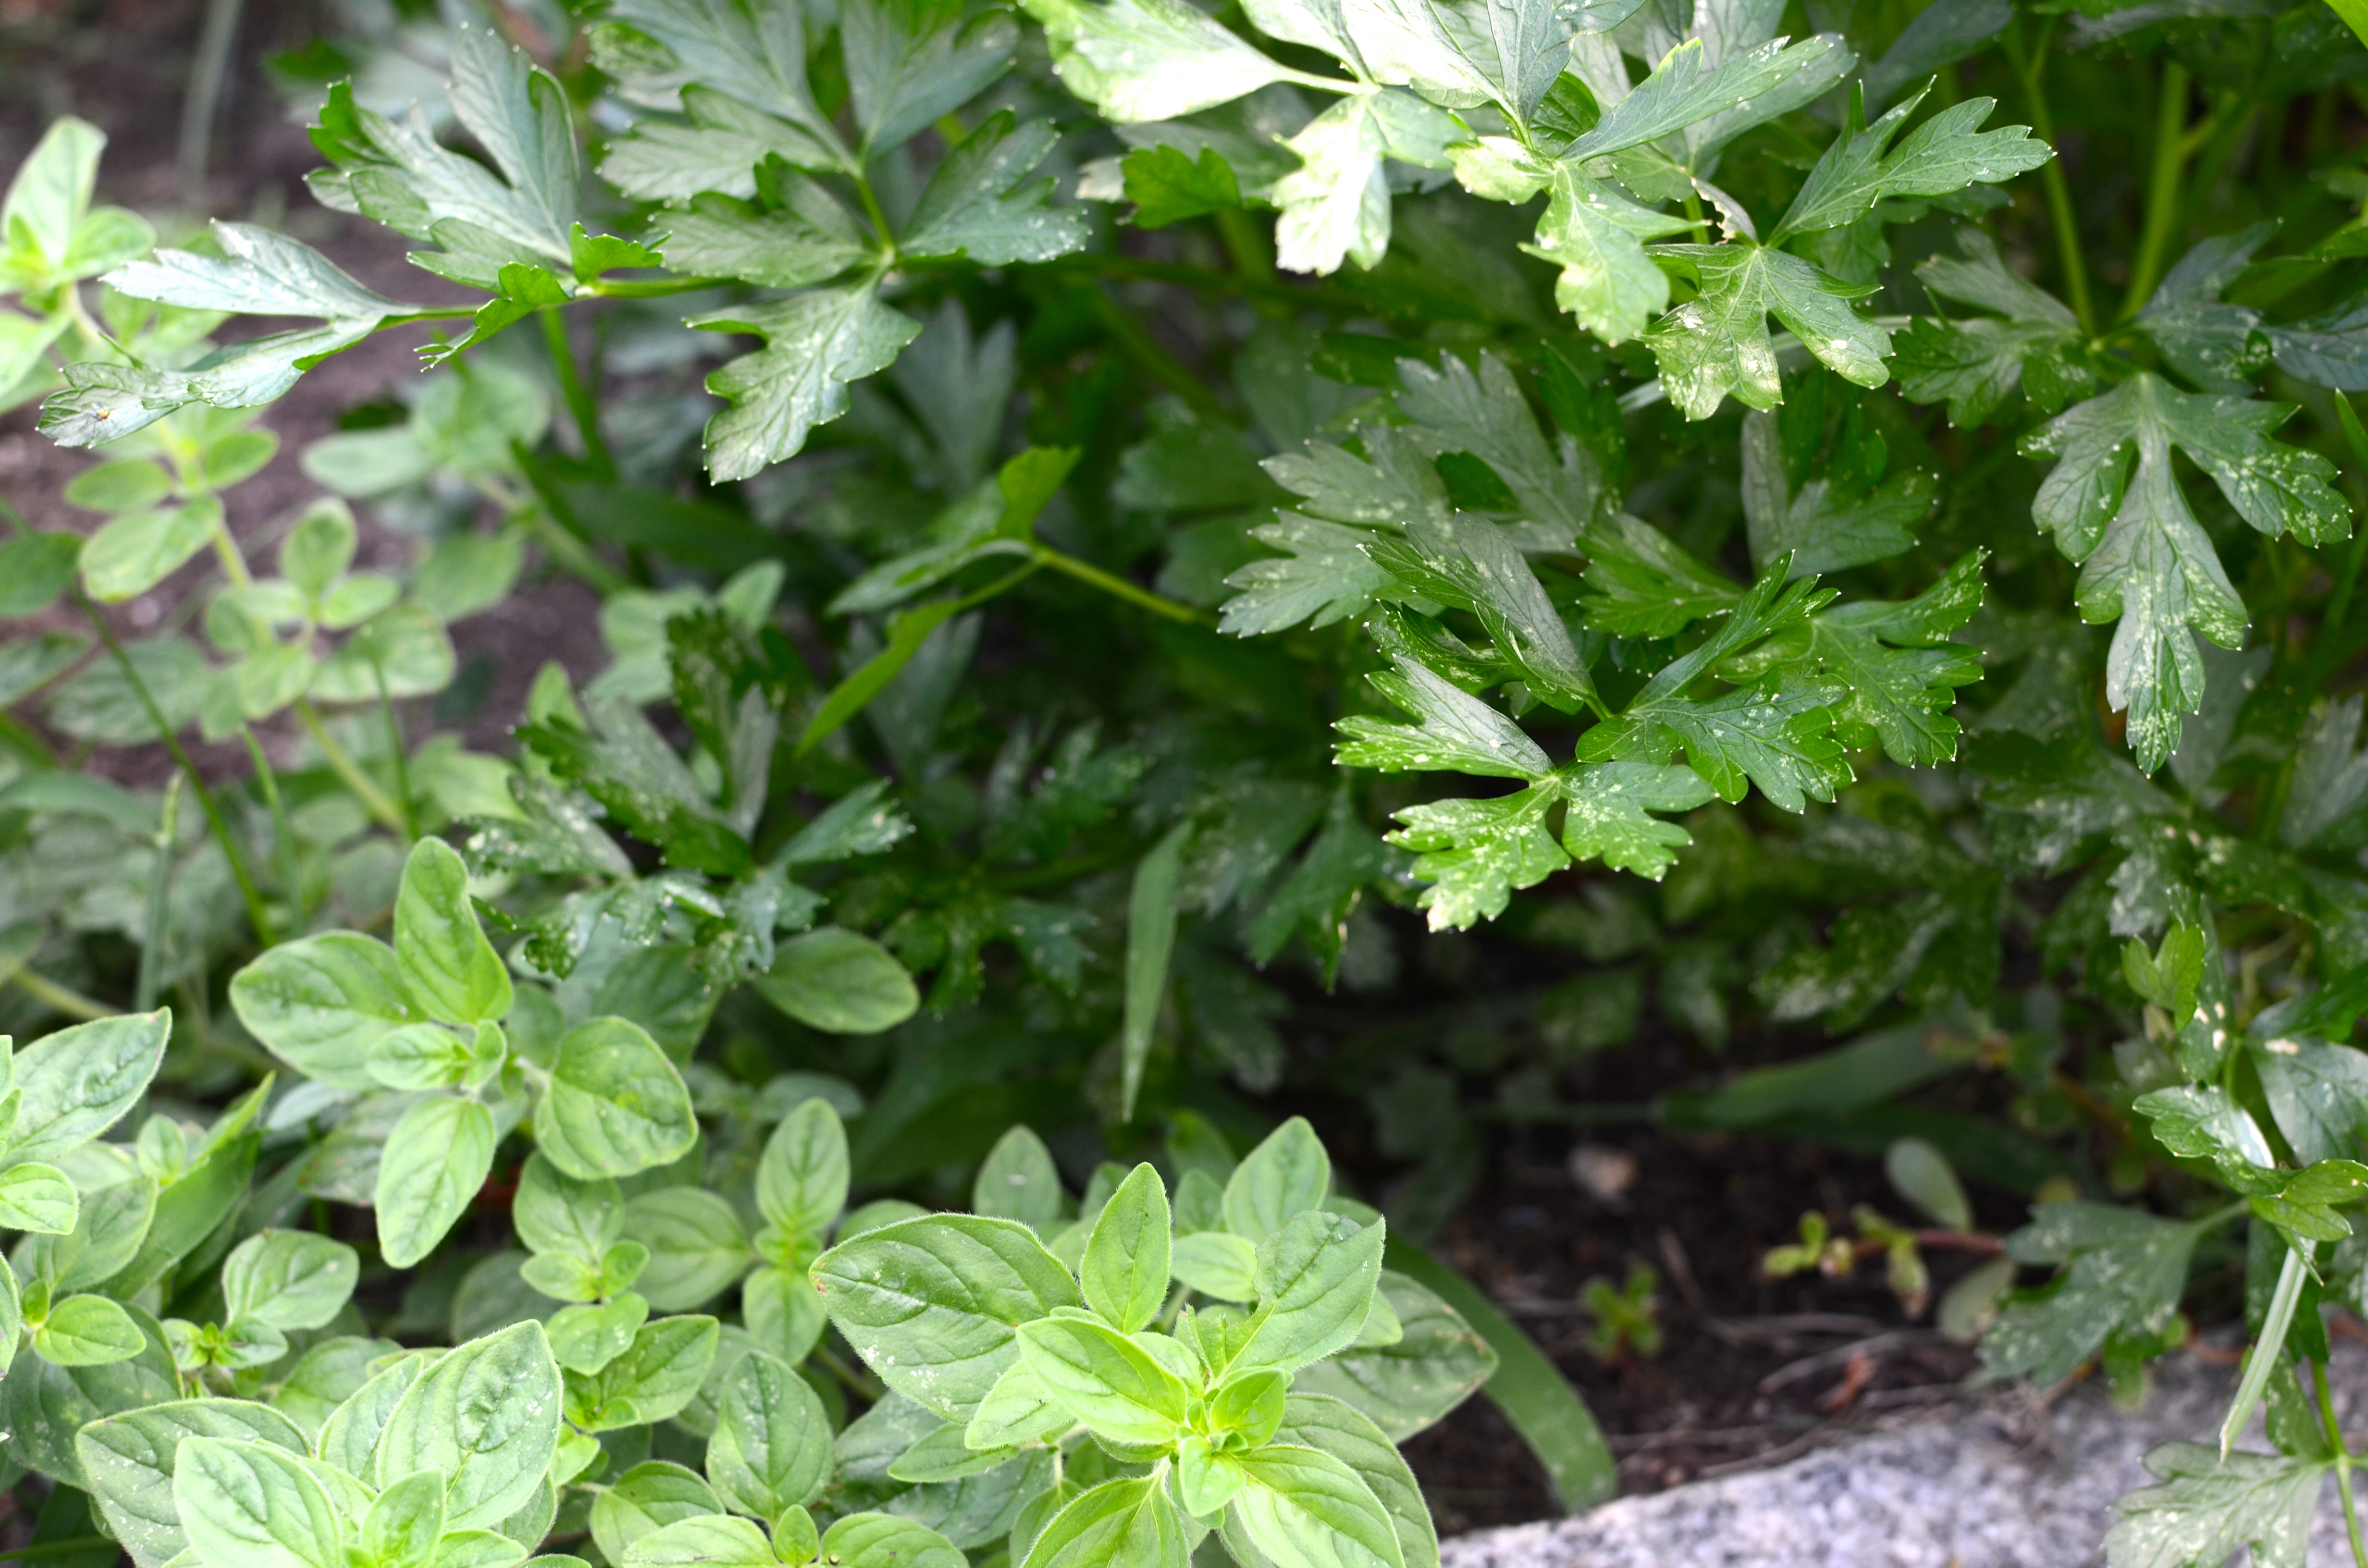
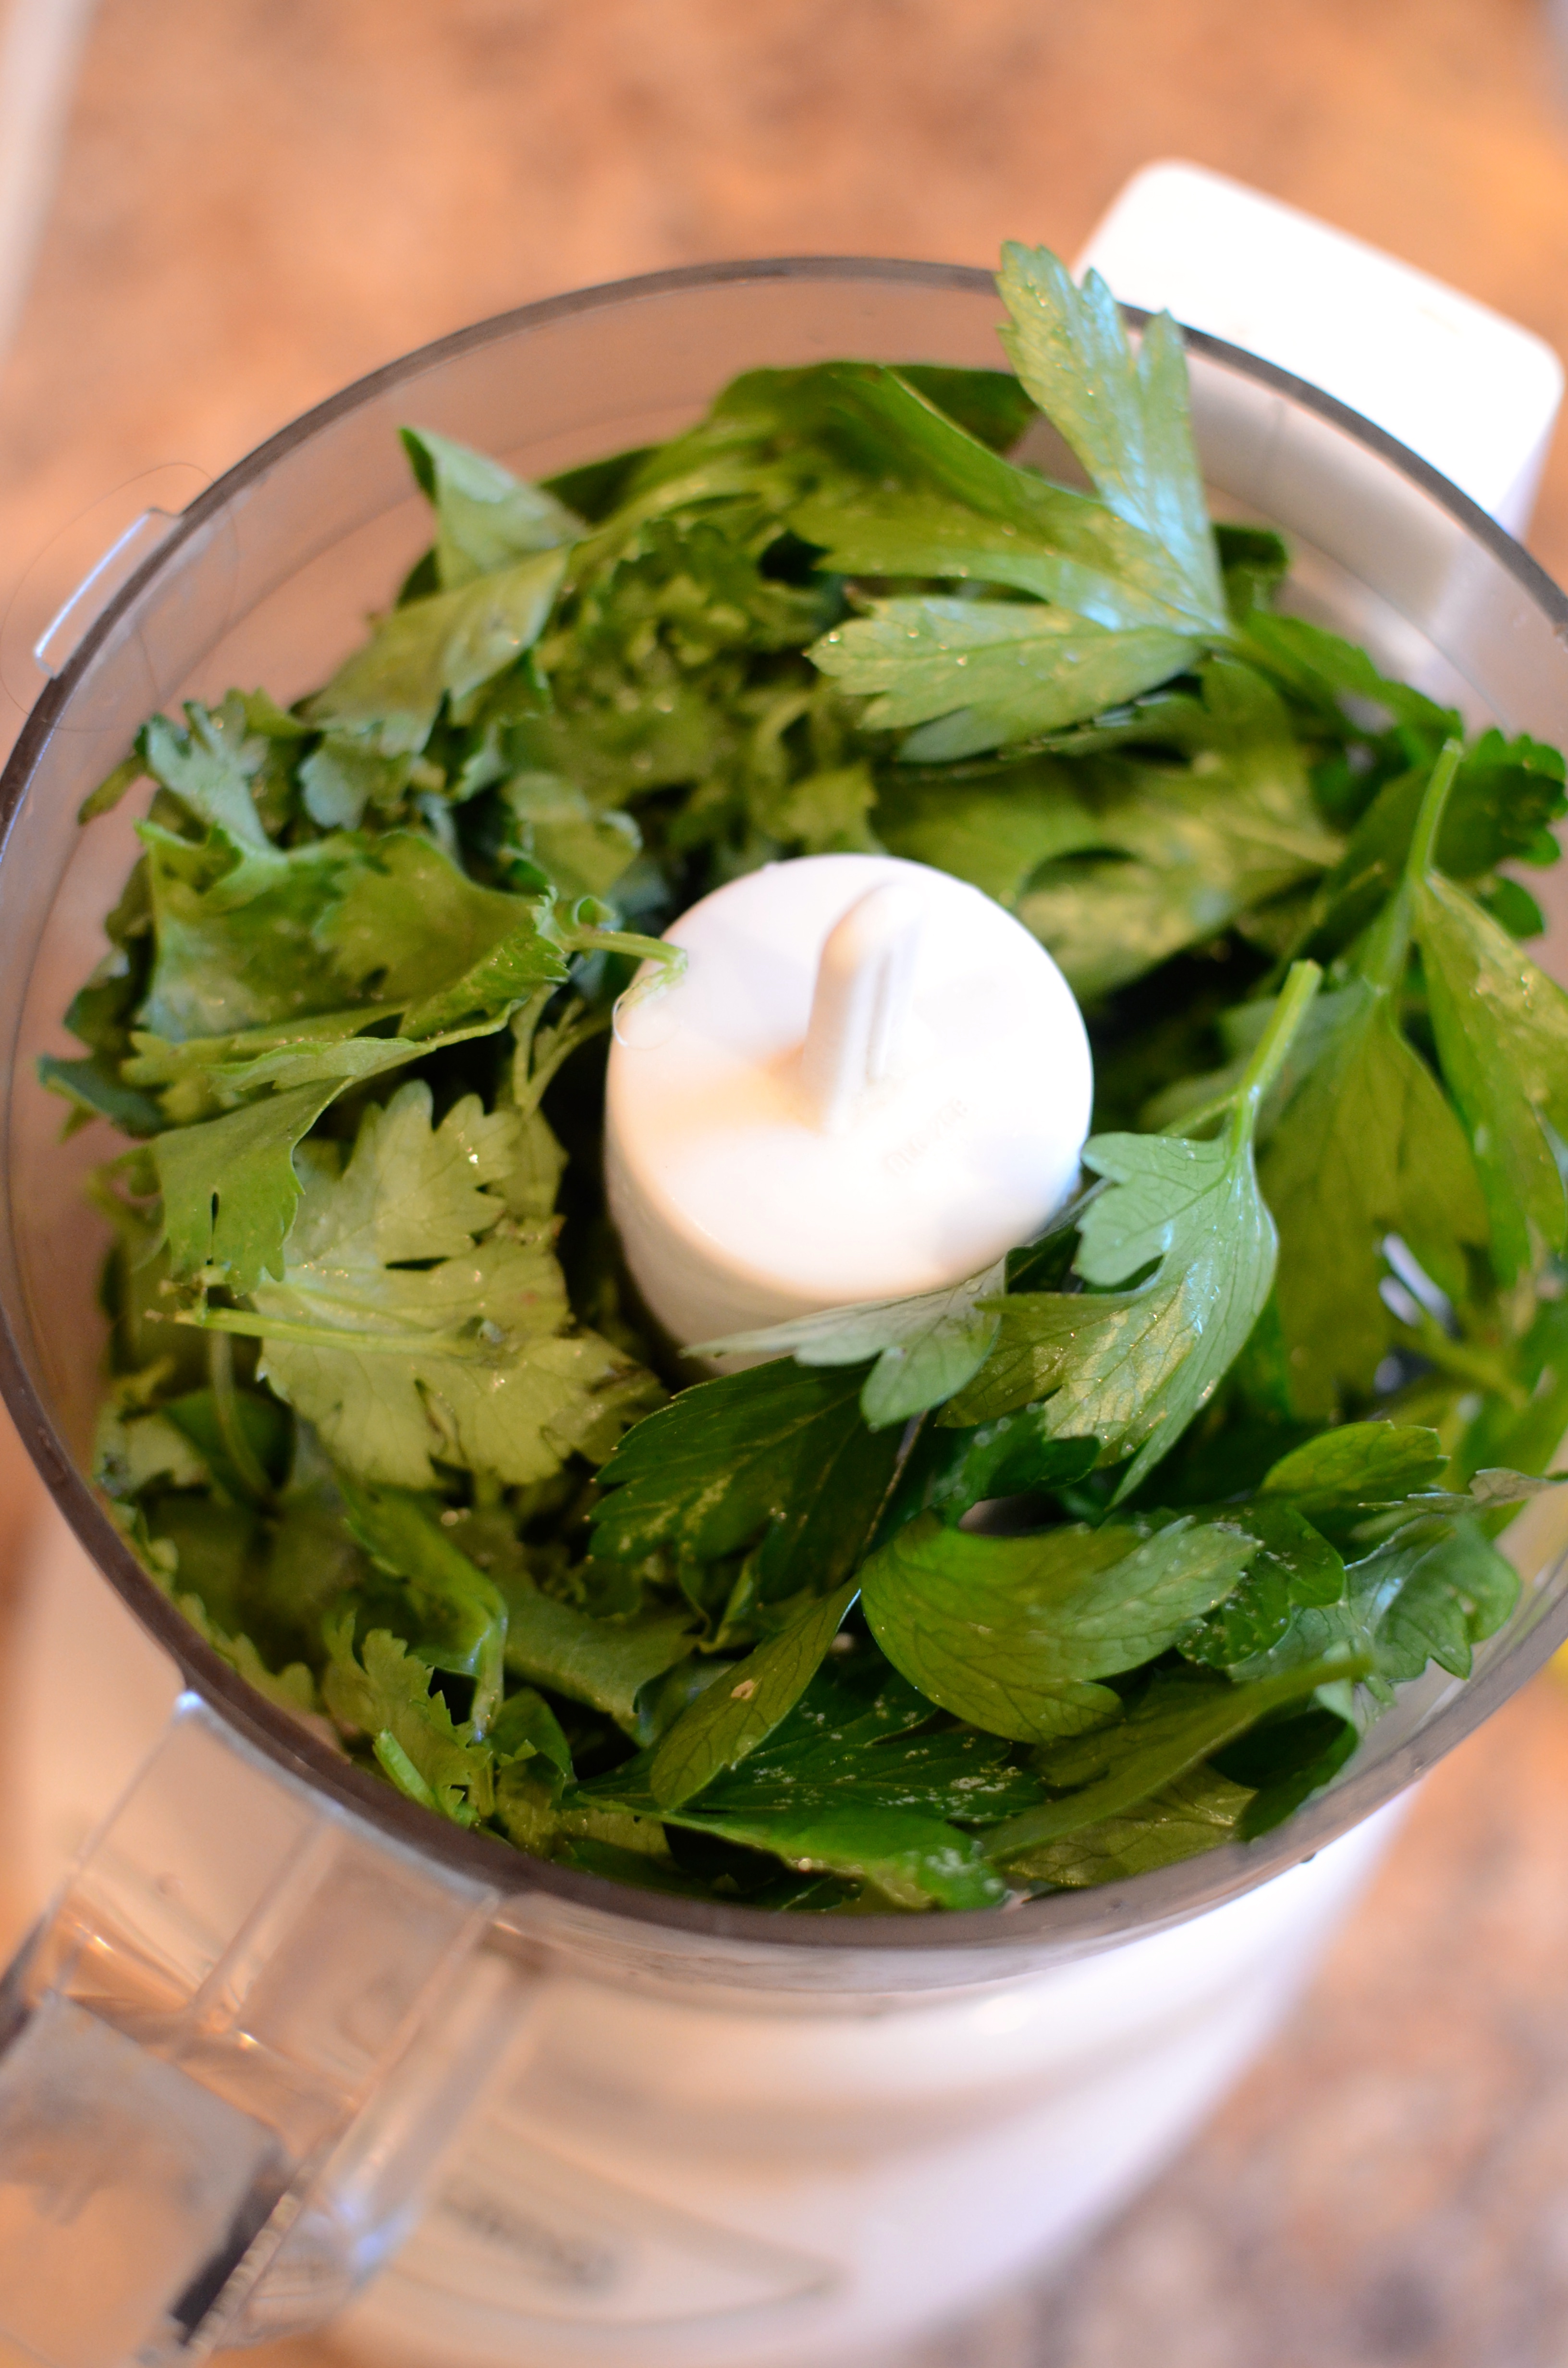
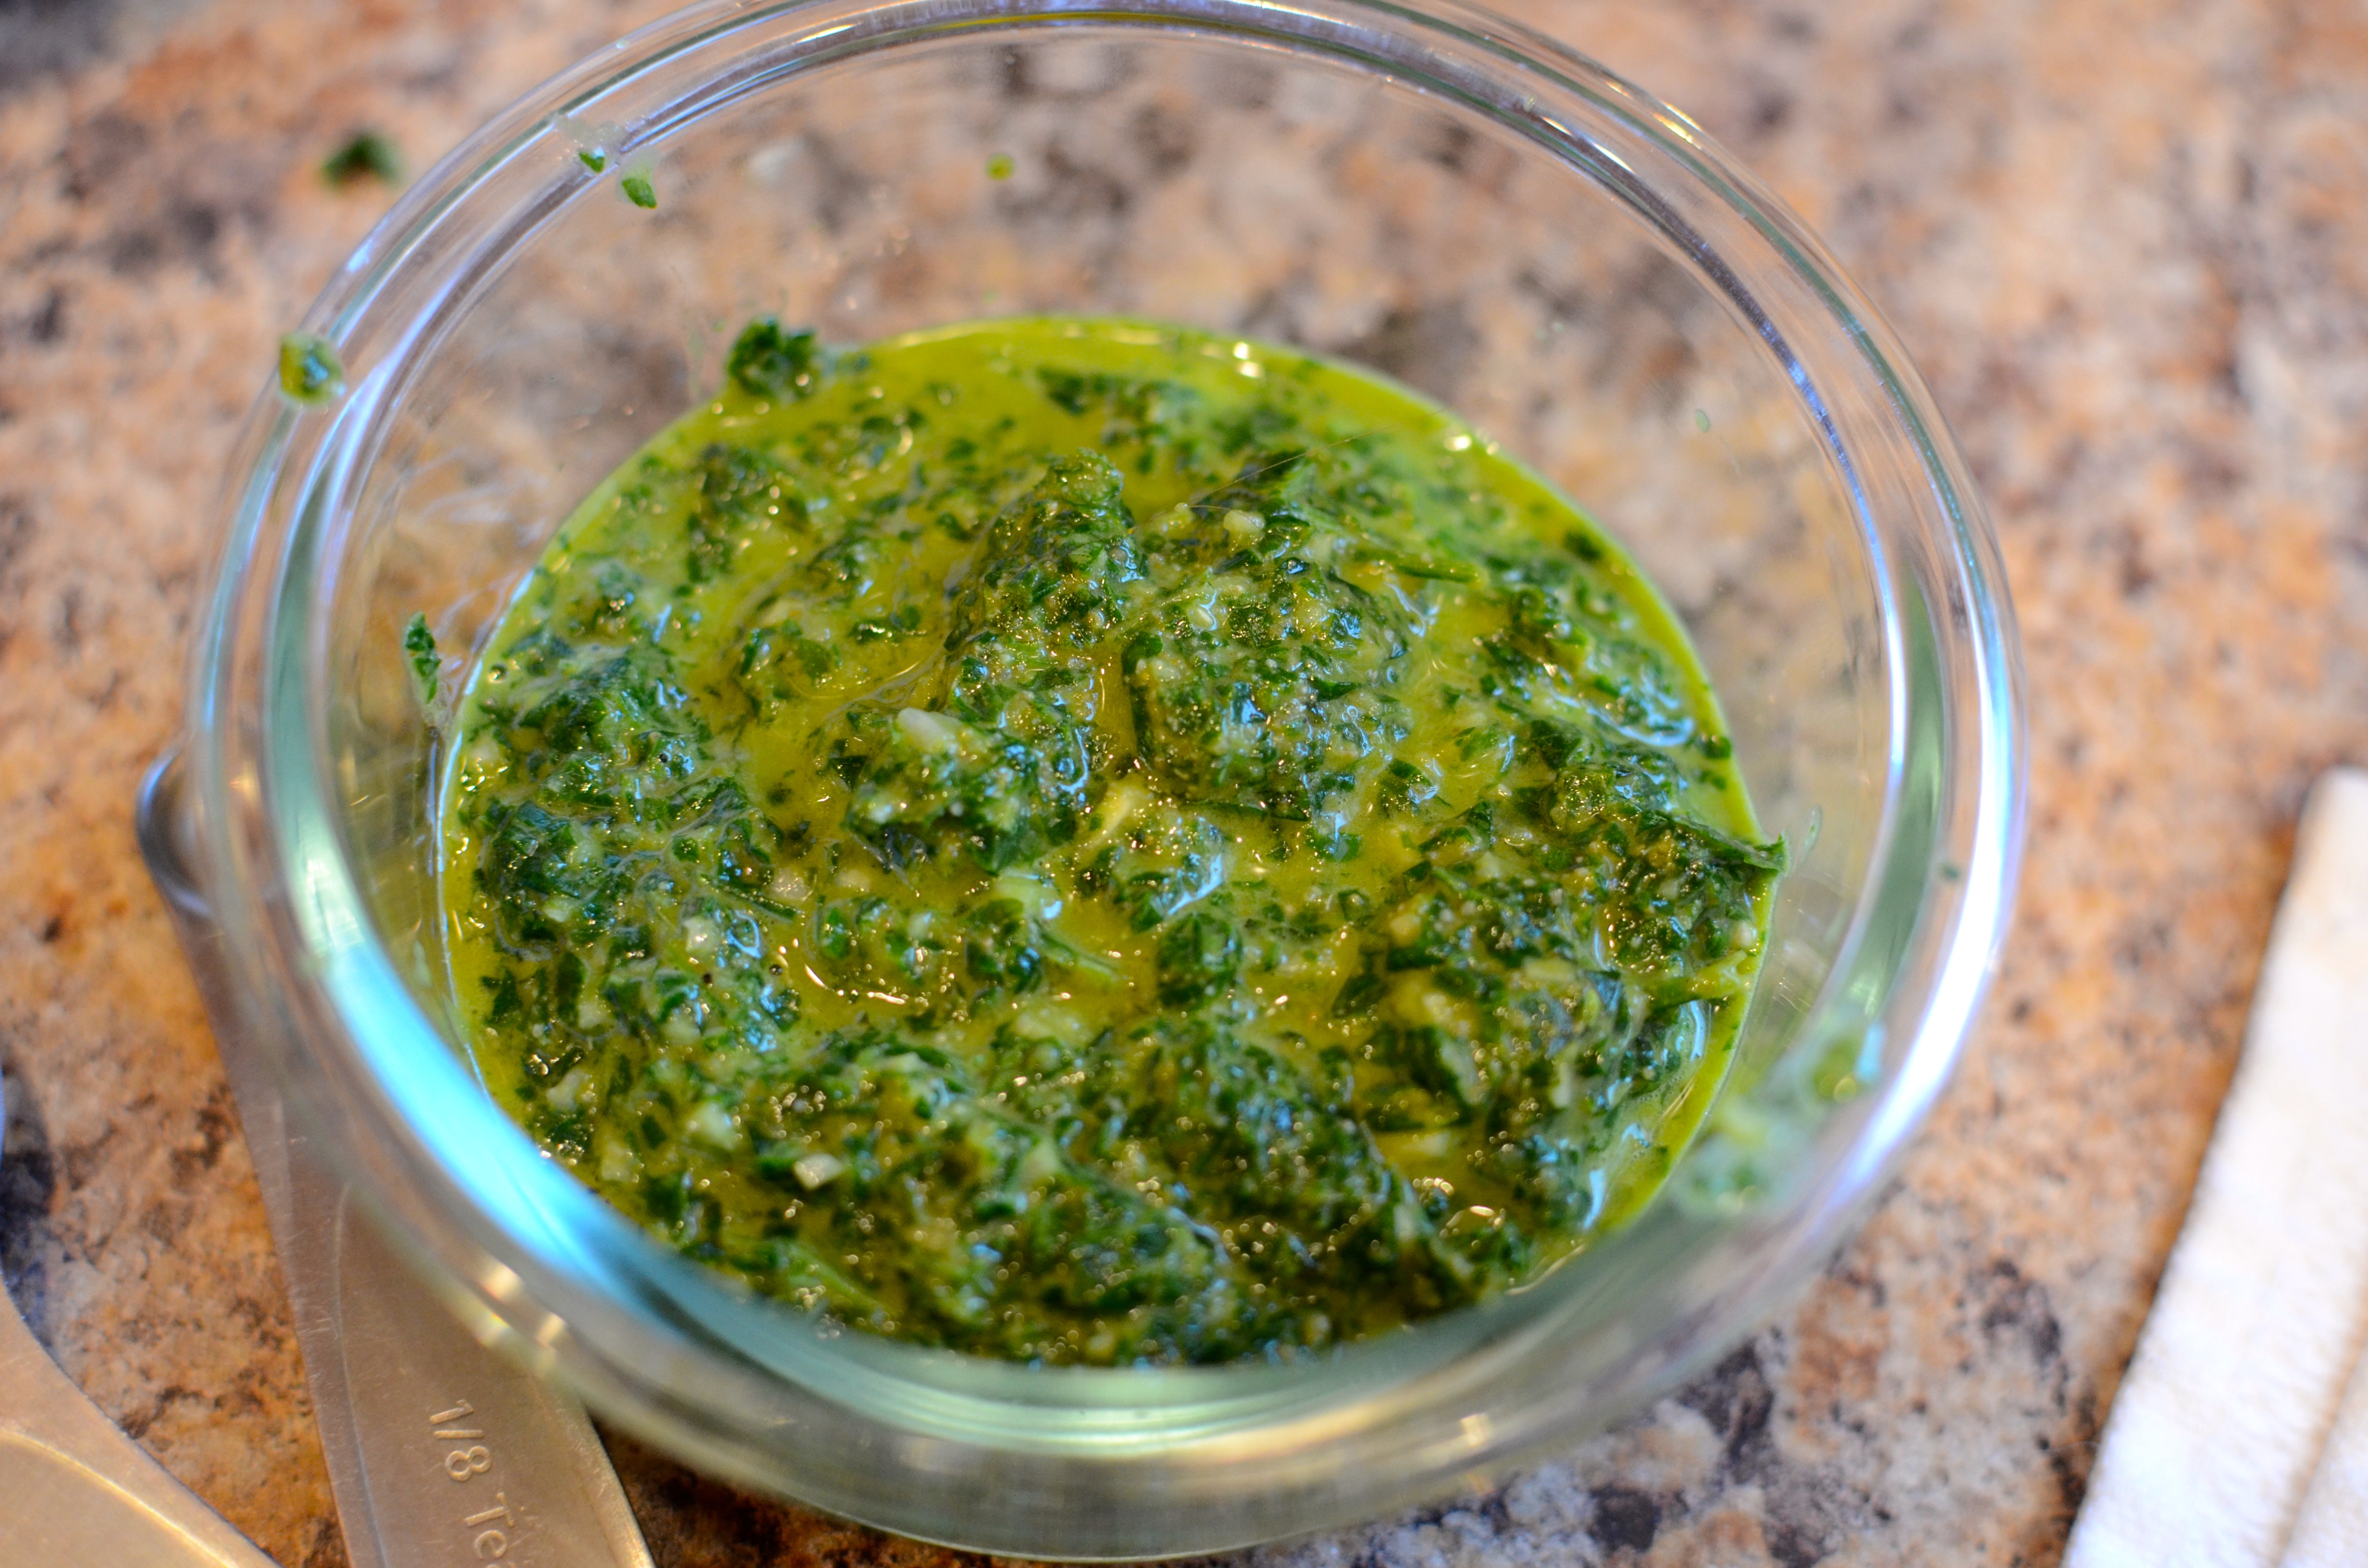
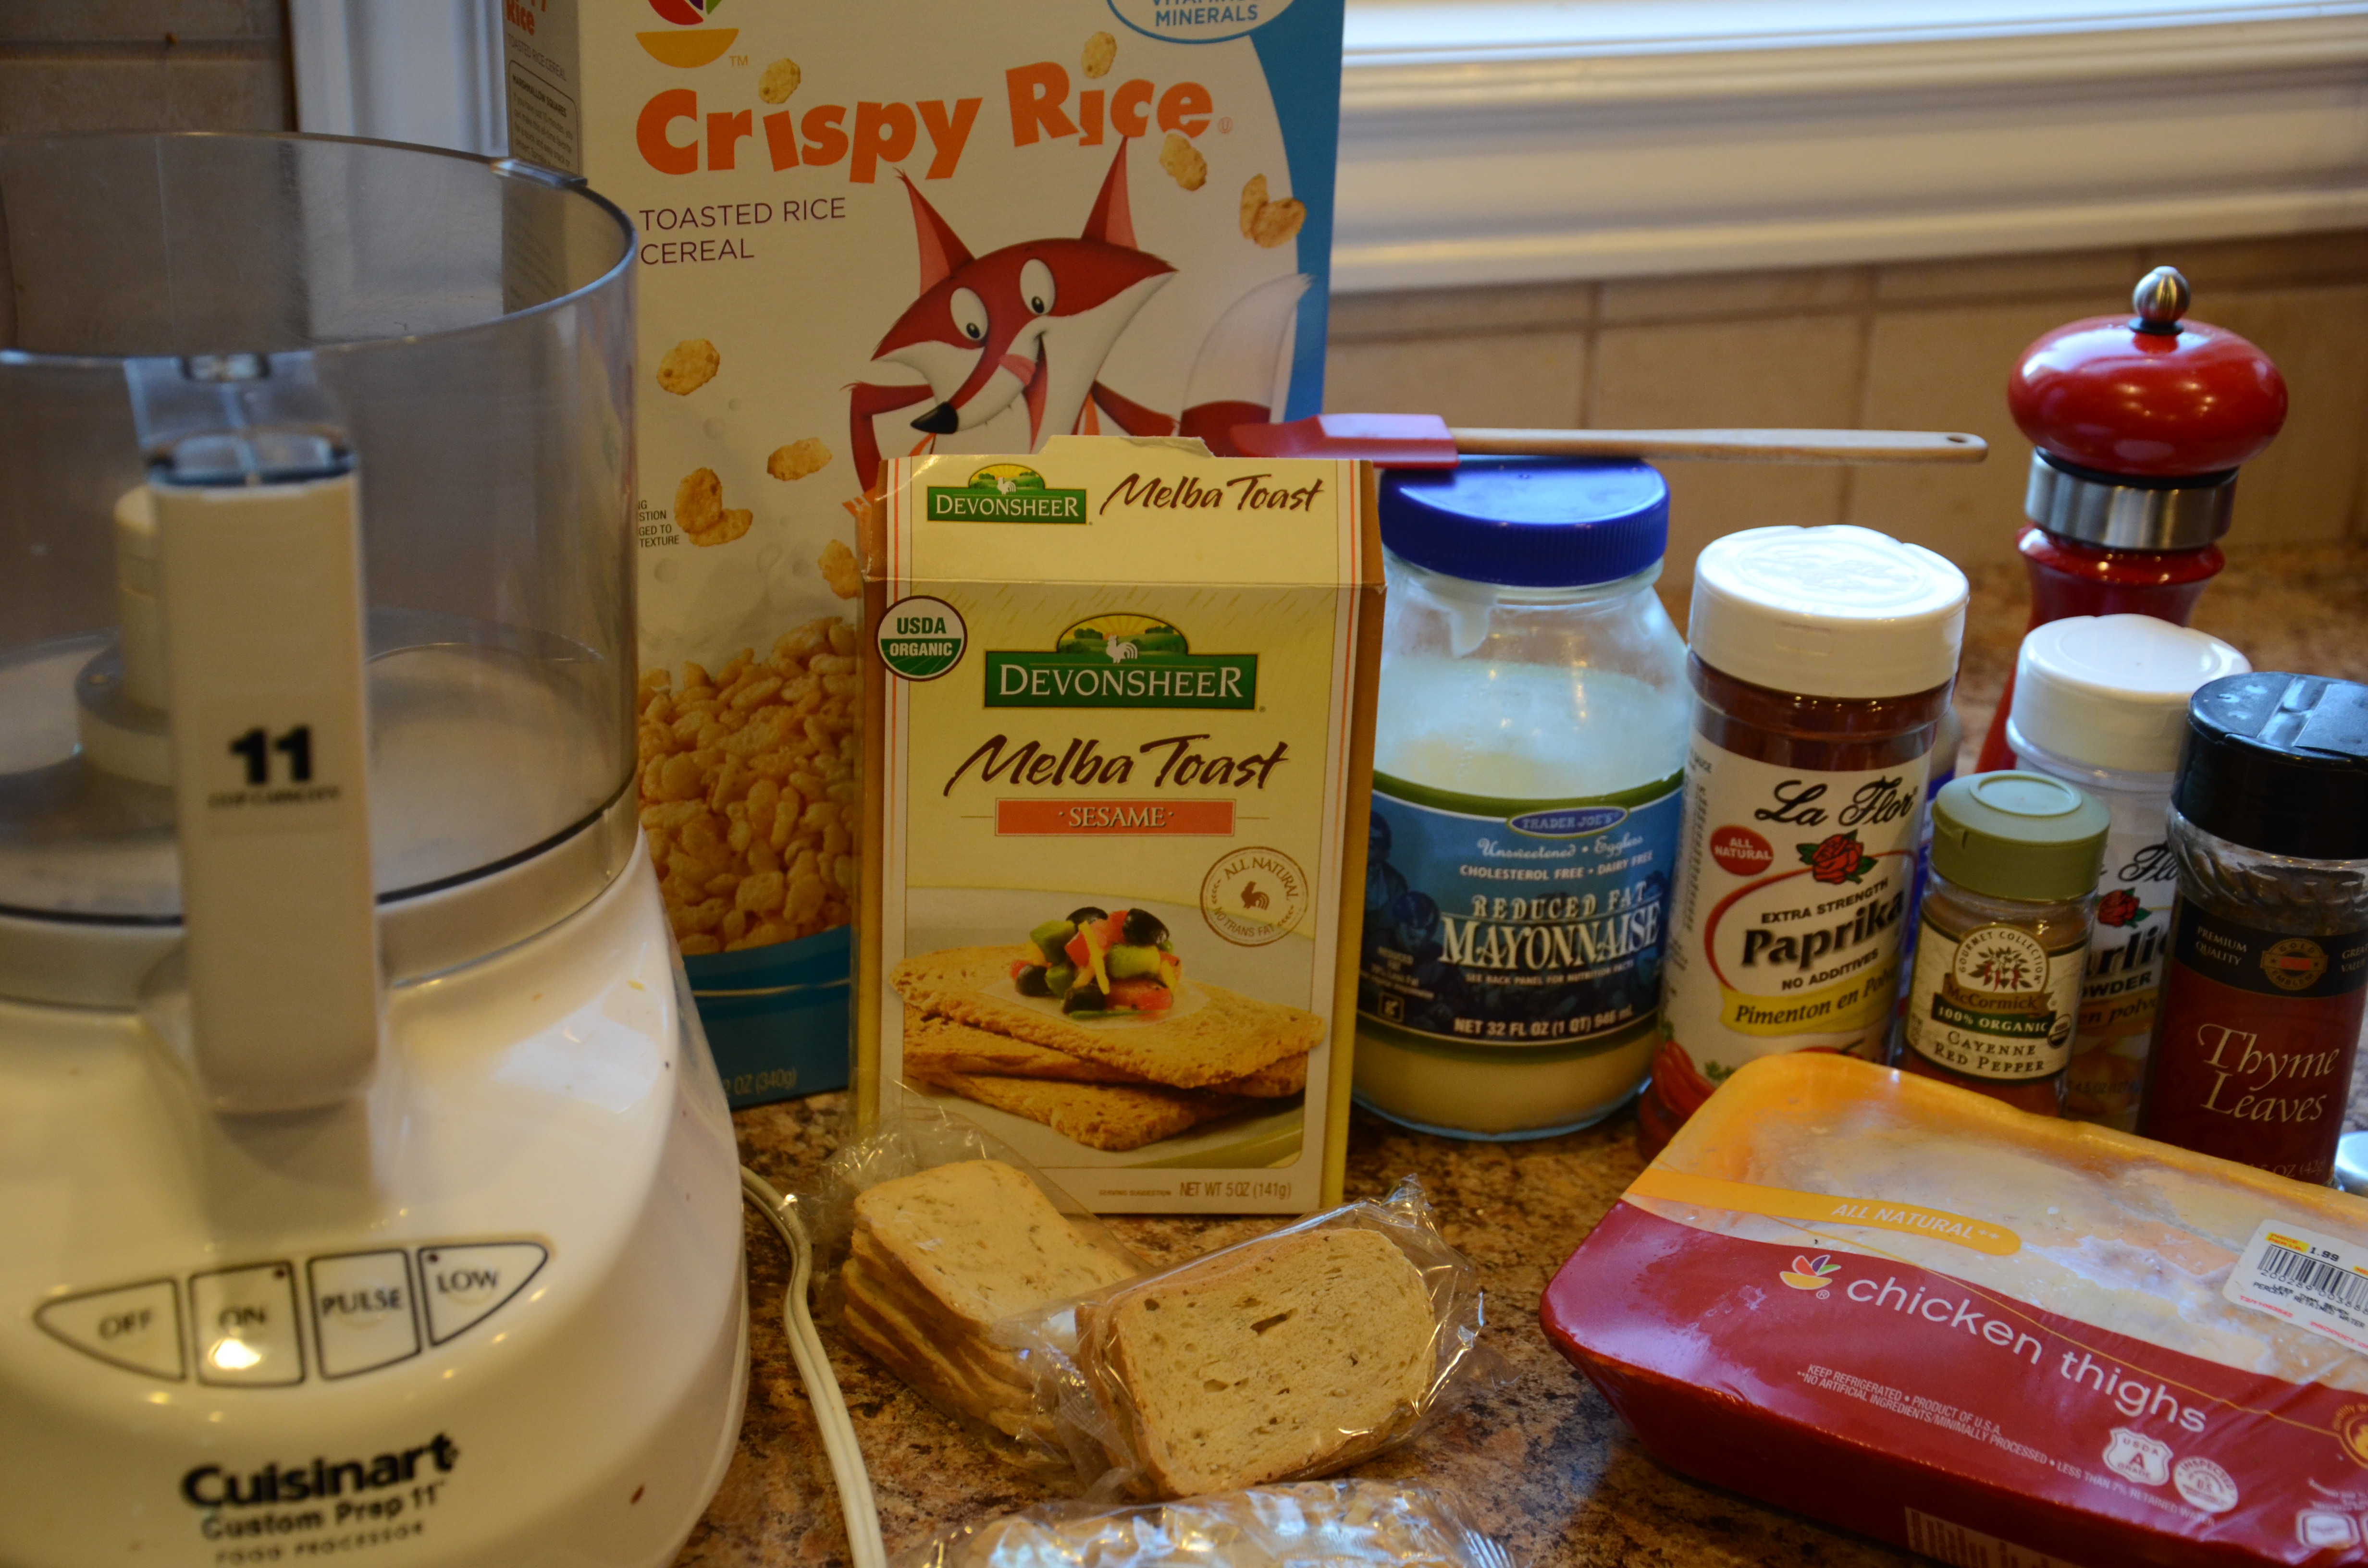
First things first: I got started on Melissa Clark’s basic chicken stock recipe. I separated the meat from the skin and bones, which I tossed into a pot with the other ingredients. What a shame I didn’t have any leftover parsley stems again, having experienced the amazing flavor impact they can have when making a poached egg recipe.
While that simmered, I used some other leftover chicken broth to make dinner. Have you guessed yet what it could be?
Chicken Pot Pie
Adapted from a recipe by Cecilia Light, sous chef at Chicago’s Balsan restaurant, via Tasting Table again
Serving size: 4, divided according to your serving dish of choice
5 buttermilk biscuits – I used my leftovers from Monday; that recipe came from Cooking Light. You can customize the biscuits with cheddar or parmesan cheese too.
2 small carrots
1 large celery stalk
1/2 small yellow onion
2 small red potatoes
1 Tbs. extra-virgin olive oil
1.5 tsp. Kosher salt (plus more for blanching vegetables and seasoning)
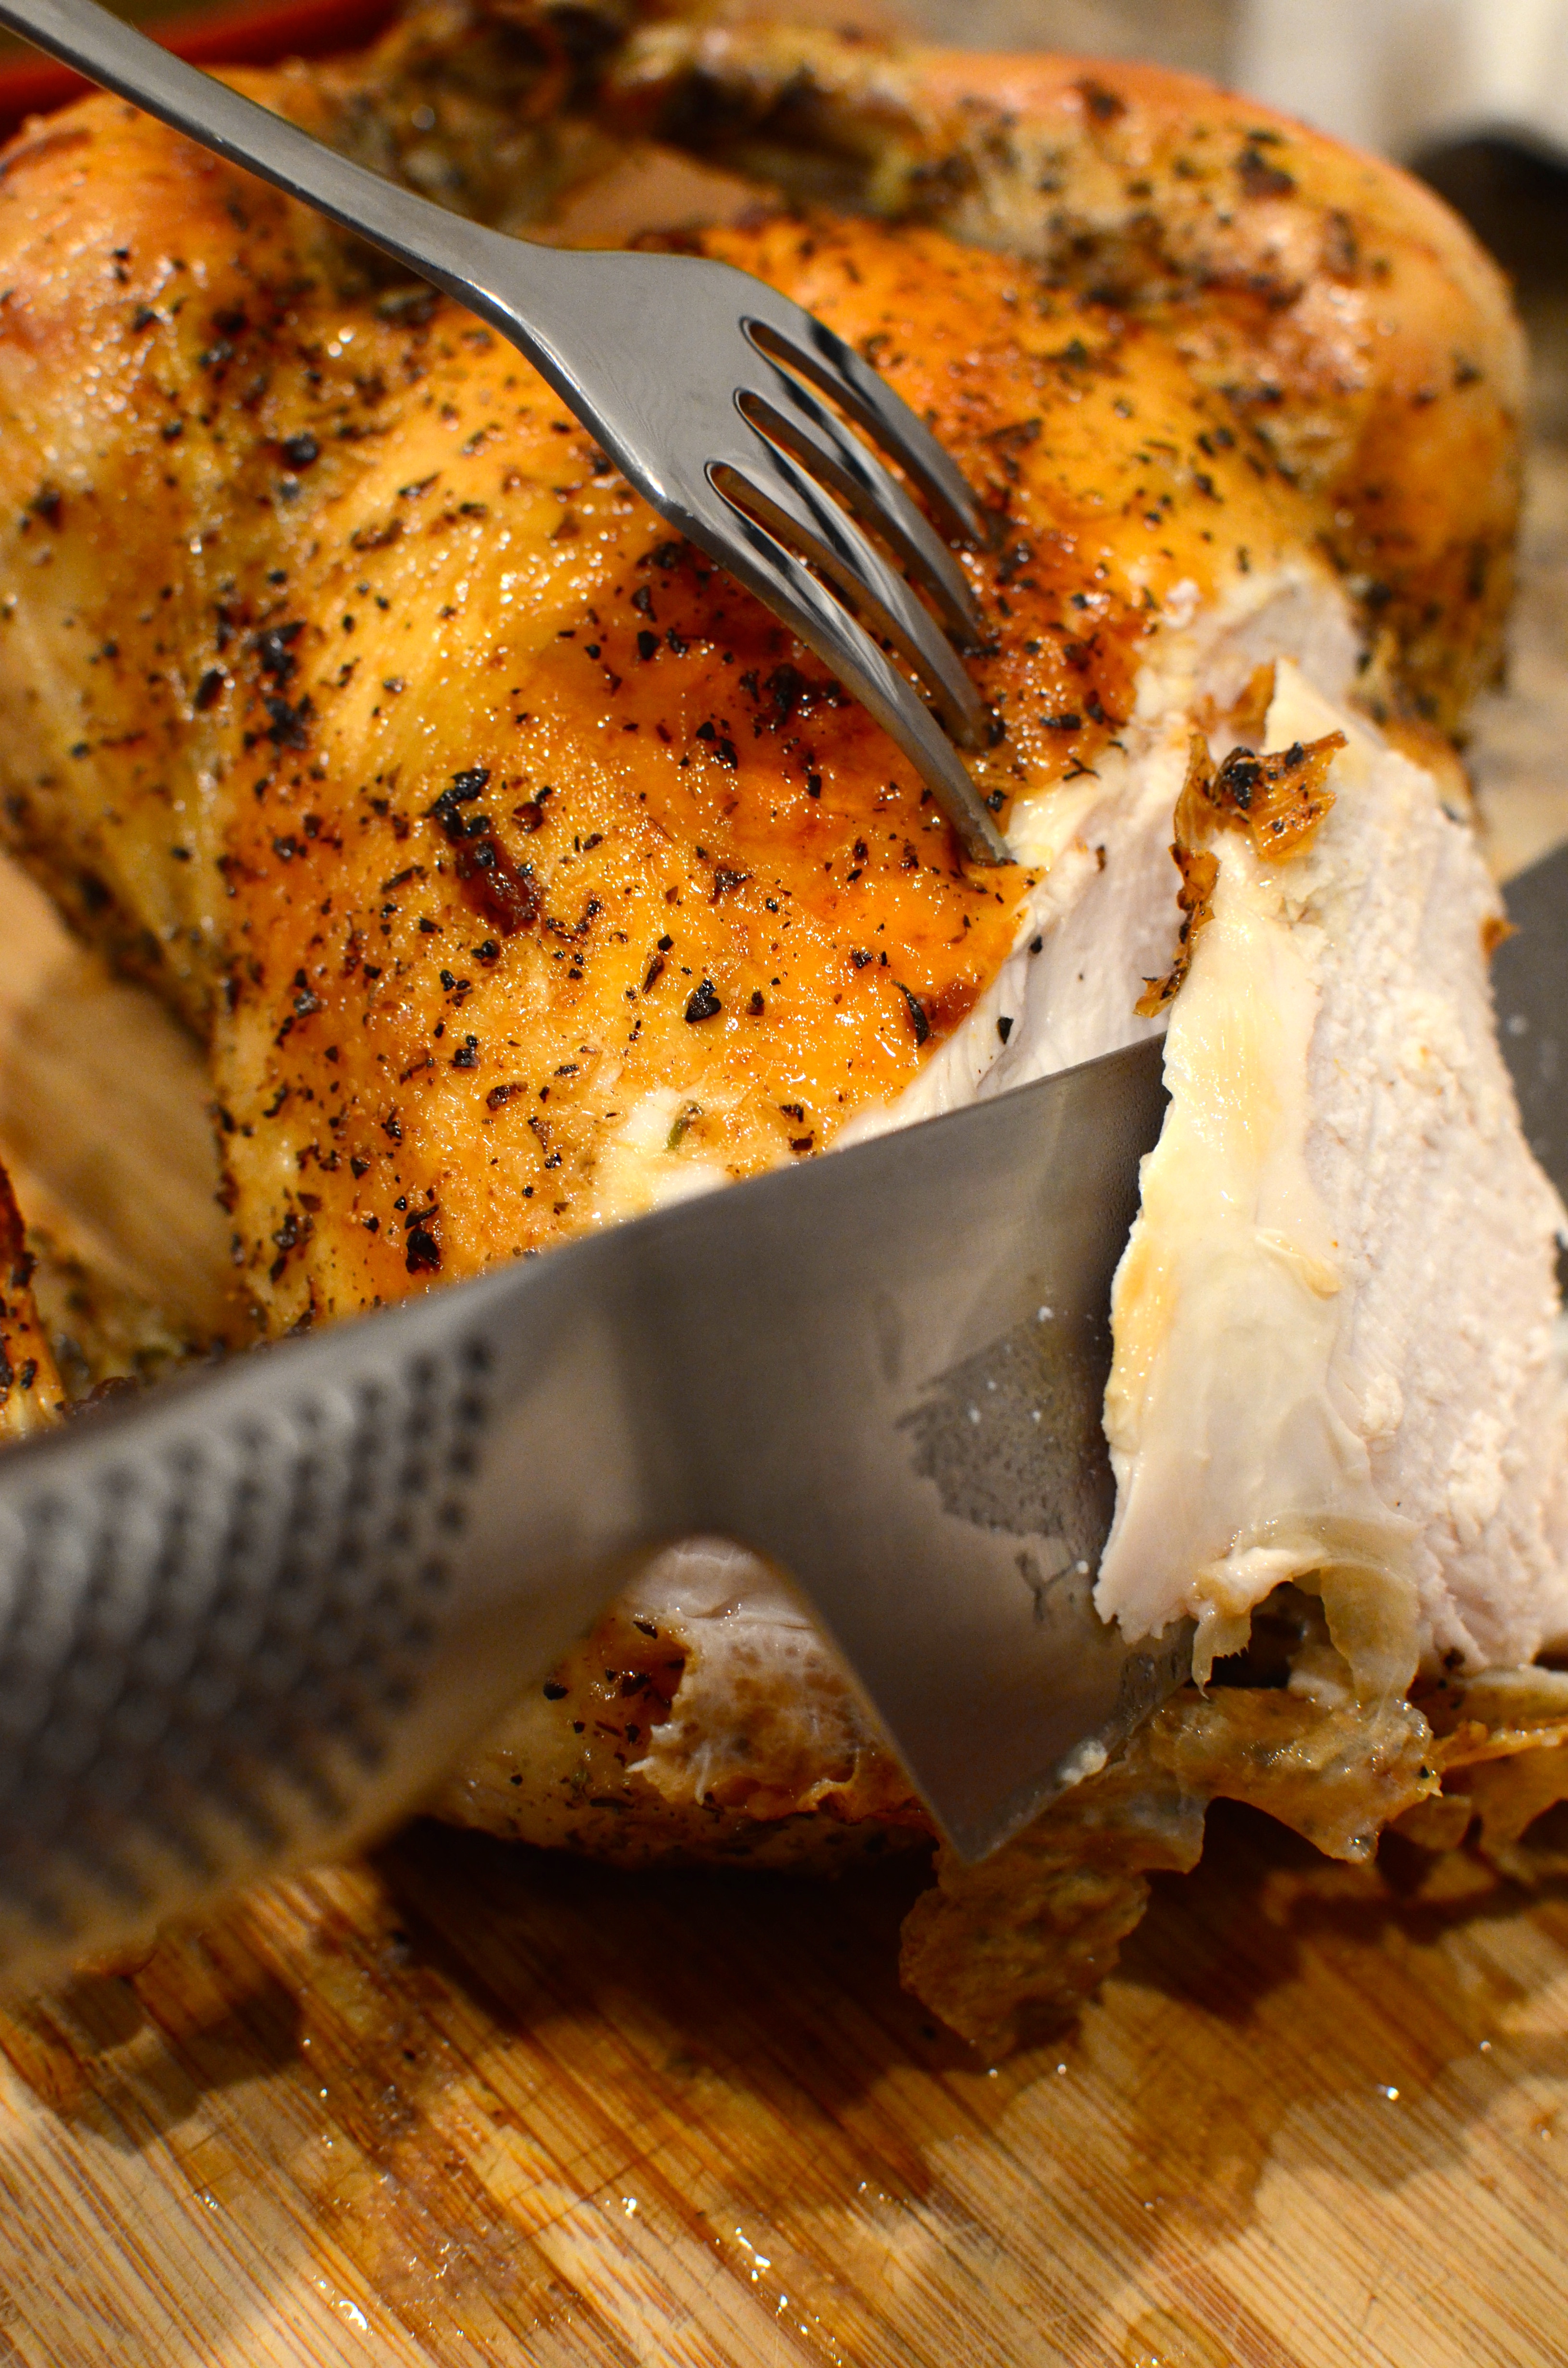
~12 ounces of roasted leftover chicken, some dark and mostly white meat
1 small spring fresh thyme (the thyme in our outdoor garden survives all winter, if you can believe it)
1.5 Tbs. unsalted butter
3 Tbs. all-purpose flour
1.5 C cold chicken broth
Cheddar, gruyere, or parmesan cheese (optional)
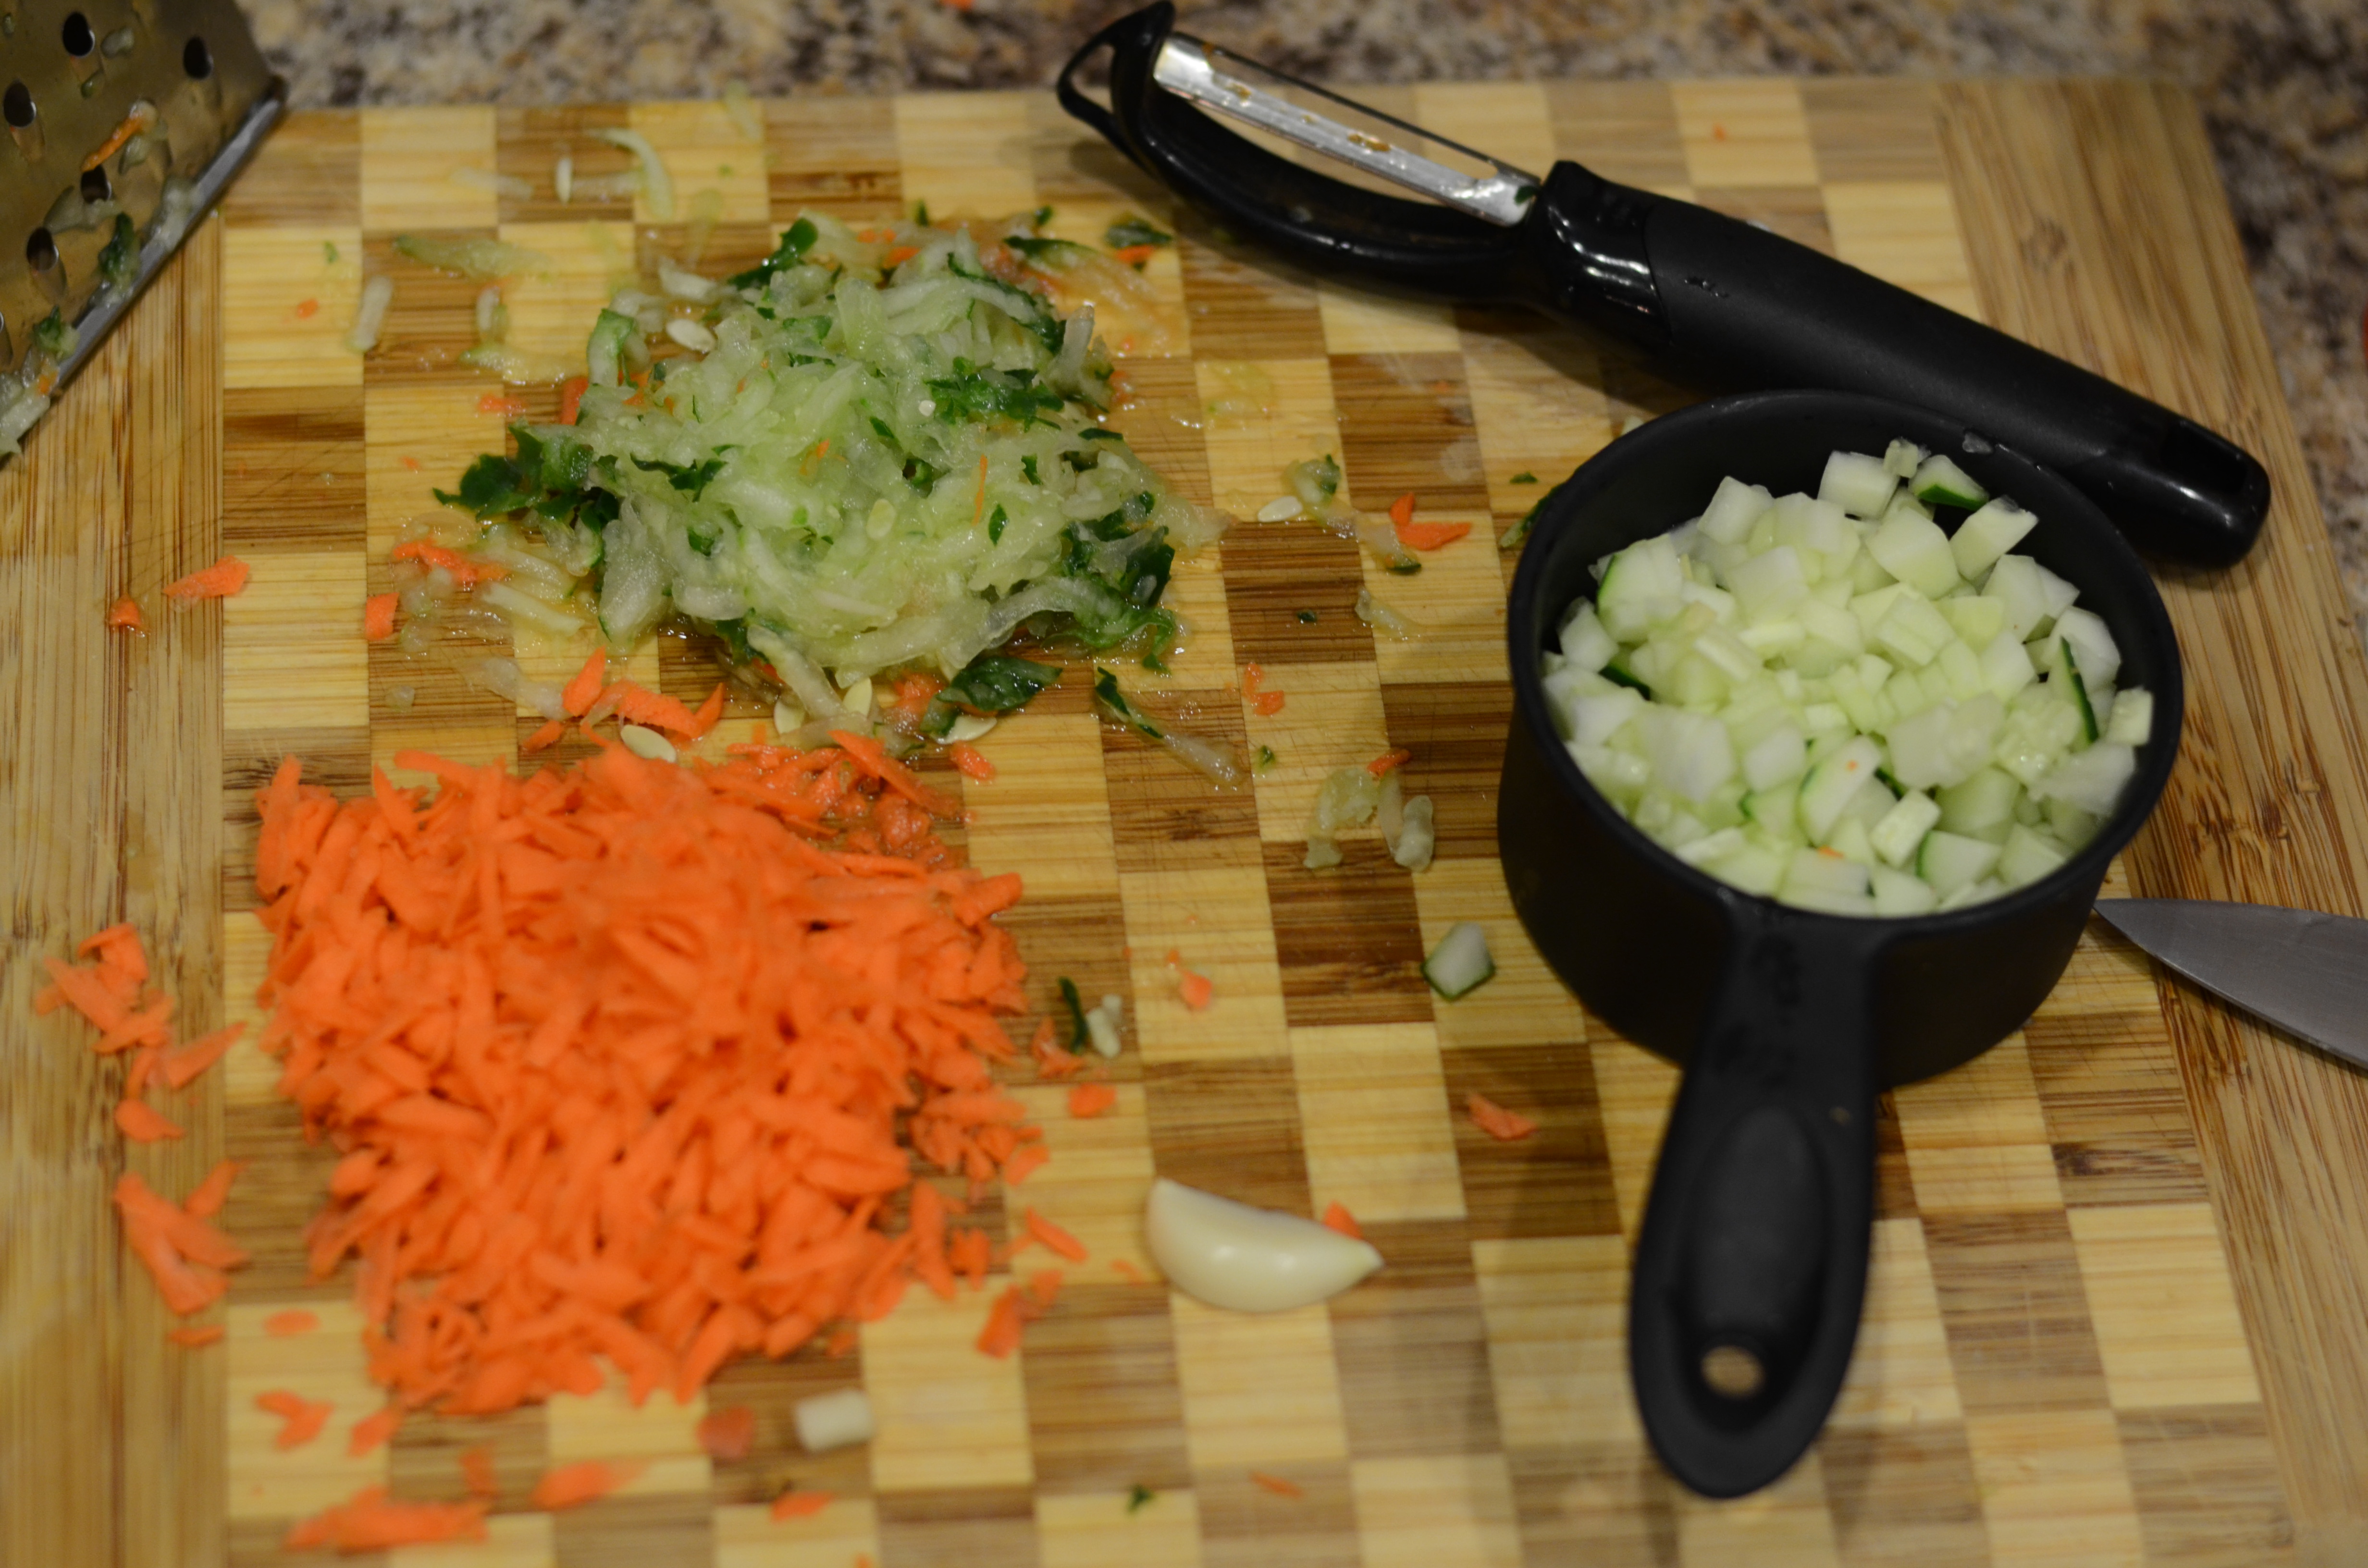
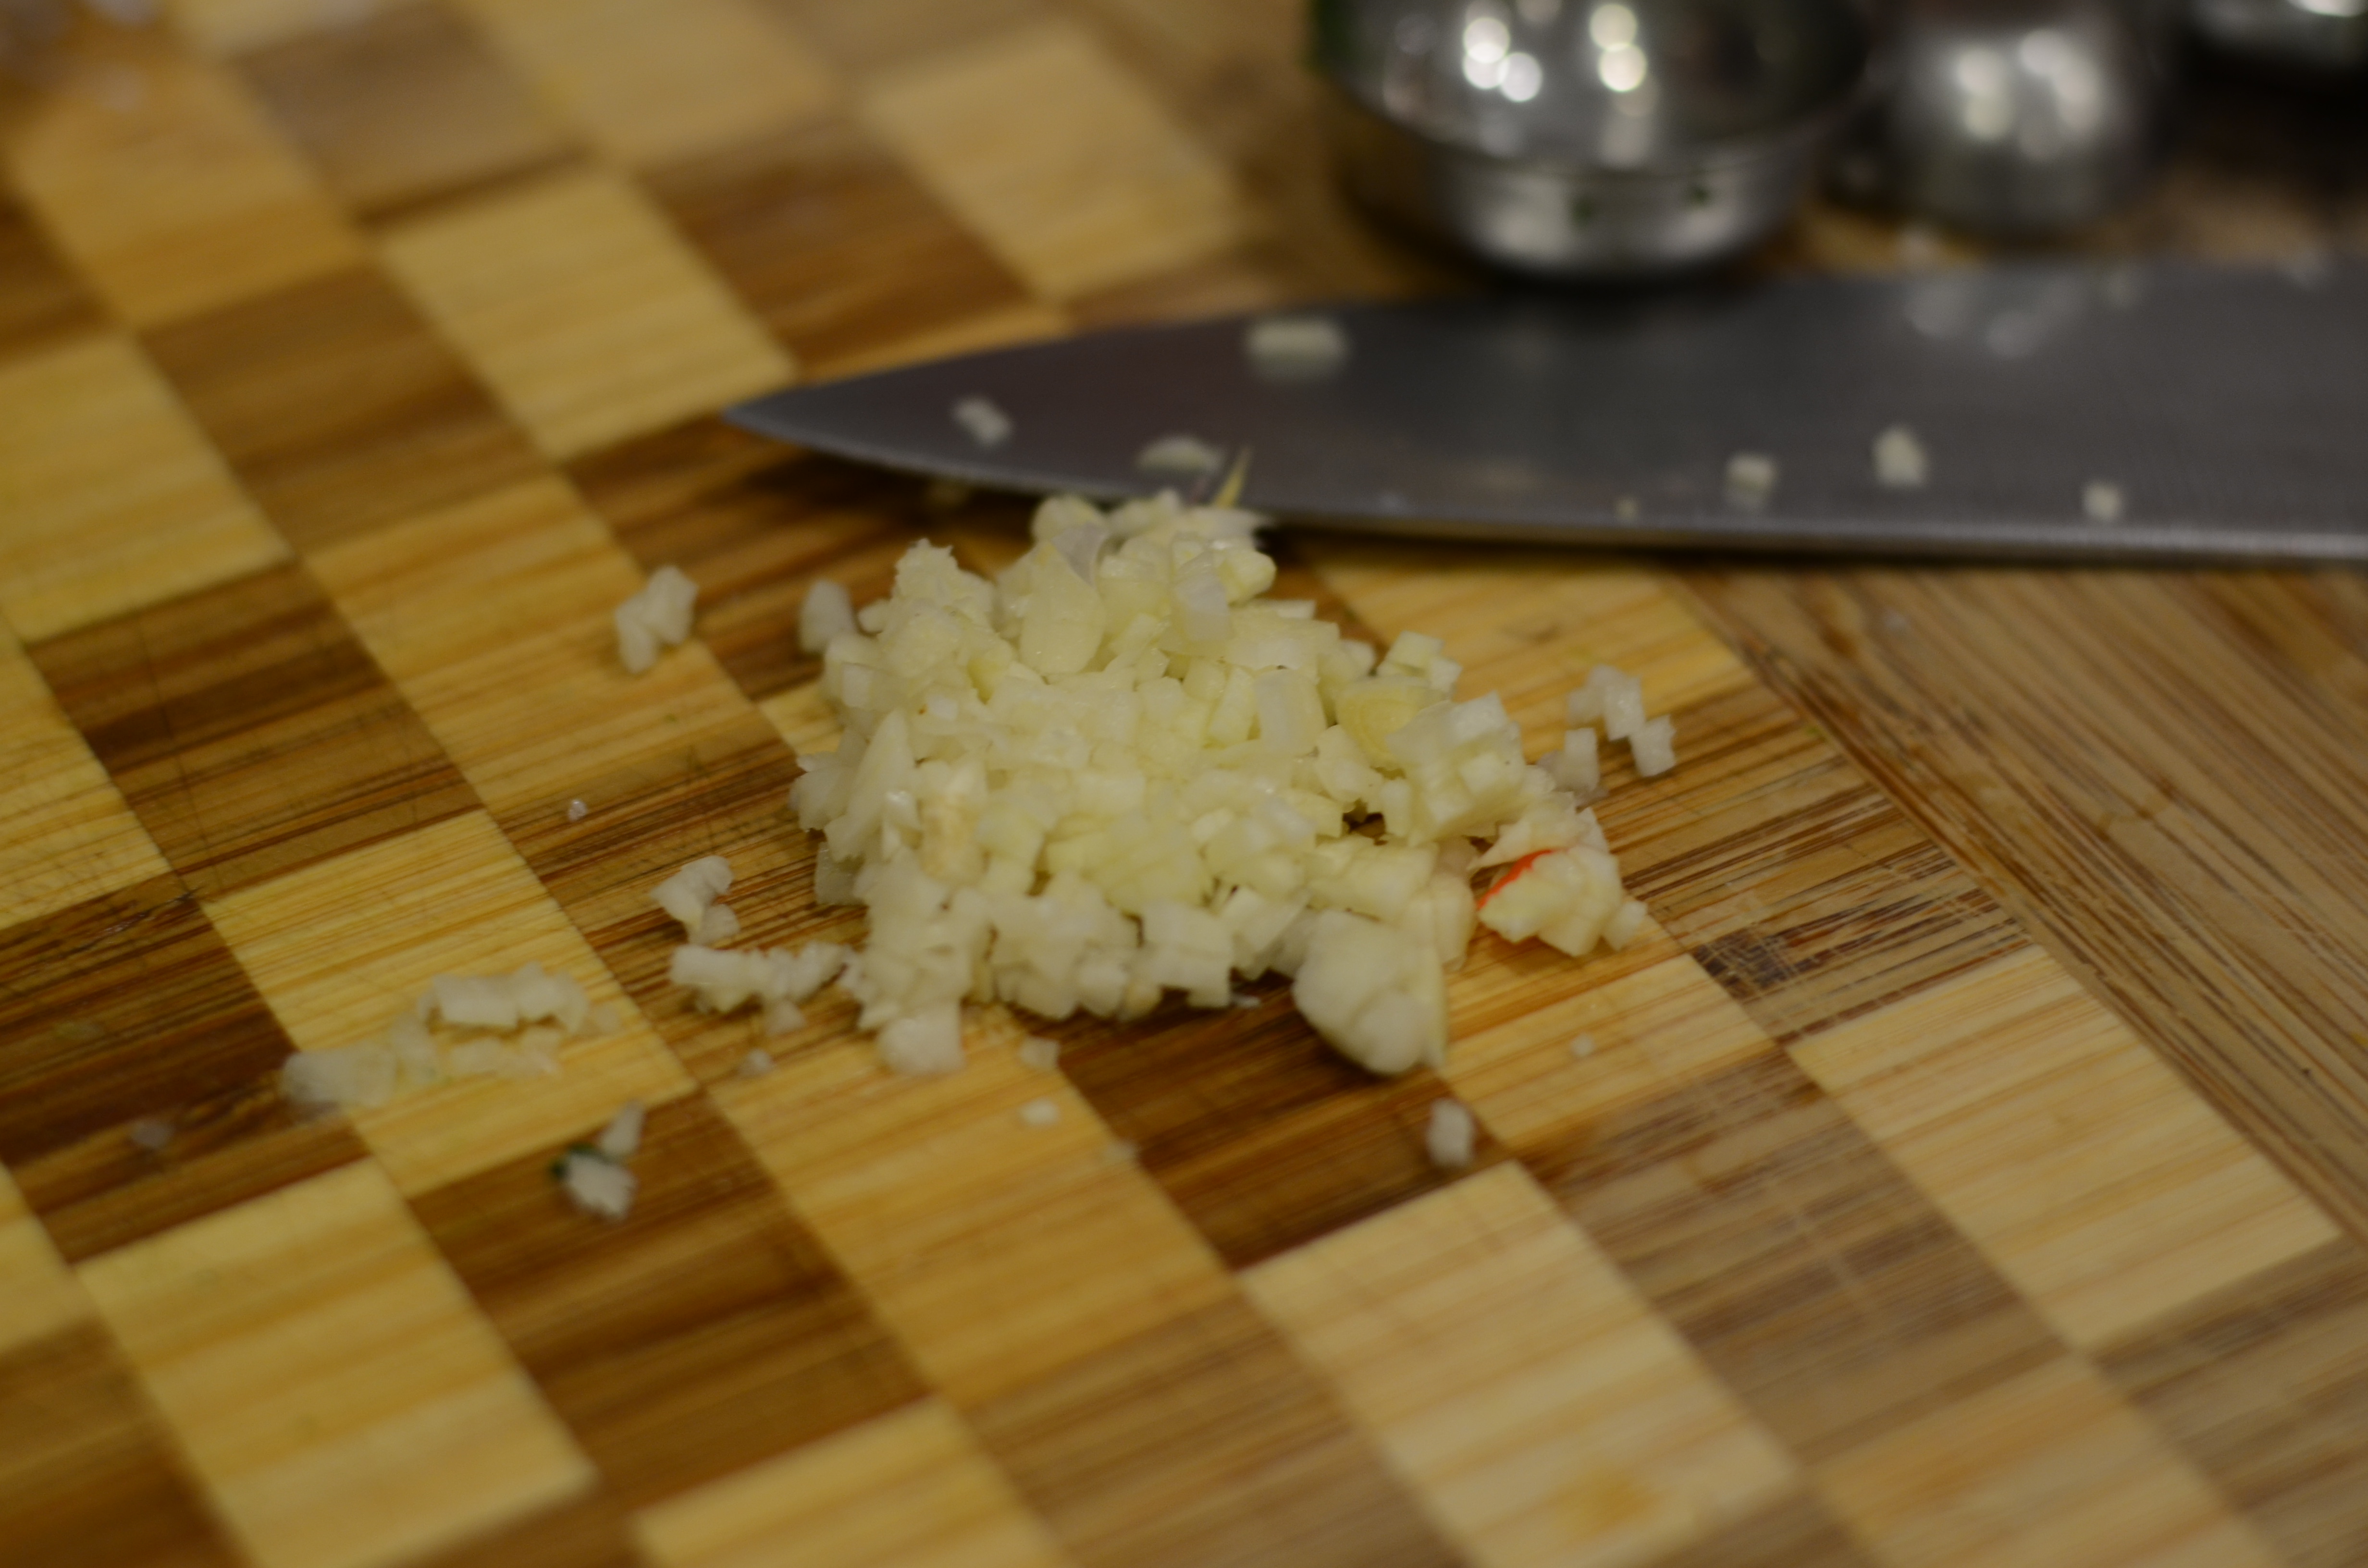
Chop vegetables into 1/2 inch cubes. I did my best to replicate the picture! It was a fun exercise.


But this is going to be in a pot pie, who really cares?
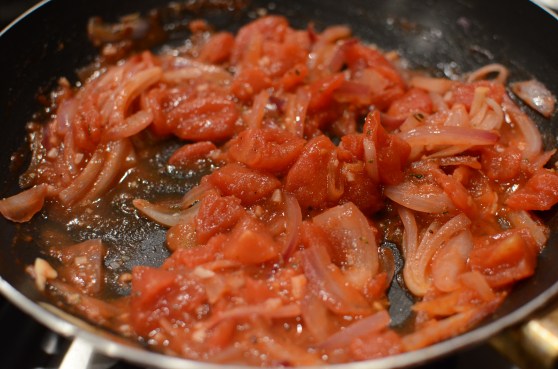
Make filling: Fill a medium saucepan with water and bring to a boil over high heat. Add kosher salt. Add vegetables and blanch one at a time until tender, approximately 2 minutes each, fishing them out each time with a slotted spoon and transferring them to a medium bowl. Blanch potato last – it may take 3-5 minutes – and drain through a colander. Set aside all vegetables in a bowl. Rinse out saucepan.
Set saucepan on medium heat. Melt butter.
Once the butter is melted, use a wooden spoon to stir in 3 tablespoons all-purpose flour. Cook, stirring constantly, until the mixture somewhat dry and grainy, 1 to 2 minutes (be careful not to burn).
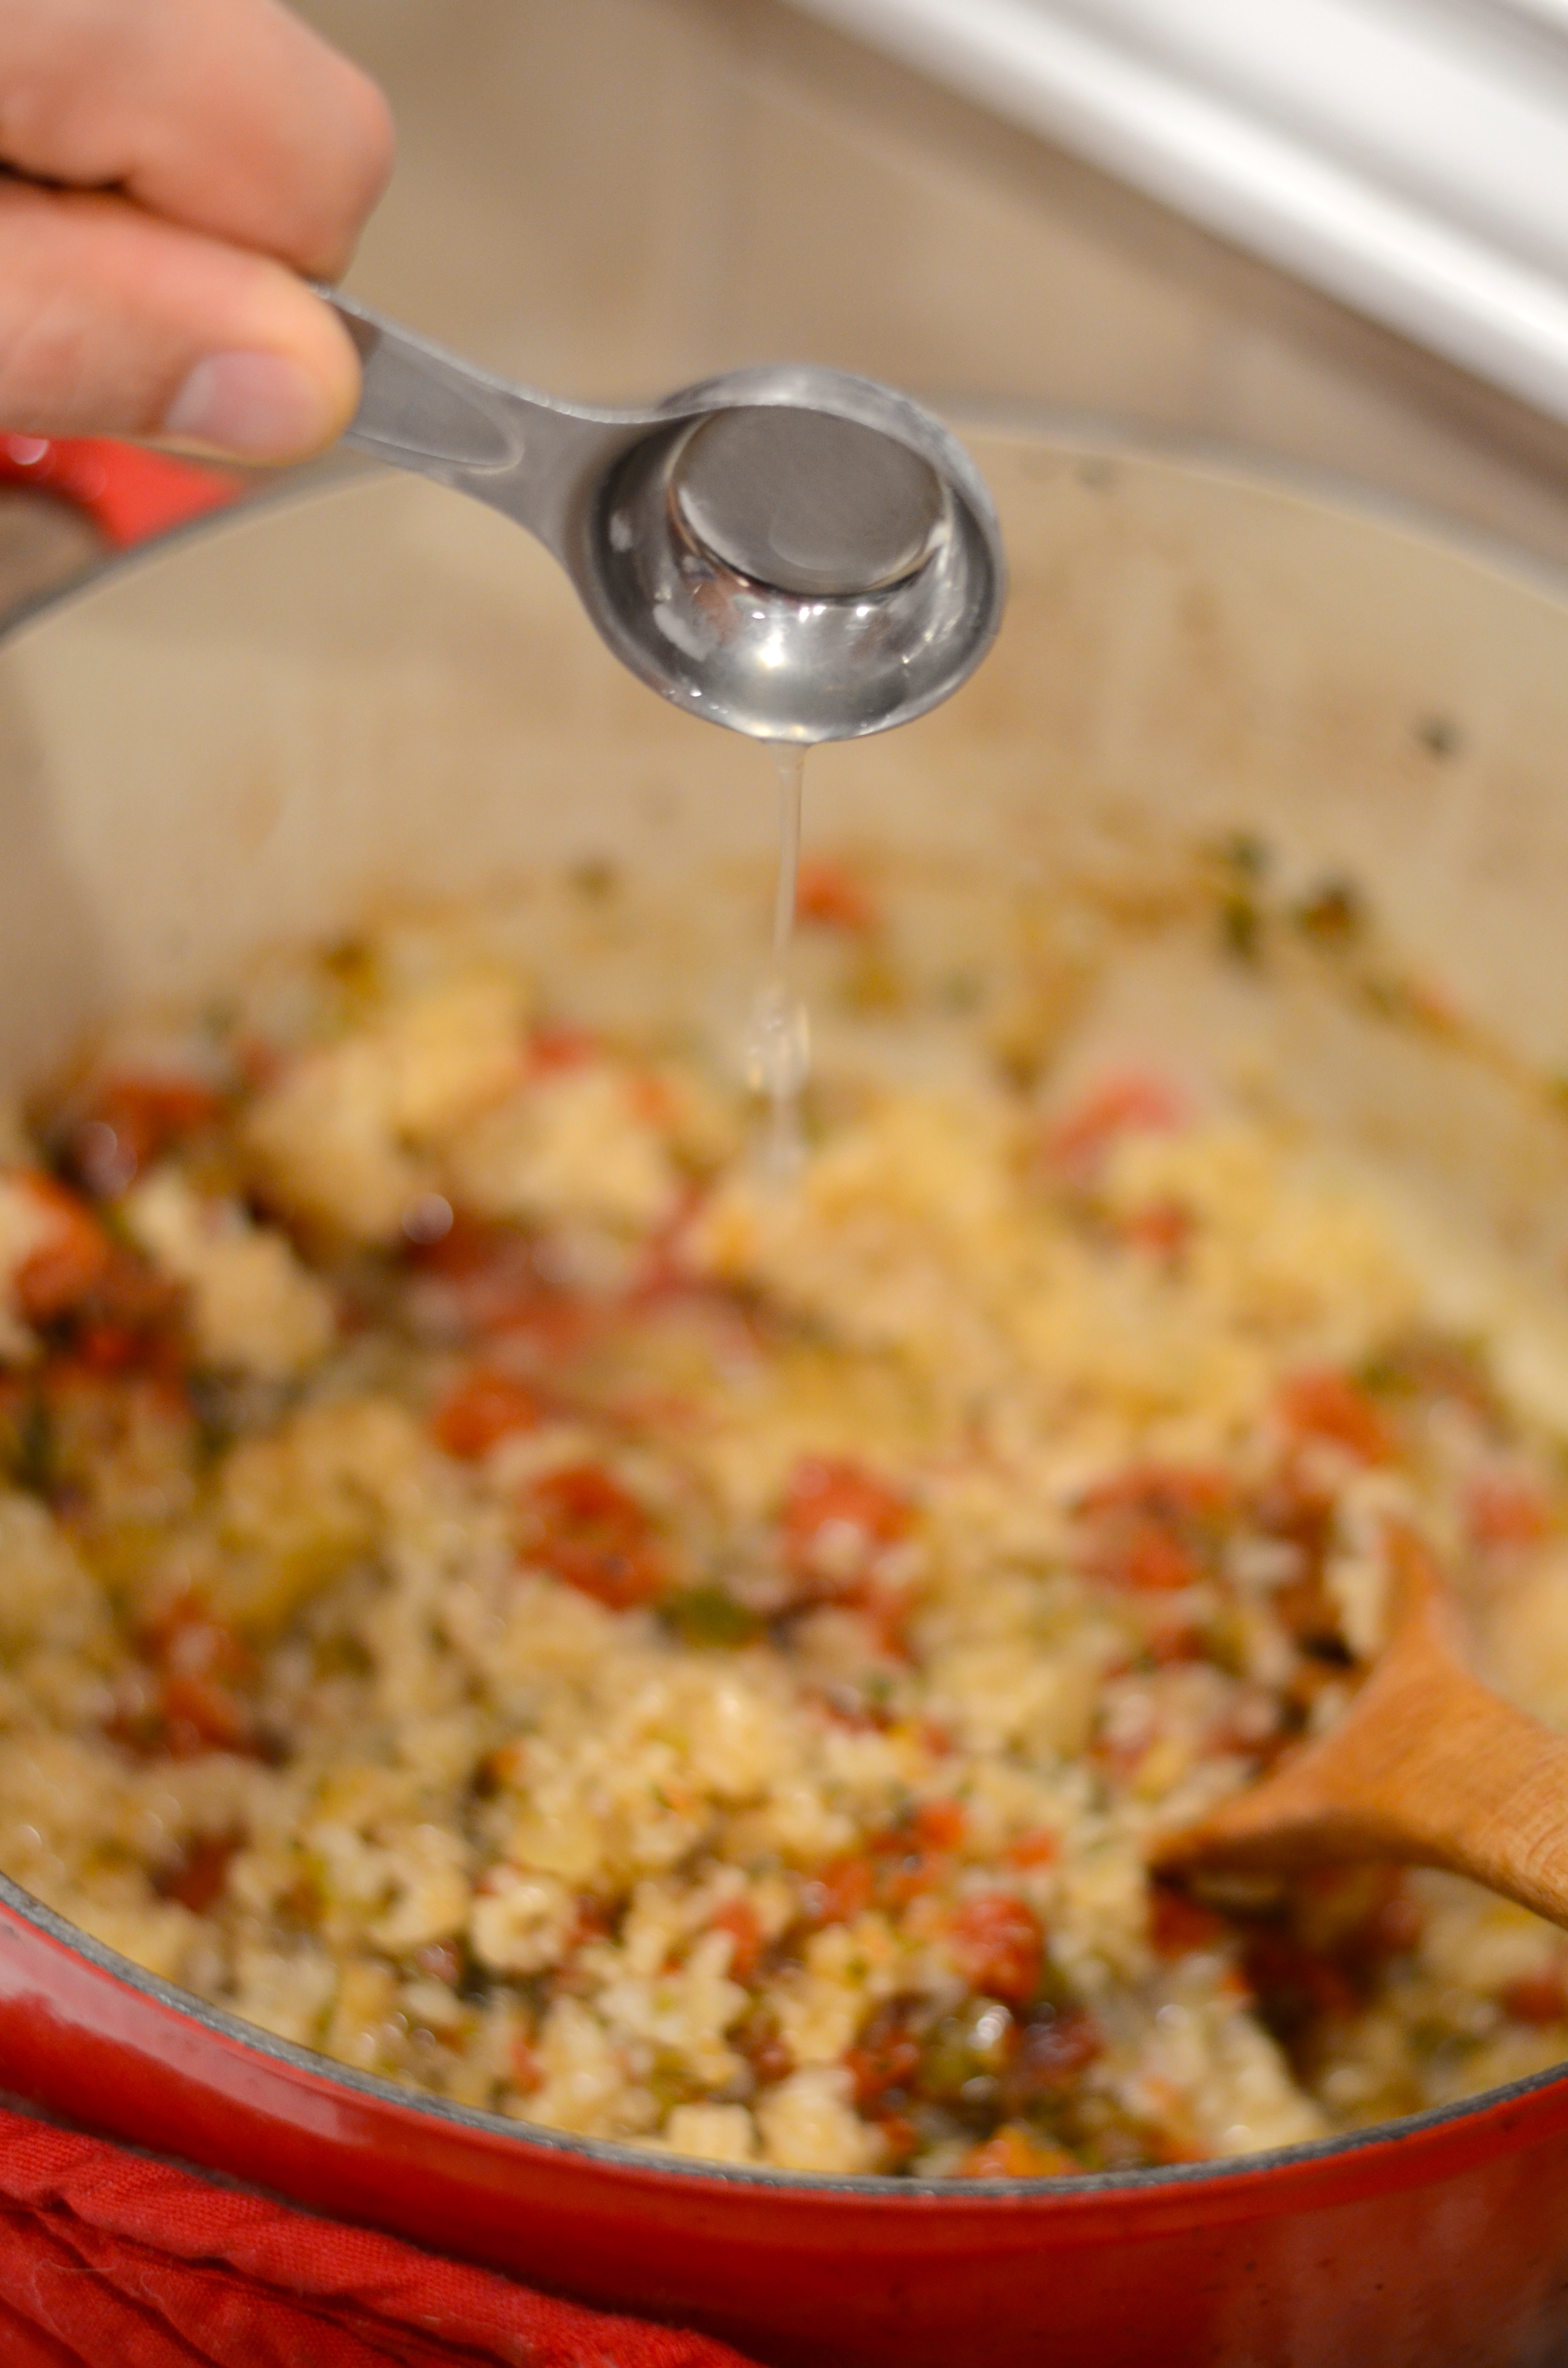
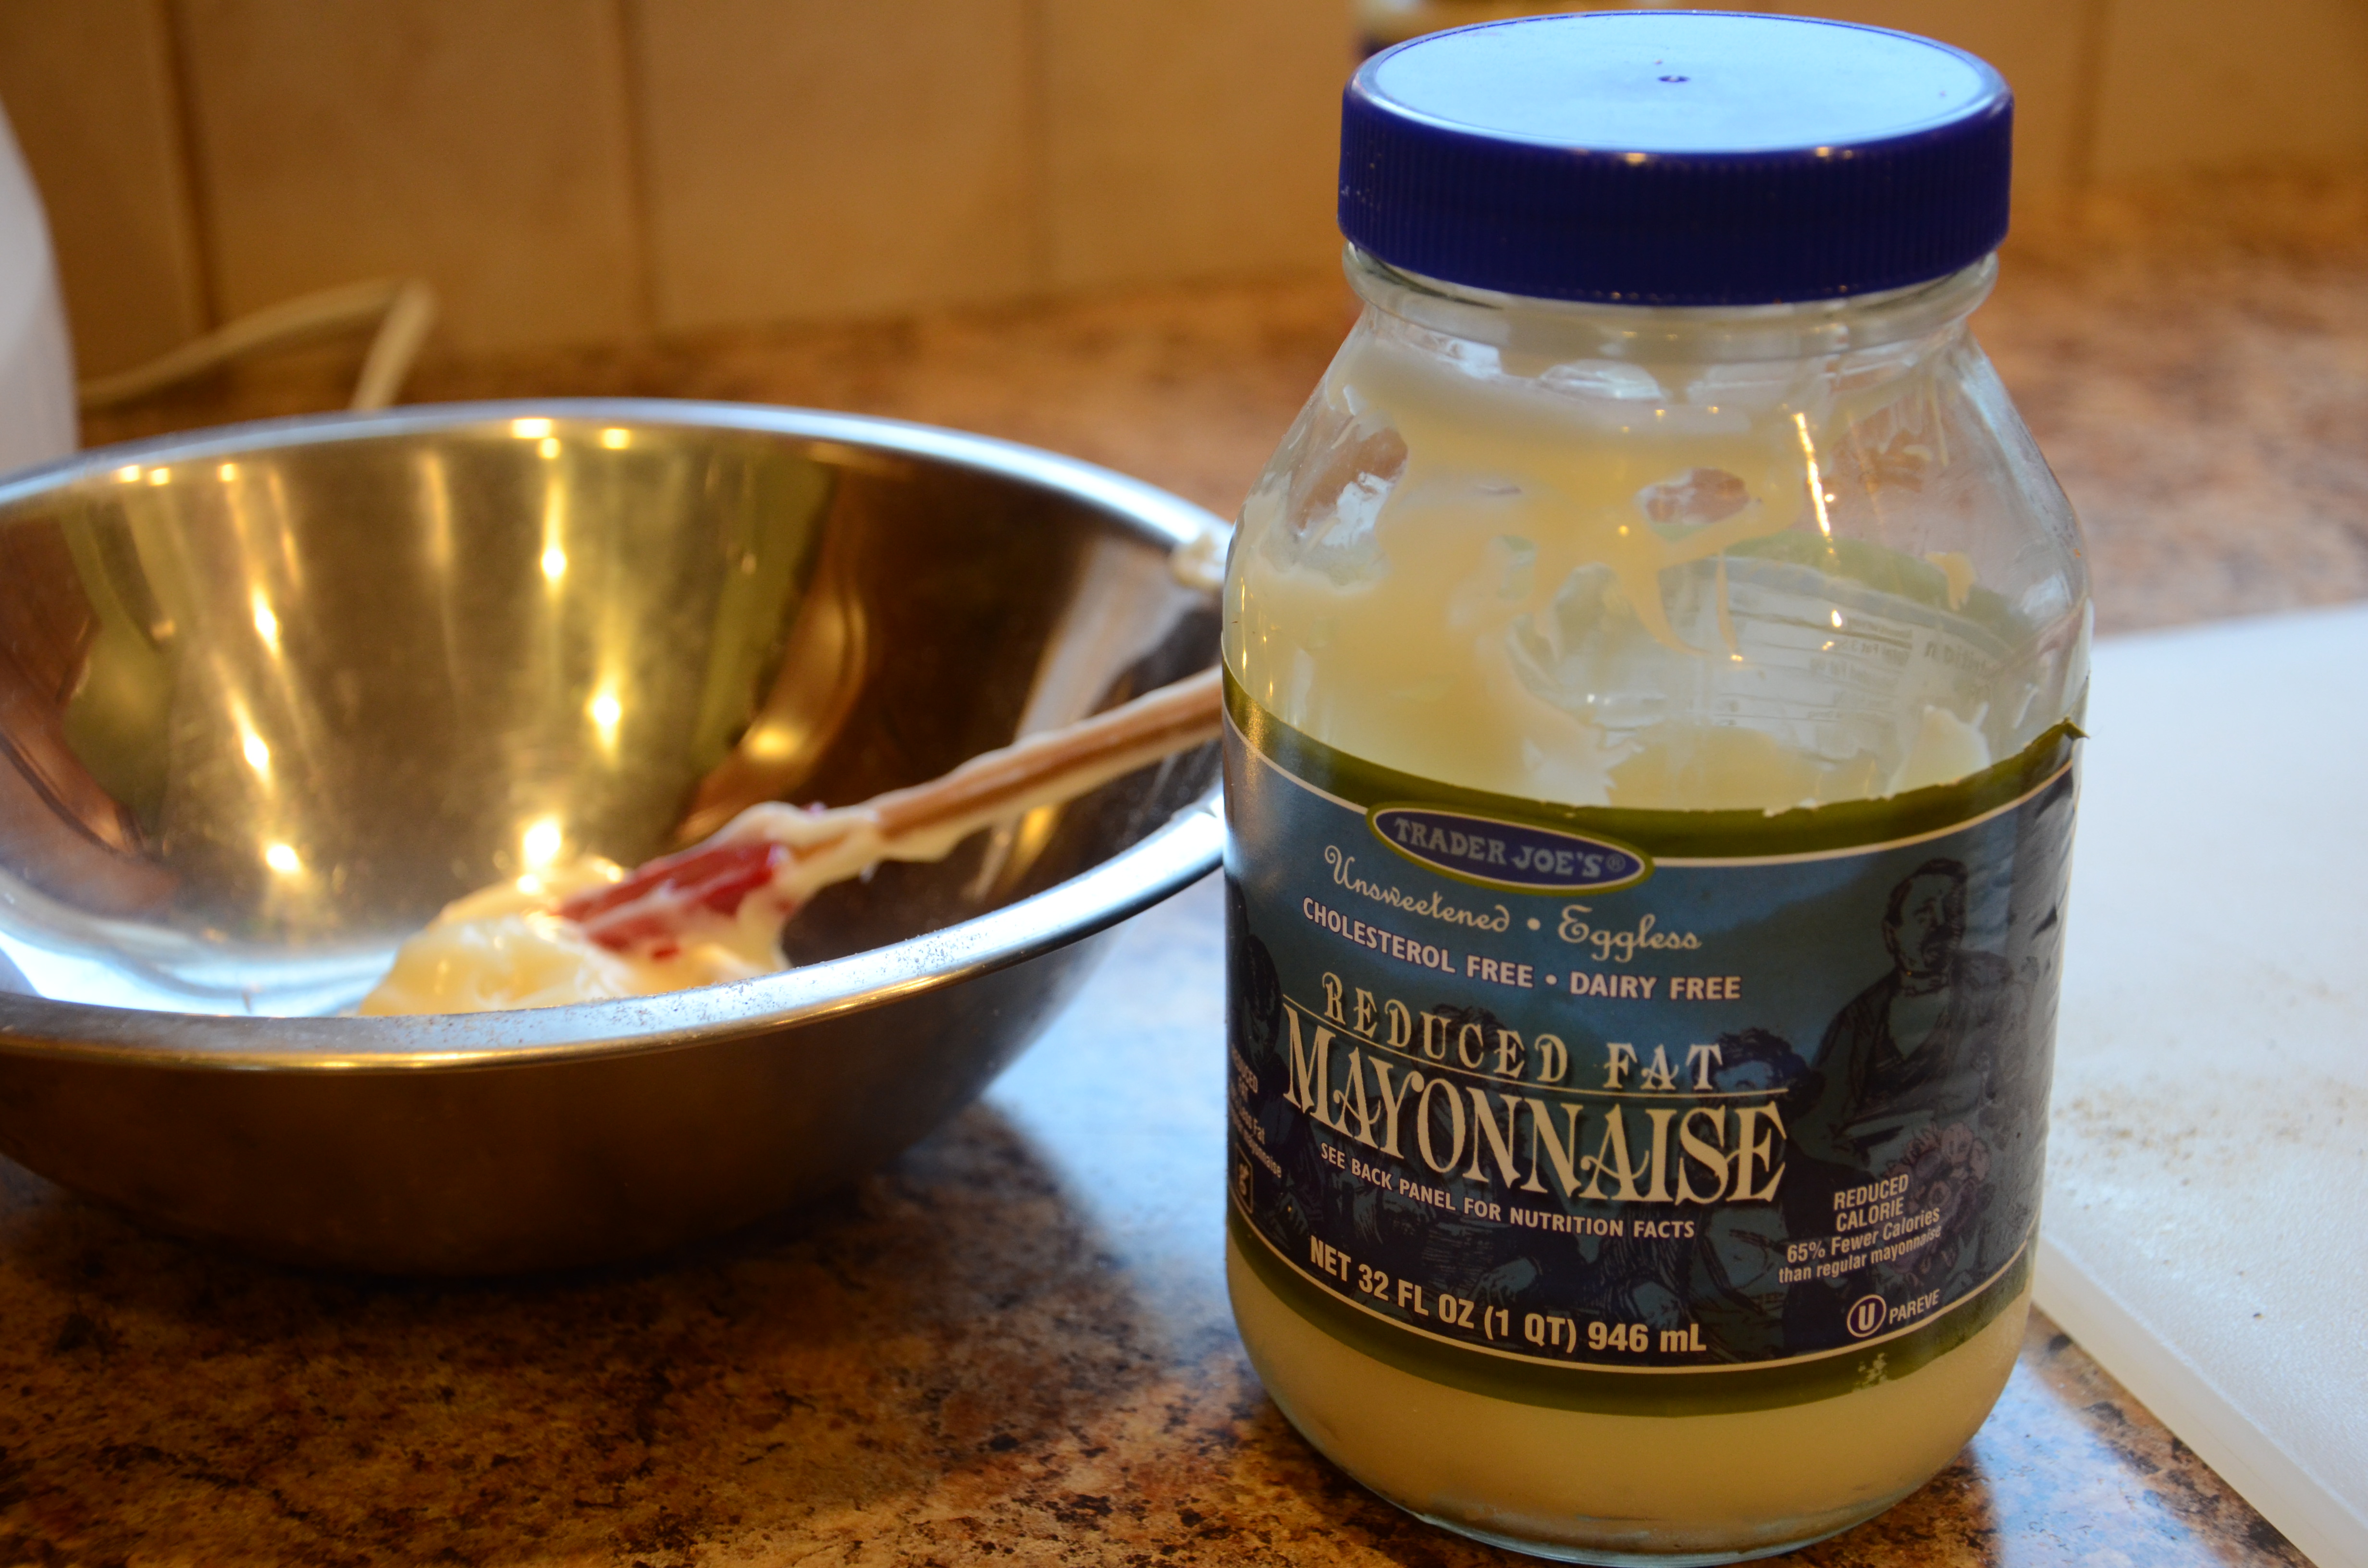
Stir in ½ cup cold chicken broth and stir like crazy. I ended up pulling out a whisk too. Once the mixture is somewhat smooth, add more chicken broth, ½ cup at a time, until all of the chicken broth is used and the sauce is thick, about 5-7 minutes. Taste and adjust flavor, if needed, with more kosher salt (but keep in mind how salty your roast chicken is).
Stir in the cooked vegetables and chicken, torn into bite-sized chunks.


Take half of your biscuits and break them into pieces to line the bottom of your baking dish(es).
 Cover them with your potpie filling. If using non-cheesy biscuits, add a little bit of shredded cheese on top of the filling. Place remaining biscuits on top of that.
Place in the oven and bake until the filling is bubbling and the biscuits are warmed through, 12 to 15 minutes. Remove from the oven and serve.

Thursday
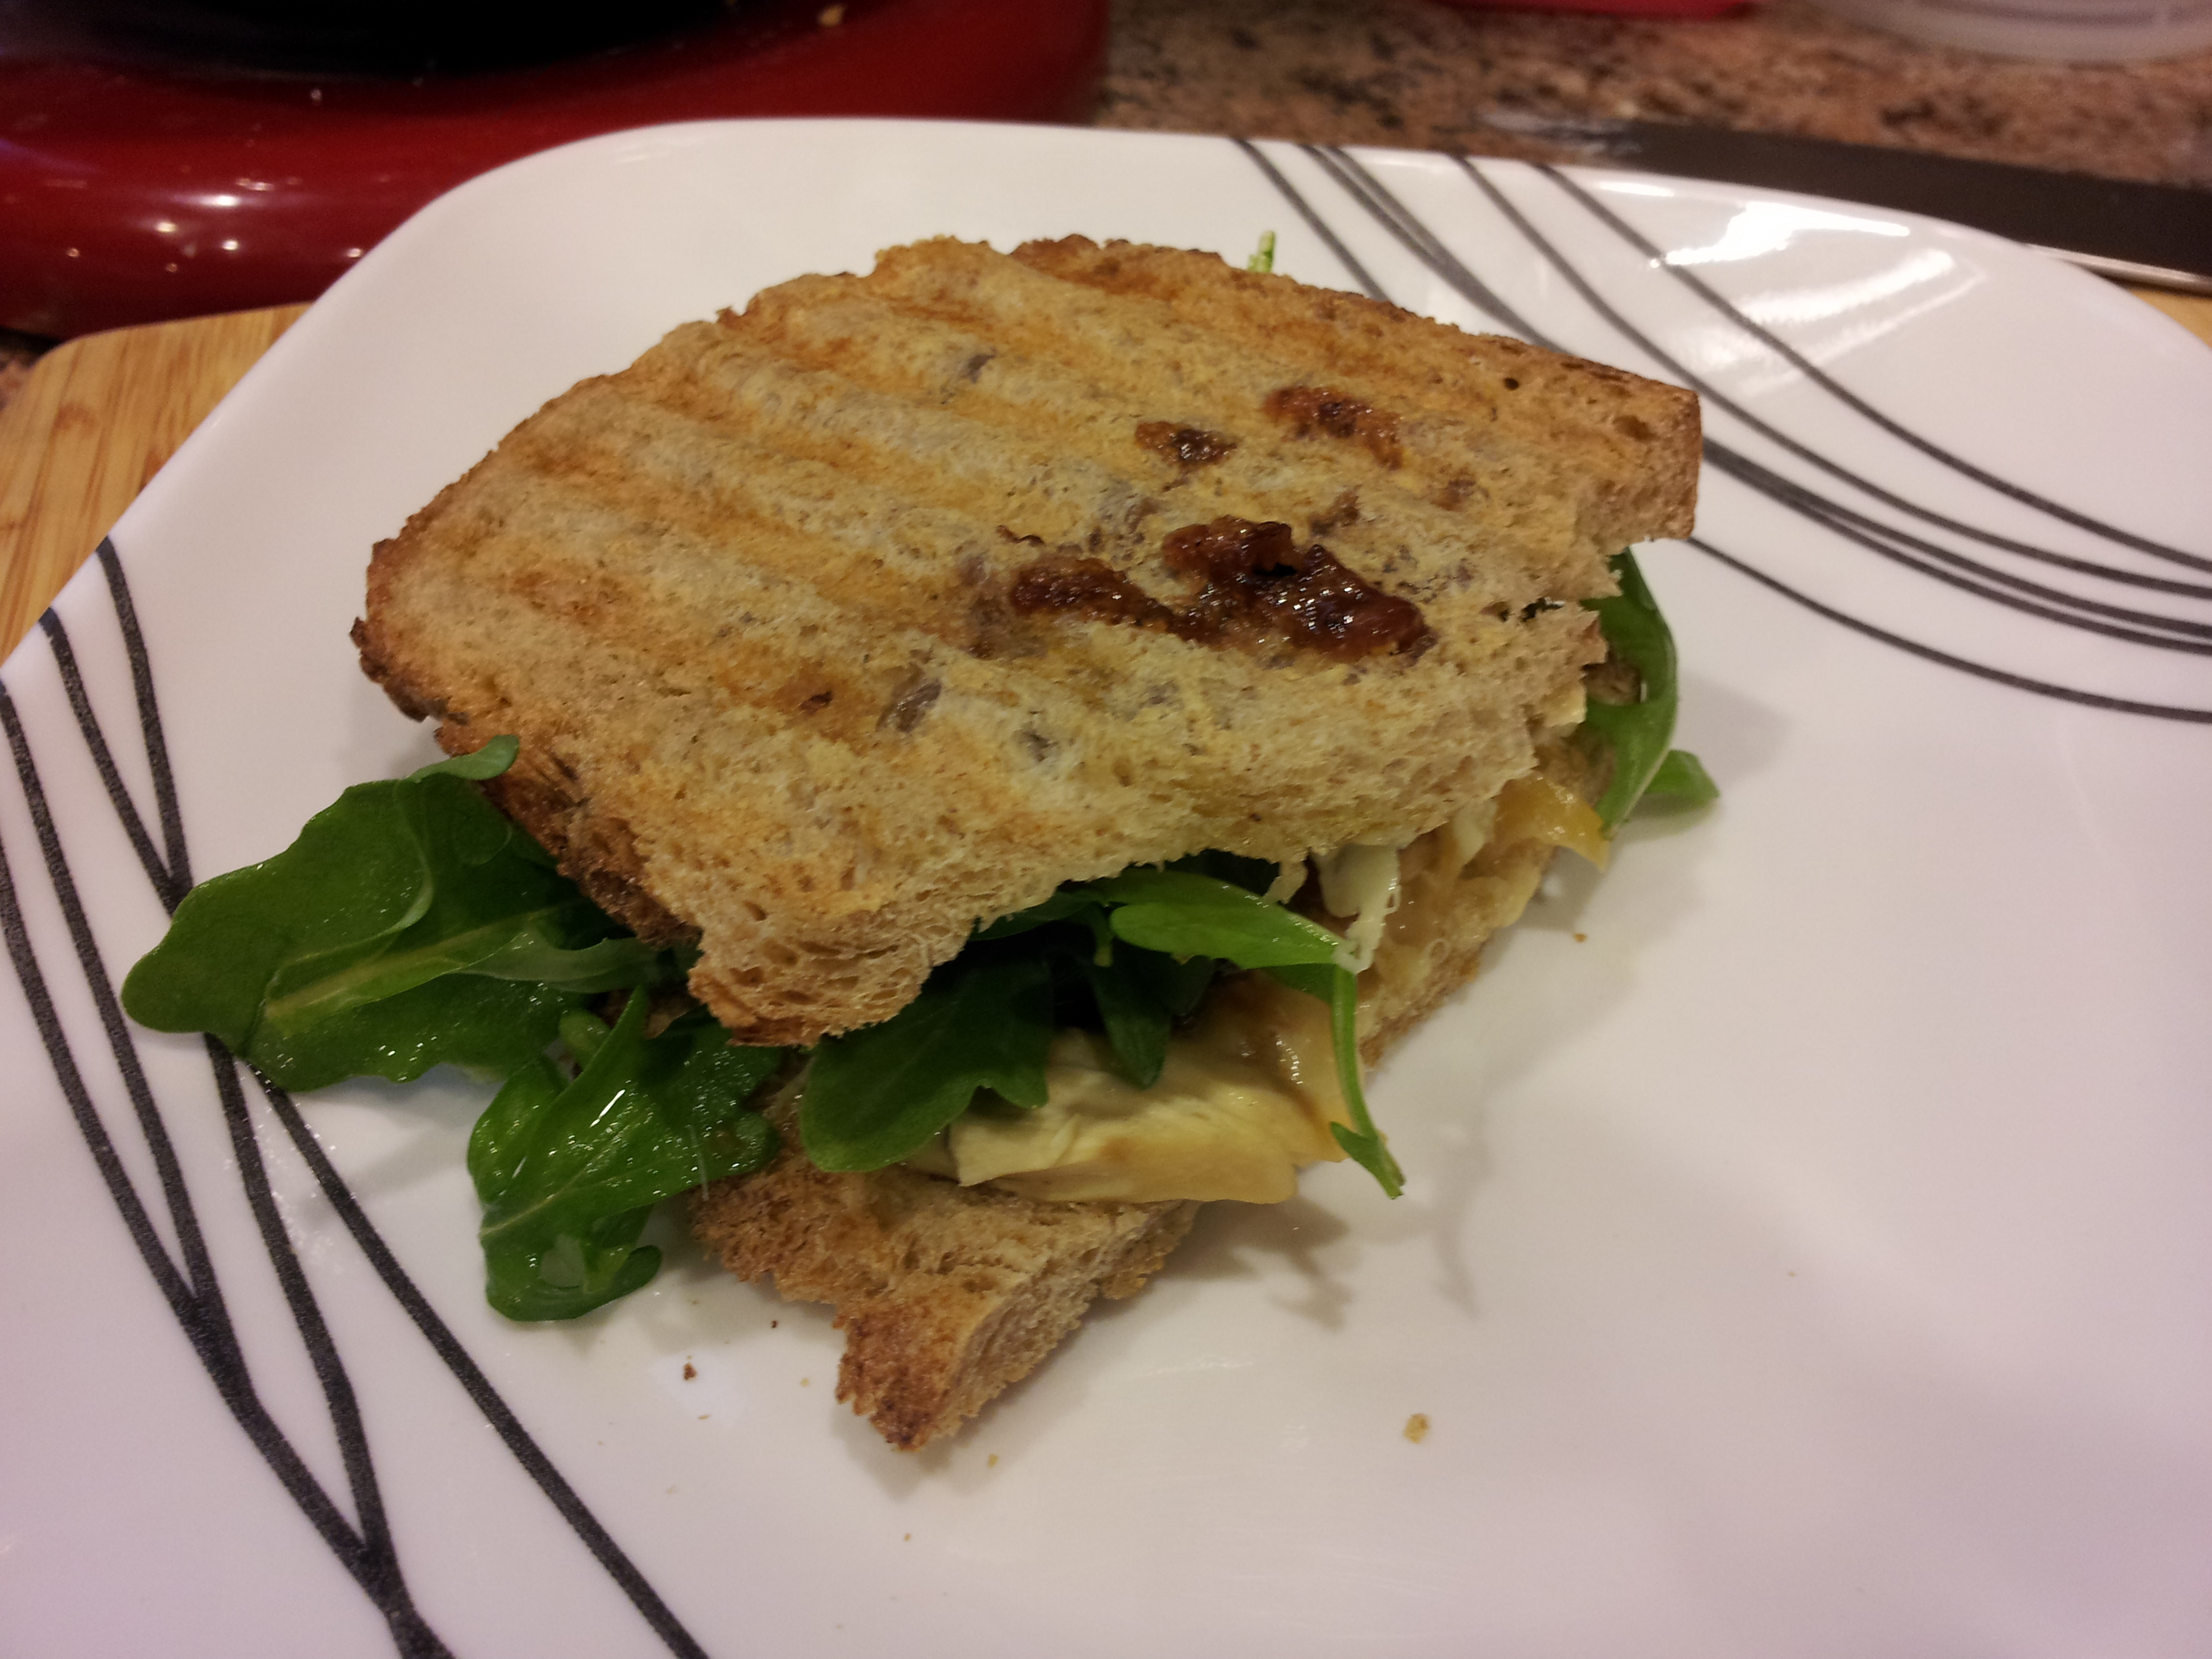
Everyone has had leftover roasted poultry in a sandwich. I upped the ante by using a panini press. I had leftover sourdough bread in the freezer, spread with a mix of leftover gouda cheese and butter on one side and leftover quince paste (in place of fig jam that was recommended in once recipe I referenced) on the other. Once heated through, I added baby arugula leaves that had been dressed with lemon juice. This sandwich could be replicated with almost any cheese and any jam (or with leftover turkey, perhaps cranberry sauce and brie cheese?). Sans Griddler, you could use two frying pans, preferably cast iron, and turn the sandwich repeatedly.
Friday
This doesn’t fit in perfectly with the progression, but I will mention that I did cook (with help from my husband Matt!). The selection was enchilada casserole, using the cheddar cheese I had on hand along with some hot sauce in place of the Monterey Jack cheese.
Sunday
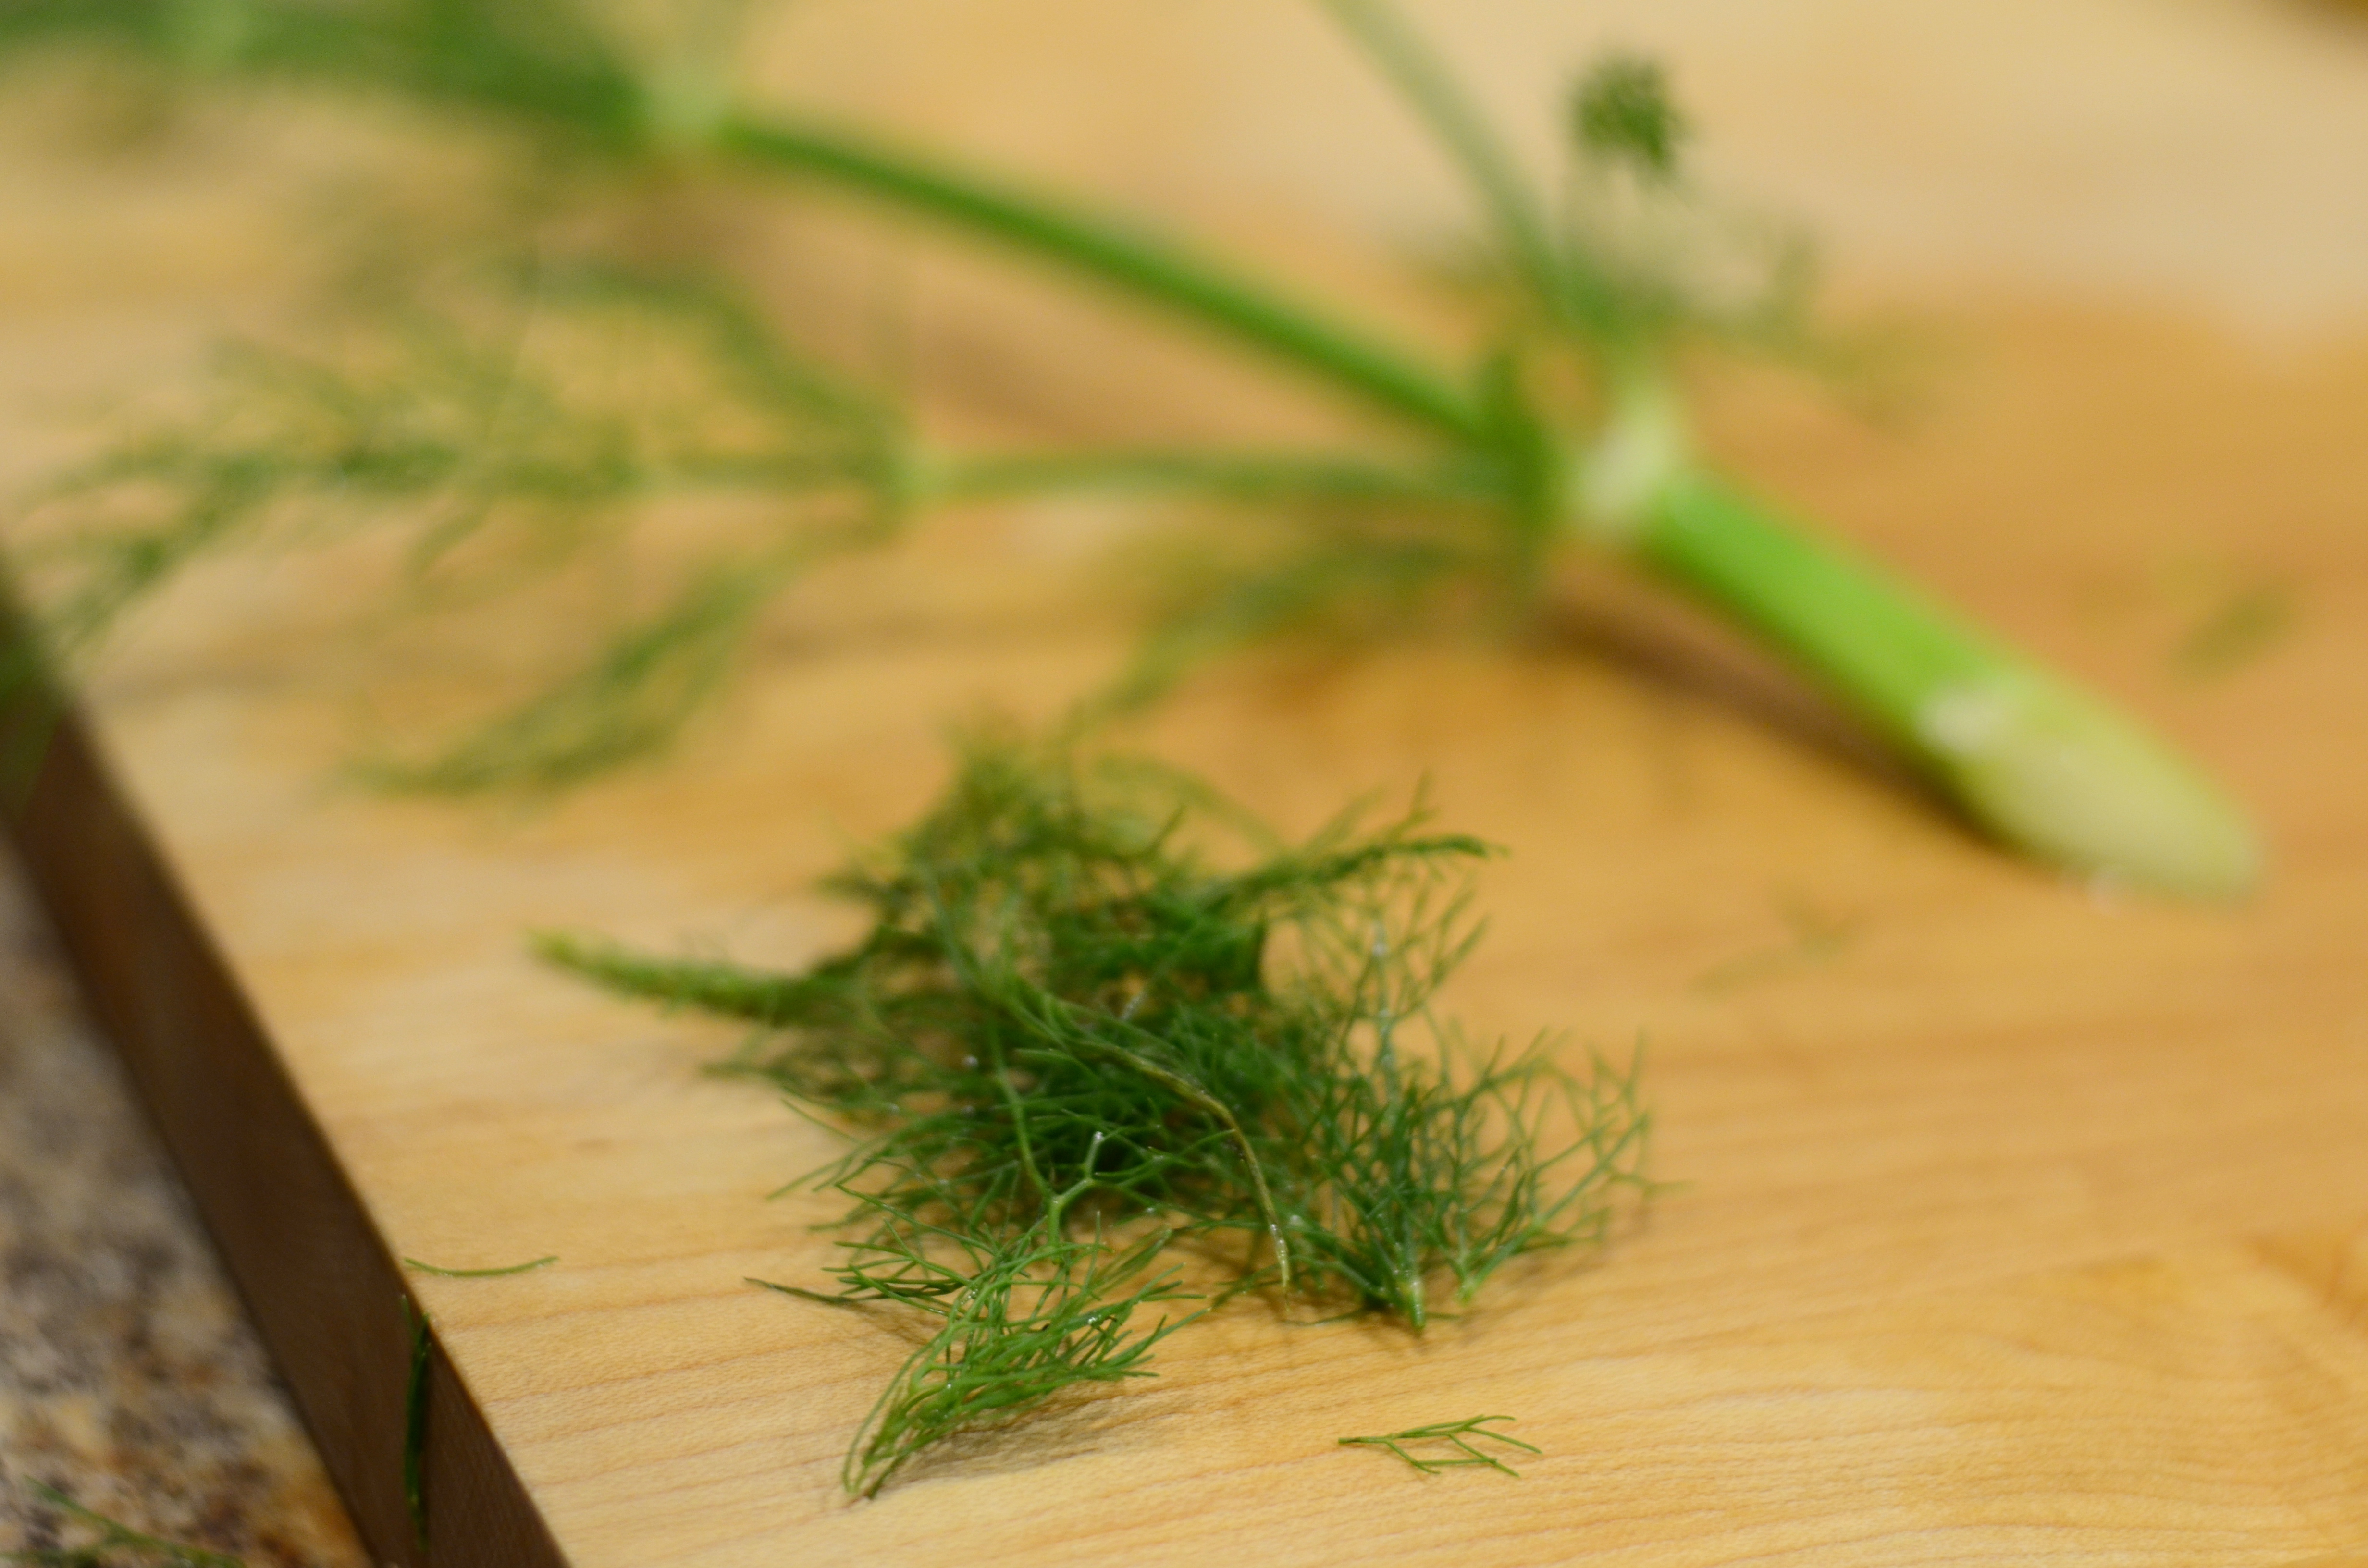
It gets better! Remember Monday’s broccoli? I had kept the brocoli stems instead of tossing them right away, thinking I might find a good recipe for them, and lo and behold, Tasting Table came through with perfect timing with a creamy broccoli soup! I just had to buy leeks, and skip the dill. (The title of the email was “Florets and the Machine” – how great is that? I’m singing “Shake it Out” in my head now…)
If only I could be so productive every week!

 There’s nothing like 2 weeks straight of eating out for nearly every meal to get one on the mood to cook!
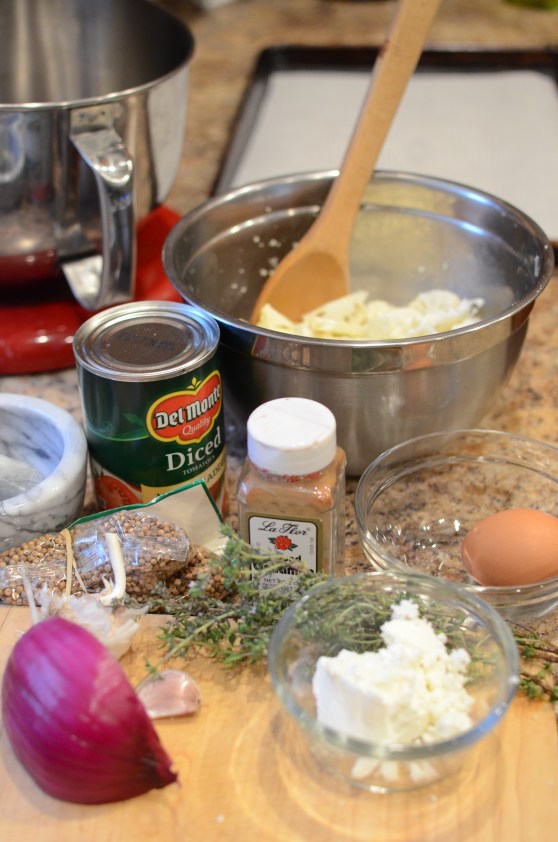


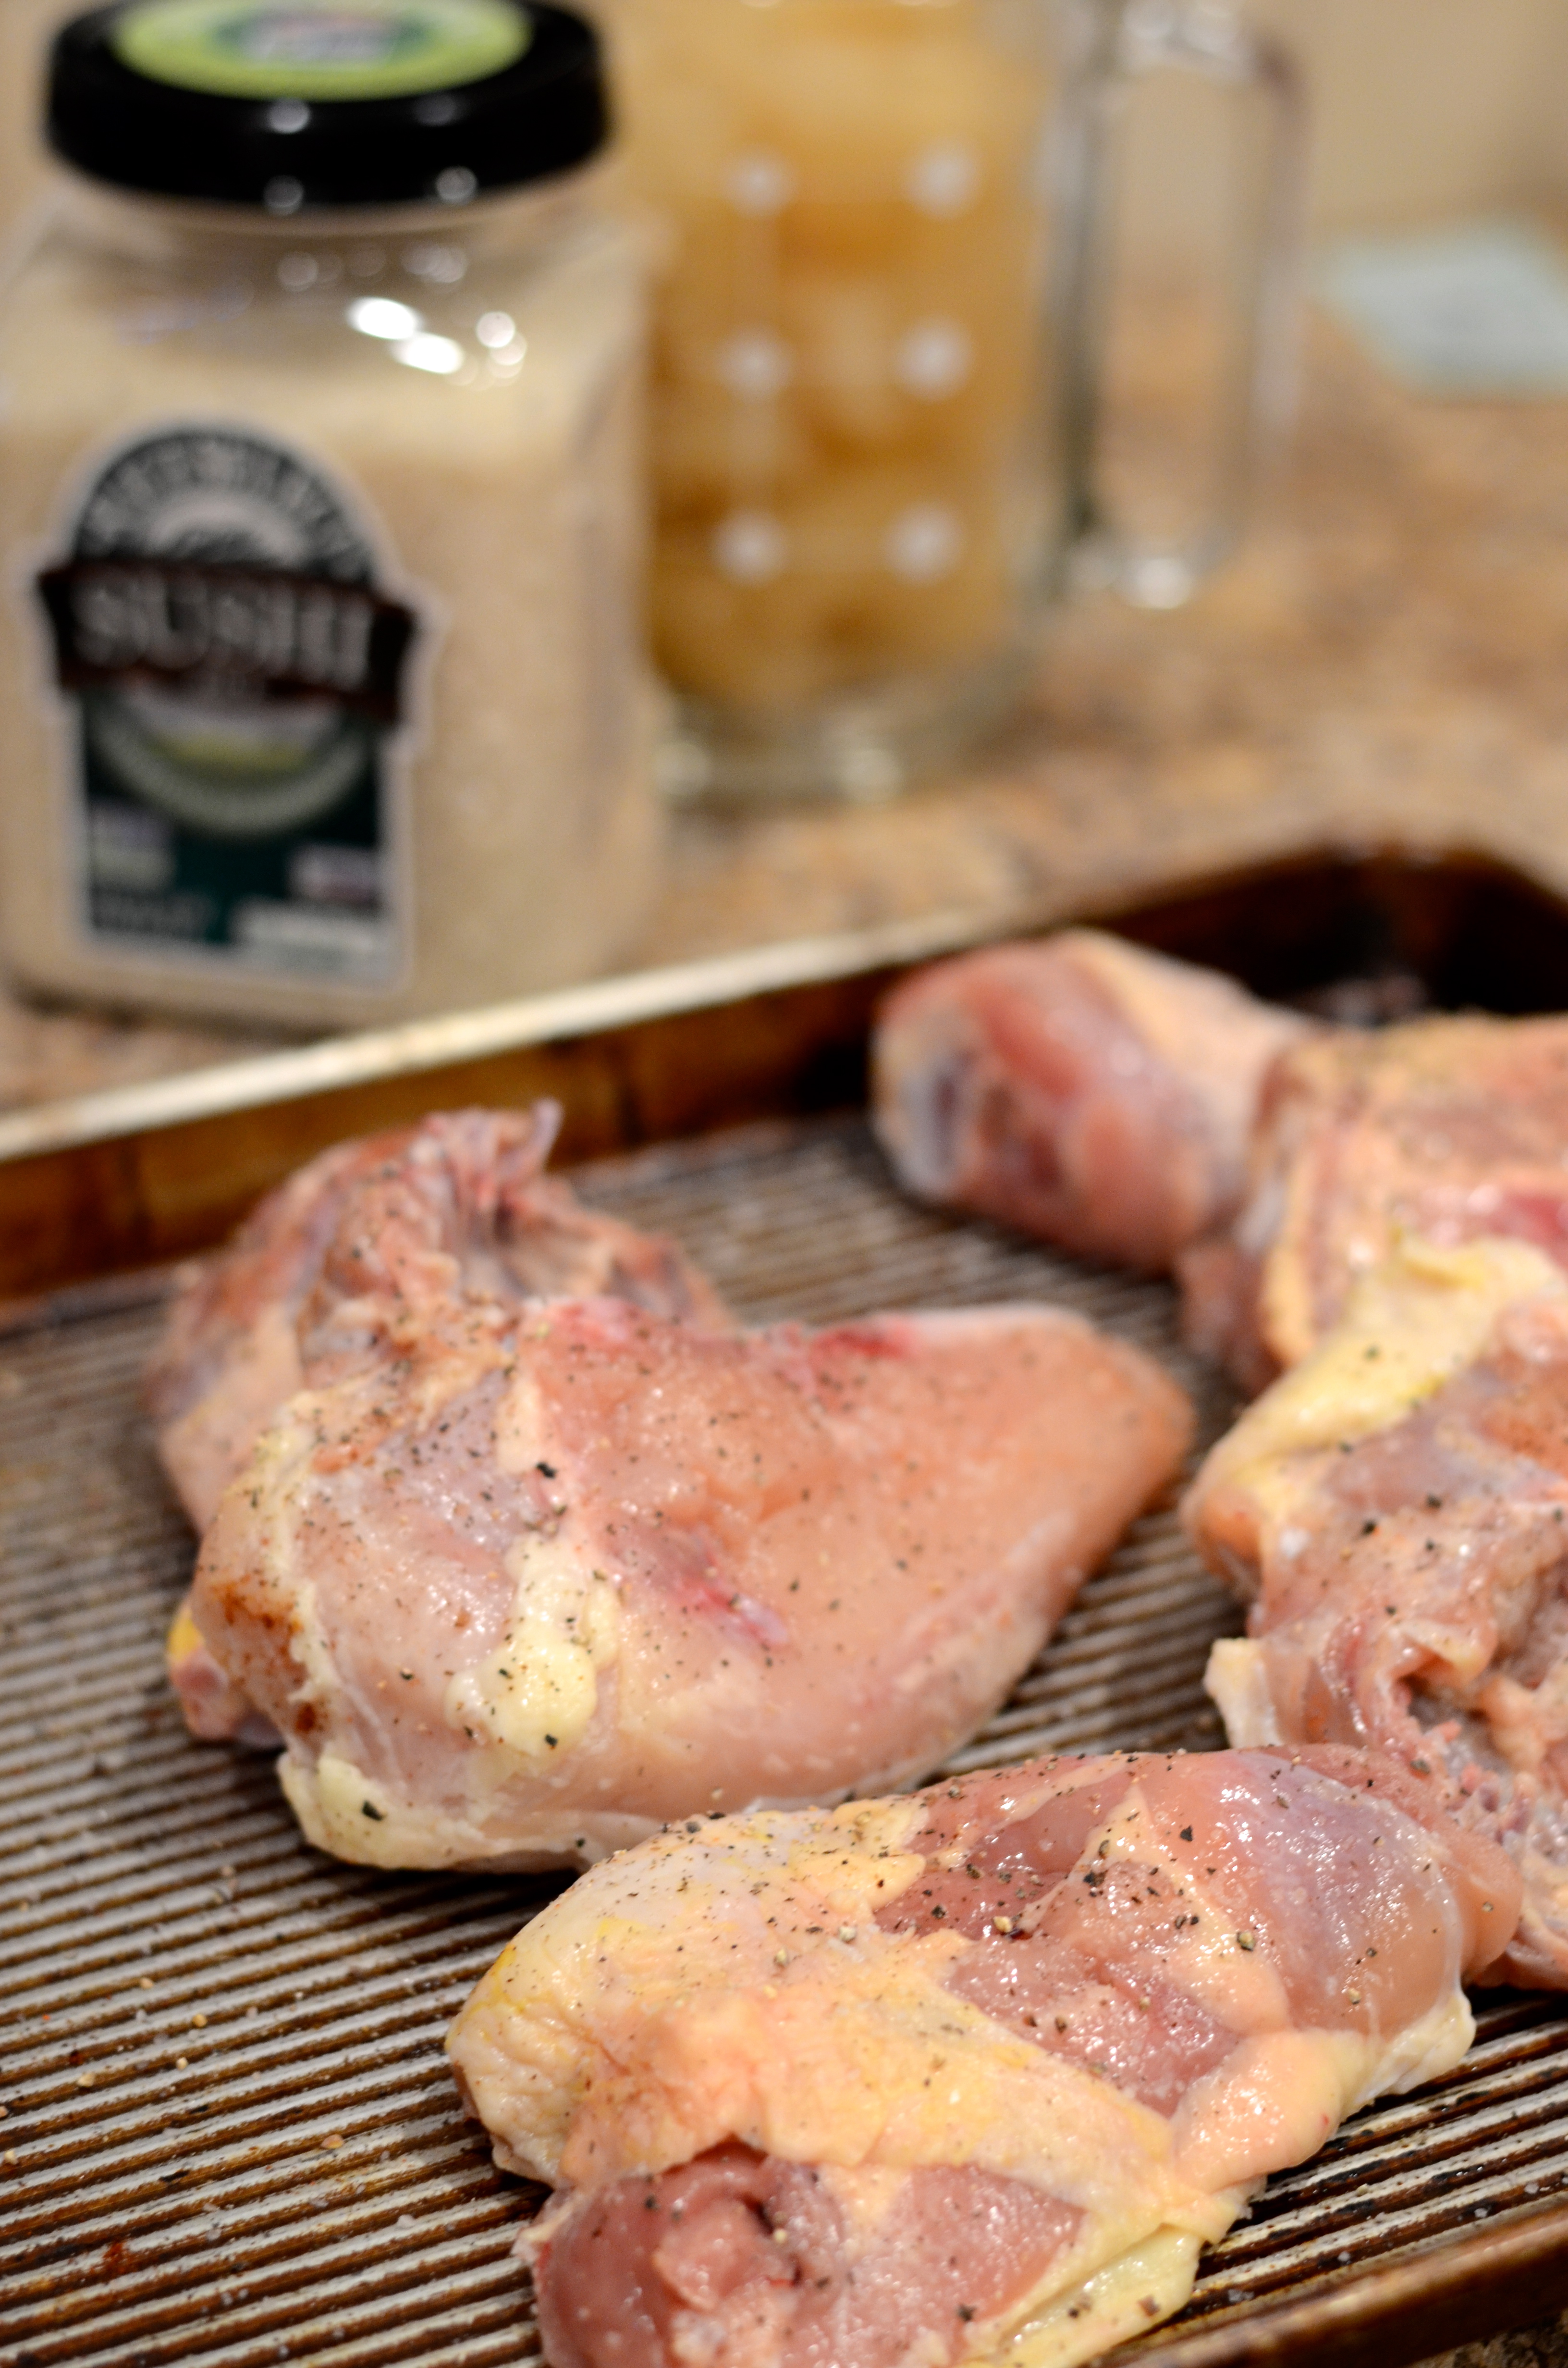
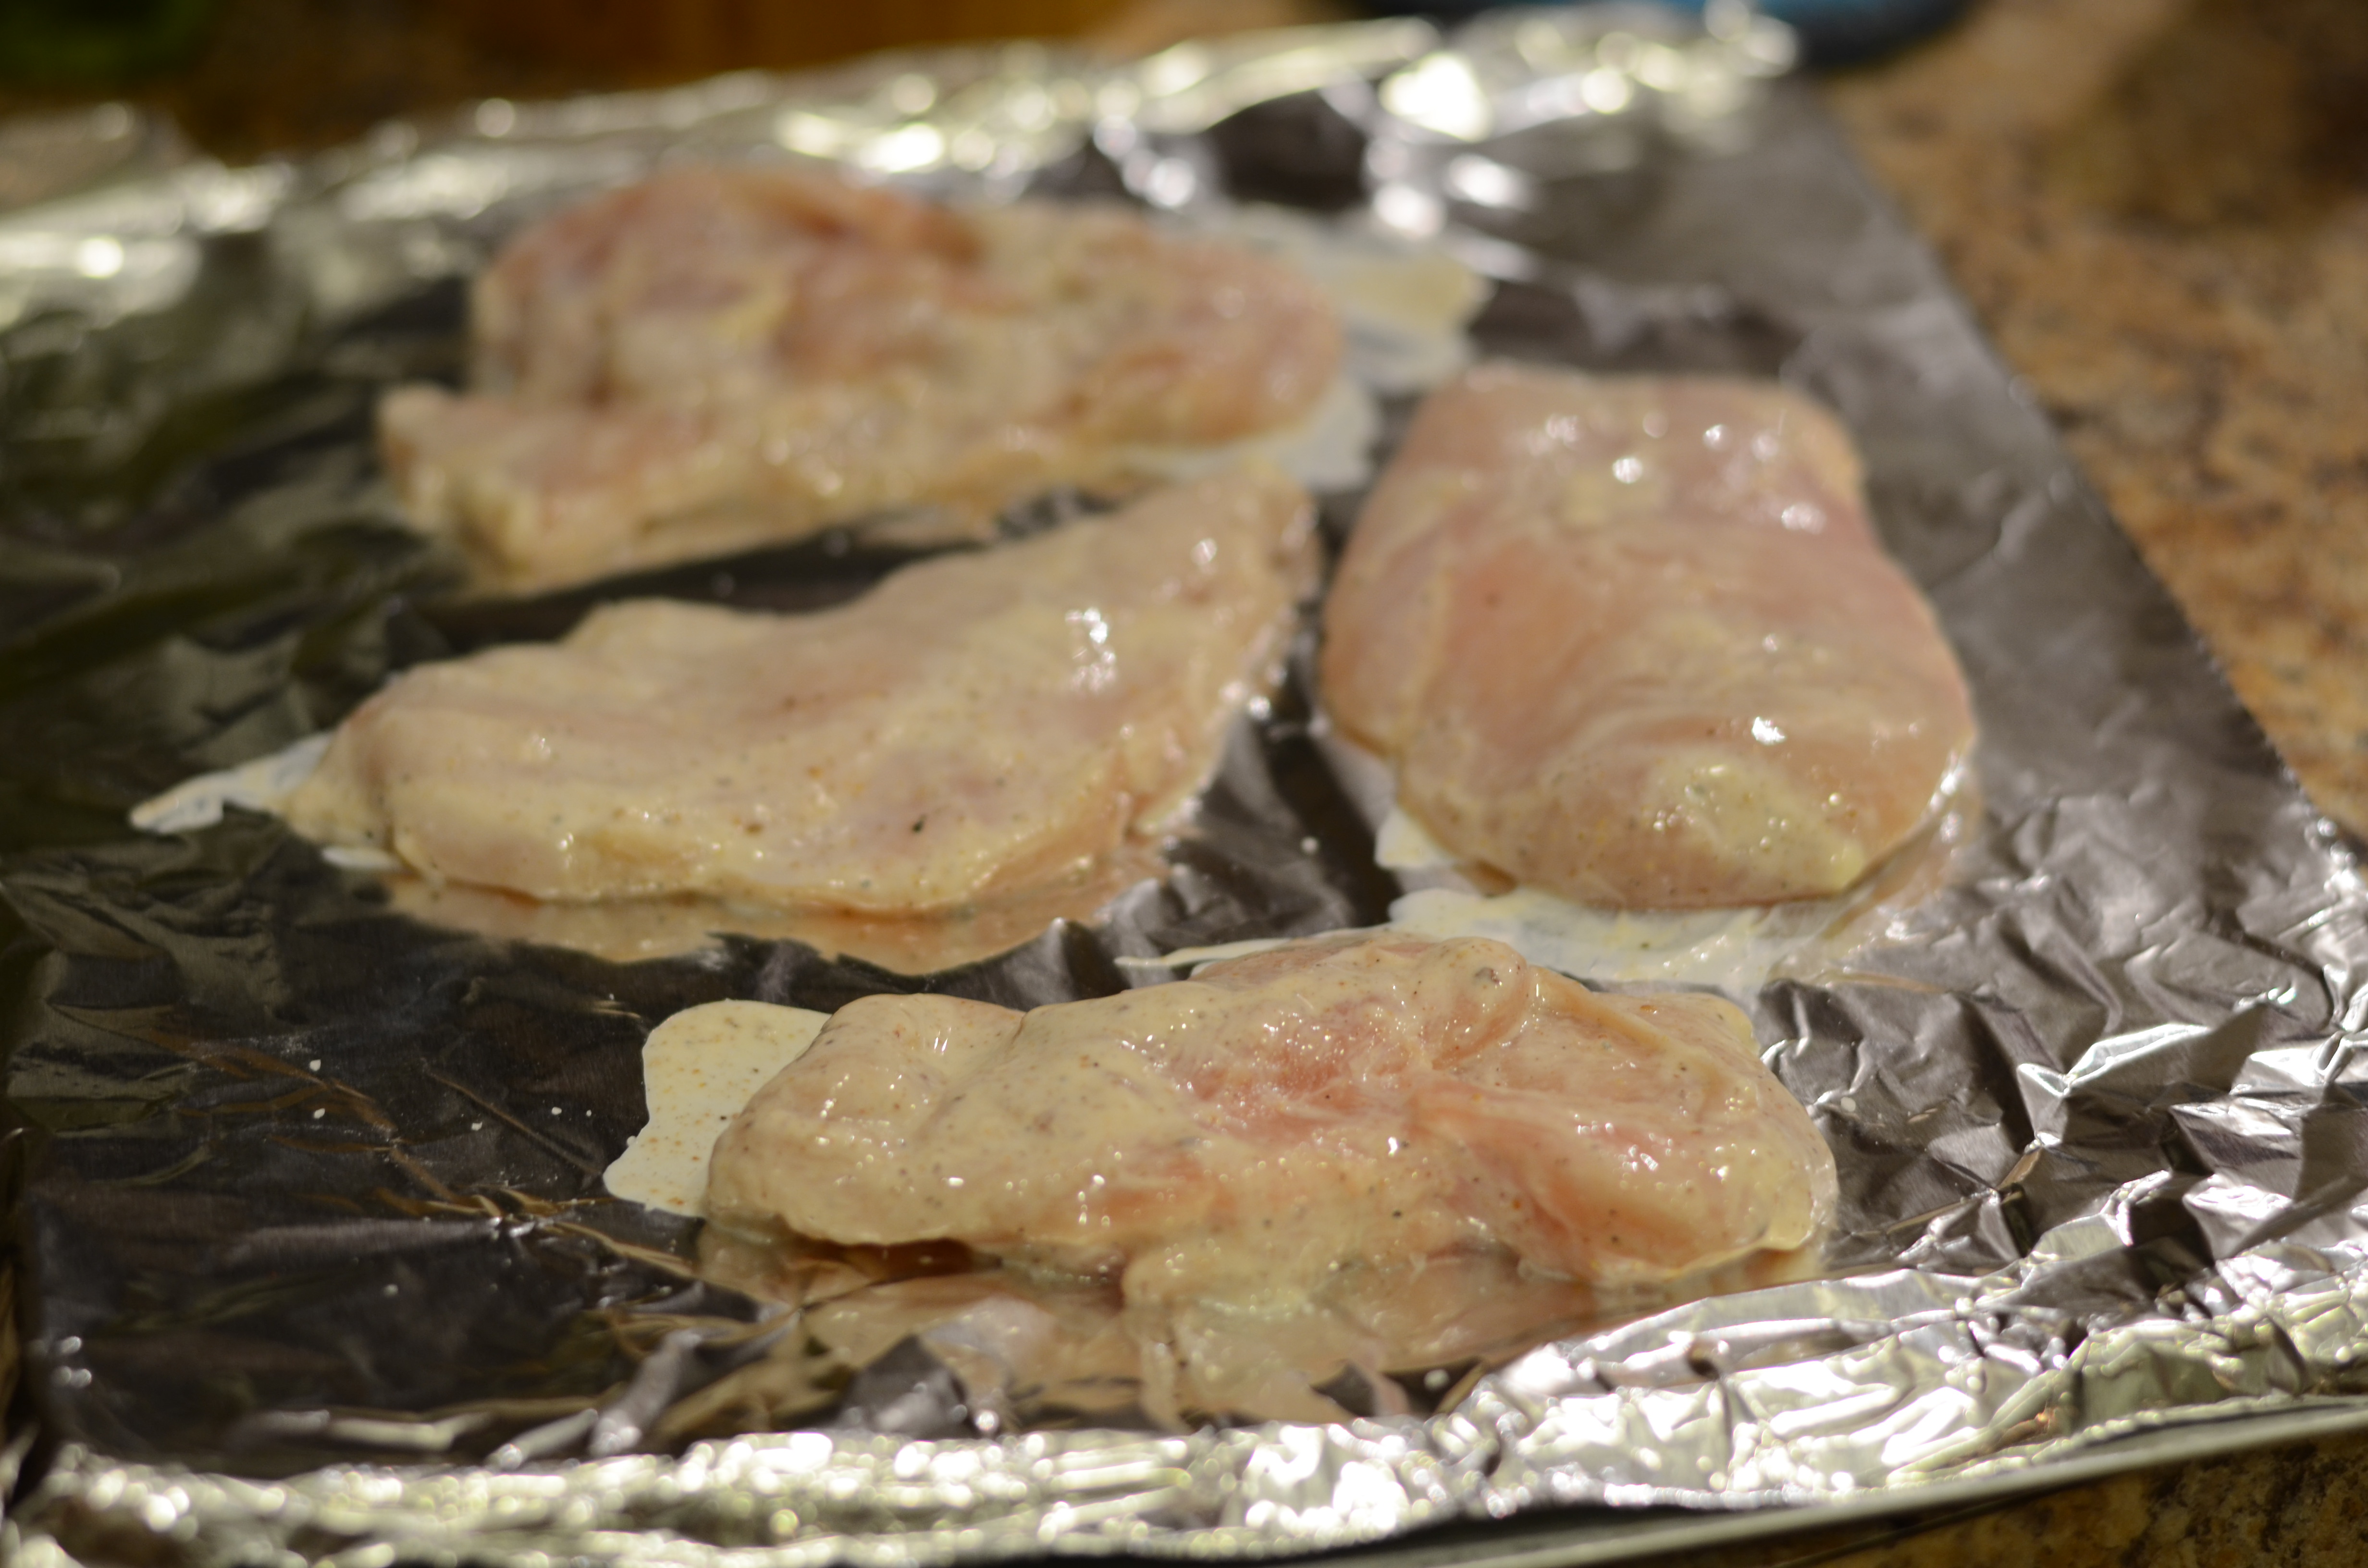
 Mix the honey, mustard, 1 Tablespoon of oil in a small bowl and salt and pepper, to taste. Put mixture in a large plastic bag, bowl, instant marinator, or whatever you like to use to marinate.