What’s one of the recipes you can make using the abundance of summer tomatoes? Gazpacho!
So let’s make gazpacho! Everybody’s doing it recently, including Cooking with Kyler, which is hosted by my husband’s cousin and his daughter. It’s appealing because it is simple, refreshing, and customizable.
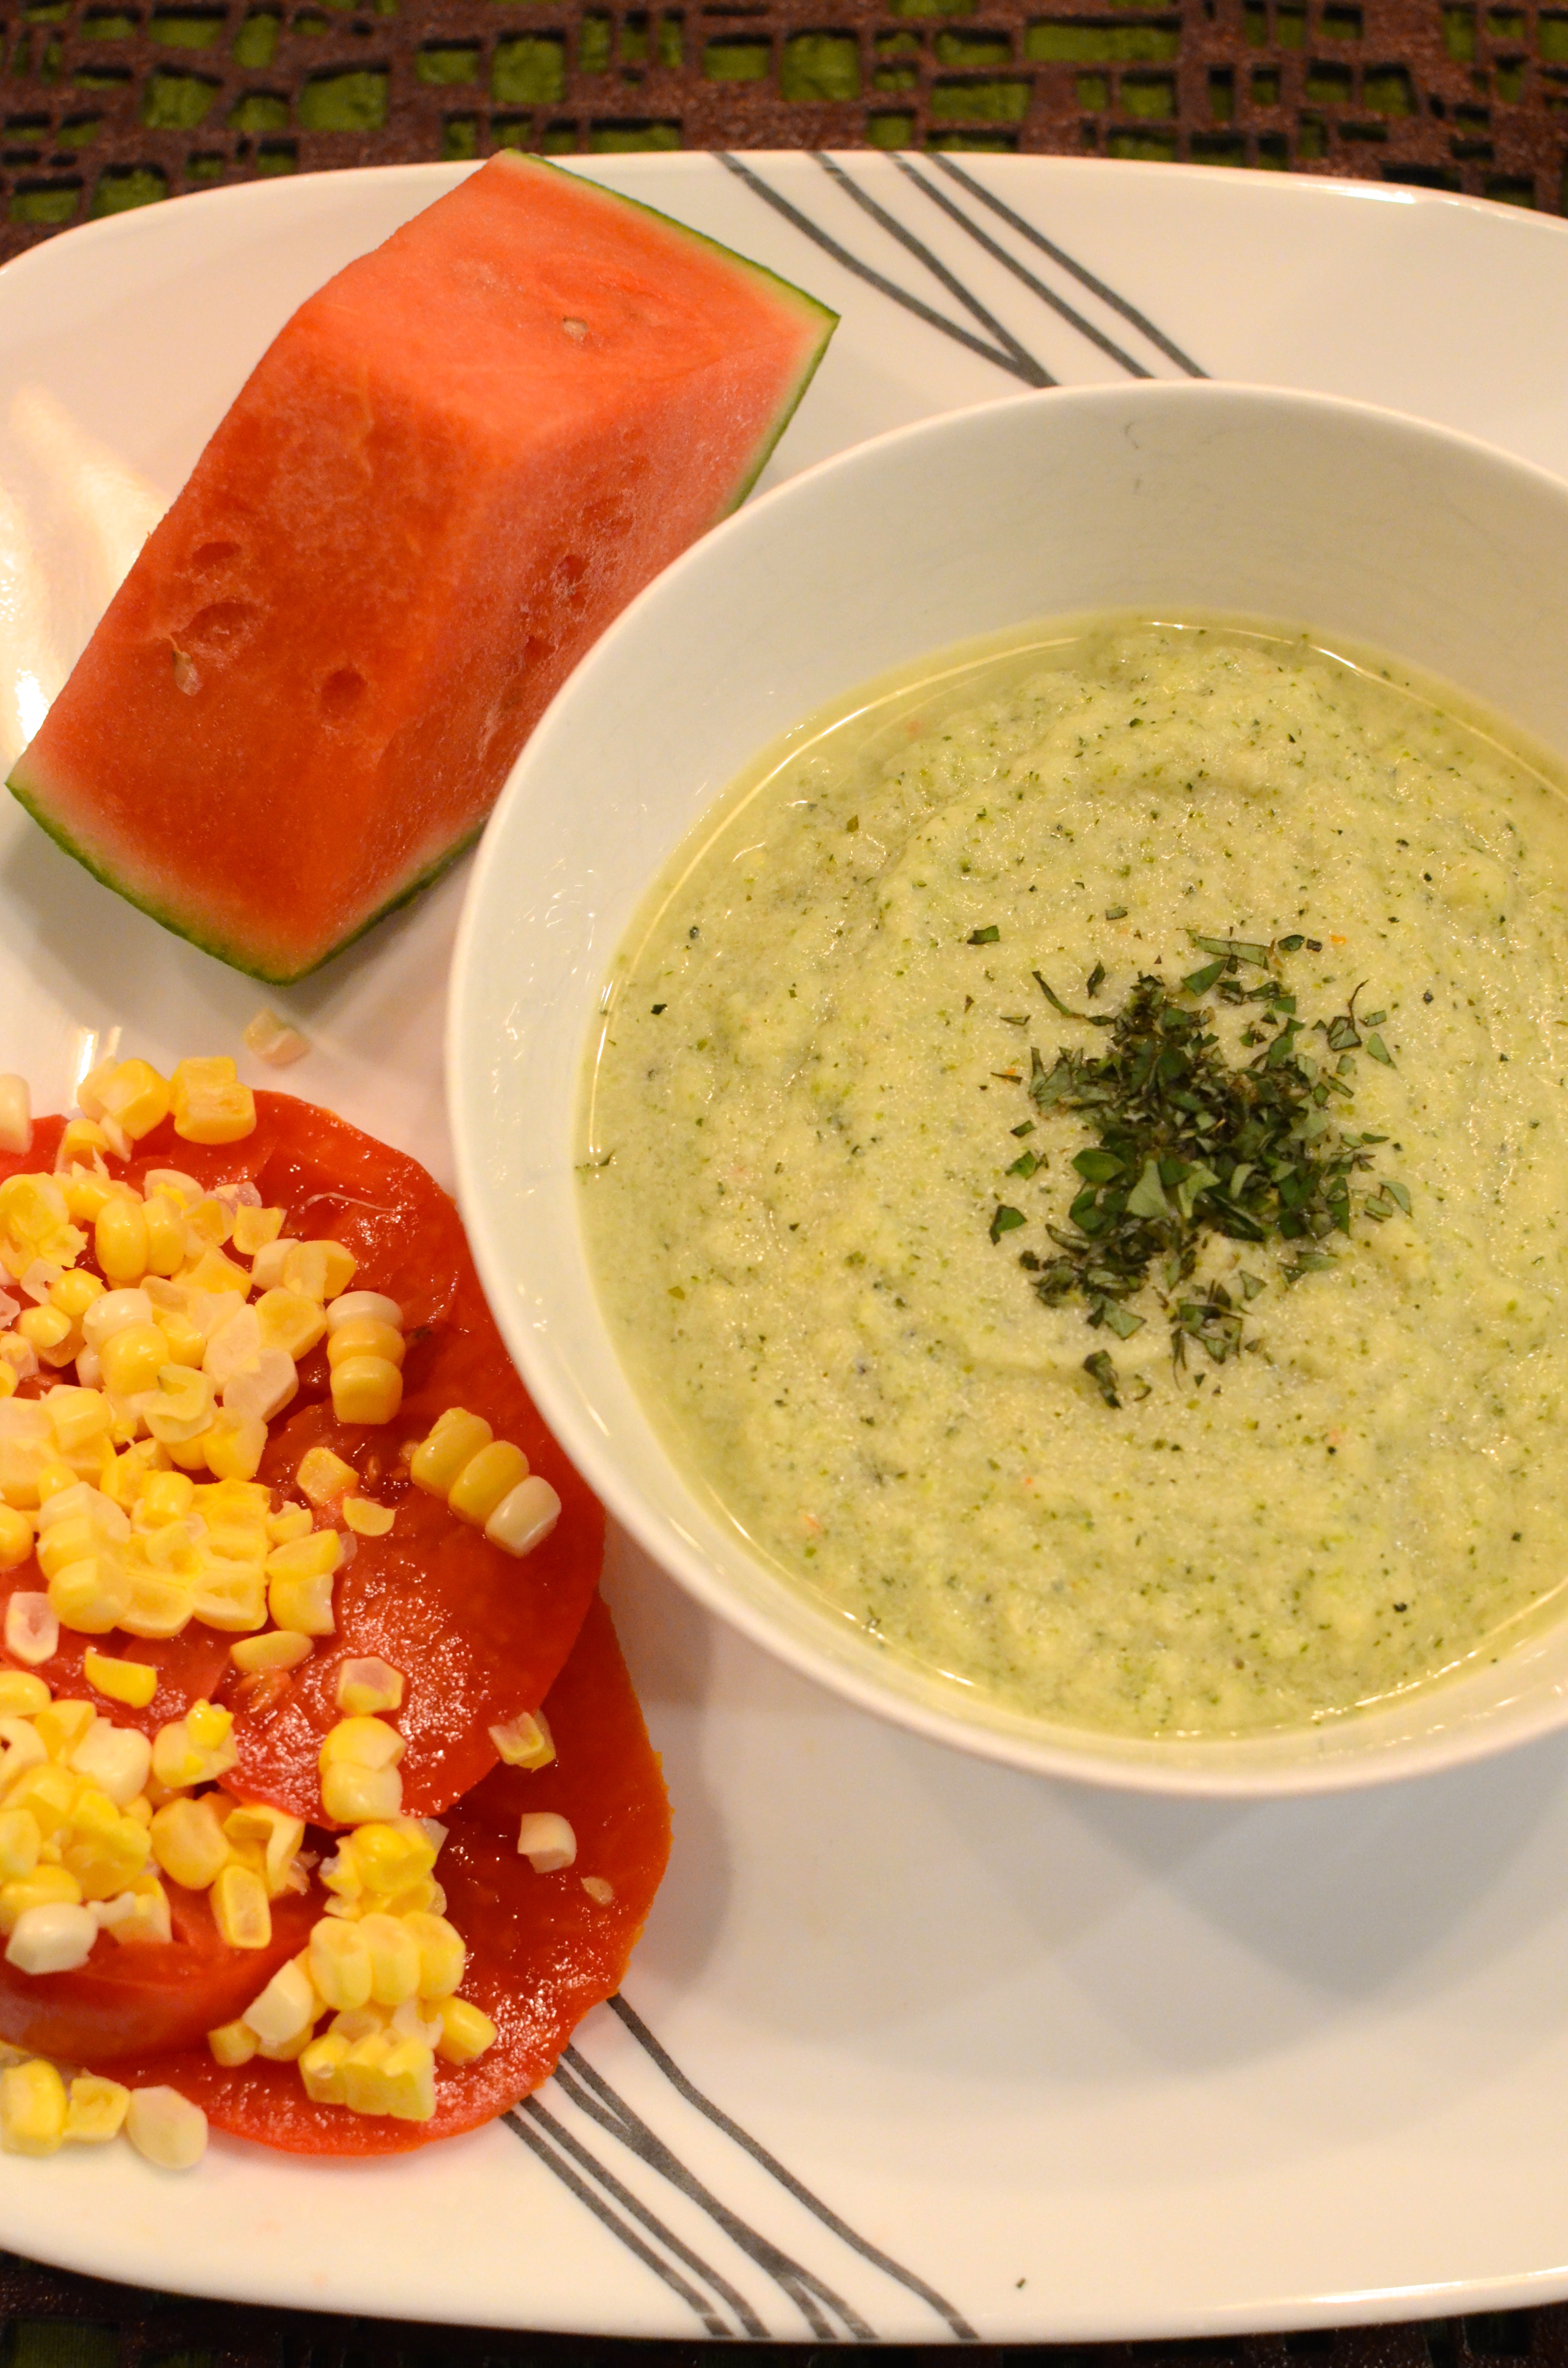
As I’ve mentioned before, I’m not a huge fan of cold soups in general, but I’ve recently warmed to the idea of a good gazpacho (see what I did there?) Especially when you add crunchy toppings.
Gazpacho is simple because you can basically dump everything in a blender or food processor. However, it’s a bit messy – be forewarned. It’s likely you’ll have to transfer the mixture back and forth between different containers since it won’t completely fit in the blender. Then you strain it–unless you don’t mind a little texture. The resulting soup is a unique color (which will splatter all over your counters as part of the process) and fun to serve presented in clear drinking glasses.
I wish the 2 pounds of tomatoes made more of dent in my harvest. Here’s what I collect every couple of days!


Tomato and Cucumber Gazpacho
Adapted from Julia Moskin’s New York Times Cooking recipe
Approximately 2 lb ripe red tomatoes,
1 green pepper, such as bell pepper, Italian frying, or Anaheim pepper
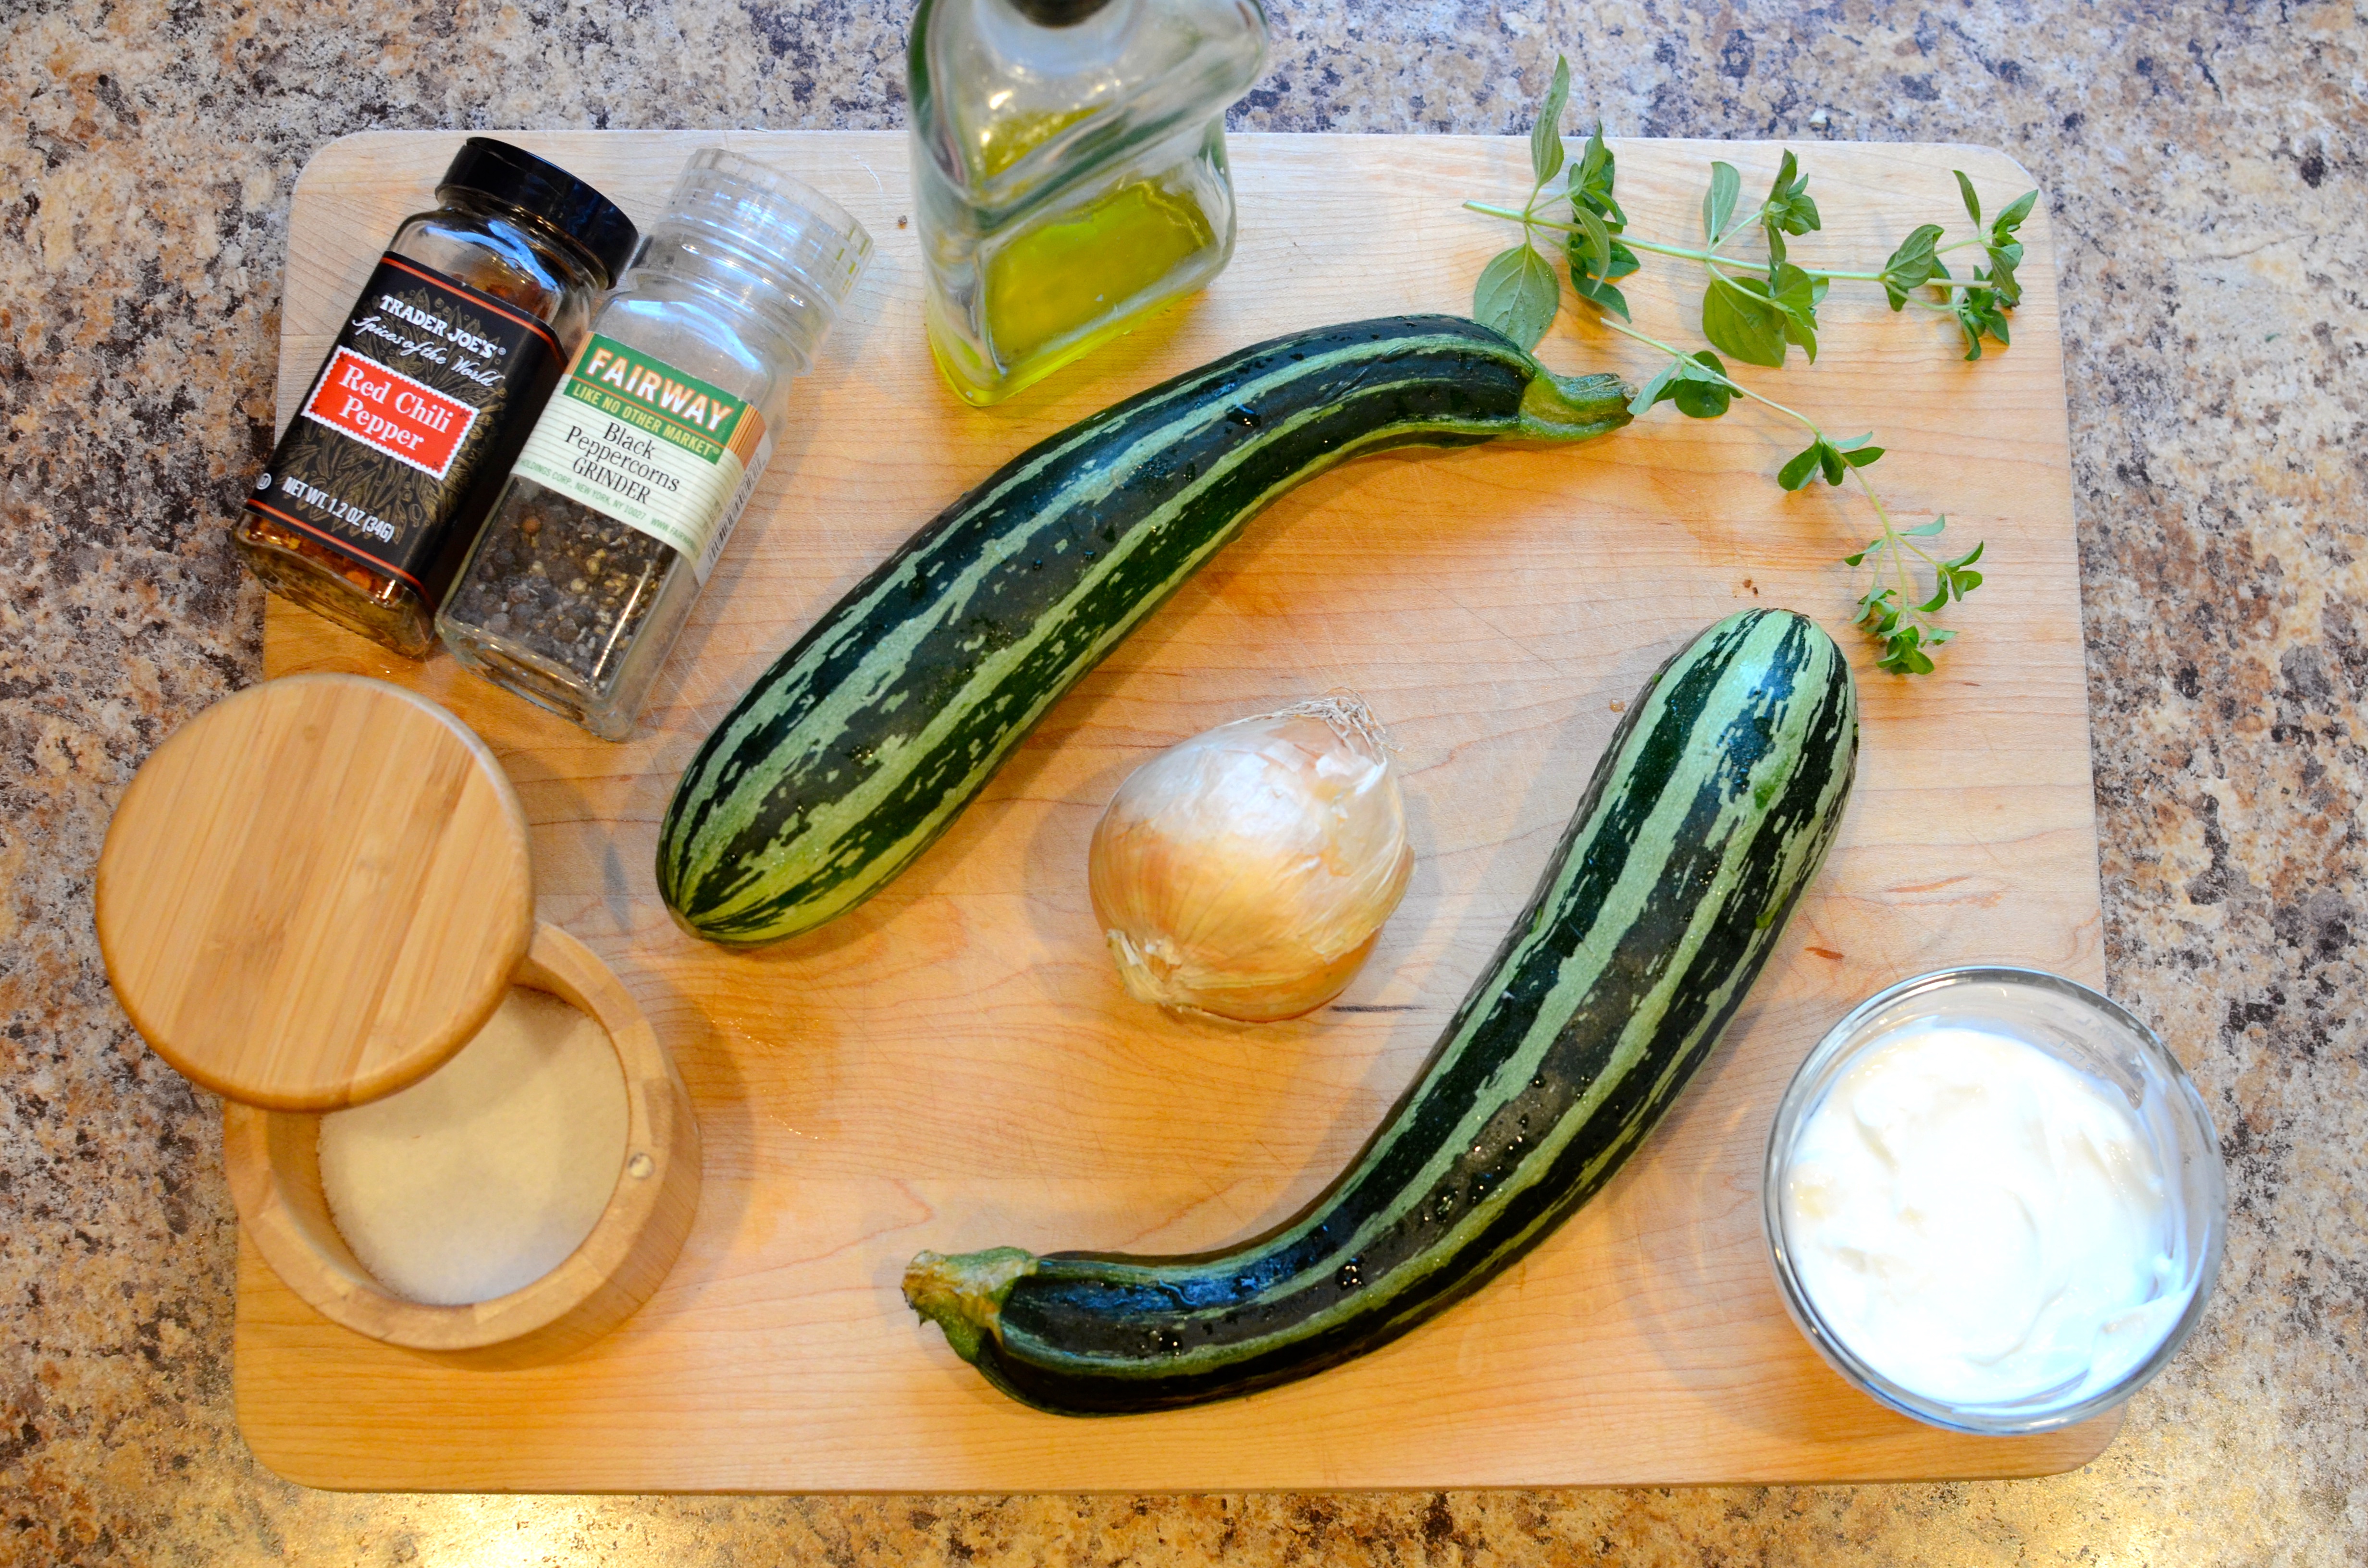
1 cucumber, about 8 inches long
1 small onion (white or red)
1 garlic clove
2-4 teaspoons sherry vinegar, to taste
Salt to taste
½ Cup extra-virgin olive oil, plus more to taste and for drizzling
Optional and recommended toppings:
Hot sauce
Croutons-make your own with stale bread, butter, garlic and salt
Almonds, toasted and coarsely chopped
Avocado, cut into cubes
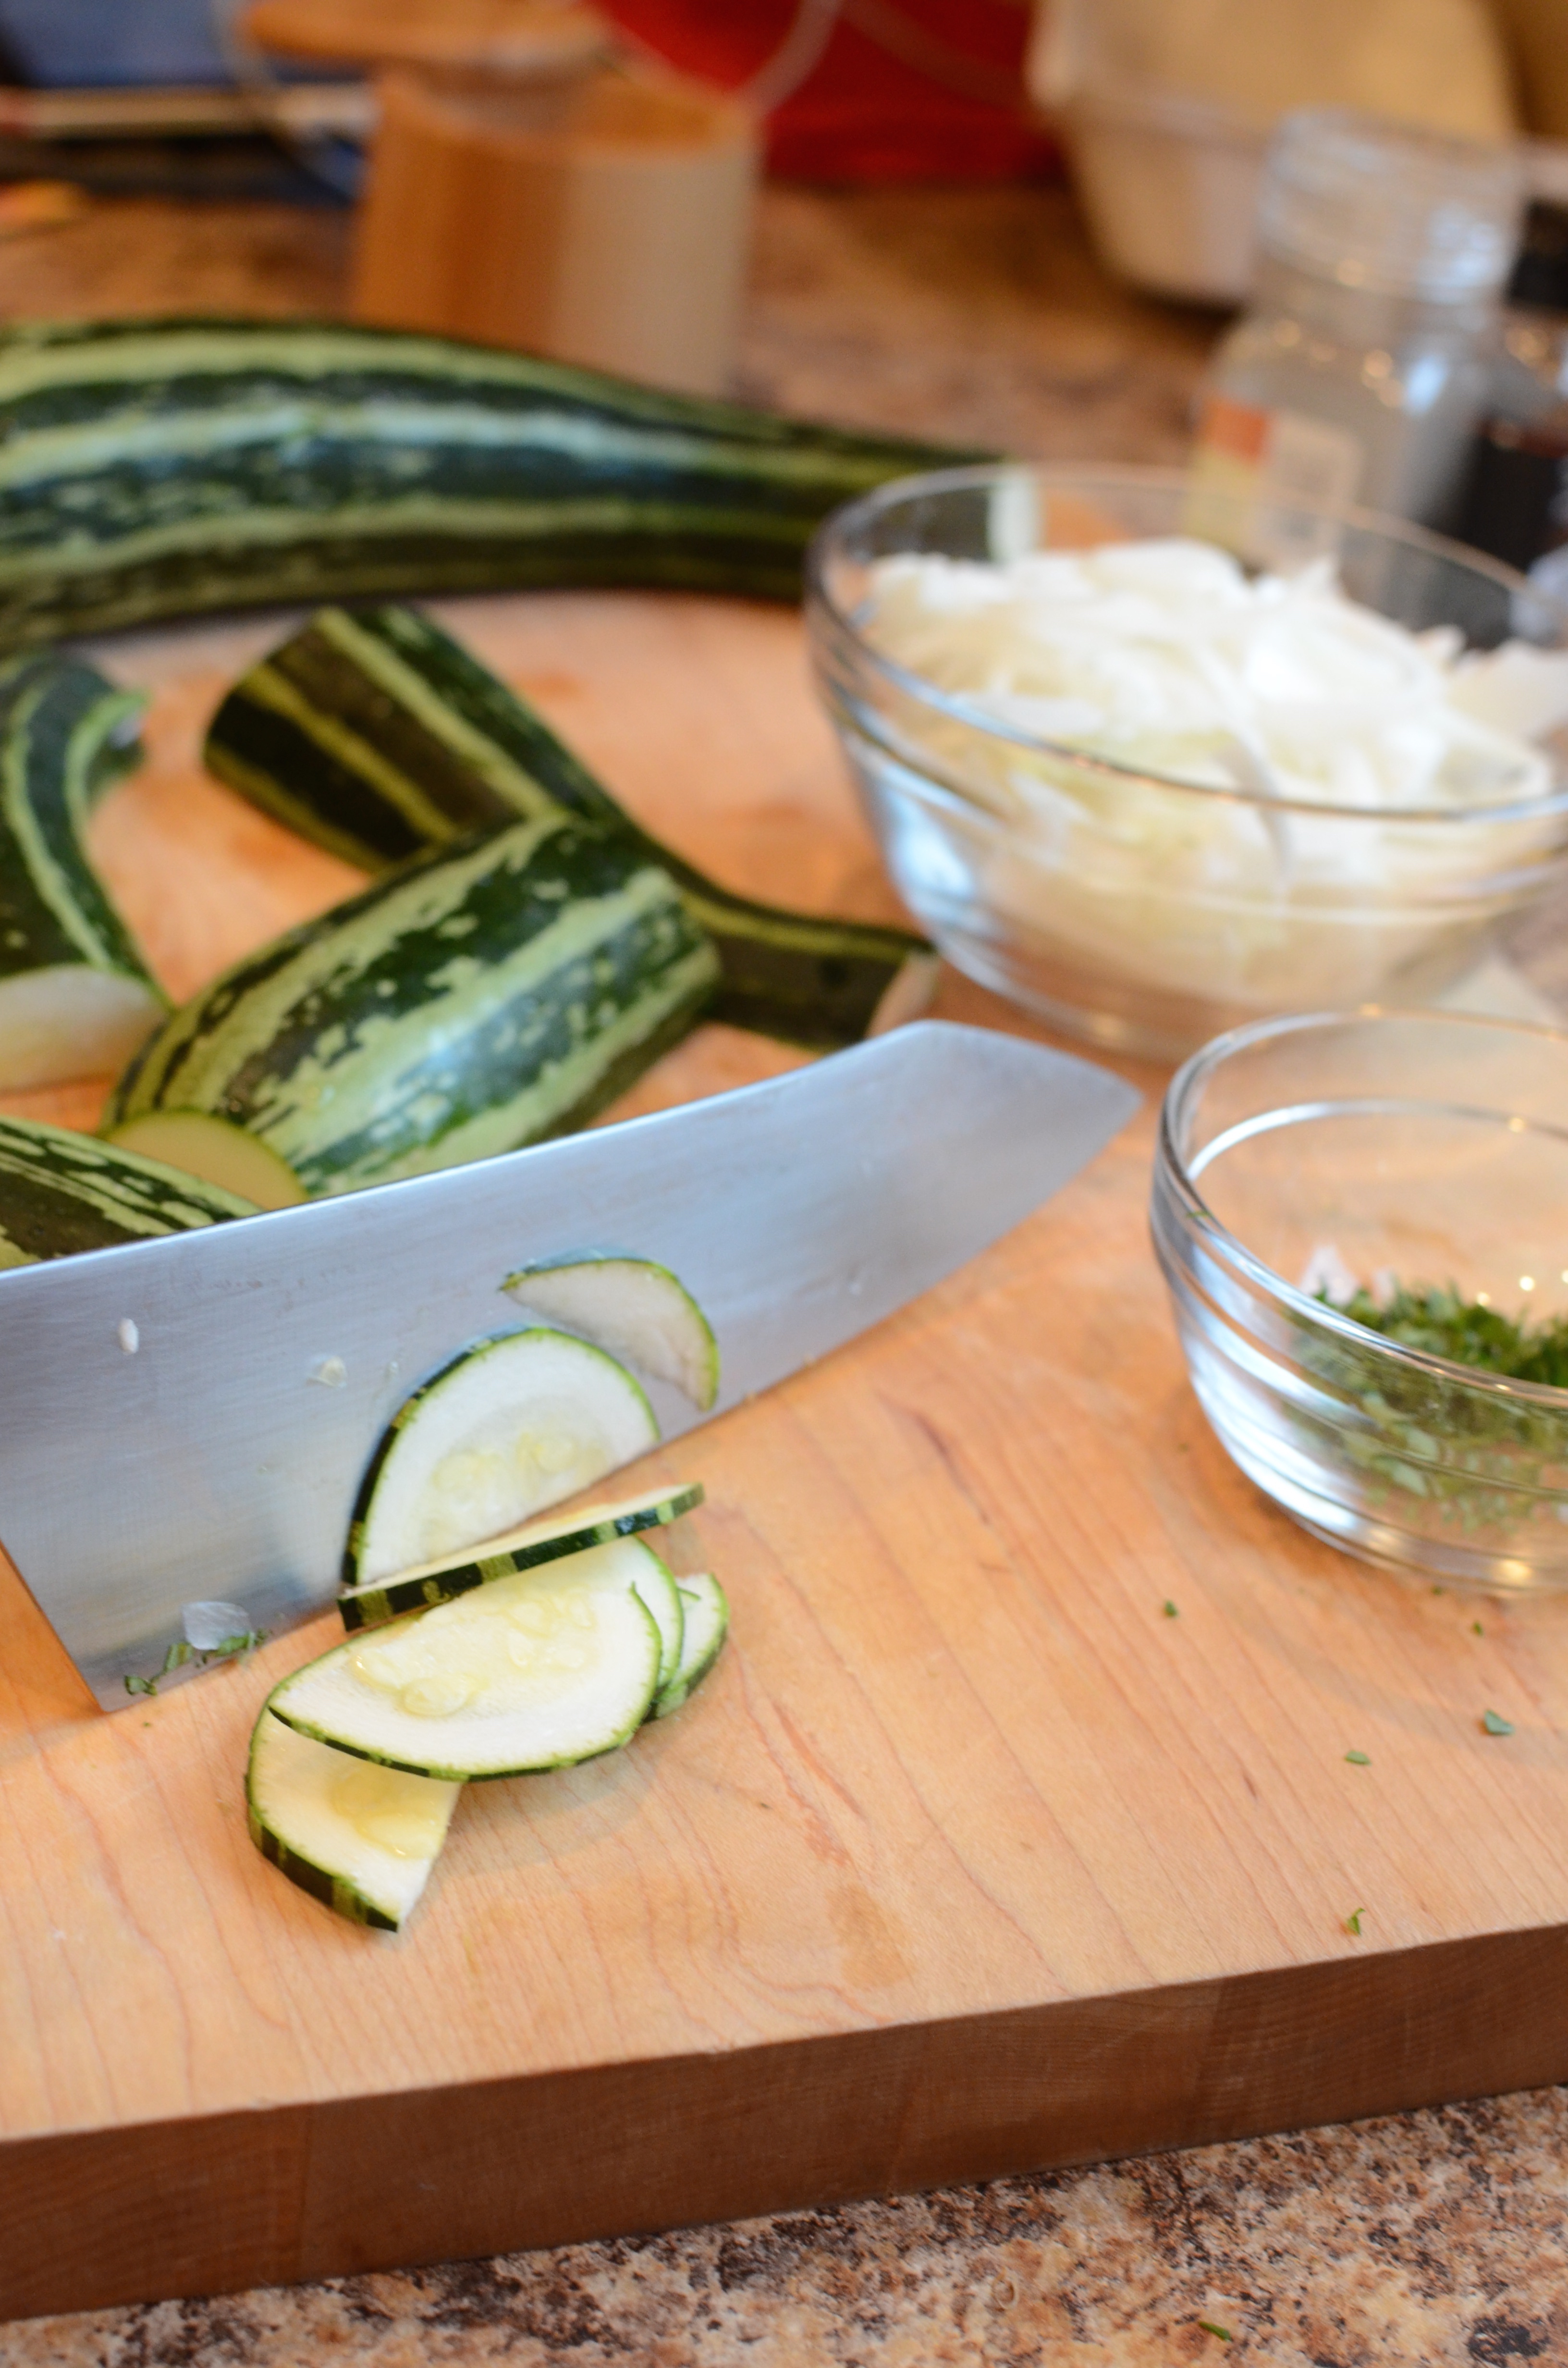
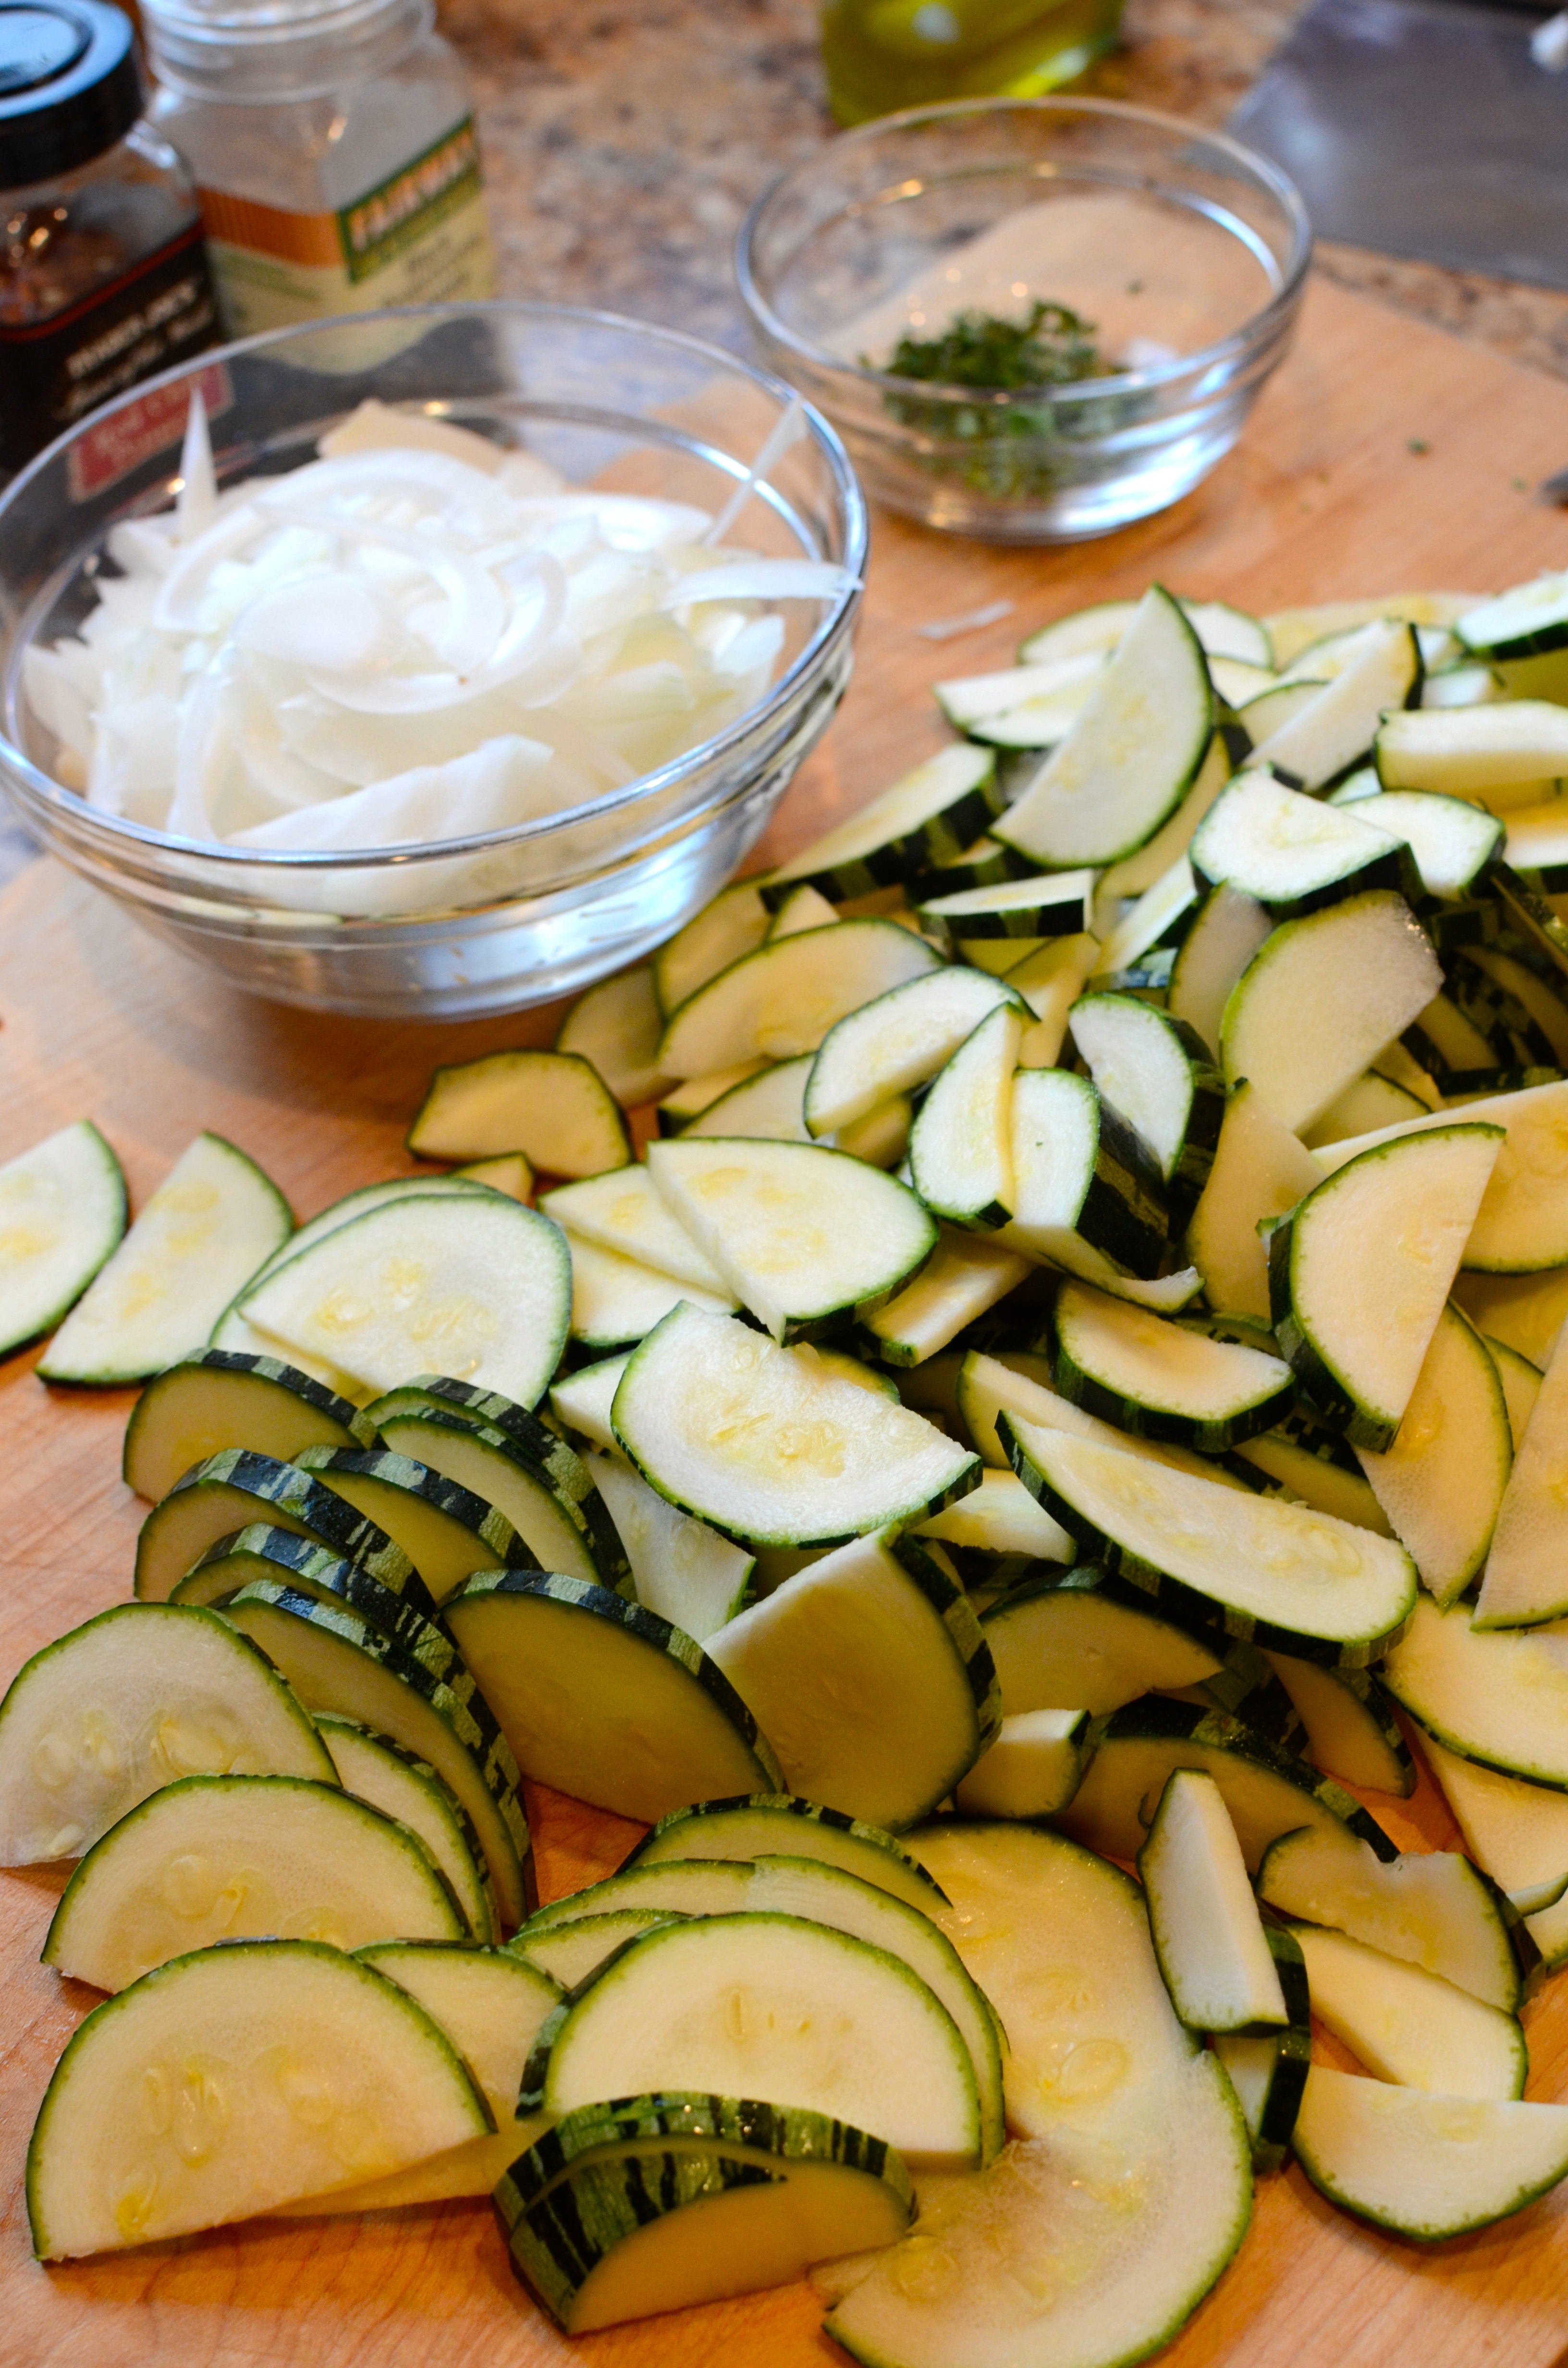
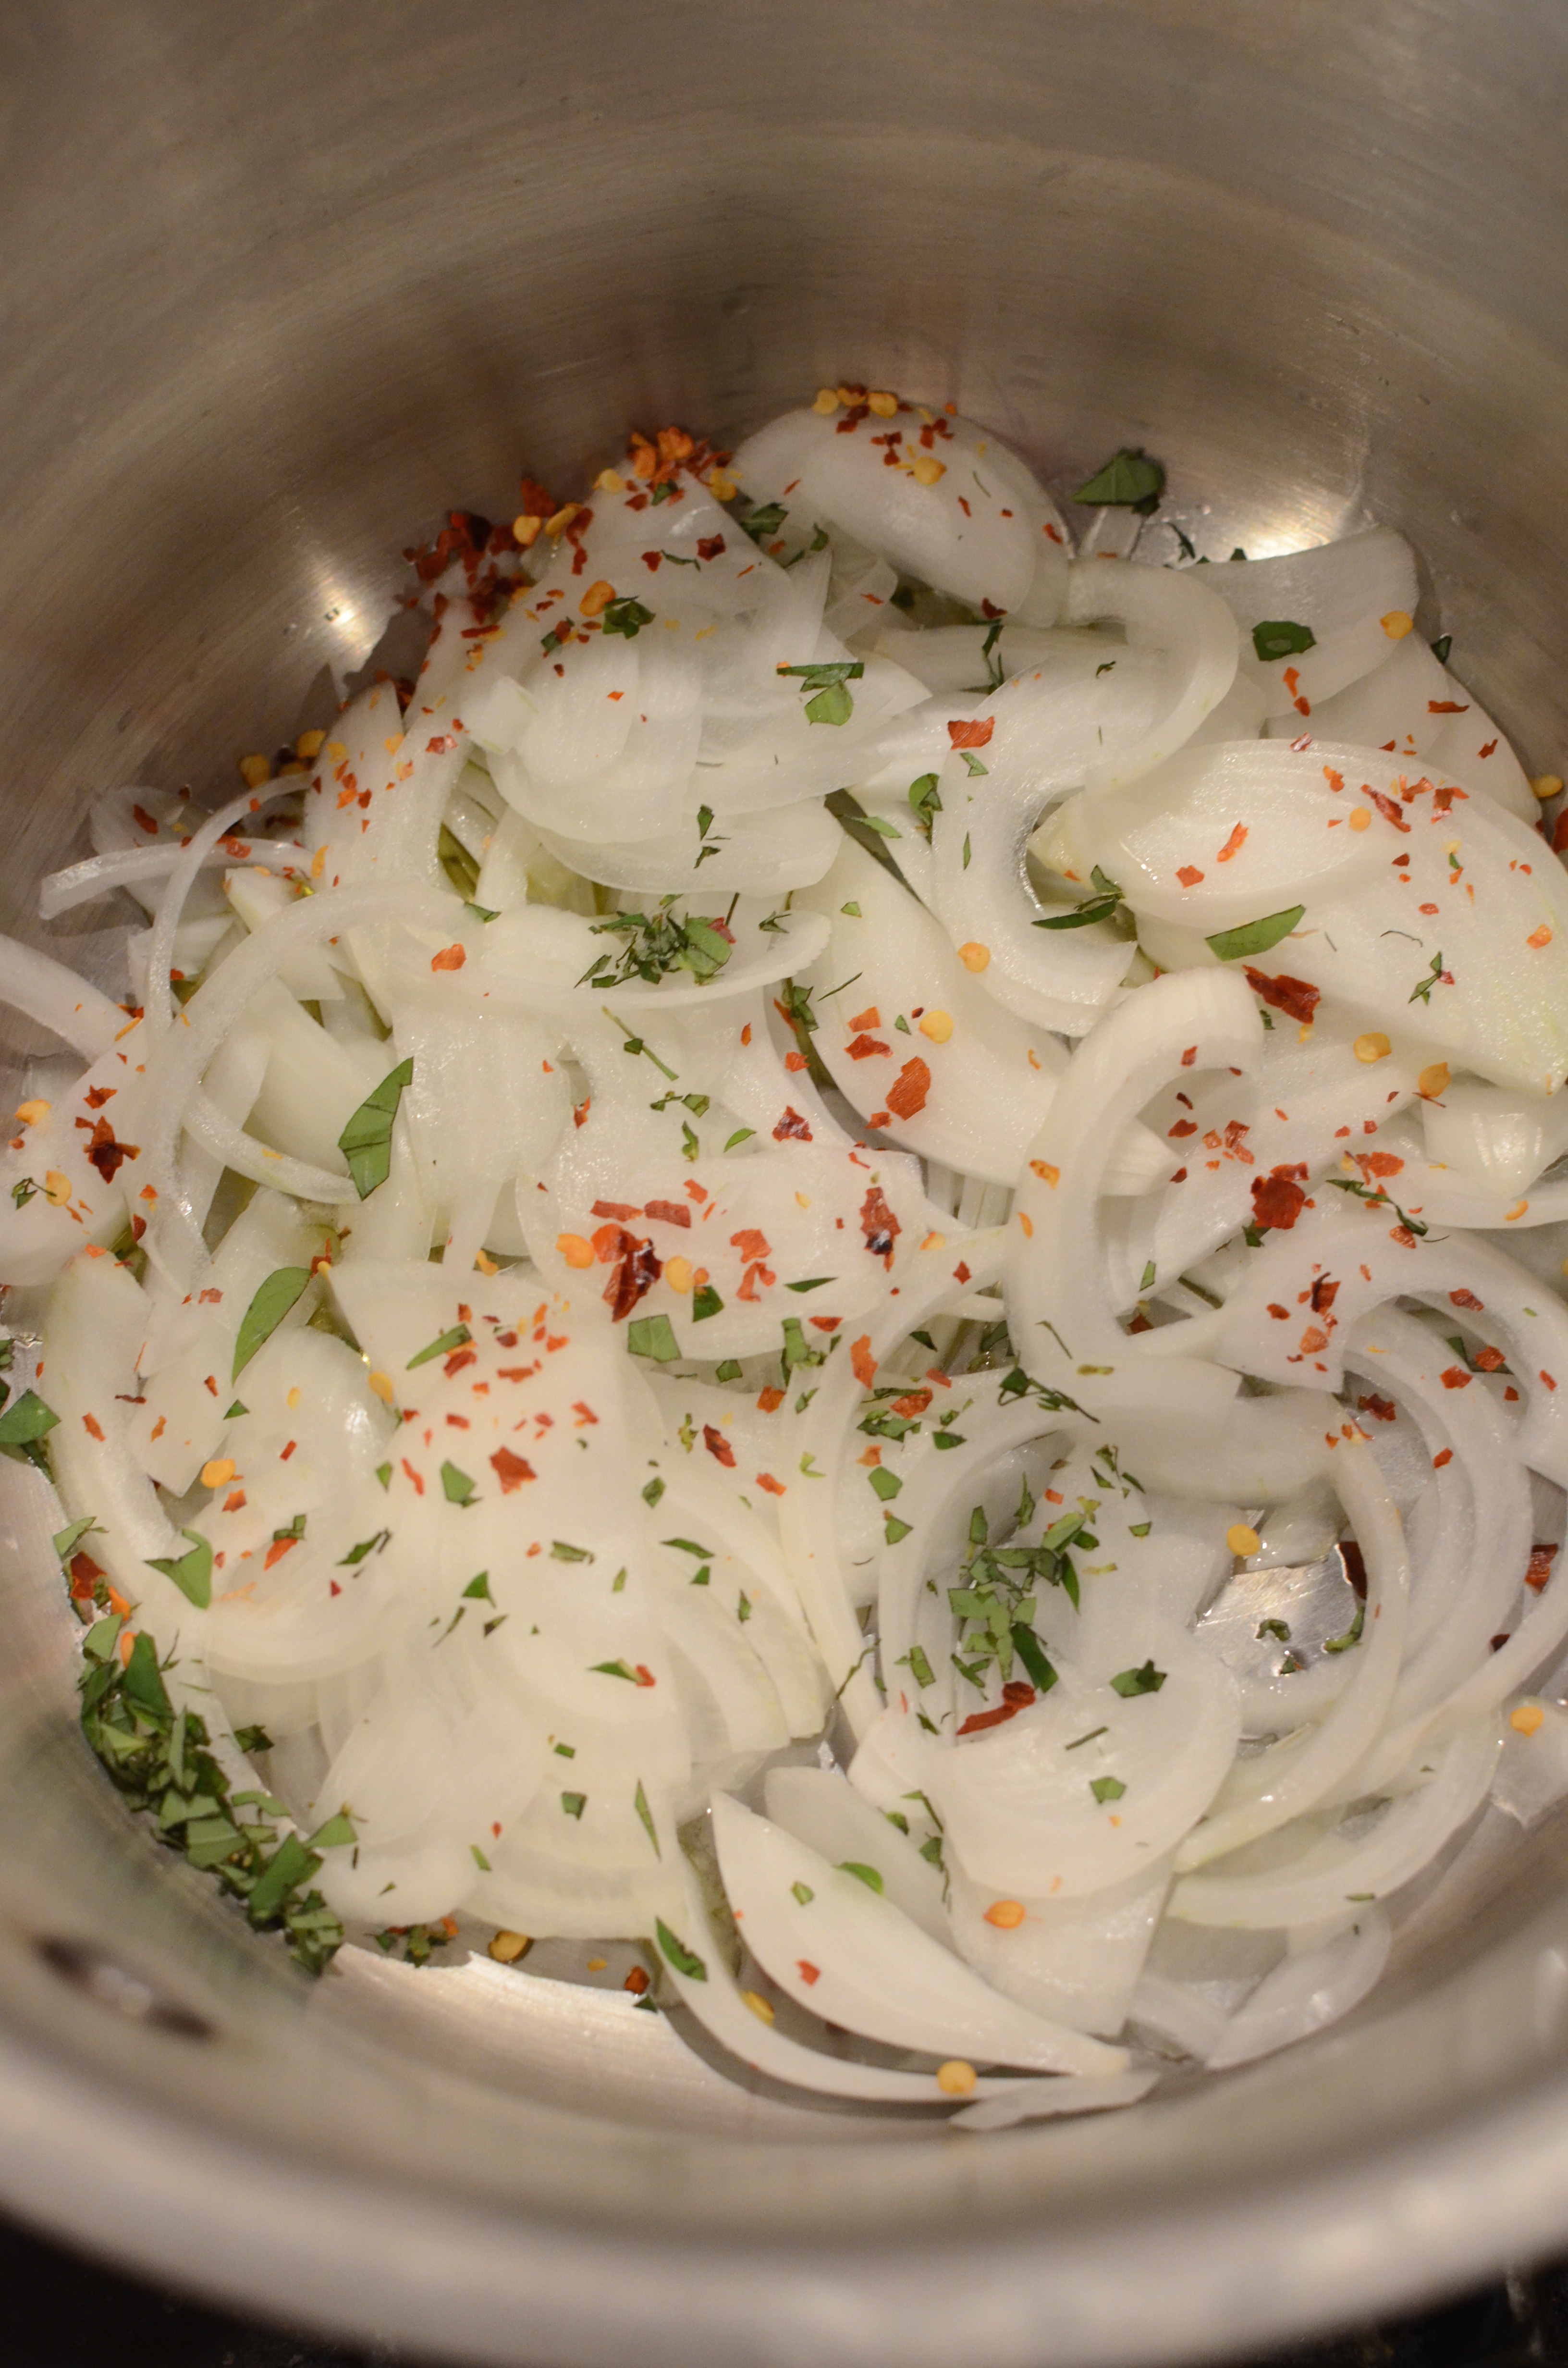
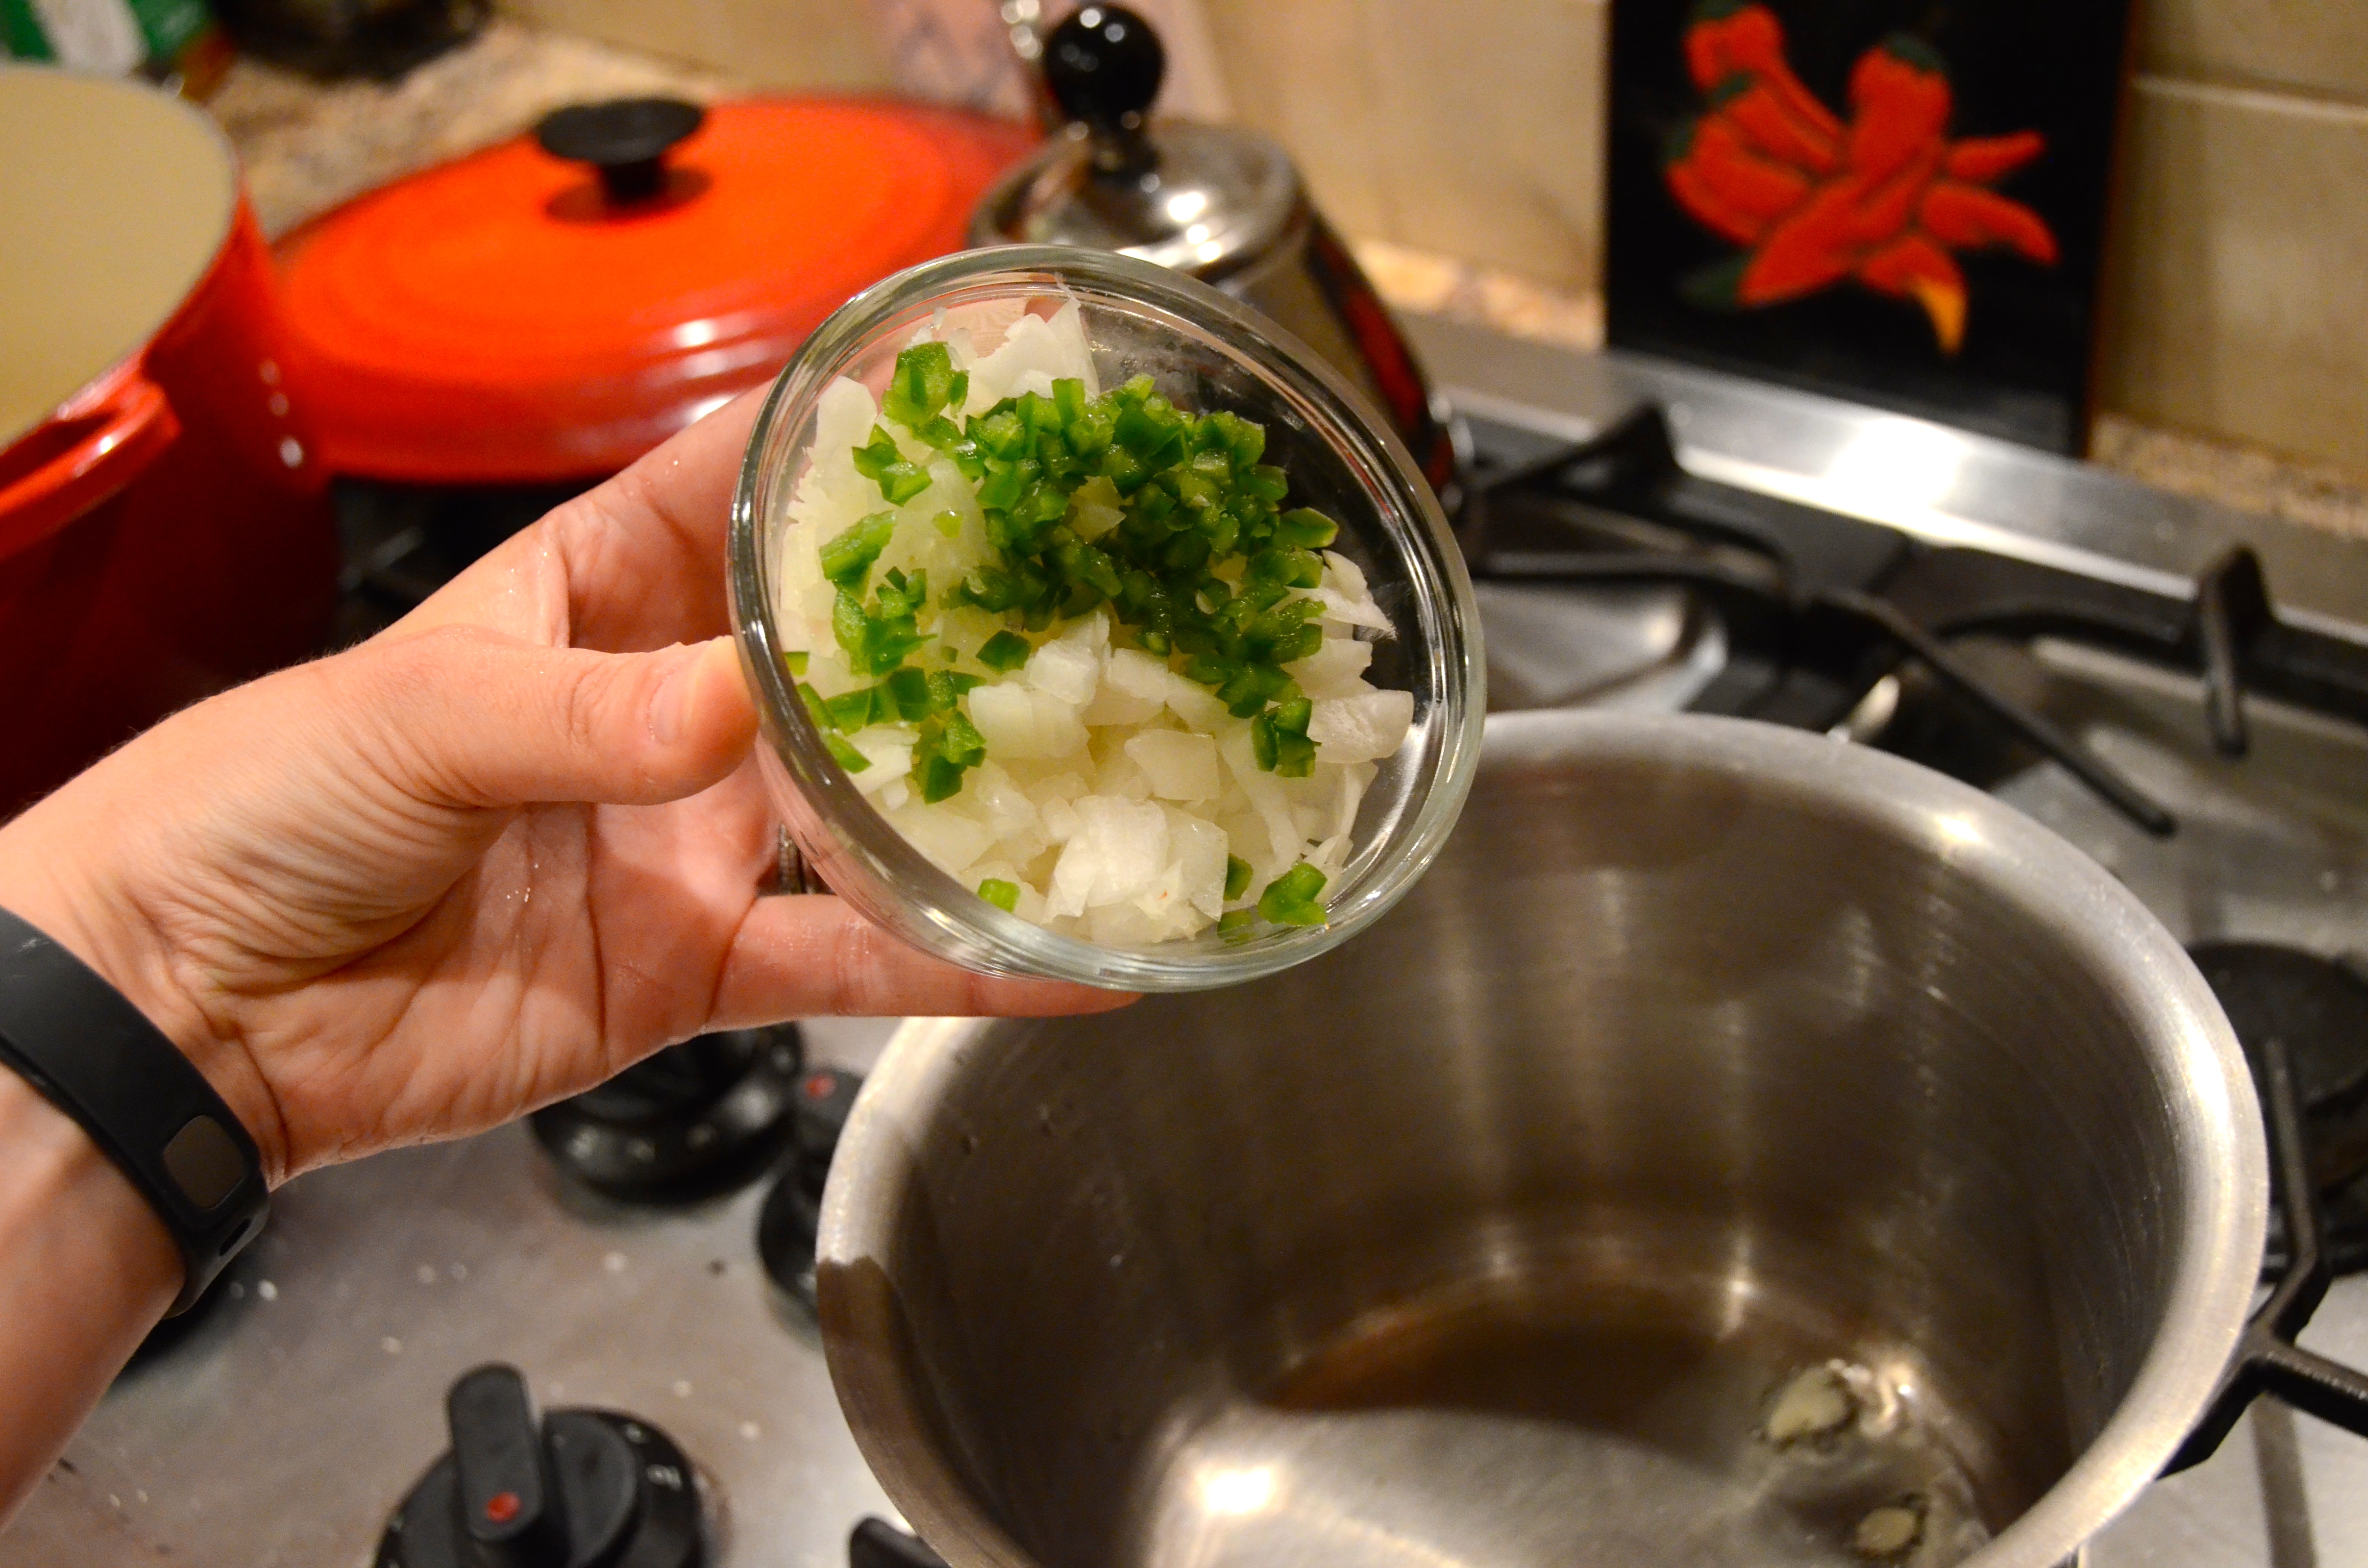
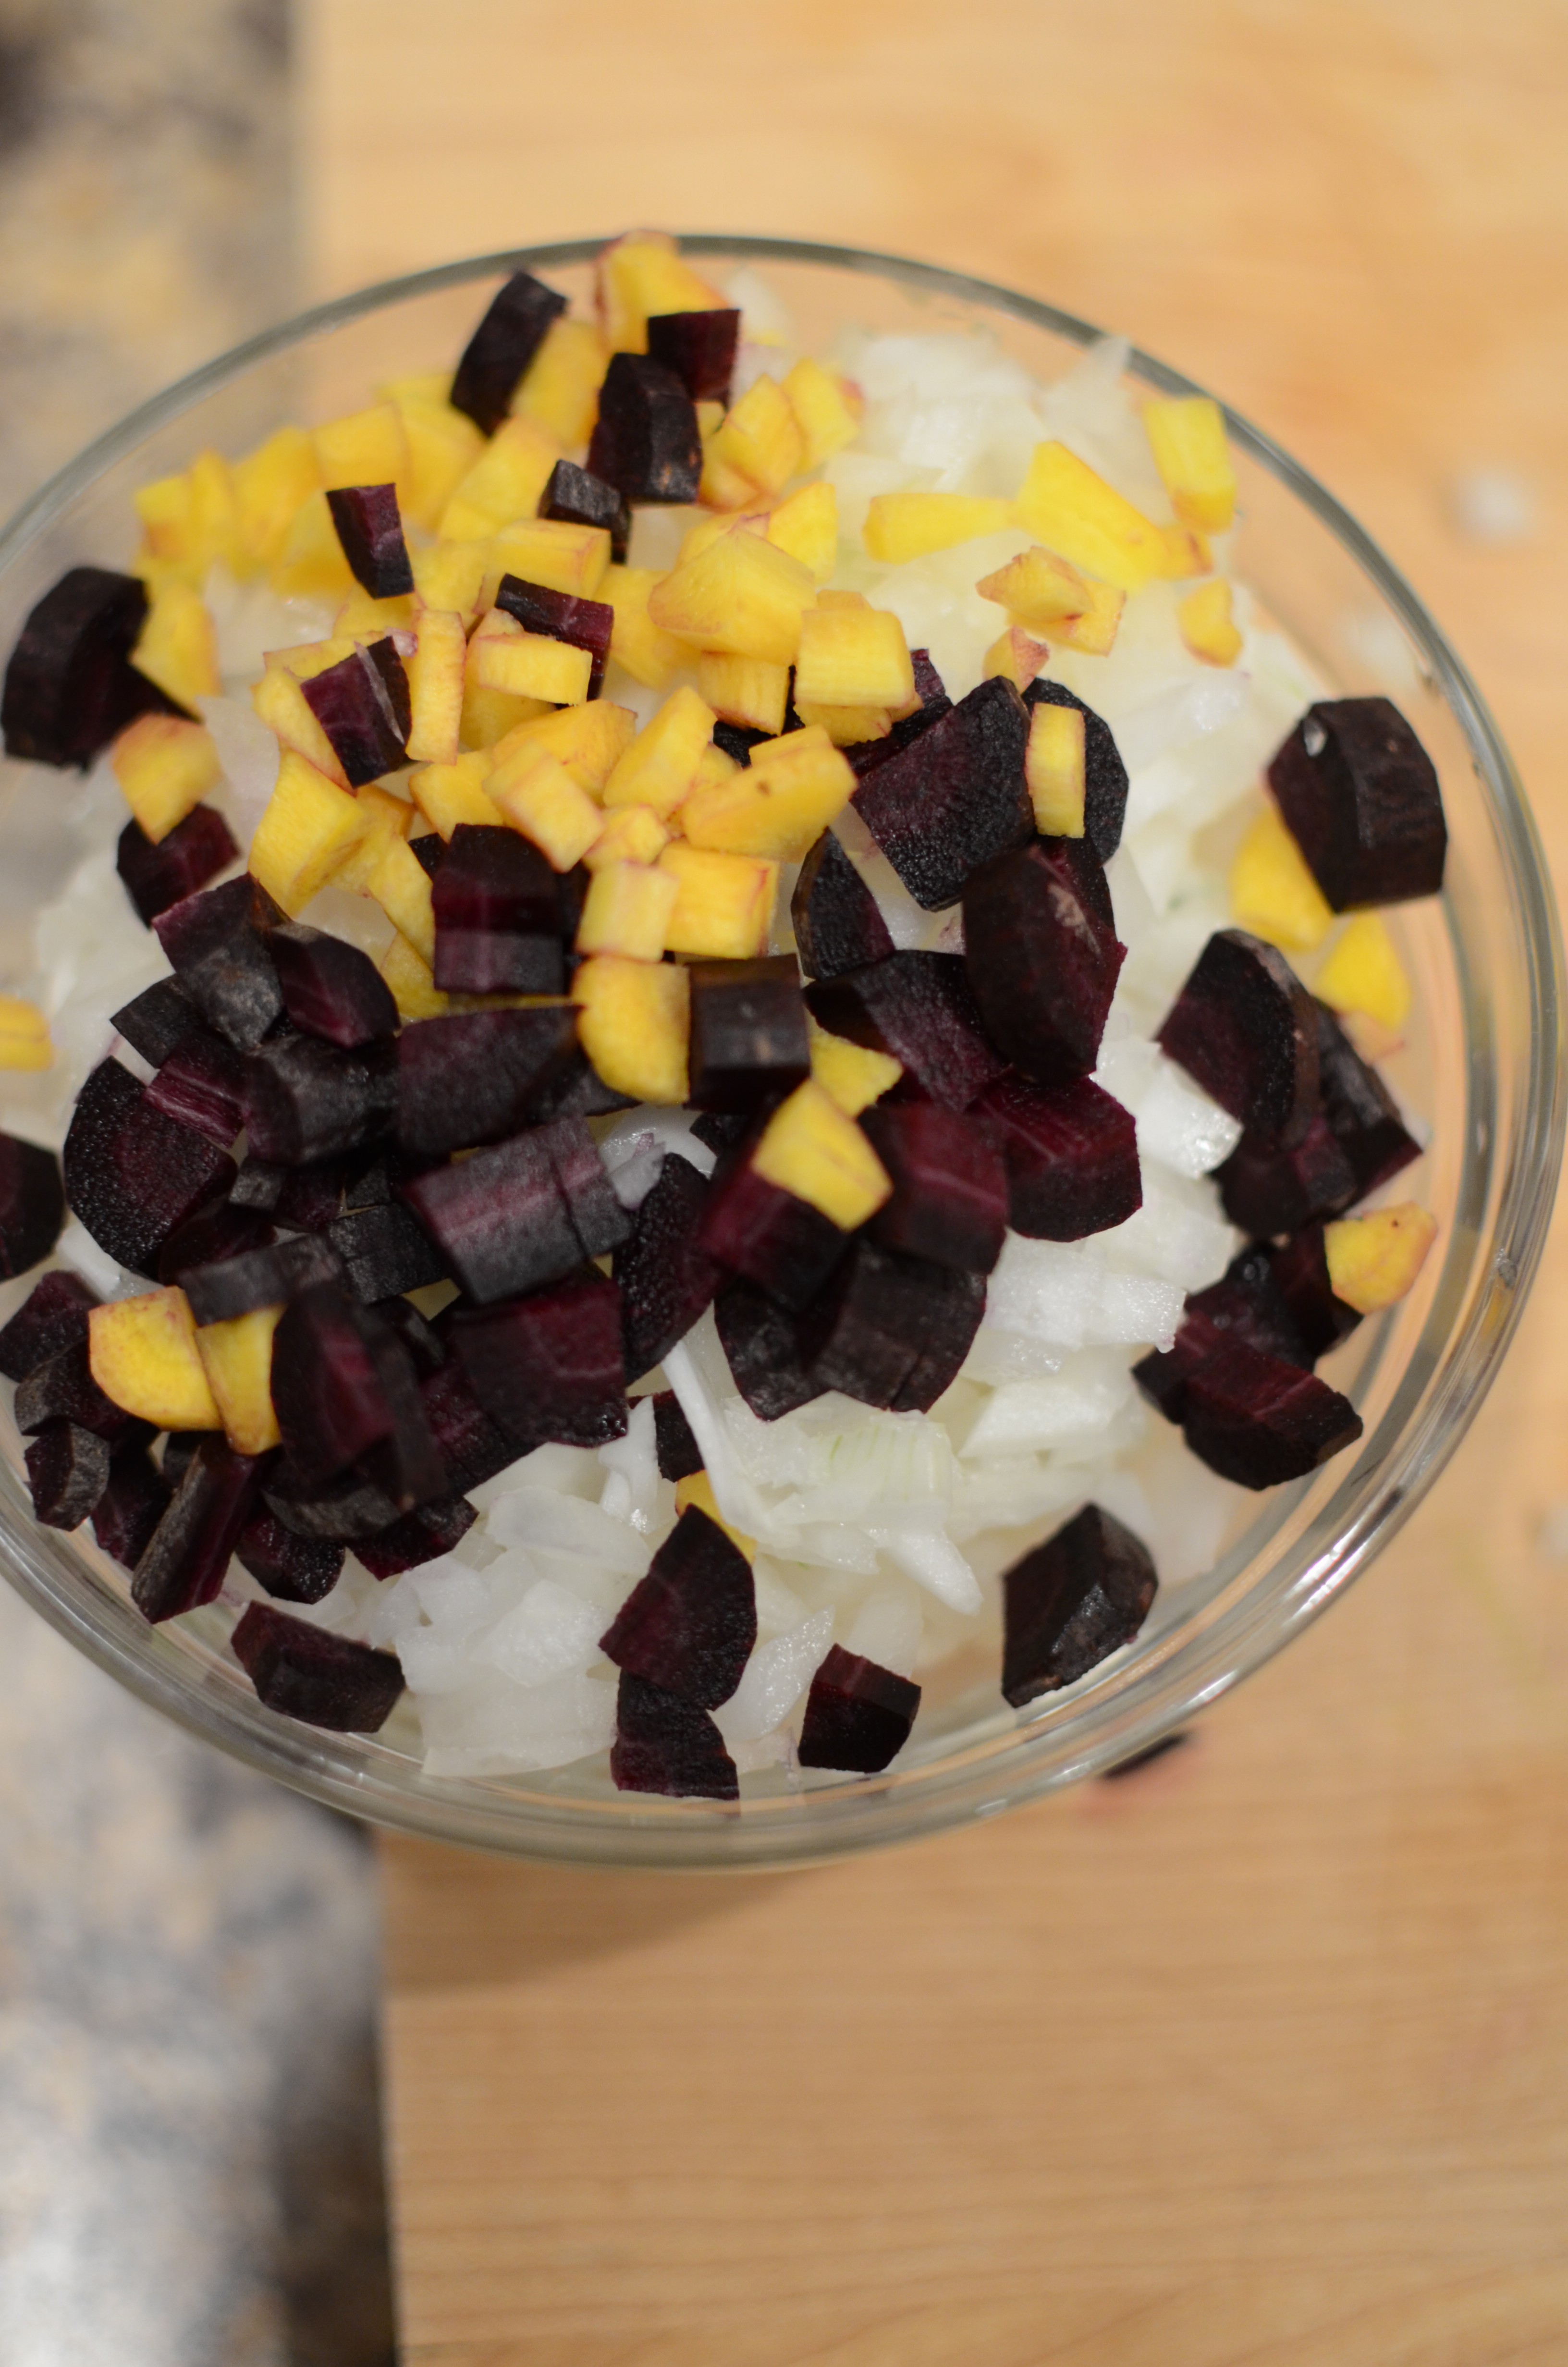
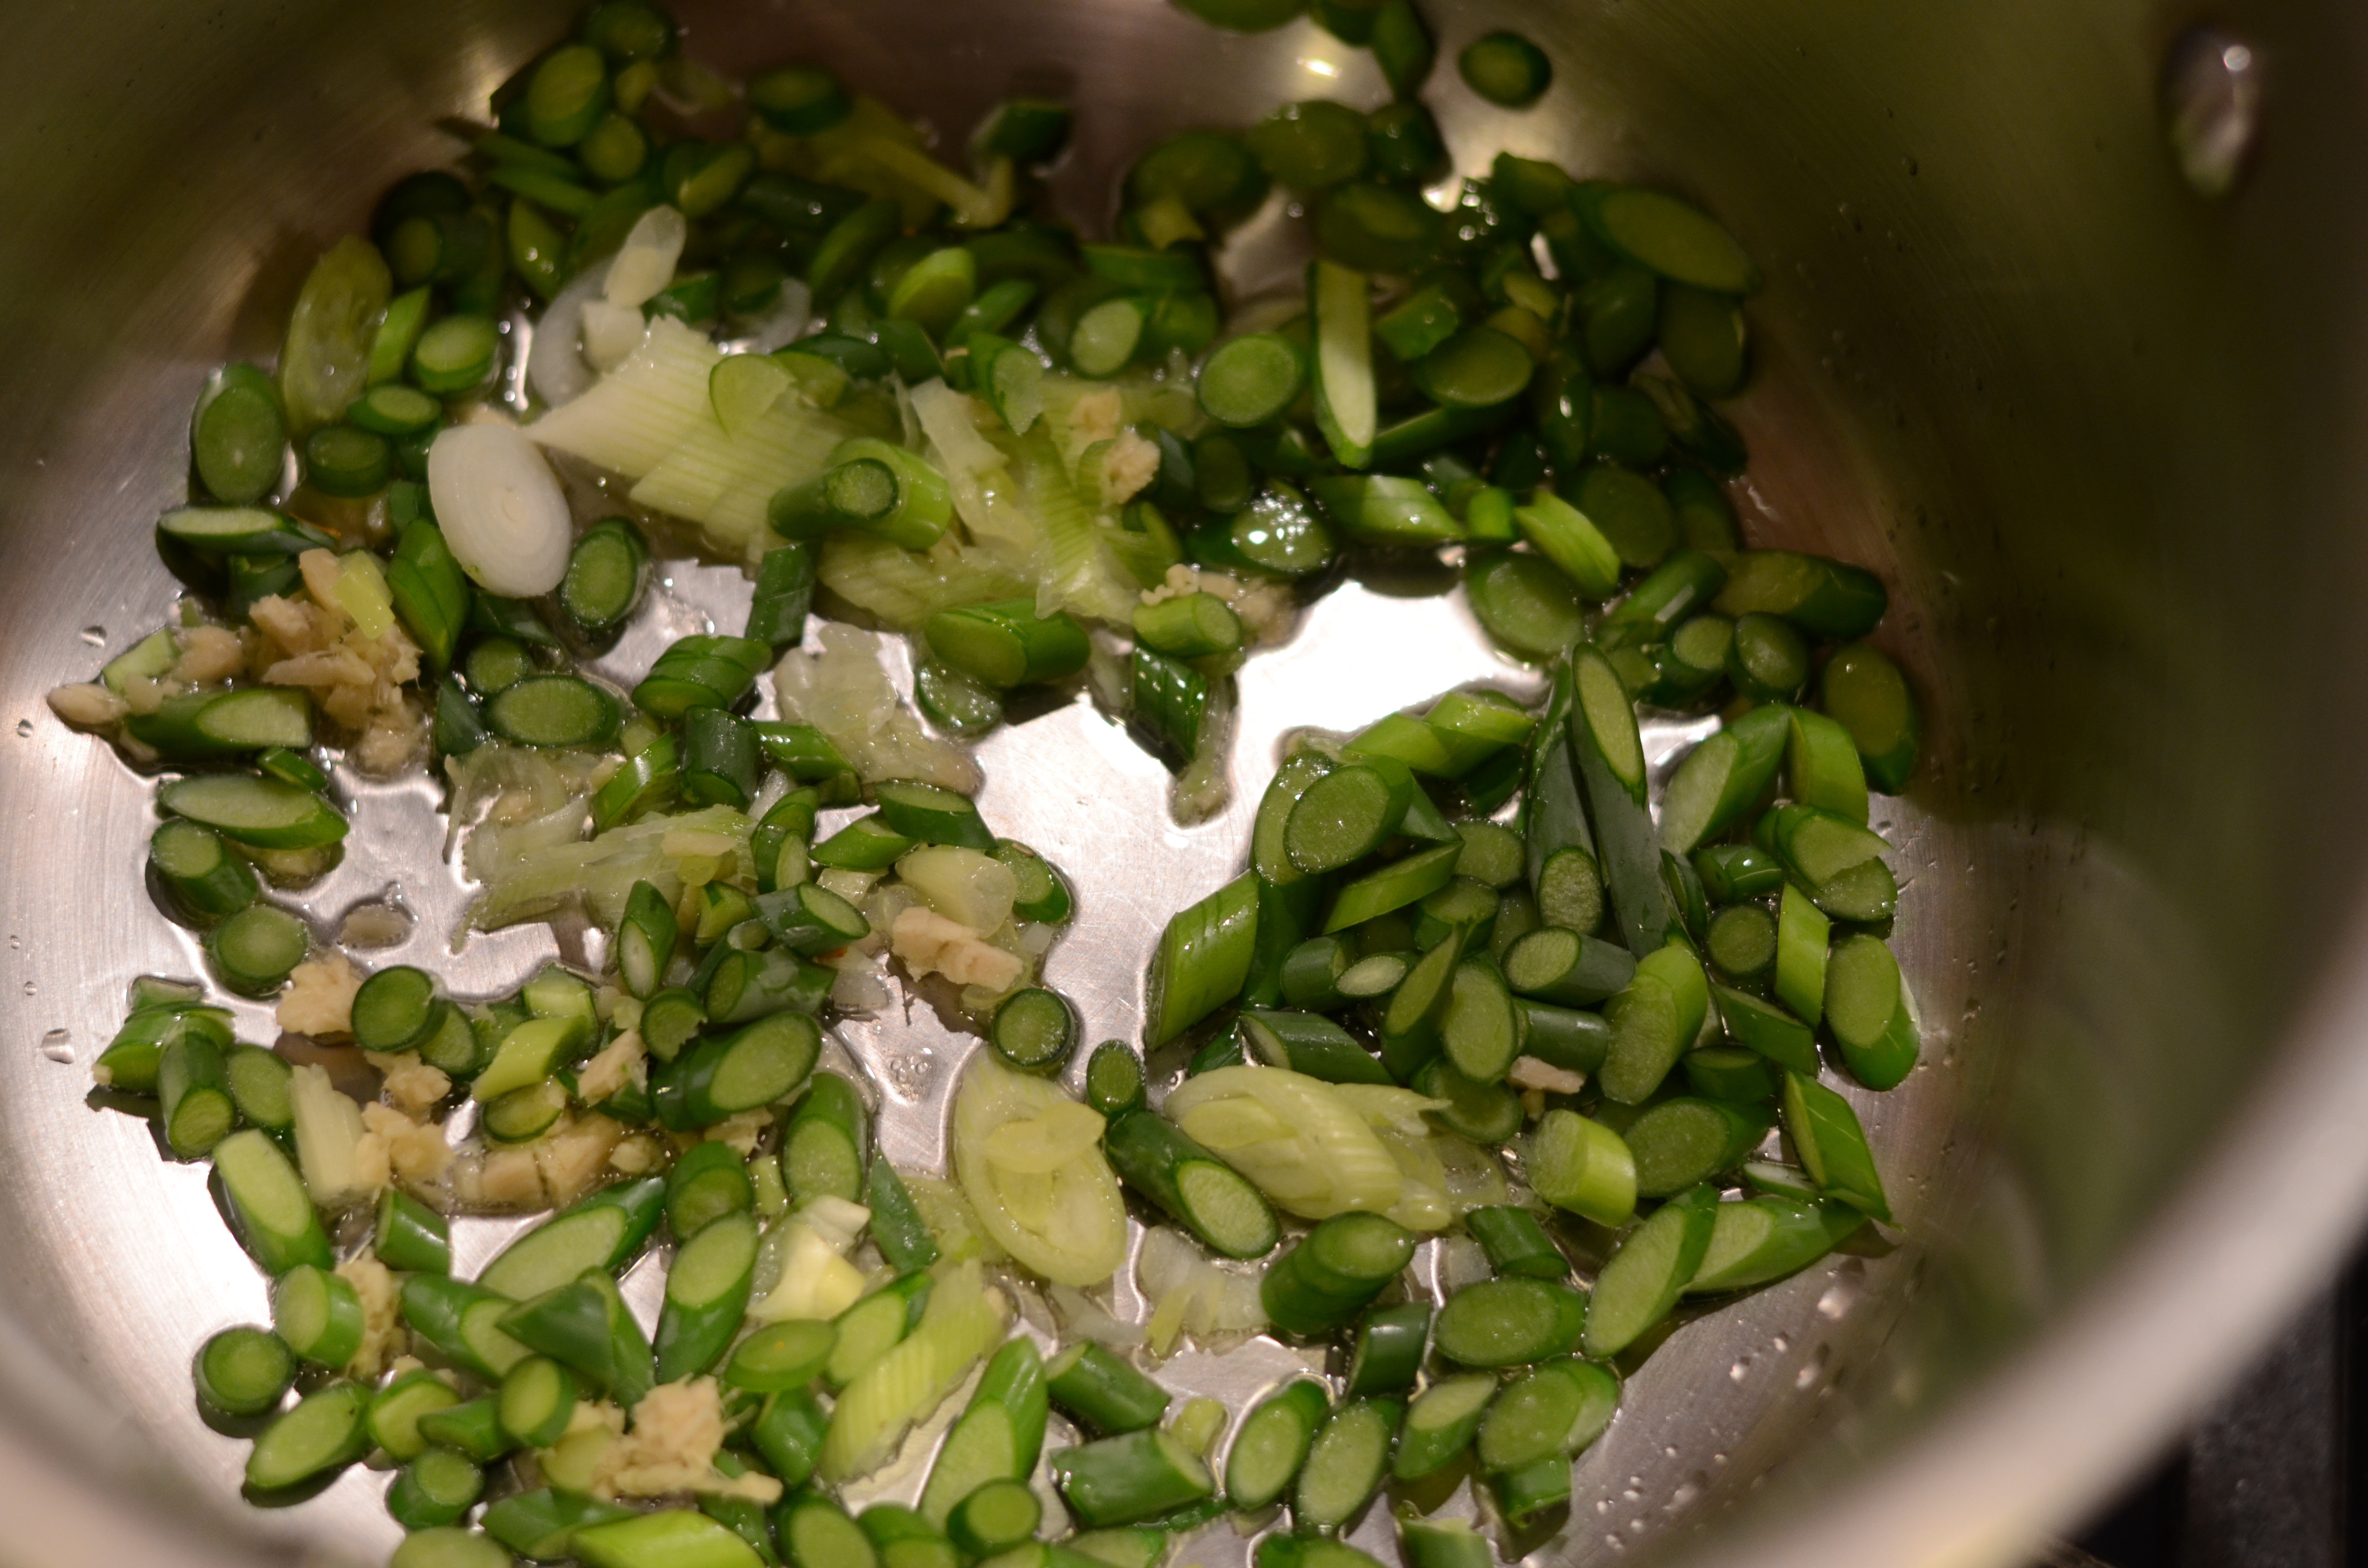
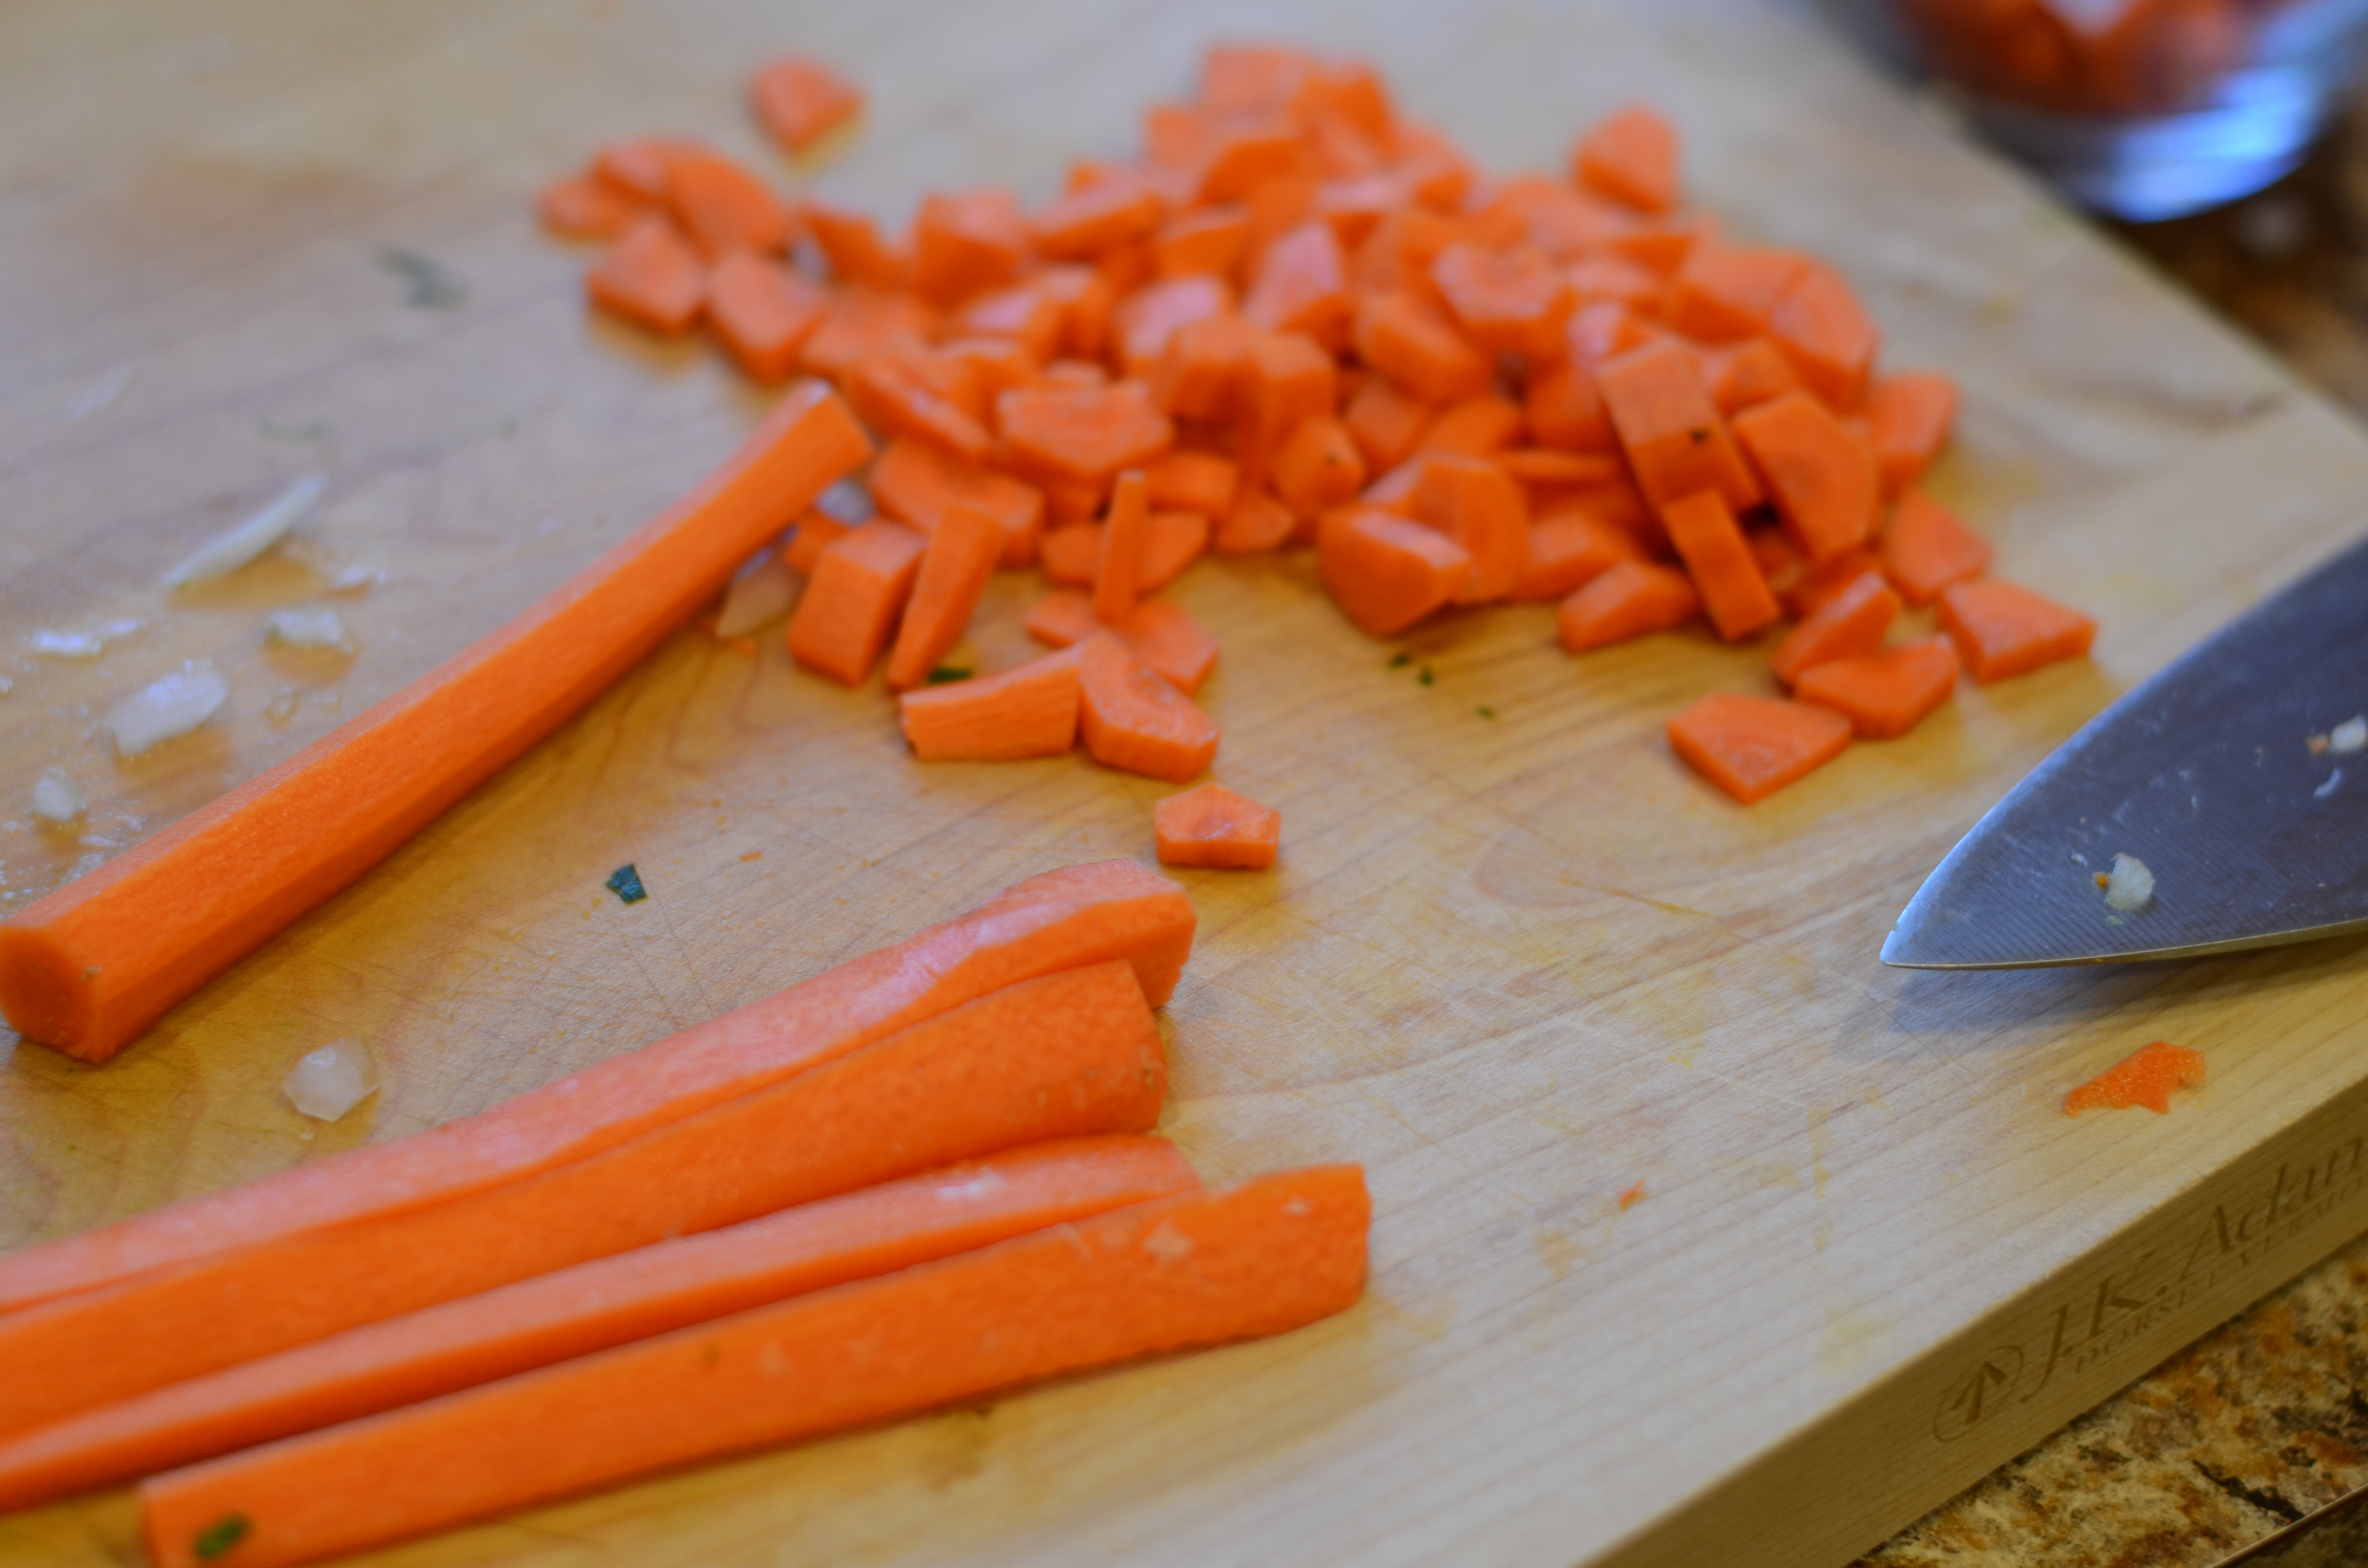
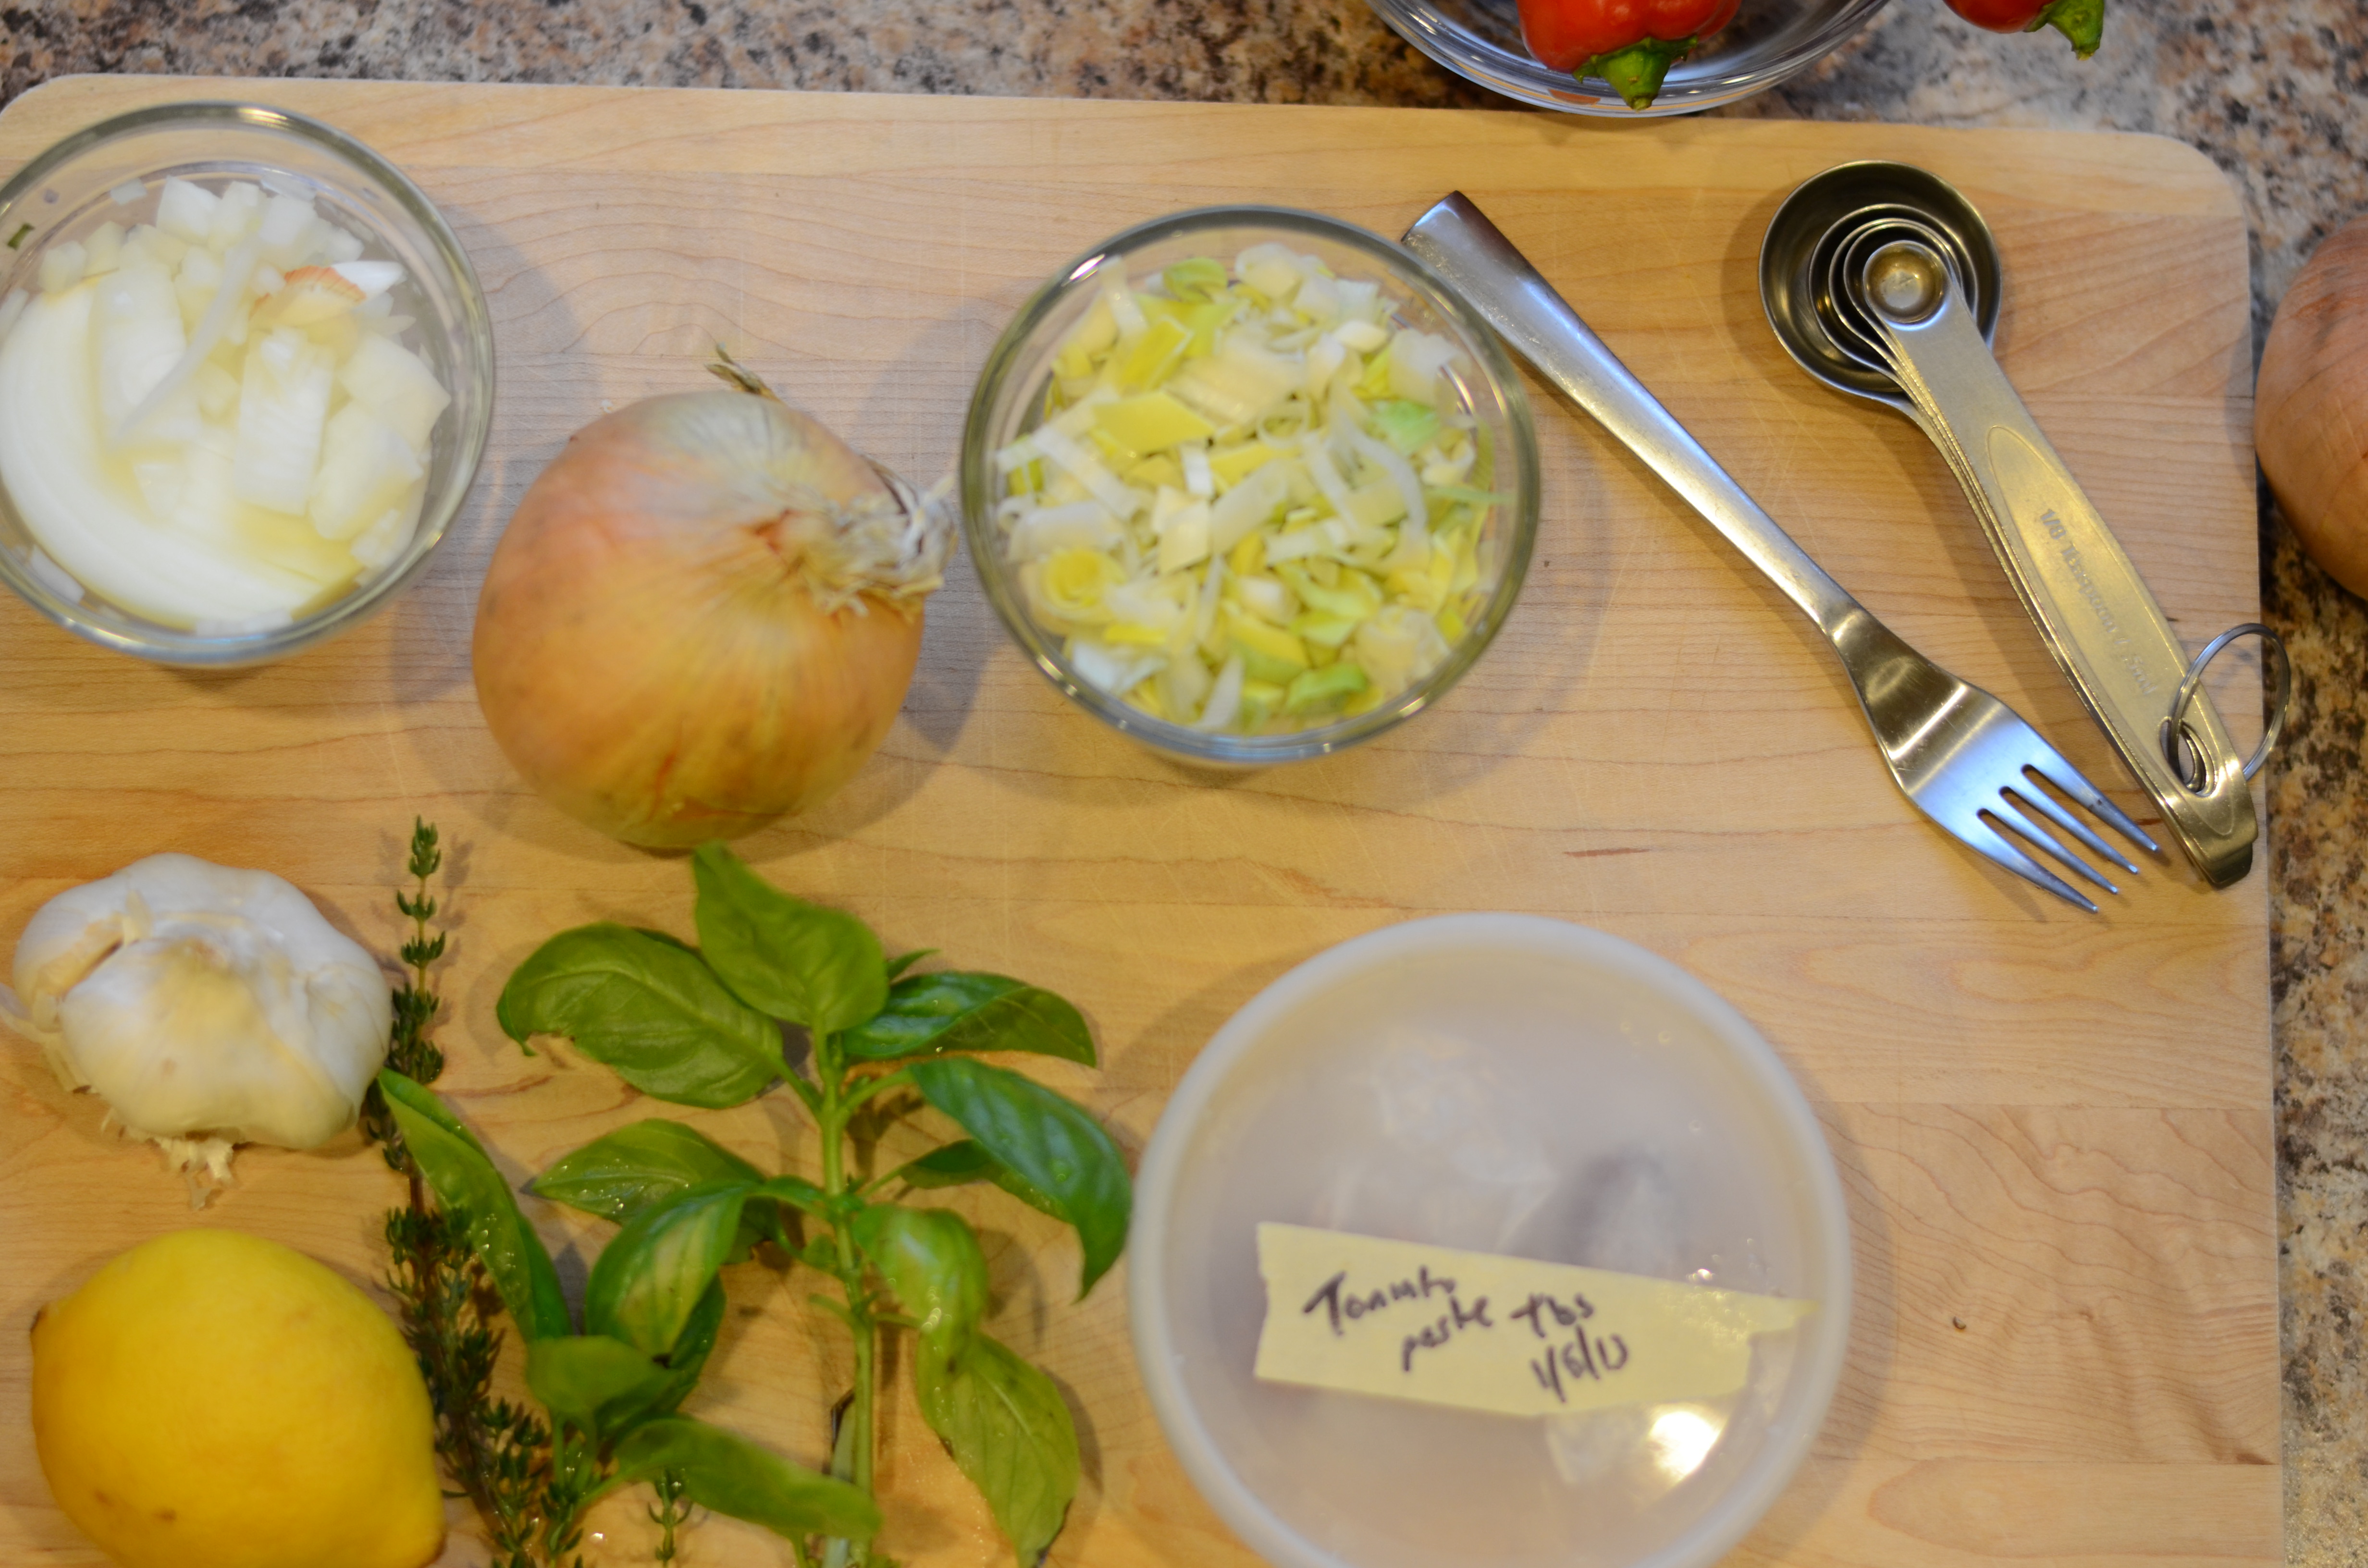
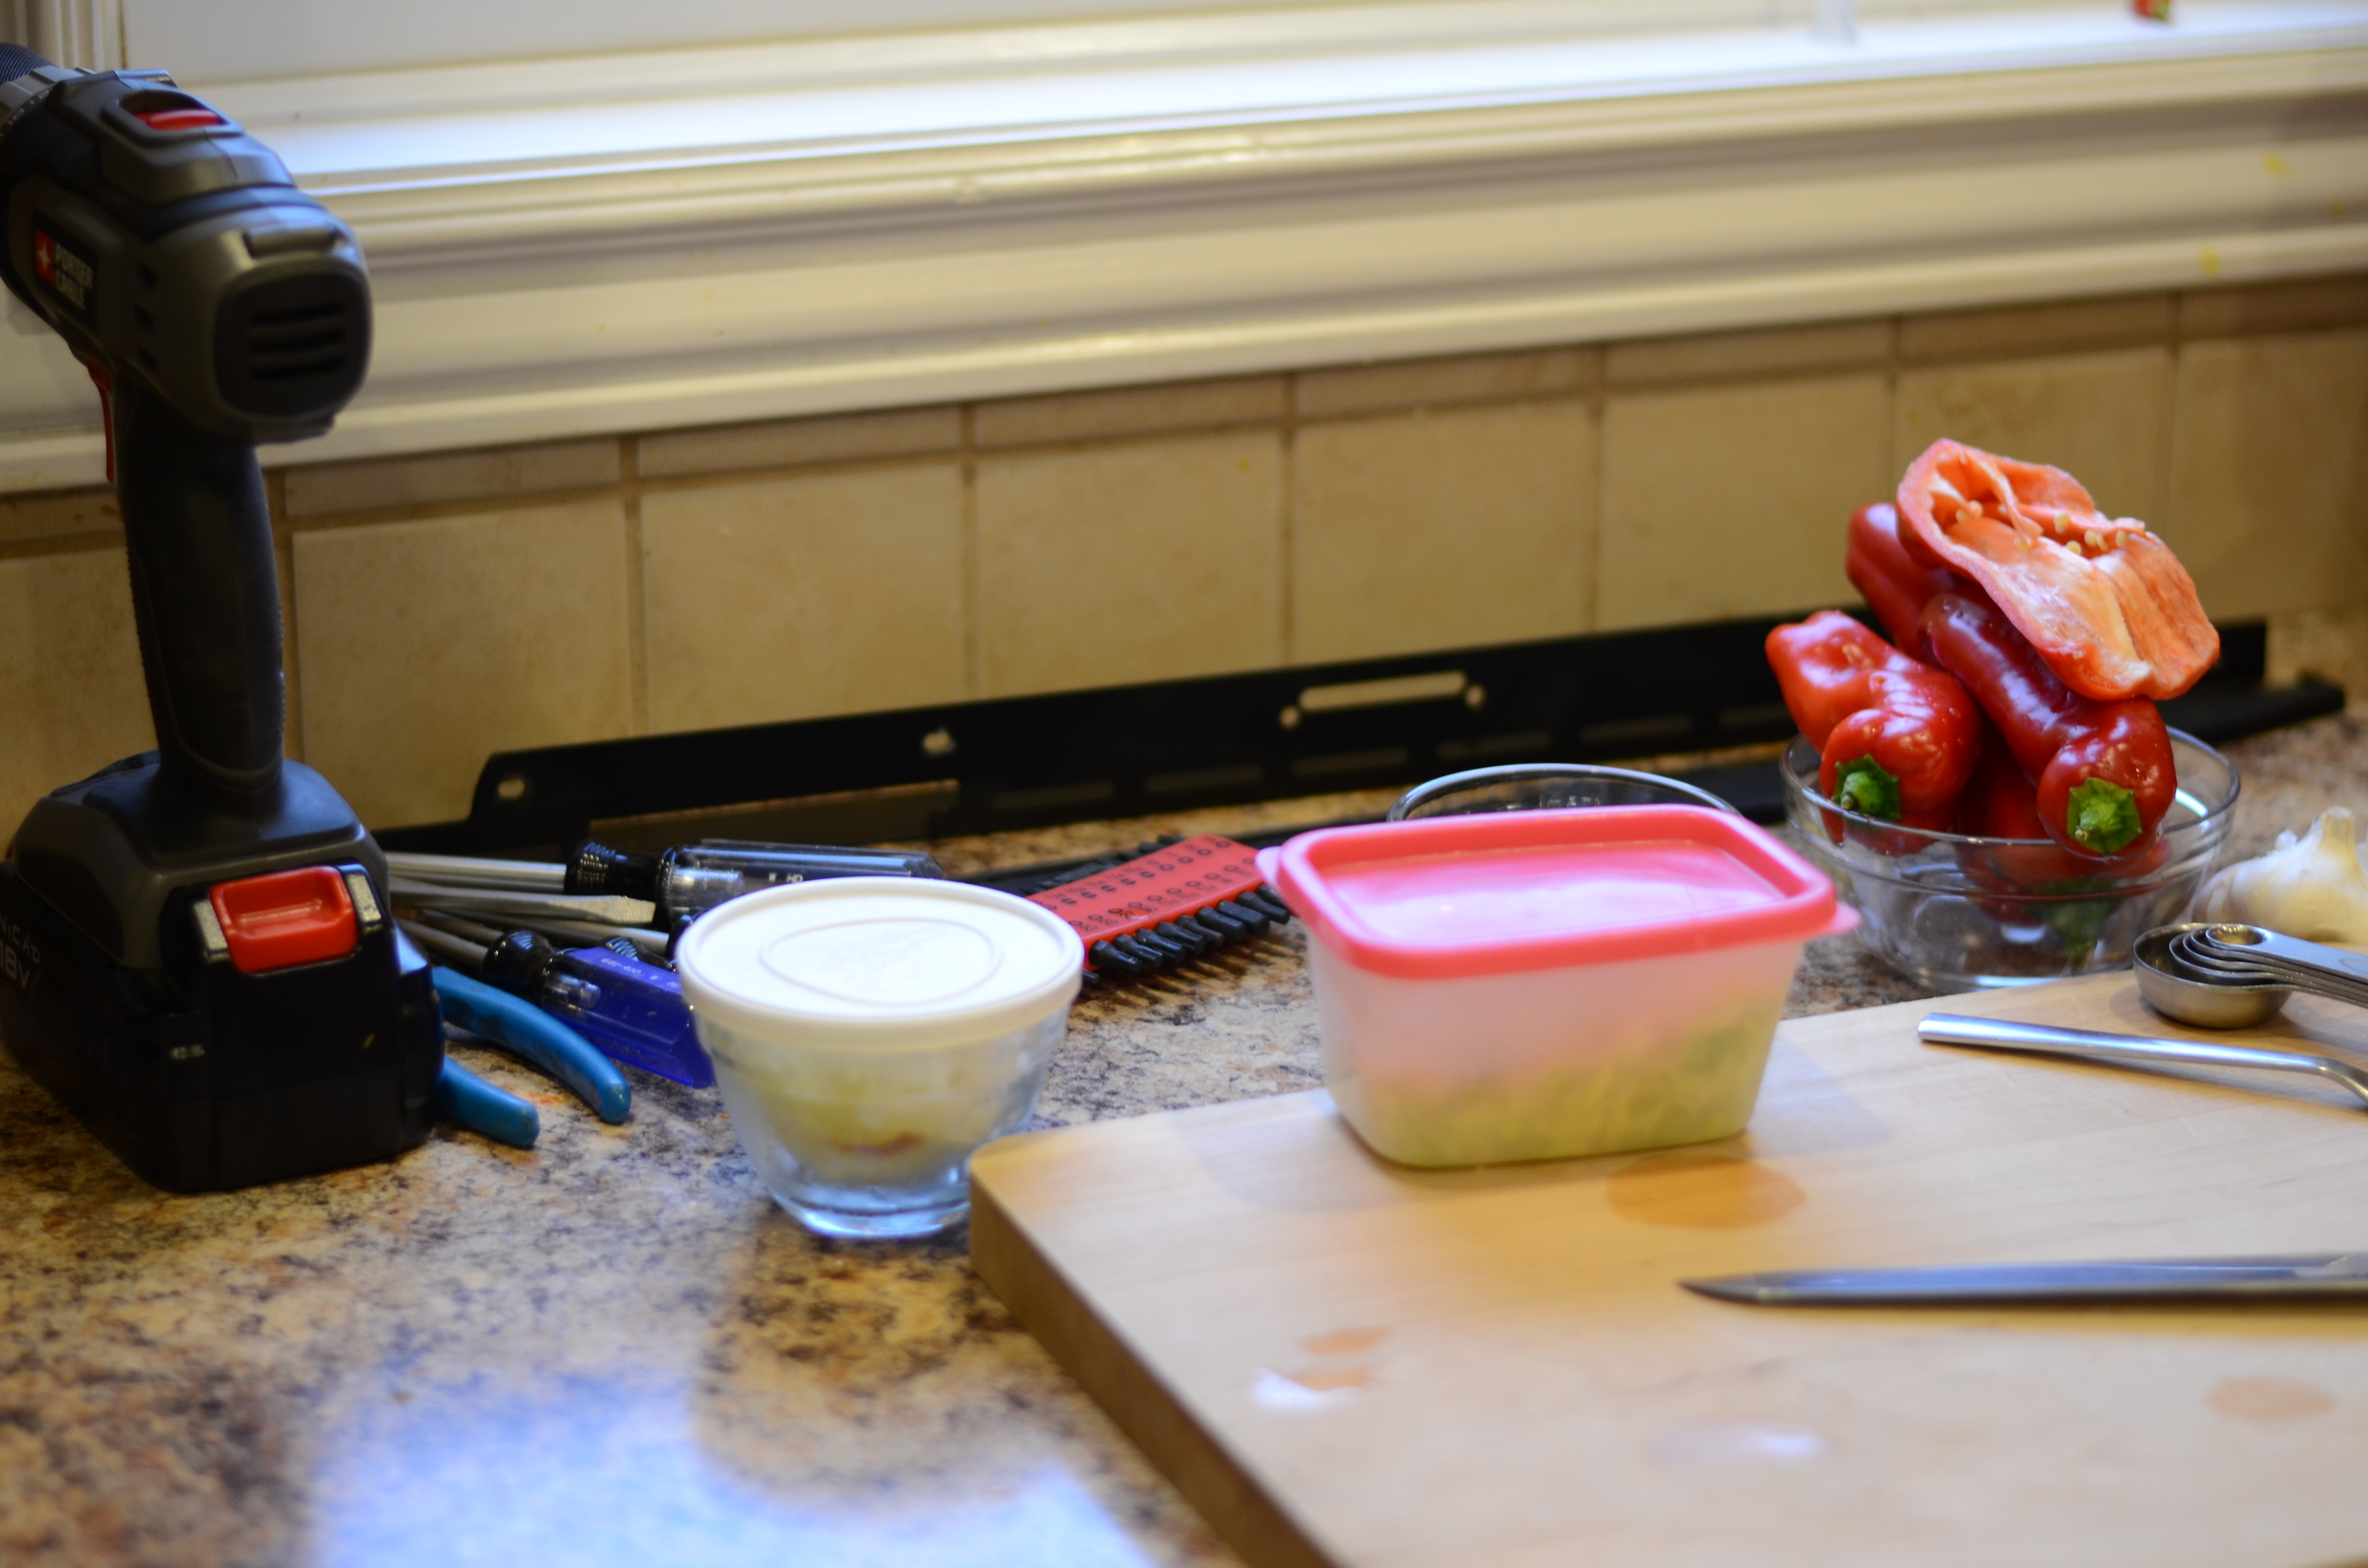
Prep your vegetables: seed and chop pepper, peel and chop cucumber and onion, and core and roughly chop tomatoes.


The onion in not shown because I had a leftover portion of a red onion in the fridge that I ended up incorporating.

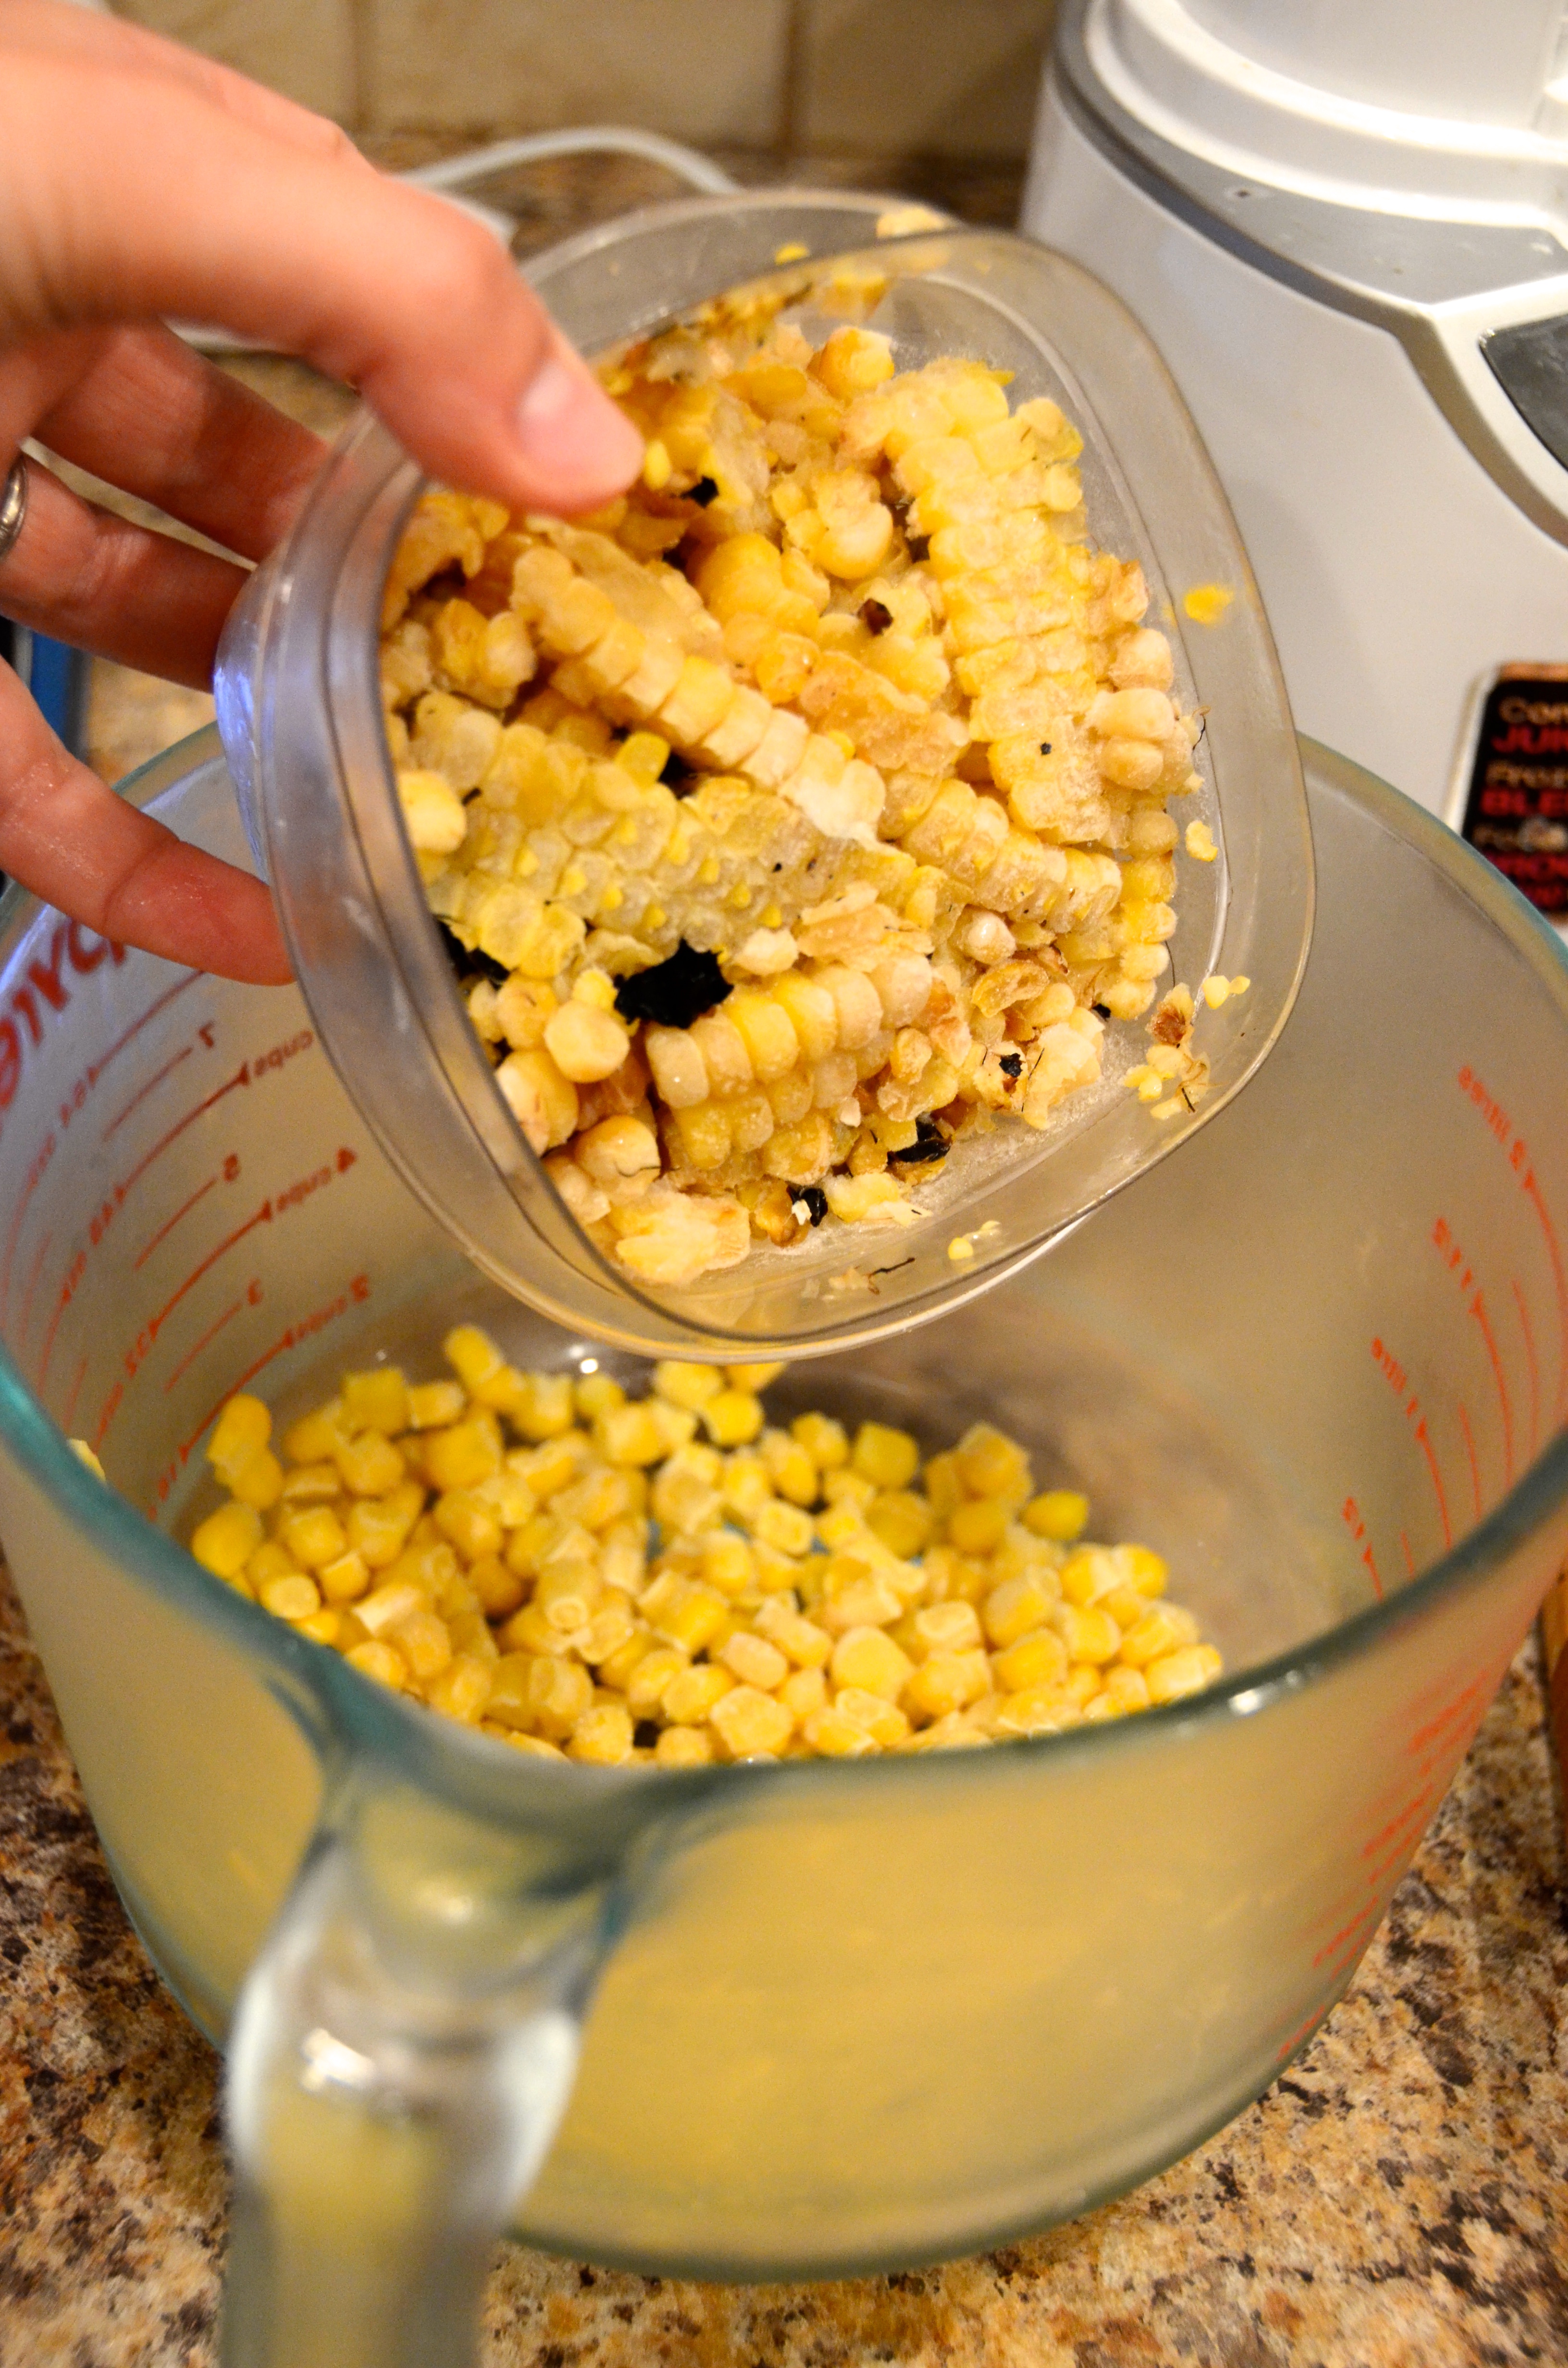
Combine as much of the tomatoes, pepper, cucumber, onion and garlic you can in a blender. It’s highly likely you’ll need to work in batches, so have a large bowl handy for transferring portions back and forth.

Initial batch: I made it through the cucumber and most of the tomatoes before I was at the top!

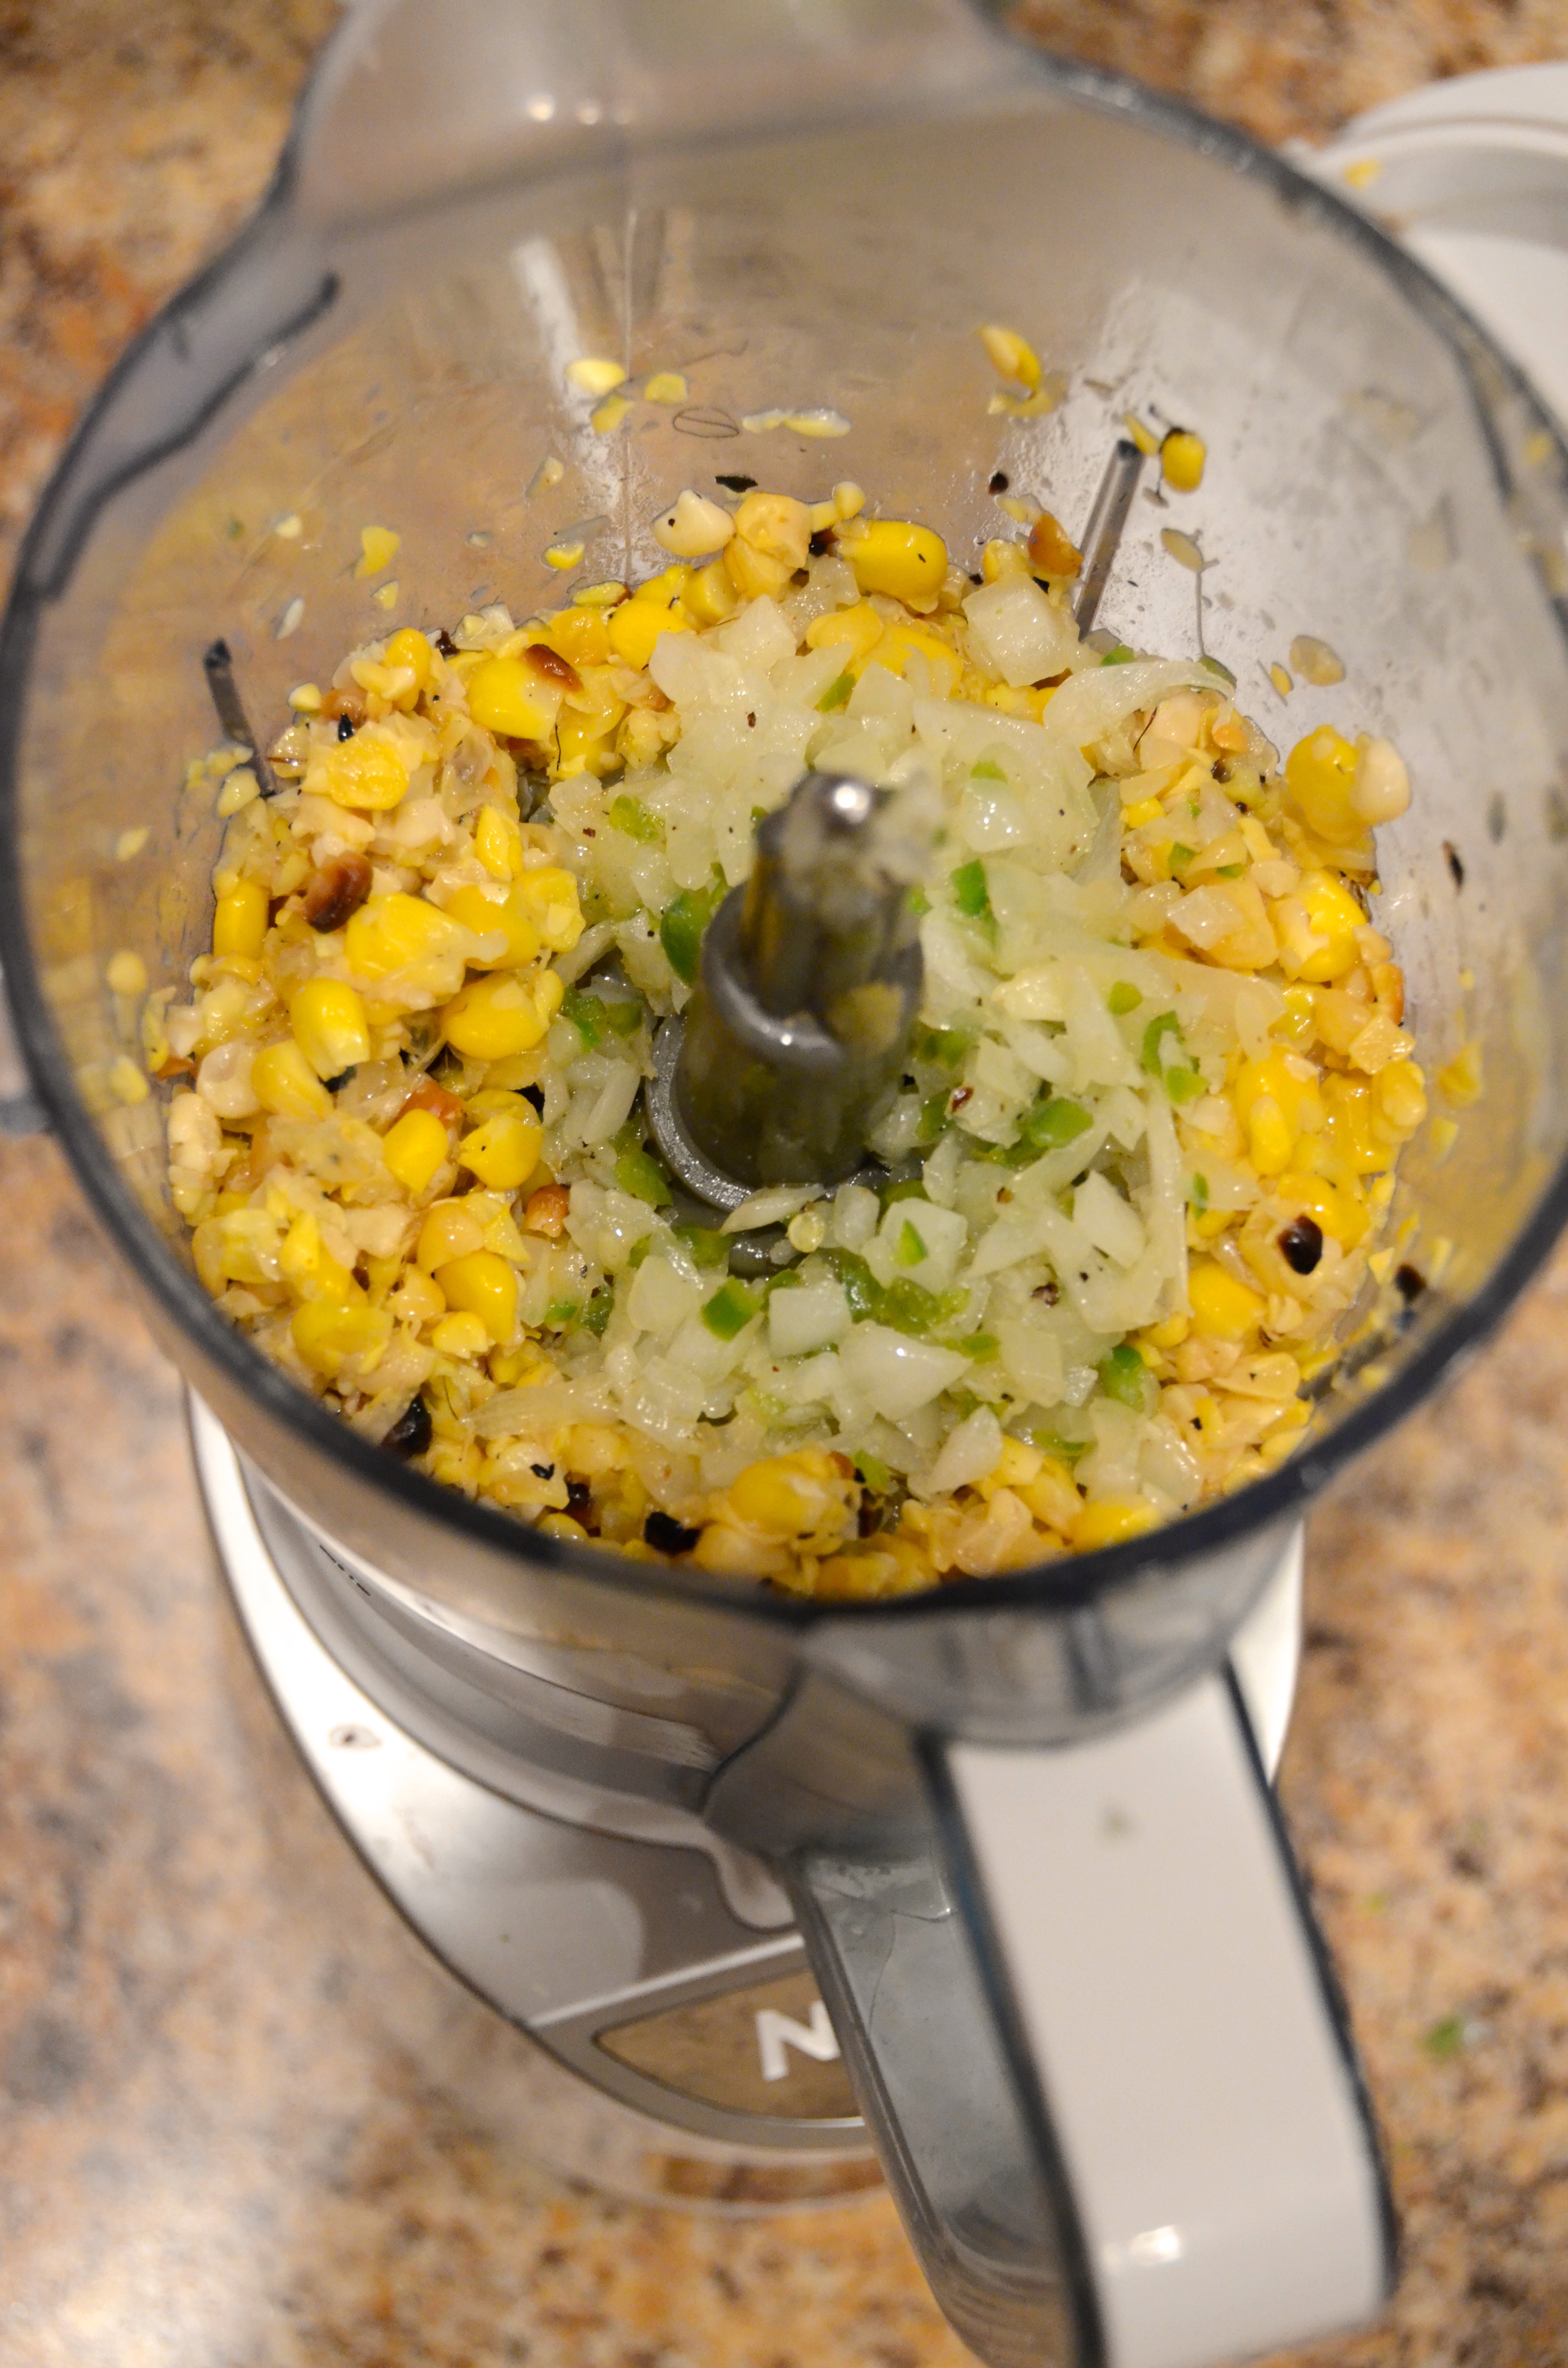
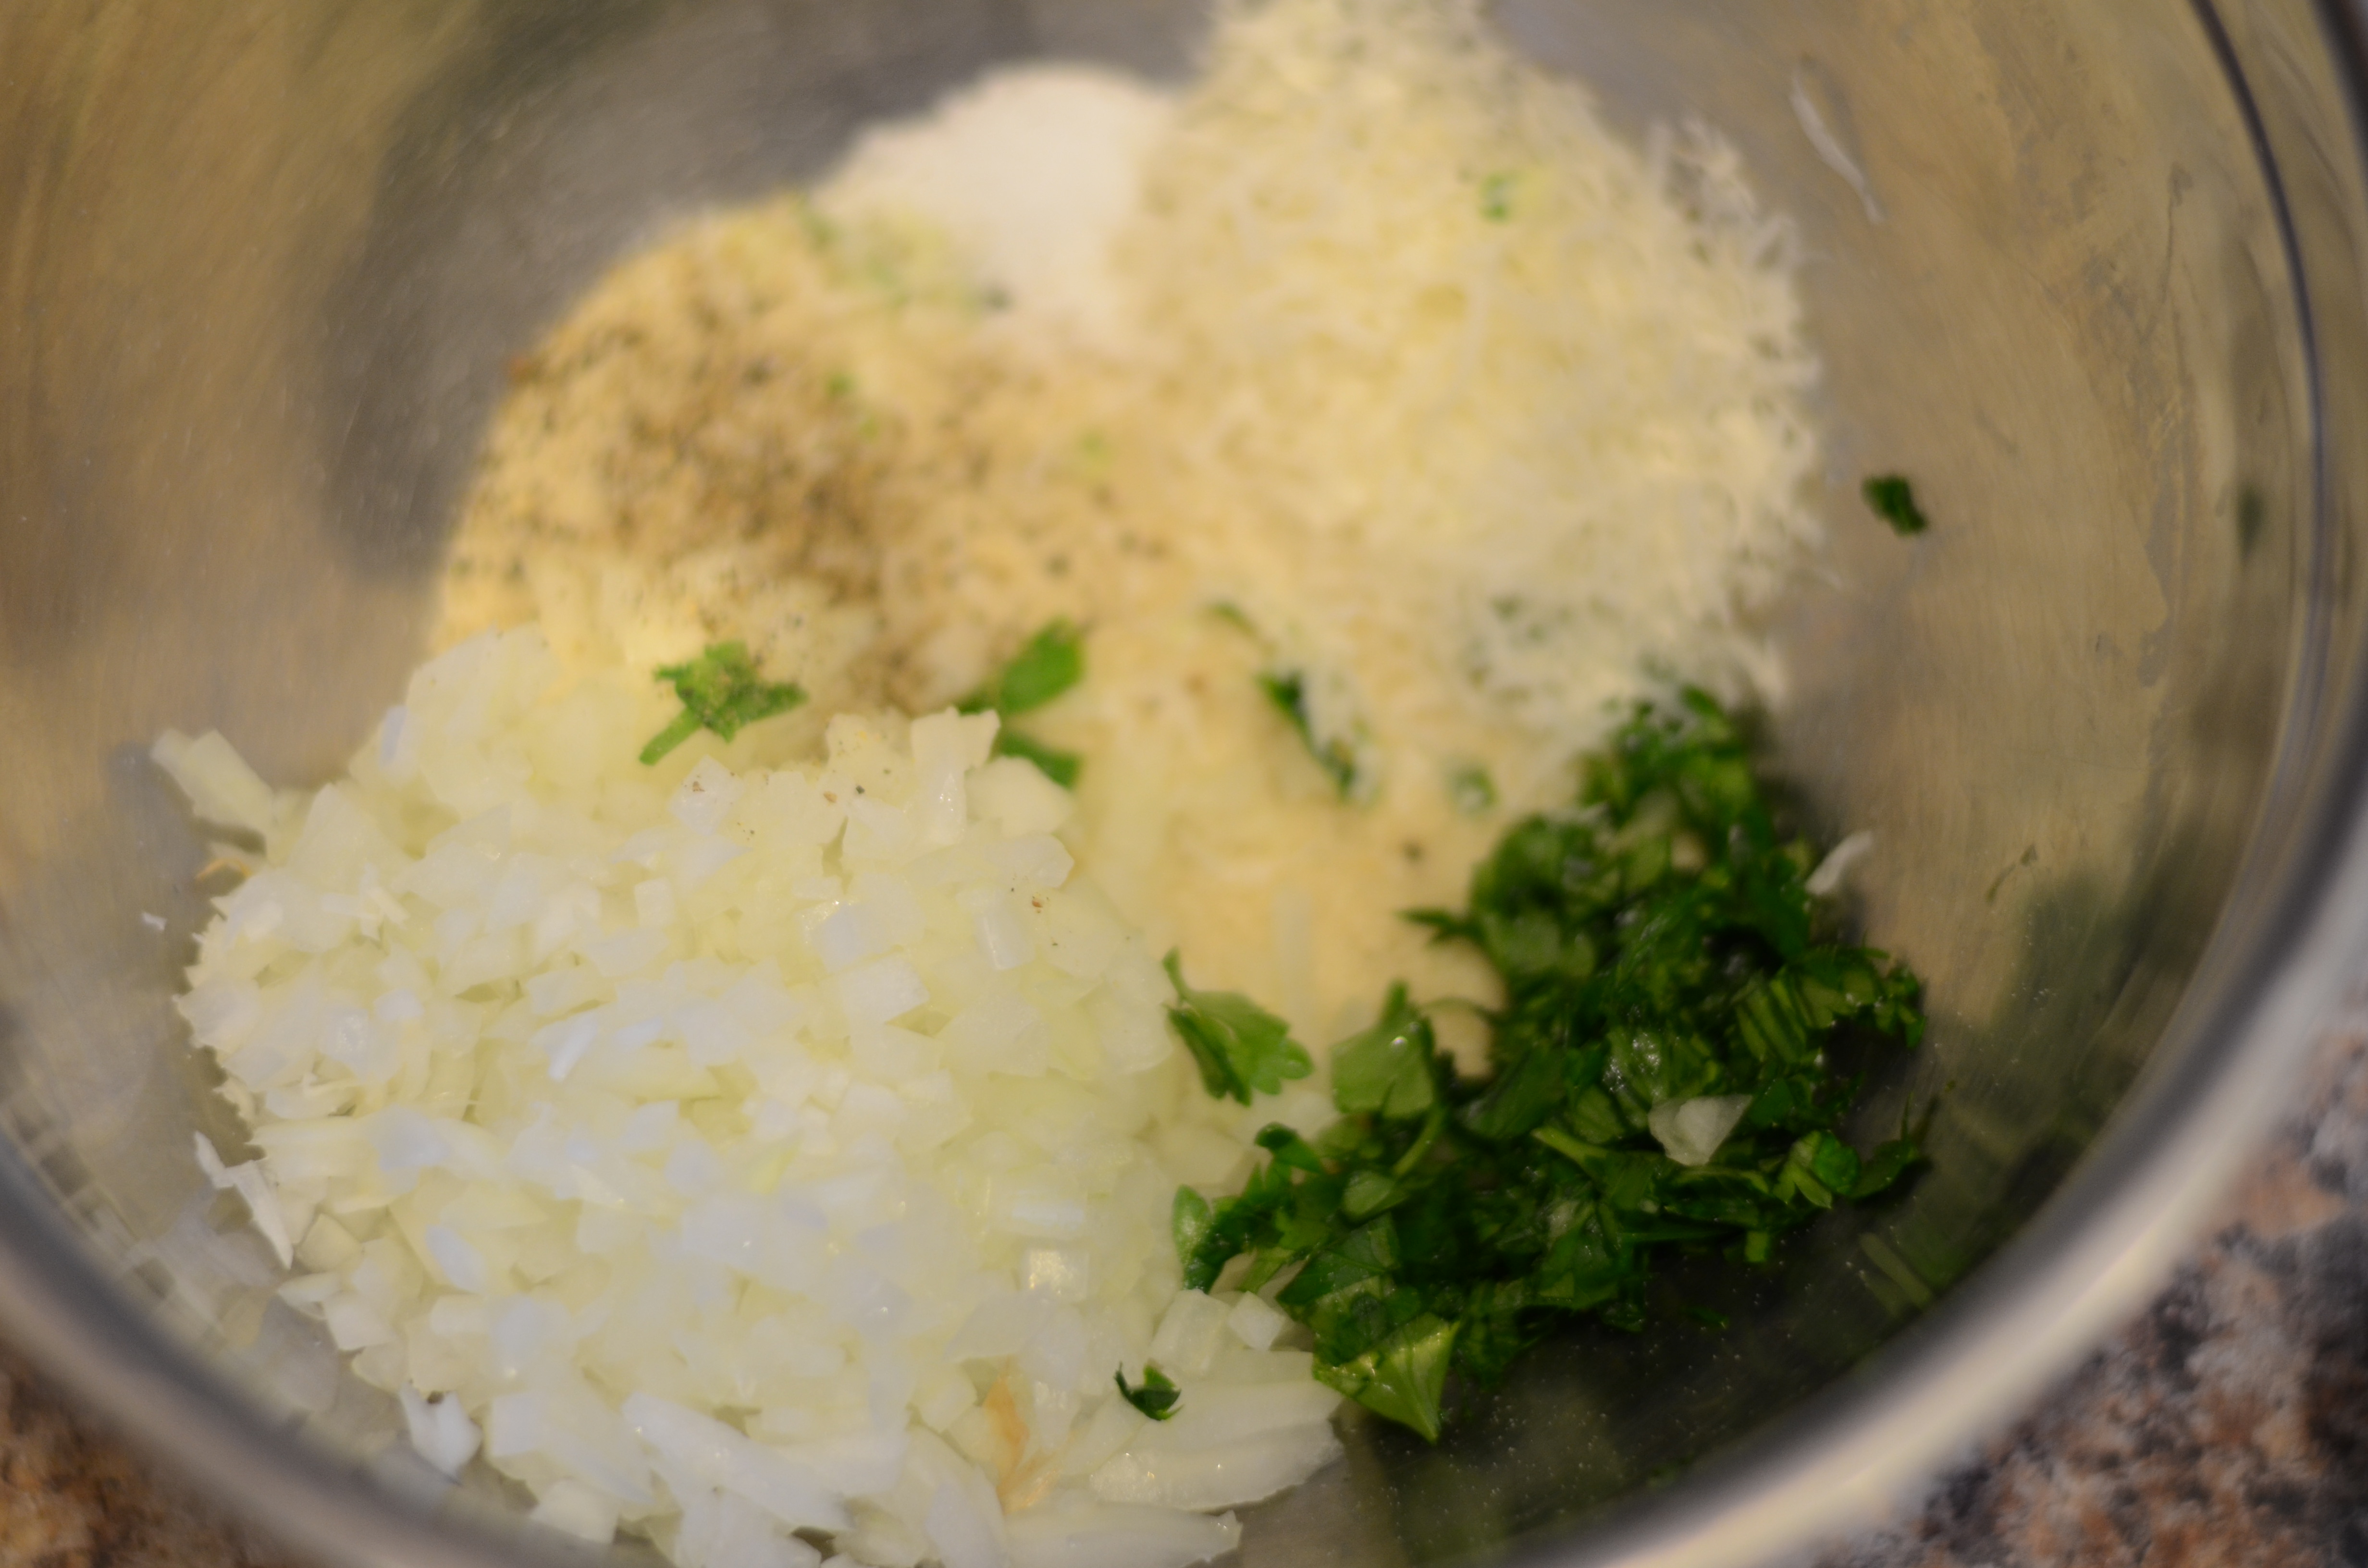
Ingredients batch 2.
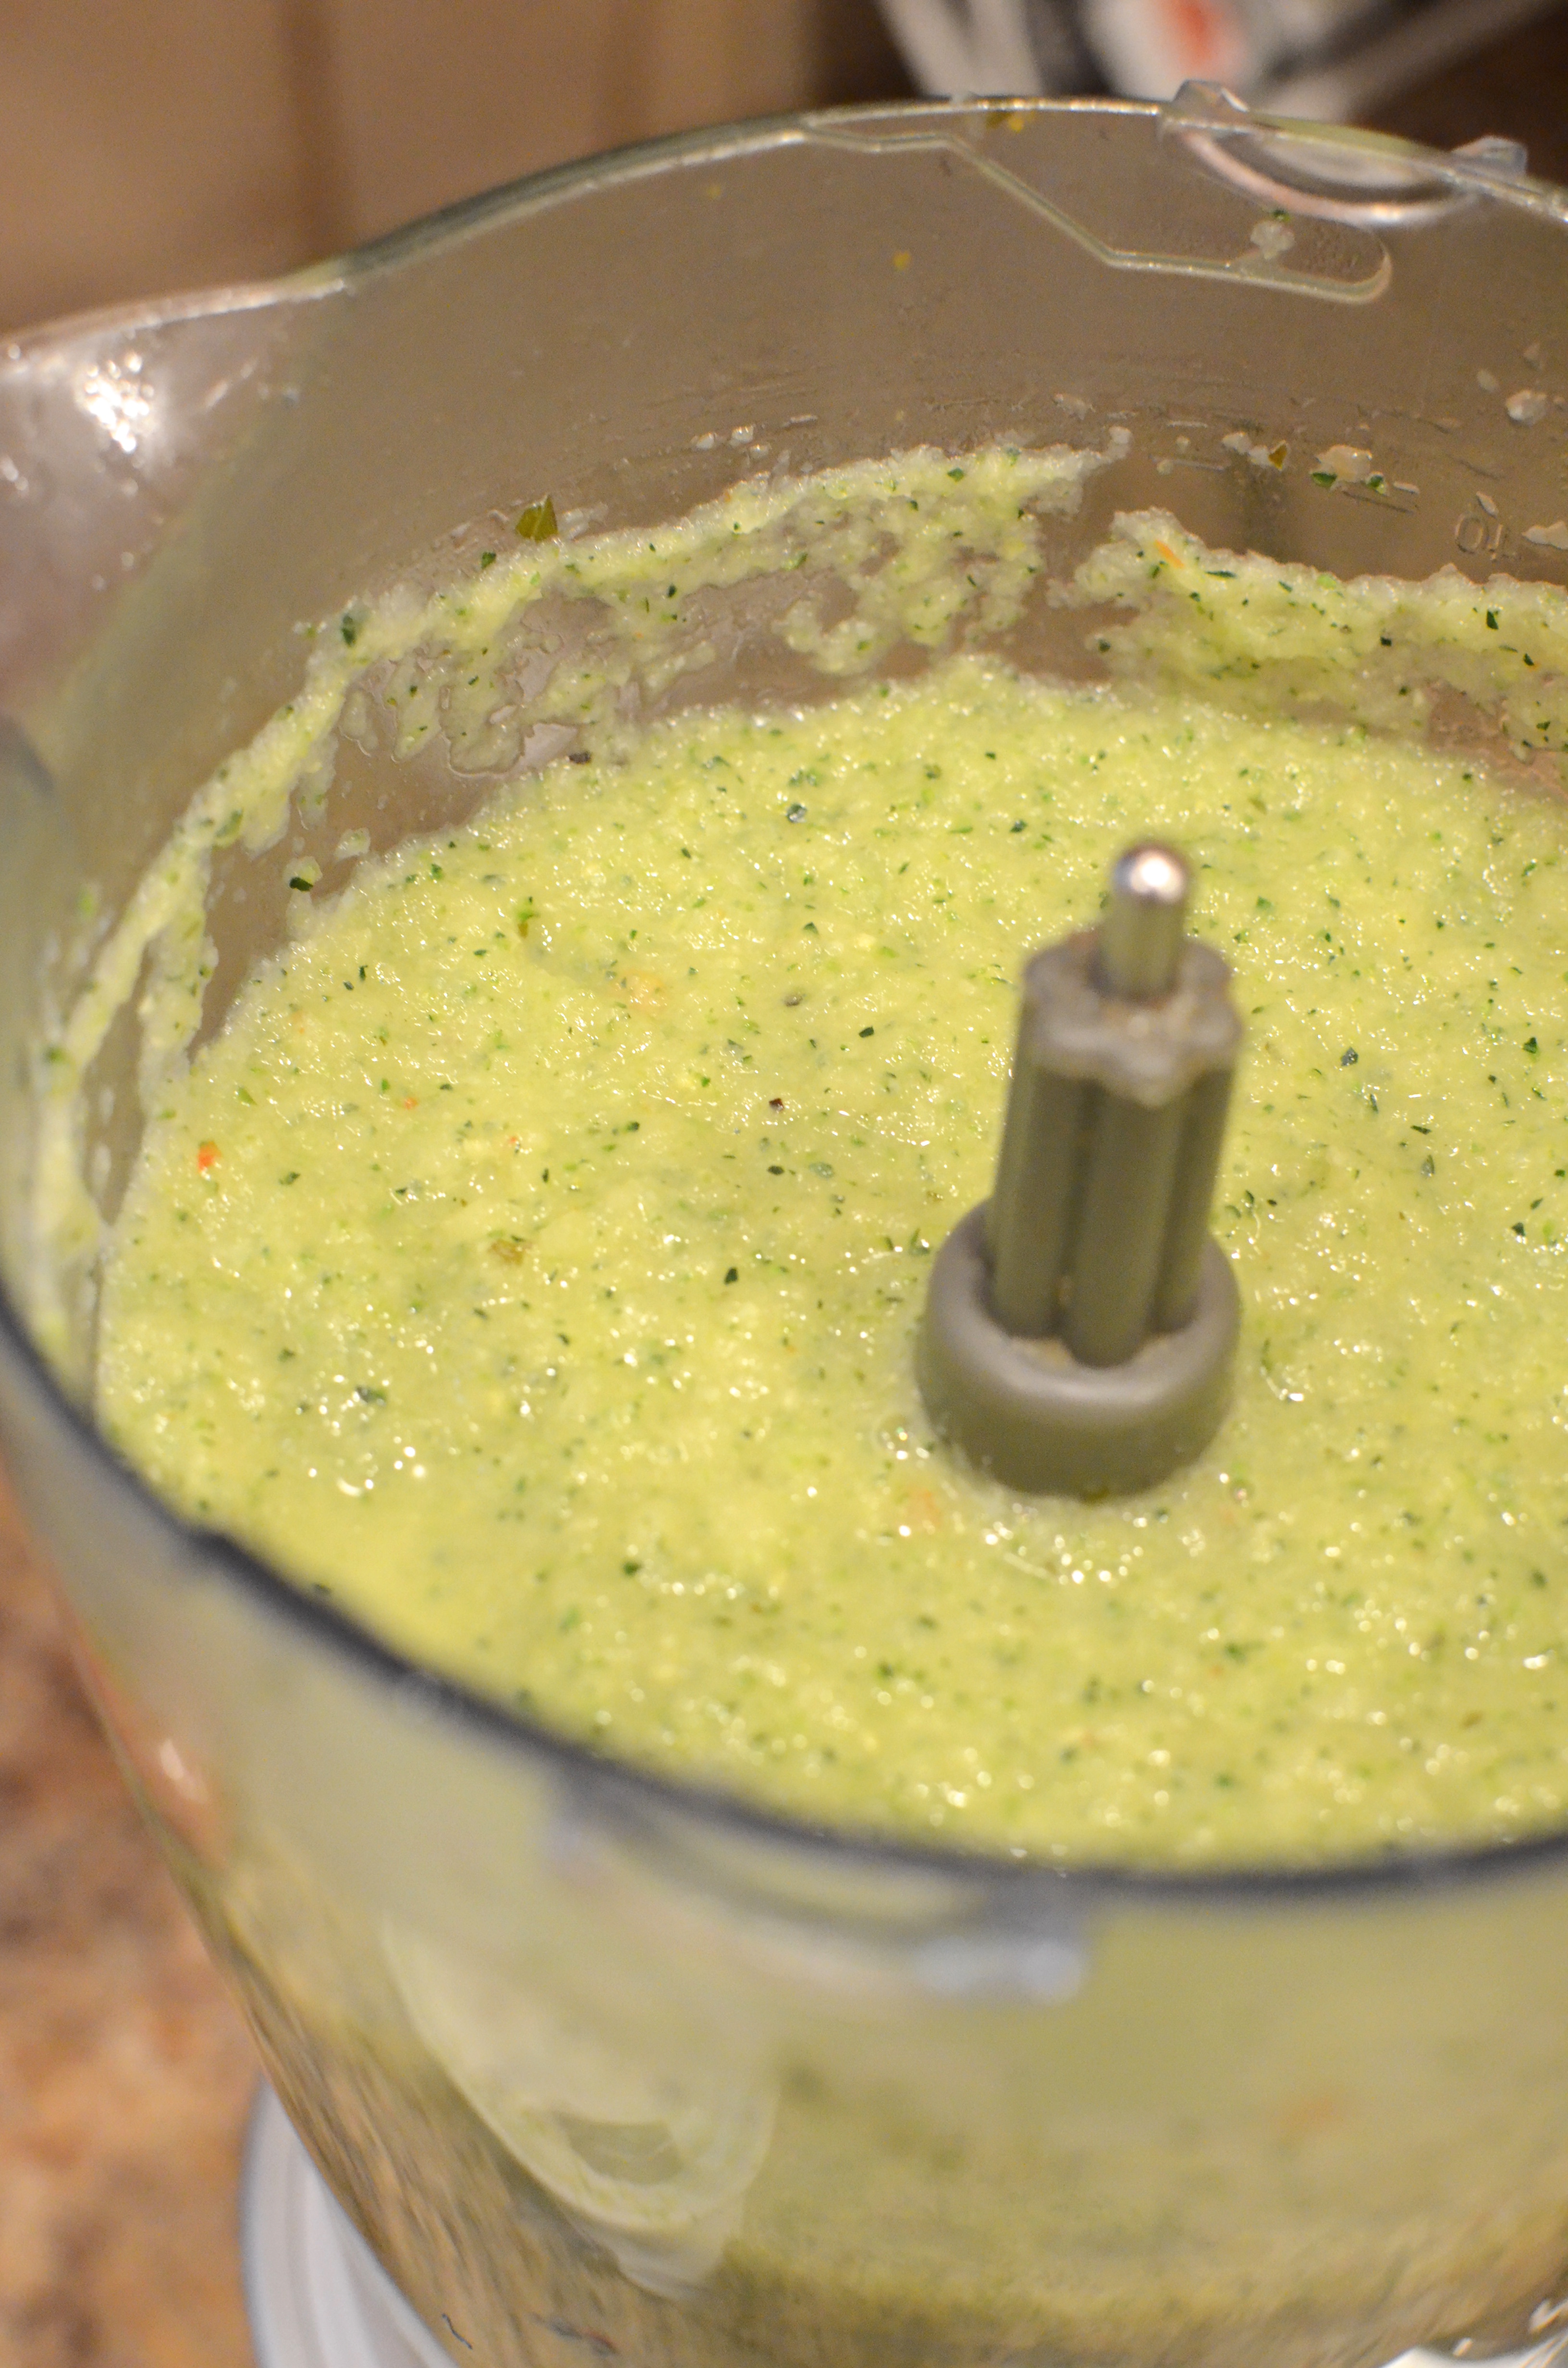
Blend at top speed until the mixture is very smooth. This may take a few minutes. A rubber spatula is great for scraping down the sides as needed.
Add the vinegar and 2 teaspoons of salt. If your appliance allows, do so while the motor is running.
You can add more vinegar later, but I will tell you now that 2 teaspoons was not enough for me!
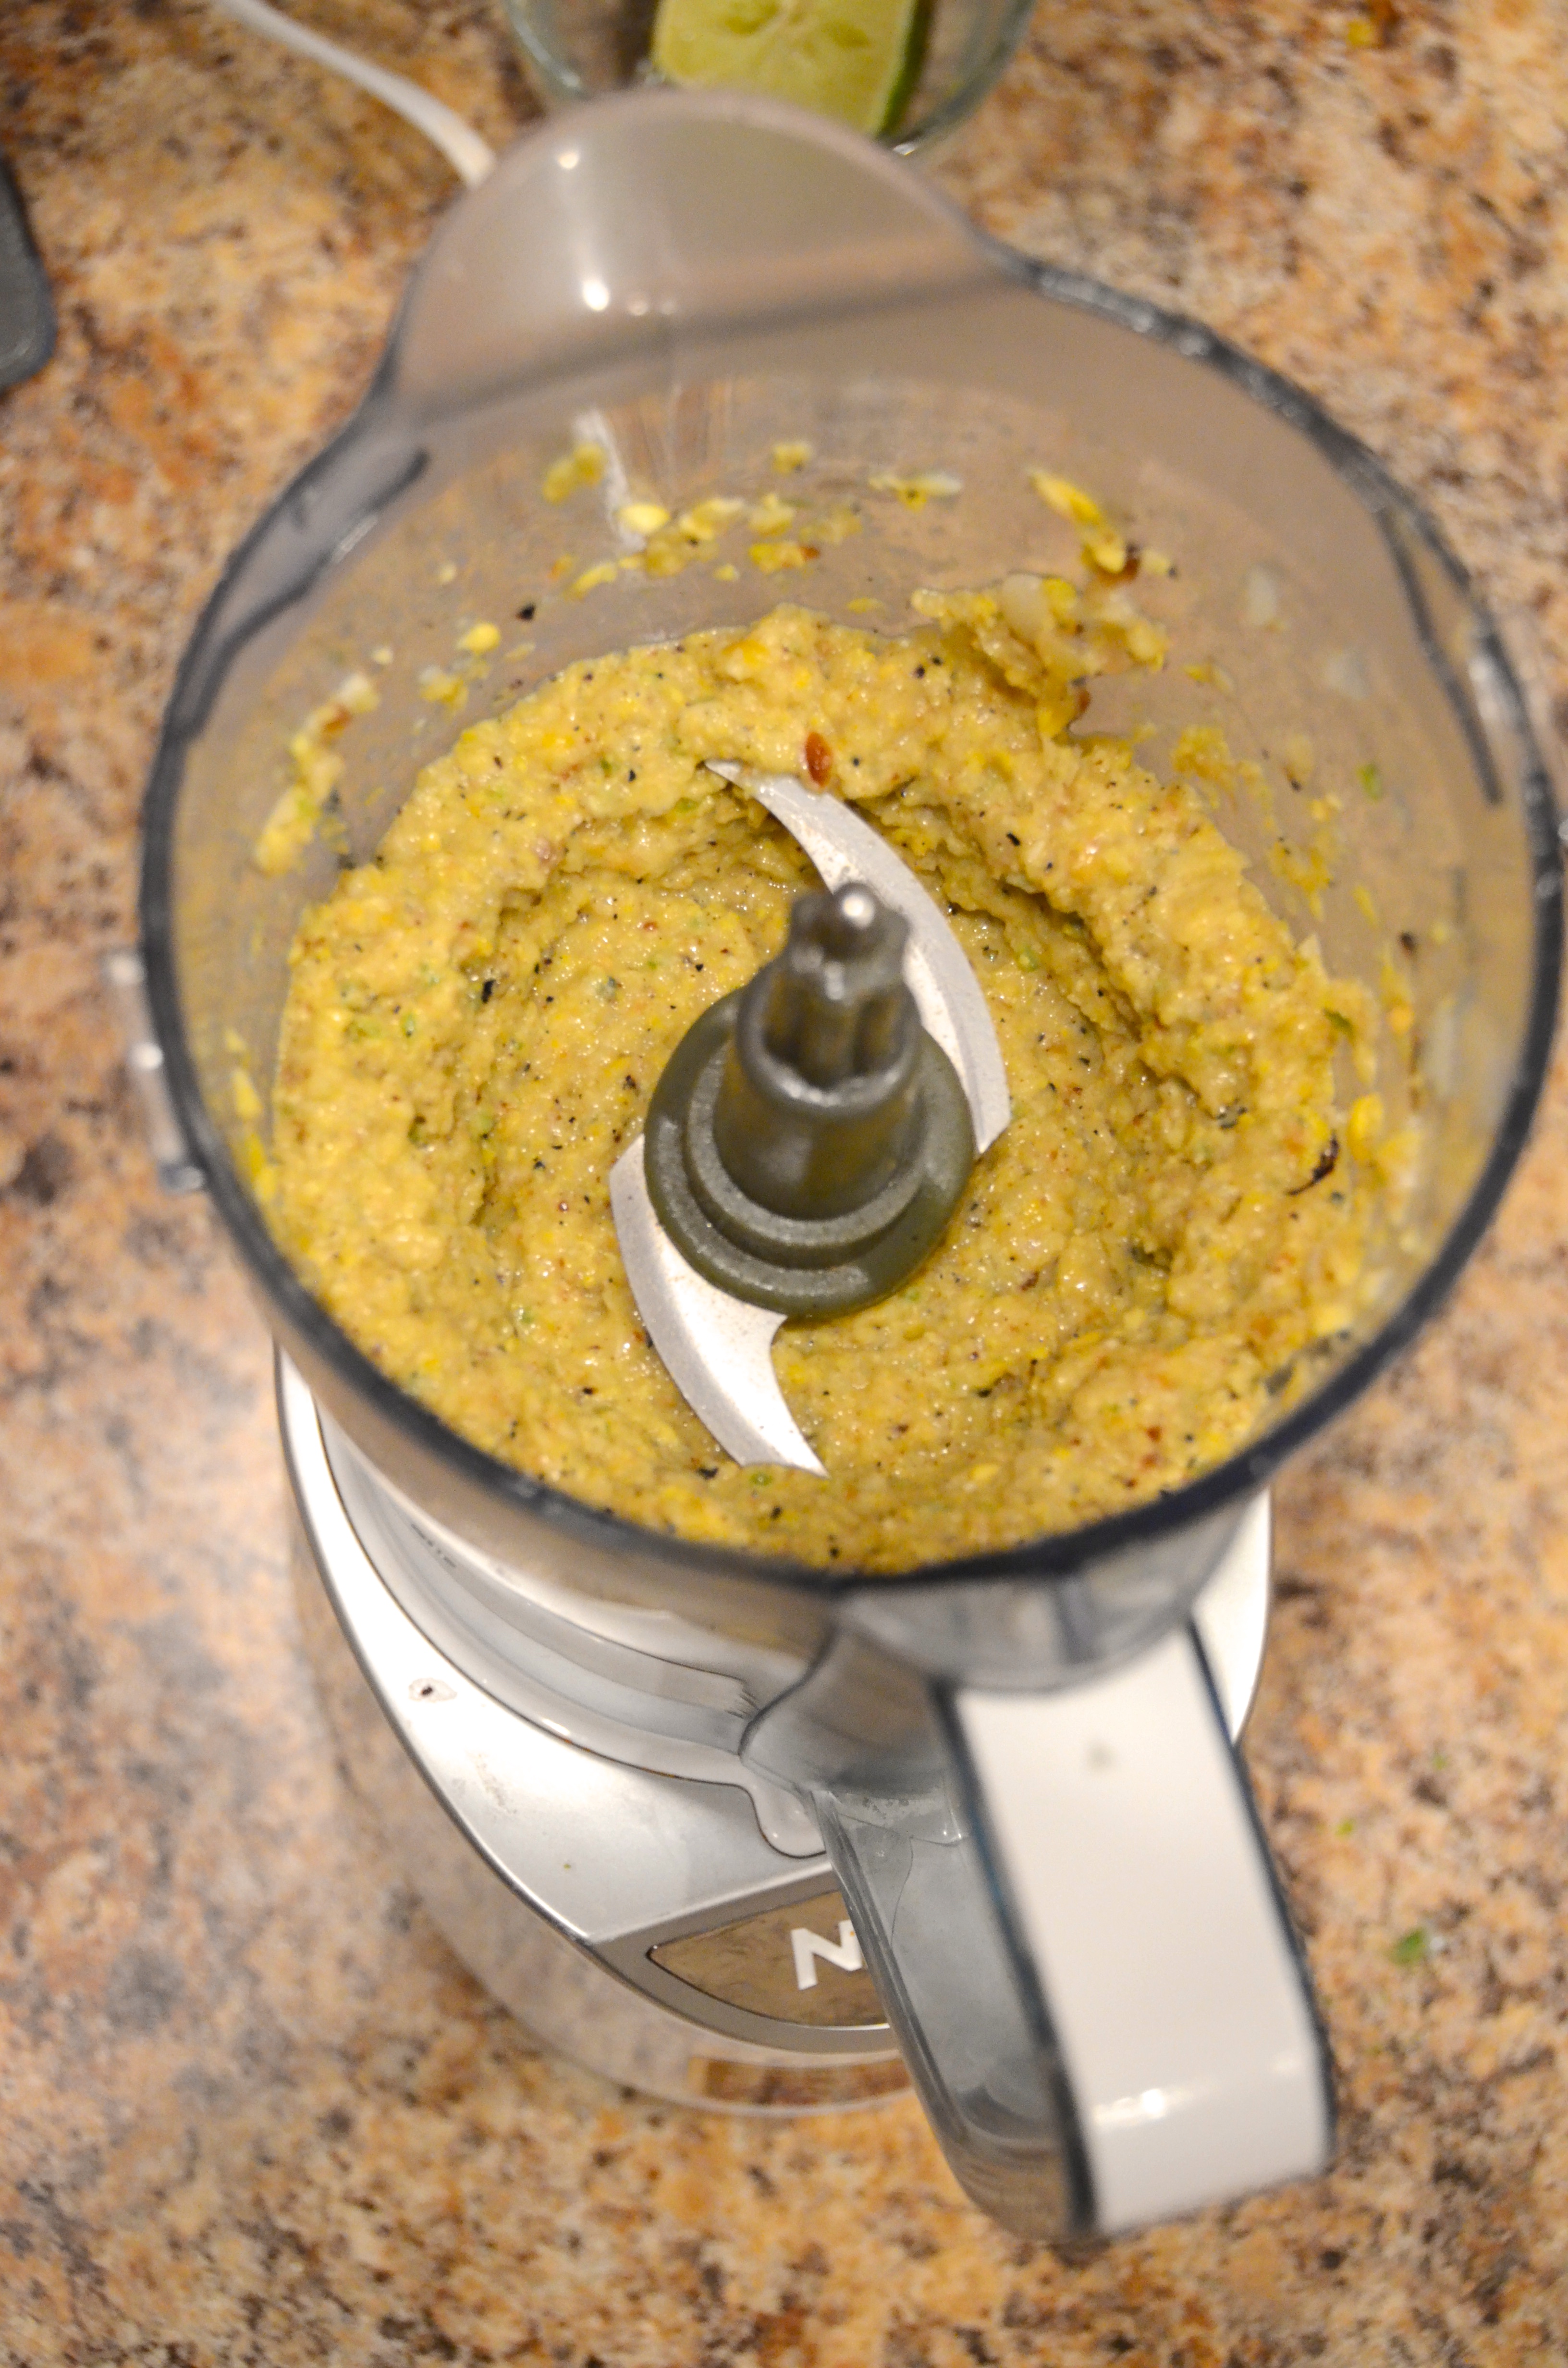
Pour in the olive oil slowly. The smooth mixture will become an orange-pink color and look like a salad dressing. 
Additional olive oil can make the texture more creamy if it is watery.
Press the mixture through a strainer or run through a food mill to extract all the liquids and discard the solids. I was less than enthused about the idea of discarding the nutritious solids, but using my food mill resulted in such minimal solids that I felt OK with sending it to compost.

It’s one of the few times year this gets used!
Transfer to a large pitcher, preferably glass, and refrigerate until very cold. This could be done overnight. In the meantime, prepare any toppings. I used some very old cubes of bread from the freezer, cooked in butter with garlic.

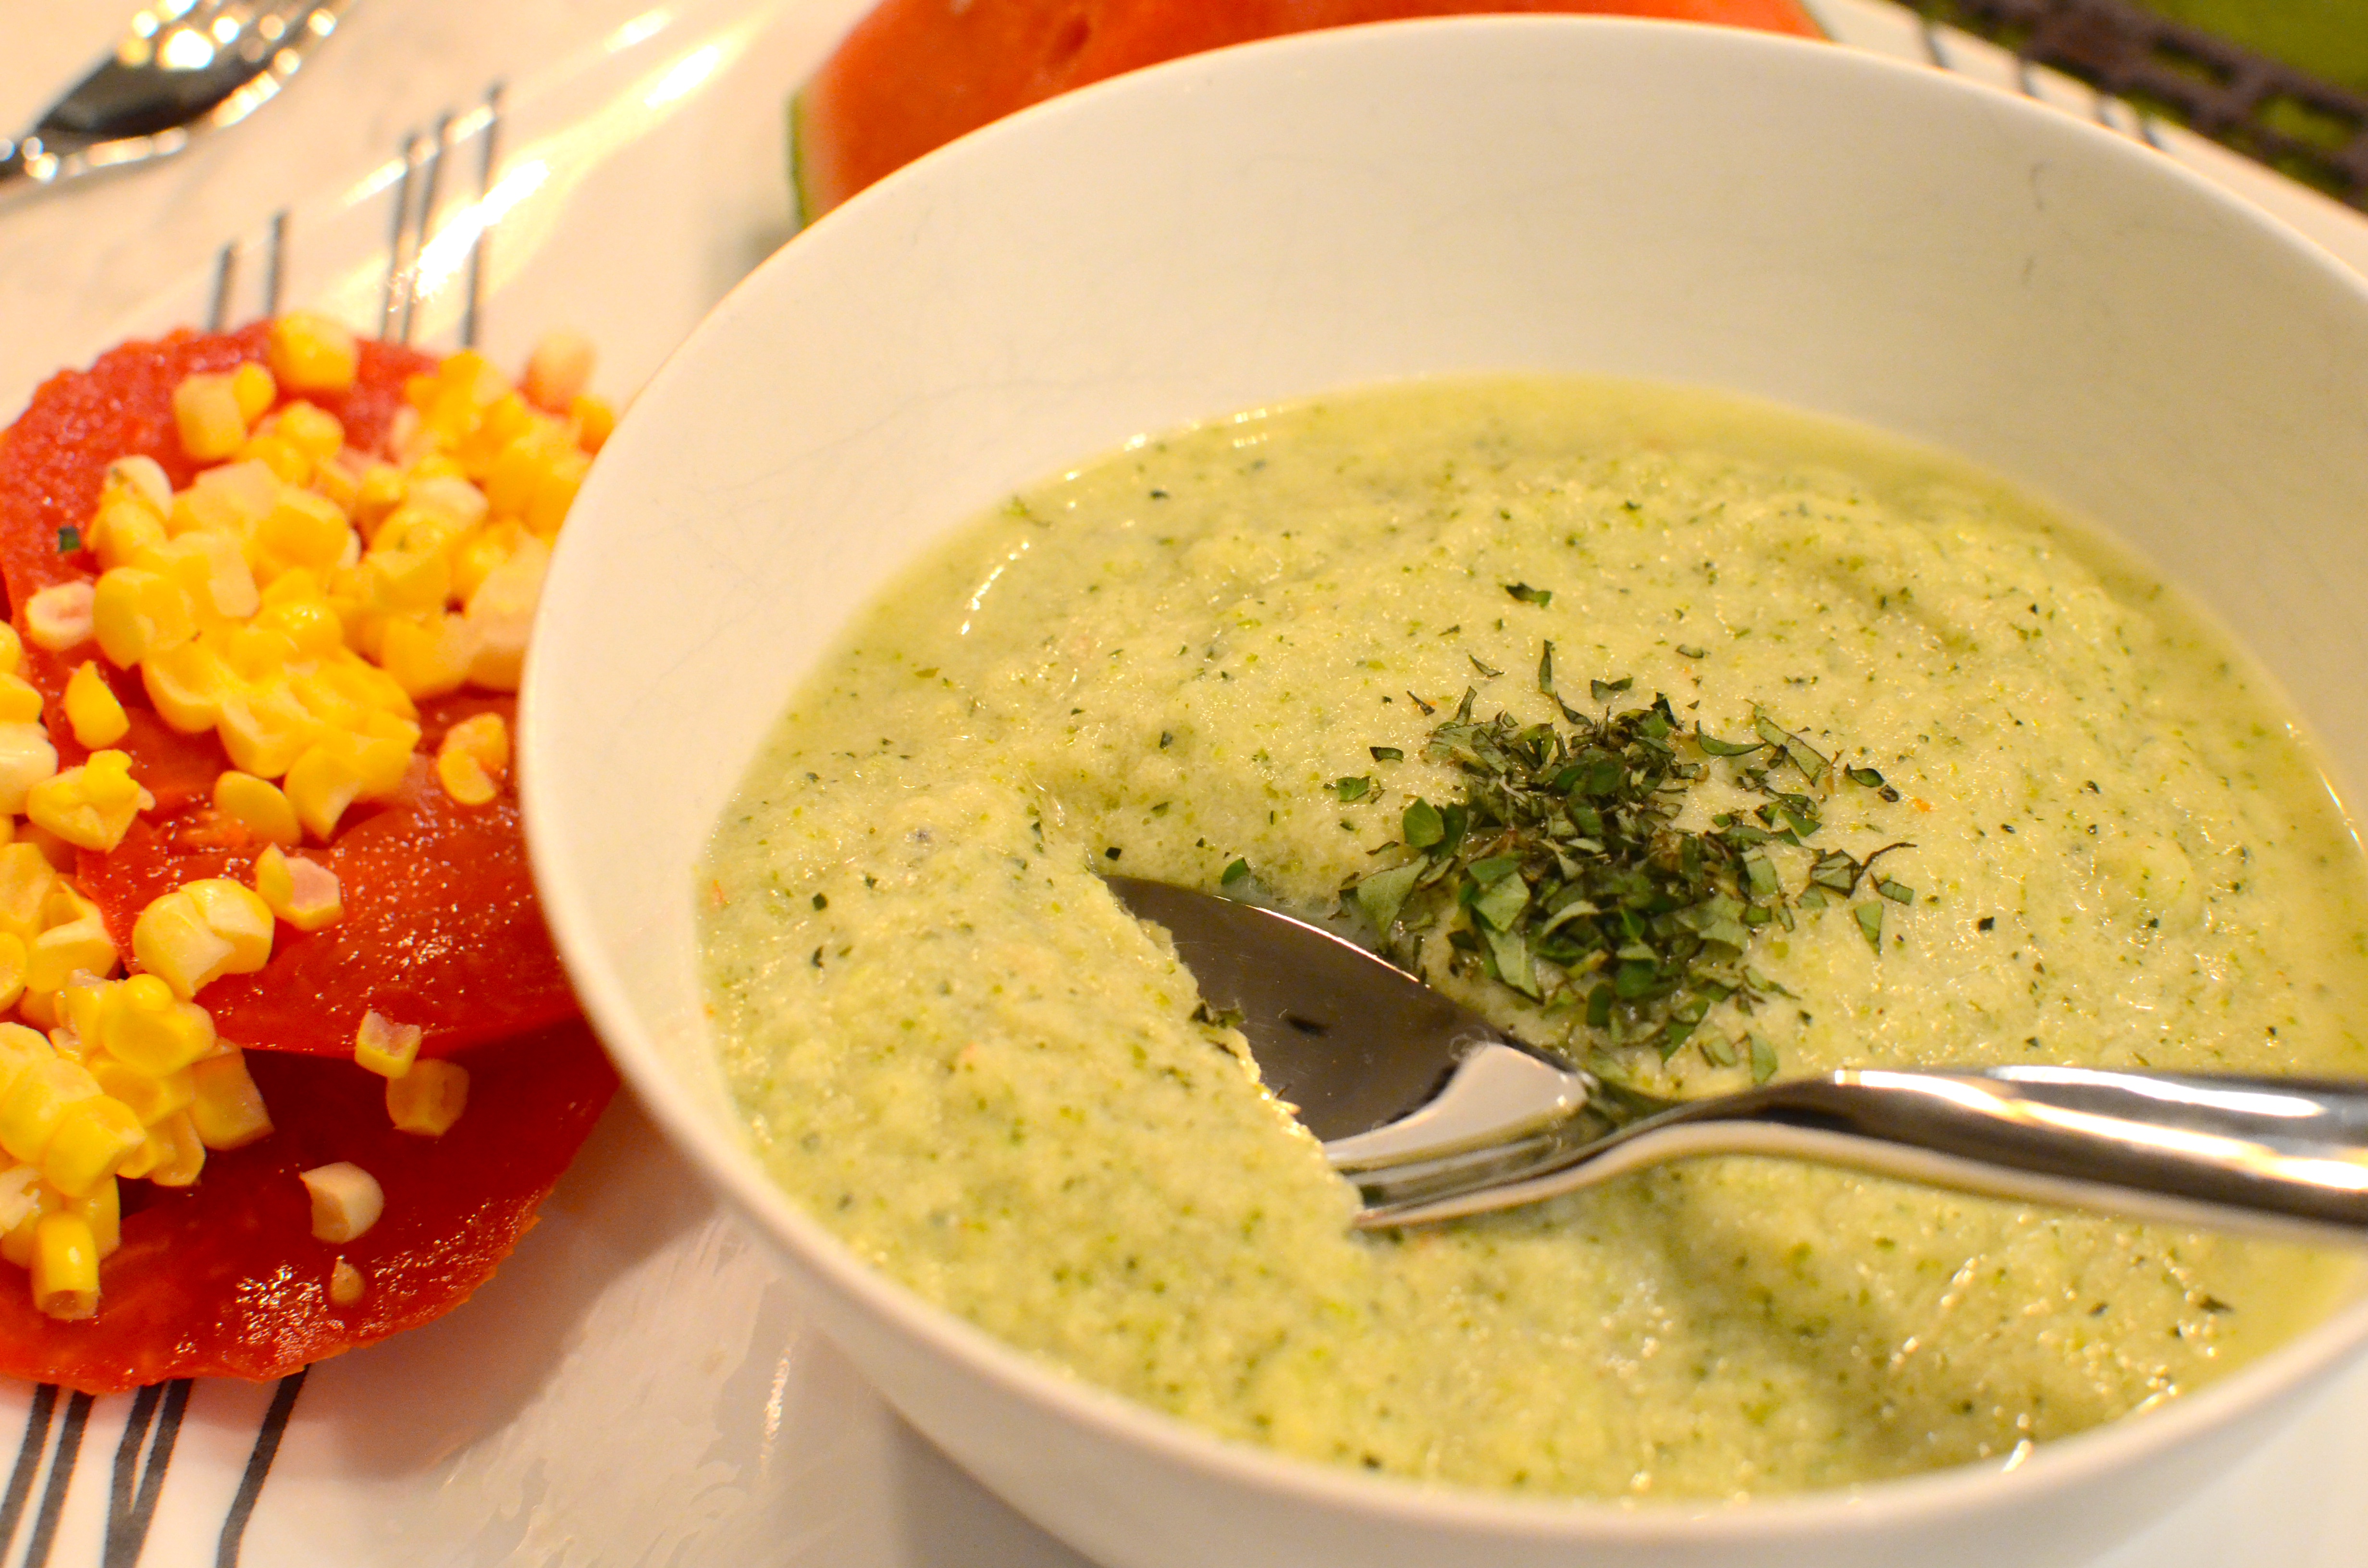
When you are ready to serve, taste to adjust the seasonings with salt and vinegar. Serve in glasses. You can serve over ice or even chill the glasses for the best effect.

Present with toppings: chopped almonds, garlic croutons, olive oil and Tabasco all worked great for me.


Why not enjoy outdoors?


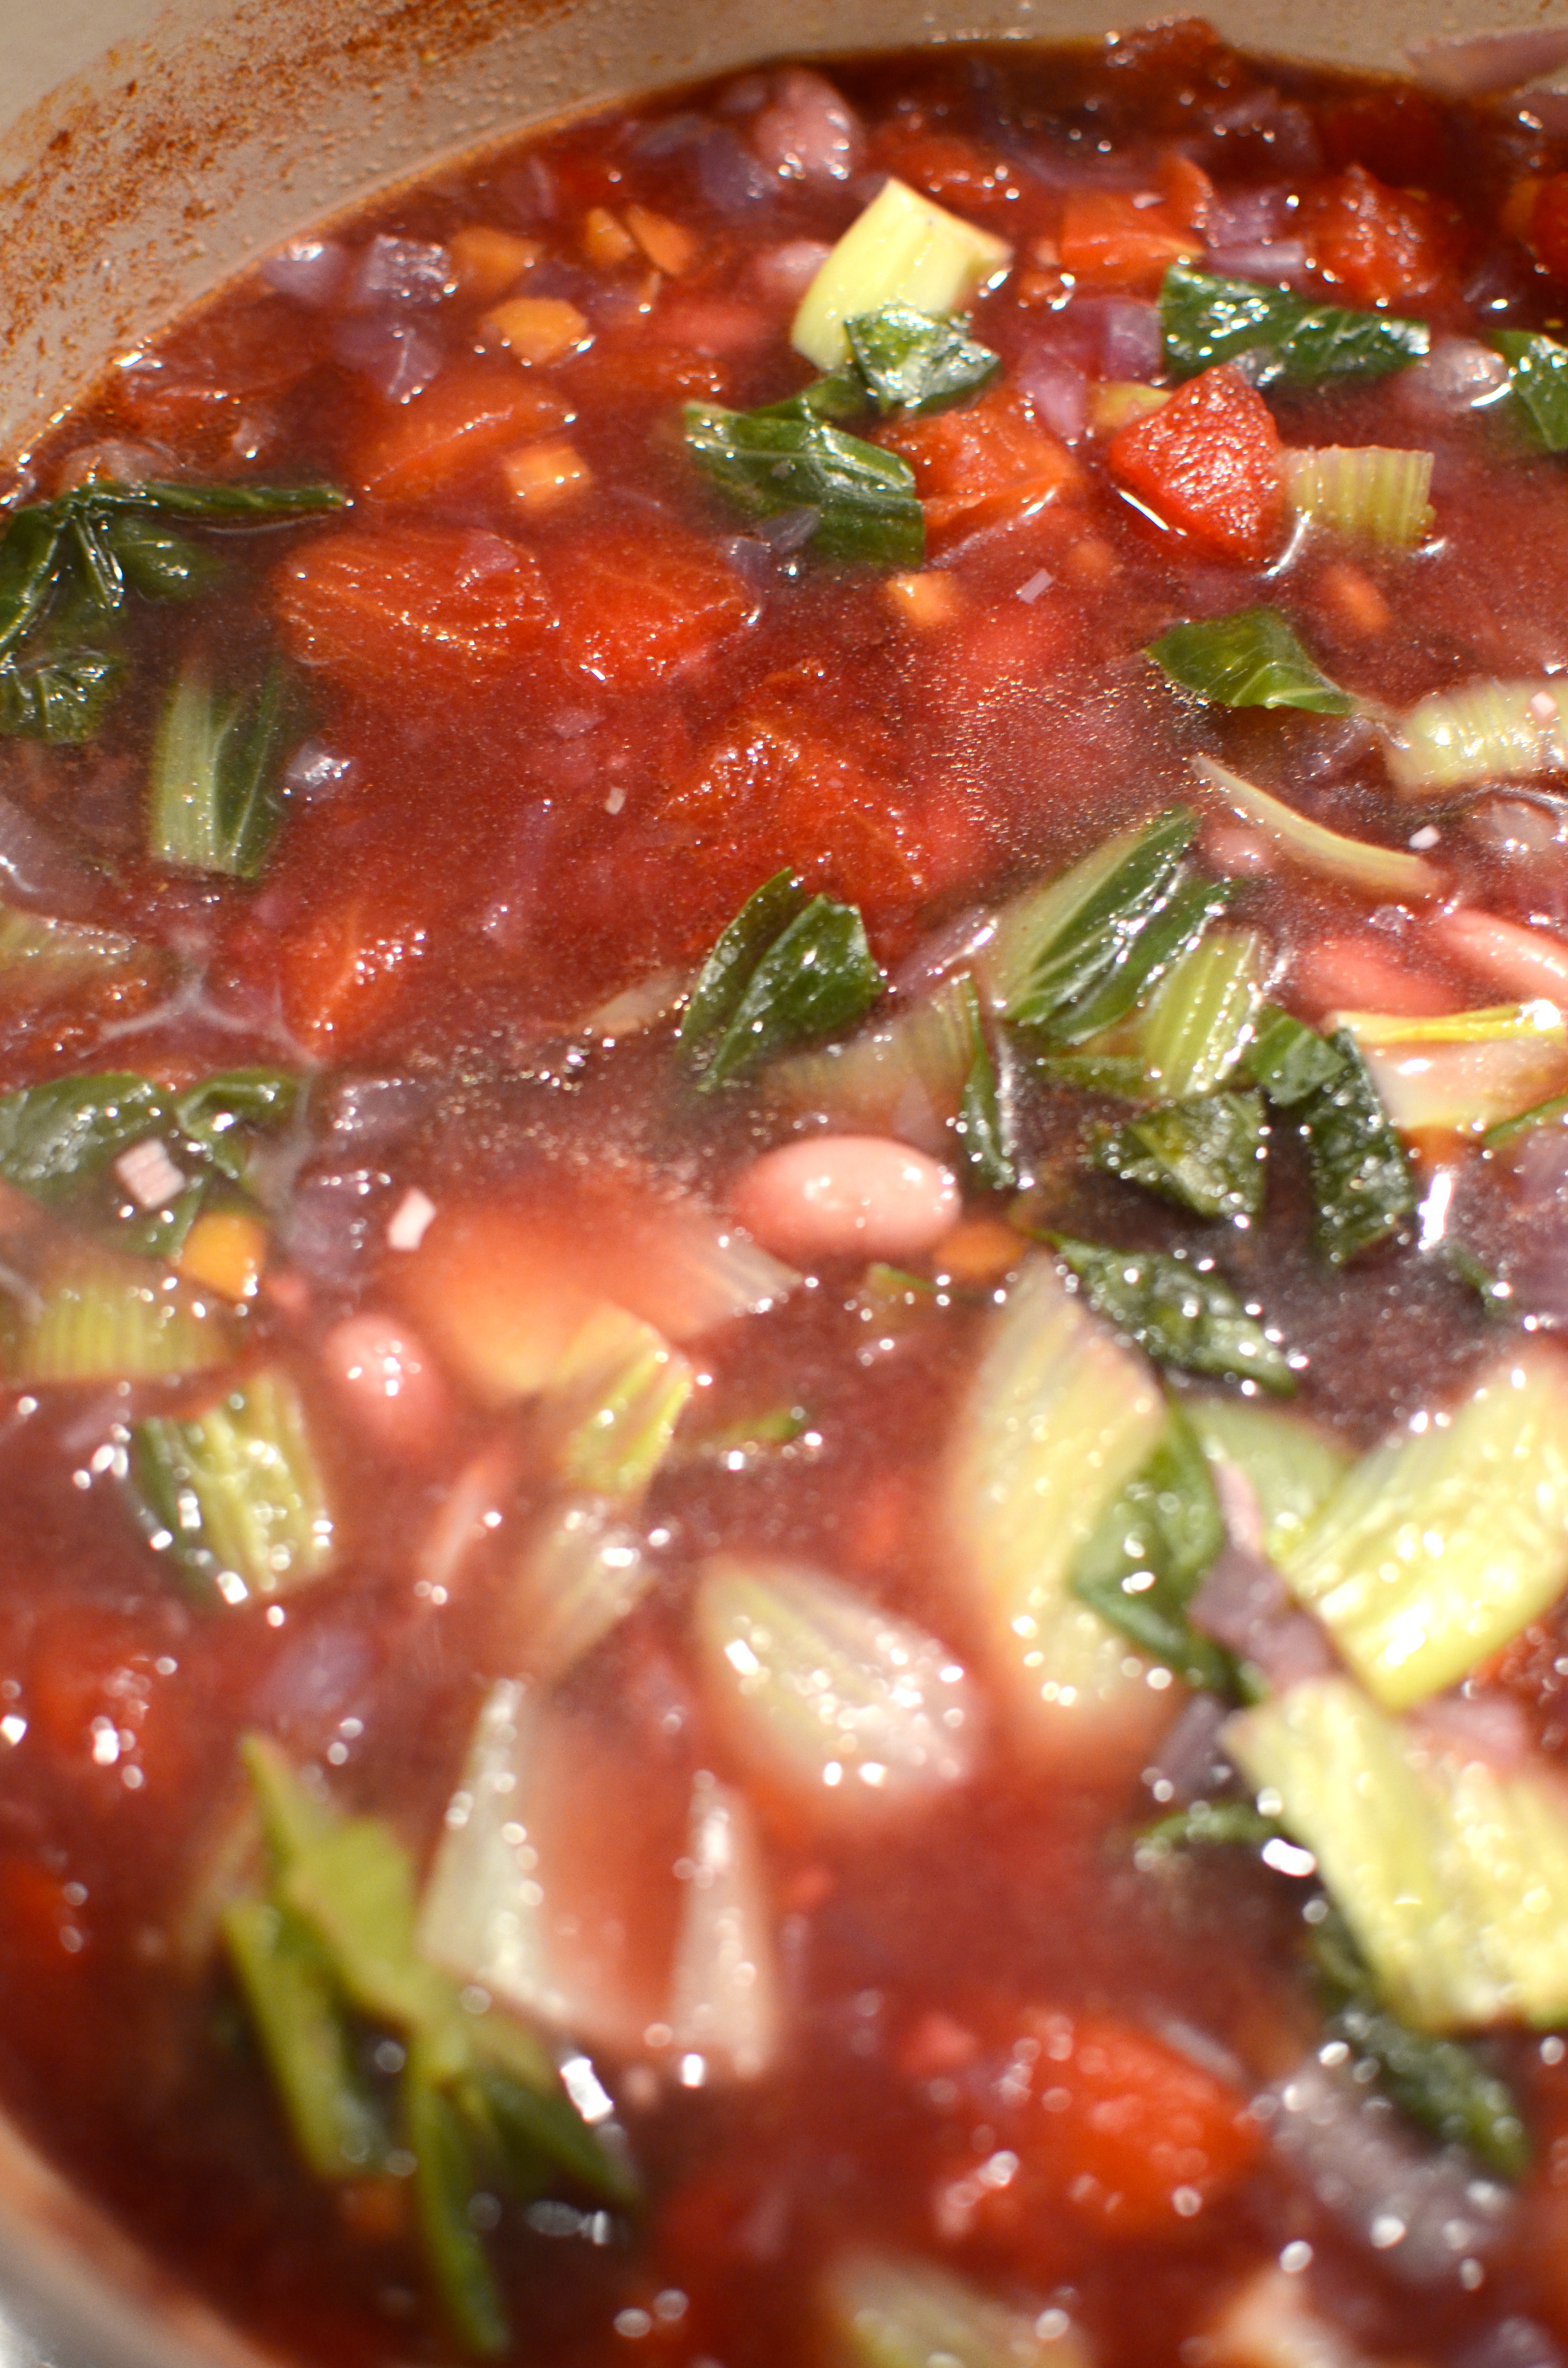
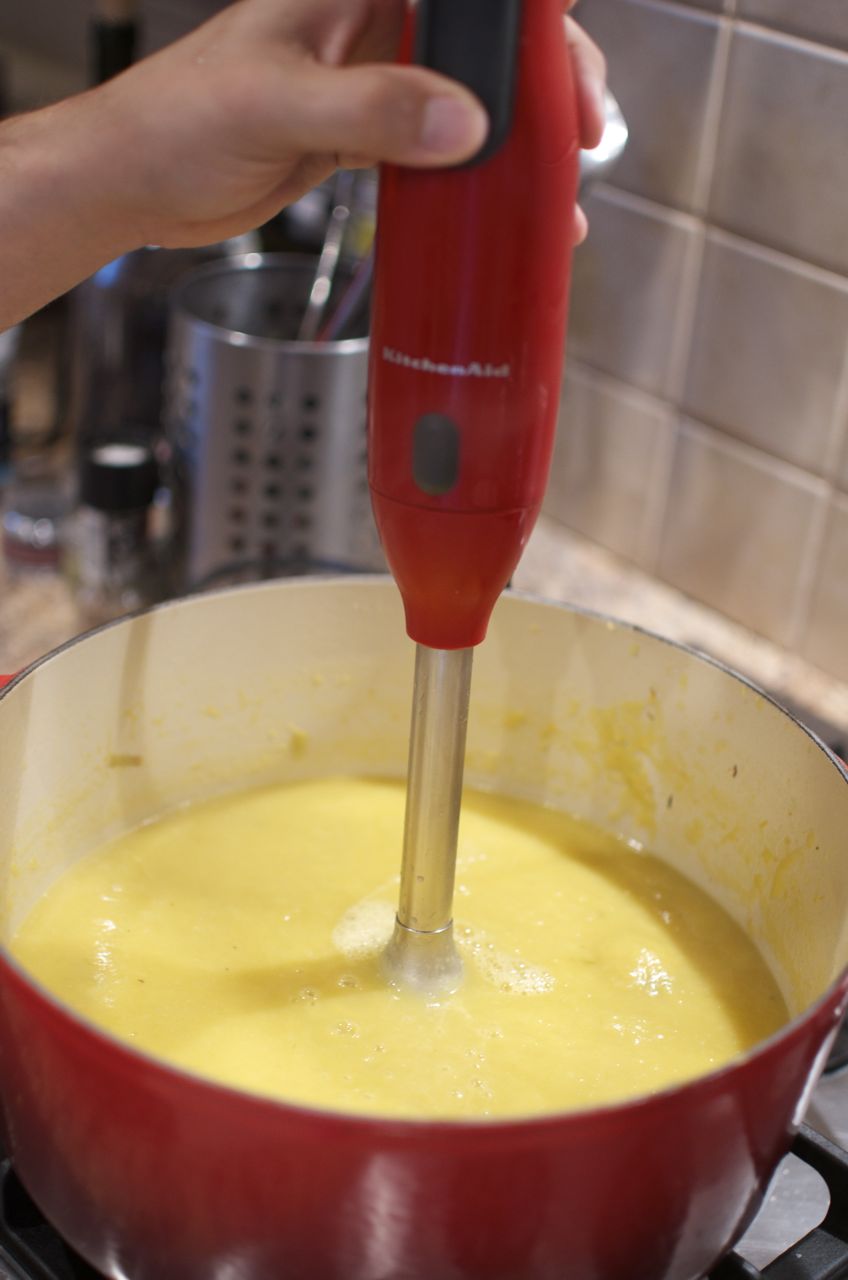
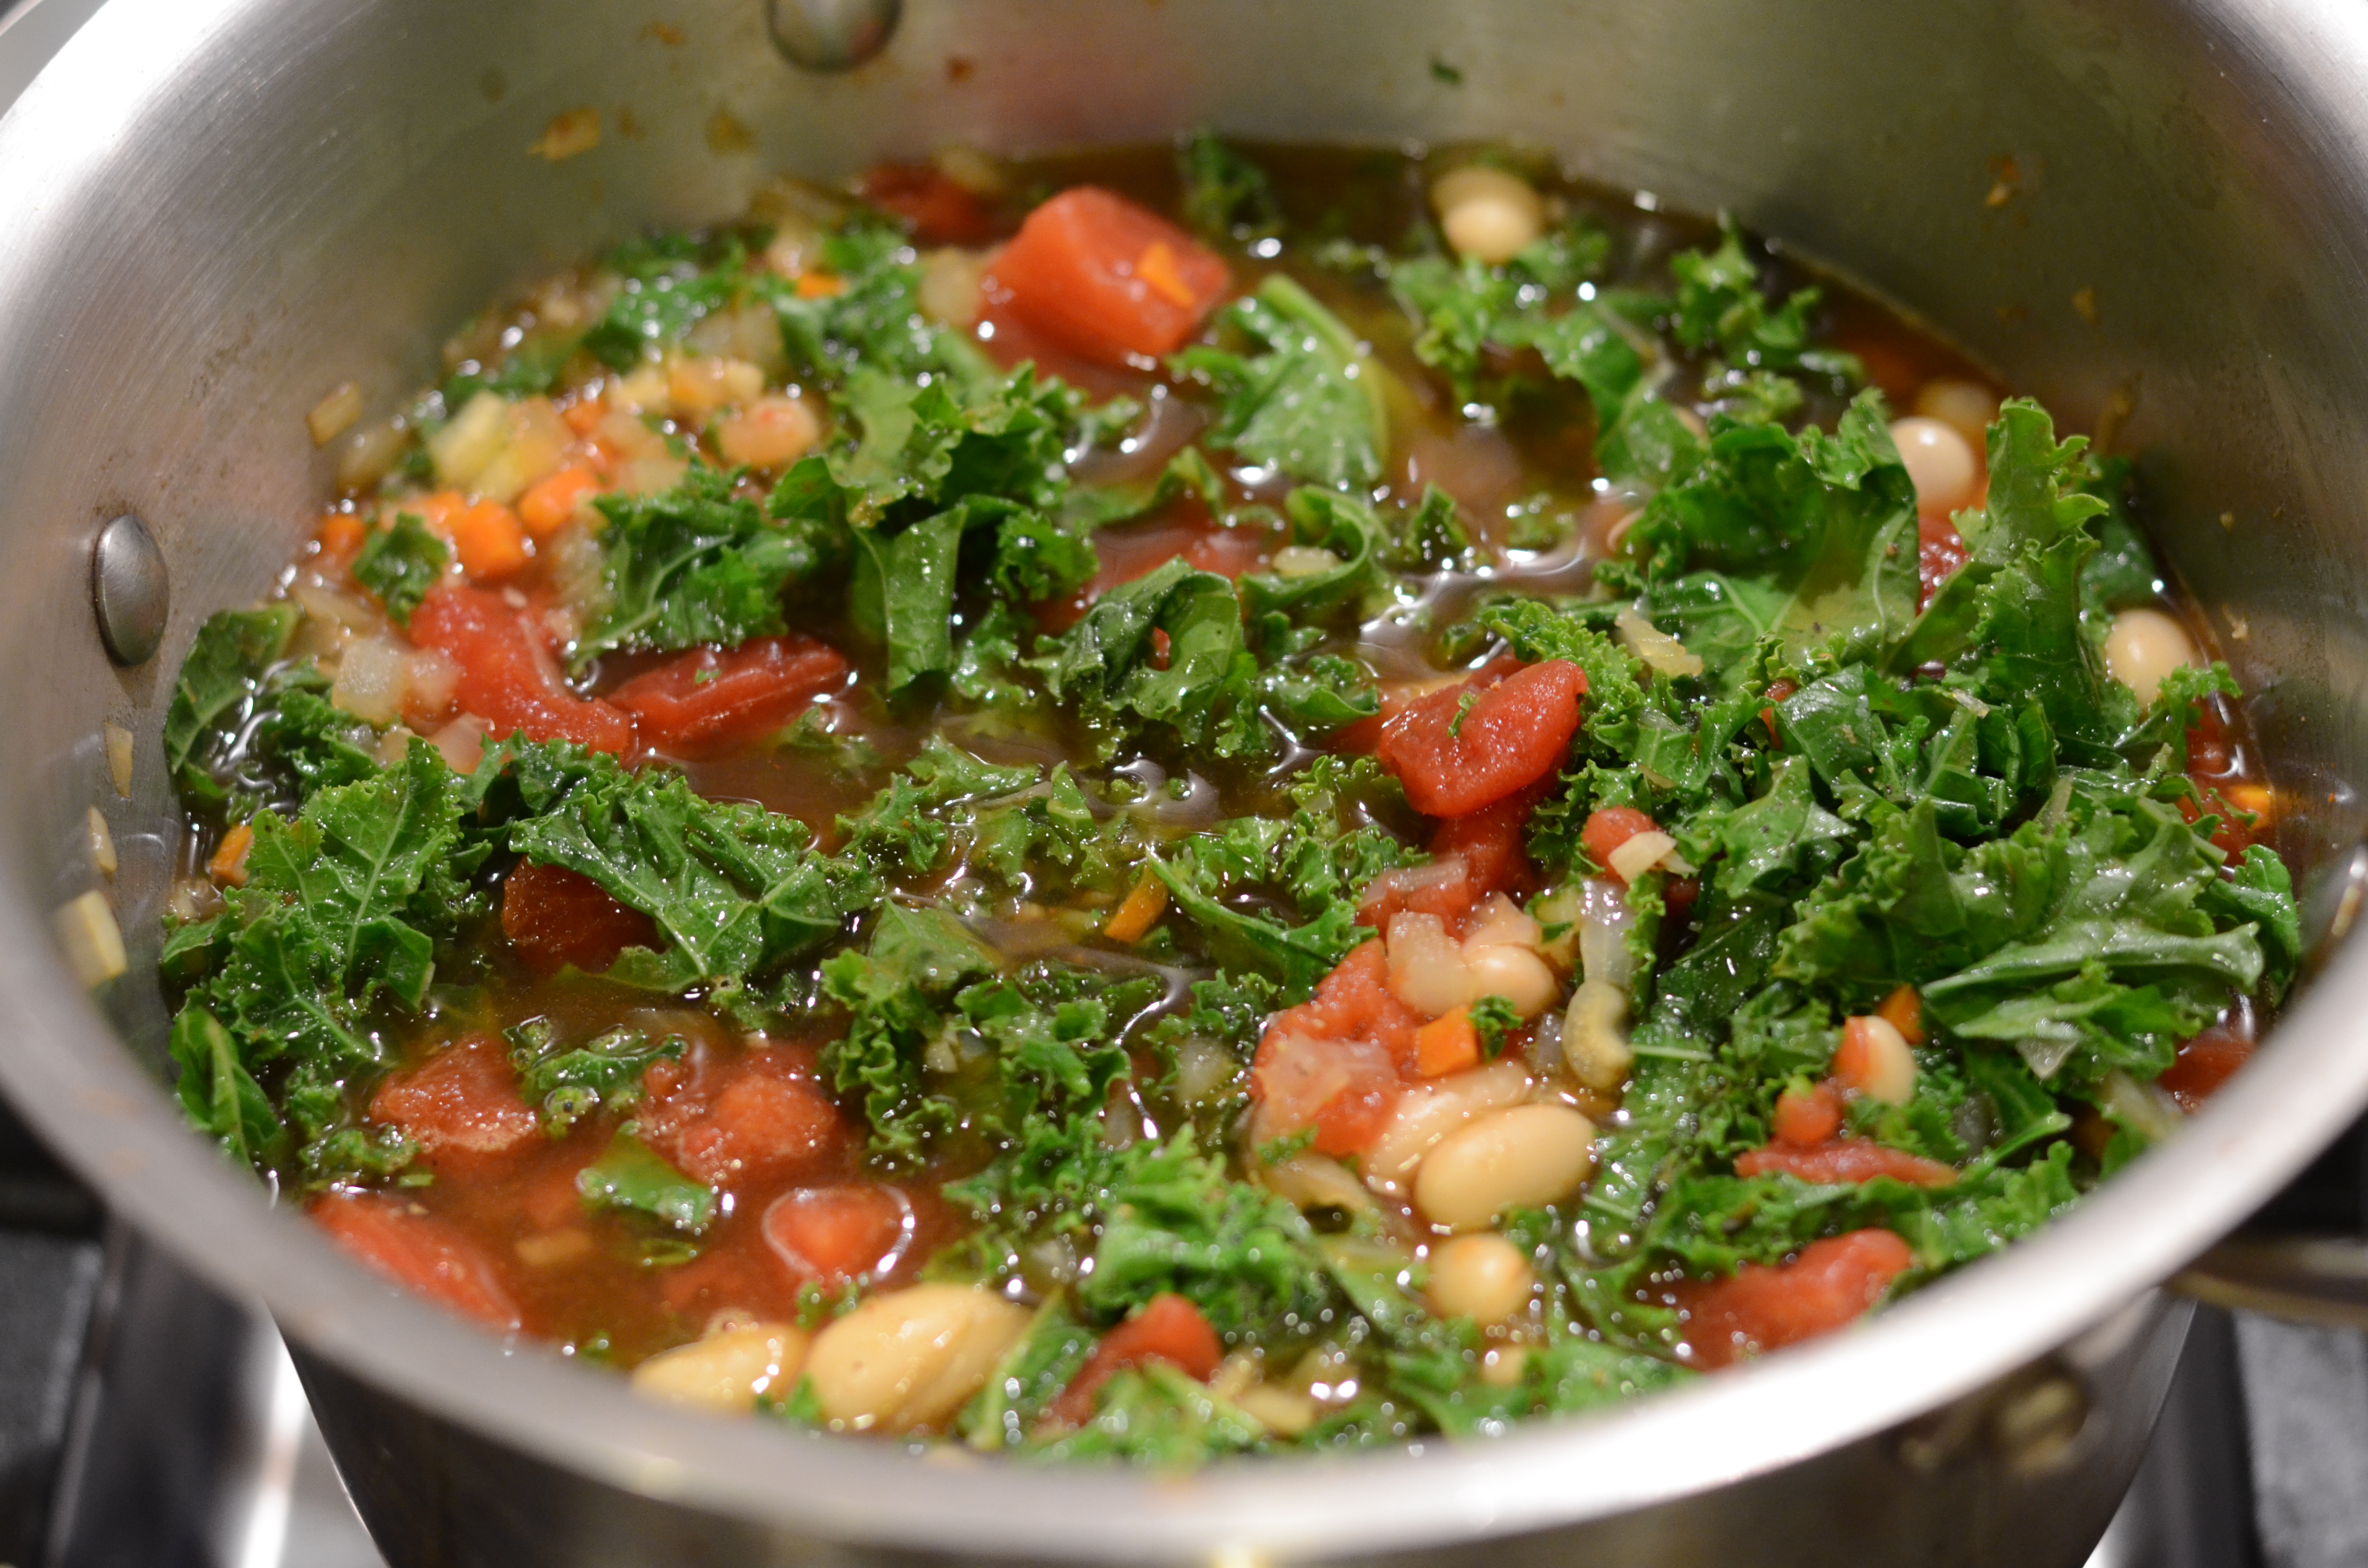
 Use an immersion blender to blend the “soup” until mostly smooth but leaving some chunks of tomato, pepper, and whole beans. Taste again and add spice as needed.