White Bean Burgers with Tomatoes and Basil

I am so excited by how well this recipe turned out. It’s not every day that the leftovers of my meals are crave-able, but these veggie burgers were gone in a snap.
DSC_3670
The source of inspiration for these burgers was leftover basil.

I try not to buy basil in the winter. In the summer, I’m blessed with abundant basil that can be snipped as needed from the garden. But when I buy basil from the store, I’m always faced with leftovers in the fridge drawer. Which means I’m faced with the guilt of potential waste.

But I bought this basil for a special occasion. My husband and I have a tradition of spending the early evening hours of New Year’s Eve at home, making fresh pasta together. Romantic right? (Then we hustle off to a local friend’s house to attempt to be a little more “cool” and social). This time we made a fettuccine with bolognese sauce that was enhanced by the herbal touch of fresh basil leaves.

A few days later, I was on the lookout for recipes using basil, and settled on this one.

White Bean Burgers with Tomatoes and Basil
Adapted from oh my veggies

1 can (15 ounce) cannellini or other white beans, drained and rinsed
1/4 Cup sun-dried tomatoes, coarsely chopped
4 Tablespoons olive oil
1 Tablespoon tomato paste
1 teaspoon garlic powder
1/3 Cup packed basil leaves
, torn
1/3 Cup shredded mozzarella cheese
1/4 Cup panko
2 Tablespoons parmesan cheese
, grated
Salt and pepper to taste
1 egg
, lightly beaten

For serving:
4 buns (hamburger, kaiser rolls, challah rolls, etc – whatever you have leftover in your freezer after your husband is overzealous and claims that more people will show up at the party!)
Optional accompaniments:
Fresh basil leaves
Romaine or butter lettuce
Fresh mozzarella or provolone
Optional sauces:
Balsamic reduction
Pesto
Basil Mayo

Basil Mayonnaise
recipe
From the kitchn
Proportions roughly followed:
1/4 Cup packed basil leaves
2 Tablespoons olive oil
1/2 teaspoon fresh lemon juice
1 medium garlic clove
, chopped
Zest of about half of one large lemon, about 1 teaspoon
1/2 Cup mayonnaise

Combine in a small food processor or blender.

Preheat the oven to anywhere between 385F and 400F (my oven runs hot so I opted for lower.)
DSC_3637
For the burgers, prepare your chopped sundried tomatoes and basil leaves.

Store-bought basil can be extremely dirty. Be sure to thoroughly wash by swishing in a bowl of cold water and then lifting out to leave the sand at the bottom of the bowl.

Store-bought basil can be extremely dirty. Be sure to thoroughly wash by swishing in a bowl of cold water and then lifting out to leave the sand at the bottom of the bowl.

In a food processor, puree together 1 Cup of the beans with the sundried tomatoes, olive oil, tomato paste, and garlic powder.
DSC_3643
The original recipe called for sundried tomatoes in oil, and less added olive oil, but I had regular sundried tomatoes. So I added some olive oil at first and discovered the mixture was still too dry and was difficult to puree, so I added more olive oil, up to the approximate amount above. Be on the lookout for the mixture seeming too dry. Next time I may experiment with adding some other wet ingredient to bring up the moisture content. Tomato sauce, perhaps?
DSC_3647
In a medium bowl, add the remaining beans and mash them with a fork. Stir in the pureed bean-tomato mixture, and add the basil and remaining ingredients, with the beaten egg added last.
DSC_3650
DSC_3651
DSC_3653
Line a baking sheet with parchment paper. Using a measuring cup as a scoop, drop the burger mixture into 4 mounds on the sheet, and then shape each mound into a patty.

Note: this scoop-mound-shape method for forming a veggie burger was a worthy lesson on its own--thank you oh my veggies!

Note: this scoop-mound-shape method for forming a veggie burger was a worthy lesson on its own–thank you oh my veggies!


DSC_3654
Bake the burgers until they’re lightly browned on the outside and feel dry to the touch in the center, 20-25 minutes.
Mmmm yes to the melty mozzarella.

Mmmm yes to the melty mozzarella.


In the meantime, make your sauces! I made the basil mayo. I could have made pesto…but I still had some of the summer stock in the freezer.

Prepare your choice of buns with your choice of toppings.

Basil mayo followed by lettuce....

Basil mayo followed by lettuce….

...followed by burger, topped with balsamic glaze and more basil!

…followed by burger, topped with balsamic glaze and more basil!


How could you NOT crave this?

How could you NOT crave this?

DSC_3671

Green Tomato Curry

Season’s Greetings!

I won’t dwell on the fact that there has been a significant lack of recent content here. The second half of 2016 has been exciting and eventful; the activity simply has not taken place in my kitchen.

At minimum, I wanted to share with you a recipe I had executed a few months back, during the transition from summer harvest into fall/winter hibernation.

When I had a job with a normal, local work week, I would frequently travel on the weekends. Now that I’m gone many weeks, I have tried to keep the weekend plans limited. Plus there was the 9 months I spent with class on Saturdays–the weekends finally started feeling solidly long (that is, when I wasn’t traveling for part of them). So on a Saturday in mid-October I gave in to the cooler weather and spend much of the day retiring the garden for the season. Does anyone experience some sense of relief when this happens? No more weeding. No more tomatoes rotting before I can use them. No more weird gross evidence of bugs.

The wintering over meant the last big batch of jalapeños and–yes–tomatoes, green ones. Lots. Of the options for cooking green tomatoes, I had already once made the requisite fried green tomatoes, and as for pickled tomato relish? Um, I still have some from last season. So I wanted to mix it up.
DSC_3581
My husband is a fan of curries and spiced foods, served over rice, so I wondered if there was anyone who had documented an attempt to make a green tomato curry. Of course there was! Other than a few basic substitutions, I followed the version described by Kerry from Classic Cookery on the kitchn, and was mostly content with the result — it just needed more spice! Nothing a little chili-garlic sauce can’t help.

Looks seasonally appropriate to me!

Looks seasonally appropriate to me!

Green Tomato Curry
Adapted from recipe on the kitchn

Tool needed: immersion blender

2 Tb clarified butter (ghee)
2 Tb shallot
, minced
1 tsp curry powder
2 Cups green tomatoes
, chopped
Salt and pepper, to taste
As many roasted peppers as desired, up to 5 Cups
(I scrounged up less than 2 Cups)
2 cloves garlic, roasted and smashed
1 can of chickpeas, drained and rinsed
Cayenne pepper
Cumin
Coriander
1 Cup light coconut milk
1 Tablespoon Asian chili-garlic paste
, to taste
Brown or white rice or naan, for serving

DSC_3587

Preheat the oven and roast your garlic cloves and peppers, if starting from scratch. I usually cook these at around 375F.

These peppers could have gone a little longer.

These peppers could have gone a little longer.


Stem, core and chop your tomatoes.
There was some parts of the tomatoes I sliced and tossed because they didn't really seem edible.

There was some parts of the tomatoes I sliced and tossed because they didn’t really seem edible.


Taste the rainbow!

Taste the rainbow!


In a soup pot or high-sided saucepan, melt butter. Add shallots and cook on low heat until soft and fragrant.

Add curry powder, add tomatoes, and season with salt and pepper. Allow tomatoes to warm fully and start to soften.
DSC_3595
Next add the roasted peppers, peeled and smashed garlic, and garbanzo beans.
DSC_3598
Add about a teaspoon each of cumin and coriander, and then start adding cayenne pepper to taste–this can get very hot. The amount of spice you will need depends on the amount of peppers you end up using.
Cook for a few minutes until hot, and add coconut milk. Bring to a simmer and add seasoning.
DSC_3600
DSC_3603
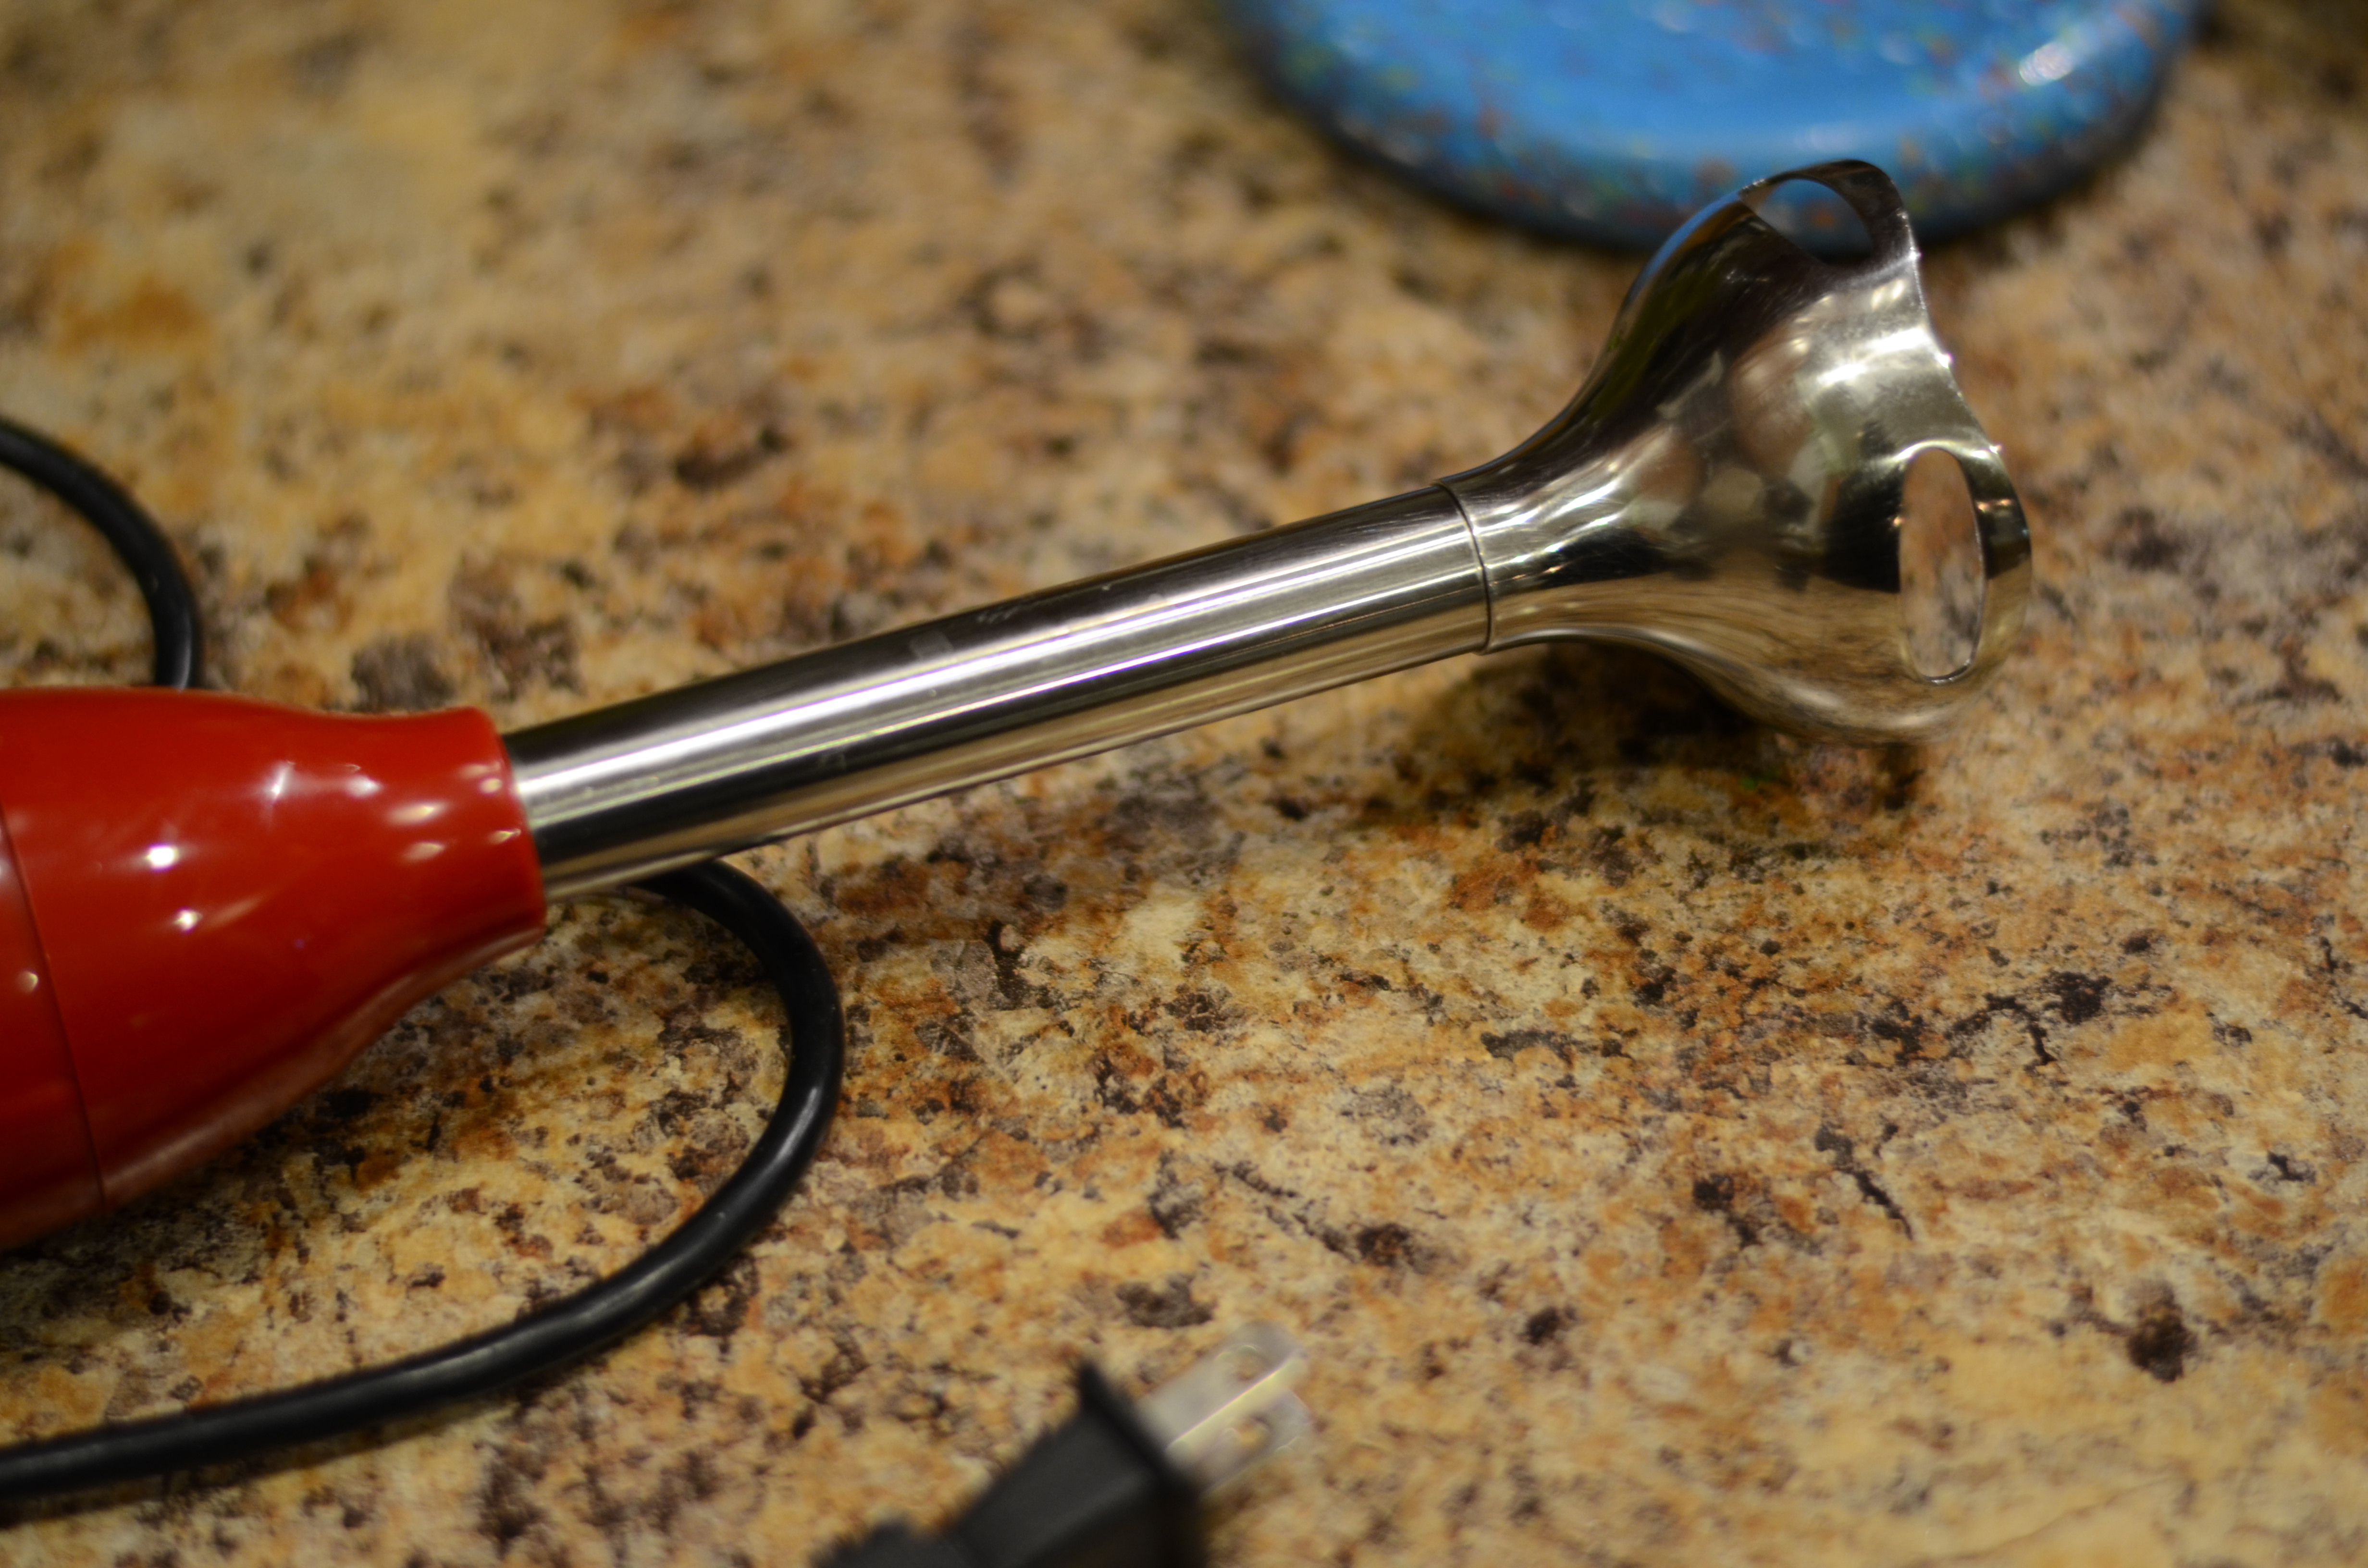
Use an immersion blender to blend the “soup” until mostly smooth but leaving some chunks of tomato, pepper, and whole beans. Taste again and add spice as needed.

Serve in a bowl over rice. Be sure to transfer desired amount to freezer containers for later meals!
IMG_4229

Weekend Cooking – Part 1 – Chard

I hadn’t done much cooking during the week, with dinners out and social gatherings, so I had big plans to use up a lot of ingredients on Friday night. It was to be a “cook the pantry” type of night. Then it got to be 8:30pm before I started. Why so late? Well, there was some drama in discovering that one of our cats was refusing to eat the dry food we had always fed her, so there were two trips to Petco to find alternatives. Then I was so sleepy that I tried to take a preliminary power nap. And one of the floors desperately needed to be vacuumed, and that needed to be done before too late so as not to disturb the neighbors. So, I didn’t have time to cook everything I wanted before bed. Fortunately, there was time on Saturday too!

I was facing another batch of swiss chard, so I decided to try something a little different. Why not puree it? This soup recipe was great because it also utilized parsley, which I received in the farm share at the same time it happens to be thriving in my garden. With the added tang and creaminess of lemon juice and greek yogurt and the salty zing of feta, we had a pleasant summery soup on our hands.
DSC_4840
DSC_4837

Chard, Herb, and Feta Soup
adapted from Bon Apetit
Serves 4

I’m not sure why the Bon Appetit recipe refers to this as a winter soup. Unless you have your own green house, the fresh herbs would be a big investment at the grocery store during the winter. I’m certain you could substitute spinach in this recipe, but there is no substitute for the fresh herbs.

2 Tablespoons olive oil
1 large onion
, coarsely chopped (I used about 1 C of onion I had left over)
2 large garlic cloves, smashed
1 pound Swiss chard leaves (center ribs and stems removed), coarsely chopped (about 10 cups)
3 1/2 cups vegetable broth
1 cup flat-leaf parsley
1/2 C fresh cilantro
1/4 C fresh mint leaves
1 tablespoon dried mint
1 teaspoon freshly grated nutmeg
1 tablespoon fresh lemon juice

Kosher salt and freshly ground black pepper, to taste
1/2 C plain Greek-style yogurt

Optional garnishes:
Plain Greek-style yogurt
Mixed chopped herbs
(such as parsley, cilantro, and mint)
Feta, crumbled
Kosher salt and freshly ground black pepper
Fresh lemon juice
Olive oil

DSC_4842
Heat oil in a large saucepan or dutch oven over medium heat. Add onion and garlic and cook, stirring often, until translucent and soft (do not brown), 7–8 minutes.

While they cook, roughly chop your herbs.
DSC_4850
Add chard, parsley, cilantro, fresh and dried mint, nutmeg, and broth to the pan.

It might seem like there isn't enough broth...

It might seem like there isn’t enough broth…

Bring to a boil, reduce heat, and simmer, stirring occasionally, until chard is tender, less than 10 minutes.

.....and then the chard shrinks!

…..and then the chard shrinks!


Stir in lemon juice and season to taste with salt and pepper.

Take out your immersion blender tool and go at it. DSC_4866I like the idea of an immersion blender because it is very easy to clean compared to a food processor or blender. Yet it makes a mess with its splattering. Even with an apron, I don’t recommend wearing dry-clean only clothes with this one! Especially if you want your soup really really smooth, you could purée it in batches in a blender. Return to pan.

Place a few Tablespoons of the yogurt in a separate medium bowl. Add a ladle-full of warm soup and whisk until smooth. Repeat process twice more, using the yogurt and adding a total of 1 cup more soup.

Whisk yogurt mixture into soup in saucepan. Stir 1/4 cup herbs and about 1/4 cup of crumbled feta into soup. Season to taste with lemon juice, pepper, and salt, remembering that you will be garnishing with additional feta–and my feta at least was very salty.

Ladle soup into bowls and garnish with herbs and feta. Drizzle with oil, if desired. Serve with a good crusty bread, ideally.
DSC_4875

I had almost 3 Cups of leftover swiss chard stems, which I saved from disposal and pickled using this Bon Appetit recipe as guidance. I didn’t quite double the recipe–I ended up using about 3 Cups of Sugar, 1 3/4 Cups white vinegar, 4 Tablespoons Siracha, and 3/4 tsp of celery seed. Since they are supposed to sit for a few days, I have no idea how they will turn out, but I’ll let you know!

DSC_4883