Don’t you love it when things come together? When what you are looking for falls right into your lap? When everything clicks?
I wish I had this experience for something other than cooking inspiration.
In the past week or so, I have been very strict about not purchasing groceries, so that I really focus on using what I have. The reason is that I will be taking a brief hiatus from cooking. I will be otherwise occupied in the coming weeks. You can expect some kind of report afterwards. Let’s just say it is for a fun reason. And I will still be eating well. And let’s also say that I may be enlarging my ecological footprint by taking a plane. OK, OK, so I’m going on vacation! To ITALY and FRANCE! *Excuse me while I daydream*
This has gone OK, this grocery abstinence. One of that last perishable items I faced was a leftover bag of russet potatoes. I should note that I know these take a long time to “perish,” so while I wouldn’t necessarily need to worry about a couple of weeks for potatoes, these have been diminishing for awhile.
Back to talking about how things work out: I popped over to Joy the Baker‘s blog, and what do I see but “Roasted Potato Galette with cheddar and chives.” She made it look and sound delicious…and the fact that she made a Jack Bauer reference hooked me even more. I had been considering homemade knishes, but I felt lazy about mashing the potatoes (if I was truly lazy, I would have avoided a recipe that involved pastry!)
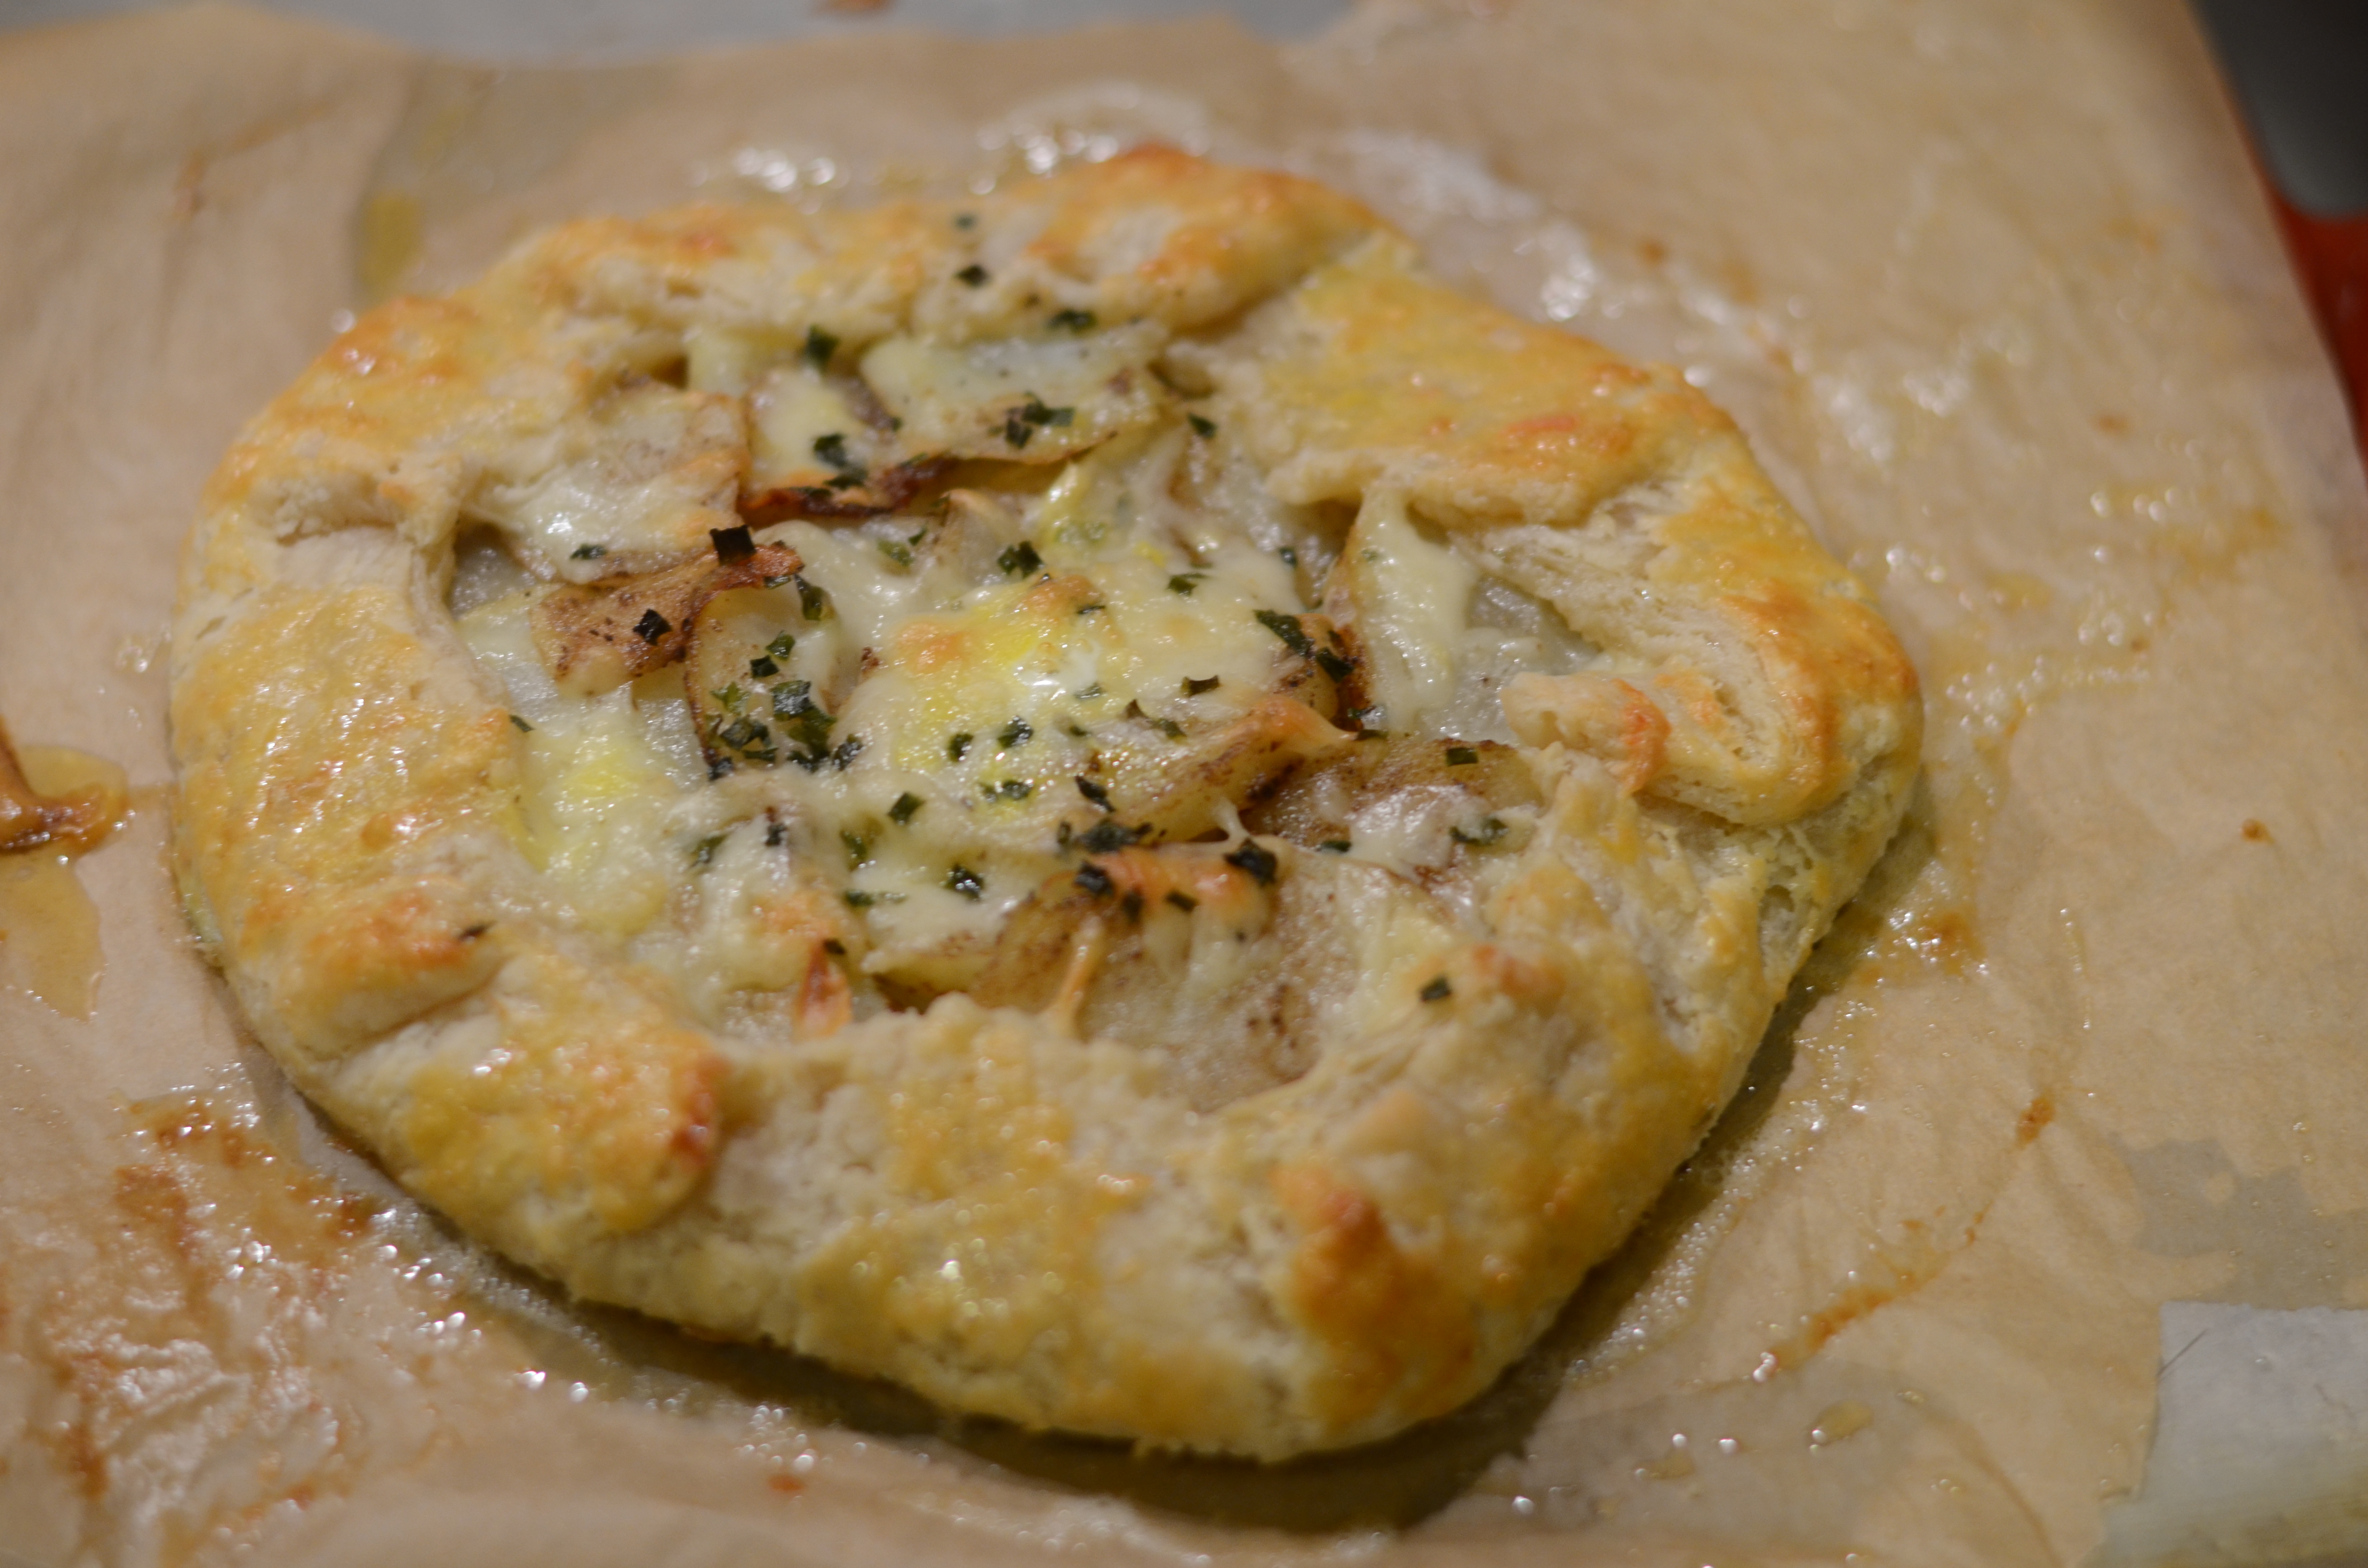
Spicy Potato and Cheese Galette
Adapted from Joy the Baker
For the Crust:
1 1/4 Cups all-purpose flour
1 teaspoon granulated sugar
1/2 teaspoon salt
1/2 Cup/1 stick cold unsalted butter
scant 1/3 cup cold buttermilk
-
OR
in my case, 2 heaping tablespoons of plain yogurt mixed with 4 tablespoons of nonfat milk to start. Make a splash extra for times like now when we are still suffering through winter’s dry air which leads to extra dry flour
For the Filling:
2 russet potatoes, mostly peeled and sliced into 1/4″ rounds (plus 1 extra for snacking)
2-3 Tablespoons olive oil
1-2 teaspoons Old Bay Seasoning (to taste)
1/2 Cup sharp cheddar cheese, grated
3 Tablespoons chives, finely chopped
1 large egg, beaten
Make the crust, which needs resting time.
-
Cheater method
:
Cube your butter and then pop it into the freezer to keep it extra cold.

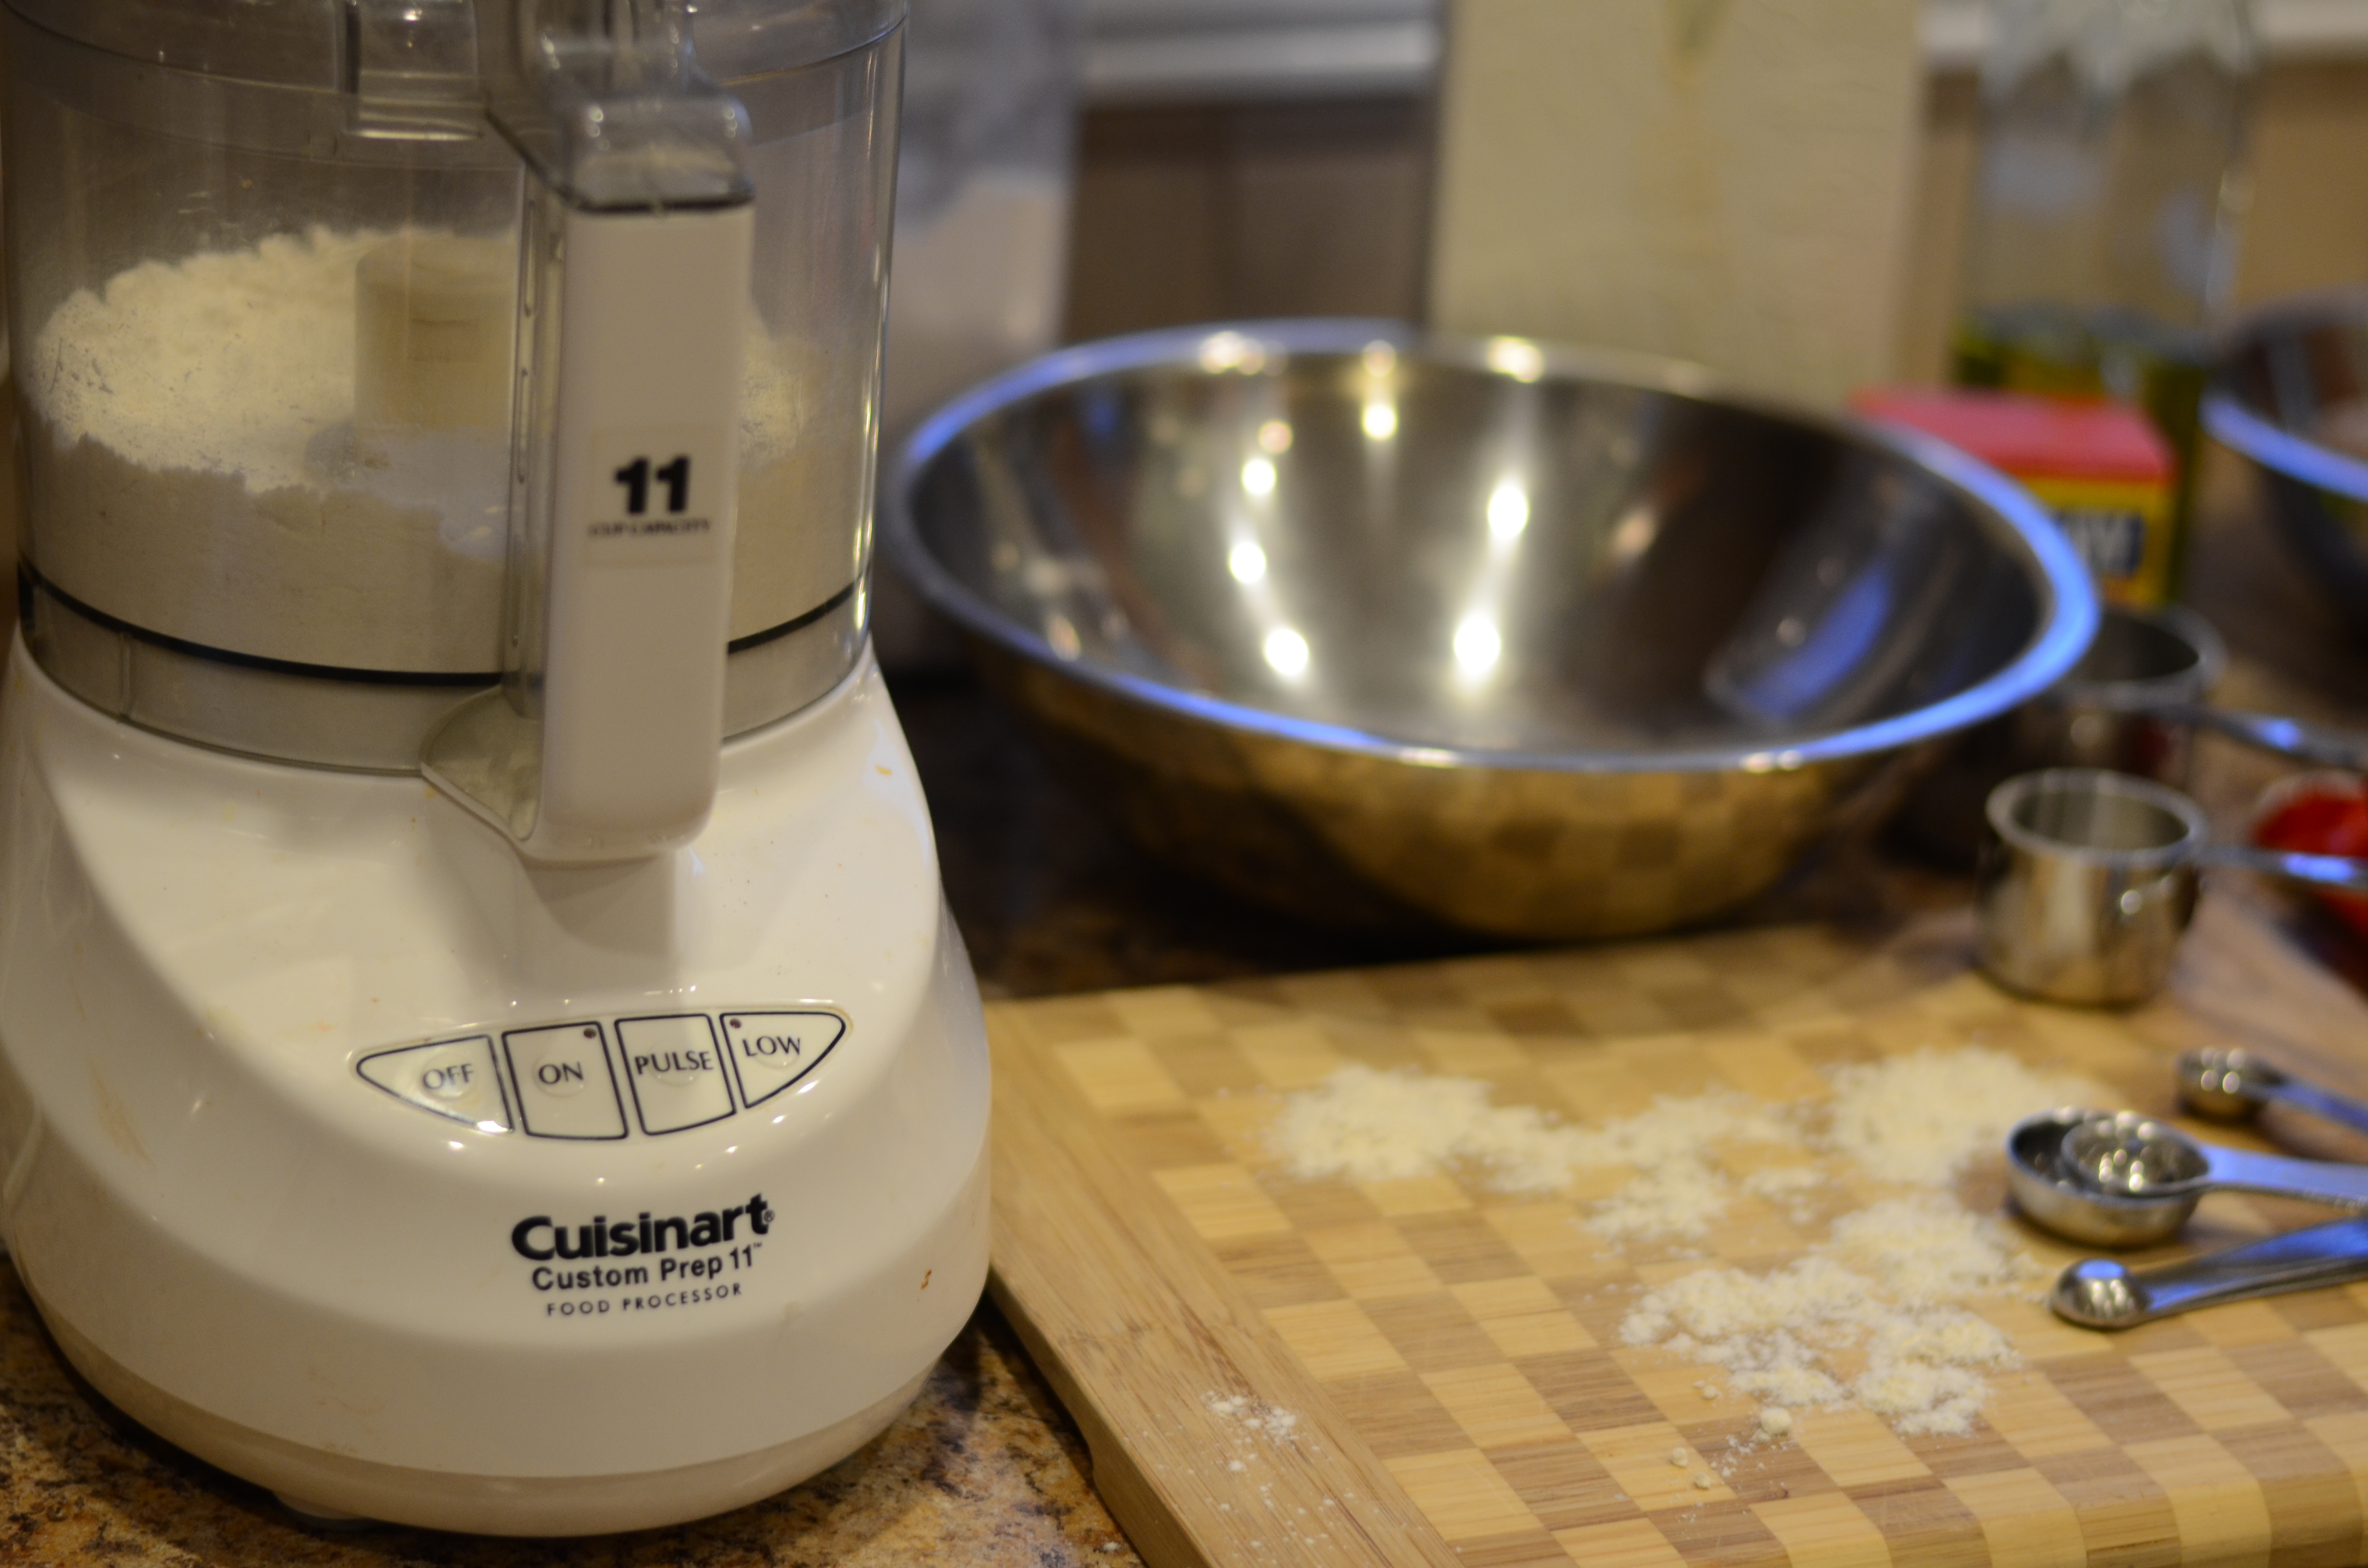
In the bowl of a food processor, process flour, sugar and salt. Take butter out of freezer and add to processor, pulsing until the butter is distributed throughout the flour in pebbles.
Pour into a bowl. Create a well in the mixture and pour in milk mixture.

Use a fork to bring together, distributing the moisture throughout the flour. If it’s not coming together, add a little extra milk/yogurt.
Is your lightly floured work surface ready?
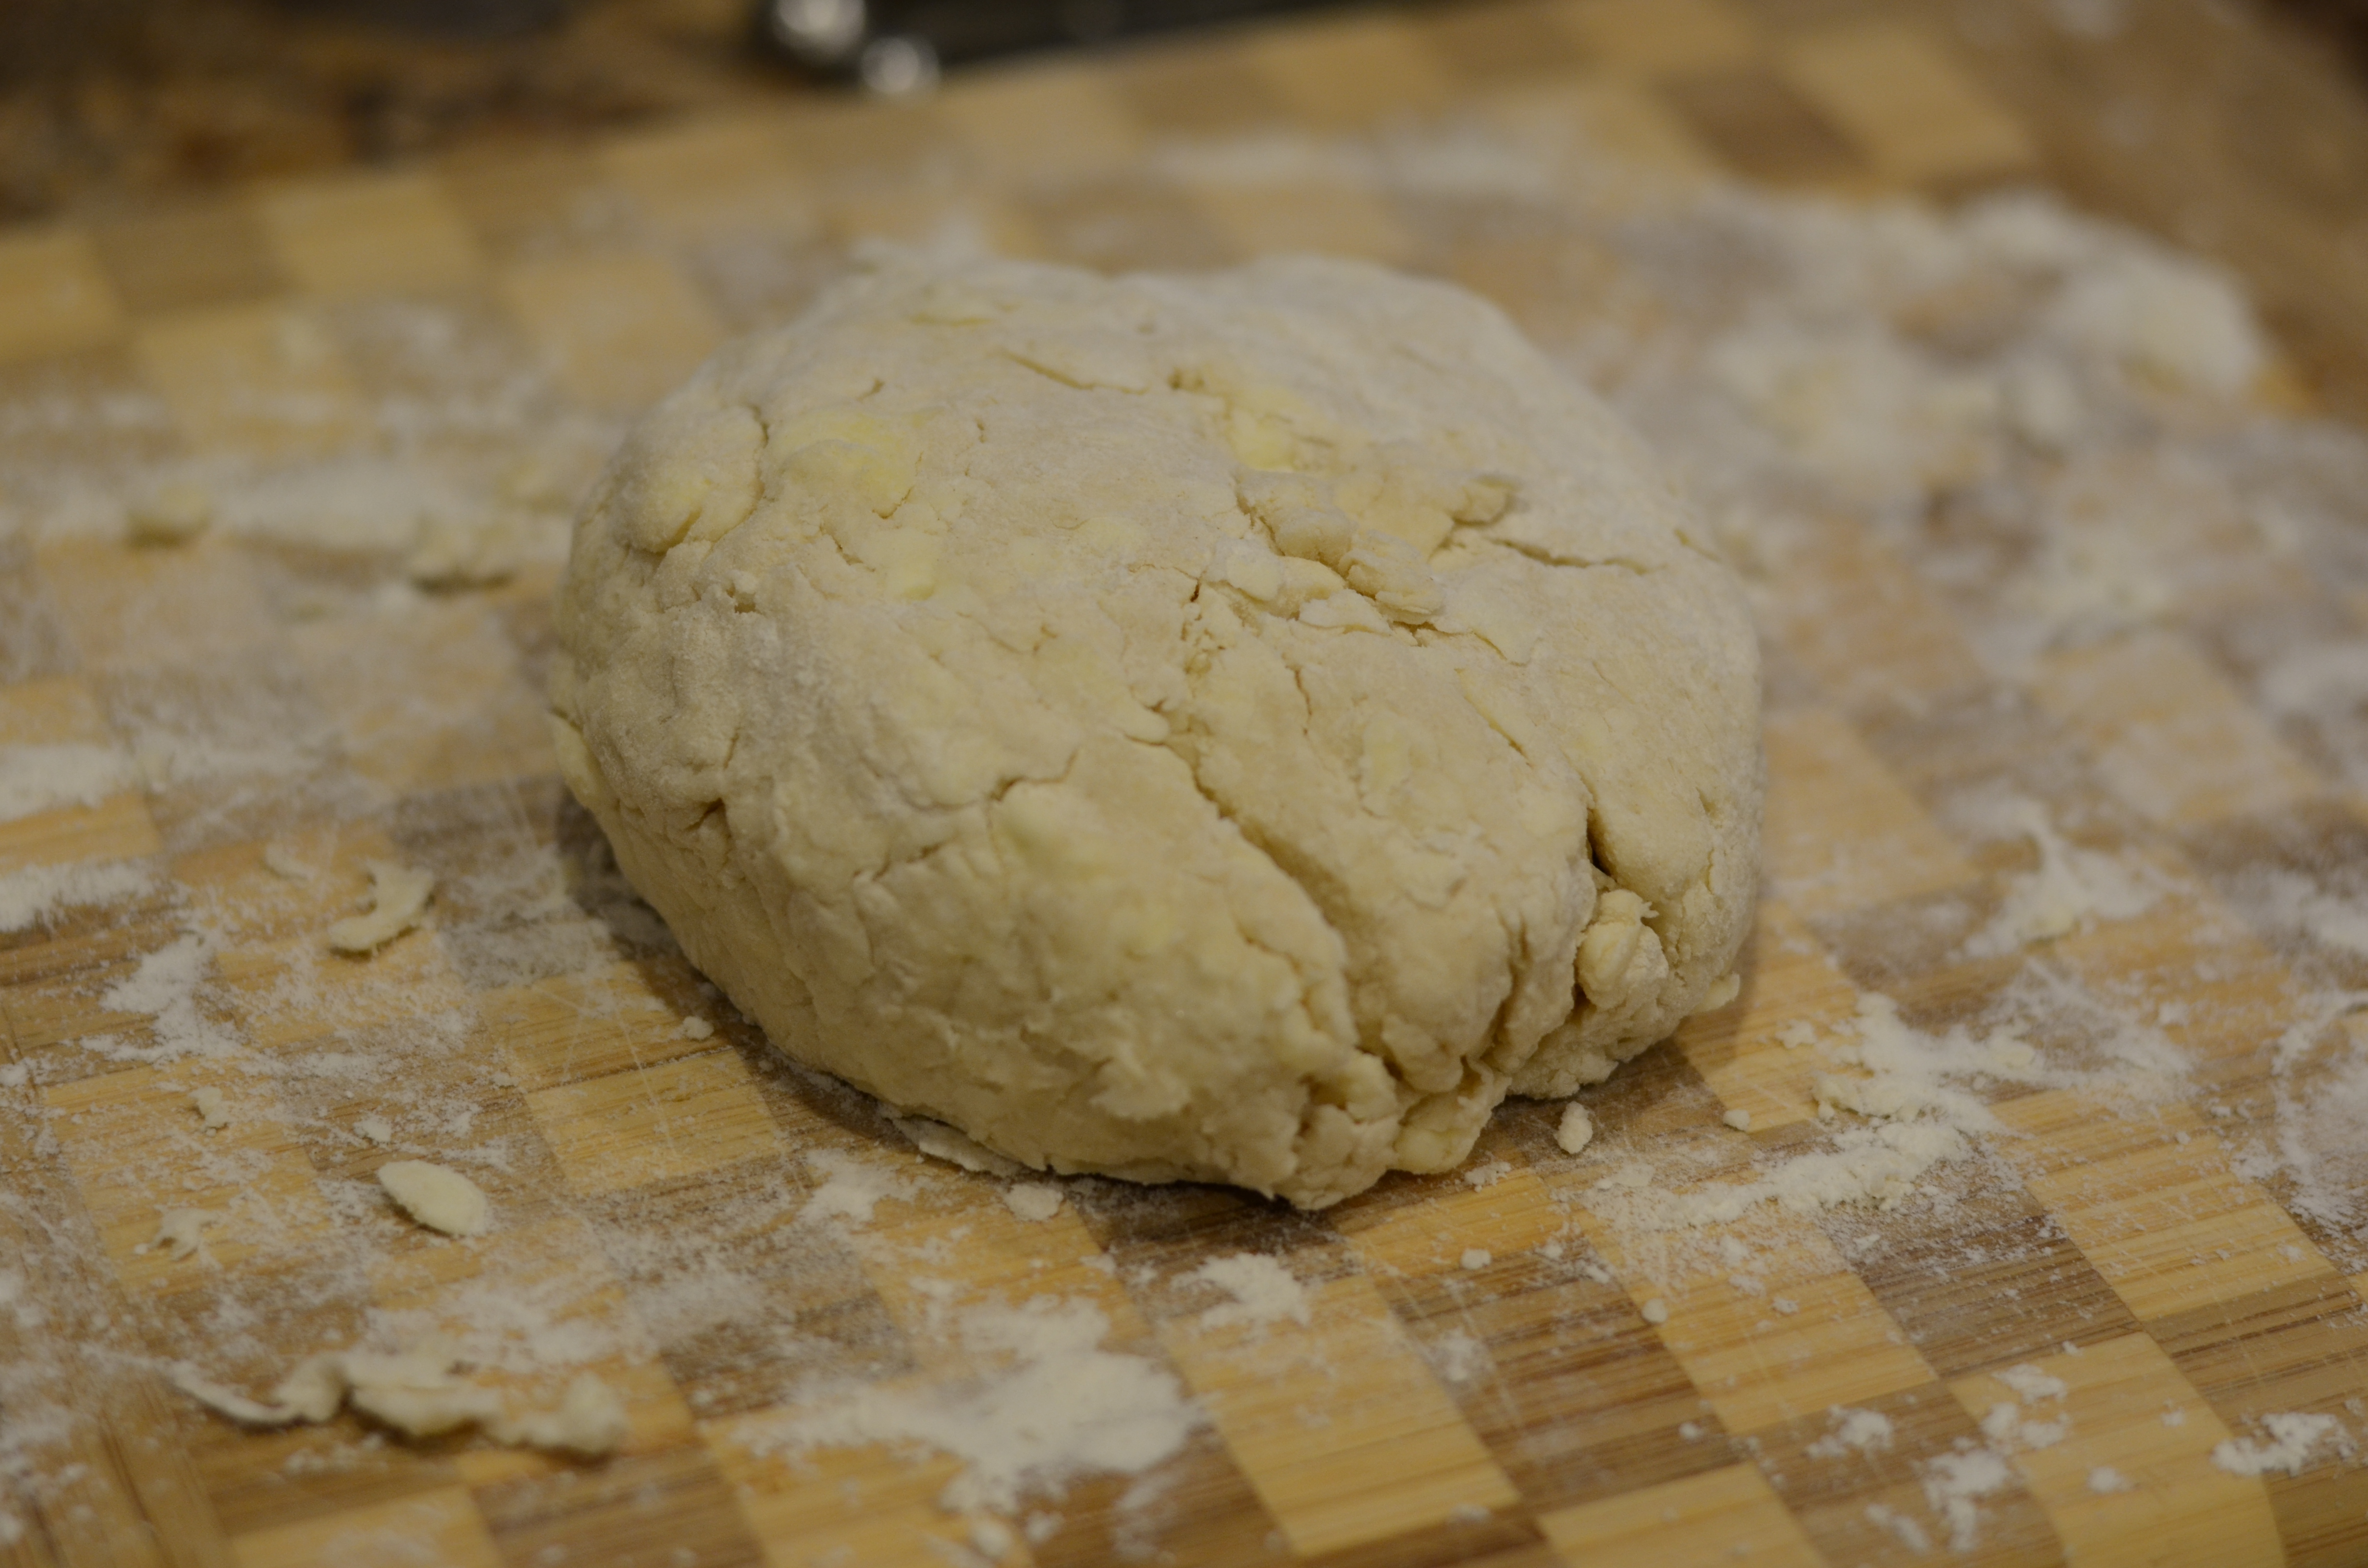
Dump out the shaggy dough mixture. Press it into a disk, wrap in plastic wrap, and refrigerate for at least 1 hour.
Make the filling:
Preheat oven to 375 degrees F. Move the top rack to the upper third of the oven.
Peel and slice your potatoes.

Place rounds on the sheet and drizzle with olive oil. Sprinkle on Old Bay Seasoning and toss to coat evenly. Spread the potatoes to minimize overlap as much as possible.

Bake until tender and delicious, about 15-20 minutes. Remove from the oven.
To assemble the galette:
Beat the egg and set aside. Line a baking sheet with a silpat or parchment paper with a little oil added and set aside.
Roll the dough into a rough circle about 1/4″-thickness. By no means do the edges need to be perfect. Move the dough to the center of the prepared baking sheet.
Lightly brush the middle of the the crust with egg.

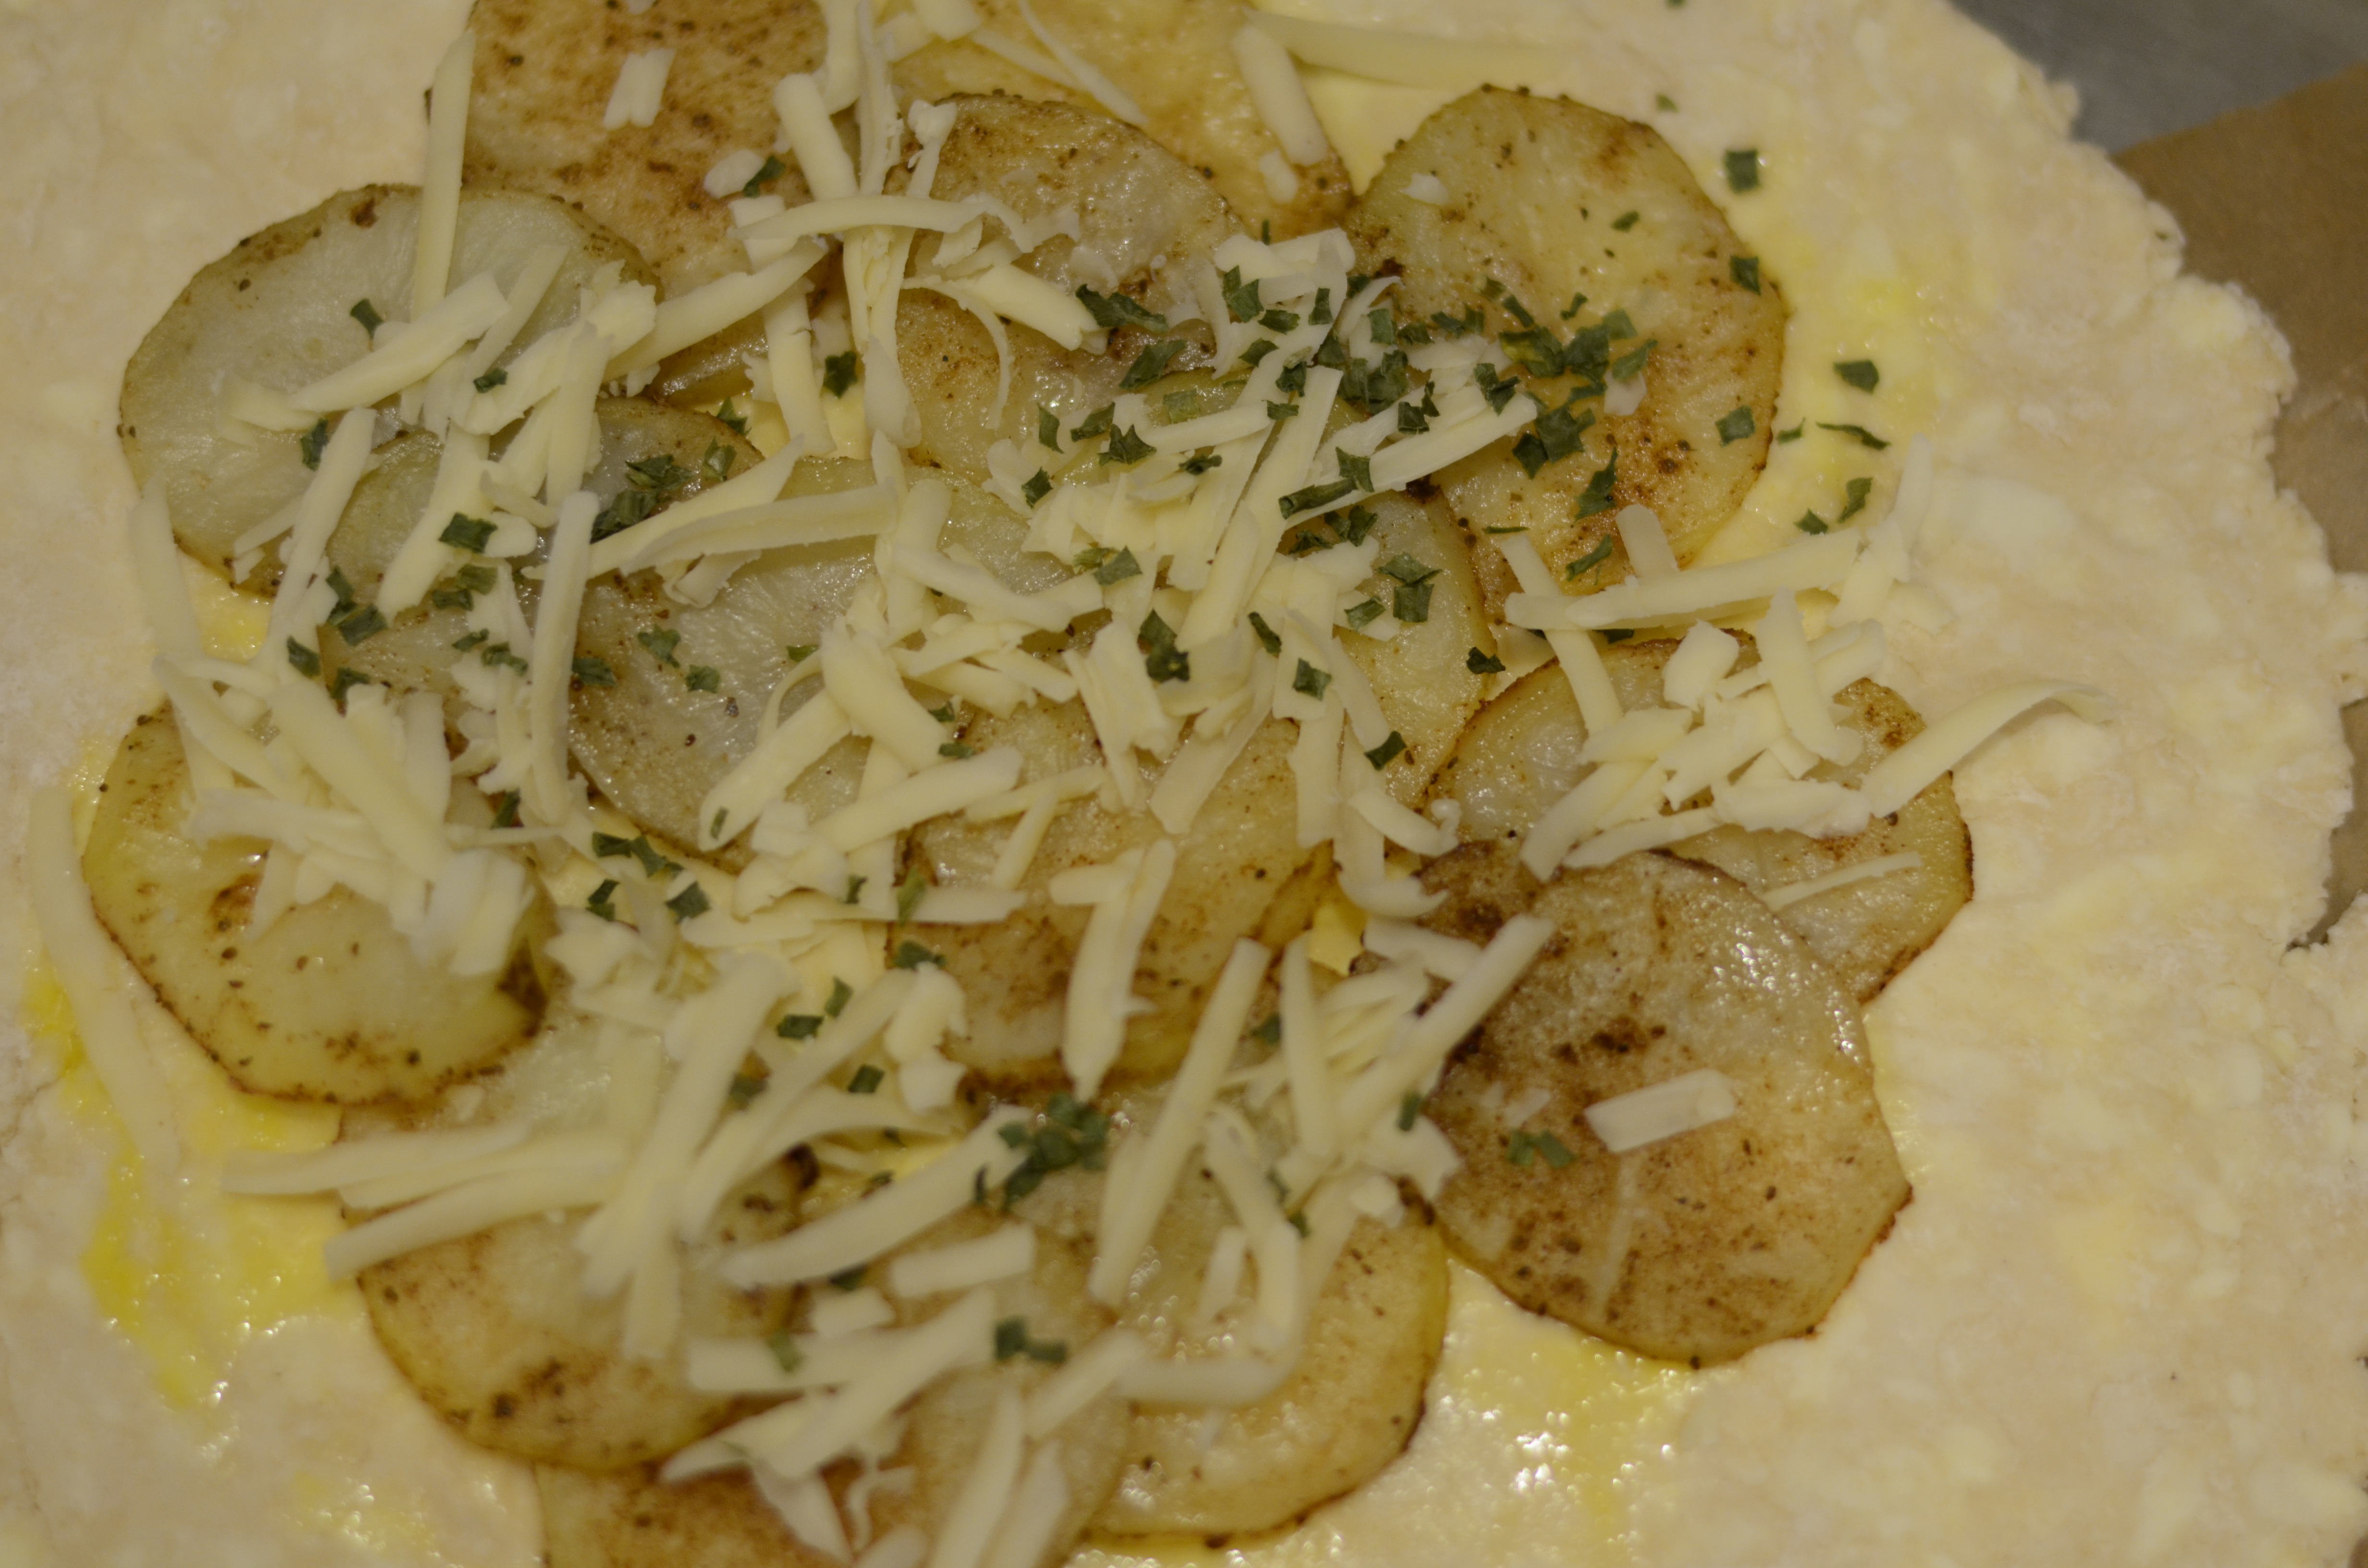
Add a layer of cooked (and slightly cooled) potato slices to the center of the pie crust, leaving about 2-inches of pie crust surrounding on all sides. Scatter shredded cheddar cheese and chives. (I may have only had freeze dried chives. I hope you can forgive that.) Repeating, adding a second layer of potato slices and cheese and chives. Add more potato slices until it looks about right–remember if you made extra potato like me some will stay out) top with the final portion of cheese and chives.
Trim edges that are super uneven from the crust, leaving about 1 1/2-inches on all sides. Brush the edges with egg wash. Fold the sides up against the potato stack and gently press to seal. Brush the outside of the pie crust edges with egg wash.
Bake until golden brown and bubbling. Joy said it would take 15 minutes for this–for some reason it took mine about 25. Remove from the oven and observe the bubbling buttery beauty. Dig in.