I told you I was going to feature the pressure cooker again soon, didn’t I? The first time cooking dried chickpeas in the pressure cooker was such a success: 8-hours of soaking, about 10 minutes for the pressure cooker to warm up, and 6-7 minutes of steady cooking resulted in perfect beans, whereas regular stovetop simmering would have added more than an hour. Last time, I started with a little more than half bag of dried chickpeas and ended up with cooked beans that were delicious on their own, then added to a salad, and then transformed into hummus. For the rest of the bag, I wanted the chickpeas to be used in a recipe that used some of the broth and incorporated other ingredients I had on hand. It would also be useful if the leftovers of the dish could be easily reheated for lunch, as I hustled around the house while the wee one napped.
A search on The New York Times Cooking website brought up a “Garbanzos and Greens with Chorizo” recipe. I didn’t have chorizo, but I did have an open package of bacon. I didn’t have kale or chard, but in the freezer, I had a bag of collard greens that I had blanched and frozen weeks before (collards are sold in such HUGE bunches, aren’t they?). Since collards and bacon often go together anyway, it was meant to be!
Note: you could omit the bacon to make this vegetarian. Just amp up the smoked paprika (one of my favorite pantry spices).
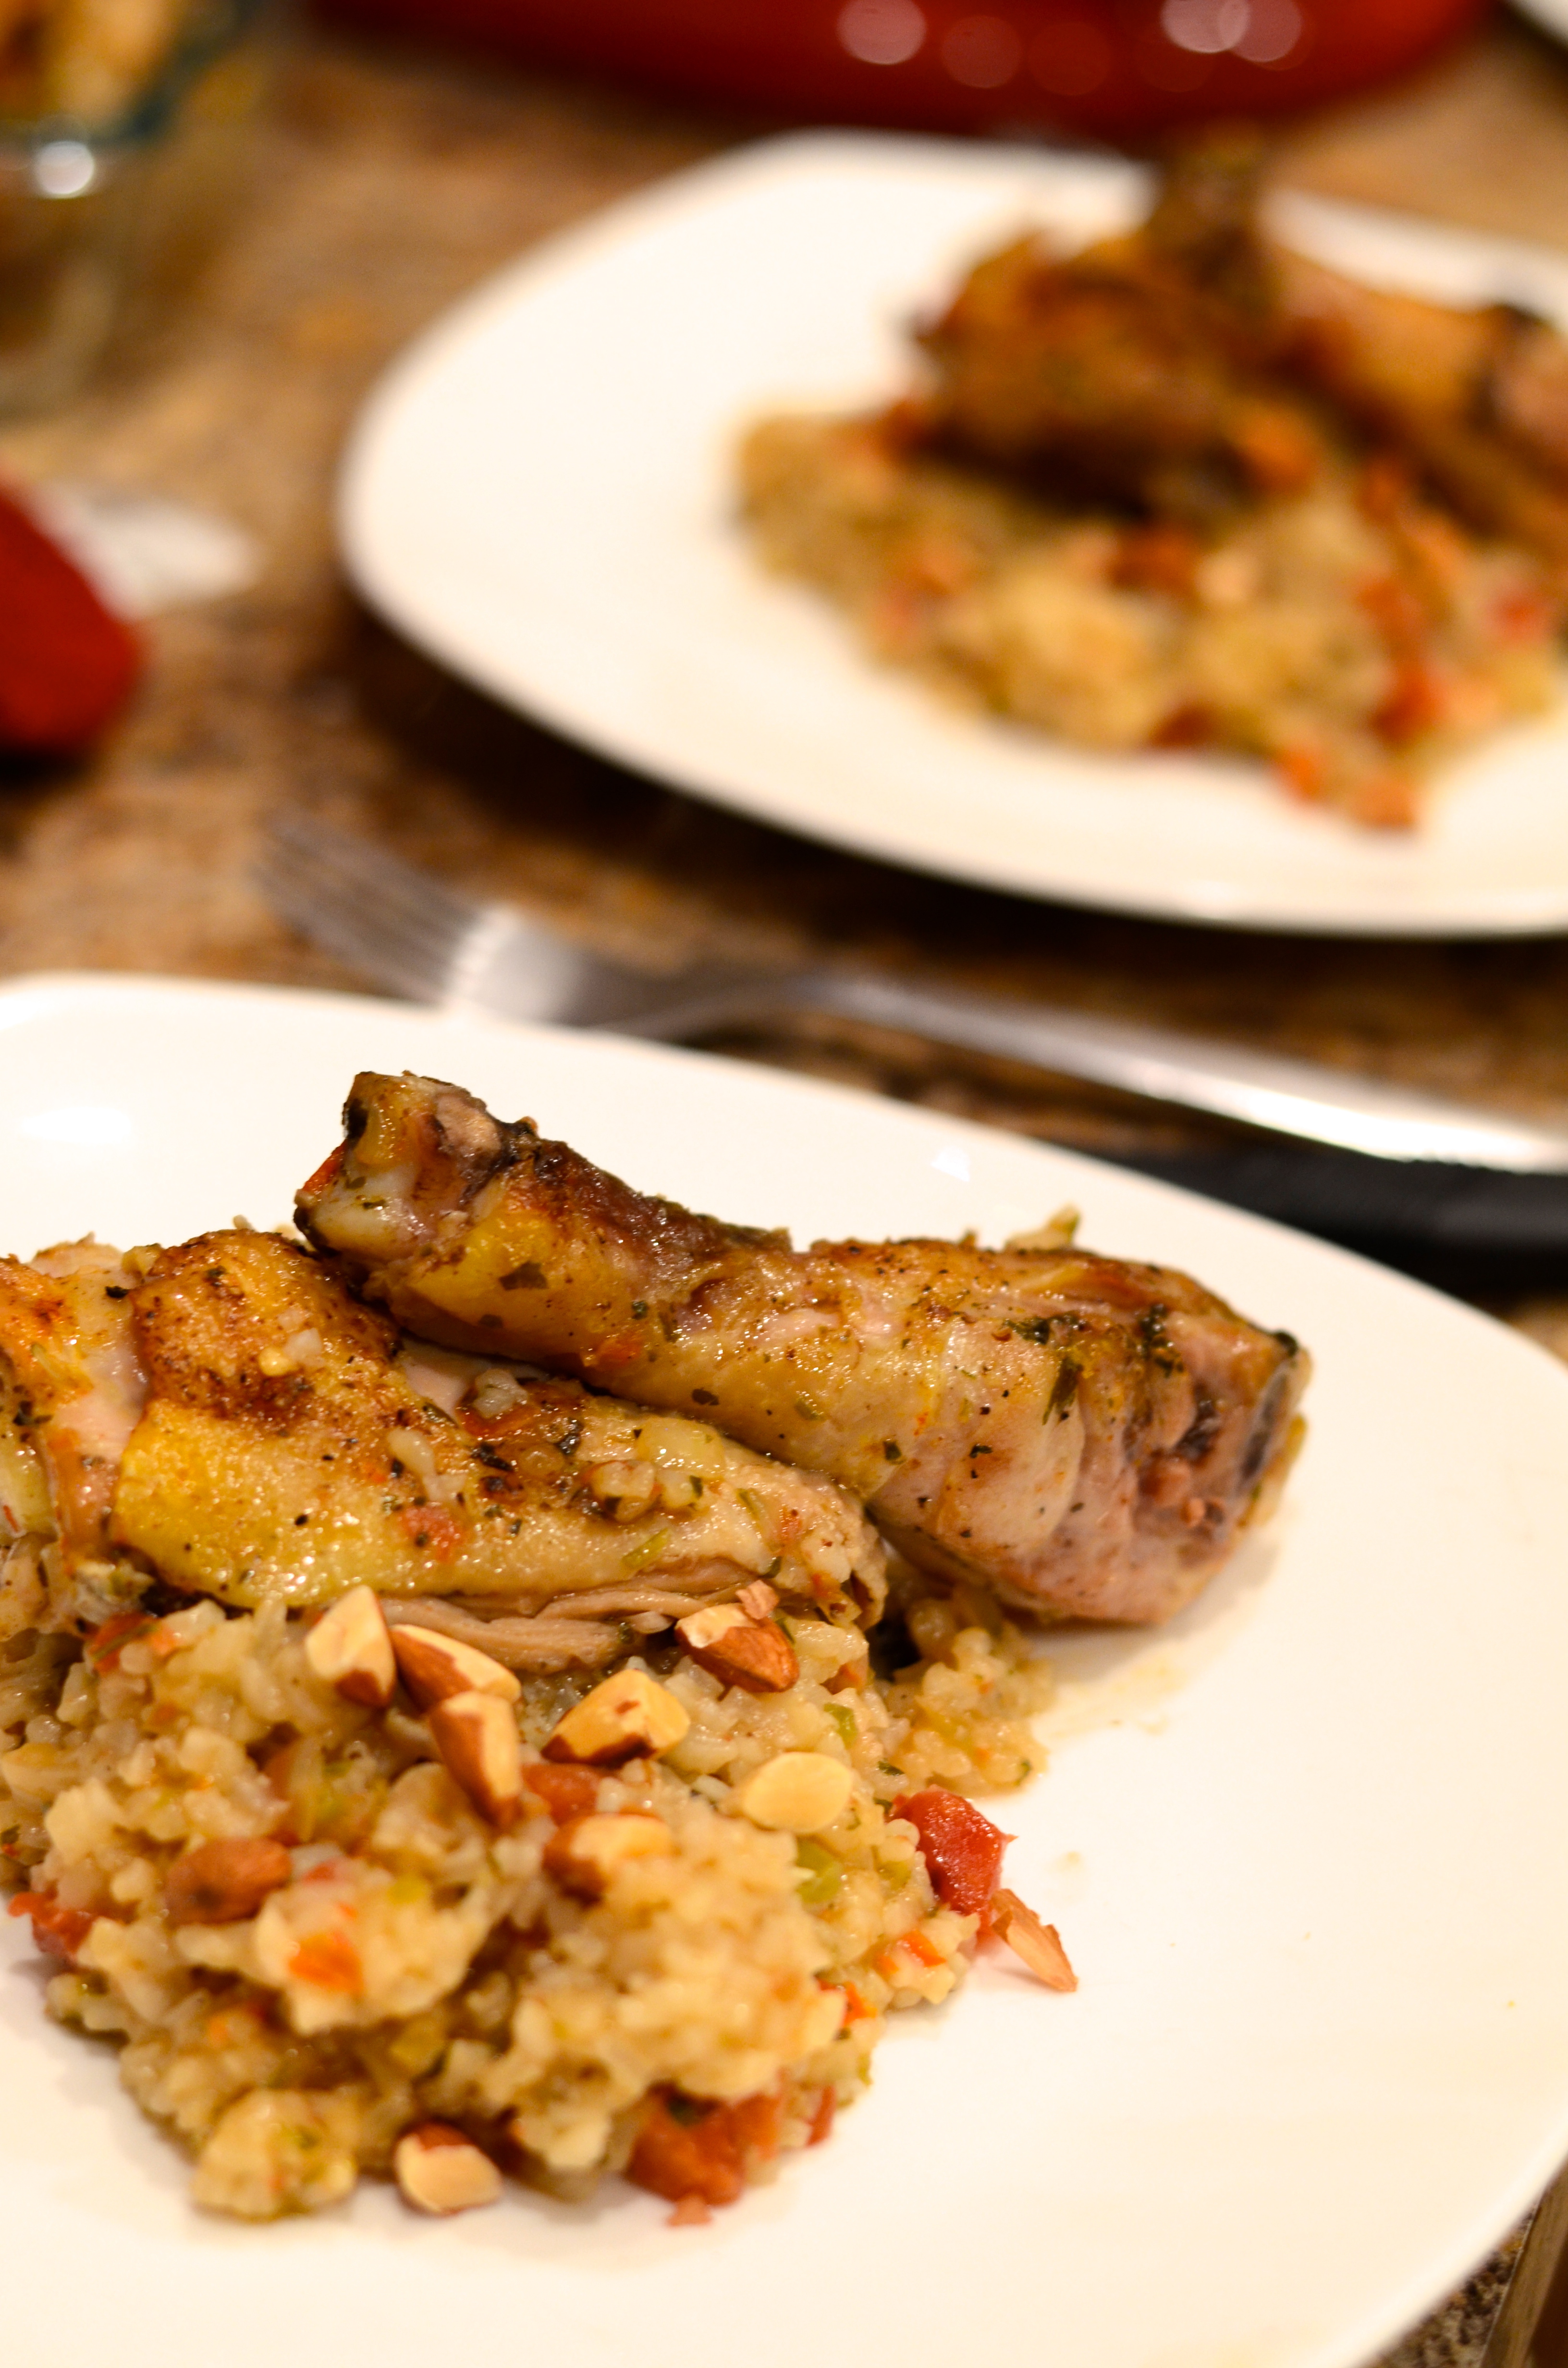
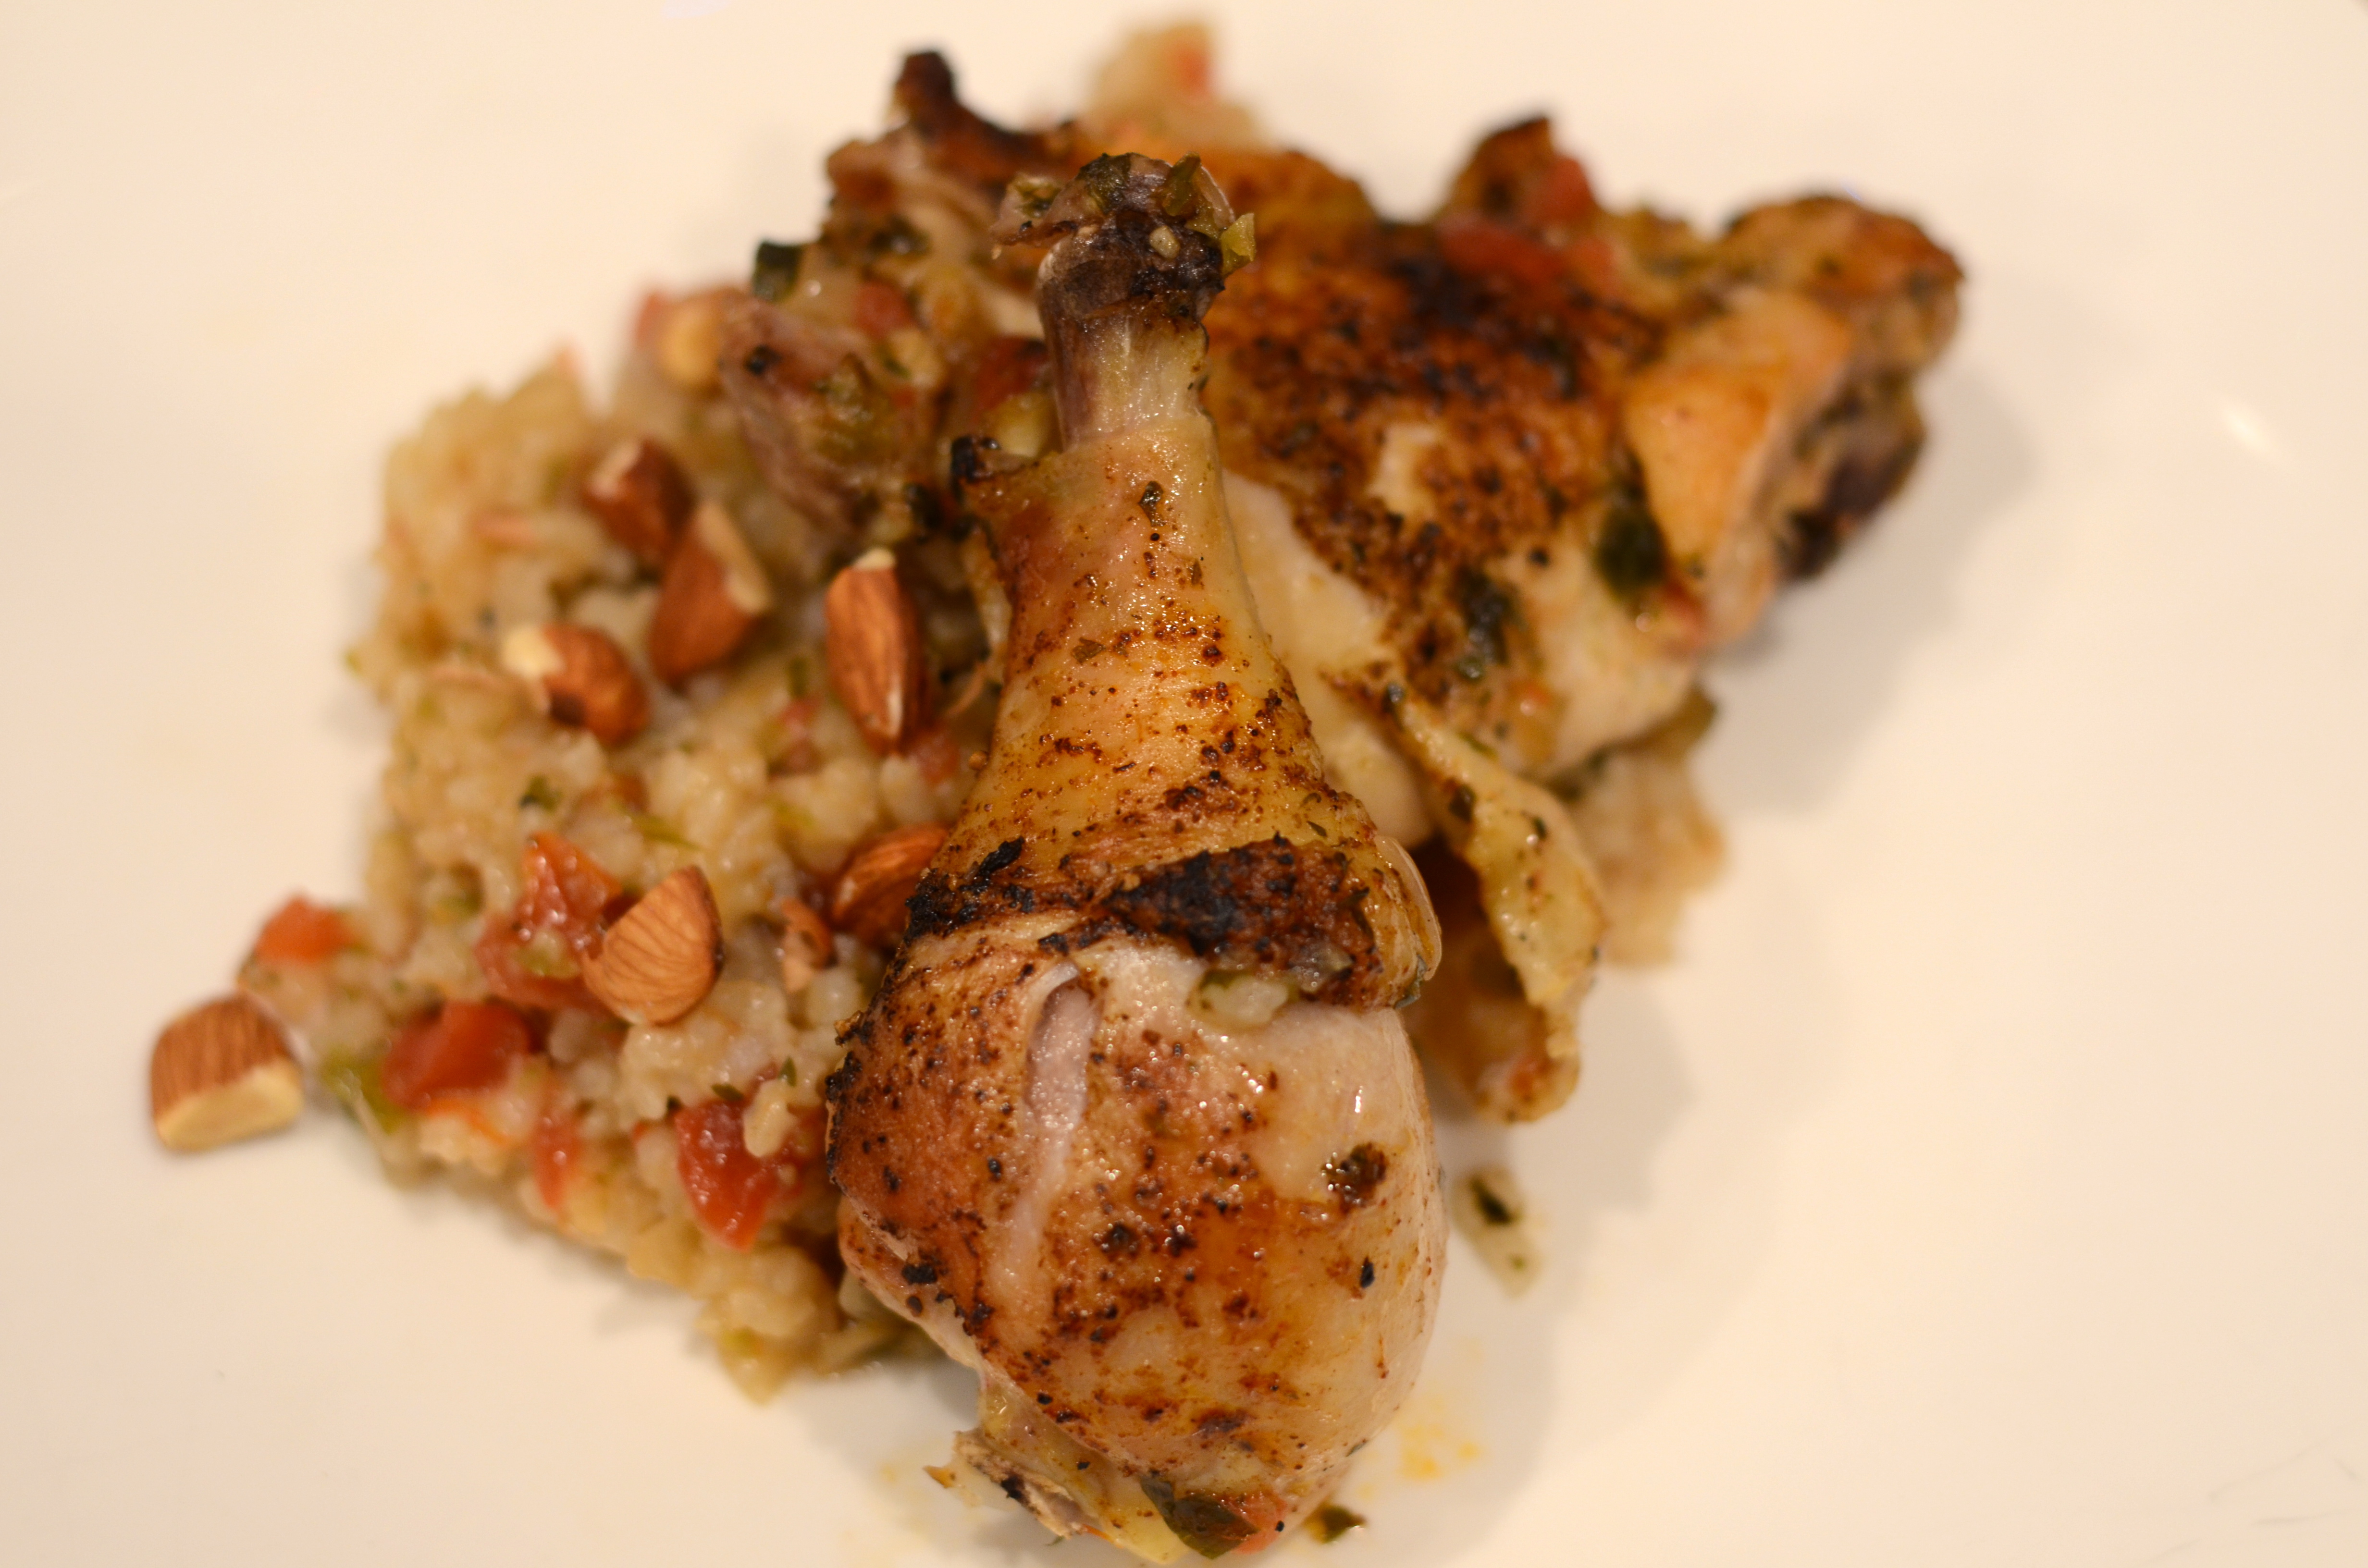
Chickpeas and Greens with Bacon
Adapted from The New York Times Cooking
For the chickpeas and broth:
About 1/2 bag or 1 Cup dried chickpeas (garbanzo beans)
½ small onion, plus 1 clove
1 small carrot, peeled and cut into chunks
1 bay leaf
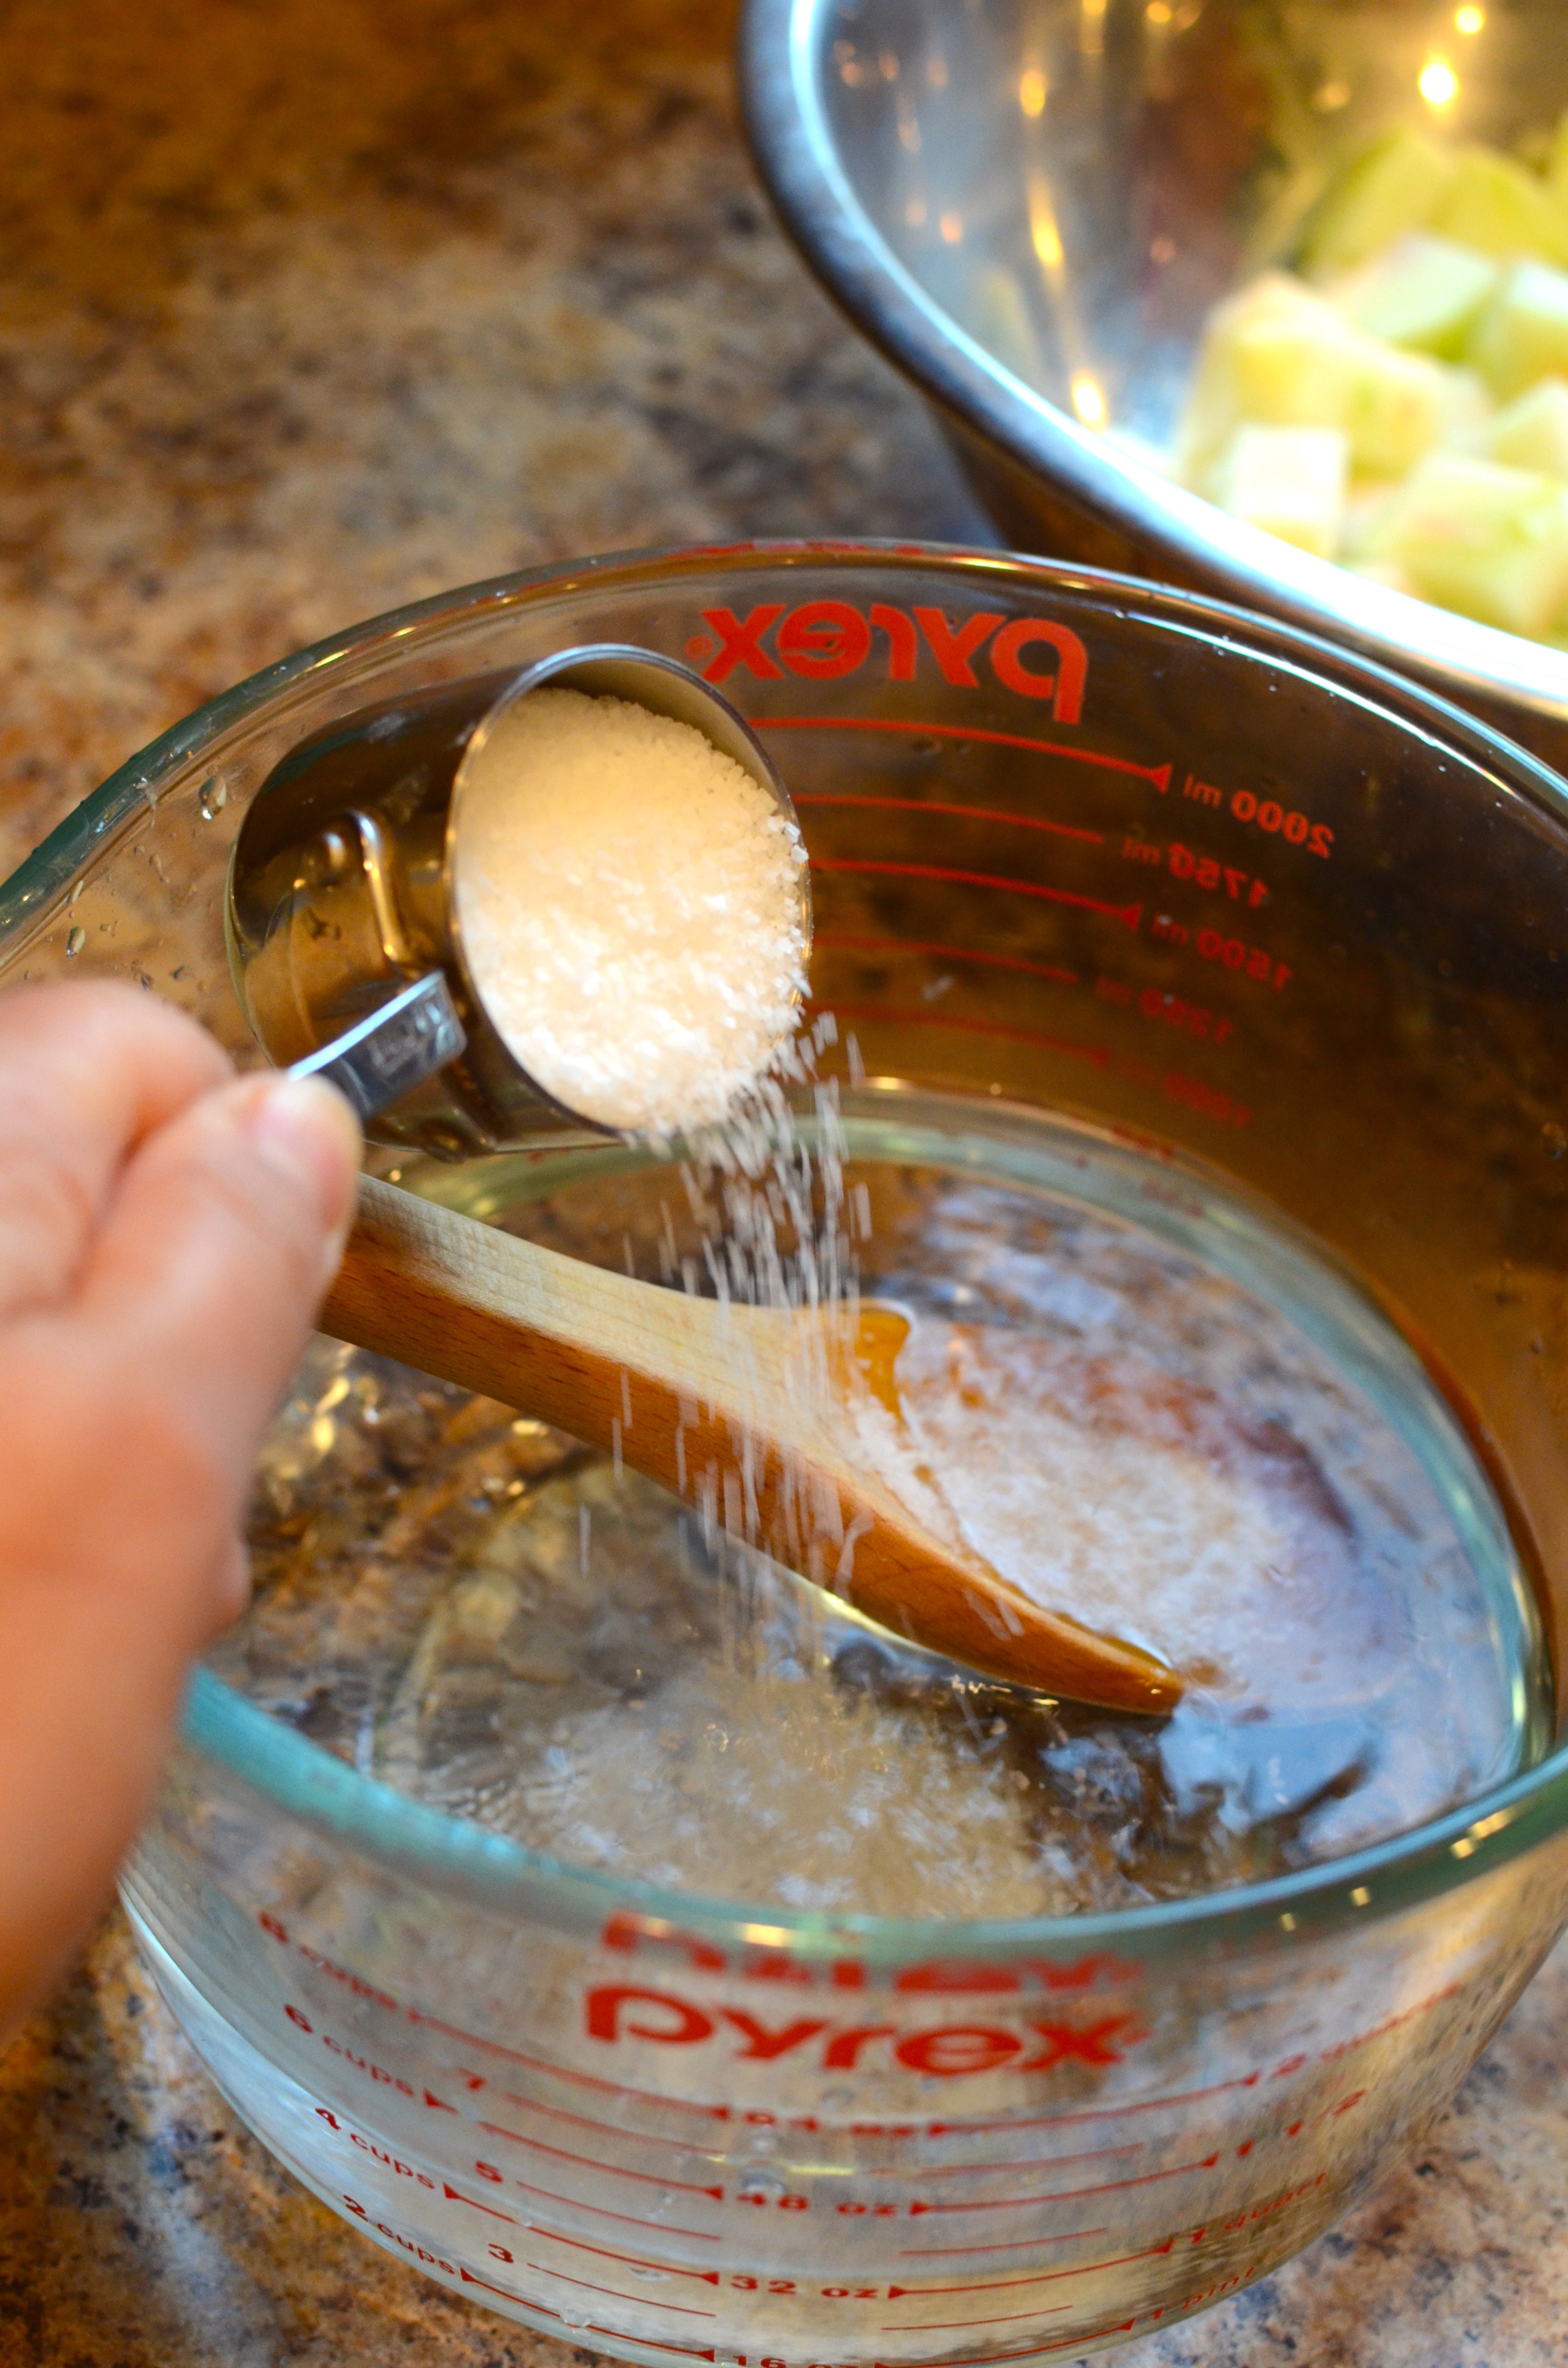
A generous amount of salt
1 Tablespoon vegetable oil
For the beans and greens:
2 Tablespoons olive oil
1 onion, diced (about 1 Cup)
Salt and pepper to taste
About 6 ounces bacon, chopped
2 teaspoons fresh garlic, minced
1/4 teaspoon smoked paprika
1 teaspoon cumin seeds, toasted and coarsely ground
3 Tablespoons pine nuts, lightly toasted
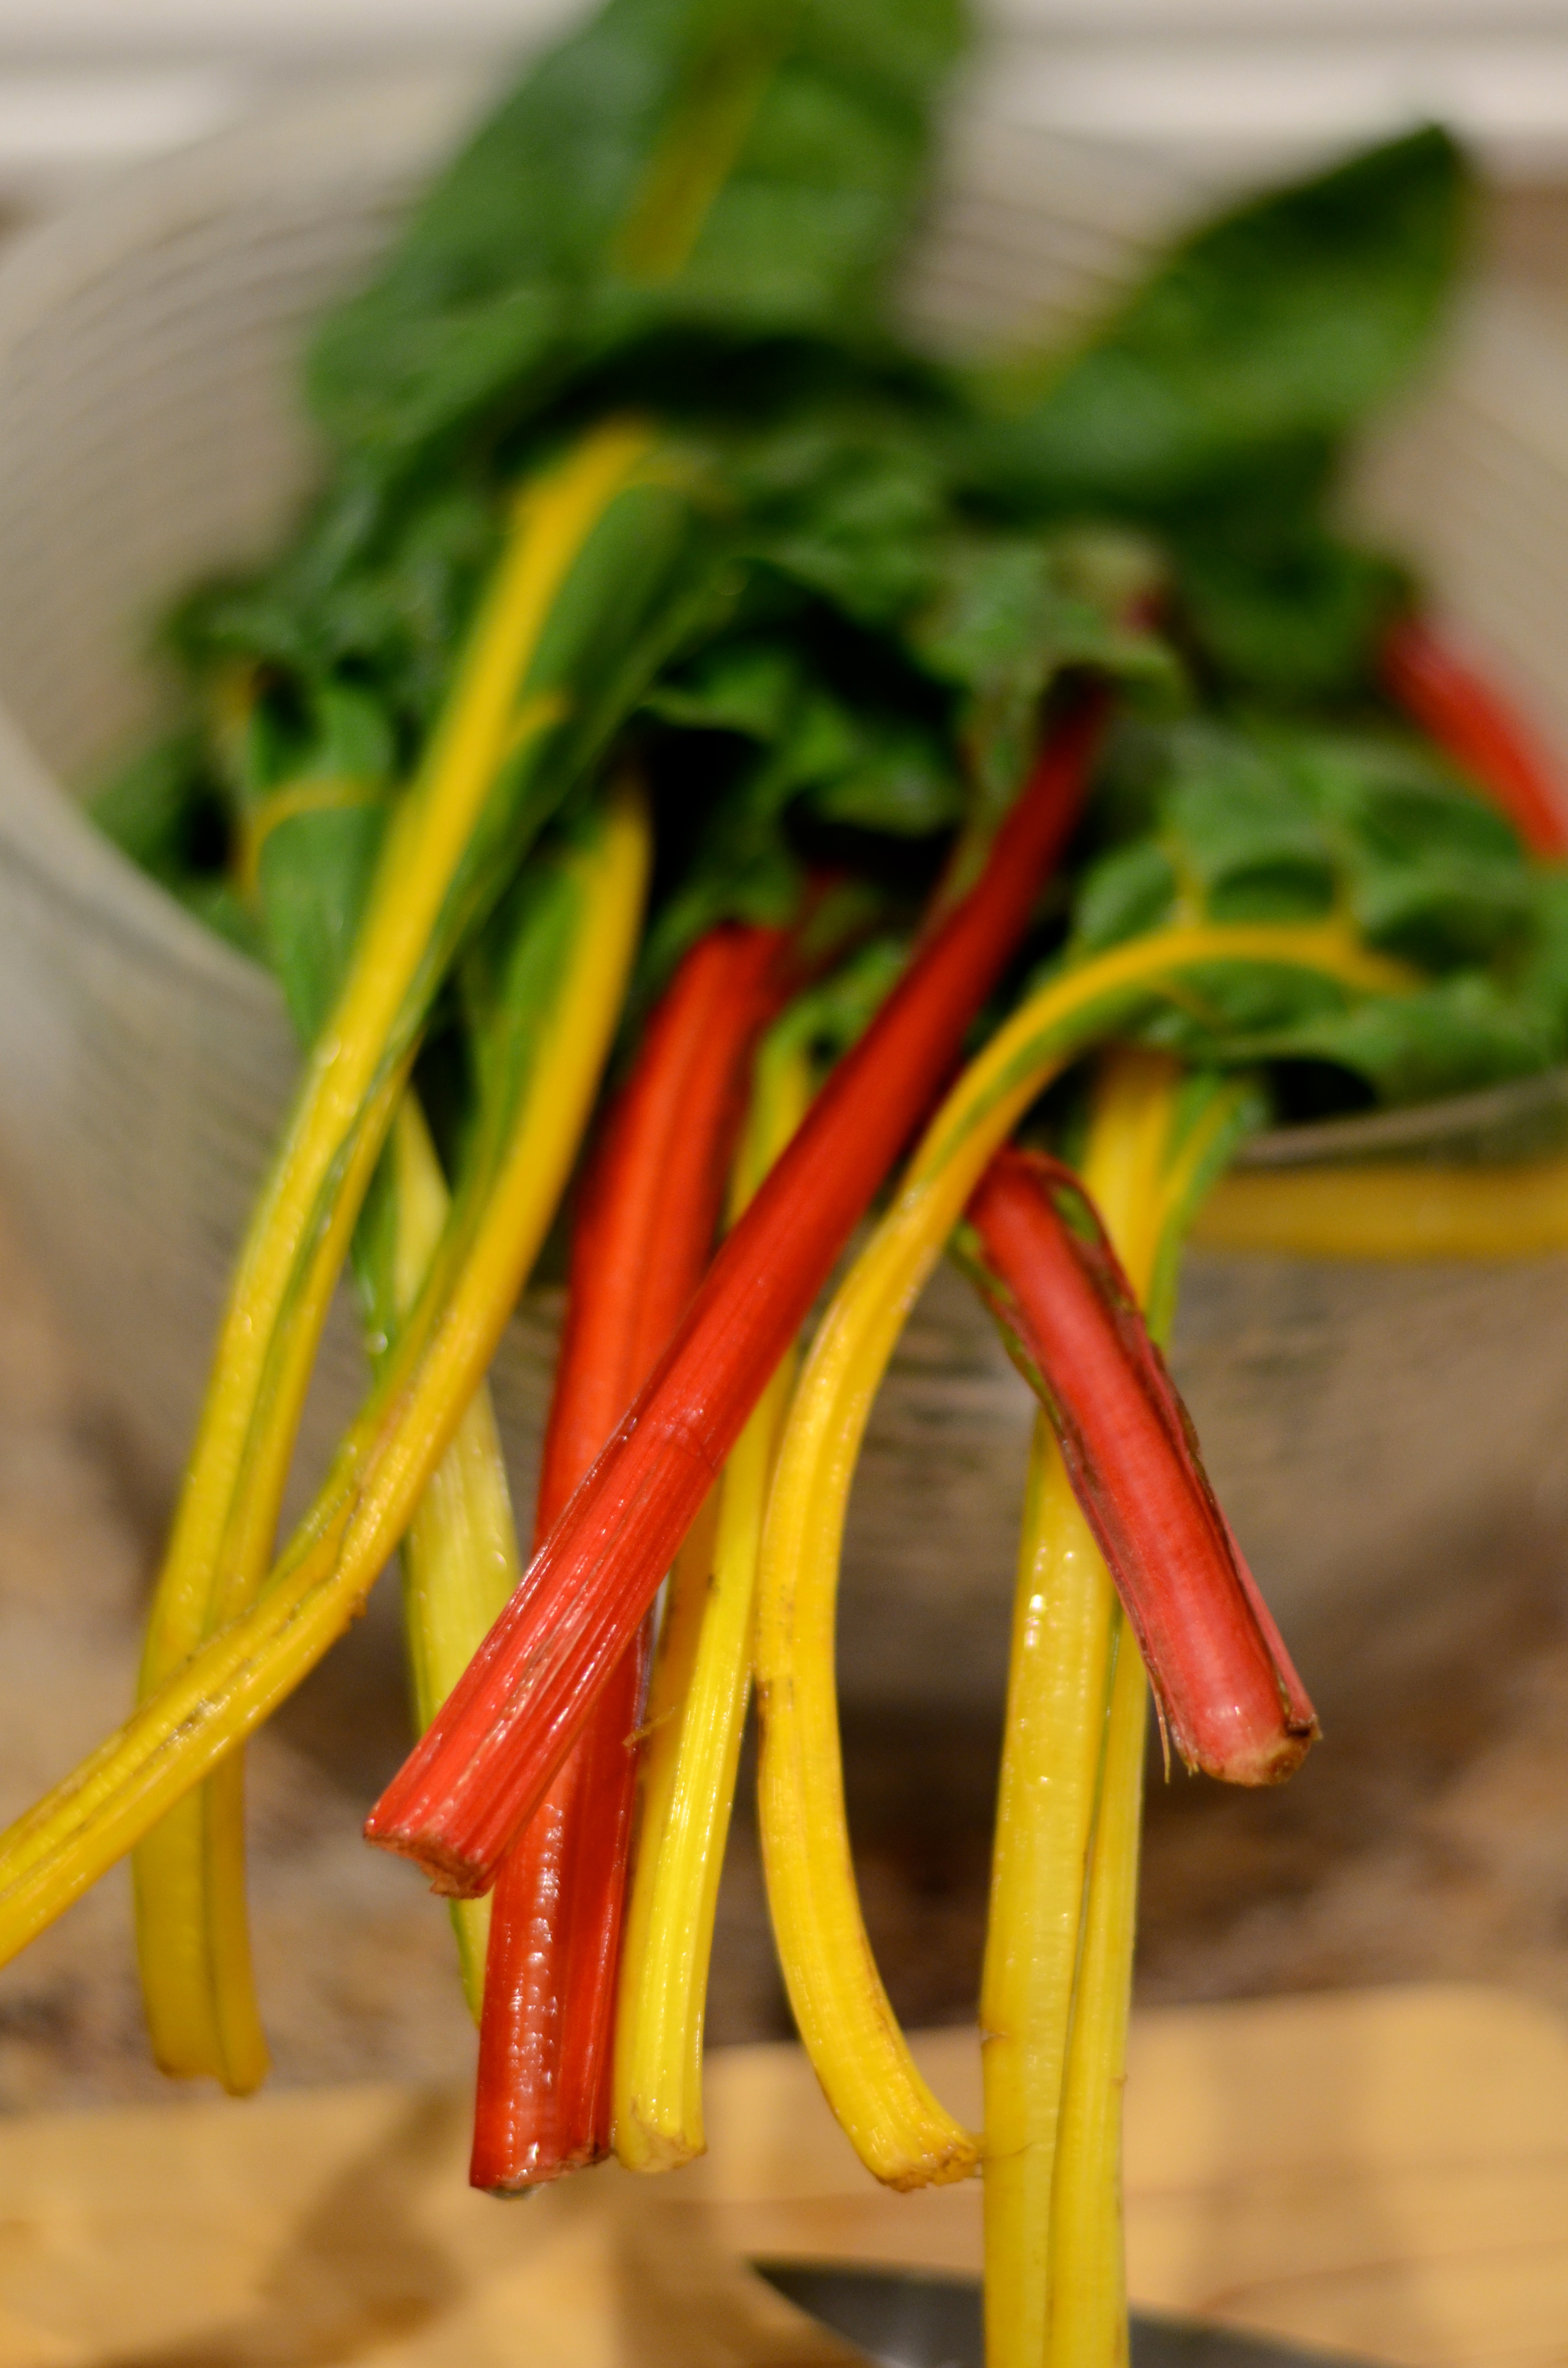
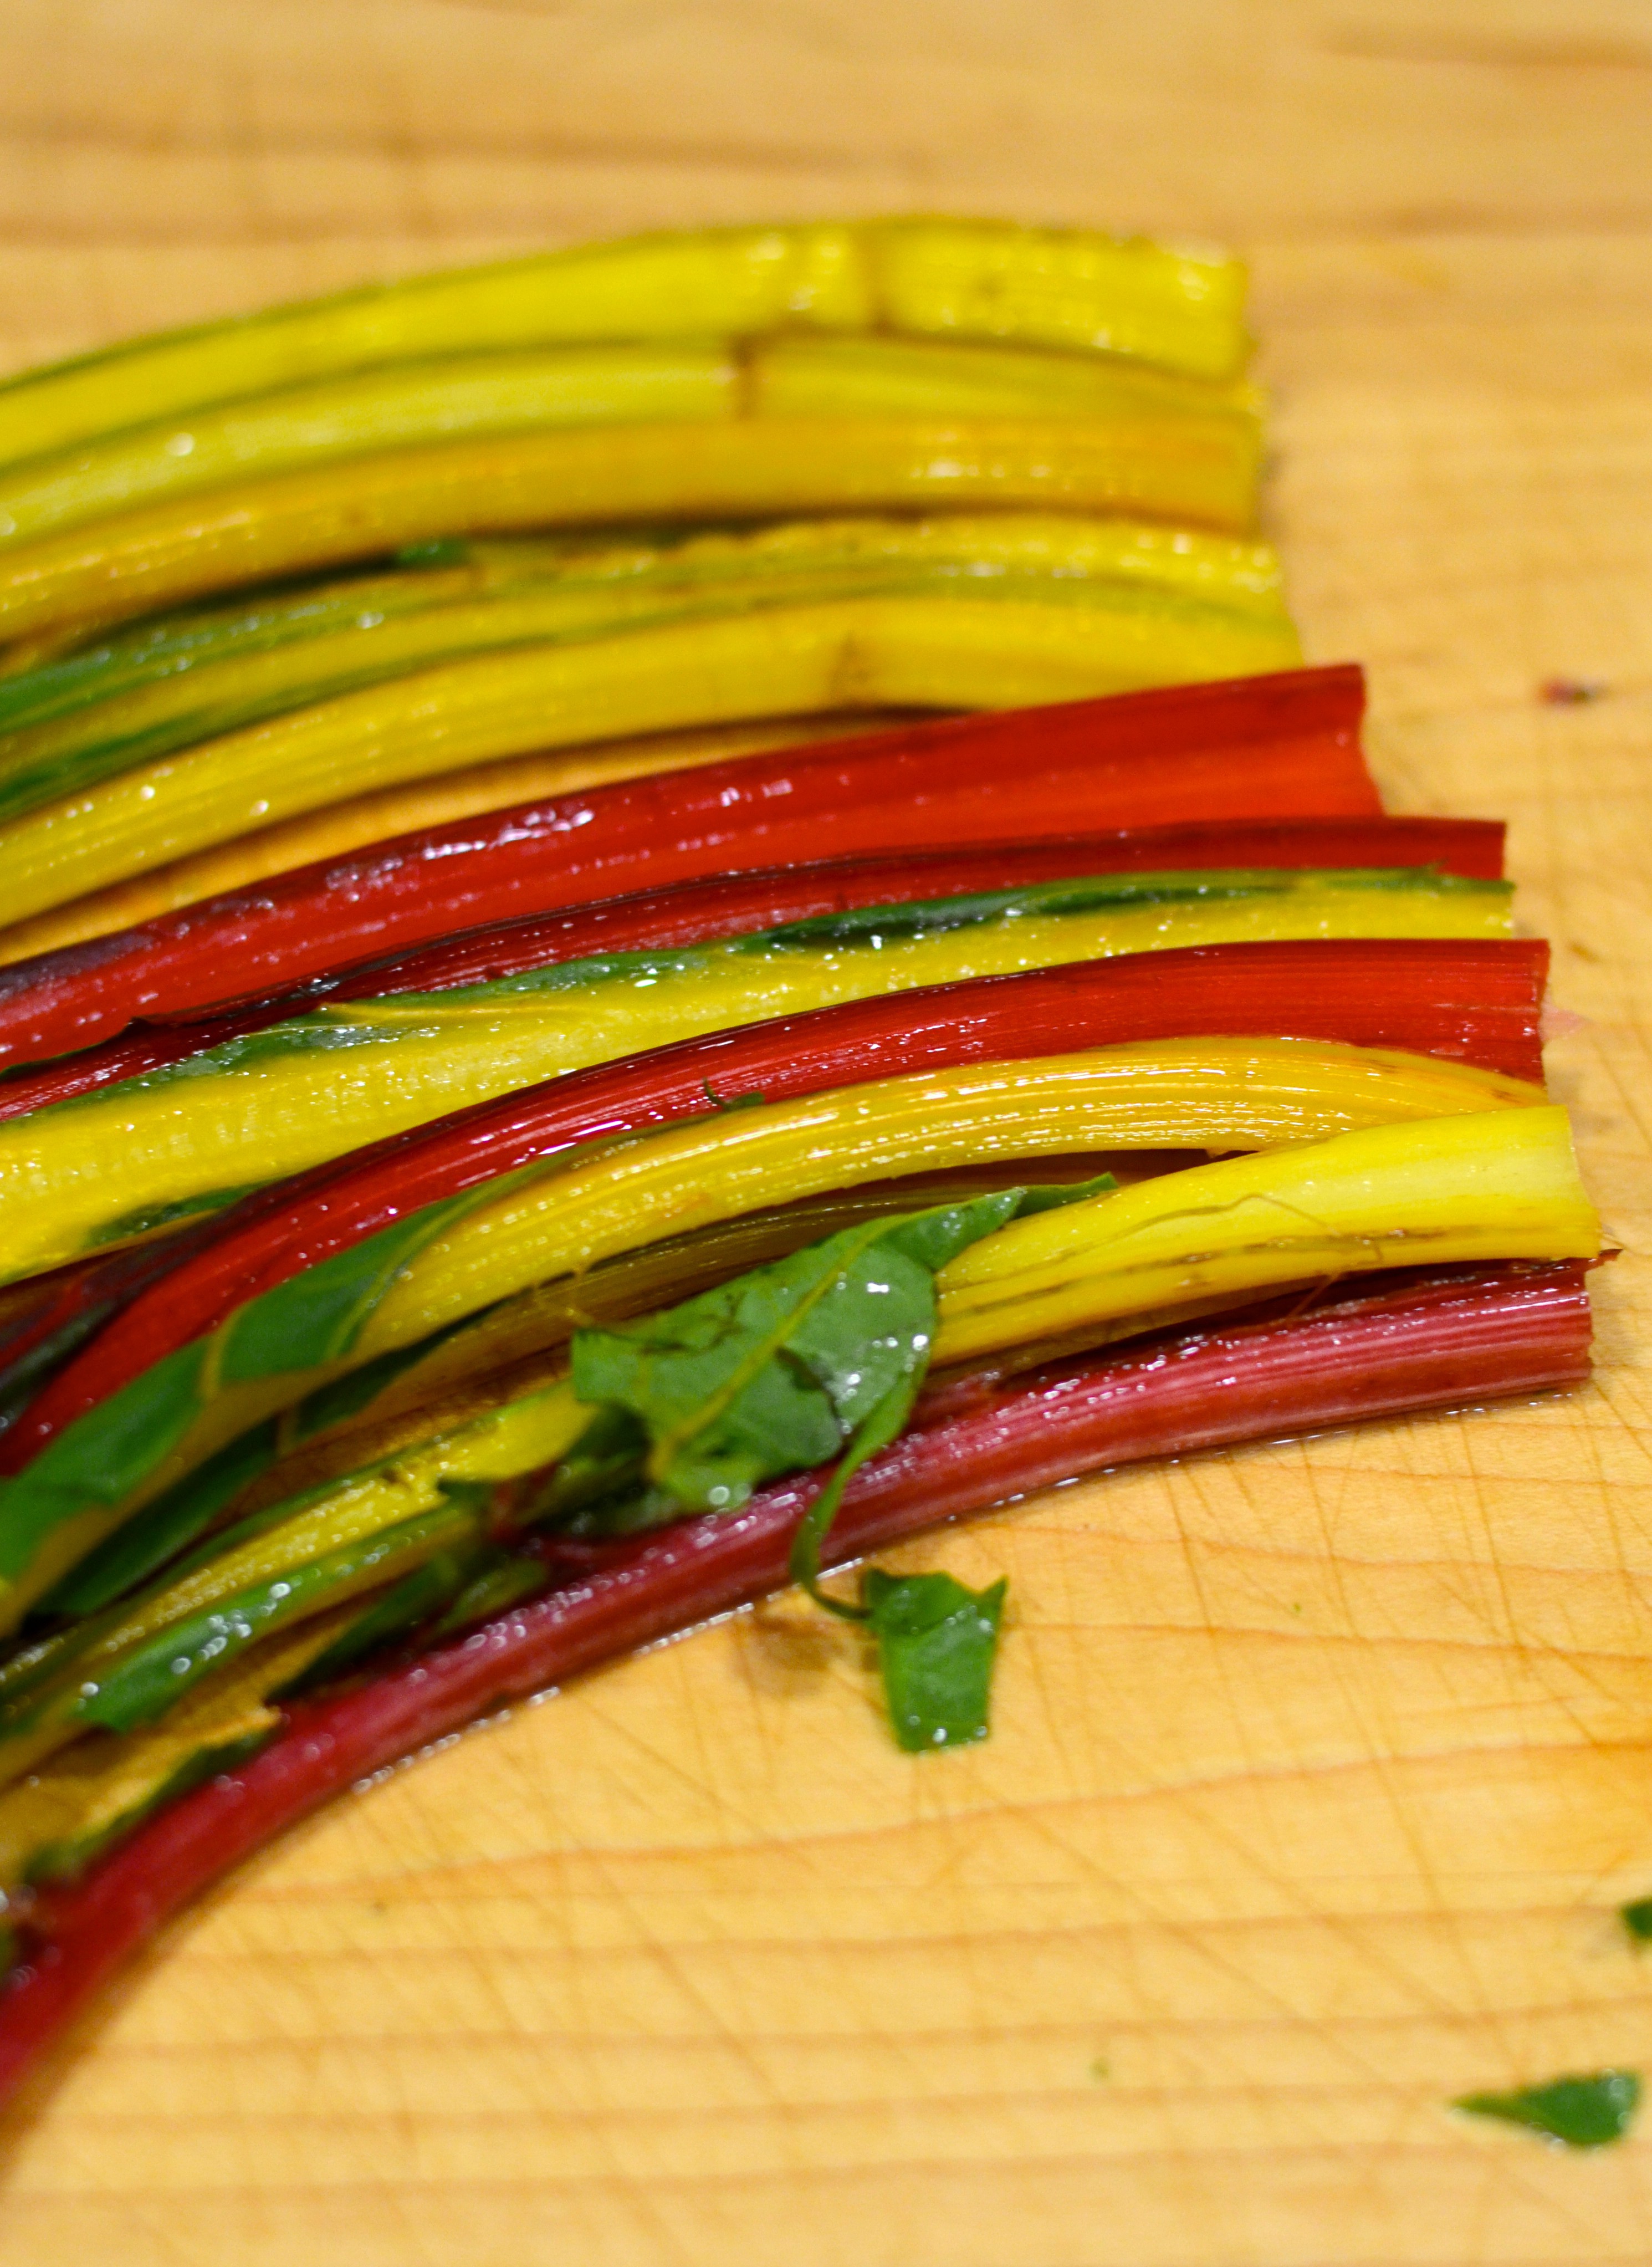
1 bunch of collard greens – or kale, or chard, washed and cut into slices

Soak the chickpeas overnight or all day (I soaked mine about 6 hours.) Drain and put in the pressure cooker. Add the onion half and clove, chopped carrot, bay leaf, and vegetable oil and cover with 6 Cups of water. Reference the directions that come with the pressure cooker to make sure you are using it correctly and safely. I put mine over a high flame until the lid sealed and the pressure regulator began to rock. I them set the timer (for 7 minutes) and lowered the heat so the regulator was rocking steadily but not excessively throughout the cooking time.
In the meantime, chop your other ingredients, and toast and grind your cumin seeds.


When the chickpeas are done (and the pressure has lowered and the lid can be opened), season generously (and I mean generously) with salt.
In a wide, high-sided skillet, heat olive olive oil over medium-high. Add the onion and salt and pepper and cook until softened and turning slightly brown. Add the bacon and cook until browned.

When the chickpeas were done, I removed the onion, carrot and bay leaf from the pot and then strained the mixture, saving the broth and separating the chickpeas.
Into the bacon-onion mixture, stir the garlic, smoked paprika, and 1/2 teaspoon of the cumin. Then add the chickpeas and about 1/2 Cup of the chickpea cooking broth.

Turn the heat up until the liquid is at a simmer; add the greens and salt and pepper. If using fresh greens, stir until they wilt. Otherwise, put the lid on the pan and allow to cook for a few minutes.

Taste and add salt and pepper as needed. Then transfer a portion into each individual soup bowl for serving.

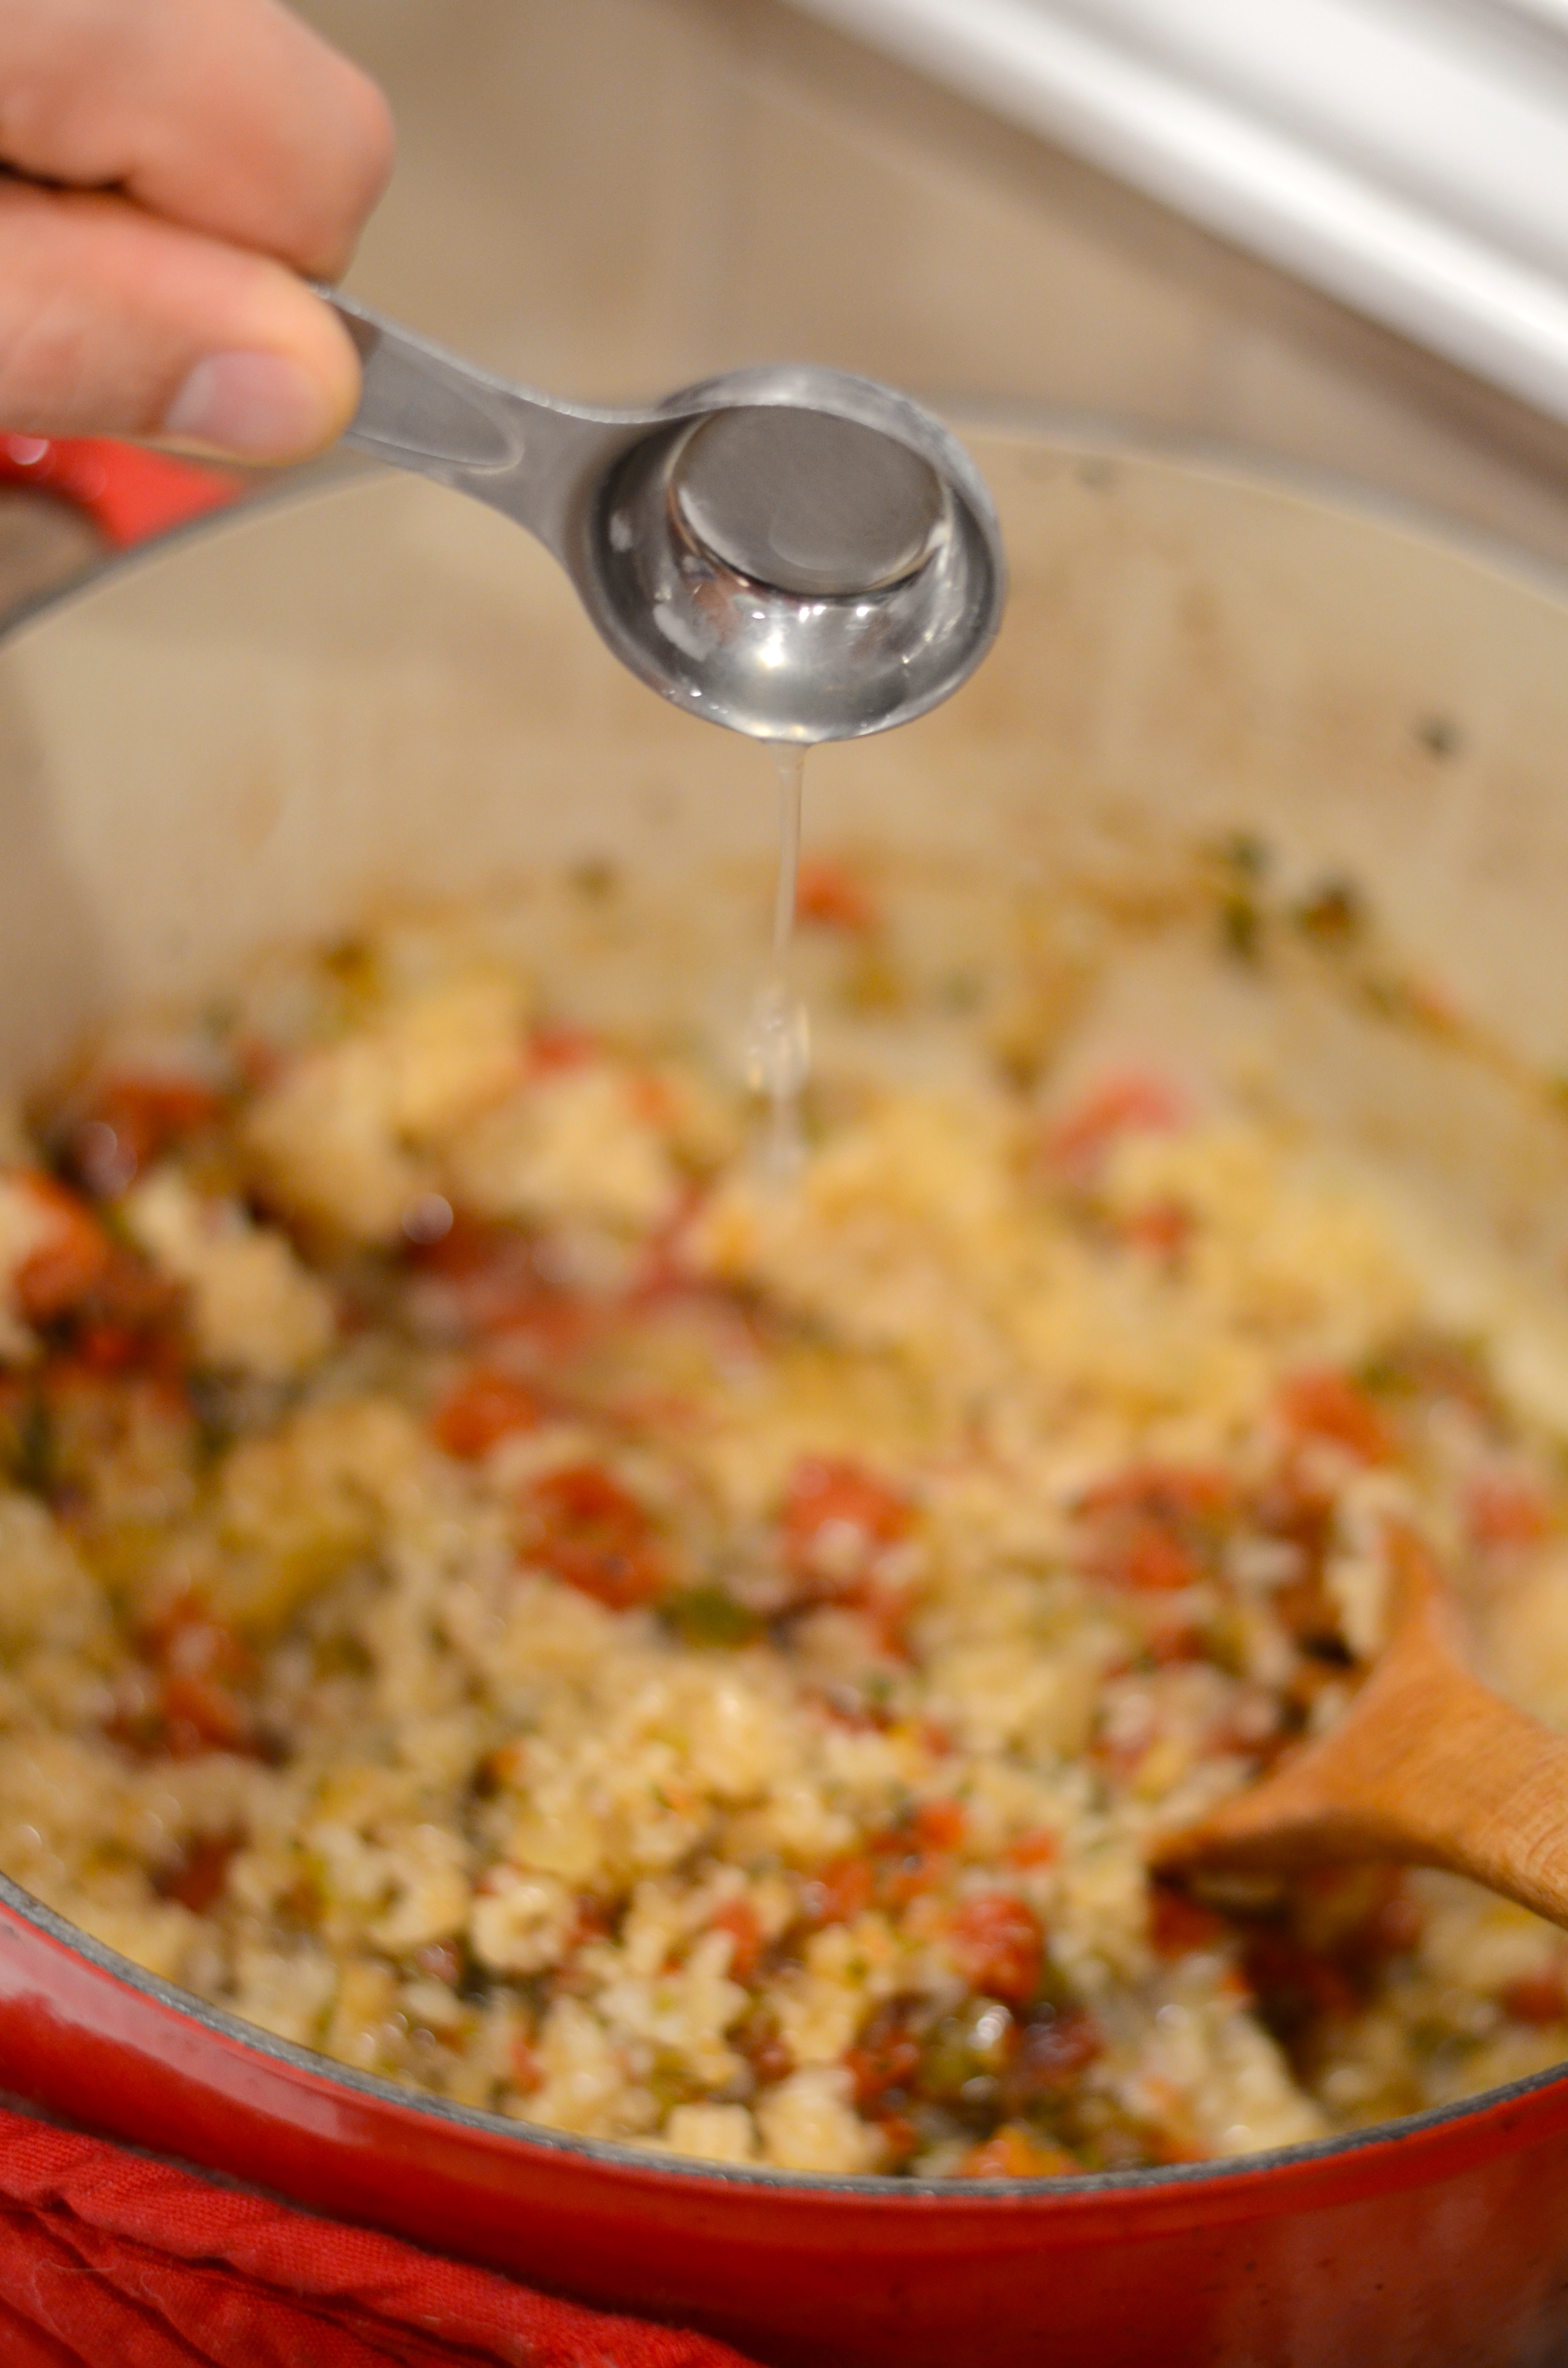
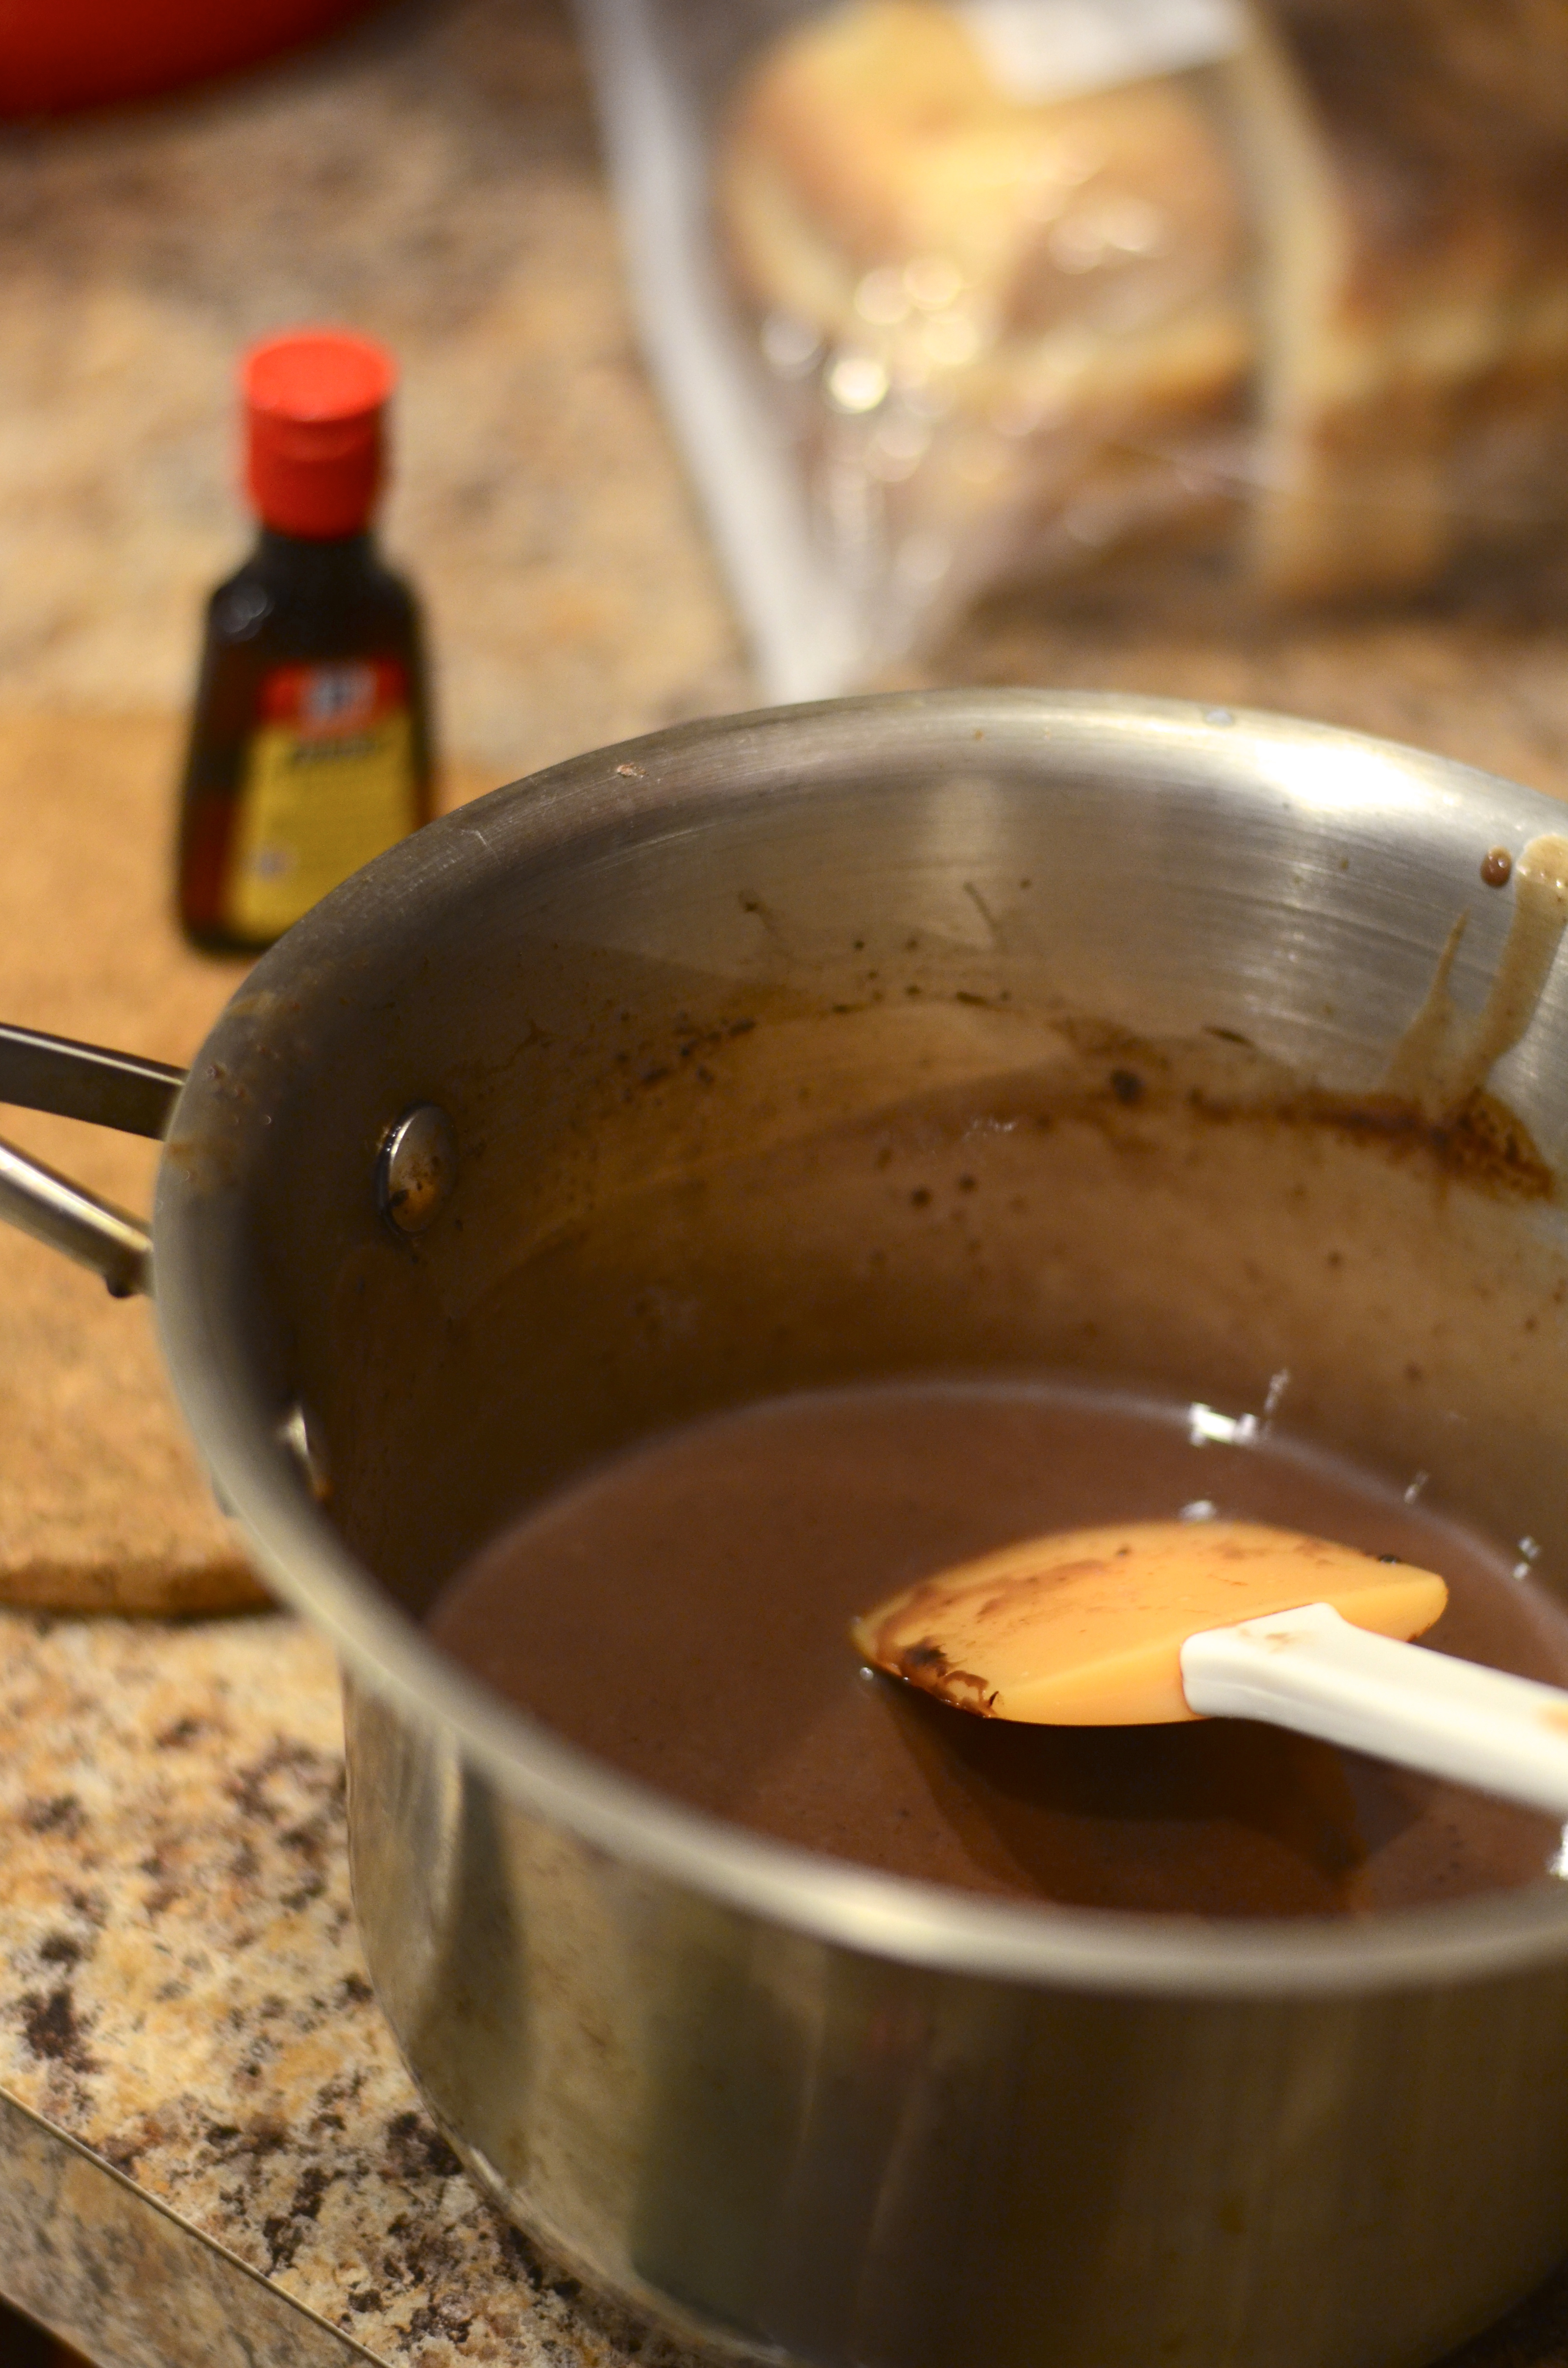
Ladle 1 Cup of broth into each bowl. Sprinkle with remaining cumin and pine nuts.

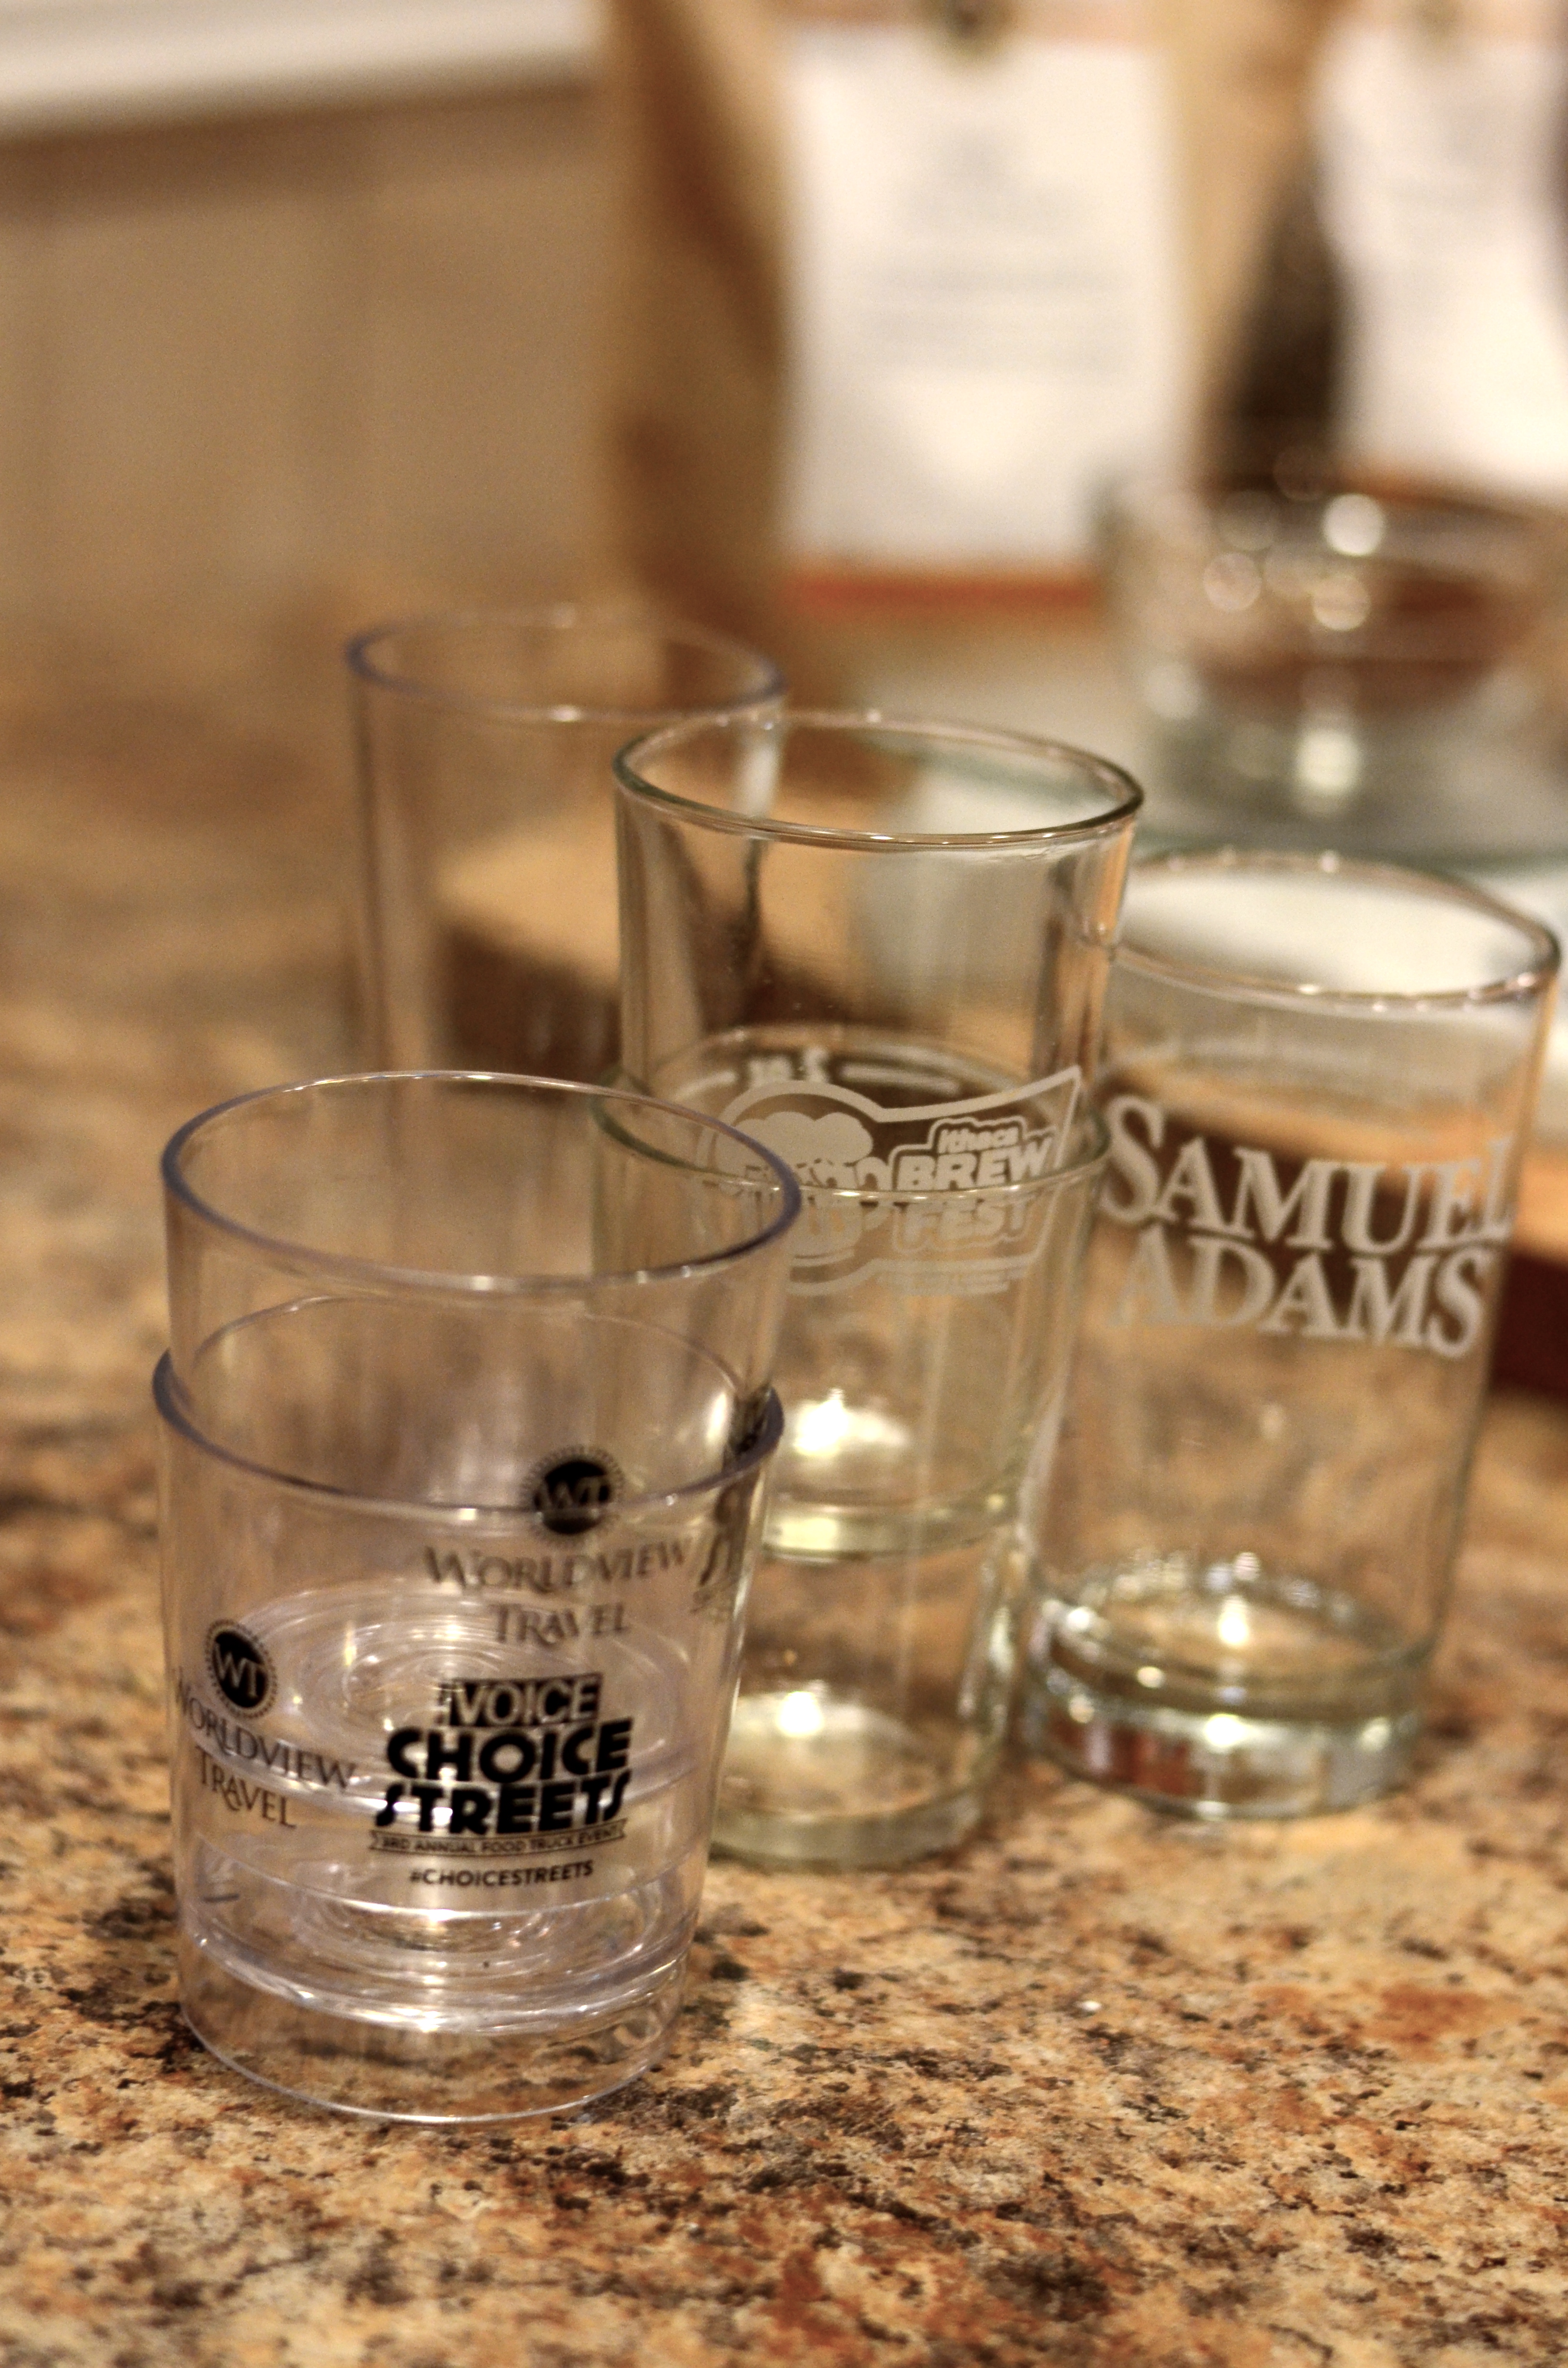
Serve with a toasted baguette slice or two to soak up the broth. Enjoy with a celebratory glass of sparkling wine!


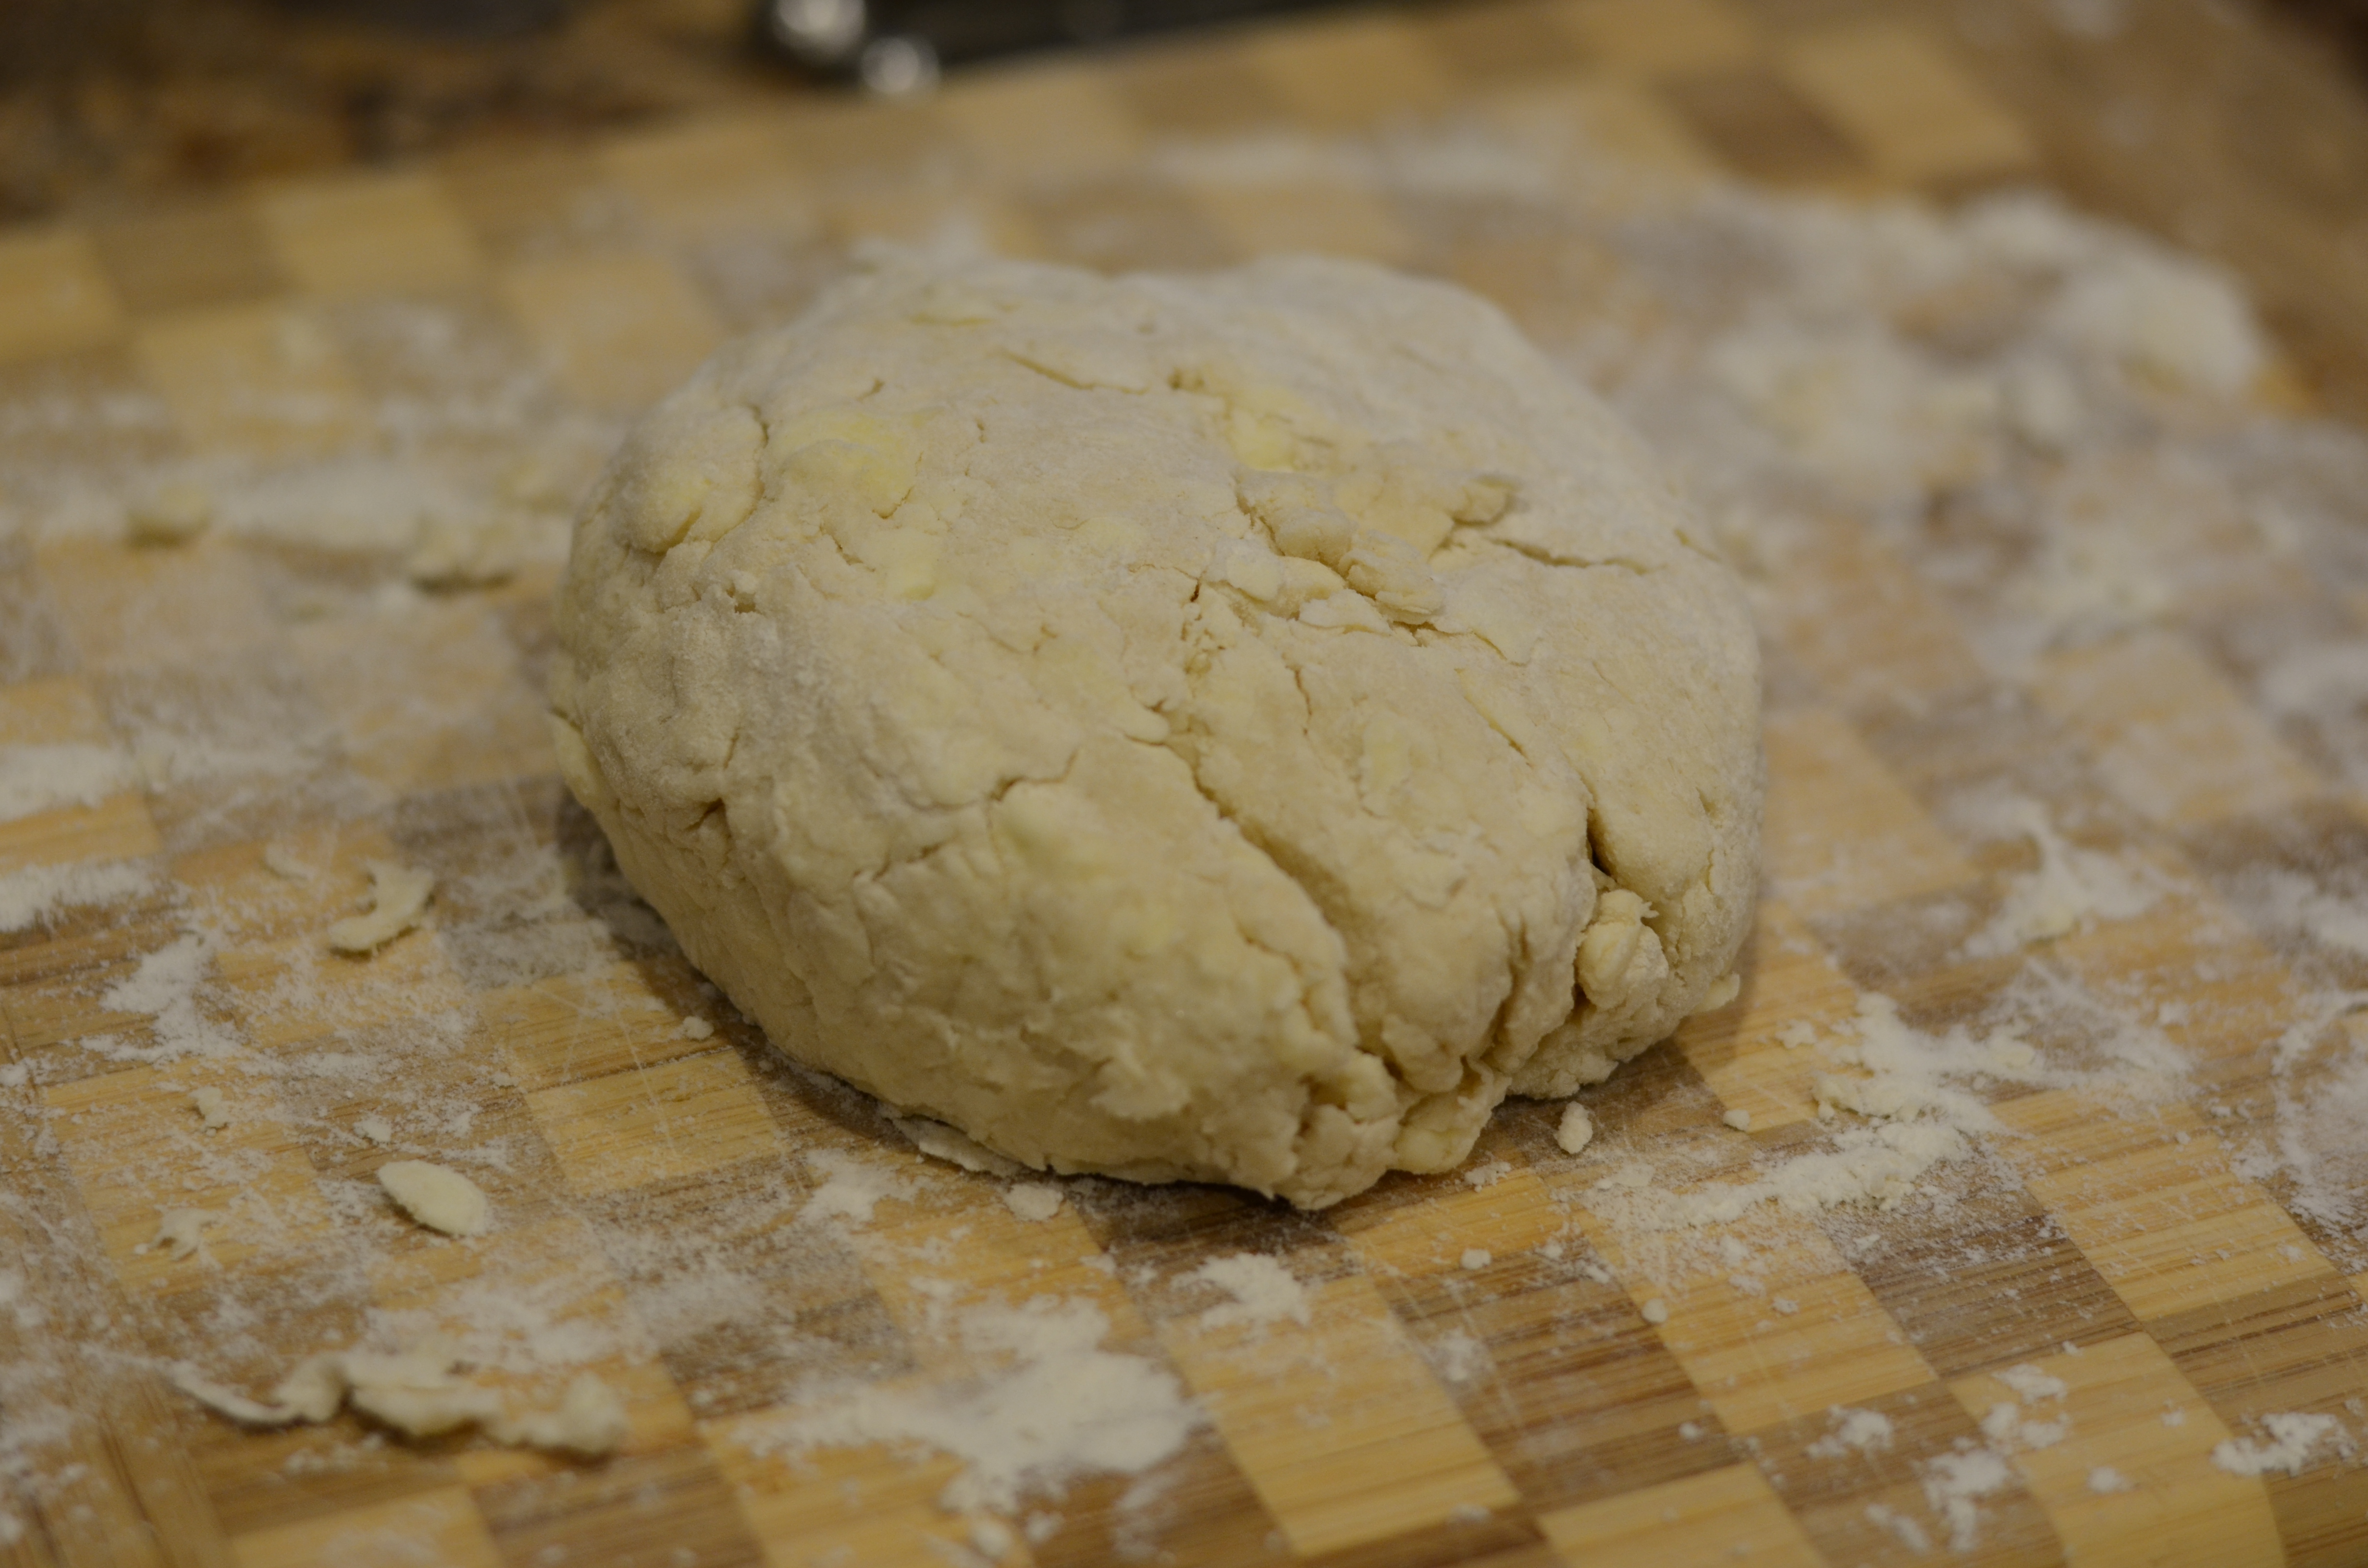
 than half the area of the 11×17 dish the original recipe called for) and add crust mixture. Pat down gently into an even layer. Bake for about 23 minutes, until slightly browned. Allow to cool.