Sourdough Chocolate Cupcakes with Espresso Icing

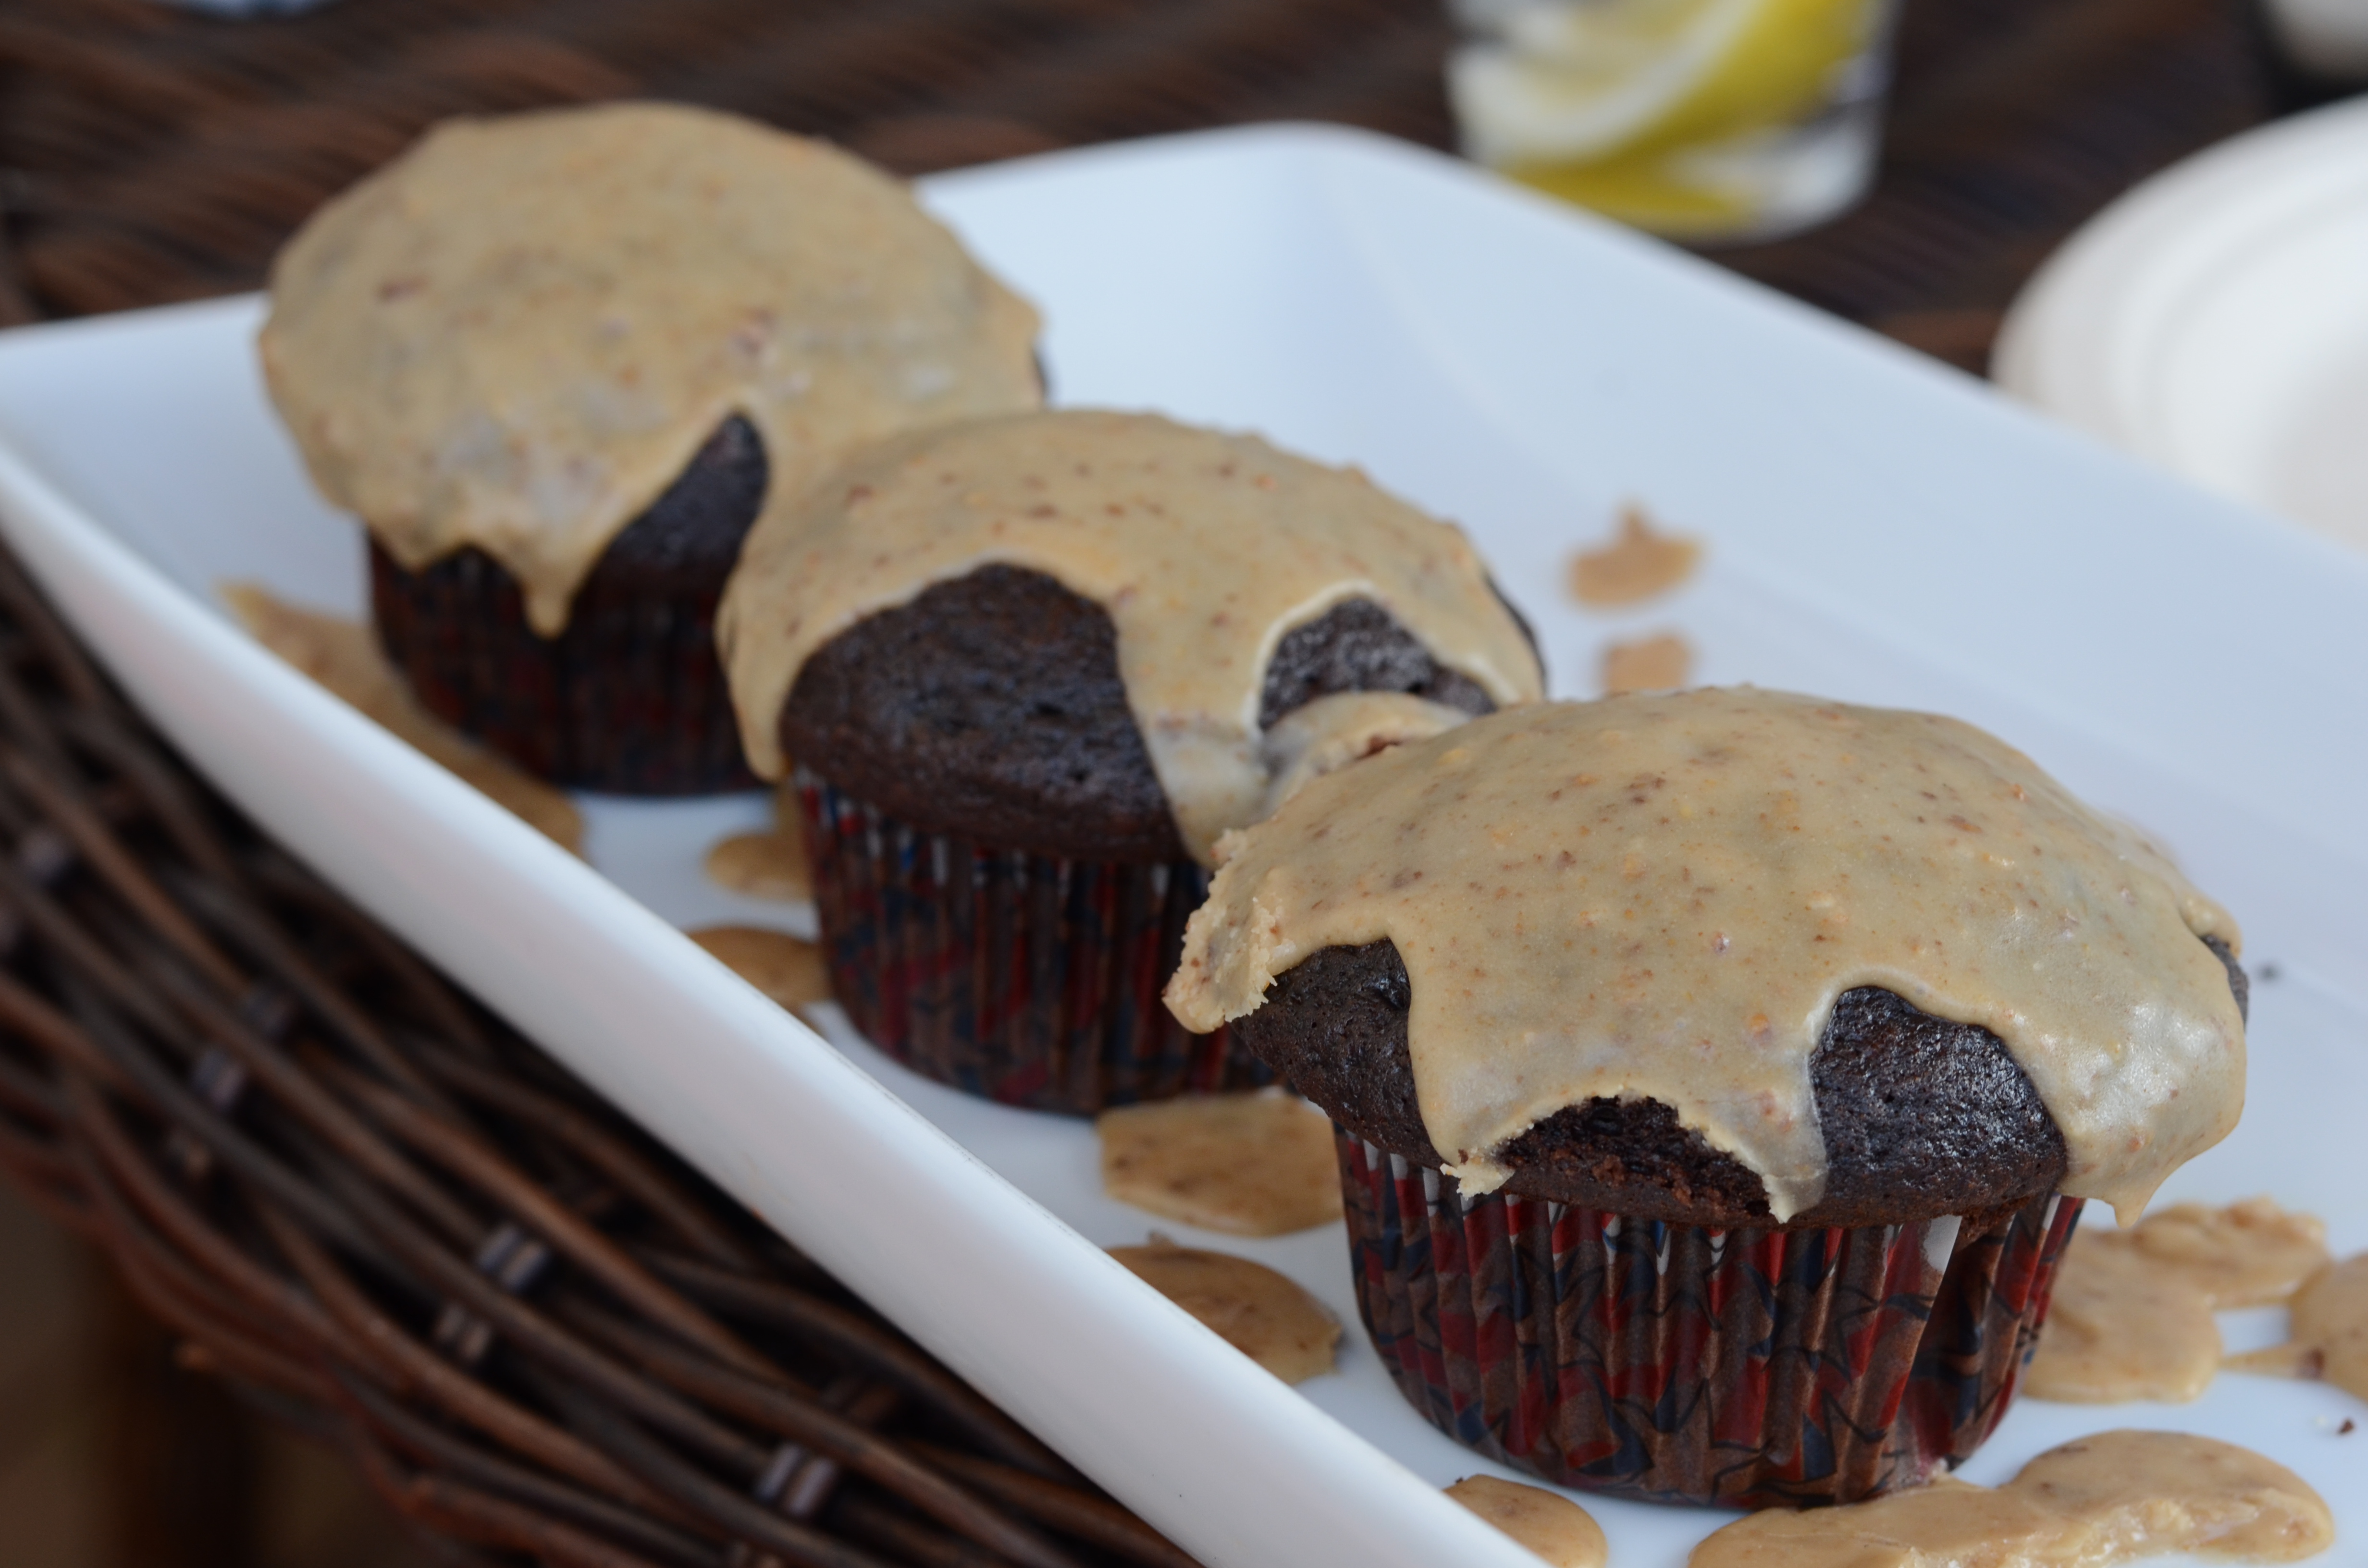
Sometimes you need to make cupcakes simply because you have some cute paper baking cups.
DSC_8682
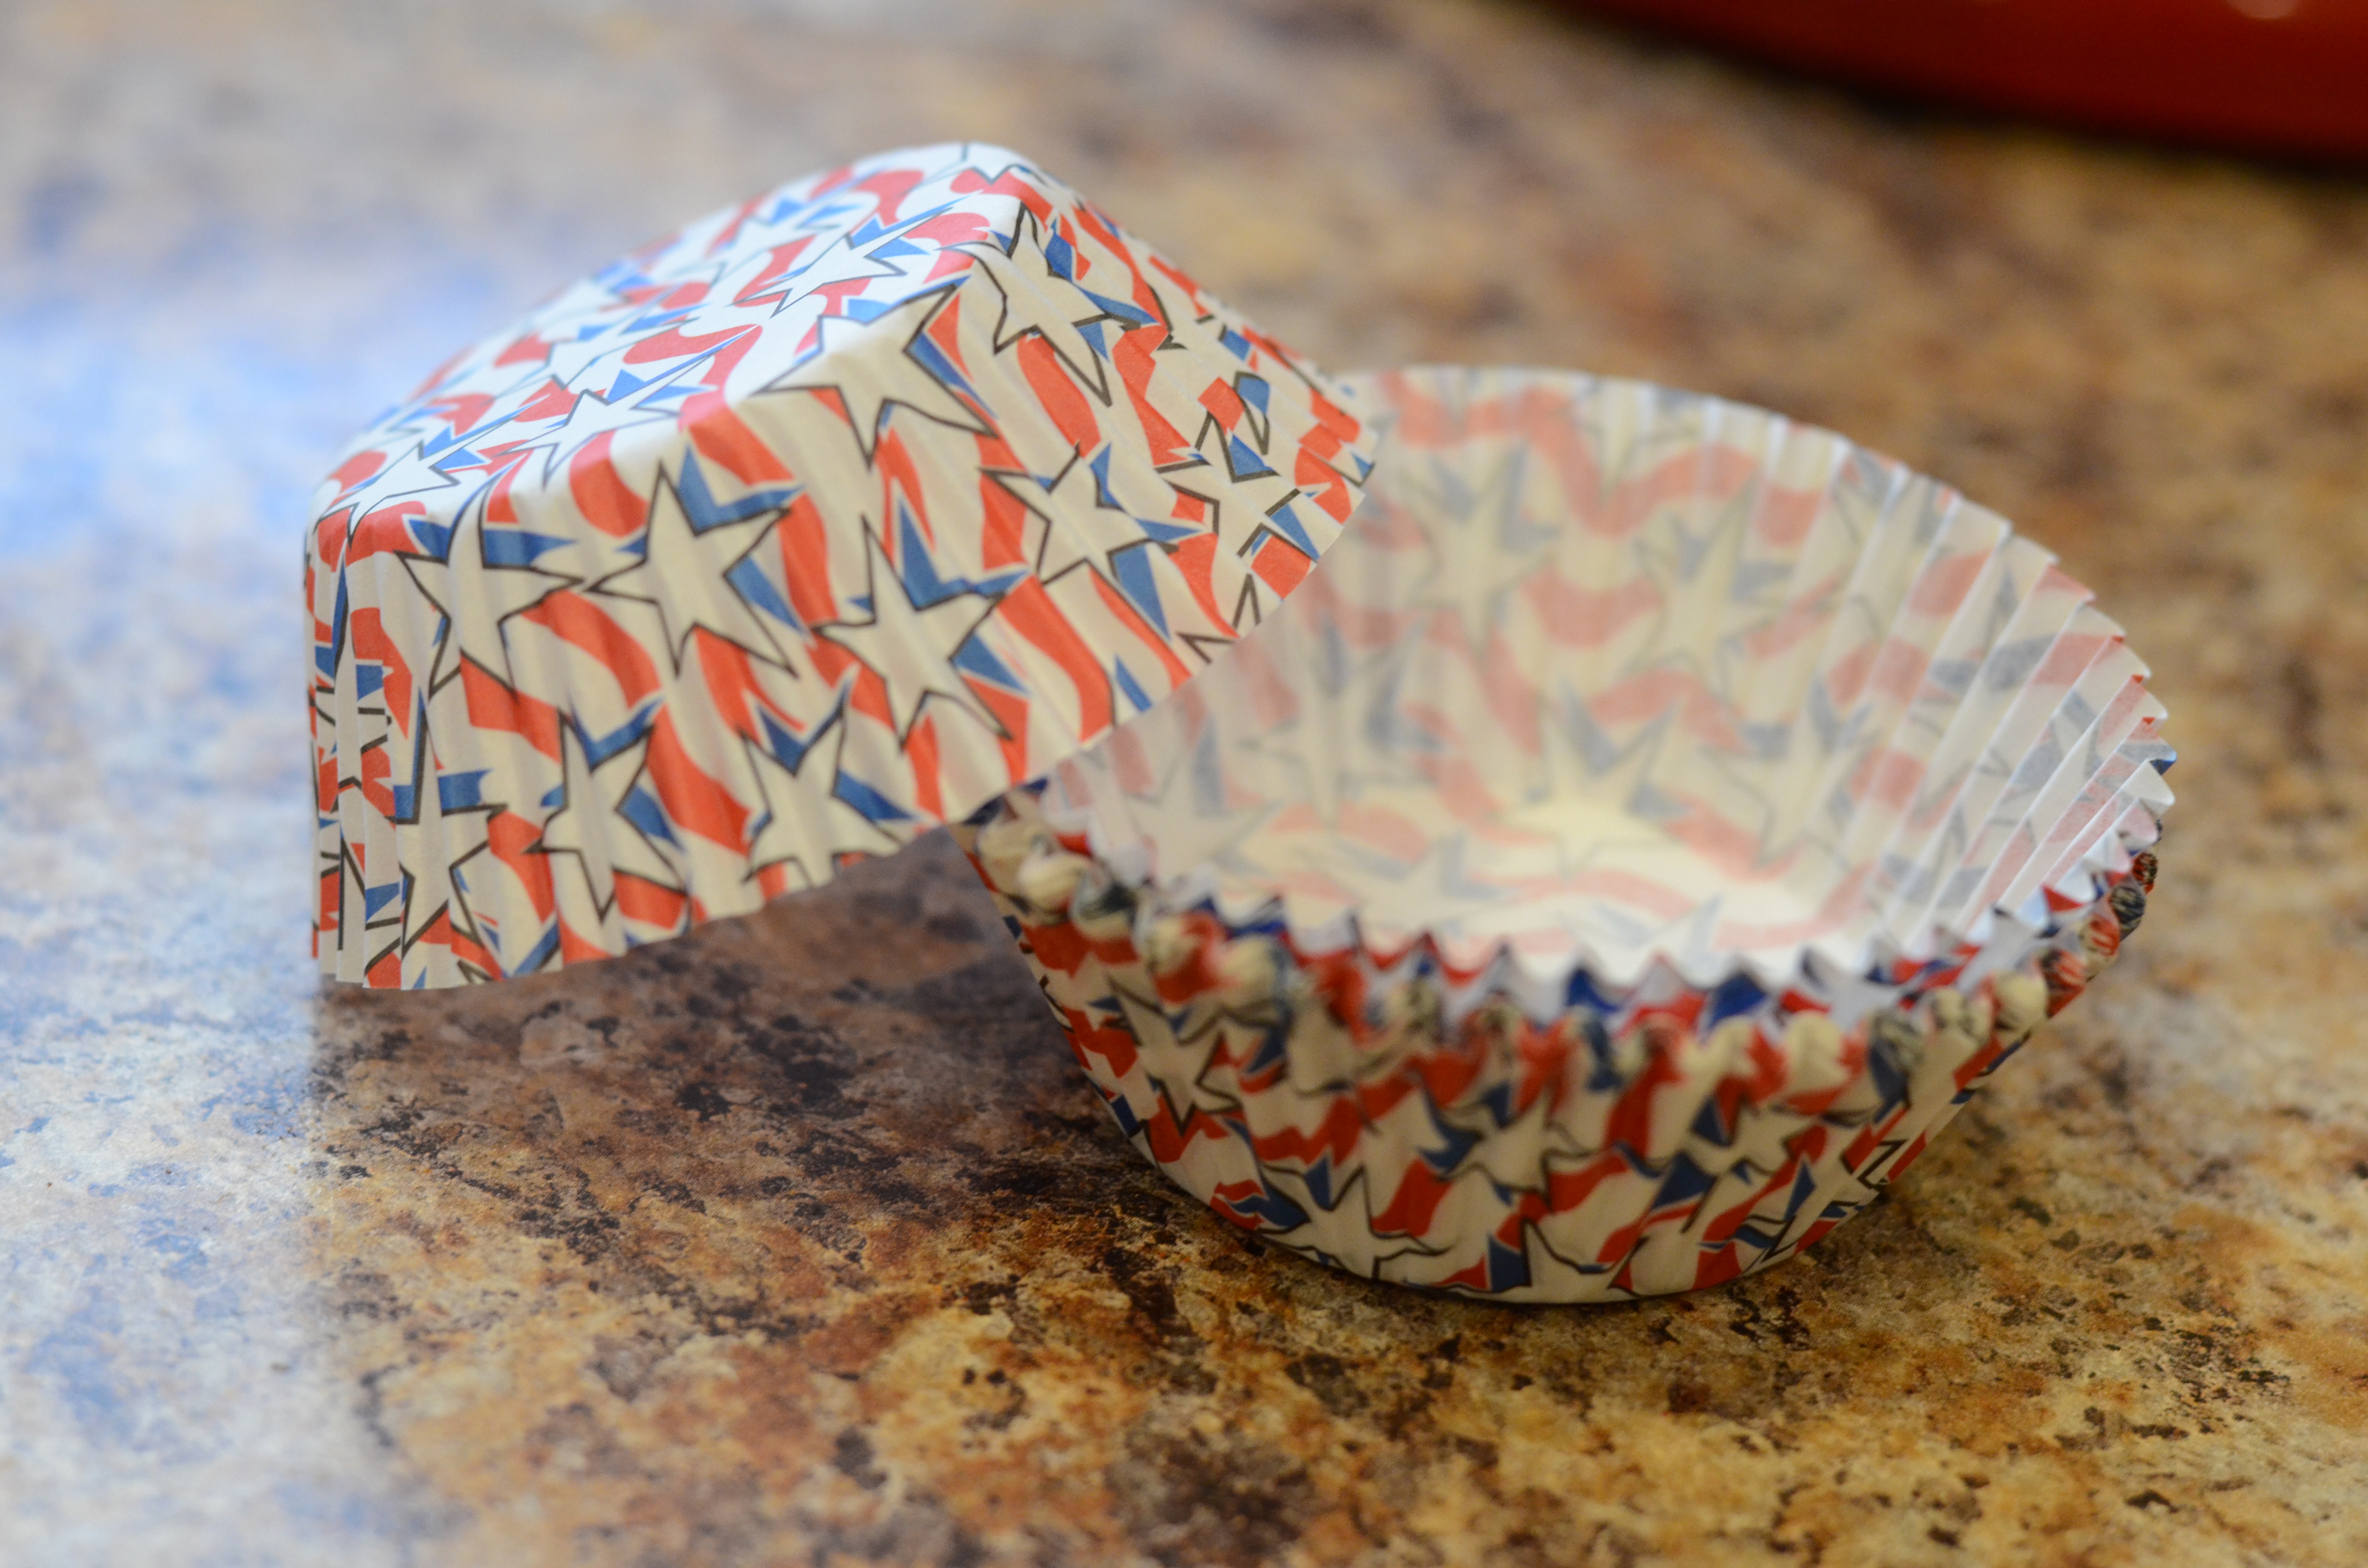
OK, you caught me, the red, white and blue paper cups were not the only reason I planned to bake for our Memorial Day party on Monday. Another reason is that the recipe puts the sourdough to use again! Plus, I had all the other ingredients on hand.

Memorial Day certainly lived up to its reputation as the unofficial start of summer. I could not have asked for a more perfect day to spend almost entirely outdoors. Right away, I started the sourdough part of the cupcake batter so it could sit for its allotted time, and then spent the entire morning finishing up weeding and planting my flowers, herbs, and tomato plants in the gardens around my yard. During the afternoon, Matt and I socialized on the deck with friends and family, serving these cupcakes for dessert after enjoying a delectable shrimp boil and a couple of grilled pizzas.

Shrimp boil with potatoes and corn and a few crab legs--why not?

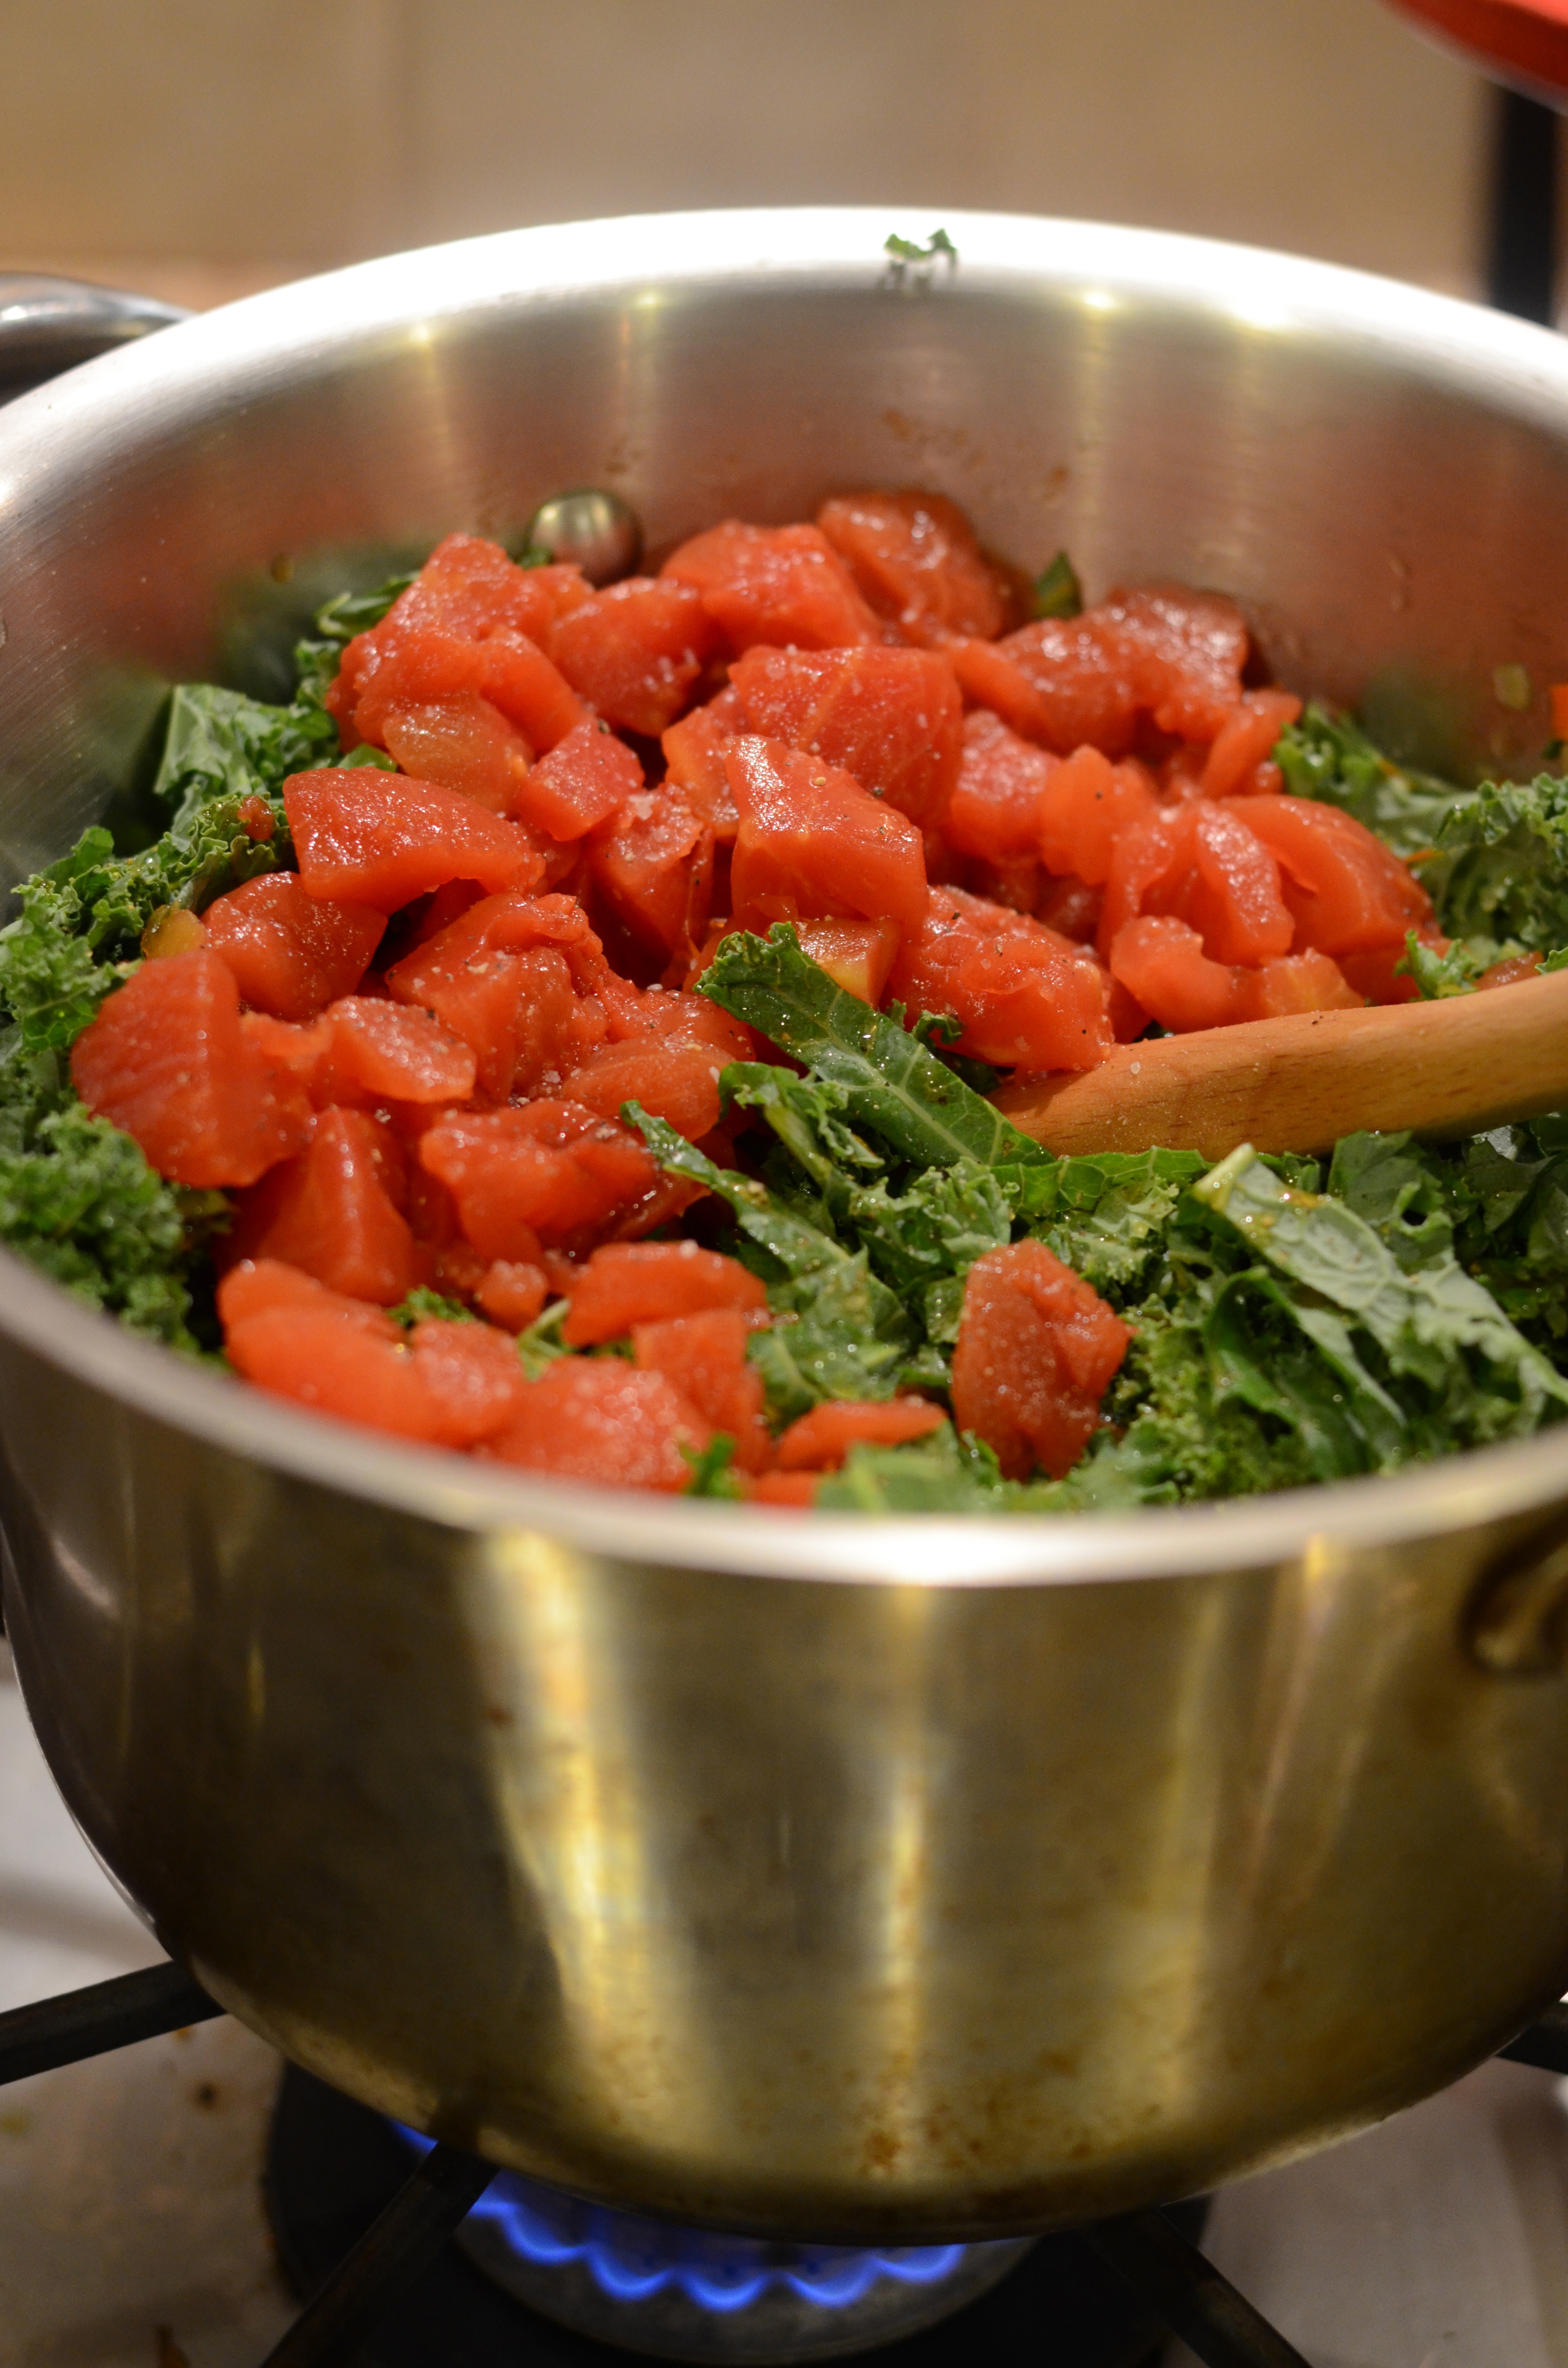
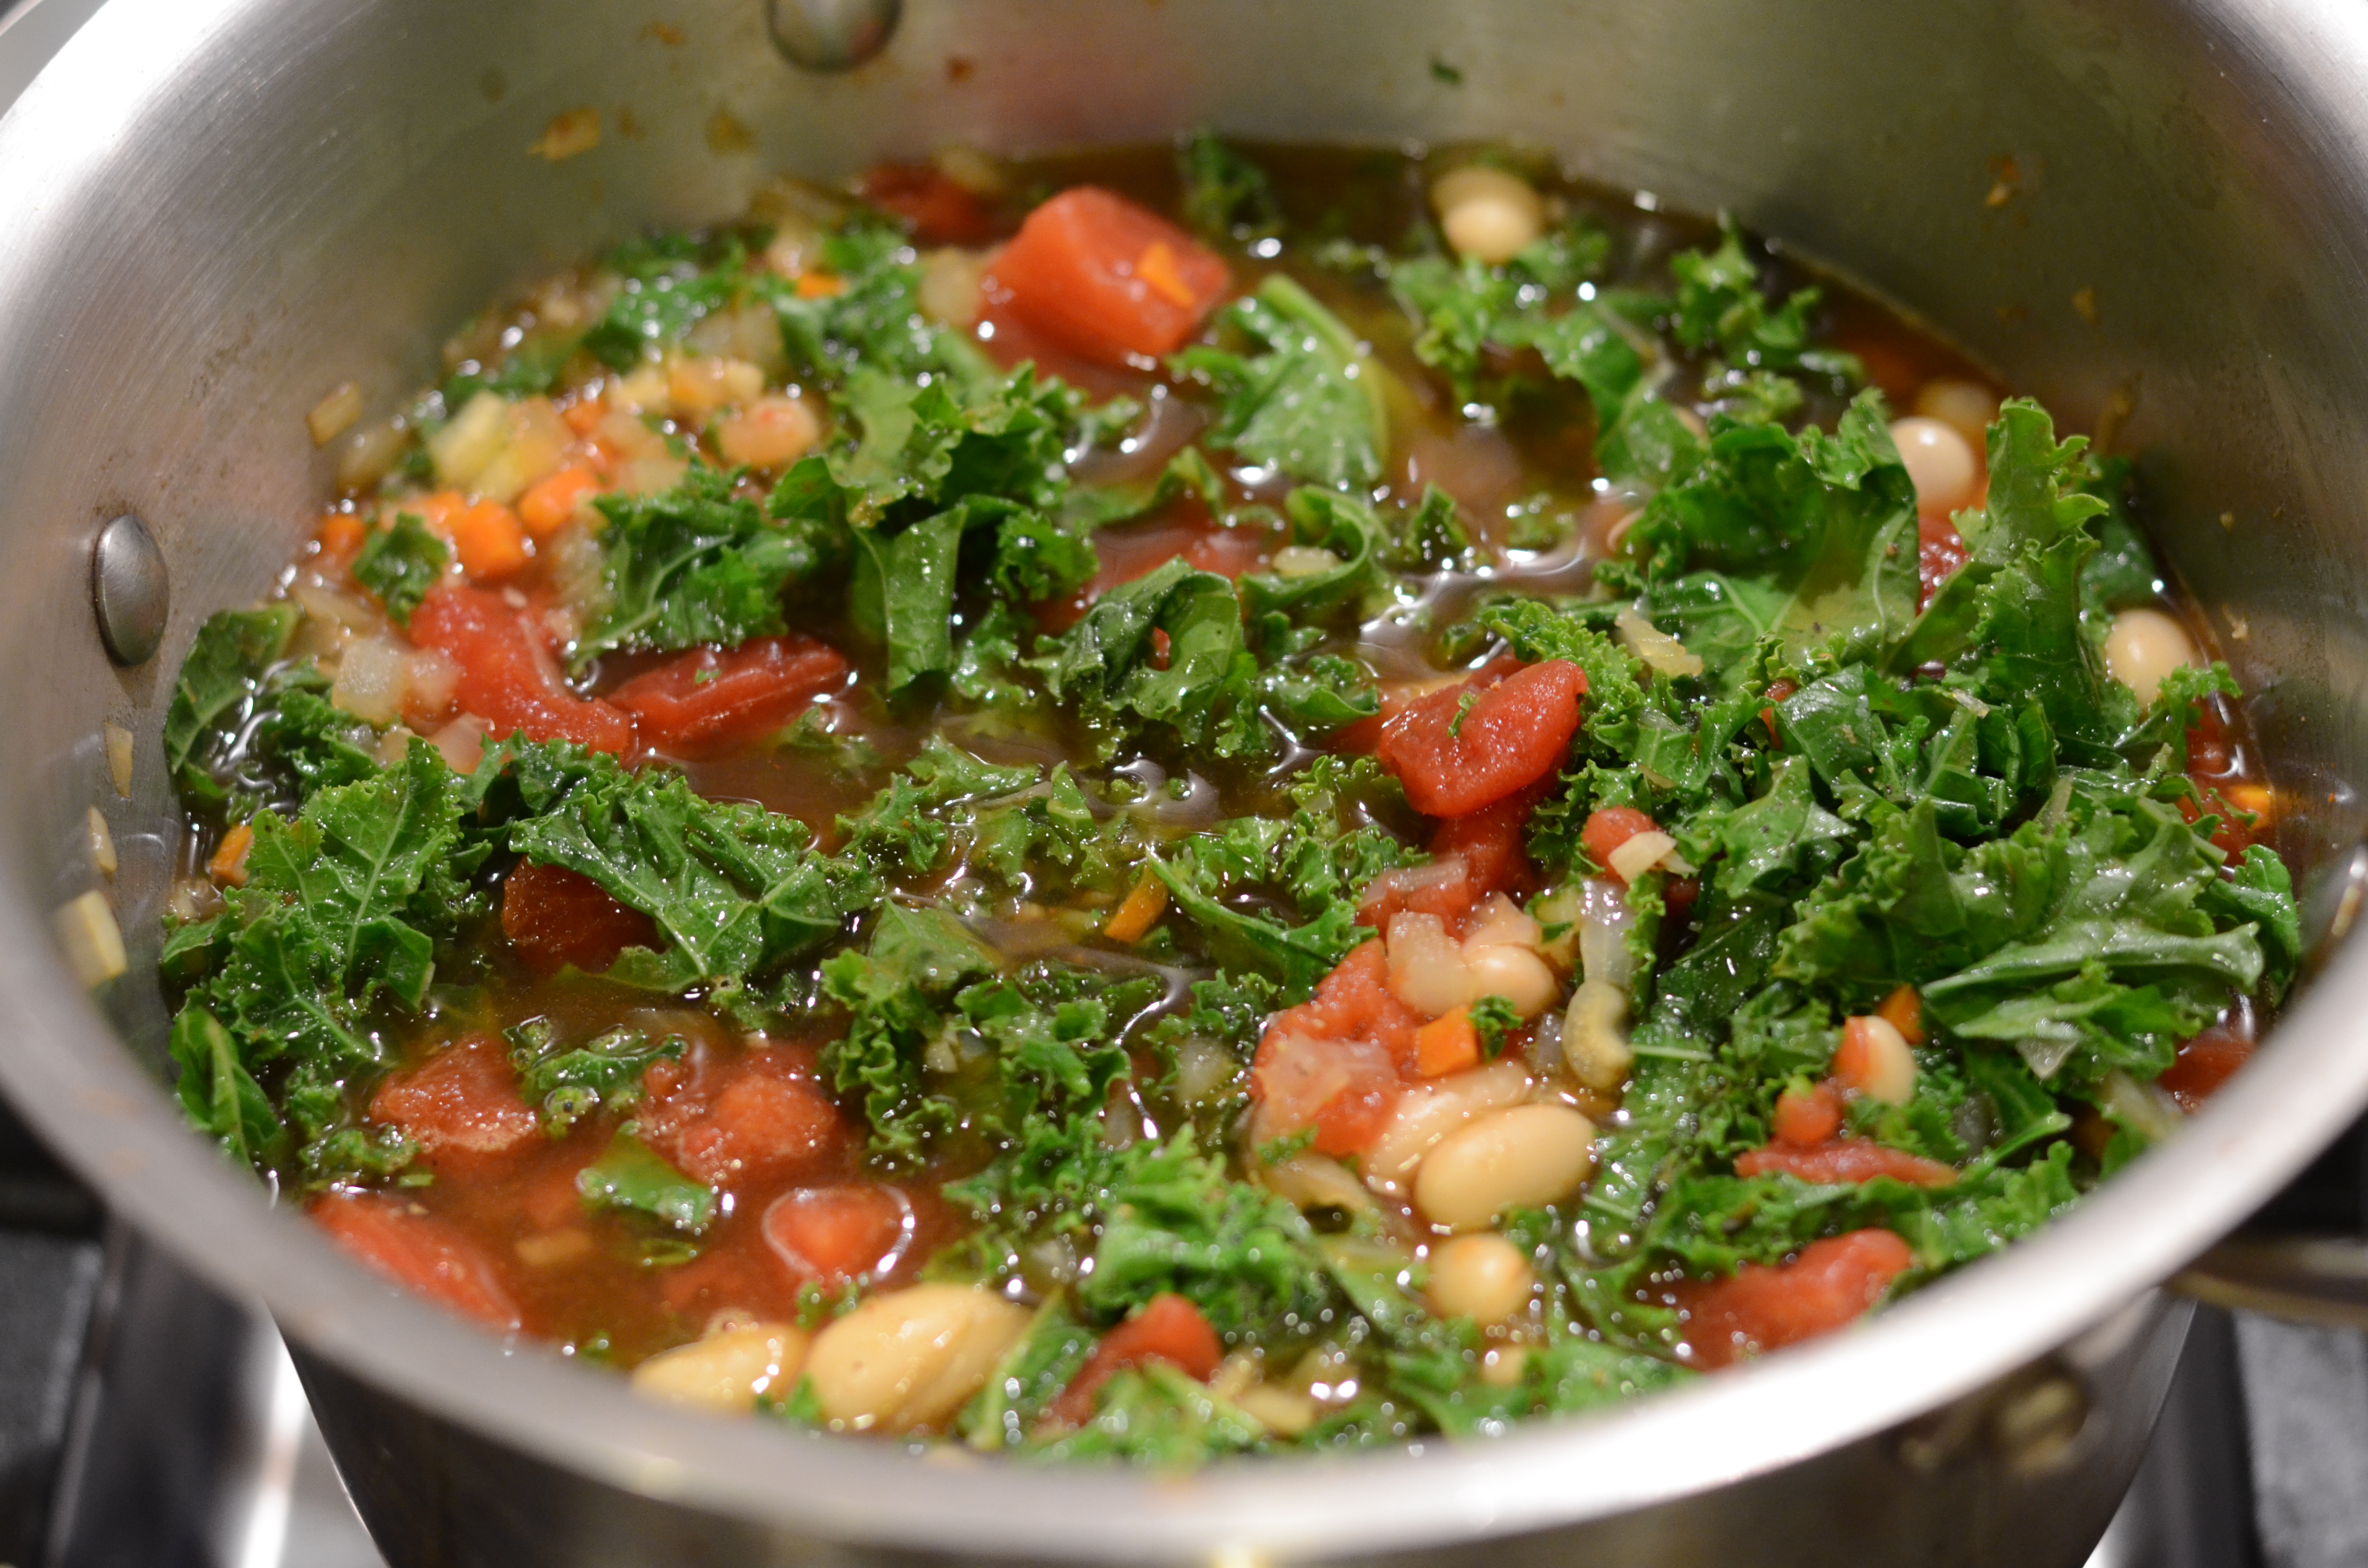
Shrimp boil with potatoes and corn and a few crab legs–why not?

DSC_8664
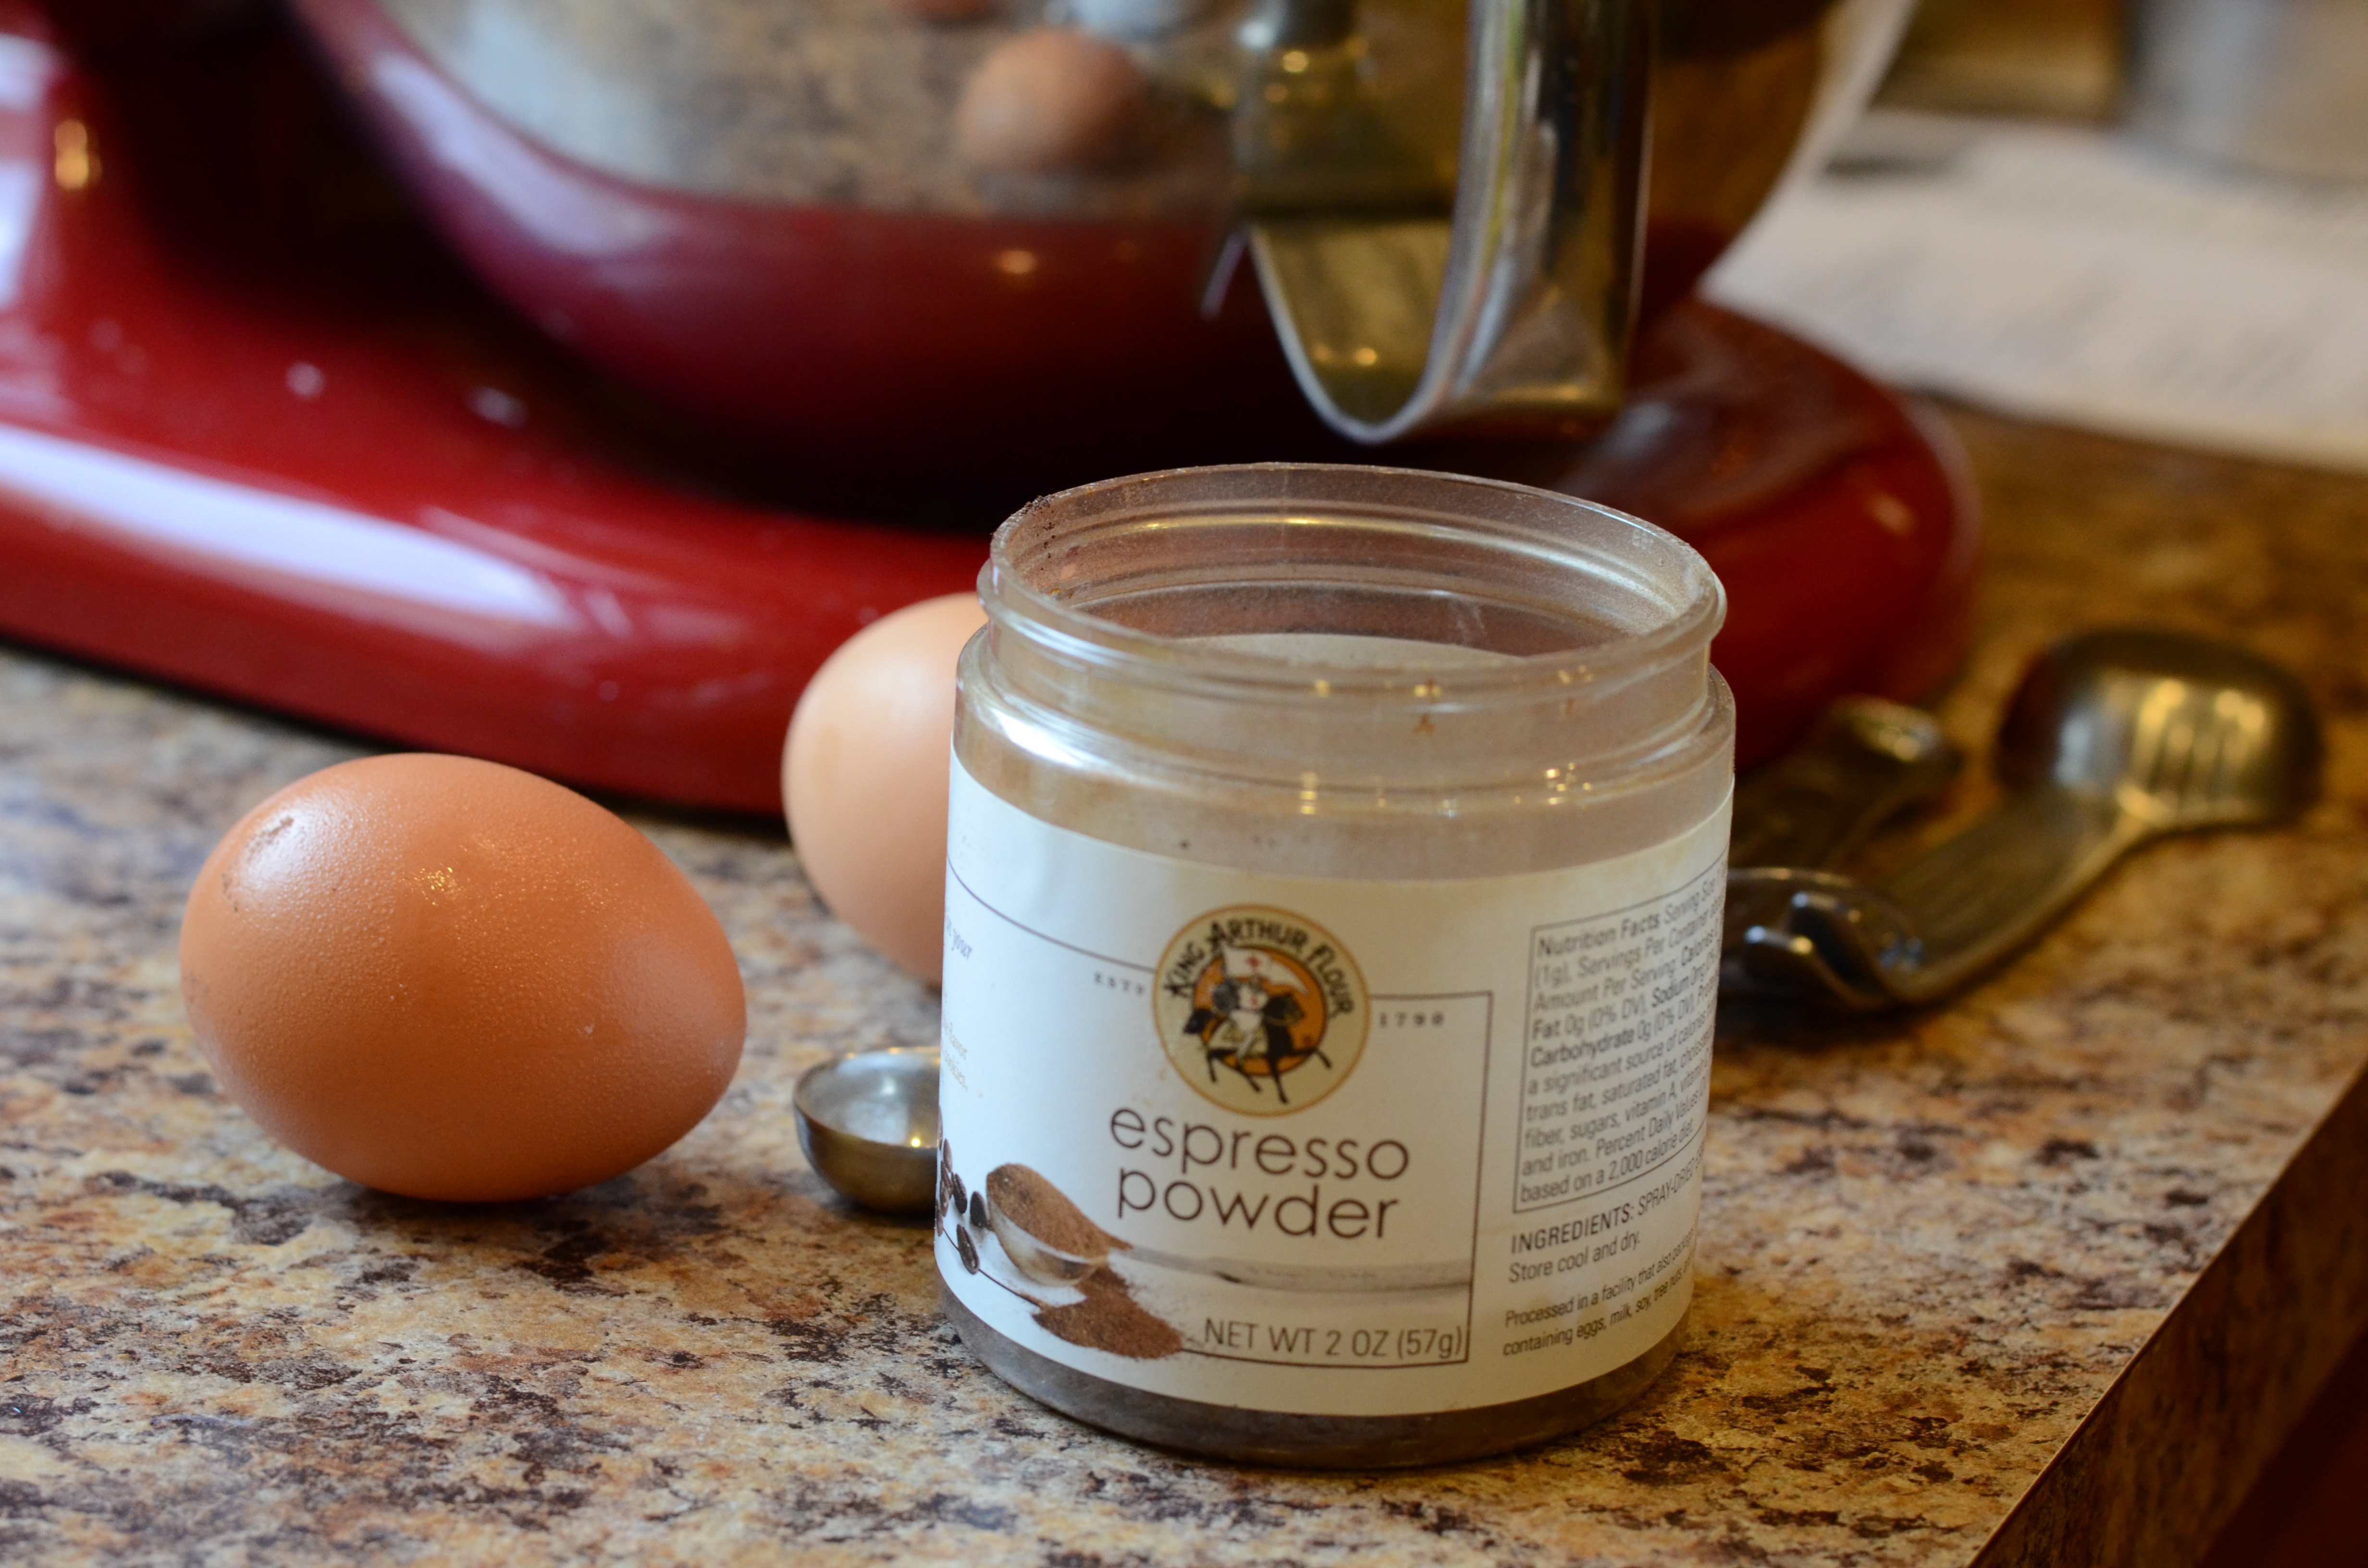
The cupcakes were irresistible to our crowd, even members of which have a fair amount of self control when it comes to sugar. You can certainly swap in a different icing without the coffee flavor if you are serving to children. Espresso powder (another pantry ingredient that hadn’t been getting much use lately) has the magical effect of intensifying chocolate flavor in baked goods, so I suggest leaving it in the cake portion, if you have it in the first place. And if you don’t have sourdough? Well, if you’re the type who loves baking, get on that. Or just use another favorite chocolate cake recipe.

Sourdough Chocolate Cupcakes with Espresso Icing
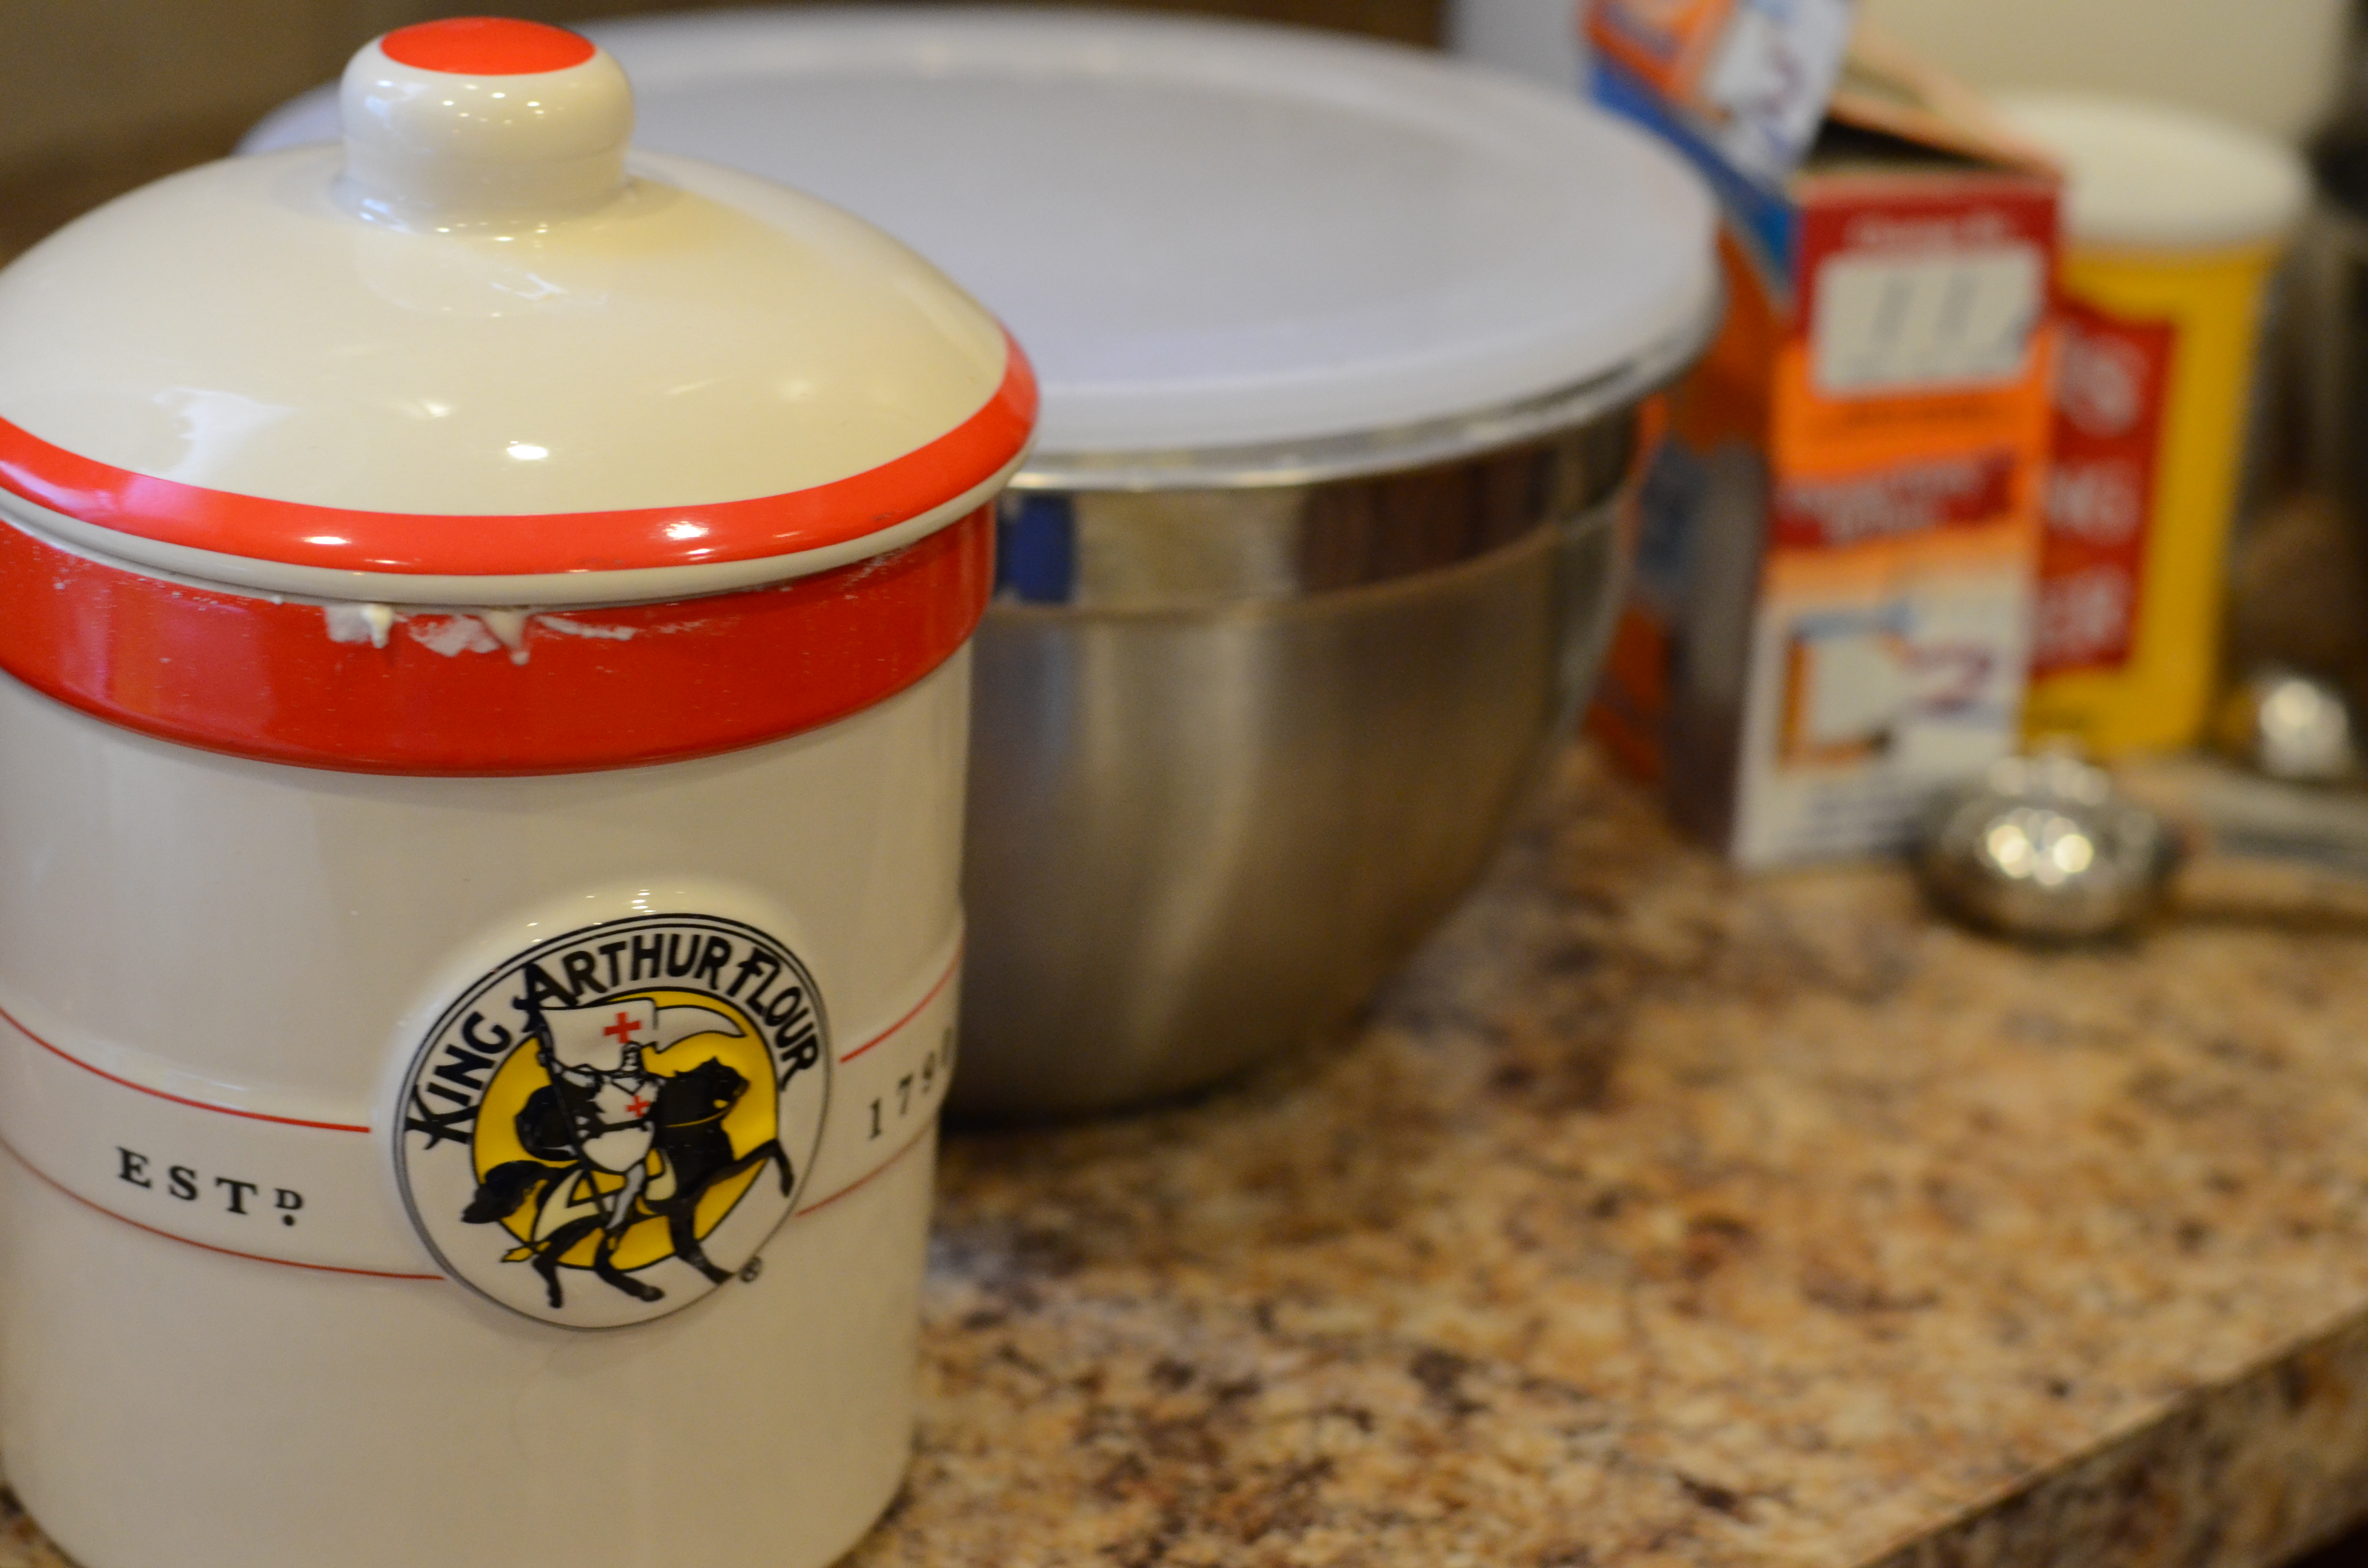
Adapted from King Arthur Flour to make cupcakes
Makes about 18 full-sized cupcakes

Cake Batter:
1 Cup sourdough starter
, fed and “rested”*
1 Cup milk , whole or 2% is better (I improvised with skim plus a little heavy cream)
2 Cups unbleached all-purpose flour
1 1/2 Cups granulated sugar

1 Cup vegetable oil
2 teaspoons vanilla
1 teaspoon salt
1 1/2 teaspoons baking soda
3/4 Cup unsweetened cocoa powder
1 teaspoon espresso powder
(optional)
2 large eggs

Espresso Icing: (this has been scaled down for cupcakes–you’ll need the original recipe’s quantity, or more, if making a layer cake)
2 teaspoons espresso powder or instant coffee dissolved in 2 teaspoons hot water
1/2 Cup (1 stick, 4 ounces) butter
~1/3 Cup plain Greek or regular yogurt
, or you can use buttermilk or sour cream
4 Cups powdered confectioners’ sugar

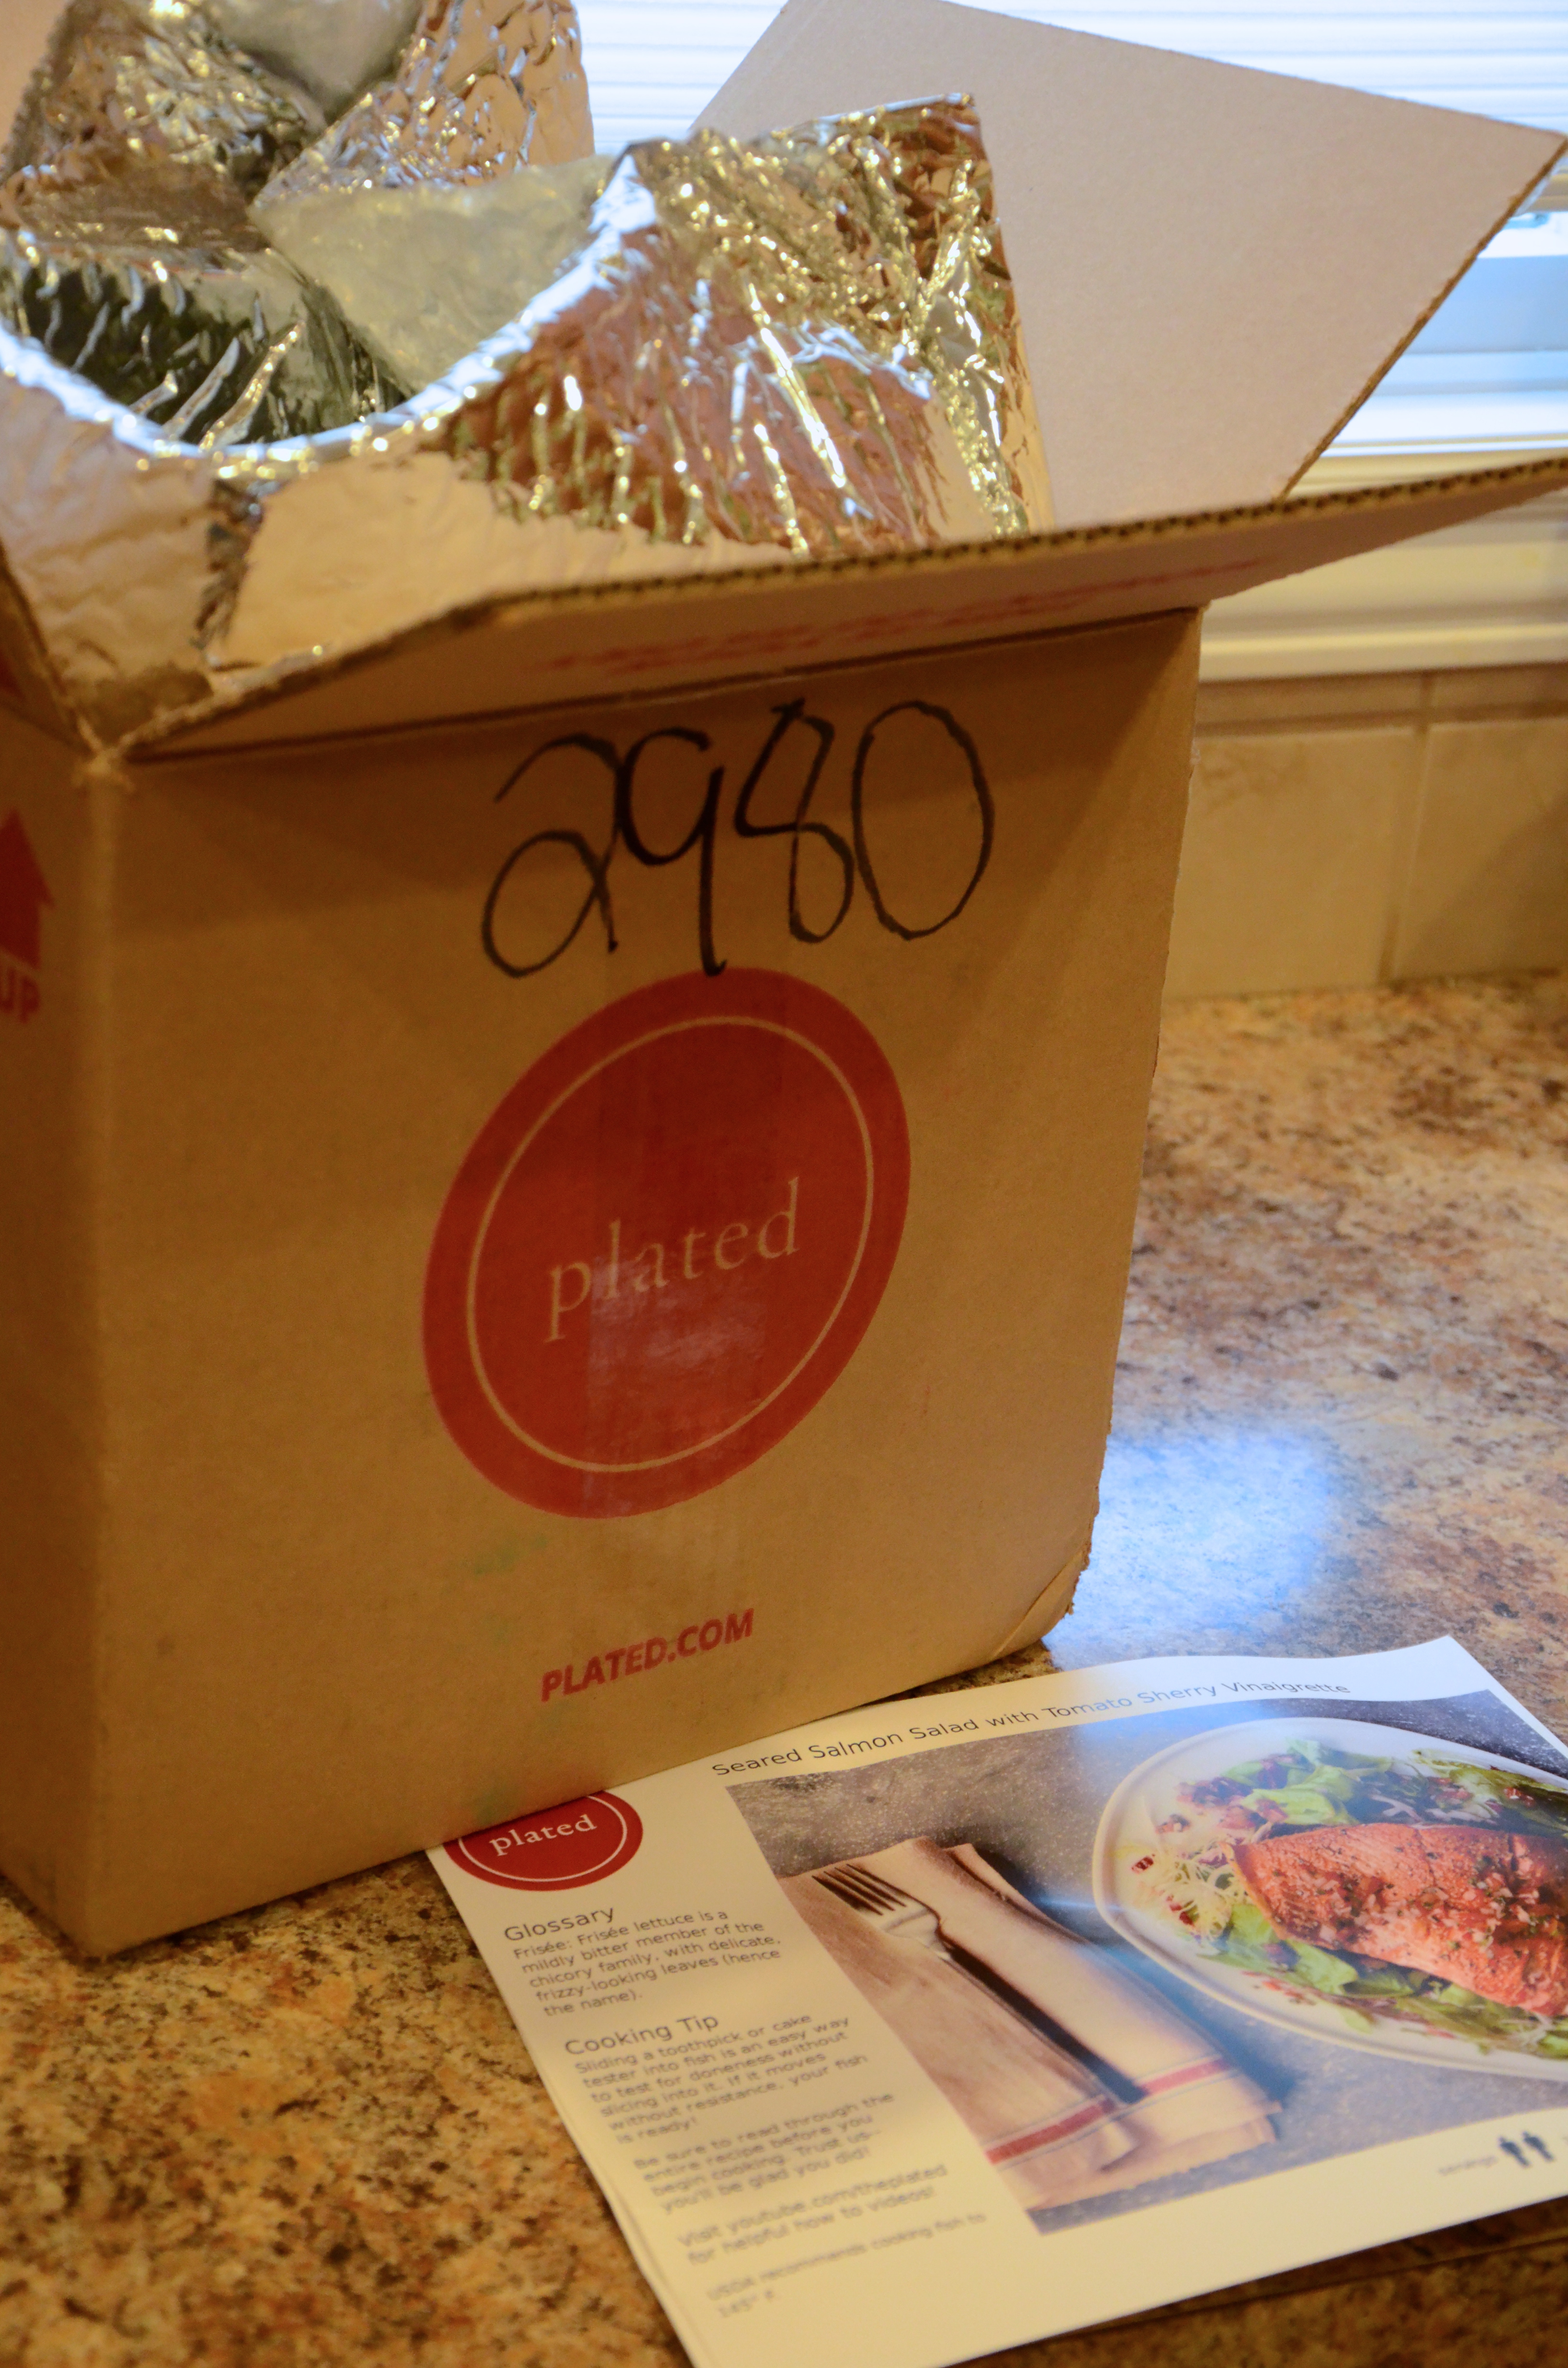
*This is where you have to plan ahead. The sourdough starter needs to be fed regularly anyway, so you could do the feeding the night before to have it ready for this recipe. Remember you may have to “feed” the starter again after taking out a Cup, depending on whether it is overflowing. The process we follow is to discard 1 Cup, add 1 Cup flour and 1/2 Cup water, stir, and let it sit out for 2-4 hours before returning to the fridge. I remembered late that the discarded cup can be used to start a new batch of sourdough, so I could have also fed that to make my batch for the cake.
DSC_8663

To make the cake:
In a medium-sized mixing bowl, combine the starter, milk, and flour. Let this mixture rest for 2 to 3 hours in a warm place. It may start to bubble a little bit, and should smell slightly sour in a pleasant way.
DSC_8672
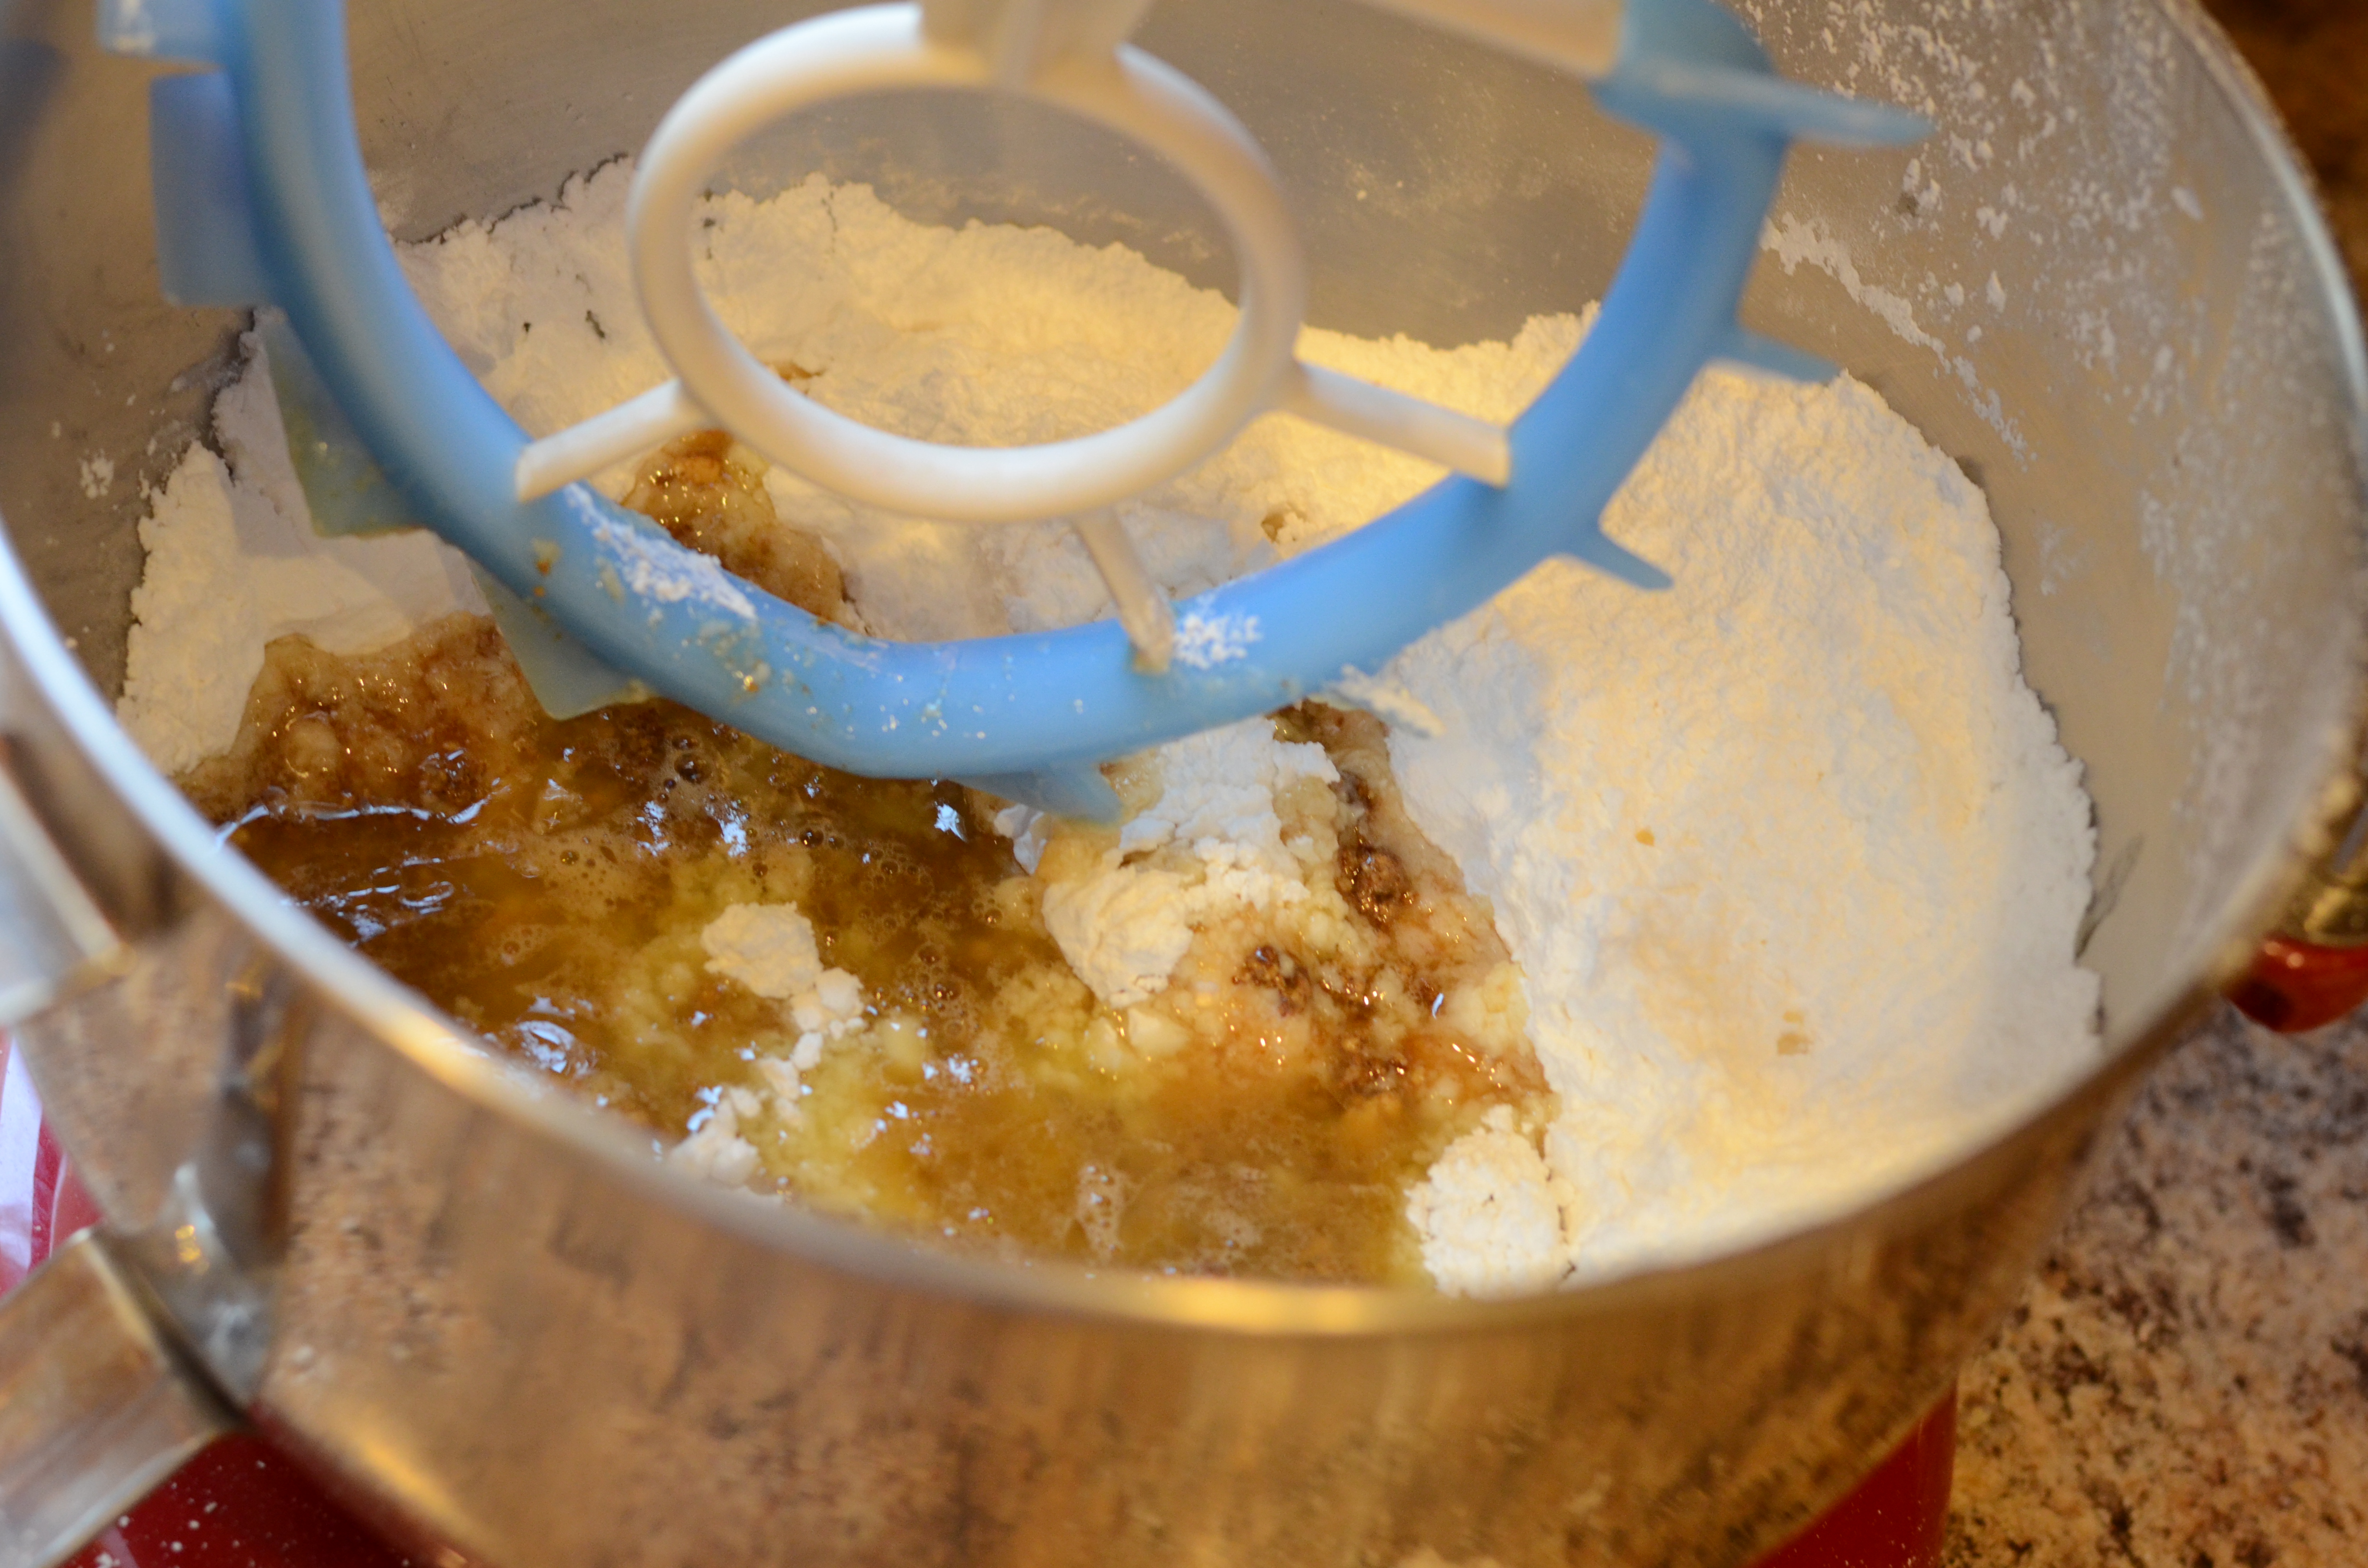
In a second bowl, or the bowl of a stand mixer, beat together the sugar, oil, vanilla, salt, baking soda, cocoa, and espresso powder.

Add the eggs one at a time, beating well after each addition.

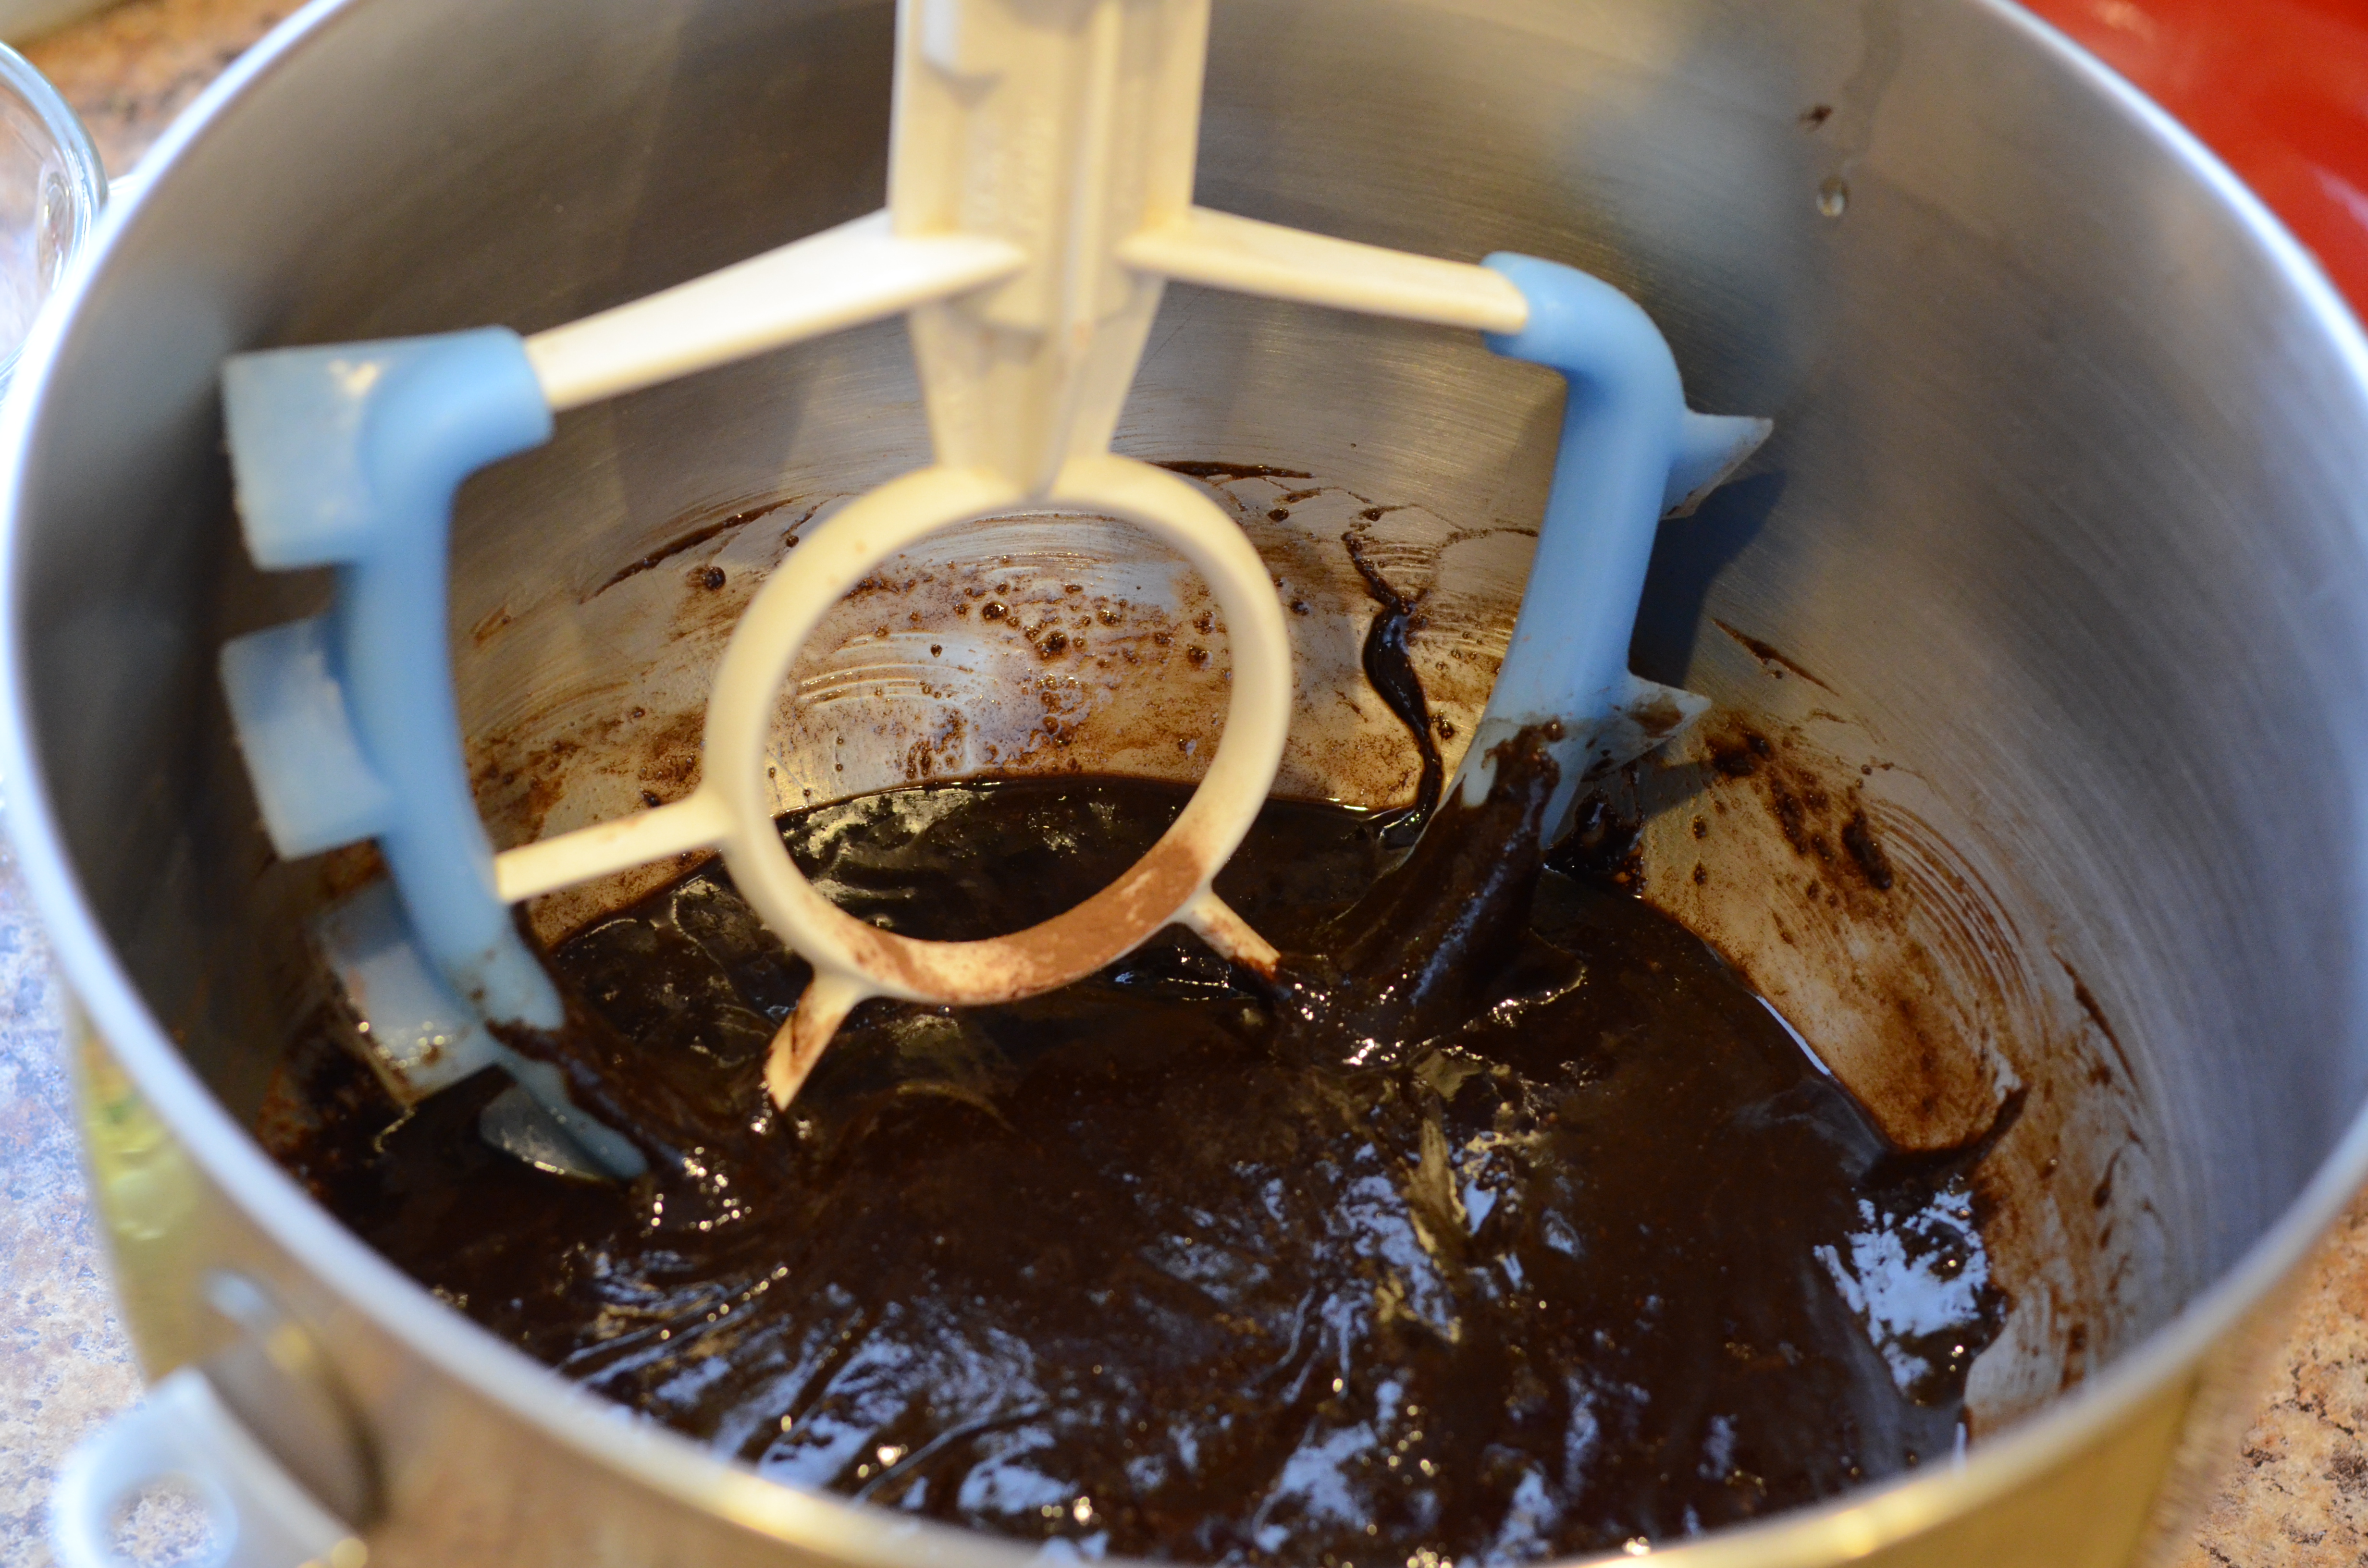
Add the sourdough mixture to the creamed mixture, combining gently until it all comes together.
DSC_8667
The King Arthur Flour recipe warns you that the batter starts out very “gloppy,” and I agree with that description! Eventually it smooths out.
DSC_8666
Preheat the oven to 350°F. Grease or spray your pans or muffin tins and then pour or scoop in the batter.
DSC_8668
Bake for about 25 minutes to start, and use a toothpick or cake tester inserted into the center to check that it comes out clean–that means it’s done.

Remove and allow to cool.
DSC_8669

To make the icing:

My espresso powder had hardened into chunks, which wouldn't break up easily, so after a minute or two, I simply removed the chunks from the liquid.

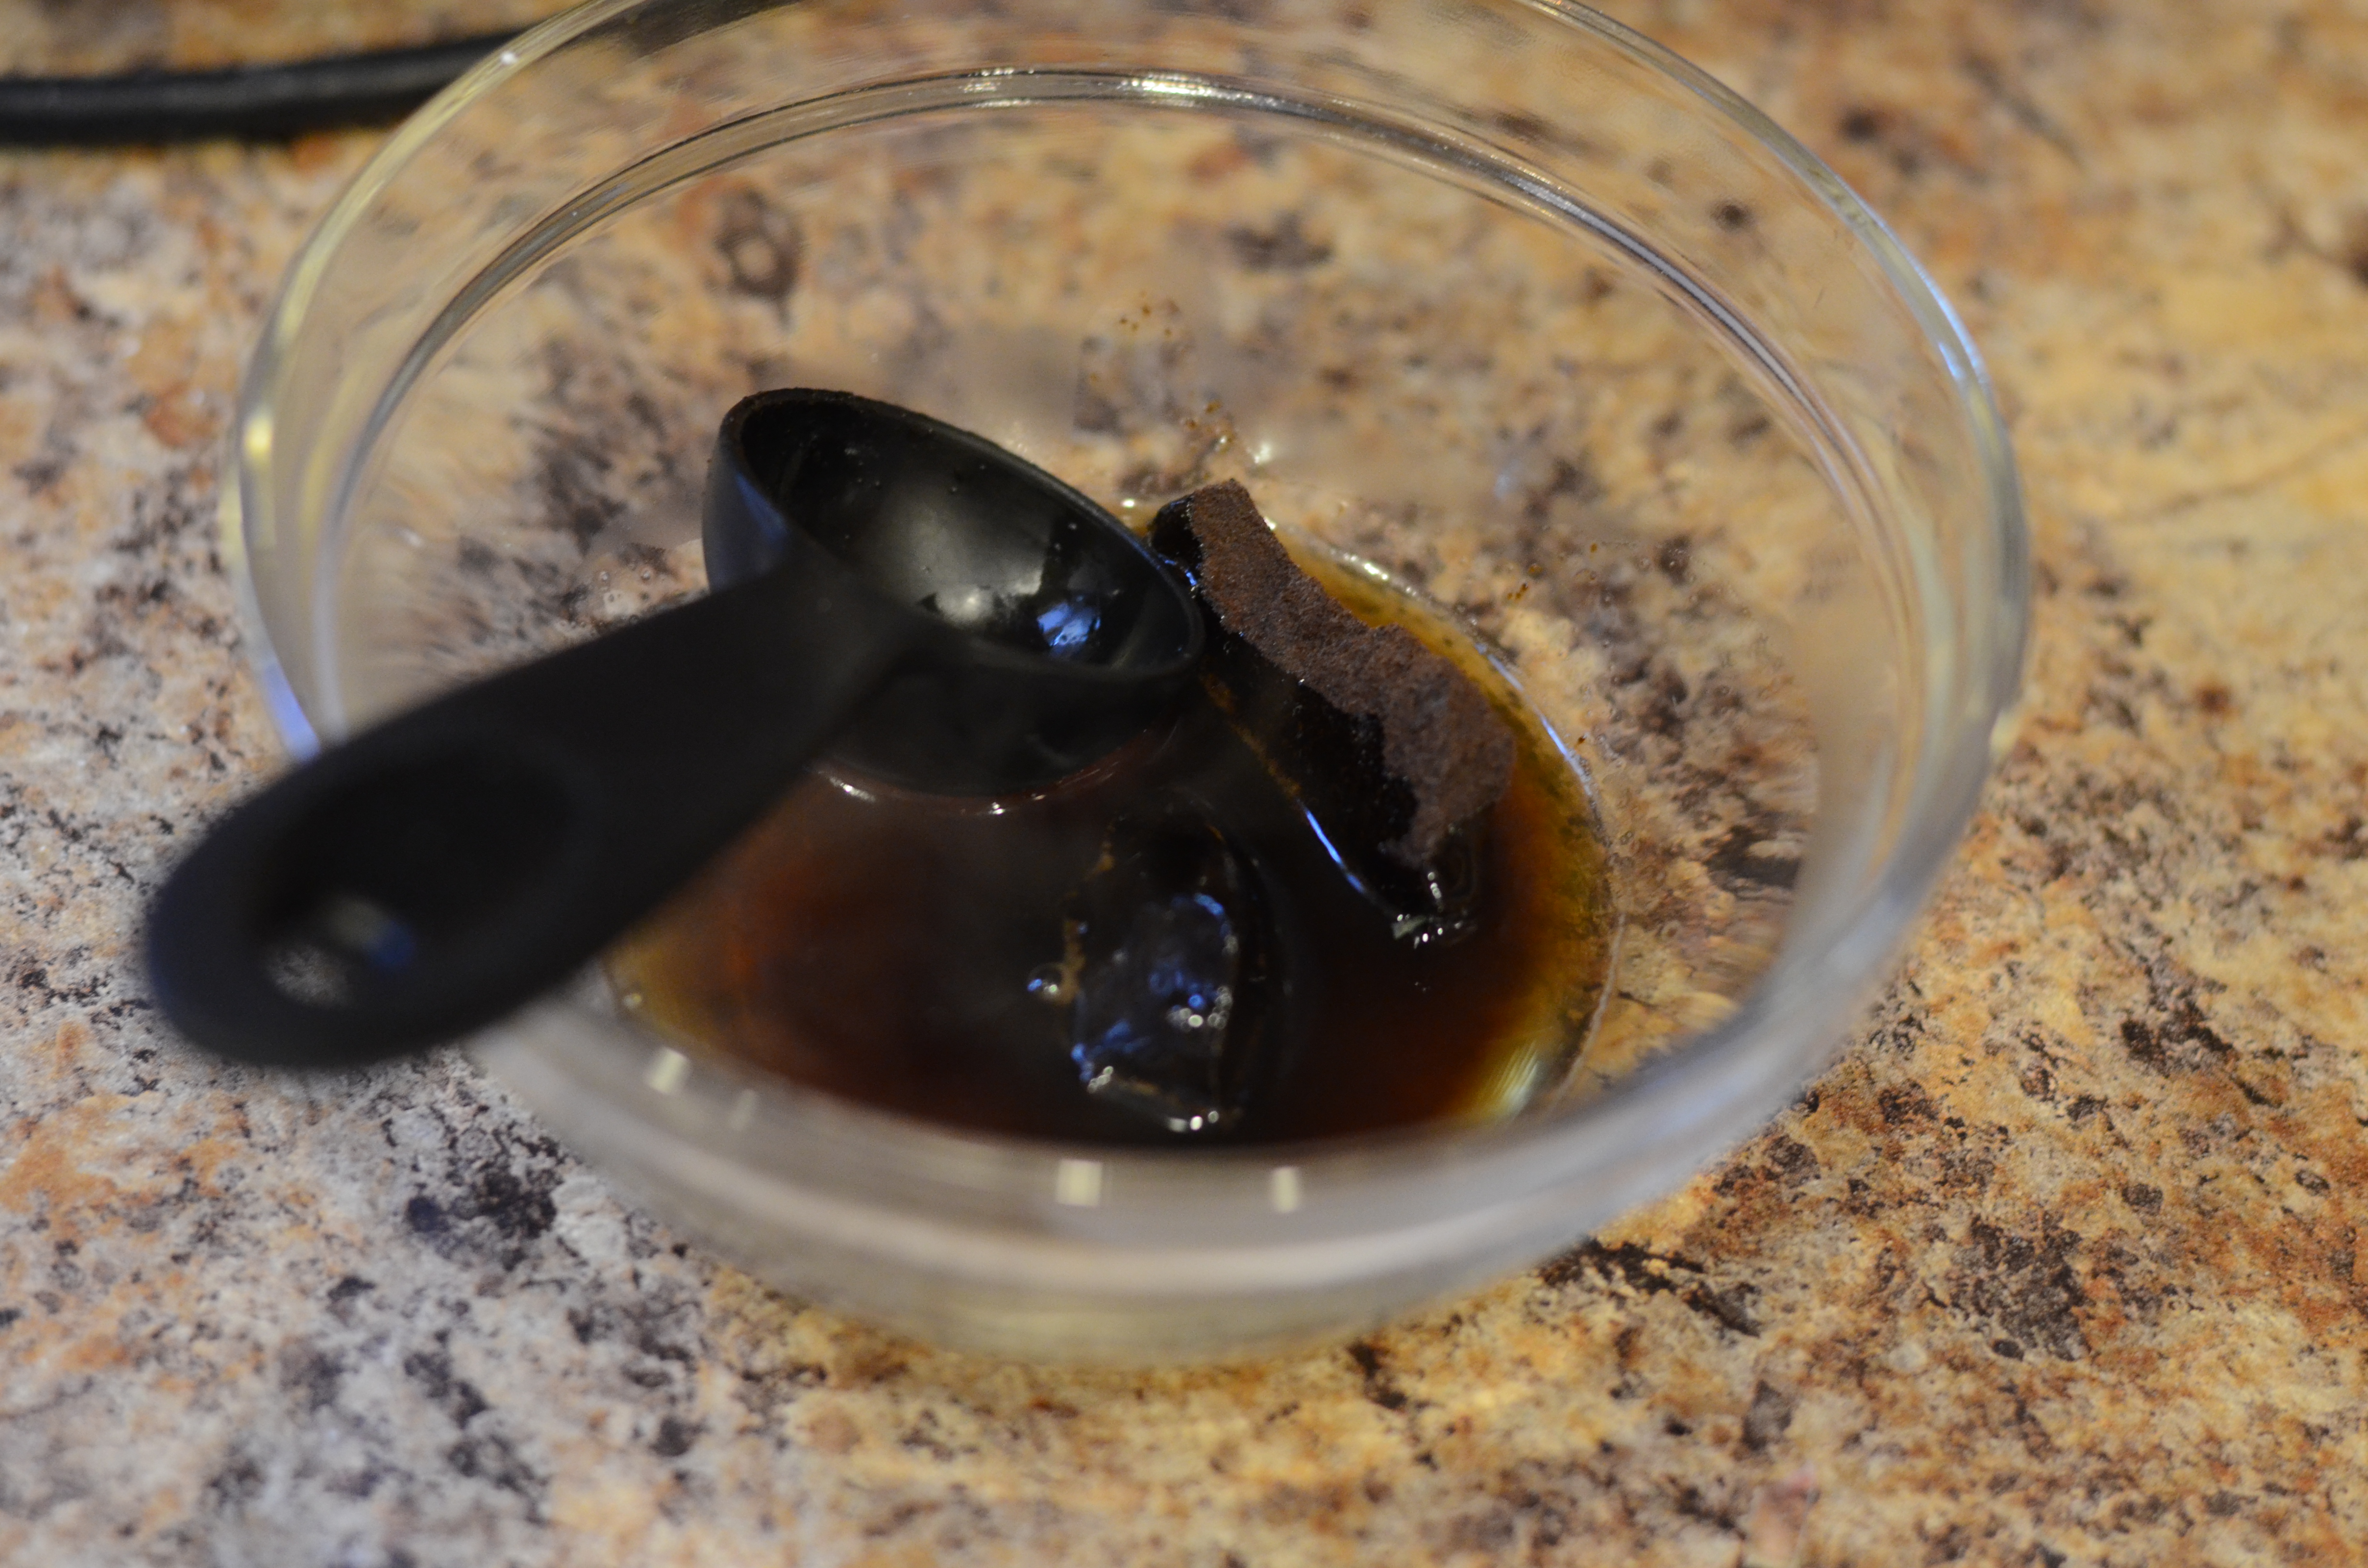
My espresso powder had hardened into chunks, which wouldn’t break up easily, so after a minute or two, I simply removed the chunks from the liquid.


Dissolve the espresso powder or instant coffee in the hot water, and set it aside. I suppose you could use 2-3 teaspoons of strong coffee in its place.

Melt the butter in a saucepan over low heat. While it melts, sift the confectioners’ sugar into a large bowl. To the butter, add the yogurt, buttermilk or sour cream and mix well. Keep an eye on the pan and bring just to a boil.

Pour the mixture into the bowl with the confectioners’ sugar along with the espresso/water. Beat slowly until any lumps are gone. The icing will be very thin and drippy, so it is best to let it cool and stiffen for a bit before spreading on the cupcakes.

Let's just say that the drops of icing disappeared by the end of our party.

Let’s just say that the drips of icing disappeared by the end of our party.


DSC_8677

Salmon Salad – Plated

Last year, I ordered a box from Hello Fresh so I could test out the recipe-kit home delivery service. These types of meal kits are now delivered by a growing number of companies, suggesting that the model appeals to a substantial number of people. Or perhaps it is a fad. It would be great if these were an answer to the question I often hear from my single, on-the-go friends: if I buy ingredients to cook at home for myself one night, what am I supposed to do with all the excess? I’m only one person! I’m not so sure these boxes are the perfect solution. My conclusion about Hello Fresh was that its meal options were good and the prices fair, but the ingredient ratios were off, the instructions incomplete, and the serving count questionable. I also wished that Hello Fresh could somehow consider the fact I have a more well-stocked pantry than most.

A friend of mine had high praised for Plated, another service aimed at simplifying home cooking. Taking advantage of a promotion, I decided to give this one a try as well. I selected a seafood choice for one of my meals, once again, since fish is expensive. I’m also trying to incorporate the recommended two servings of healthy fish per week. My second meal choice was a pulled barbecue chicken with a pico de gallo salsa.

To assess Plated, let’s start with the packaging. The box is lined with an insulated bag.
DSC_8584
The meat and fish are stored in the bottom of the box, covered with frozen packs that are reusable.

I will add these to my growing collection of ice packs!

I will add these to my growing collection of ice packs!


Then there’s the produce, some of which is in its own packaging, and some of which I find in the larger bags labeled by recipes.
DSC_8587
The fresh tomatoes didn’t fare too well with this; they were packaged near a heavy can of beans and ended up bruised.

I saw that these bags were labeled “Greenbags,” which sounded familiar to me but I couldn’t recall the features.
DSC_8589
I got excited when I thought they might be biodegradable, but when I looked them up I didn’t see that in the description–they are meant to absorb the ethylene gas that can make produce ripen and rot too quickly. At least I can reuse them for other fruits and vegetables.

I wasn’t ready to cook the day the box arrived, but it was easy to transfer the individual packages to the refrigerator. The next day, I pulled out my ingredients and recipe card for Seared Salmon Salad with Tomato Sherry Vinaigrette.
DSC_8593

Seared Salmon Salad with Tomato Sherry Vinaigrette
From Plated

1 medium tomato, seeded and minced
1 shallot, minced
1 lemon, juiced
1/2 bunch of chives, minced
1 Tablespoon honey
1/4 Cup sherry vinegar
3 Tablespoons of olive oil
, divided
1 Cup arugula
3 ounces frisée
3 ounces radicchio
1 small head butter lettuce
2 fillets wild Alaskan salmon
salt and black pepper

The first step on Plated’s card is “Prepare ingredients.” This is where it provides instructions such as “Rinse X. Rise and Mince X. Slice X.” I included some of those directions in my list of ingredients, like I usually do. Basically, the salad dressing is made first, and then most of that is tossed with the greens.
DSC_8598
Right away, I made some disappointing observations. The shallot was fairly large, and the tomato was not. They were basically the same size. I made the executive decision to use 2/3 of the shallot, which was probably still more than necessary.
DSC_8594

Seeding the tomato.

Seeding the tomato.


To make the dressing, combine tomato, shallot, chive, juice of one lemon, honey, and sherry vinegar.
You can see that the tomato is a little mushy.

You can see that the tomato is a little mushy.


Really, this is how the honey comes? Normal people don't have honey at home?

Really, this is how the honey comes? Normal people don’t have honey at home?


Gradually add 2 Tablespoons of olive oil, whisking to emulsify. Taste and add salt and pepper to season.

The next set of challenges involved the salad greens, which are to be combined in a large bowl. After everything is washed, the frisée is to be trimmed first to discard root (I didn’t seem much of a root), the radicchio needs its core removed and a thin slice, and the arugula can go in as is.
DSC_8608
The instructions for the butter lettuce were “rinse and tear into bite-size pieces.” The problem: the head of butter lettuce was very, very sandy and gritty. That is not going to dissipate with a “rinse”–the only way to get rid of the grit is to slosh the separated leaves in a bowl of cold water, lift them out (leaving the dirt behind), and then rinse again in a colander/salad spinner. Unless you’re sure that people ordering this plate know about the persistent grit, I think it’s important to include cleaning tips like this.
DSC_8606
In addition, this was a massive amount of salad. I started with one bowl, but had to switch to a larger bowl to accommodate it all. I still had trouble keeping everything contained during the next step, which is to pour in half of the dressing and toss to coat.

Bowl attempt # 1.

Bowl attempt # 1.


I'm pretty sure this is the LARGEST bowl I have.

I’m pretty sure this is the LARGEST bowl I have.


Time to prepare the salmon. The instructions say to rinse and pat dry with paper towels. I’ve never been a rinse-r of meats and fish, but since the salmon was sealed in some kind of liquid, I followed directions. The fillets were very soggy, so the drying step was key.

Season with salt and pepper.
DSC_8609
Heat about 1 Tablespoon of olive or other vegetable oil in a pan over medium heat–something nonstick but heavy would be best. When hot, add salmon, flesh-side down, and cook until golden on the outside, 3-5 minutes. Repeat on the other side, careful not to overcook beyond medium-rare.
DSC_8614
Arrange salad on two plates and place salmon on top. Spoon over some of the reserved dressing.
DSC_8617

Do you see how much salad this is? The plates would have to be massive to hold all of the salad.

Do you see how much salad this is? The plates would have to be massive to hold all of the salad.

My husband joined me for dinner and suffered through some of the bitter elements of the salad. Perhaps this recipe wasn’t the best choice for us because of the salad; I could have done without the frisée myself, since I find its frizzy texture only appropriate in very select dishes, and I already knew the radicchio would be strong. Of course, I could have easily left those parts out. The salad dressing was tasty and paired well with the salmon, but it needed more tomato and could have had more honey or sugar to balance all the bitterness.

As you may have guessed, I reached a similar conclusion for Plated as I had for Hello Fresh: it may not produce the best results for newbie cooks, or those who tend to follow recipes word-for-word. It certainly doesn’t guarantee proper portions for the selected number of “plates,” which means that people aren’t cutting back as much on food waste as they might think. As long as you keep that in mind, you might enjoy the healthy, high-quality ingredients and the convenience of avoiding a trip to the grocery store.

Plated Rating (sample size of 1, on a scale of 1-5):
Packaging: 3
Ingredients (freshness): 3
Recipe accuracy (quantities, ratios): 2
Instructions: 2
Recipe uniqueness: 4
Accuracy of portion sizing: 1
Taste: 3

Scallion Pancakes with Ginger Dipping Sauce

There are some weeks when I hardly cook at all. Last week was one of those weeks. I figure that I generally cook at least three times a week, often four. This week I cooked once. The rest of the nights were dining out and leftovers. There were plenty of leftovers for lunches and snacks, thanks to the huge batch of meatballs that came out of Smitten Kitchen’s lamb meatballs recipe (which used up some pretty old feta cheese). Then Matt brought home the rest of the individual pastrami sandwich he ordered for lunch from Harold’s New York Deli. To get some perspective on the size of their portions, I once took a picture of a single slice of their cake next to a wine bottle, which matched it in length. Too bad I can’t find that photo.

It’s as though I’m still in that pre-vacation mode, careful to be realistic about how much time I’ll actually have to cook before the kitchen is abandoned for restaurants or food truck tasting events. As a result, I didn’t have a whole lot prepared when Mother’s Day crept up, and I had the assignment of appetizers for my family gathering.

With leftover scallions, ginger, shredded mozzarella and other italian cheeses from home, the provisions of my mom’s pantry, and a dozen and a half button mushrooms, Matt and I cranked out two crowd-pleasing hot apps with little to no shopping, and minimal labor!

DSC_8555I did a variation on this stuffed mushroom recipe. I will admit that hollowing out the mushrooms is a bit labor-intensive.
DSC_8578
This is an accomplishment for me, considering that I generally bite off way more than I can chew when it comes to recipes for entertaining. In addition, the first recipe I ever tried (and still use) for scallion pancakes is much more challenging, and has added steps. The most difficult part of making scallion pancakes is getting the scallions distributed throughout the dough, and not having them squeeze out everywhere and make a mess. The other recipe I use, an older one from Cooking Light, adds slippery sautéed mushrooms to the mix; those little suckers don’t like to stay in the dough.

But for a simple Sunday afternoon appetizer, a simplified recipe is the winner. You get most of your flavor from the dipping sauce, and it is much less messy to make.

Scallion Pancakes with Ginger Dipping Sauce
from Ming Tsai via The Food Network
Makes at least 24 slices of pancake for dipping

Pancakes:
2 Cups all-purpose flour
1 Cup boiling water
1/2 Cup scallions
, sliced
1 Tablespoon sesame oil
1/2 Cup canola oil

Salt and black pepper

Ginger Dipping Sauce (makes more than you need for 1 recipe of pancakes):
1/4 Cup soy sauce
1/4 Cup vinegar
, preferably Chinese rice vinegar, but don’t worry about substituting other light vinegars you have
1/4 Cup scallions, sliced
1 teaspoon ginger, minced
1 teaspoon red pepper flakes
1 teaspoon sugar

First, prepare the dough, which needs to rest for 30 minutes once made.
Sift flour into a bowl or a food processor. Pour the boiling water in at a steady stream while mixing, either with a wooden spoon or spatula or in a food processor. Add water until a ball is formed. After starting to mix with a spoon, we switched to mixing by hand to get the dough into a ball.
DSC_8551
Let dough relax for at least 30 minutes, under a damp towel, while you slice and dice.
DSC_8554
Prepare the dipping sauce. My substitution for Chinese rice vinegar was half seasoned rice vinegar and half regular white vinegar.
DSC_8556
DSC_8563

Prepare a lightly floured surface and roll out the dough into a thin rectangle. Brush to the edge with sesame oil.
DSC_8570
Sprinkle evenly with scallions. Leave a little bit of room around the edges. Season with salt and pepper.
DSC_8571
Roll from the long side like a sponge cake. Cut with a knife into 4 pieces.
DSC_8572
(I should have gotten more pictures of this next part, but I was distracted. Guests would be arriving soon, and my dear husband needed assistance.)

Take one of the four pieces and gently twist three times, like a Tootsie roll wrapper. As you are doing this, it should stretch the piece a bit lengthwise. Take that snake and make a spiral, like a lollipop.

This definitely doesn't look like a lollipop. Do what you can-it doesn't have to look good at this stage!

This definitely doesn’t look like a lollipop. Do what you can-it doesn’t have to look good at this stage!


Take a rolling pin to this circle and flatten into a 5 to 6 inch pancake. Repeat.
DSC_8574
The pancakes are then basically fried in canola oil. If you have a larger nonstick pan, you can do more than one at a time. With a smaller pan, I fried one at a time, adding canola oil as I went. You need a good coating of canola oil in the pan to get a golden brown.
DSC_8575
Cut into wedges (I prefer using kitchen shears) and serve immediately with dipping sauce. They will be gone before you know it!
DSC_8577

A Memorable Eat-venture

Here was my reaction to the first gelato I tasted in Italy:

Old Bridge Gelateria in Rome, Italy

Old Bridge Gelateria in Rome, Italy


That was my first dessert, which had been preceded by a fantastic freshly-made sandwich at Duecentogradi.

I spent the next several days absorbing as much art, history, food and drink as I could. I can’t wait to go back.

In my last post, I shared some photo highlights from Italy, but I didn’t show you the feasting we did in France. Here’s a photo summary:

Tuscan Soup

It has been two weeks since we returned from our vacation to Italy and France, and I haven’t yet recovered from withdrawal. I long to return to days of wandering through historic cities in the spring sunshine. The jet lag lasted about five days before dissipating, but these cravings have lingered.

Italy was a feast. My main impression of the food is that people love meat, based on the abundance of meats we tried and encountered. Cured meats and sausage and porchetta. Yes, there was some excellent pasta (mostly enjoyed in a meat sauce), one excellent roasted shrimp “secondi” and two times I ordered a market-fresh (but not necessarily stellar) Mediterranean fish. I should have sought out vegetables more often. In Florence, I enjoyed one outstanding, flavorful chickpea soup, where some of the chickpeas had been blended to create a thickened, creamy base. Sadly, it was served at a restaurant where there service was so poor that I left fuming–we were treated almost as if we were invisible. Later that week, I had a lentil soup as part of a no-nonsense, prixe-fixe lunch at a restaurant frequented by locals, and it was terribly bland and uninteresting–clearly reflecting its place as part of a “value” lunch.

I don’t want to sound unimpressed with the trip; we loved the vibe of Italy, and savored numerous inspiring dishes. Here’s a small sample of our photos. Hover your mouse over each picture and click to view full captions.


It was rather timely to come across this Tuscan vegetable-based soup recipe last week, on the website Blue Apron, a grocery subscription service. The less fortunate part was that I couldn’t find toscano (also known as lacinato) kale! Tuscan kale is darker green and flatter, without the curly edges, and I really wanted to use it. After trying four stores, I resigned myself to a fact I already knew, that toscano kale is woefully out of season here right now, so I shouldn’t be using it anyway! Regular kale it is.

I will admit that a big part of the recipe’s draw for me was the soft-boiled egg on top–I am such a sucker for a runny egg. Drool. On a side note, is there anything more disappointing in life than when you expect the egg yolk you are being served at a restaurant will be runny and it’s not?

I have made poached eggs many times (they don’t always turn out great) but for some reason, I never made soft-boiled an egg. What an epiphany! It’s a much less messy-and still healthy-way to enjoy the liquid yolk.
DSC_8451
Tuscan Ribollita Soup with Soft Boiled Egg
From Blue Apron
2-4 servings

Part 1 ingredients:
1 onion, diced
4 cloves of garlic, minced
1 carrot, peeled and diced
salt and pepper to taste

Part 2 ingredients:
about 8 ounces kale (any type)
1 14.5 ounce can cannellini beans, drained and rinsed
1 14.5 ounce can diced tomatoes
1/8 teaspoon crushed red pepper flakes
3.5 Cups vegetable broth

salt and pepper to taste

Part 3 ingredients:
2 slices sourdough bread
, or 1 large sourdough roll, cut into bite sized pieces
1/2 Cup parsley, coarsely chopped
1/2 Cup Parmesan cheese, grated
2 eggs (or more for additional servings)
salt and pepper to taste

DSC_8428
The reason I divided the ingredients into three parts is that you can use your time more efficiently by prepping the ingredients for each part while the previous set of ingredients are cooking. I did all my mise en place at first, which took quite some time, and then I was less occupied during the cooking stages. One could do dishes during those down times, of course.

Firstly, take your eggs out of the refrigerator to come to room temperature. Perhaps you are one of those lucky ones who has such fresh eggs you don’t need to refrigerate them in the first place? I envy you. Fill a small saucepan with some water and a pinch of salt and set aside for later.
DSC_8432

In a large pot, heat 2 teaspoons of olive oil on medium. Add the onion and garlic and cook 2 to 3 minutes, until softened. Add carrots and a little bit of salt and pepper. Cook the mixture for a few minutes, until the carrots have softened.
DSC_8438
Put the small saucepan over heat so it comes to a boil.

To your large pot, add all of the Part 2 ingredients (beans, diced tomatoes, kale, vegetable broth, and crushed red pepper flakes).

See why you need a large pot?

See why you need a large pot?


Season with salt and pepper. Increase the heat to bring the soup to a boil, and then reduce the heat to medium and simmer 6 to 8 minutes, smelling and tasting to see if the flavors have come together enough for your liking.
DSC_8444
Add the bread cubes, half the parsley, and half of the Parmesan cheese to the soup and stir.
DSC_8443
DSC_8446
If you feel there is not enough liquid, it is fine to add a little water (especially if you are using a rich vegetable stock). Let the soup cook, without stirring, for 5 to 7 minutes, or until thickened. Add even more salt and pepper to taste!
DSC_8448
While the soup is simmering, gently place the eggs in the saucepan of boiling water. Cook for exactly 5 minutes. Have a small bowl of cold water ready, and transfer the eggs into the bowl with a slotted spoon. Then run the eggs under more cold water for 30 seconds. Gently peel the eggs (be careful) and set aside.

Fill two bowls with soup and place one soft-boiled egg in each. Garnish with Parmesan cheese and parsley.
DSC_8453
That’s what I’m talking about!