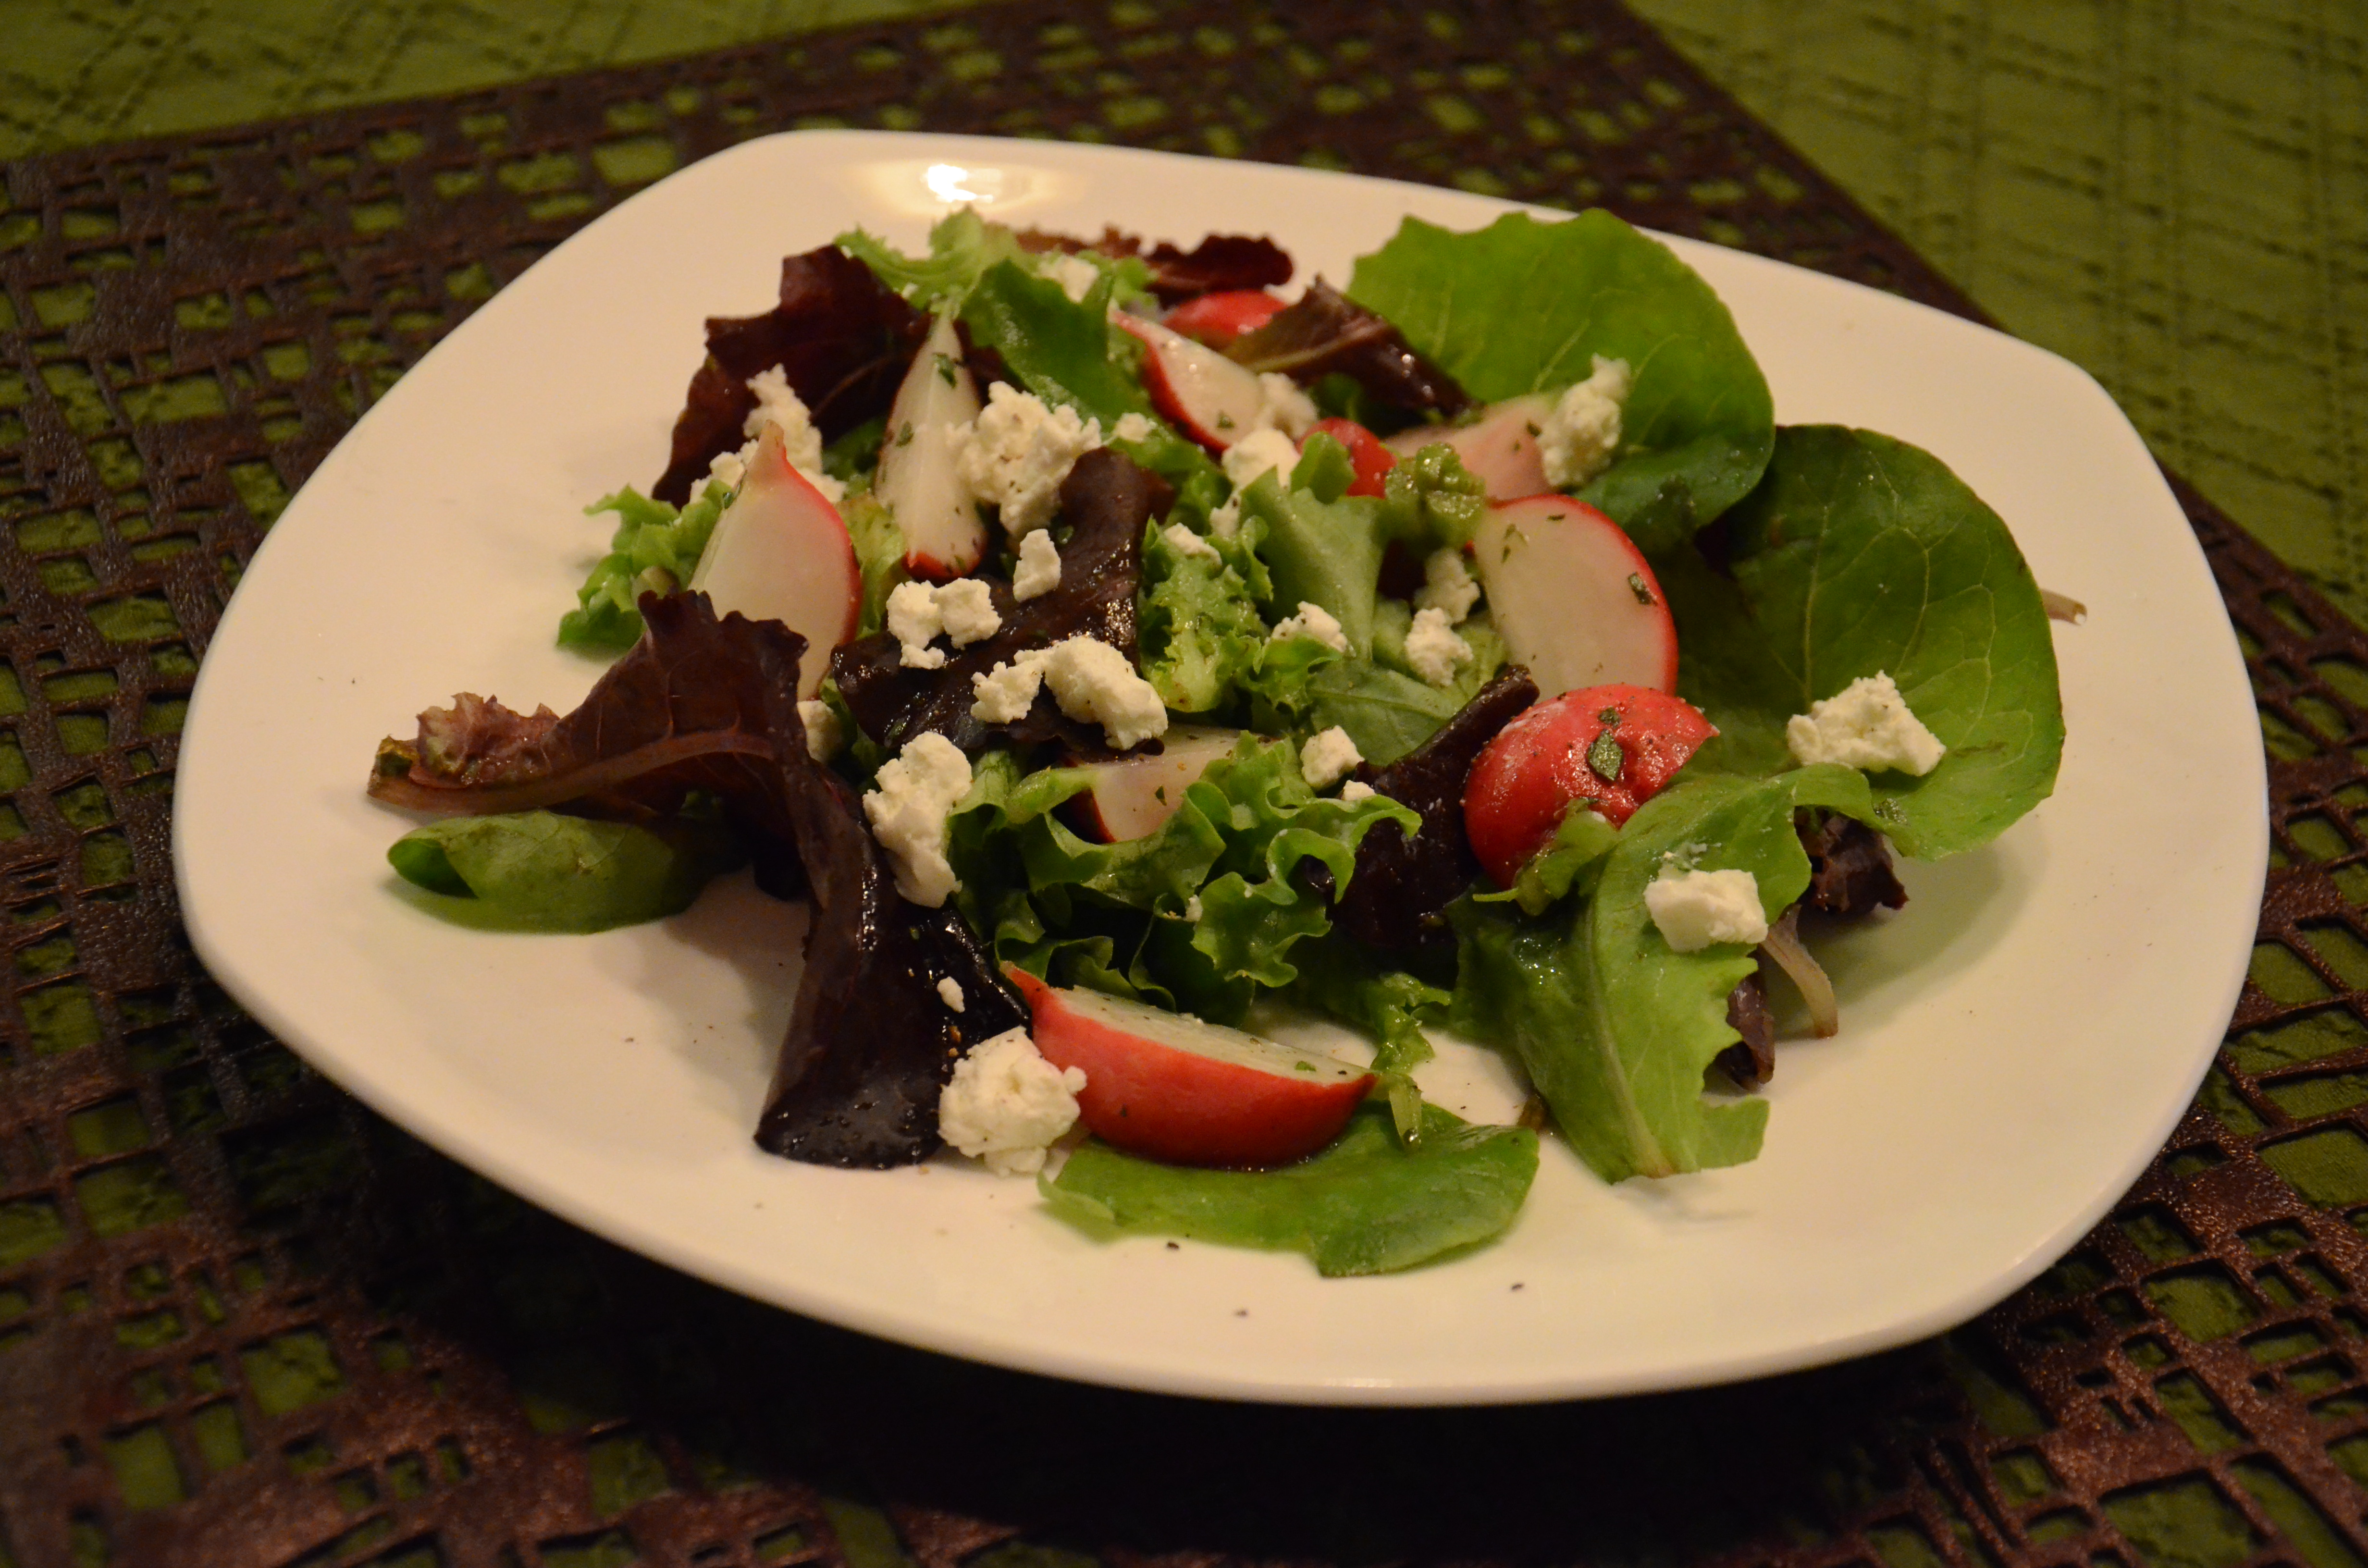
This week’s CSA share
I came across the book Dinner: A Love Story last year when it was on display at my library as a new release. I loved the book’s story of the woman’s life and relationship with her husband and children described in the context of the different meals they cooked and ate, going from entertaining friends to surviving picky kids. While reading it, Jenny Rosenstrach kind of became my idol–I wanted to be like her and for my husband to be like hers, meaning that we would email back and forth to decide what to cook for dinner every day and then rush to make a commuter train that would allow time for making it. But my Matt will never love cooking as much as her Andy, and I’m OK with that. I’ll take his moderate interest in cooking and general willingness to try new things (as long as they don’t involve raw fruits, other than tomatoes and avocados).
I guess I didn’t realize that she maintained a current blog until this week, when it came up in my search results for escarole recipes. In this post, she shared my sentiments exactly. I don’t need to say anything more. I made her recipe almost exactly–I pared it down somewhat for using 1/2 of the block of tofu, and it still used almost the entire package of wontons. As that was more than my friend Kristen and I needed in one sitting, I froze some of the uncooked dumplings, like she said.

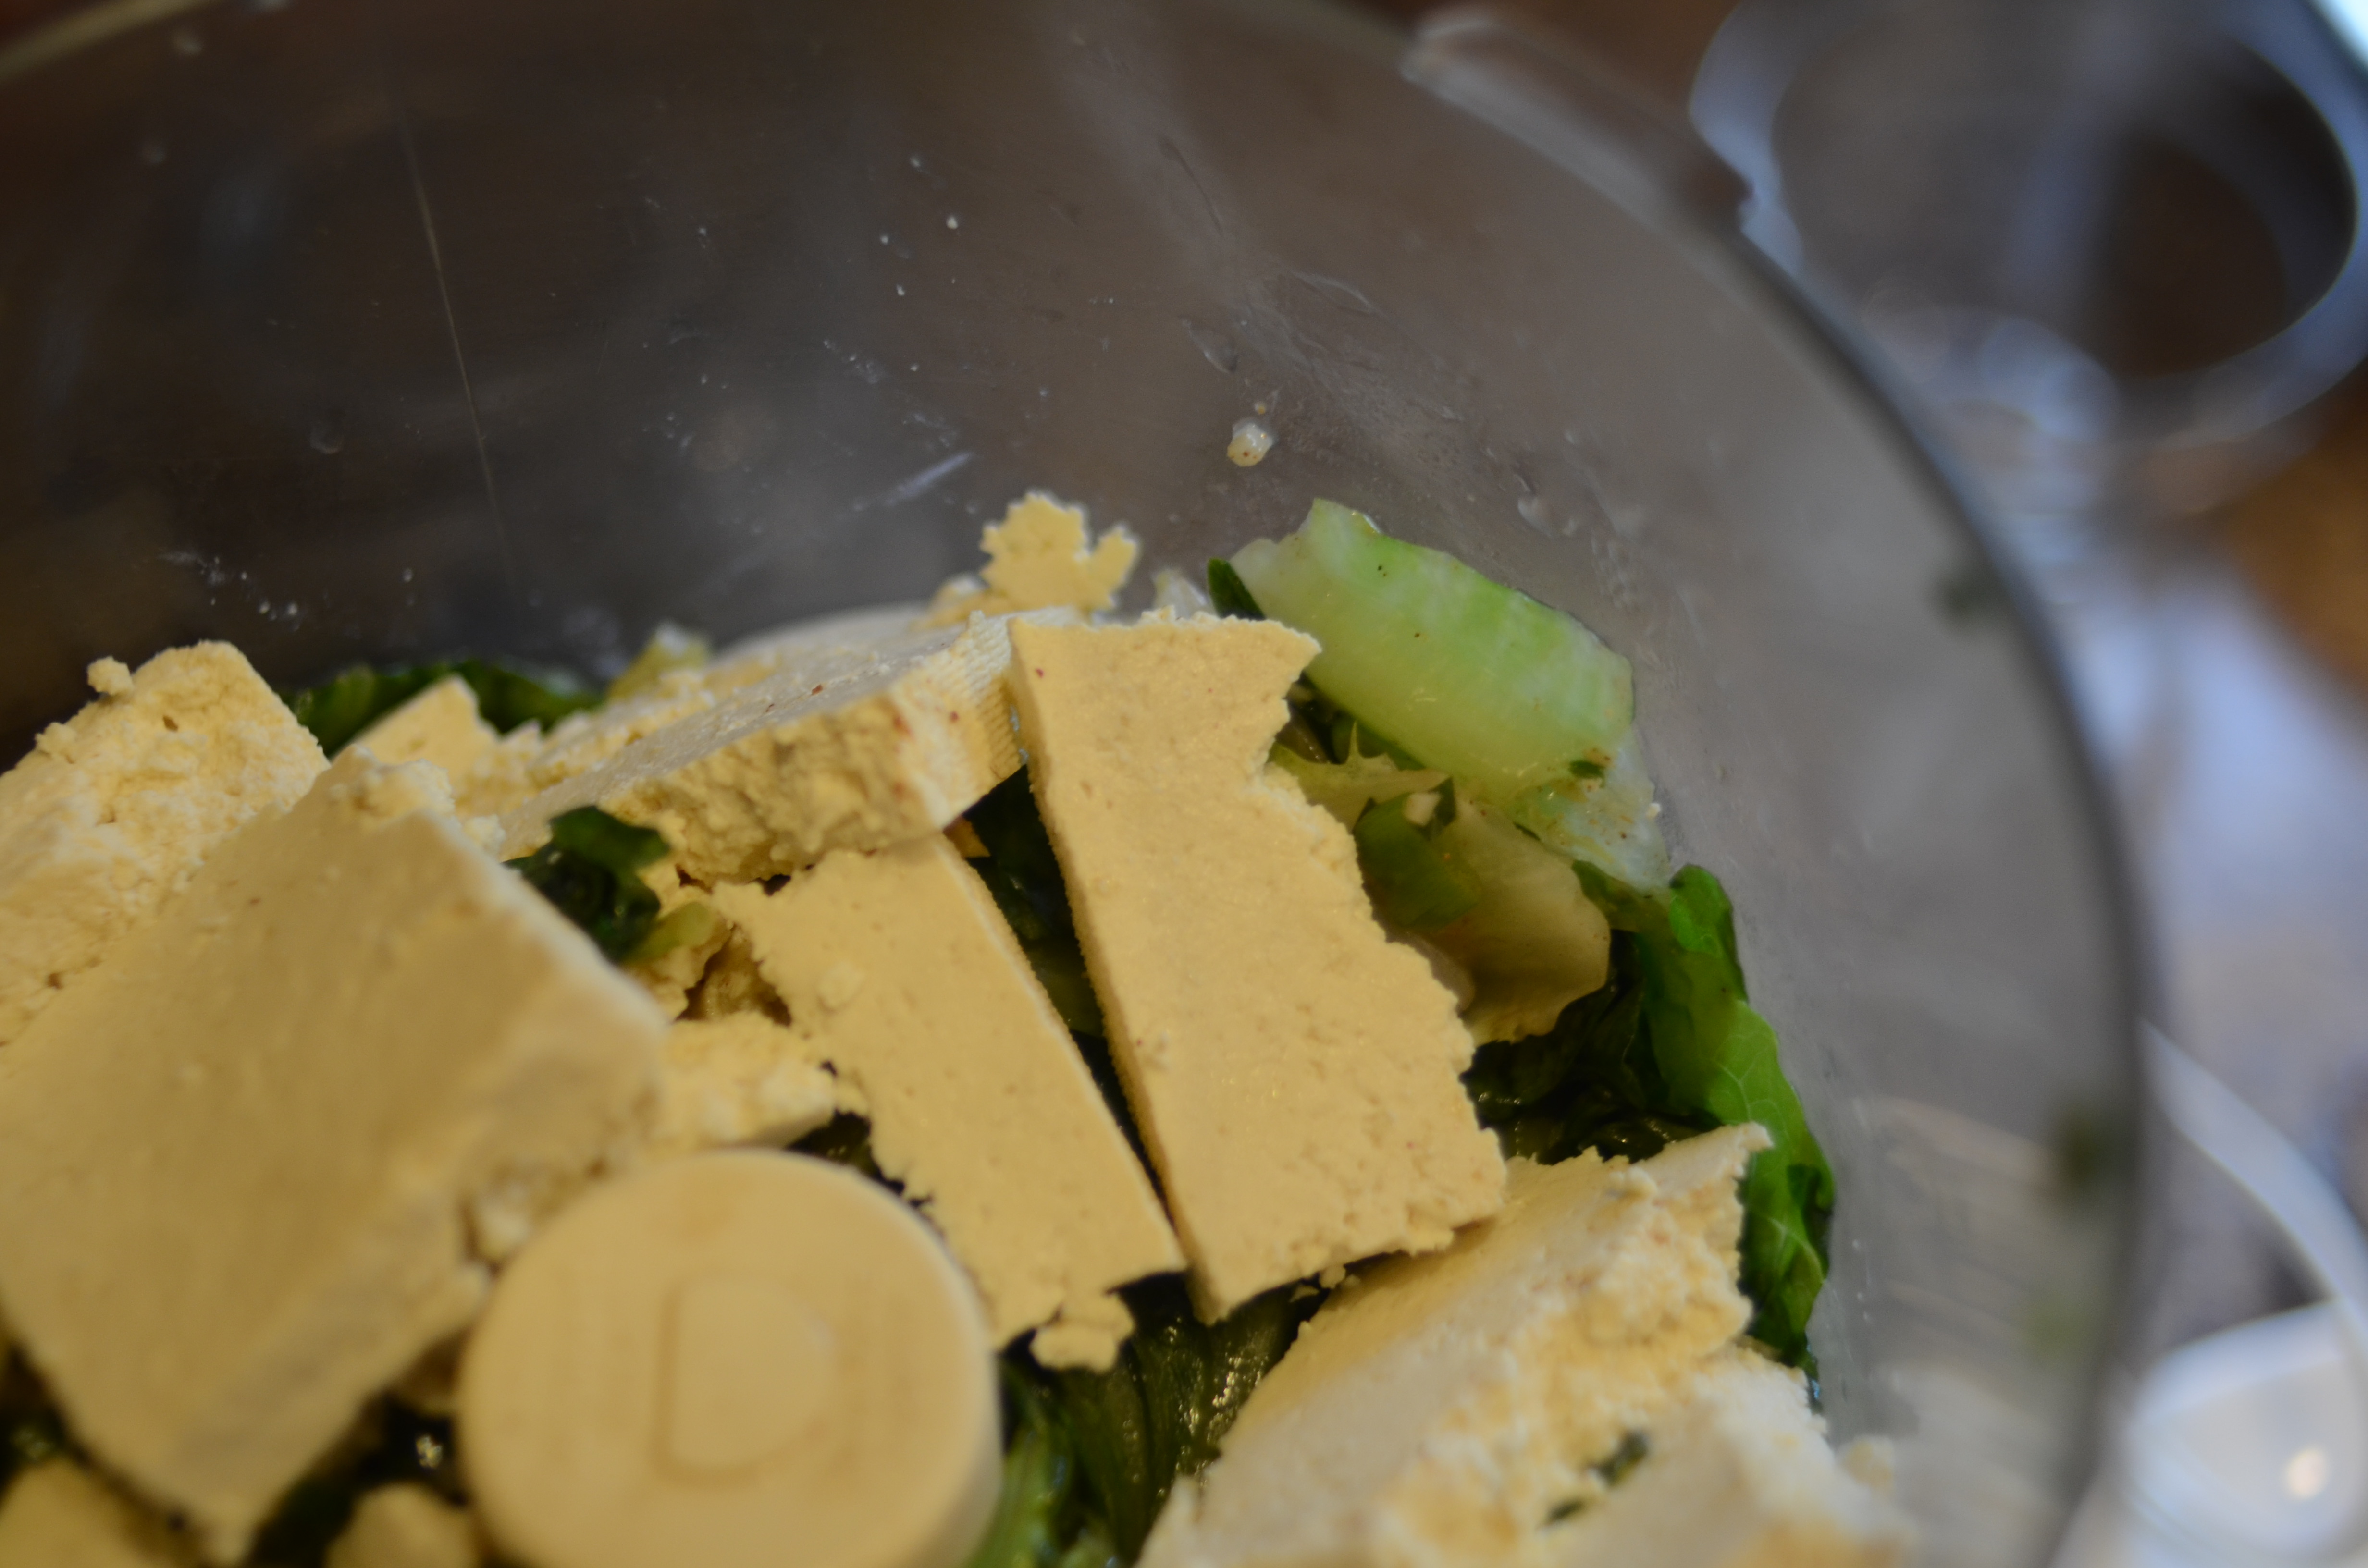
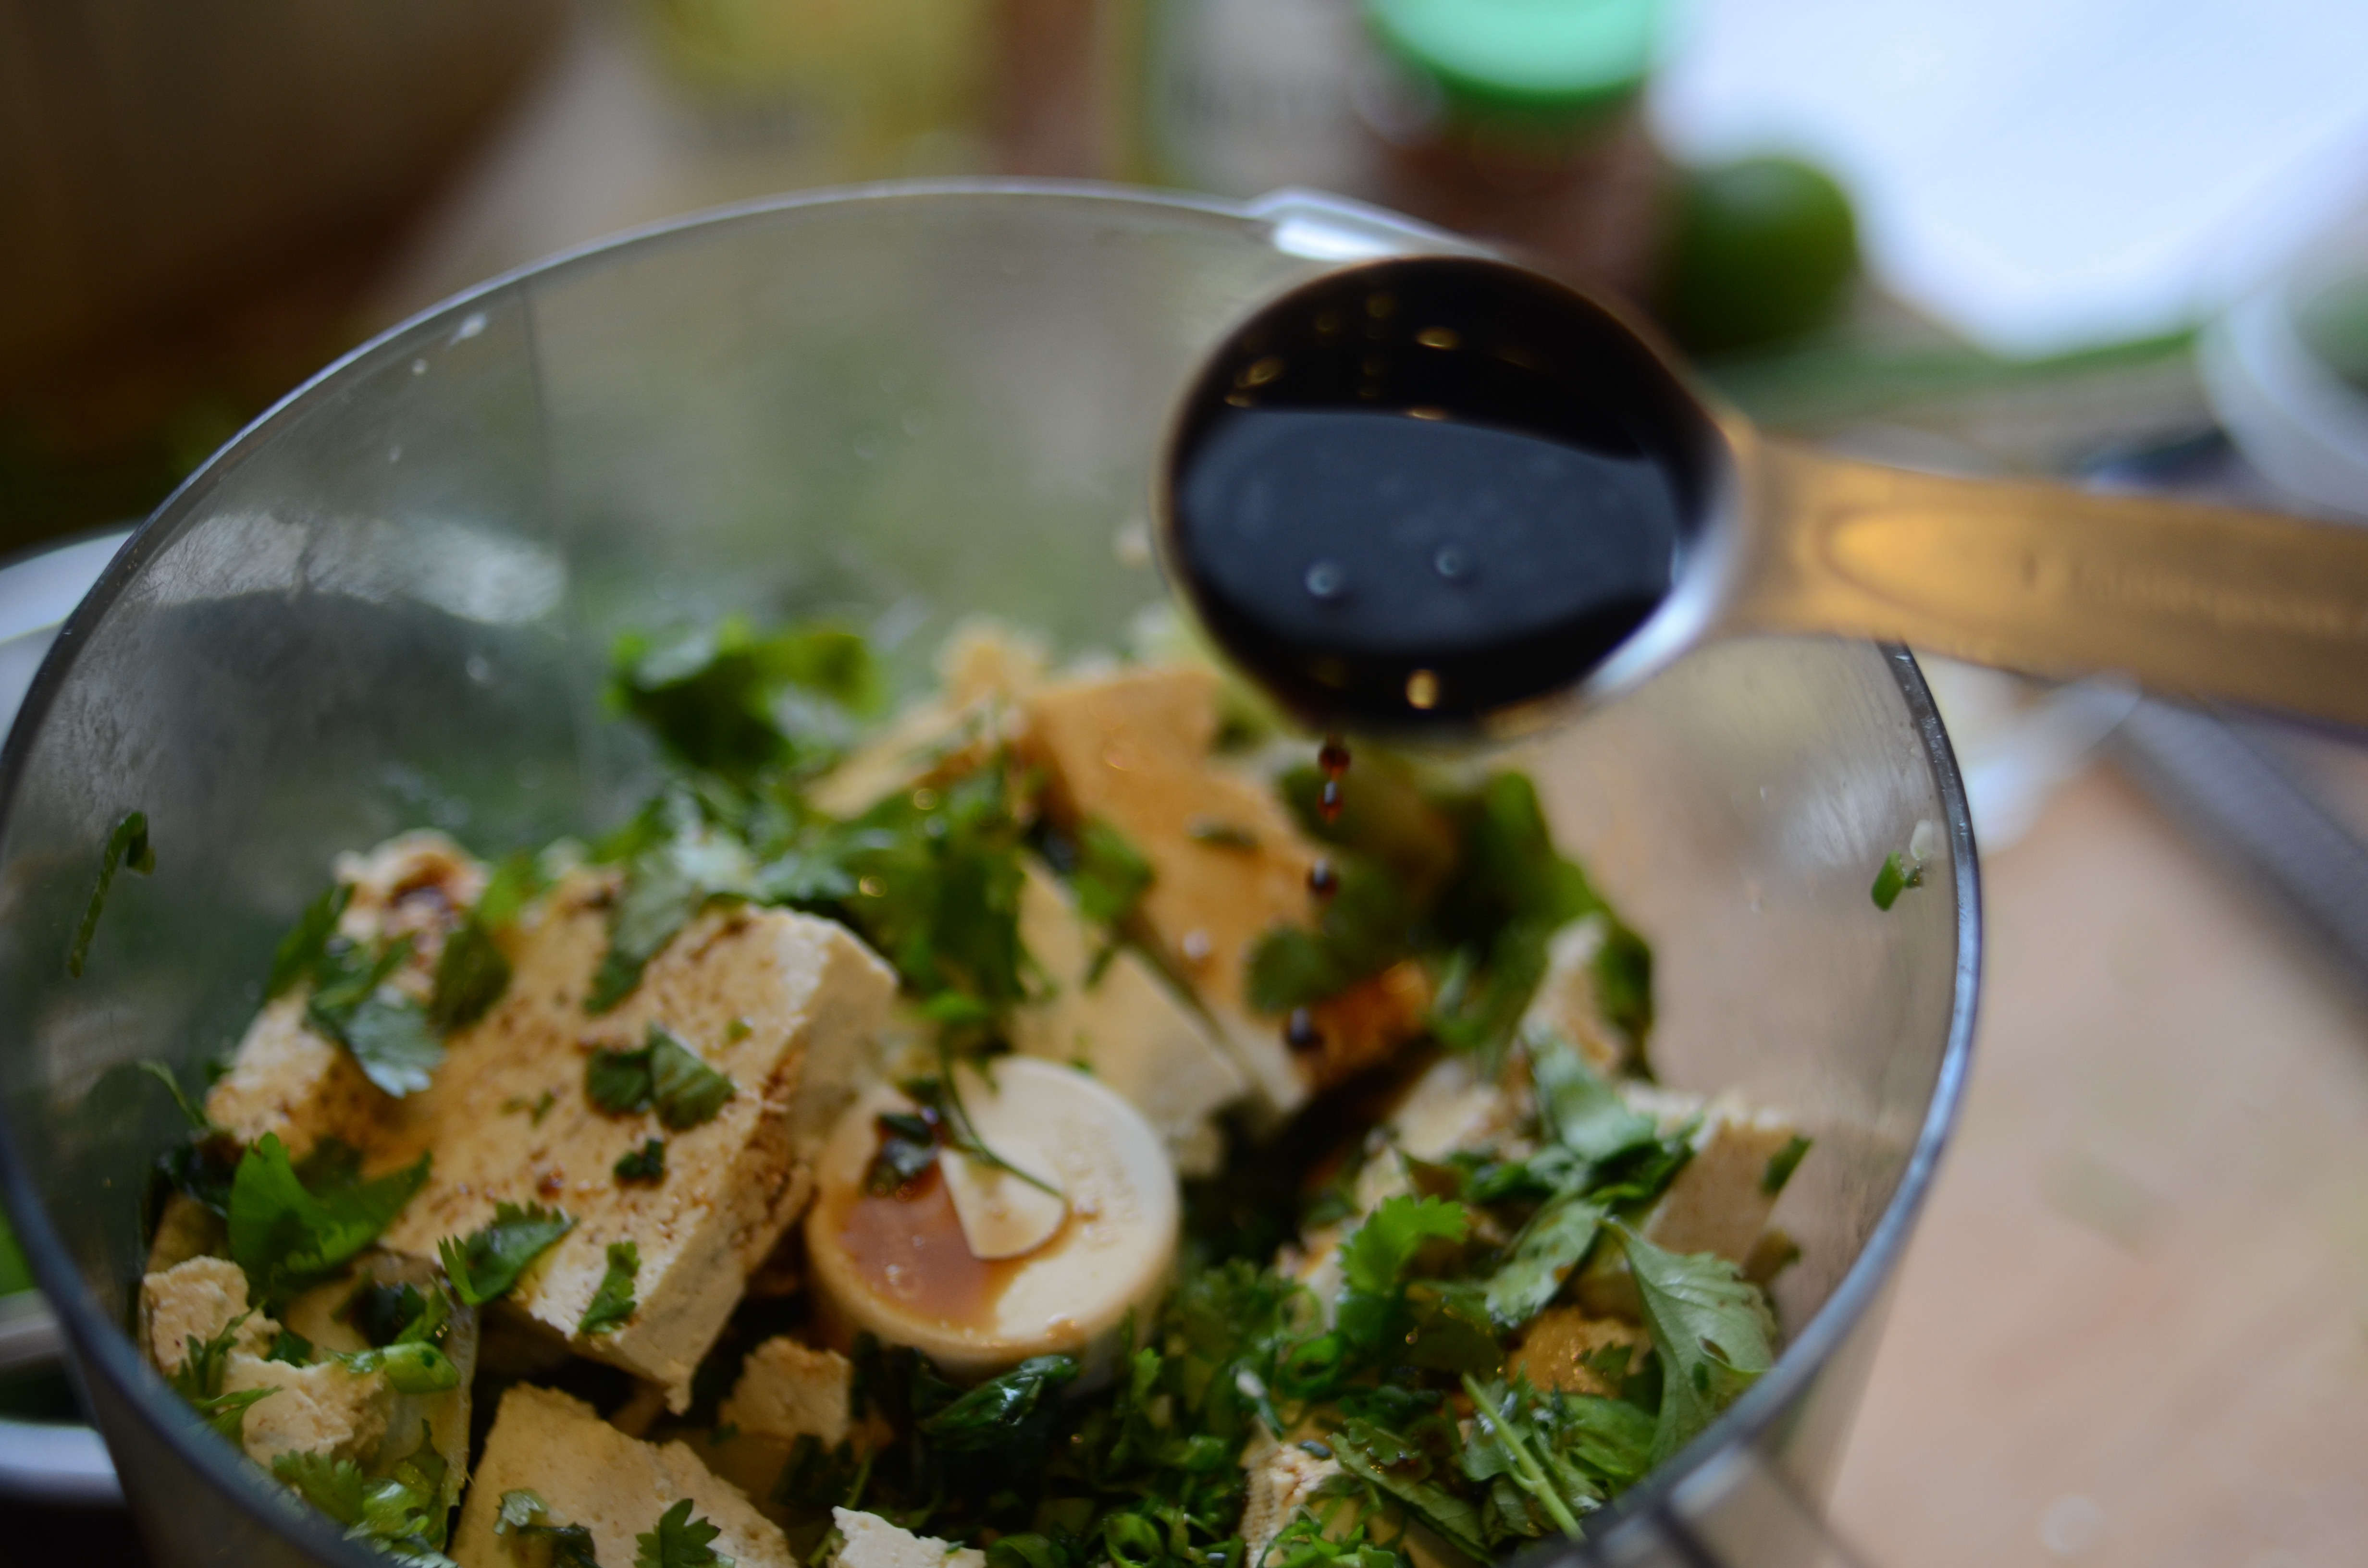
Getting ready to execute two tofu-eriffic recipes.
Fried Vegetable Dumplings
Adapted from Dinner a Love Story
1 tablespoon vegetable oil, plus more for frying
Dash of sesame oil
3 scallions, chopped
3/4 teaspoon fresh ginger, peeled and minced
1 clove garlic, minced
1/8 tsp Chinese Five Spice
a shake of red pepper flakes
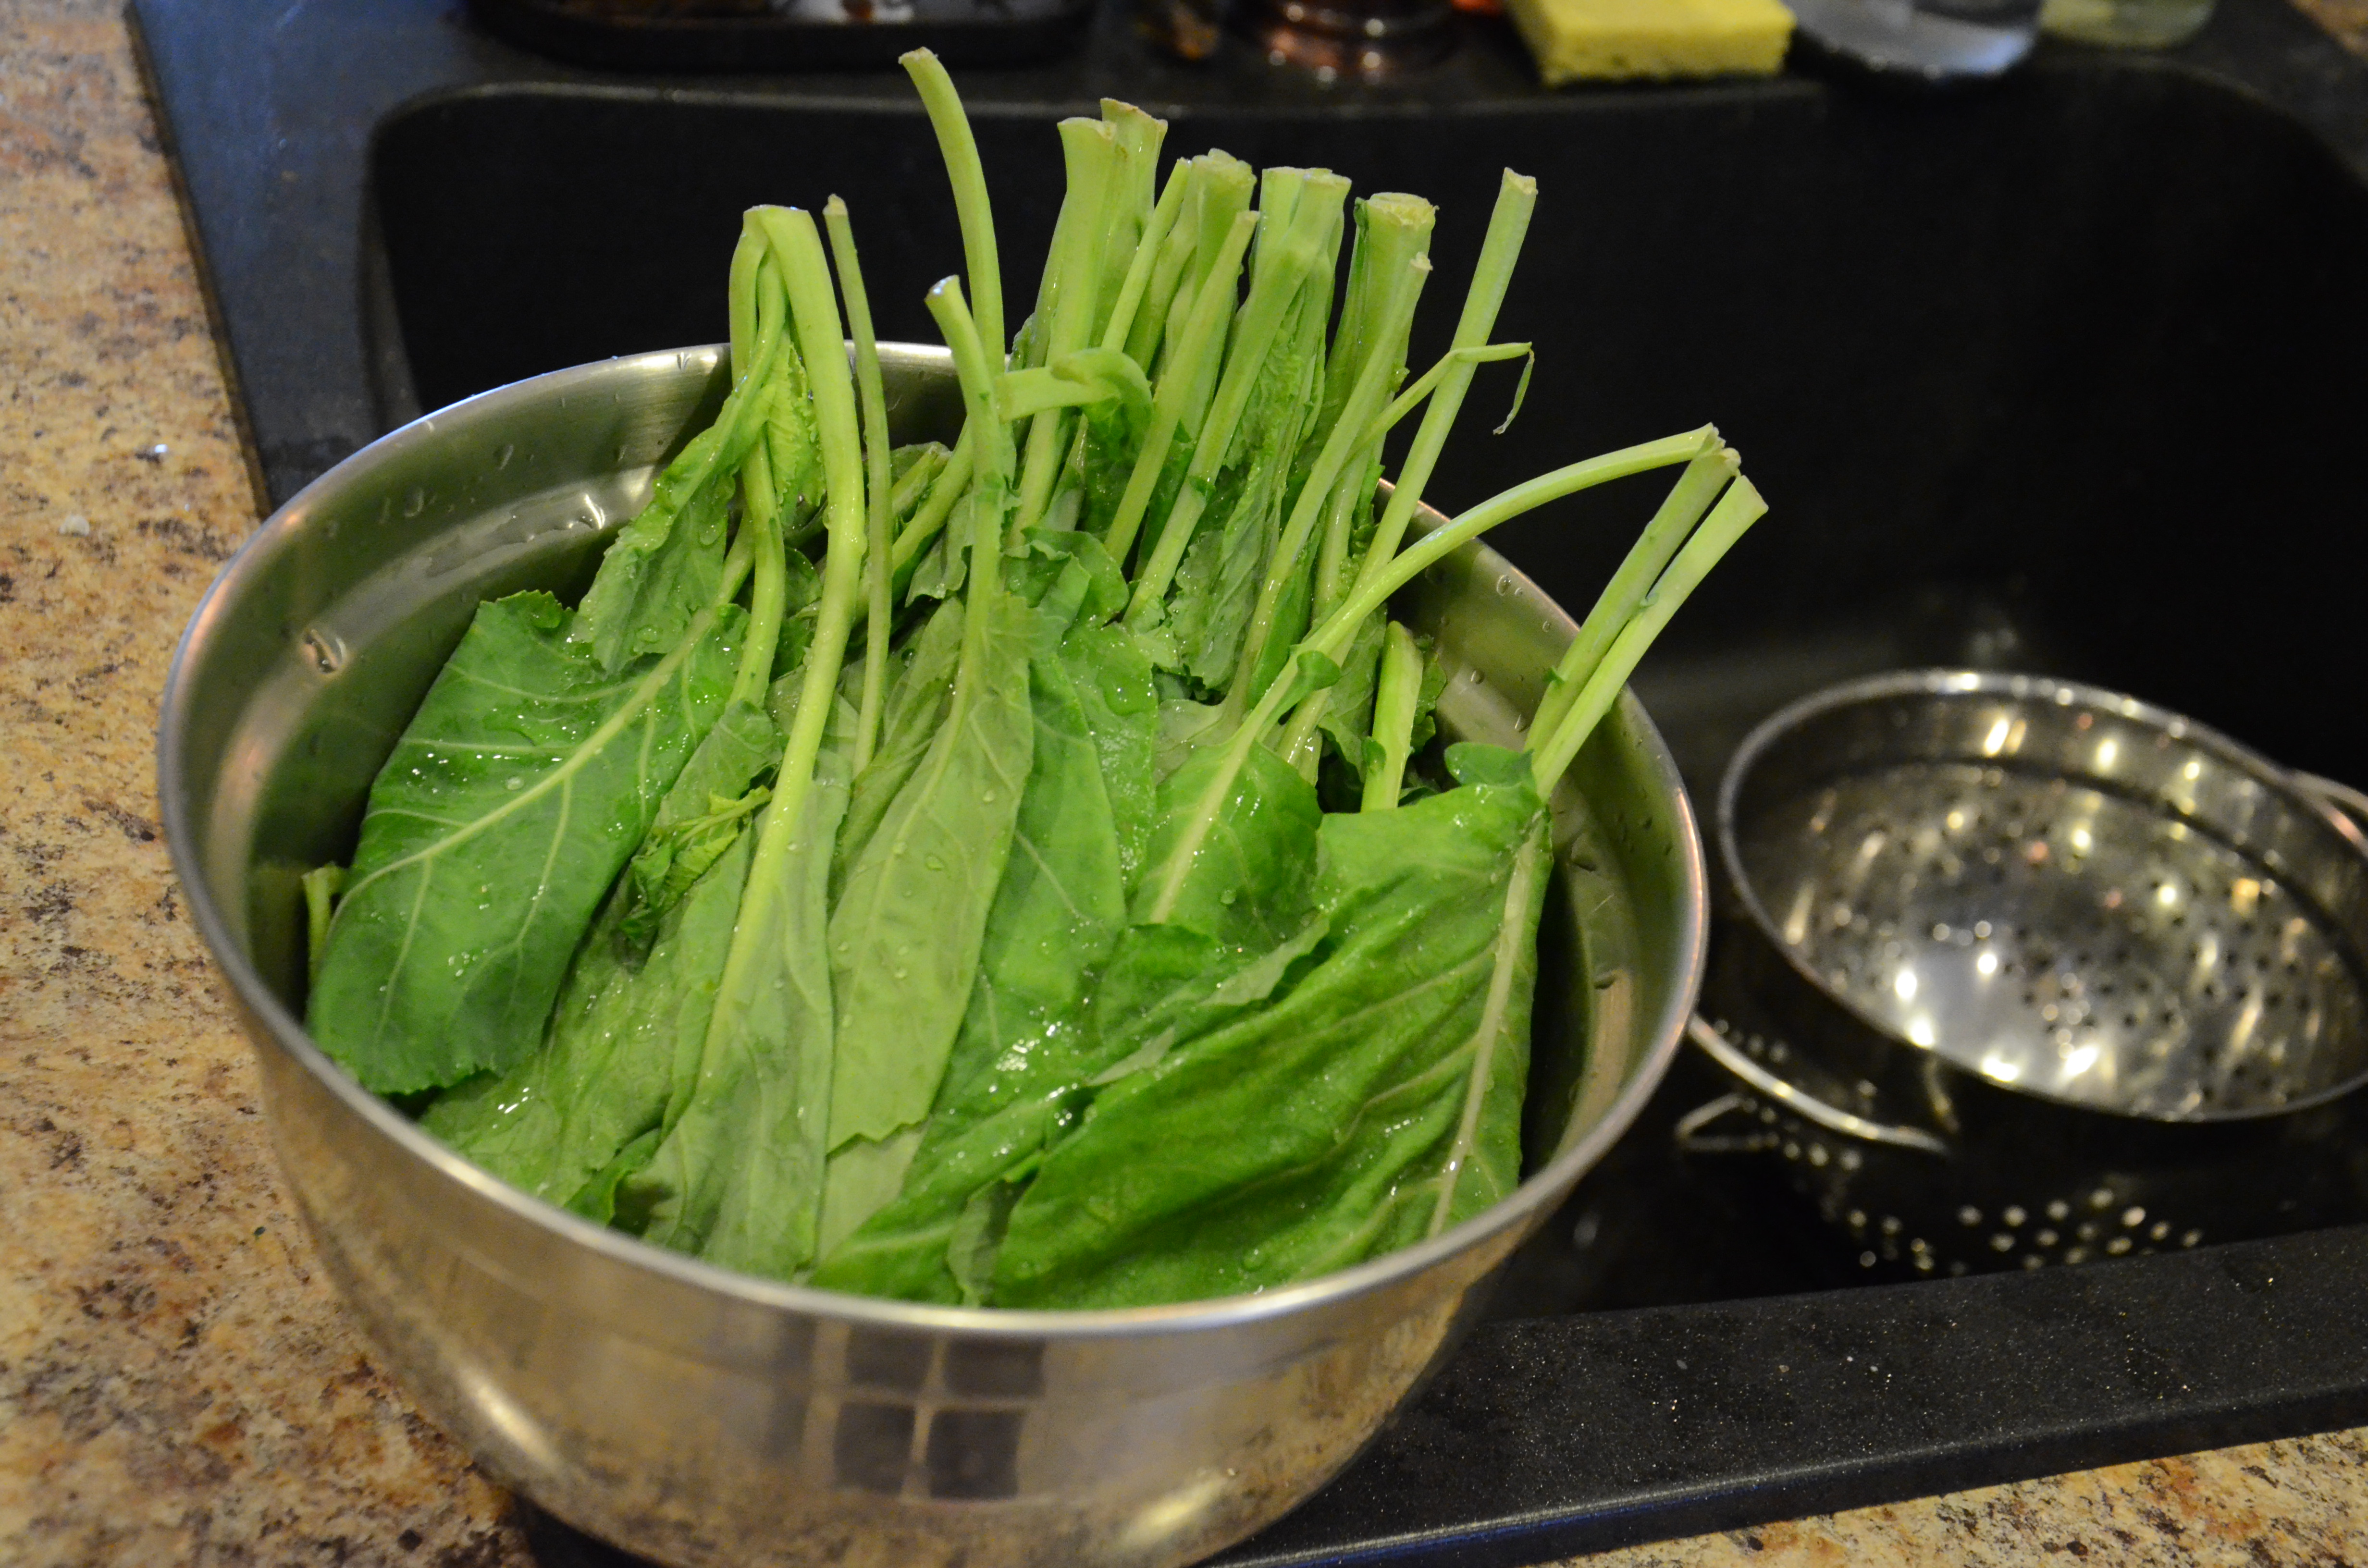
3/4 a large bunch fresh escarole greens, chopped (or any other greens you don’t like)
1/2 block extra firm tofu, pressed and drained on paper towels for about 15 minutes, and sliced into rectangles)
a few chives, supplemented by a few extra scallions, roughly chopped
a few tablespoons fresh cilantro, roughly chopped
2 tablespoons soy sauce
3 tsp seasoned rice wine vinegar
Squeeze of lime
1 12-ounce pack of wonton wrappers
Add the oils to a large frying pan over medium heat and cook the scallions, ginger, garlic, red pepper flakes, and Chinese Five Spice for about 2 minutes. Add greens and cook for a minute or two until all leaves are slightly wilted.
Transfer the filling to the bowl of a large food processor. Add remaining ingredients (except wrappers) and pulse until everything is roughly chopped.

Get ready to wrap: Set up a small bowl of water, the filling, your wontons, and a platter of some kind for transferring over to the frying pan.
Dip your fingers in the water and drag around the edges of a wonton. Spoon a small amount of the filling into the center of each wonton.

Putting Kristen to work.
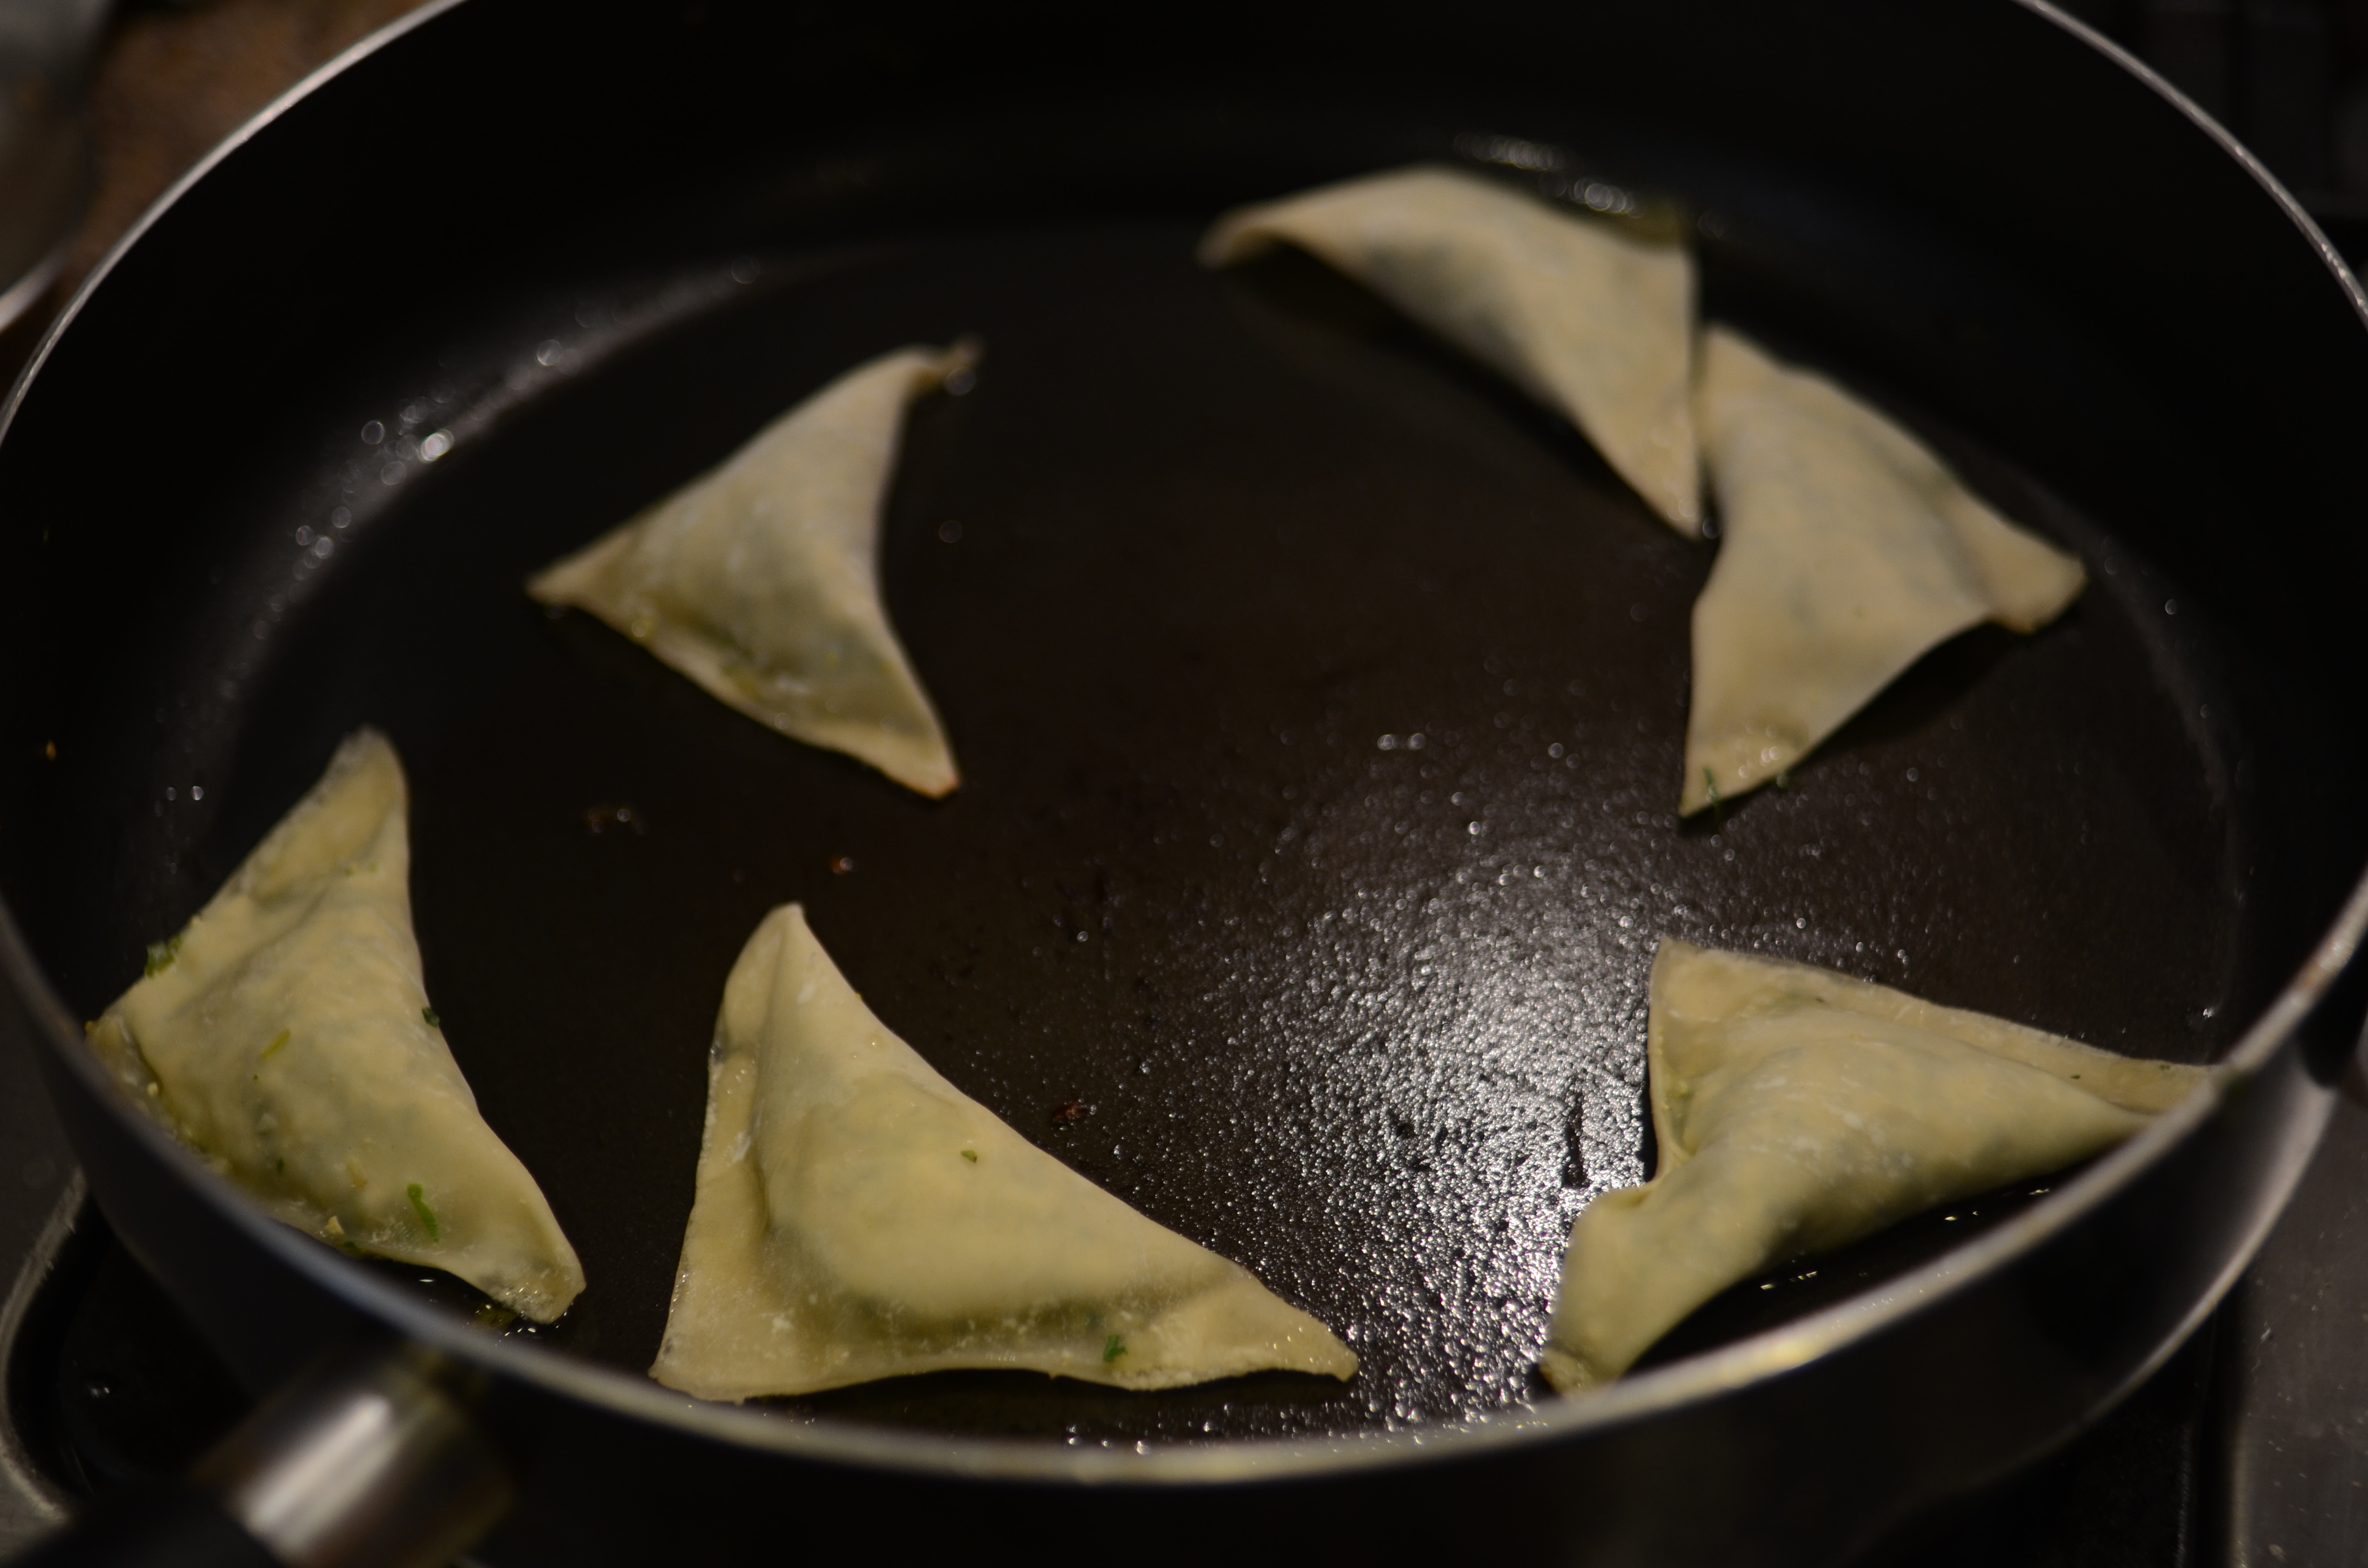
Fold in half to make a triangle shape. Pinch all sides together; smush their centers slightly so they’ll lay flat in the frying pan–we forgot this step and it made for some rawer wonton edges.

Once all the dumplings are assembled (or, once a few are and you are too hungry to wait any longer) add a tablespoon vegetable oil to a large skillet set over medium-high heat. Fry in batches adding more oil as needed, until dumplings are crispy and golden, about 2 minutes on each side.


Chow down.
Serve with soy sauce.
I happen to pick out another recipe this week that had similar ingredients. I halved the recipe so I could get away with the one block of tofu total for both.
Three-Herb and Tofu Lettuce Wraps with Soy-Honey Dipping Sauce
Adapted from Tasting Table Test Kitchen Recipe
Serves 2
Wraps:
1/2 one 14-ounce block extra-firm tofu, drained
2 scallions, ends removed and white and green parts thinly sliced
1 teaspoon grapeseed or canola oil, divided if necessary
a couple of garlic cloves, to taste (we did 2) finely chopped
1-inch piece fresh ginger (about 1 tablespoon), peeled and grated or finely shopped (this is easiest to do from frozen)
1/2 jalapeño chile, seeds scraped according to your spice toleration, and finely chopped
1/2 teaspoon kosher salt
most of the juice from ½ lime
4 separated whole leaves from Boston, Bibb or Butter lettuce
1/4 cup fresh basil leaves (preferably Thai basil)
1/4 cup fresh cilantro leaves
1/4 cup fresh mint leaves
2 Tablespoons peanuts, roughly chopped
Dipping Sauce:
3 teaspoons low-sodium soy sauce
Juice of 1/2 lime
2 teaspoons honey
1 teaspoons mirin rice wine (Chinese cooking wine)
1/4 teaspoon chile-garlic sauce

Slice tofu horizontally into a few rectangles so that it can drain thoroughly on 3 layers of paper towels (or a kitchen towel). Press with additional paper towels (or a kitchen towel).
Crumble the tofu into a colander and use more paper towels (or a kitchen towel) to press the tofu, extracting even more liquid, until the tofu is finely crumbled and feels fairly dry. Add the sliced scallions to the tofu and toss to combine.

Prepare large nonstick skillet, set over medium-high heat with oil. For this recipe, all of the tofu will fit in one layer in a large nonstick skillet–if doing the full recipe or with a smaller skillet, cook the tofu-scallion mixture in batches.
Cook without stirring until the tofu is browned, 3 to 4 minutes. Stir and continue to cook until the tofu browns a little more. The tofu and scallions take on a very unique crunch texture.
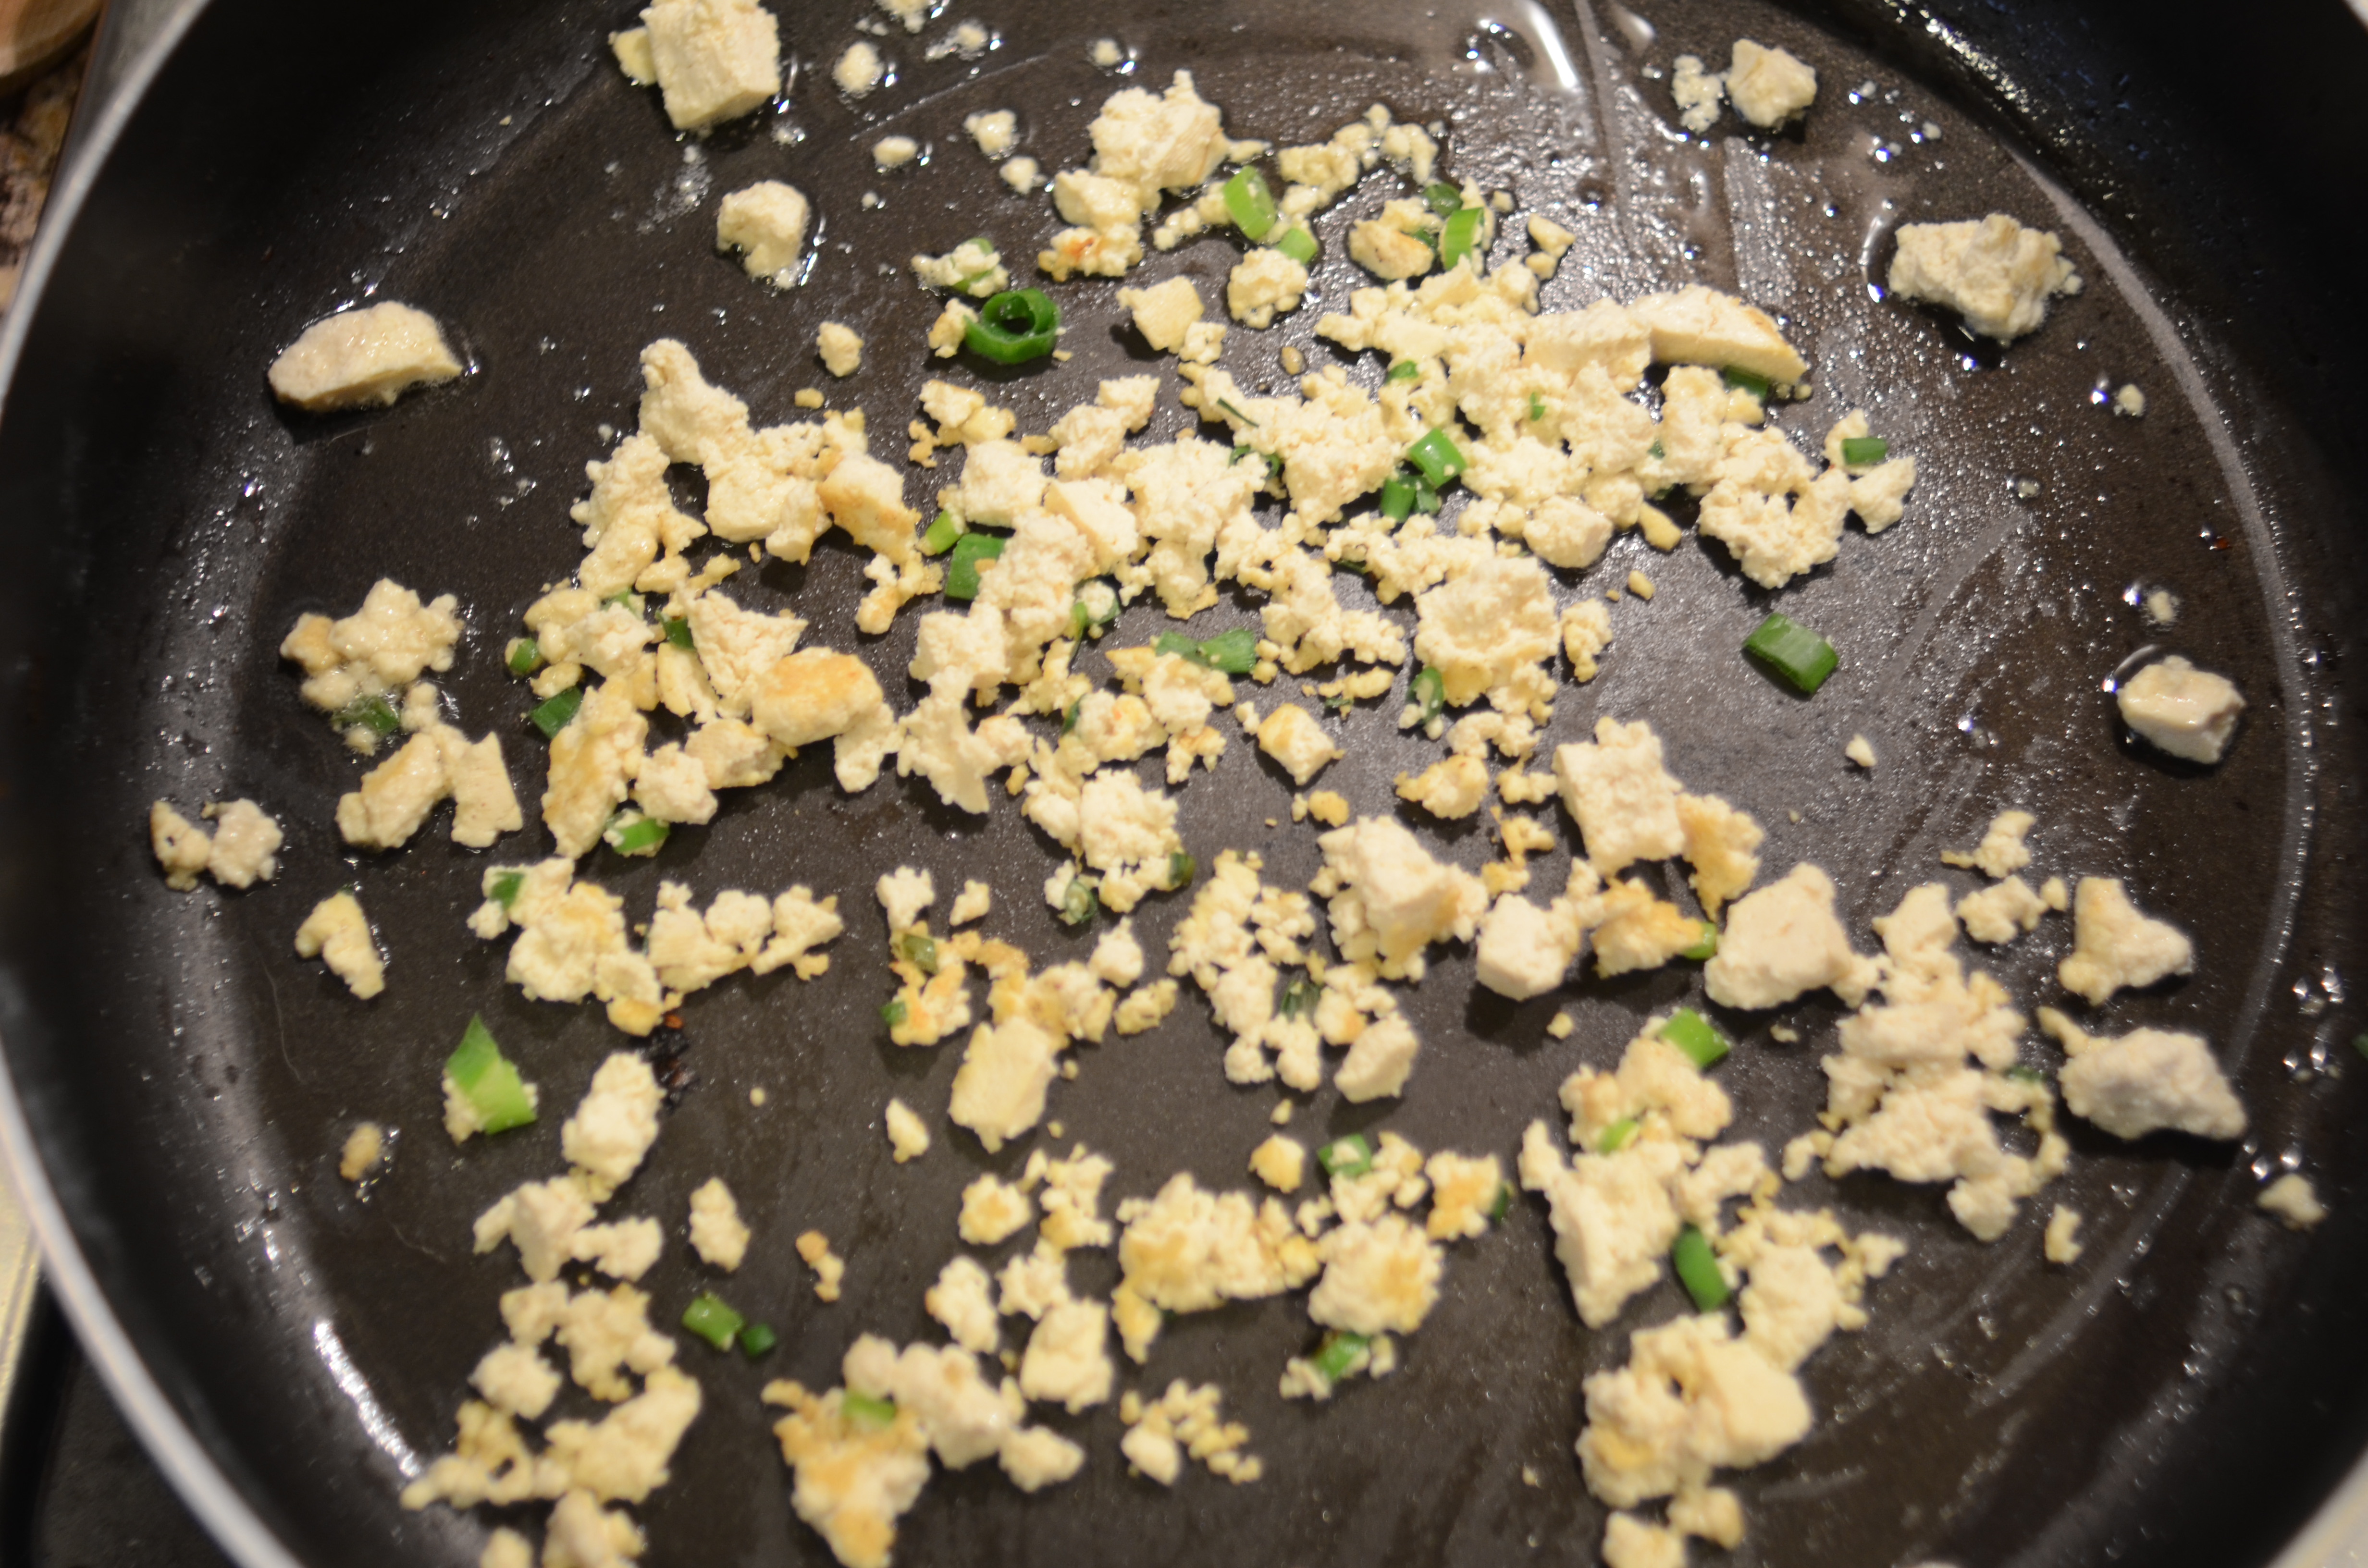
With all of the cooked tofu in the skillet, make a well in the center add the garlic, ginger, jalapeño and salt.


Once the mixture starts to sizzle, after about 10 seconds, stir it into the surrounding tofu and cook until the tofu mixture is fragrant, stirring often, for about 1 minute. Transfer the mixture into a medium bowl, stir in the lime juice and set aside.
Make the dipping sauce: In a medium bowl, whisk together the soy sauce, lime juice, honey, mirin and chile-garlic sauce. Adjust to taste for more spice or more sweet.
Assemble the wraps: Set two lettuce leaves on each plate. Divide basil, cilantro and mint leaves among lettuce leaves, topping with sautéed tofu and peanuts, and drizzle sauce over the top.


Messy and delicious.