I love events centered around food. I don’t love seeing a mismatch between the amount of food and people’s appetites. Usually there’s too much food, which leads to waste.
This past weekend featured one of those eating events: the Super Bowl! My husband and I hosted a party, the first time entertaining in awhile. We were excited to cook from scratch, but also aware of how easy it is to overestimate. The facts bounced around in my head:
At least a third of the 70M+ pounds of surplus food each year in the US occurs in homes.
The average each person spends on uneaten food each year is estimated at nearly $800.
Food decaying in landfills releases powerfully harmful methane.
A significant amount of upstream resources are lost — and animal protein’s environmental impact is especially acute. Source: 2025 ReFed US Food Waste Report
I did some rough calculations before shopping, and overestimated (note to self: remember to use this awesome tool that lets you count people with different appetites differently!). As the guest list grew, I worried about ensuring everyone was content with the options.
Despite our best intentions, we did not nail execution. To our credit, activities and outings with the kids ate into time we could have spent planning. Our menu had too many items. We didn’t map out oven timing, and prep took longer than expected. People filled up or left early. We remembered to spent a little time chatting with our friends! By the end of the night, several dishes were never made, and we had extra food.
What did we do a pretty good job at? Mitigation.
Ideally, giving away leftovers was an option, if we knew people would consume them. Fortunately, unused extra pre-cooked meatballs stayed in the freezer. Containers of vegetarian chili were split between the freezer and the fridge for upcoming meals. I repurposed broccoli from the veggie platter into a steamed dinner side the next day. The 8 pounds (!) of marinated chicken wings that we never cooked went into bags in the freezer. Steak intended for a crostini appetizer joined the freezer fun.
Now we just need to have another party!
The experience gave me renewed appreciation for anyone who manages food production tightly–especially restaurant teams who do it meal after meal and day after day.
Kudos to the hosts, chefs and restaurant operators who keep people happily fed without wasting too much food!
This is one of those “clean out your fridge” recipes, inspired by the fact it was Wednesday, the day before I would pick up a new load of produce from my farm share. I don’t manage my kitchen quite as precisely as a restaurant kitchen manager, but each week, as Wednesday approaches, I am watching to make sure the fullness of the vegetable drawer is getting lower, and that we don’t make anything that generates an abundance of leftovers. I want to be excited by the CSA pickup, not overwhelmed!
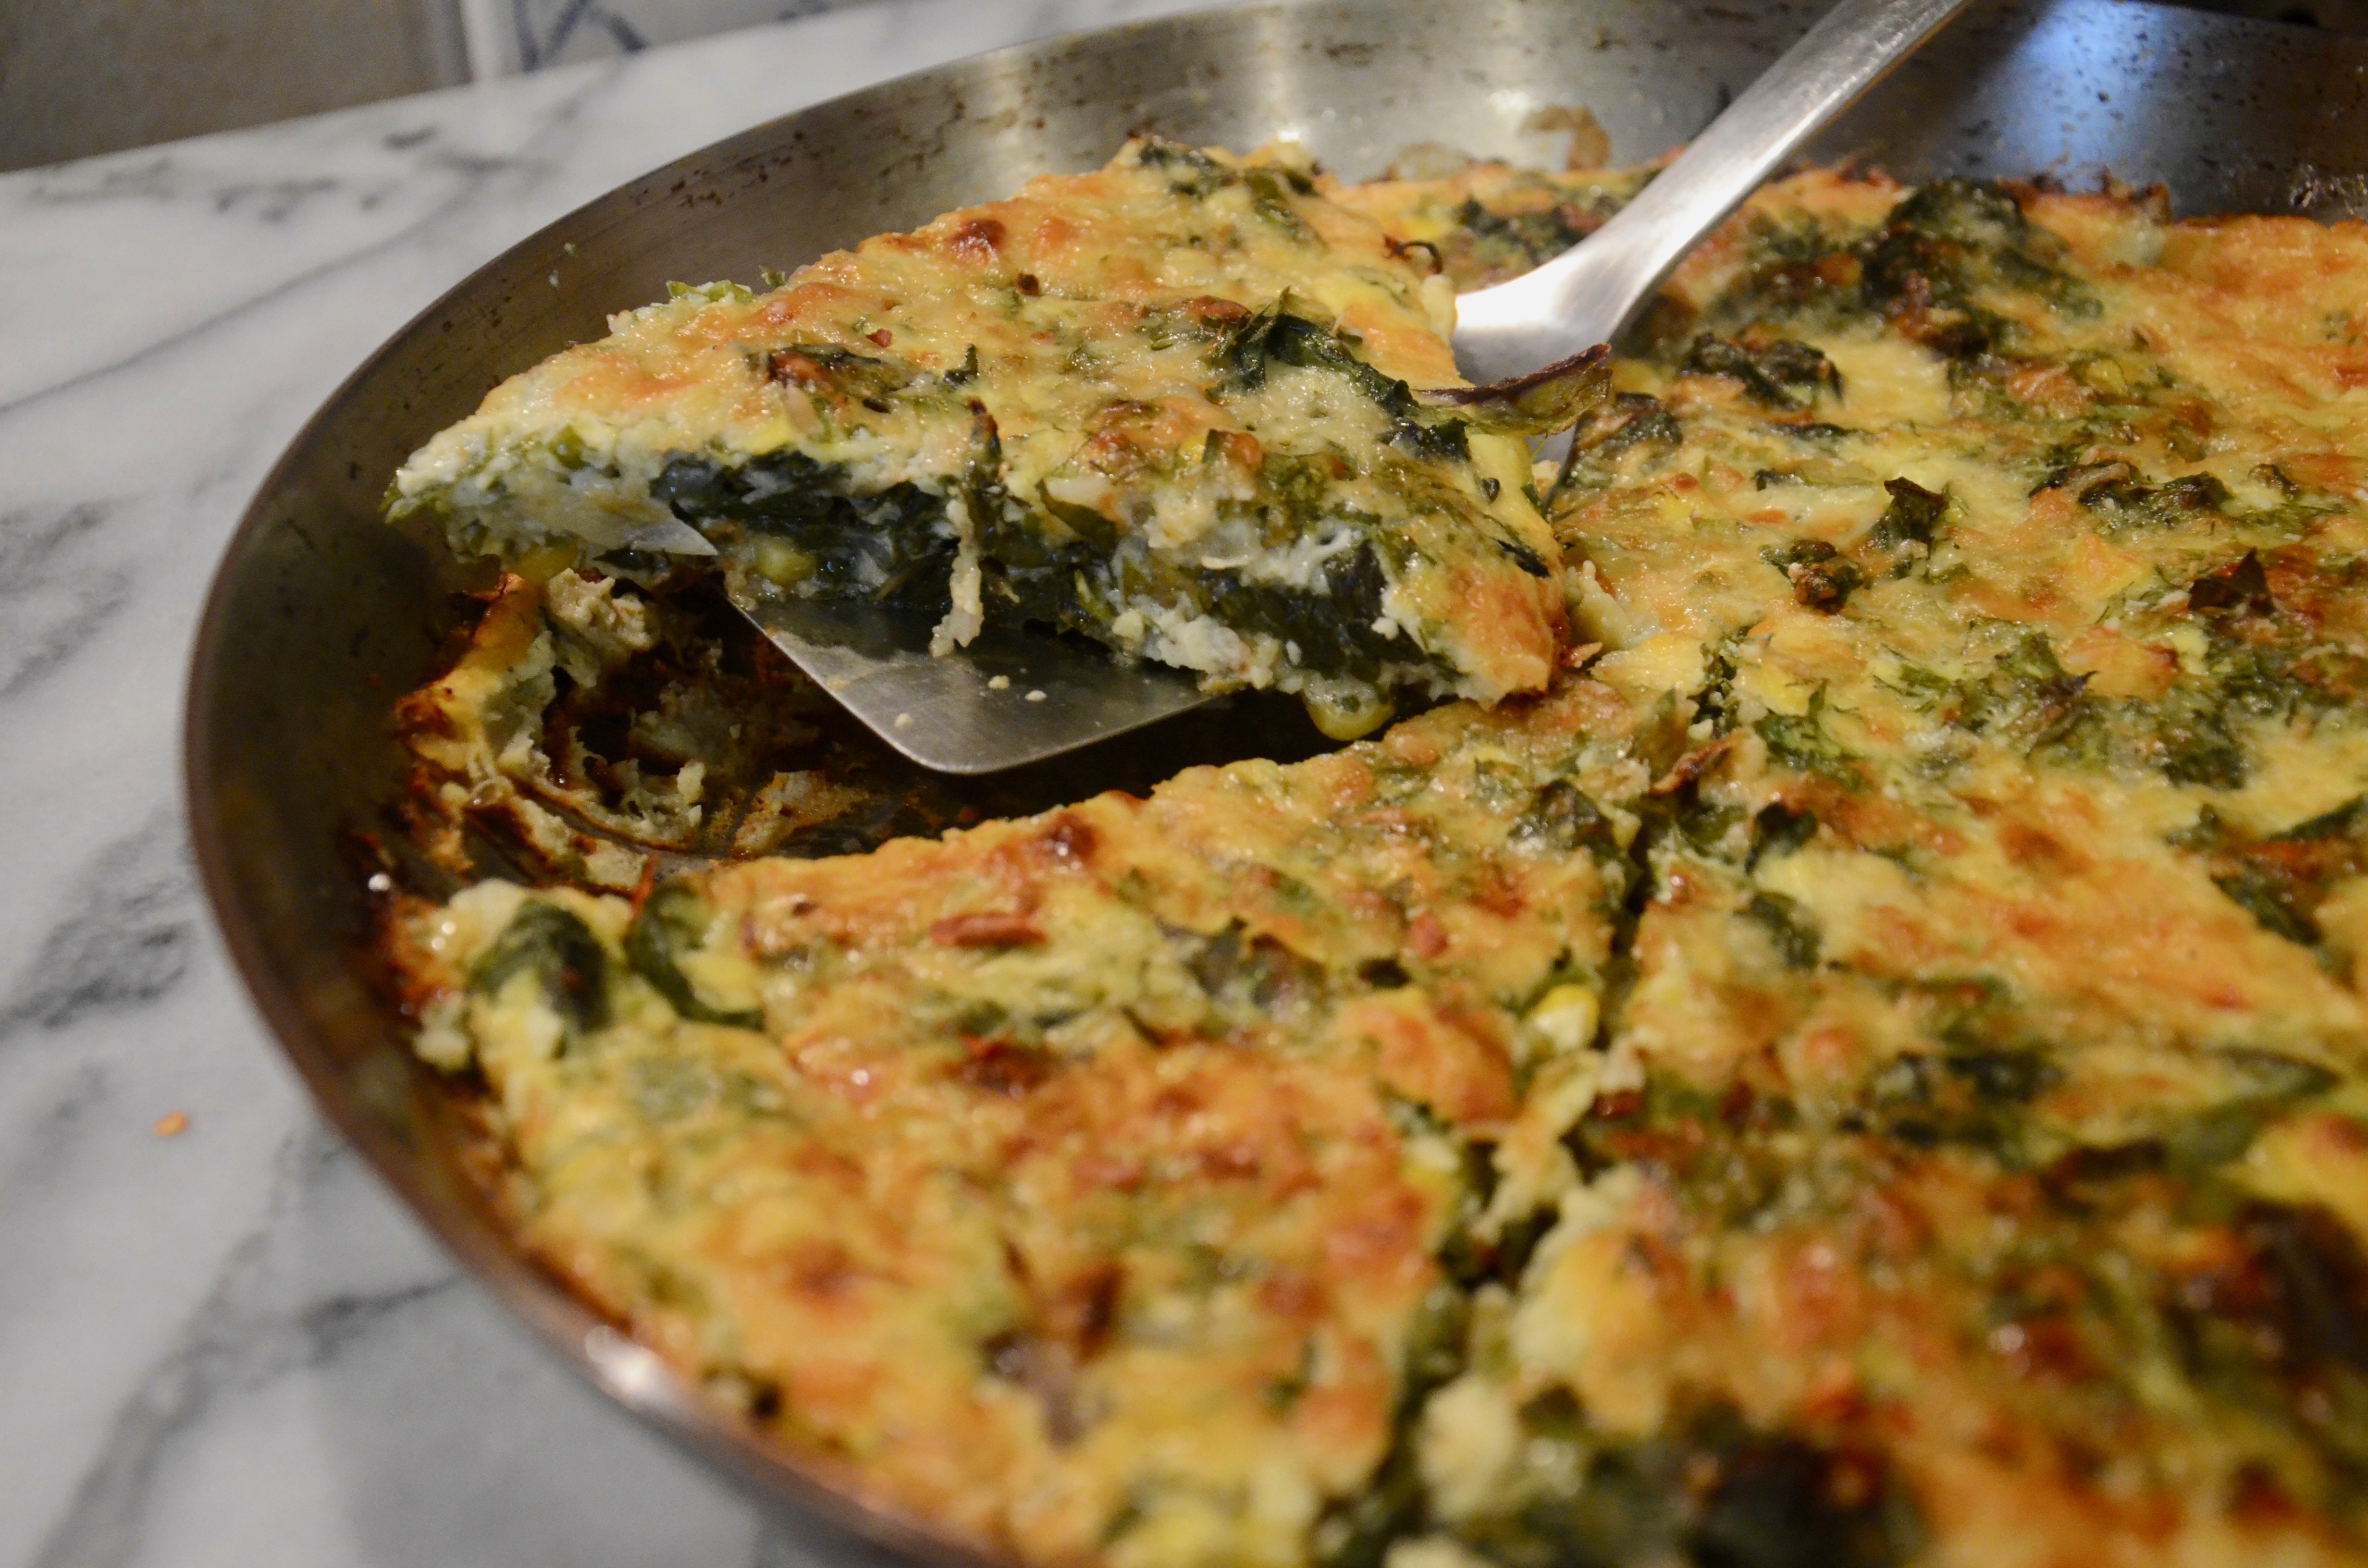
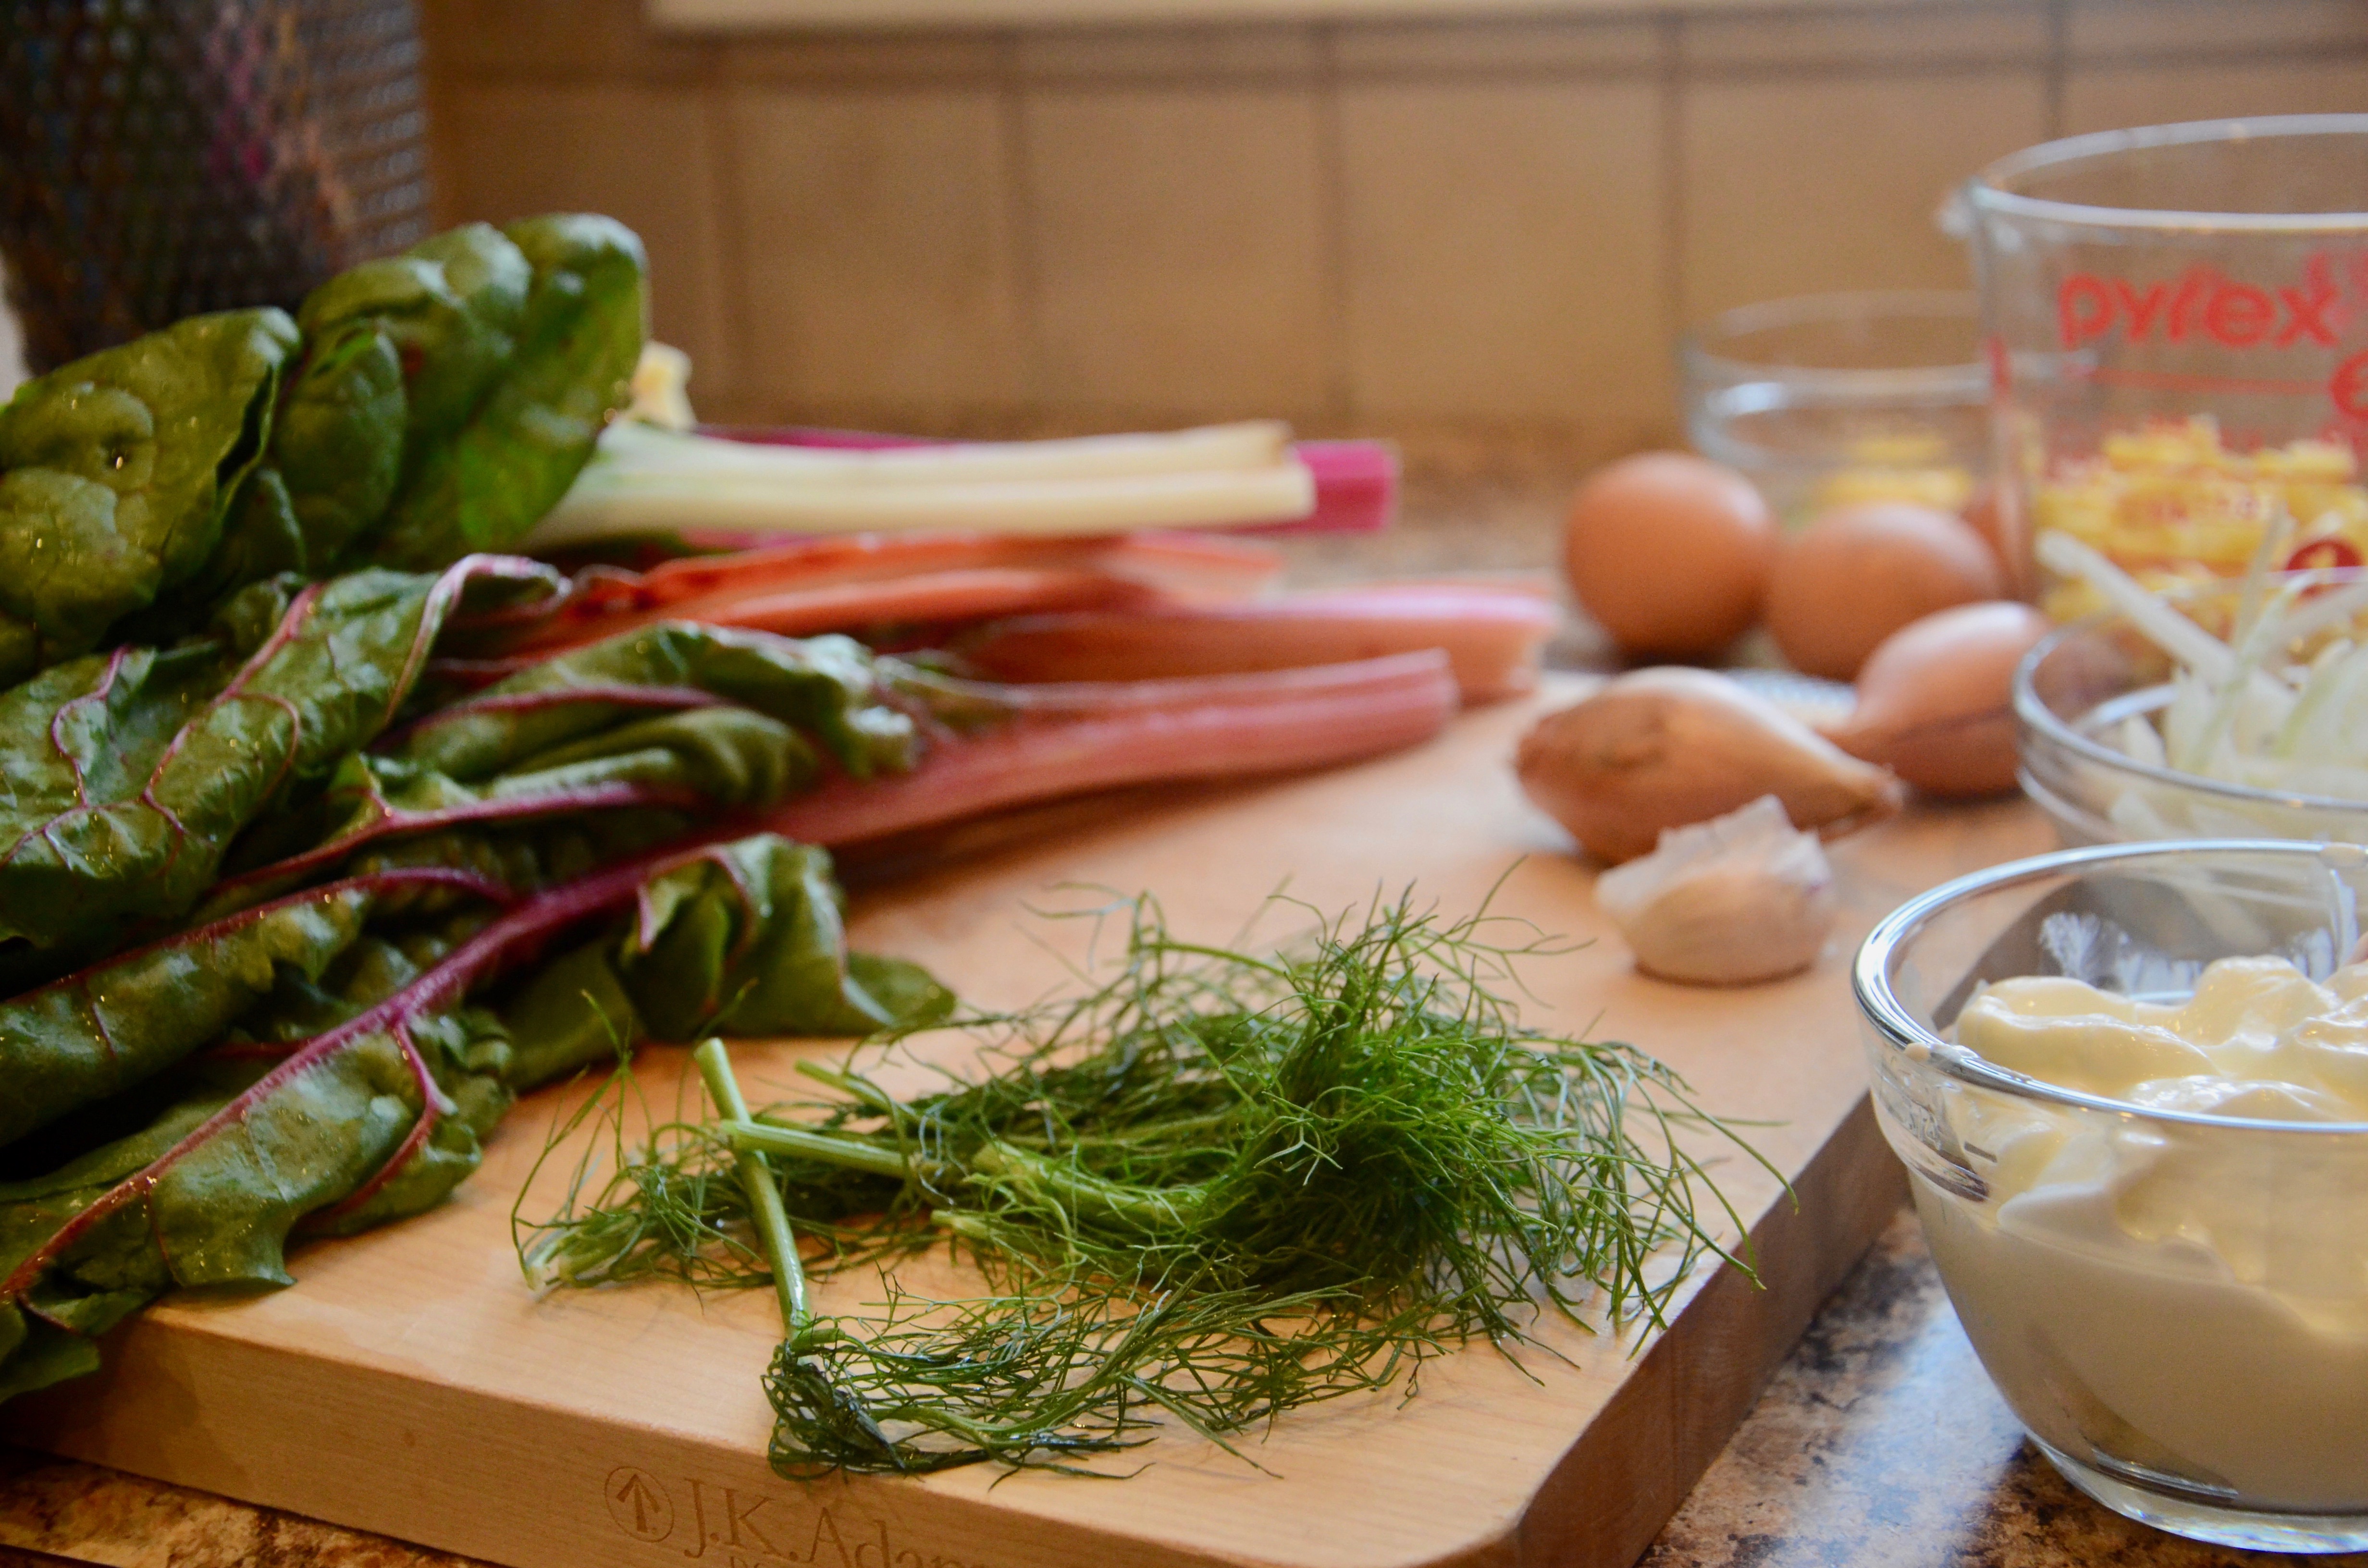
I was thrilled to be served, once again, by New York Times Cooking, with an appropriate recipe- Savory Clafoutis With Corn and Swiss Chard. (I sensed some controversy in the comments about using “clafoutis” so I’ll just call it a frittata). It called for my beautiful swiss chard and excess parsley and used the leftovers from canned corn I had for my son’s Raddish Kids box recipe. I even remembered to thaw and incorporate a whole egg I had previously frozen, after it cracked unexpectedly as I was moving things around in the fridge to get ready to go away for a weekend. I was confident to make a number of other substitutions–leftover yellow onion slices plus shallots took the place of leeks, fennel fronds replaced dill, Greek yogurt replaced crème fraîche–and the rest matched what I usually have on hand.
Cooks often turn to eggs to bring together extra vegetables in a recipe, and I found myself doing the same. Quiches, frittatas, omelettes, etc. are all very forgiving. (As Sam Sifton said in the day’s New York Times Cooking newsletter, “You’re a better cook than you think.”) In fact, I wondered if I should make a point to establish weekly menu planning that includes an egg dish. I constantly read and think about how themed weekly meals simplify meal planning. Our family has talked about “Taco Tuesday” and “French Fries Friday.” “Eggy Wednesday?” That won’t do, gotta have alliteration. “Whisking Wednesday” it is.
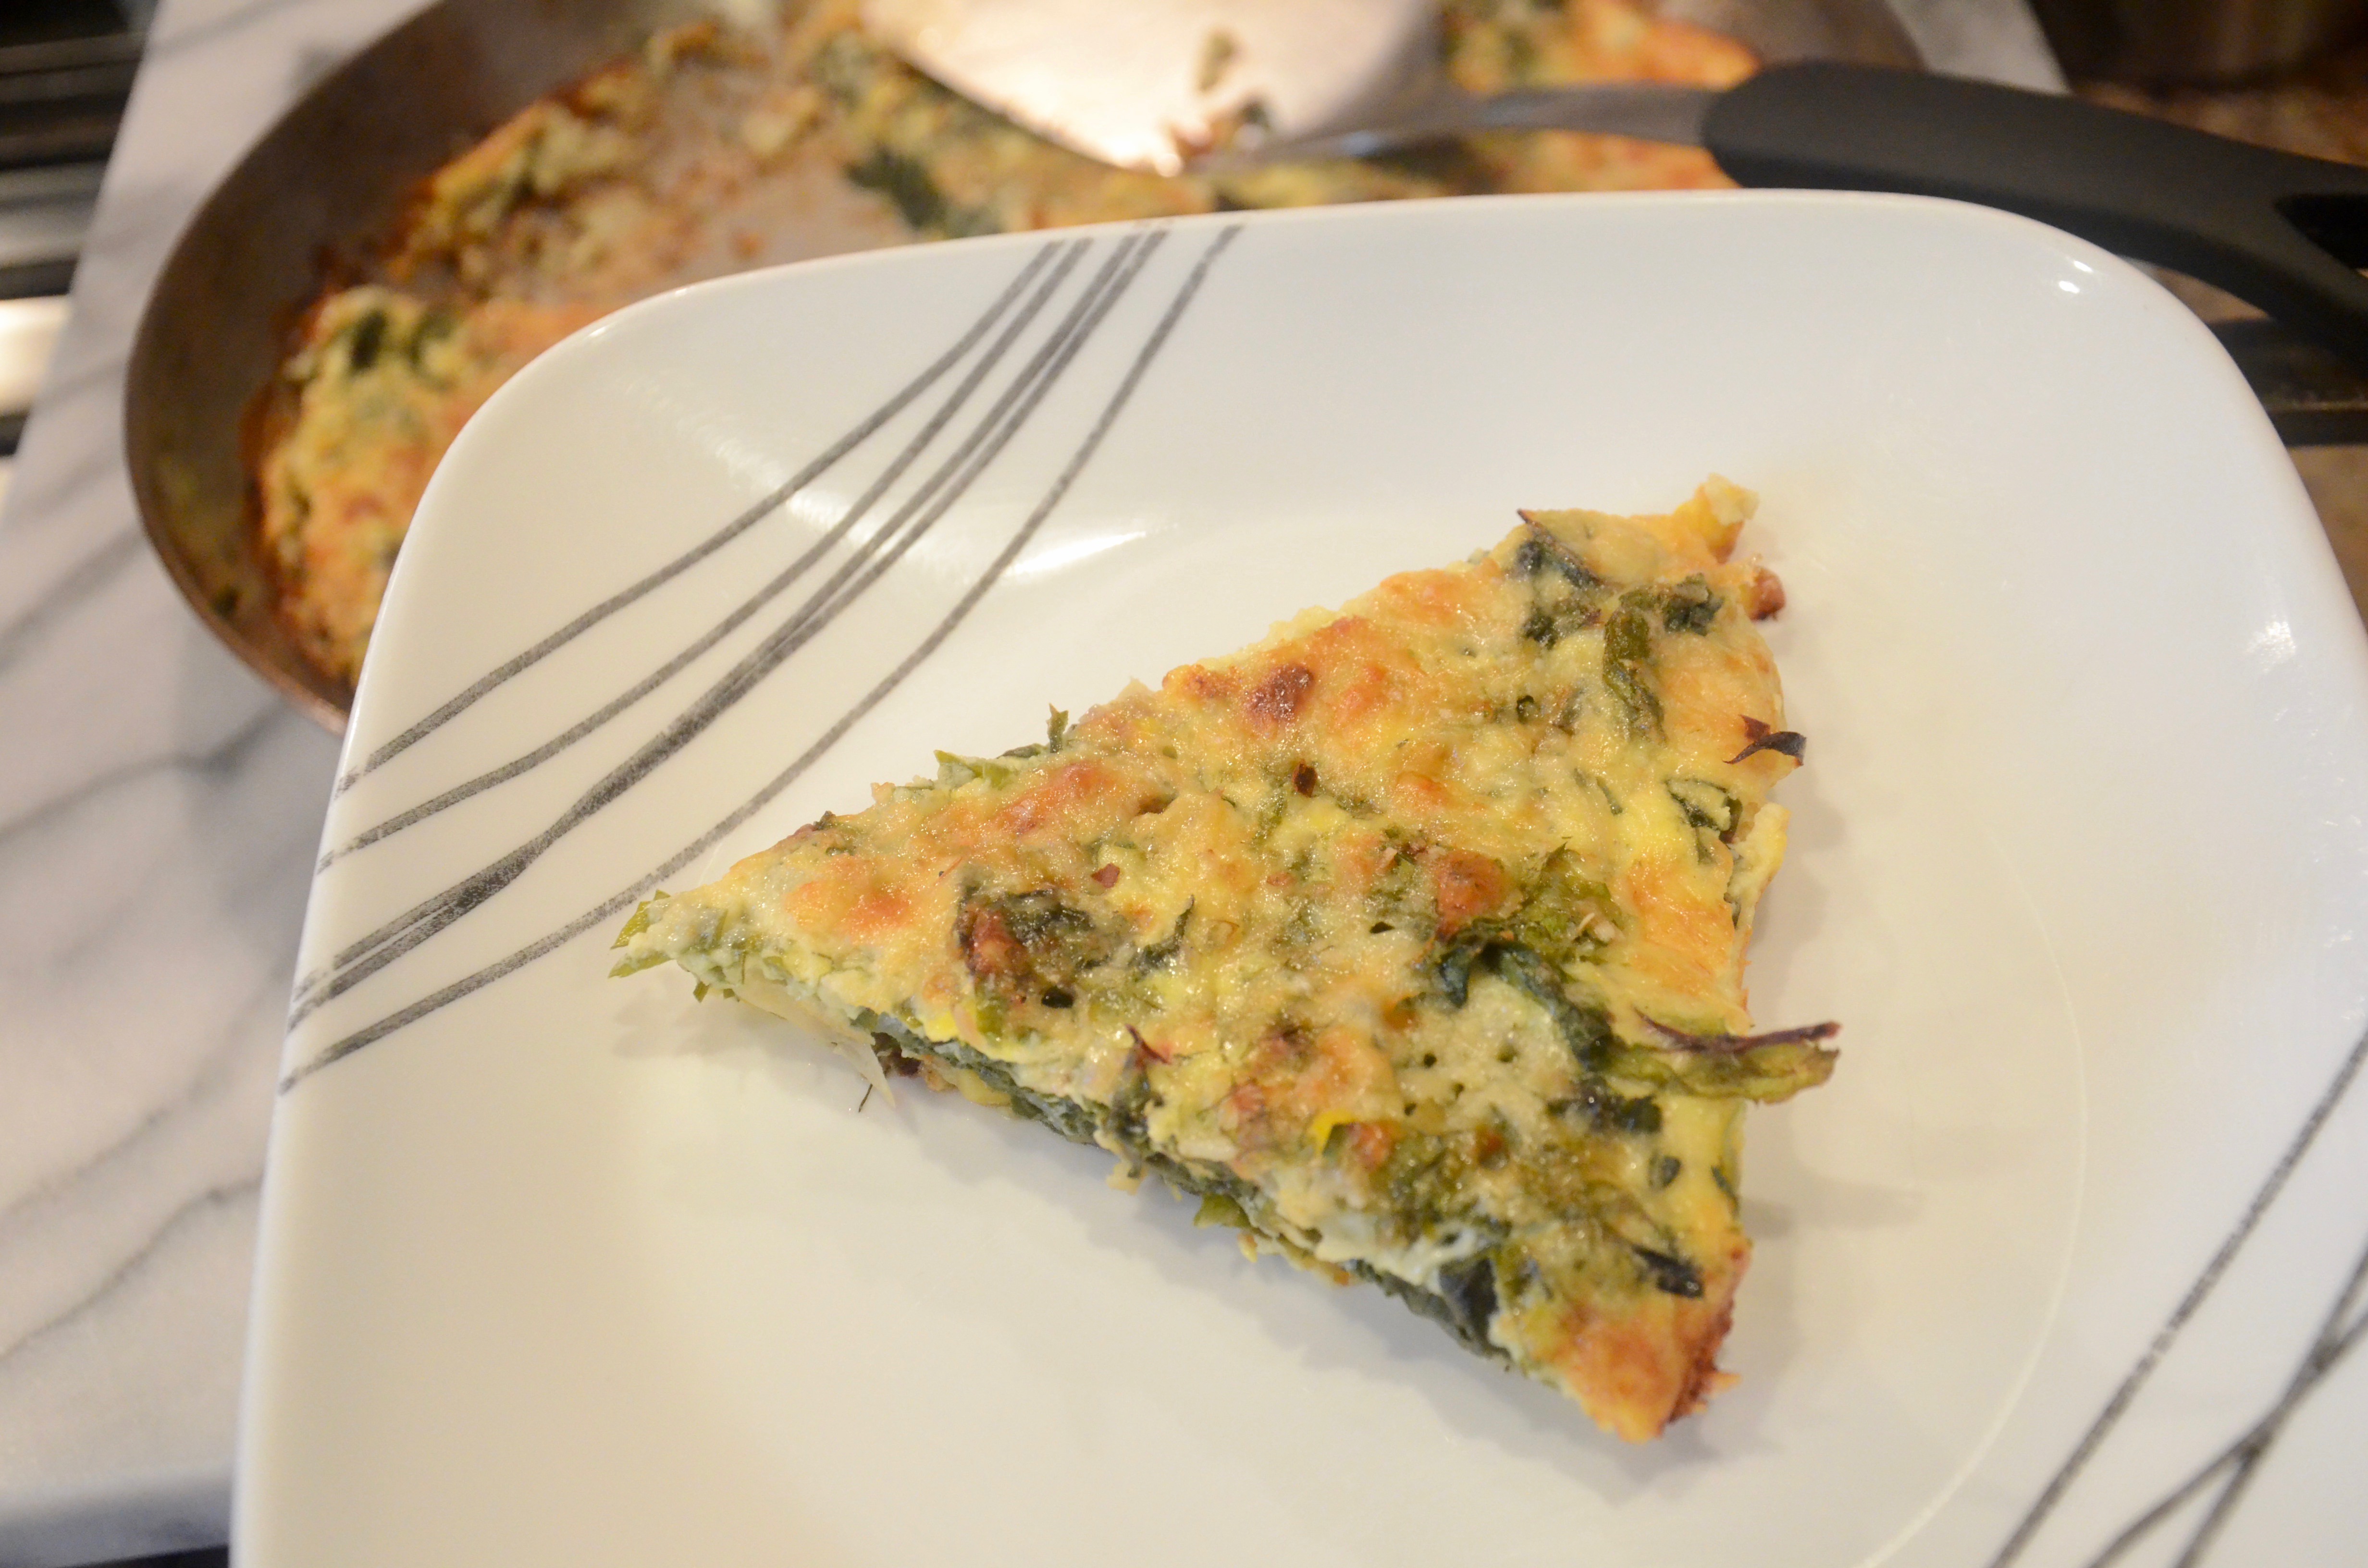
I set aside extra time this Wednesday to do additional ingredient prep for this veggie burgers recipe-which shared the ingredients of onions, garlic, and parsley–in addition to the swiss chard stems, I took care of thyme and beets while I was chopping away. It felt good to whiz through the dinner-making process the following day. I also enjoyed the leftover frittata as an early lunch snack. Happy cooking!
Ingredients:3/4 Cup whole milk 3/4 Cup plain Greek yogurt 4 large eggs 2 ½ Tablespoons all-purpose flour 2 Tablespoons fresh parsley, chopped 2 Tablespoons dill or fennel fronds, chopped 3/4 teaspoon kosher salt, to taste 1/2 teaspoon freshly ground black pepper, to taste 1 Cup Cheddar (about 4 ounces) cheese, coarsely grated 2 Tablespoons extra-virgin olive oil ~1 Cup of thinly sliced onion or allium— 2-3 shallots, 2-3 small leeks, yellow onion, or a combination 2 Cups corn kernels 1 large garlic clove, grated on a Microplane or minced 1 large bunch Swiss chard, stems removed, leaves coarsely chopped 1/4 Cup Parmigiano-Reggiano, grated
For serving: Fresh lemon juice Red pepper flakes
1. Preheat oven to 375 degrees. Start your all your mise en place, slicing the onion first, so you can get the sauteeing underway while you do the rest of the chopping, mincing, grating and measuring.
This approach works if you’re the type of person who can multitask. If you’re not, wait until everything is measured before cranking up the stove!
2. Take a large (at least 9-inches) oven-safe skillet and add olive oil; heat over medium heat. Add onion mixture and sauté until soft and starting to brown slightly (about 10 minutes).
3. While keeping an eye on the onions, take a large bowl and whisk together eggs, milk, Greek yogurt, four, parsley, fennel fronts, 1/2 teaspoon salt and 1/2 teaspoon pepper. Once smooth, incorporate 3/4 Cup of the shredded cheddar.
4. When the onions are cooked, mix in corn, garlic and a pinch of salt; cook until the corn is softened and warmed and the garlic releases its pleasant aroma.
5. Start adding chard leaves, a bunch at a time, and stir them in until wilted. If you’re like me, you will definitely start to get nervous about fitting all of the ingredients in the pan. You will question whether you should have used a pan with higher sides. You’ll survive! (Especially if you opt for the wider plan like I did). Use a lid between adding batches of chard leaves to speed up the wilting.
6. Add 1/4 teaspoon of salt and some black pepper grinds to the pan. Pour your liquid mixture over the corn and chard, then sprinkle over the remaining cheddar and the Parmigiano. Move skillet to oven.
Bake until custard is just set, and slightly brown on top–keep checking, as early as 20 minutes. It took less than 25 minutes for the mixture to set in my wider pan.
Slice and serve with a squeeze of fresh lemon juice and a small pinch of red pepper flakes.
One, it uses the whole leek–whites and greens–in one recipe. Many recipes only use the whites and light green parts. Those who are committed to maximizing the value of their ingredients and minimizing waste will hang onto the greens for making a vegetable stock. I should be one of those people. We should all strive to be that person. The bag of vegetable scraps in my freezer that was started before my son was born and probably lasted well into his third year?….that showed that I have a bit of work to do to be that person.
Two, this recipe is vegan. And in 2021, I decided to incorporate more vegan meals into my life. After years of professional development and initiation into the world of goals and objectives, I decided to set a couple of personal goals in the New Year. Based on research and recommendations, I felt it was important to pick something measurable and truly achievable–even if the achievement would be modest. In this case, I want to make sure I spent one day each month eating completely vegan. To my credit, it’s common for me to have days without meat. And I certainly aim for more vegan days/meals. But for me, it is a true challenge to spend a whole day without dairy products. I want to face head-on the discomfort I feel when I see charts of the environmental footprint of different food categories, with cheese up toward the top.
Two caveats: 1) While I give this recipe a 5 out of 5 for meeting my sustainability goals, it only gets a 3 out of 5 for flavor–it needs a bit added to give it any zing. 2) I found the recipe a little difficult to follow, as written, in NYT Cooking, especially with all the elements and tools needed. I organized it differently below, including a list of supplies and incorporating the useful tips I found in the comment section from other readers as well. With some proper planning and staging, the preparation can go smoothly.
Equipment:
Cutting board
Knife
Bowl (for rinsing grit from leeks)
Zesting tool
Large pot (for boiling greens and pasta)
Tongs
Blender
Colander
Measuring cup, scoop, or bowl (for reserving pasta water)
Frying pan or saucepan (one that will allow for the oil to be at a depth for frying leek whites in batches)
Slotted spoon
Plate lined with paper towels
Ingredients:
Kosher salt and black pepper 1/4 tsp red pepper flakes, and additional seasonings to taste 1 to 1.25 pounds leeks (2 to 3 medium) 1/2 Cup olive oil 1pound bucatini (fettuccine or linguine or even pappardelle are acceptable substitutes) 1lemon, zested Nutritional yeast, to taste
Here’s the gist: you’re boiling the leek greens, pan frying the leek whites, and boiling the pasta. Your sauce comes from a combination of the greens, the pasta water, and the fried leek oil. You can do each step at different times and in advance, but it can be a waiting game to get it all to come together and up to temperature. I recommend frying the leek whites while the greens boil (as it takes awhile). Boil the pasta last.
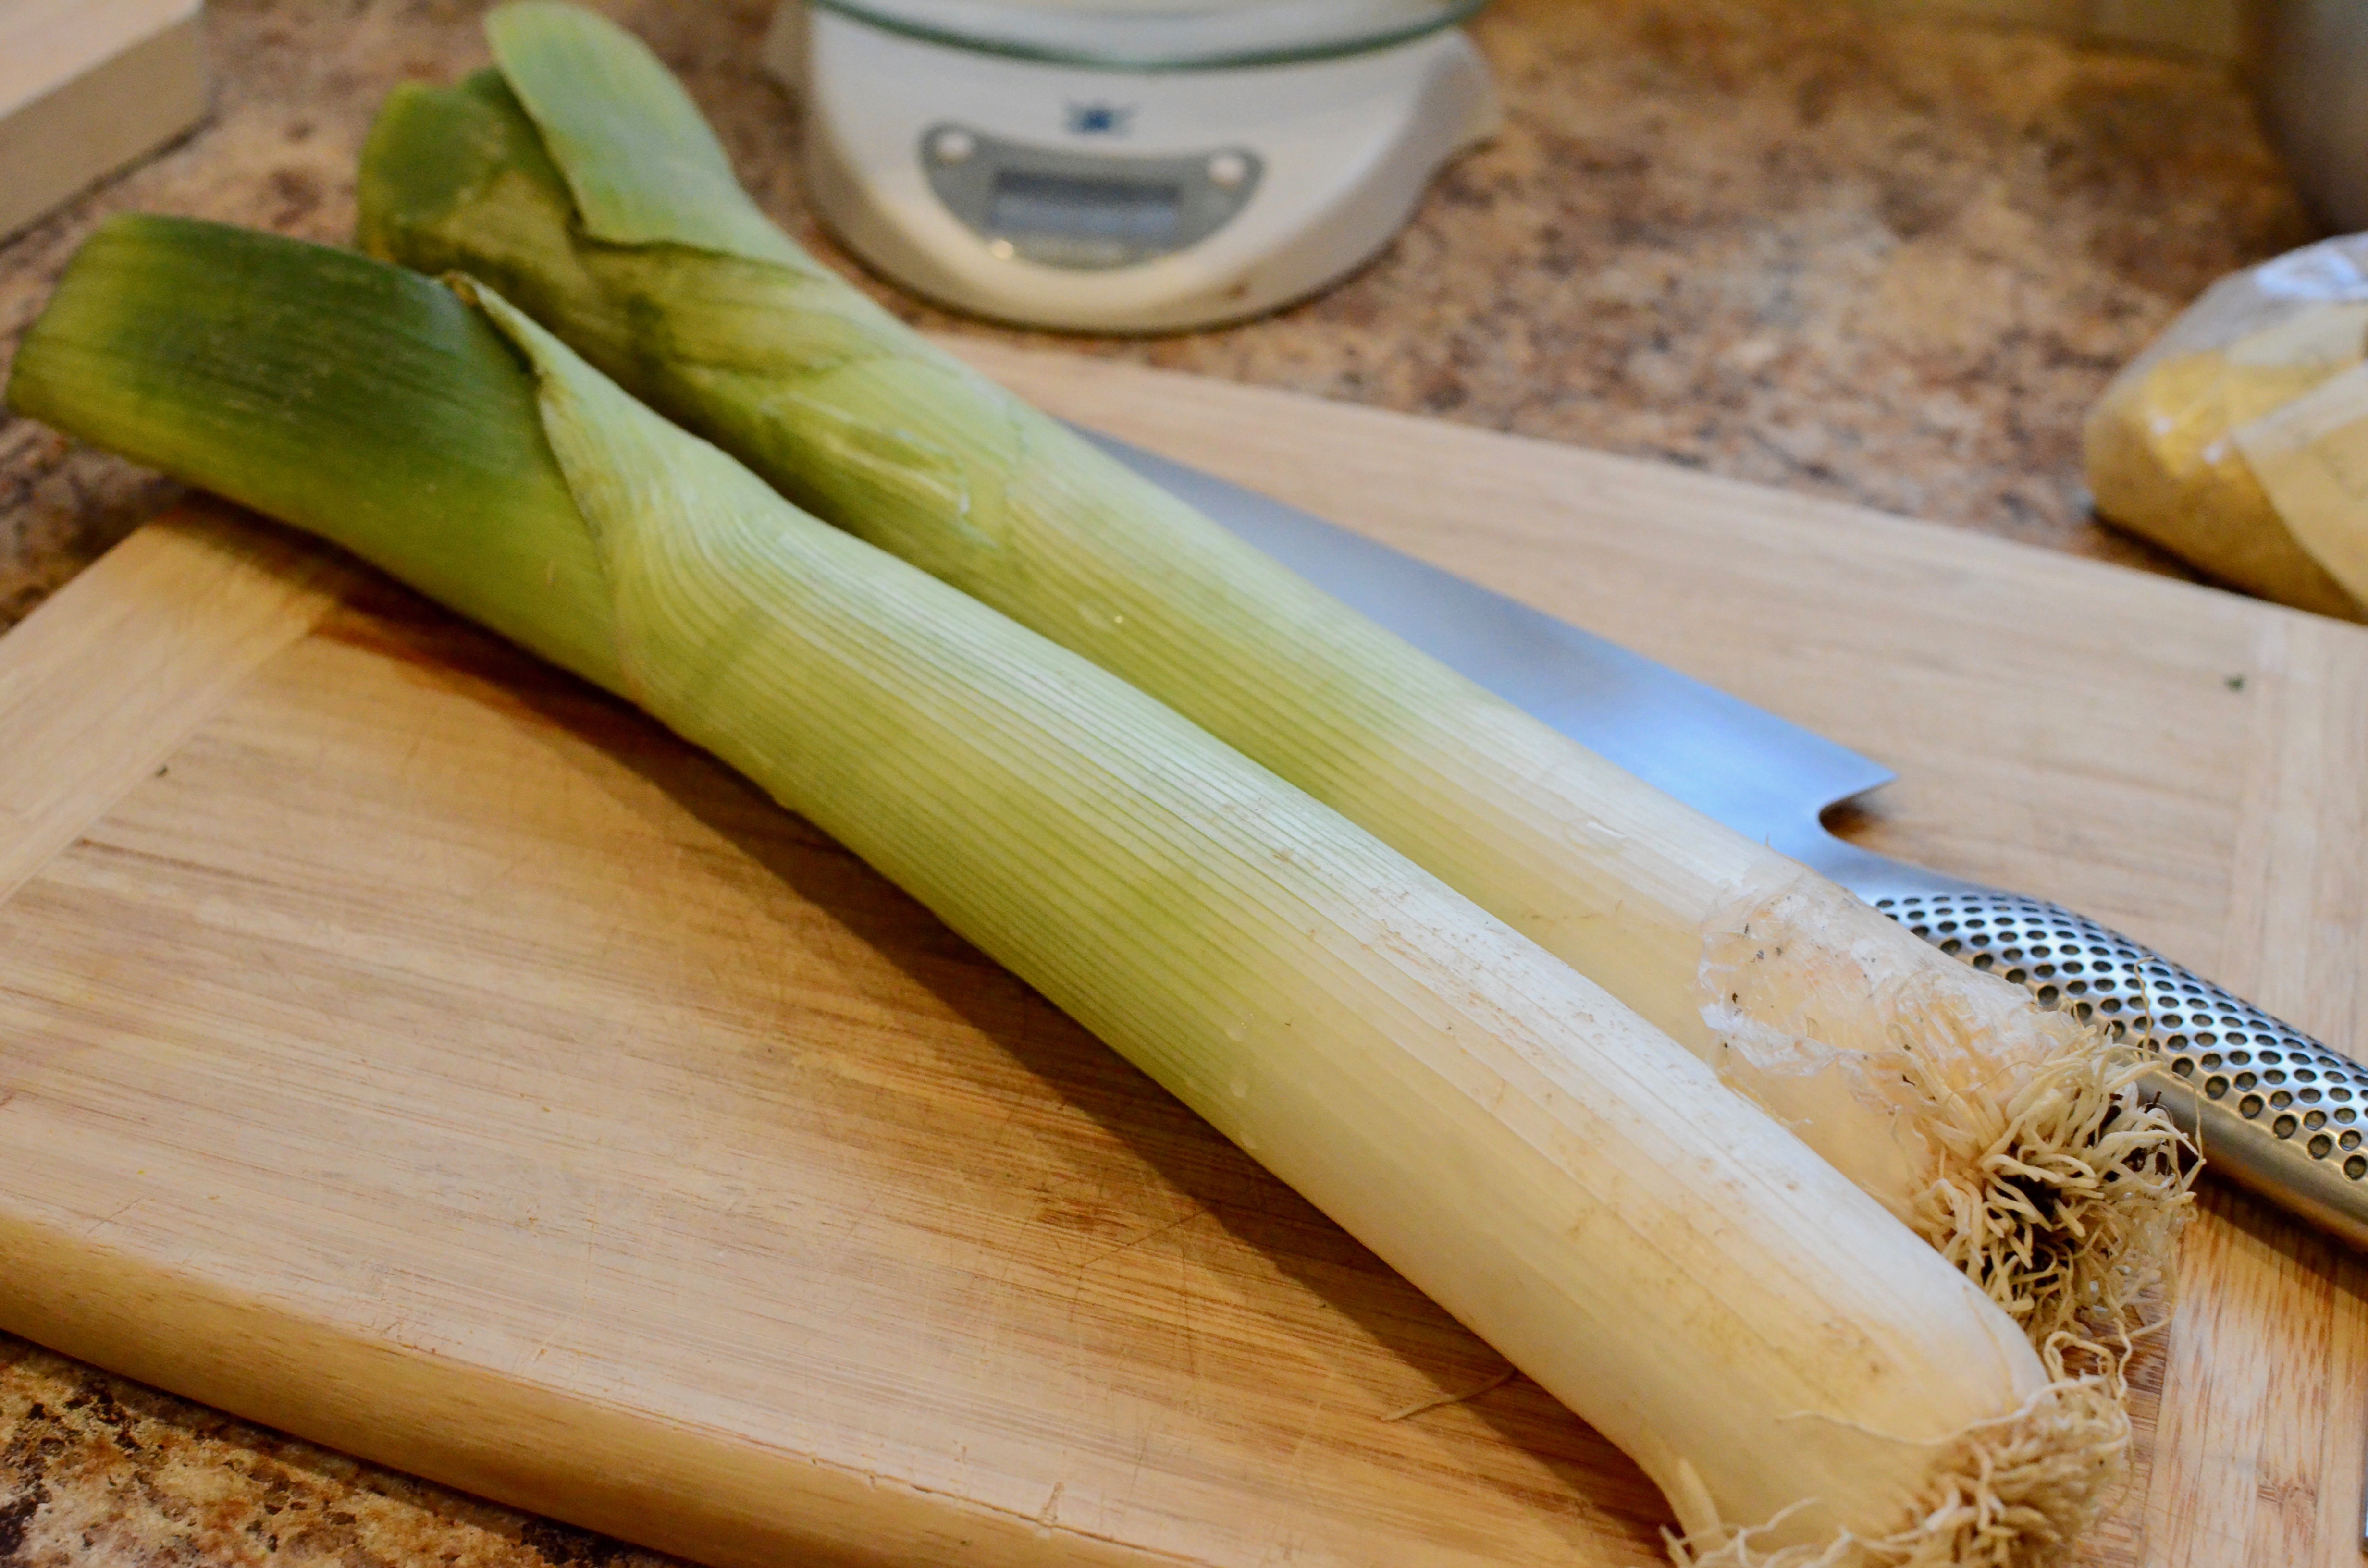
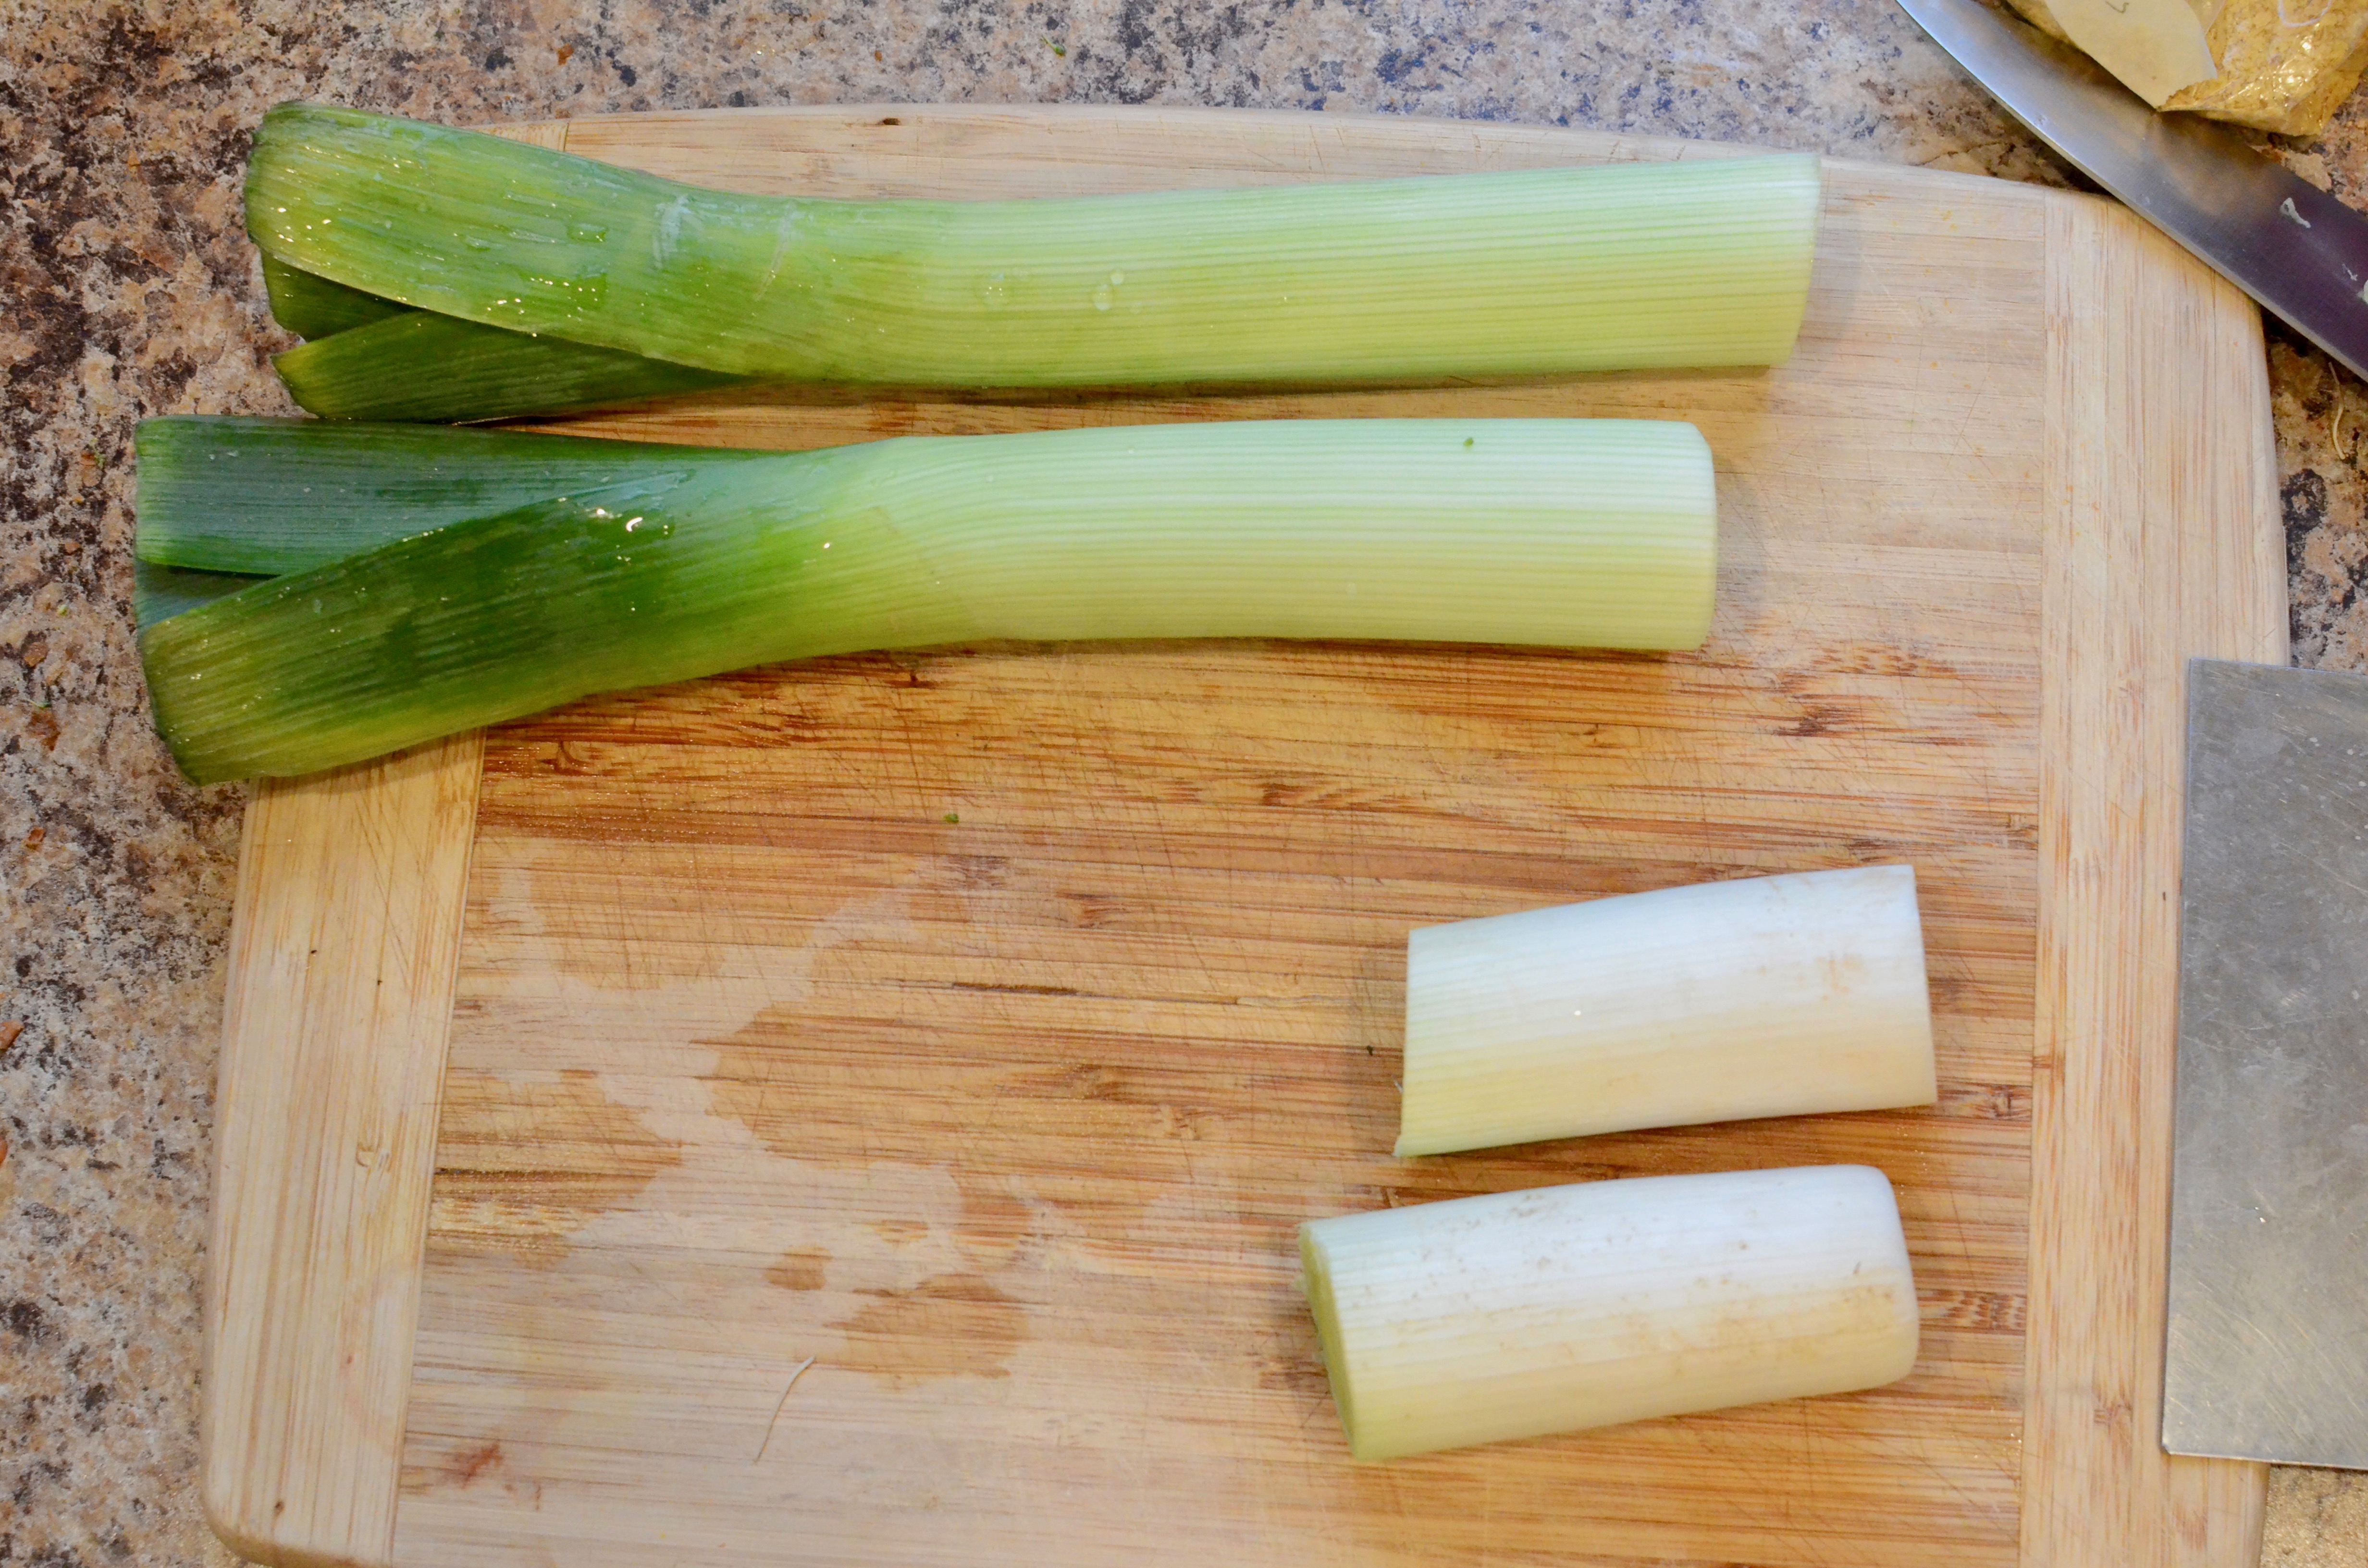
1. Prepare your leeks: remove the roots off the white ends, and cut to separate the bottom light green/white part from the greens.
Slice the greens lengthwise to make it easy to separate and clean. Submerge in cold water and swish a few times to remove the grit.
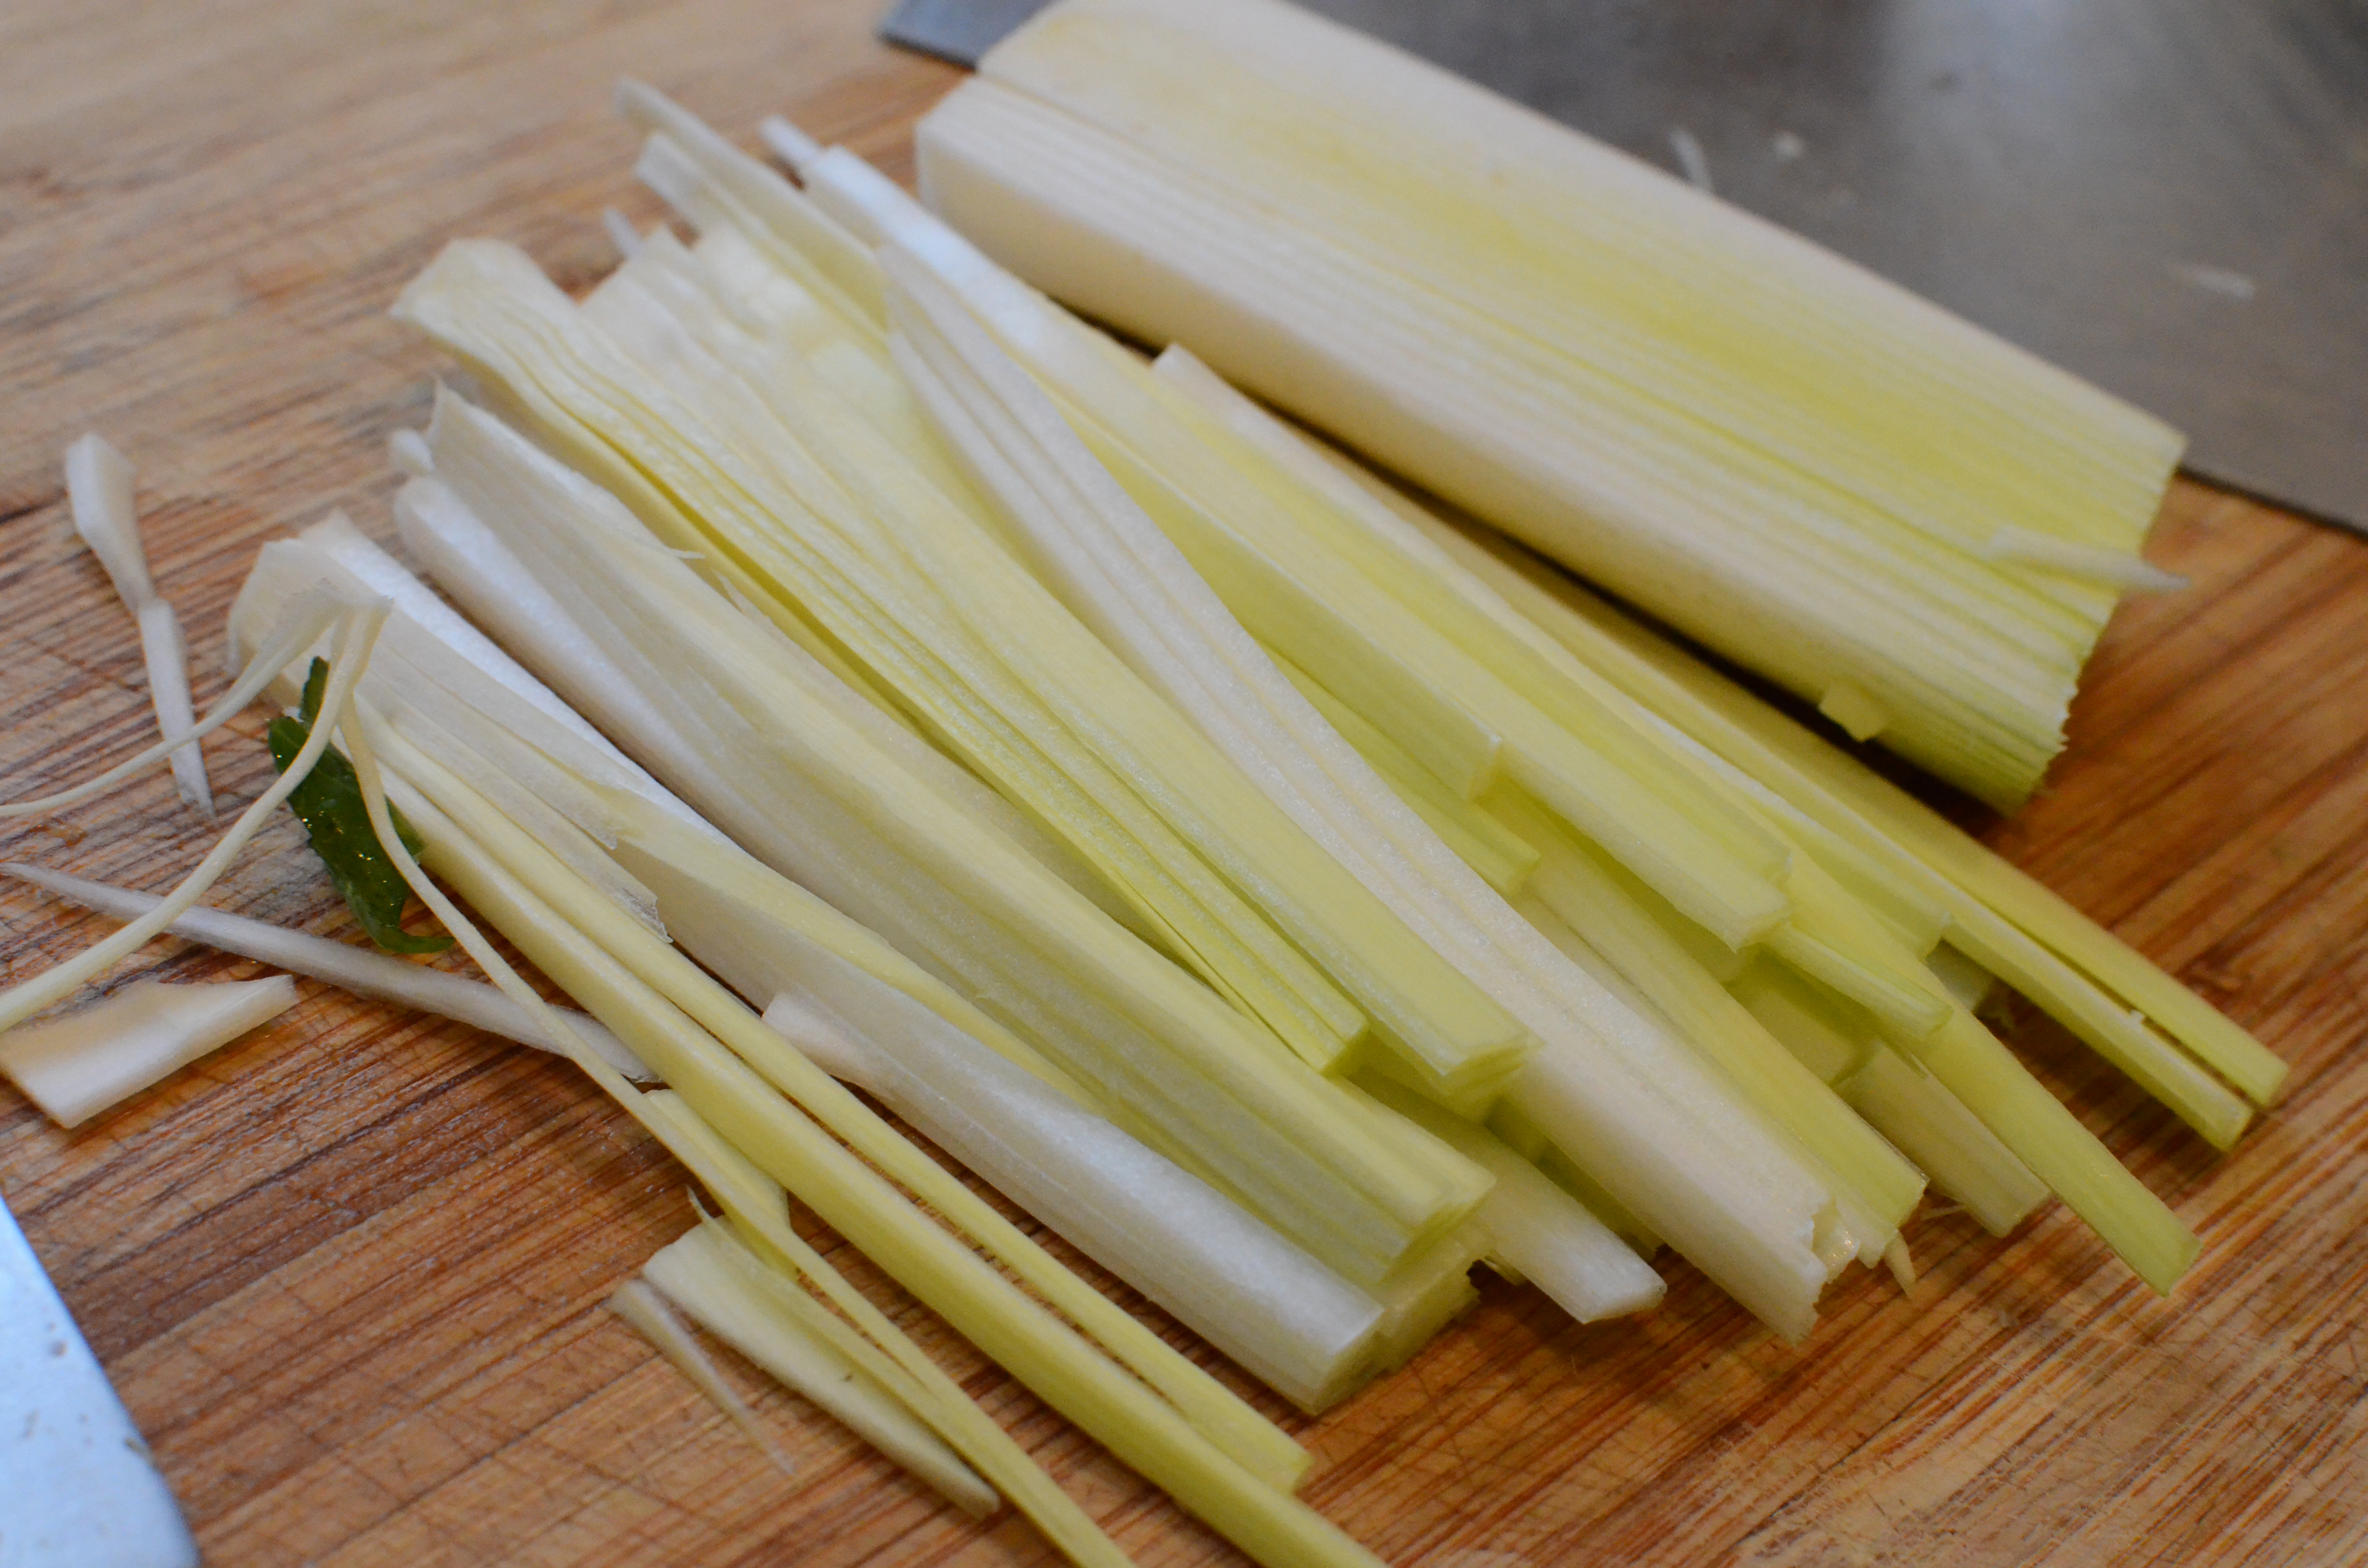
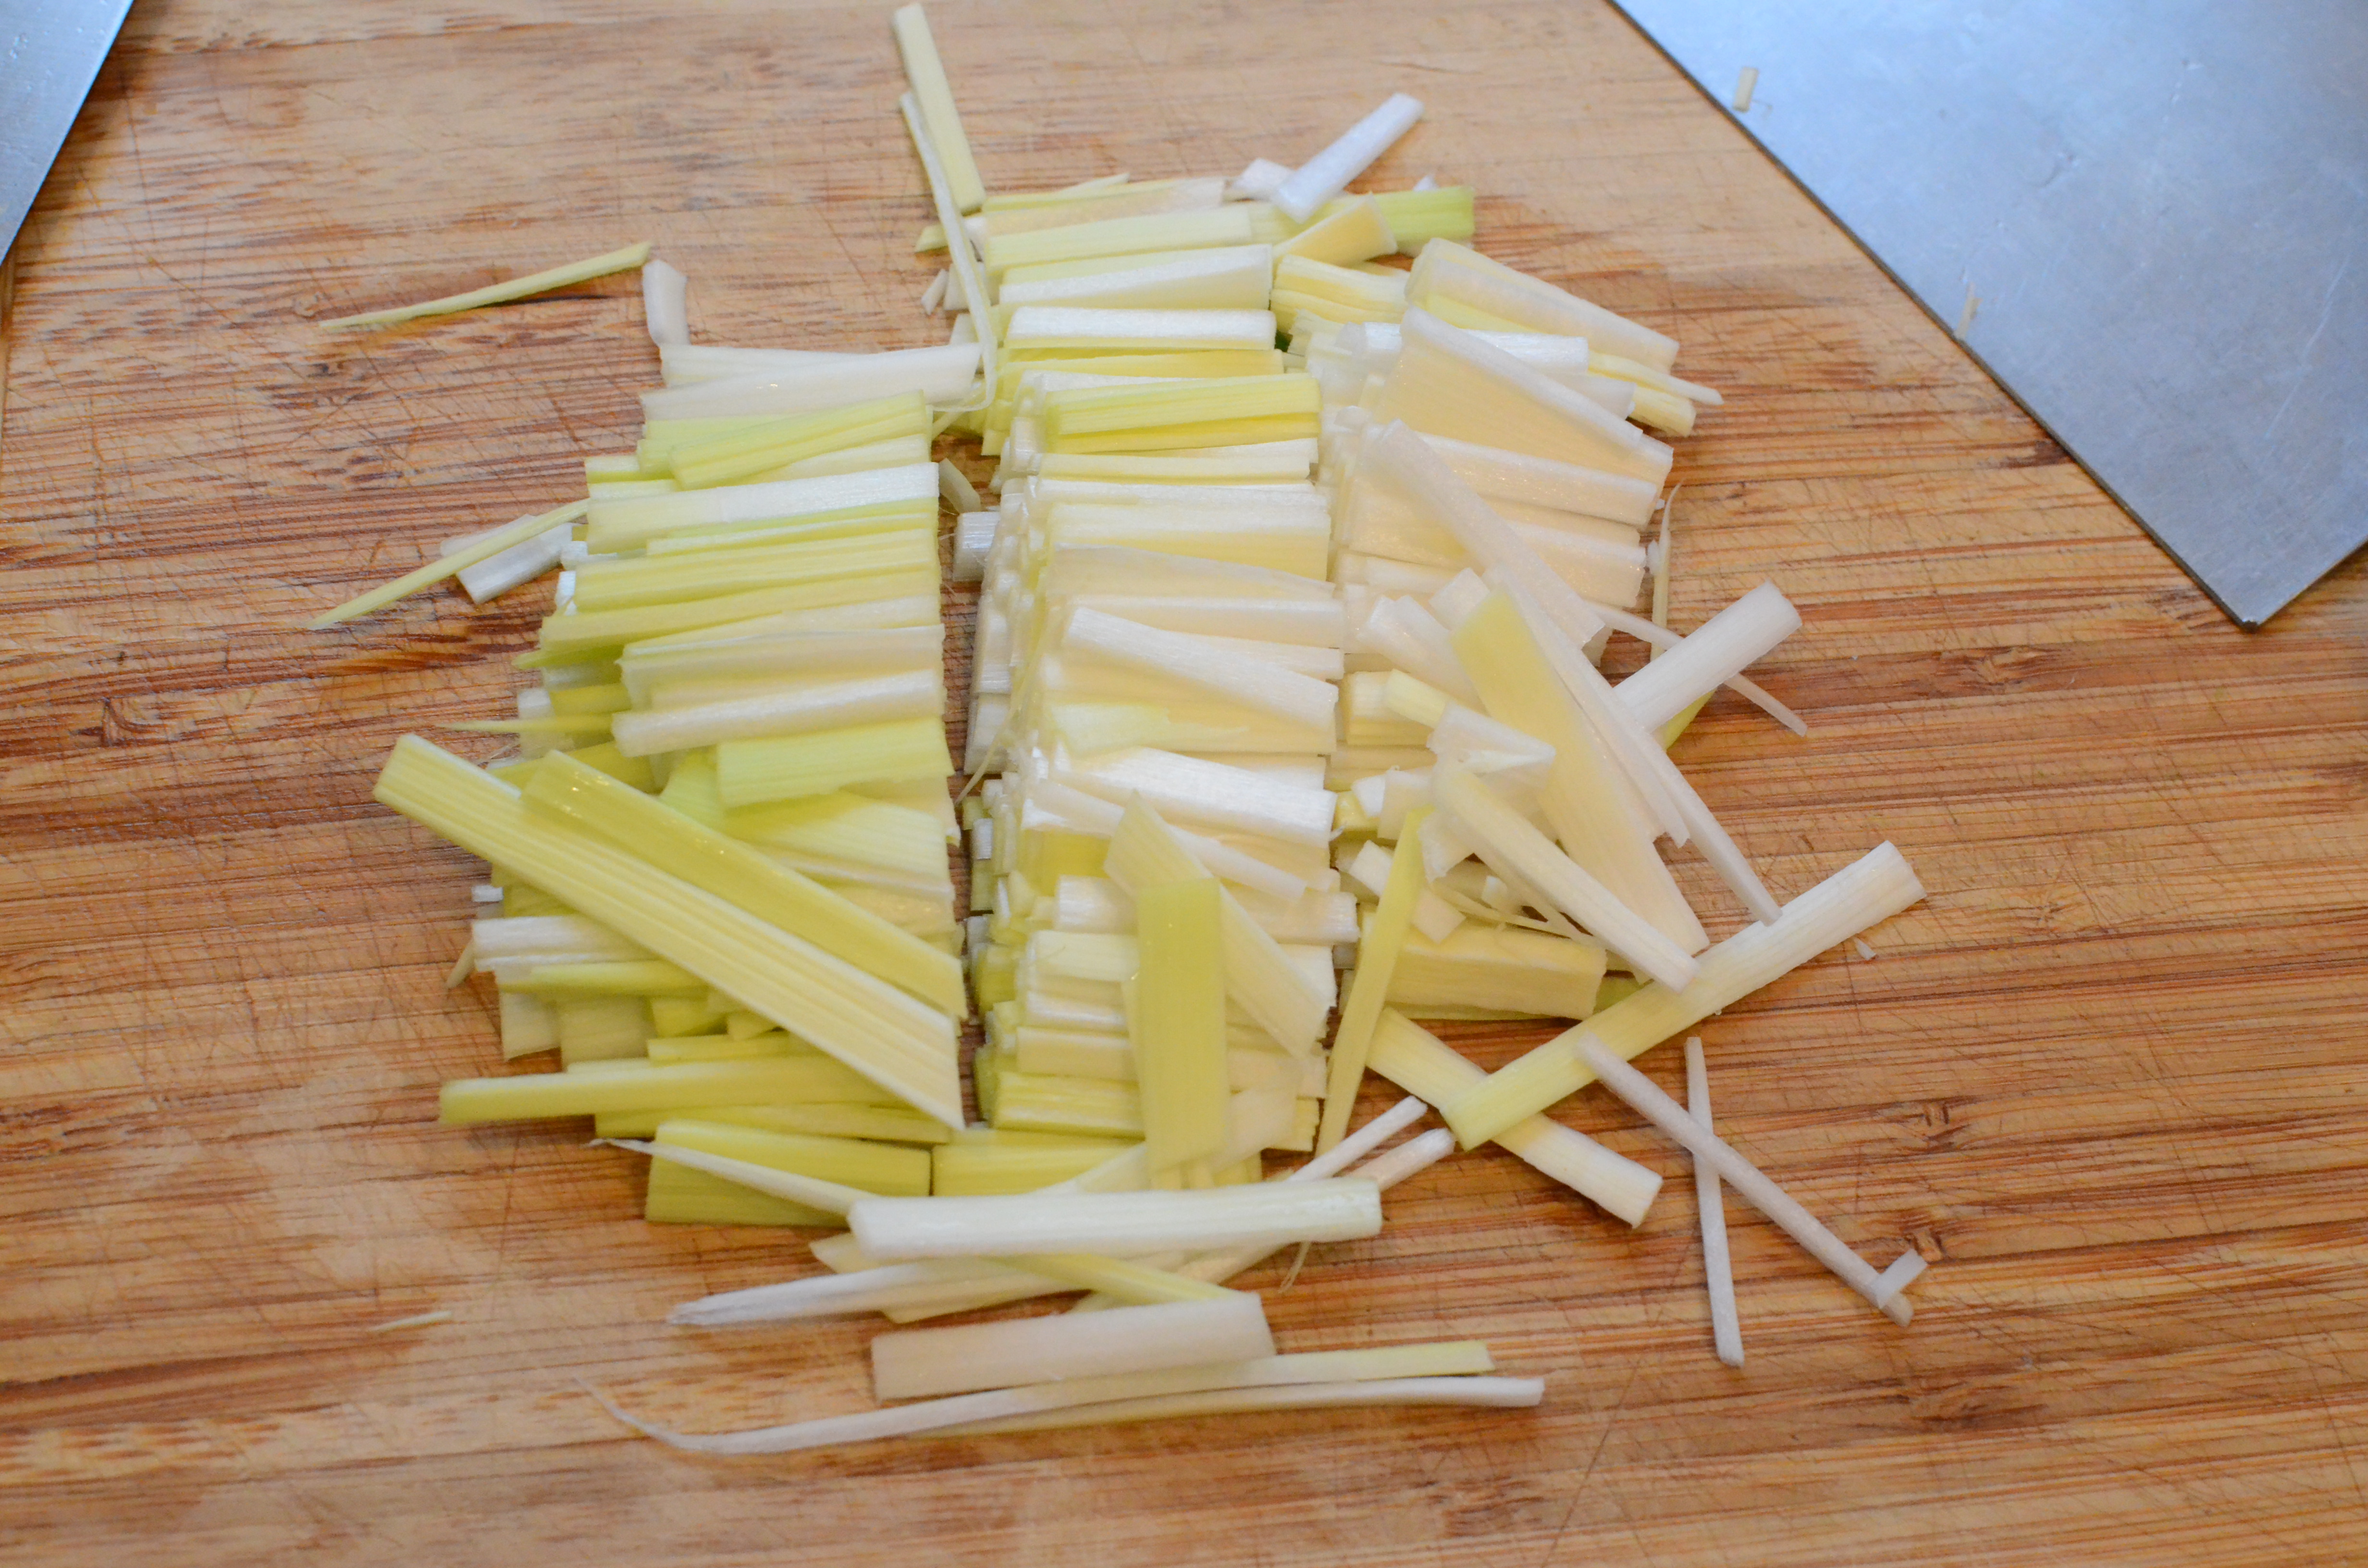
For the whites, you want to end up with small, roughly 2-inch matchstick-sized slices. You can arrive at those a number of ways, starting crosswise or lengthwise. I think lengthwise was probably the easiest.
Option 1.Option 2.
Rinse the whites until they are clean, and get them nice and dry in a dish towel.
2. Cook the greens and whites in their respective pans — at the same time if you can mange it, but either step can be done in advance or independently.
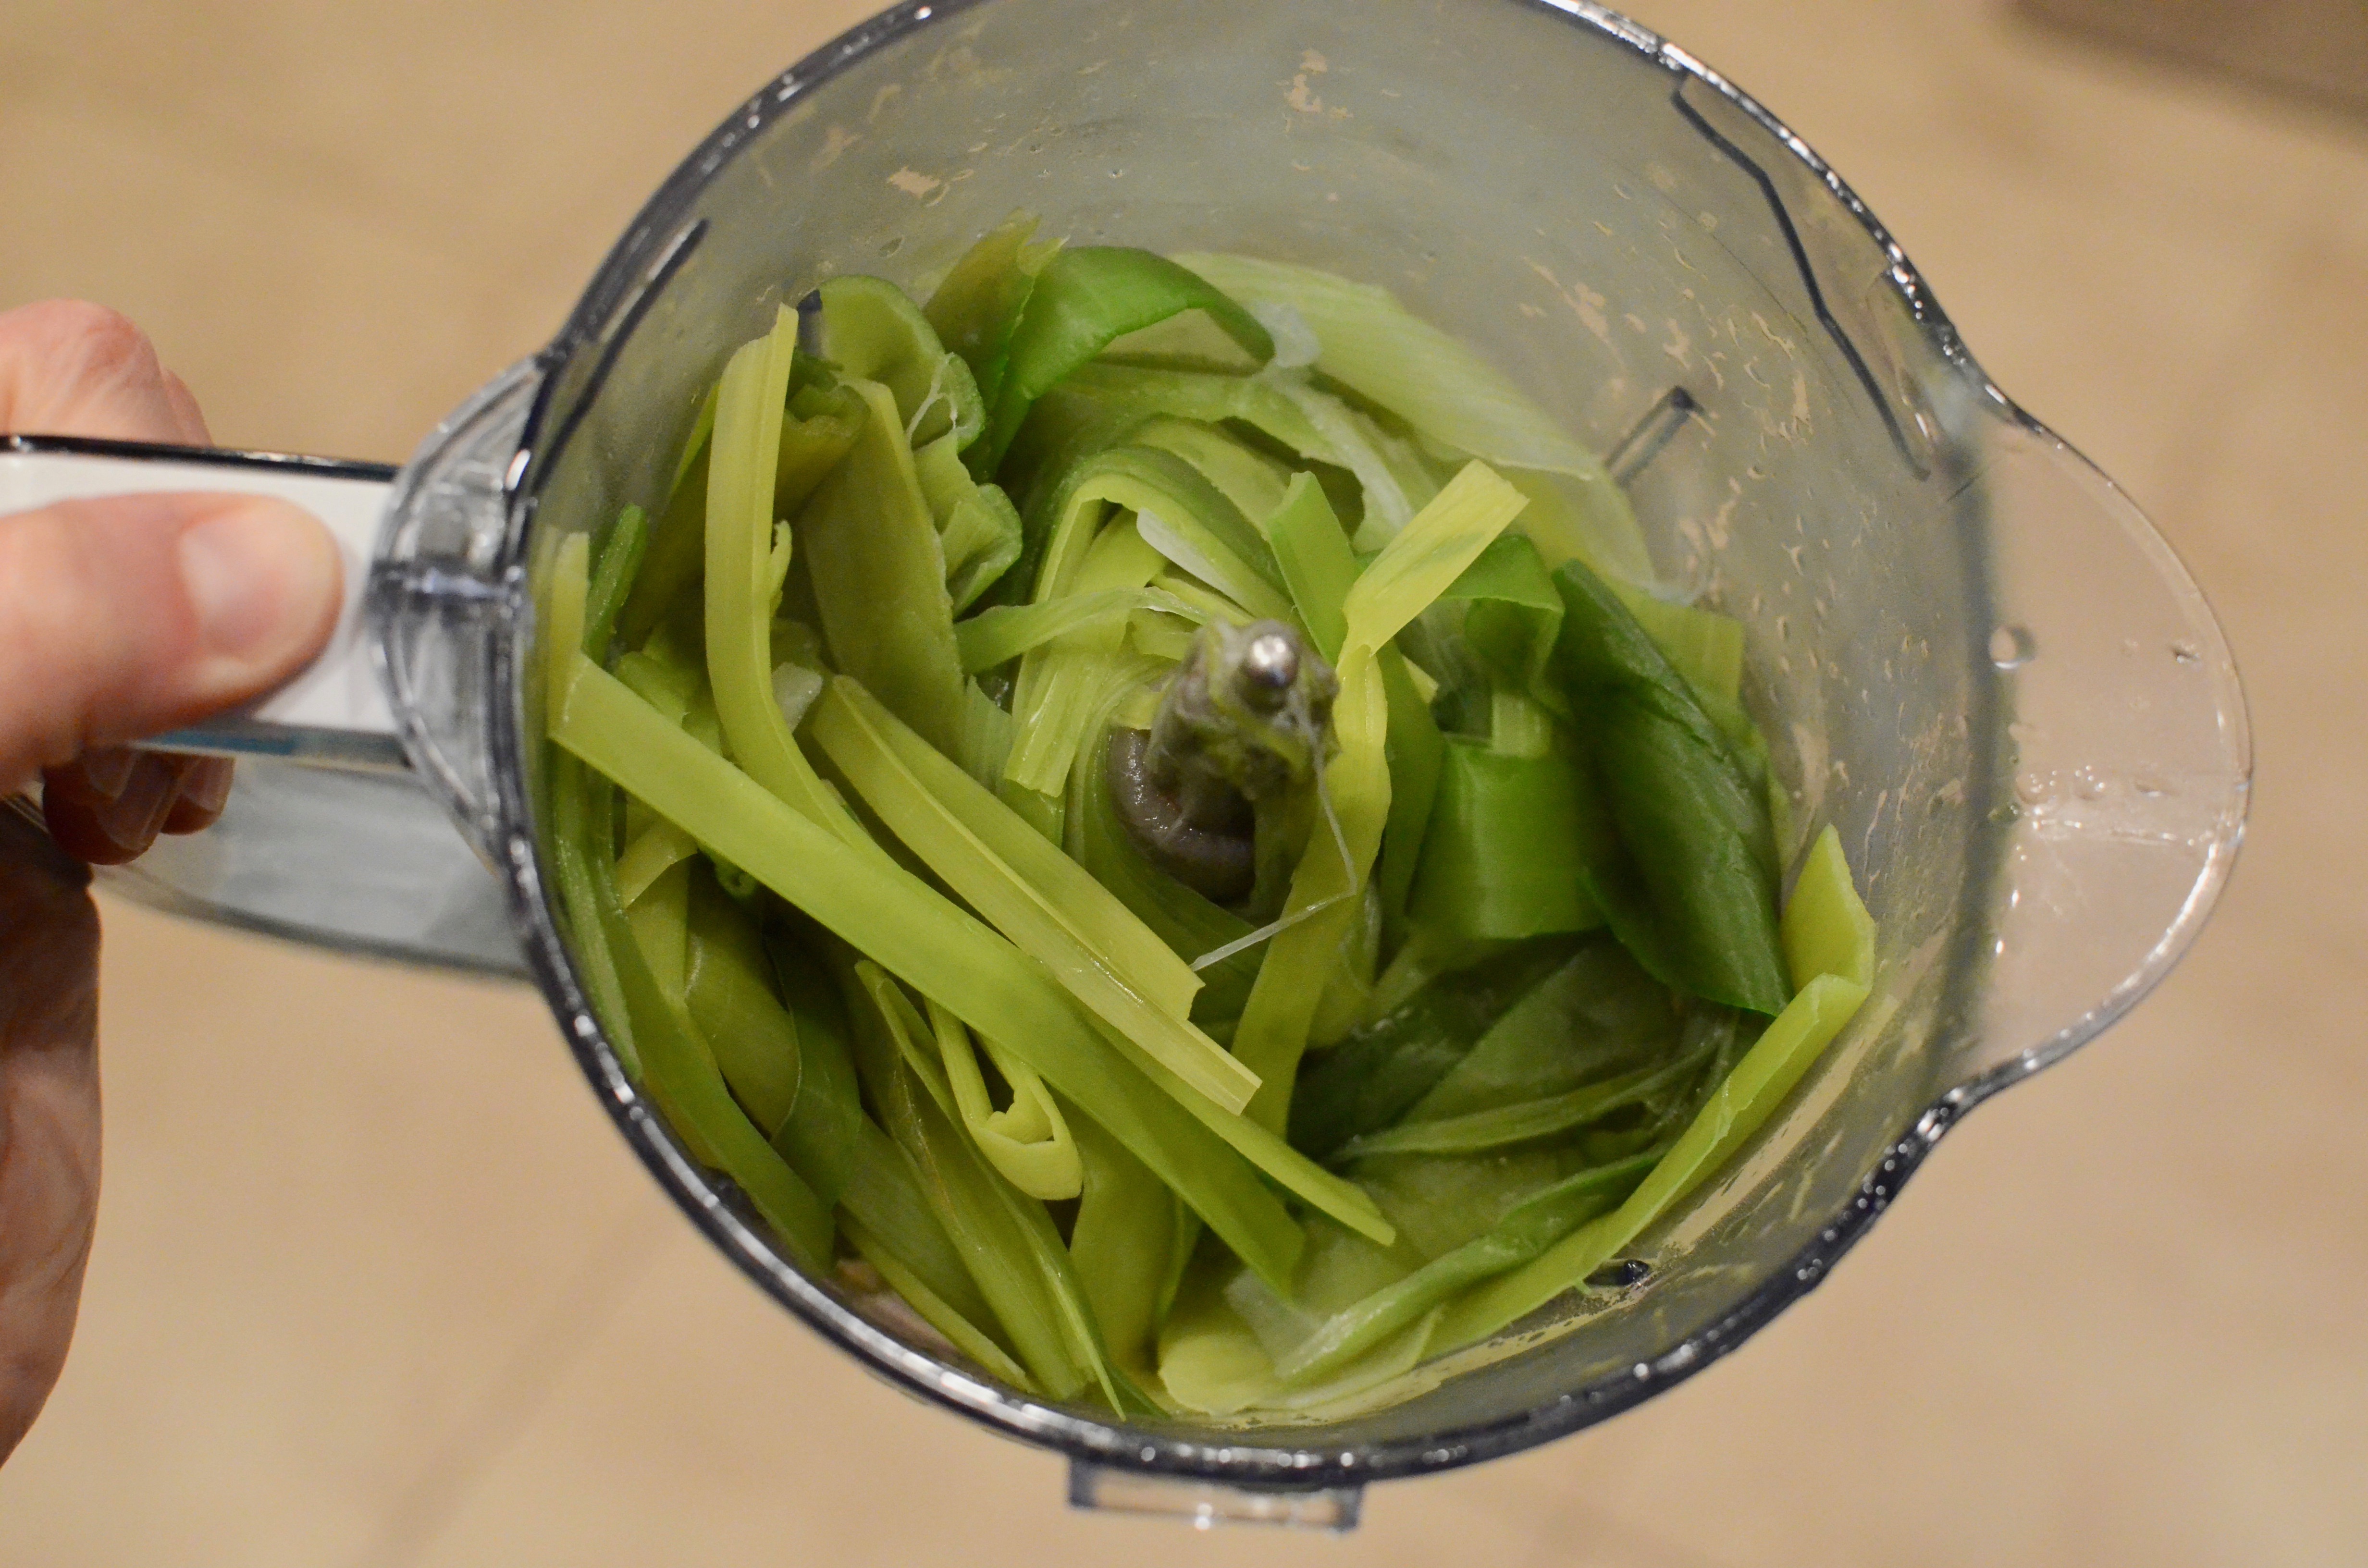
Once the pasta/greens water is boiling, add the leek greens. Cook about 8 minutes, until the greens are tender. Remove them with tongs to a blender. Leave water on high heat to boil for pasta.
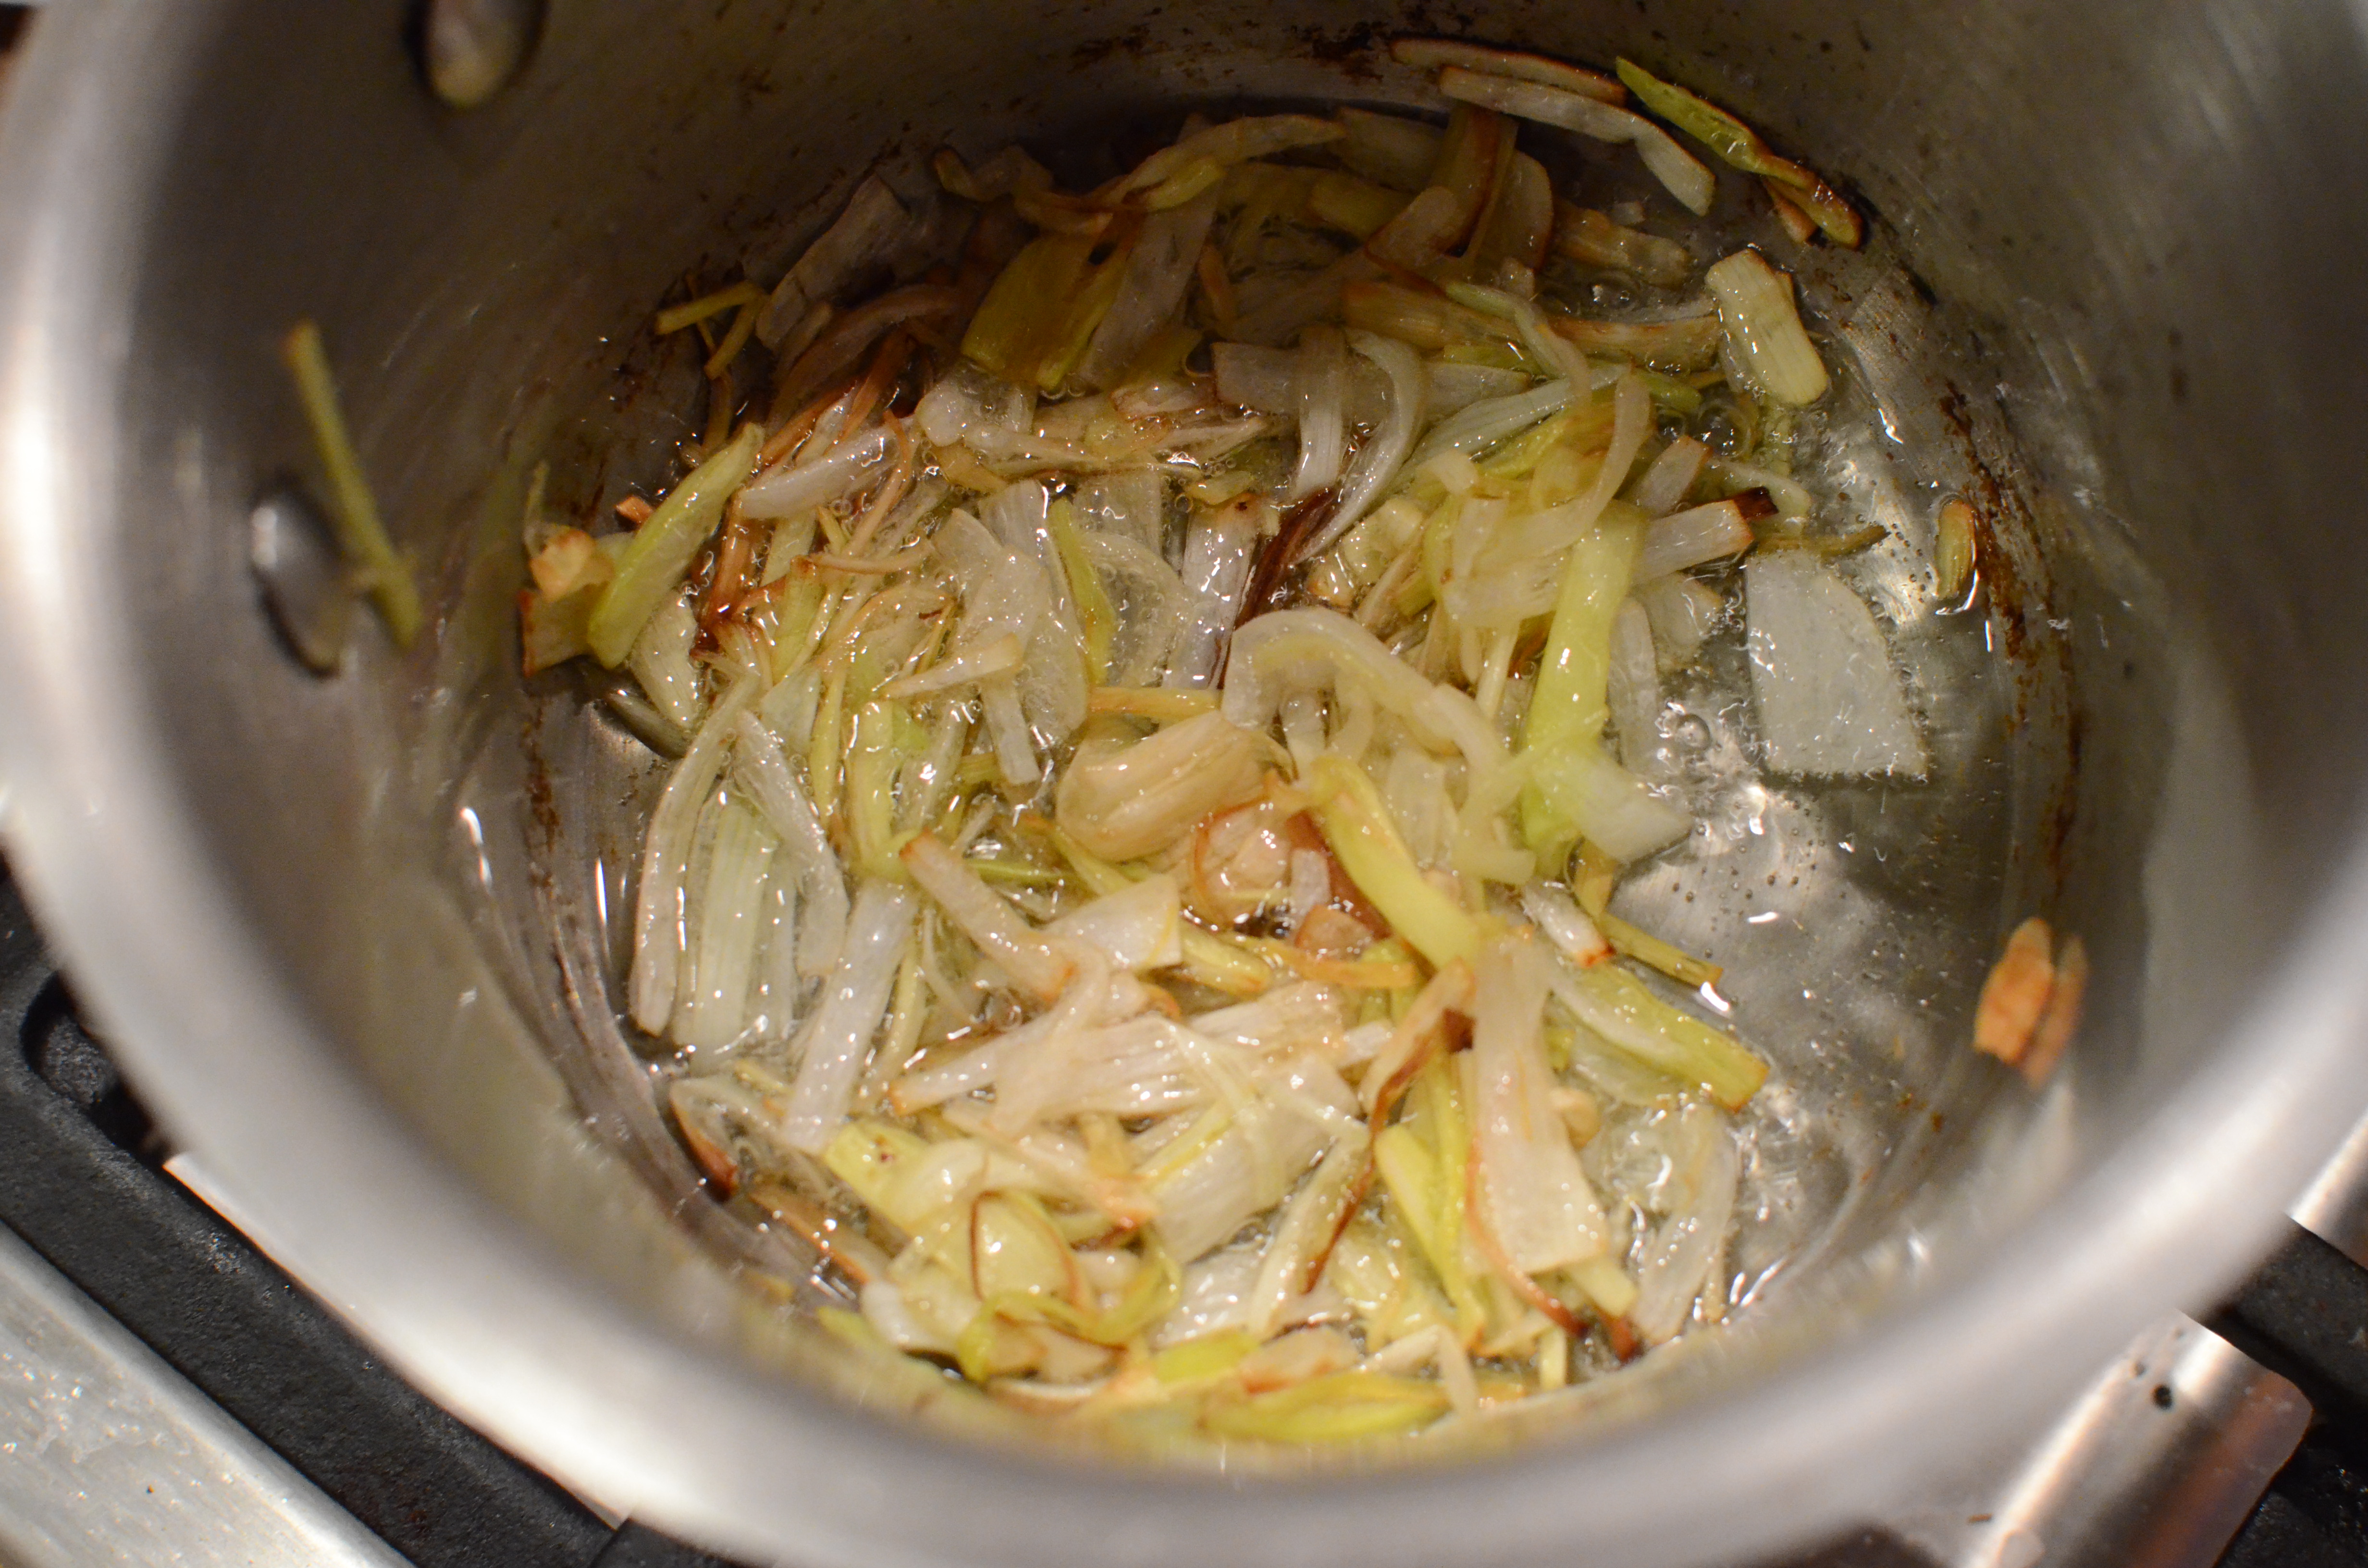
Meanwhile, get your frying pan ready with oil set over medium-high heat. Once hot, add the leek strips in batches (I did 3), cooking and stirring frequently until some of the pieces start to get golden. Remove them from the pan with the slotted spoon, leaving as much oil behind has possible. Drain on paper towel-lined plate.
One thing in the instructions I appreciated was when it said that the leeks won’t cook evenly and it’s not you! The leeks continue to cook a bit longer after being removed from the pan, so you don’t need to wait until every single piece looks brown–otherwise you risk burning some.
As I continued to to each next batch, I got bolder about letting the leeks go darker (see right column above).
Season with salt. Set oil aside to cool.
3. Cook pasta. Add to the boiling water. Lower heat slightly and stir occasionally as you cook the pasta until it is not quite al dente (I went about 2 minutes less than the package instructions).
Before draining the pasta in a colander in the sink, pull out 1 Cup of pasta water. Return the pasta to the pot.
4. Prepare sauce. To the blender with the leek greens, add the leek oil, 2/3 Cup of the pasta water, a generous pinch of salt and pepper, red pepper flakes and other seasoning that fits the Italian flavor profile.
Blend ingredients together into a creamy sauce.
Pour into the pot with the pasta, stir, and taste. You may need additional pasta water and seasoning to achieve the desired texture and flavor (the toppings add a lot of flavor).
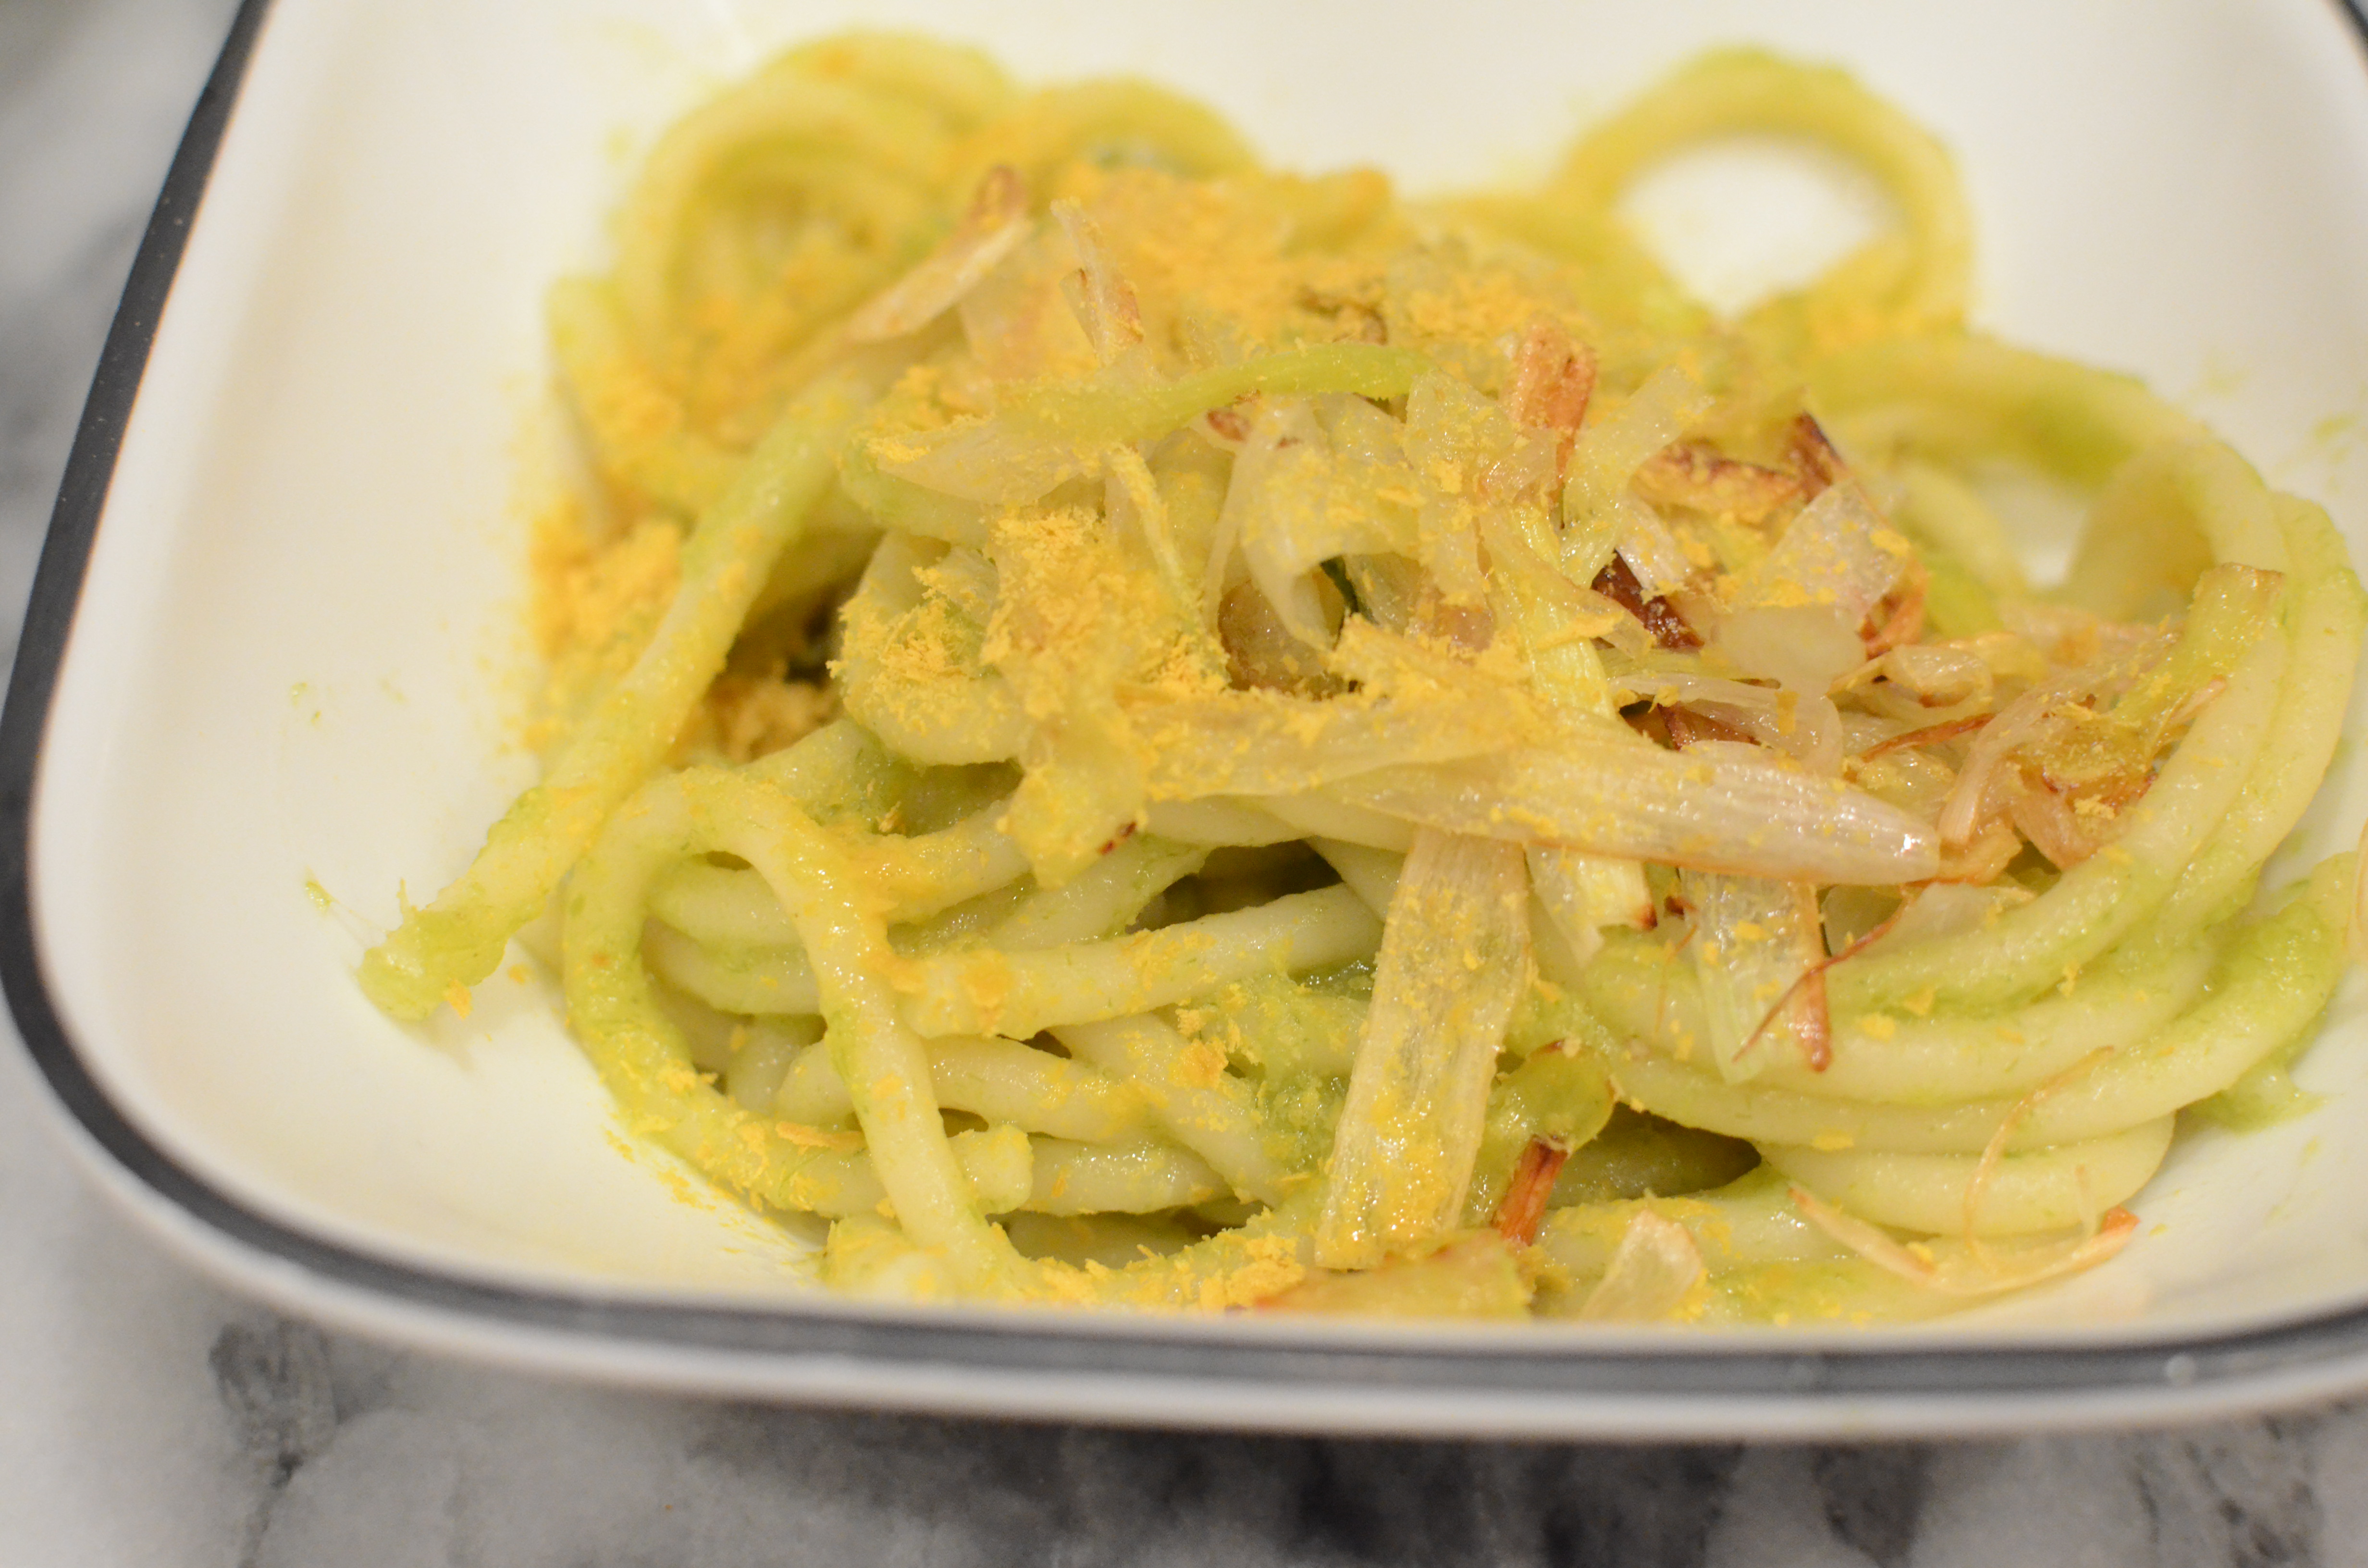
Serve in a bowl or on a plate, and top with a little lemon zest and juice, nutritional yeast, and frizzled leek.
I enjoy prepping vegetables for meals. I really do. Give me a sharp knife, a large, solid cutting board, adequate prep bowls, a compost bowl, and (ideally) sunlight streaming through the window and I will contentedly slice and chop away. I crave the activity even now, with two children, and seek to carve out the time for it at least a few days when someone else is caring for them. It’s a privilege, I know, to have access to fresh foods, resources and time to prepare healthy meals. I’m grateful. It’s another reason why I work to make the most of the ingredients and leftovers in my home.
As someone who prides herself on efficiency, I should get myself in the habit of doing bulk prep—processing produce for a series of recipes at one time. I’m disappointed in myself for falling short there. So last week, I buckled down, focused, and made a plan. I incorporated several languishing ingredients from my ample stock in a few various recipes.
The plan centered around my bunch of red kale from my farm share. It was one of the more perishable ingredients remaining in my vegetable drawer (other than the herbs), though at the same time, I remembered I needed to jump on cooking the beet greens. So those were planned for the one pot pasta – along with the can of tomato sauce I sent tumbling and denting on the garage floor.
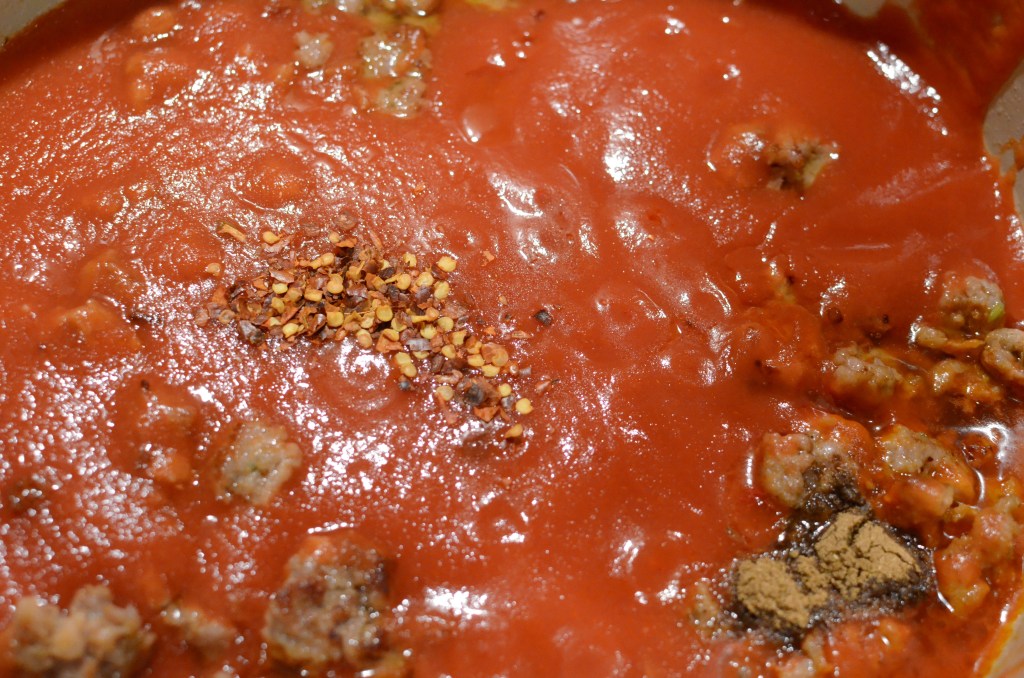
Exhibit B – dented tomato sauce can. Used for One Pot Pasta with Sausage and Greens. Replace cayenne with red pepper flakes.
Some of the kale was used in a complex chicken dish (recipe below) that also used farm share potatoes. It was a welcome change in starch after over a week of rice dishes (which my husband never tired of).
Side note: here’s a tip (that any good chef and kitchen manager knows) — label your prep! Because I skipped this step, I ended up mixing up one of the kale containers and beet green containers and swapped the two in the aforementioned recipes. (Fortunately, it wasn’t a critical mistake in this case. Nor was the barbecue sauce I poured over my salad last night, instead of balsamic dressing — I imagined it was a southwestern salad and it was entirely edible! No food waste…)
The last of the kale became kale chips, inspired by a recipe sent along with “wine flour” a friend sent as a gift. He knew well my penchant for delicious, upcycled ingredients. In the past, spent grain flour from RISE worked wonderfully in a chocolate bread. I’m a fan of Toast Ale and White Mustache Yogurt Probiotic Whey Ice Pops, to name a few. I hadn’t yet heard of Finger Lakes Wine flour. It’s made using the byproduct of wine-making. I was given a bag of Riesling wine flour.
6 Cups (packed) Torn Kale 2.5 Tablespoons Wine Flour ¼ Cup Plus 1-2 Tablespoons Grapeseed, Canola, or other vegetable oil
Salt for sprinkling on top (I used Maldon flakes)
As you can see, “wine flour” is made up of leftover skins and seeds of grapes. When I opened the bag, I took a deep inhale. It reminded me of the scent of a multigrain raisin bread I recently had. Which make sense if you consider raisins are dried grapes, and the bread grains and seeds could be compared to the grape seeds!
The process for the kale chips is very straightforward:
Pre-heat oven to 350 Fahrenheit
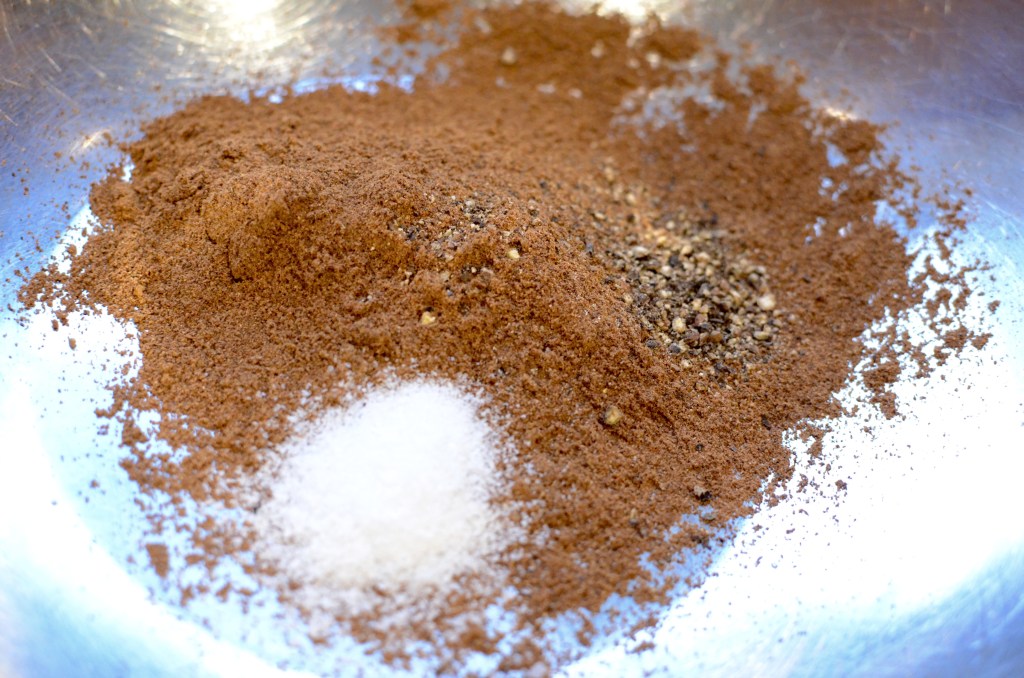
Mix seasoning ingredients
3. Add to and massage into kale
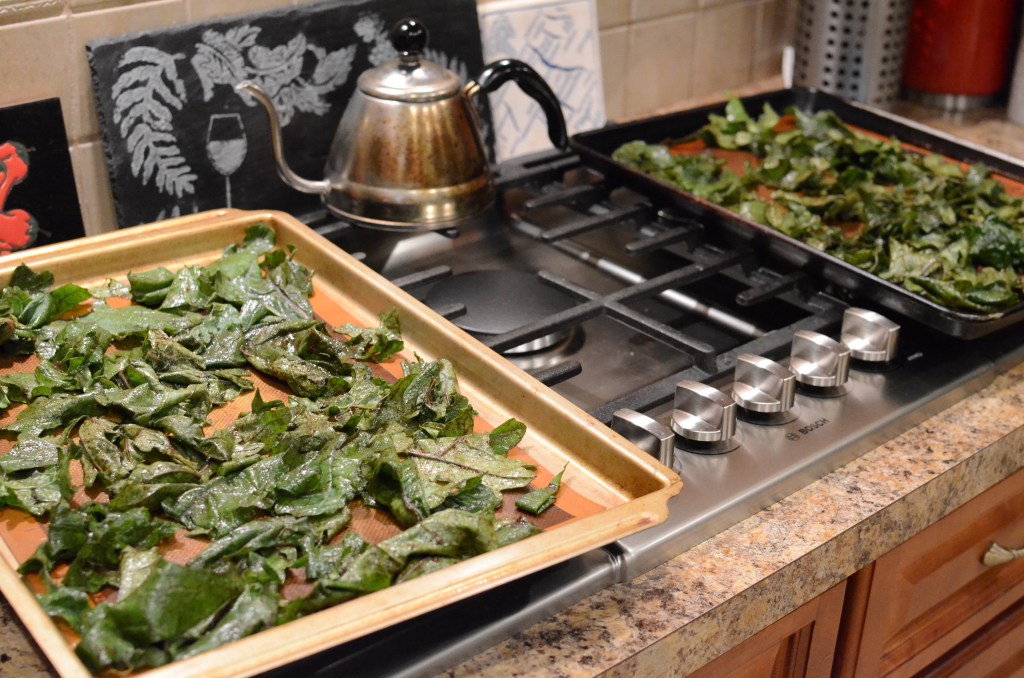
4. Spread on baking sheets
Bake until crisp but not burnt (around 15 minutes), rotating and switching around pans in oven every 5 minutes or so.
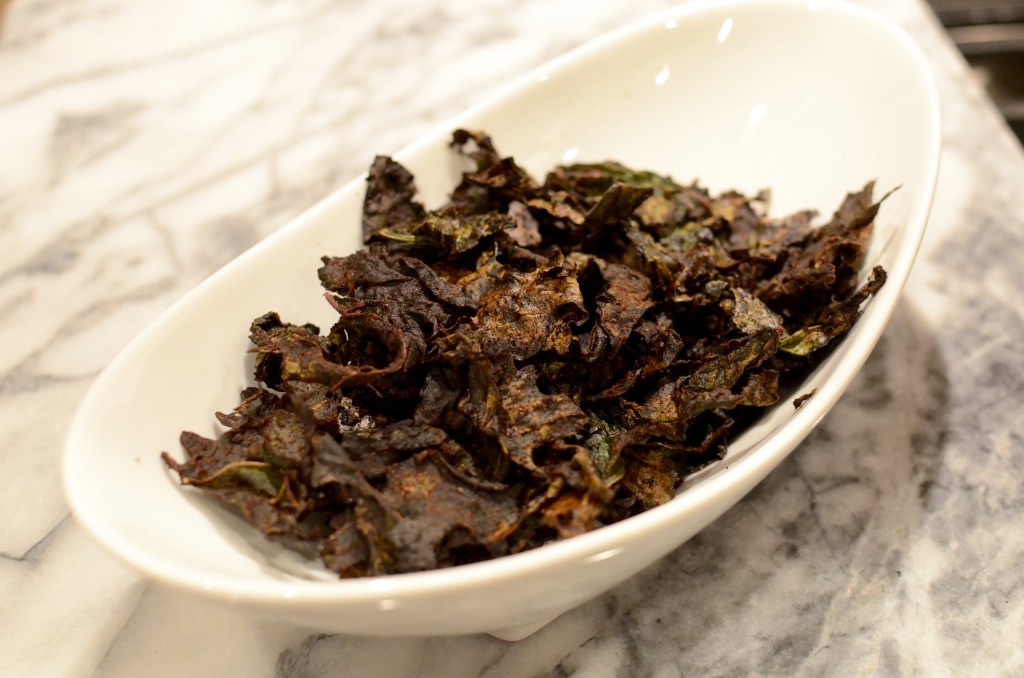
Notice how dark these are! They weren’t burnt, but it is very hard to tell with the darkness of the wine flour.
My preschooler munched away on the kale chips, saying he liked them better than the last time I made them with a different recipe (no wine flour). Success!
1 Tablespoon olive oil 5 to 6 ounces(2-3)sweet or hot Italian sausages, casings removed 1 (28-ounce) cantomatoes – sauce or crushed (you don’t want a lot of texture here) ½ teaspooncumin ½ teaspoonred-pepper flakes Kosher salt 1 pound dried pasta (penne, or other tube pasta) About 5 ounces greens, such as beet greens, kale, or spinach ½ CupParmigiano-Reggiano, freshly grated
In a Dutch oven or other large, deep lidded skillet, heat the oil over medium-high until shimmering. Add sausage, broken apart, and let start to brown in the pan for about a minute.
Continue to cook the sausage for another 5 minutes or so, taking breaks between stirring and breaking it up, until you have small, brown, crispy chunks. Drain any excess oil, leaving about 1 Tablespoon behind.
Add the tomato sauce in carefully, then incorporate the cumin, red-pepper flakes and 2 cups water. Add a generous pinch of salt and turn up the temperature to bring liquid to a boil.
Add the pasta, and mix in to coat with the sauce. Lower the heat to a simmer (I moved my pot to a different burner), cover, and cook until al dente (check a minute or two before the package instructions say). Be sure to open very few minutes to stir so that nothing sticks to the bottom of the pan. You may need to add in a few tablespoons of warm water.
Reduce the heat further, and season to taste with salt. Add your greens a little at a time and cook until wilted. Here’s the kale strips added; it was no less delicious as it would have been with beet greens!
Serve in bowls, topped with cheese.
In my house, bread for sopping up sauce is also a must.
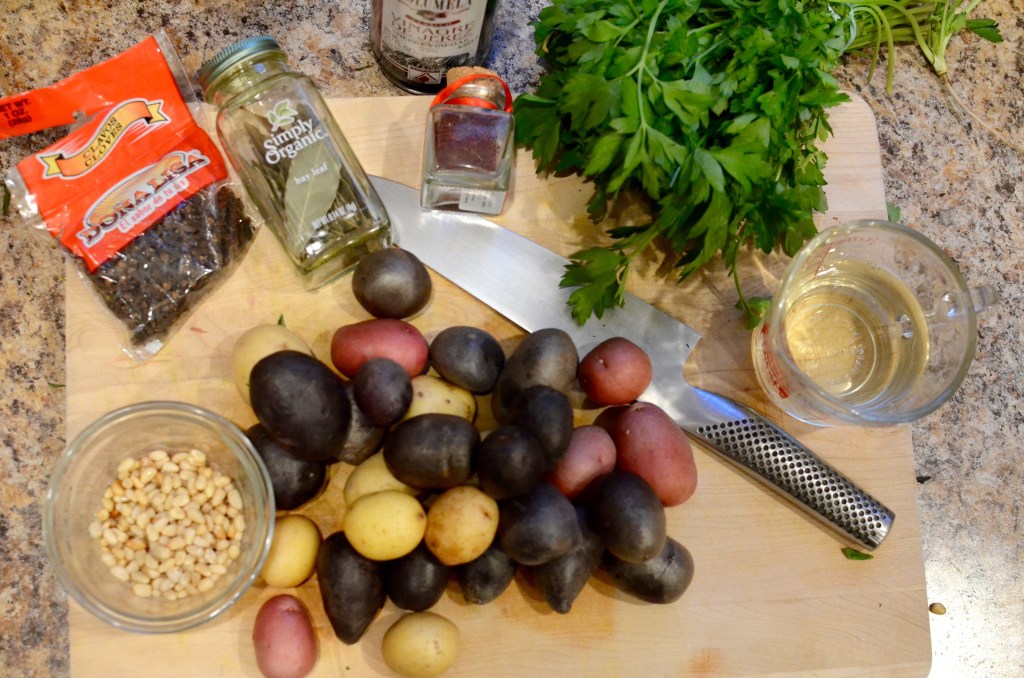
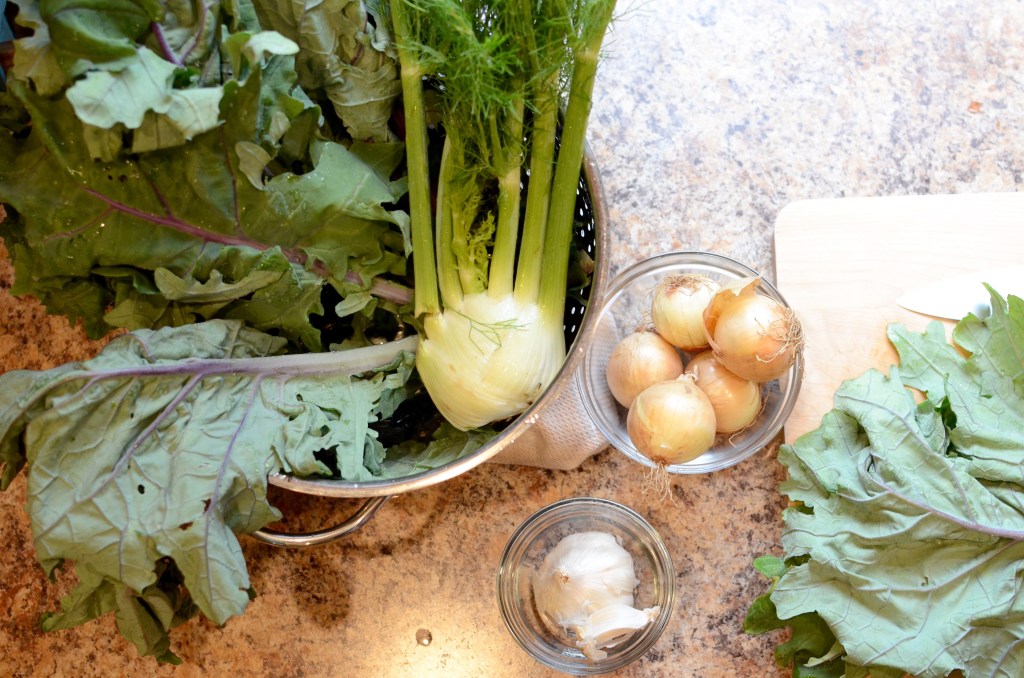
3 Tablespoons olive oil 6bone-in, skin-on chicken thighs (I only had 4 and it was not enough!) Kosher salt and freshly ground black pepper, to taste 2 medium (or 5 small!) onions, sliced 1 fennel bulb, chopped (this replaced celery in the original recipe. Another CSA share item I had to use up!) 8 whole garlic cloves, smashed and peeled ⅔ Cup dry white wine 3 Tablespoons sherry vinegar, plus more if needed 3 Tablespoons pine nuts, toasted 4 dried bay leaves 4 whole cloves Pinch of saffron (optional) 1 pound baby potatoes, washed and halved About 1.5 Cups chicken stock, broth, or water (I used a combination of leftover chicken glace and water ~3 ounces greens (such as kale or beet greens), stemmed and thinly sliced 1-2 Tablespoons unsalted butter (depends on the richness of your chicken broth or stock) ¼ Cup Italian flat leaf parsley, chopped, plus more for serving
A note on this recipe: it was very helpful to have most of the ingredients prepared ahead of time. In terms of chopping, I really only reserved the parsley and potatoes for dinner time, since herbs should be as fresh as possible, and uncooked potatoes turn black if left cut (though they can be submerged in water.)
While I was working on the kale, fennel, onions and garlic in advance, my older son came over and, completely unprompted, picked up an onion and started to help me peel. My heart was warmed with pride and happiness!
Still, the recipe takes much longer than I prefer. It is a braise after all. It was challenging to monitor and taste and execute especially on a night when our 4-month-old decided to stay up until 10pm.
At least he’s cute.
But I do recommend it as a special occasion meal or preparation for dinner guests (if we ever have those again).
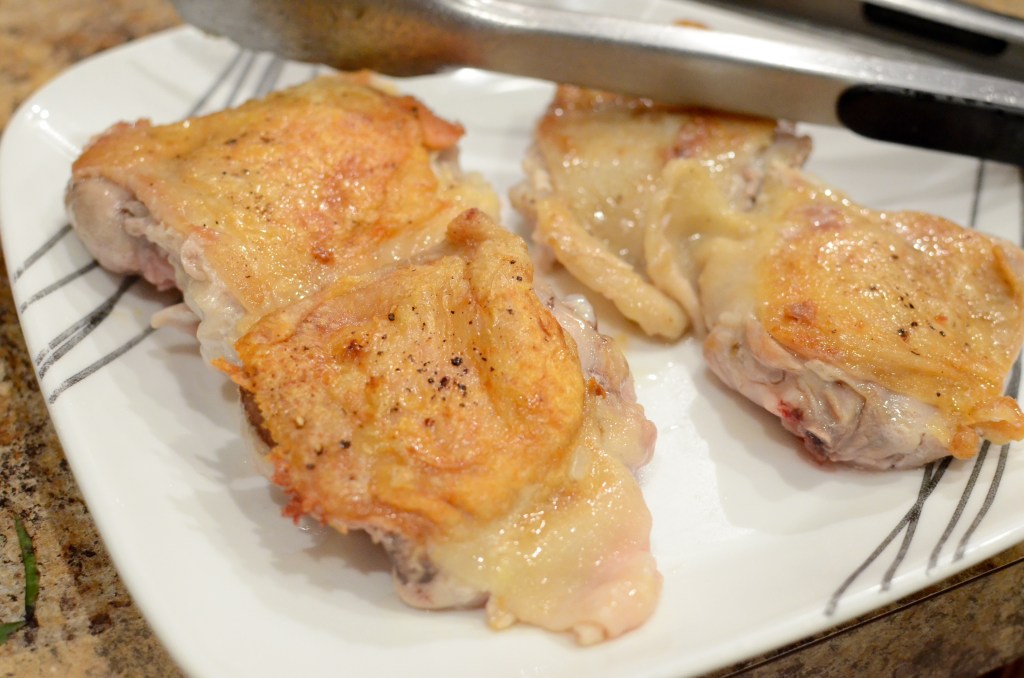
Season chicken pieces with salt and pepper.
Add oil to a Dutch oven or other large, deep skillet that will fit all of the chicken pieces in one layer. Heat over high heat until shimmering so that the chicken pieces (skin-side down) will sizzle once added. Turn heat down if/when there is popping or burning. Brown skin until it pulls away from pan easily, about 10 minutes. Remove to a plate and set aside.
3. Add onions, fennel and garlic to the oil and fat in the pot, along with salt. Stir until softened, about 5 minutes. Deglaze with the wine and vinegar.
4. Stir in 1/2 cup water or chicken broth, pine nuts, bay leaves, cloves and saffron.
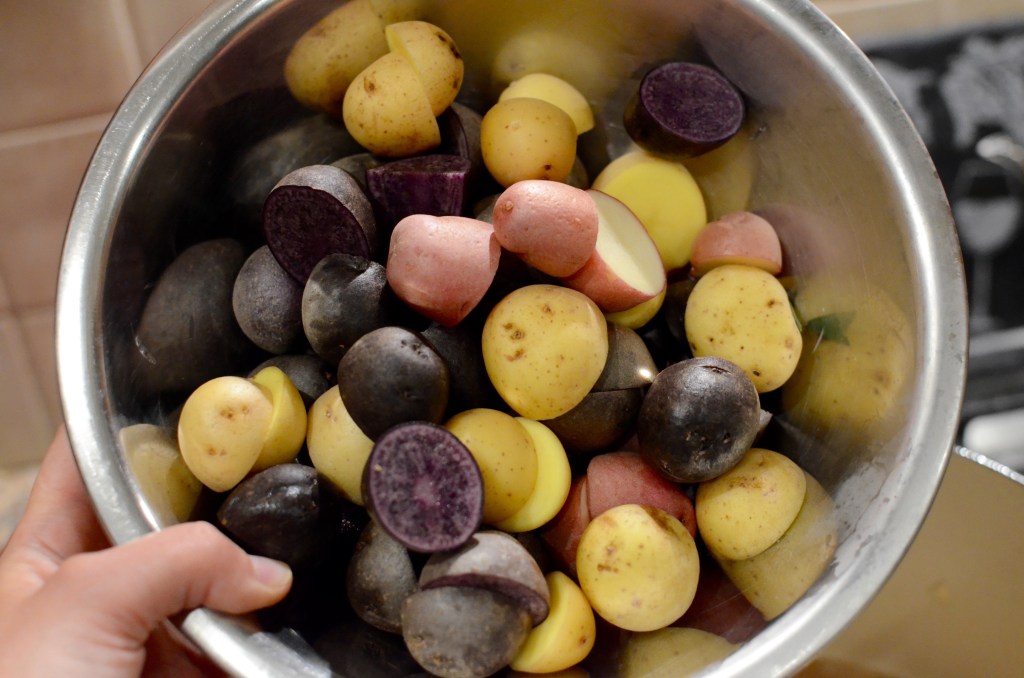
5. Add potatoes and as much water or stock it takes to come up to the sides of the potatoes. Place the chicken pieces back in the pan, skin-side up, and nestle them into the liquid among the potatoes.
Cover tightly and let cook with very low heat, checking after about 45 minutes to test the doneness of the potatoes. It might take 20 more minutes.
6. At this point, you can hold the dish until ready to serve; rewarm gently. Taste the liquid to determine how much salt, pepper, and vinegar is needed. I needed to add salt, and a splash more vinegar to balance the richness of the glace.
7. Stir in the greens (beet greens in this case) and cook through.
Last month, I attended the Swedish-American Chamber of Commerce of New York’s (SACC New York) annual sustainability summit. In its 10th year, this year’s theme was “Mad About Food.” The presenters in this fast-paced event were progressive thinkers from business, academia, and technology. Many were from Sweden, of course, and I learned some of the reasons why “Swedishness” and sustainability go hand and hand, and what Americans can learn.
1. Aim high
This year, Sweden signed a law that requires the country to reach net-zero emissions by the year 2045. They went beyond what they pledged under the Paris Climate Change Agreement in 2015, setting their target date 5 years earlier than originally planned.
Nina Ekelund of The Haga Institute shared some of the impacts of Sweden’s earlier commitments. After the Paris Agreement, the portion of companies measuring their climate impact increased from 1 out of 4 from 3 out of 4– without any regulations. Their approach – including a high carbon tax – has been good for business. Since 1990, there was a 25% reduction in emissions alongside a 69% increase in GDP.
At Space10, an Innovation Center in Sweden, Guillaume Charny-Brunet’s team was considering the development of shower technology that managed water flow and use. The switched gears when they thought about what would save the most water: reducing meat consumption. The water required for 1 beef burger is the equivalent of 1.5 months in the shower. So they started experimenting with alternative agriculture, and set up an aquaponics system that grew enough vegetables for a building. The vision is to go well beyond that.
2. Start with the Individual
Michael La Cour, Managing Director of IKEA Food Services explained IKEA Food’s mission: Honest food for people and the planet. What do they see as the most important KPI? They serve 650 million people a year. They have 194,000 coworkers throughout the world, and counting, which gives them great opportunity and great responsibility.
The winner of SACC New York-Deloitte Green award was Sweden-based Whywaste: “Reduce food waste through data driven workflows.” Whywaste currently focuses on supermarkets in Sweden, using data to keep better attention to expiration date and control purchasing decisions. Like my employer, LeanPath, they empower employees to keep food waste at a minimum through knowledge.
3. Embrace Change, Keep an Open Mind
“Swedes are change-minded to the absurd.” Johan Jörgensen, founder of Sweden FoodTech. They run after new tech, Johan says, which is one of the reasons why he sees Sweden as leading sustainability efforts in food.
One of the trending concepts is the idea of individualized nutrition. Professor Robert Brummer from Orebro University explained the gut-brain interaction. He presented the idea that we need to be more proactive about designing for a healthy life versus reactive to problems — he called it a shift from an illness paradigm to a wellness paradigm.
Following that was a presentation by Eatit, a Swedish company that acts as digital doctor, dietician and chef by using a blood test and artificial intelligence to provide individualized food recommendations for improving health.
It’s no secret that a healthy diet is the ultimate form of prevention for many diseases. The idea of what is “healthy” is becoming more and more personal. This runs directly in parallel with the food waste in two ways: 1) the fact that of all food waste reduction strategies, prevention has the biggest impact and 2) different people have different ways of defining what is “waste.”
People are always looking for help making the best decisions when it comes to health and waste. I learned about Tellspec, a spectroscopy-based food sensor that aims to solve food fraud, food adulteration, food safety, and food waste, by taking some of the subjectivity out and looking at the chemical structure of food, an intriguing idea.
This summit reminded me that we can’t predict where technology is going, and there may be capabilities far beyond what we can imagine. In my afternoon workshop, Nina Ekelund gave the example of smart phones. How many of us could have known the capacity of these portable computing devices? I believe more of us in the US-based sustainability community can take a page out of Sweden’s book and keep an open mind about the options we have to tackle food waste.
What’s one of the recipes you can make using the abundance of summer tomatoes? Gazpacho!
So let’s make gazpacho! Everybody’s doing it recently, including Cooking with Kyler, which is hosted by my husband’s cousin and his daughter. It’s appealing because it is simple, refreshing, and customizable.
As I’ve mentioned before, I’m not a huge fan of cold soups in general, but I’ve recently warmed to the idea of a good gazpacho (see what I did there?) Especially when you add crunchy toppings.
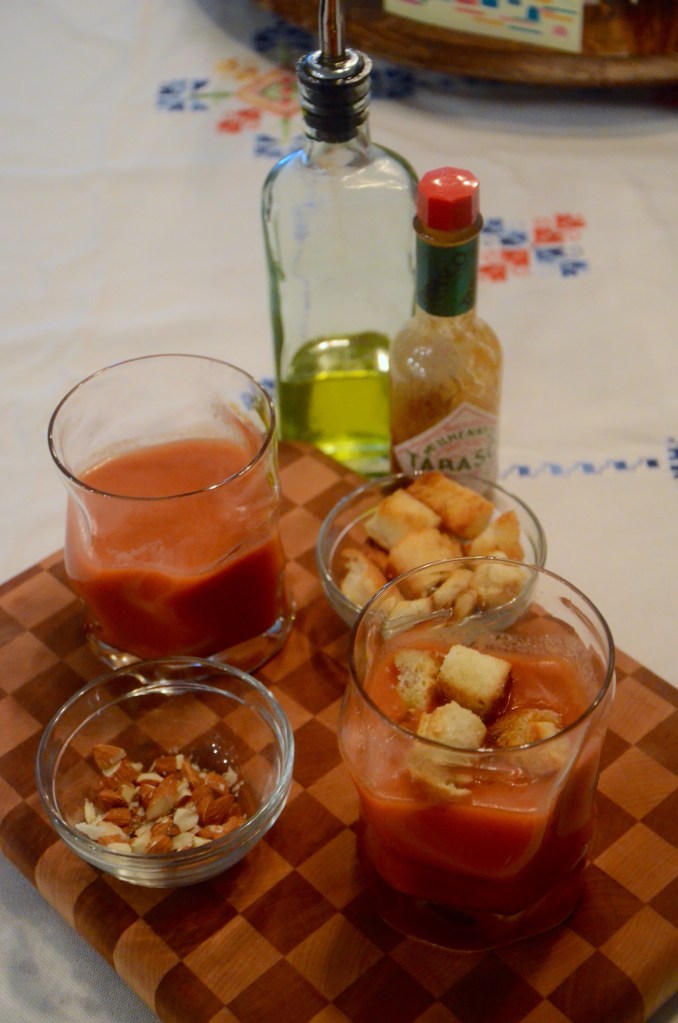
Gazpacho is simple because you can basically dump everything in a blender or food processor. However, it’s a bit messy – be forewarned. It’s likely you’ll have to transfer the mixture back and forth between different containers since it won’t completely fit in the blender. Then you strain it–unless you don’t mind a little texture. The resulting soup is a unique color (which will splatter all over your counters as part of the process) and fun to serve presented in clear drinking glasses.
I wish the 2 pounds of tomatoes made more of dent in my harvest. Here’s what I collect every couple of days!
Tomato and Cucumber Gazpacho
Adapted from Julia Moskin’s New York Times Cooking recipe
Approximately 2 lb ripe red tomatoes, 1 green pepper, such as bell pepper, Italian frying, or Anaheim pepper 1 cucumber, about 8 inches long 1 small onion (white or red)
1 garlic clove
2-4 teaspoons sherry vinegar, to taste Salt to taste
½ Cup extra-virgin olive oil, plus more to taste and for drizzling
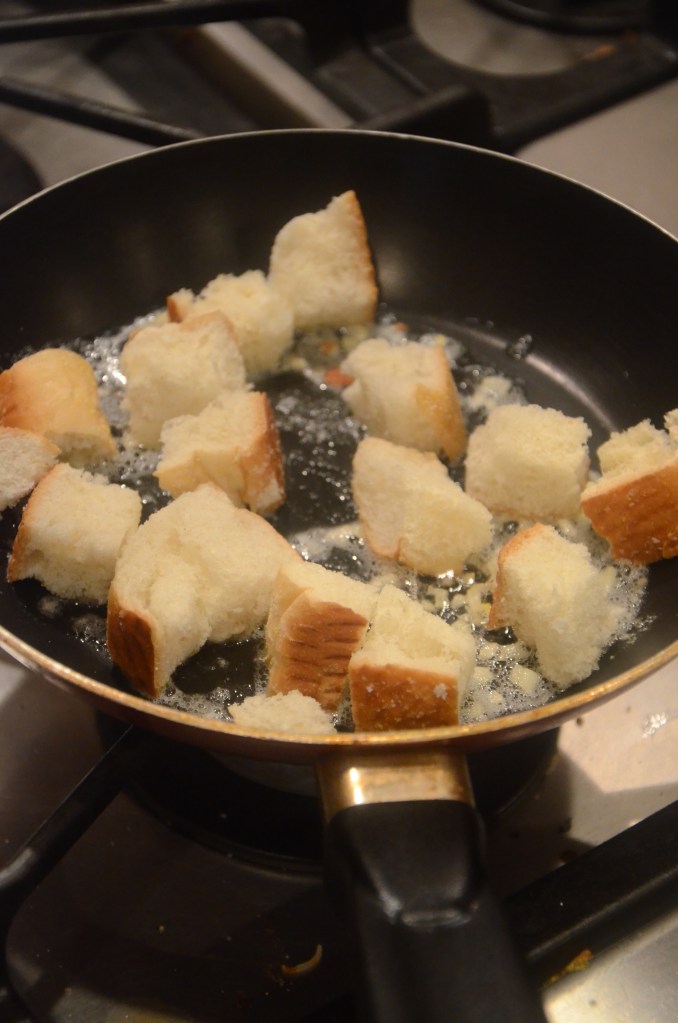
Optional and recommended toppings: Hot sauce Croutons-make your own with stale bread, butter, garlic and salt Almonds, toasted and coarsely chopped Avocado, cut into cubes
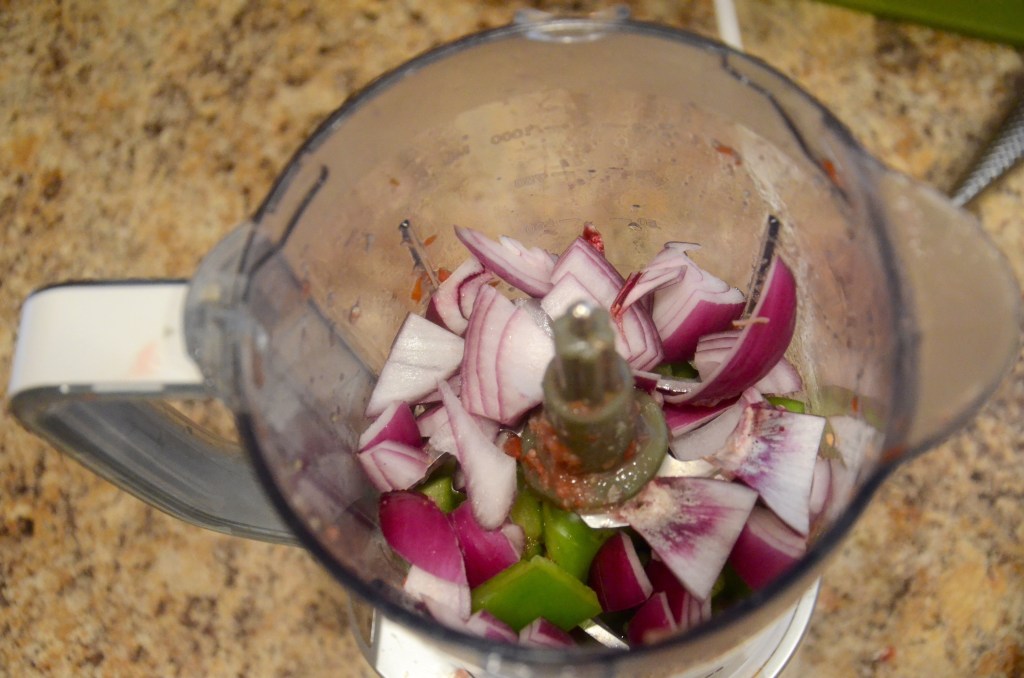
Prep your vegetables: seed and chop pepper, peel and chop cucumber and onion, and core and roughly chop tomatoes.
The onion in not shown because I had a leftover portion of a red onion in the fridge that I ended up incorporating.
Combine as much of the tomatoes, pepper, cucumber, onion and garlic you can in a blender. It’s highly likely you’ll need to work in batches, so have a large bowl handy for transferring portions back and forth.
Initial batch: I made it through the cucumber and most of the tomatoes before I was at the top!
Ingredients batch 2.
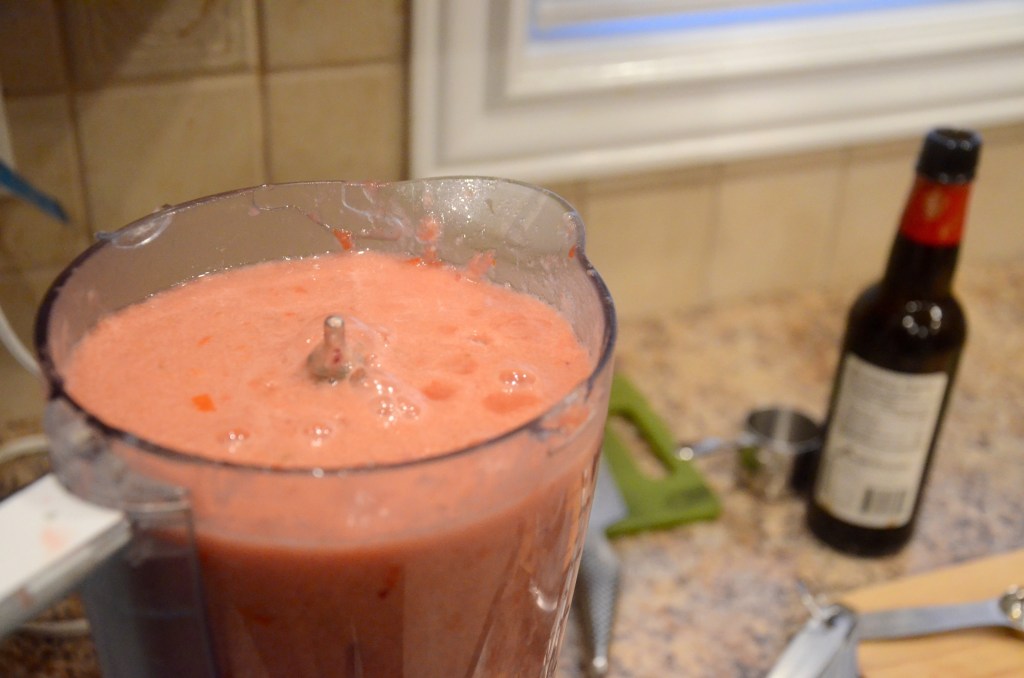
Blend at top speed until the mixture is very smooth. This may take a few minutes. A rubber spatula is great for scraping down the sides as needed.
Add the vinegar and 2 teaspoons of salt. If your appliance allows, do so while the motor is running.
You can add more vinegar later, but I will tell you now that 2 teaspoons was not enough for me!
Pour in the olive oil slowly. The smooth mixture will become an orange-pink color and look like a salad dressing.
Additional olive oil can make the texture more creamy if it is watery.
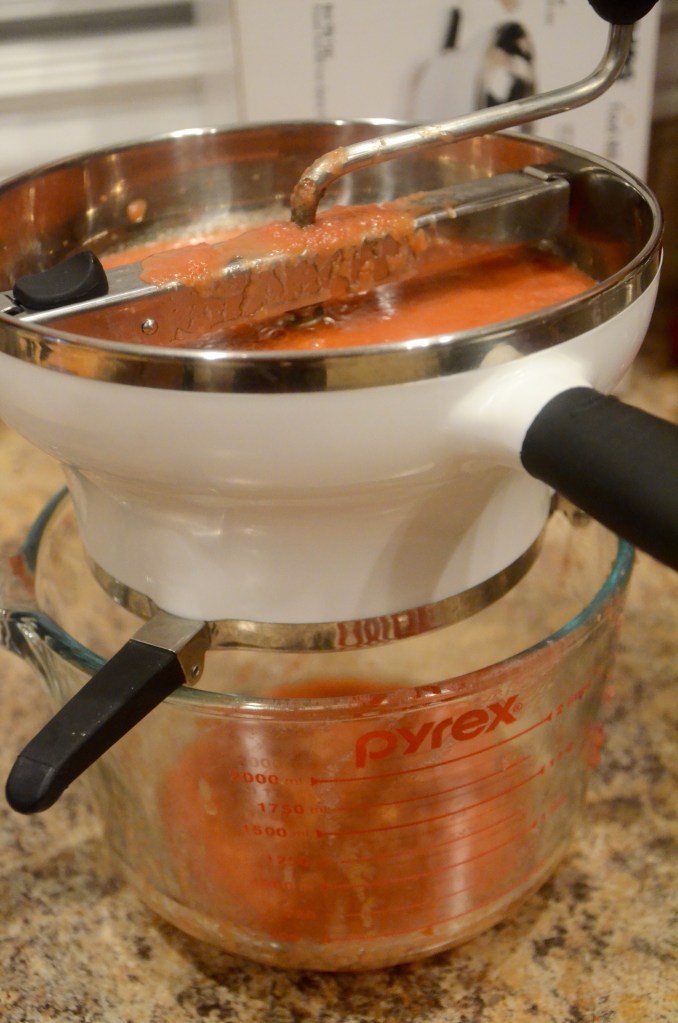
Press the mixture through a strainer or run through a food mill to extract all the liquids and discard the solids. I was less than enthused about the idea of discarding the nutritious solids, but using my food mill resulted in such minimal solids that I felt OK with sending it to compost.
It’s one of the few times year this gets used!
Transfer to a large pitcher, preferably glass, and refrigerate until very cold. This could be done overnight. In the meantime, prepare any toppings. I used some very old cubes of bread from the freezer, cooked in butter with garlic.
When you are ready to serve, taste to adjust the seasonings with salt and vinegar. Serve in glasses. You can serve over ice or even chill the glasses for the best effect.
Present with toppings: chopped almonds, garlic croutons, olive oil and Tabasco all worked great for me.
I told you I was going to feature the pressure cooker again soon, didn’t I? The first time cooking dried chickpeas in the pressure cooker was such a success: 8-hours of soaking, about 10 minutes for the pressure cooker to warm up, and 6-7 minutes of steady cooking resulted in perfect beans, whereas regular stovetop simmering would have added more than an hour. Last time, I started with a little more than half bag of dried chickpeas and ended up with cooked beans that were delicious on their own, then added to a salad, and then transformed into hummus. For the rest of the bag, I wanted the chickpeas to be used in a recipe that used some of the broth and incorporated other ingredients I had on hand. It would also be useful if the leftovers of the dish could be easily reheated for lunch, as I hustled around the house while the wee one napped.
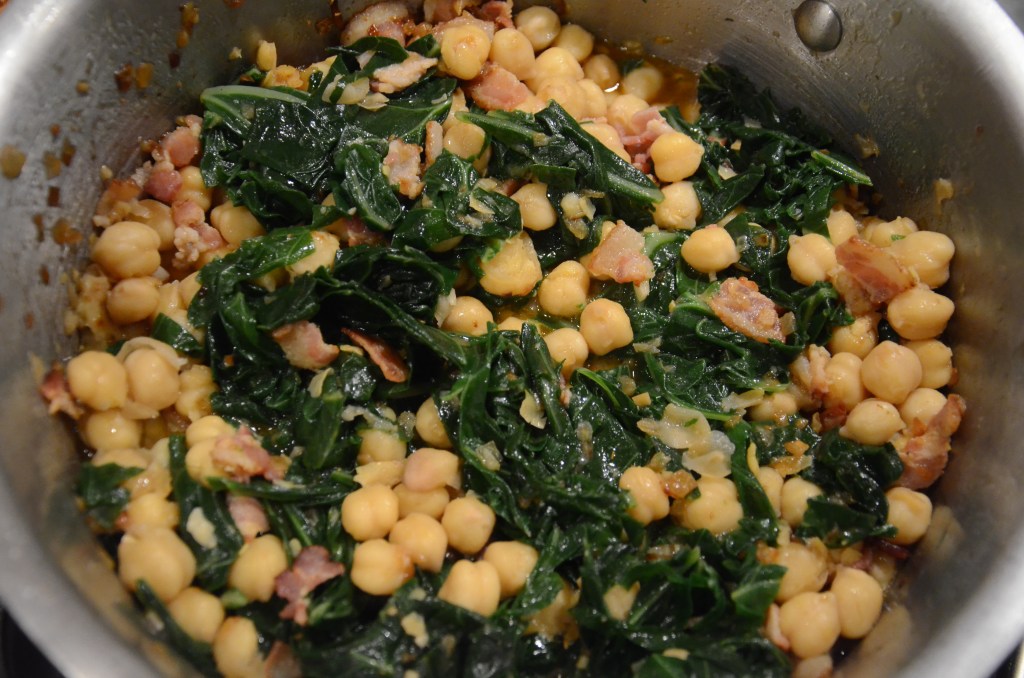
A search on The New York Times Cooking website brought up a “Garbanzos and Greens with Chorizo” recipe. I didn’t have chorizo, but I did have an open package of bacon. I didn’t have kale or chard, but in the freezer, I had a bag of collard greens that I had blanched and frozen weeks before (collards are sold in such HUGE bunches, aren’t they?). Since collards and bacon often go together anyway, it was meant to be!
Note: you could omit the bacon to make this vegetarian. Just amp up the smoked paprika (one of my favorite pantry spices).
For the chickpeas and broth: About 1/2 bag or 1 Cup dried chickpeas (garbanzo beans)
½ small onion, plus 1 clove 1 small carrot, peeled and cut into chunks 1 bay leaf A generous amount of salt
1 Tablespoon vegetable oil
For the beans and greens: 2 Tablespoons olive oil
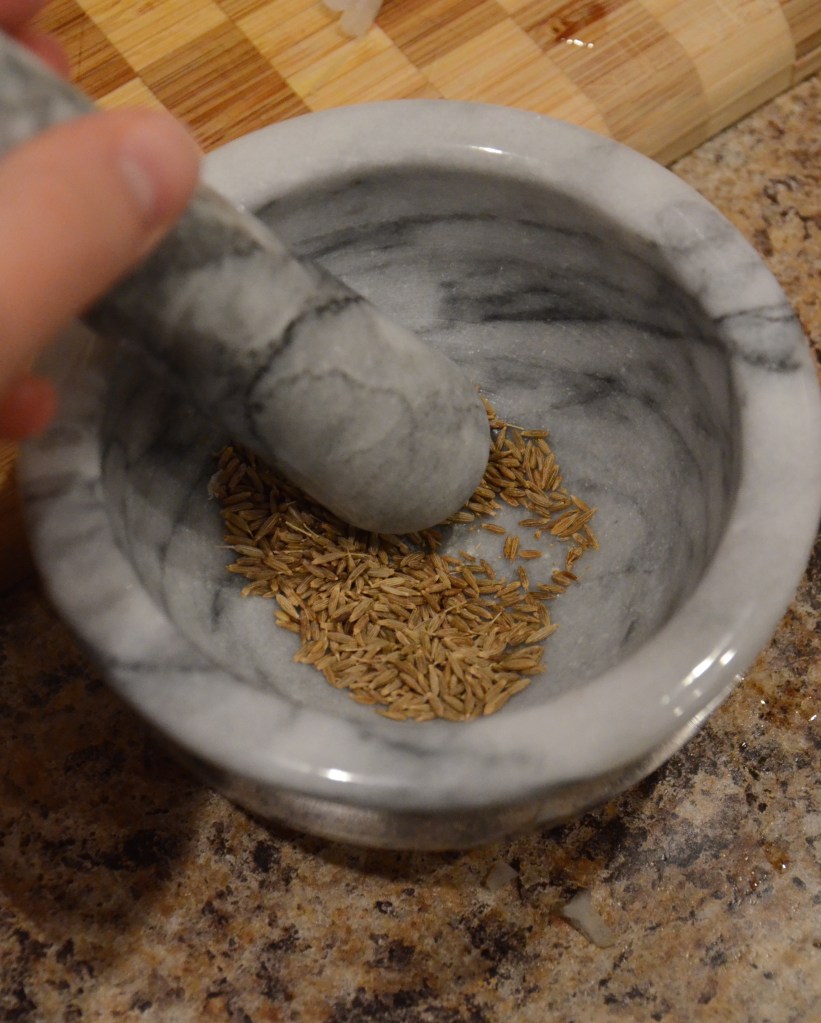
1 onion, diced (about 1 Cup) Salt and pepper to taste About 6 ounces bacon, chopped 2 teaspoons fresh garlic, minced 1/4 teaspoon smoked paprika 1 teaspoon cumin seeds, toasted and coarsely ground 3 Tablespoons pine nuts, lightly toasted 1 bunch of collard greens – or kale, or chard, washed and cut into slices
Soak the chickpeas overnight or all day (I soaked mine about 6 hours.) Drain and put in the pressure cooker. Add the onion half and clove, chopped carrot, bay leaf, and vegetable oil and cover with 6 Cups of water. Reference the directions that come with the pressure cooker to make sure you are using it correctly and safely. I put mine over a high flame until the lid sealed and the pressure regulator began to rock. I them set the timer (for 7 minutes) and lowered the heat so the regulator was rocking steadily but not excessively throughout the cooking time.
In the meantime, chop your other ingredients, and toast and grind your cumin seeds.
When the chickpeas are done (and the pressure has lowered and the lid can be opened), season generously (and I mean generously) with salt.
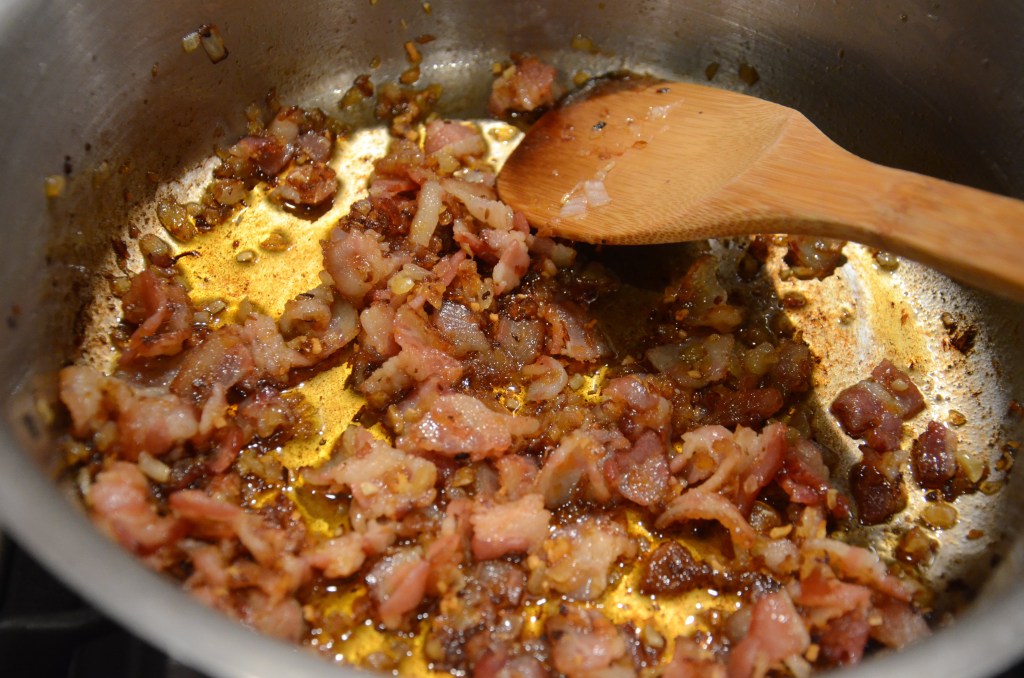
In a wide, high-sided skillet, heat olive olive oil over medium-high. Add the onion and salt and pepper and cook until softened and turning slightly brown. Add the bacon and cook until browned.
When the chickpeas were done, I removed the onion, carrot and bay leaf from the pot and then strained the mixture, saving the broth and separating the chickpeas.
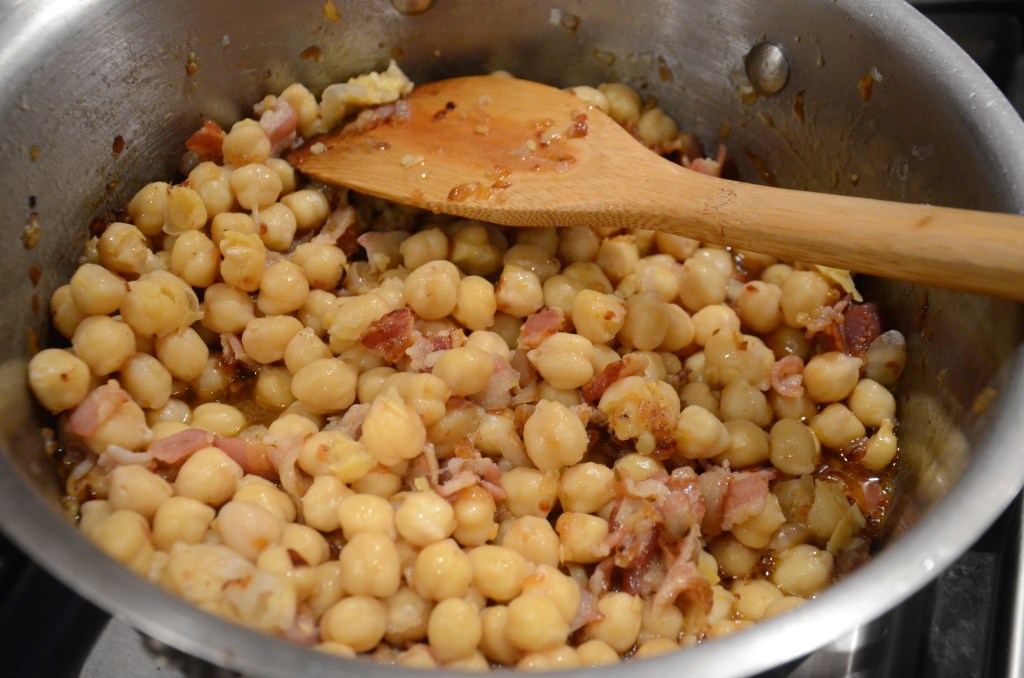
Into the bacon-onion mixture, stir the garlic, smoked paprika, and 1/2 teaspoon of the cumin. Then add the chickpeas and about 1/2 Cup of the chickpea cooking broth.
Turn the heat up until the liquid is at a simmer; add the greens and salt and pepper. If using fresh greens, stir until they wilt. Otherwise, put the lid on the pan and allow to cook for a few minutes.
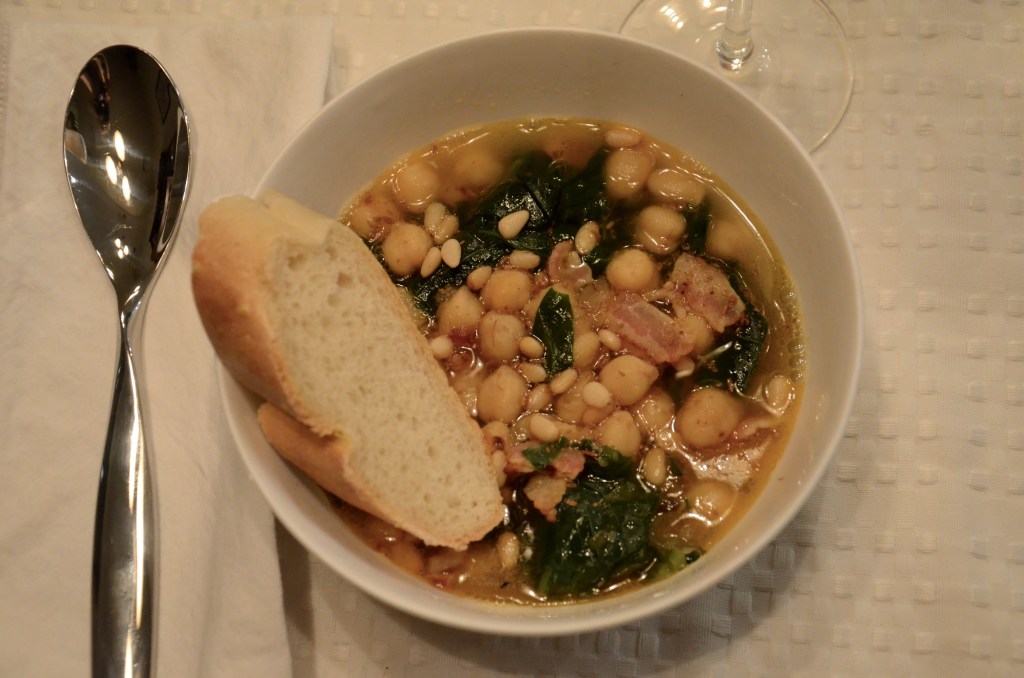
Taste and add salt and pepper as needed. Then transfer a portion into each individual soup bowl for serving.
Ladle 1 Cup of broth into each bowl. Sprinkle with remaining cumin and pine nuts.
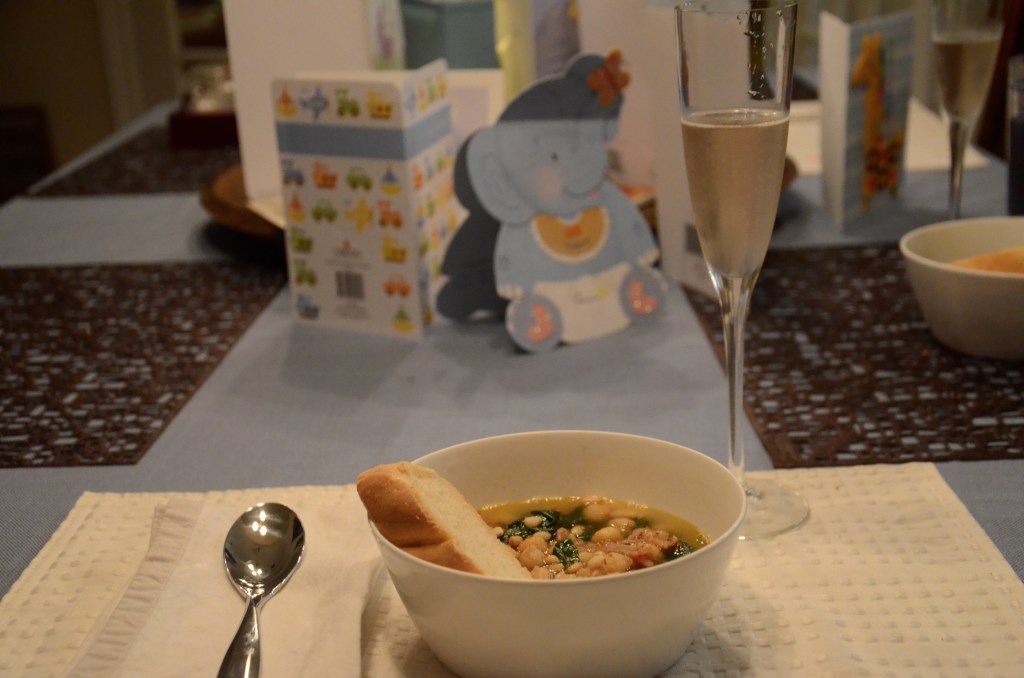
Serve with a toasted baguette slice or two to soak up the broth. Enjoy with a celebratory glass of sparkling wine!
Have you heard of aquafaba, the water waste product of cooking dried beans? You’ll find it as the liquid in your can of chickpeas, or create it when boiling your own dried beans at home.
I was recently introduced to aquafaba and its culinary potential firsthand at the Food Loves Tech conference exhibition in Manhattan. It turns out, aquafaba as an ingredient behaves similarly to eggs or egg whites, making it a big deal among vegan cooks. I tasted Sir Kensington’s delicious vegan mayo made from aquafaba, aka “fabanaise.” They sourced the liquid from a hummus producer that had it in abundance and was otherwise wasting it. These are the types of business partnerships we need more of!
As a side note, things have changed quite a bit around here. The morning after my last post, at 39 weeks plus 4 days, my water broke, and 13 hours later my son came into the world. (And no, I did not end up doing any cooking while I was in labor.)
The story of how I came to be sharing this recipe with you today is that, on what turned out to be my one “vacation” day of maternity leave before the baby, I cooked dried chickpeas. I cooked them in my brand new pressure cooker, so it was an adventure. (The pressure cooker was actually a baby shower gift from my friend @LadyParmalade. Months before, she had been telling me about the pleasures of a pressure cooker, and I jokingly asked if it would be appropriate to register for a kitchen item like that. It was not intended as a hint, but she ran with it!) I’m sure I’ll post more about pressure cooker experiences in the future. In this case, the chickpeas were a huge success, and I saved the liquid because it was actually darn tasty.
Fast forward to days later, after I was home from the hospital with a newborn. I usually don’t like to post back-to-back recipes in a similar genre (dessert), but I was incredibly blessed to have all my main meals provided to or cooked for me for the week and half following the birth. My mother stayed with us and cooked one colorful and nutritious meal after another. She and my dad even insisted on doing all the dishes! It gave me the freedom to use my unexplainable burst of energy one afternoon to bake up a dessert, with my chickpea water.
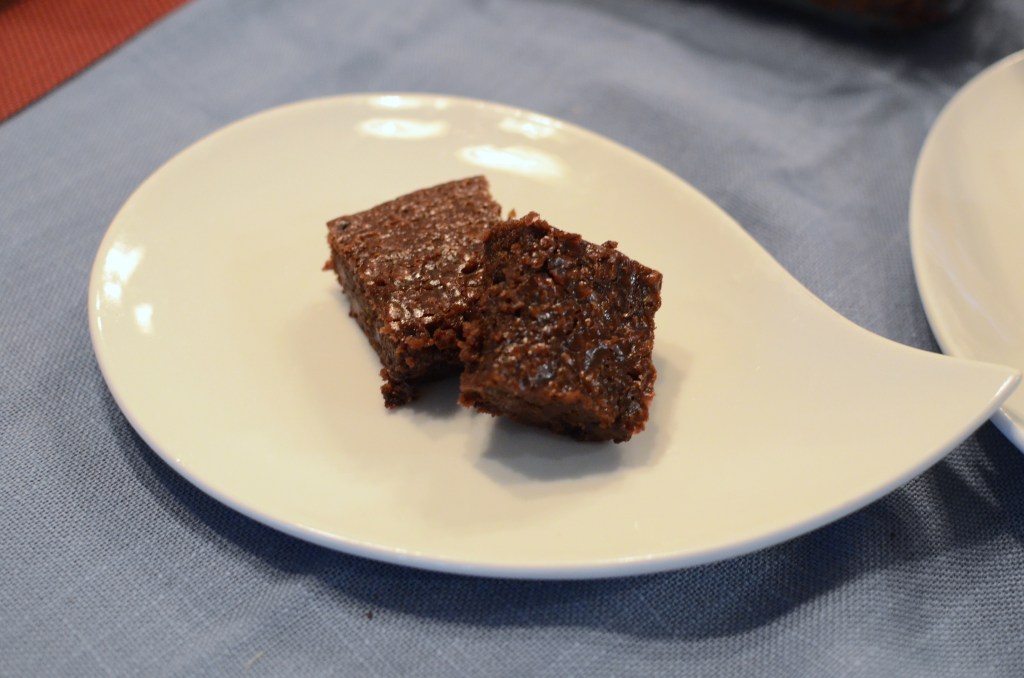
Now, you might think that these brownies are a little “out there” and can’t fulfill a craving for real brownies. I urge you to keep an open mind. The texture emulates some of the fudgiest non-vegan brownies I’ve had, and while you may notice hints of unusual flavors, the dominant taste is rich chocolate. With vanilla ice cream, you can hardly tell a difference! 1/4 Cup coconut oil
Oil (either extra coconut oil or vegetable oil) to grease the pan
3 ounces (about 1/2 Cup) PLUS 4.5 ounces (about 3/4 Cup) chocolate chips– semisweet recommended, but you could also mix in some bittersweet 1/2 Cup brown sugar
1/4 Cup maple syrup
pinch of salt
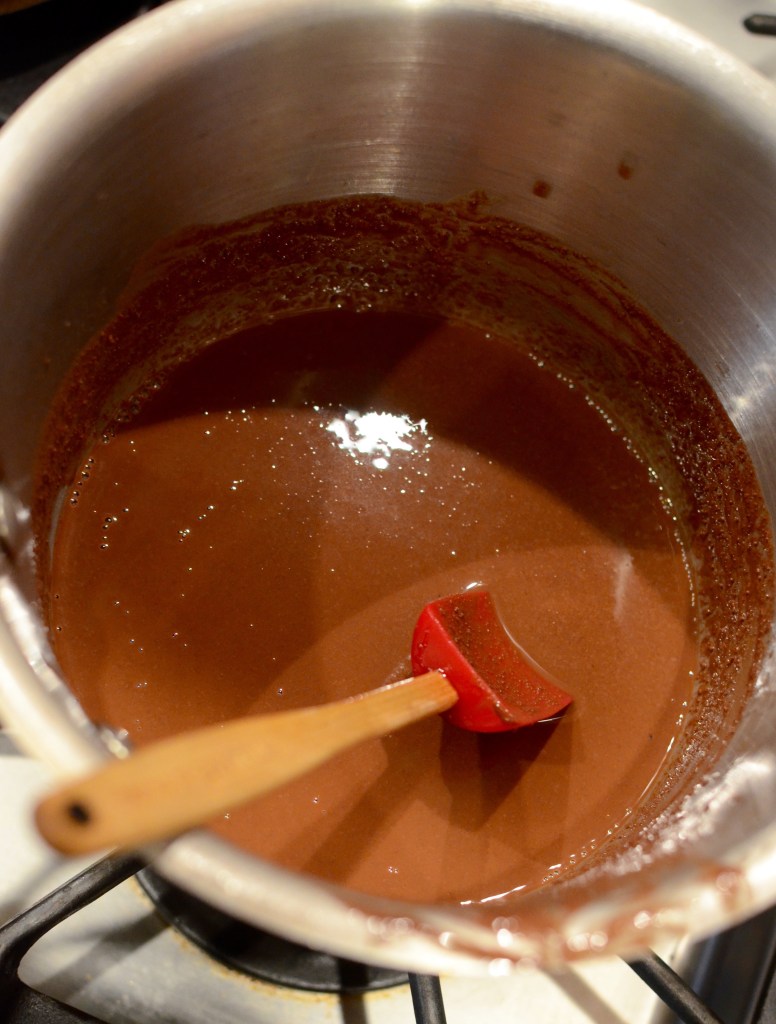
1/2 C aquafaba (if you cooked your beans at home and the water isn’t especially viscous, cook down the liquid in a saucepan for about 10-15 minutes) 2 teaspoons vanilla extract
1/2 teaspoon cinnamon, or less if you prefer 2 teaspoons espresso powder
3/4 Cup All-purpose flour
Set your oven to preheat to 350 degrees F. Grease an 8 inch square baking pan and set aside.
Melt 3 ounces of the chocolate chips and 1/4 Cup coconut oil in a medium saucepan set over medium-low heat.
Remove from heat and add brown sugar, maple syrup and pinch of salt. Whisk together, and then add aquafaba.
Add vanilla, cinnamon, espresso powder, and flour, and mix well.
Incorporate remaining 4.5 ounces of chocolate chips. Pour batter into the baking pan.
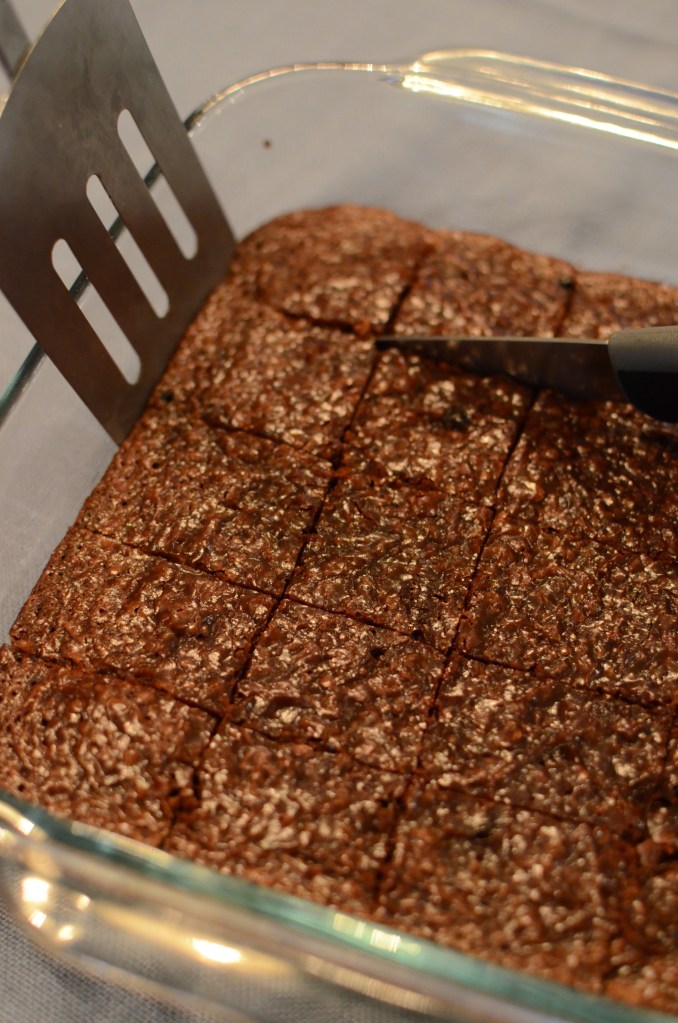
Bake for approximately 35 minutes. Take care not to over-bake; these brownies should be moist.
Allow to cool. (Expect some suffering from the intoxicating chocolate smell).
Cut and serve. Vanilla ice cream or whipped cream optional.
What does one do at 39 weeks pregnant, during a heat wave, after accepting an invitation to visit friends who are barbecuing food, and after agreeing to bring dessert? How about baking something that requires having the oven on for about an hour? And not only that, but why not try halving the recipe so that it is the same amount of work but half the delicious output?
Oh, just me? Perhaps I wasn’t thinking clearly. Let me explain. I was trying to come up with a refreshing dessert other than frozen treats, which I fully intended to incorporate in the day anyway, and lemon came to mind. I knew I had a lemon that needed to be used soon. And then when leafing through my saved magazine recipes, I found this recipe for lemon cheesecake bars made with cream cheese–and I knew I had cream cheese! But that was a leftover from another recipe- I only had half of the full block the recipe called for.
So I adapted. And we savored the fewer servings that resulted. My cooking activities aren’t about making specific or required amounts of food anyway. I’ve been finding the activity of cooking and baking wonderfully distracting lately as I carry around an extra human being. In fact, I’m considering what I might cook when I start early labor….
I am sharing with you my version with the recipe cut in half, but I expect you may want to make a full batch.
Crust: 2 ounces whole-wheat pastry flour (about 1/2 Cup) 1/6 Cup sliced, toasted almonds 1.5 Tablespoons powdered or confectioner’s sugar 1/2 Tablespoon vegetable oil
1/8 teaspoon kosher salt 2 Tablespoons butter, cut into small pieces and chilled Cooking spray
Filling: 6 Tablespoons Greek yogurt (I used 2%) 1.3 ounces or about 1/6 Cup sugar 1/2 Tablespoon grated or zested lemon rind (about 1 large lemon’s worth) 3 overflowing Tablespoons fresh lemon juice (from about 1/2 a large lemon) 1/2 teaspoon vanilla extract 1/8 teaspoon kosher salt 4 ounces (1/2 package) less-fat cream cheese
2 large eggs
Another reason why it’s not that big of a deal that I was making only half the recipe: it’s the type of recipe that allows me to incorporate a number of my favorite shortcuts and conveniences, like using the food processor for crusts and blending and measuring with a kitchen scale.
As I alluded to in the introduction, however, be prepared for the multi-part process of pre-baking the crust, baking the filling, and allowing for chill time. No instant gratification with this one.
Preheat oven to 350°.
Prepare the crust: Cut butter into small pieces and place in freezer to thoroughly chill.
Measure and add flour, almonds, powdered sugar, oil, and salt to a food processor. Process until almonds are ground into small pieces.
Add butter to food processor; mix in pulses until the texture resembles a coarse meal.
Spray small-medium glass baking dish with cooking spray (I calculated that my 8×8 glass storage container had a bit less than half the area of the 11×17 dish the original recipe called for) and add crust mixture. Pat down gently into an even layer. Bake for about 23 minutes, until slightly browned. Allow to cool.
Reduce oven temperature to 325°.
Prepare the filling:
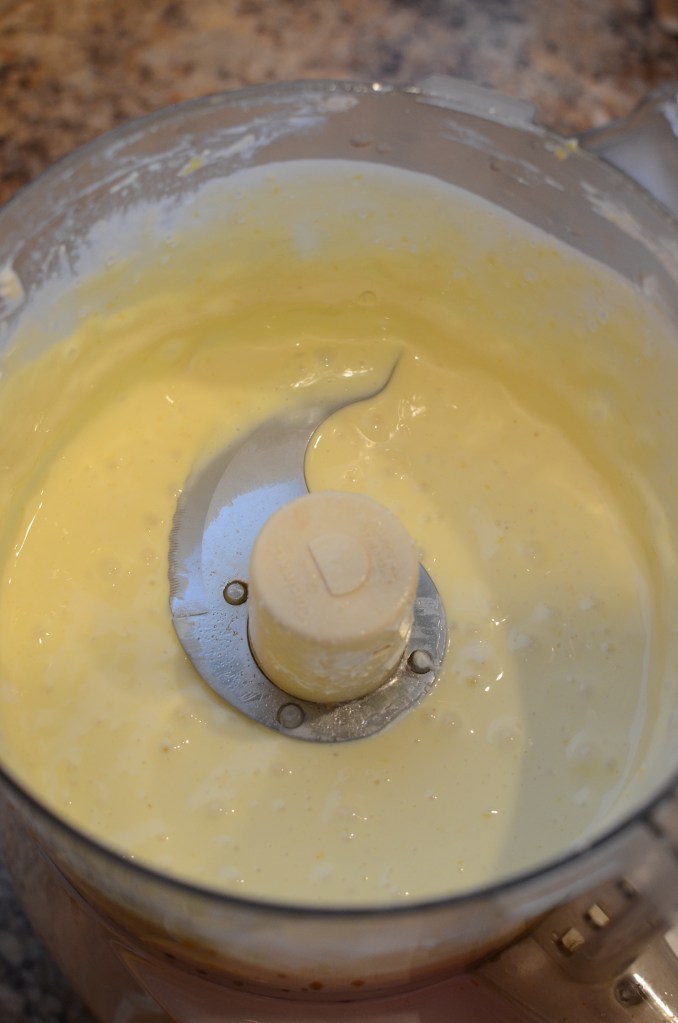
Clean out the food processor. Add all the ingredients except for the egg and process until smooth.
Add egg and blend together.
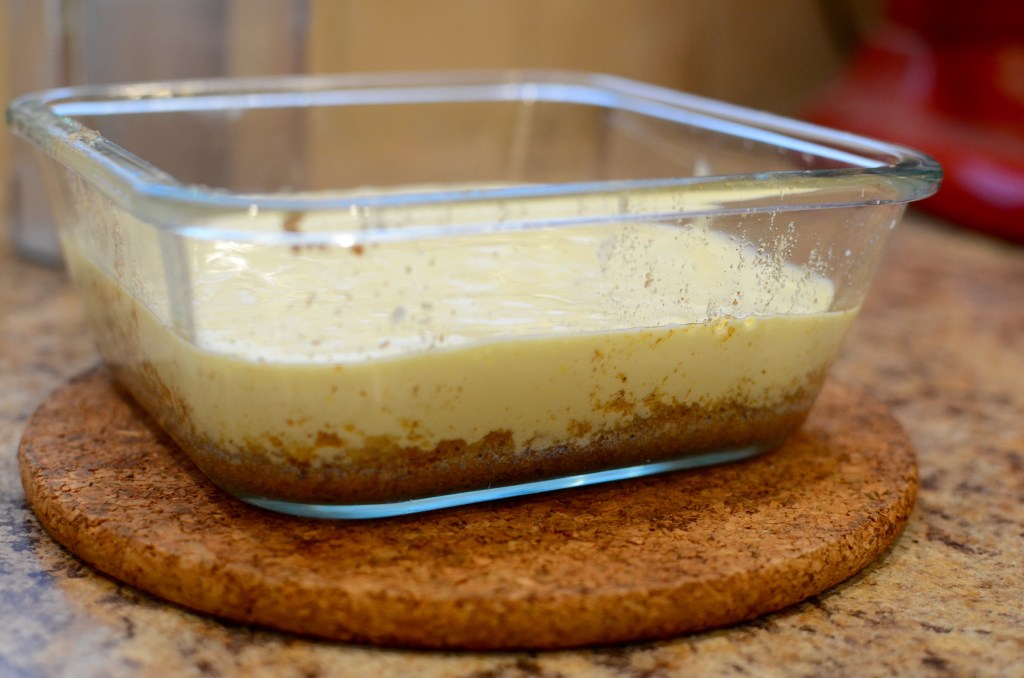
Pour mixture evenly over crust.
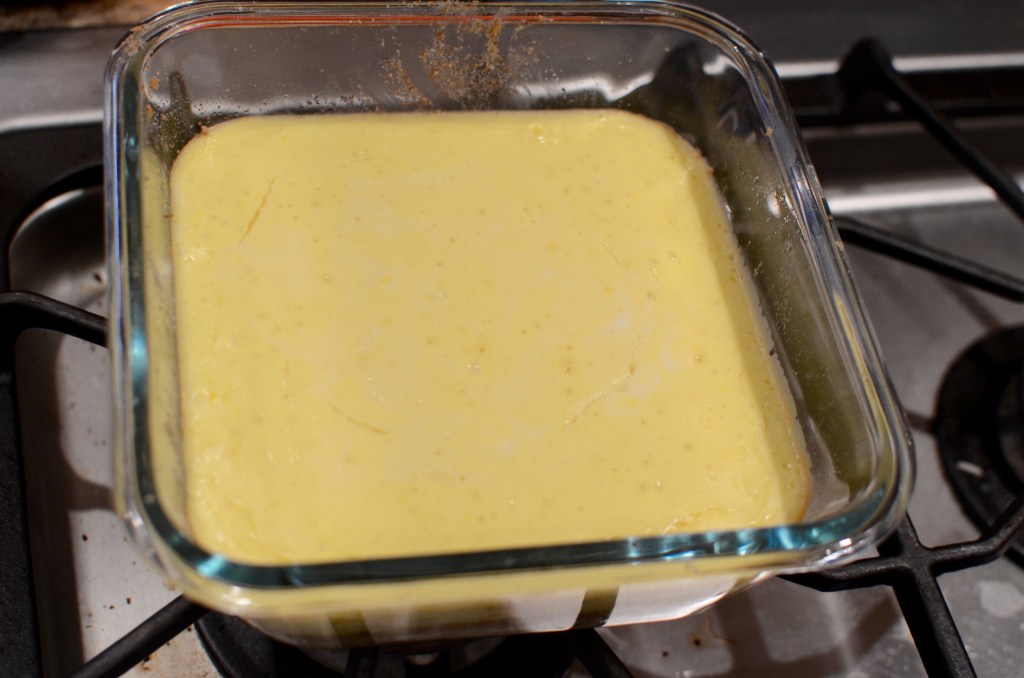
Place in 325°F oven for 30 minutes or until set. (check at 20 minutes, especially if your dish is larger so that your filling is spread more shallowly).
Cool completely on a rack or stovetop grate.
Cover and refrigerate until chilled. If desired (like in my case), accelerate the chilling with an ice water bath or some time in the freezer.
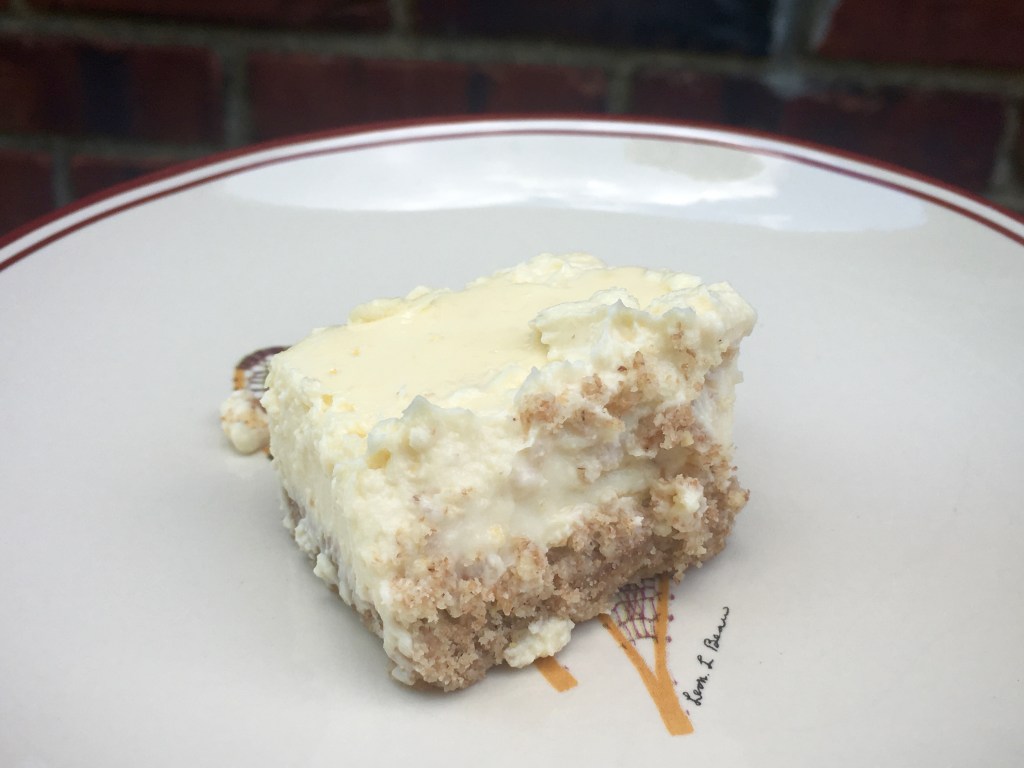
Cut into [small] pieces with a sharp knife and serve. Feel free to follow my example and serve on winter-themed plates, if that will help you to feel cooler (those are snowshoes peeking out from under the bar).
There’s nothing like 2 weeks straight of eating out for nearly every meal to get one on the mood to cook!
Sorry if that sounded like a humblebrag – or just a brag. Back in April, Matt and I finally went on vacation to a country where we share some ancestry – Ireland – and returned stuffed. We had some fantastic meals (FX Buckley in Dublin, The Mews Kenmare, Cafe Hans by the Rock of Cashel, Doyle’s in Dingle, Greenmount House breakfast, and Ashford Castle in Cong) and some that were simply filling. (I guess they assume that if we’re full of stews and breads, we’ll be less impacted by the chill and rain). By the time we returned, we were both ready for some home cooking.
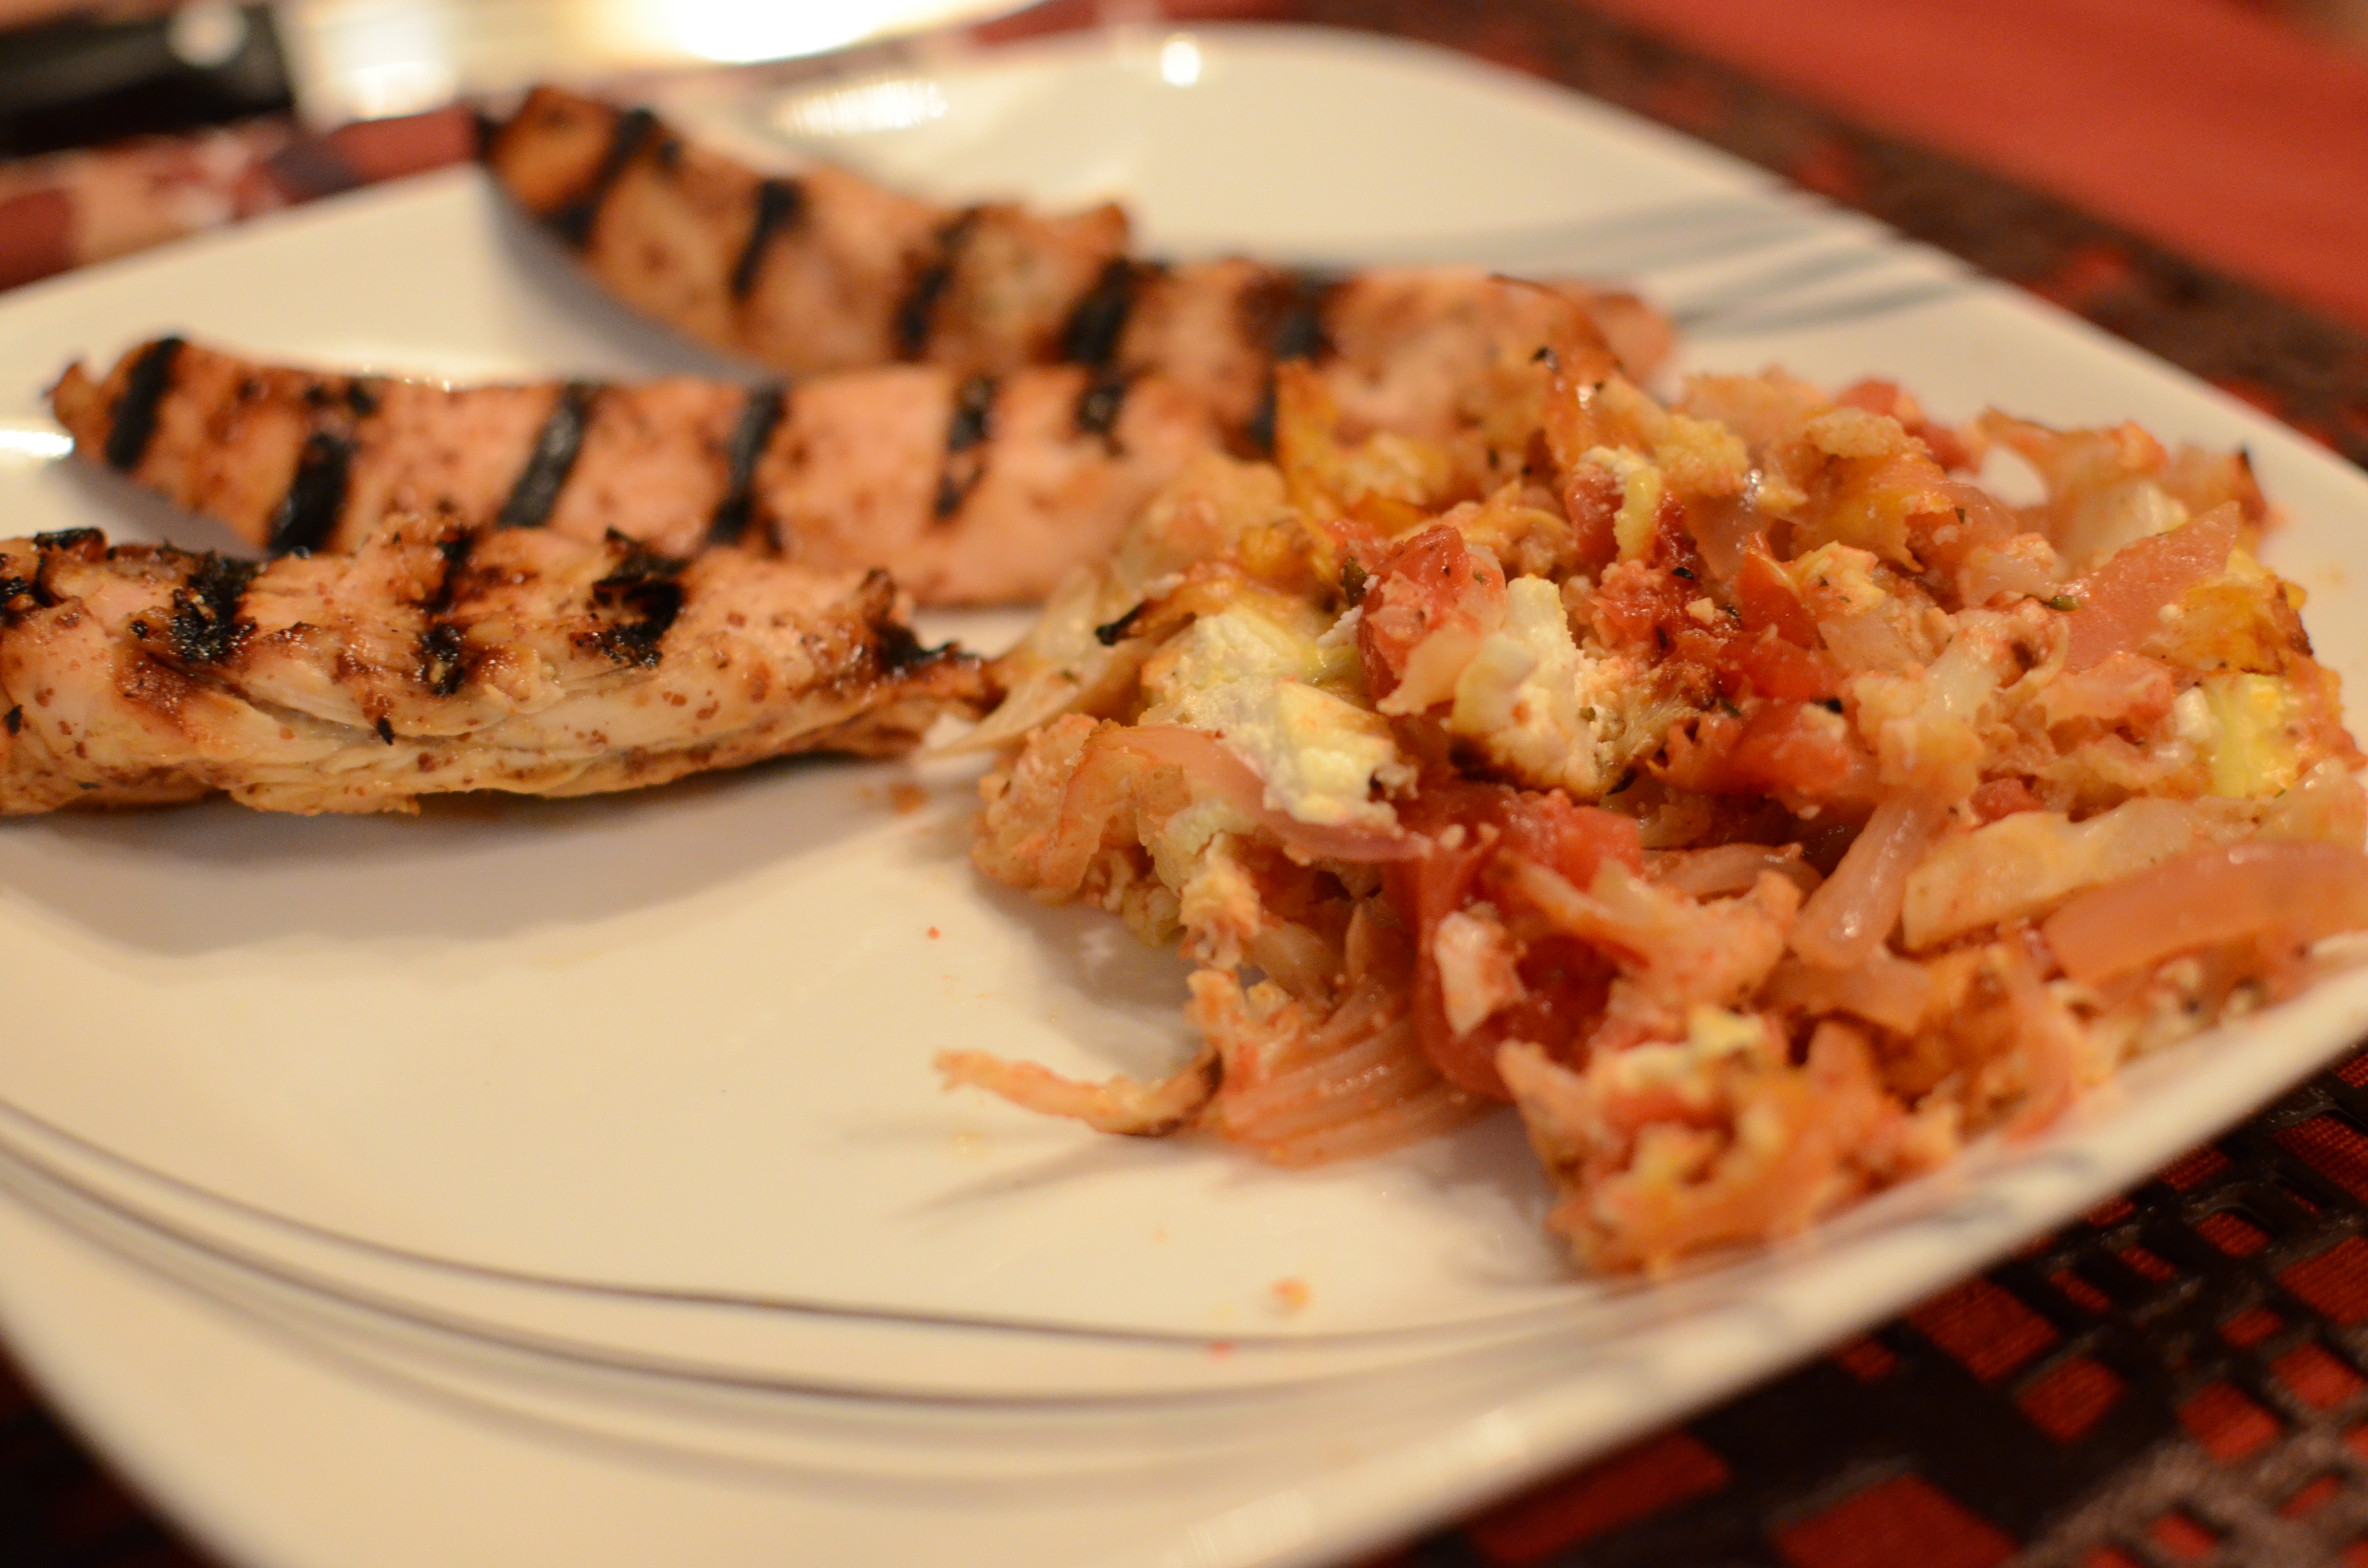
A half a head of cauliflower (I can never seem to get through a whole head with one recipe for two people without too many leftovers), and some pantry staples led me to this recipe. As an accompaniment, we enjoyed a delicious and simple preparation of marinated dijon chicken, using basic pantry items.
Note: the chicken recipe calls for 2 hours of marinating. We threw ours into an “instant marinator” tool we have (which is a container with a top that you can suction air out of) and let it sit for about 30-45 minutes during the other prep. We don’t believe this tool necessarily lives up to its name or holds a special magic, but either way, our chicken was super flavorful in that shortened marination time.
1/2 regular (14.5 oz) can diced tomatoes (freeze the rest or just toss it all in)
pinch of cinnamon
1/4 teaspoon coriander seeds, toasted and coarsely ground
1 egg
1 ½ ounces goat cheese
Preheat the oven to 450 degrees. Prep a baking sheet with parchment or foil.
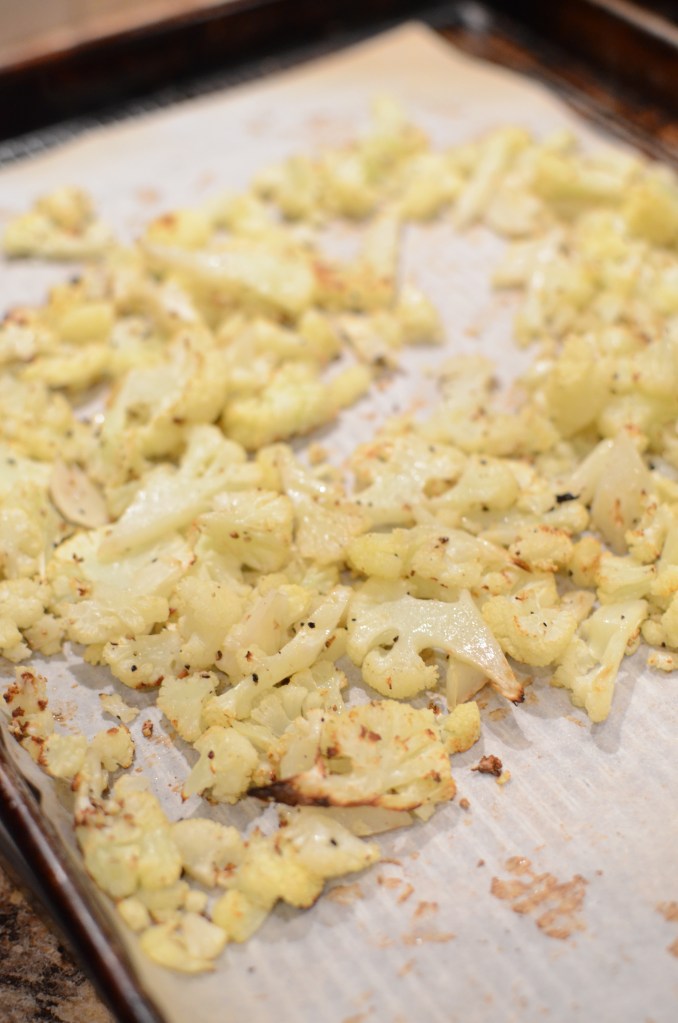
Cut the stem and leaves off of the cauliflower. This is easier once you at least quarter the head. Roughly cut the cauliflower into about 1/3 inch pieces. Mix with 1 Tablespoon of olive oil, salt, and pepper, and then spread on the baking sheet.
Cook in oven for 15-20 minutes, stirring about halfway through. The cauliflower is done when it is tender and the smaller pieces have browned.
Transfer to a bowl. Reduce oven temperature to 375 F.
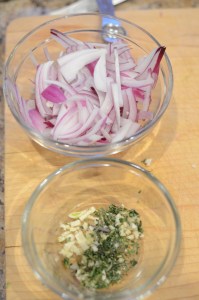
While the cauliflower roasts, prep the remaining ingredients: red onion, garlic, and thyme, and roast and crush your coriander seeds, if you haven’t already.
From the garden!
Oil a small baking dish.
In a medium skillet, heat last 1/2 Tablespoon of oil over medium heat. Add onion and cook, stirring, until tender (about 5 minutes). Add the garlic, thyme, and a pinch of salt and continue stirring for about 30 seconds-1 minute, until the garlic fragrance is released.
Add tomatoes, cinnamon, and ground coriander seeds. Increase heat to a simmer; season to taste with salt and pepper. Lower heat and cook for a few minutes, until the tomatoes have cooked down a little bit (not too much) and the spices are incorporated.
Add to cauliflower bowl and stir together. Pour into prepared baking dish.
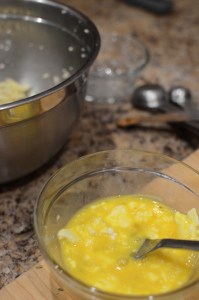
Beat egg, and add all but about 1.5 Tablespoons of goat cheese and beat together.
Pour egg mixture over cauliflower mixture. Top with pieces of goat cheese.
Bake 20-30 minutes, until the top is starting to brown. Allow to cool slightly before serving.
2 Tablespoons honey 2 Tablespoons Dijon mustard 1 Tablespoon extra-virgin olive oil 1/2 teaspoon kosher salt Freshly ground black pepper About 16 ounces boneless skinless chicken – halved breasts or tenders
Mix the honey, mustard, 1 Tablespoon of oil in a small bowl and salt and pepper, to taste. Put mixture in a large plastic bag, bowl, instant marinator, or whatever you like to use to marinate.
Add the chicken and flip or shake to ensure it is coated with the marinade. Refrigerate until ready to grill (2 hours recommended in the original recipe).
While the cauliflower gratin bakes, preheat the grill to medium.
Cook the chicken on oiled grill grates until you get nice dark marks on each sides, about 4-5 minutes each.
Let the chicken rest briefly, and then serve with the gratin.


 than half the area of the 11×17 dish the original recipe called for) and add crust mixture. Pat down gently into an even layer. Bake for about 23 minutes, until slightly browned. Allow to cool.
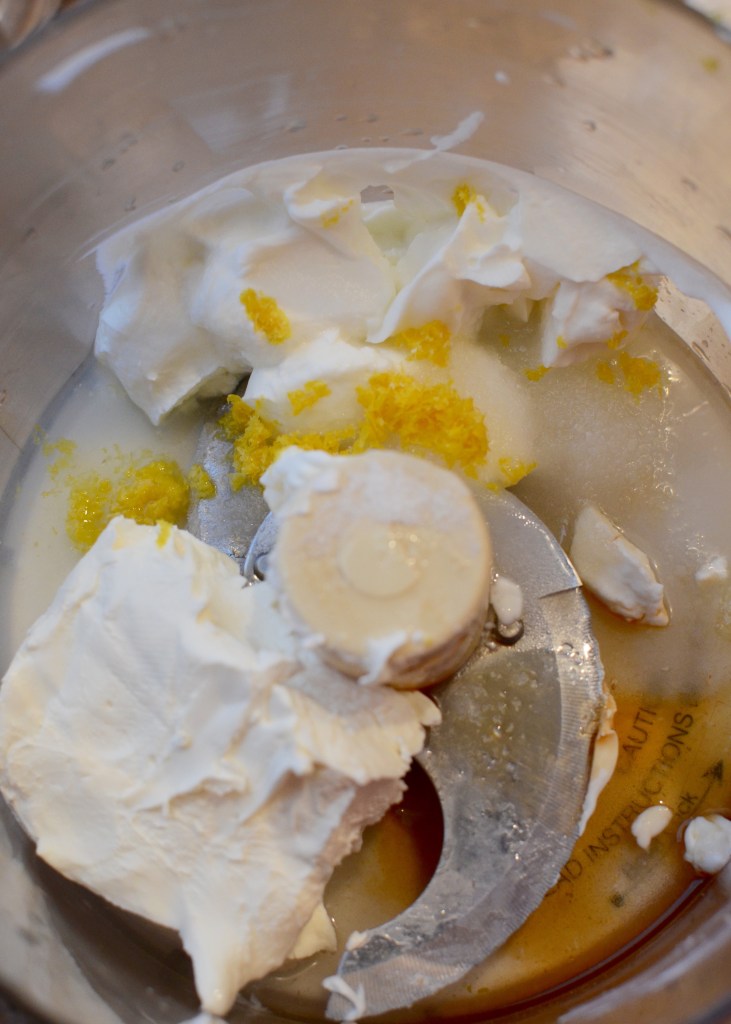

 There’s nothing like 2 weeks straight of eating out for nearly every meal to get one on the mood to cook!
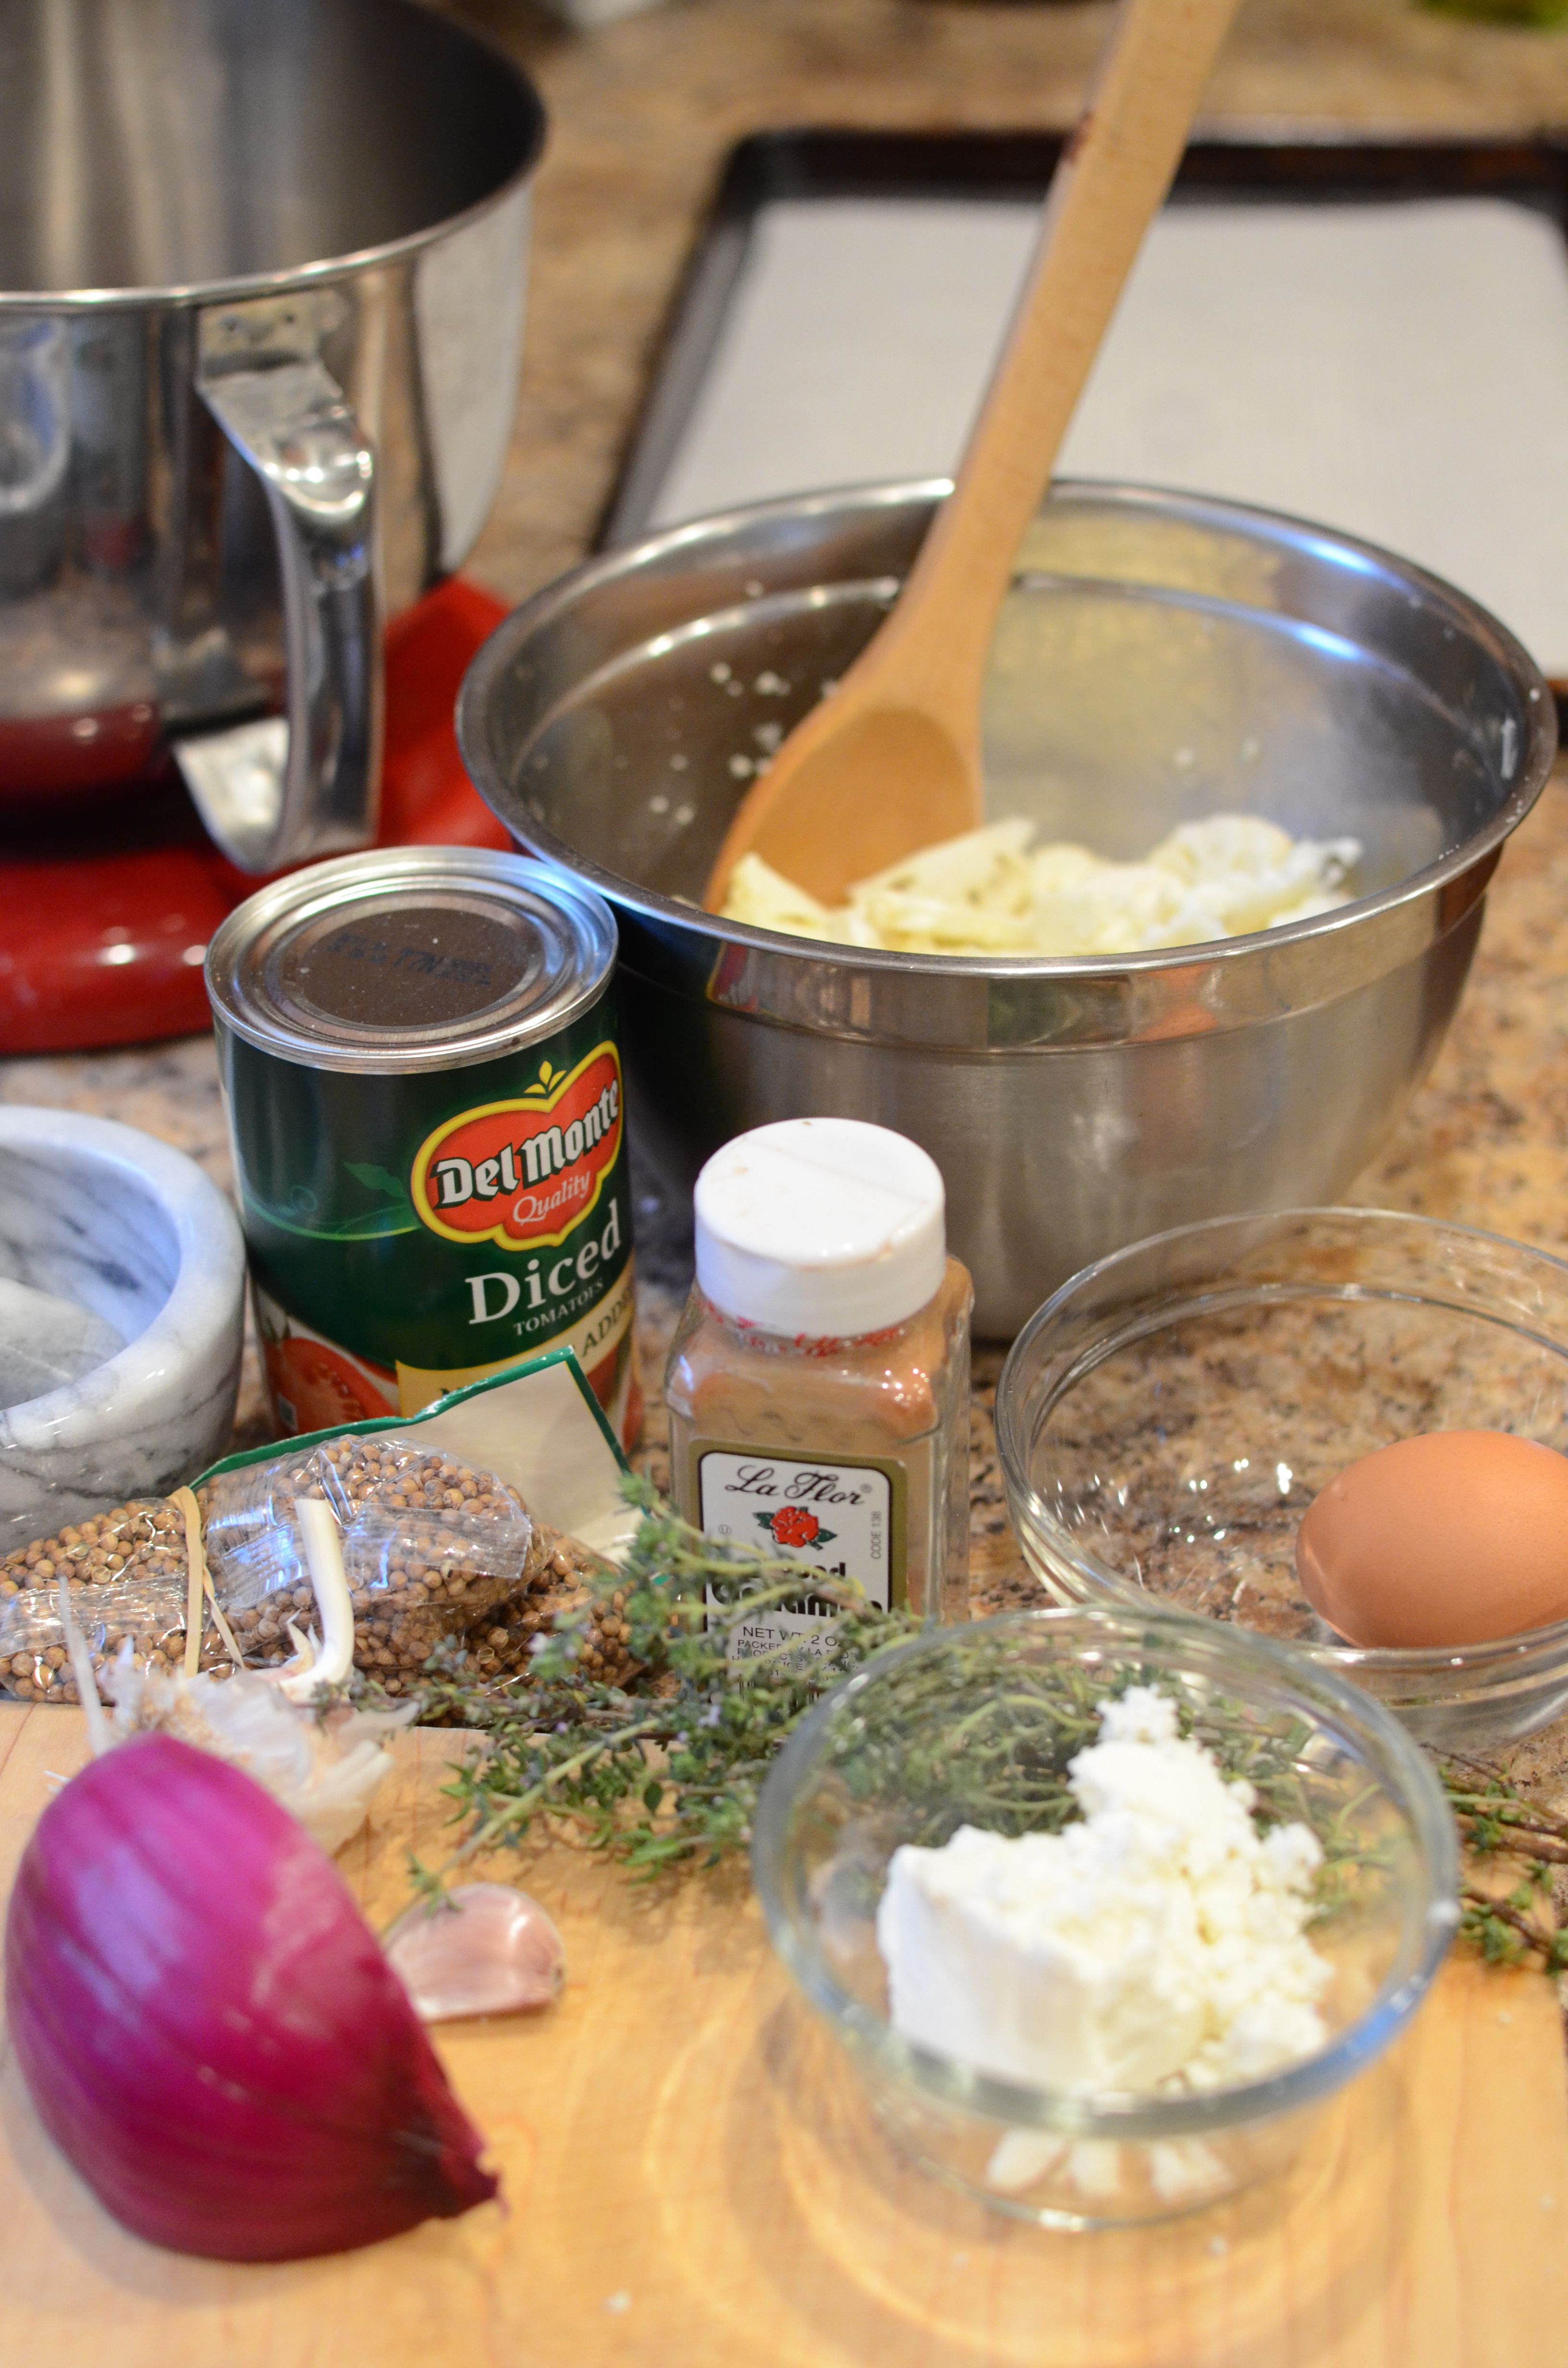


 Mix the honey, mustard, 1 Tablespoon of oil in a small bowl and salt and pepper, to taste. Put mixture in a large plastic bag, bowl, instant marinator, or whatever you like to use to marinate.