Another lull, I know. To be honest, I haven’t been in the habit of cooking meals lately. It doesn’t feel right, and I want to get back to it. Otherwise, I will continue to spend too much money on food, and my husband will eat too many bowls of cereal for dinner.
In my personal life, a question I have been getting from people frequently is whether I have any cravings. (Why have people been asking me this? Well, what is the most common reason for that question? 🙂 ) I haven’t noticed any strange or strong desires for food. Something [healthy] that I have found even more delicious than before is grapefruit. I usually buy one or two at a time, and most recently I bought an entire bag.
My affliction has been slight aversions but mostly indifference toward normal entrée eating. And, unfortunately, most cooking and prep. As a result, I haven’t been grocery shopping properly or planning for recipes, as mentioned before. Crackers, bread, and chips need regular replenishment instead. I purchased fennel the other week, a rare whole food purchase, and unlike me, completely forgot about it. Fortunately it is something that can be combined with the abundant grapefruit!
A Friday night at home is the perfect time to muster up some motivation. Nevermind that I met a friend to eat dessert BEFORE I got around to this.
A large bulb of fennel yielded enough for a second salad, which I made the next afternoon. (In retrospect, since these two recipes had similar flavor profiles, I wish instead I had thawed some chicken and made my chicken thighs with caramelized fennel recipe). The two salad recipes are below.


Fennel and Red Grapefruit Salad
Developed with inspiration from Fine Cooking, Martha Stewart, and Giada de Laurentiis on Food Network
1/2 fennel bulb, thinly sliced
1 red grapefruit
About 1/4 of a red onion, thinly sliced
1/4 tsp Dijon mustard
1/2 tsp of honey
3 Tablespoons extra virgin olive oil
a little white wine vinegar, to taste
salt and black pepper, to taste
1/4 cup walnuts, chopped and toasted
Parmesan cheese, to taste
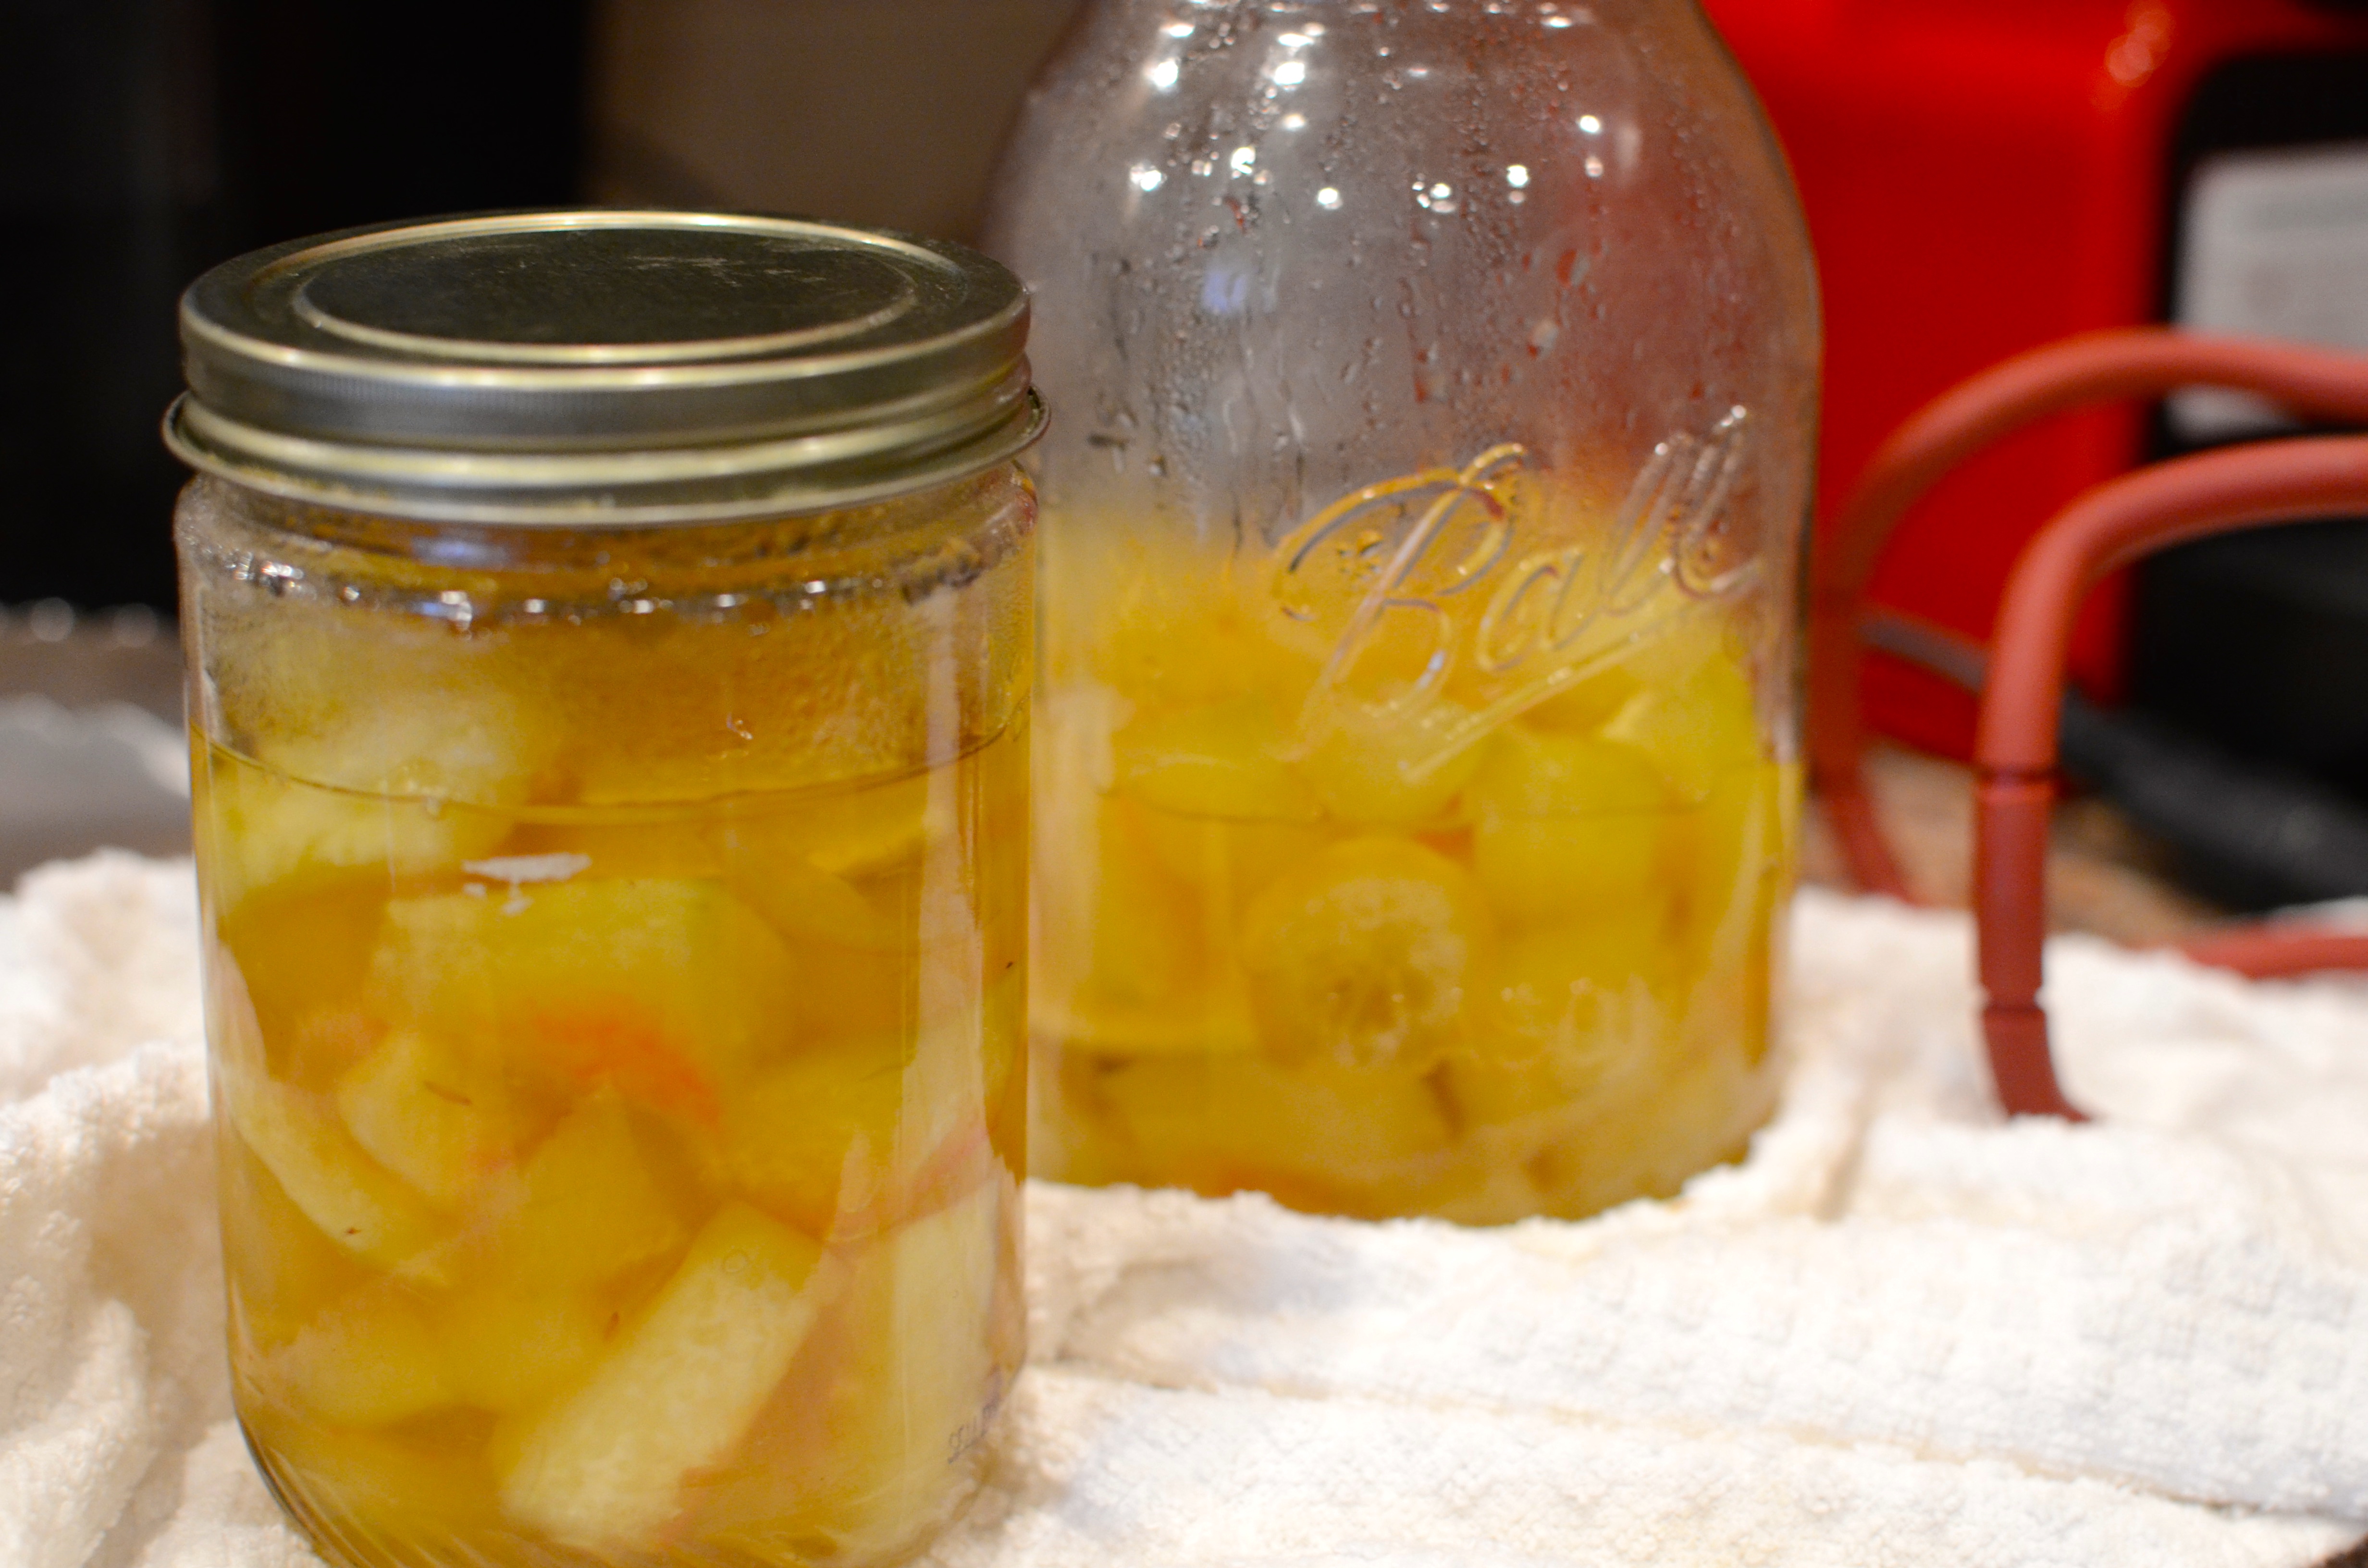
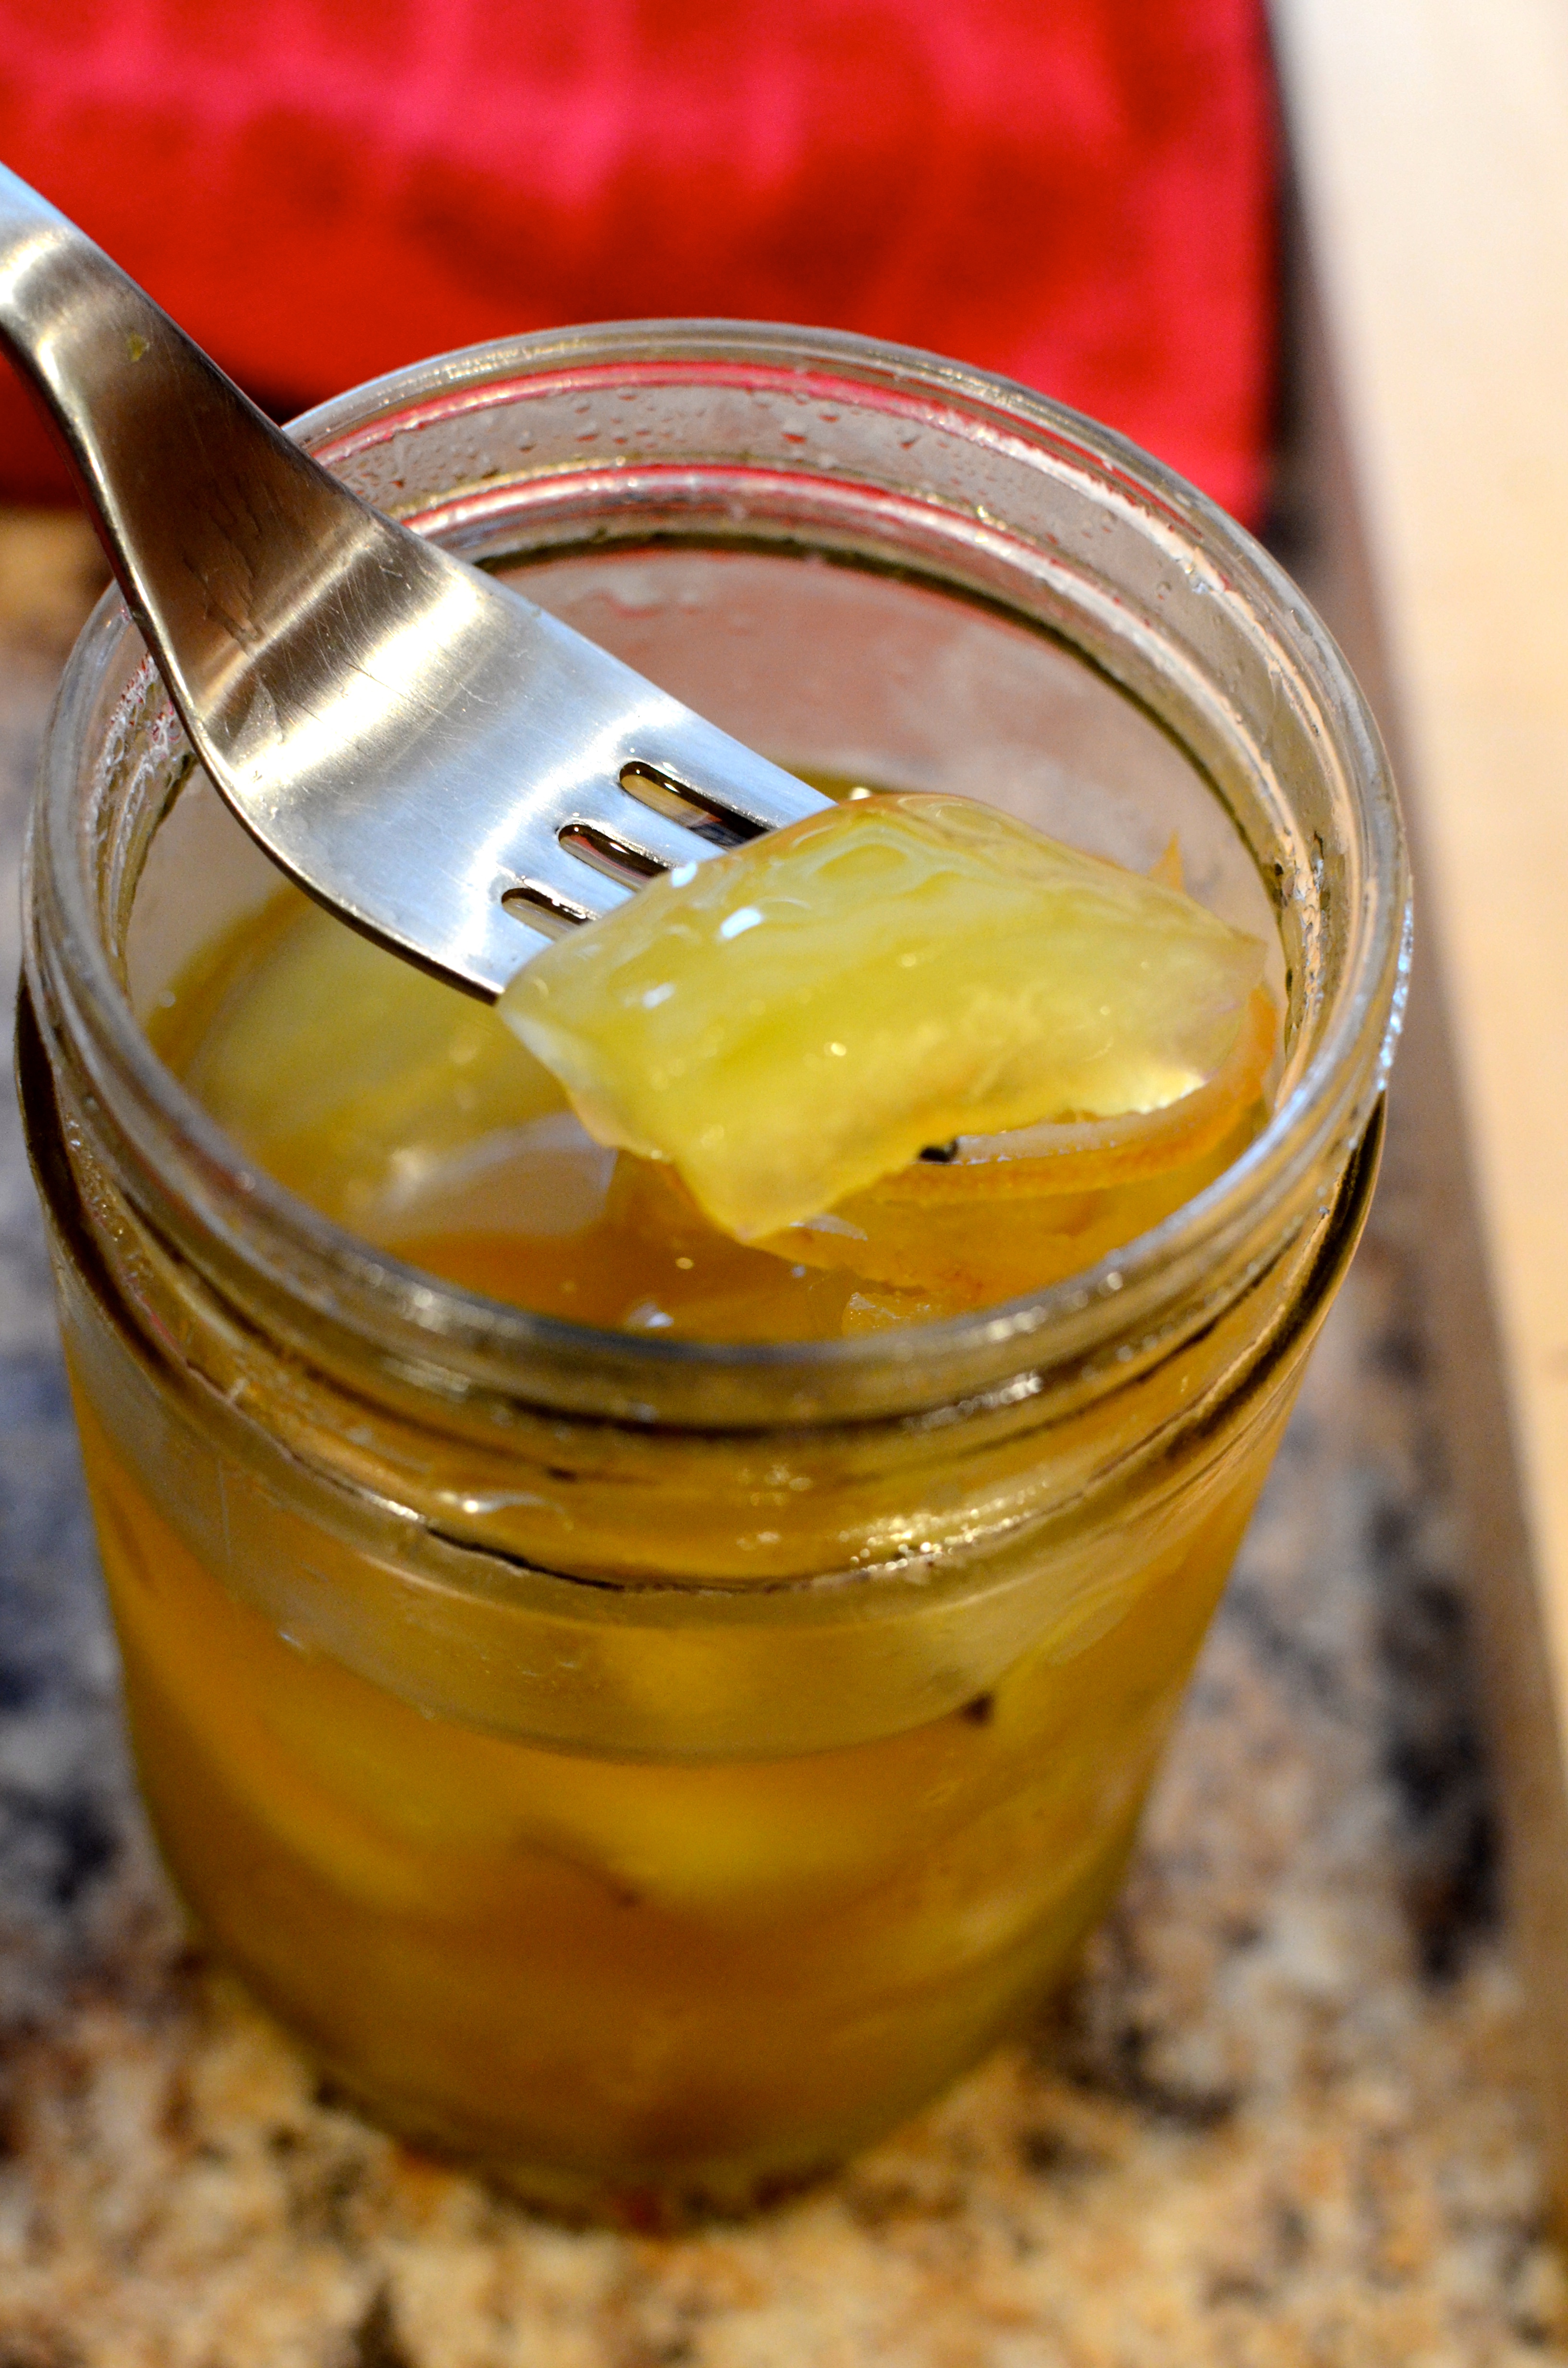
Using a sharp paring knife, slice away peel, pith, and outer membranes from the grapefruit.

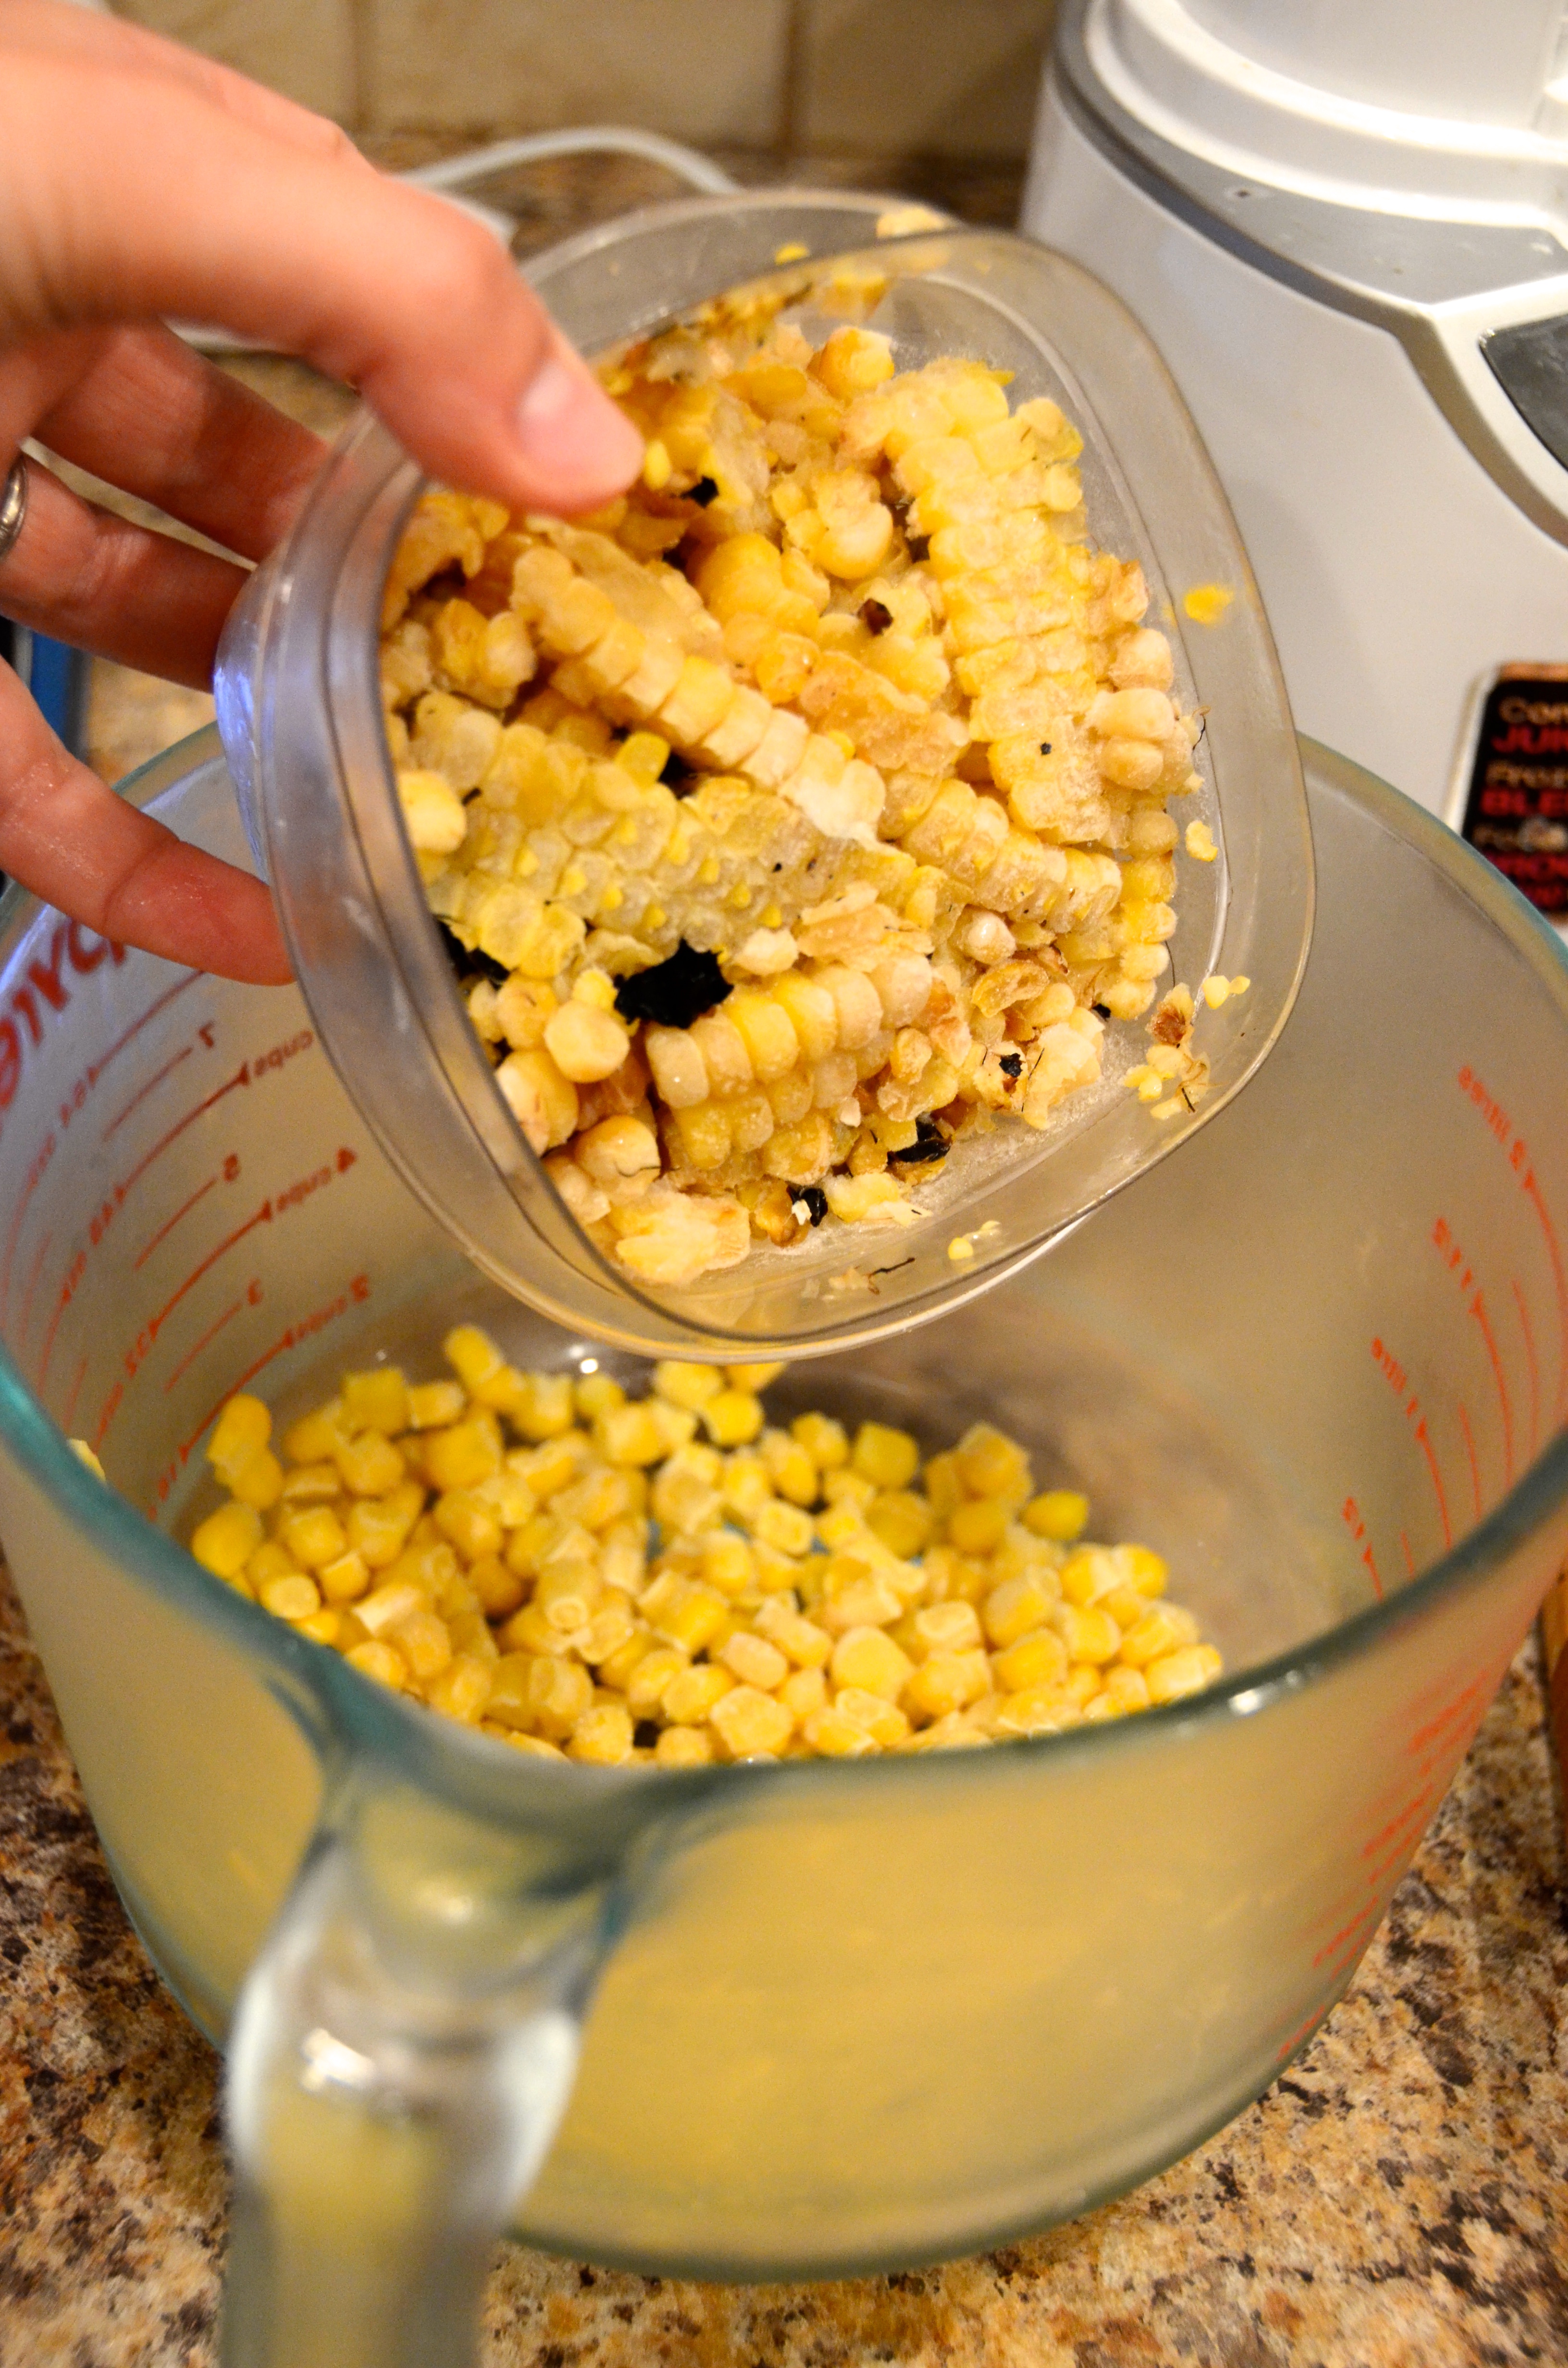
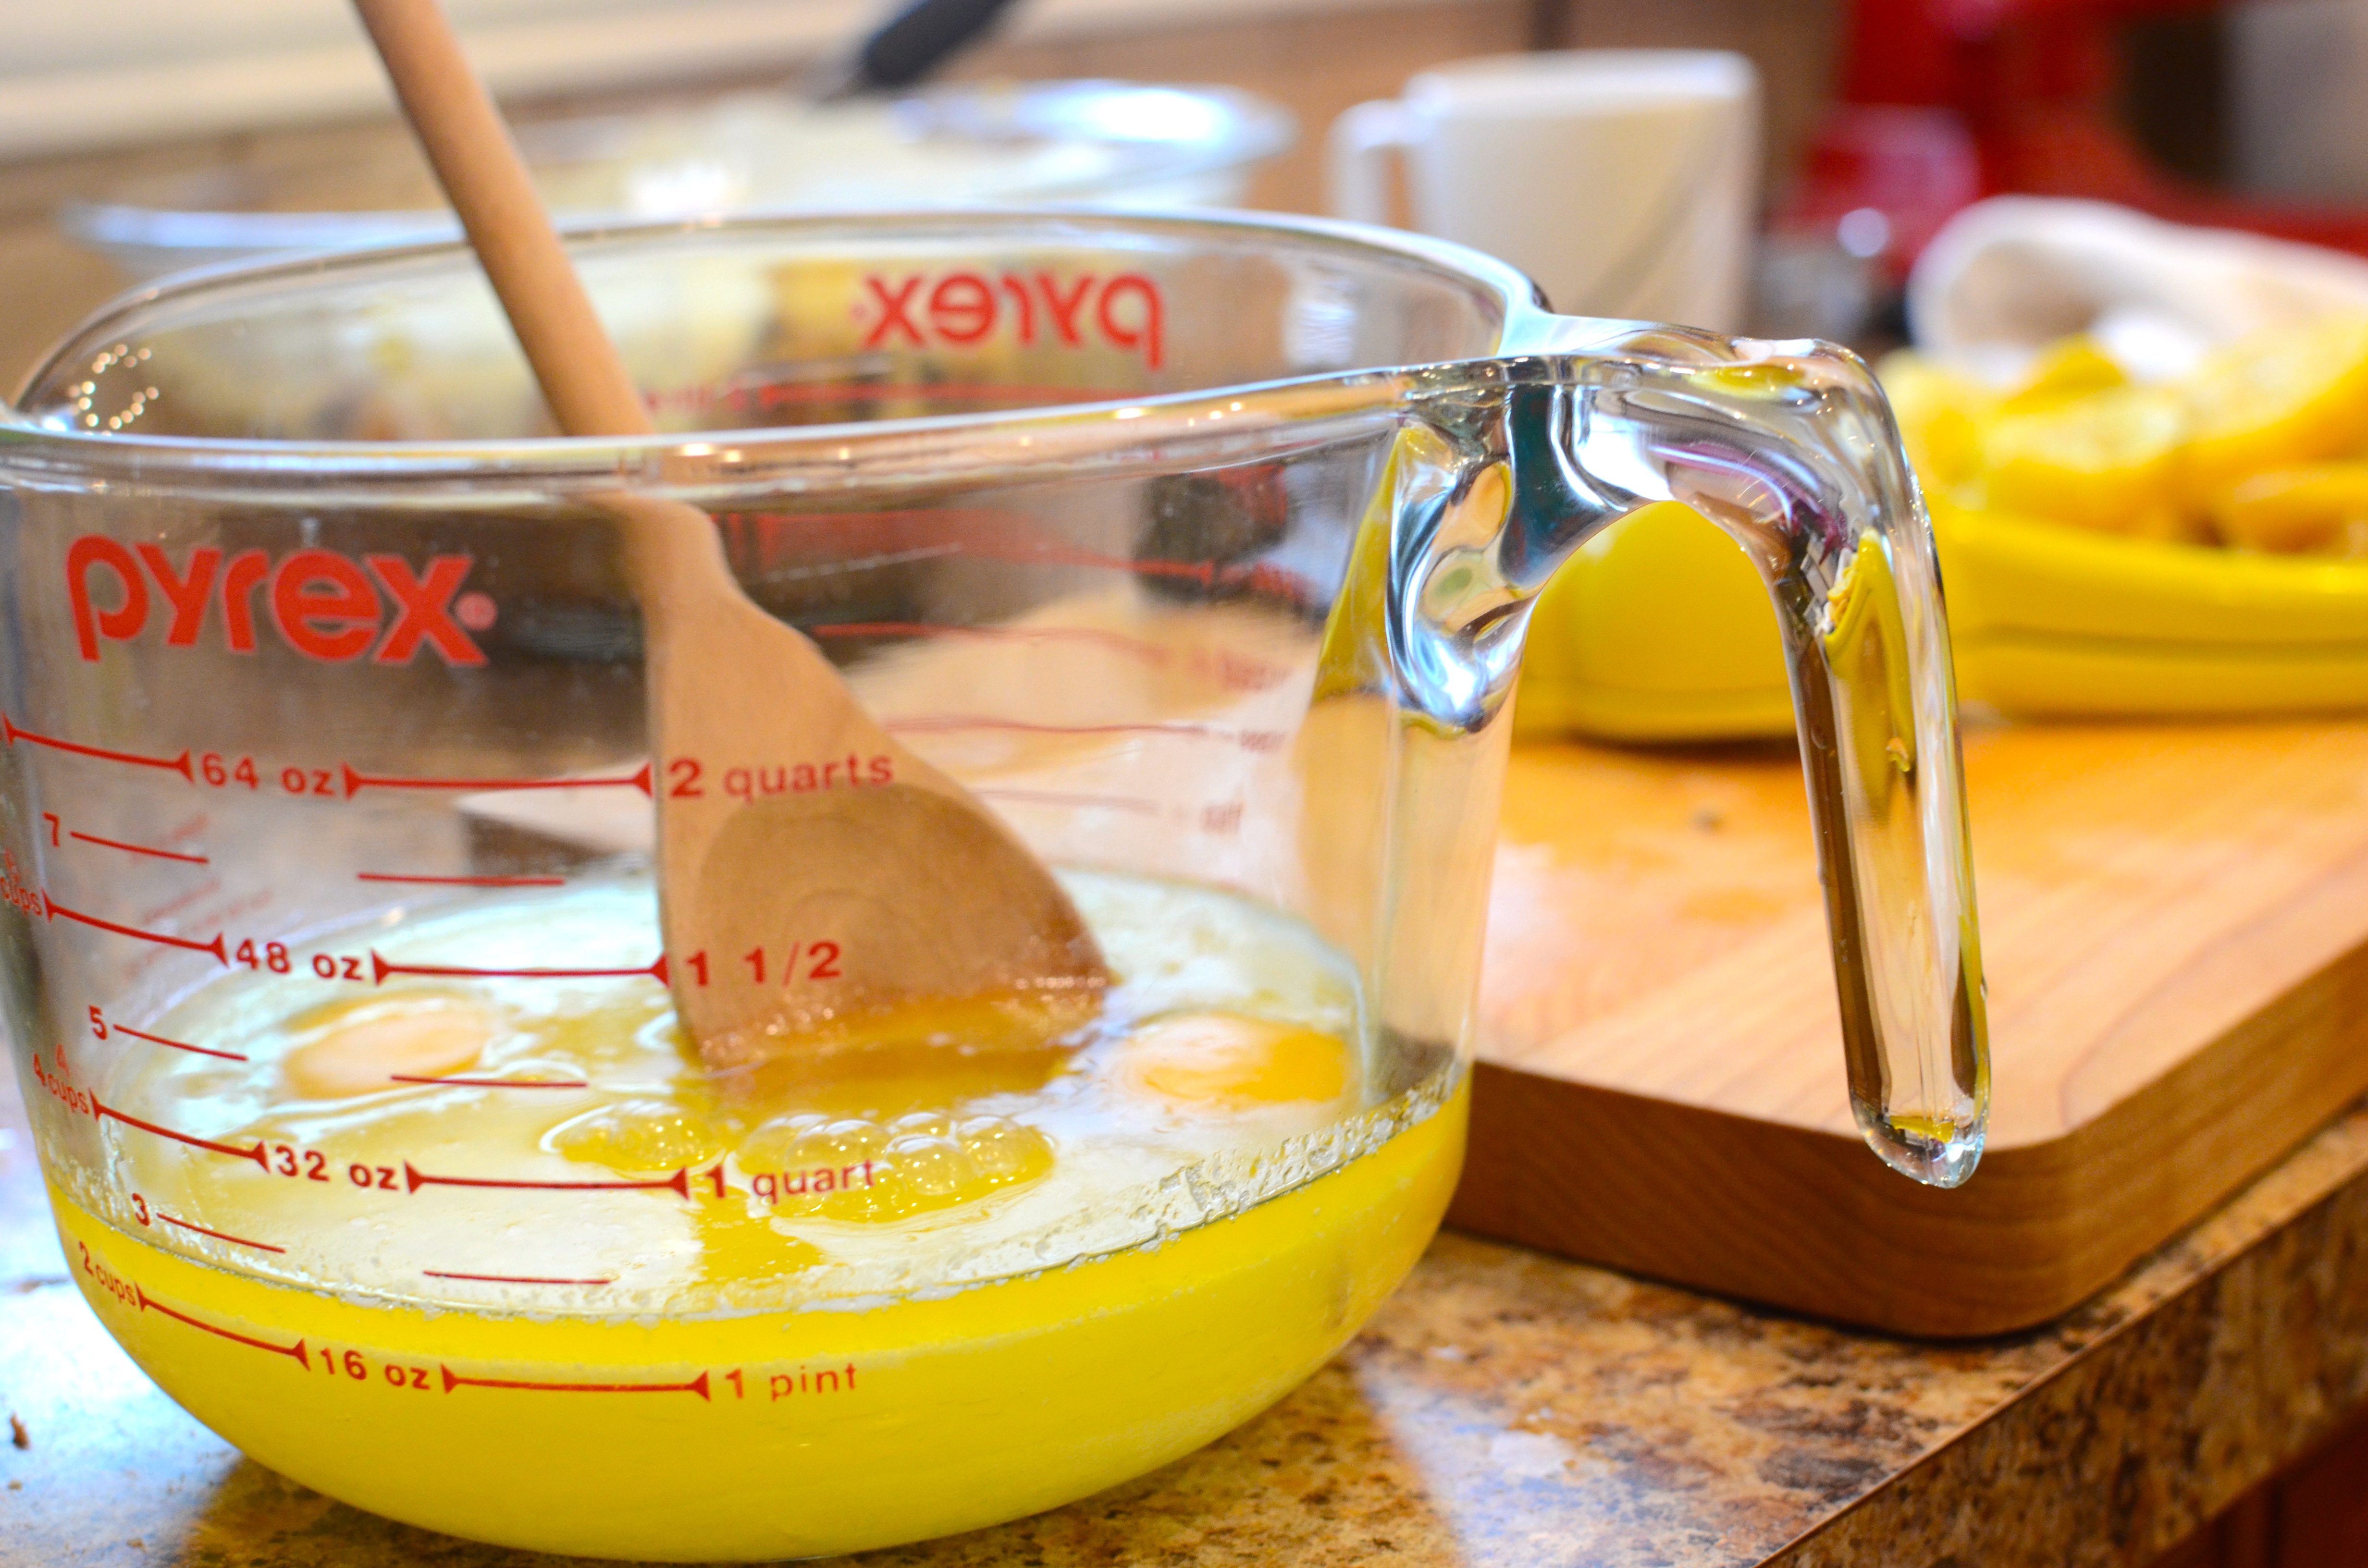
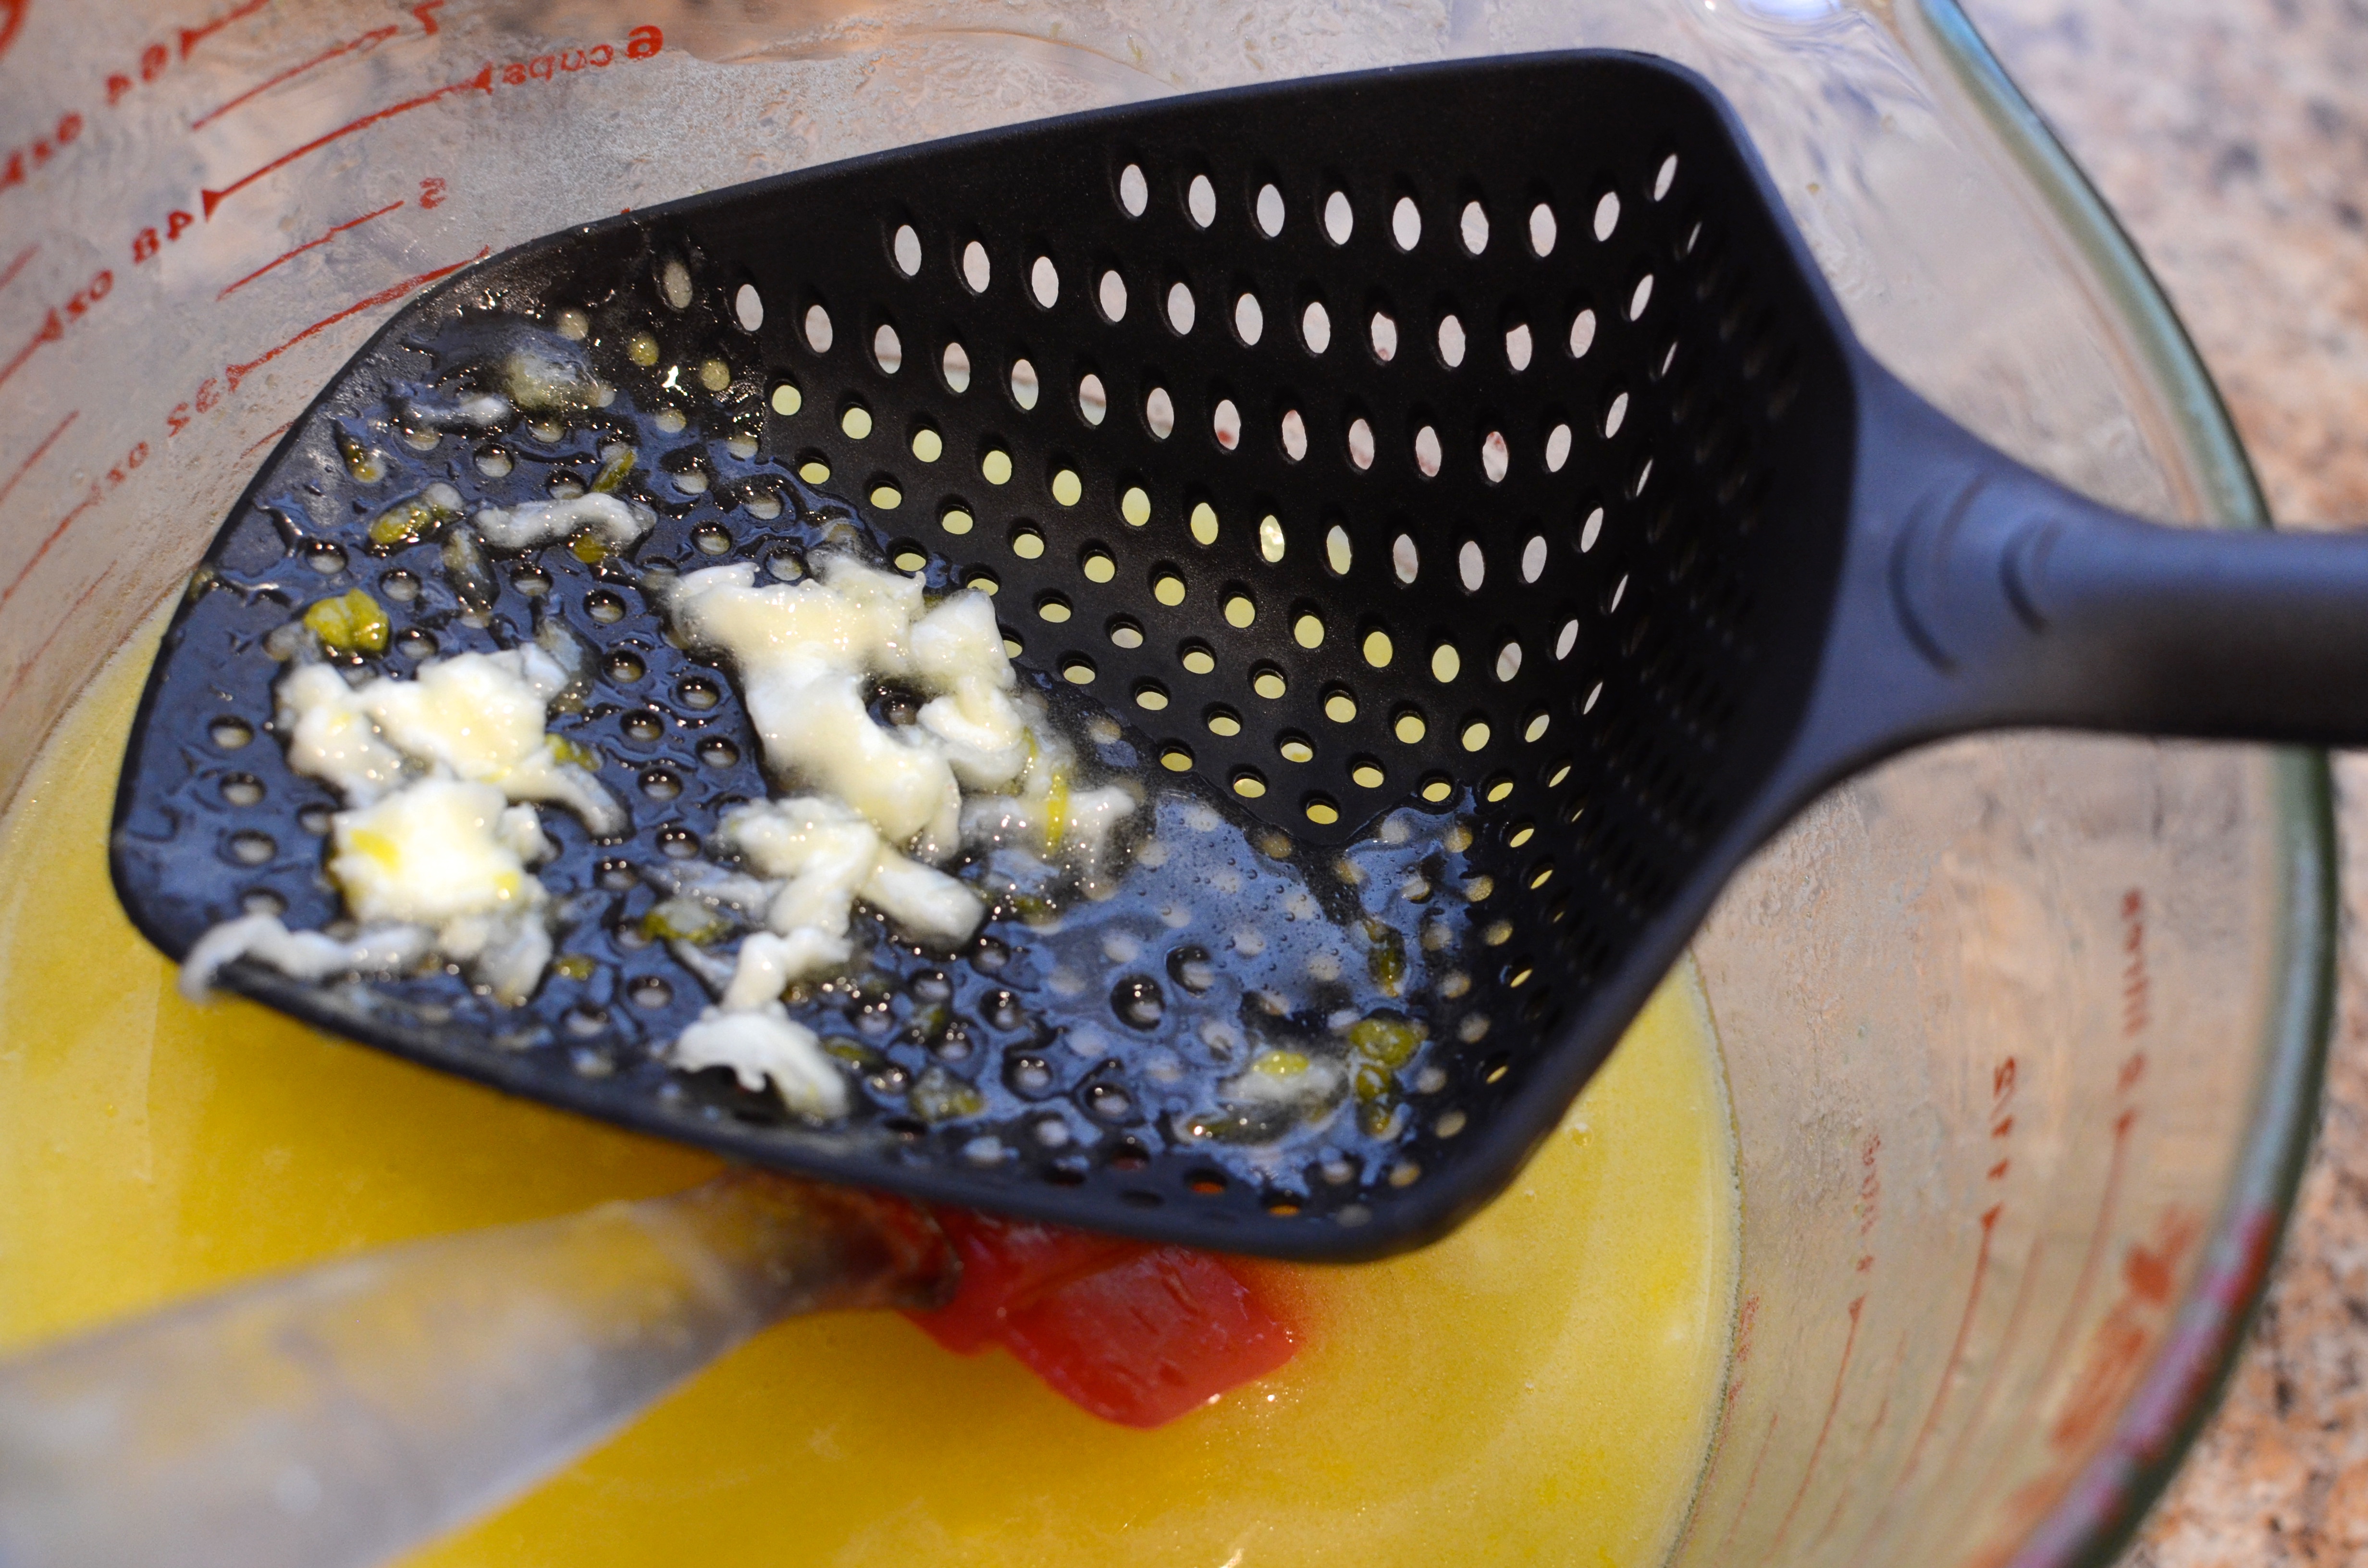
Holding the peeled grapefruit over a bowl (or in this case a measuring cup), slice each side of each segment with the paring knife. You may want to use a colander or sieve to catch the segments – place them aside as you slice. Squeeze what is left of the grapefruit and membrane over the bowl to capture as much juice as possible.

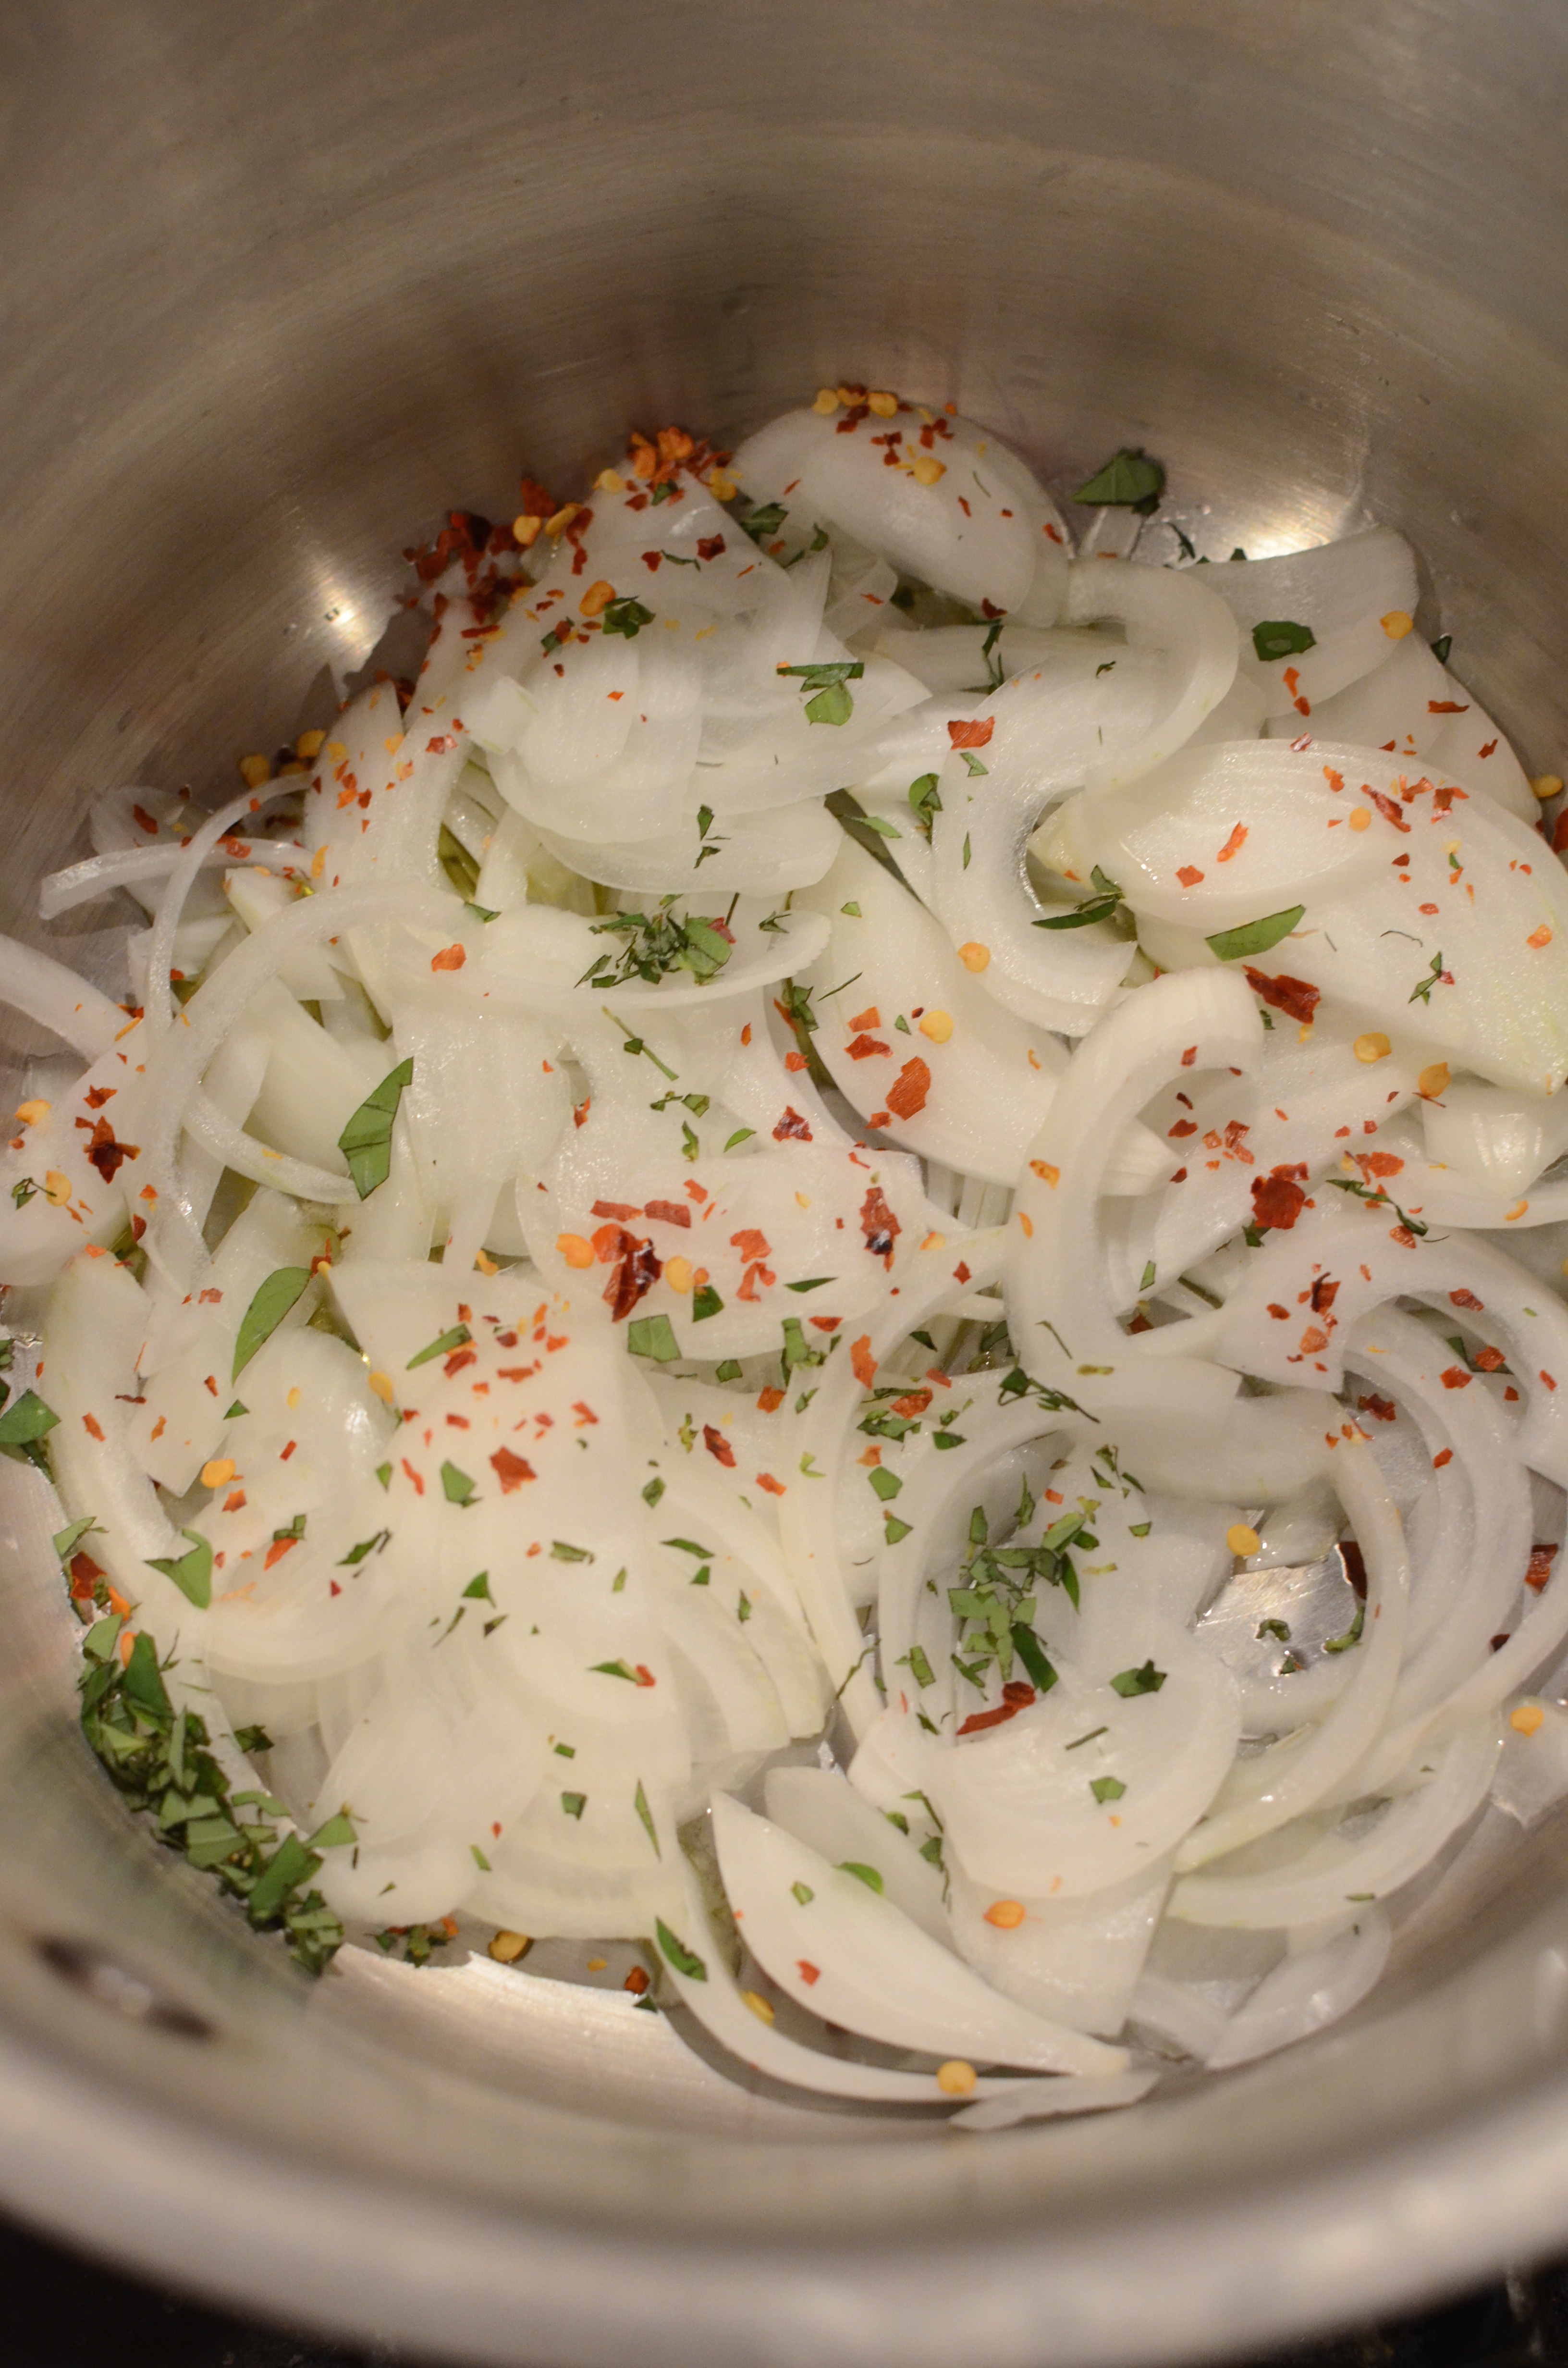
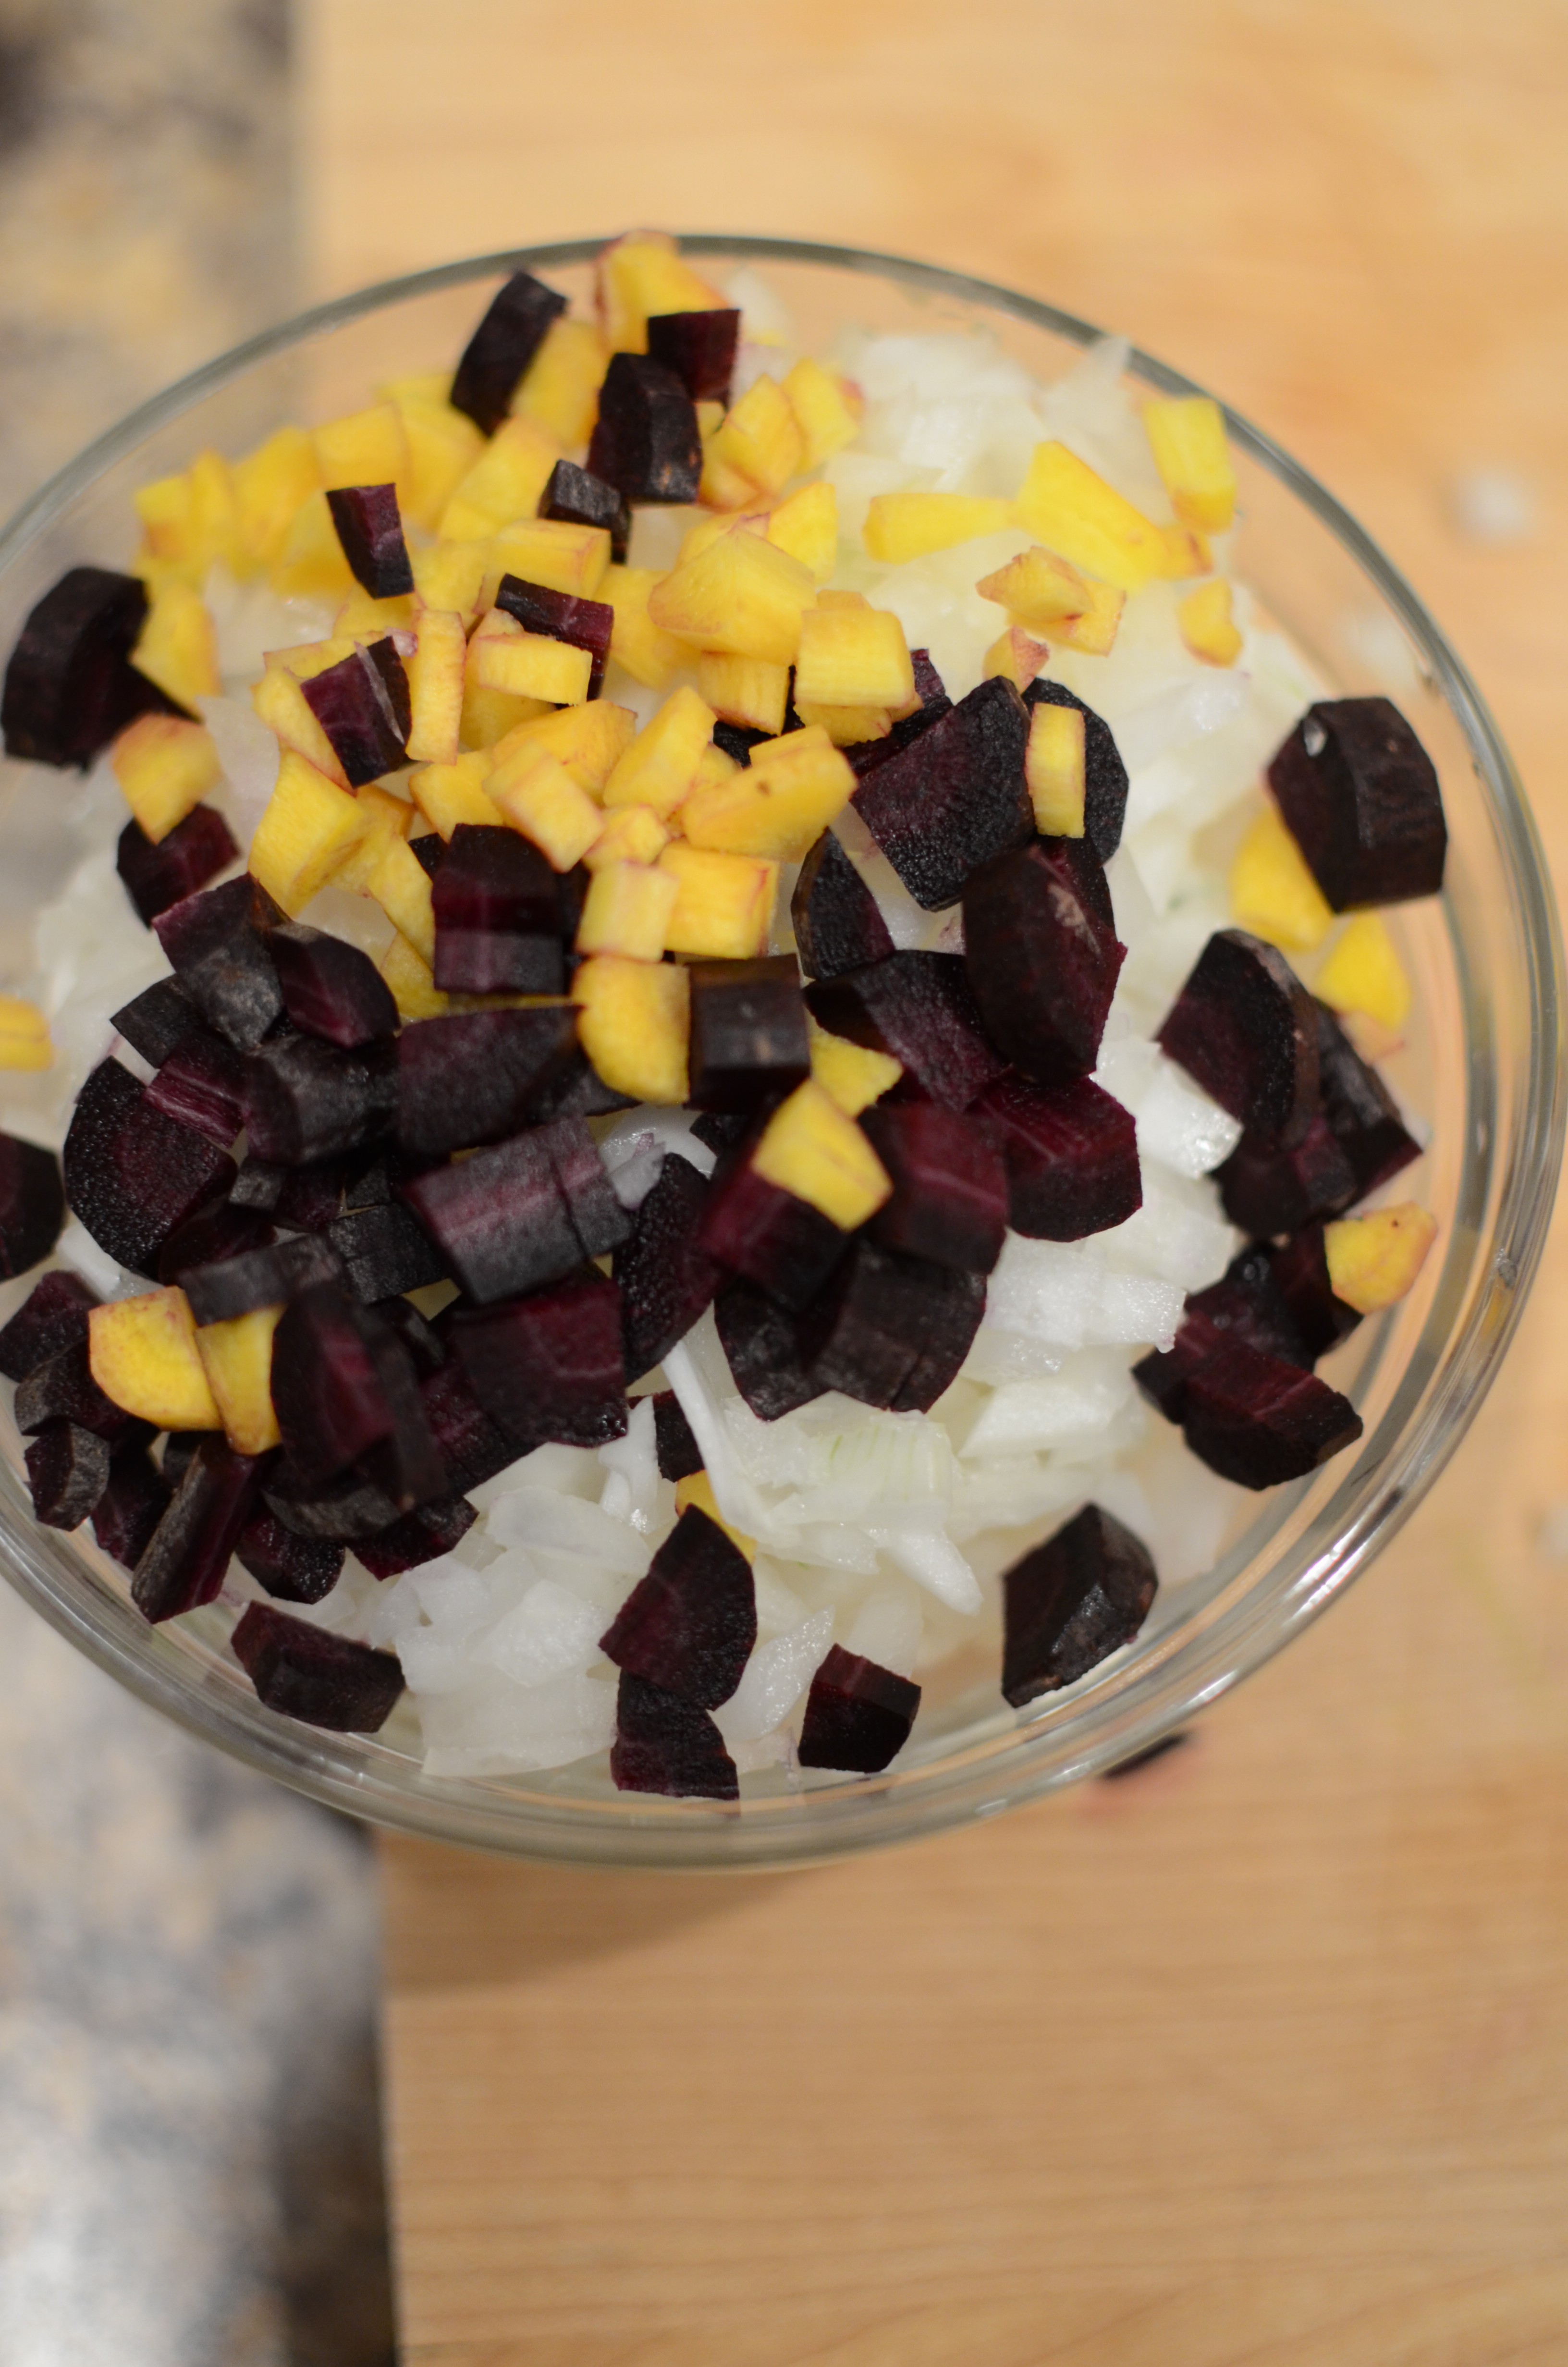
Take out the dreaded mandoline, or a sharp chef’s knife, to thinly slice your red onion and fennel. (At this point I continued slicing fennel and red onion for my next recipe).


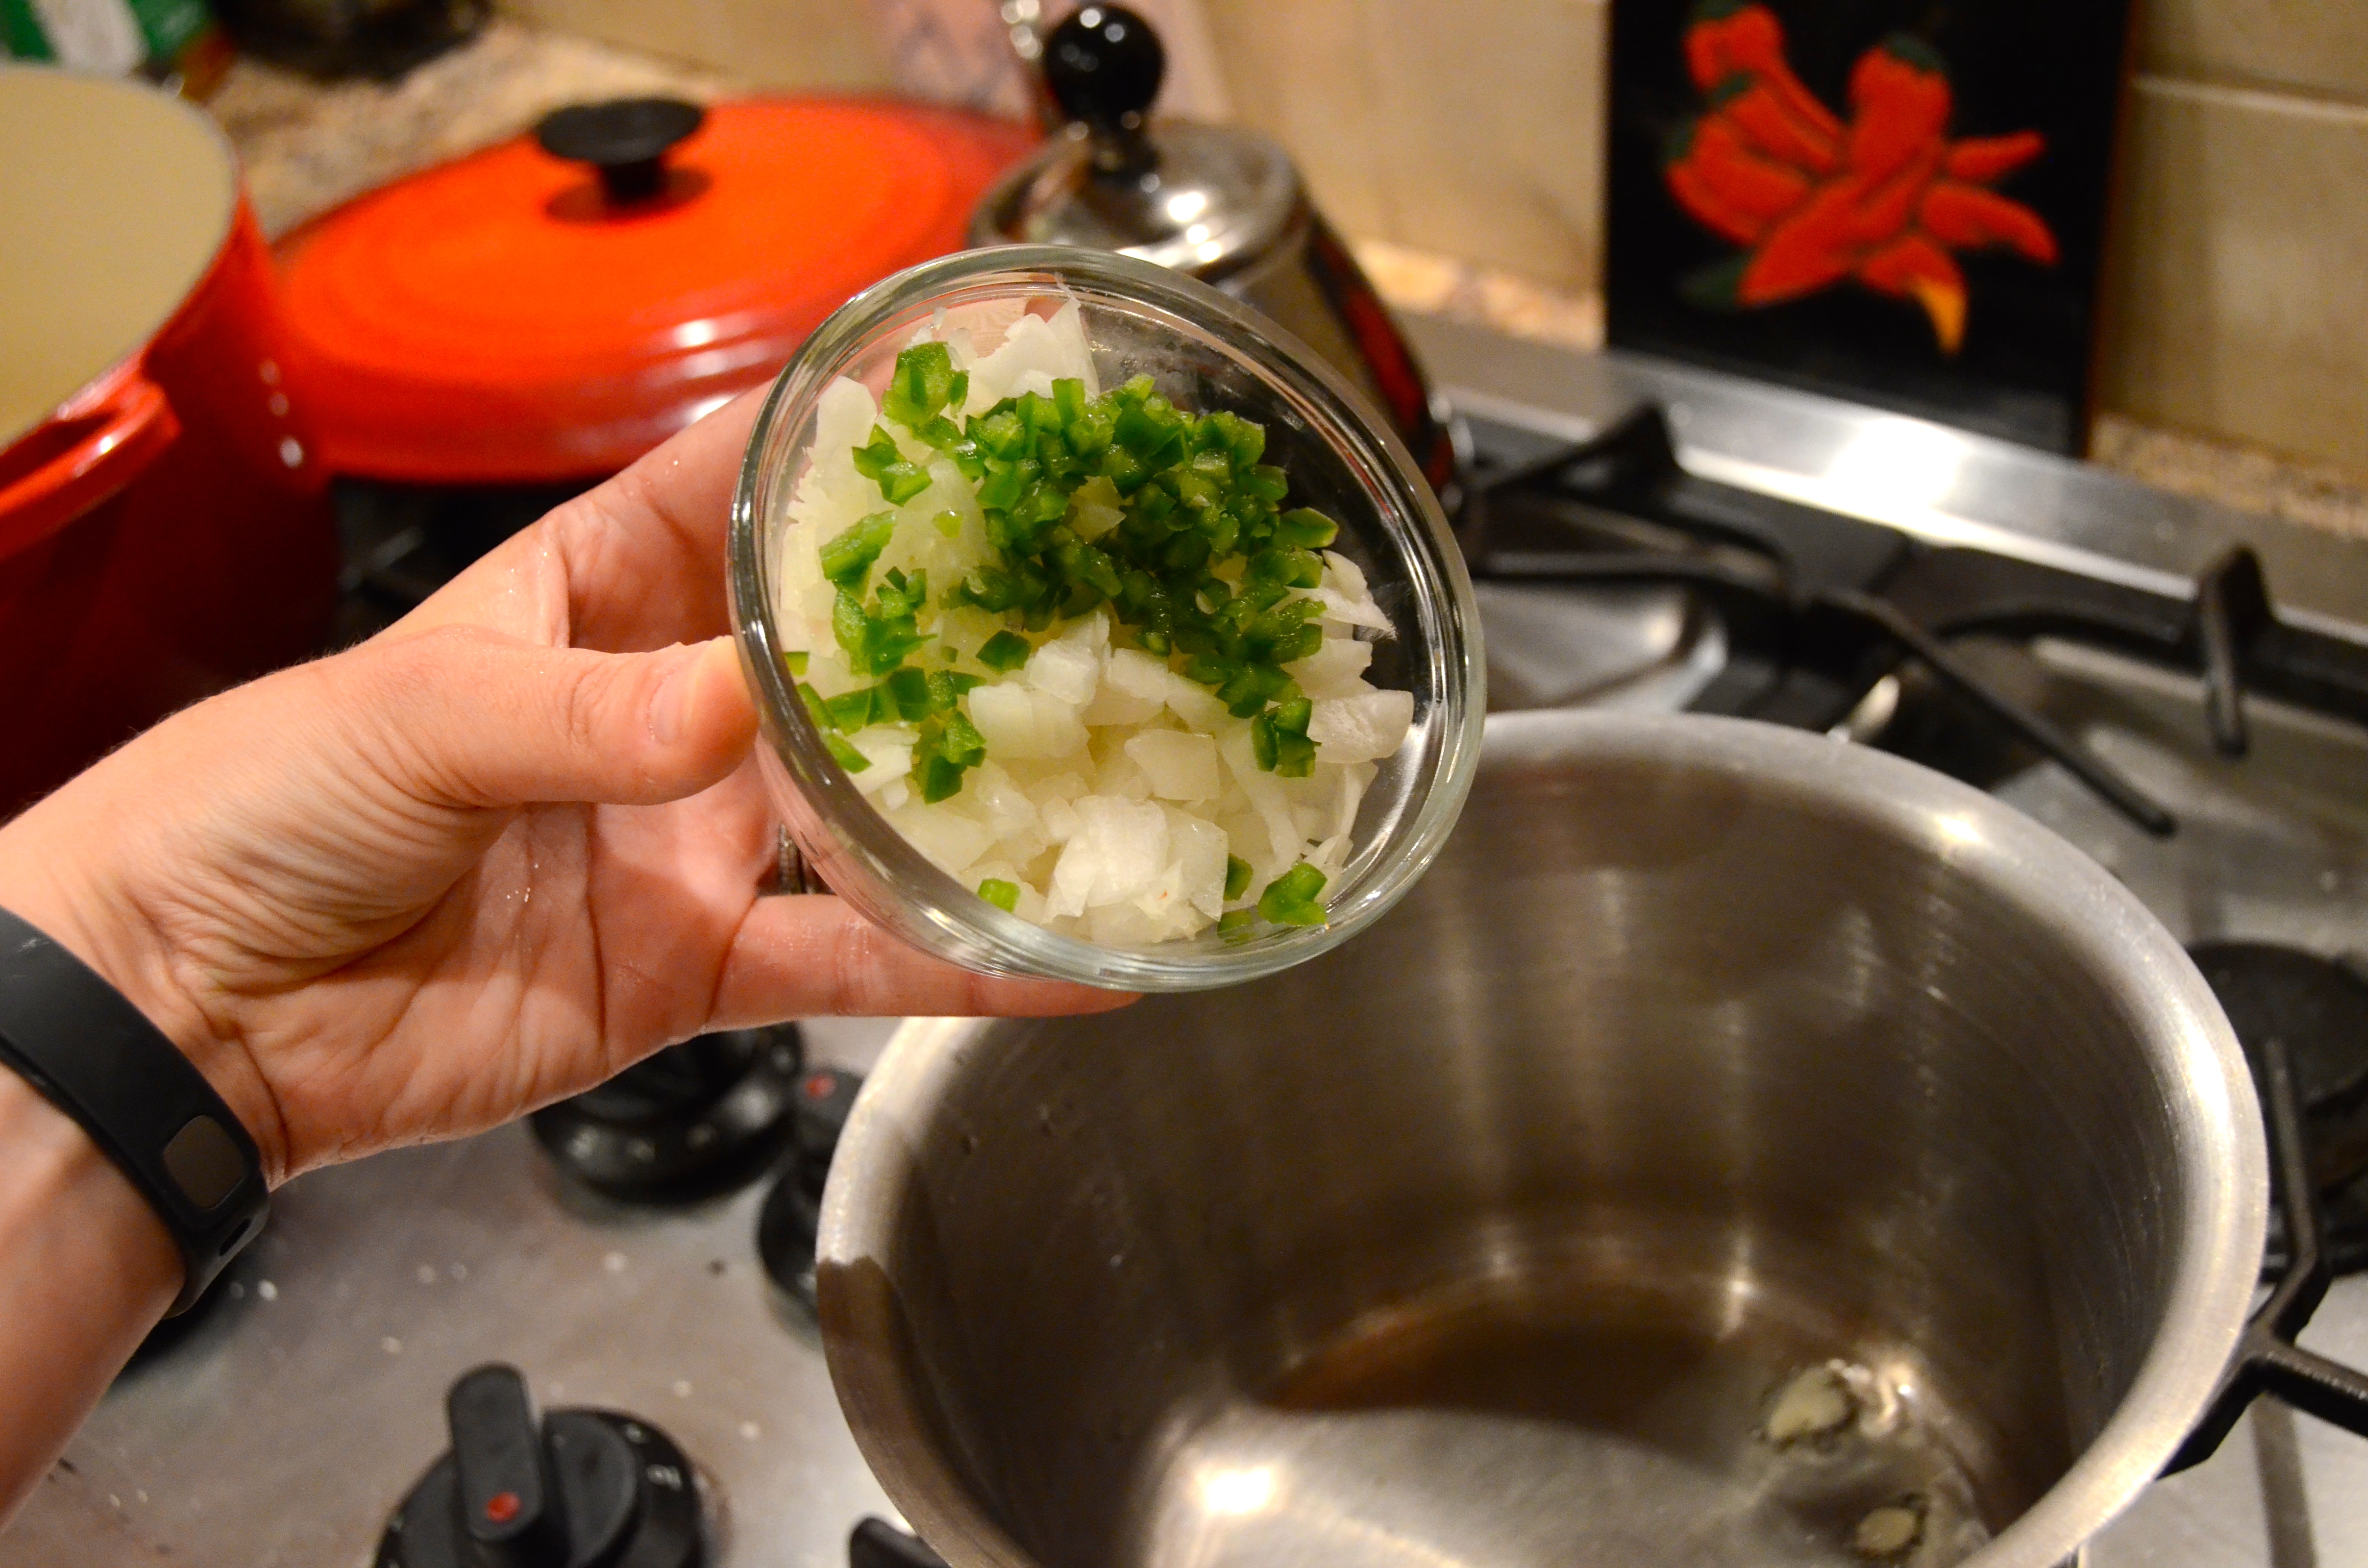
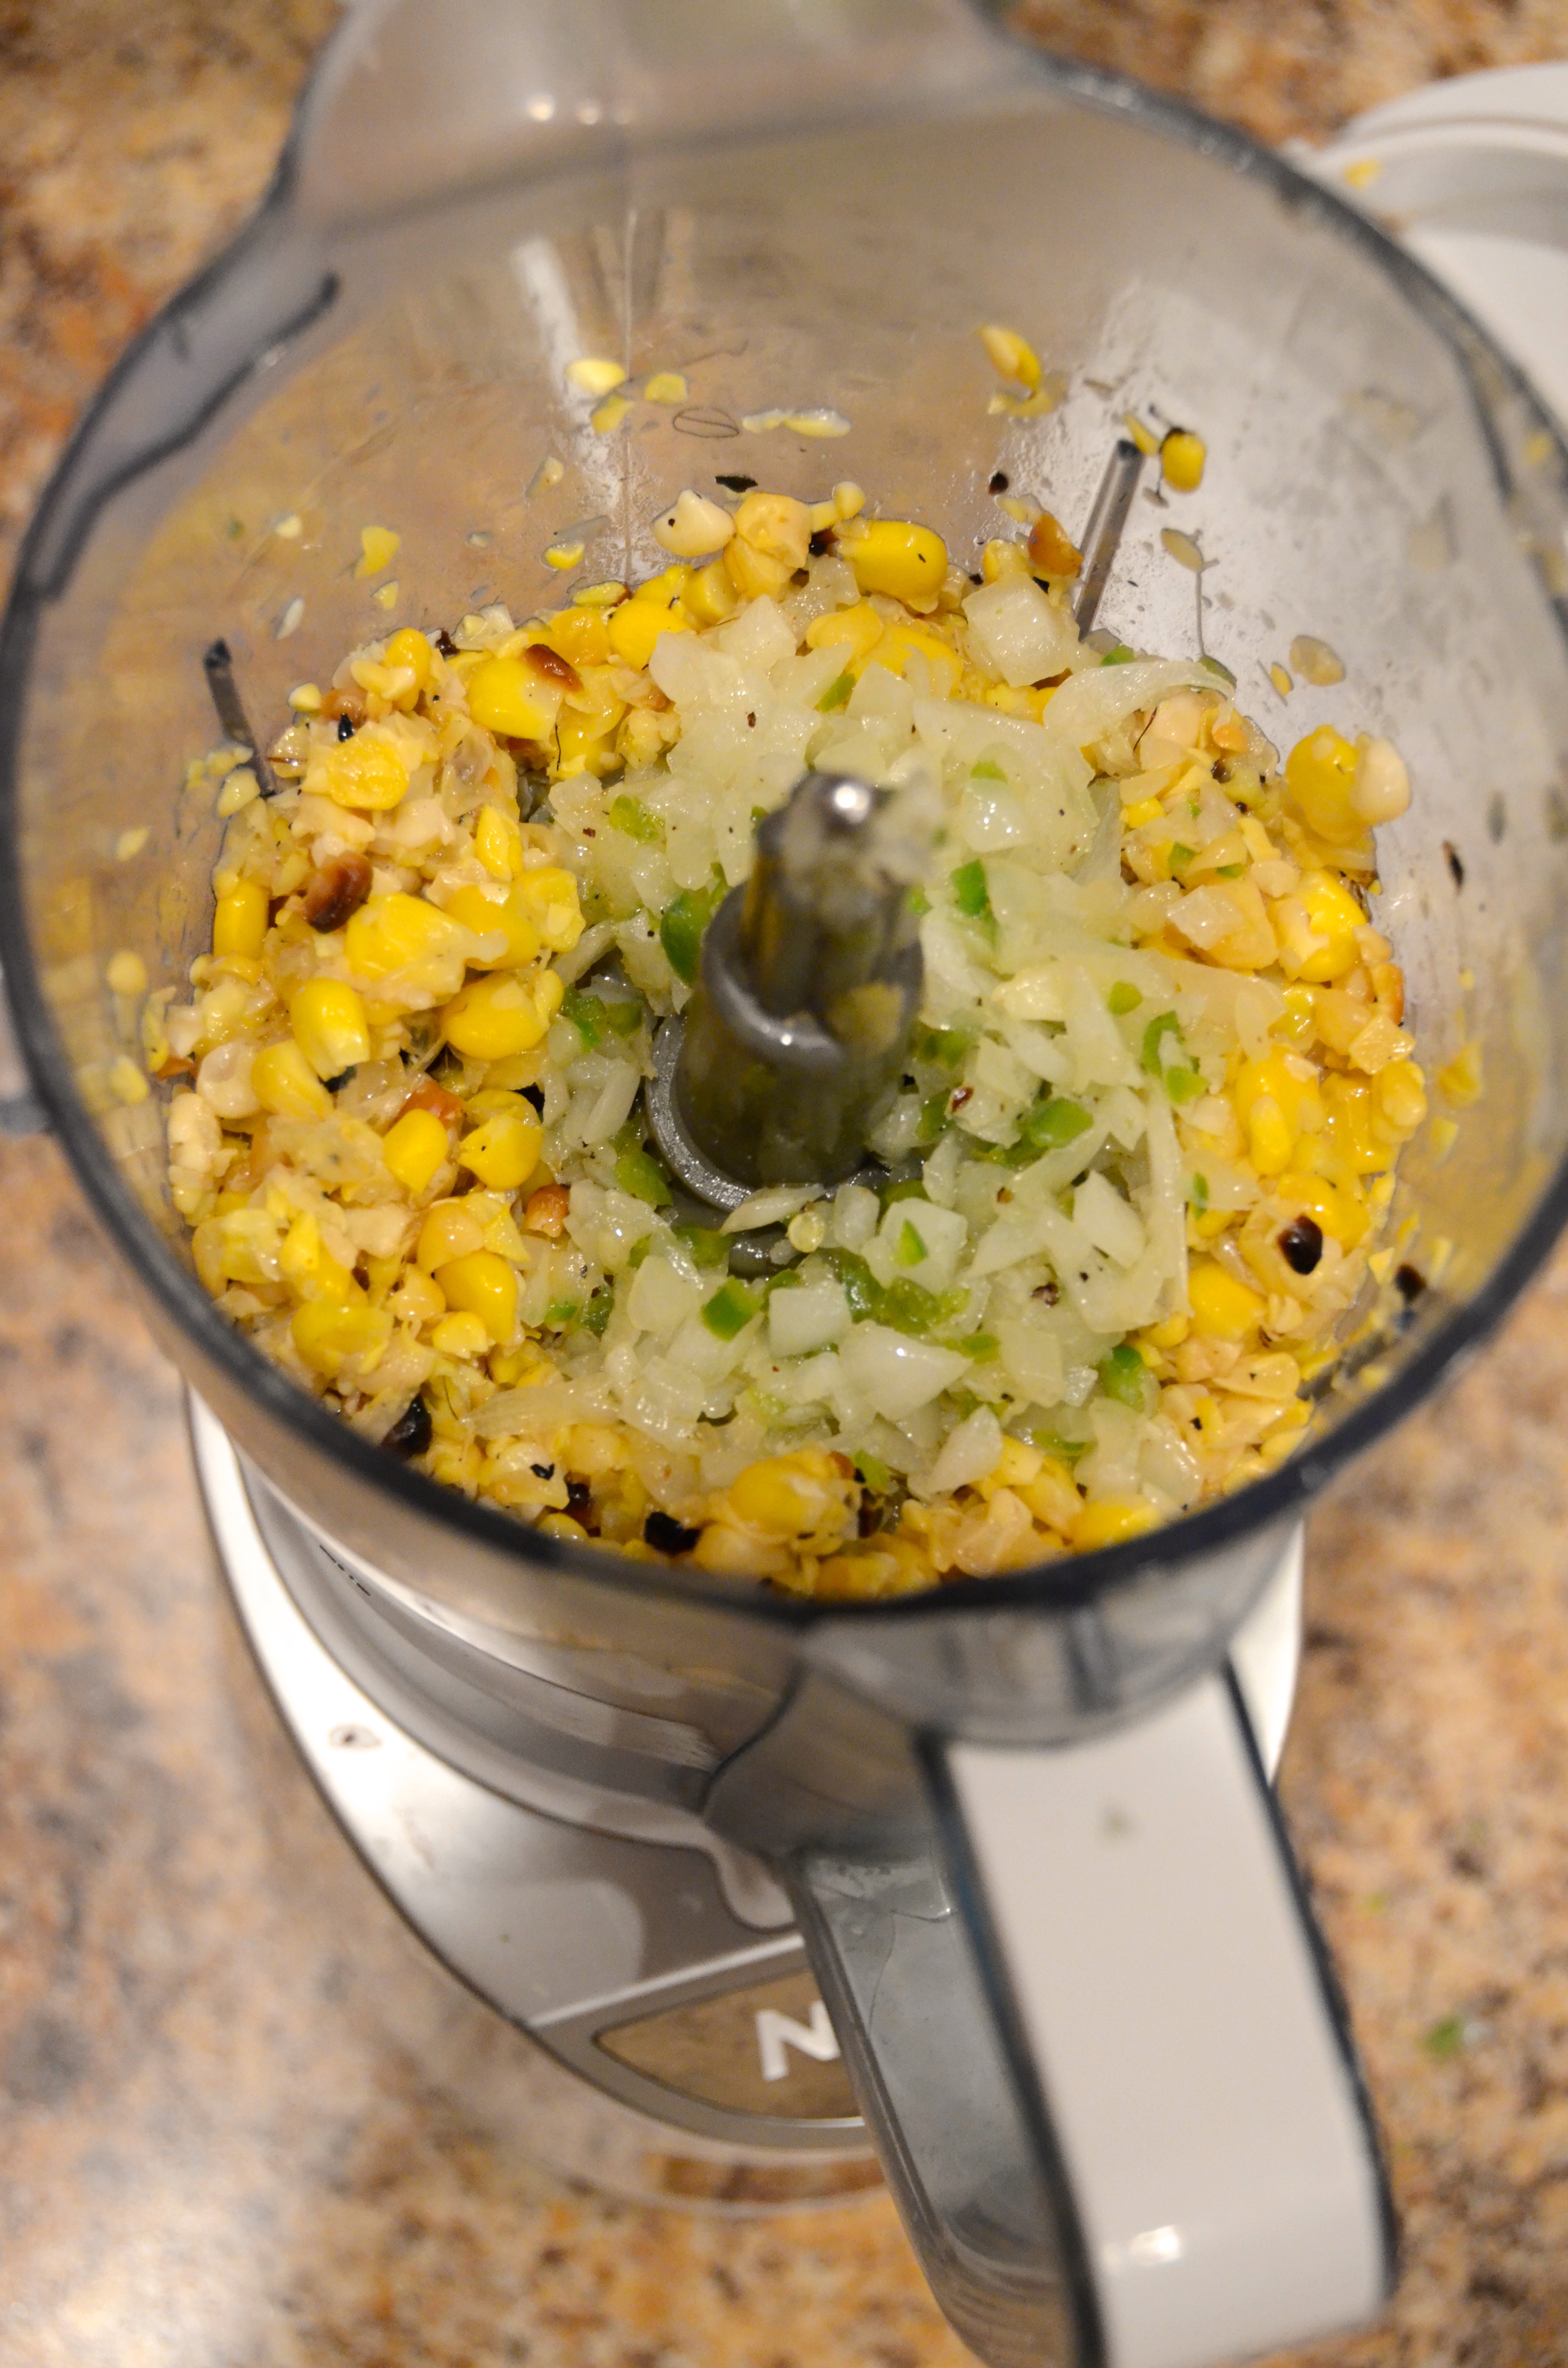
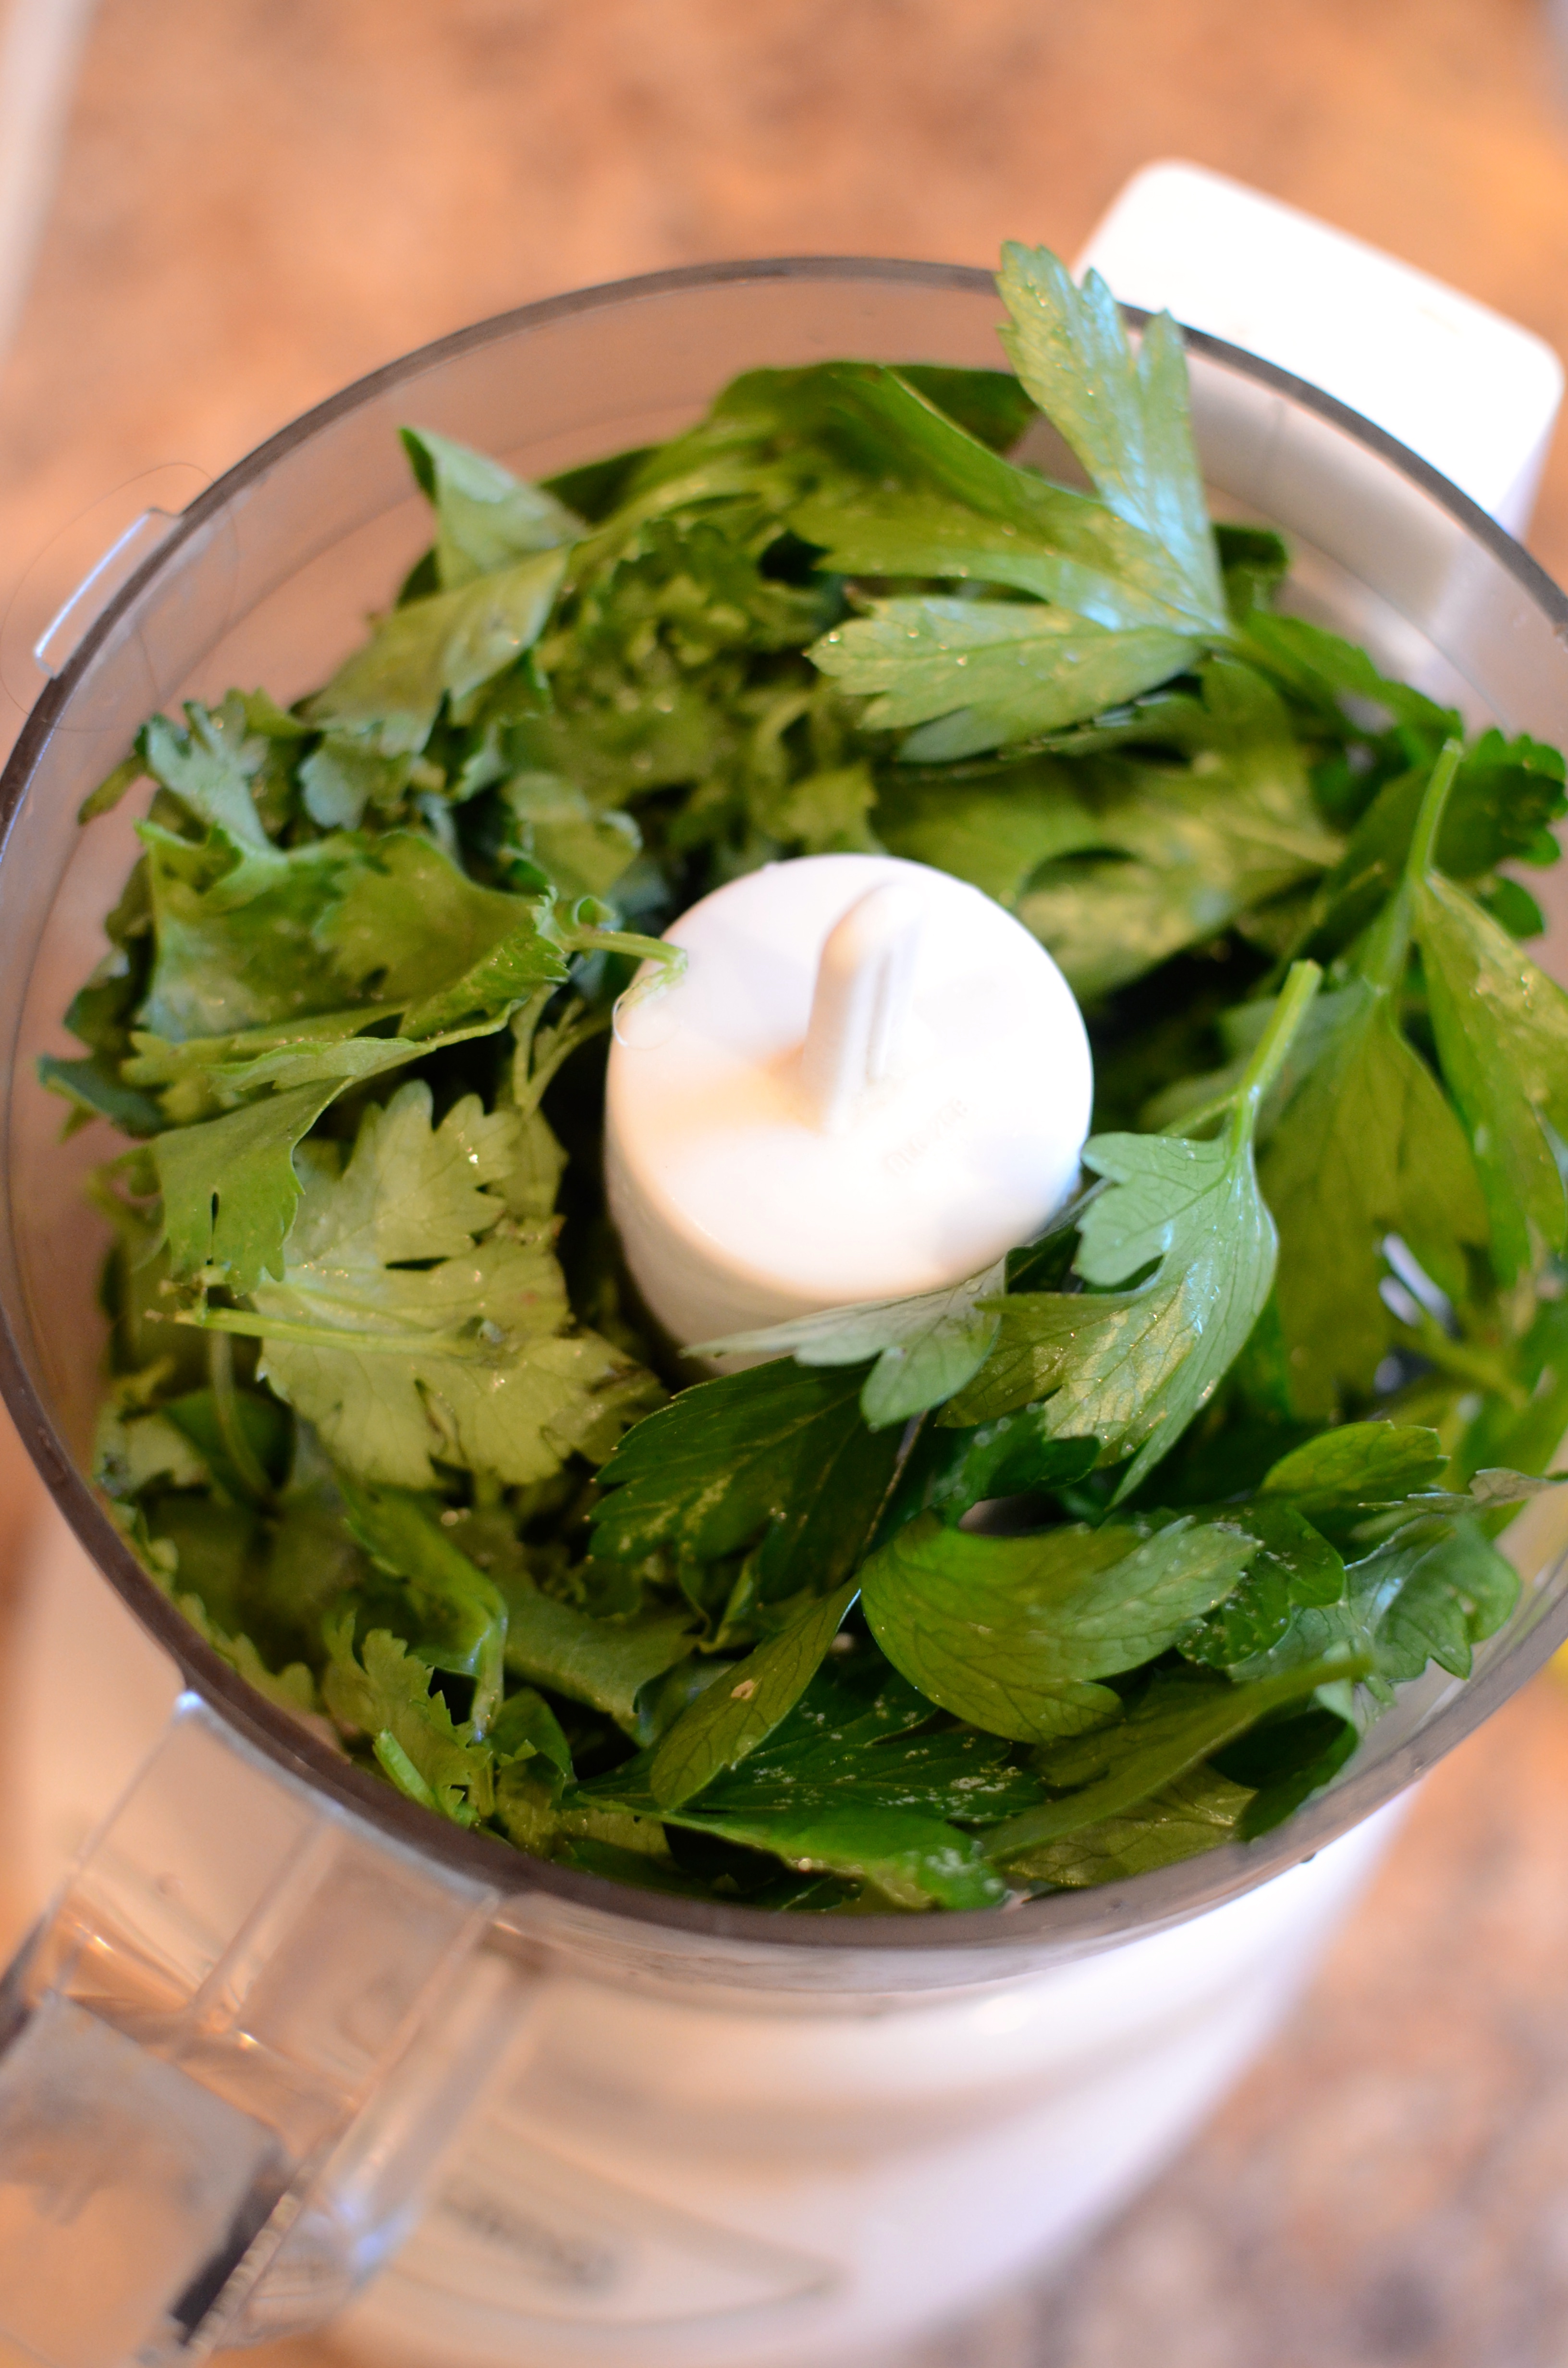
Measure 3 Tablespoons of the saved grapefruit juice and add to a blender or food processor. Add the red onions to the remaining juice.
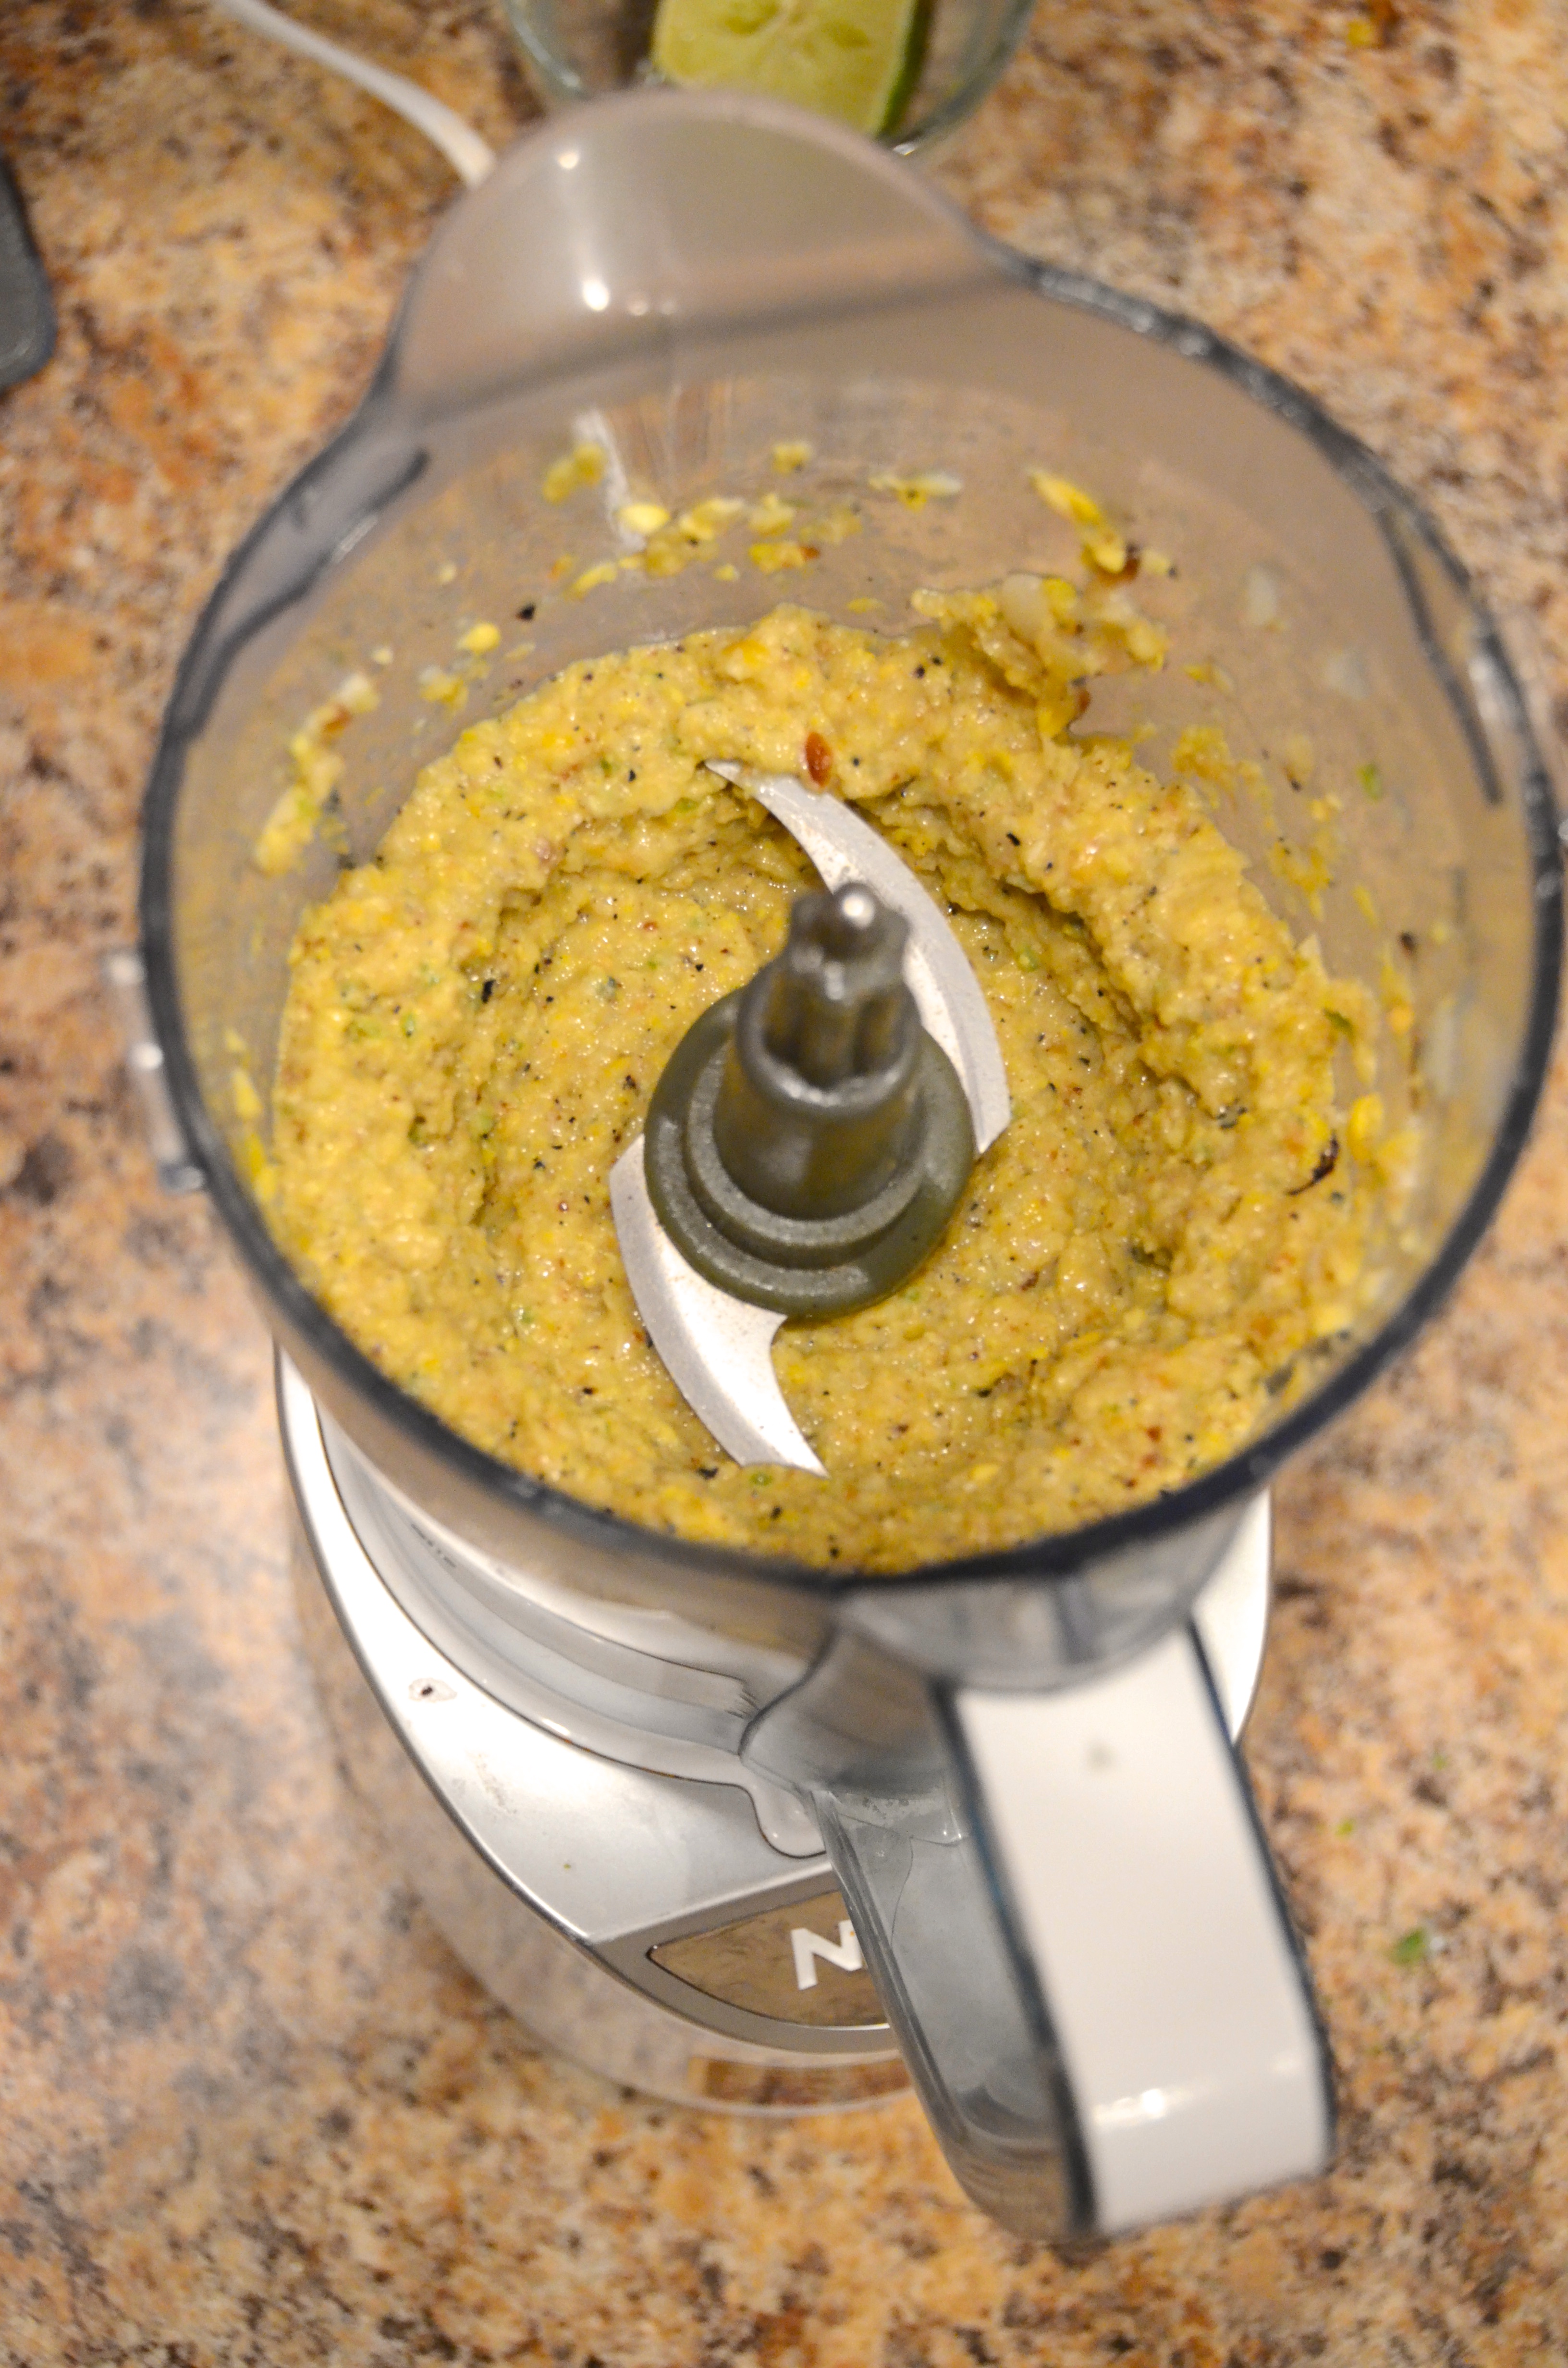
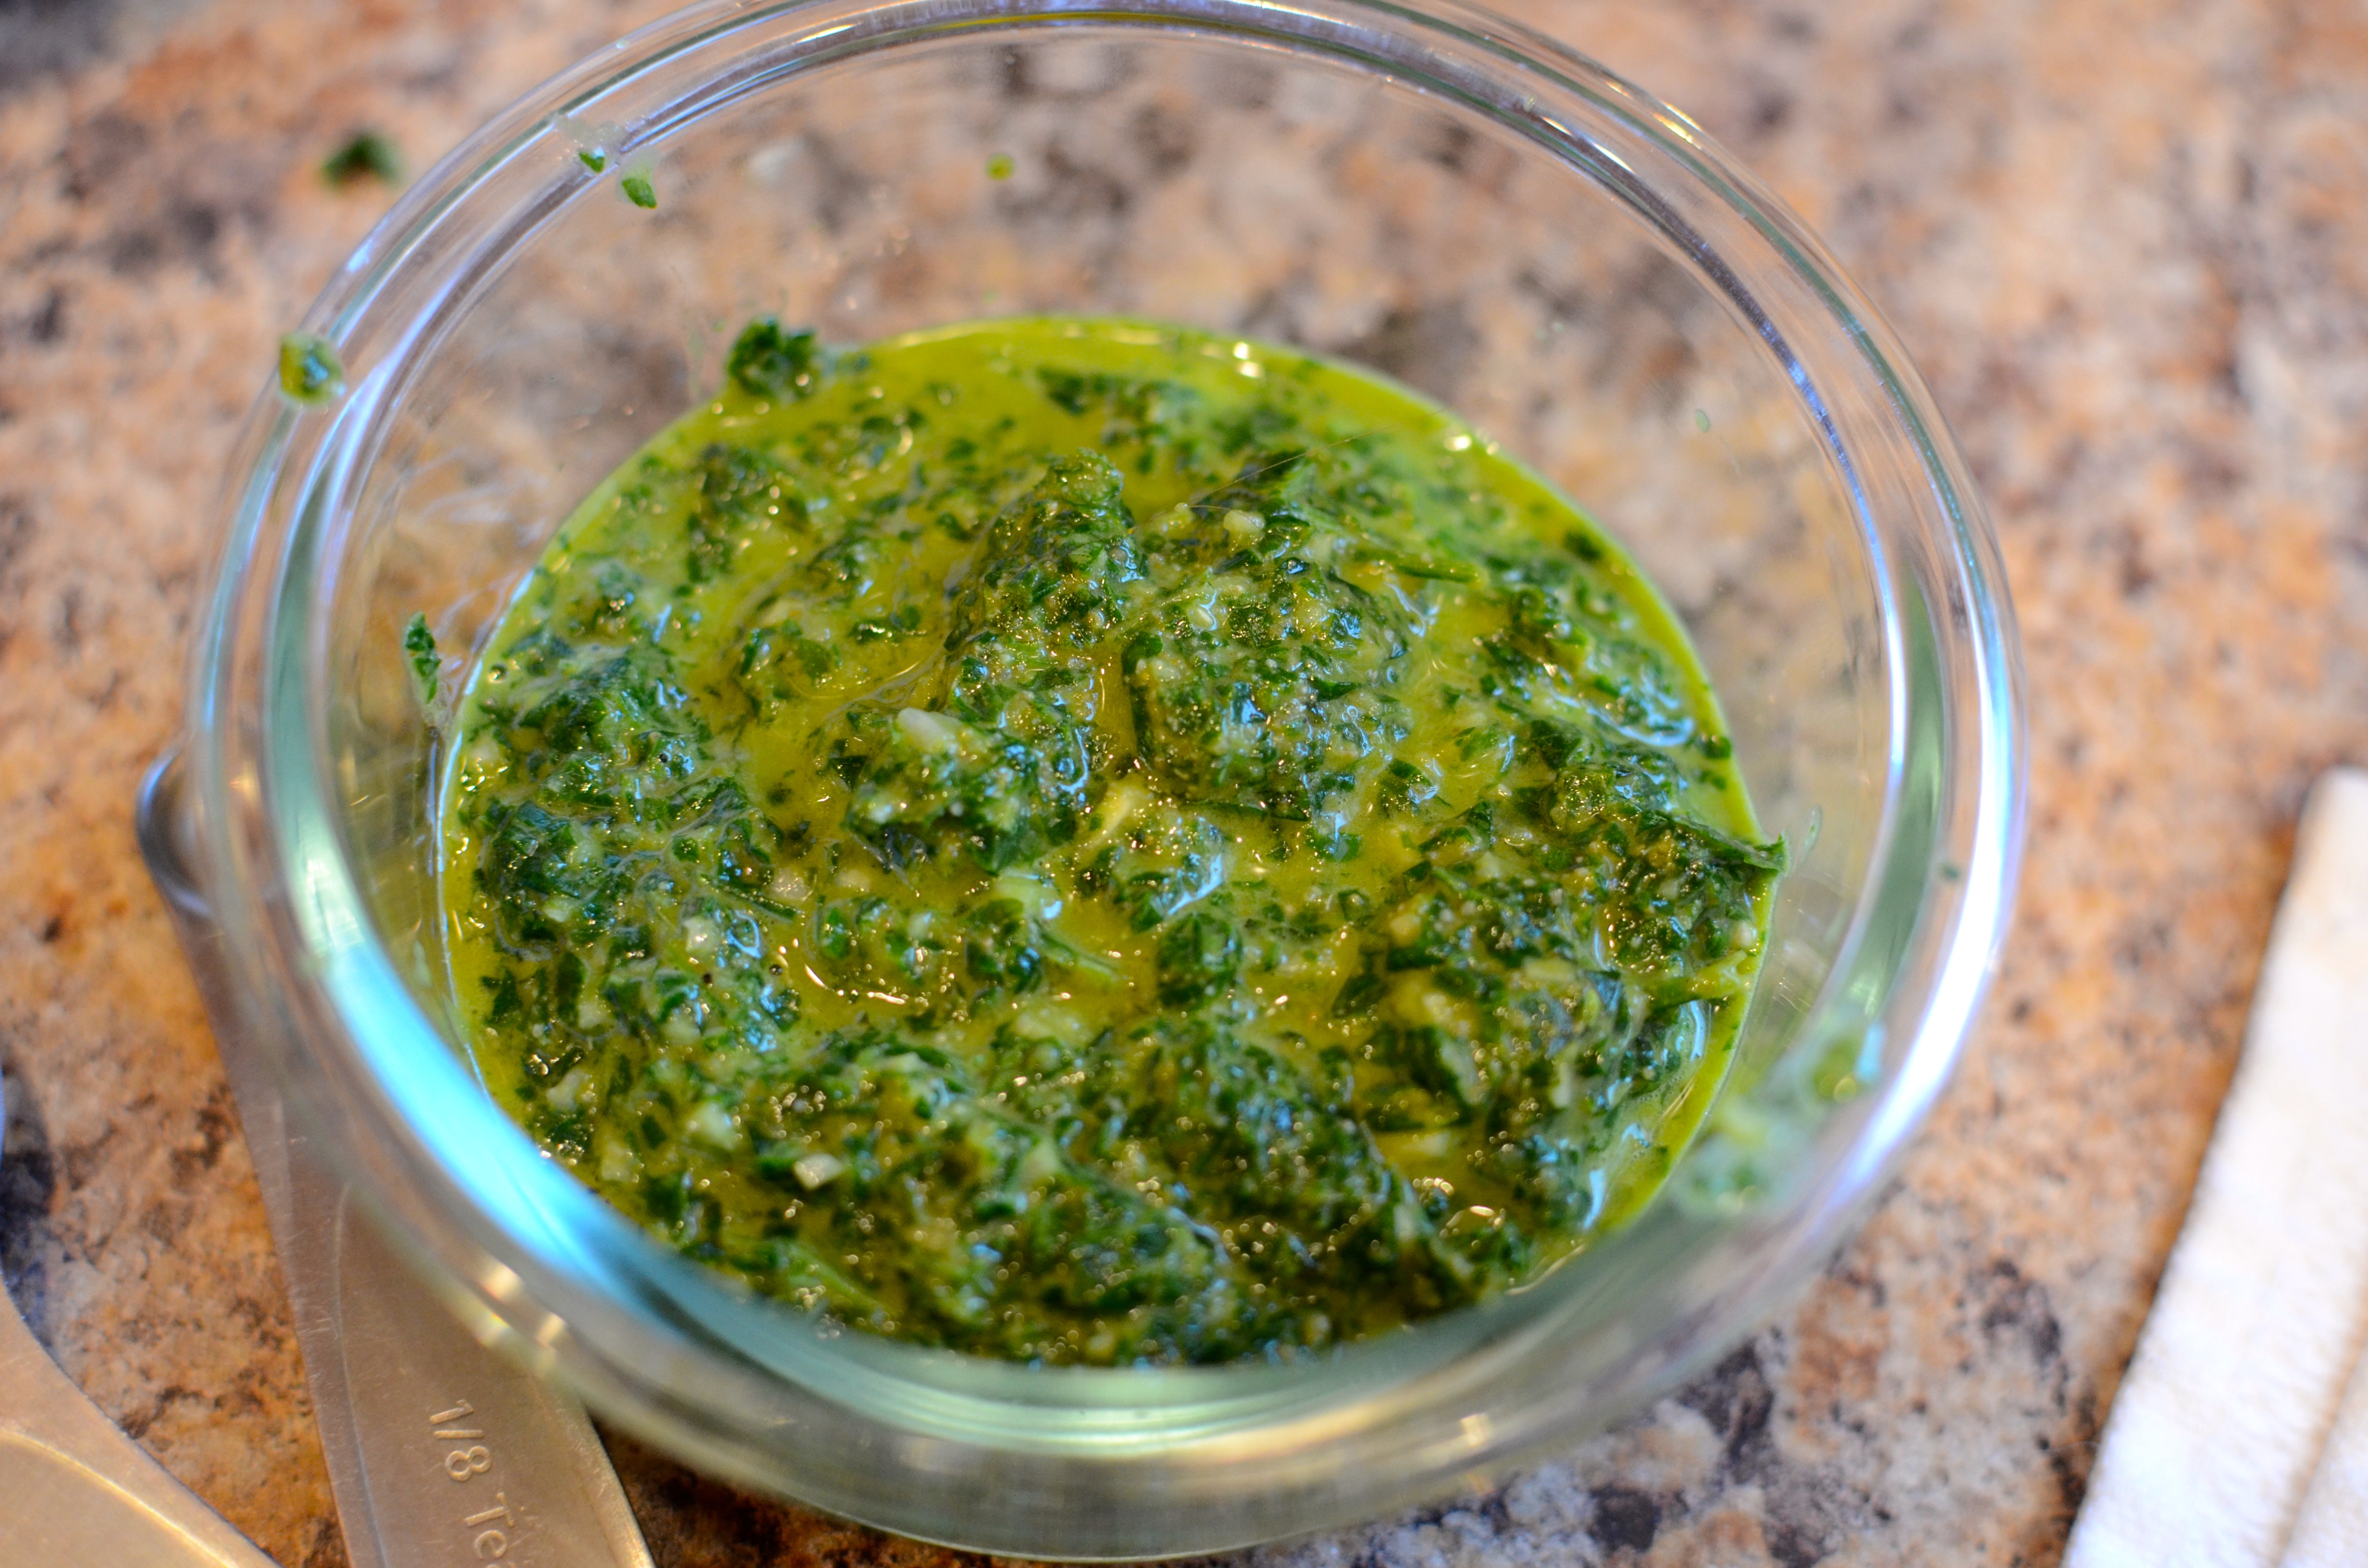
To the food processor with the grapefruit juice, add the oil and salt and pepper to taste.


In a bowl, combine the fennel, red onion, and grapefruit. Pour in dressing, add chopped walnuts, and toss until everything is combined.
Garnish with fennel fronds and shaved Parmesan cheese. Chow down!


Grain Salad with Fennel and Pecans (and Herbs, if you have them)
Adapted from Bon Appetit
1 Cup of red rice, brown rice, or barley (in this example)
1/2 fennel bulb, thinly sliced
1/4 red onion, thinly sliced
2/3 Cup pecans
about 1/4 Cup olive oil
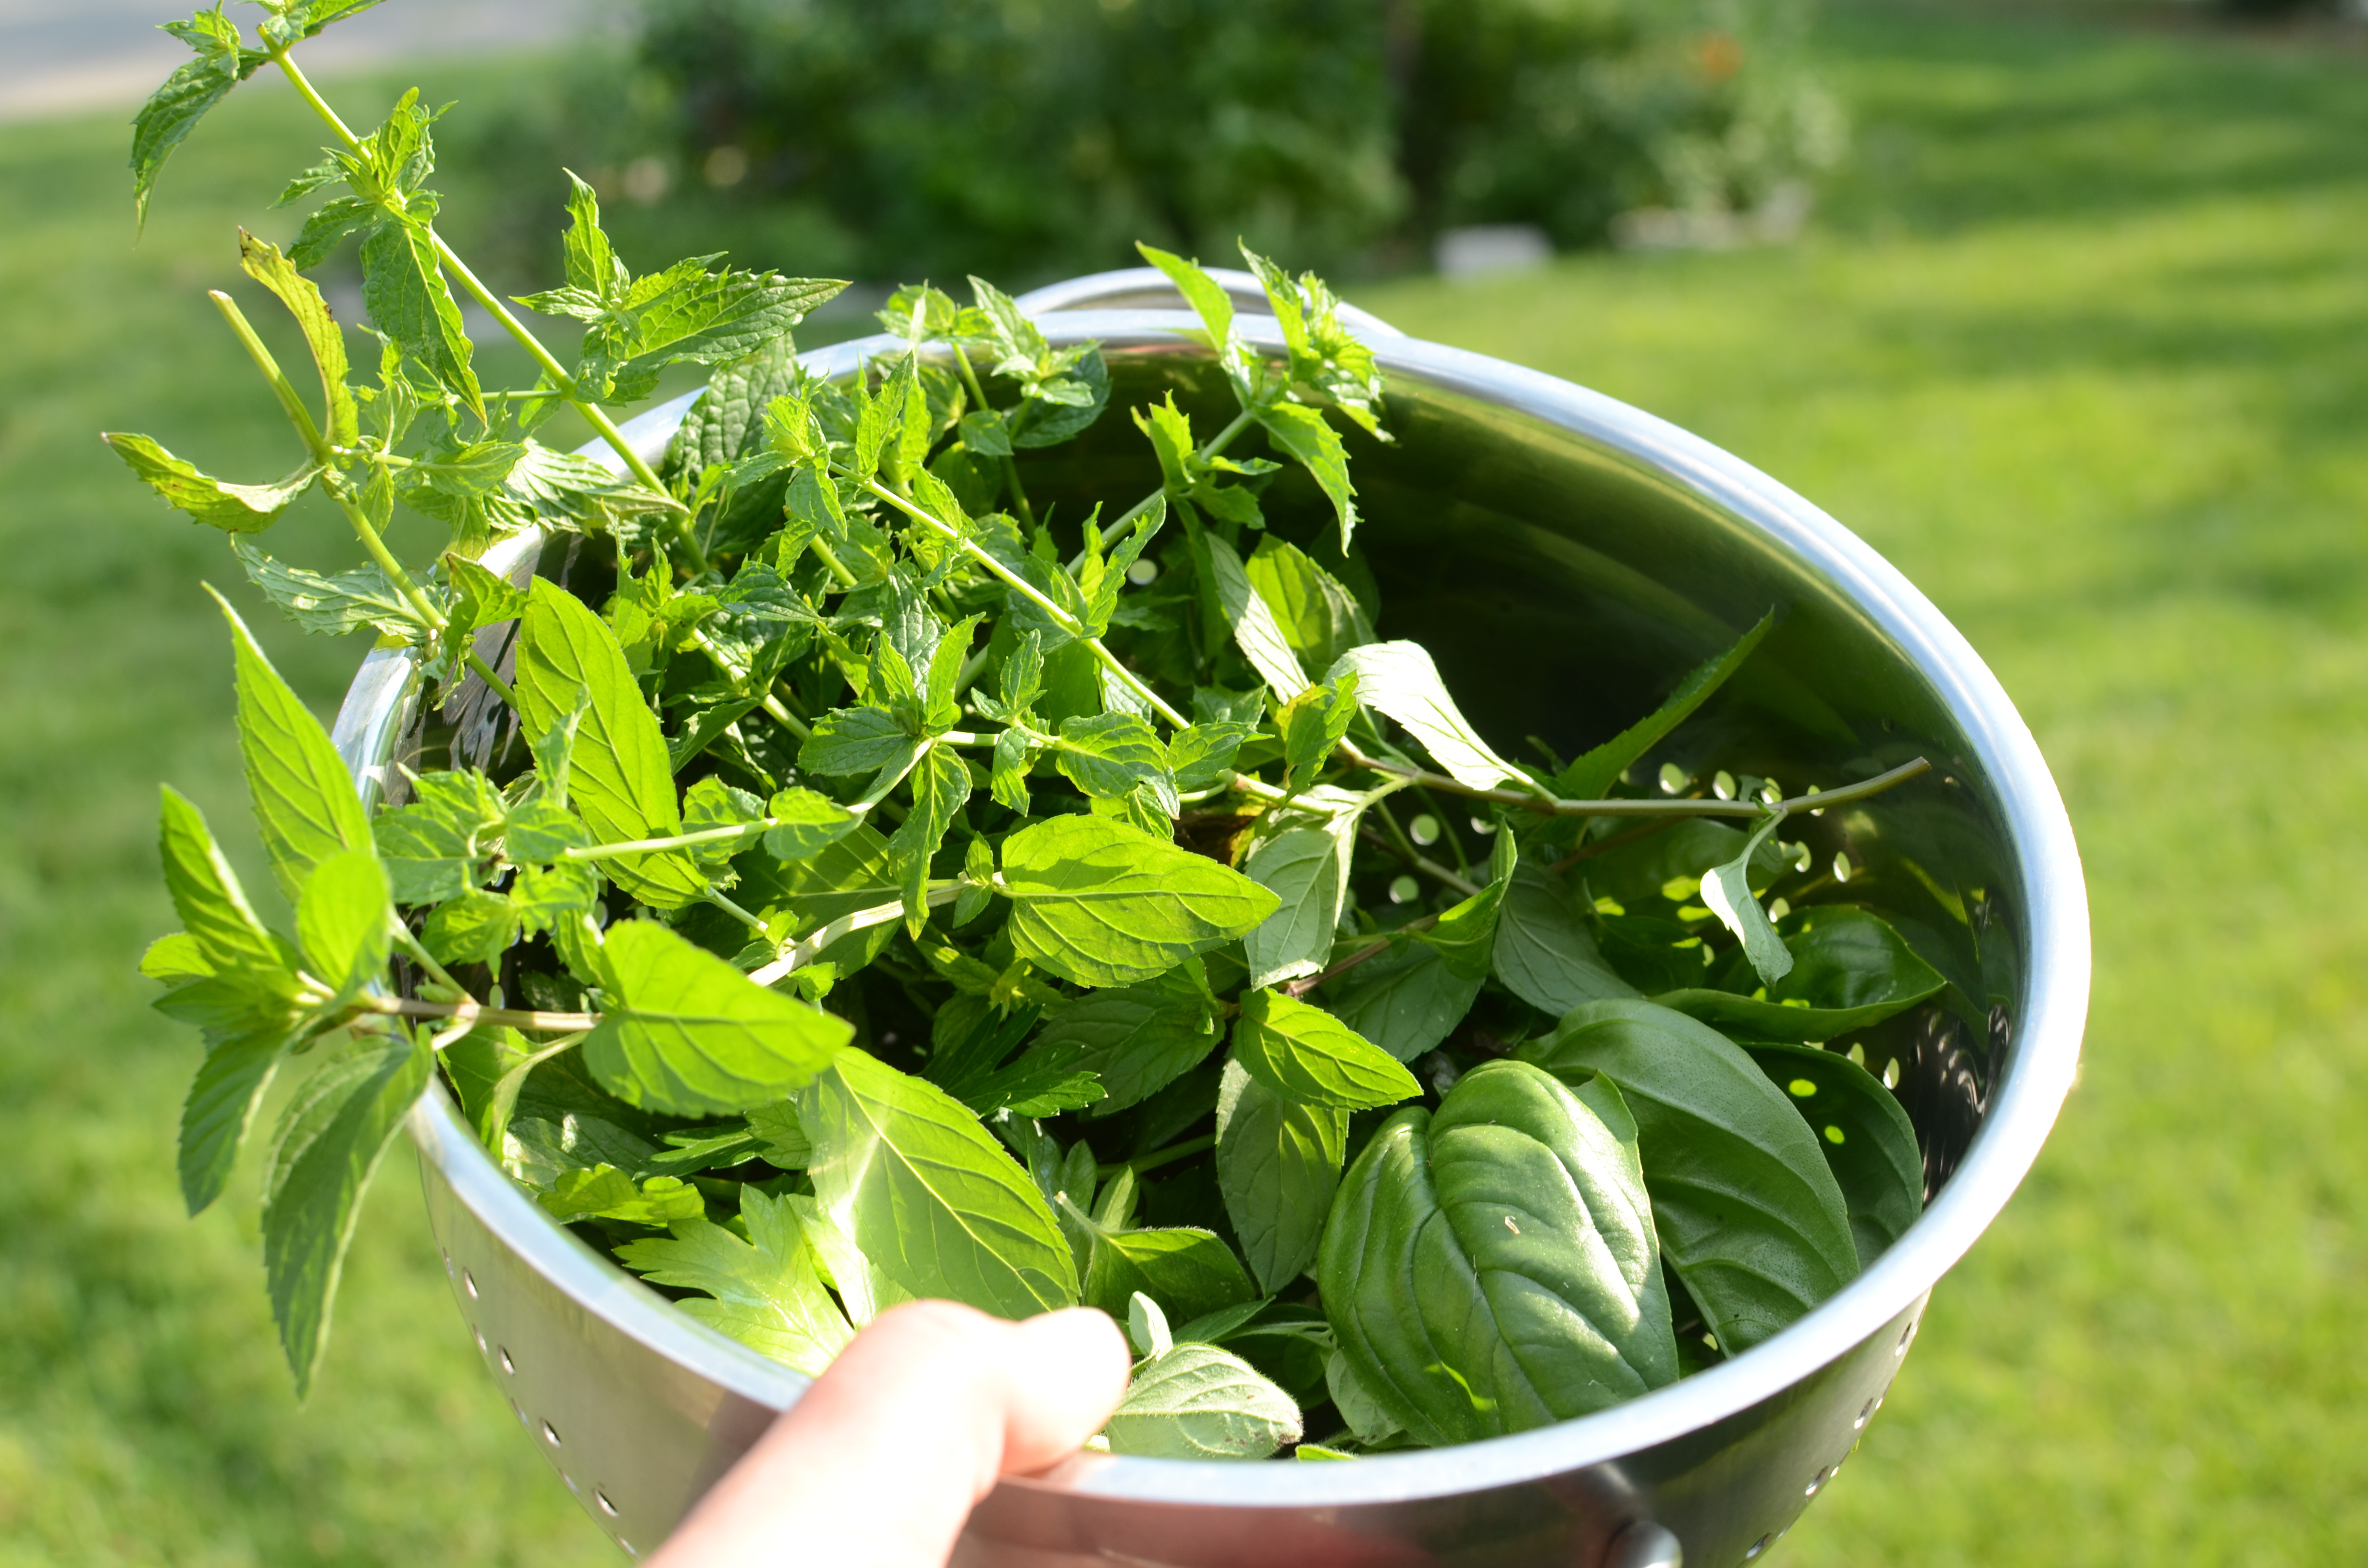
Would be better with 1/2 Cup cilantro, chopped (as in original recipe)
Cook the grain according to package instructions. Spread out to cool on a baking sheet.

Get your fennel and onion sliced up nice and thin, and toss together in a bowl with 2 Tablespoons of lime juice. Allow to sit and absorb for about 15 minutes.
Chop the pecans.

Cook in about 3 Tablespoons of olive oil in a saucepan until golden brown.

To the fennel mixture, add the grains and pecans and an additional tablespoon of lime juice. Toss. Add cilantro if using along with salt and pepper for seasoning. Drizzle with olive oil, and use flavored oil, if desired — I had some oregano oil that I added in order to punch of the flavor, since I lacked a fresh herb.
Eat immediately, or chill until lunch the next day. Bring to room temperature before enjoying.


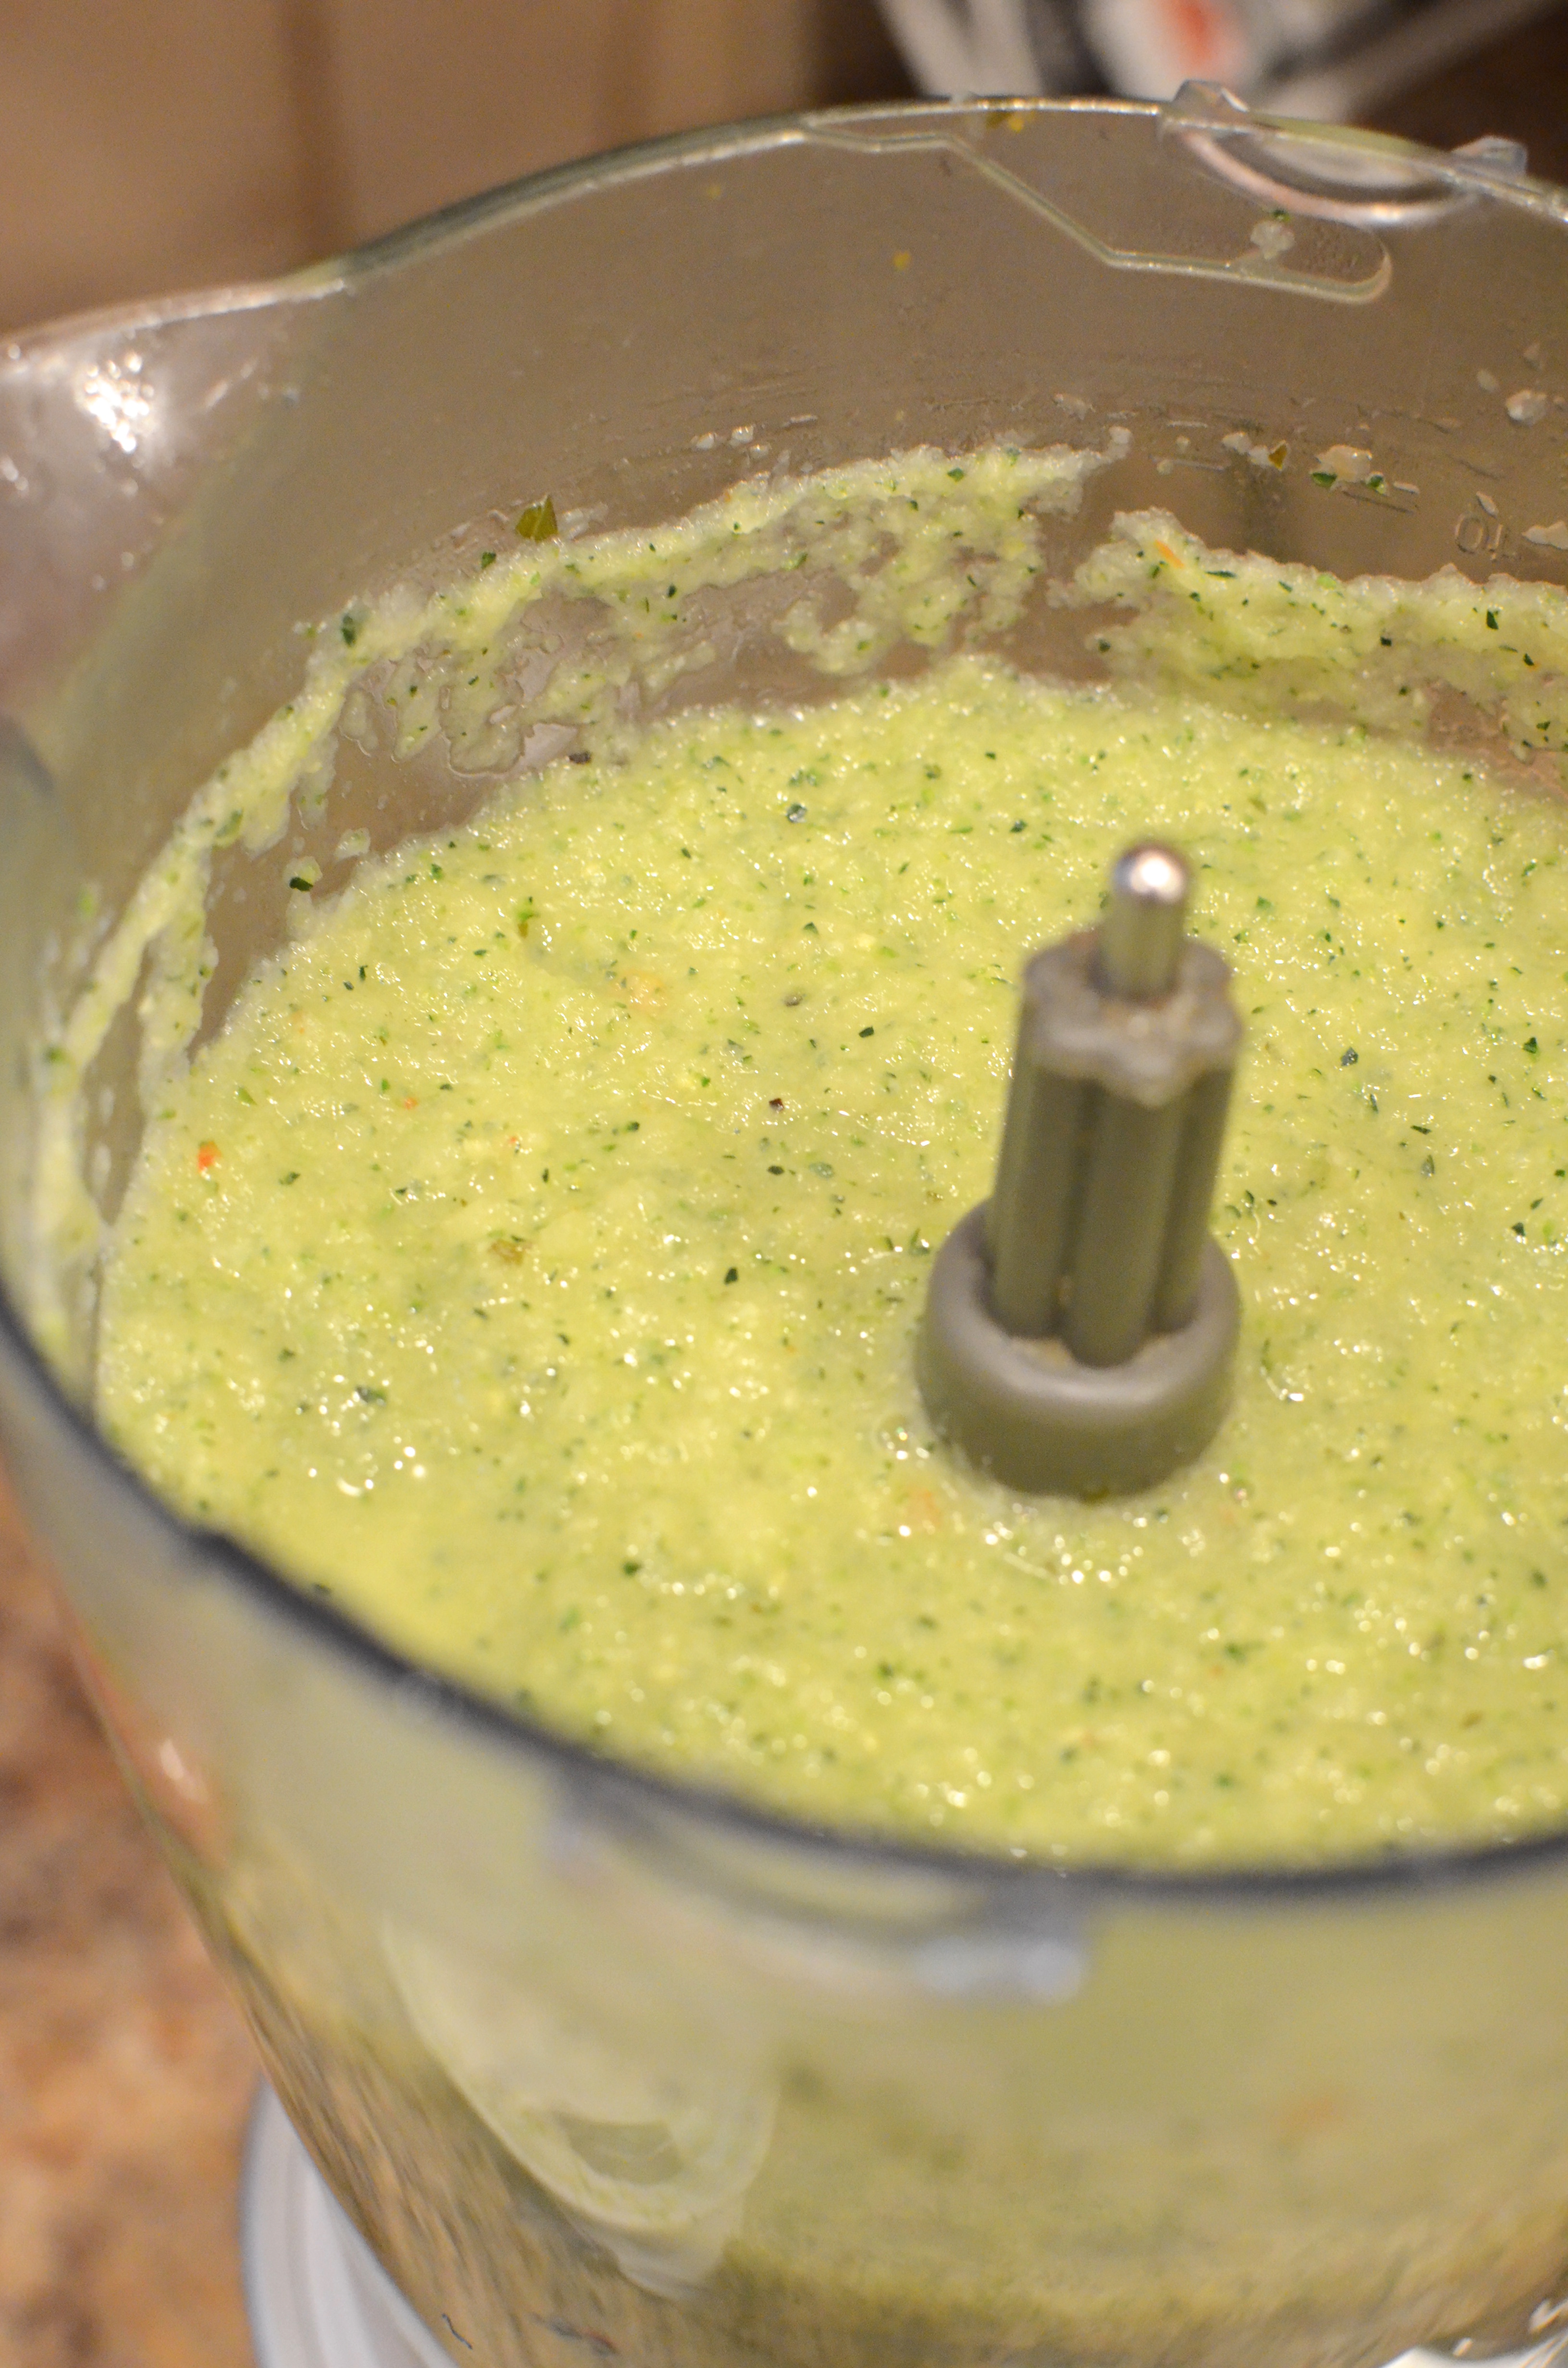
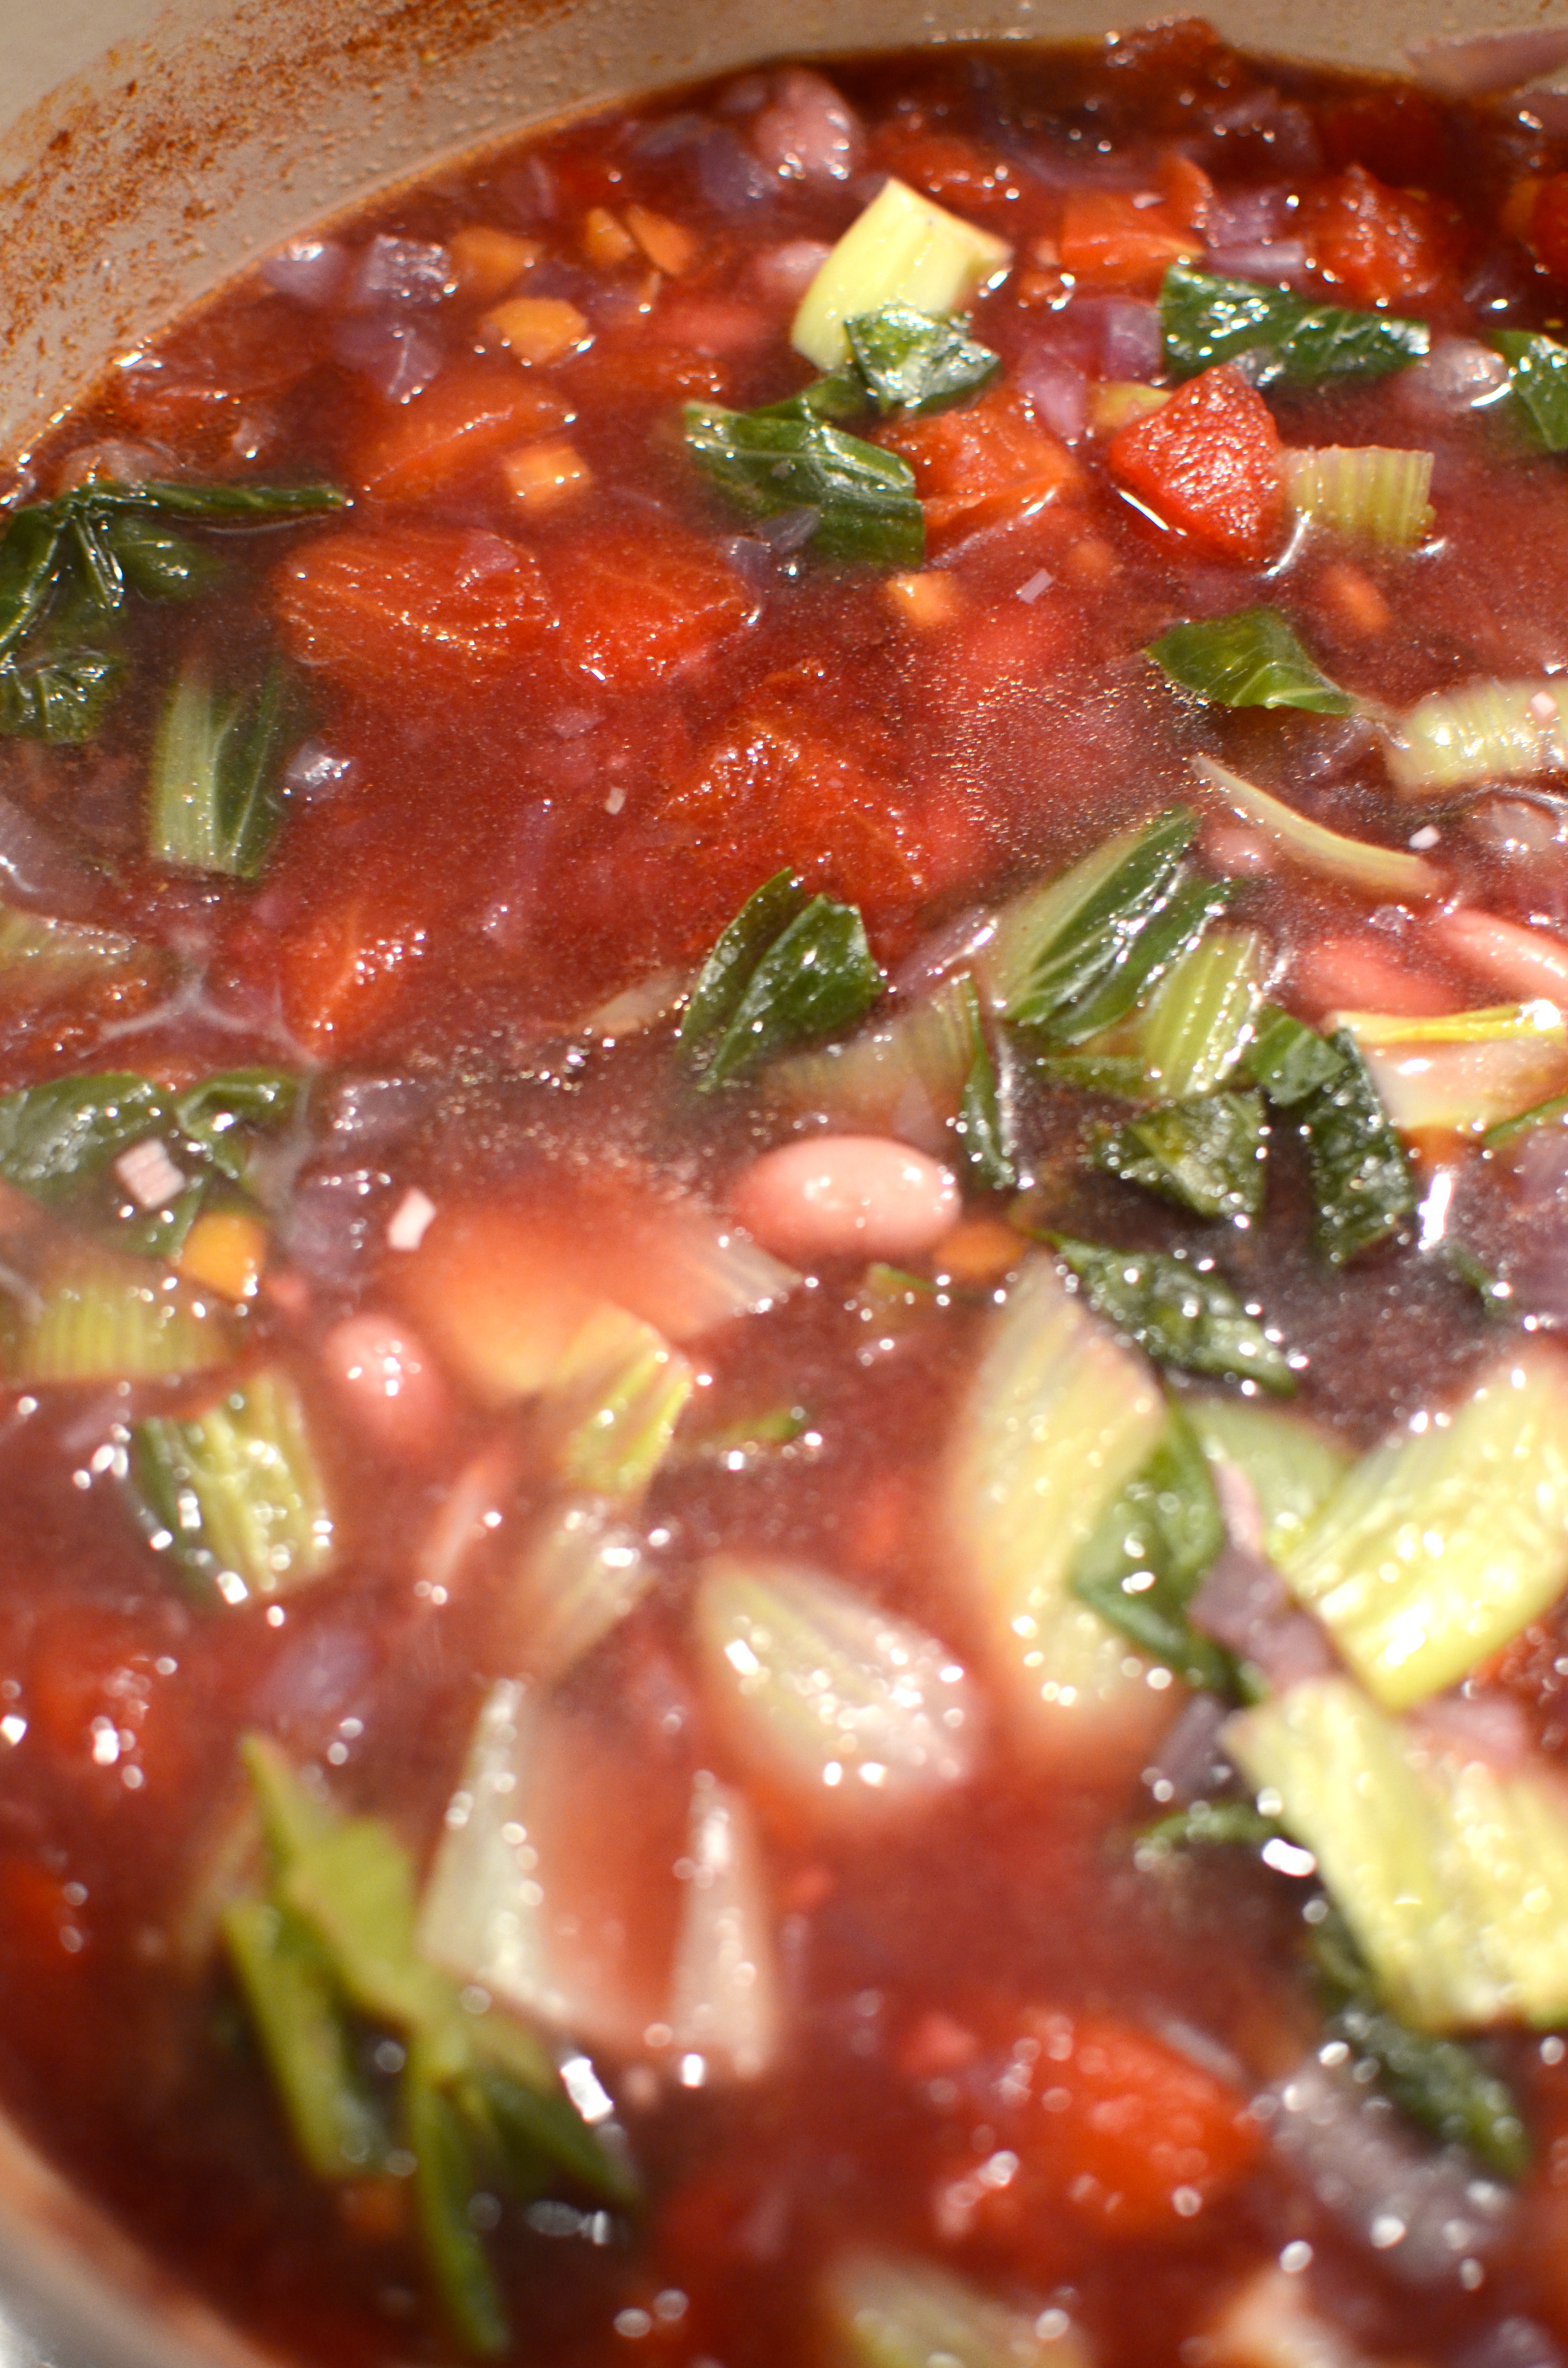
 Use an immersion blender to blend the “soup” until mostly smooth but leaving some chunks of tomato, pepper, and whole beans. Taste again and add spice as needed.