I keep having to remind myself to actively rotate through my pantry Asian ingredients. Sometimes I’m tempted to launch some kind of elaborate system for tracking how often I use certain items. Something that goes beyond the blue tape on the utensils and more closely resembles those charts in gas station bathrooms, where workers record the date and time it was last cleaned. I do think that keeping a rough inventory of pantry items is useful for reducing waste (and critical in professional kitchens), but perhaps this idea is a bit extreme for my two-person household. Either way, last week I decided it was time to use Asian ingredients again. I had set aside a recent Cooking Light magazine recipe that utilized a lot of what I had on hand. It also happened to be a meat dish, which I hadn’t cooked lately.

Japanese Meatballs or “Tsukune”
From Cooking Light
Meatballs:
2 teaspoons sesame oil
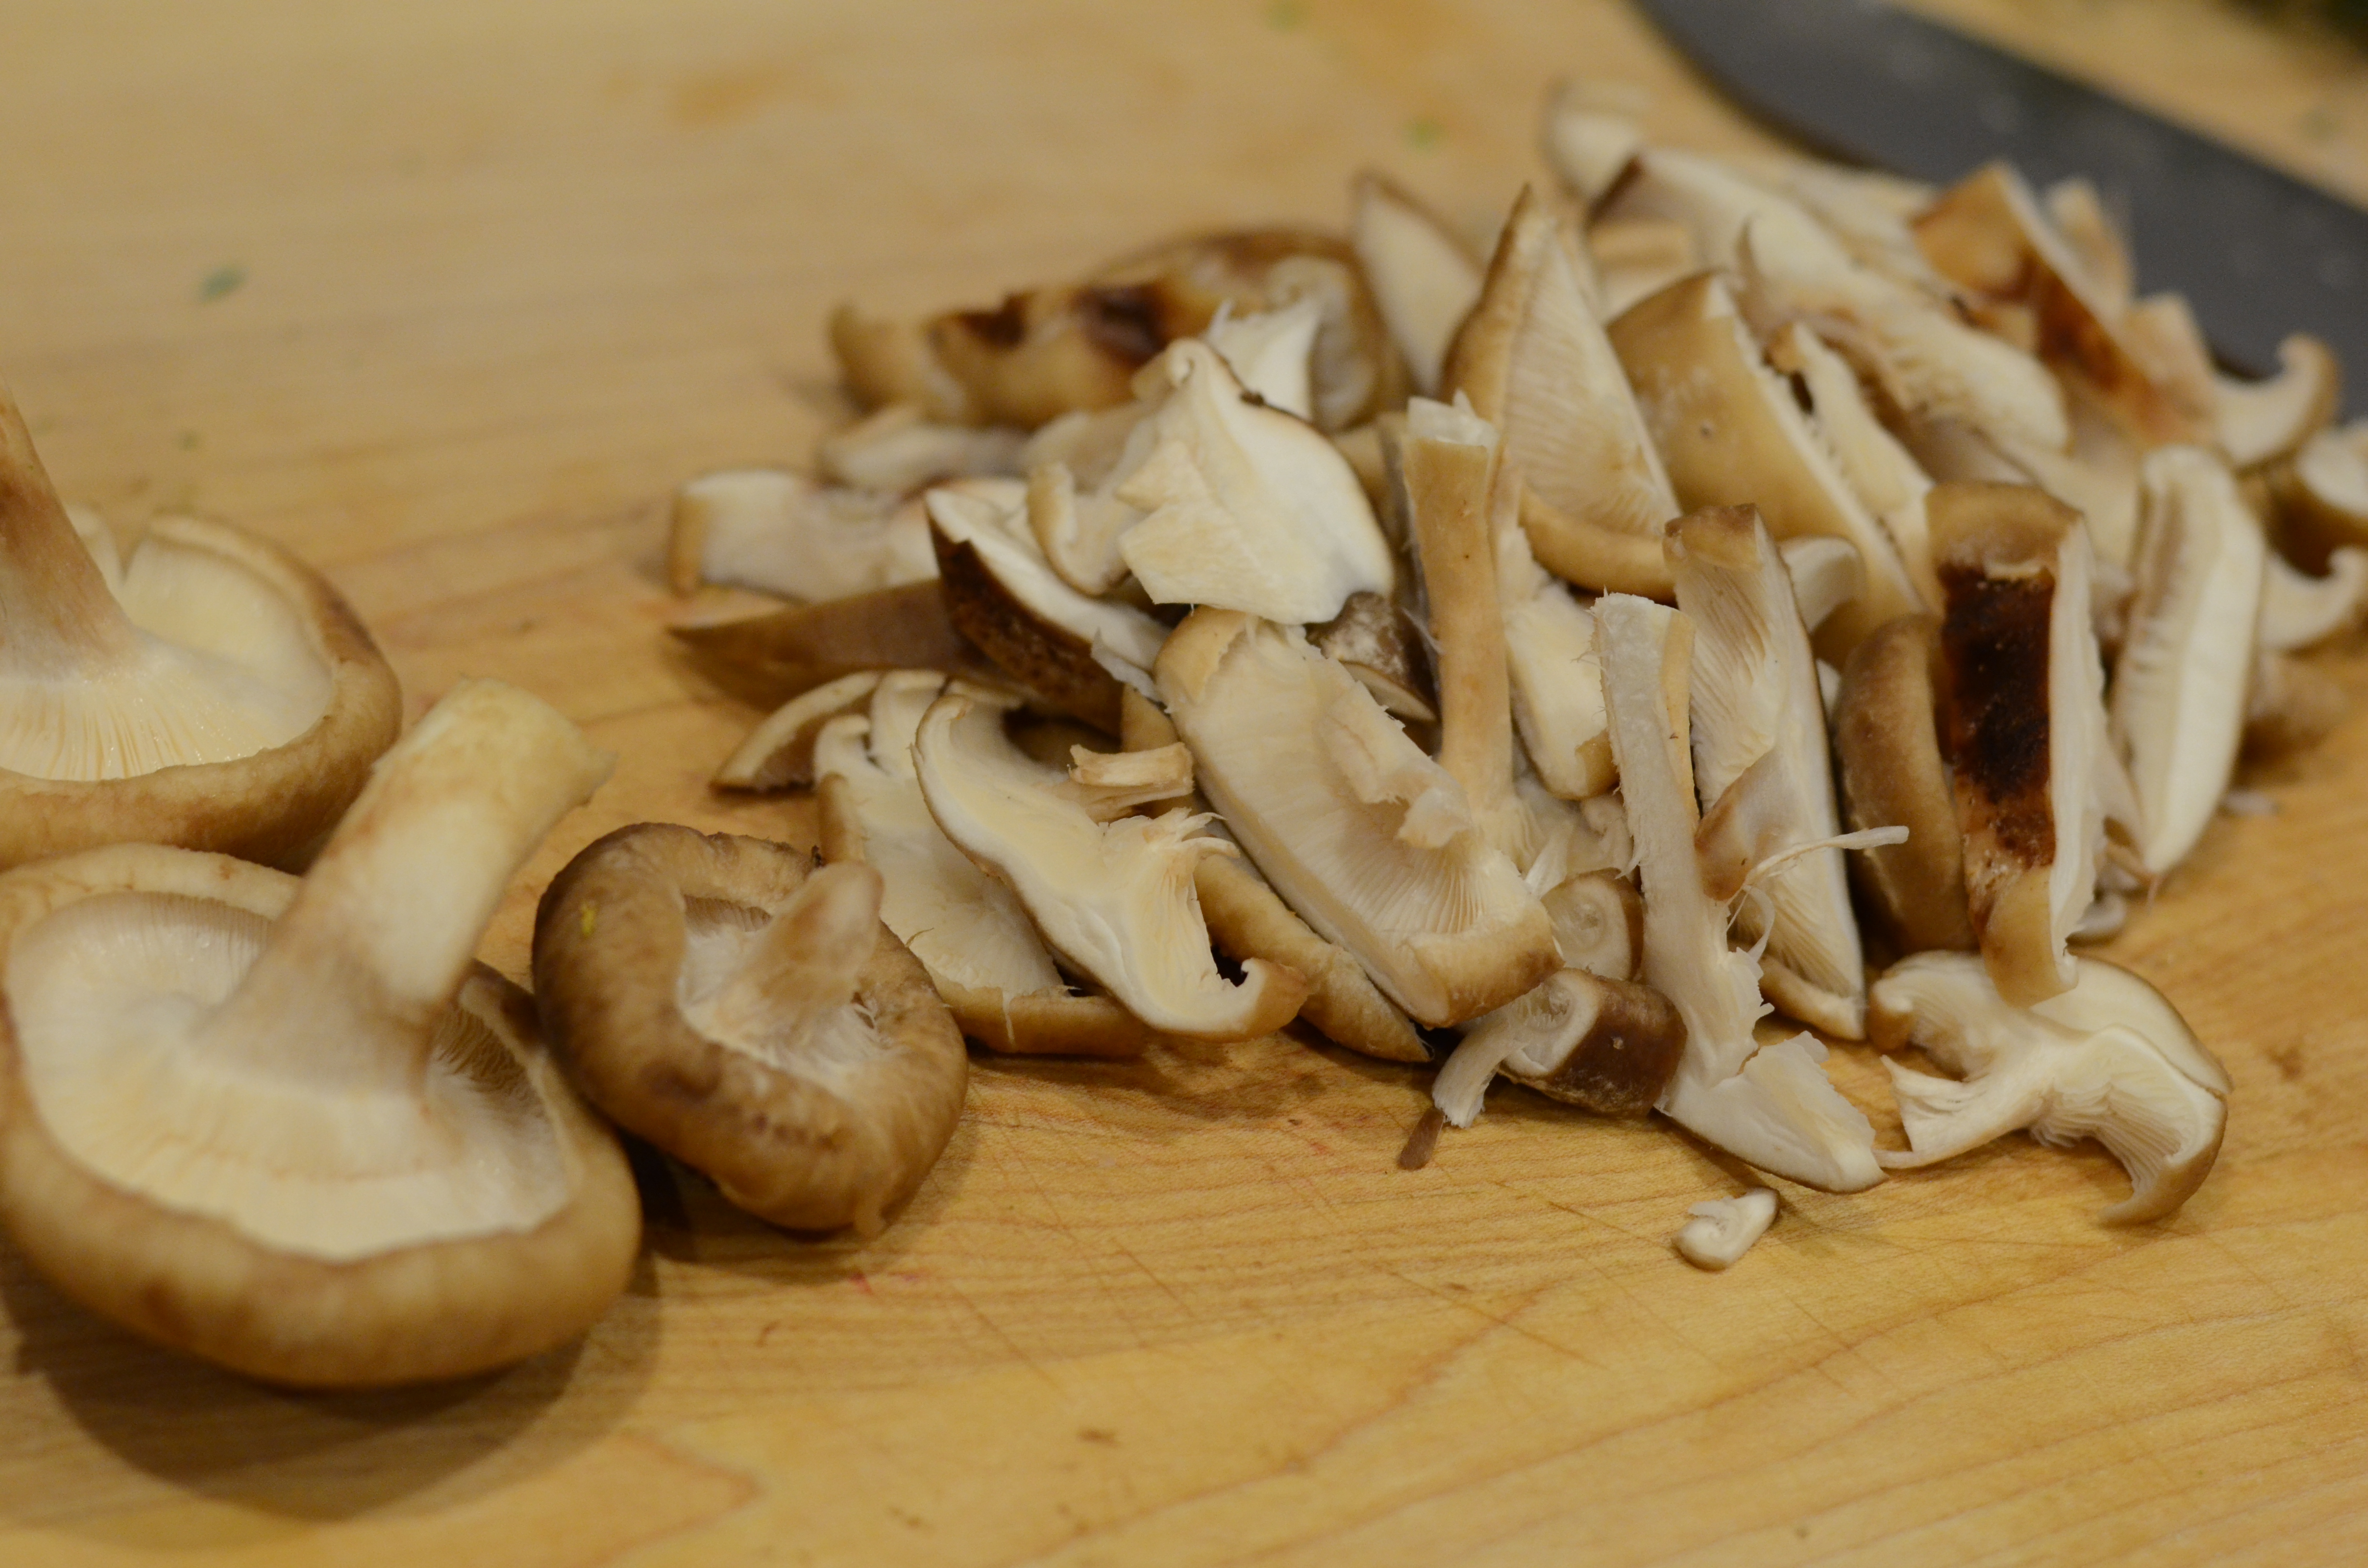
3 ounces sliced shiitake mushroom caps
1 Tablespoon minced peeled fresh ginger, divided
1 Tablespoons minced garlic, divided
1.5 Tablespoons dry sherry
1.5 teaspoons red miso
1 pound ground chicken or turkey* (or pork, probably)
1/3 Cup panko
1.5 teaspoons cornstarch
scant 1/2 teaspoon freshly ground black pepper, to taste
scant 1/4 teaspoon kosher salt
1-2 green onions, thinly sliced
1 medium egg white**
Sauce:
3 Tablespoons mirin (sweet rice wine)
3 Tablespoons lower-sodium soy sauce
1 Tablespoon dark brown sugar
2 teaspoons sherry vinegar
1 Tablespoon lime juice
2 teaspoons fresh ginger, peeled and grated
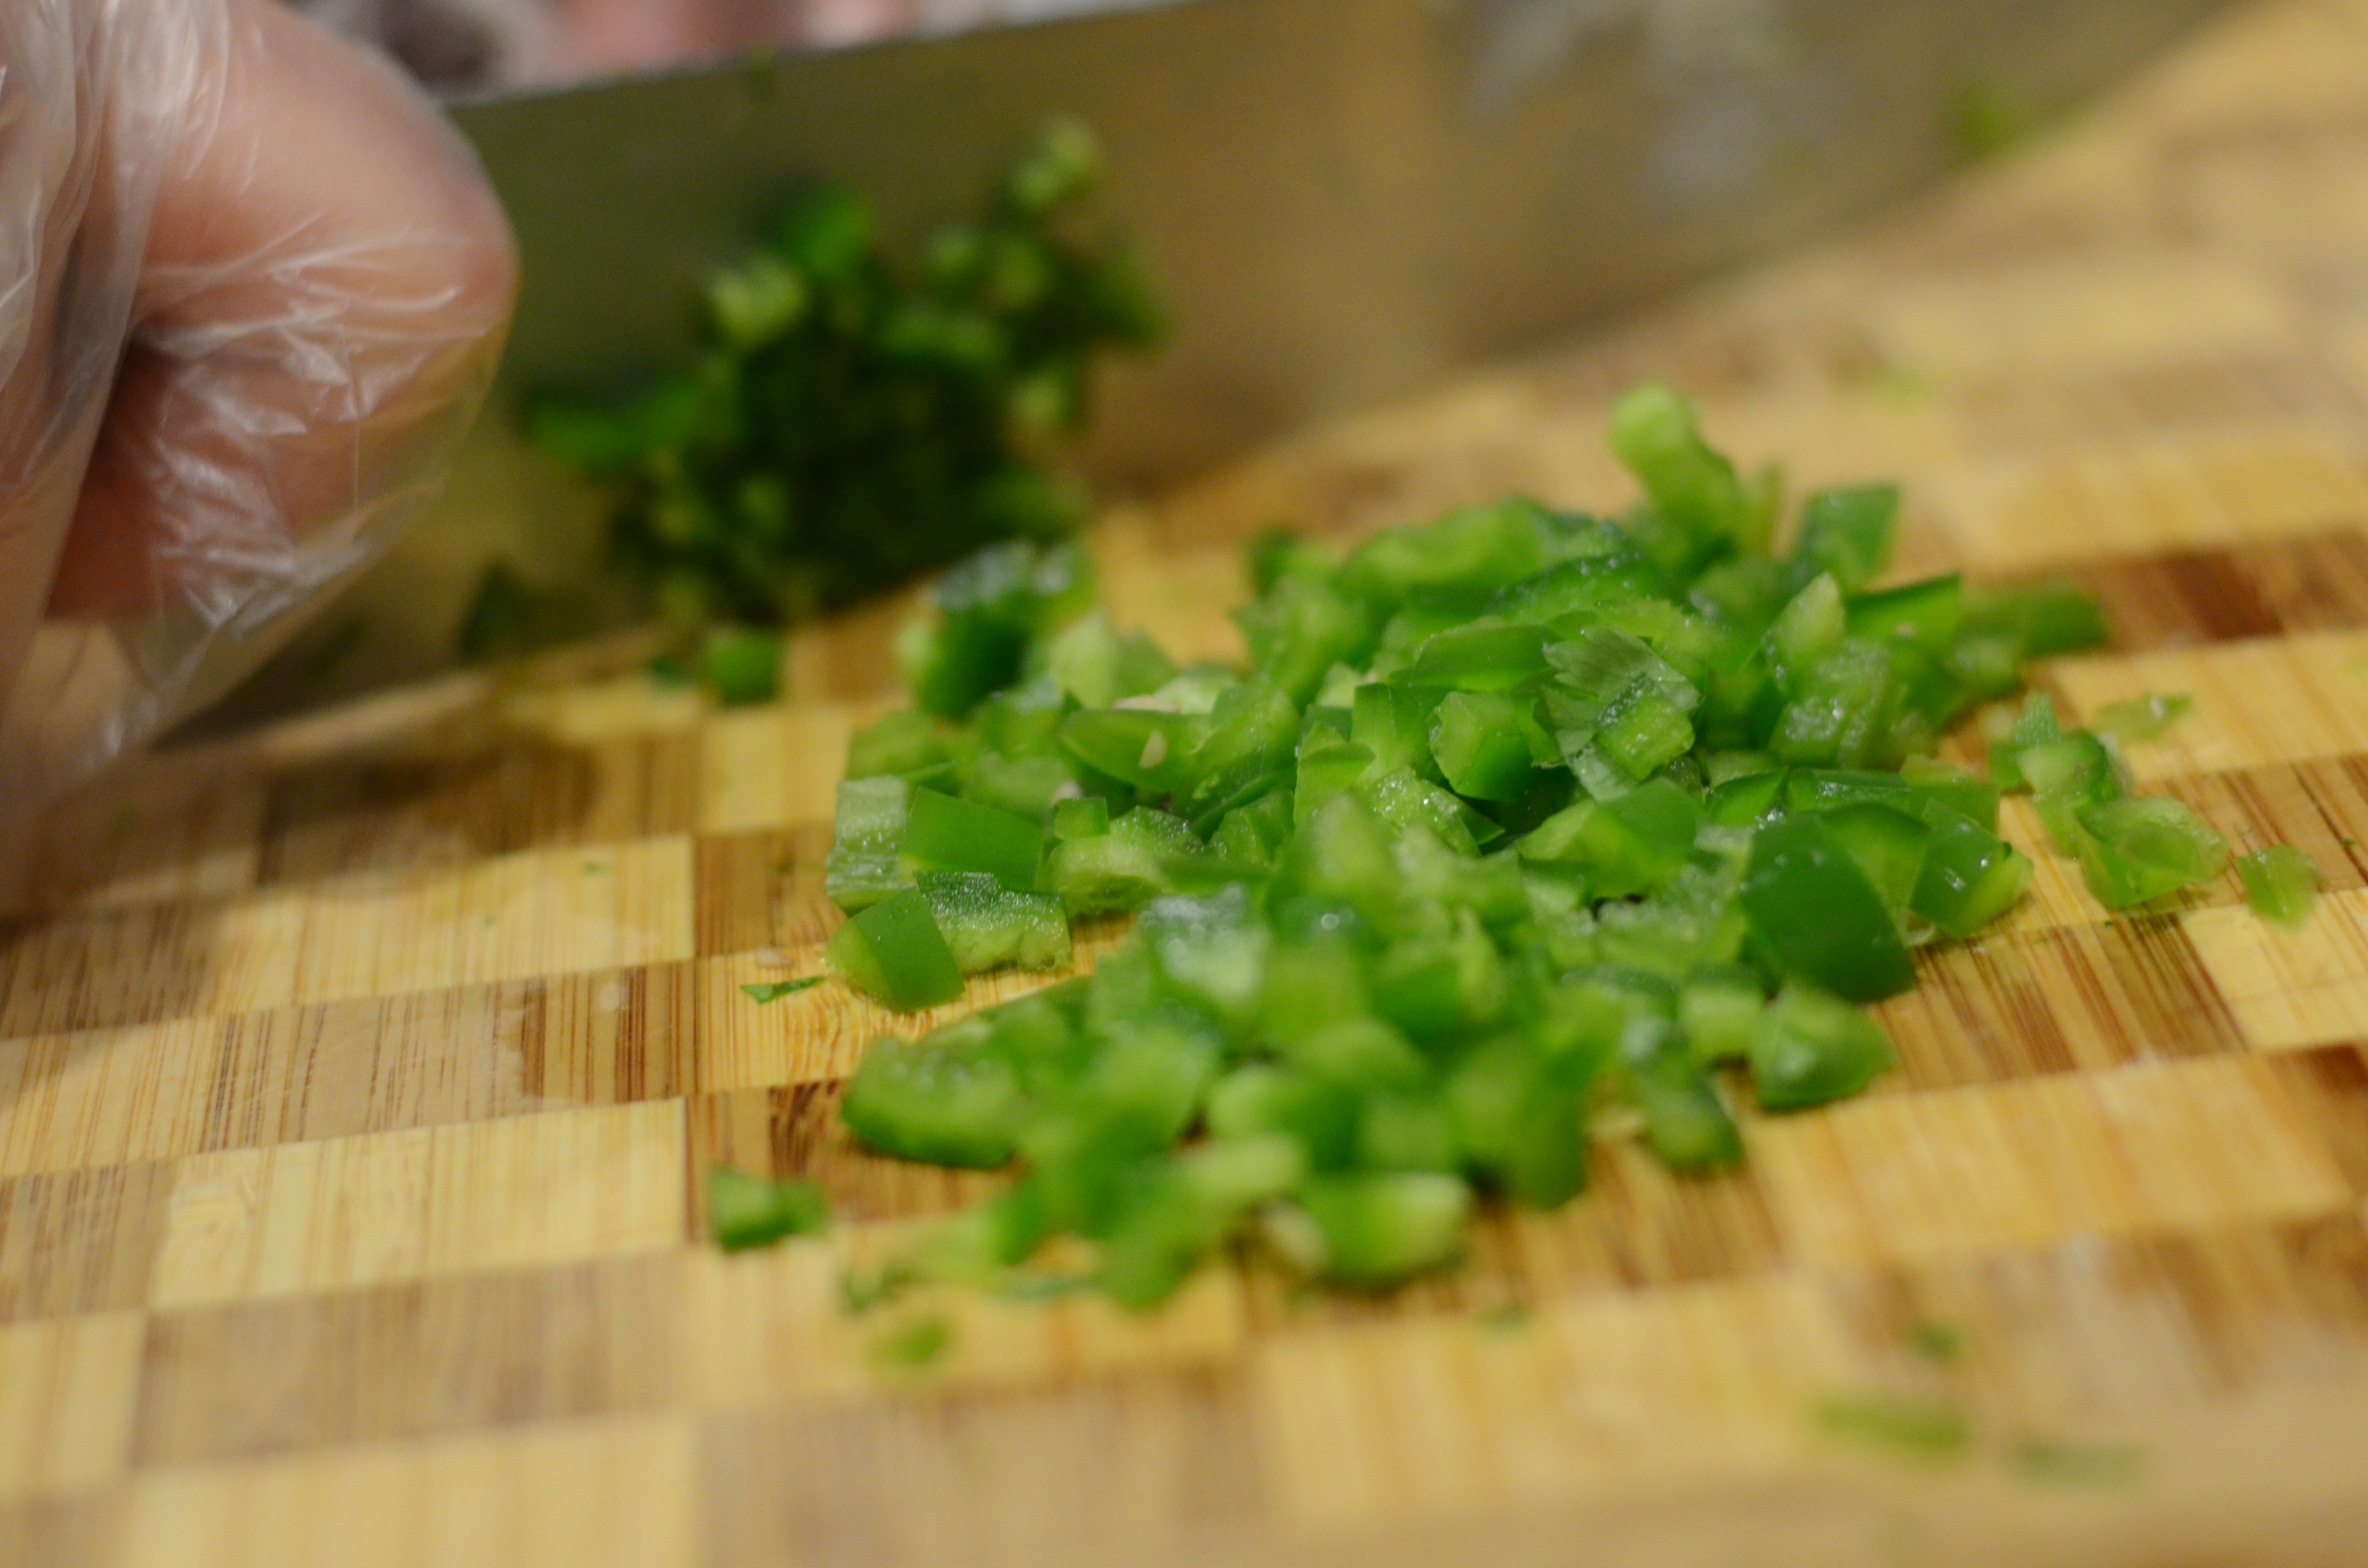
1 chile, such as serrano, thinly sliced
Other ingredients:
Cooking spray
1 Tablespoon toasted sesame seeds
**1 large egg white was called for in the original recipe, which called for 50% more meat. I only purchased 1 pound, so I scaled everything back, but I didn’t use less than the 1 egg white. The meatballs were a little wetter and harder to keep together as a result, so I would suggest using less than 1 full egg white for 1 pound meat.
For the meatballs, first prepare to sauté the vegetables by prepping the first four ingredients.


Heat a small skillet over medium-high heat. Once heated, add oil and swirl to coat.
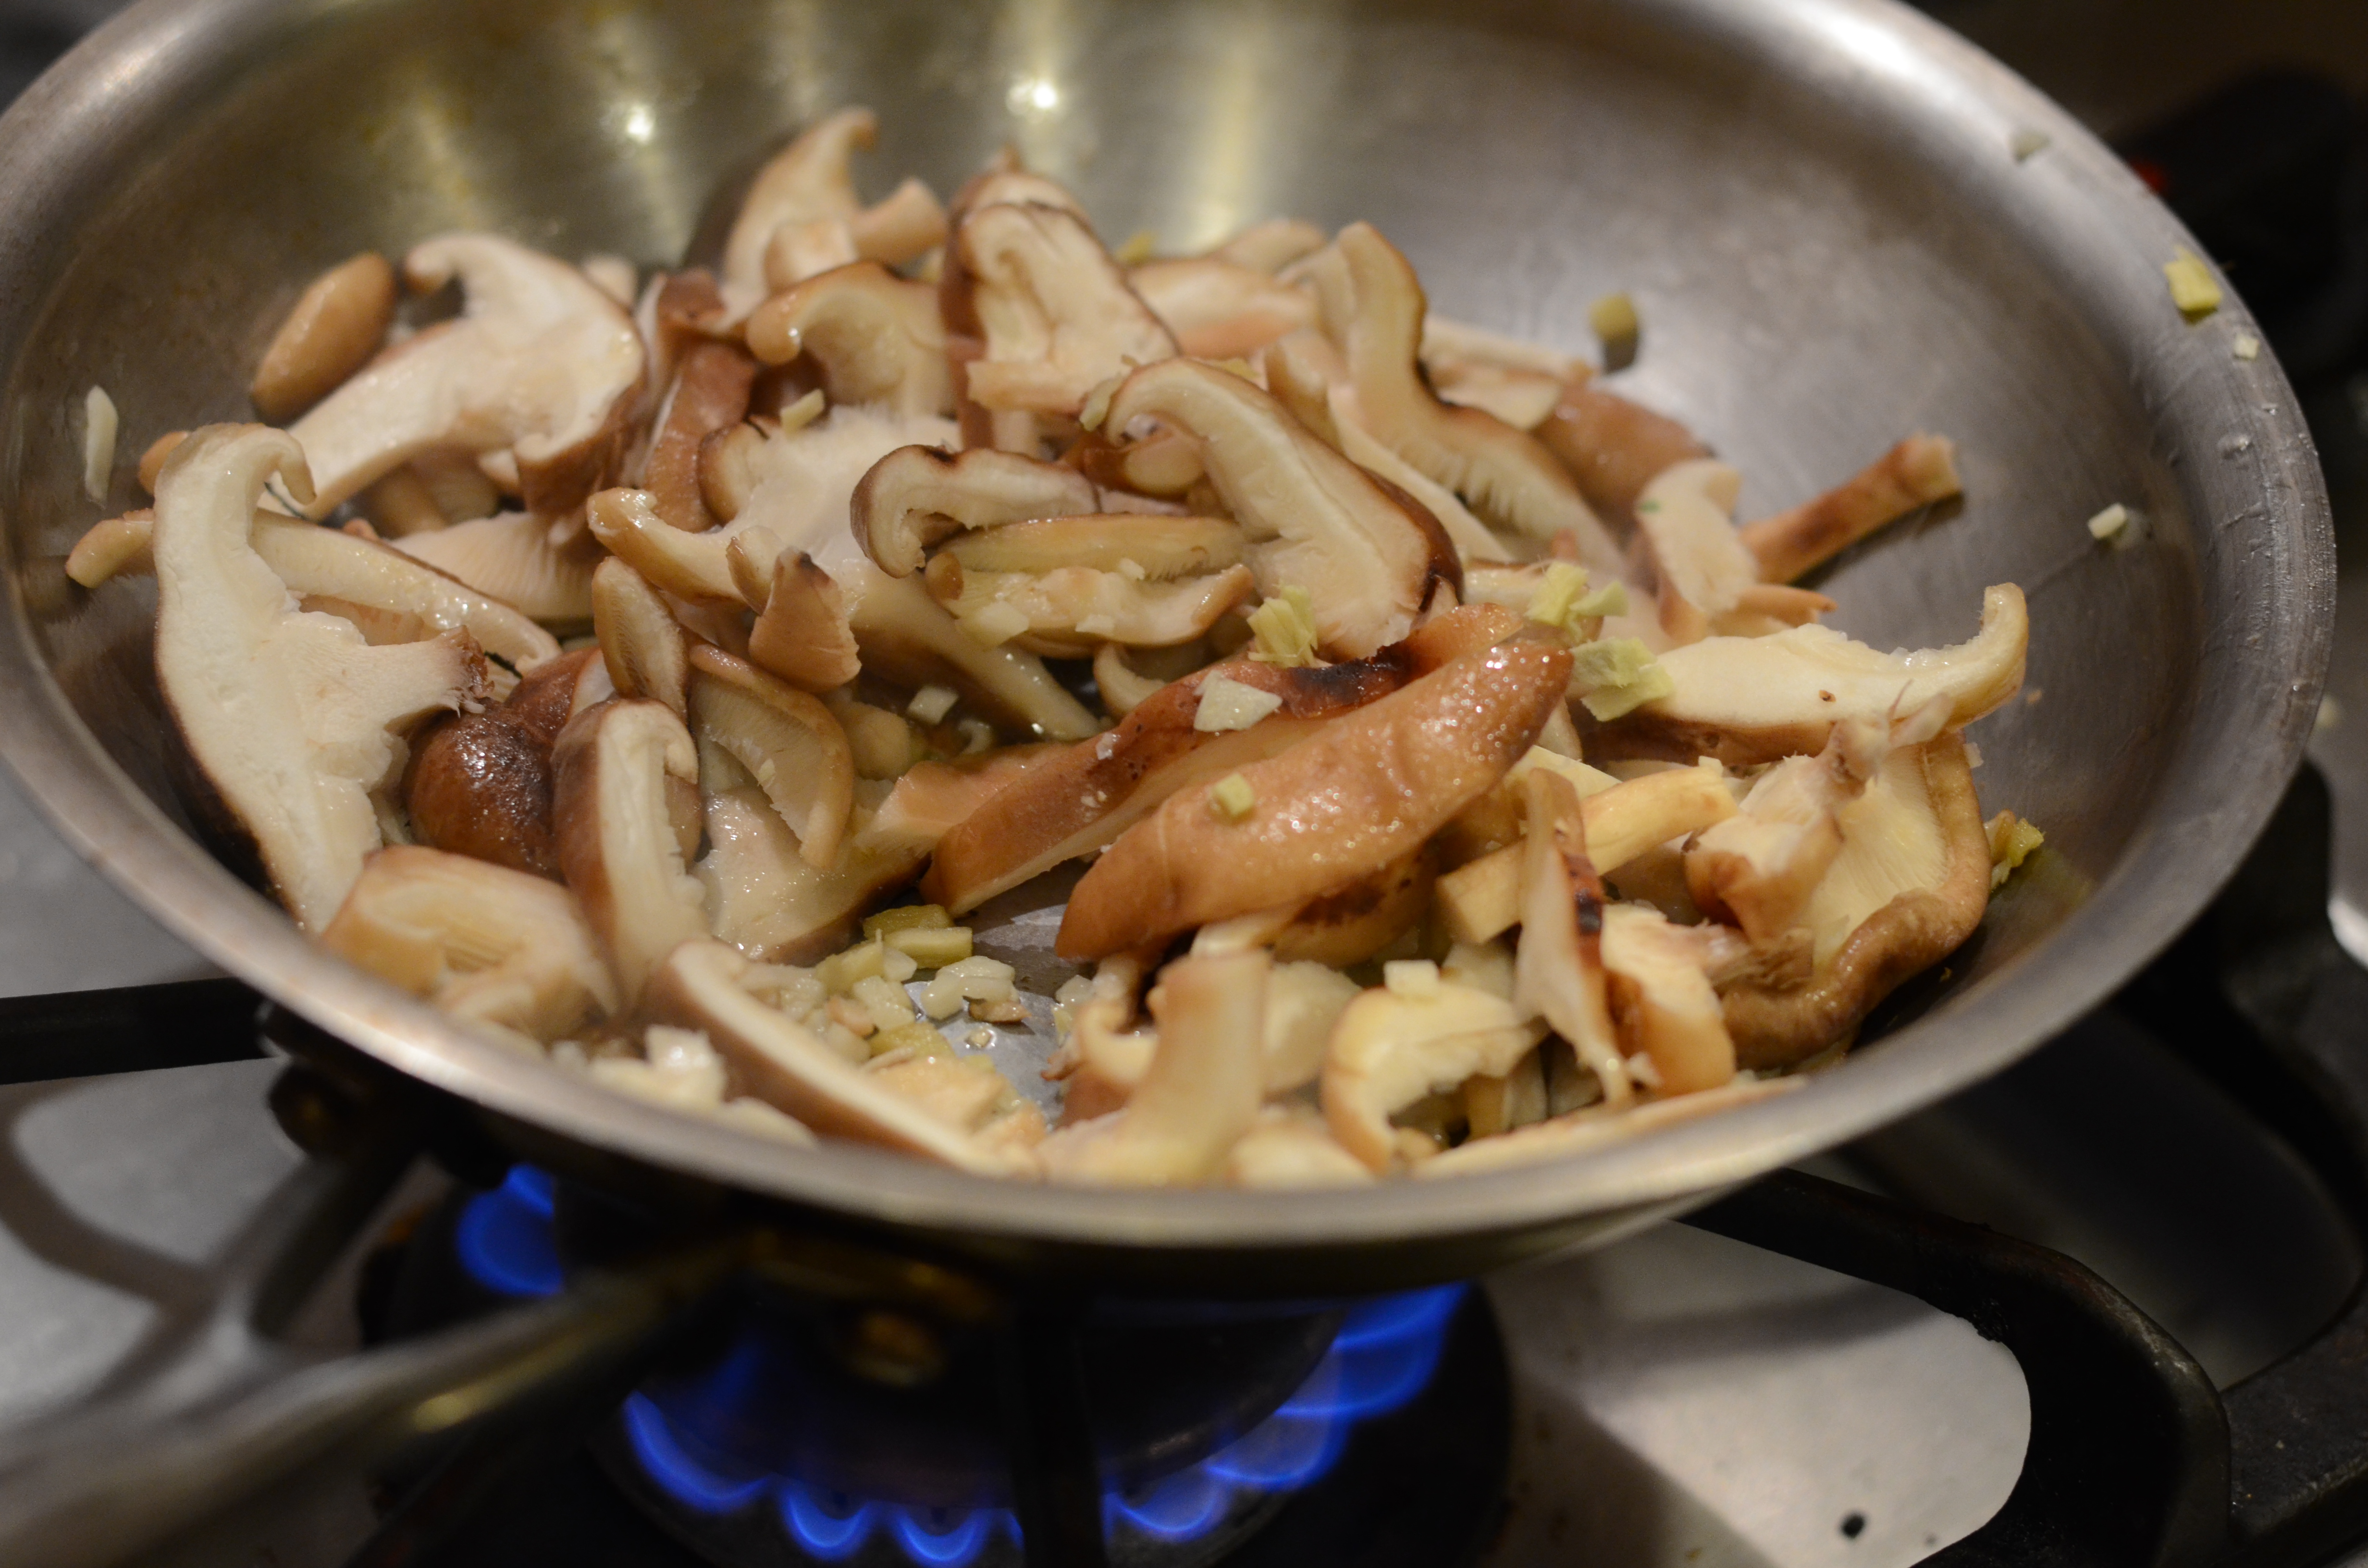
Add mushrooms, 1.5 teaspoons minced ginger, and 1.5 teaspoons garlic; cook 2 minutes. Add sherry and cook until liquid evaporates and mushrooms are tender, about 3 minutes.

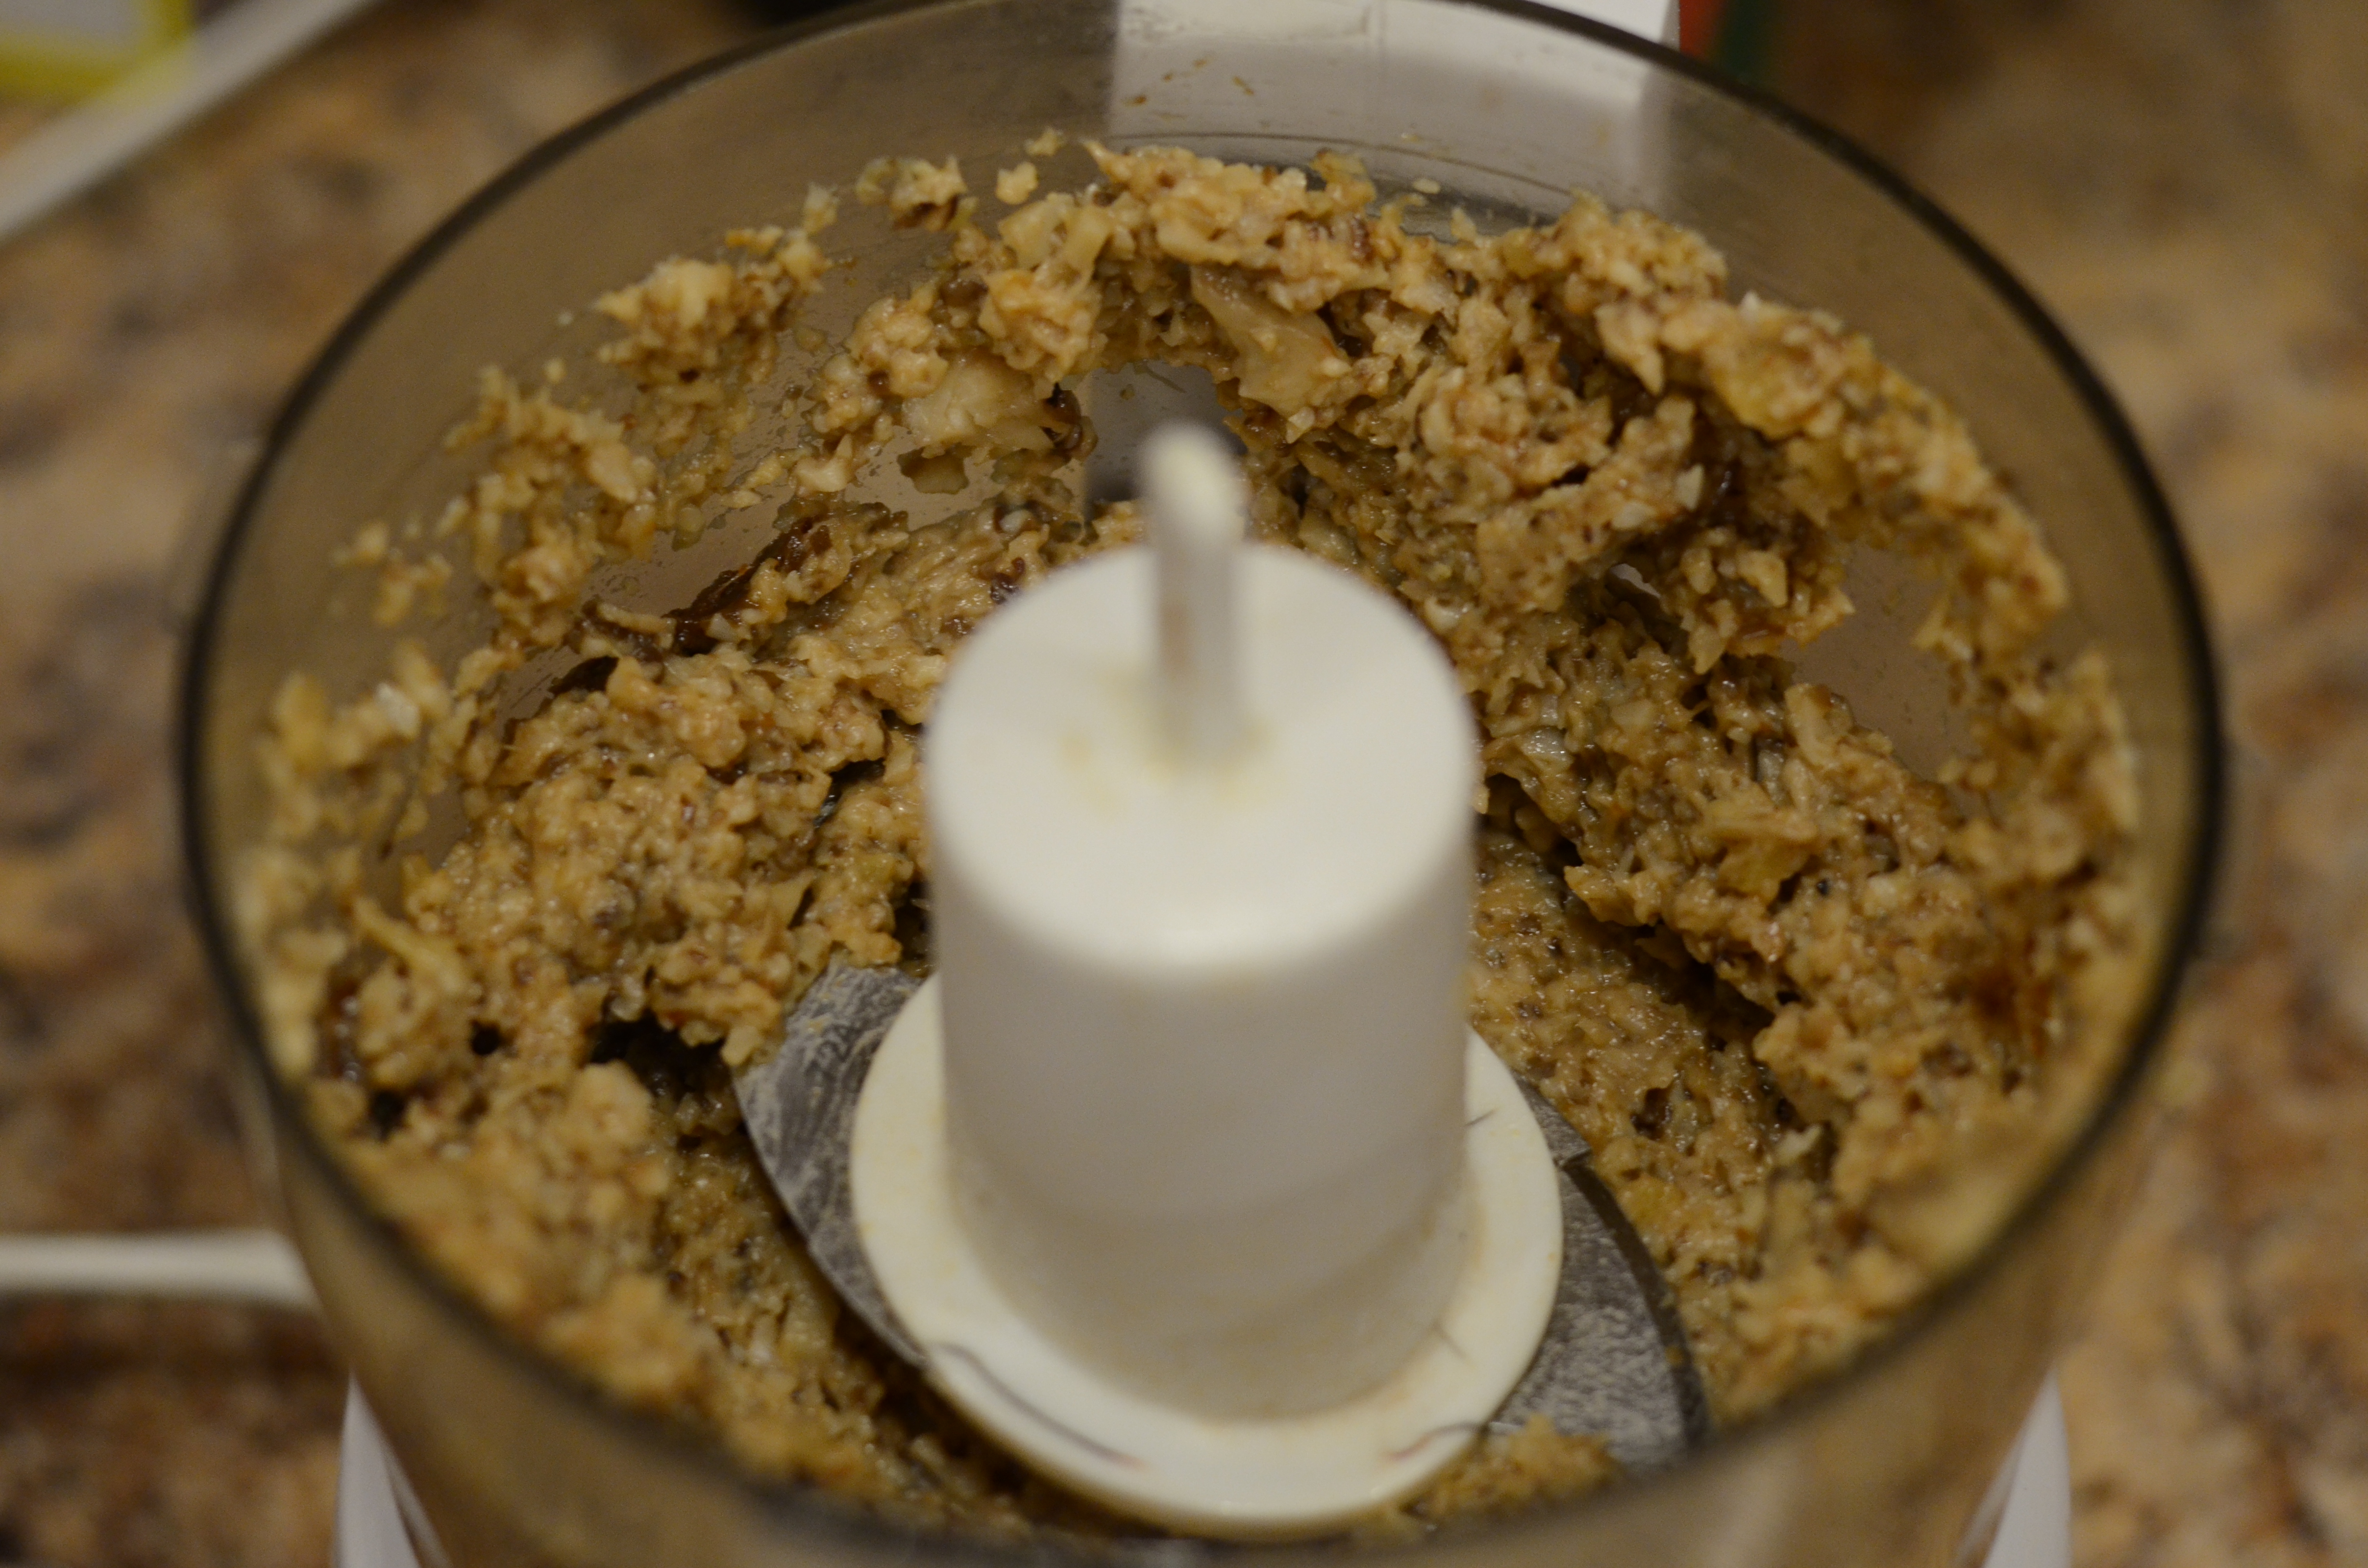
Remove from heat and allow to cool while you chop and measure the remaining meatball ingredients. In a mini food processor, place mushroom mixture along with the red miso. Pulse until very finely chopped, scraping down as needed.

Combine mushroom mixture, remaining 1.5 teaspoons minced ginger, remaining 1.5 teaspoons garlic, meat, and remaining meatball ingredients (through egg white) in a bowl. Shape mixture into 1 inch meatballs–approximately 24. At this point, if your meatballs are staying together well, you could skewer them onto 6 inch bamboo skewers so that they could be grilled on the stick. I did not do any threading (nor did other reviewers) and I don’t think it’s necessary.

Chill for 30 minutes.
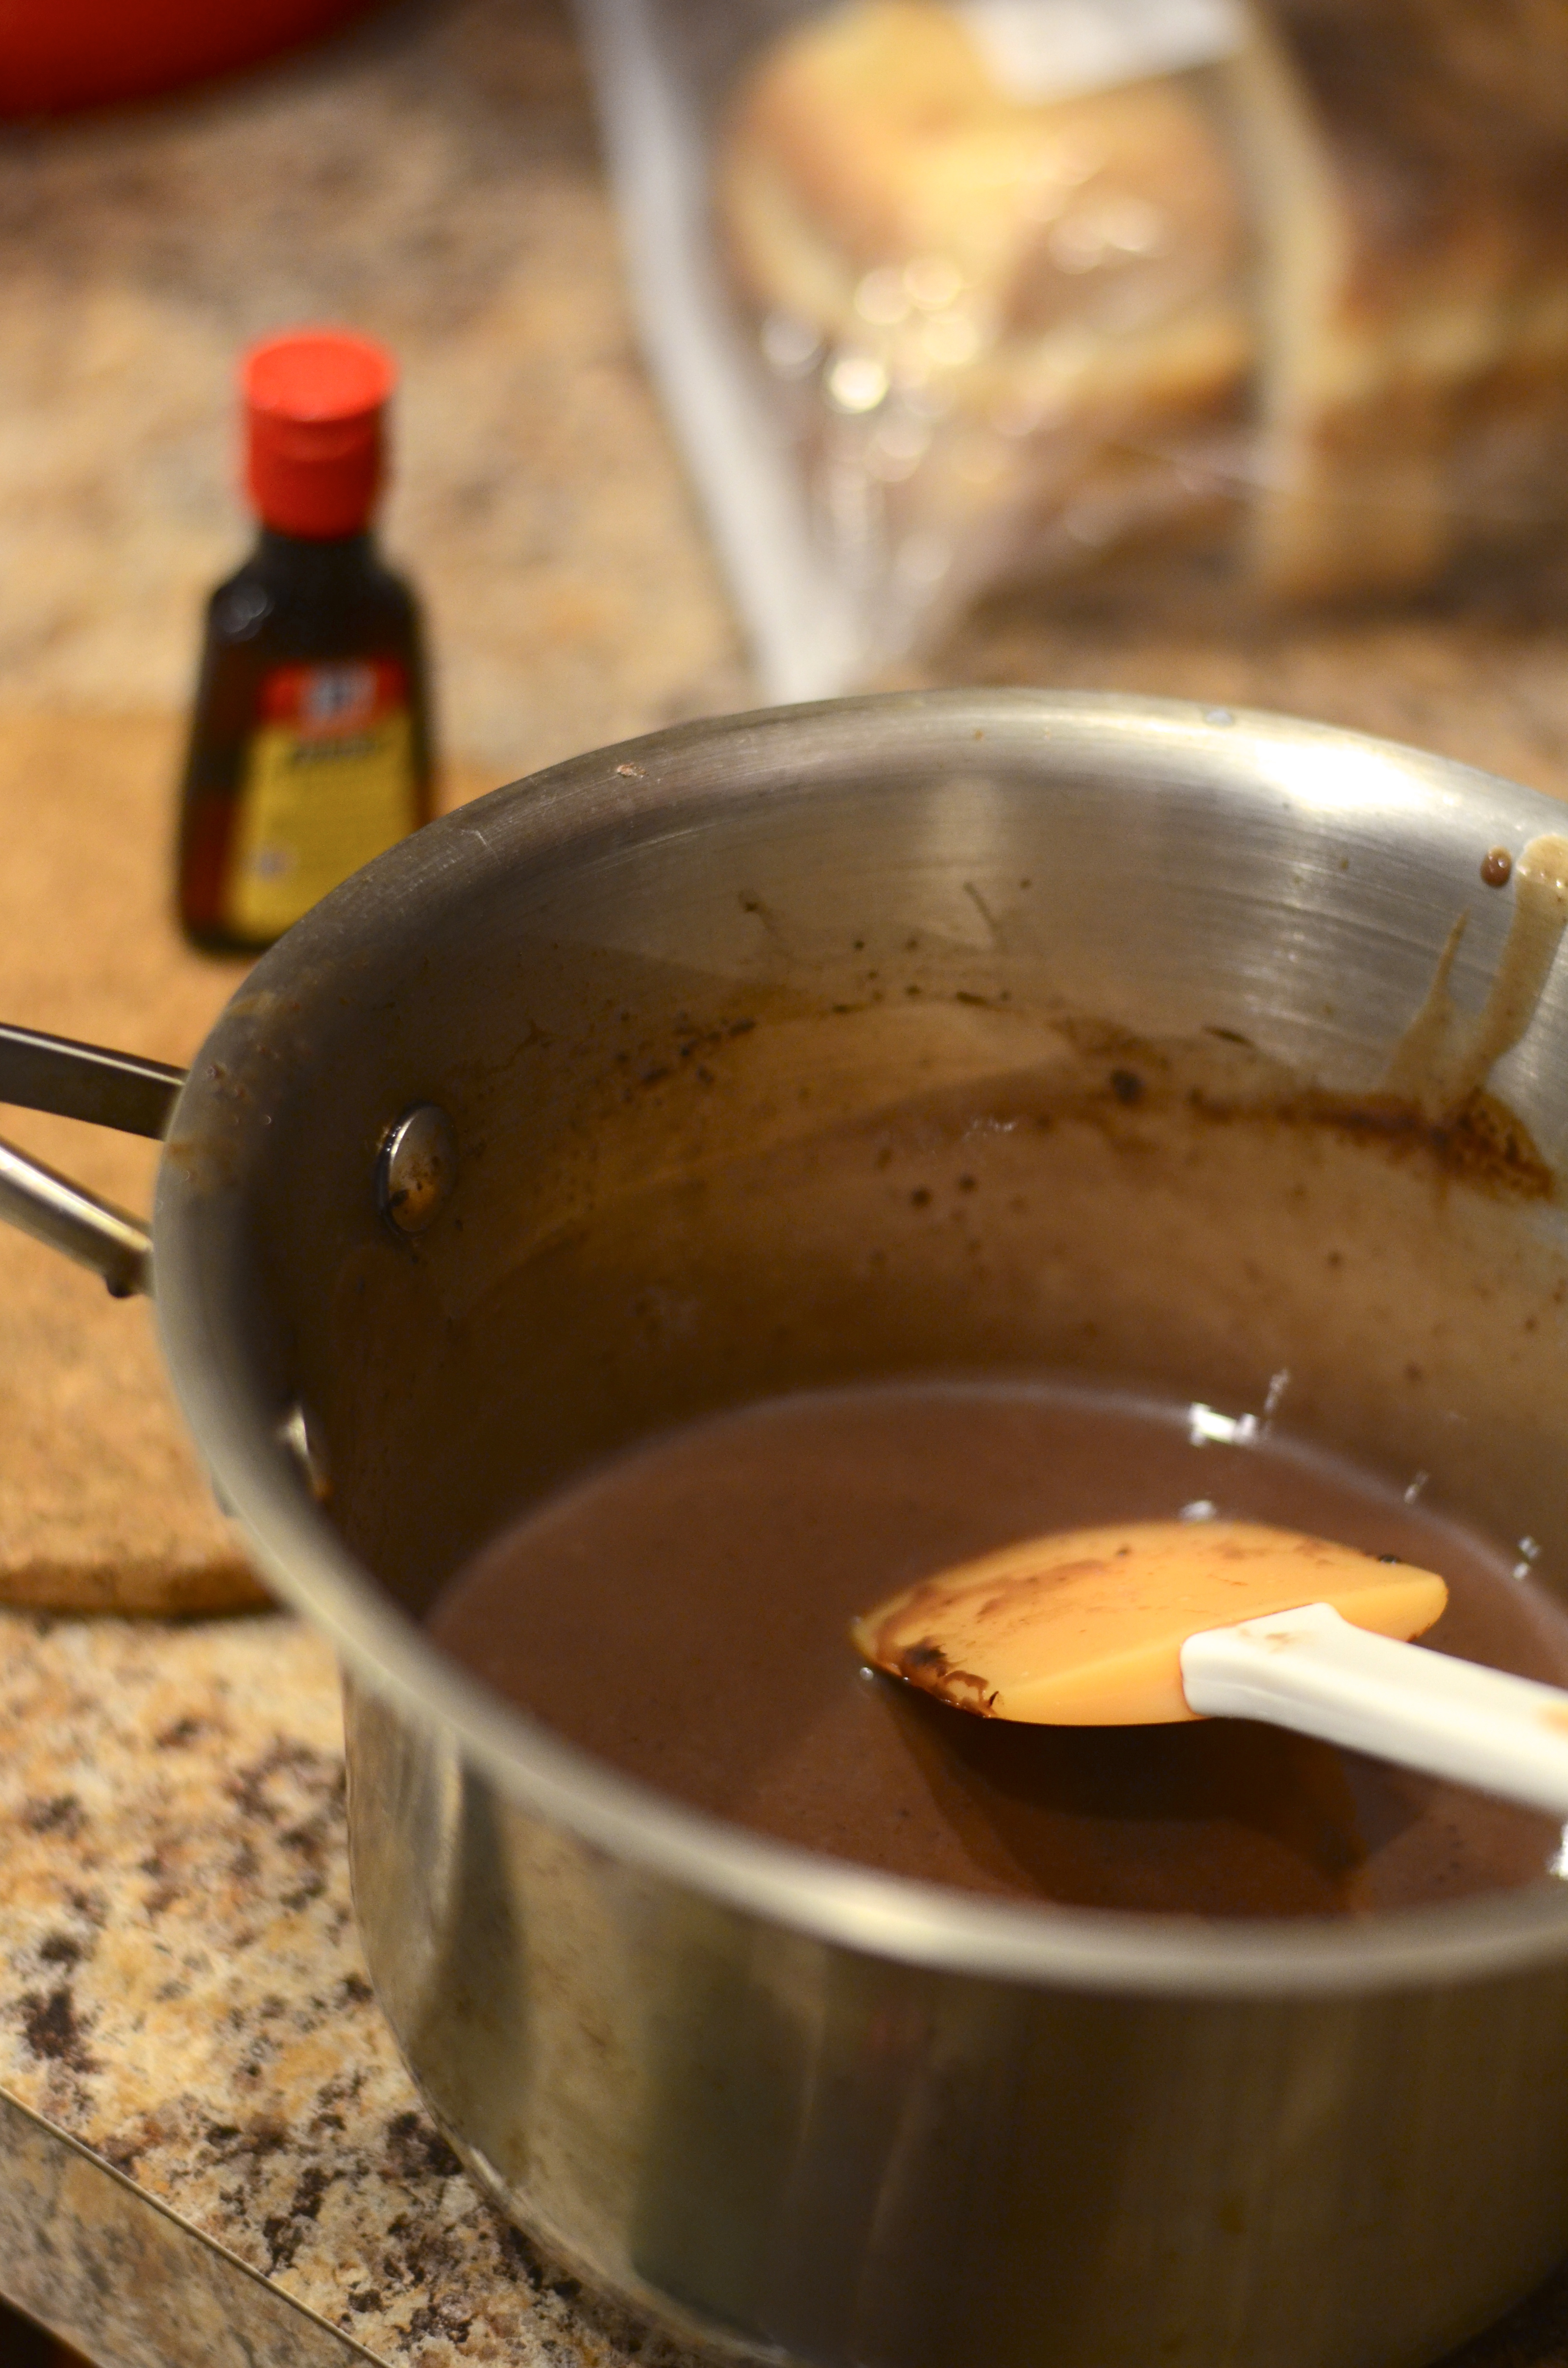
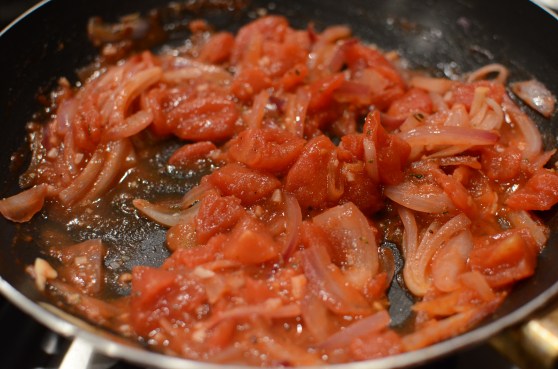
To prepare sauce, add mirin, soy sauce, sugar, and vinegar to a small saucepan. Bring to a boil and cook until slightly thickened (this took at least 5 minutes for me).

Remove from heat. After sauce has cooled slightly, stir in juice, 2 teaspoons grated ginger, and chile. Split the sauce into two bowls, saving anywhere from 2-4 Tablespoons to serve with the finished meatballs.

This chile pepper from my garden might have had a kick with fresh, but after drying out for so long it mellowed out too much! Definitely use a pepper with some heat; it’s a crucial part of rounding out the dish.
Heat a grill pan or a cast iron skillet over medium heat. Coat pan with cooking spray or oil of choice. Place half the meatballs in the pan, as will fit, and cook until brown on all sides and 165 degrees F at the center, which should take about 10 minutes. Remove from pan and brush over with some of the sauce. Repeat with remaining meatballs.

Serve sprinkle with sesame seeds and reserved 2 sauce on the side–the sauce really makes the dish. In fact, I don’t think it would hurt to double or 1.5x the sauce portion of the recipe.
*While delicious, when using turkey in these meatballs instead of chicken I found the turkey flavor to be more pronounced that I would have liked. For my husband and me, turkey brings to mind flavors of Thanksgiving, such as sage and thyme, even when those ingredients aren’t present! Sage and thyme certainly don’t mesh with the other ingredients in this recipe. Use ground chicken instead if you can.

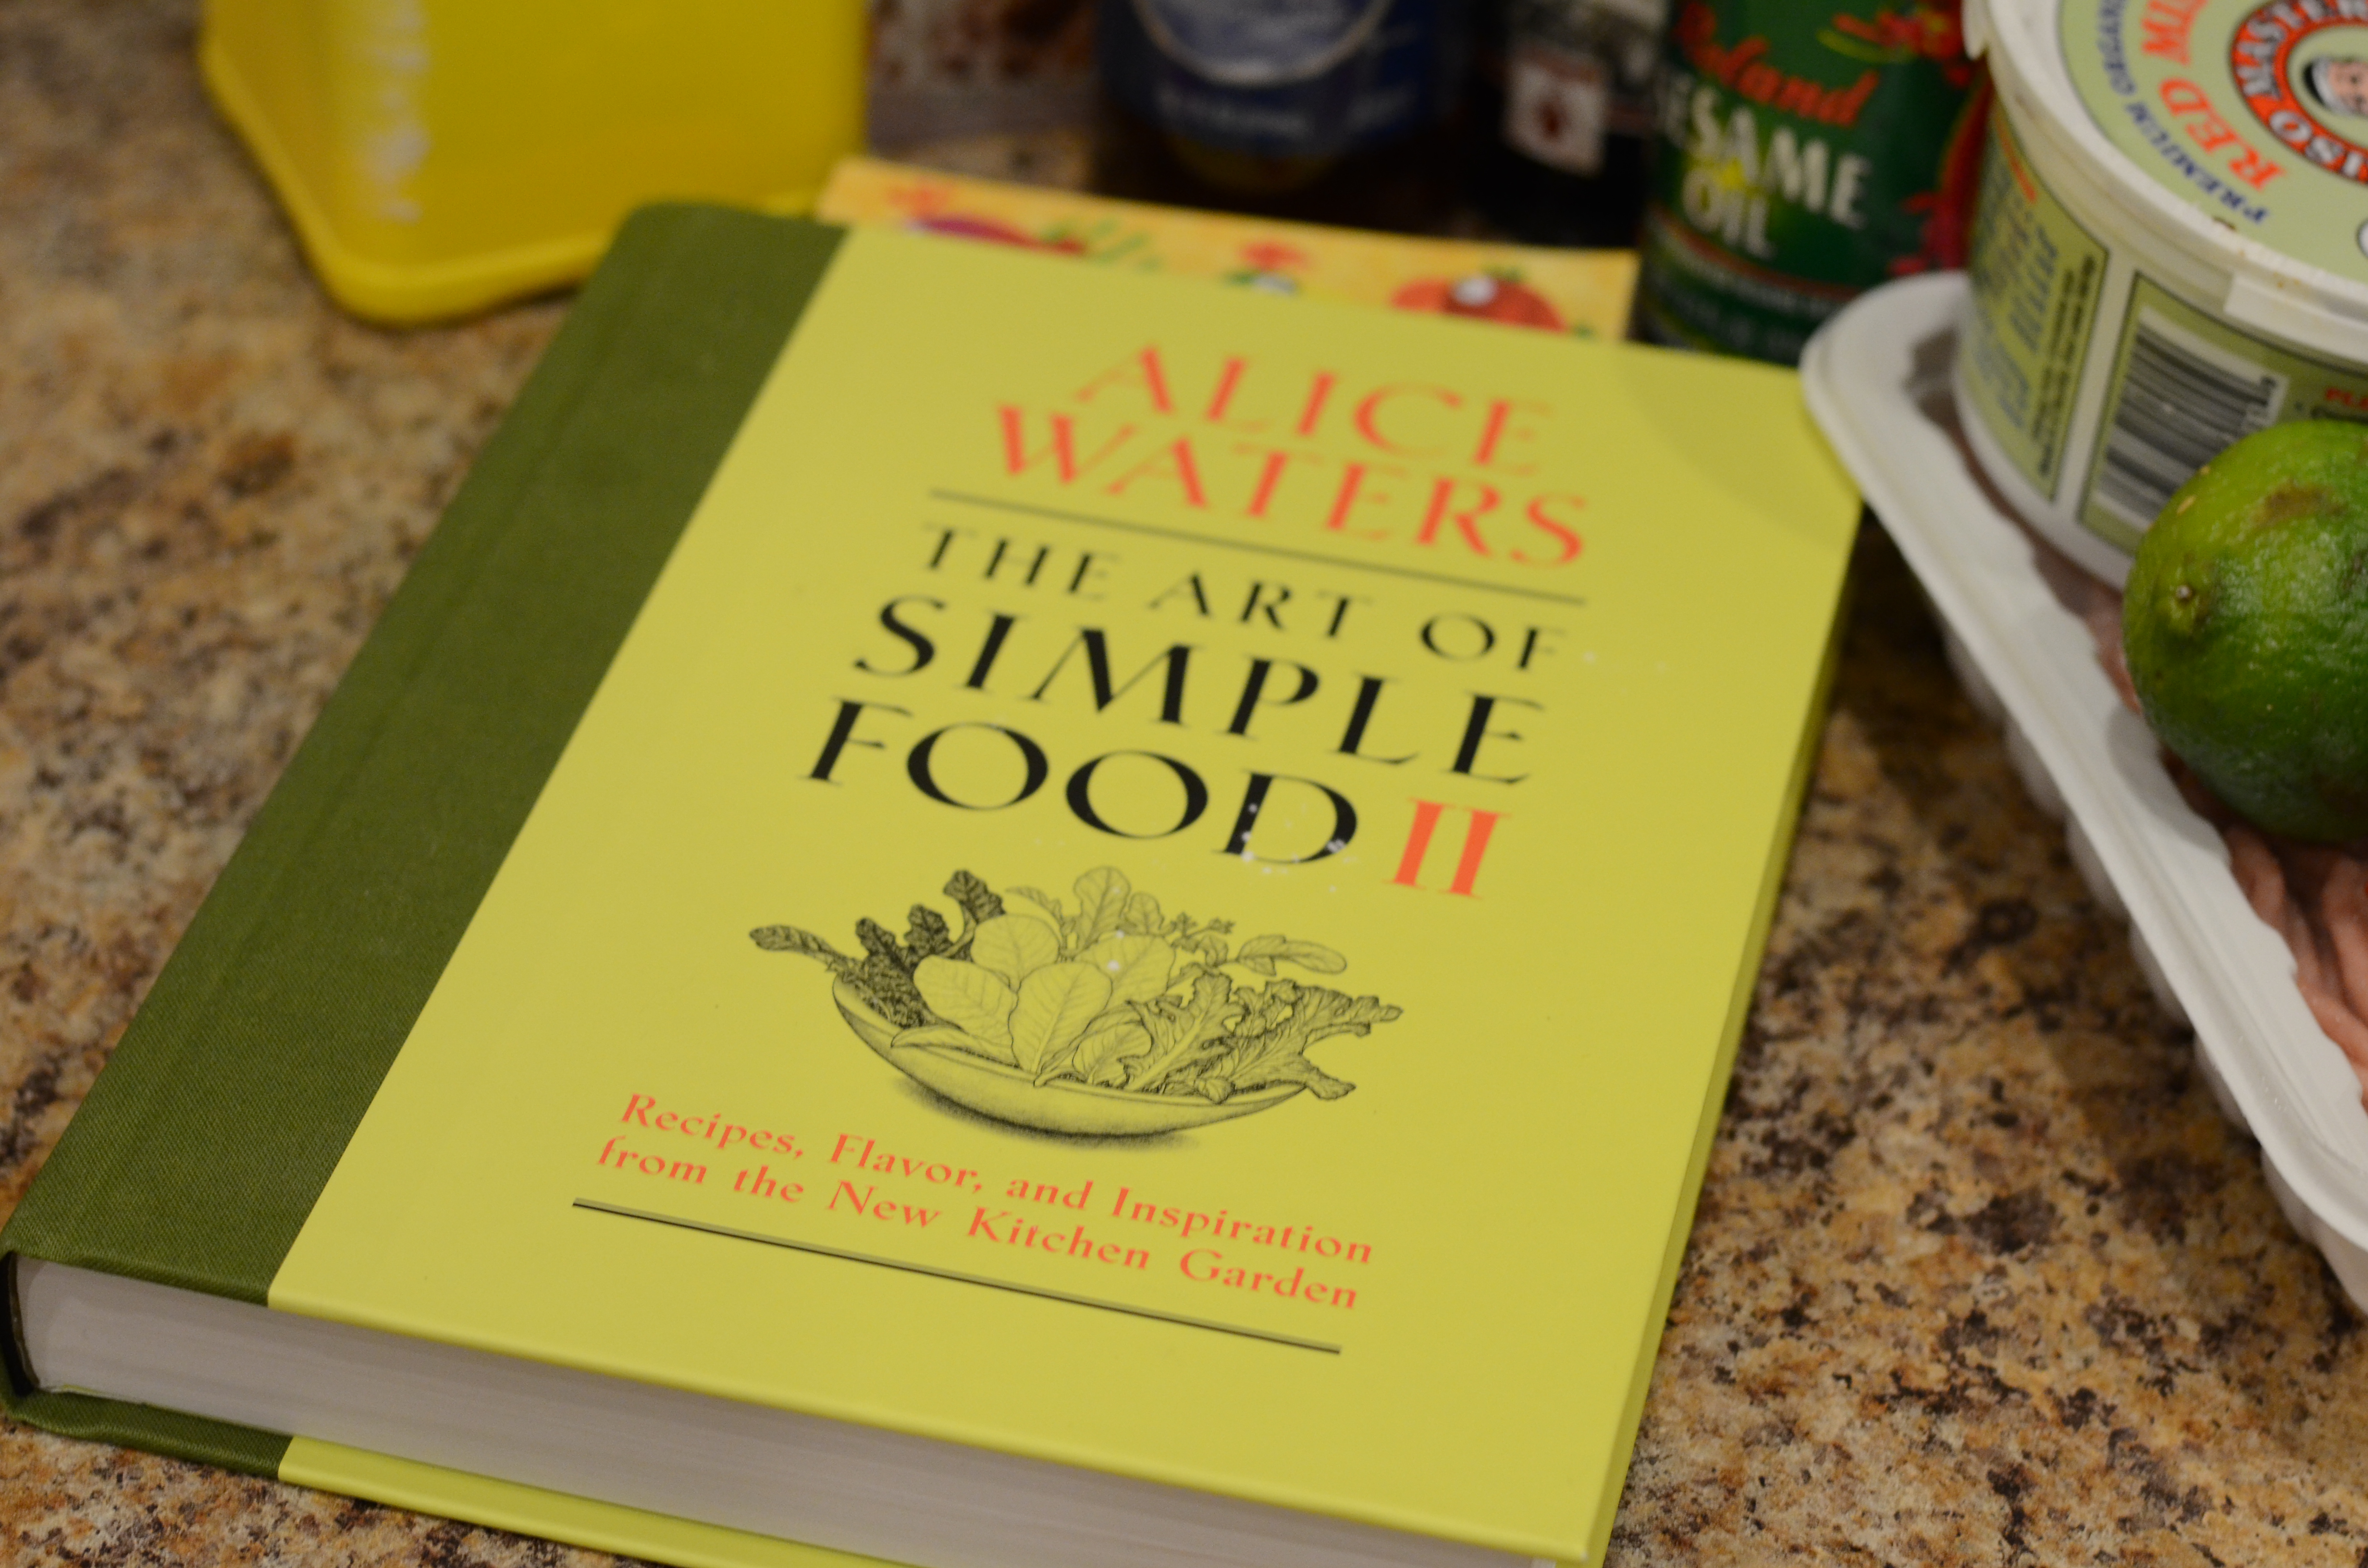
I continue to make the effort to thumb through recipes from my cookbook collection. This time I sought out Alice Waters’ suggestions for preparing bok choy, which I thought would be an excellent Asian side. I had purchased her newest book in conjunction with a talk she gave at my college’s club. I hadn’t heard her speak at length before, and it was clear that she has unshakeable vision and hope for the future of our food and eating. She is particularly driven, and amazingly optimistic, about things we can do to improve school meals.
Bok Choy Sautéed with Ginger and Garlic
From The Art of Simple Food II by Alice Waters
1 bunch of bok choy or 2-3 bunches of baby bok choy
2 teaspoons olive, coconut or other vegetable oil
4 garlic gloves, smashed
2 1-inch slices of ginger, peeled and smashed
Salt to taste
A splash of fish sauce
Remove blemished leaves from bok choy plants. Slice a small amount off the base and half, quarter, or leave whole, depending on the size. Soak in a bowl of water to loosen grit, rinse, and drain.
Heat a wok or heavy skillet over medium-high heat. Add oil, then garlic and ginger. Cook until the garlic starts to darken in color and then add bok choy. Cook for several minutes, stirring and tossing, until it reaches your preferred level of tenderness.

Season with a splash of fish sauce and a smidge of salt.


 There’s nothing like 2 weeks straight of eating out for nearly every meal to get one on the mood to cook!
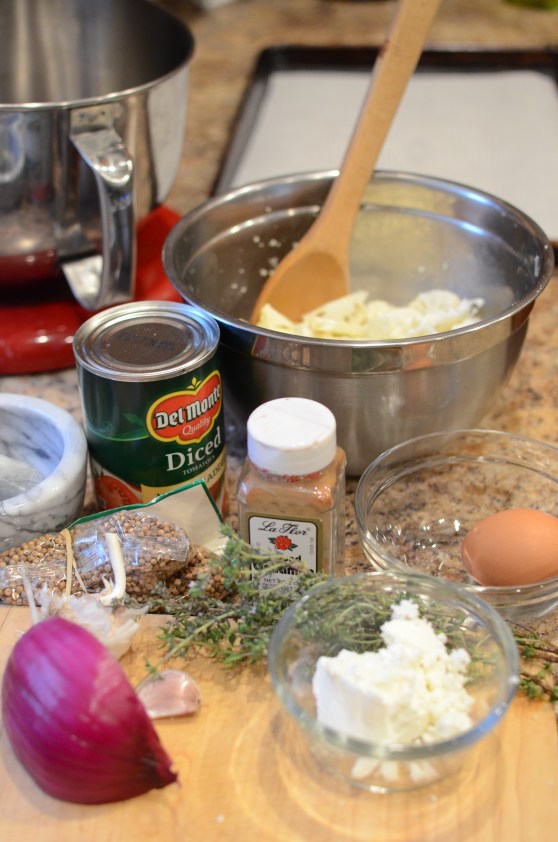


 Mix the honey, mustard, 1 Tablespoon of oil in a small bowl and salt and pepper, to taste. Put mixture in a large plastic bag, bowl, instant marinator, or whatever you like to use to marinate.


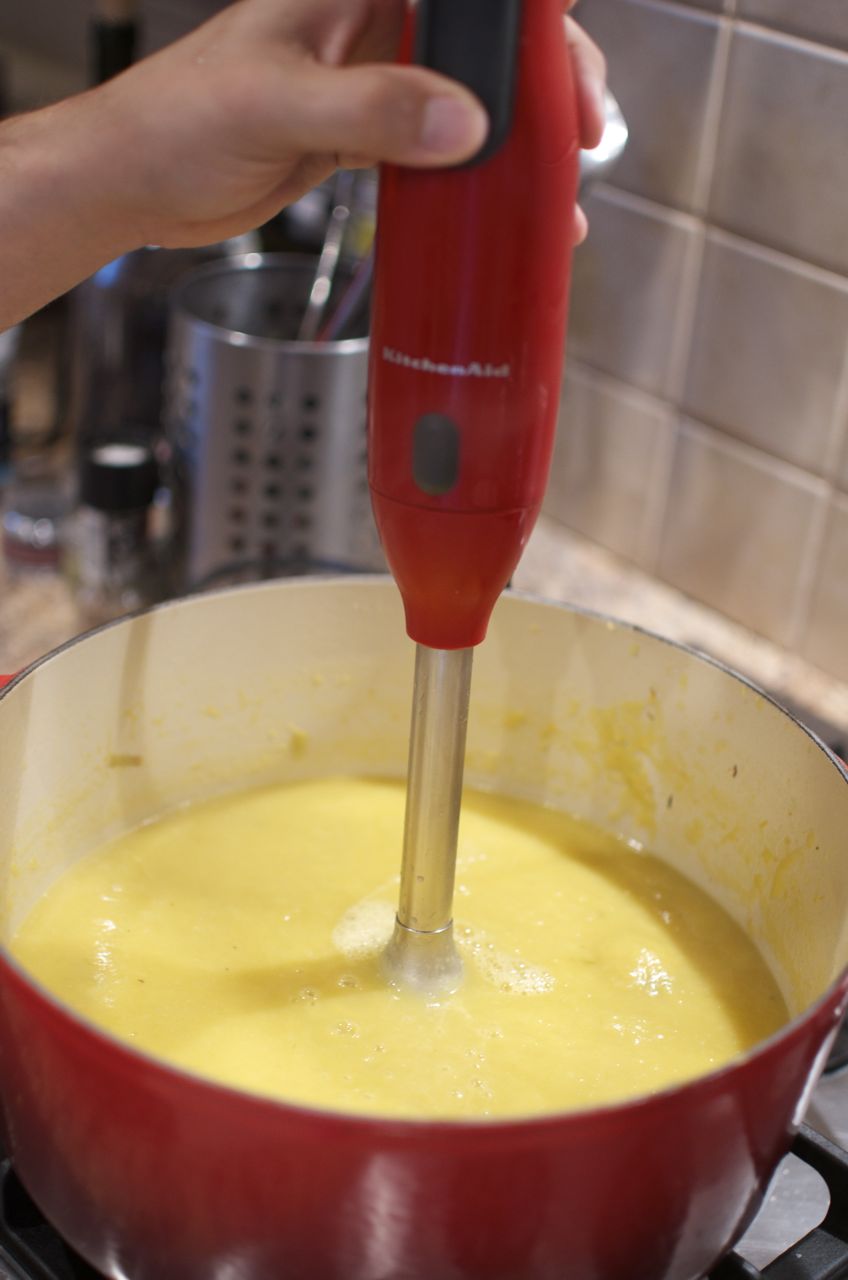
 Use an immersion blender to blend the “soup” until mostly smooth but leaving some chunks of tomato, pepper, and whole beans. Taste again and add spice as needed.