Have you heard of aquafaba, the water waste product of cooking dried beans? You’ll find it as the liquid in your can of chickpeas, or create it when boiling your own dried beans at home.
I was recently introduced to aquafaba and its culinary potential firsthand at the Food Loves Tech conference exhibition in Manhattan. It turns out, aquafaba as an ingredient behaves similarly to eggs or egg whites, making it a big deal among vegan cooks. I tasted Sir Kensington’s delicious vegan mayo made from aquafaba, aka “fabanaise.” They sourced the liquid from a hummus producer that had it in abundance and was otherwise wasting it. These are the types of business partnerships we need more of!
As a side note, things have changed quite a bit around here. The morning after my last post, at 39 weeks plus 4 days, my water broke, and 13 hours later my son came into the world. (And no, I did not end up doing any cooking while I was in labor.)
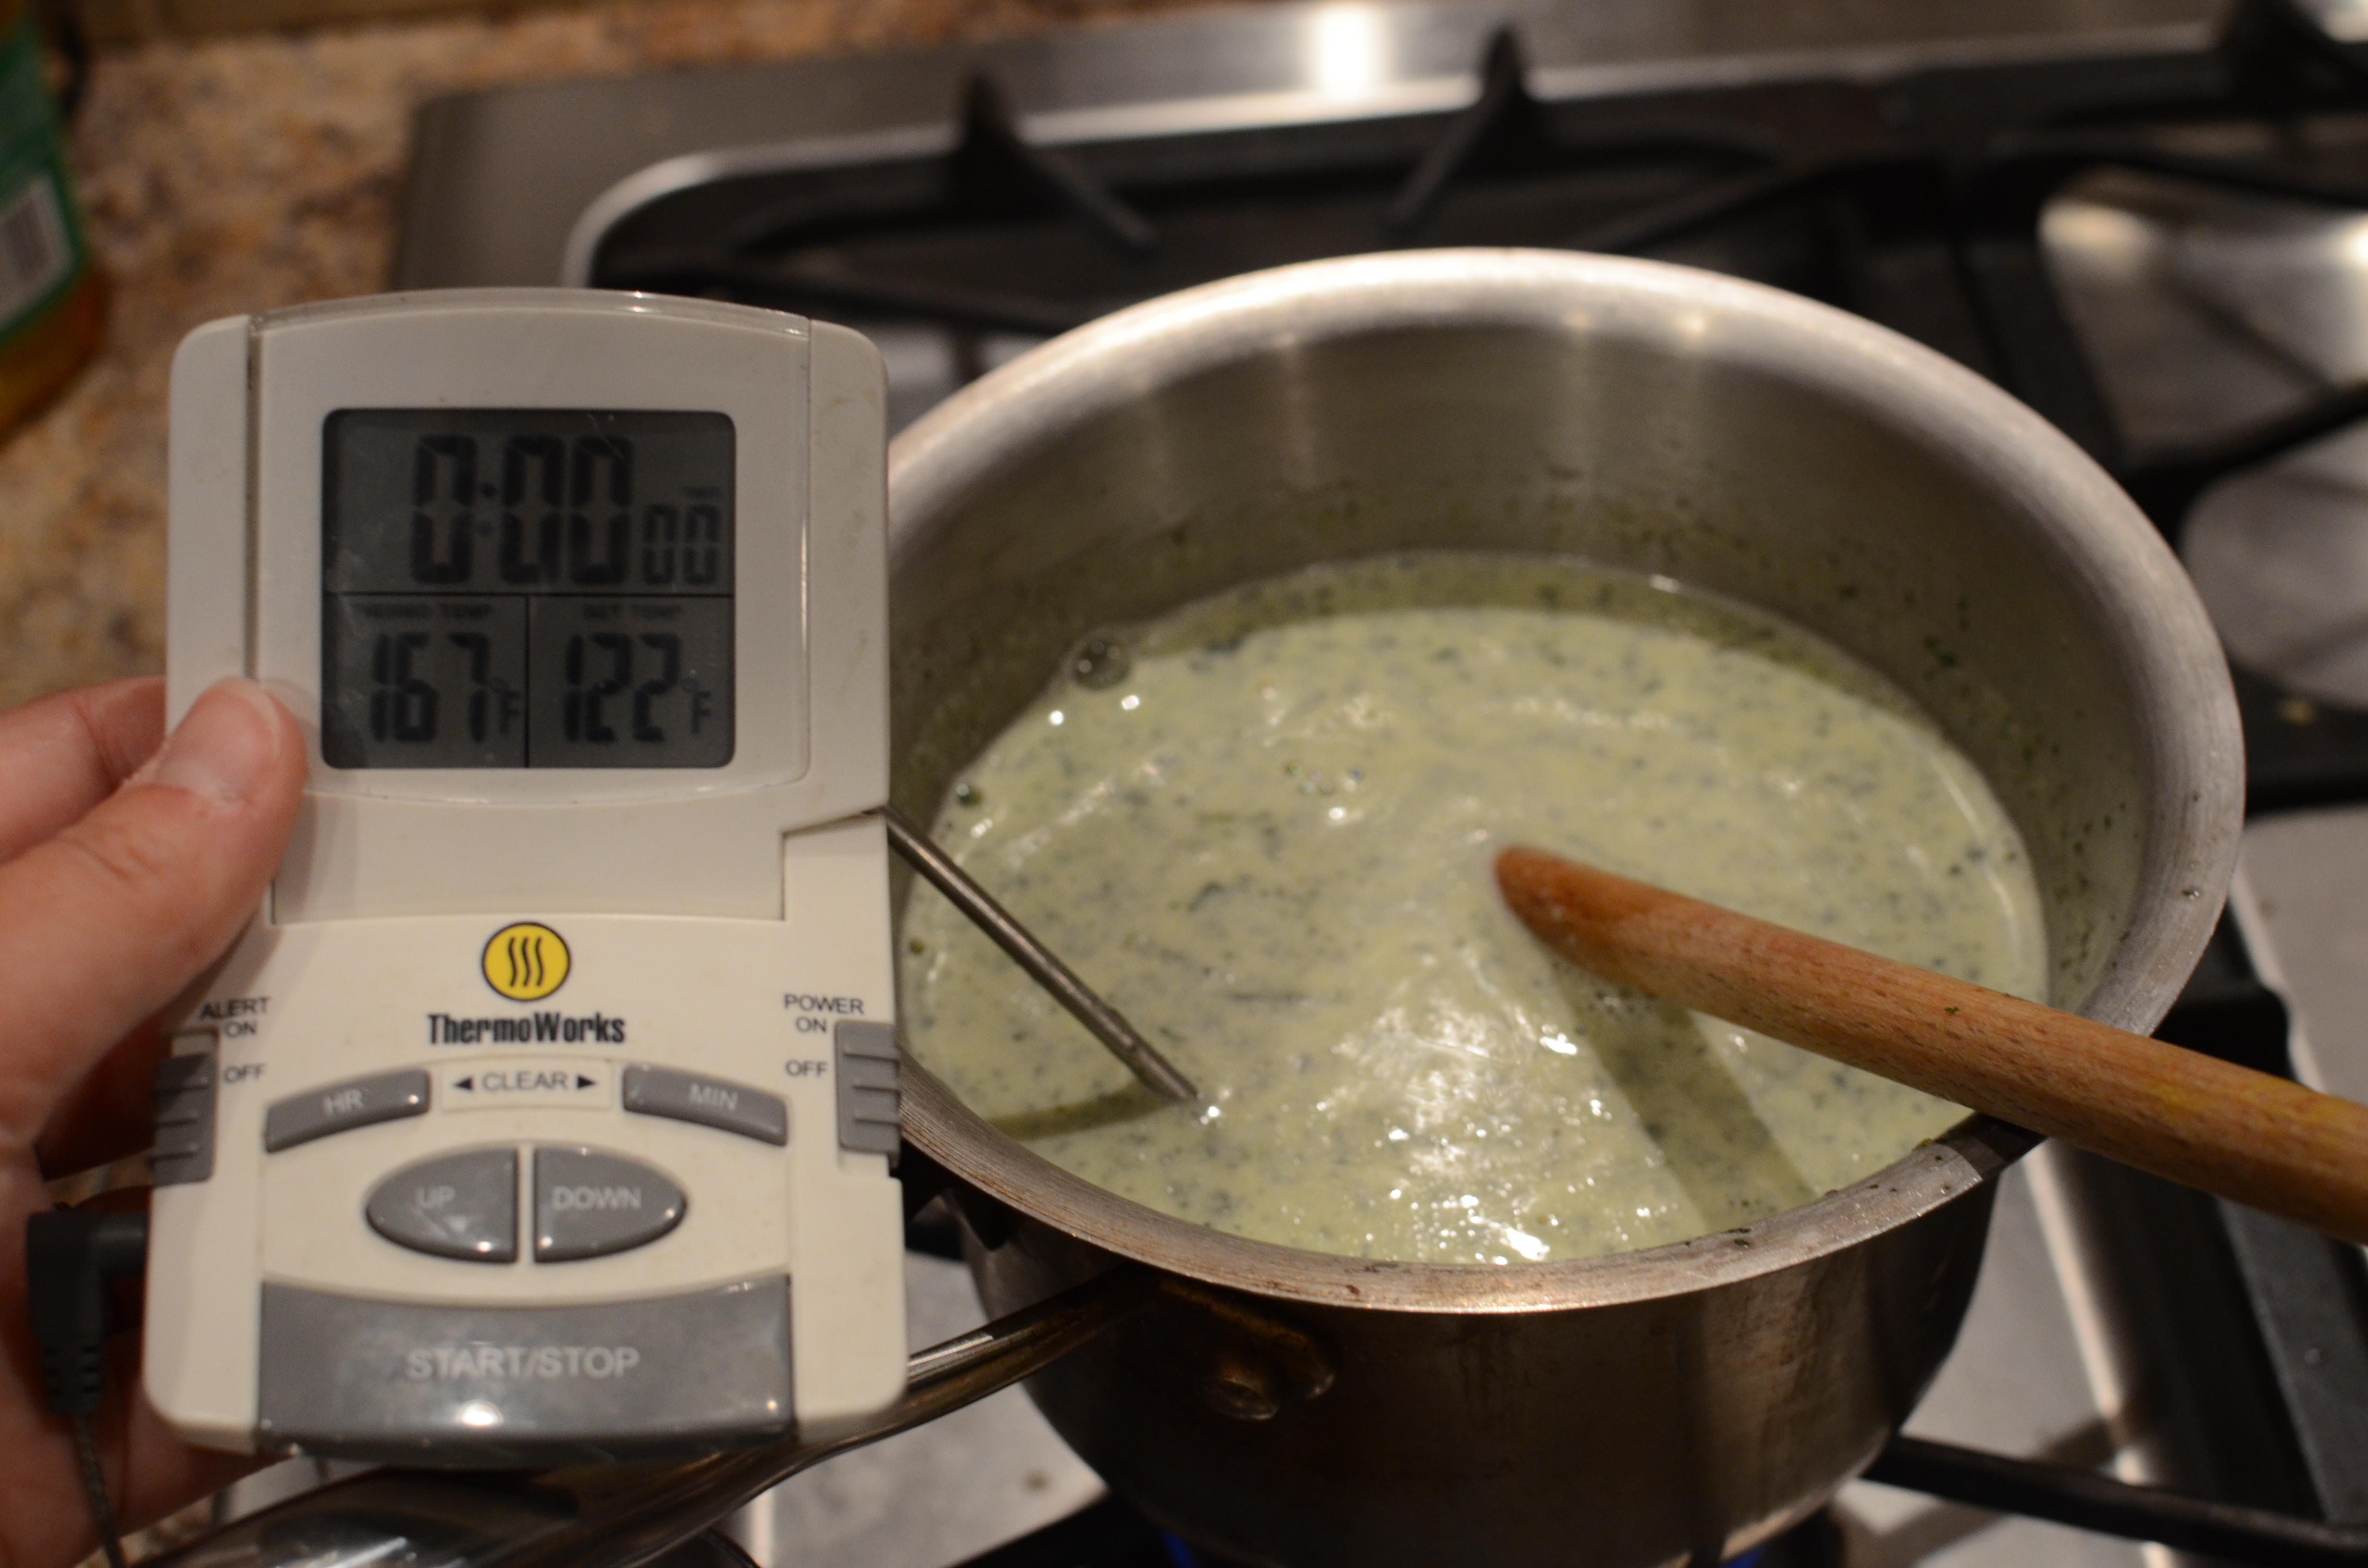
The story of how I came to be sharing this recipe with you today is that, on what turned out to be my one “vacation” day of maternity leave before the baby, I cooked dried chickpeas. I cooked them in my brand new pressure cooker, so it was an adventure. (The pressure cooker was actually a baby shower gift from my friend @LadyParmalade. Months before, she had been telling me about the pleasures of a pressure cooker, and I jokingly asked if it would be appropriate to register for a kitchen item like that. It was not intended as a hint, but she ran with it!) I’m sure I’ll post more about pressure cooker experiences in the future. In this case, the chickpeas were a huge success, and I saved the liquid because it was actually darn tasty.
Fast forward to days later, after I was home from the hospital with a newborn. I usually don’t like to post back-to-back recipes in a similar genre (dessert), but I was incredibly blessed to have all my main meals provided to or cooked for me for the week and half following the birth. My mother stayed with us and cooked one colorful and nutritious meal after another. She and my dad even insisted on doing all the dishes! It gave me the freedom to use my unexplainable burst of energy one afternoon to bake up a dessert, with my chickpea water.
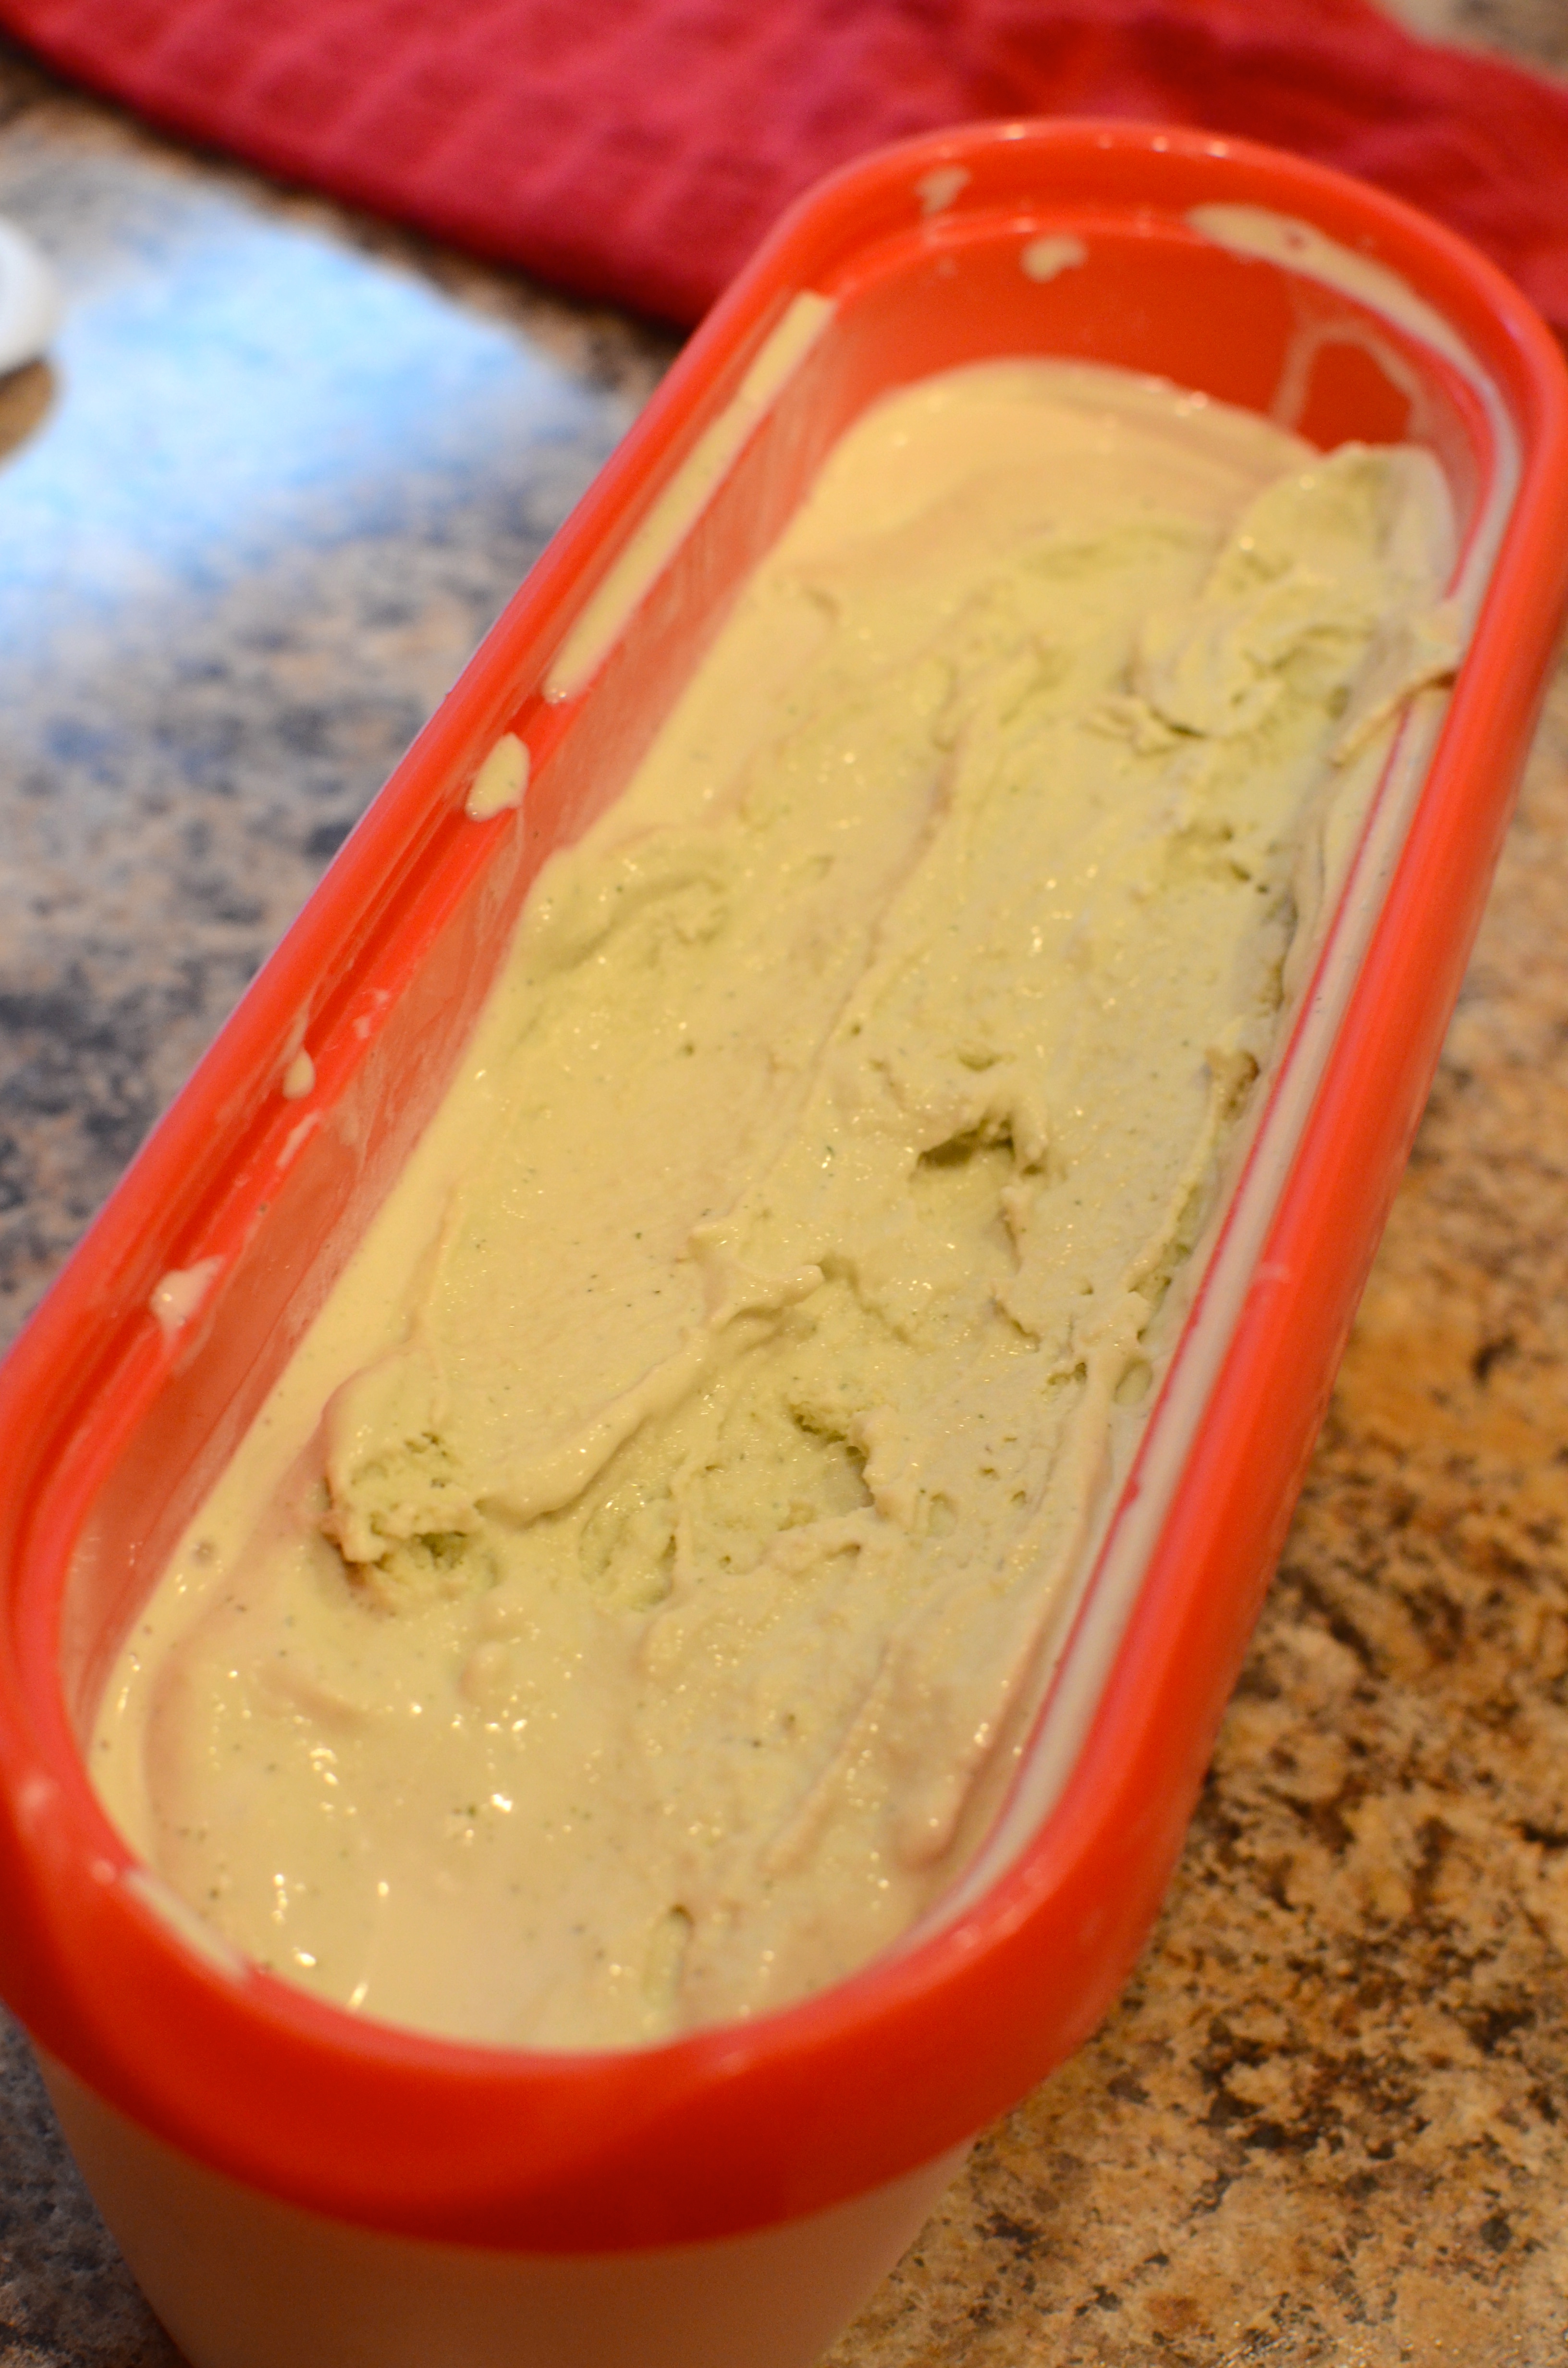
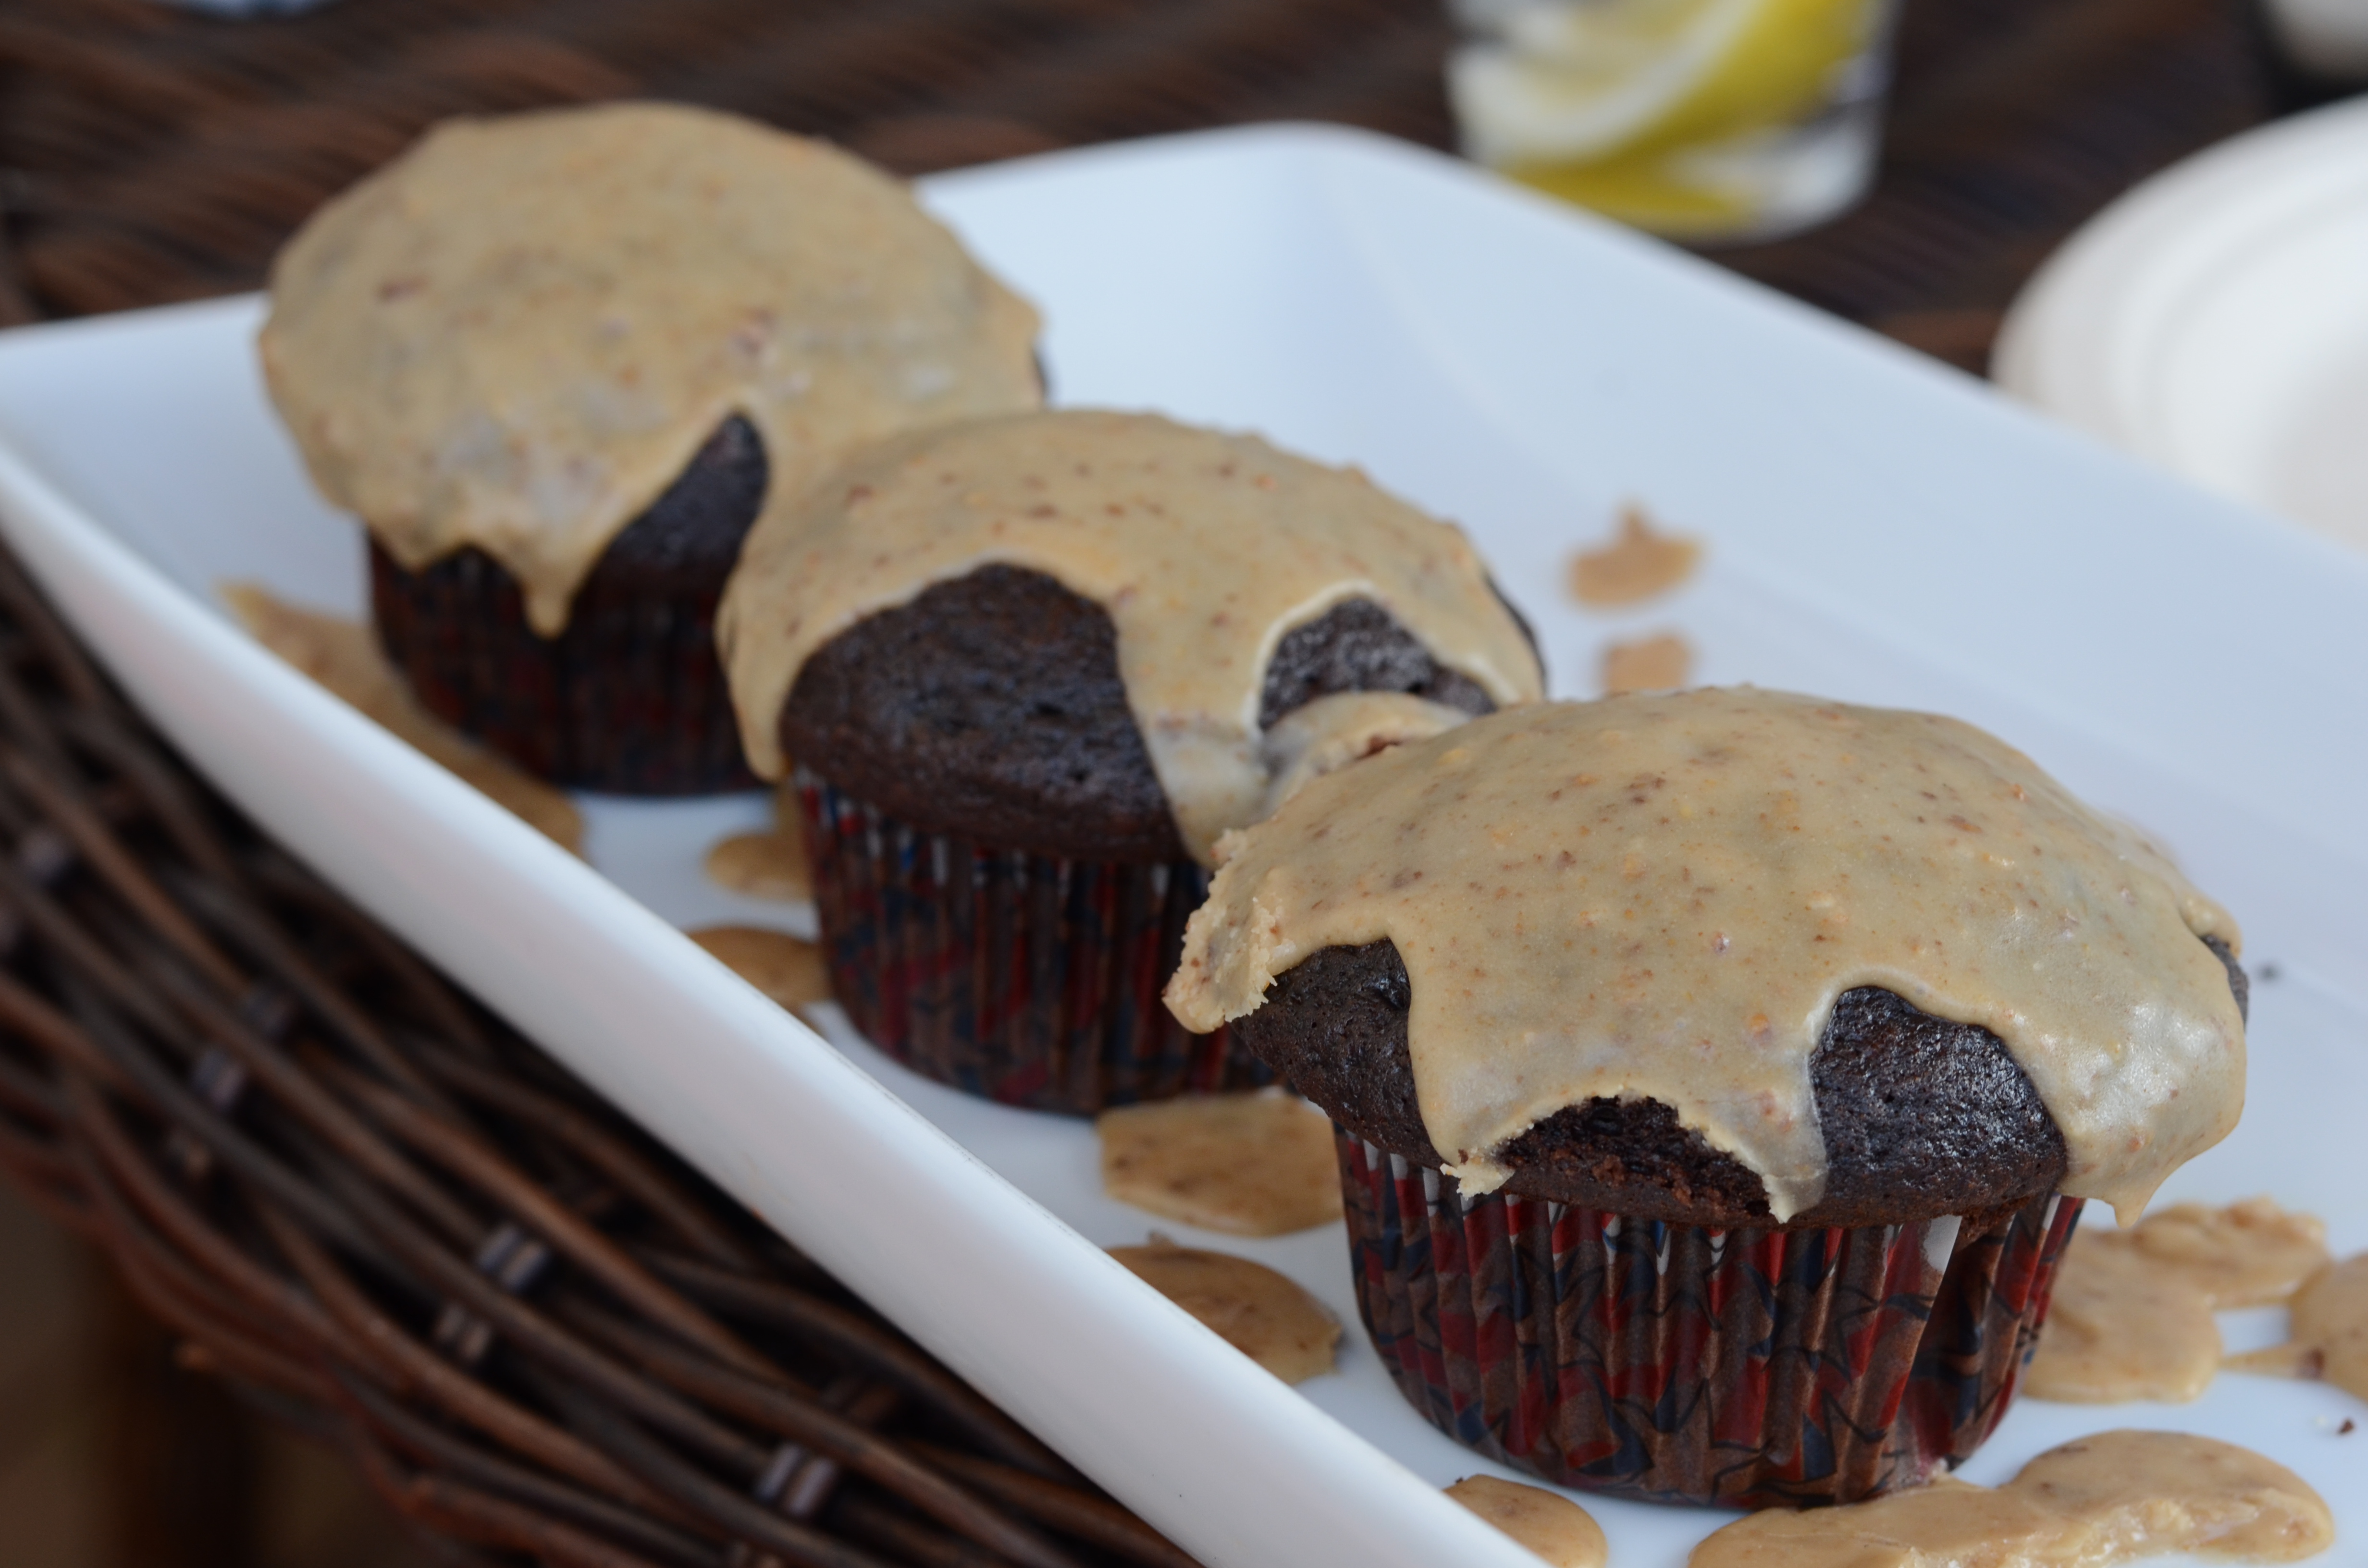
Chickpea Water (i.e. Vegan) Chocolate Brownies
Adapted from recipe by Sarah De la Cruz on Fried Dandelions
Now, you might think that these brownies are a little “out there” and can’t fulfill a craving for real brownies. I urge you to keep an open mind. The texture emulates some of the fudgiest non-vegan brownies I’ve had, and while you may notice hints of unusual flavors, the dominant taste is rich chocolate. With vanilla ice cream, you can hardly tell a difference!

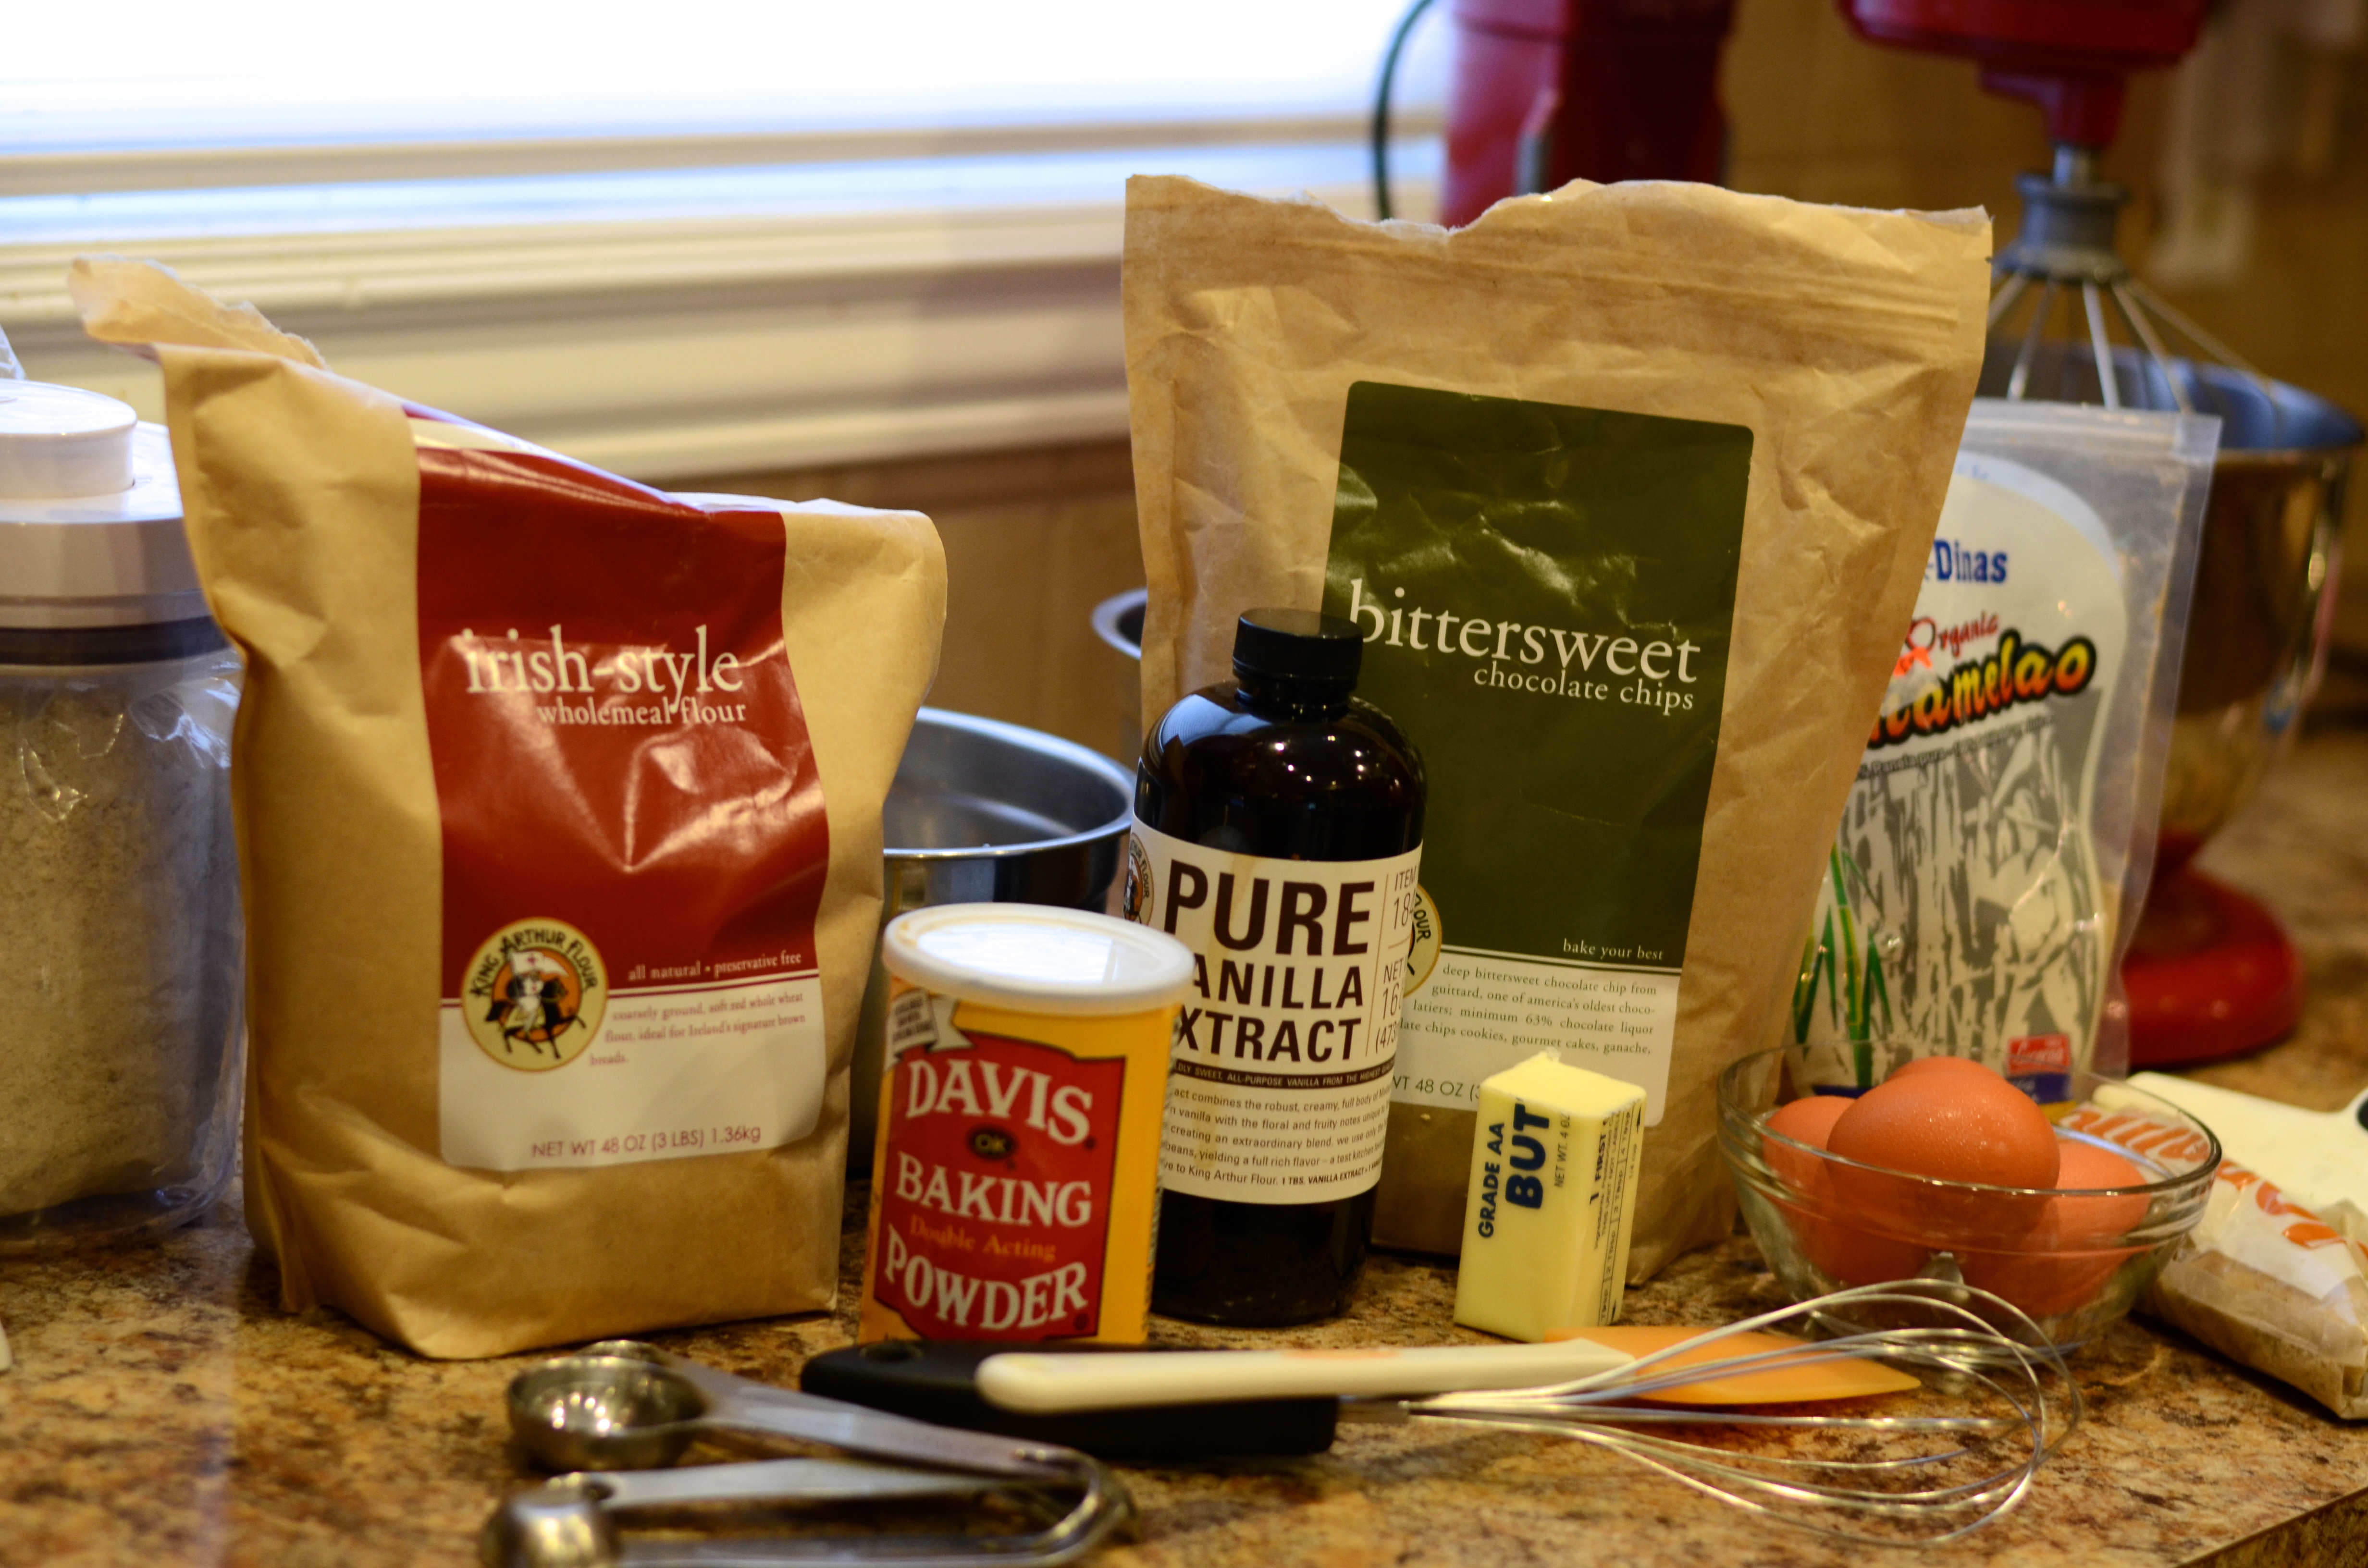
1/4 Cup coconut oil
Oil (either extra coconut oil or vegetable oil) to grease the pan
3 ounces (about 1/2 Cup) PLUS 4.5 ounces (about 3/4 Cup) chocolate chips– semisweet recommended, but you could also mix in some bittersweet
1/2 Cup brown sugar
1/4 Cup maple syrup
pinch of salt
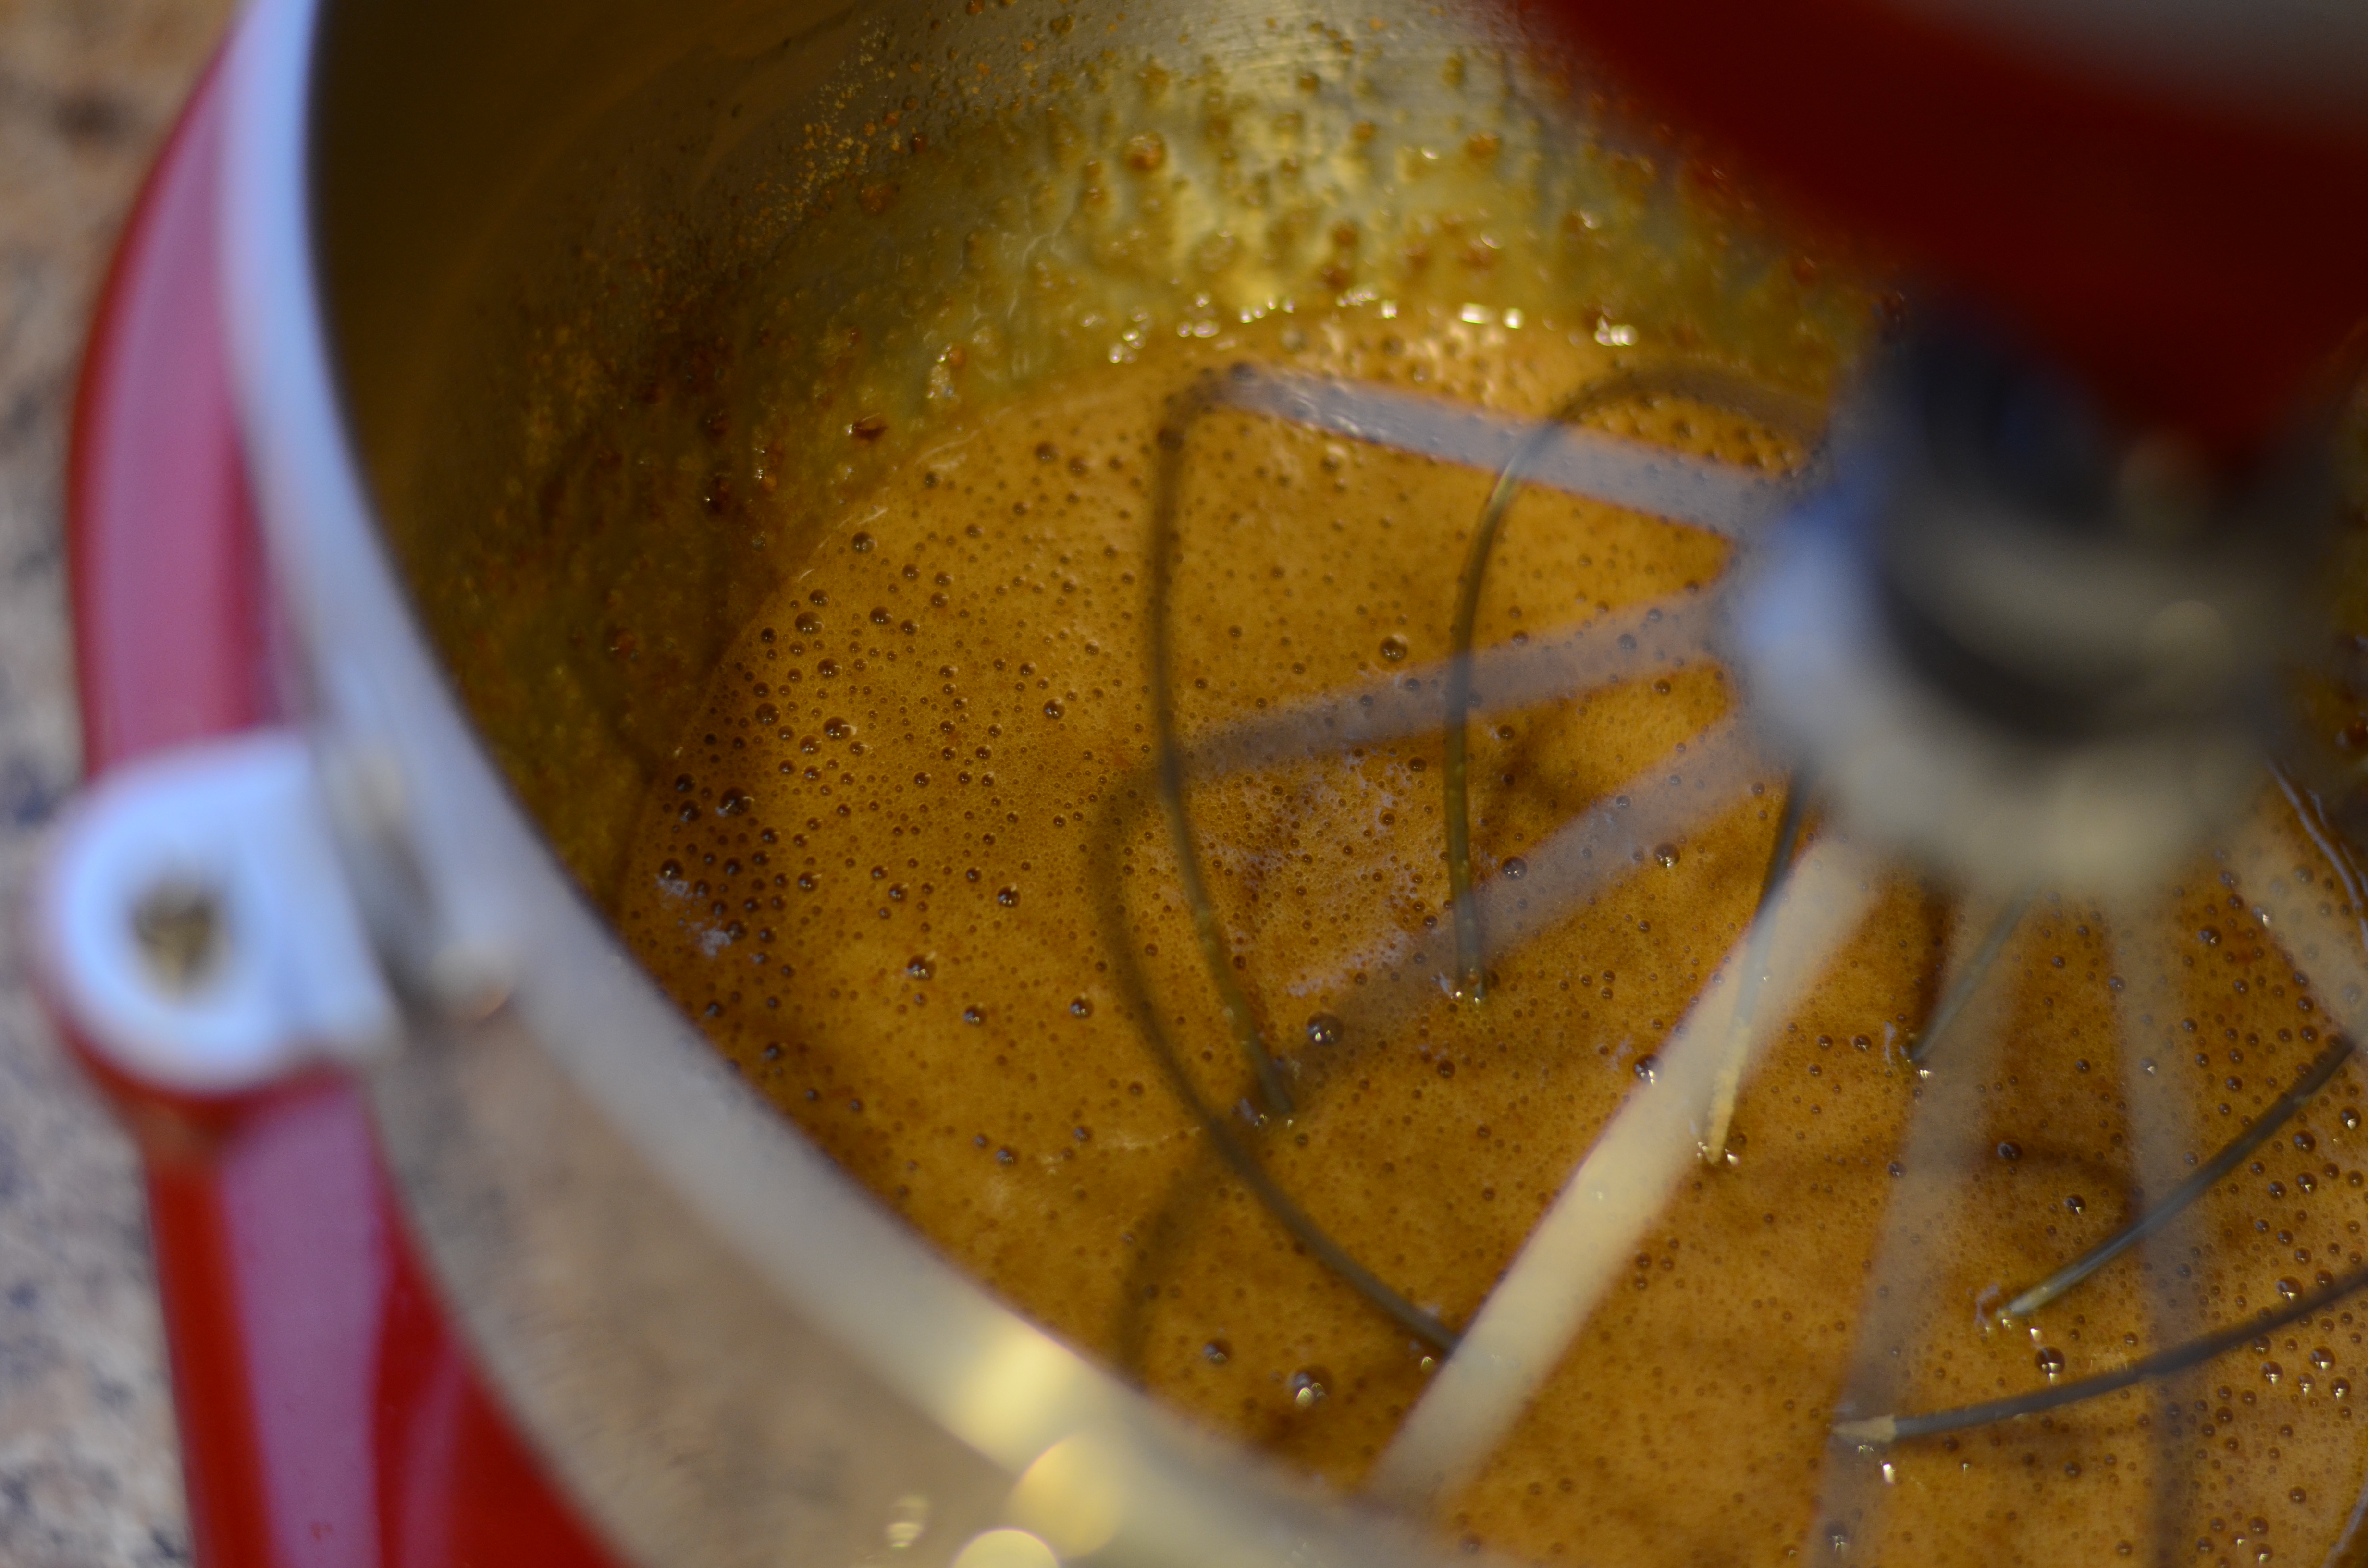
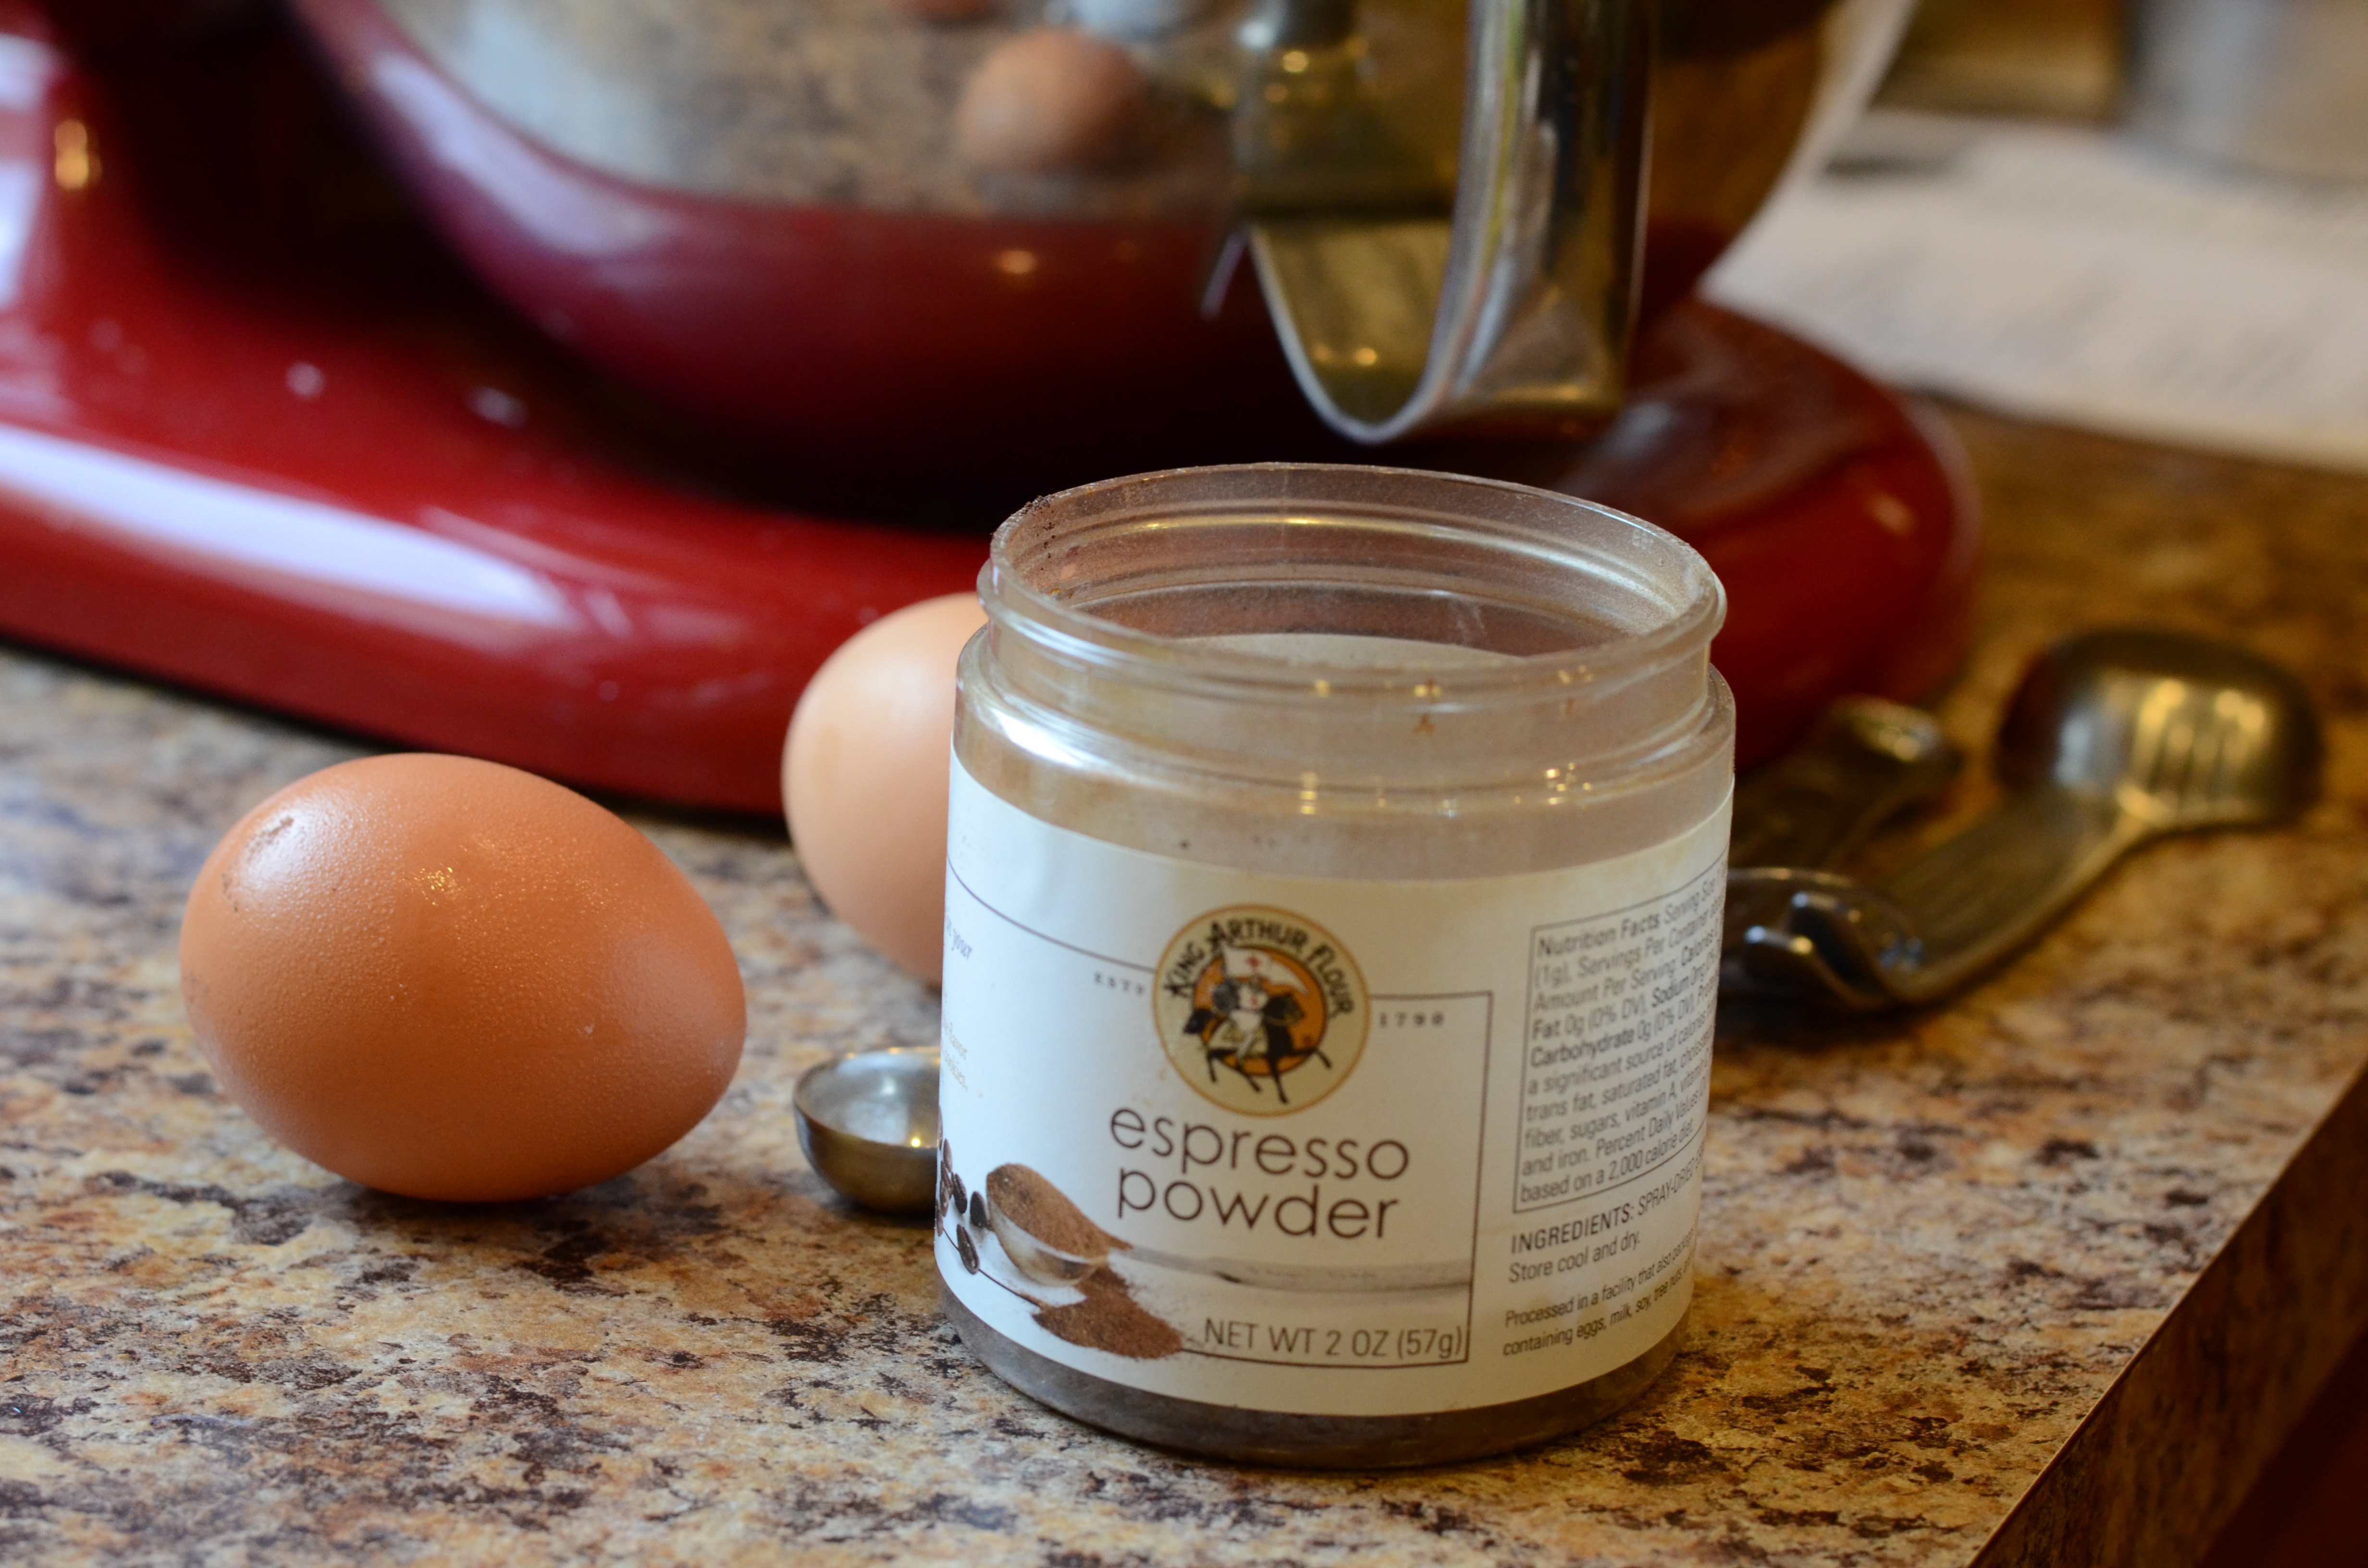
1/2 C aquafaba (if you cooked your beans at home and the water isn’t especially viscous, cook down the liquid in a saucepan for about 10-15 minutes)
2 teaspoons vanilla extract
1/2 teaspoon cinnamon, or less if you prefer
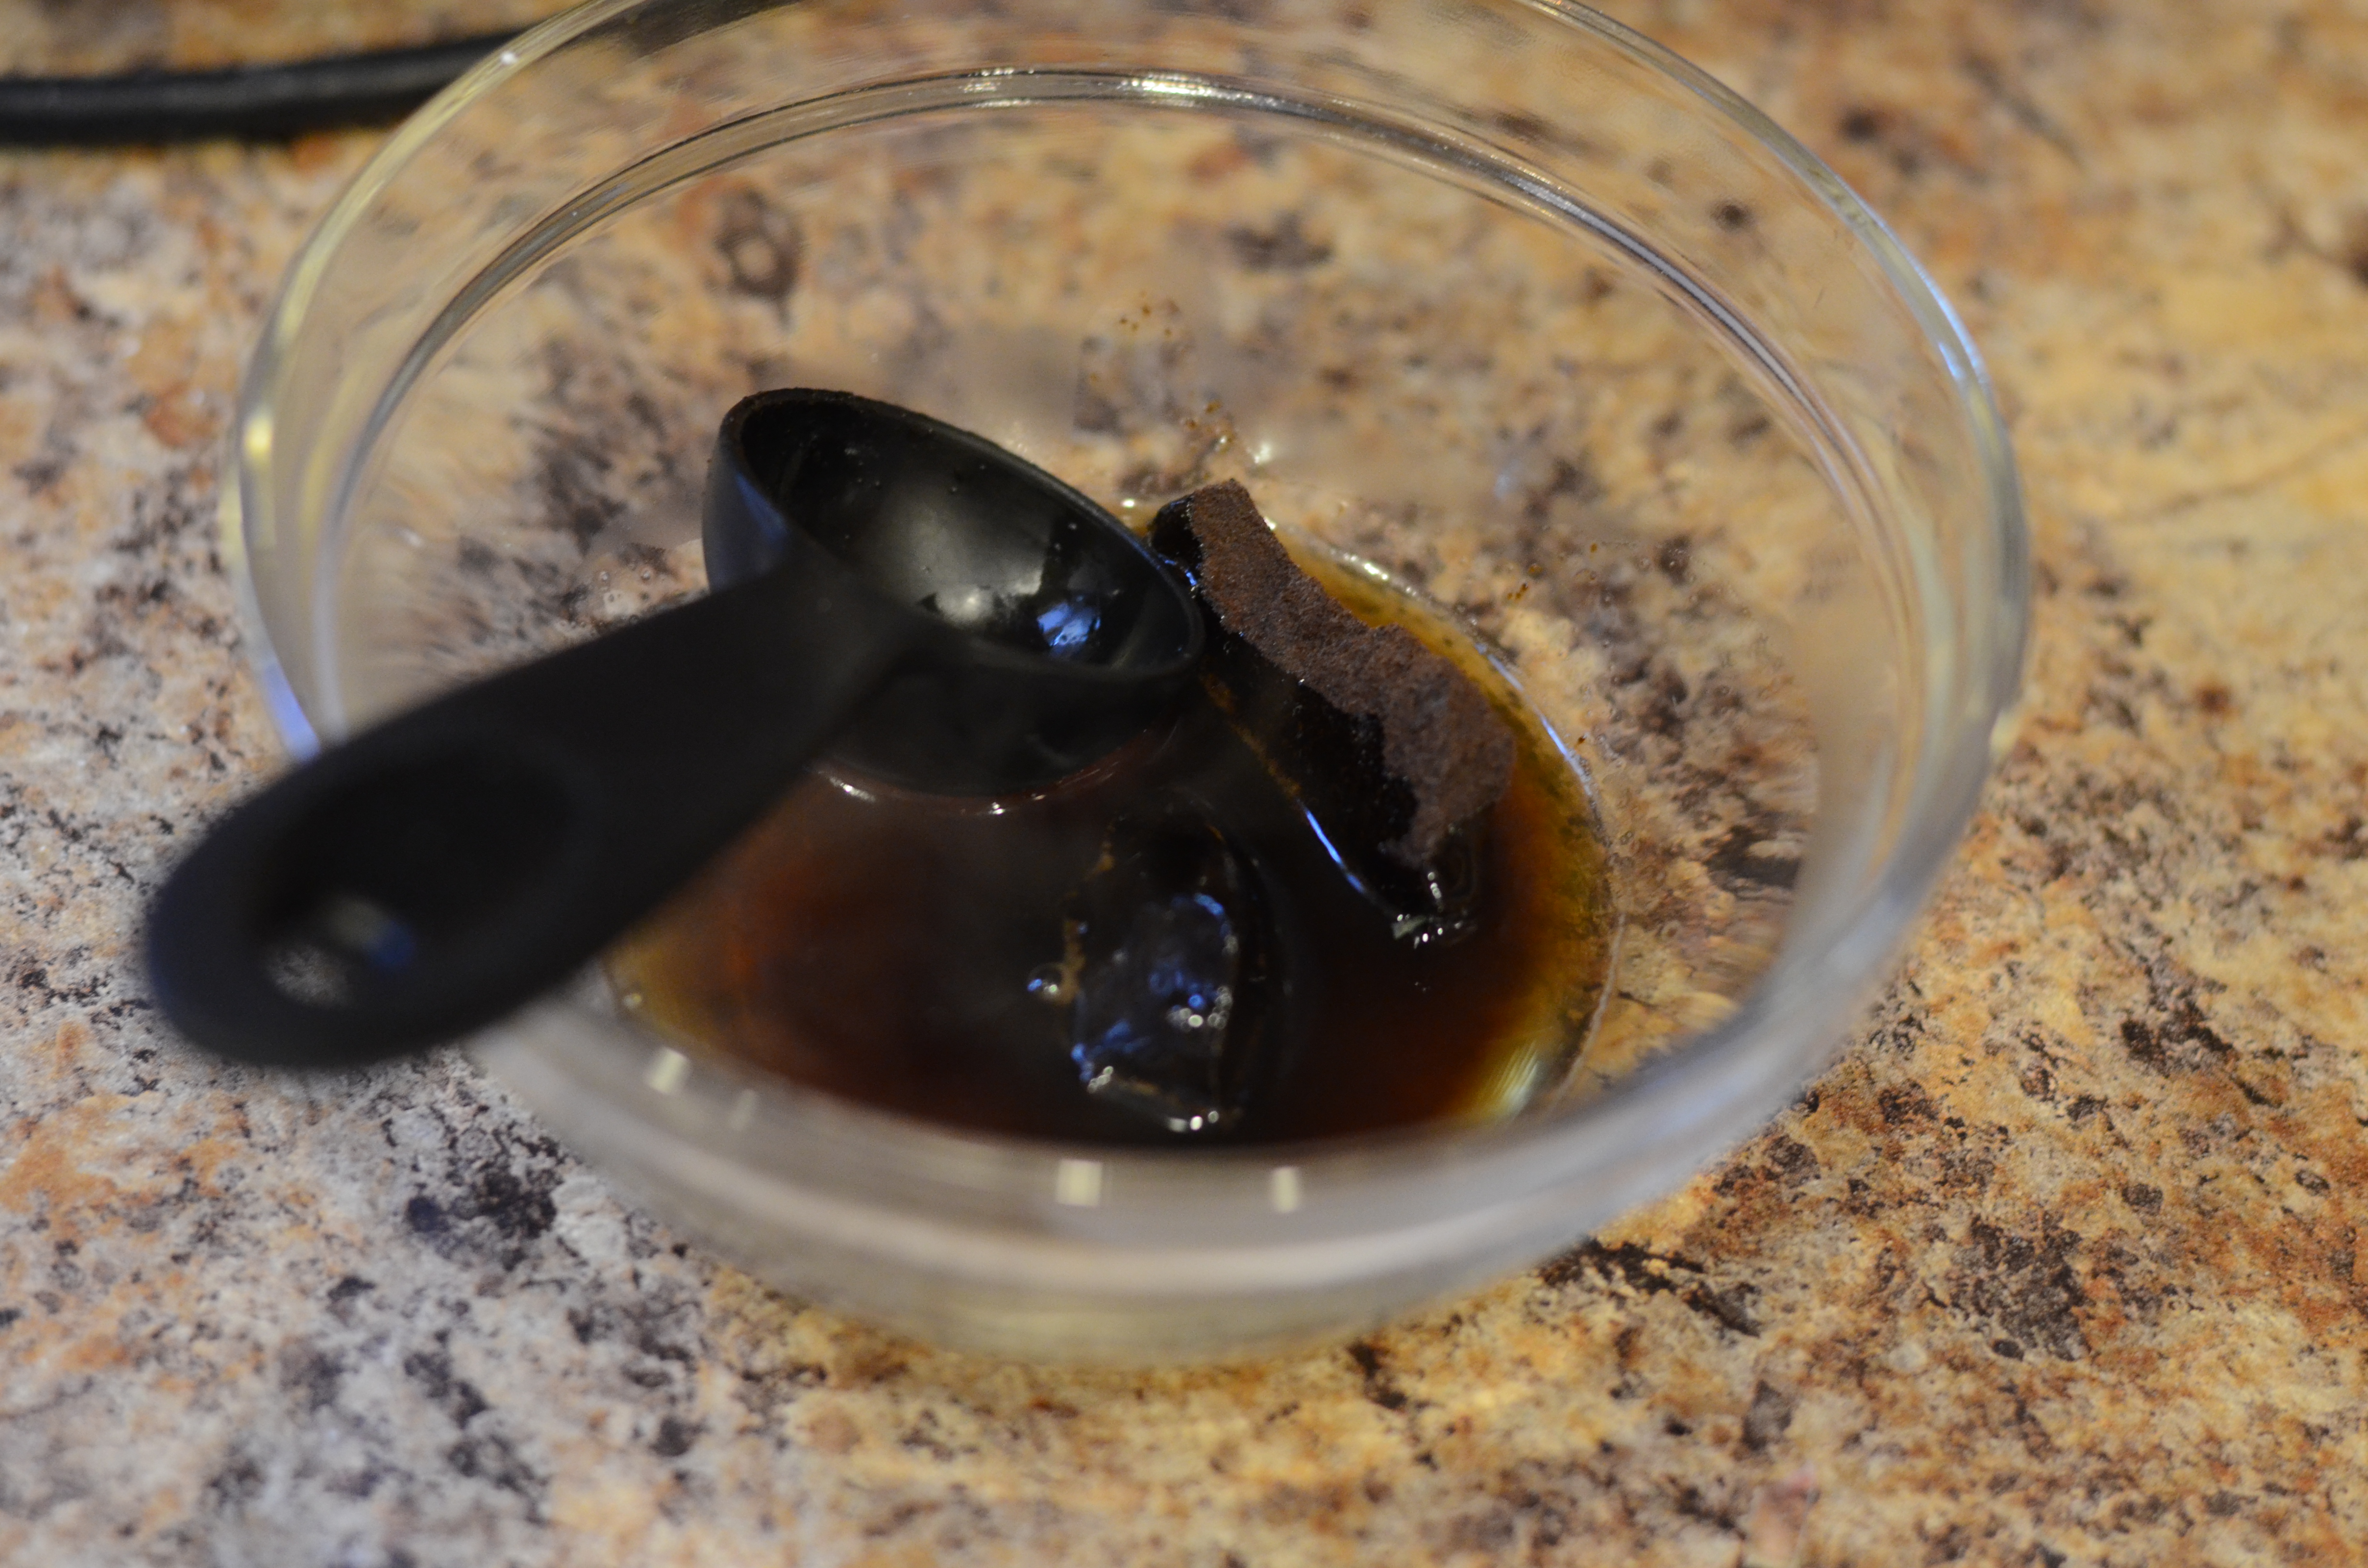
2 teaspoons espresso powder
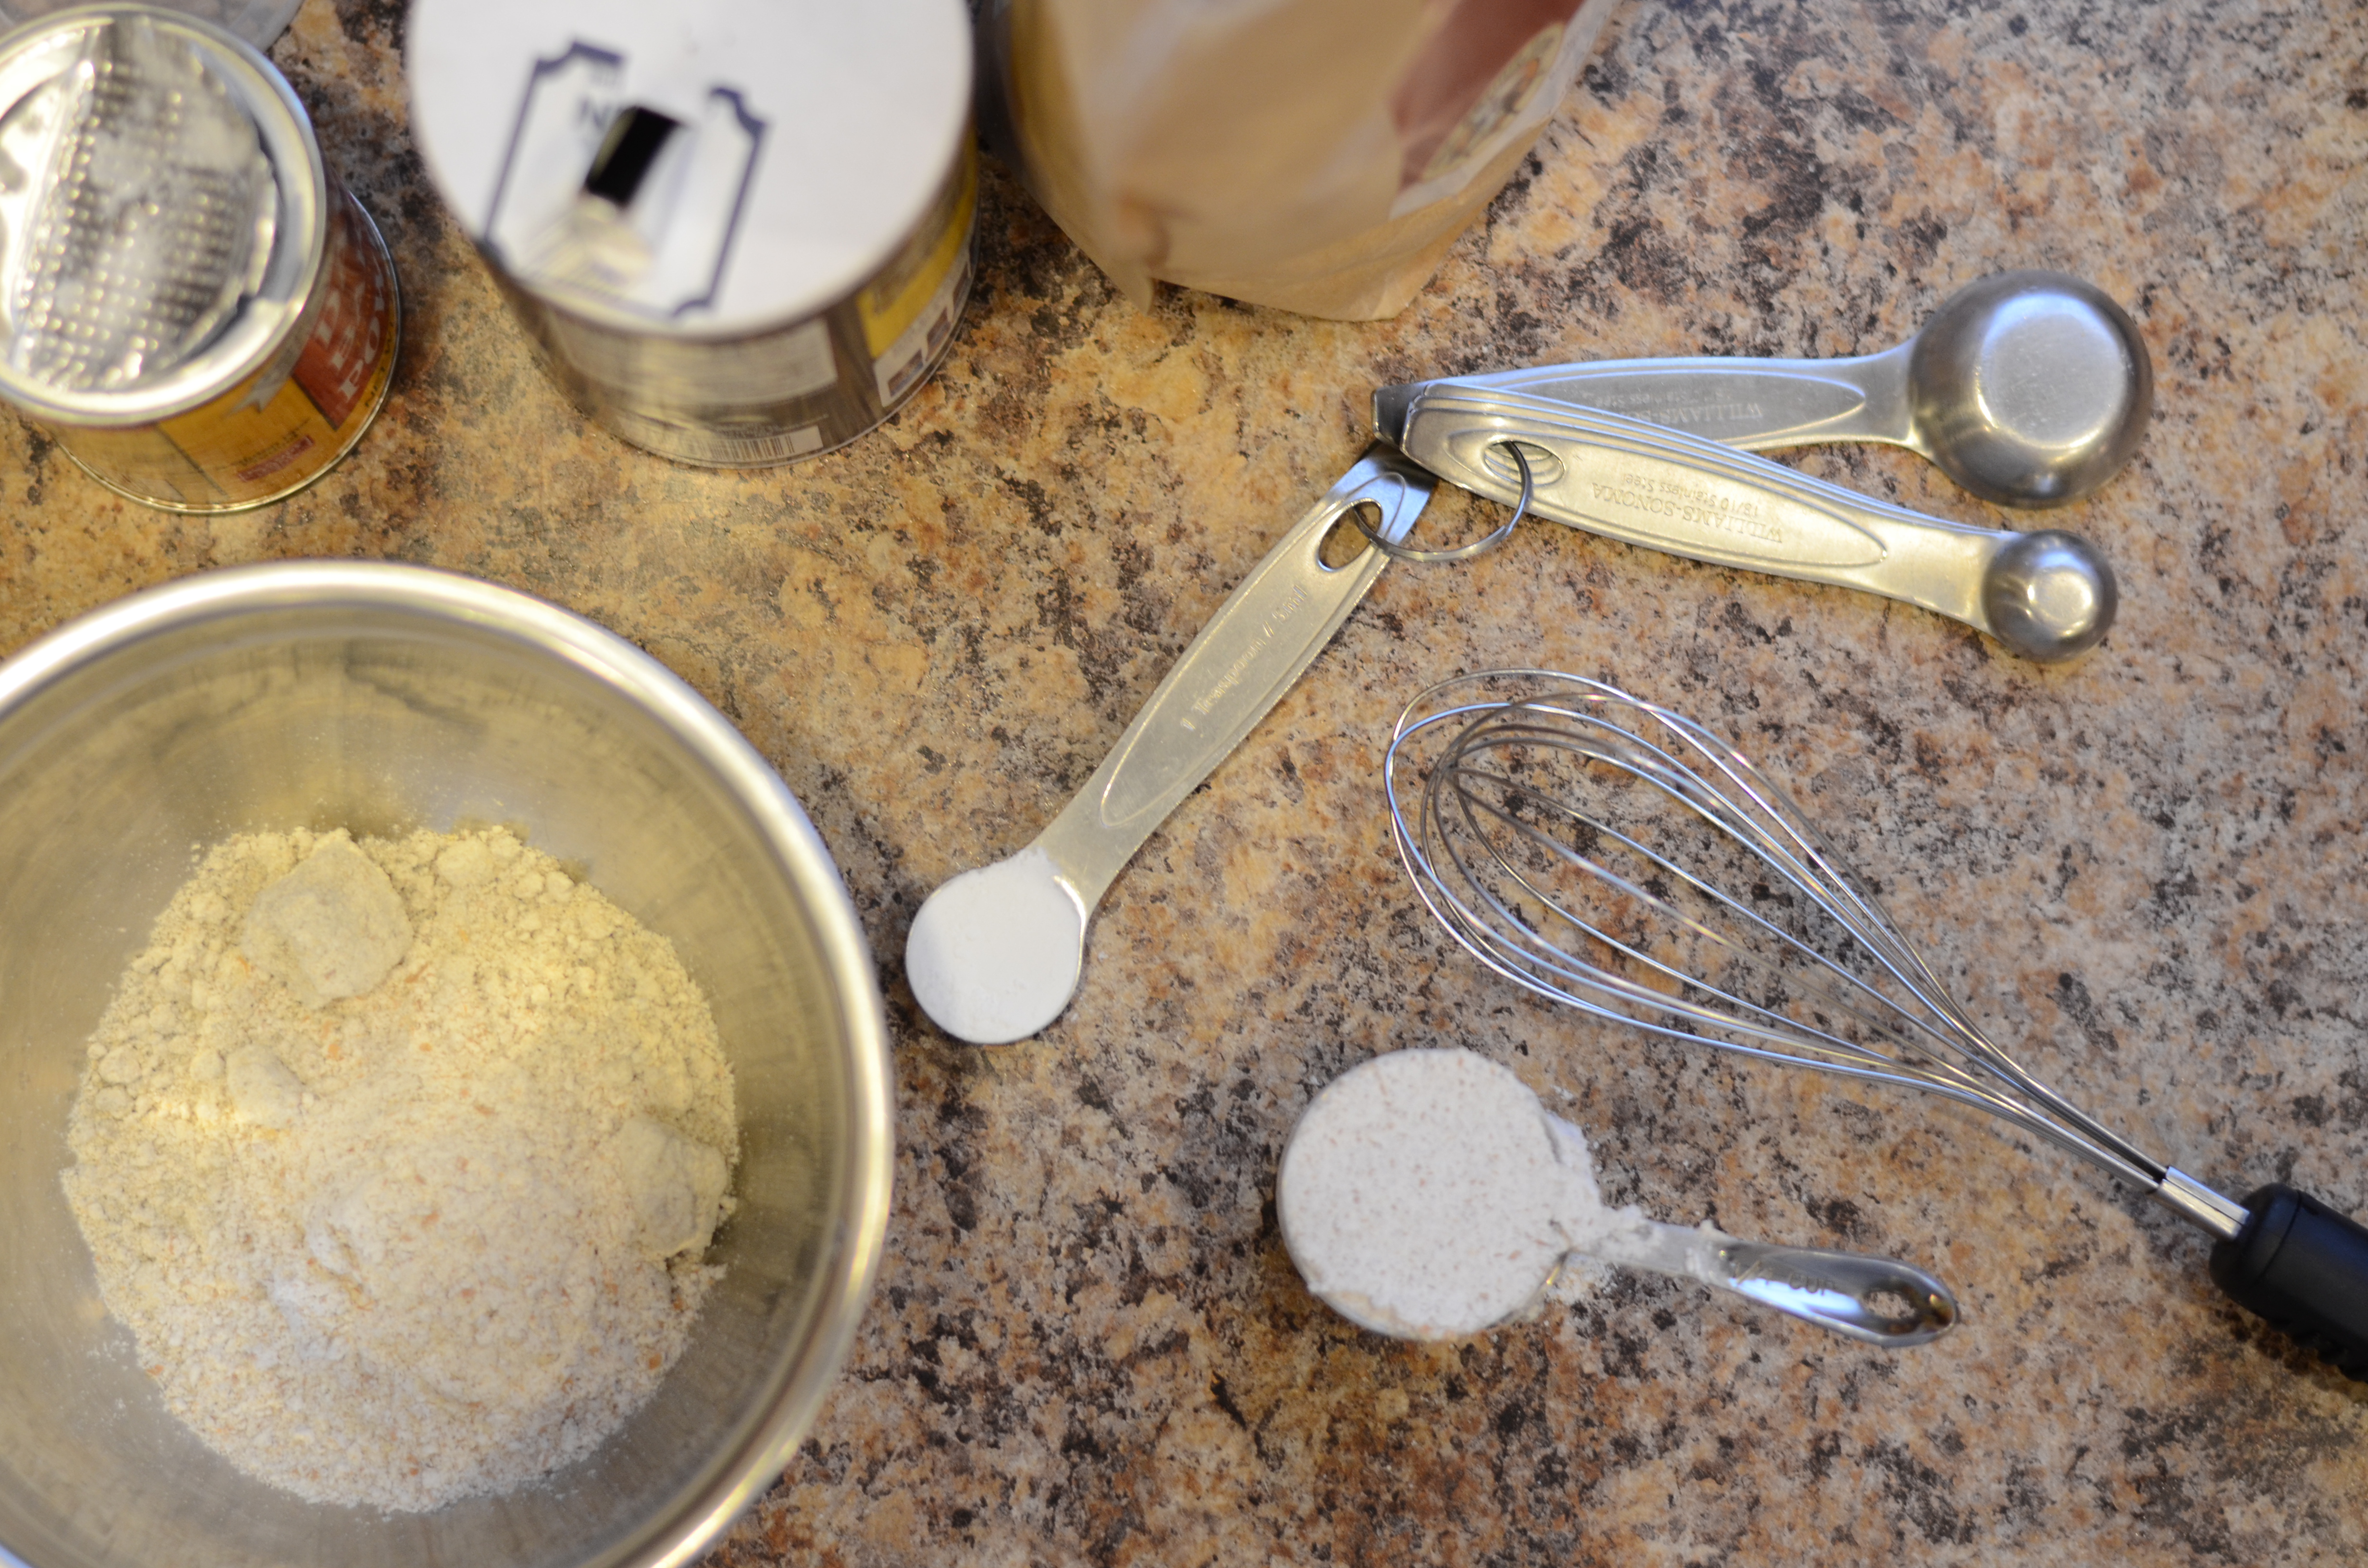
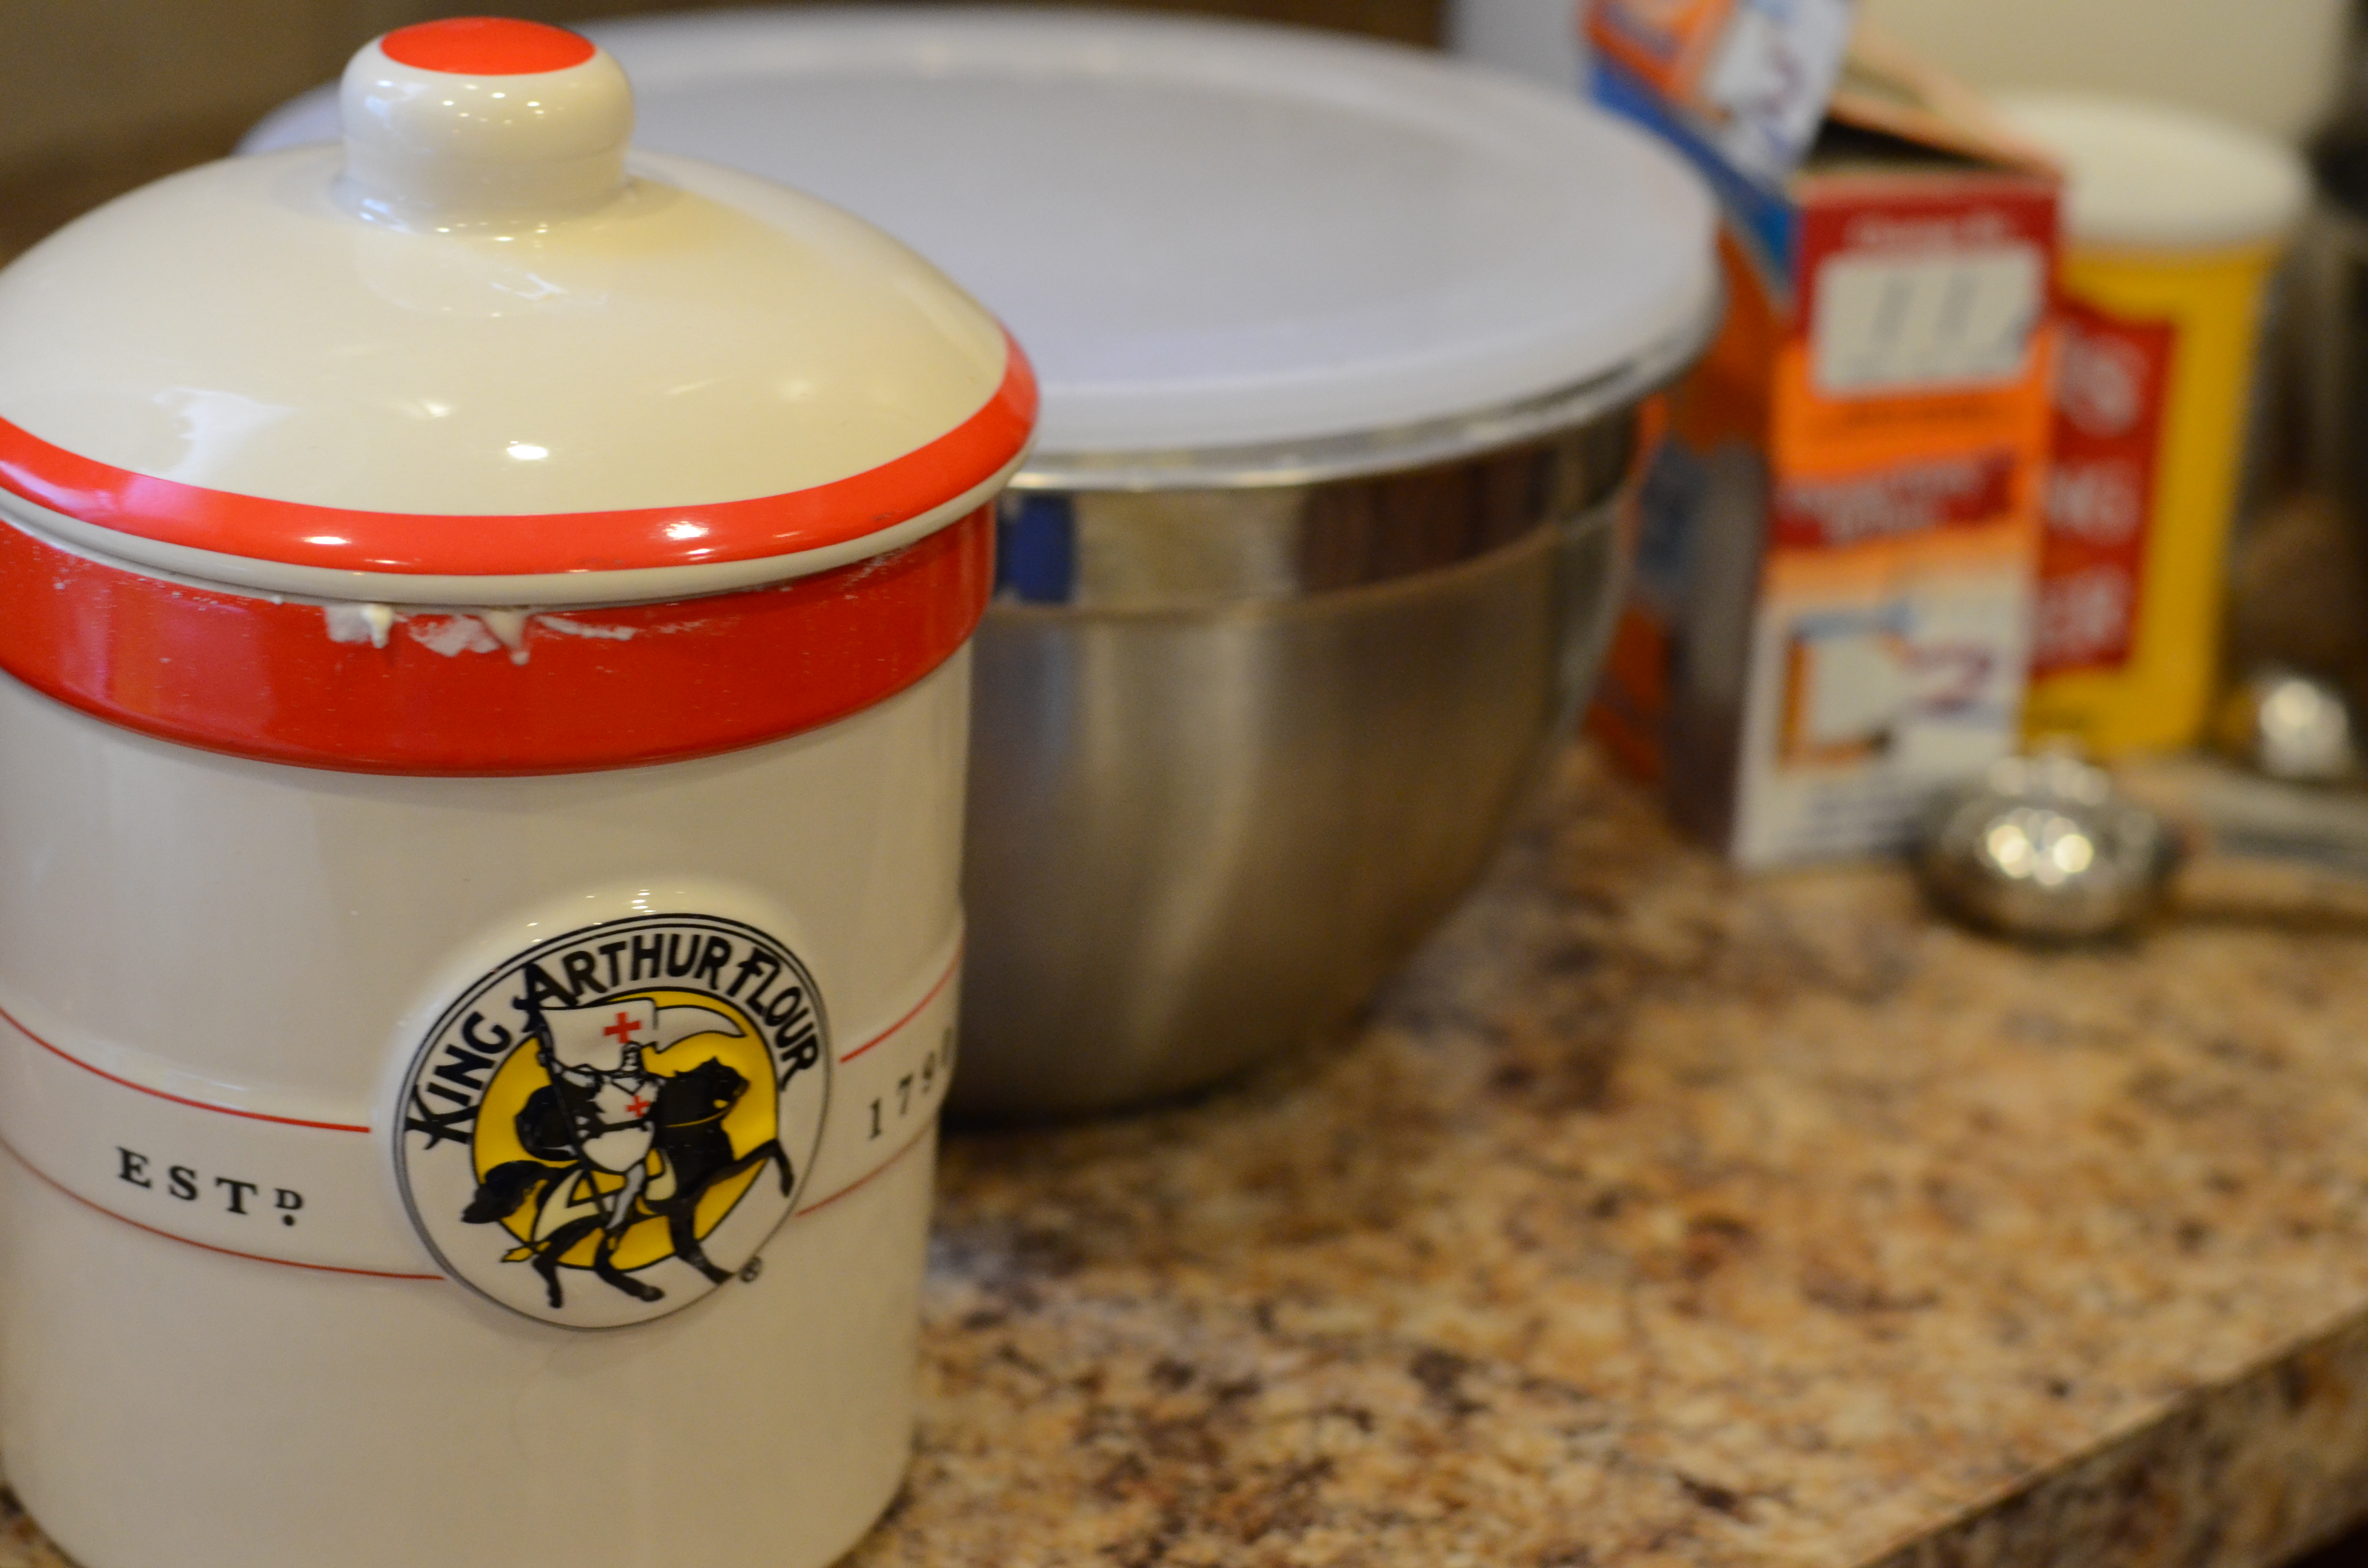
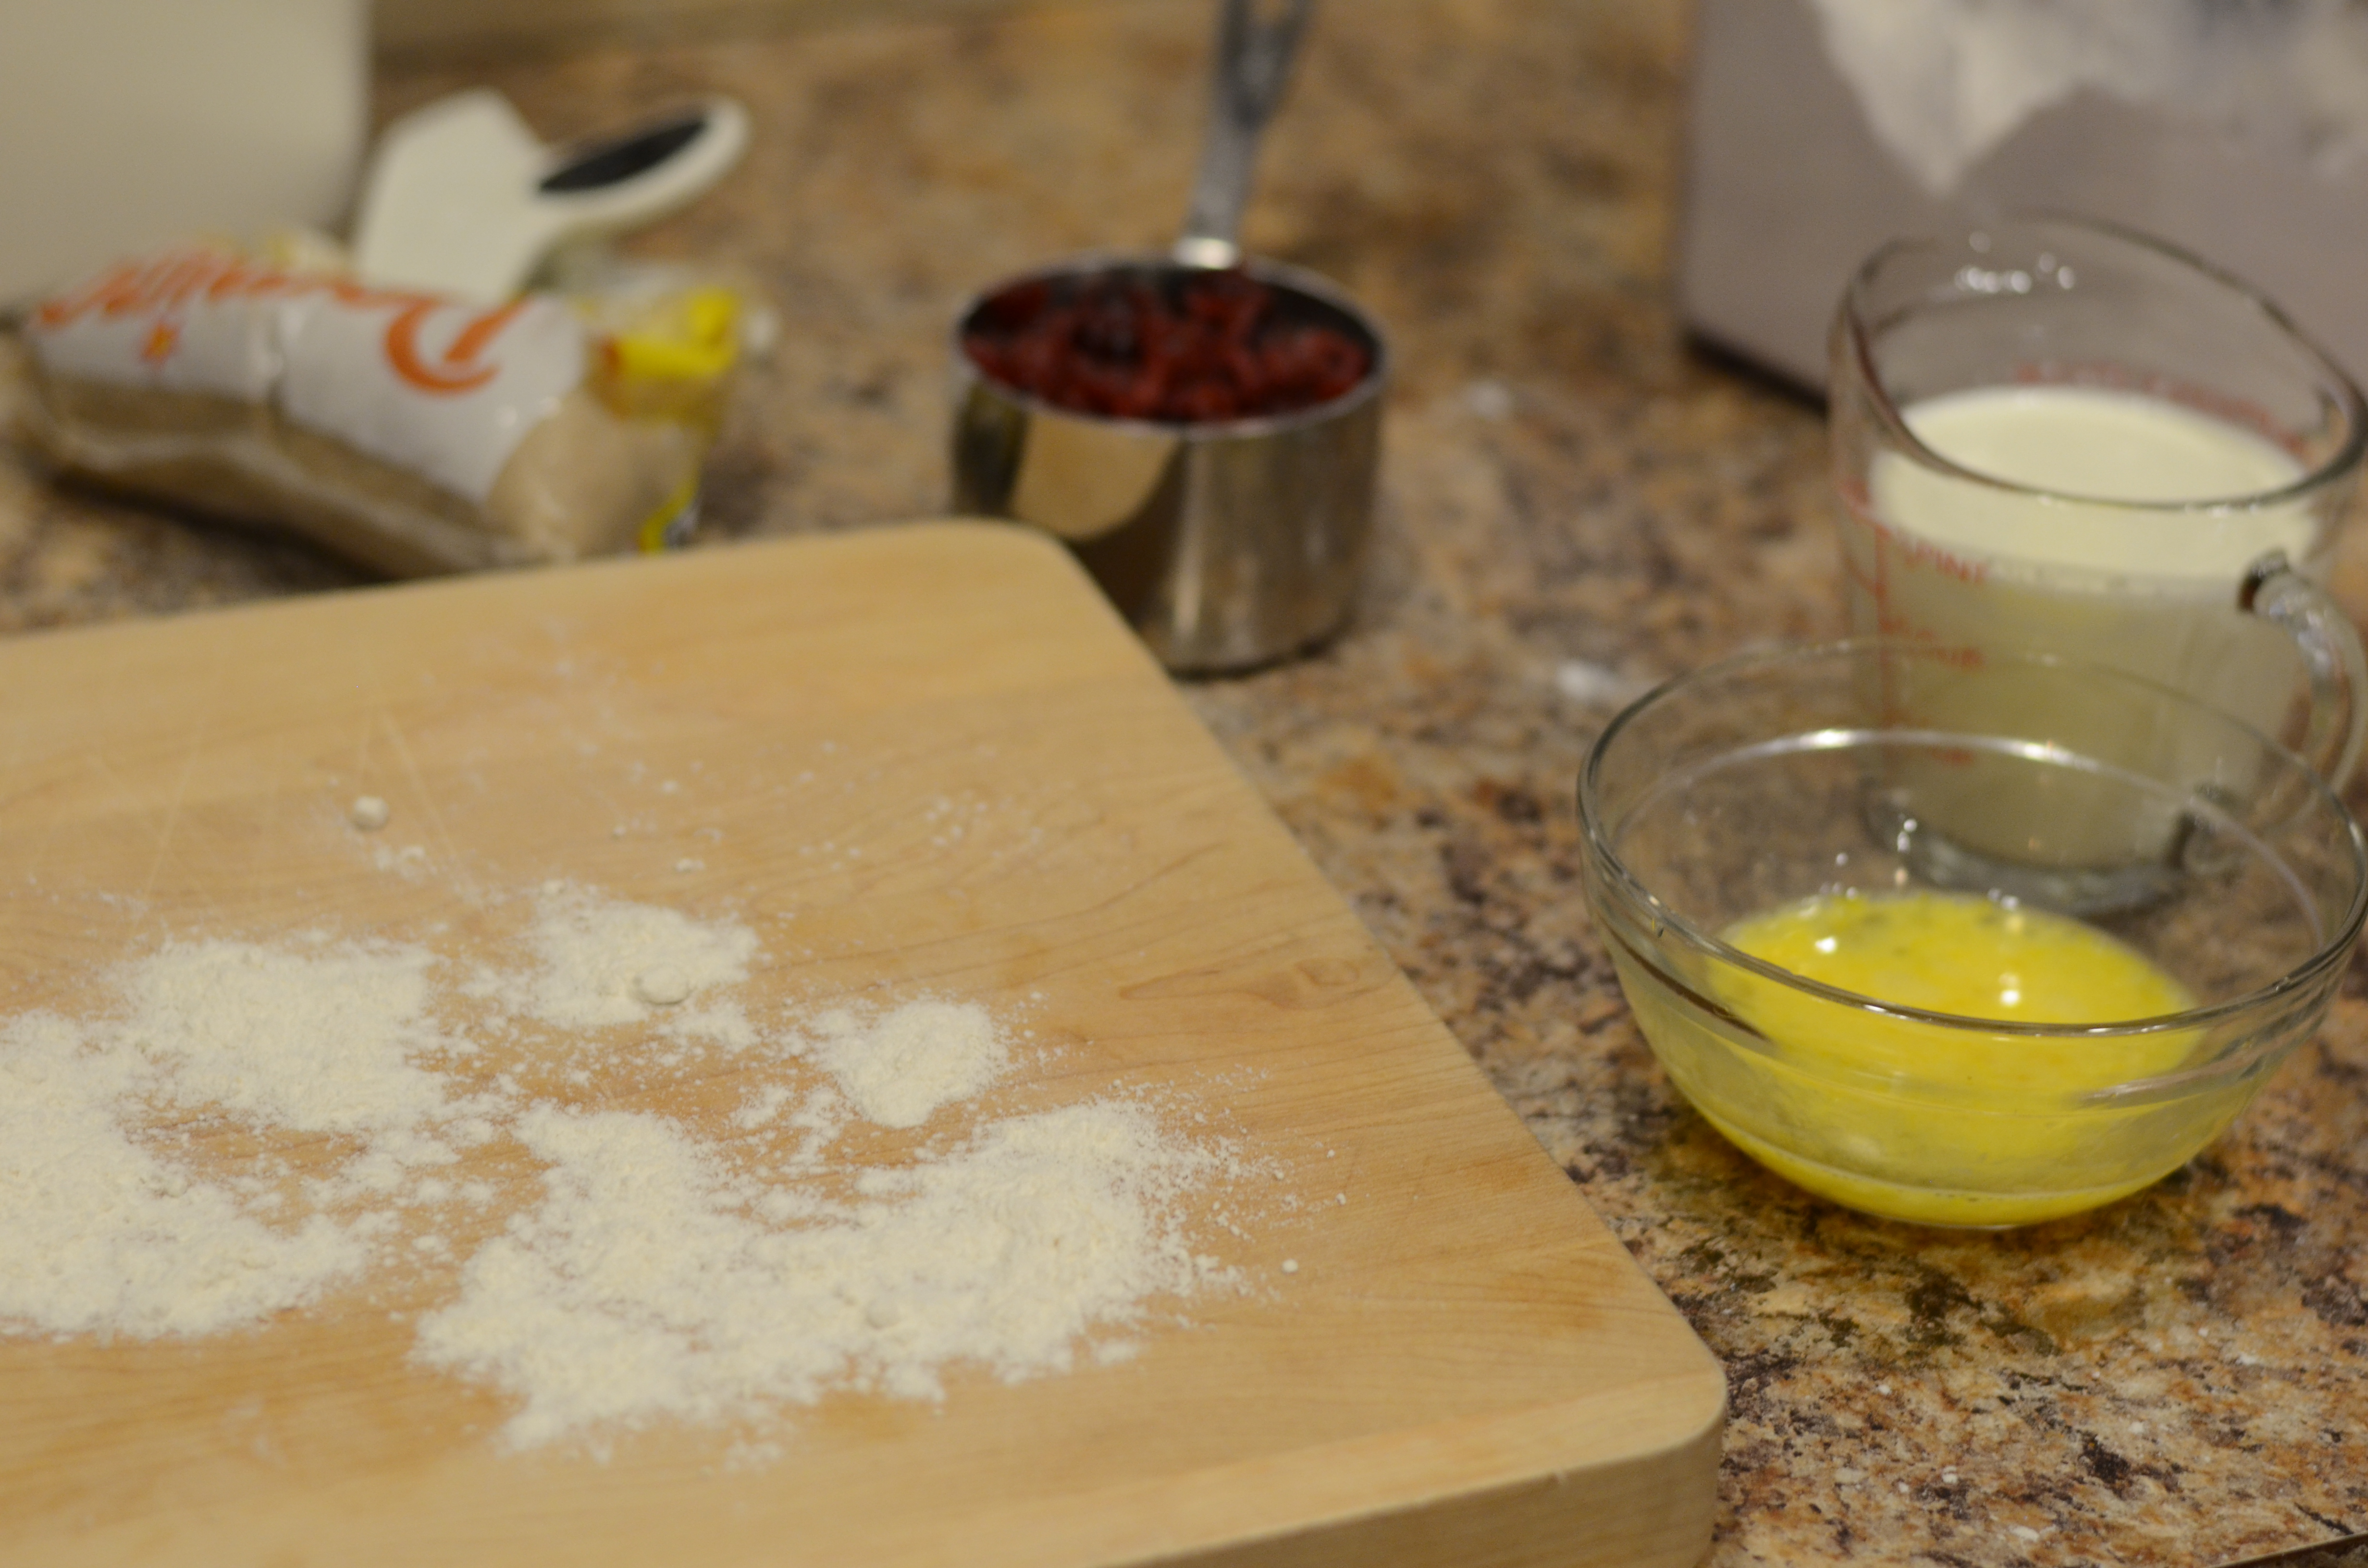
3/4 Cup All-purpose flour
Set your oven to preheat to 350 degrees F. Grease an 8 inch square baking pan and set aside.
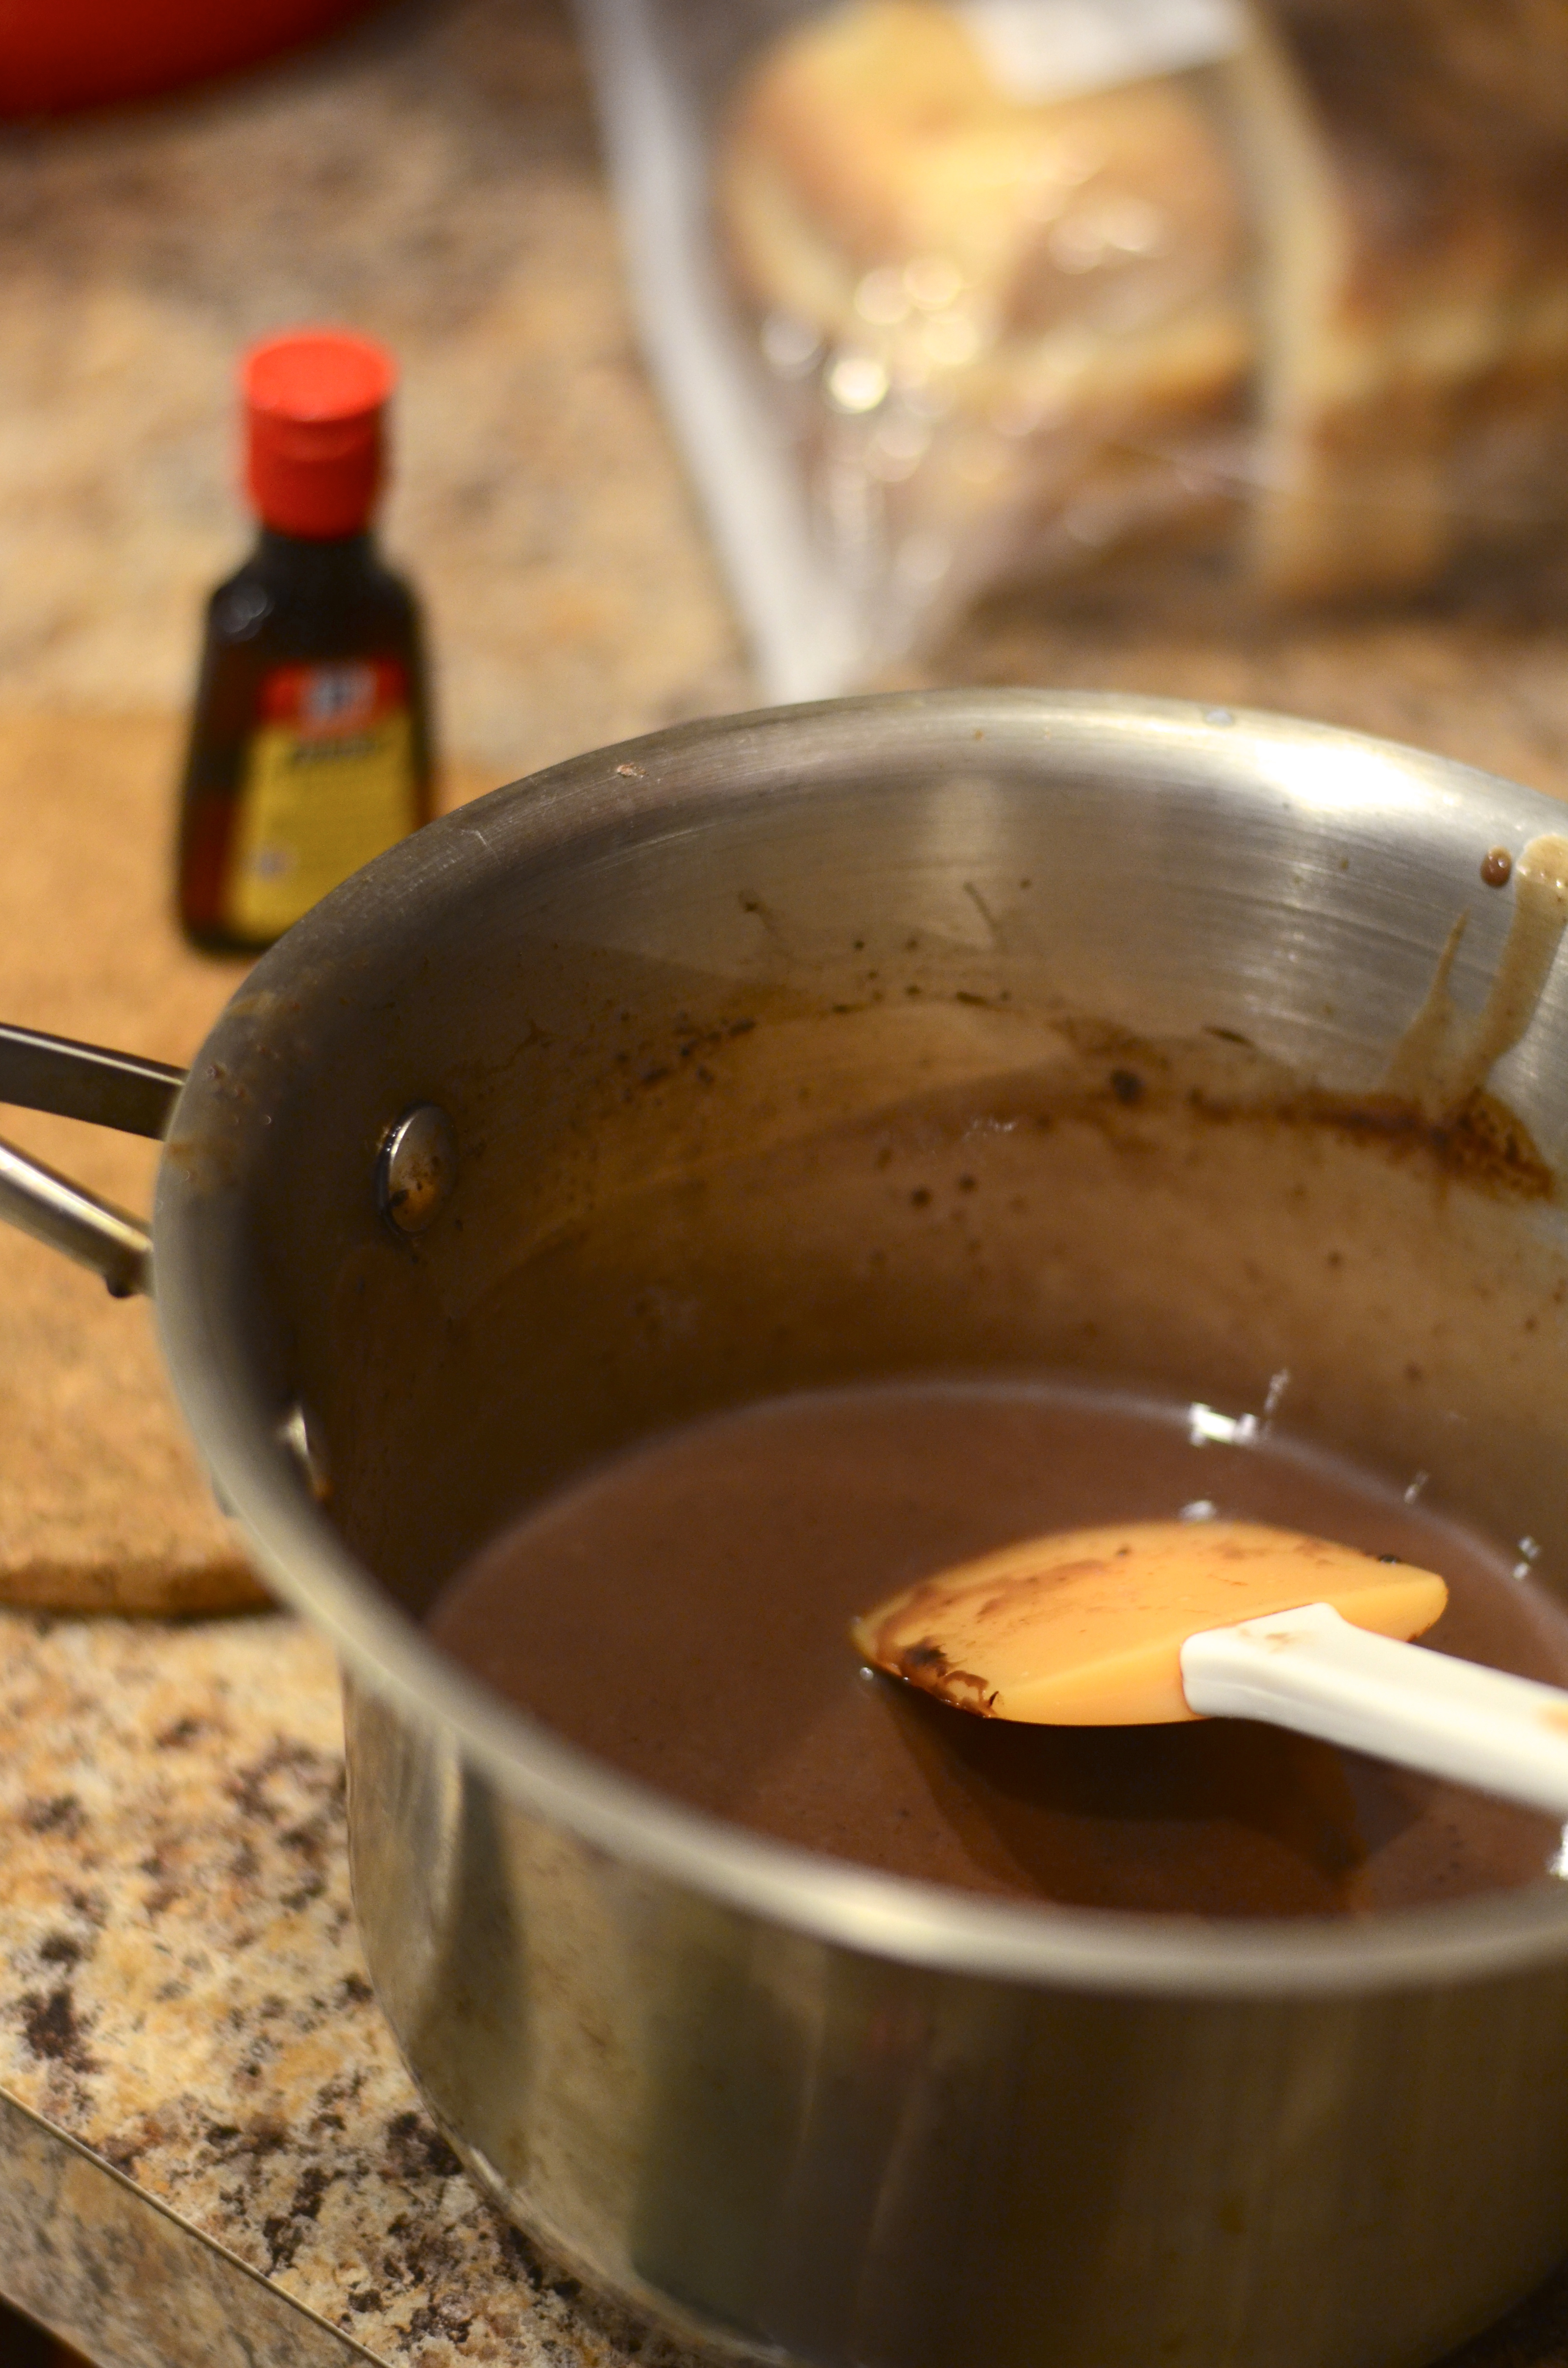
Melt 3 ounces of the chocolate chips and 1/4 Cup coconut oil in a medium saucepan set over medium-low heat.

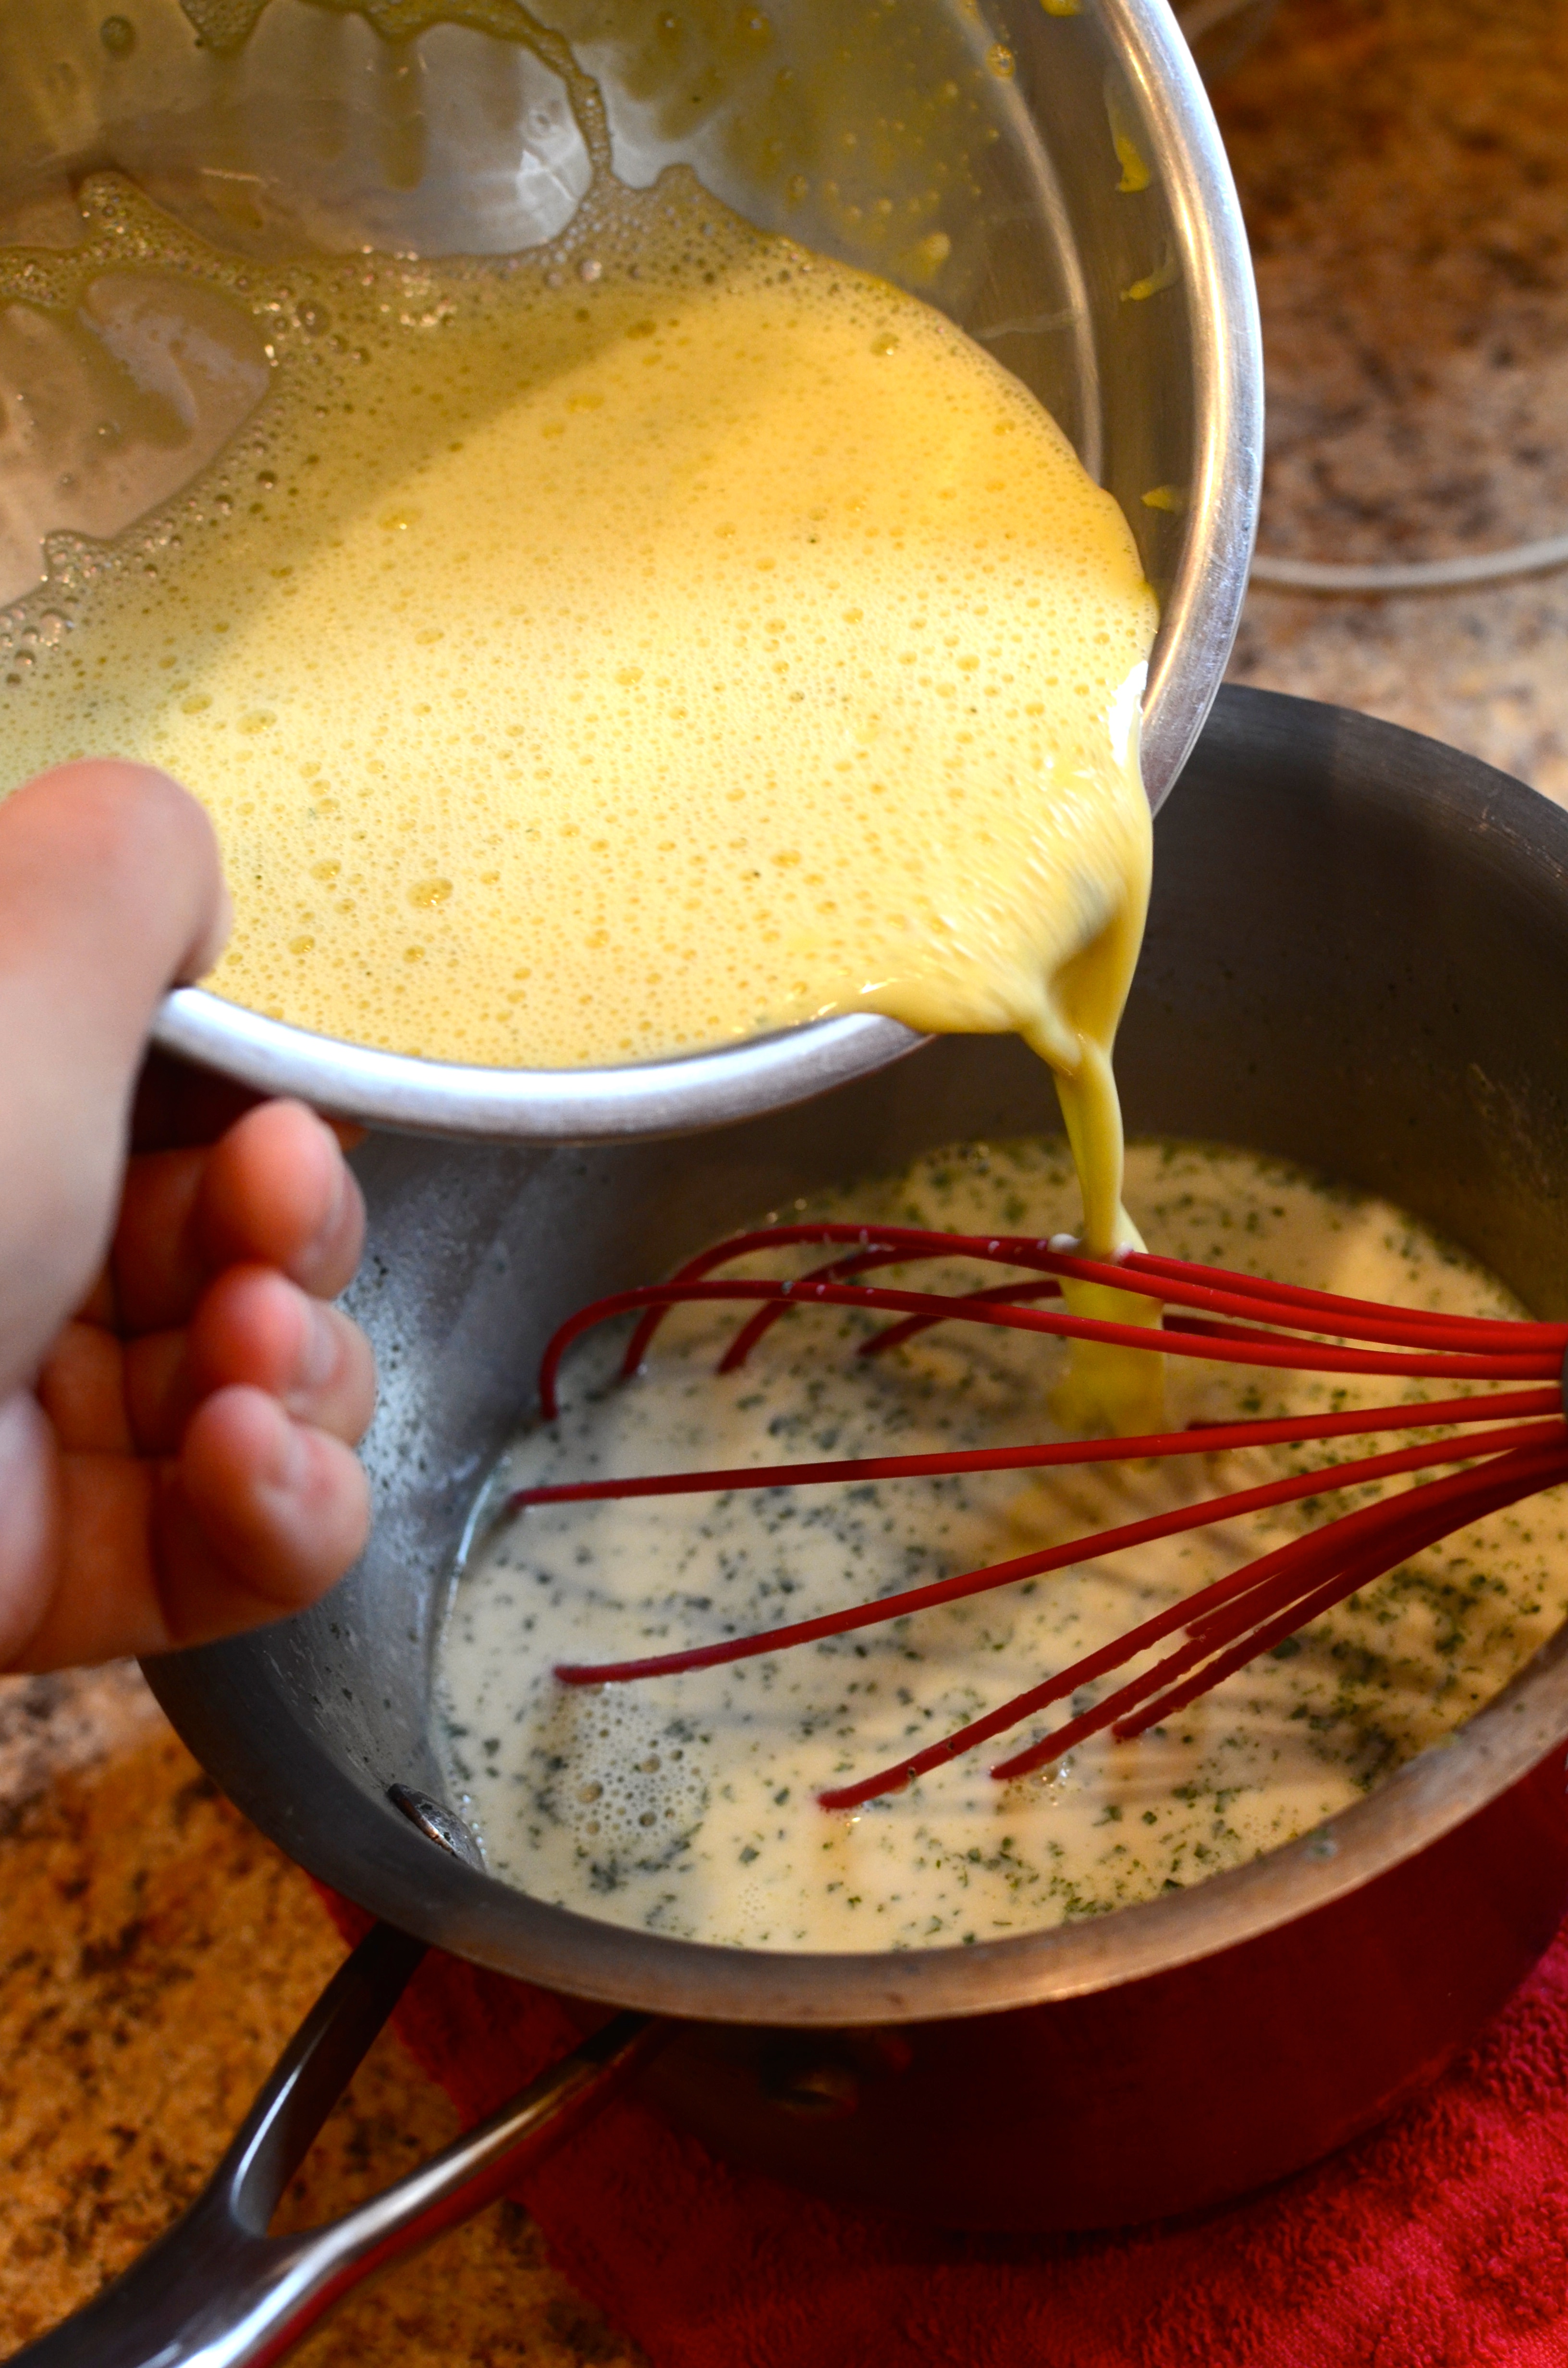
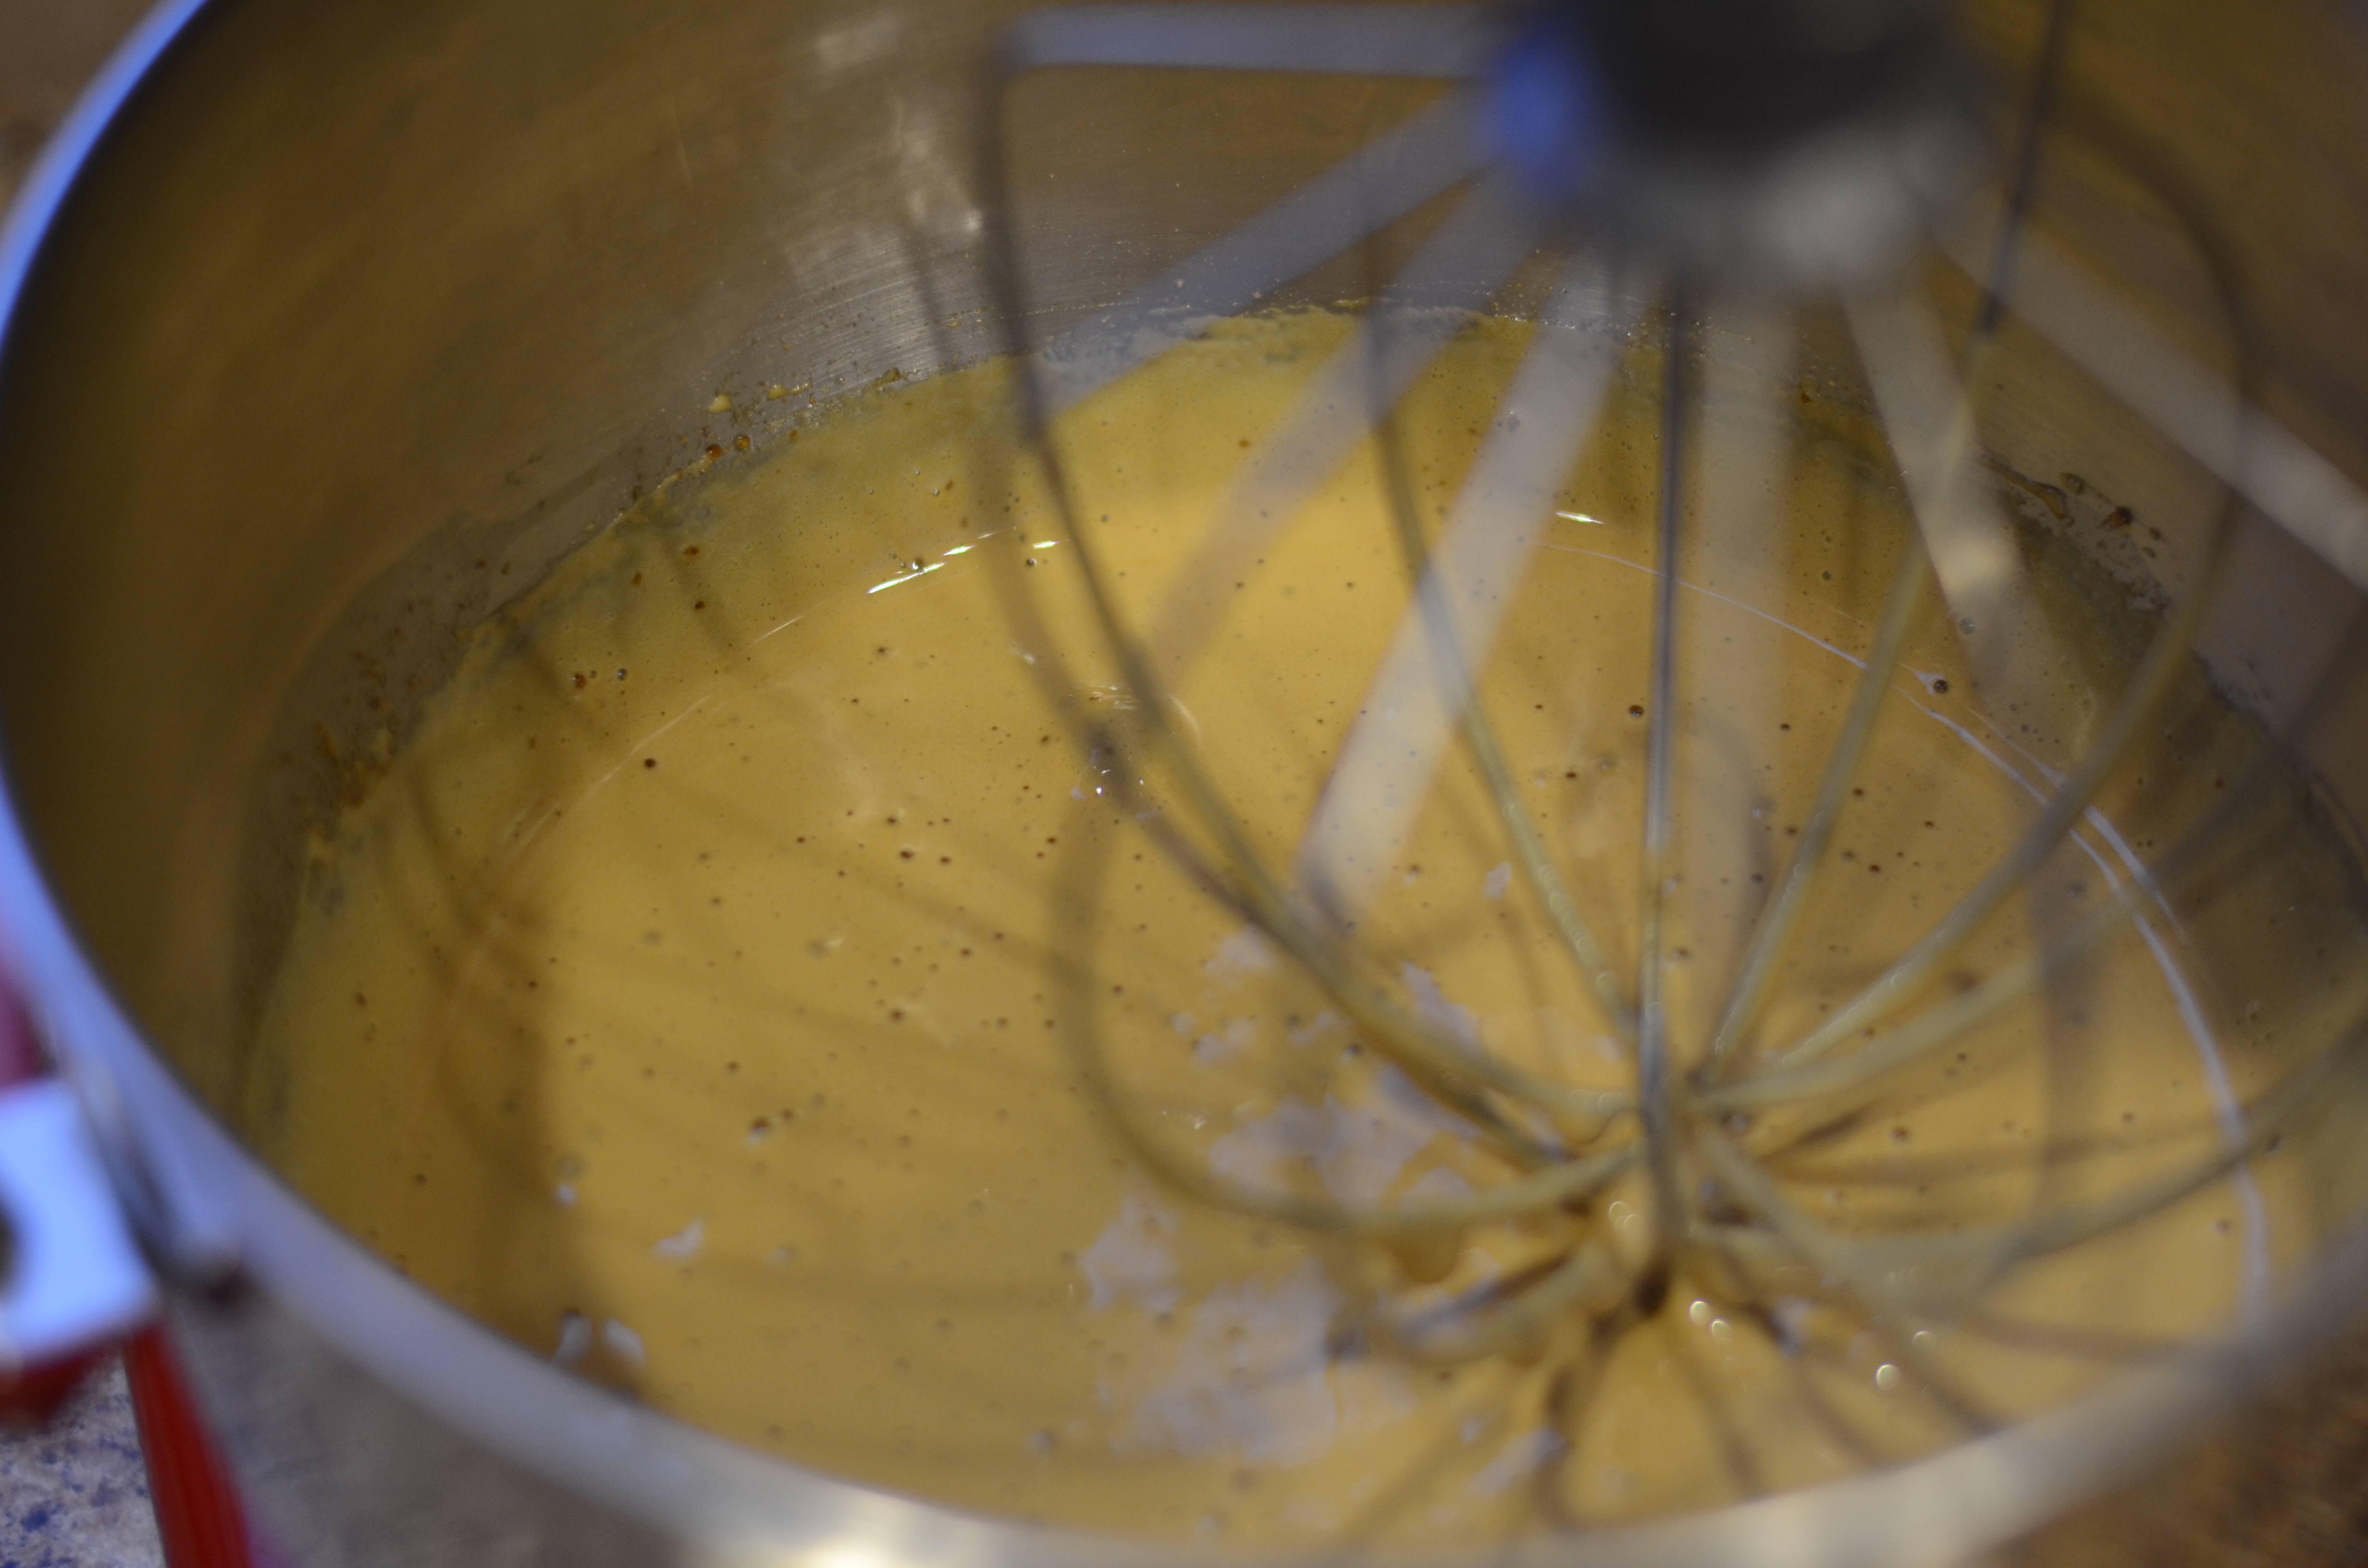
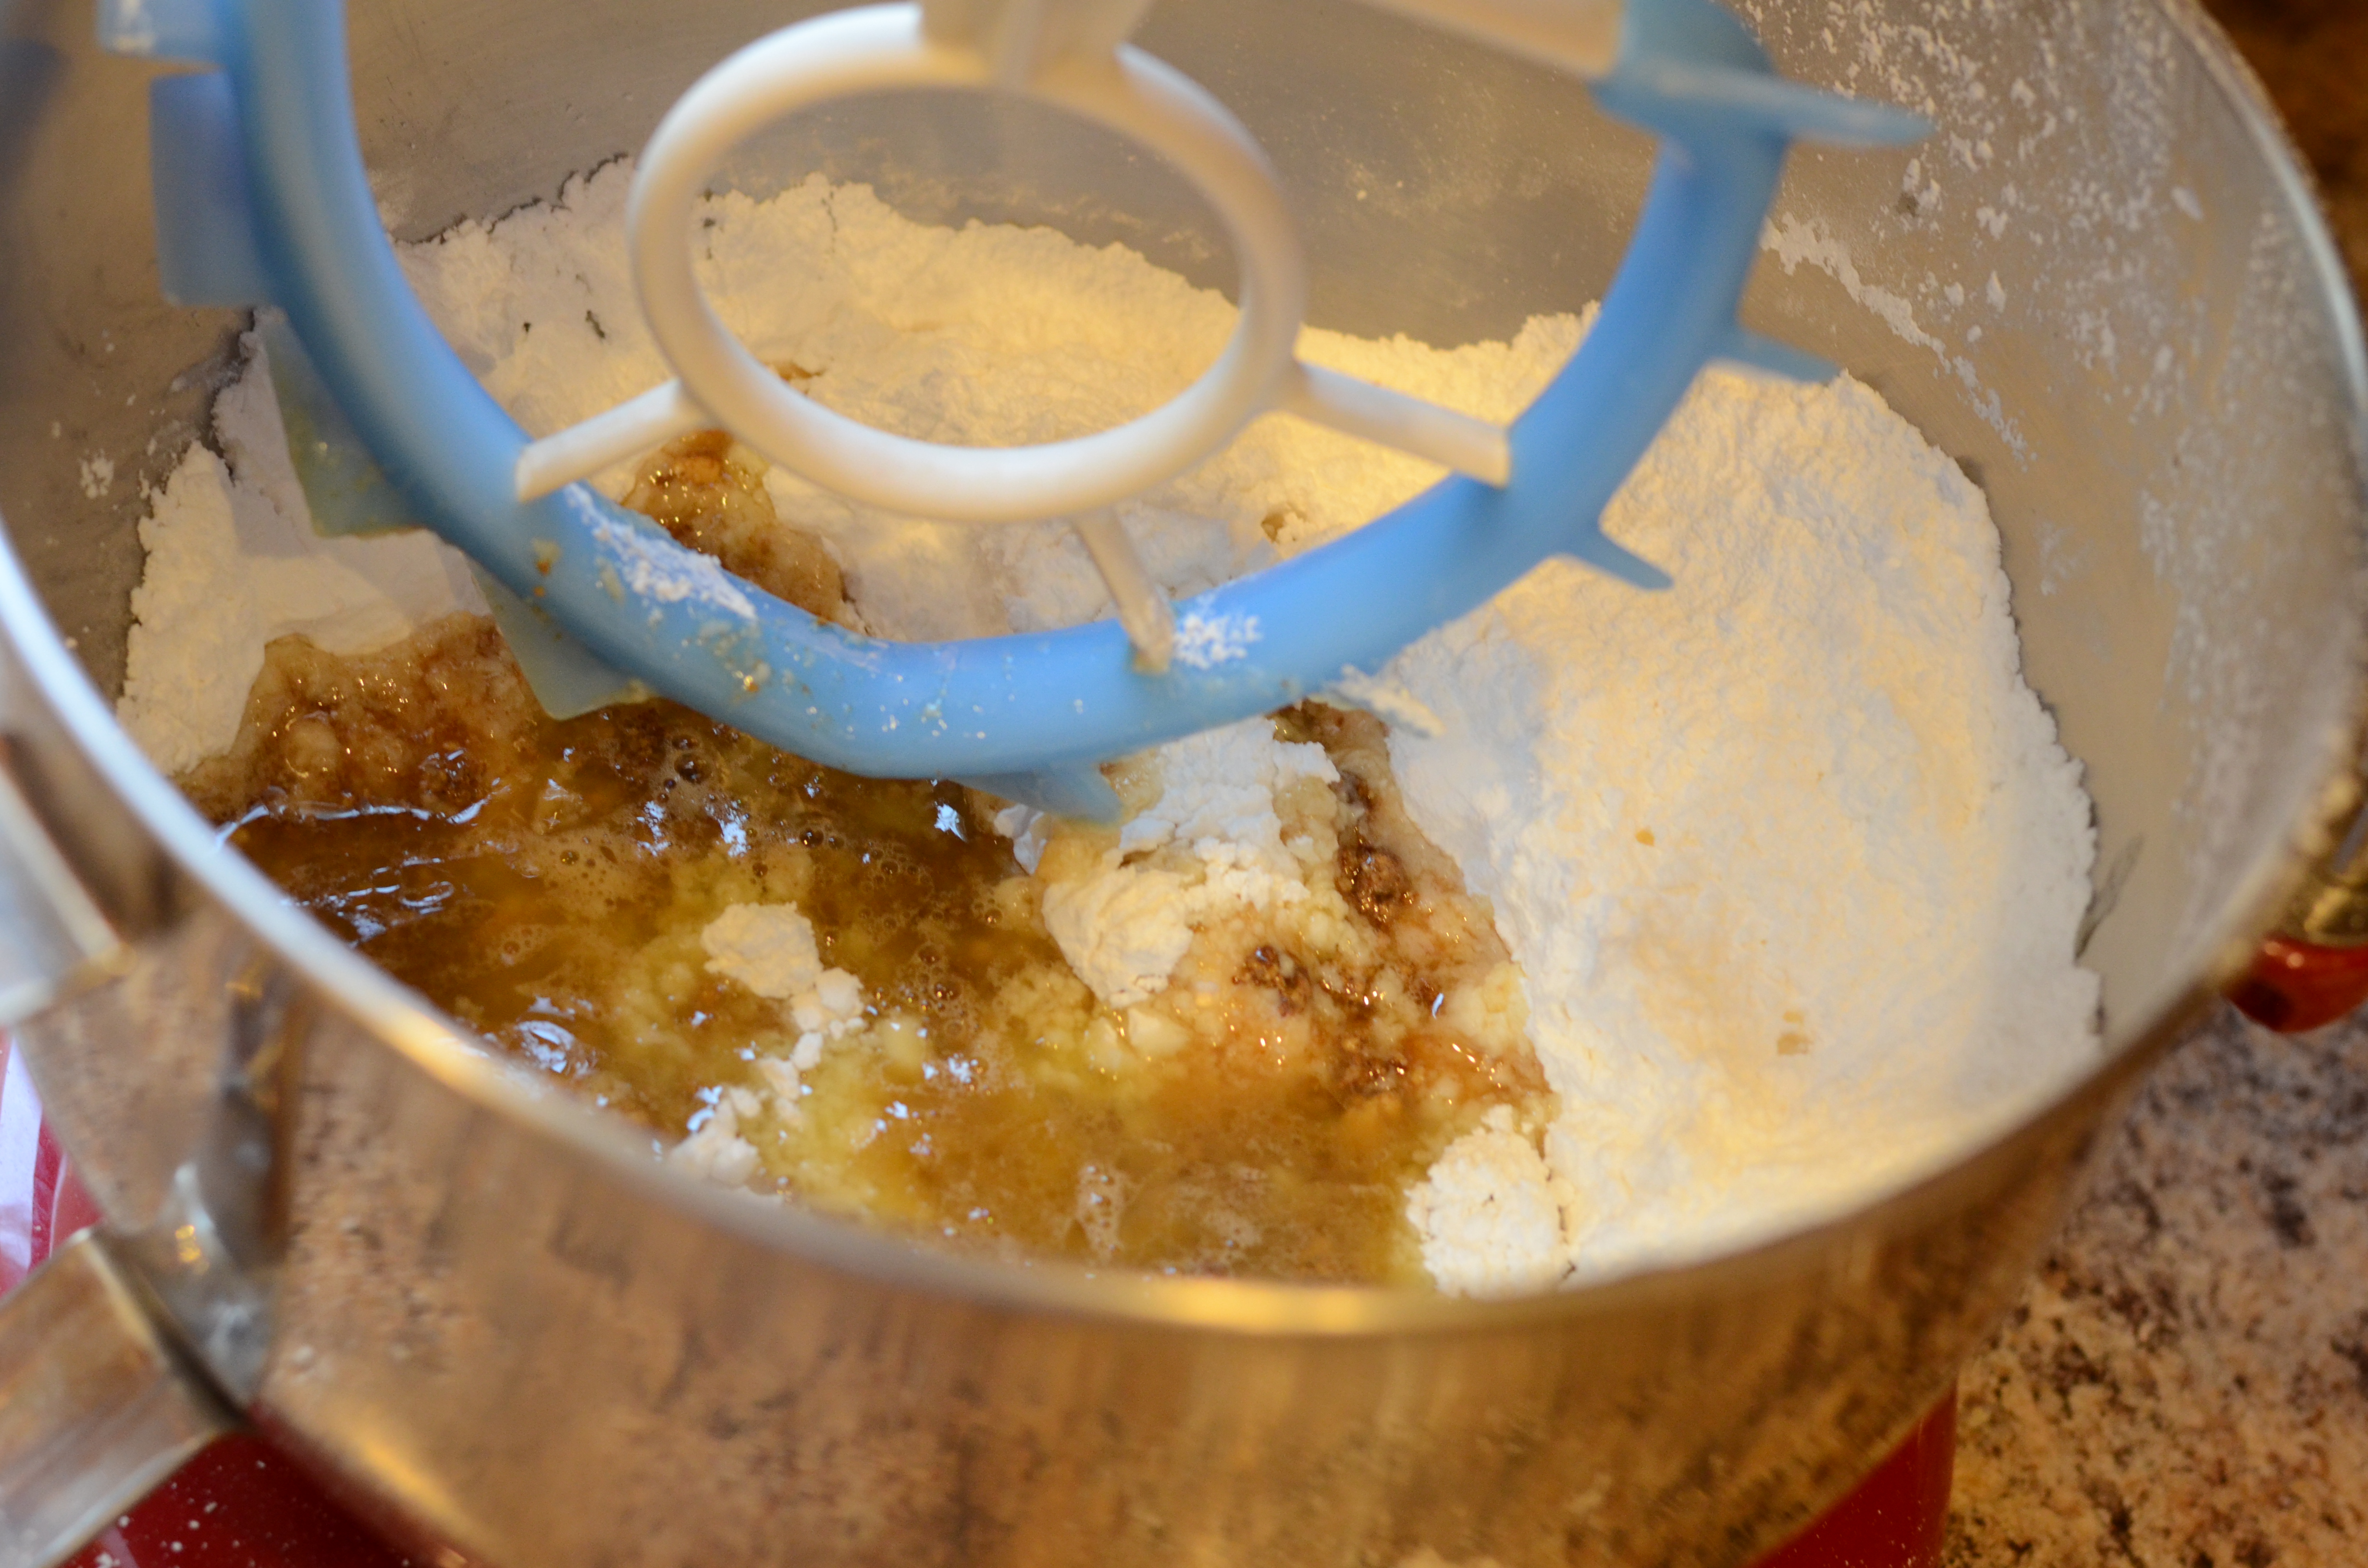
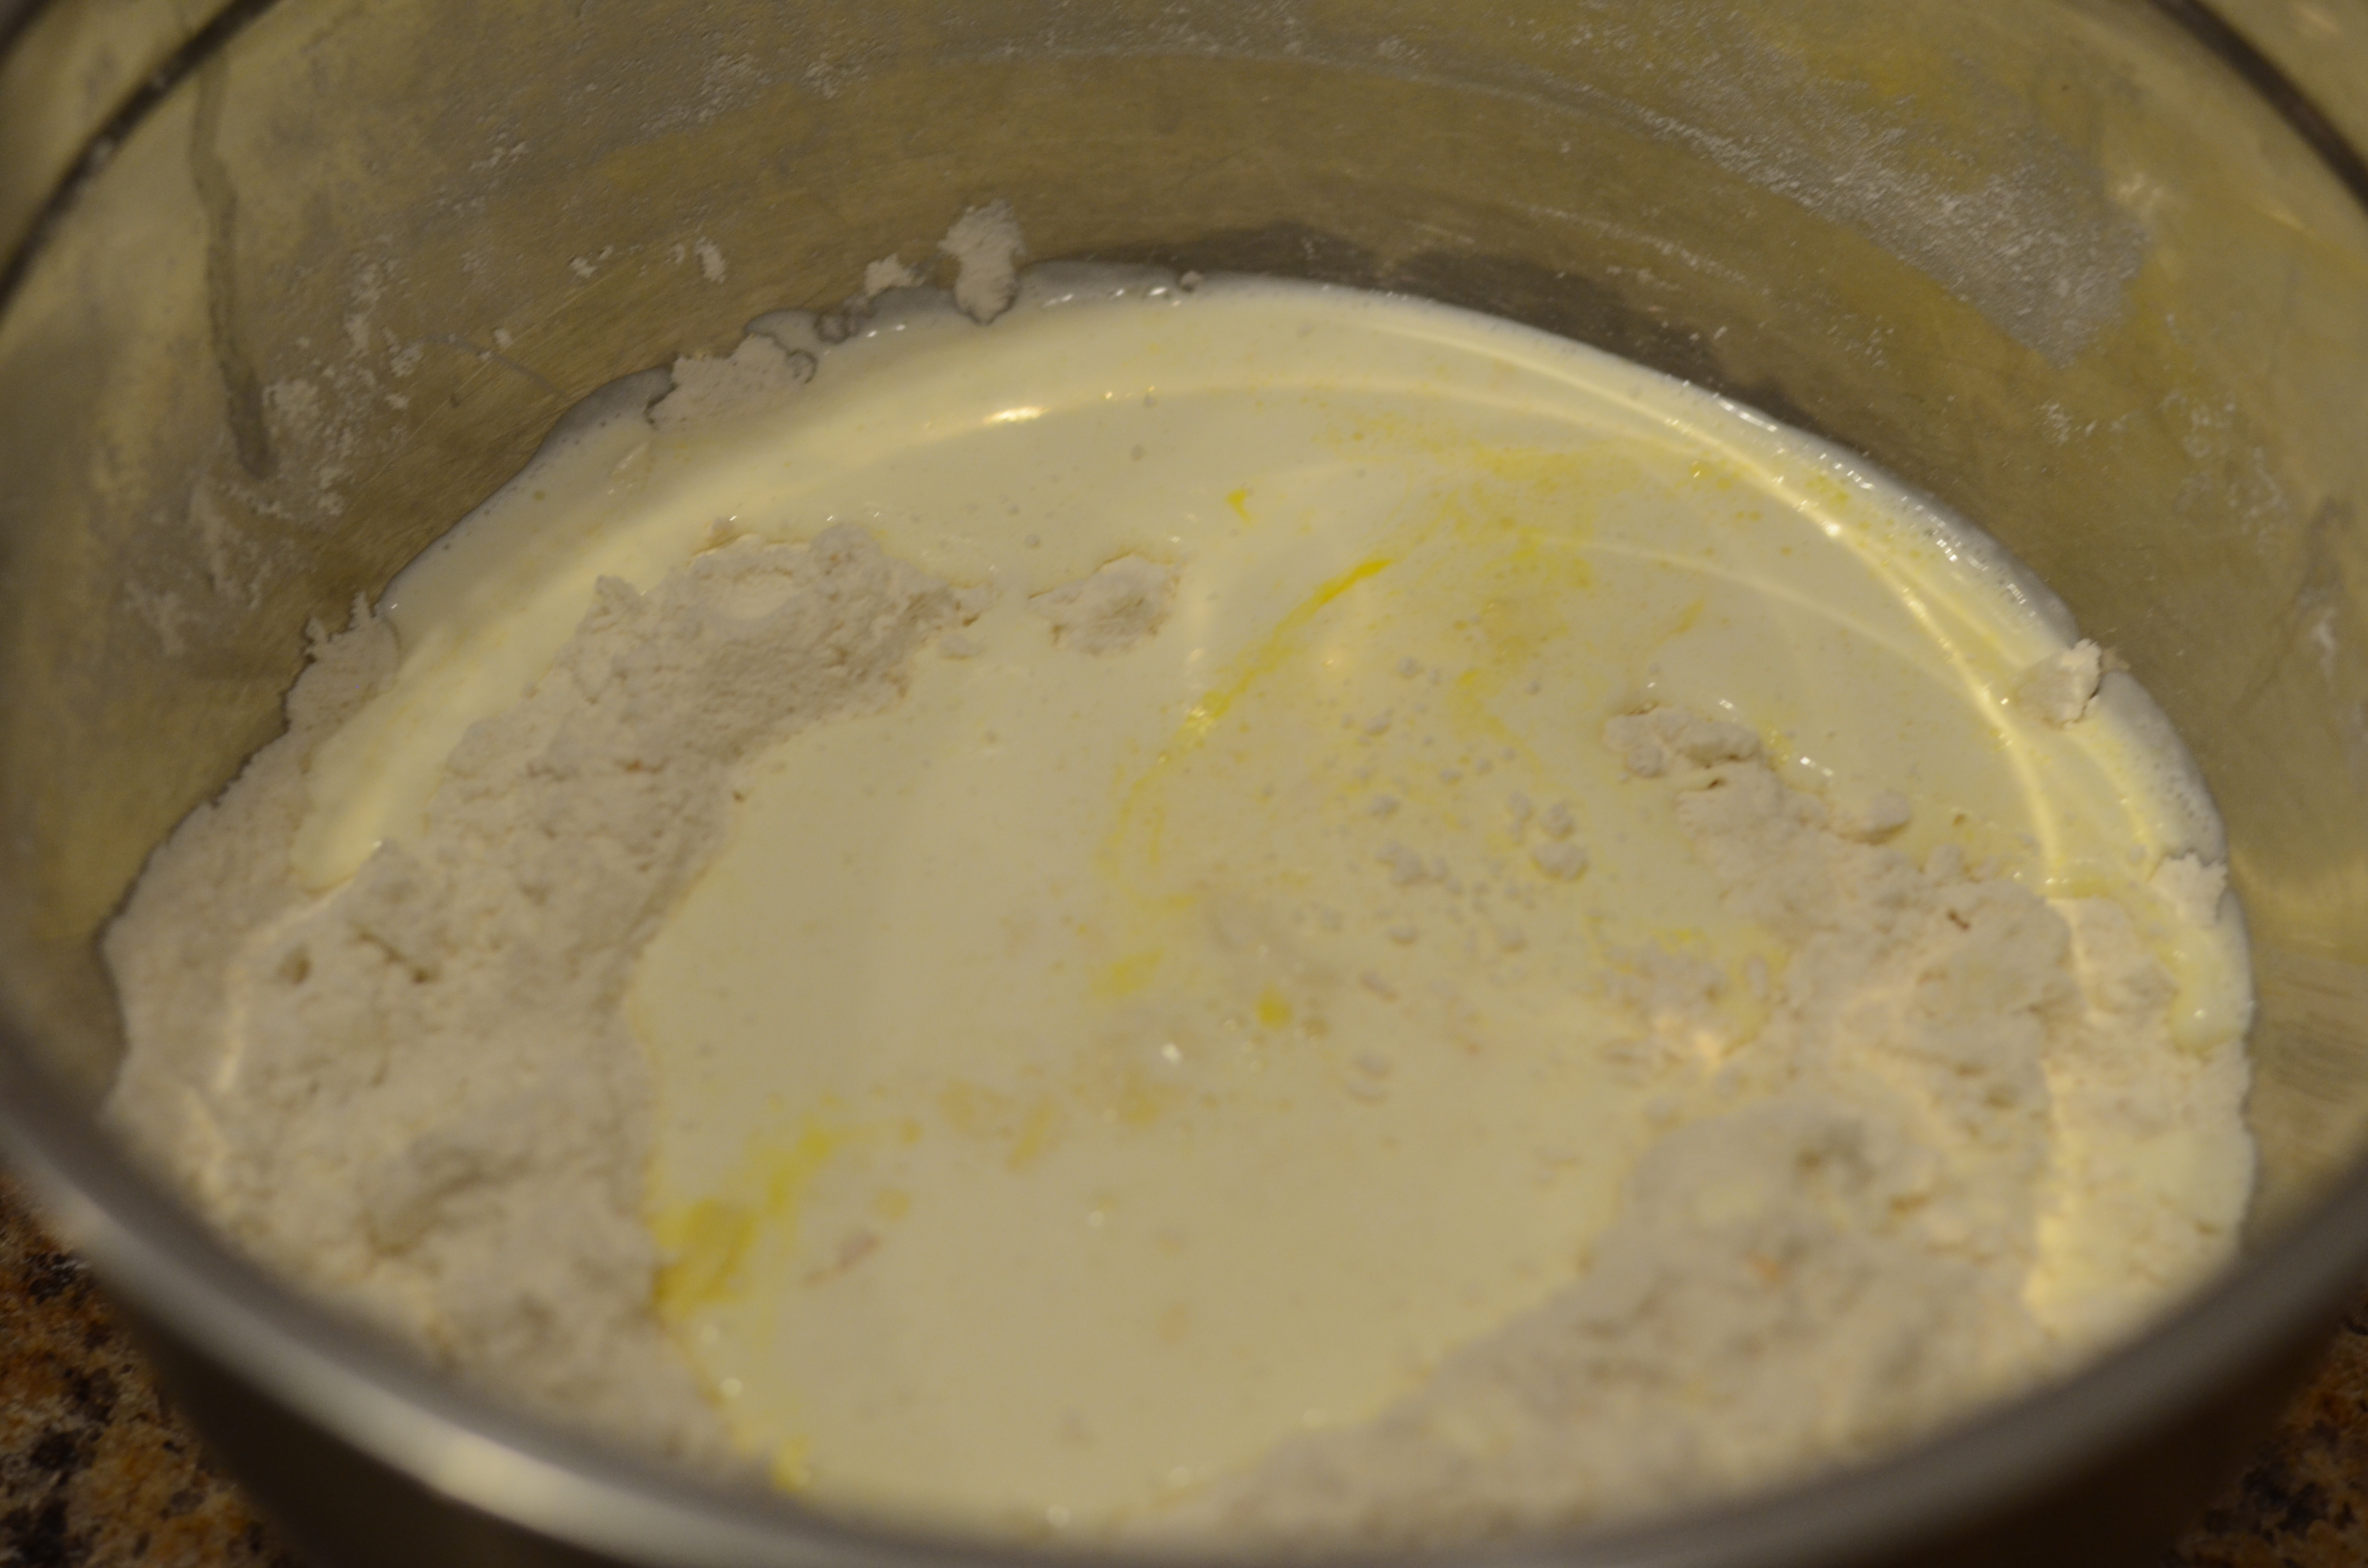
Remove from heat and add brown sugar, maple syrup and pinch of salt. Whisk together, and then add aquafaba.

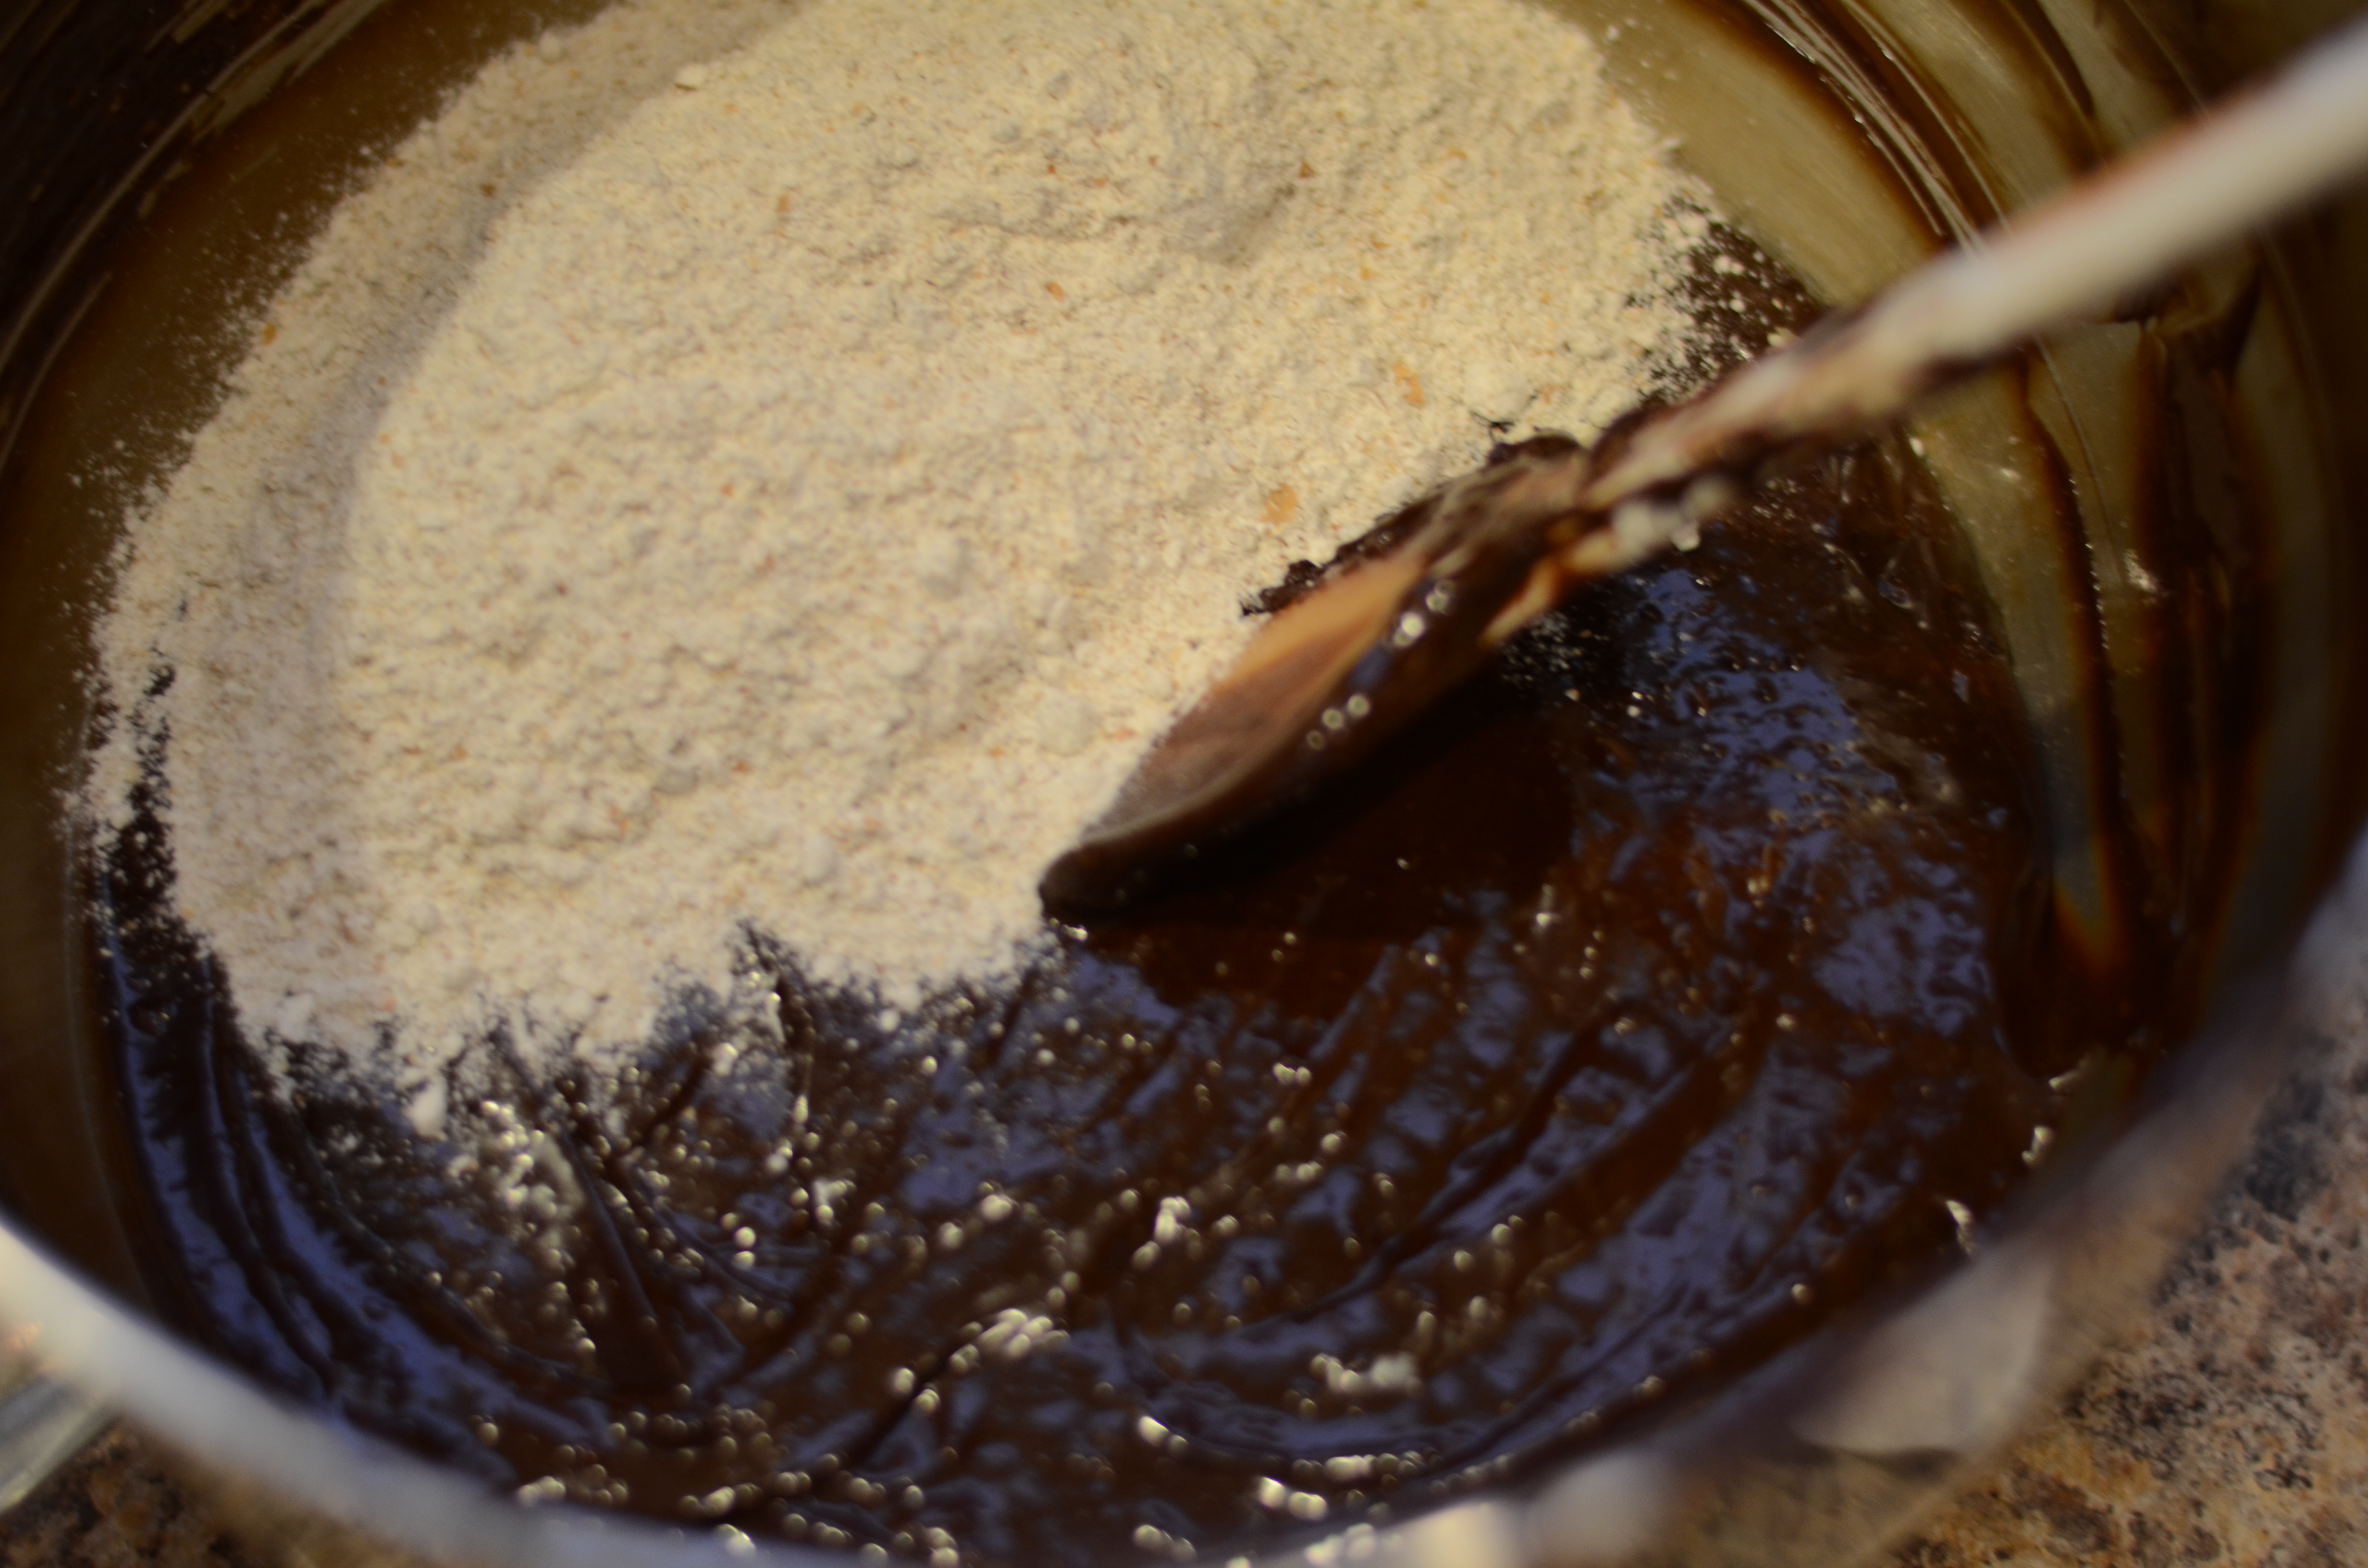
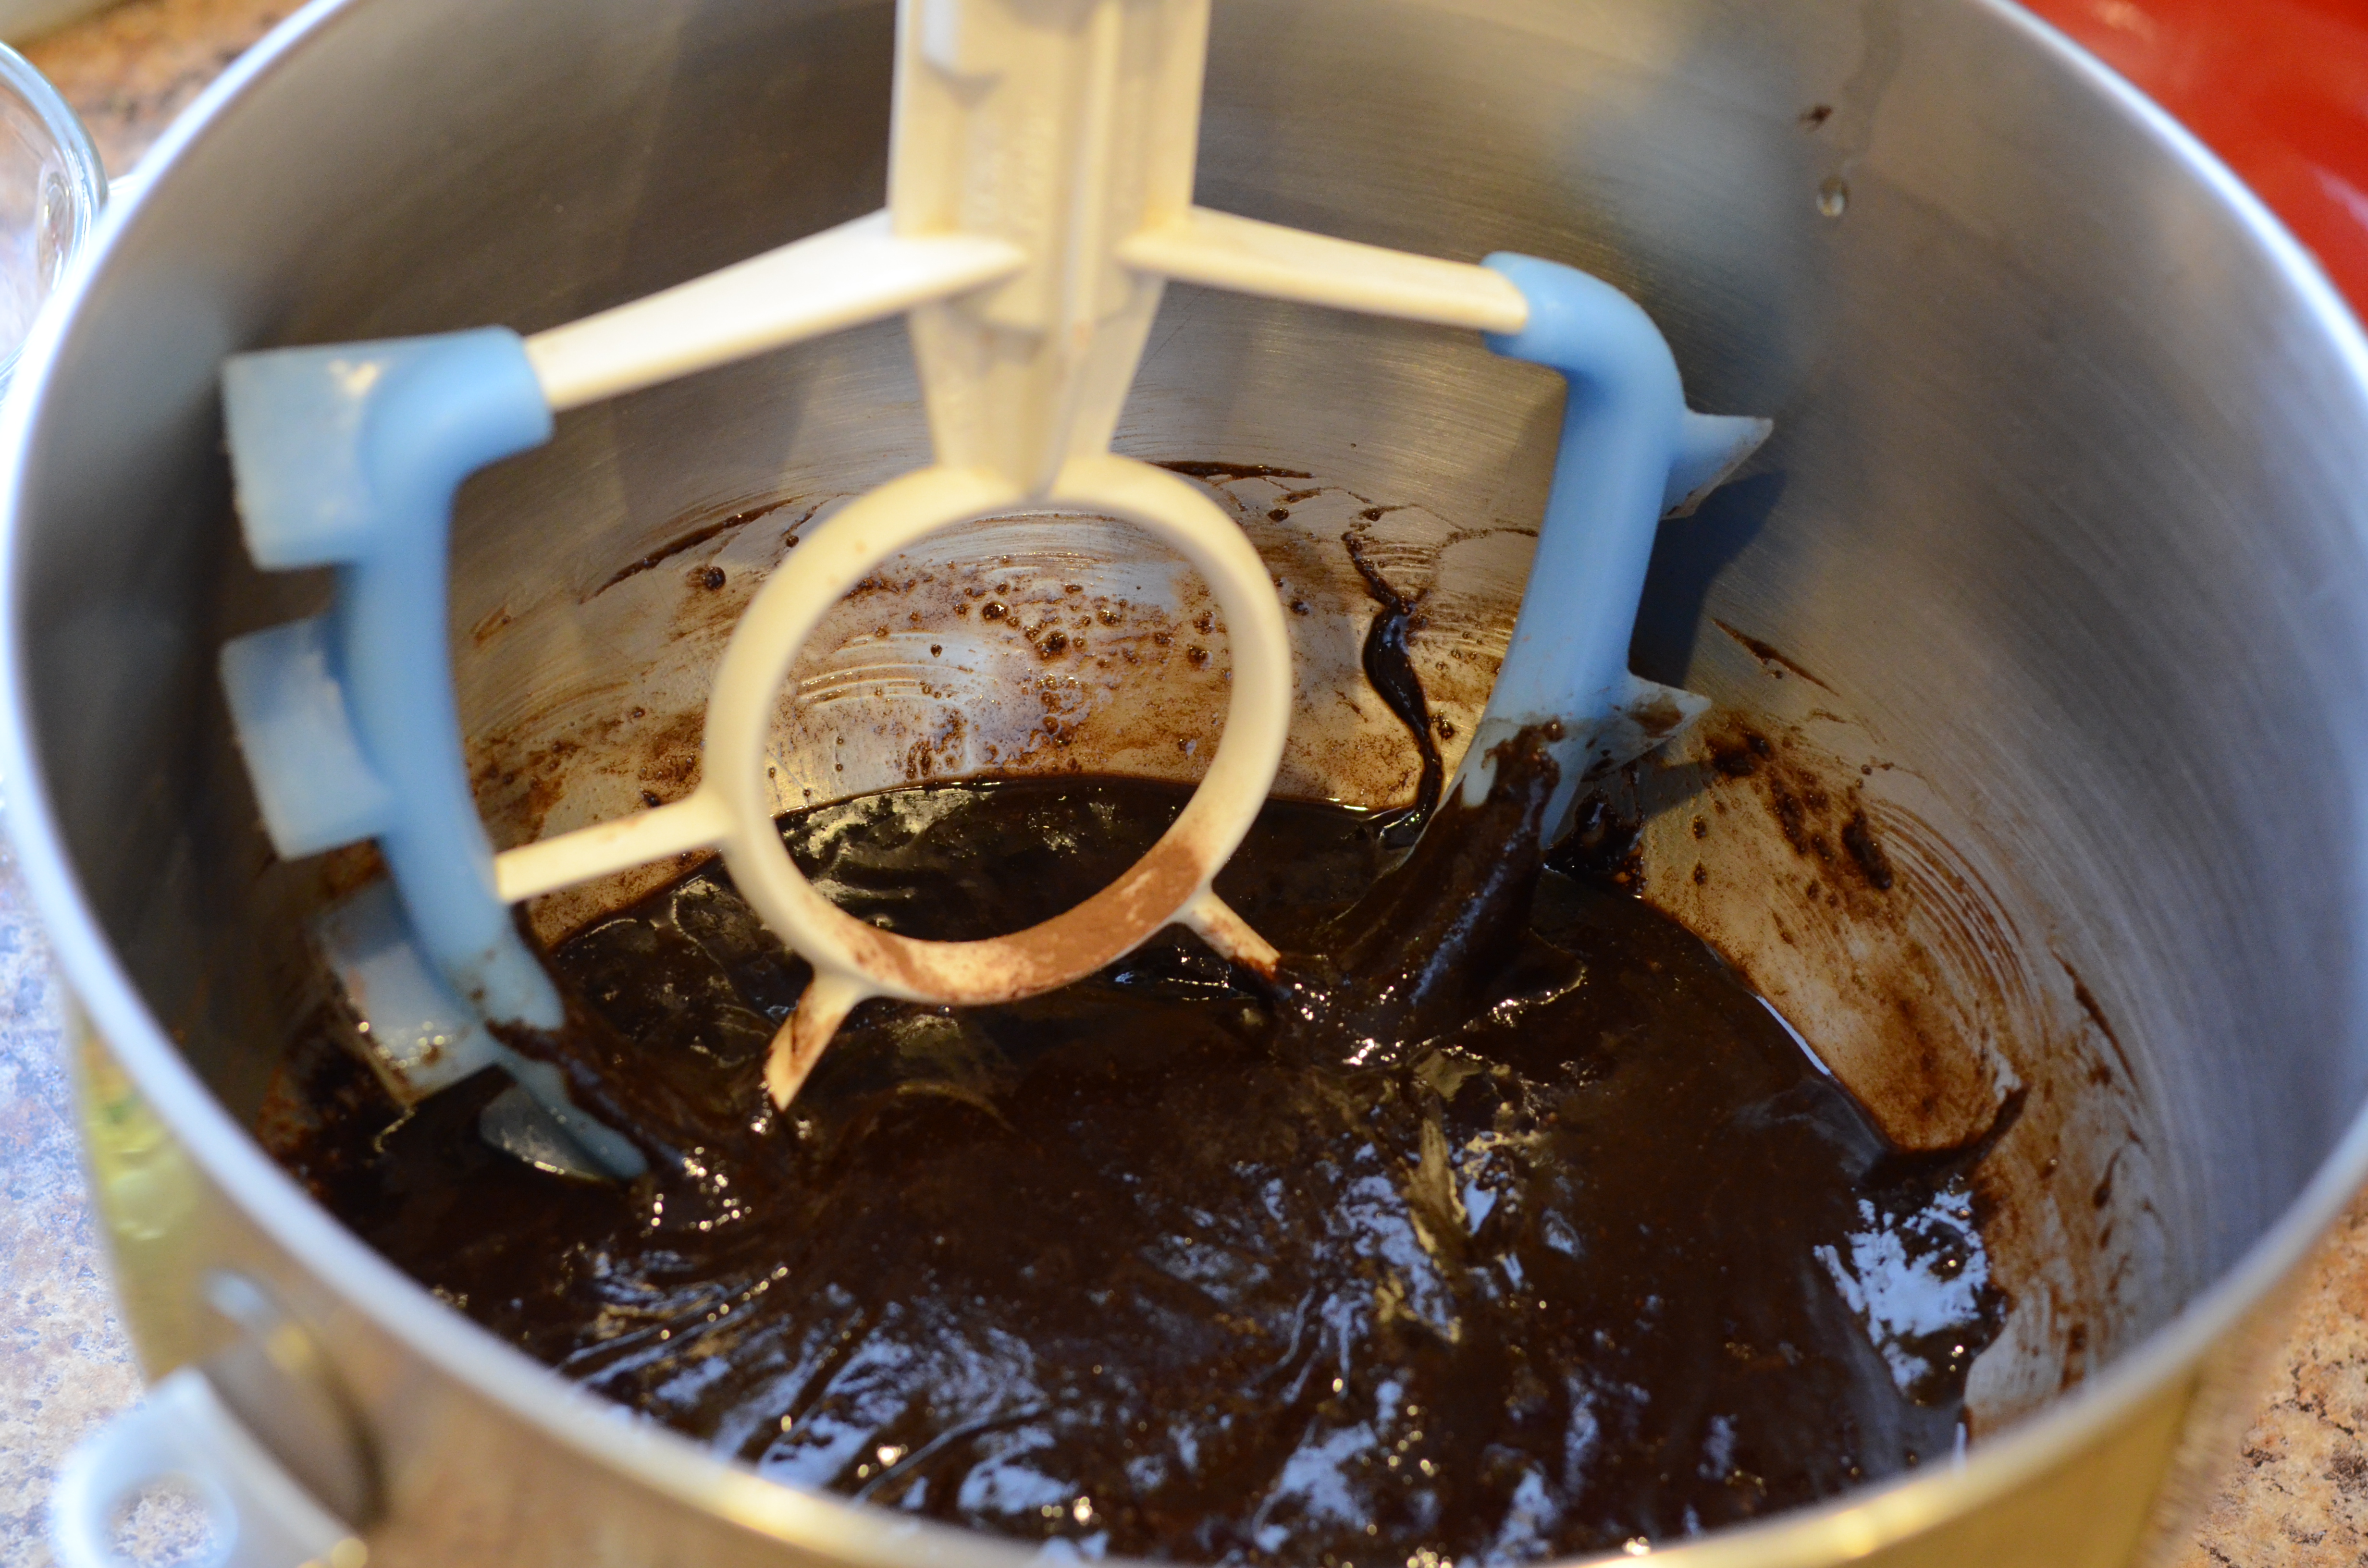
Add vanilla, cinnamon, espresso powder, and flour, and mix well.

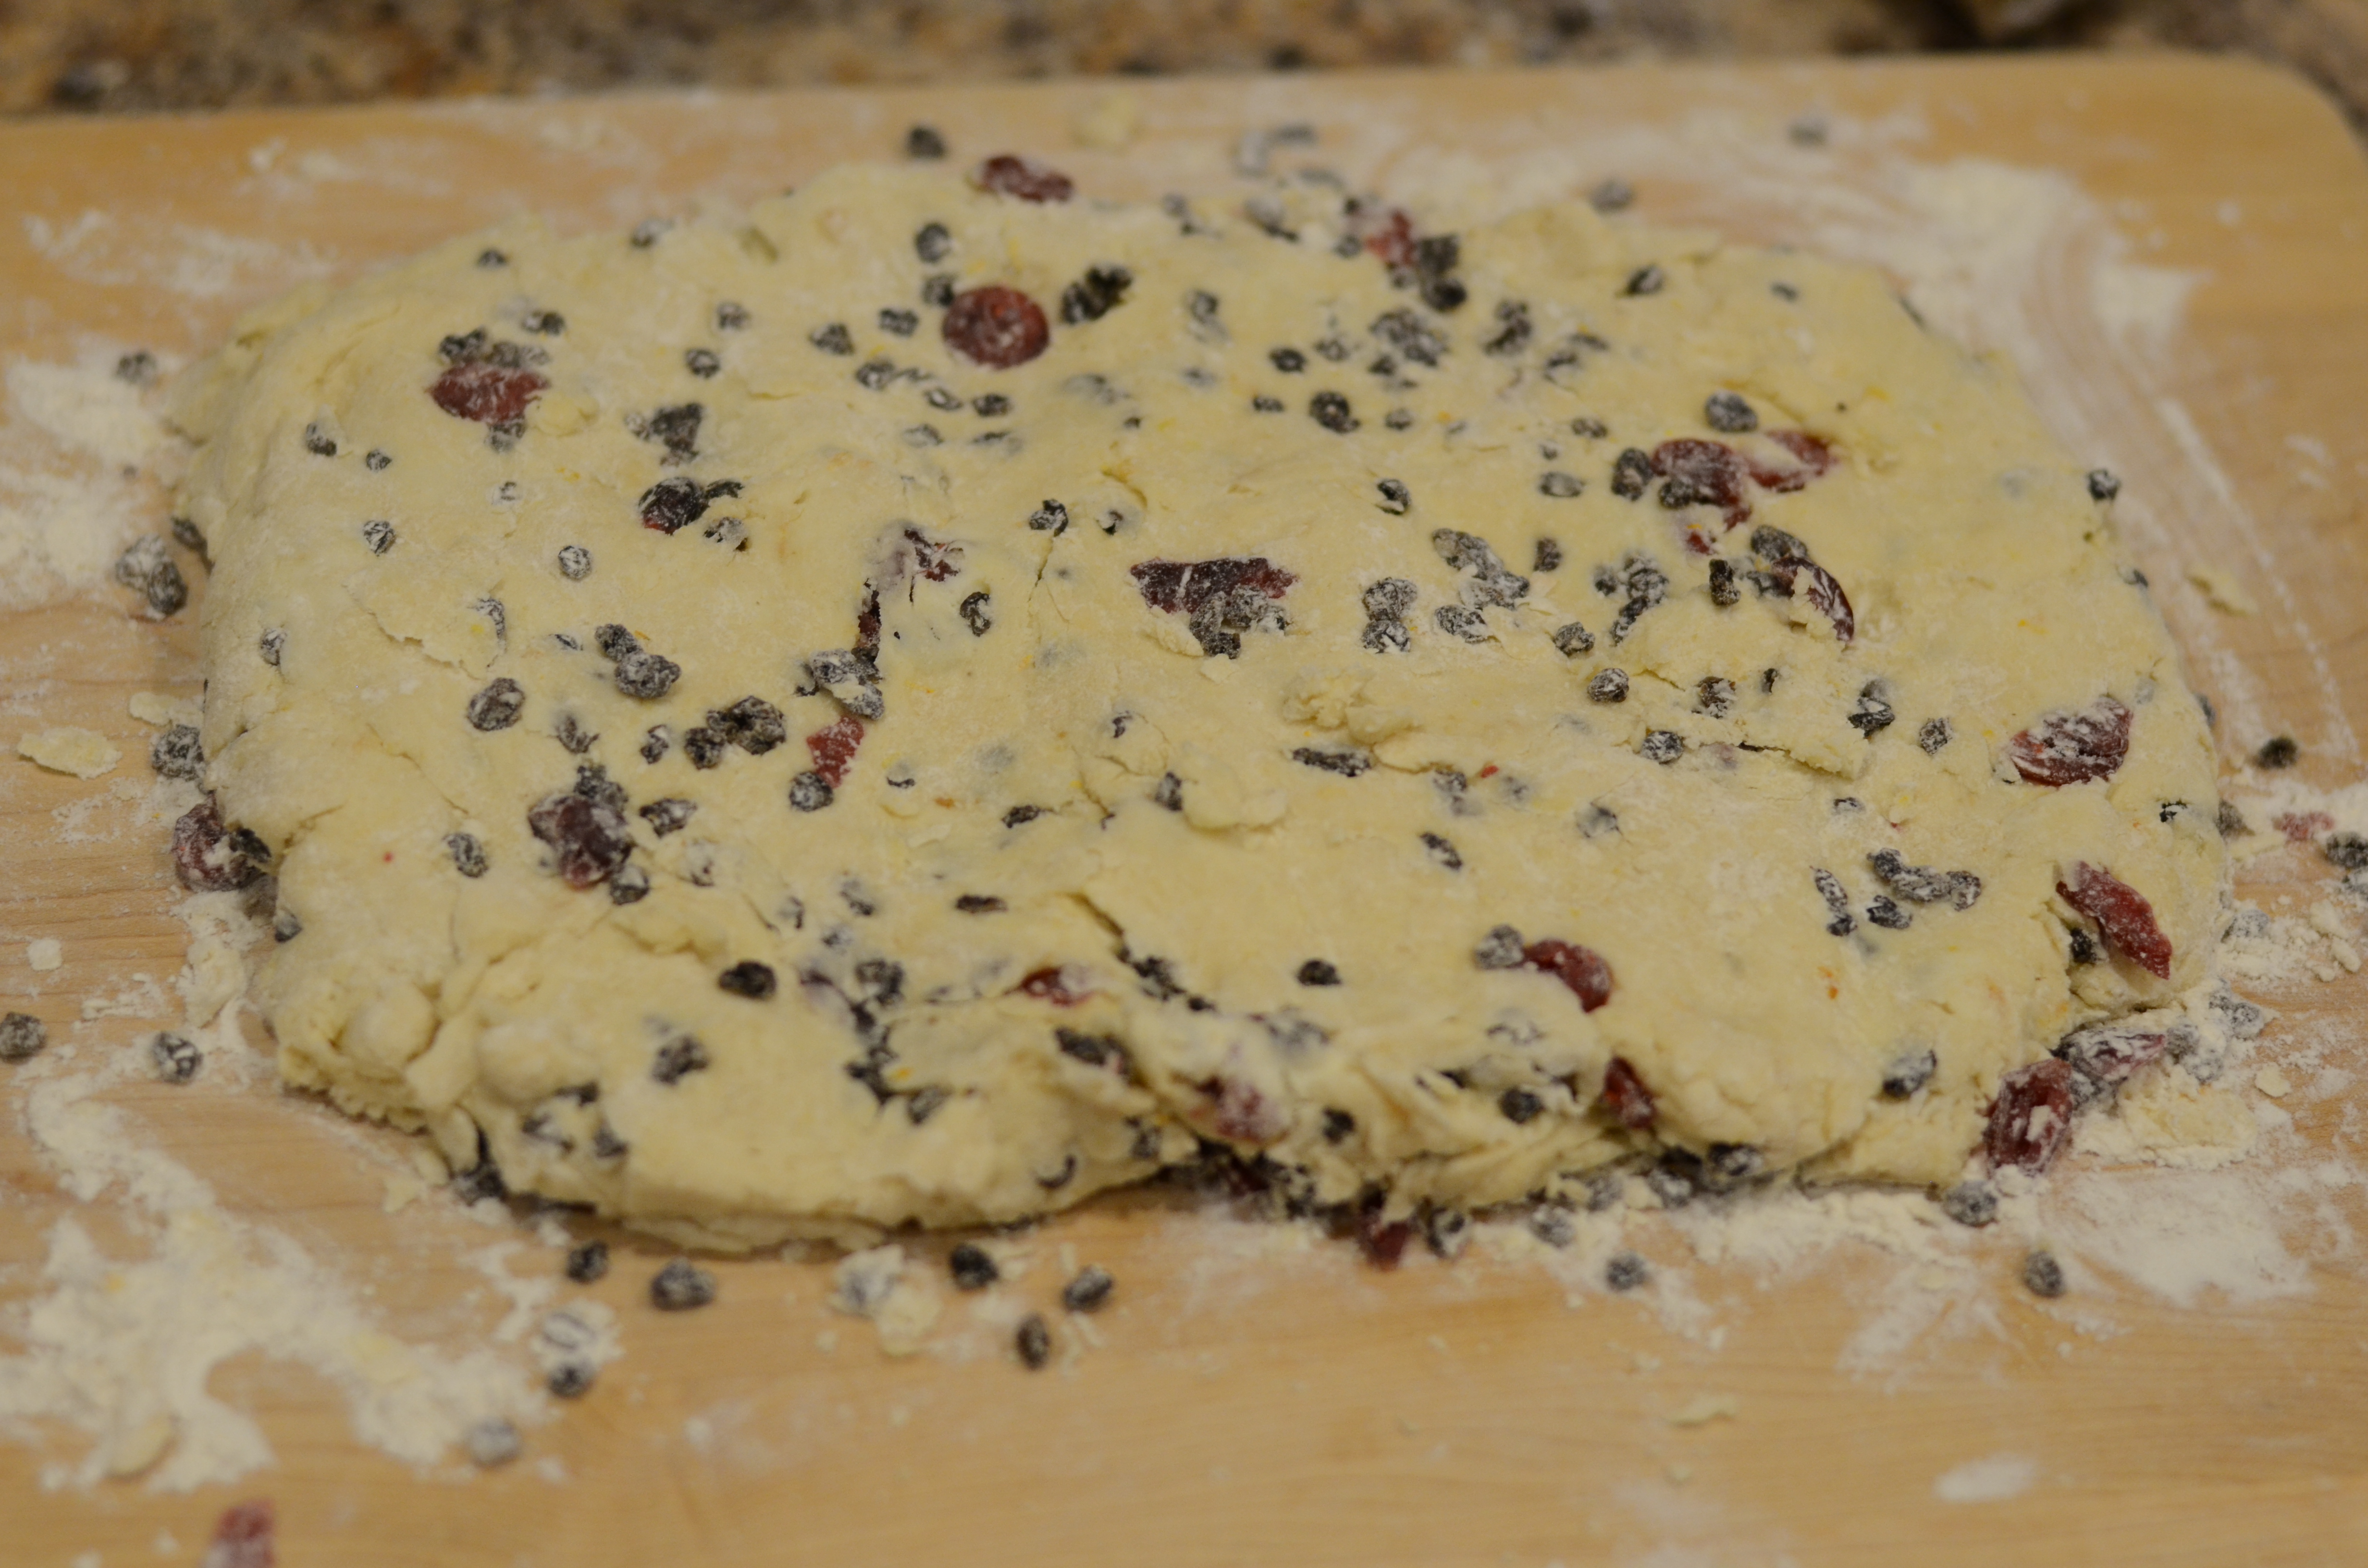
Incorporate remaining 4.5 ounces of chocolate chips. Pour batter into the baking pan.

Bake for approximately 35 minutes. Take care not to over-bake; these brownies should be moist.
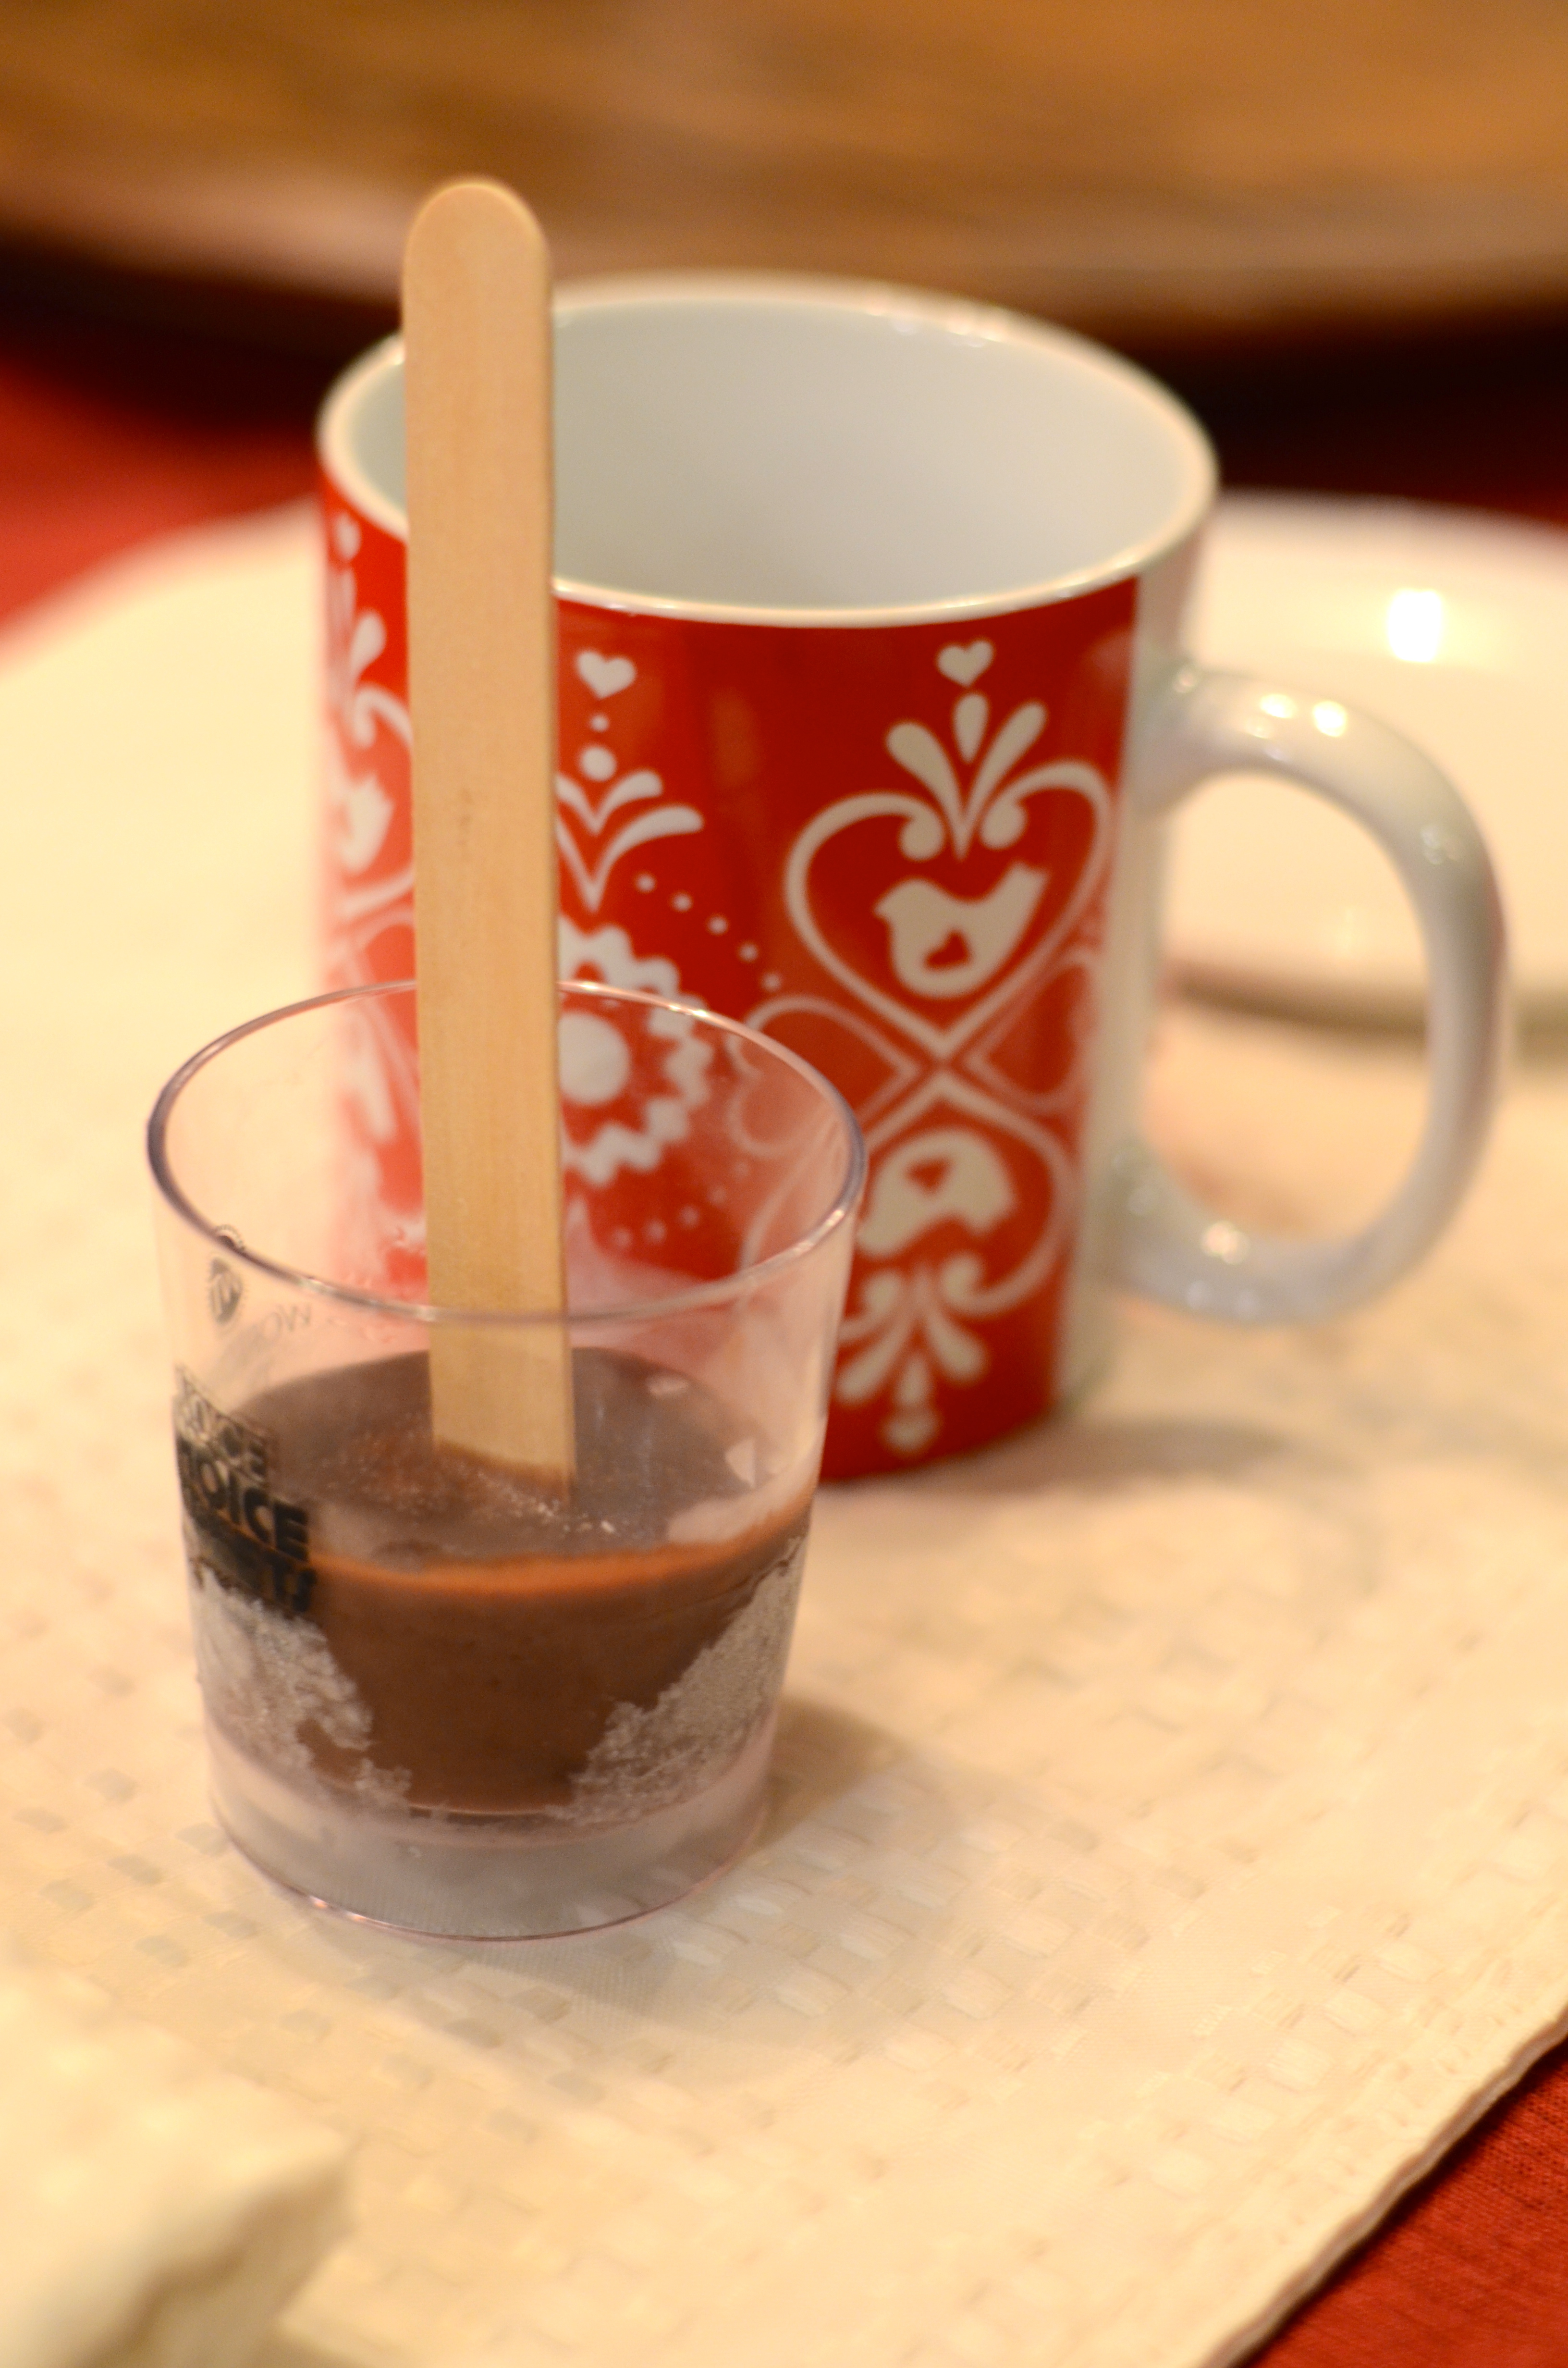
Allow to cool. (Expect some suffering from the intoxicating chocolate smell).

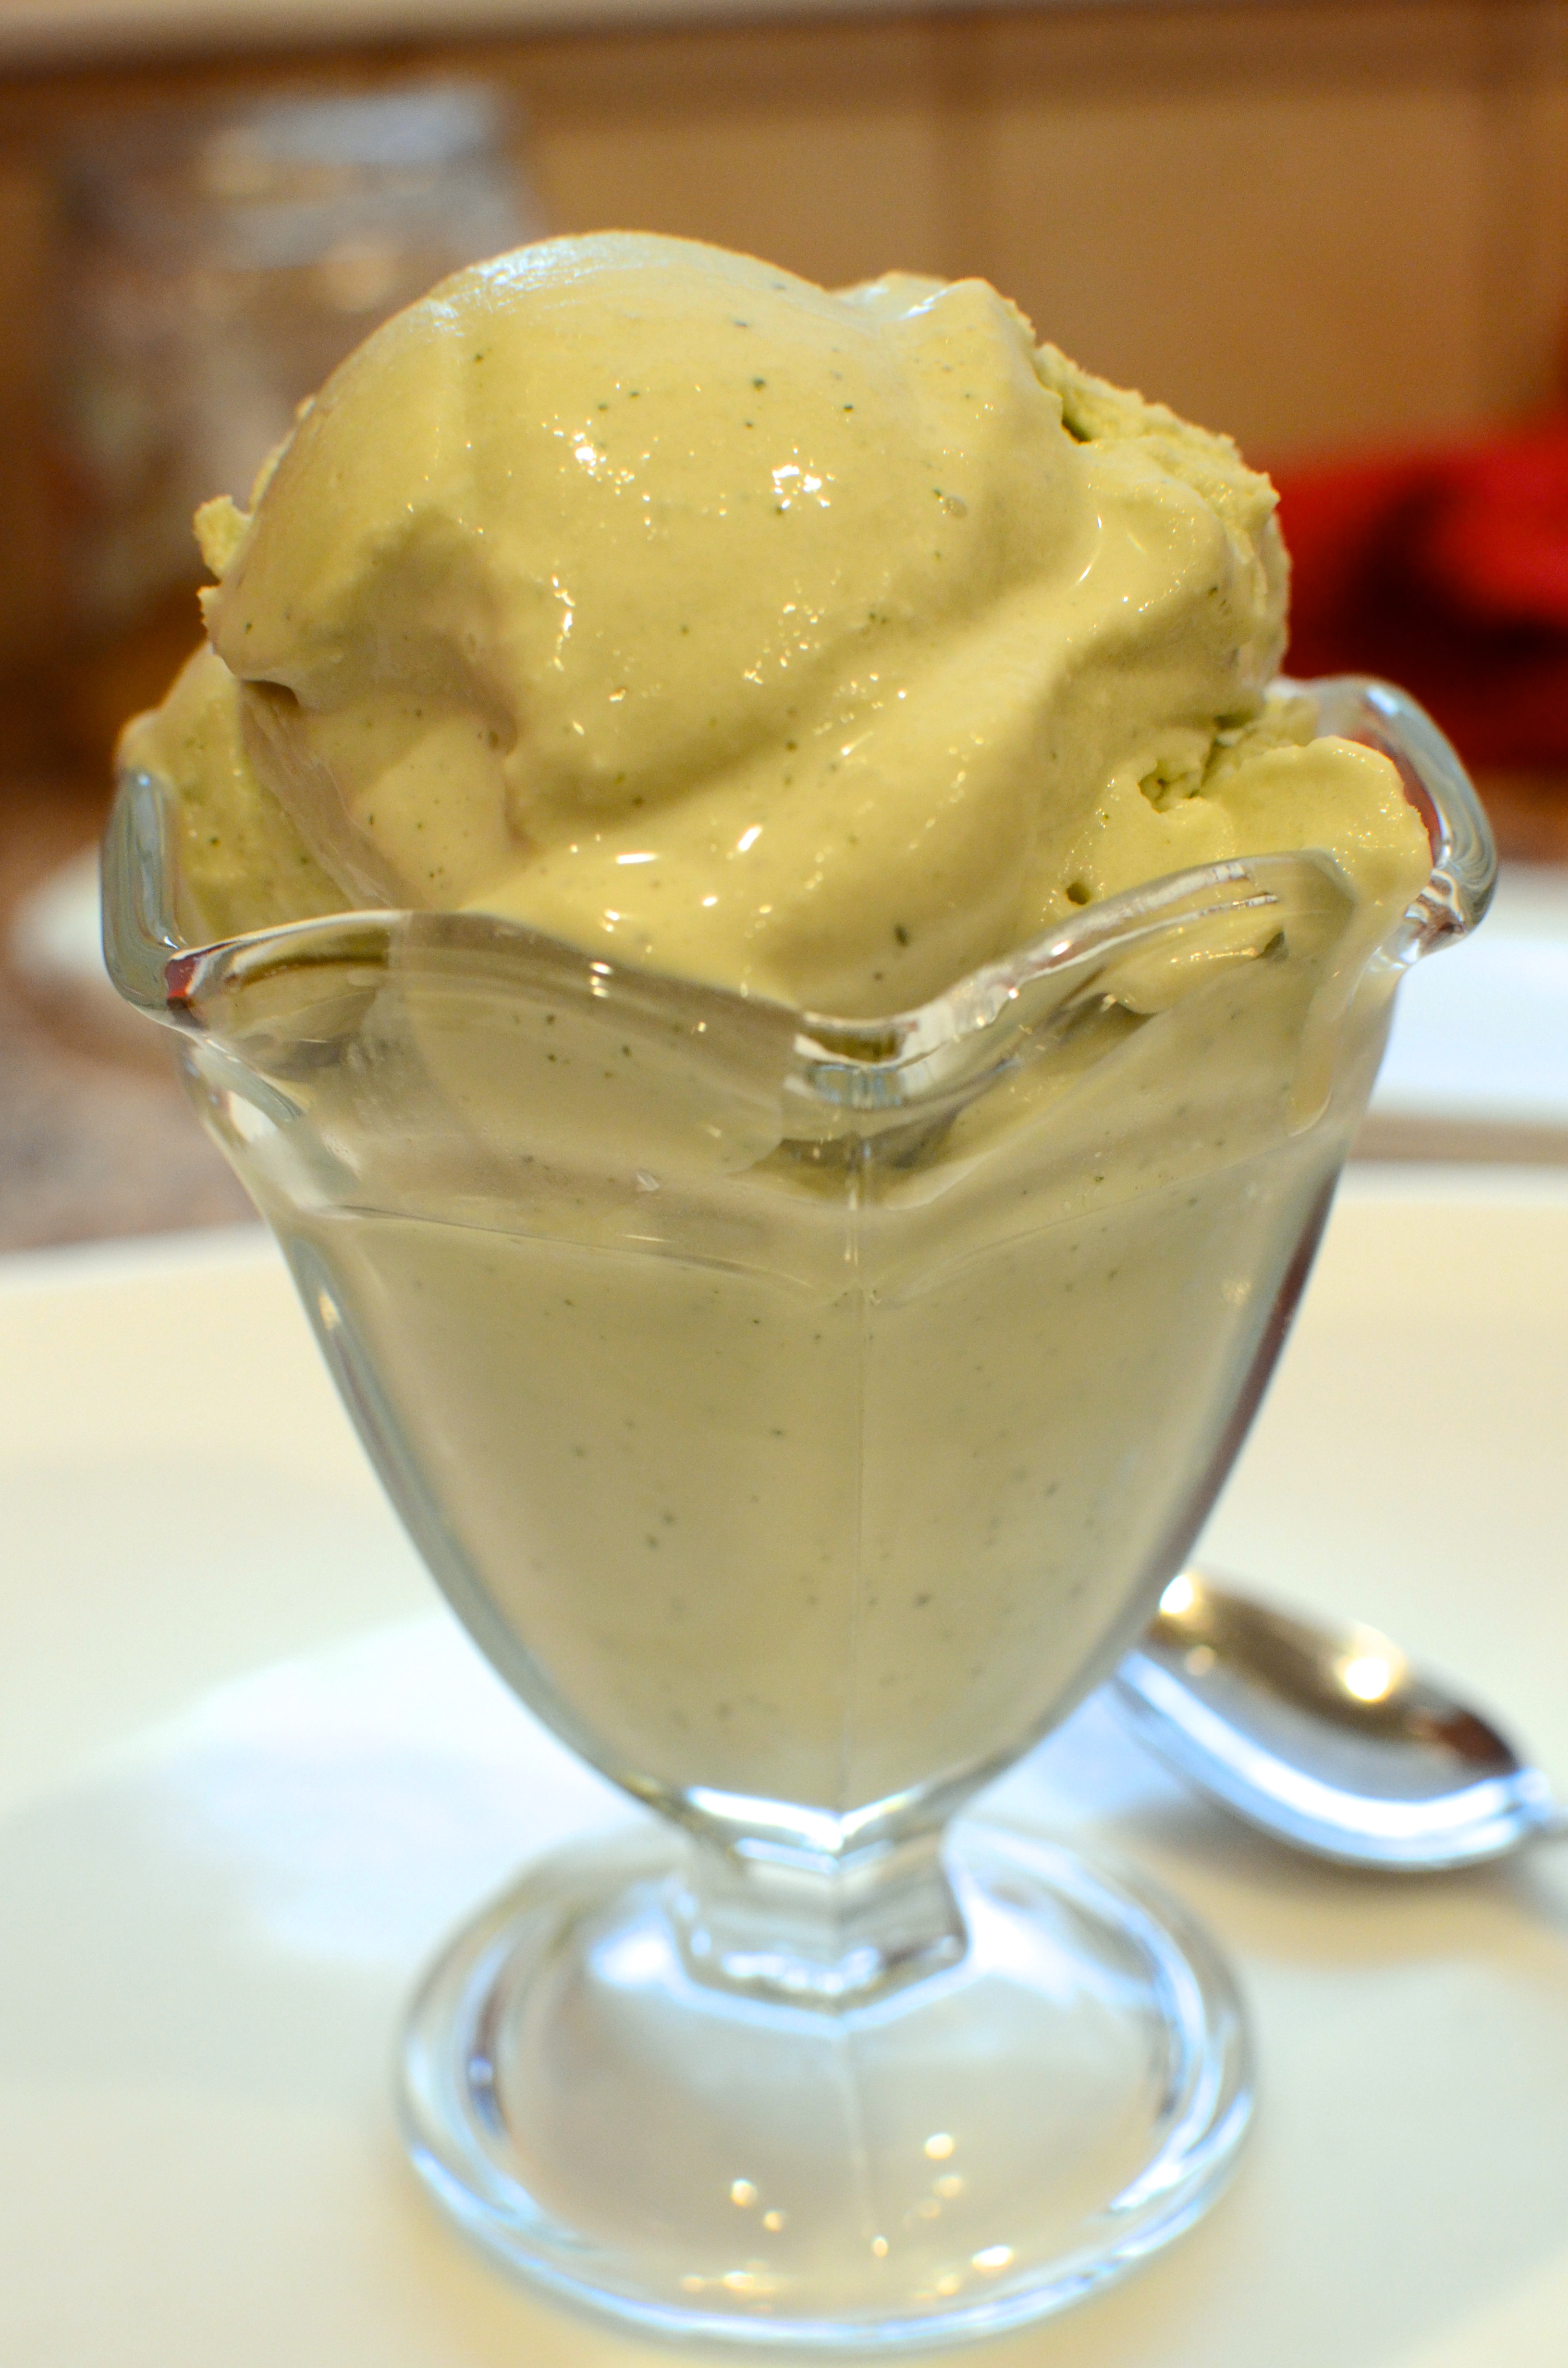
Cut and serve. Vanilla ice cream or whipped cream optional.


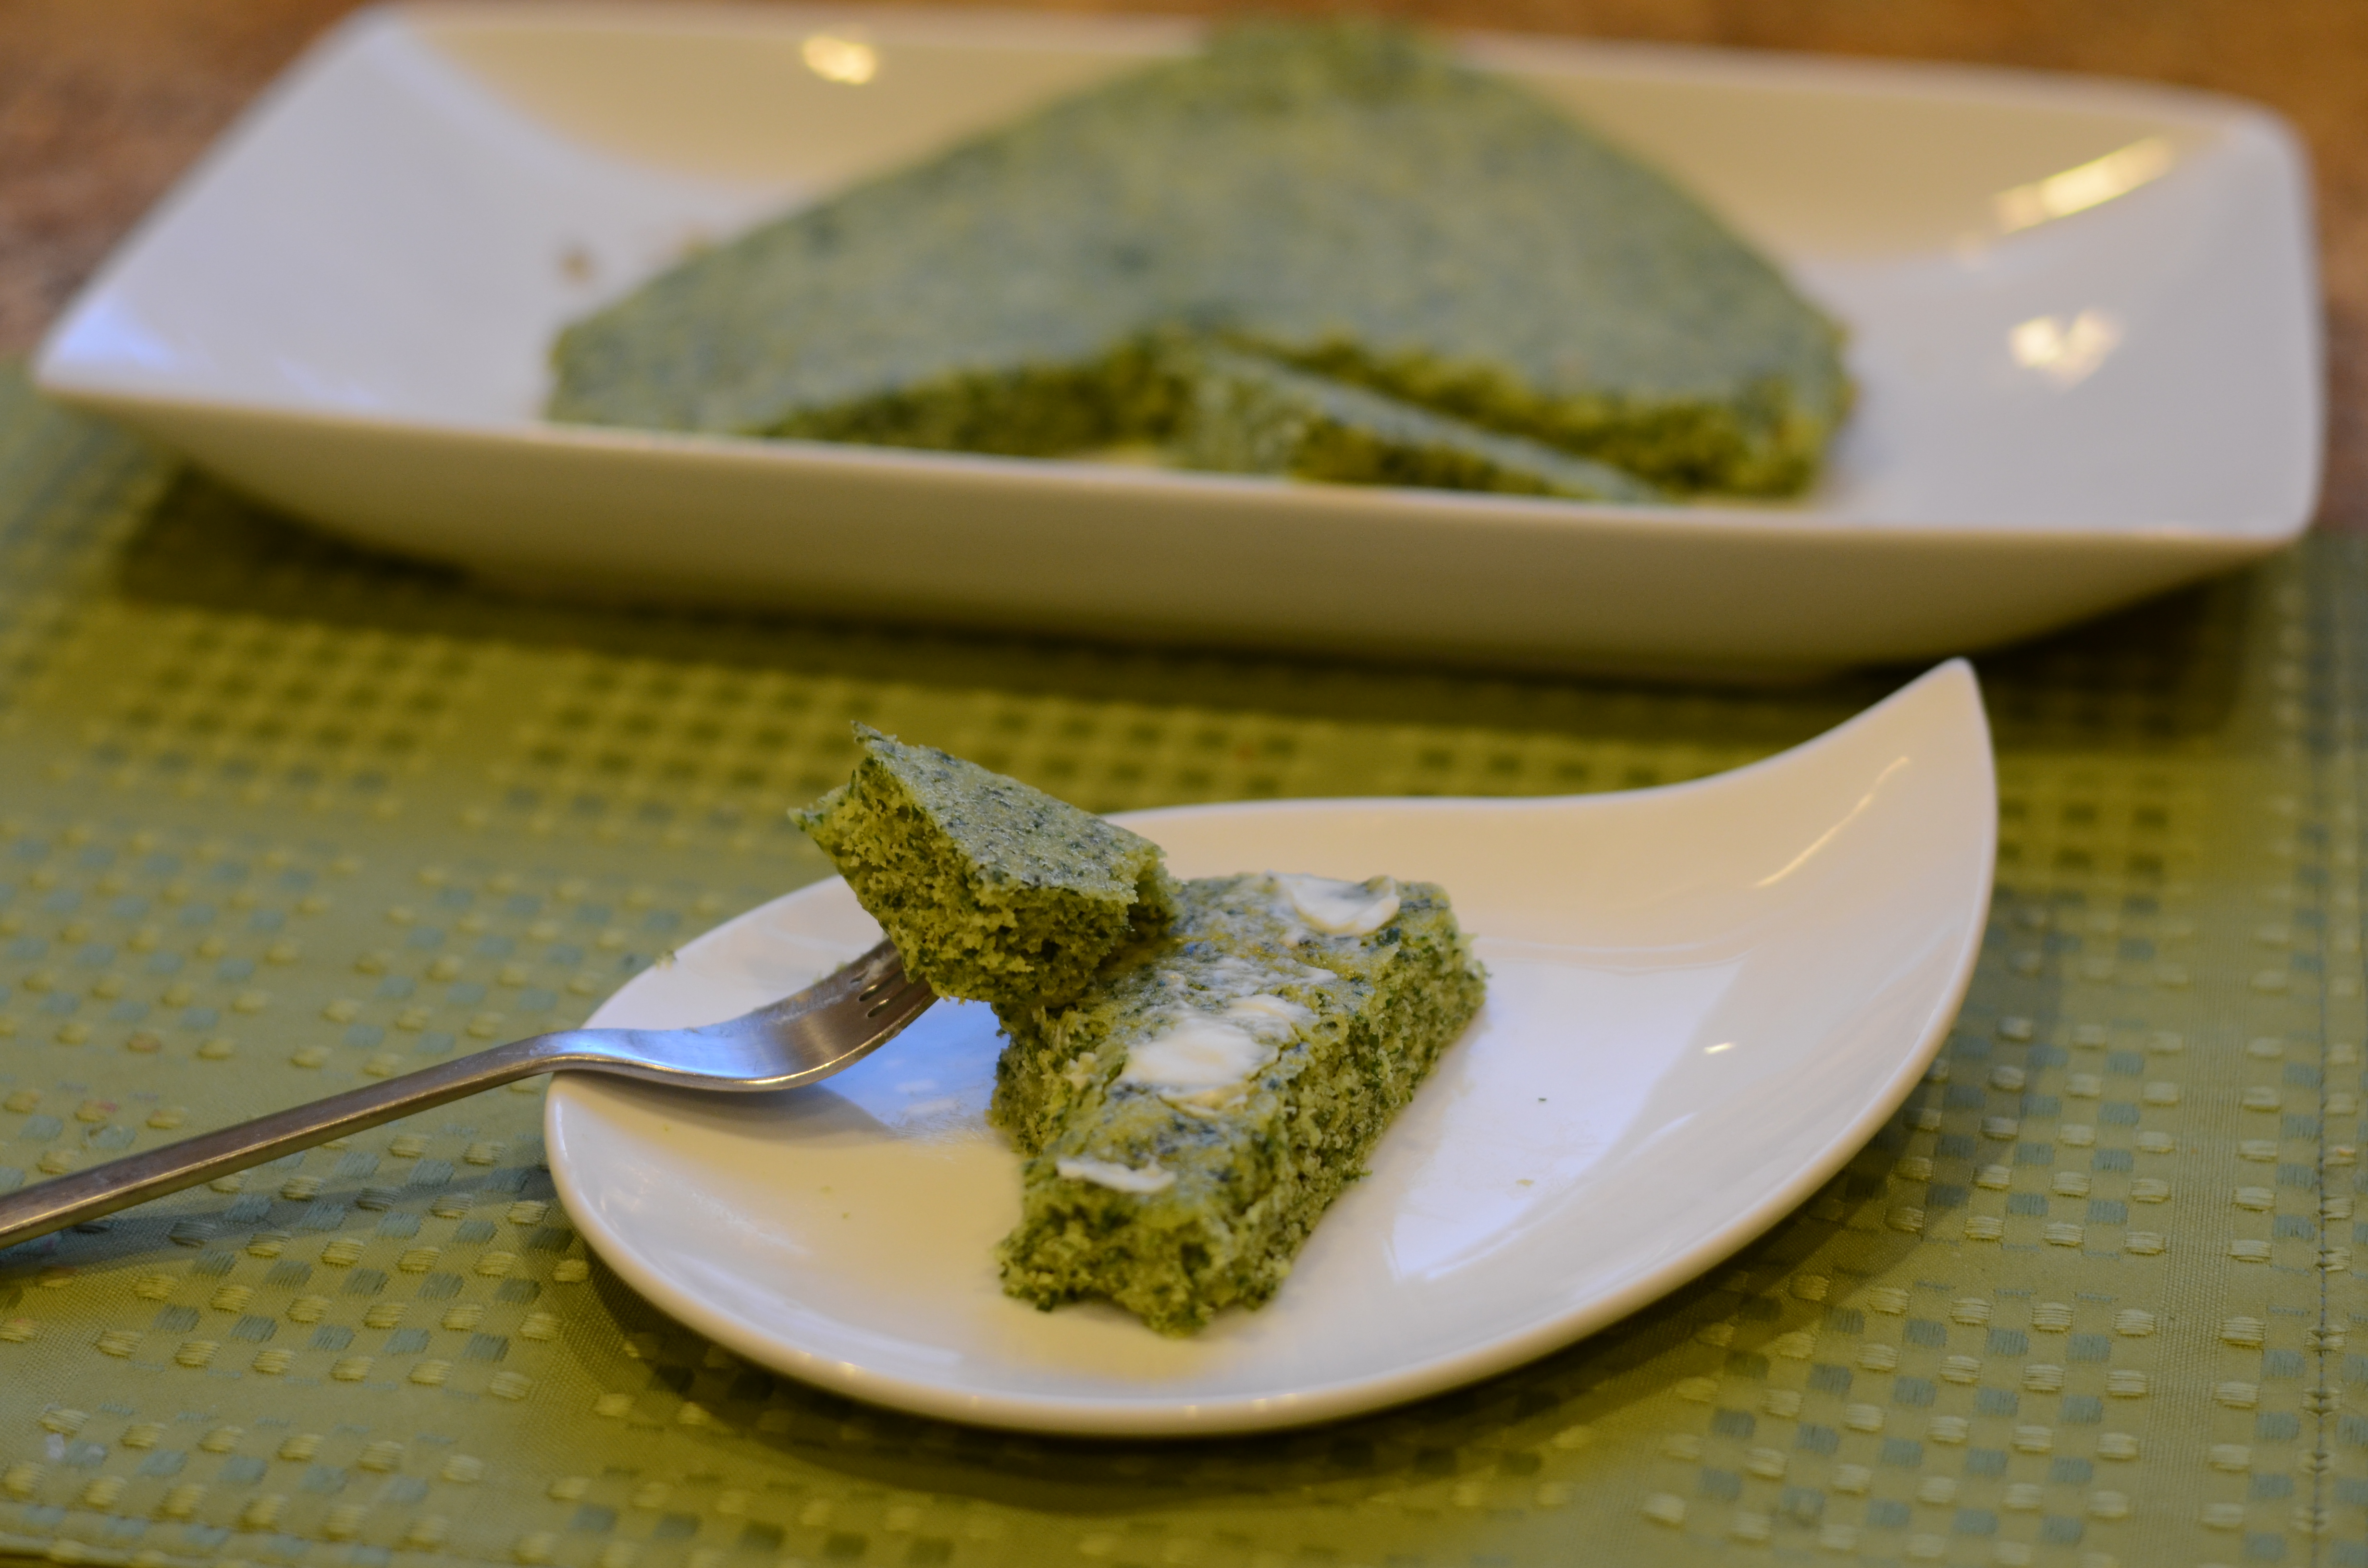
 than half the area of the 11×17 dish the original recipe called for) and add crust mixture. Pat down gently into an even layer. Bake for about 23 minutes, until slightly browned. Allow to cool.