I bought a whole watermelon the other day. I needed it to make a delicious heirloom tomato watermelon gazpacho recipe I planned to bring to a potluck.

I was surprised that I could actually make such a delicious gazpacho!
But mostly I wanted the watermelon for snacking. Fresh watermelon is one of those distinctly summer foods, a flavor I associate with backyard spitting contests of my childhood. The heat and humidity of summer bring on a kind of thirst that only watermelon can truly quench.
There are a few other flavors I lately connect to summer–even if I may in fact indulge all year long. Iced tea, ice-cold beer, and ice cream.
On the day I had about a quarter of my watermelon left, I heard someone mention watermelon rind as one of those trimmings that you’re going to be stuck composting, since there’s not much you can do to make it edible, sellable, and appealing. Not that I disagree. But I took it as a challenge. I was going to make watermelon rind pickles.

Watermelon Rind Pickles
Adapted from Food.com for 1/4 watermelon
About 2.5 lb watermelon rind (flesh mostly removed, shell included)
For the brining:
1⁄4 Cup salt
1 quart water
For the pickling syrup:
2 Cups white vinegar
2 Cups water
4 Cups sugar
1/3 lemon, sliced thin
Spices:
1 cinnamon sticks
1/3 teaspoon whole cloves
1/3 teaspoon whole allspice

Remove all the juicy watermelon flesh and reserve for another use. (Admittedly, I will miss having the rind as a handle when I eat the remains later. Oh well.)
At this point, I had 2 lb 8.5 ounces.

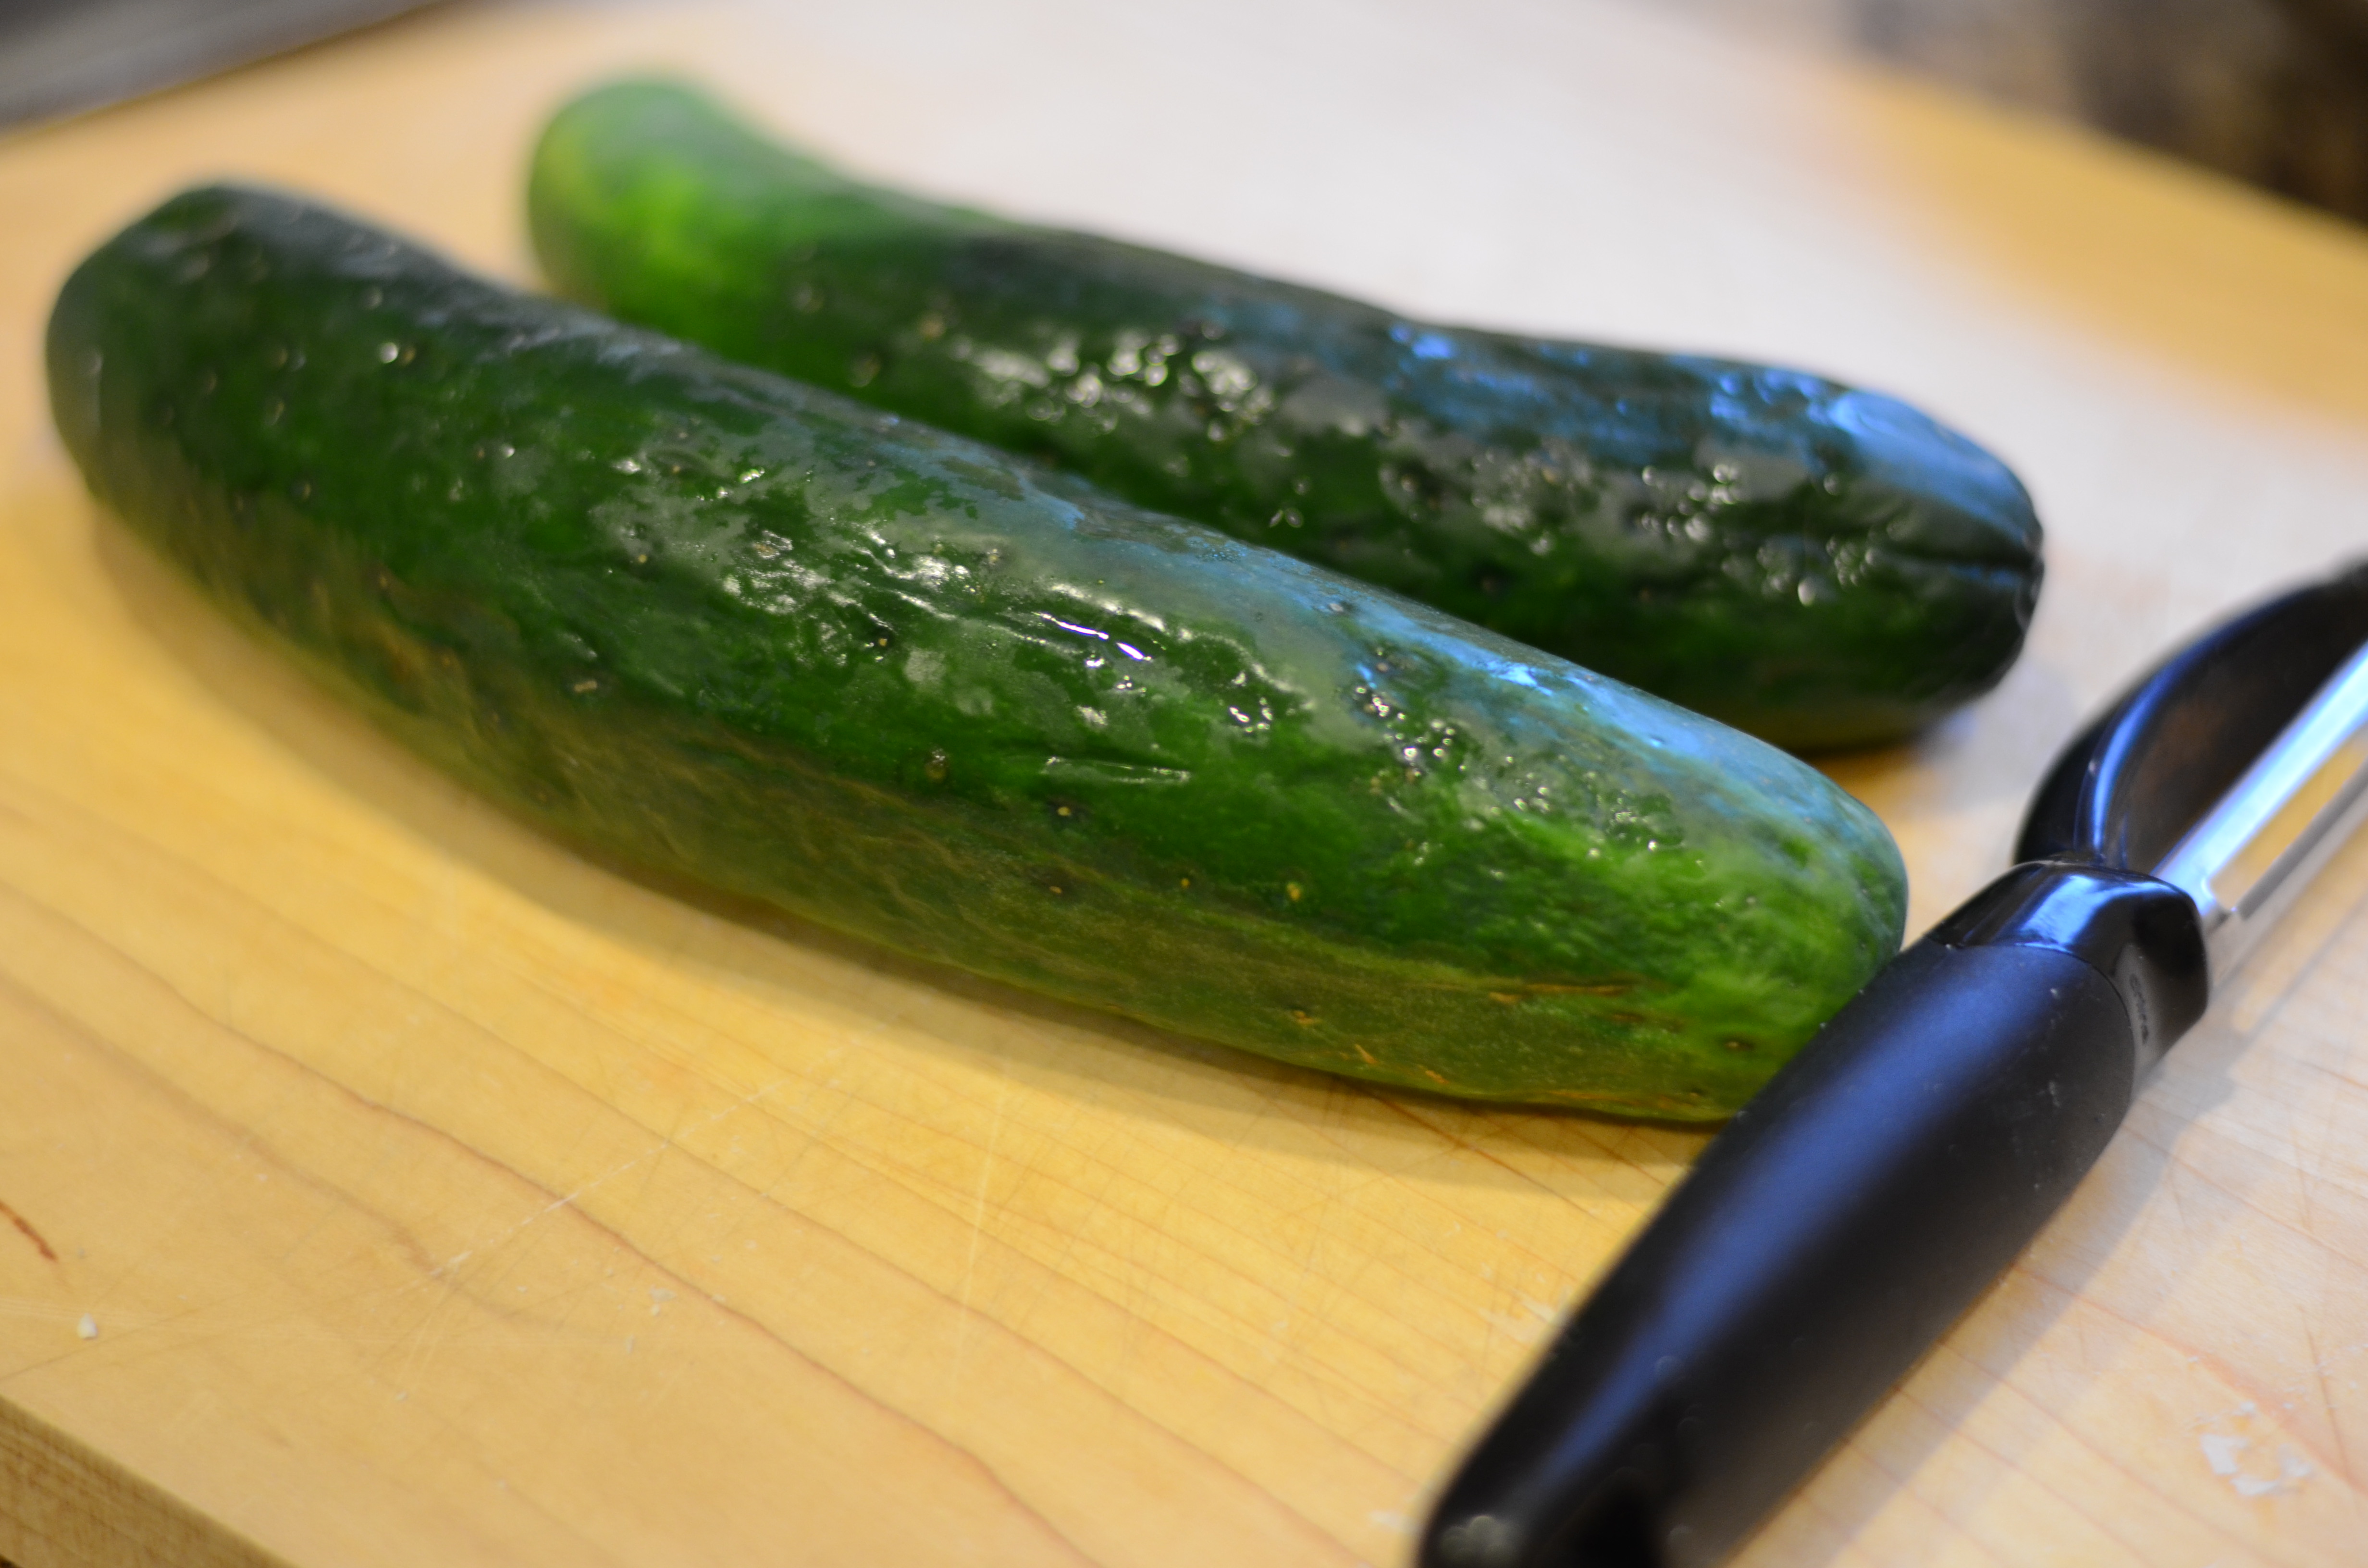
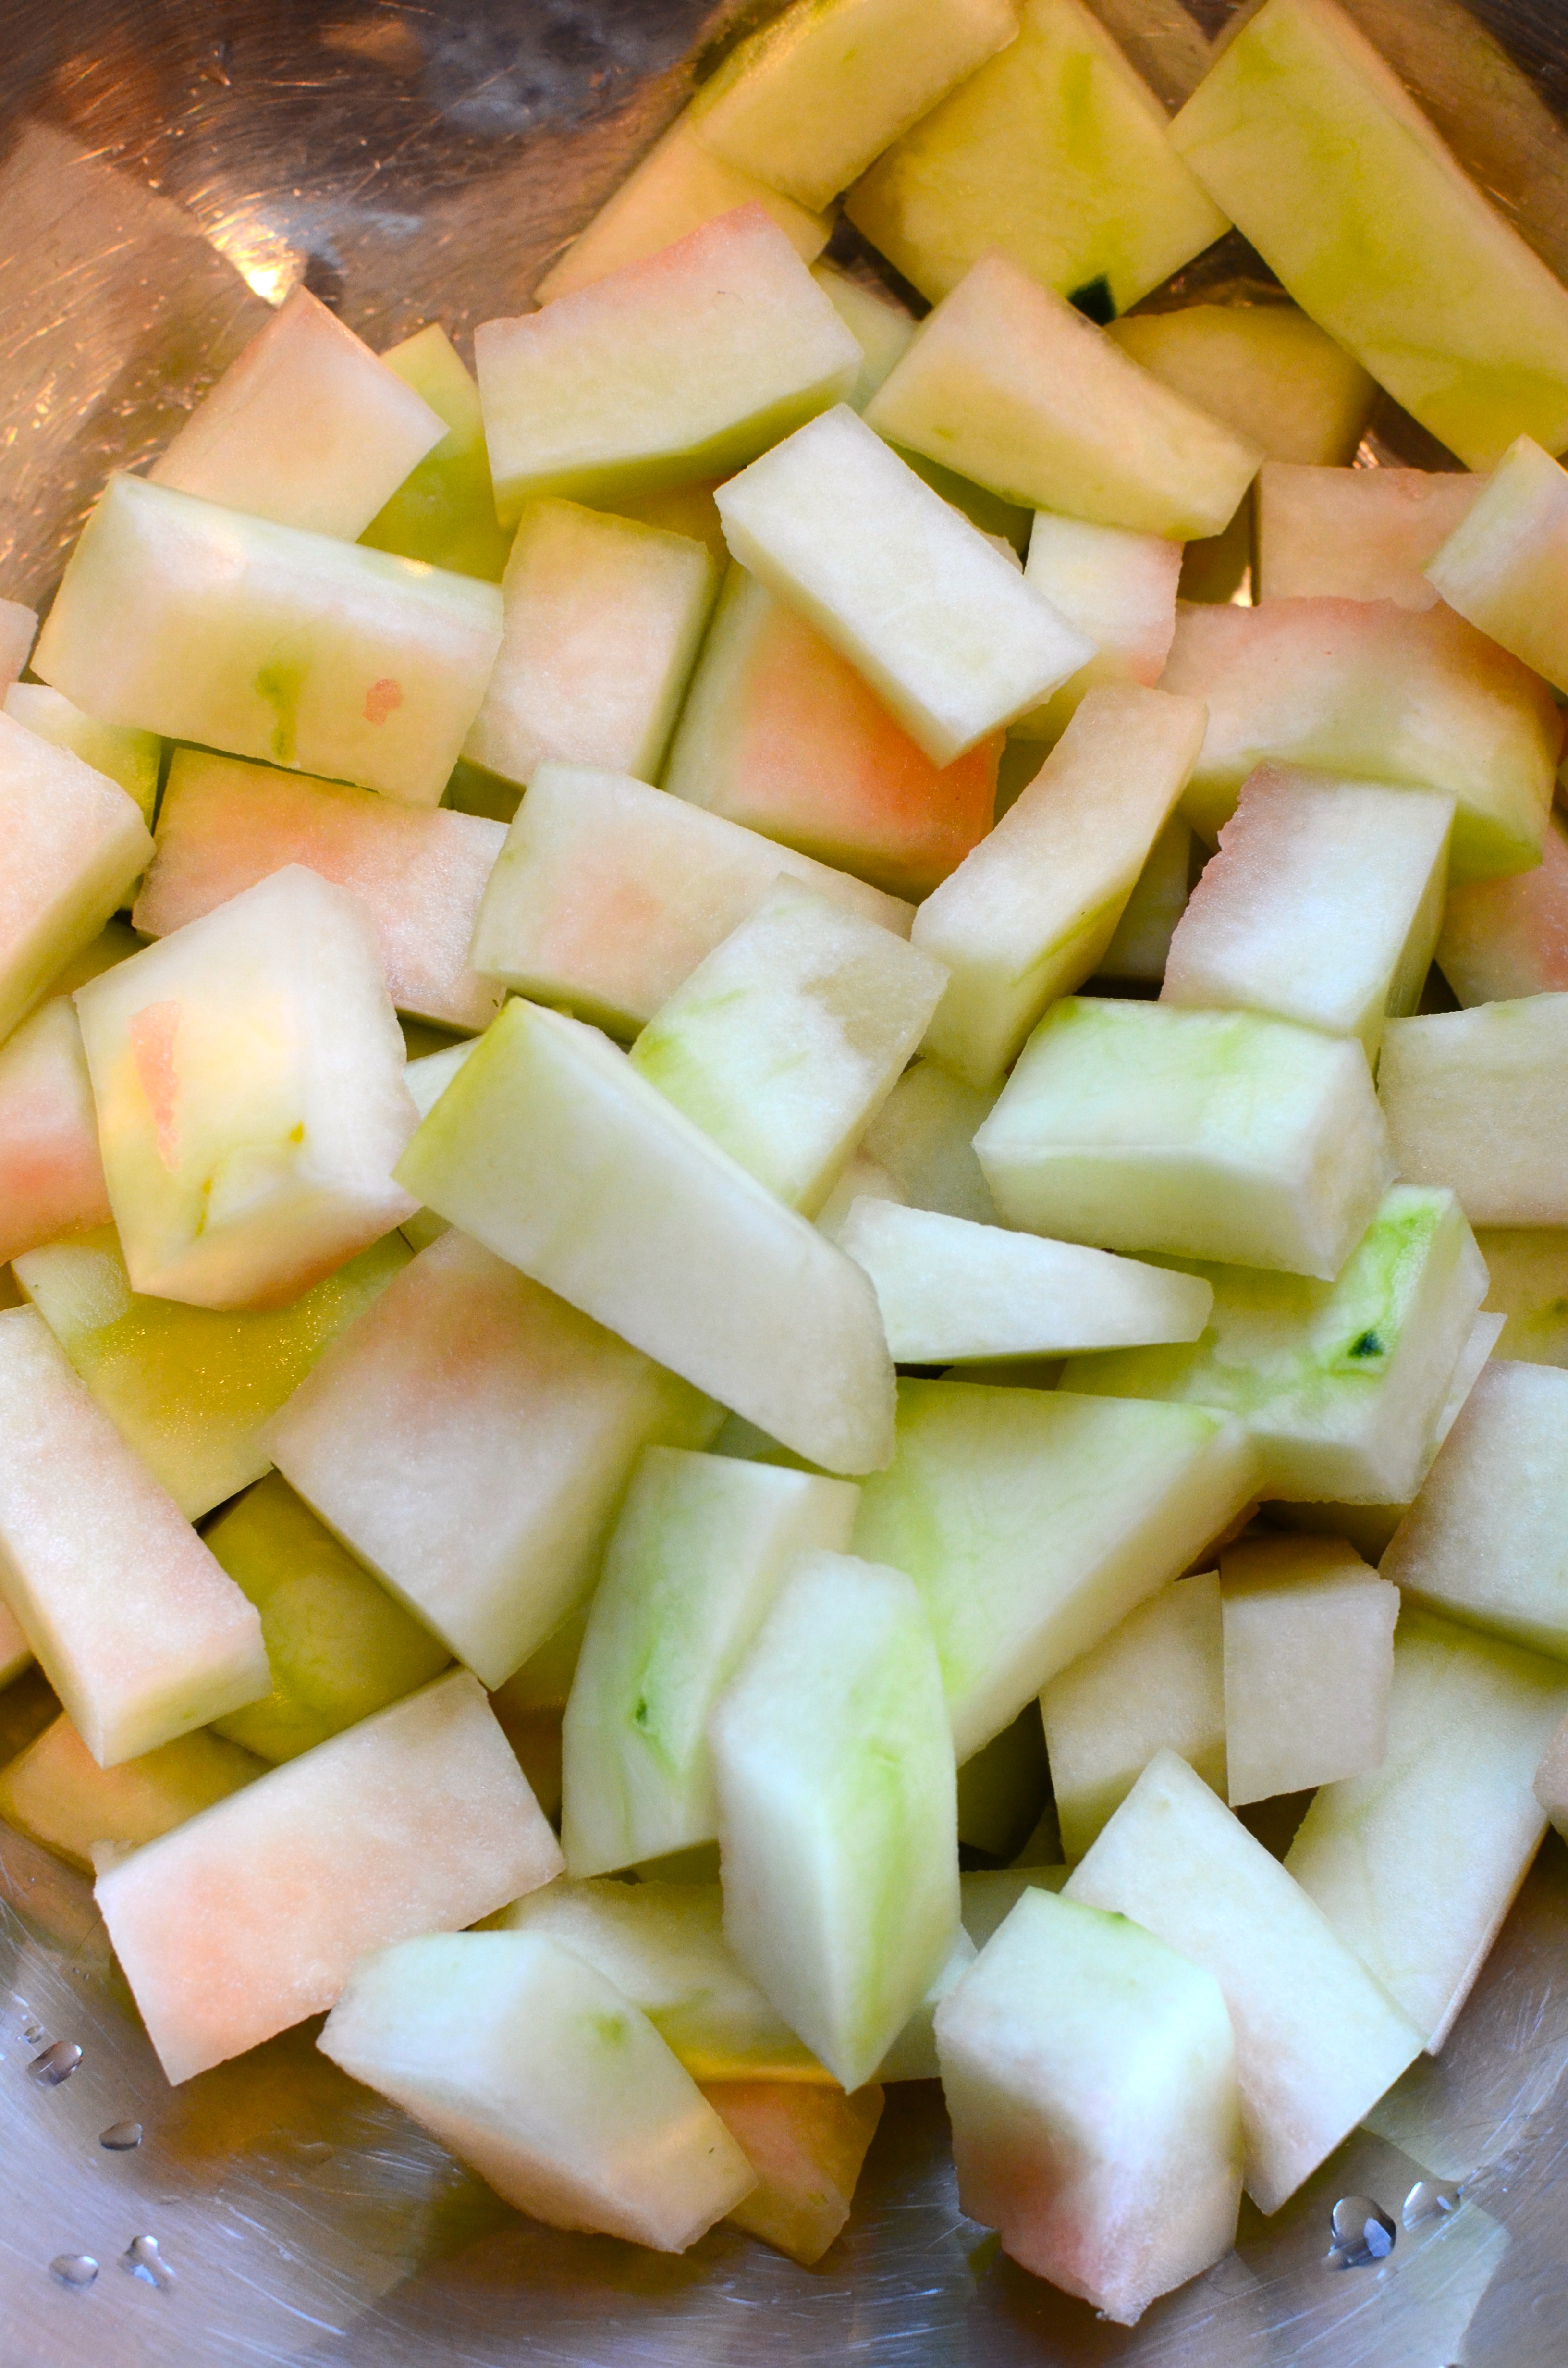
Next you will need to peel the outer hard rind from the softer white portion. It took a fair amount of muscle power and time to remove the green shell. I used a combination of peeler and knife. Your knife should be very sharp for this, and it’s important to be very careful. Cut away from yourself and always keep hands and fingers behind the direction you are cutting!

After 5 minutes of labor, the green parts were gone. The next step is to remove any remaining pink, and slice into 1 to 2 inch by 3/4″ pieces. This took about 7 minutes.

Final weigh in? 1 pound 8.6 ounces of rind. So 1 pound was still going to the compost, but if I had planned to use the whole watermelon’s rind (which would make more pickles than I would know what to do with), I would have saved more than 5 pounds.
Make a brine by dissolving 1/4 cup of salt into 1 quart of water.
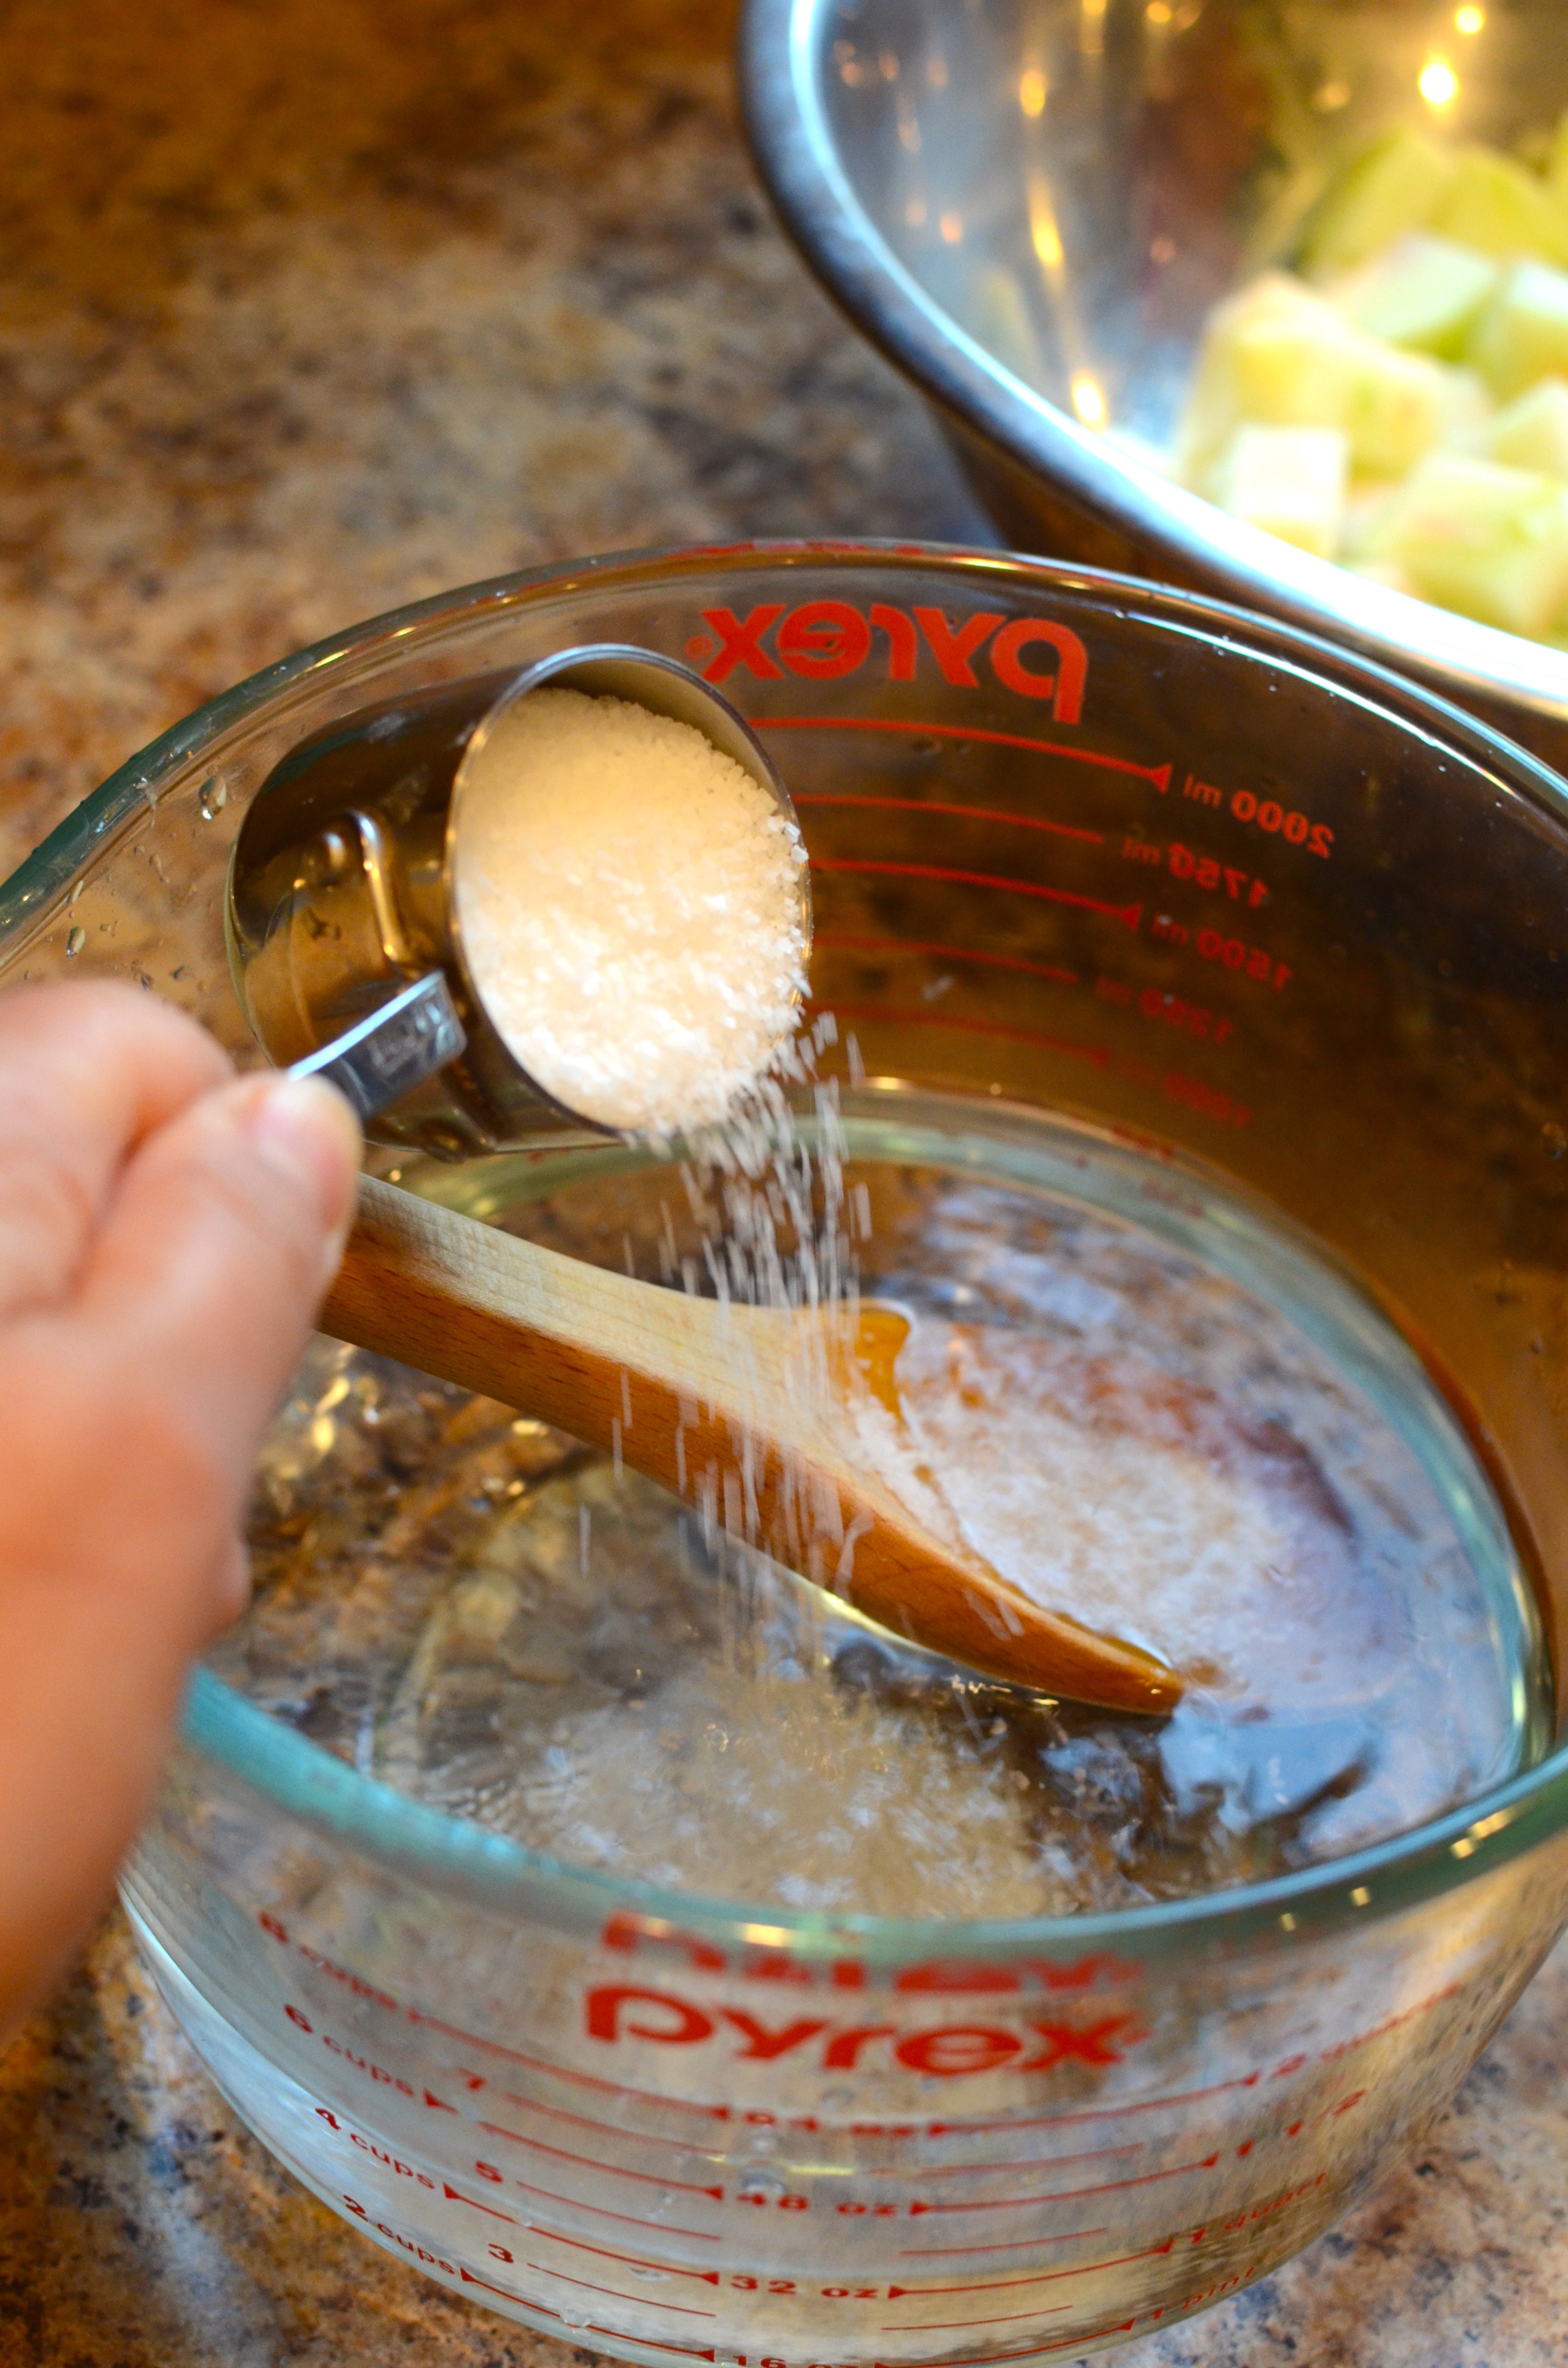
I could have used less for this rind, and you may need to scale up for more.
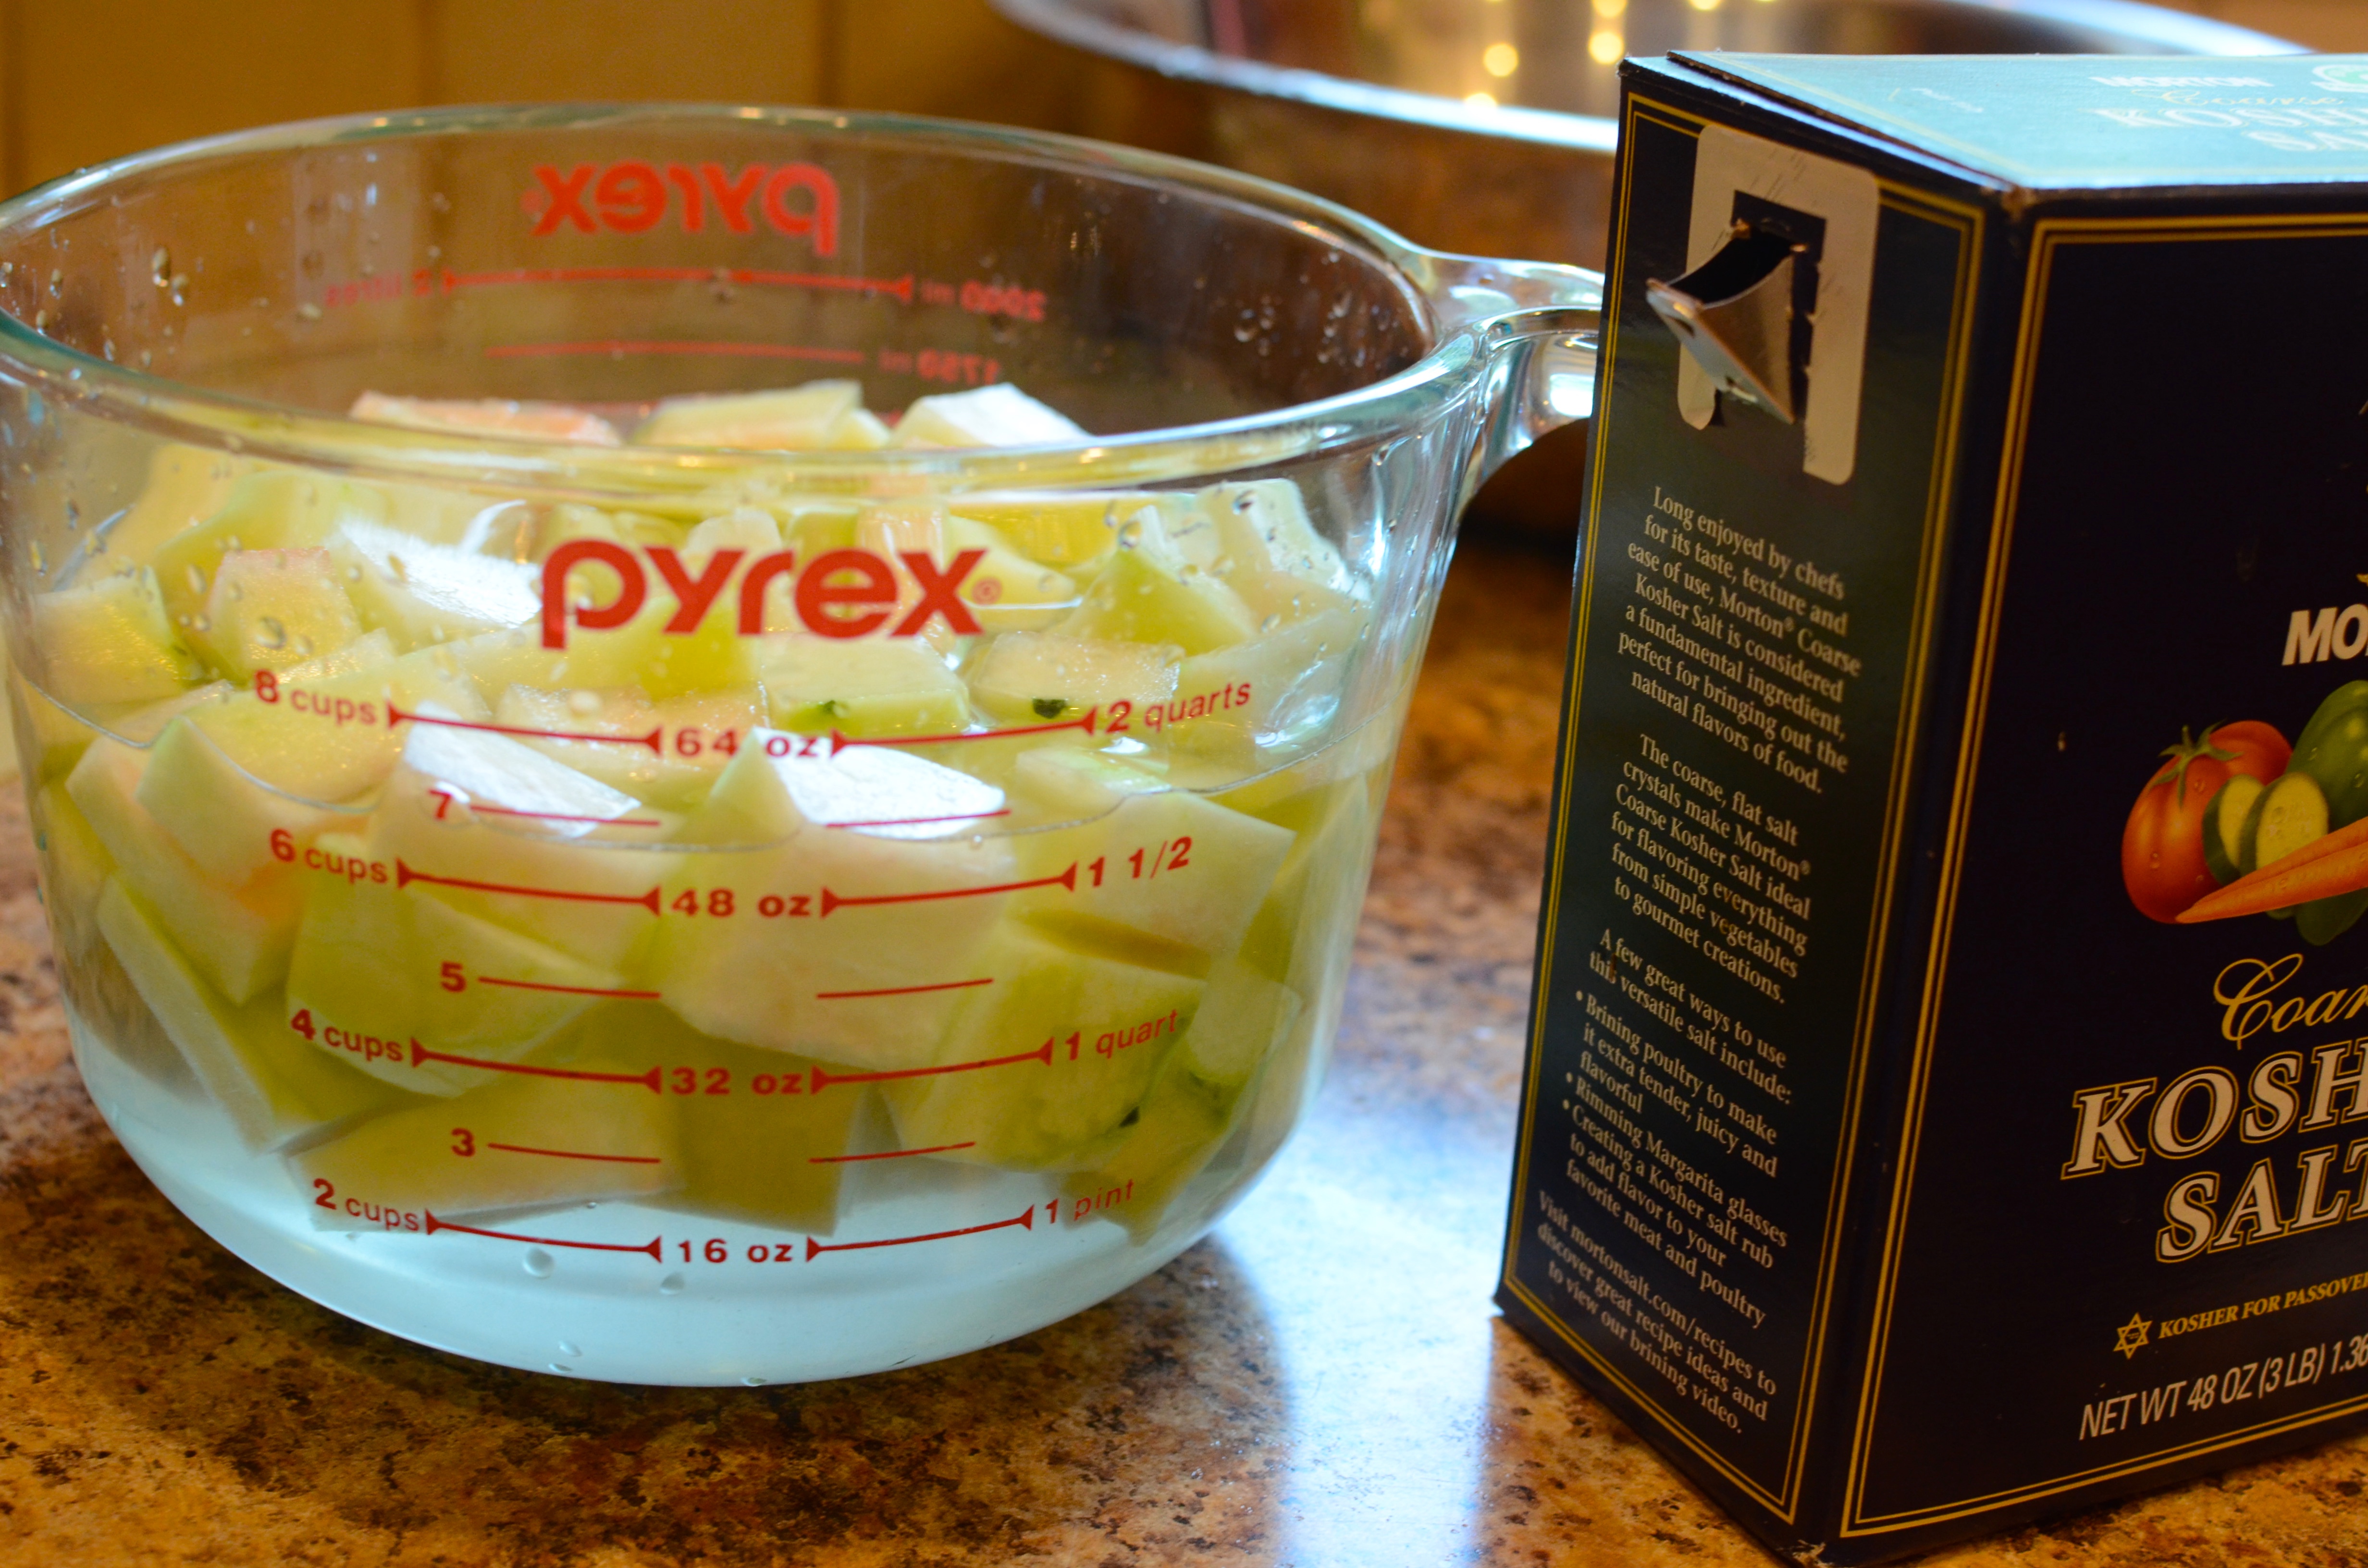
Allow to brine in refrigerator overnight.
Drain and rinse soaked watermelon rind.
At this point, I used the scale of 0.375 to approximate the other ingredients: allspice, cloves, cinnamon, and lemon. I could have scaled down a little less on the sugar, water, and vinegar that made up the syrup; in the end it would have helped to have more for inside the jars.

If you’d like, combine the spices together in a cheesecloth.
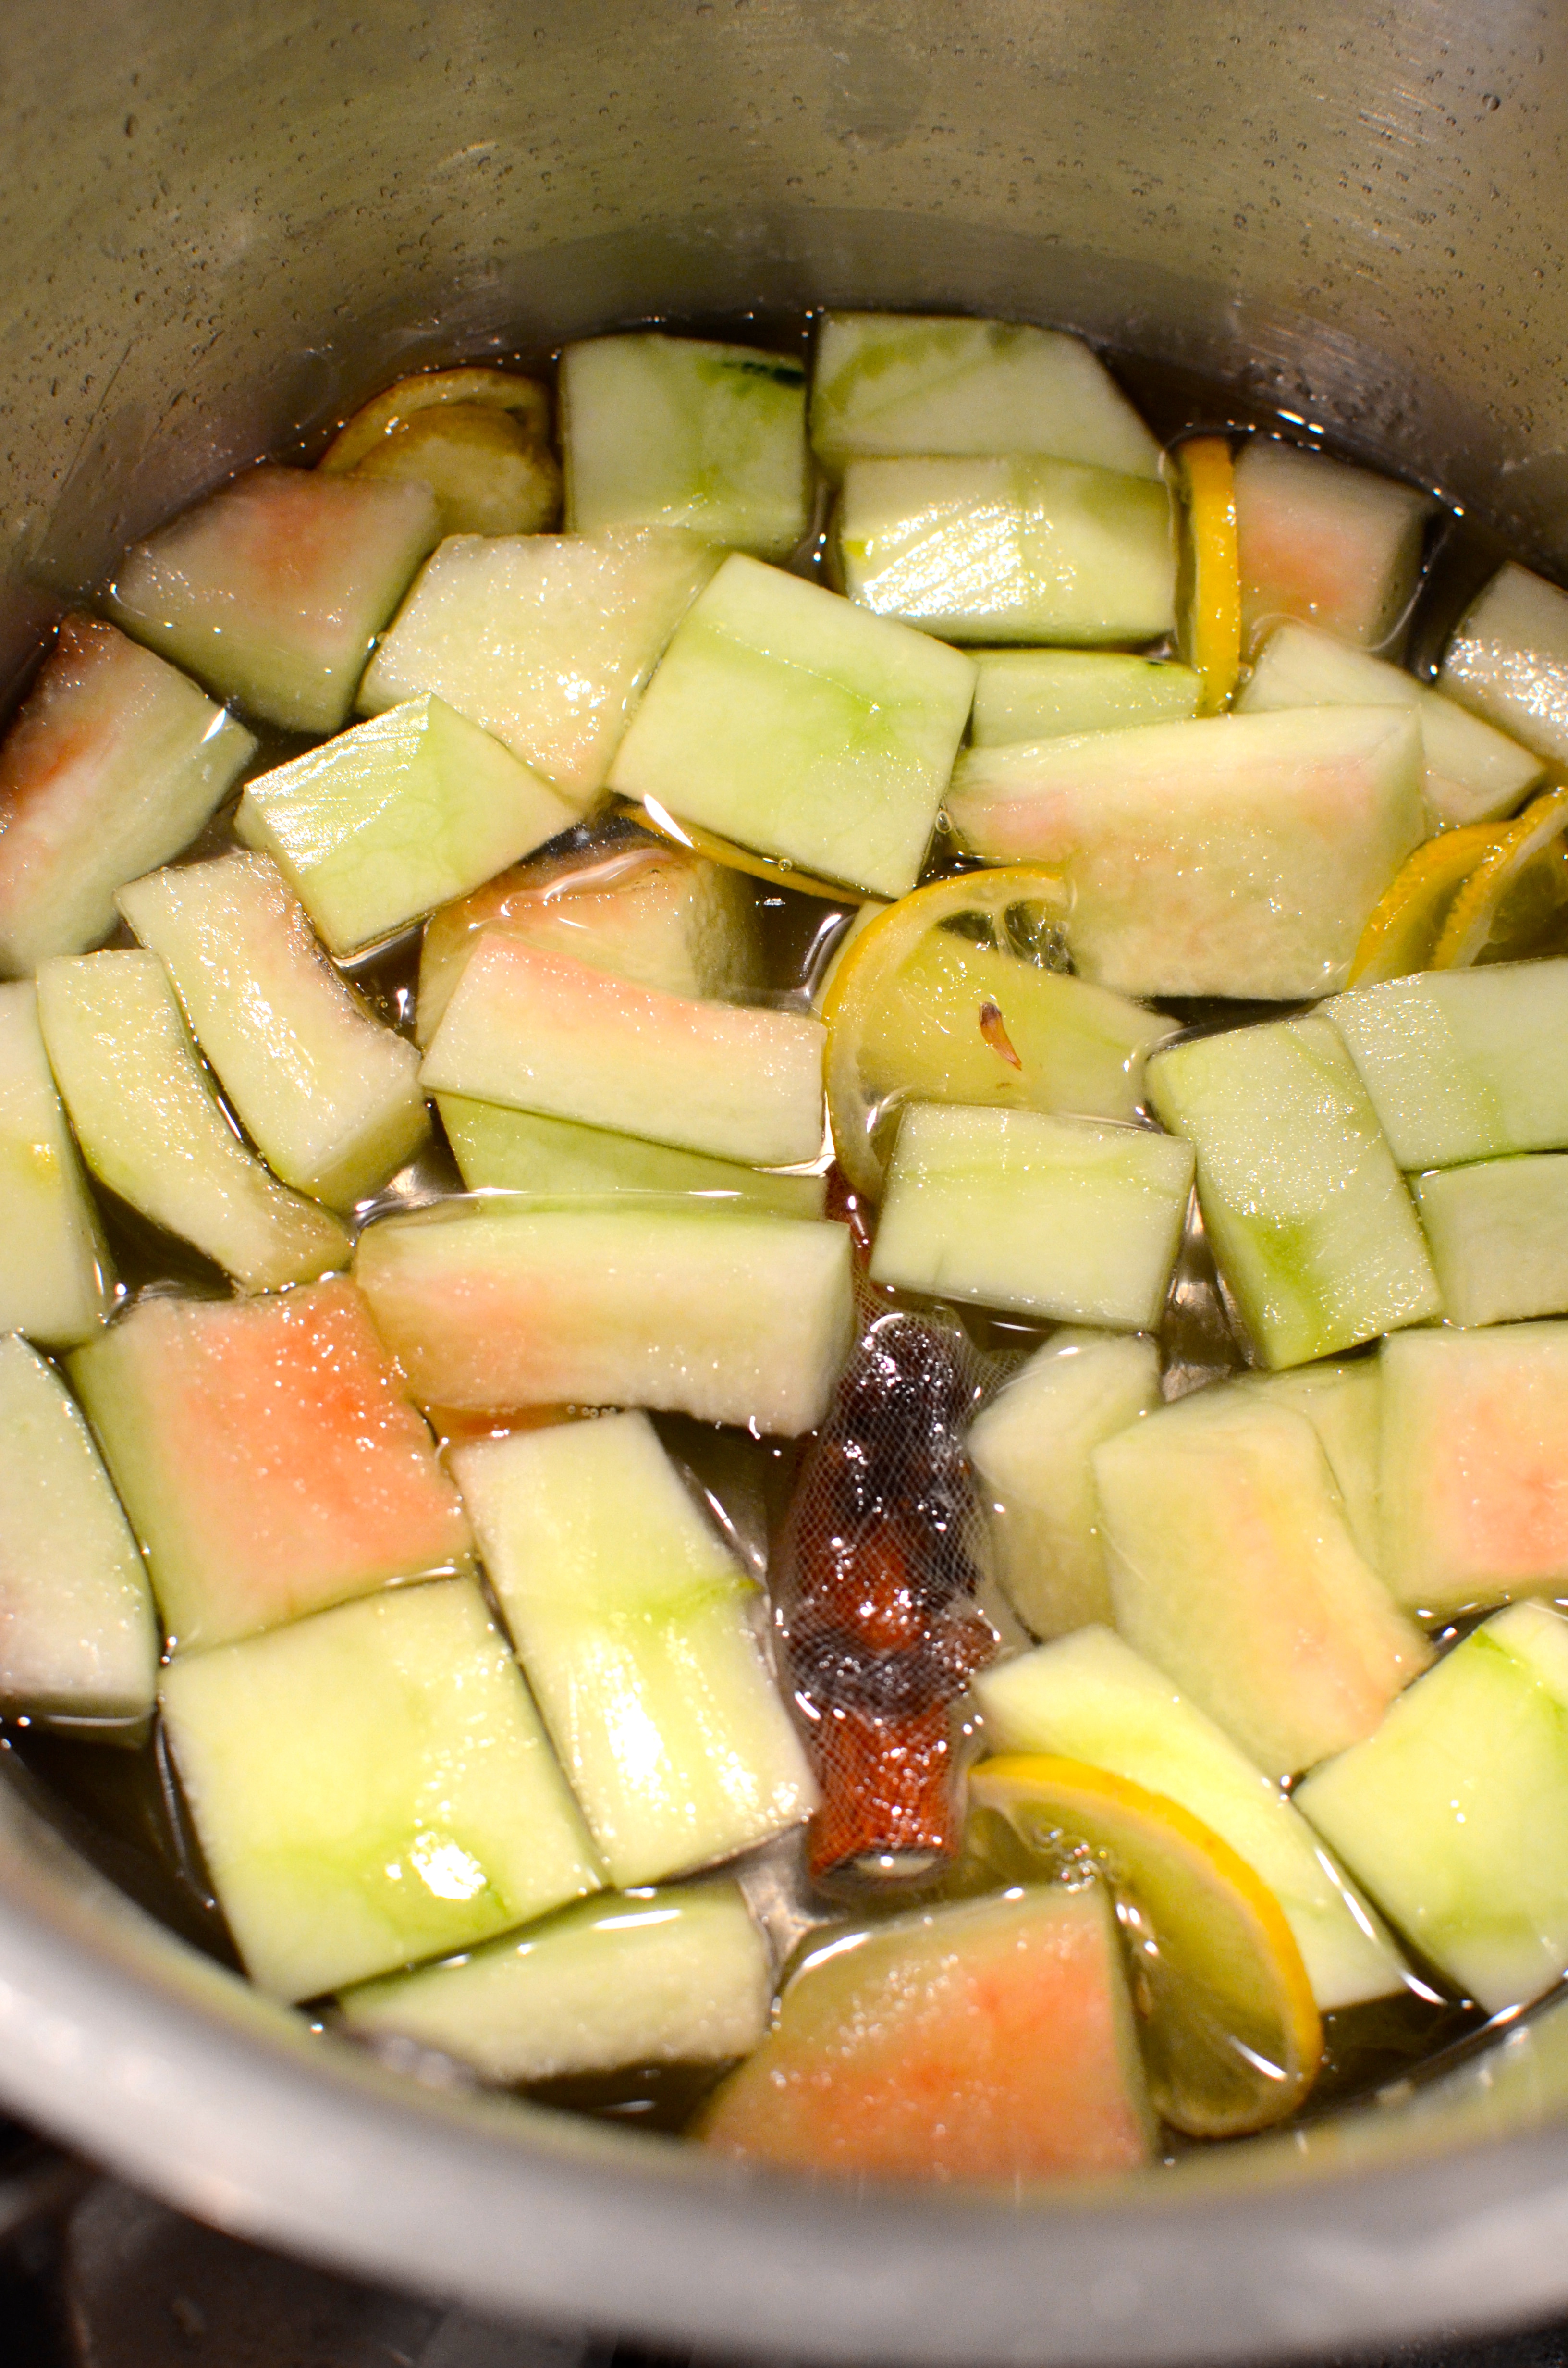
Combine the syrup and spice ingredients and bring to a boil for about 5 minutes.
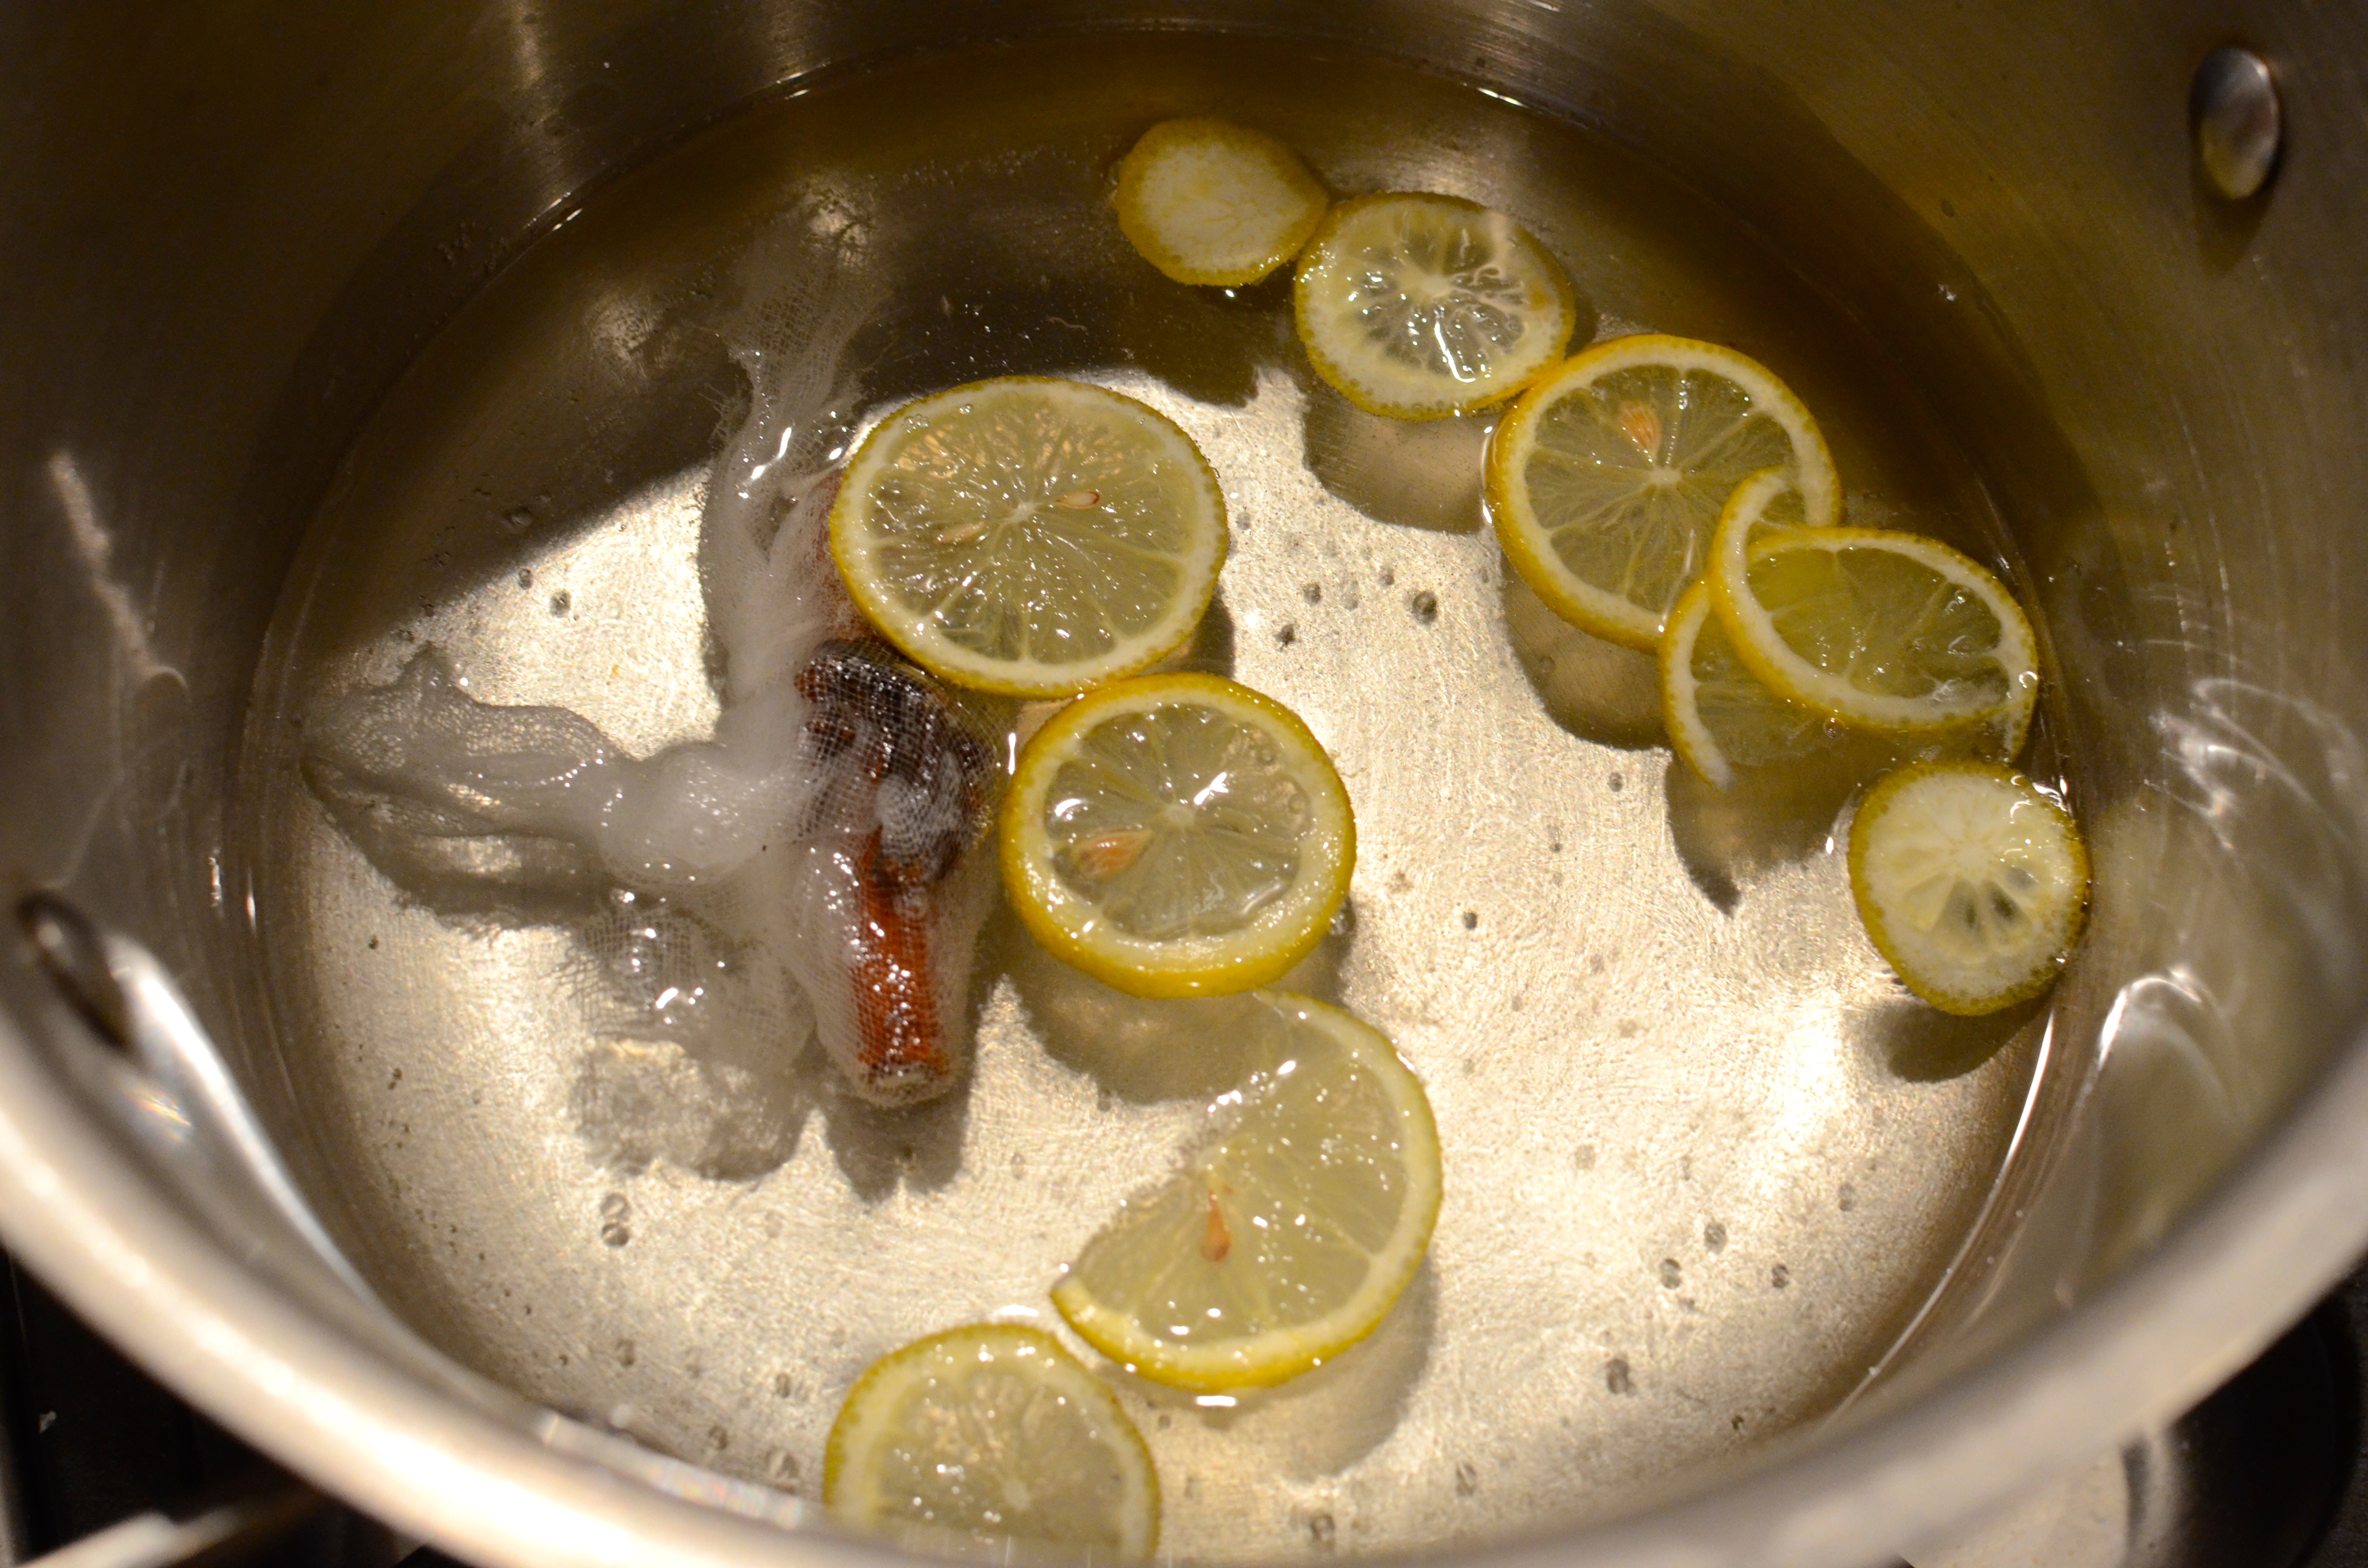
Add half of the rind and simmer until it becomes translucent. It took about 36 minutes for my first batch.

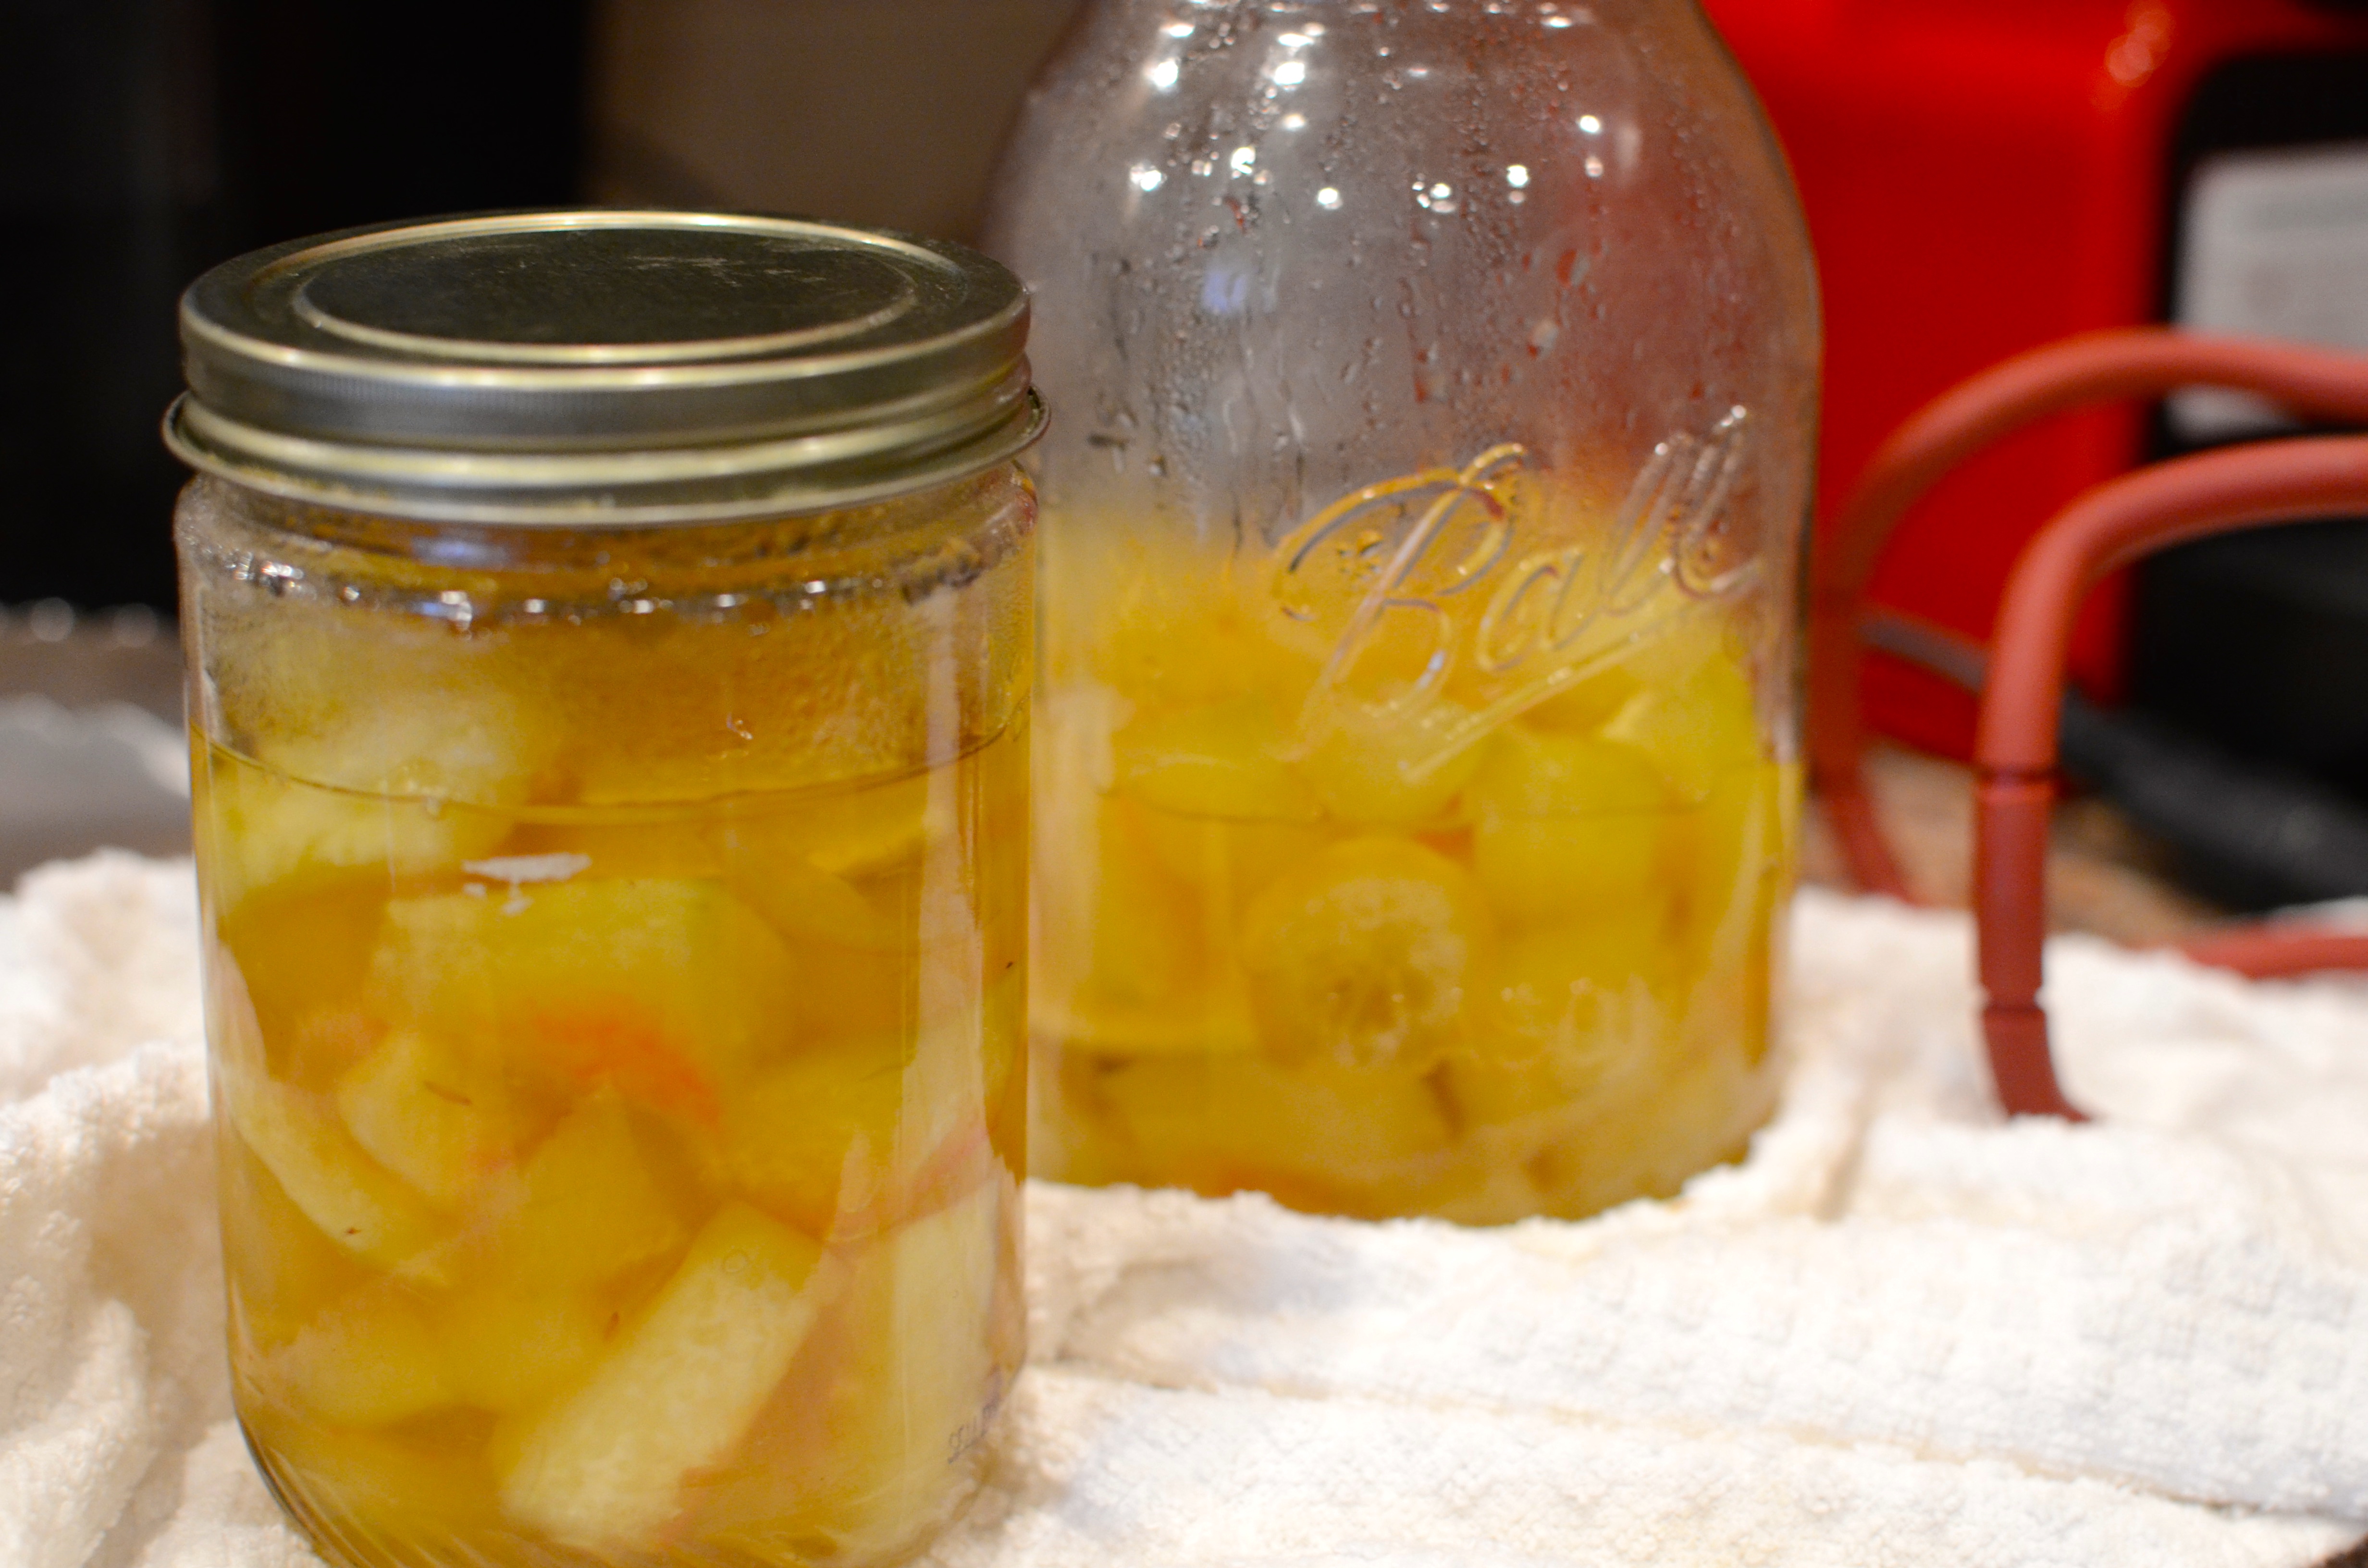
Spoon rind out of the pan and into a clean jar. Be sure to sterilize, if you plan on preserving longer term.

Repeat the simmering step with remaining rind.
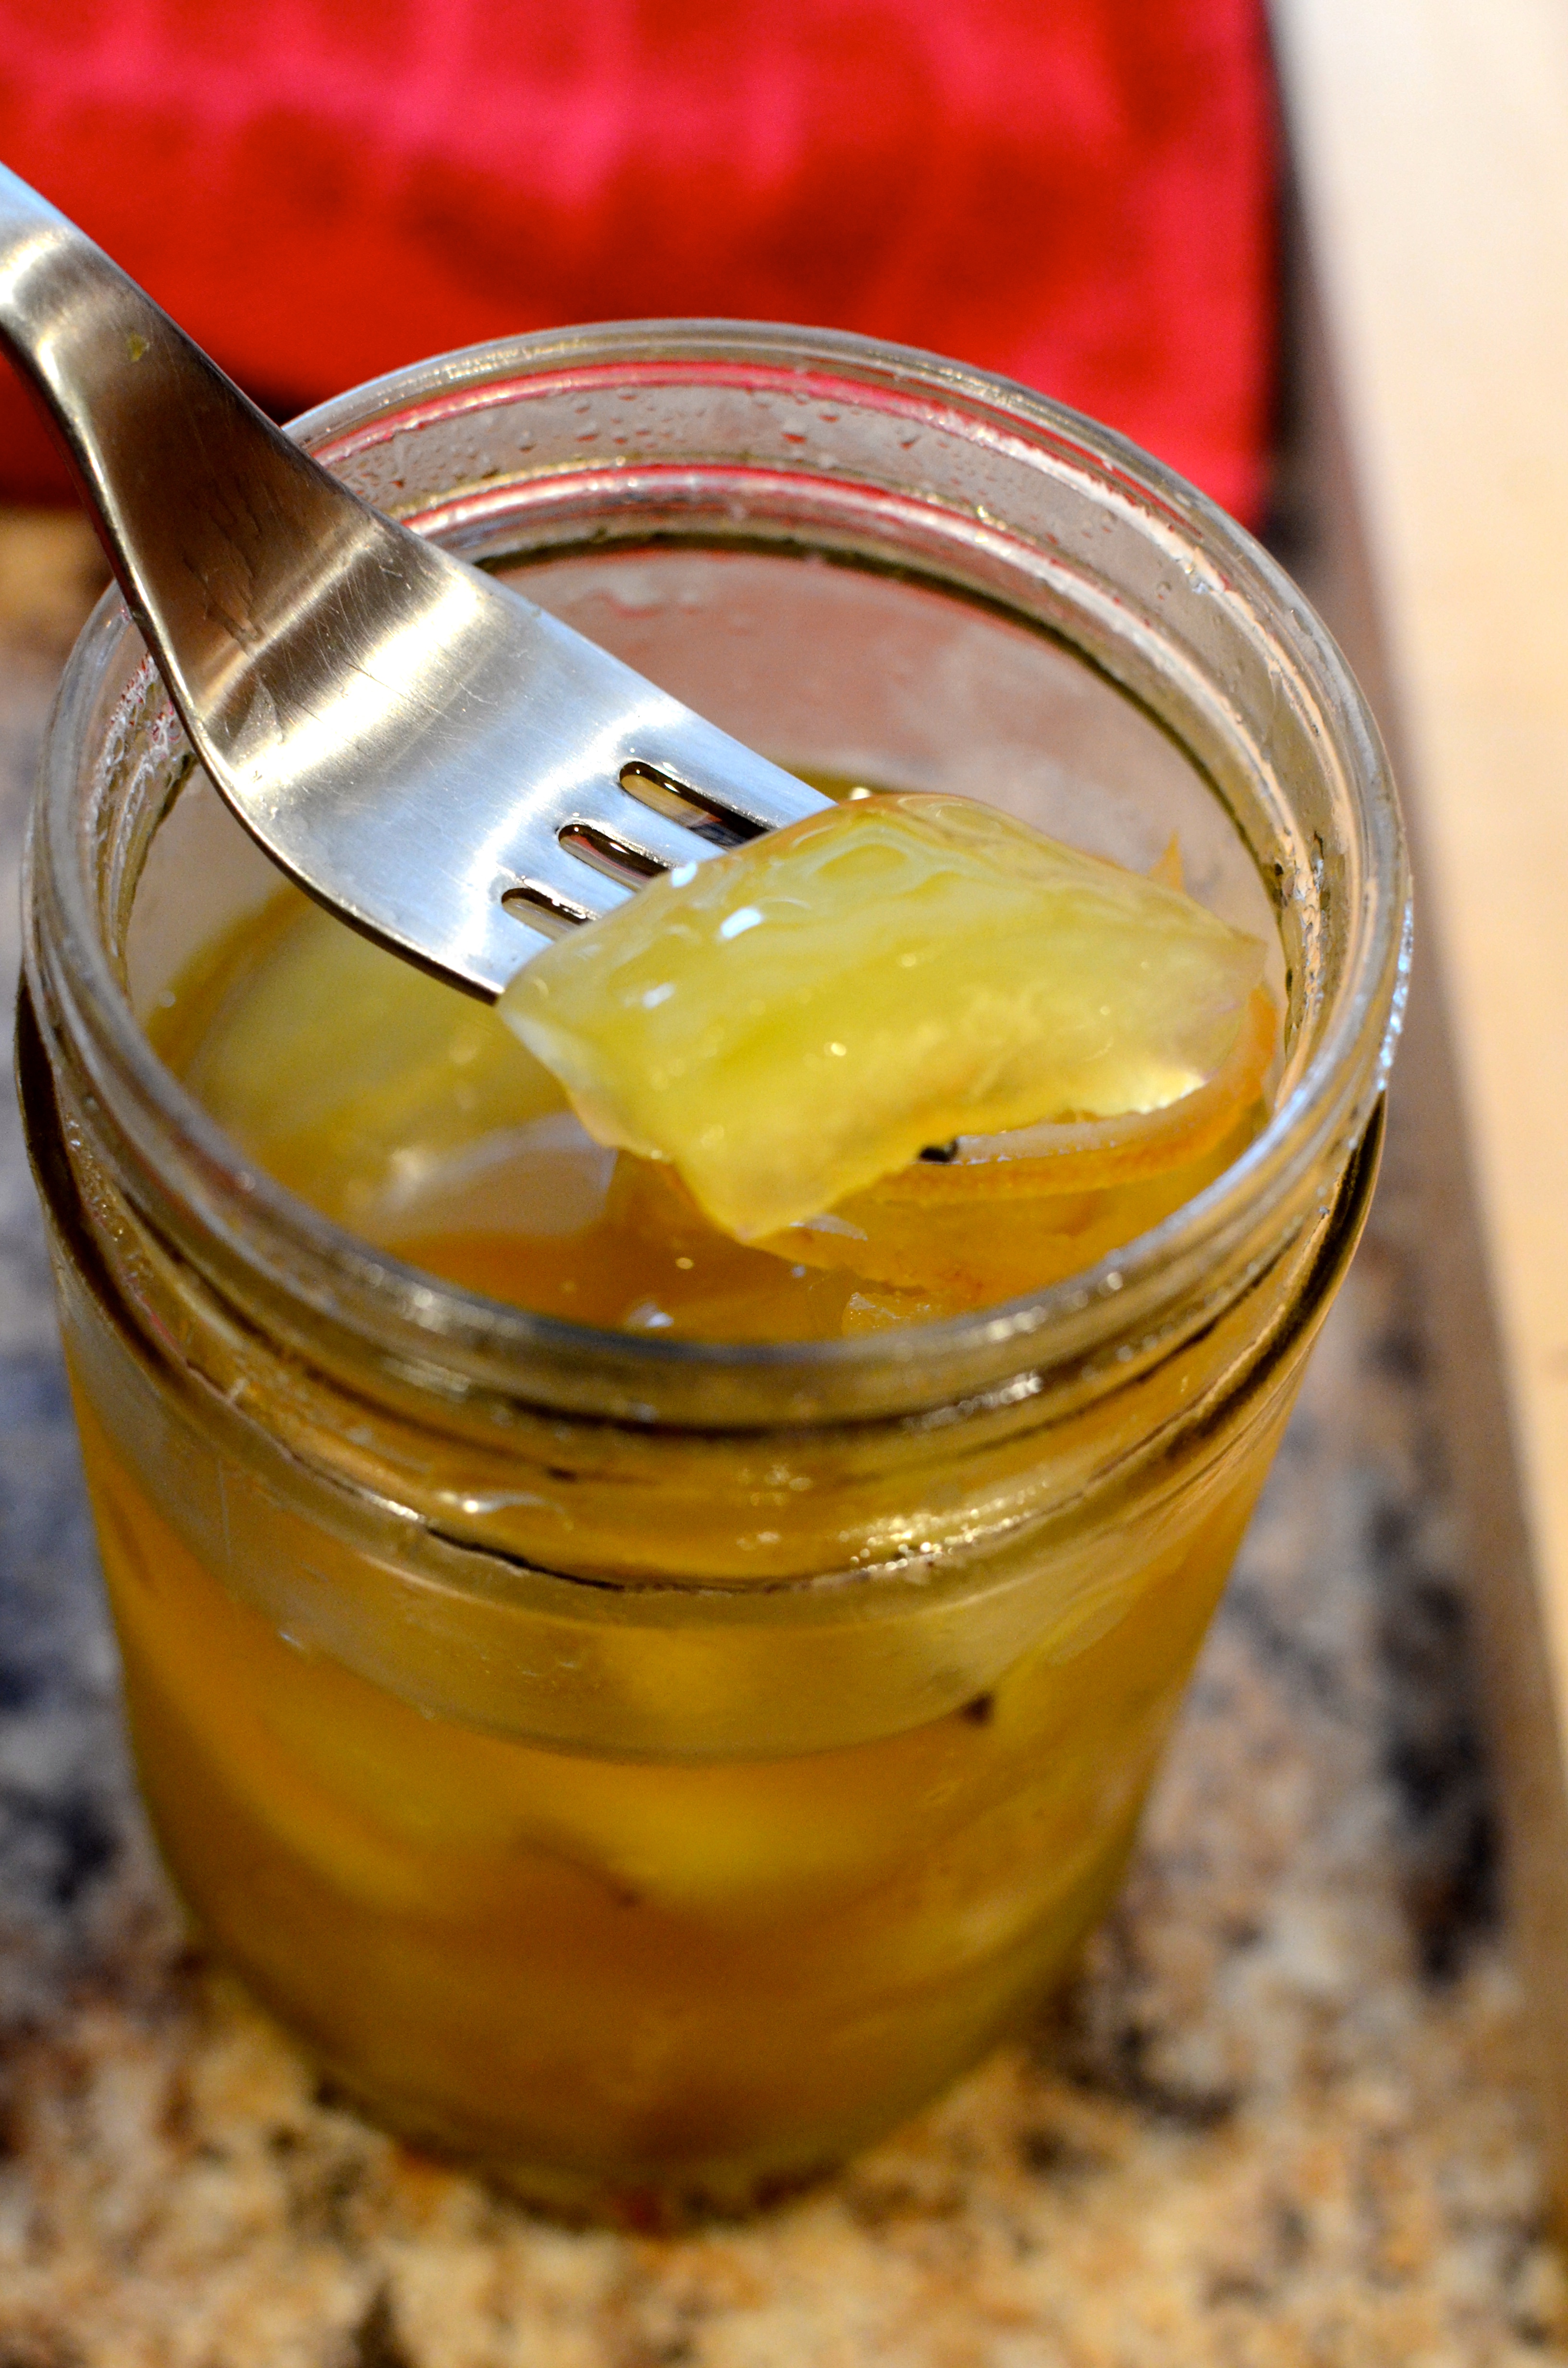
Remove spice satchel and discard. Pour boiling syrup to cover the rind in jars. Why not include the lemon?
Taste test results: Not bad. The cloves were a little more noticeable than I would like (I’ve complained about this before). Otherwise, the flavor resembled those Vlasic sweet and crunchy pickles, which were once the only type I could tolerate.
Looking for other ideas for the watermelon flesh? Real Simple posted this yesterday:

onethread design via Real Simple
Returning to the topic of ice cream….this same week, I thought I better make some before National Ice Cream month ends!
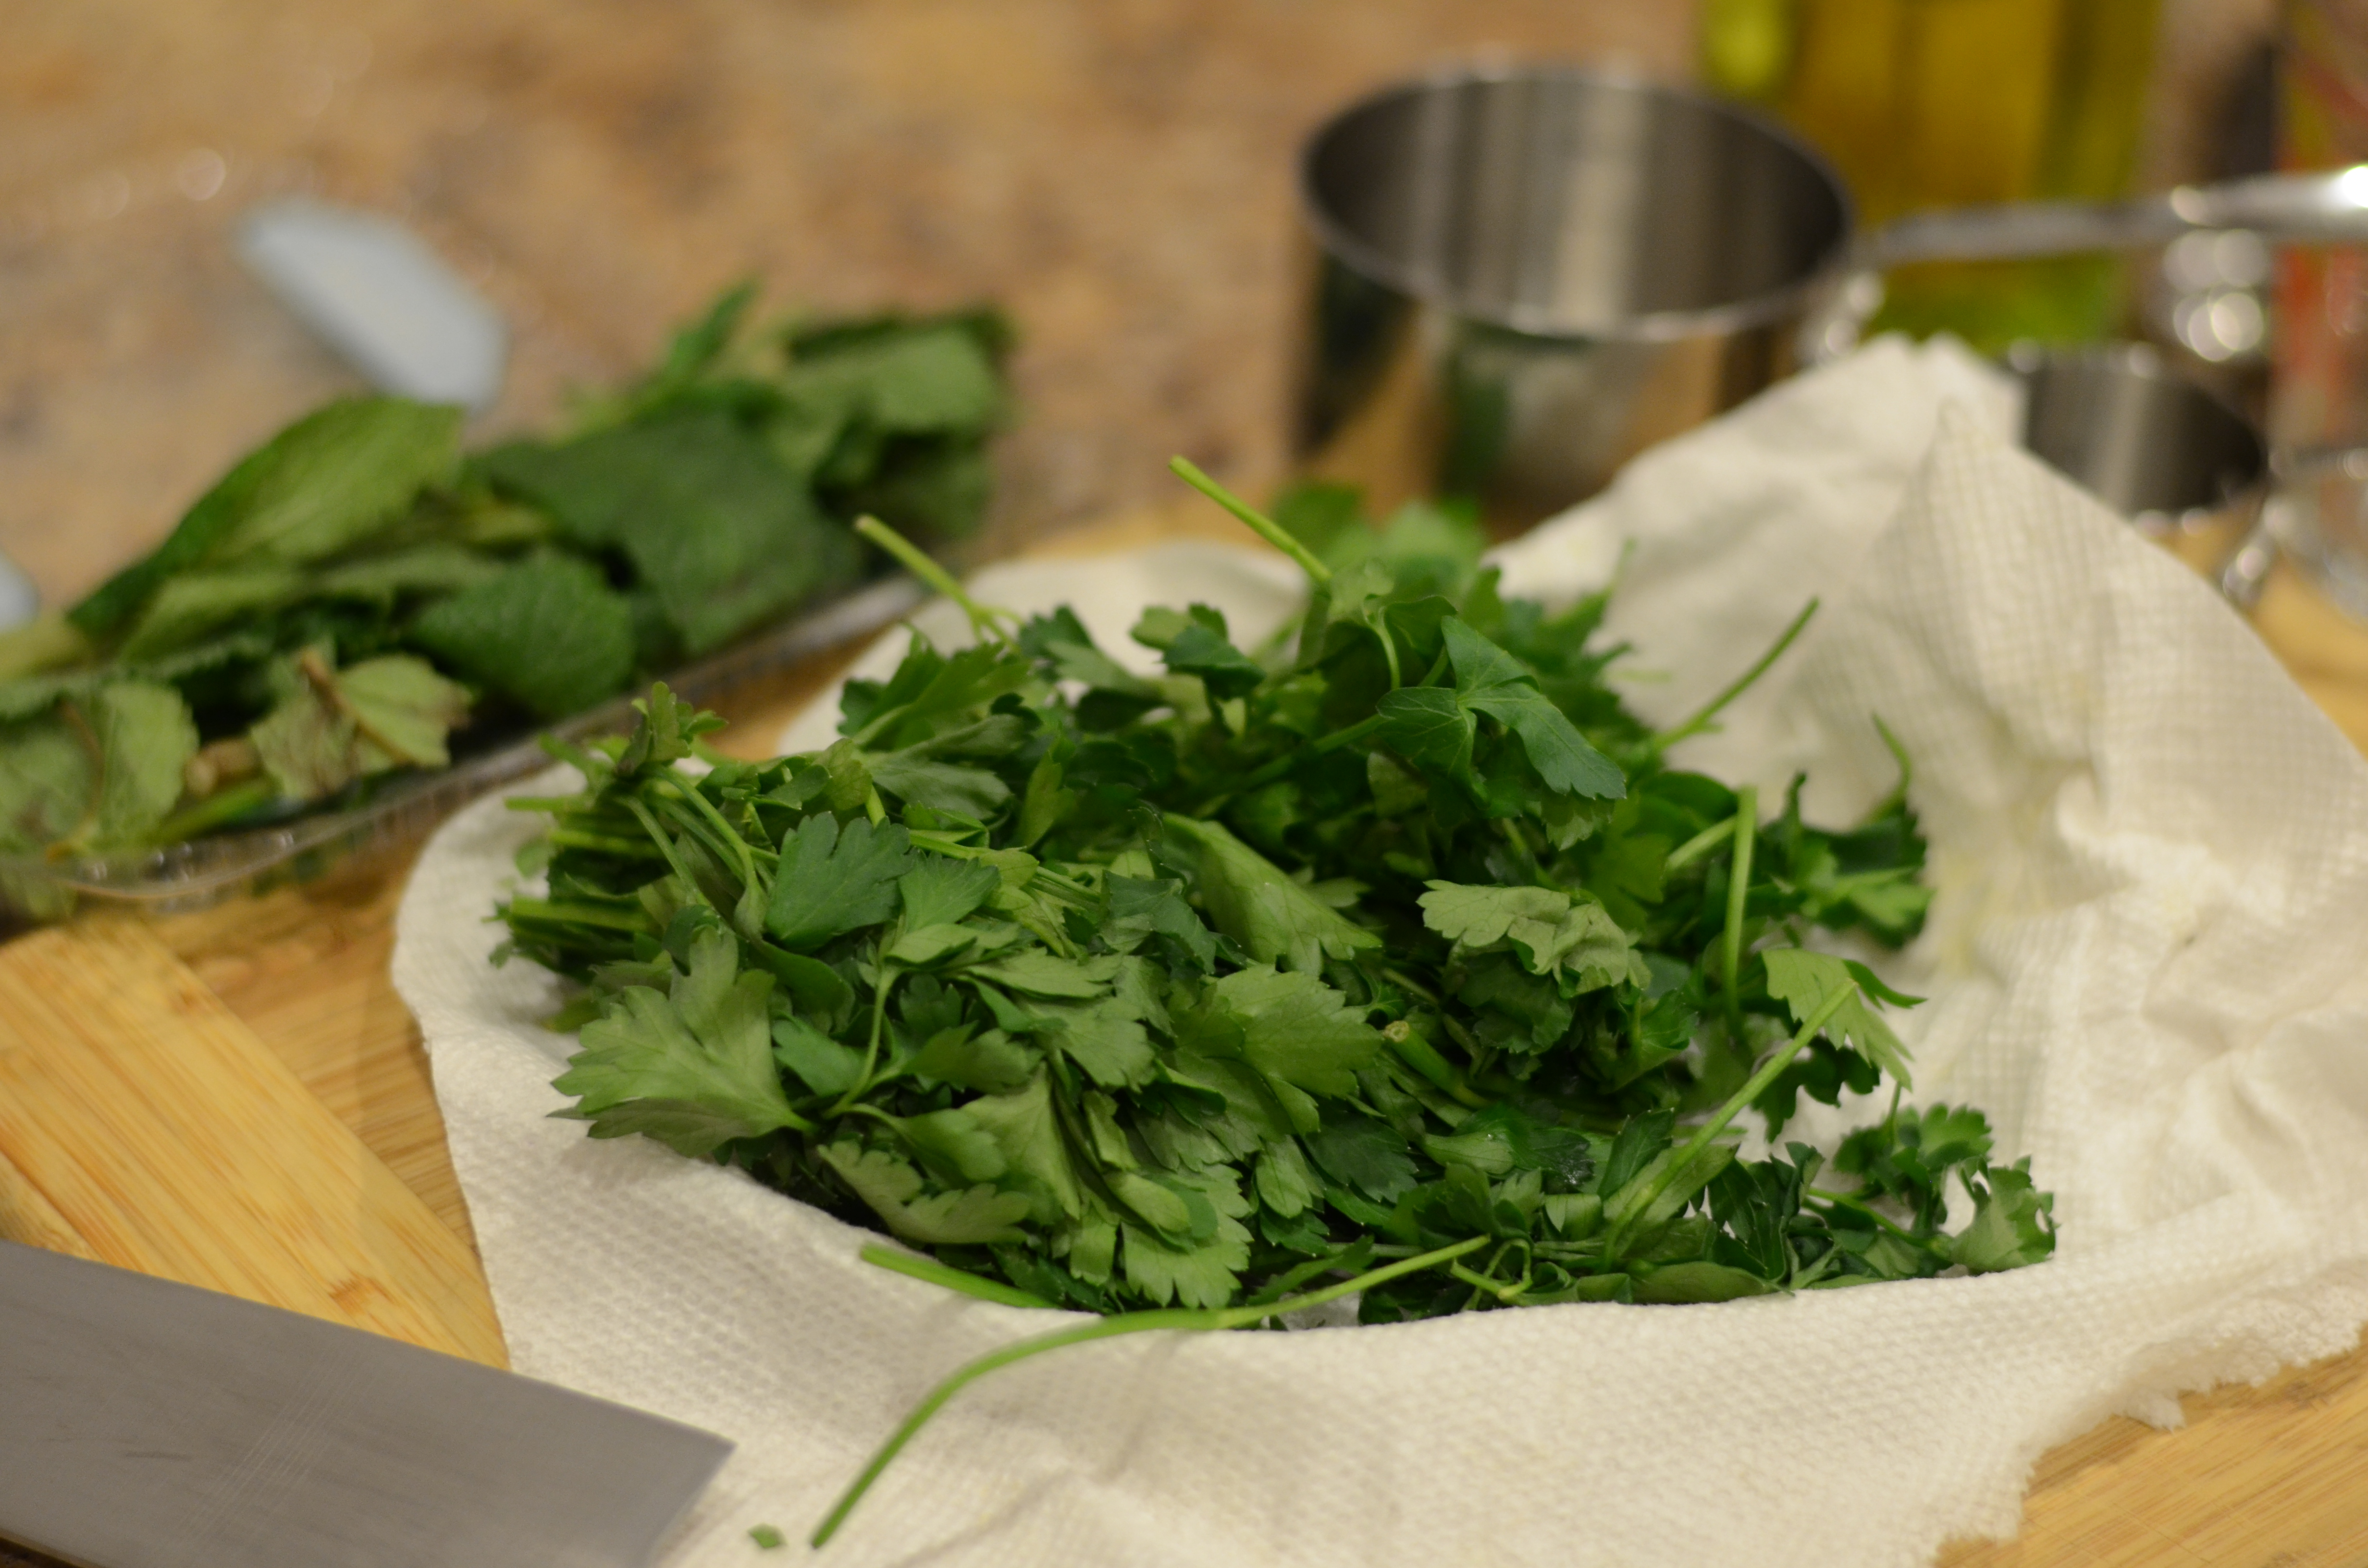
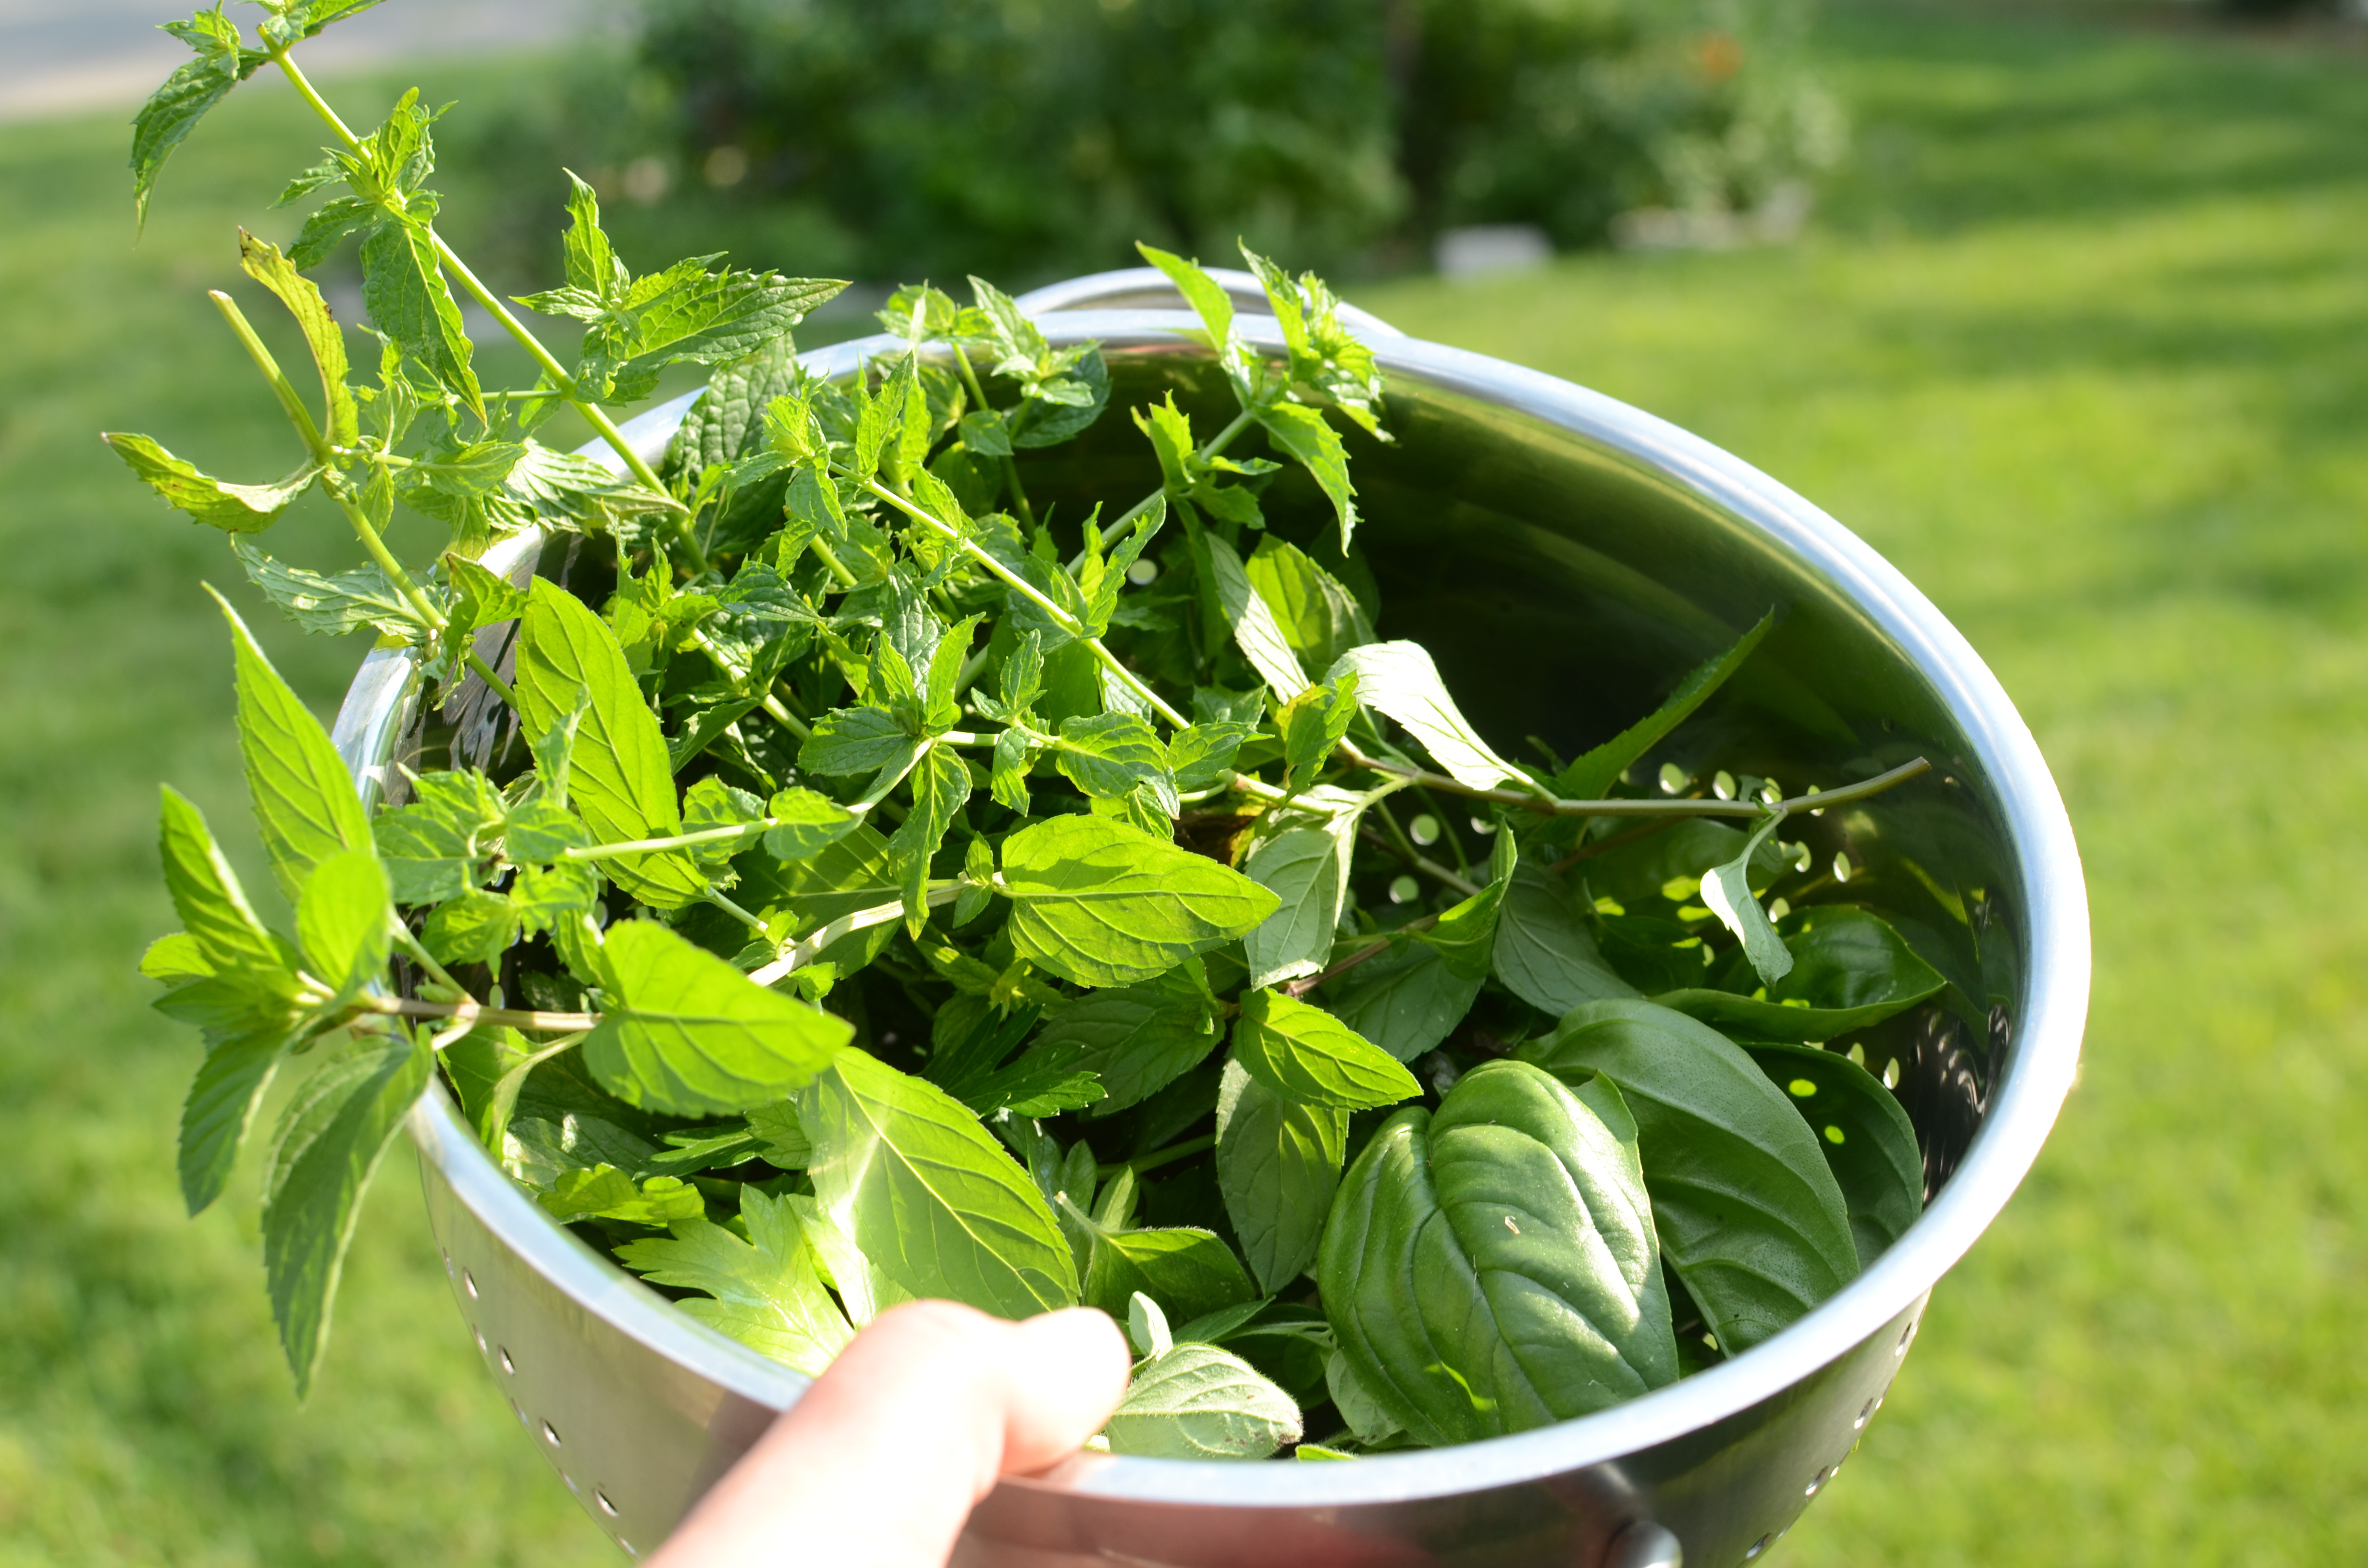
Ice cream (or sorbet) is another dish that can incorporate whatever you have around. Even cucumber. This time, I’m went to the herbs in my garden, and incorporated them into a rich base made with egg yolks.

Is tomato ice cream in my future?
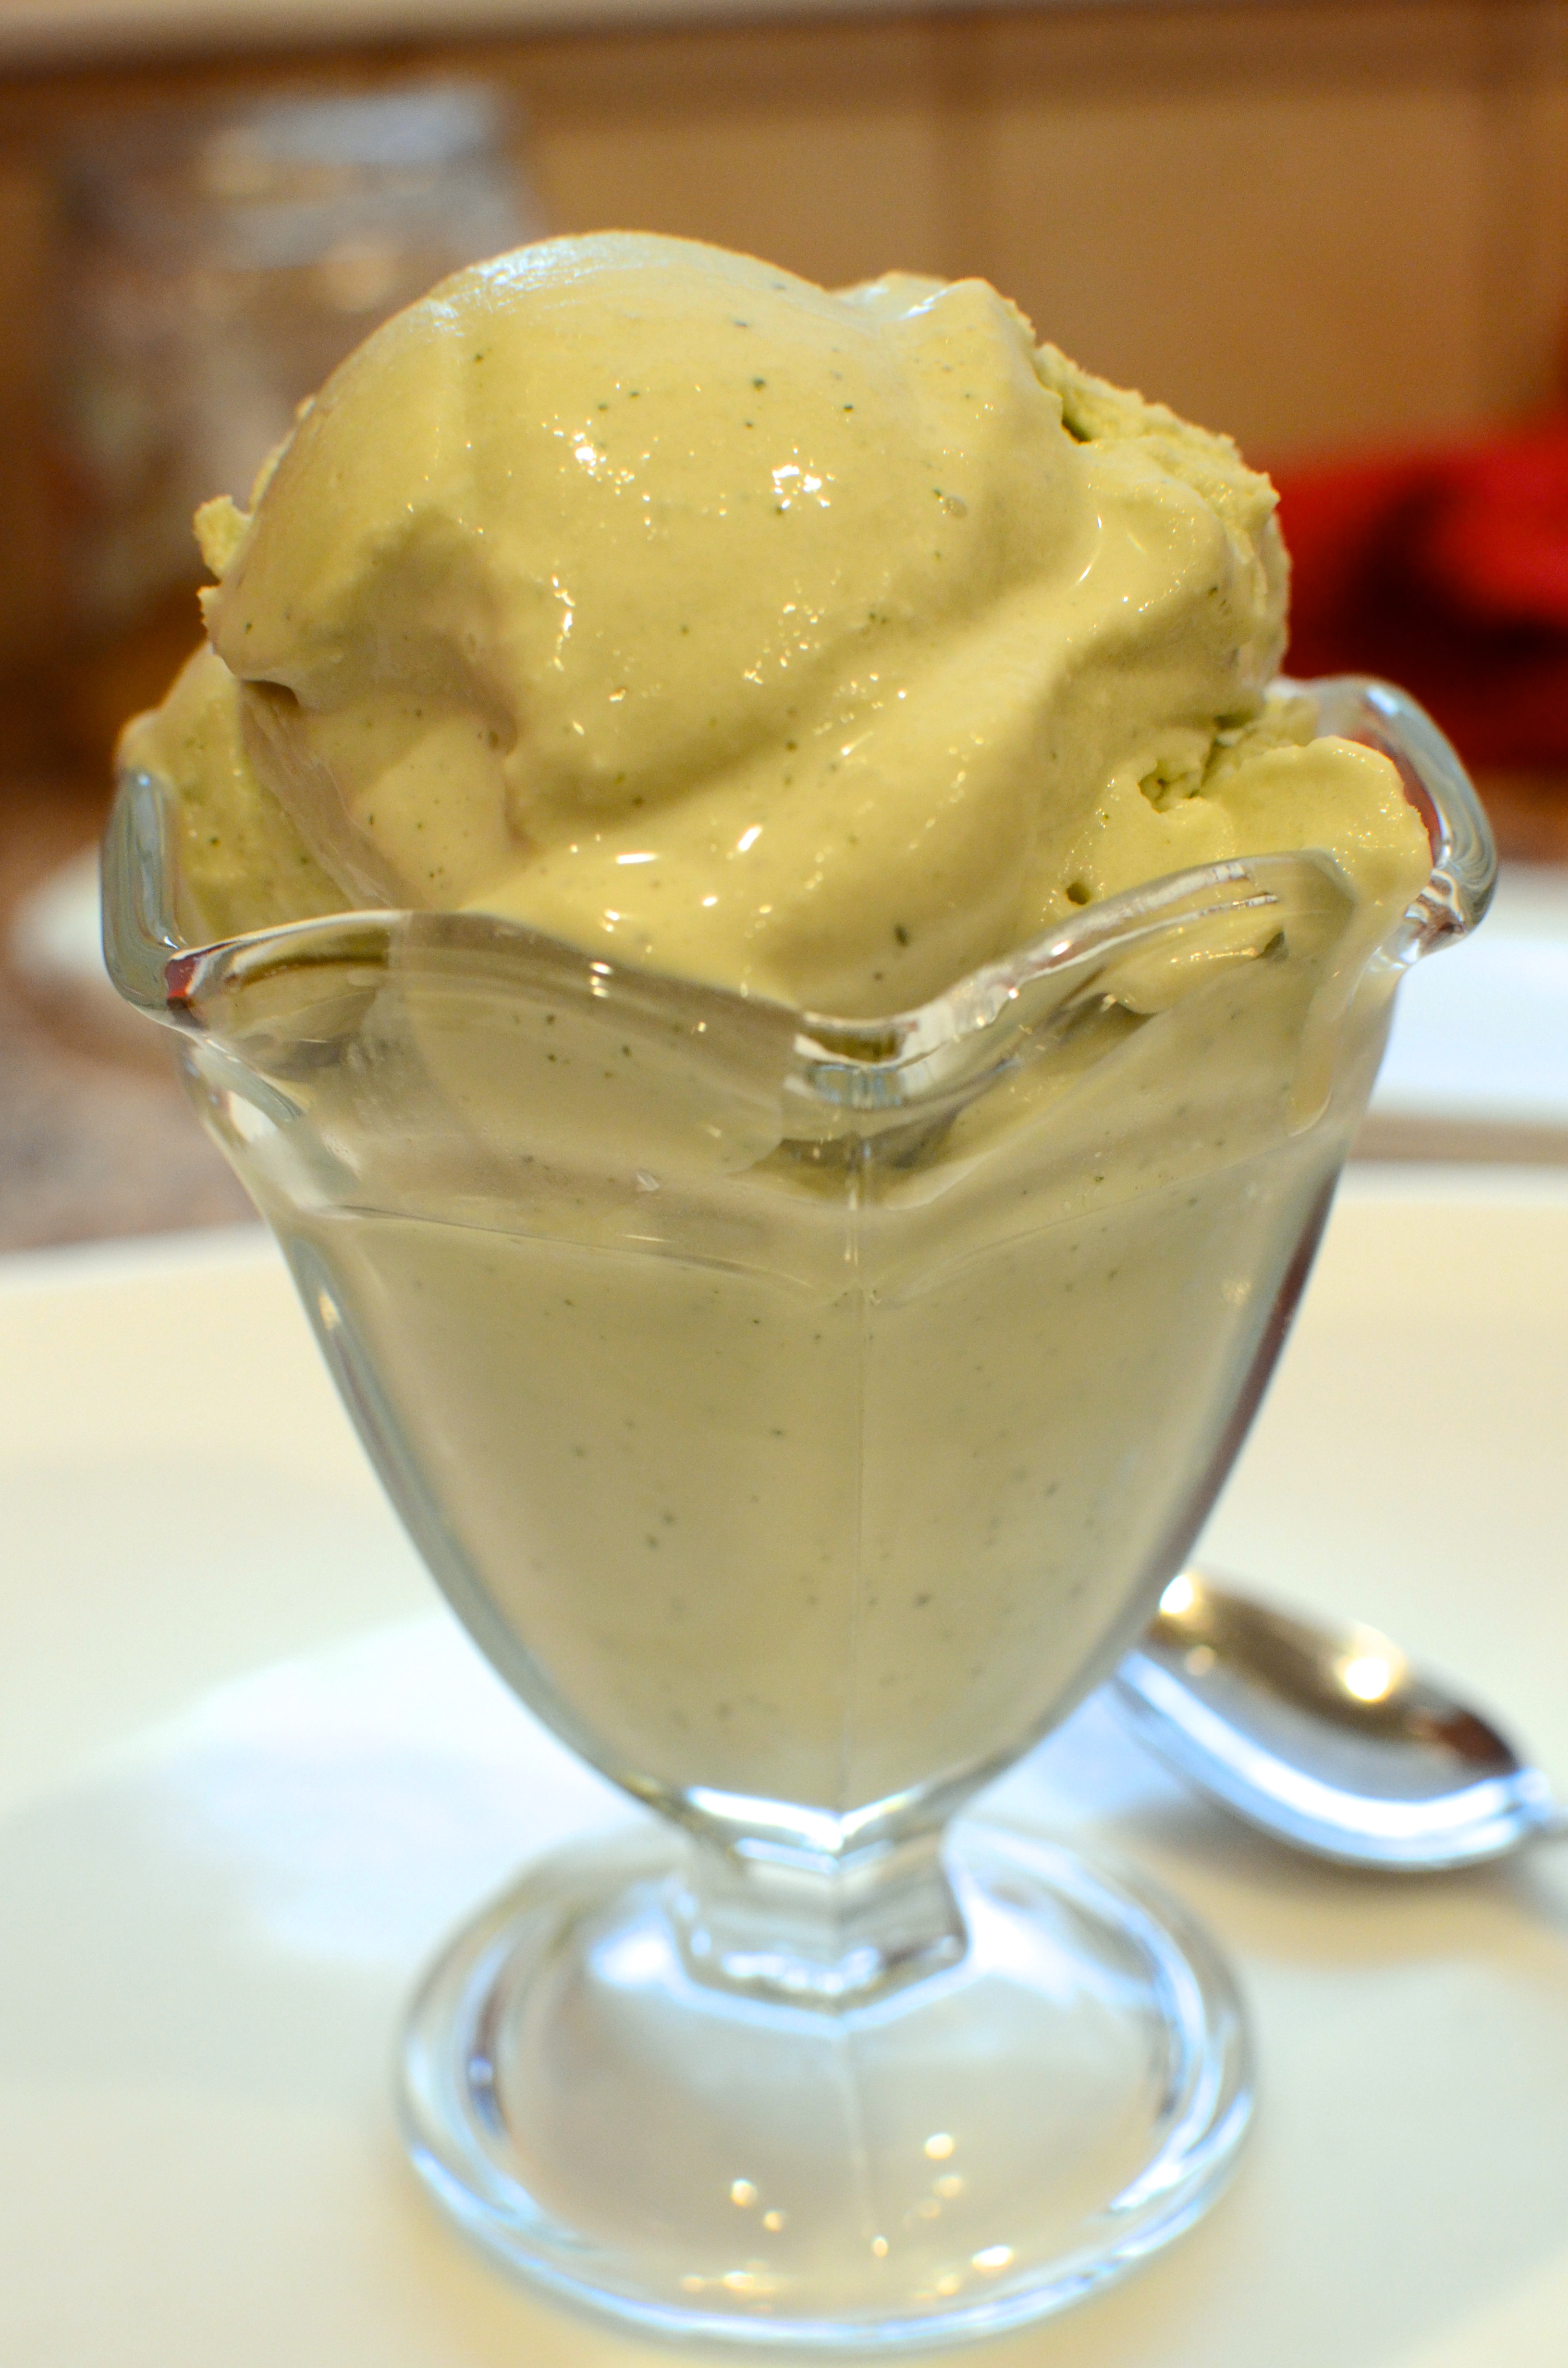
Mint Ice Cream
Adapted from Melissa Clark’s New York Times recipe
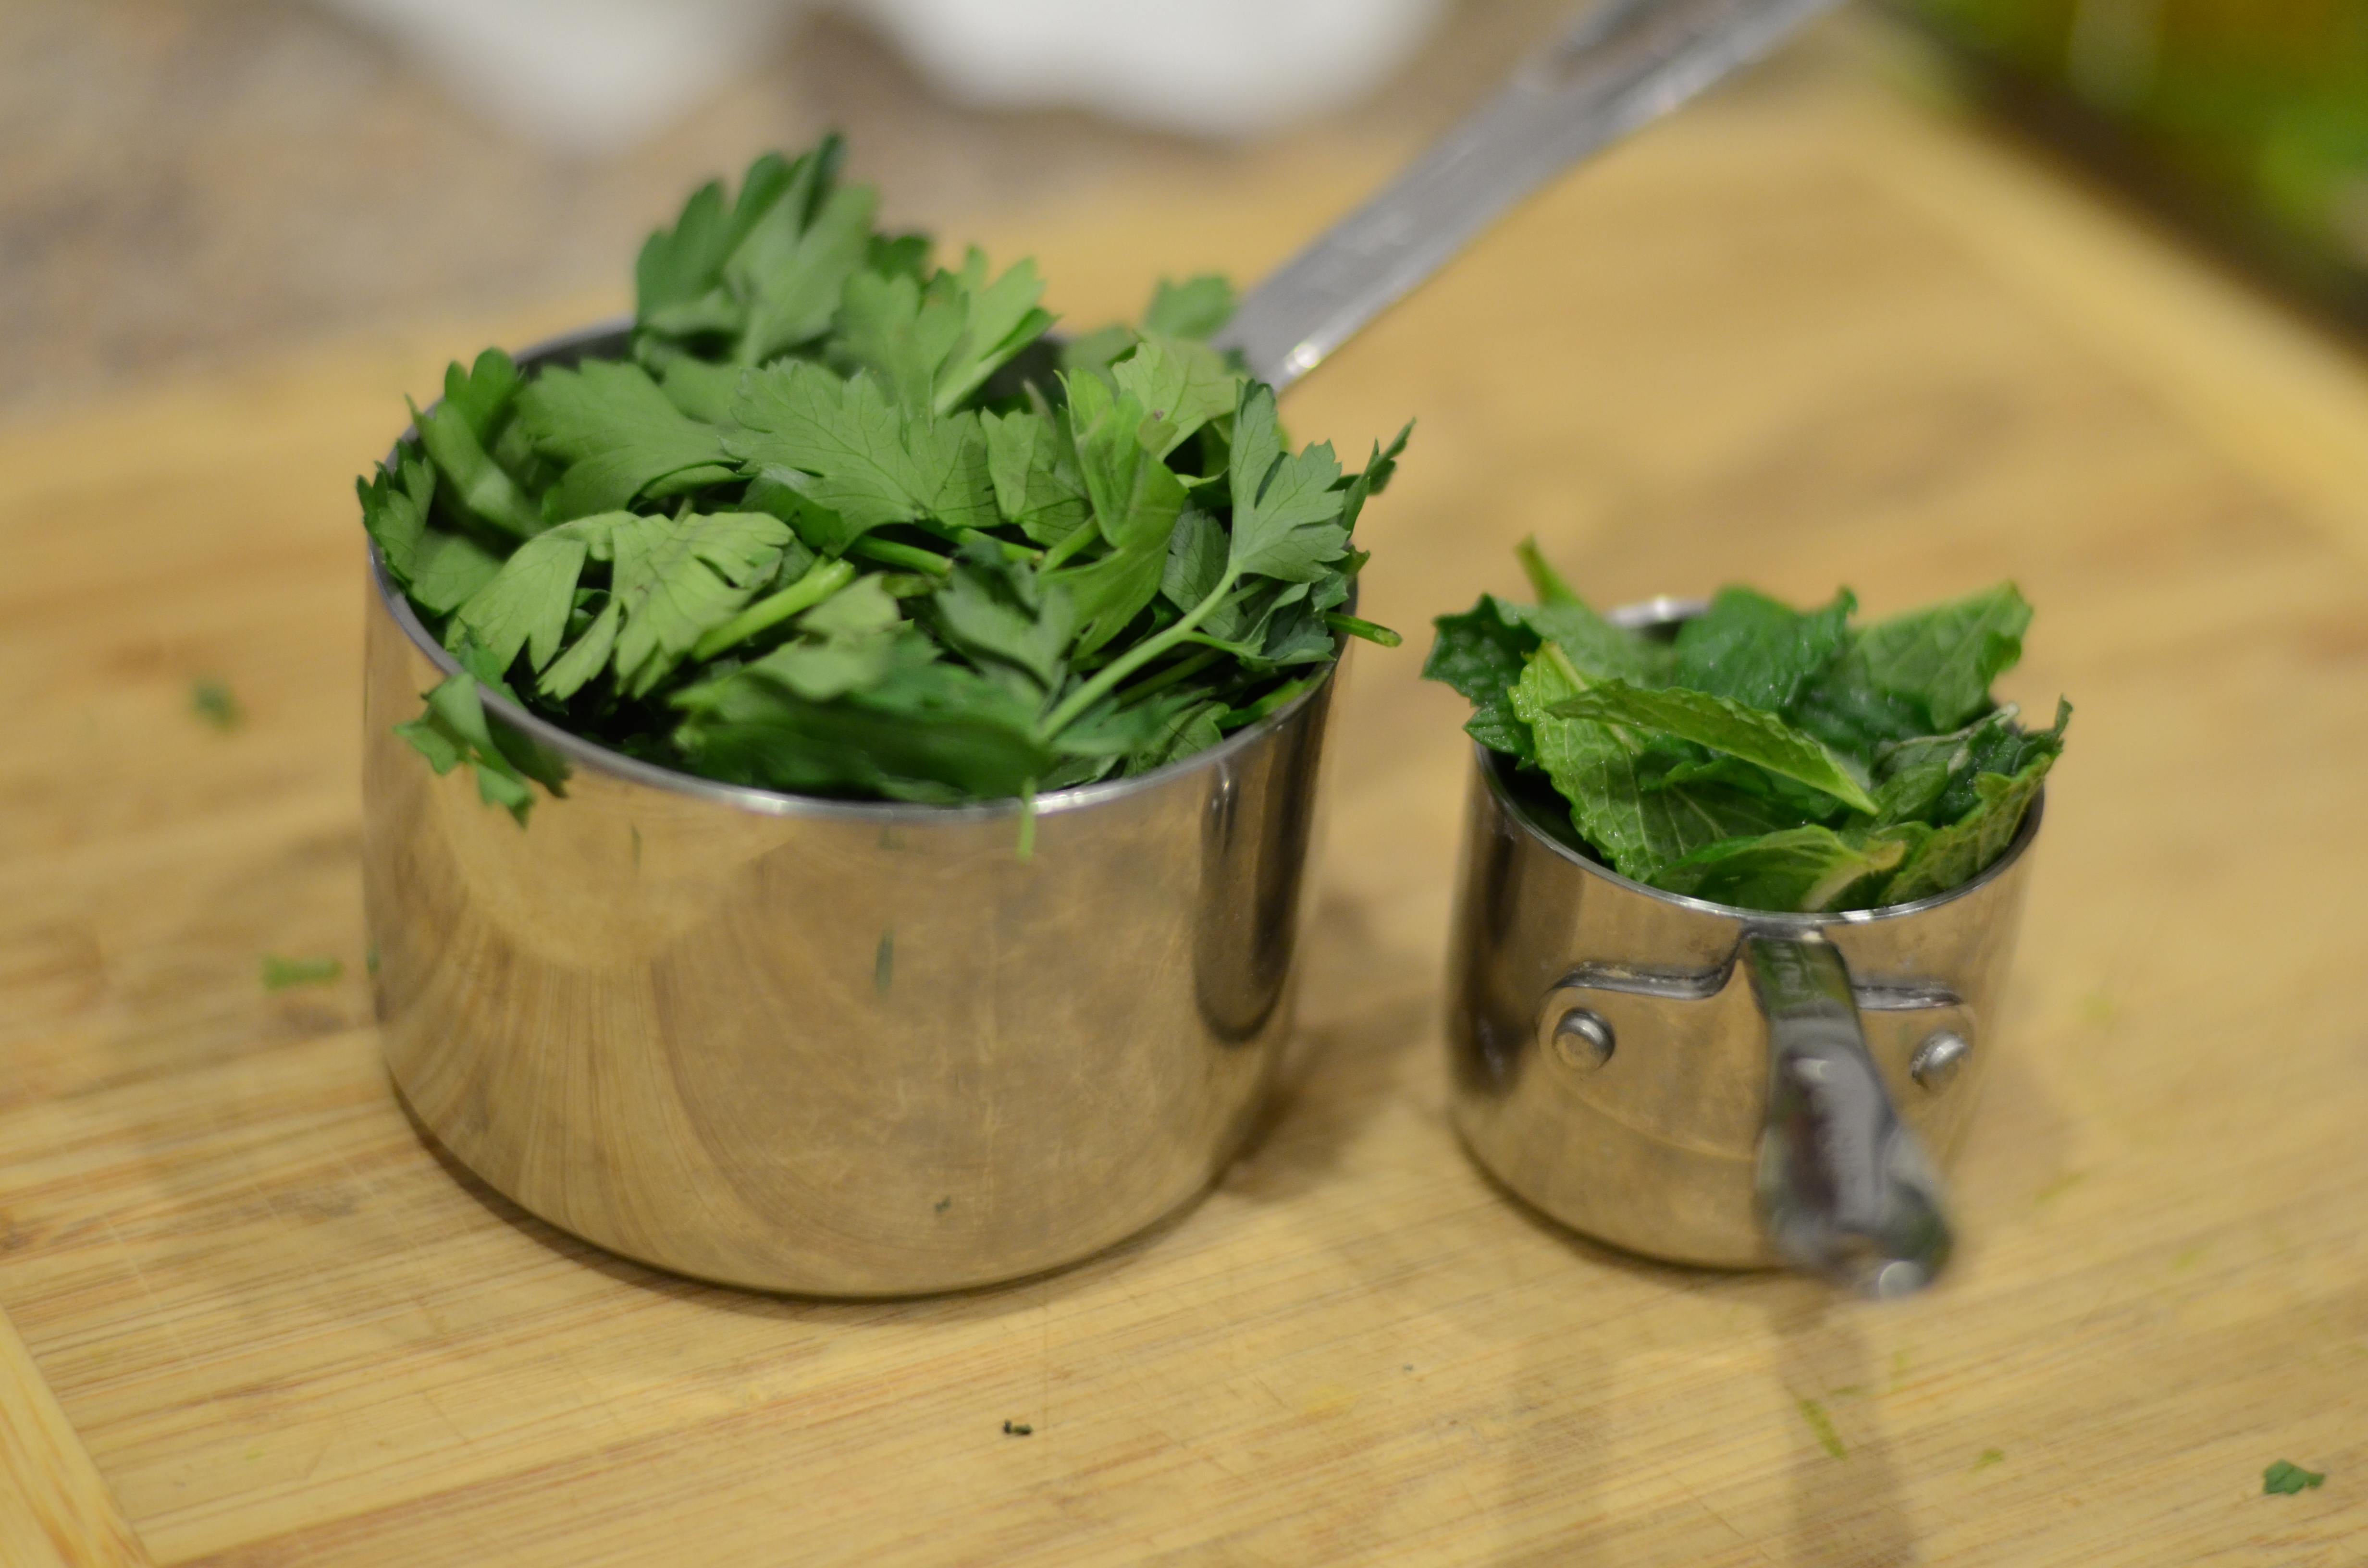
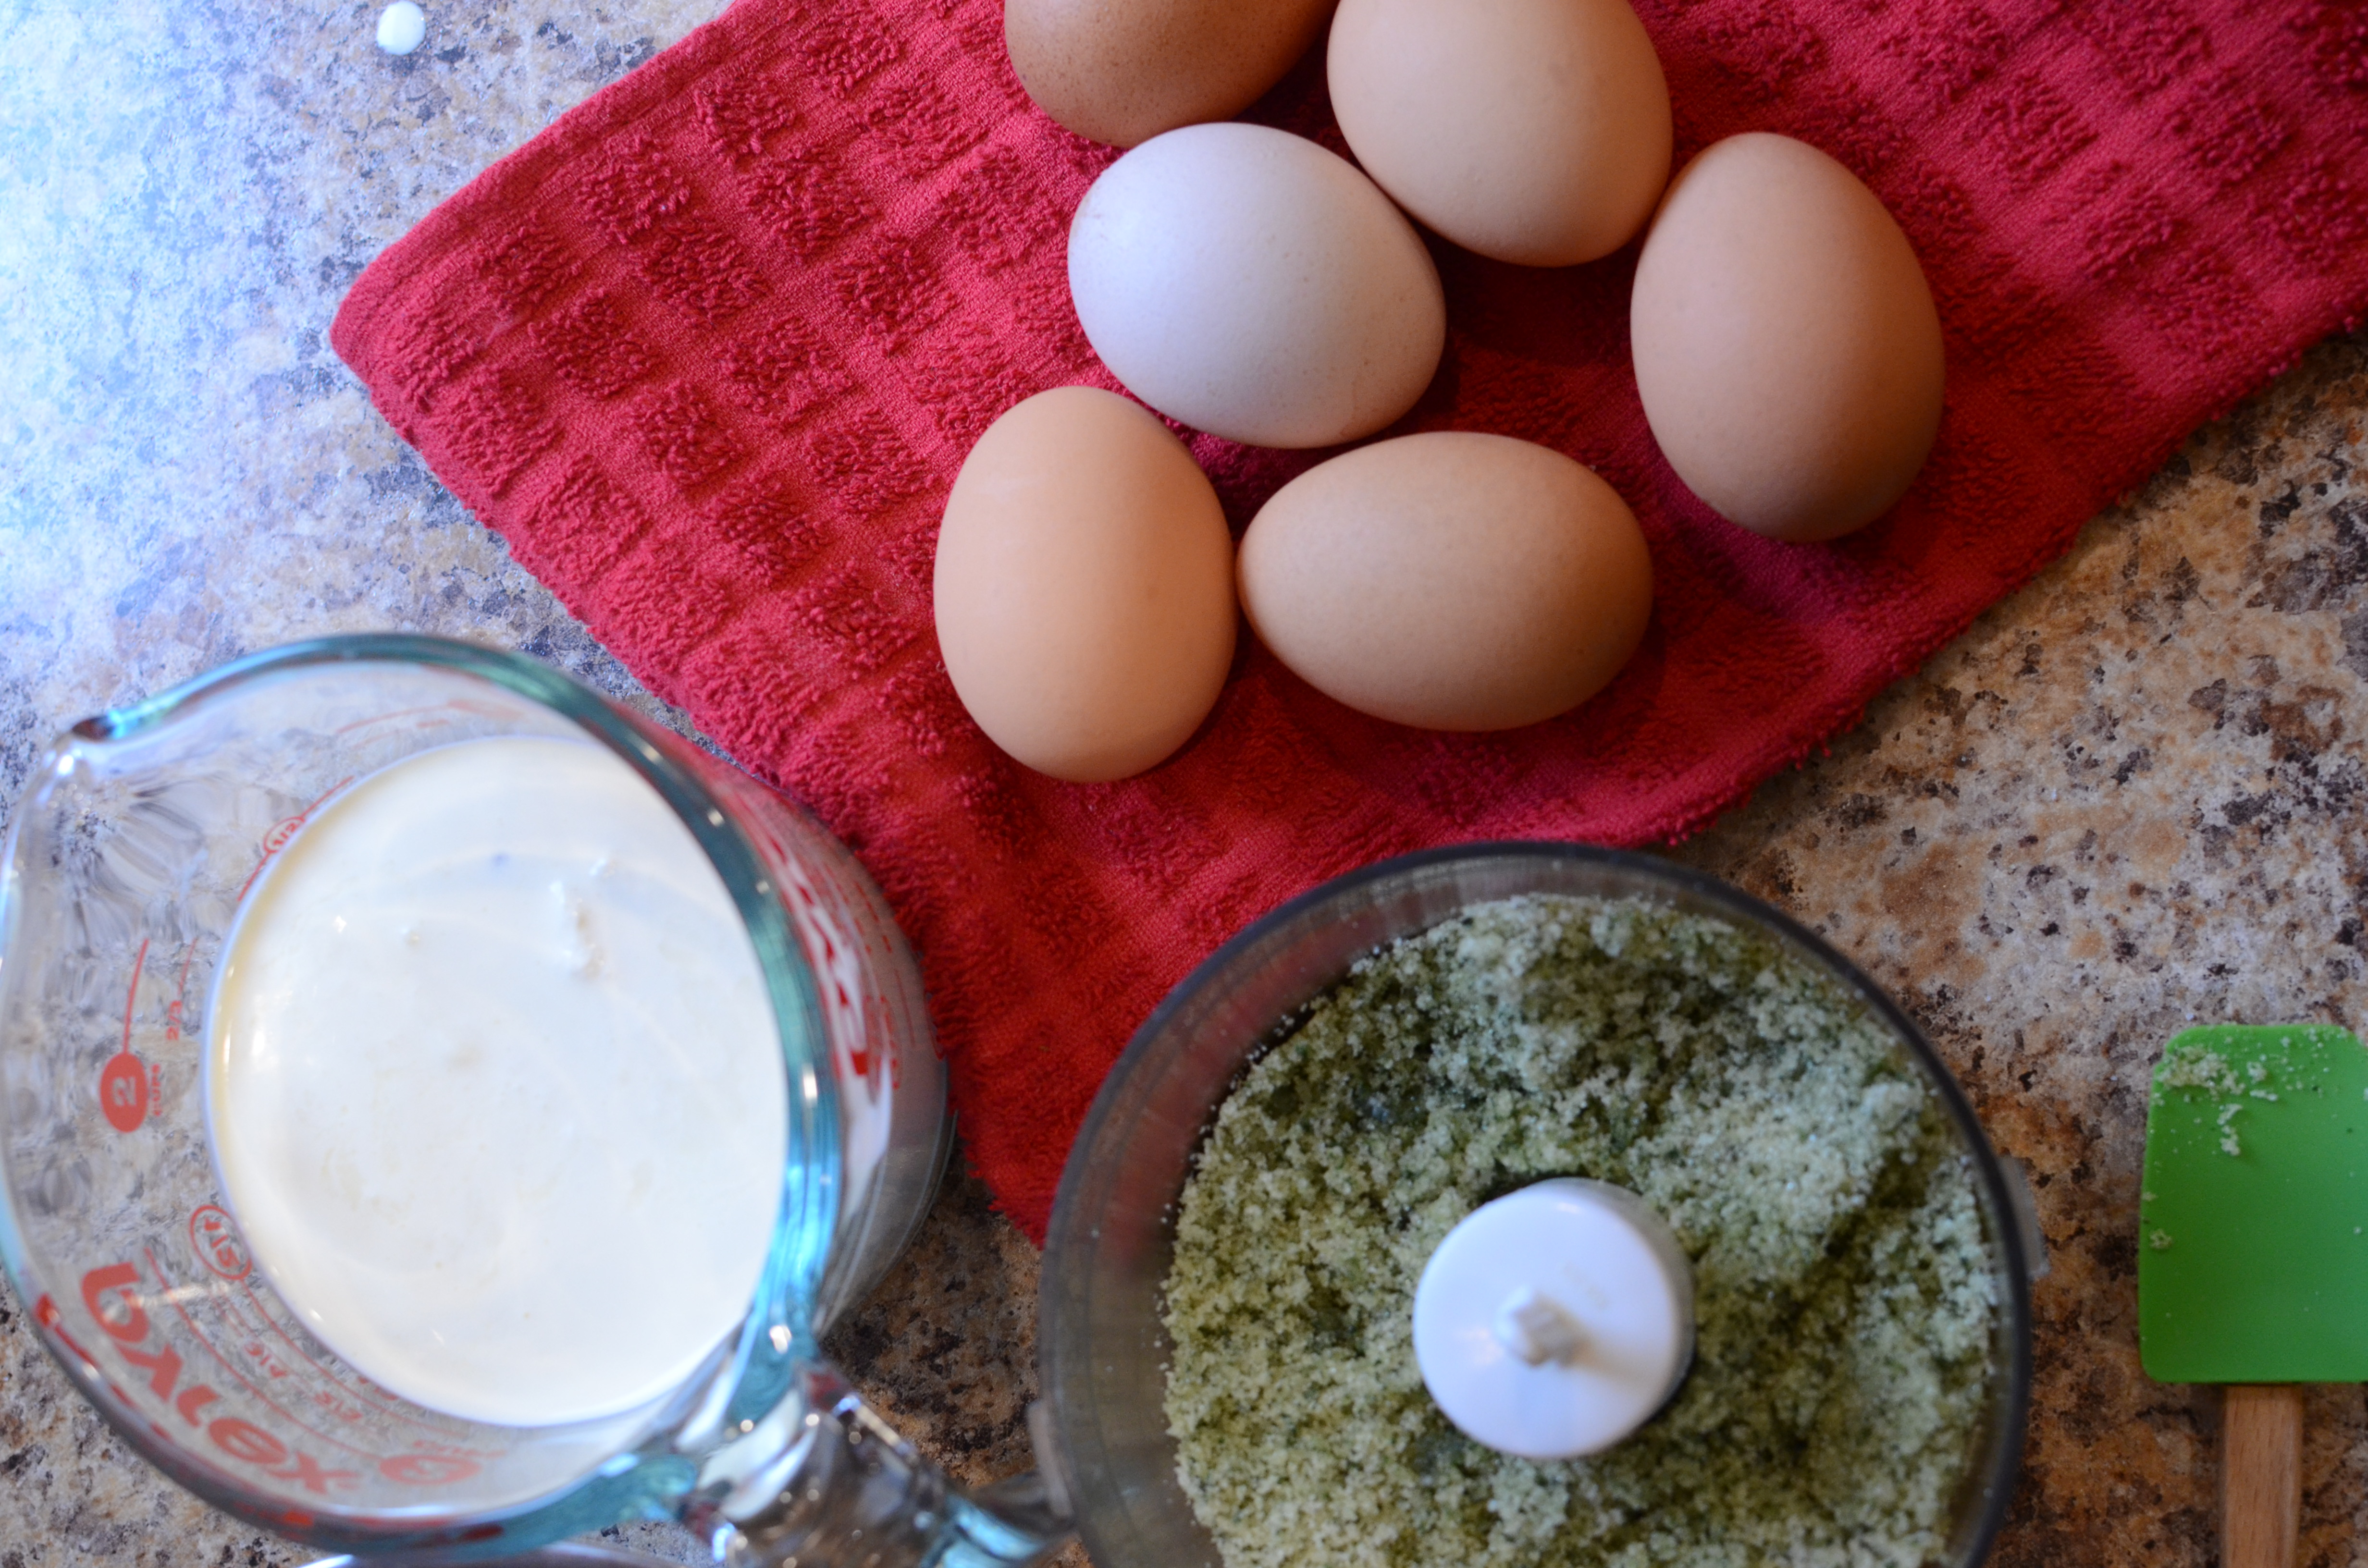
1 Cup mint leaves
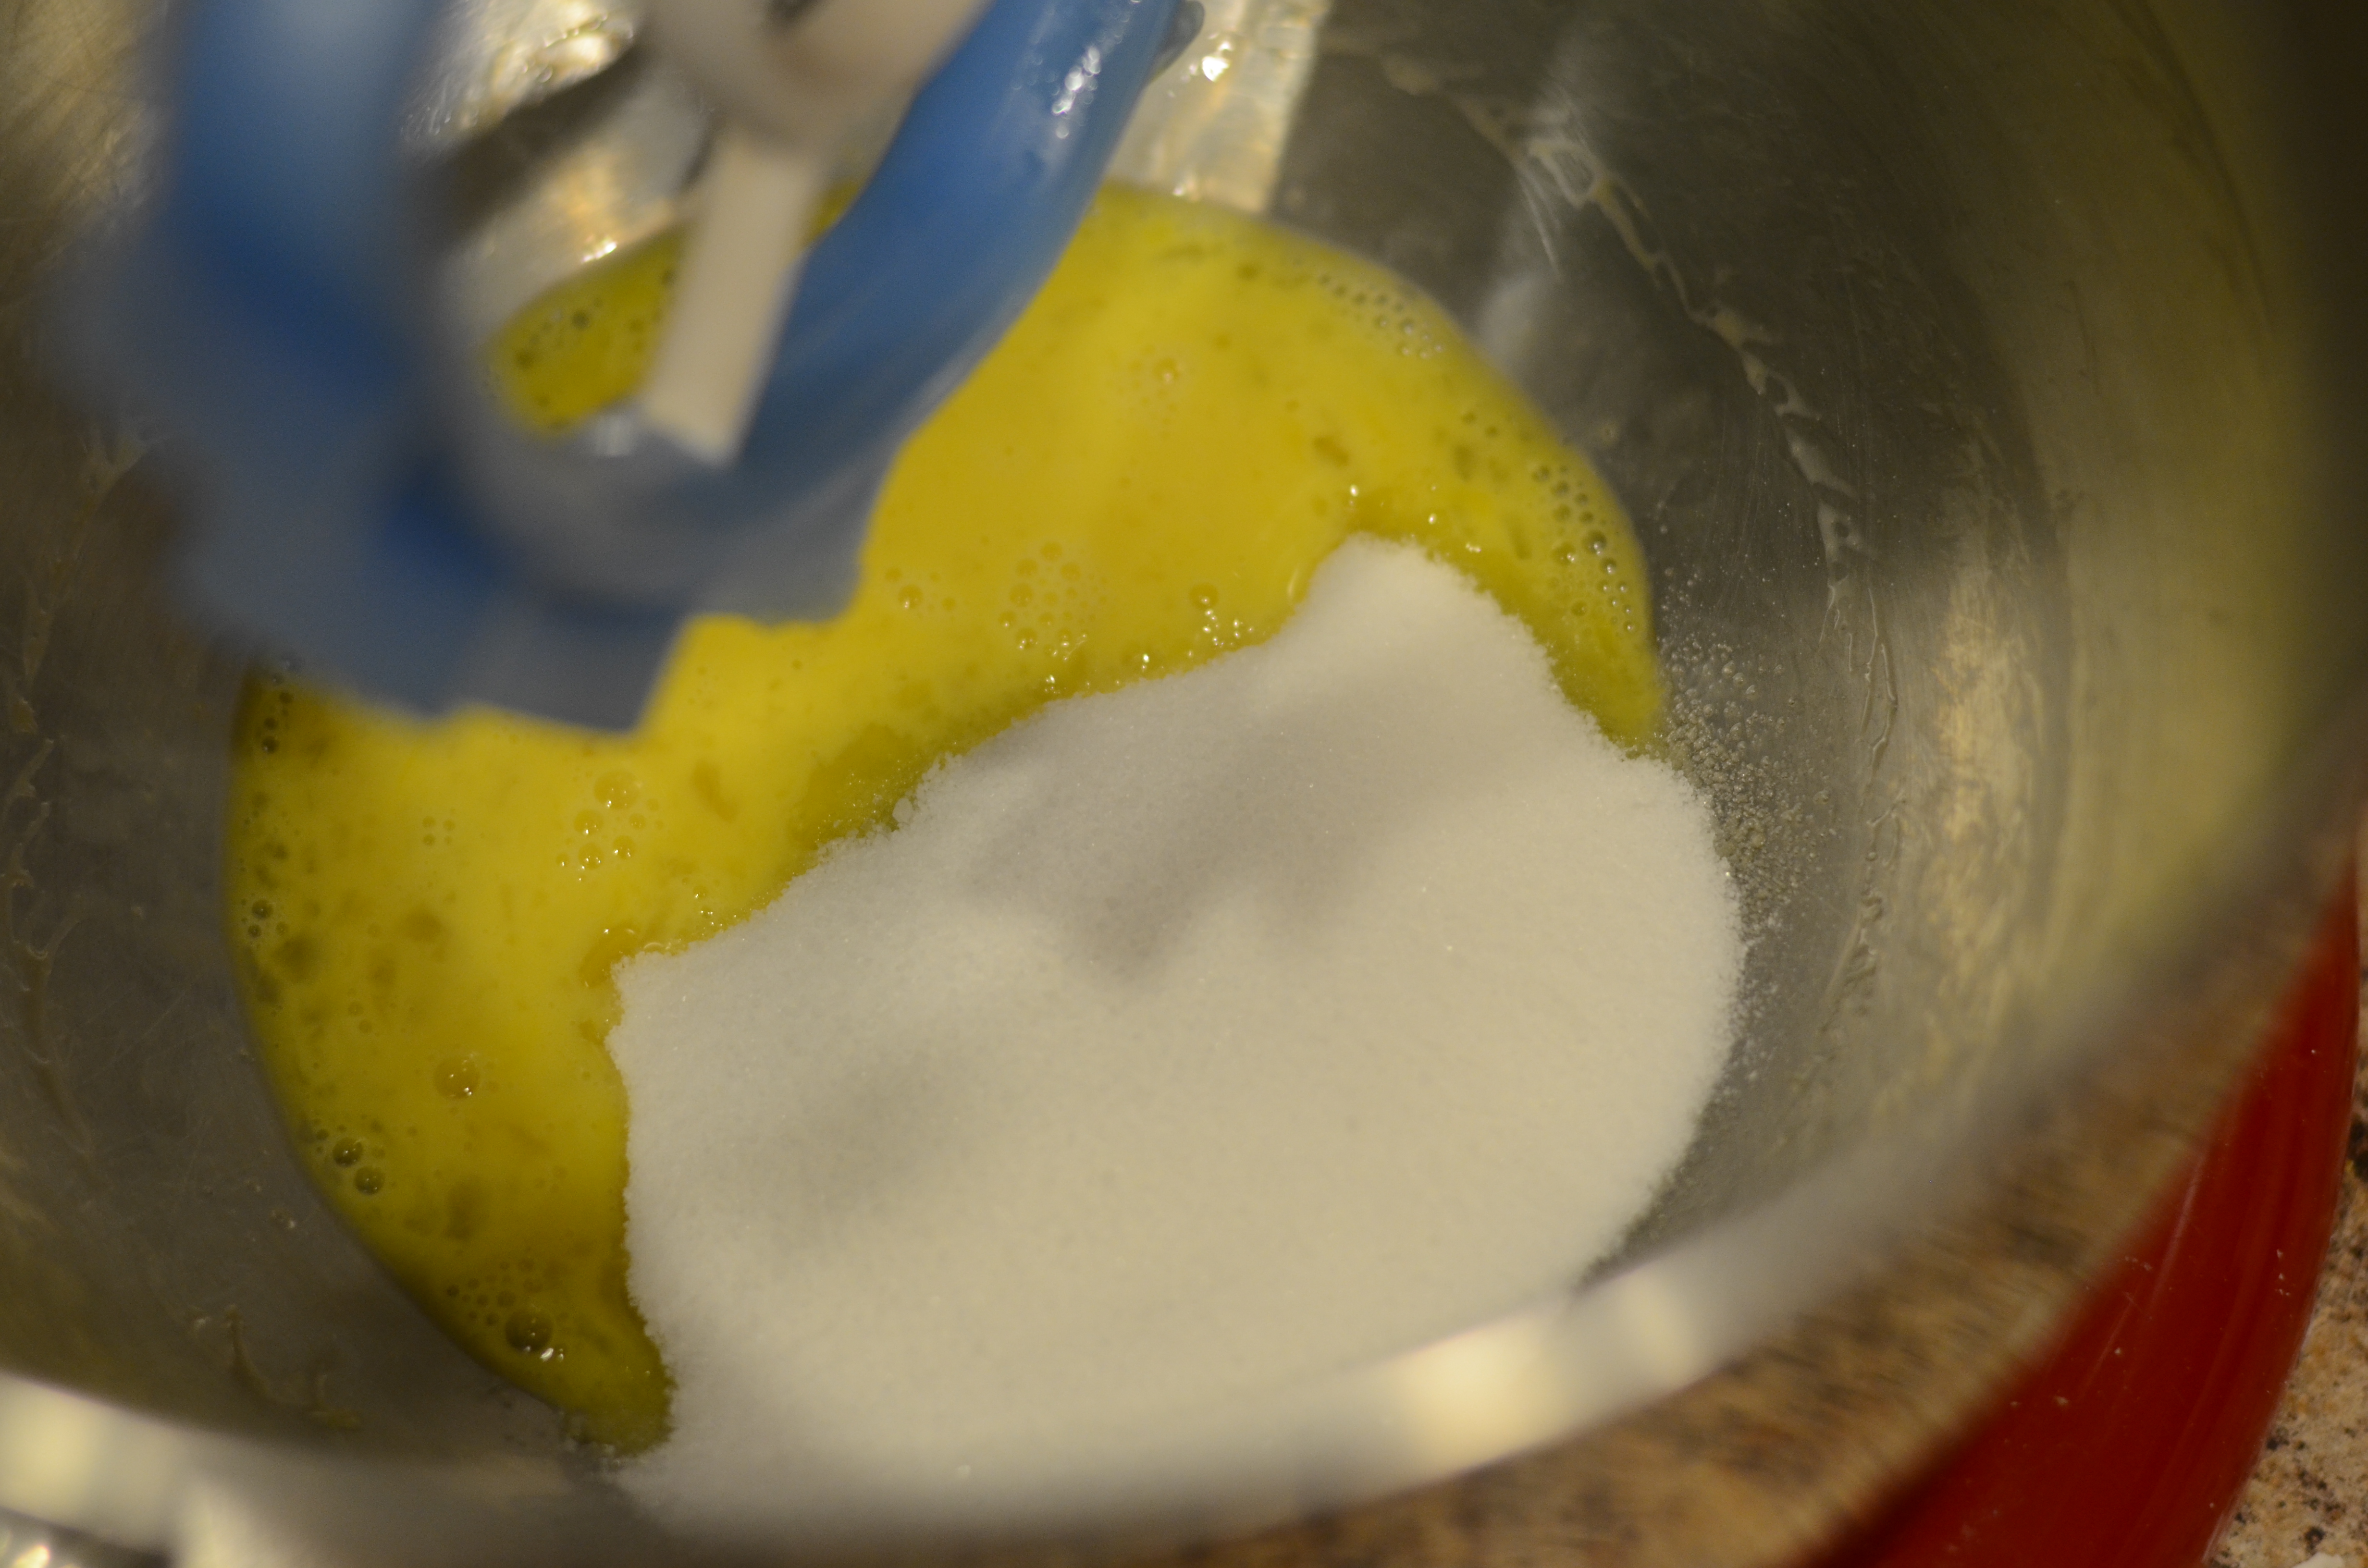
⅔ Cup sugar
1.5 Cups heavy cream
1.5 Cups milk (I used my skim)
⅛ teaspoon sea salt, finely ground
6 large egg yolks
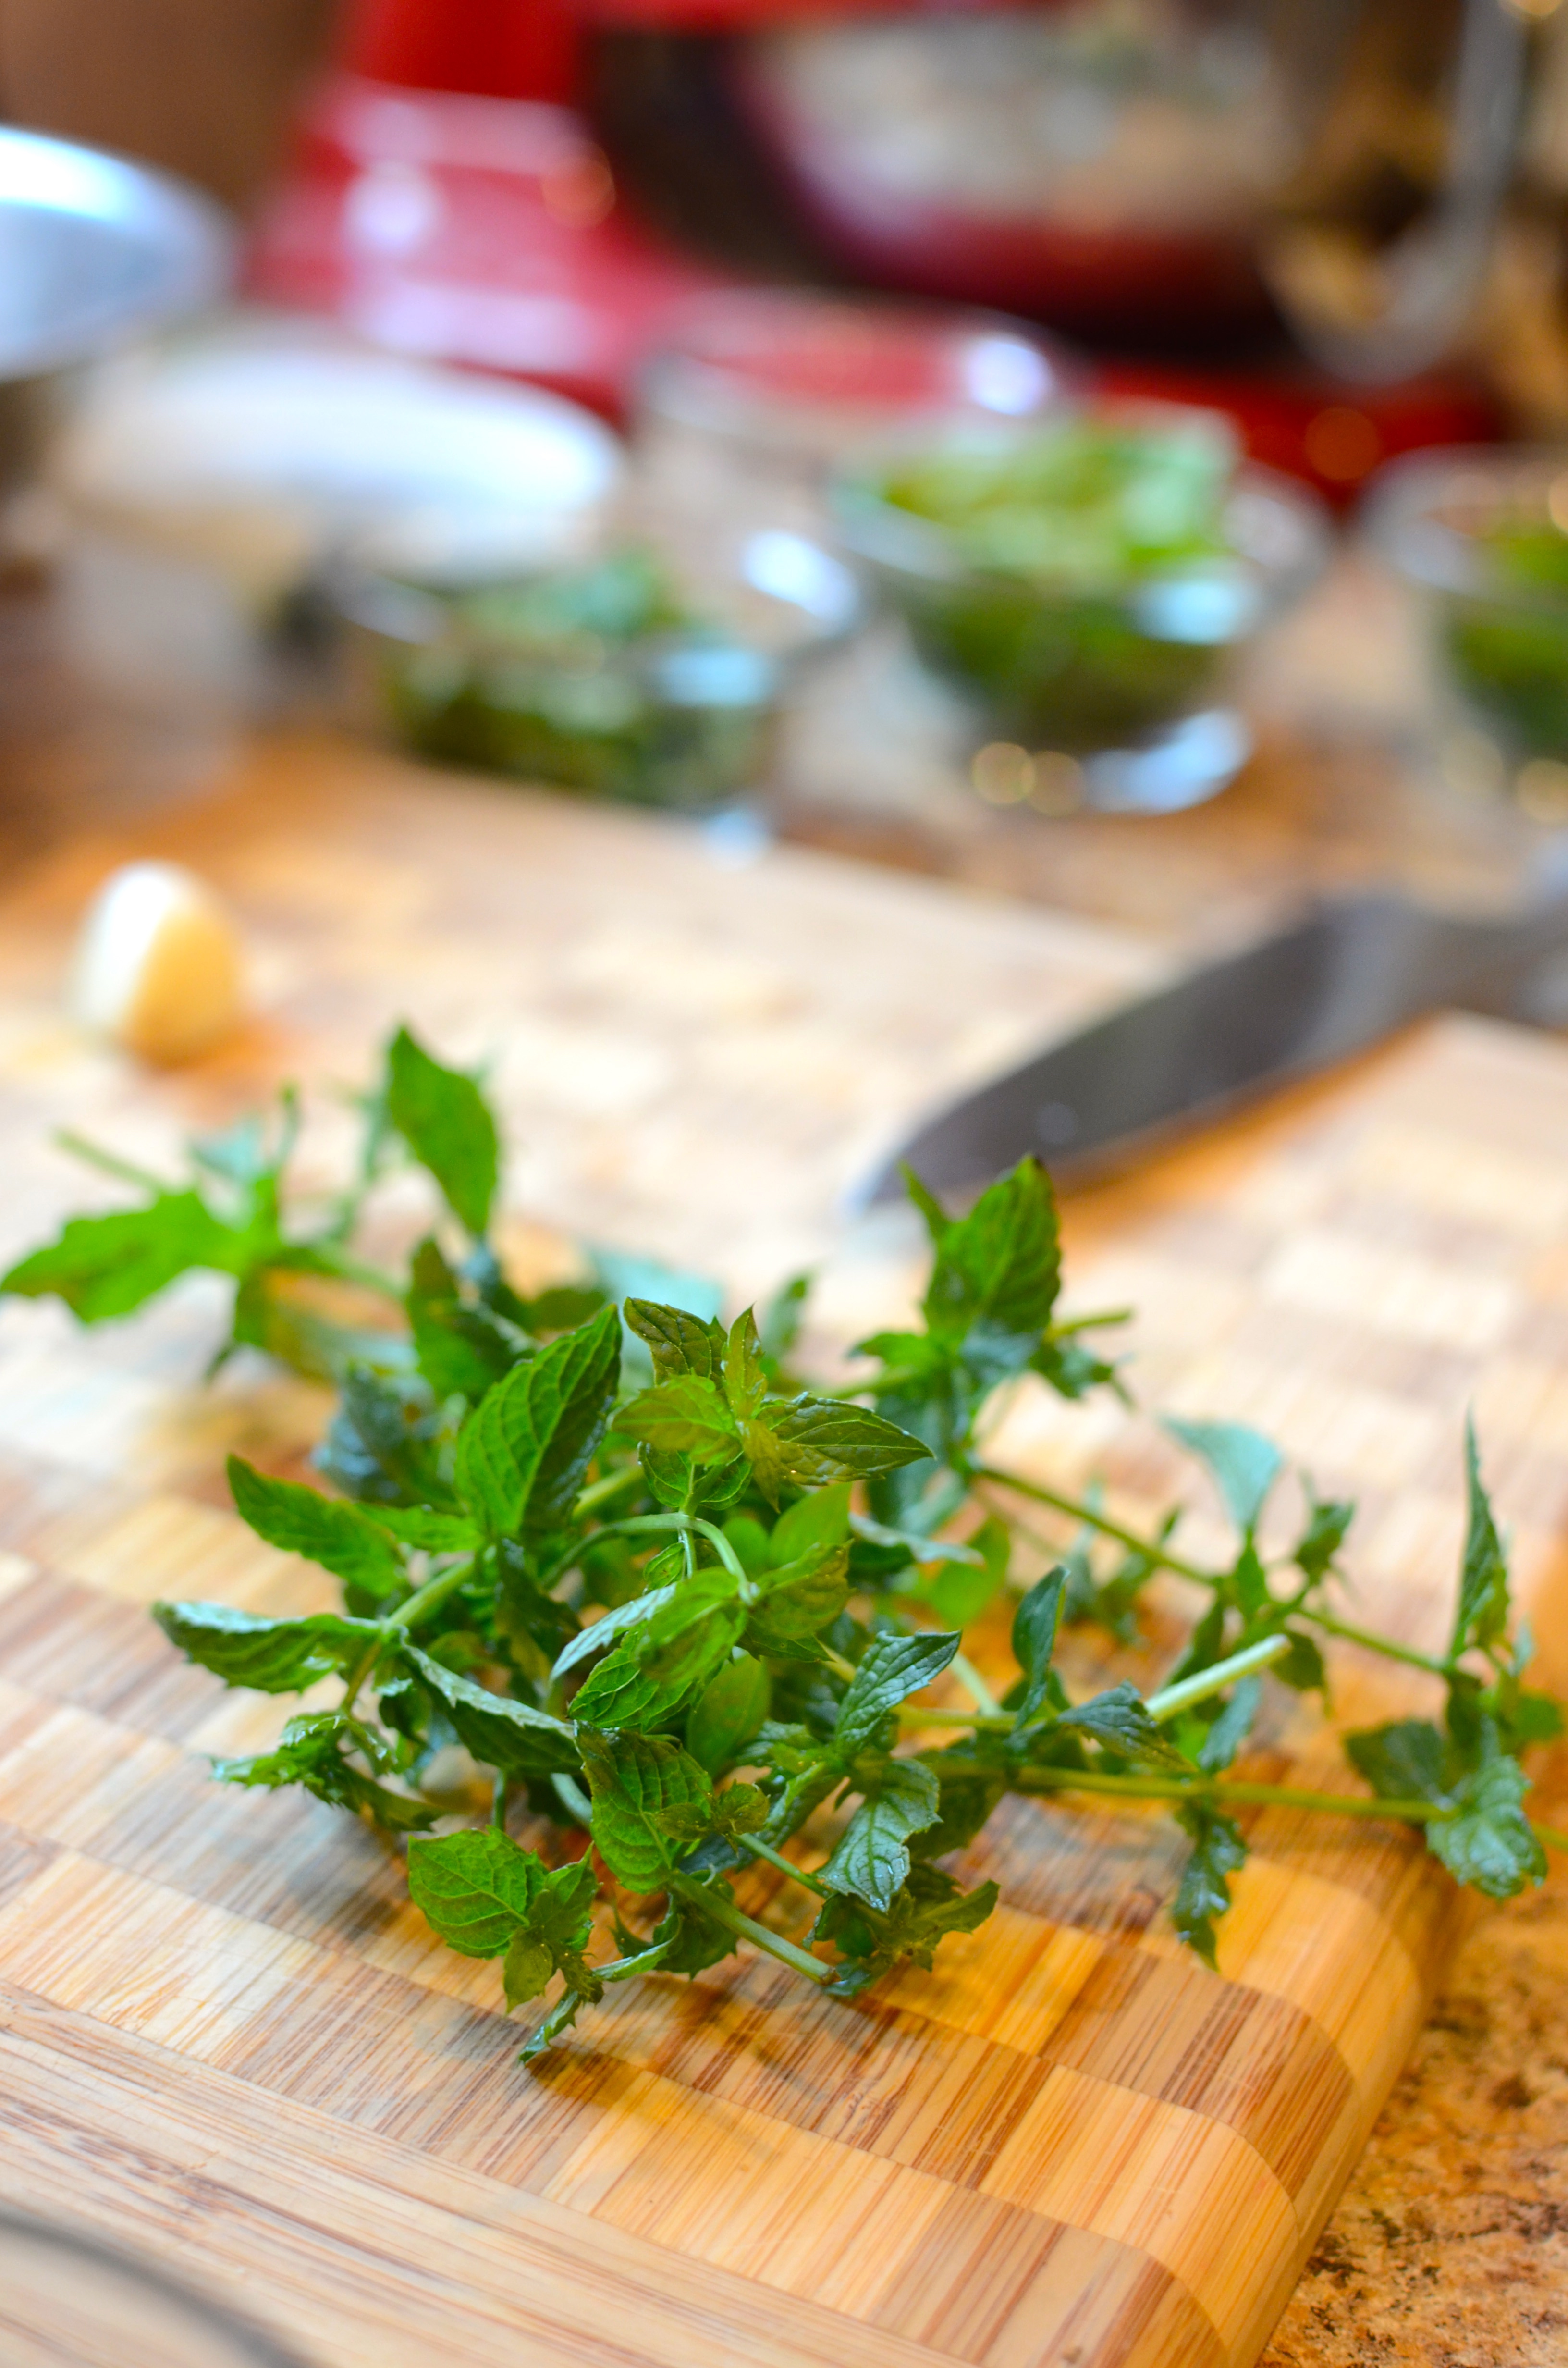
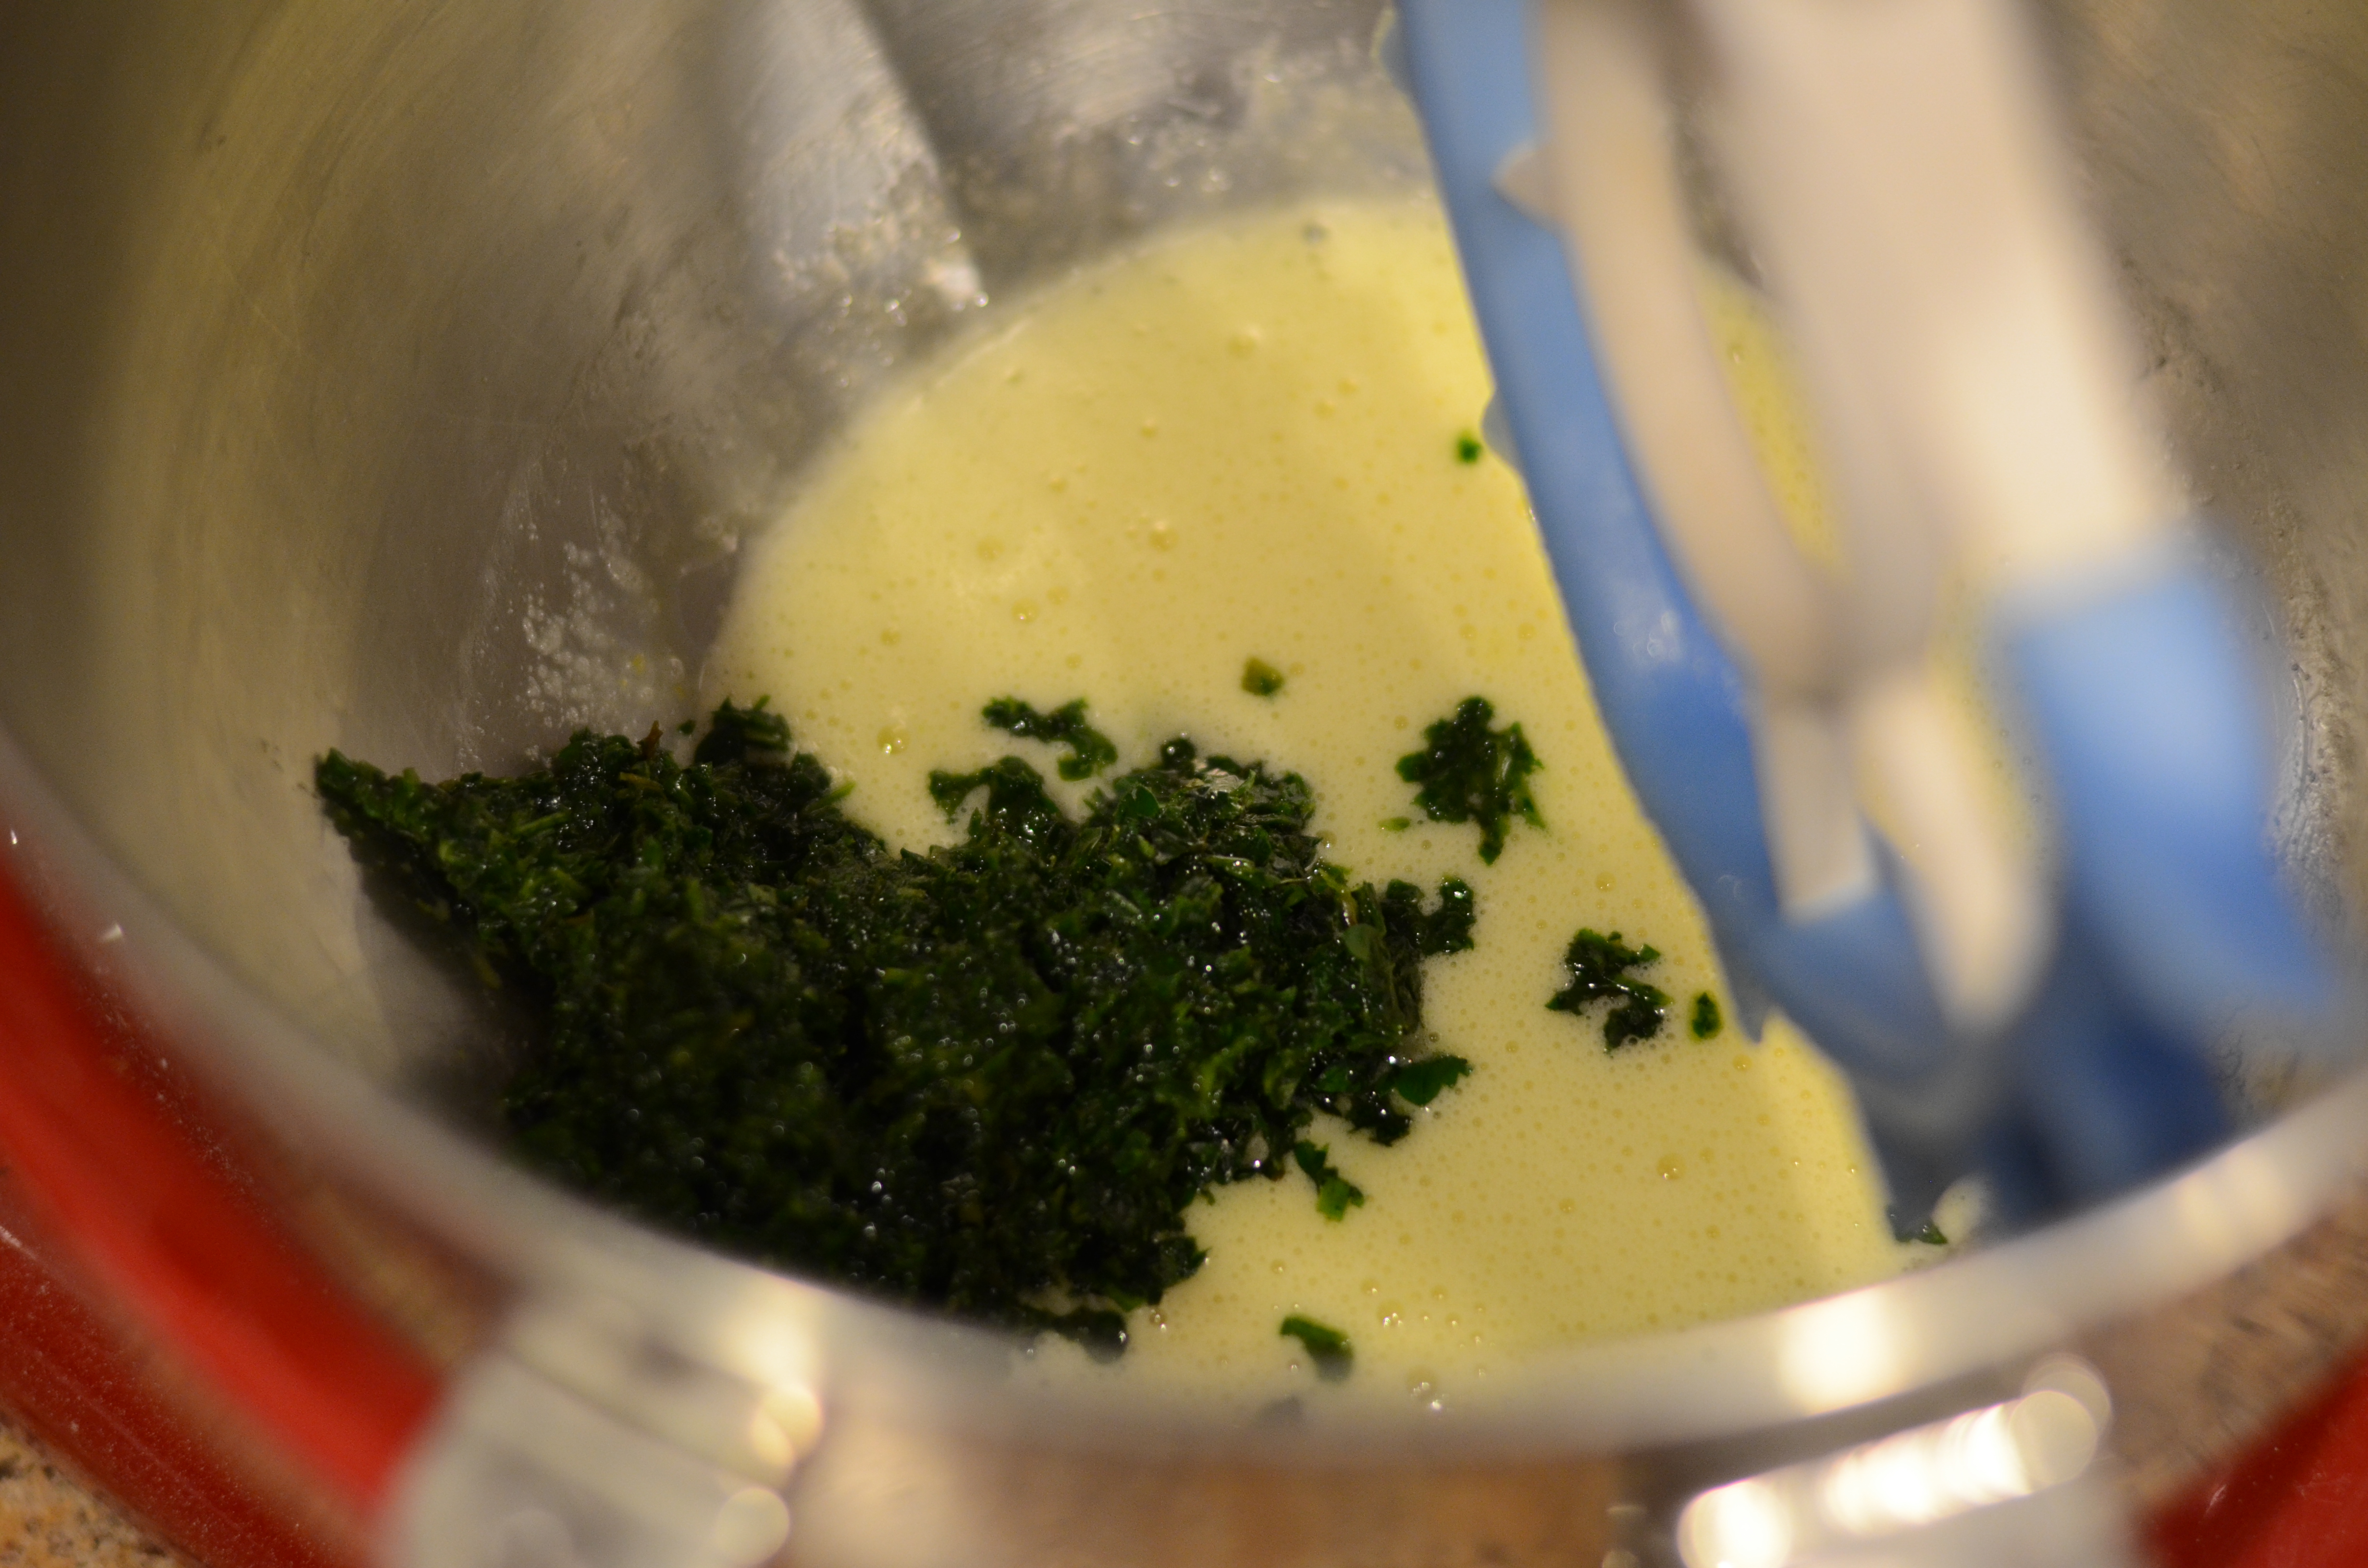
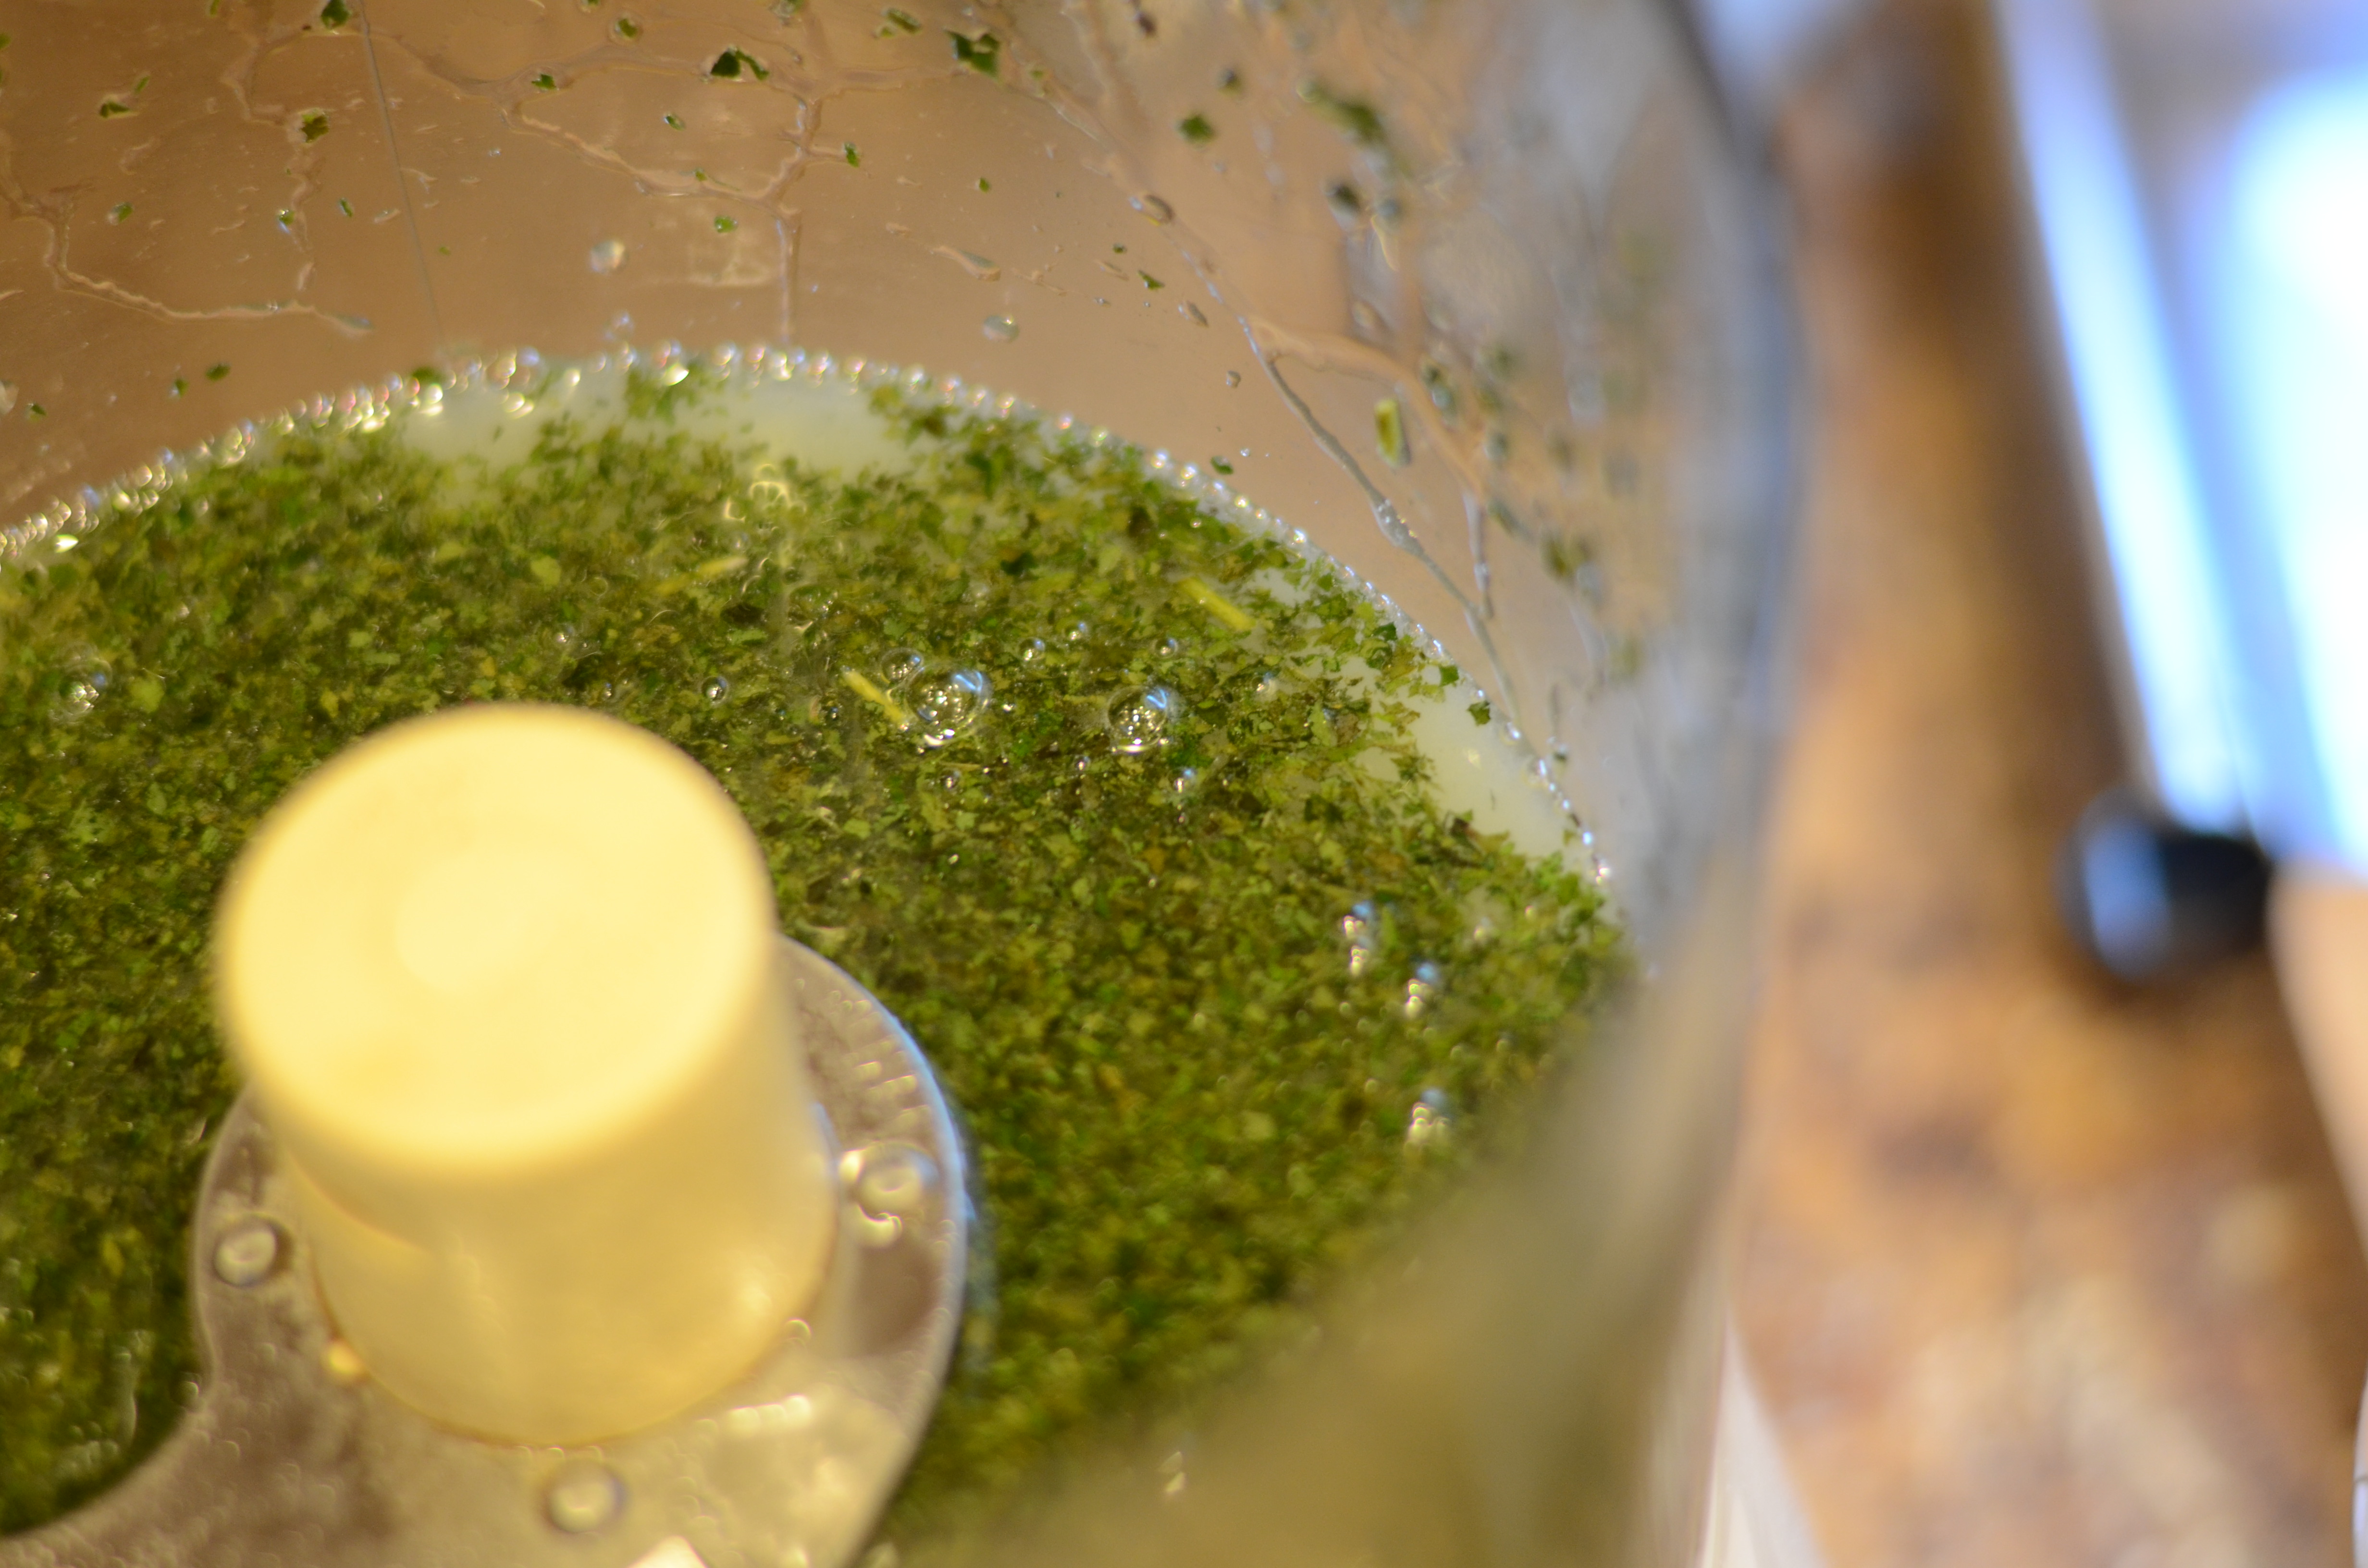
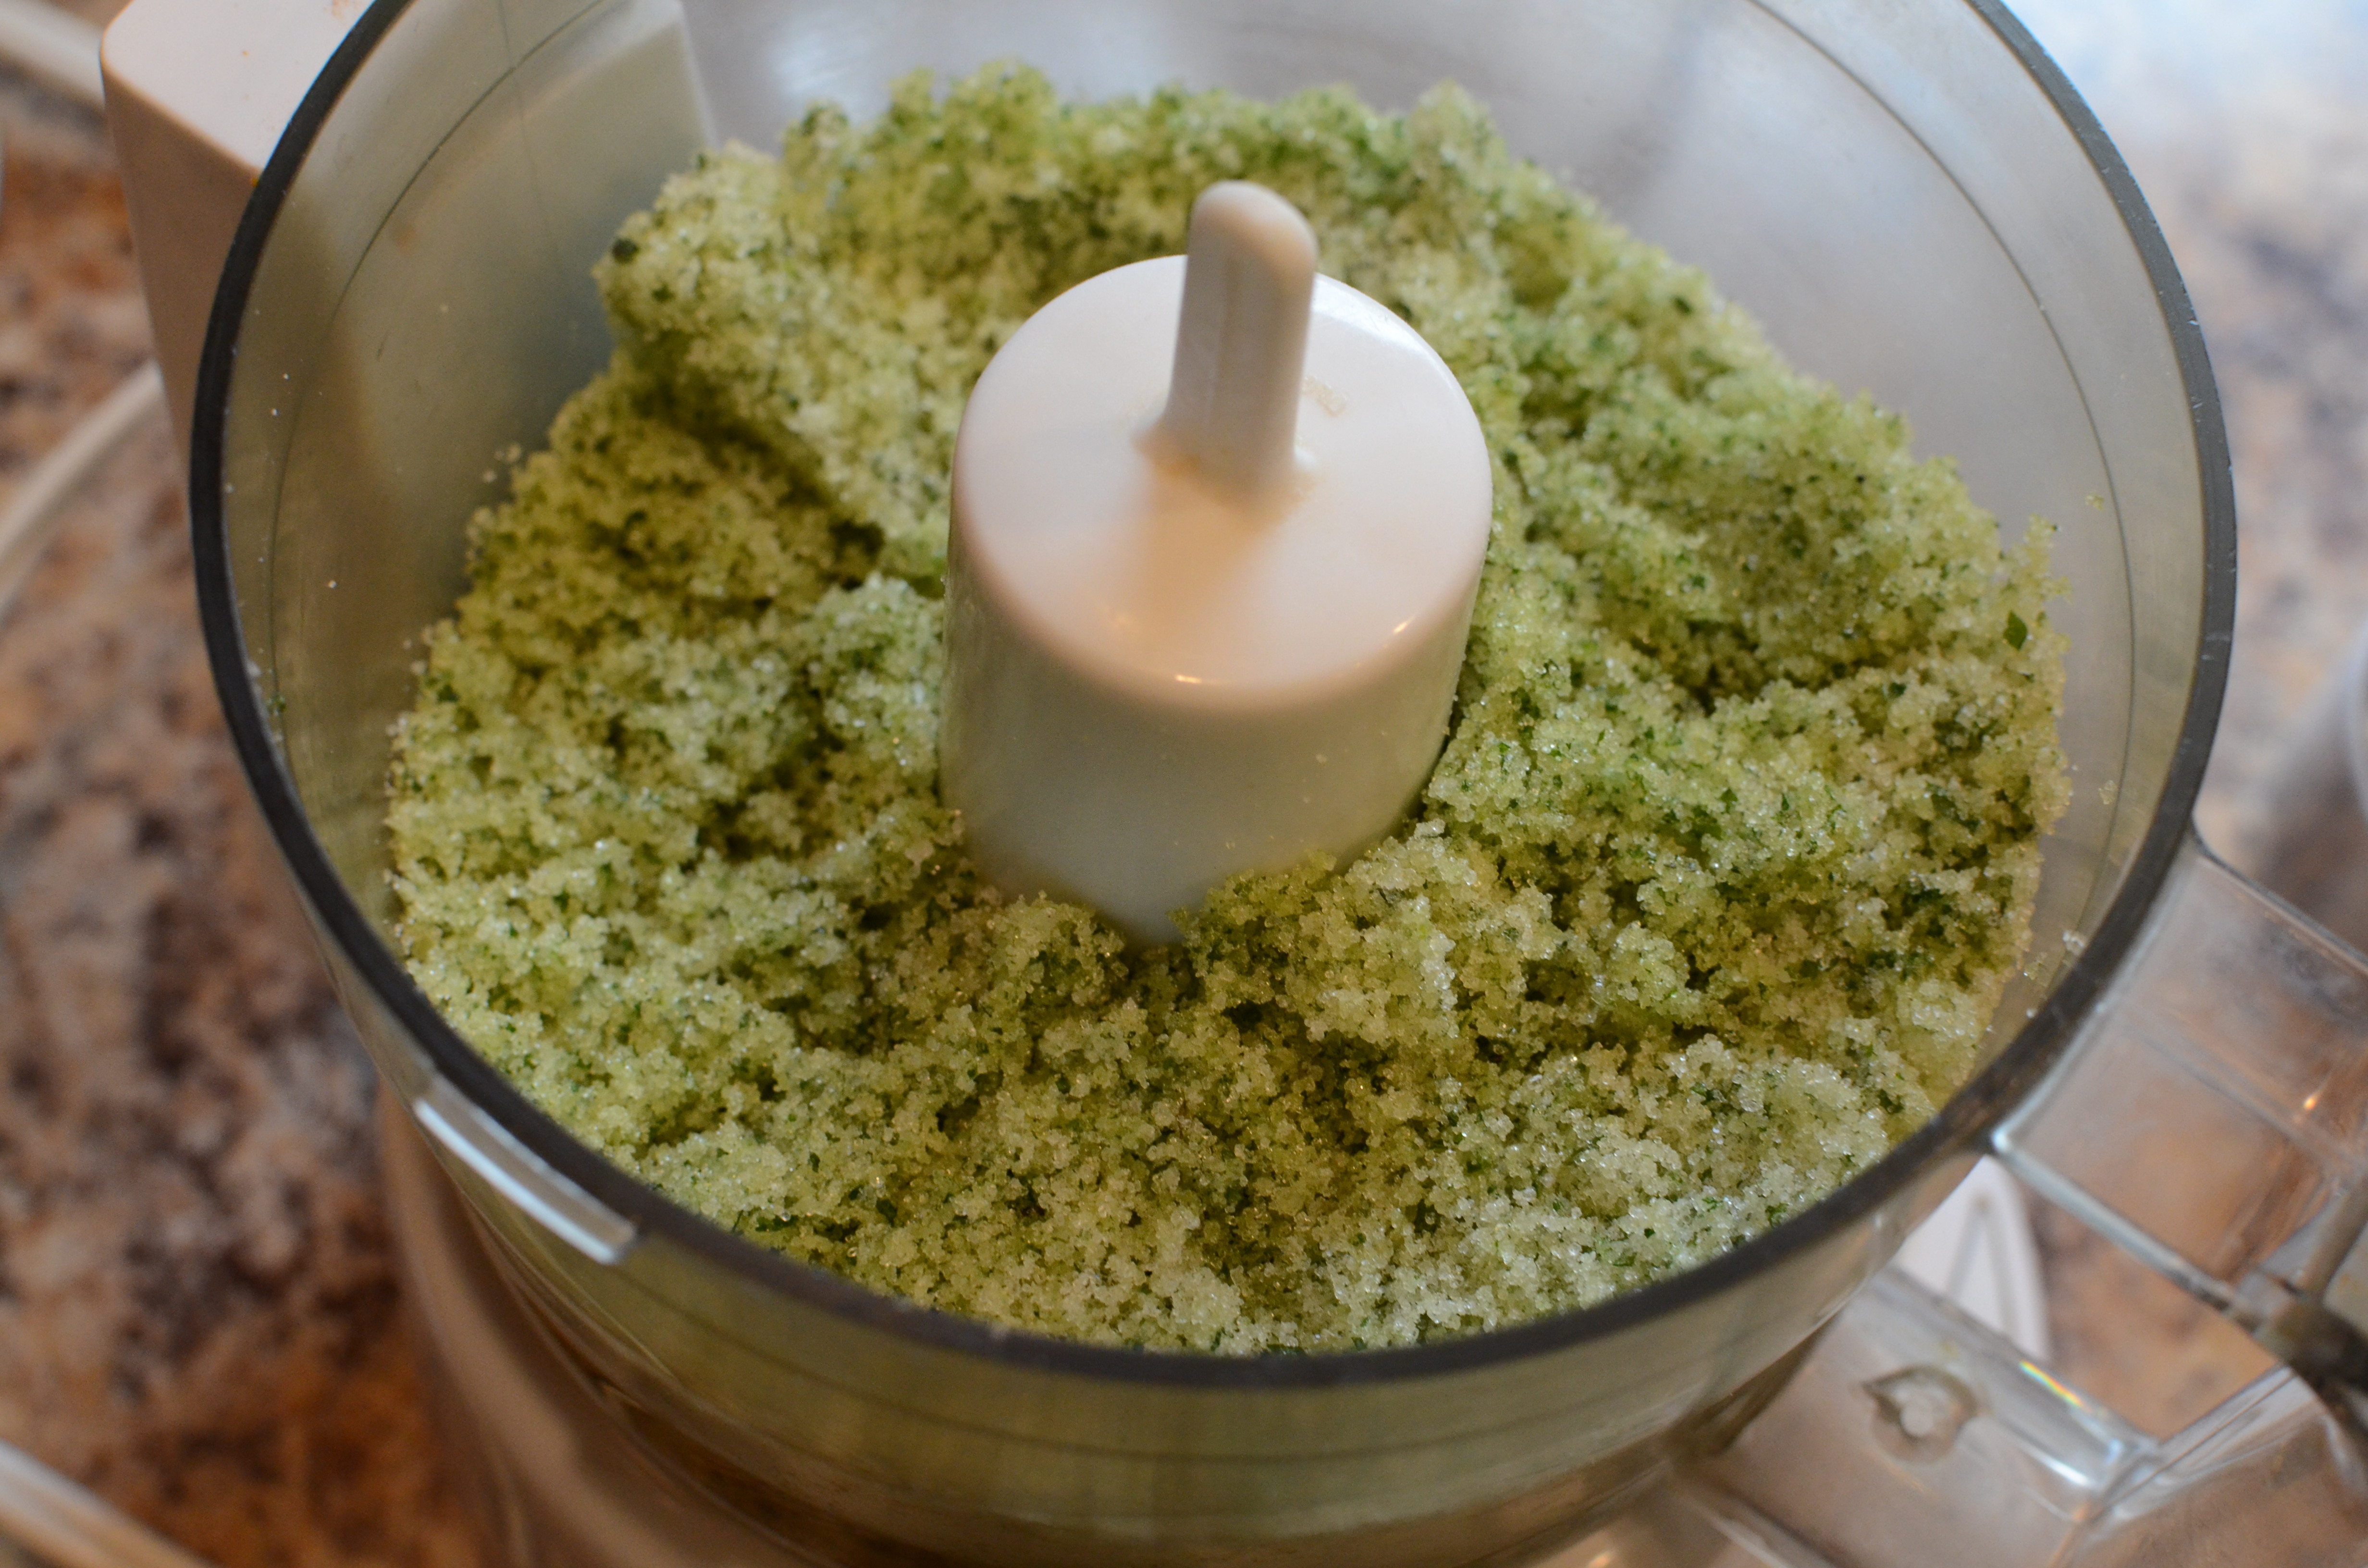
Combine mint leaves and sugar in a food processor. Grind together until fully combined and green.

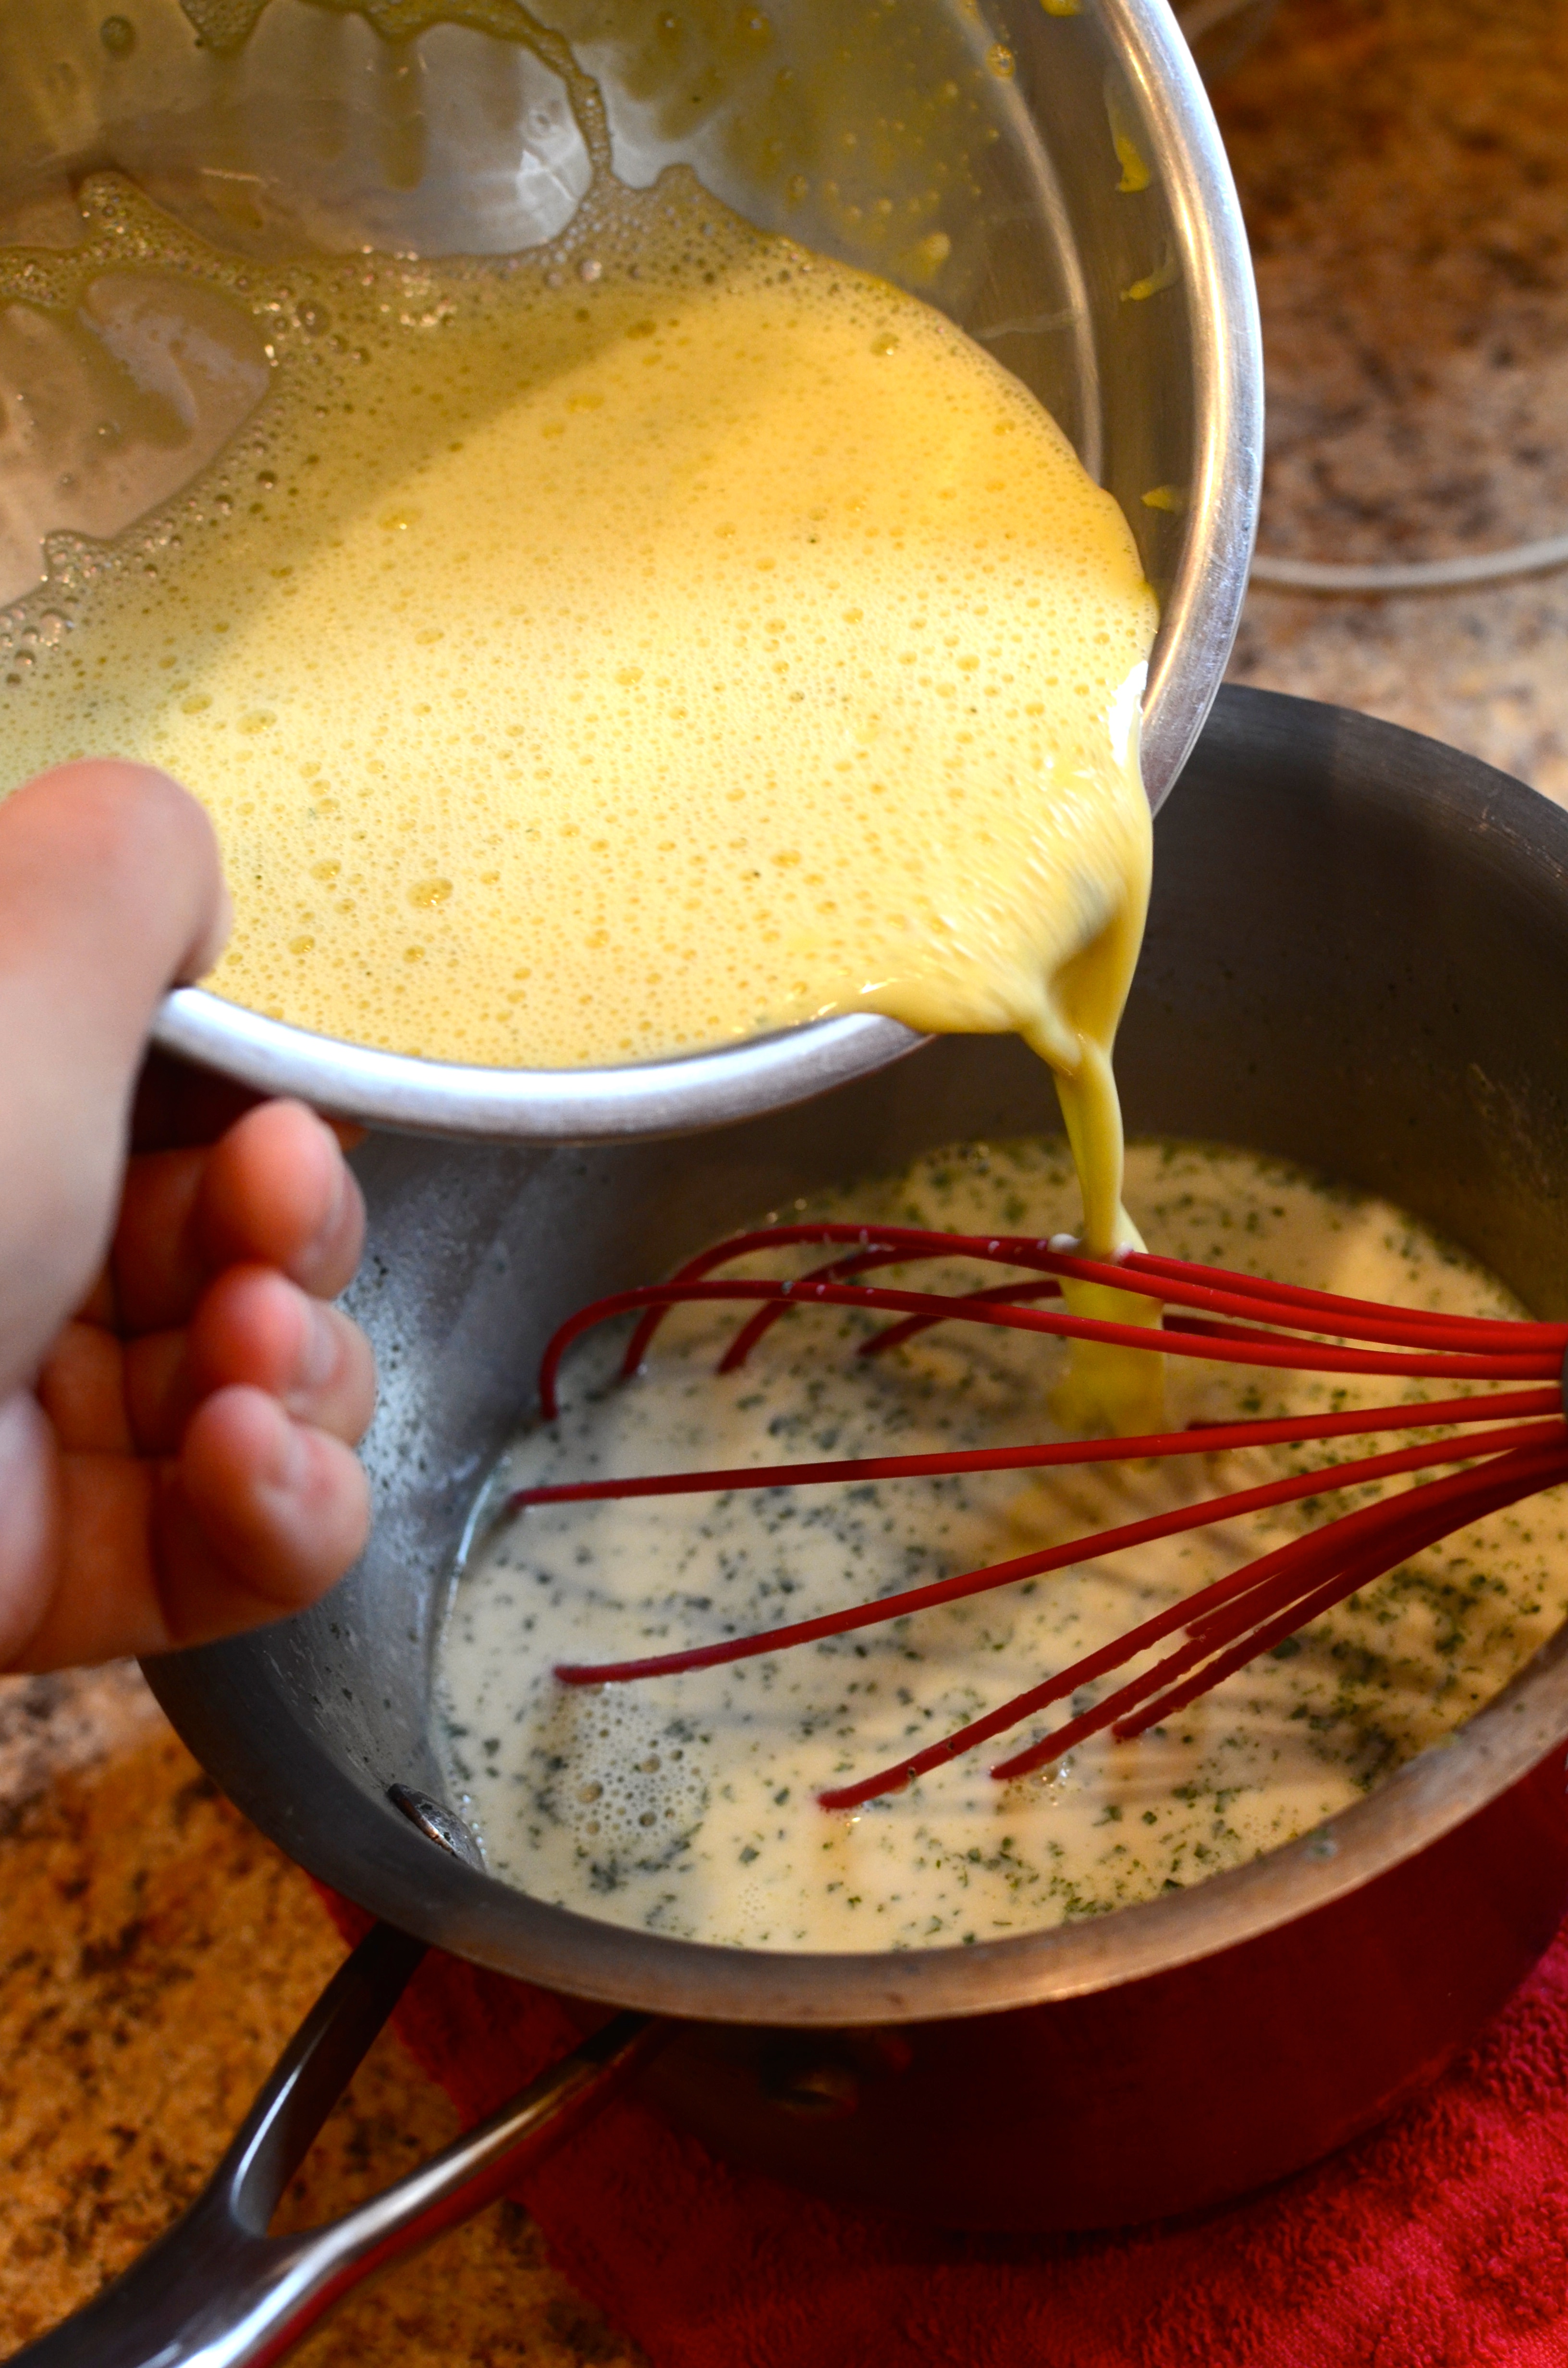
Pour cream, milk, sugar mixture and salt into a small saucepan and cook until the sugar dissolves. Whisk yolks in a separate heat-proof bowl.
When the sugar has dissolved, remove pan from heat and slowly whisk in about a third of the hot mixture into the yolks.

Then pour the yolk mixture back into the pan and whisk with the remaining hot cream.
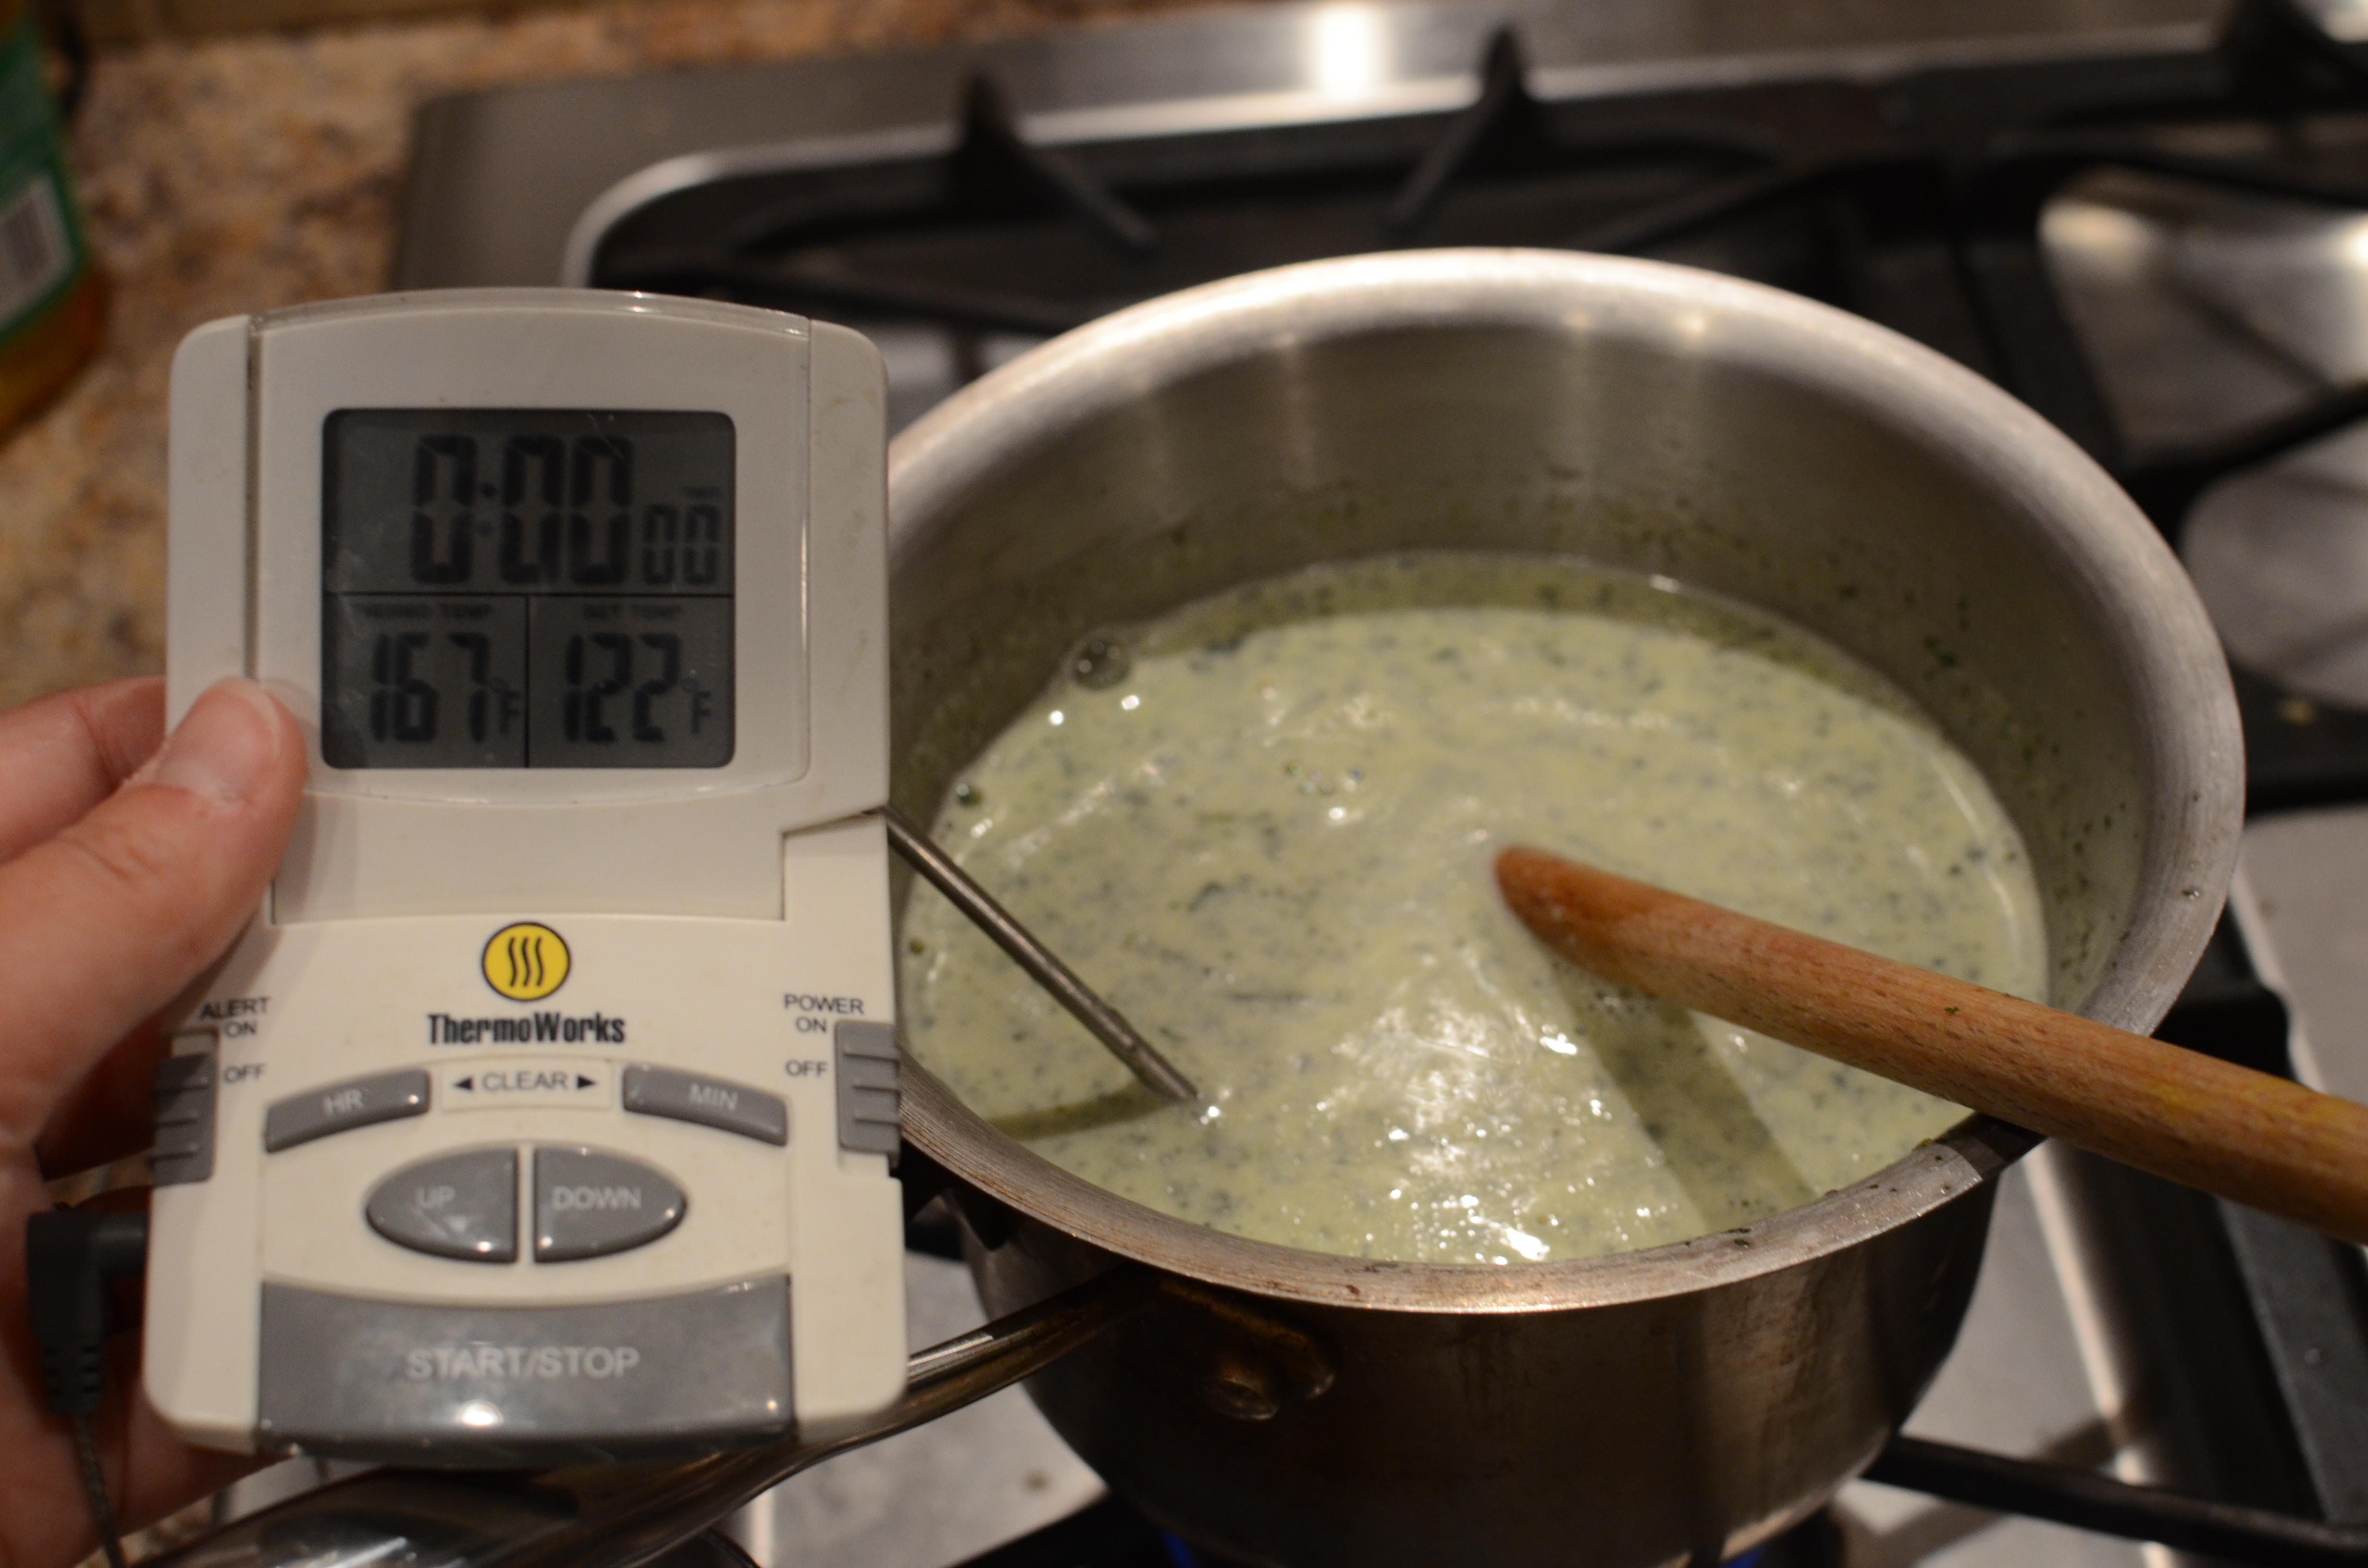
Place pan back on a medium-low burner and cook slowly, thickening at about 170 degrees Fahrenheit.
Turn off heat and allow mint to steep in the mixture for about 30 minutes.
Pour through a sieve to catch any solids.

Cool mixture to room temperature and then chill in refrigerator for at least 4 hours.

Follow the directions for your ice cream machine and churn away.
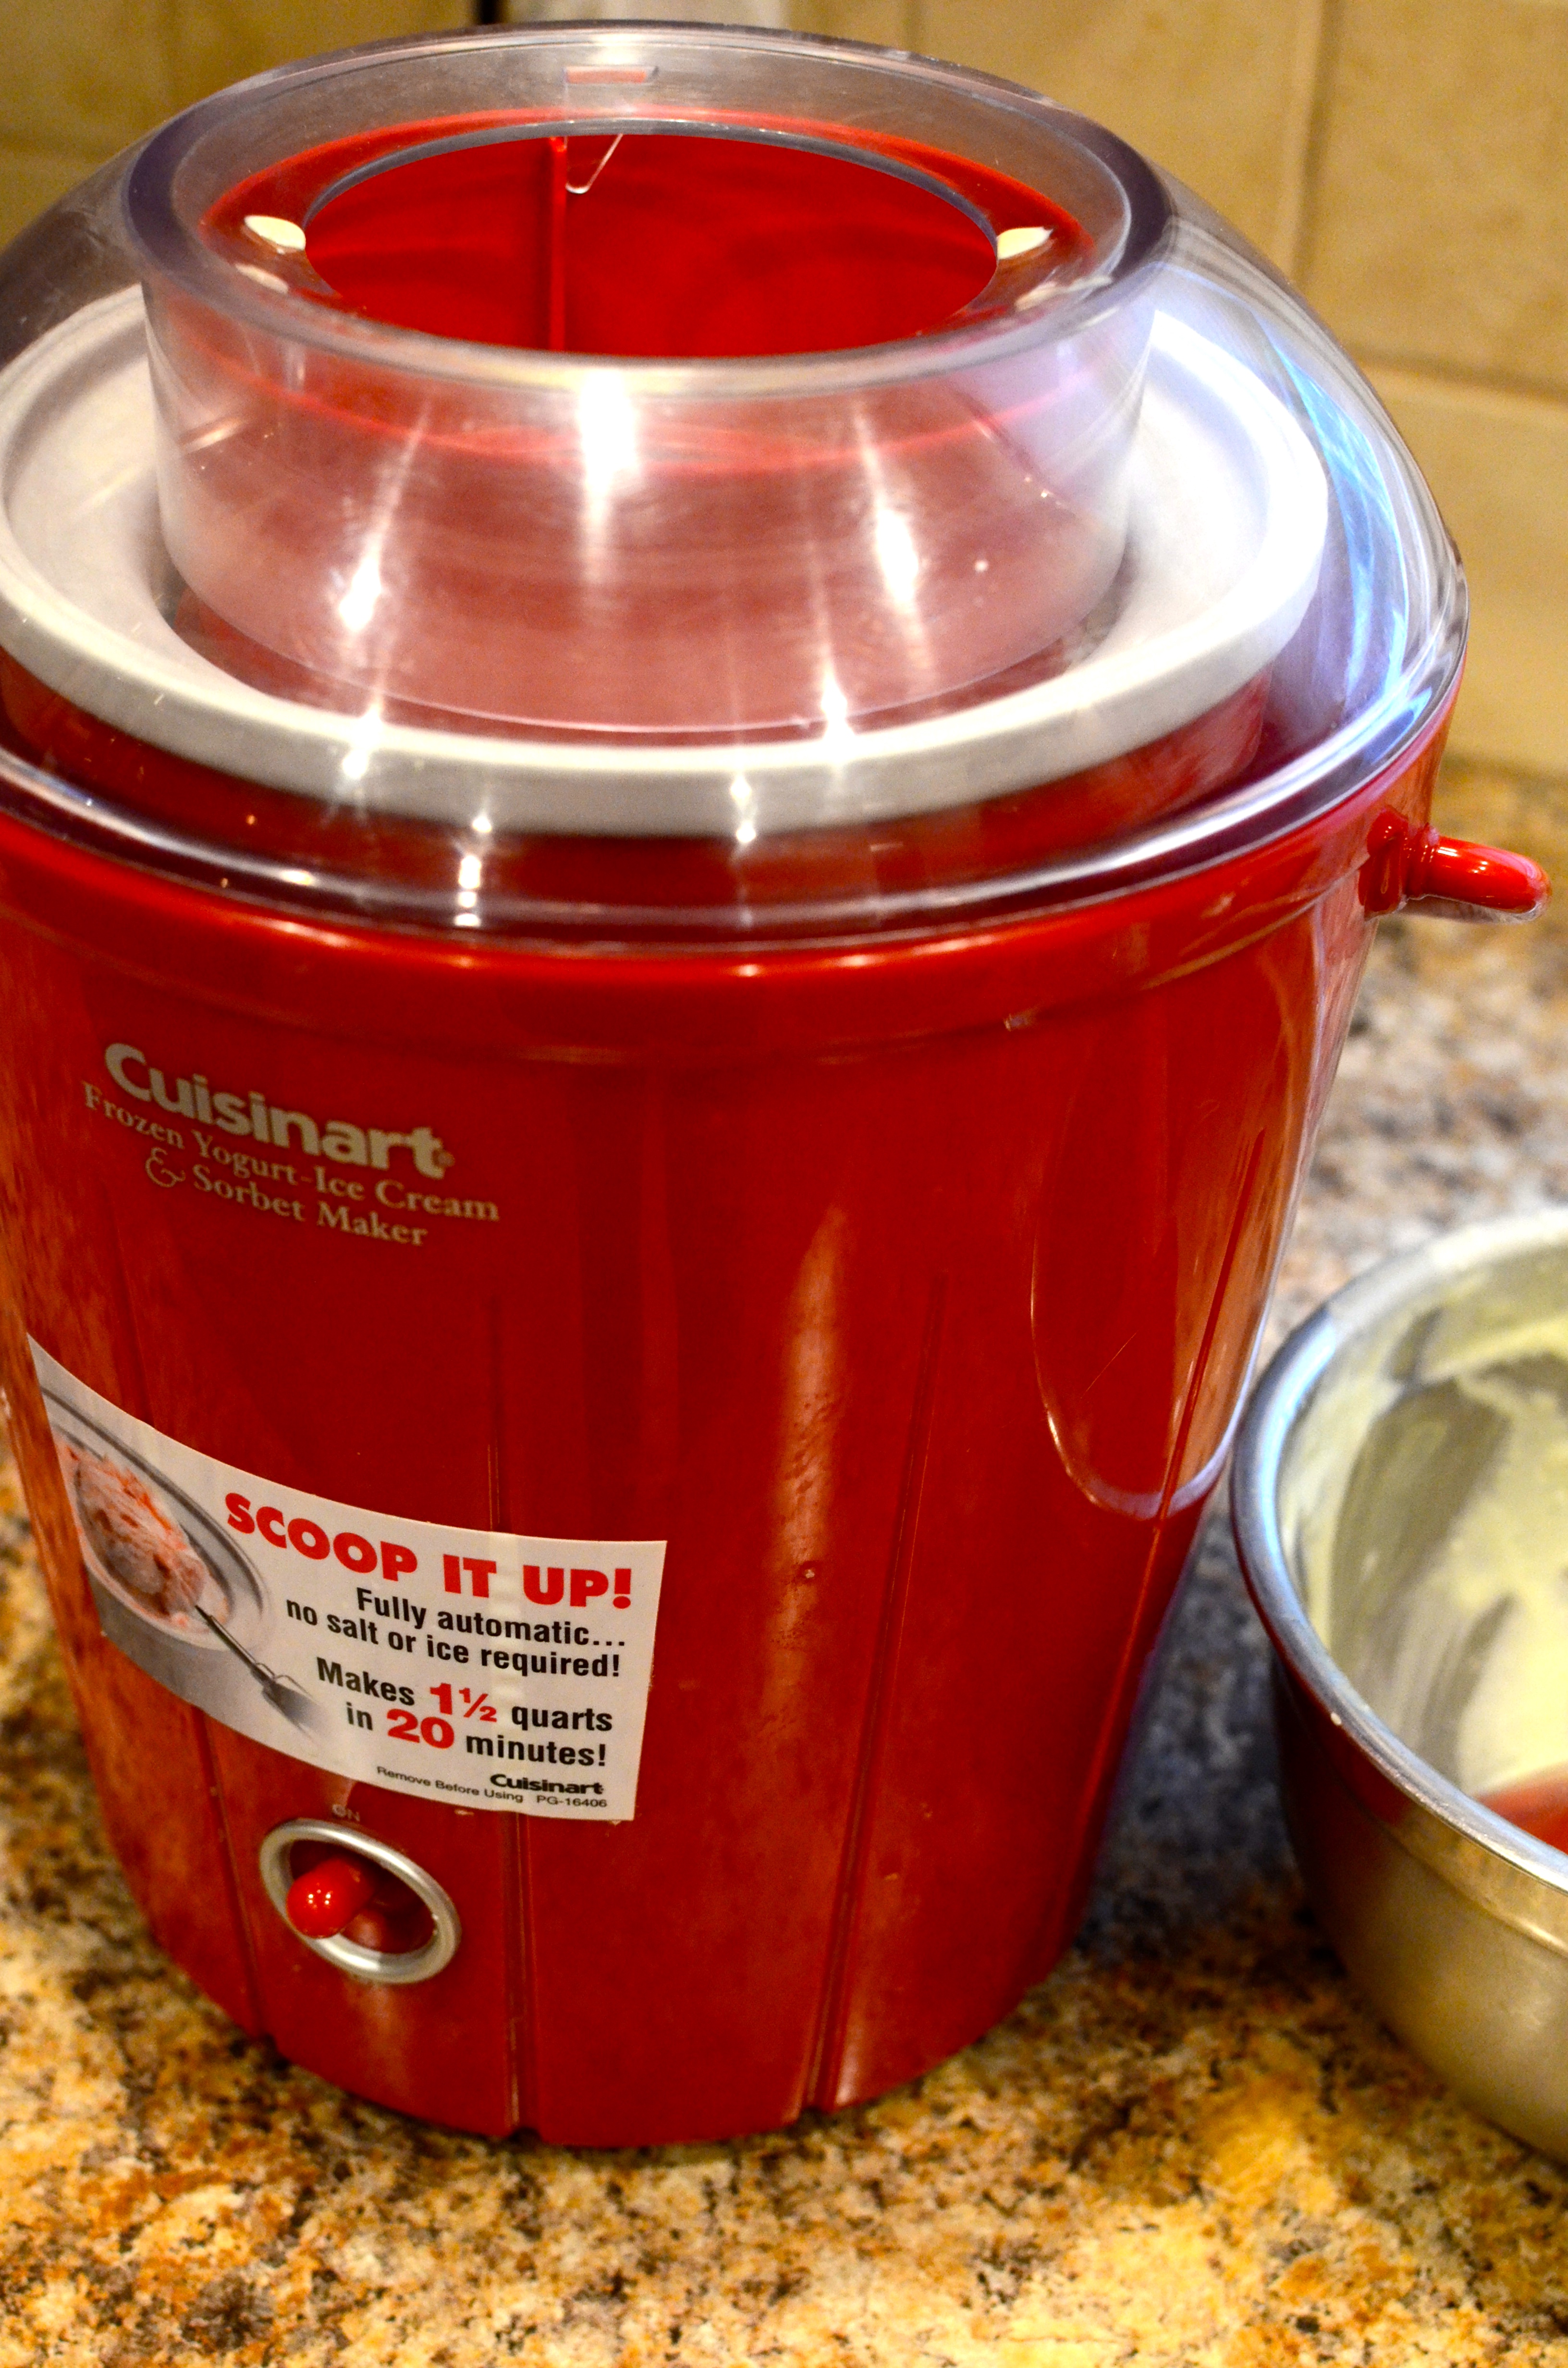
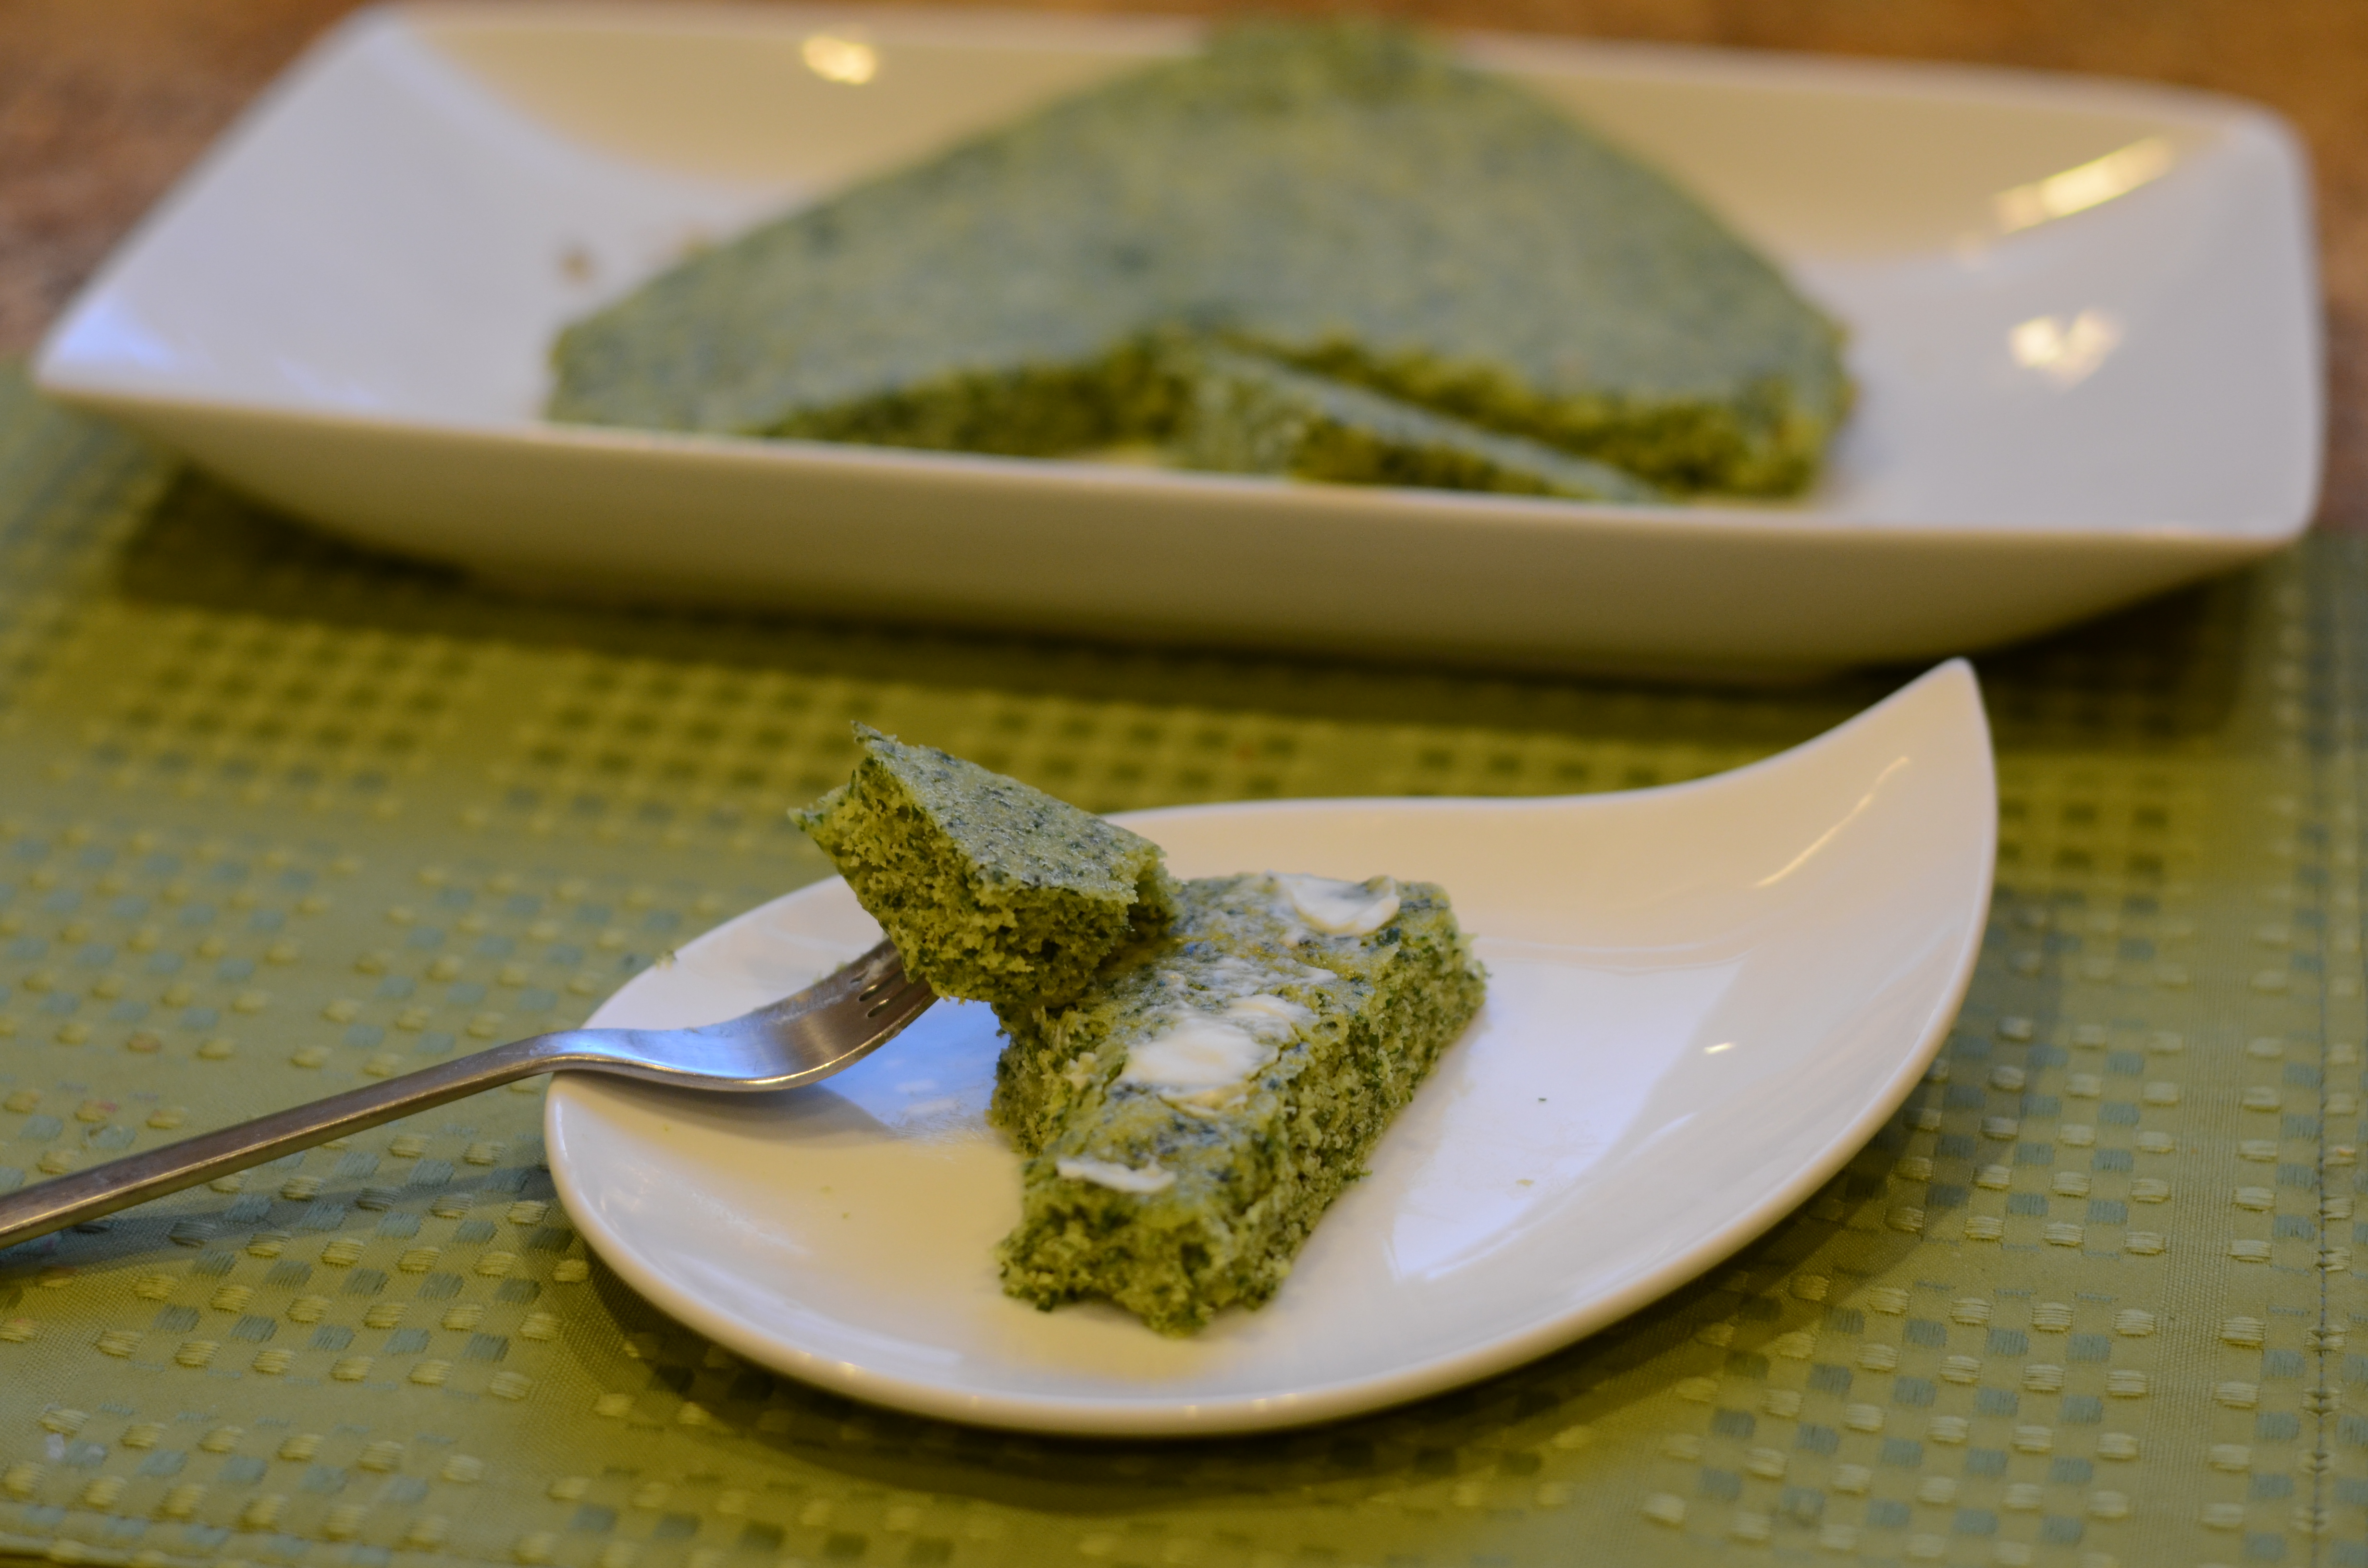
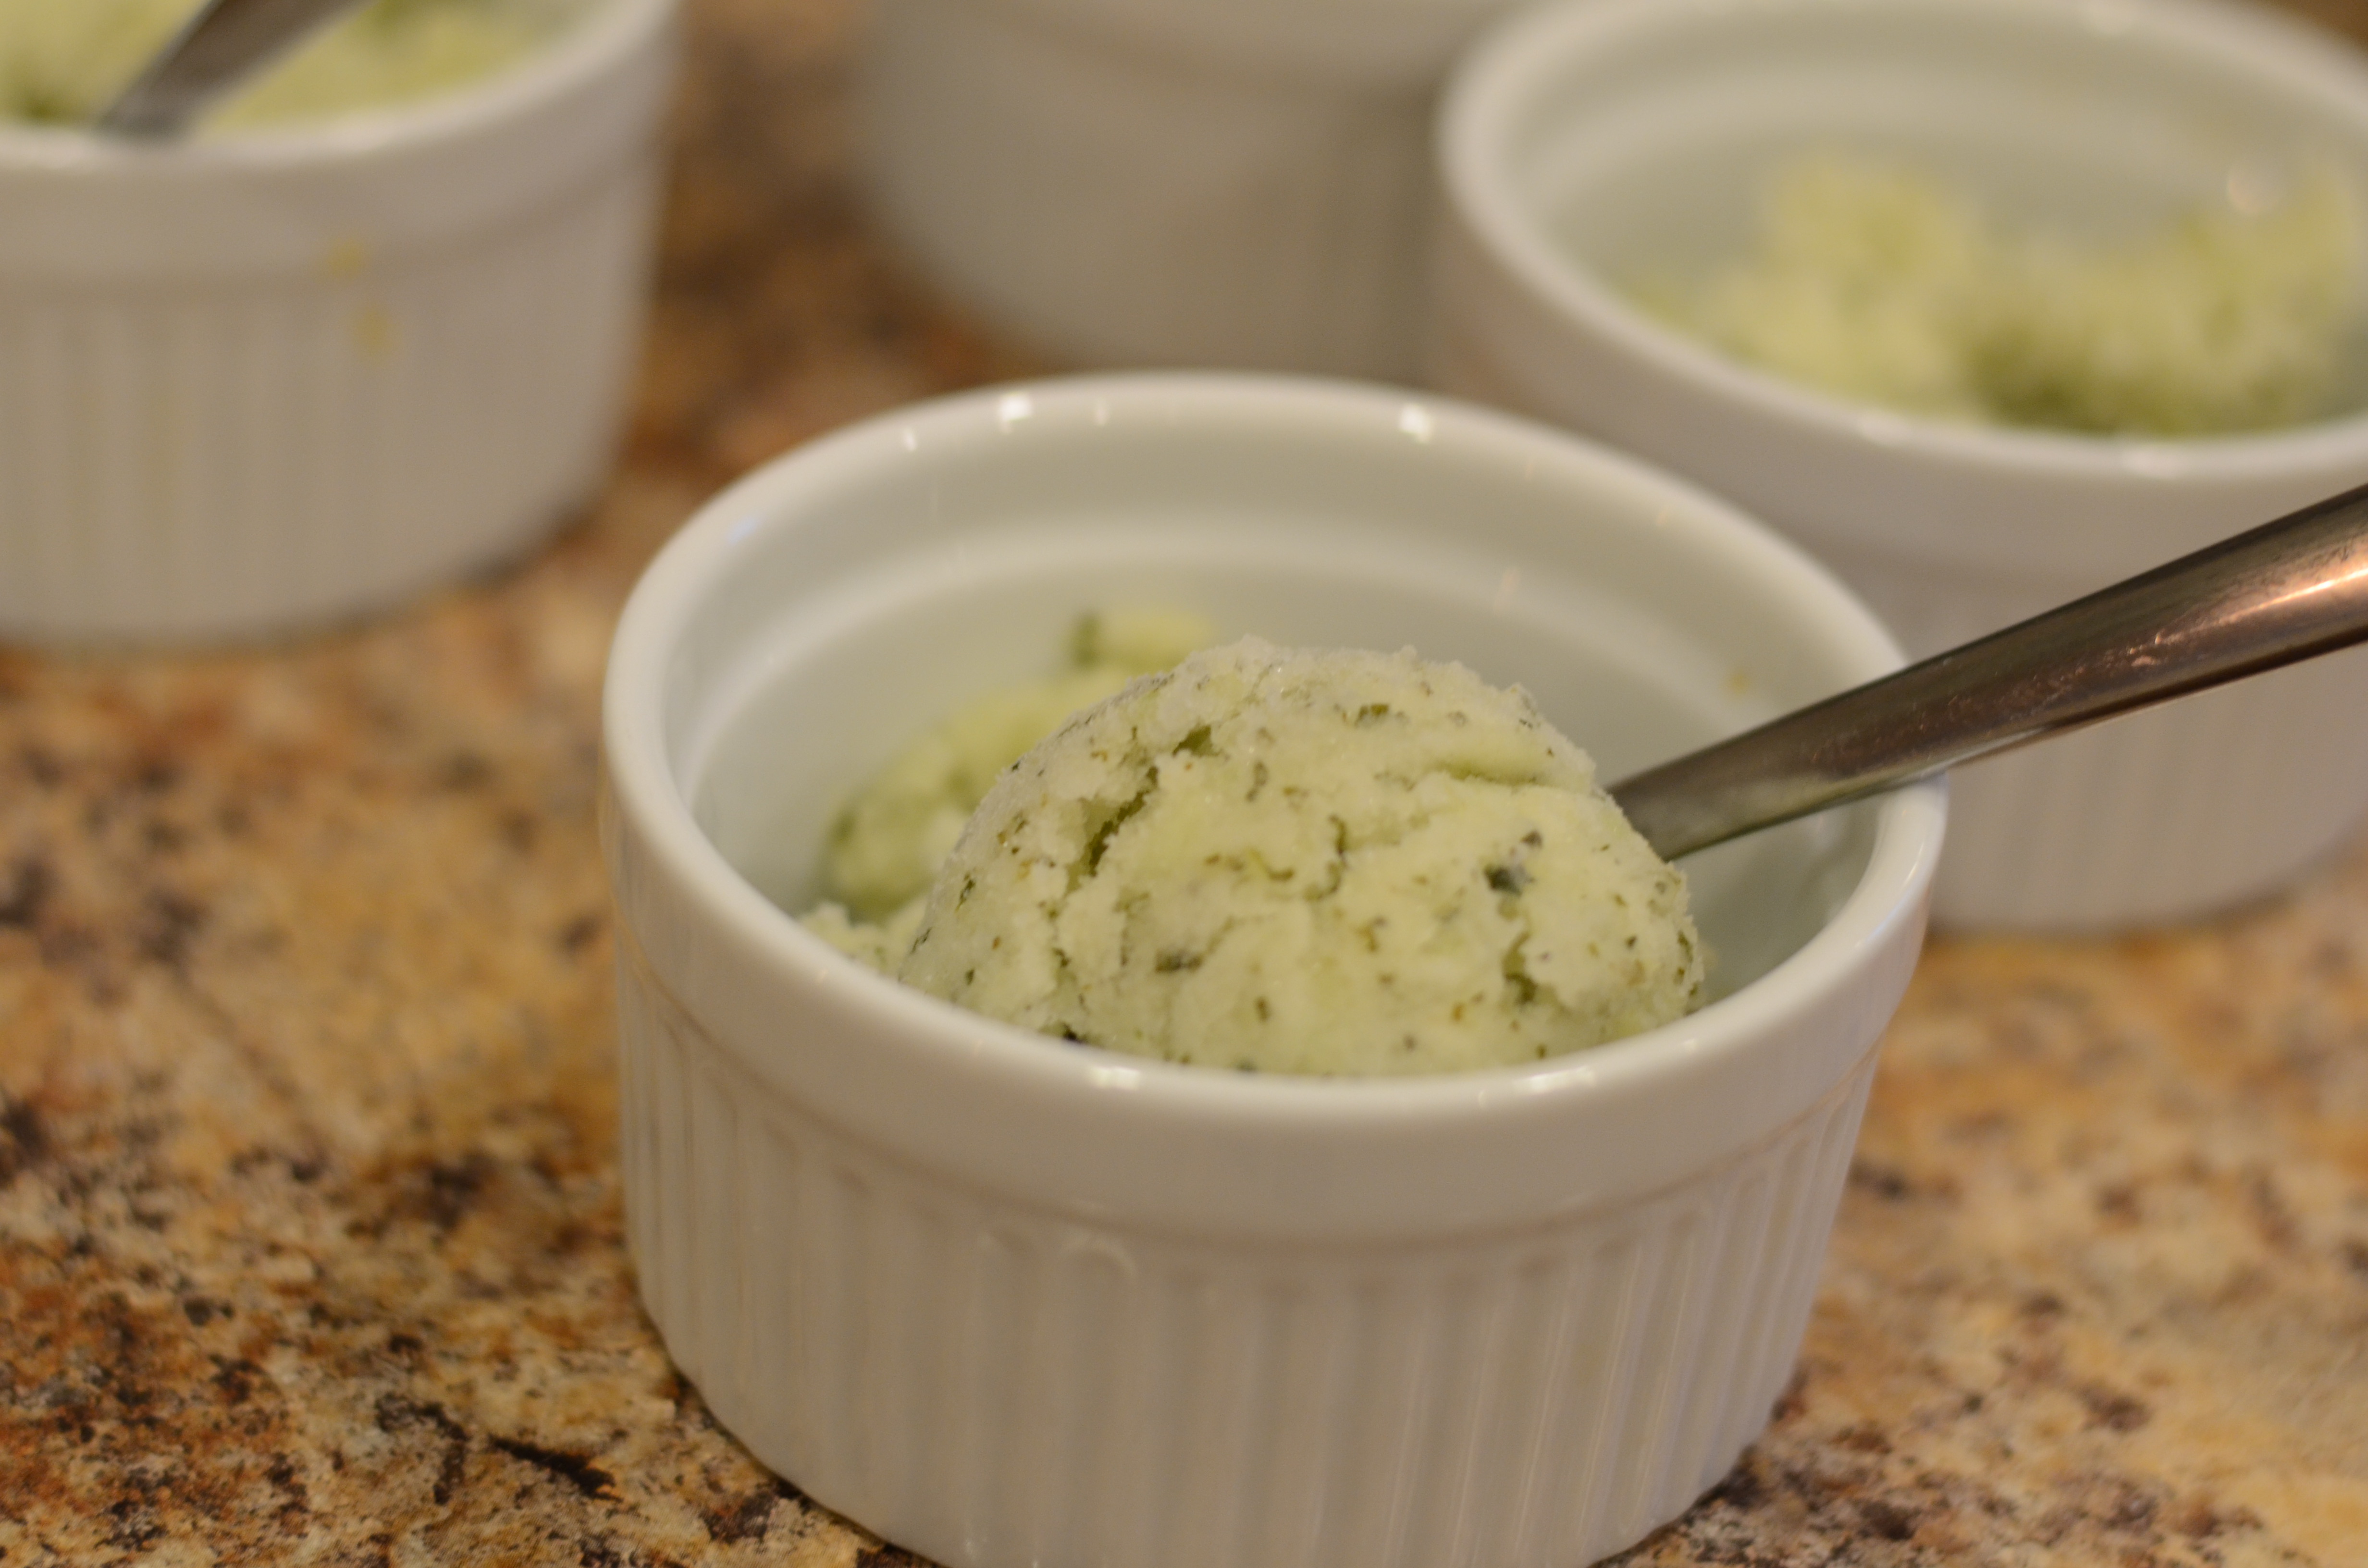
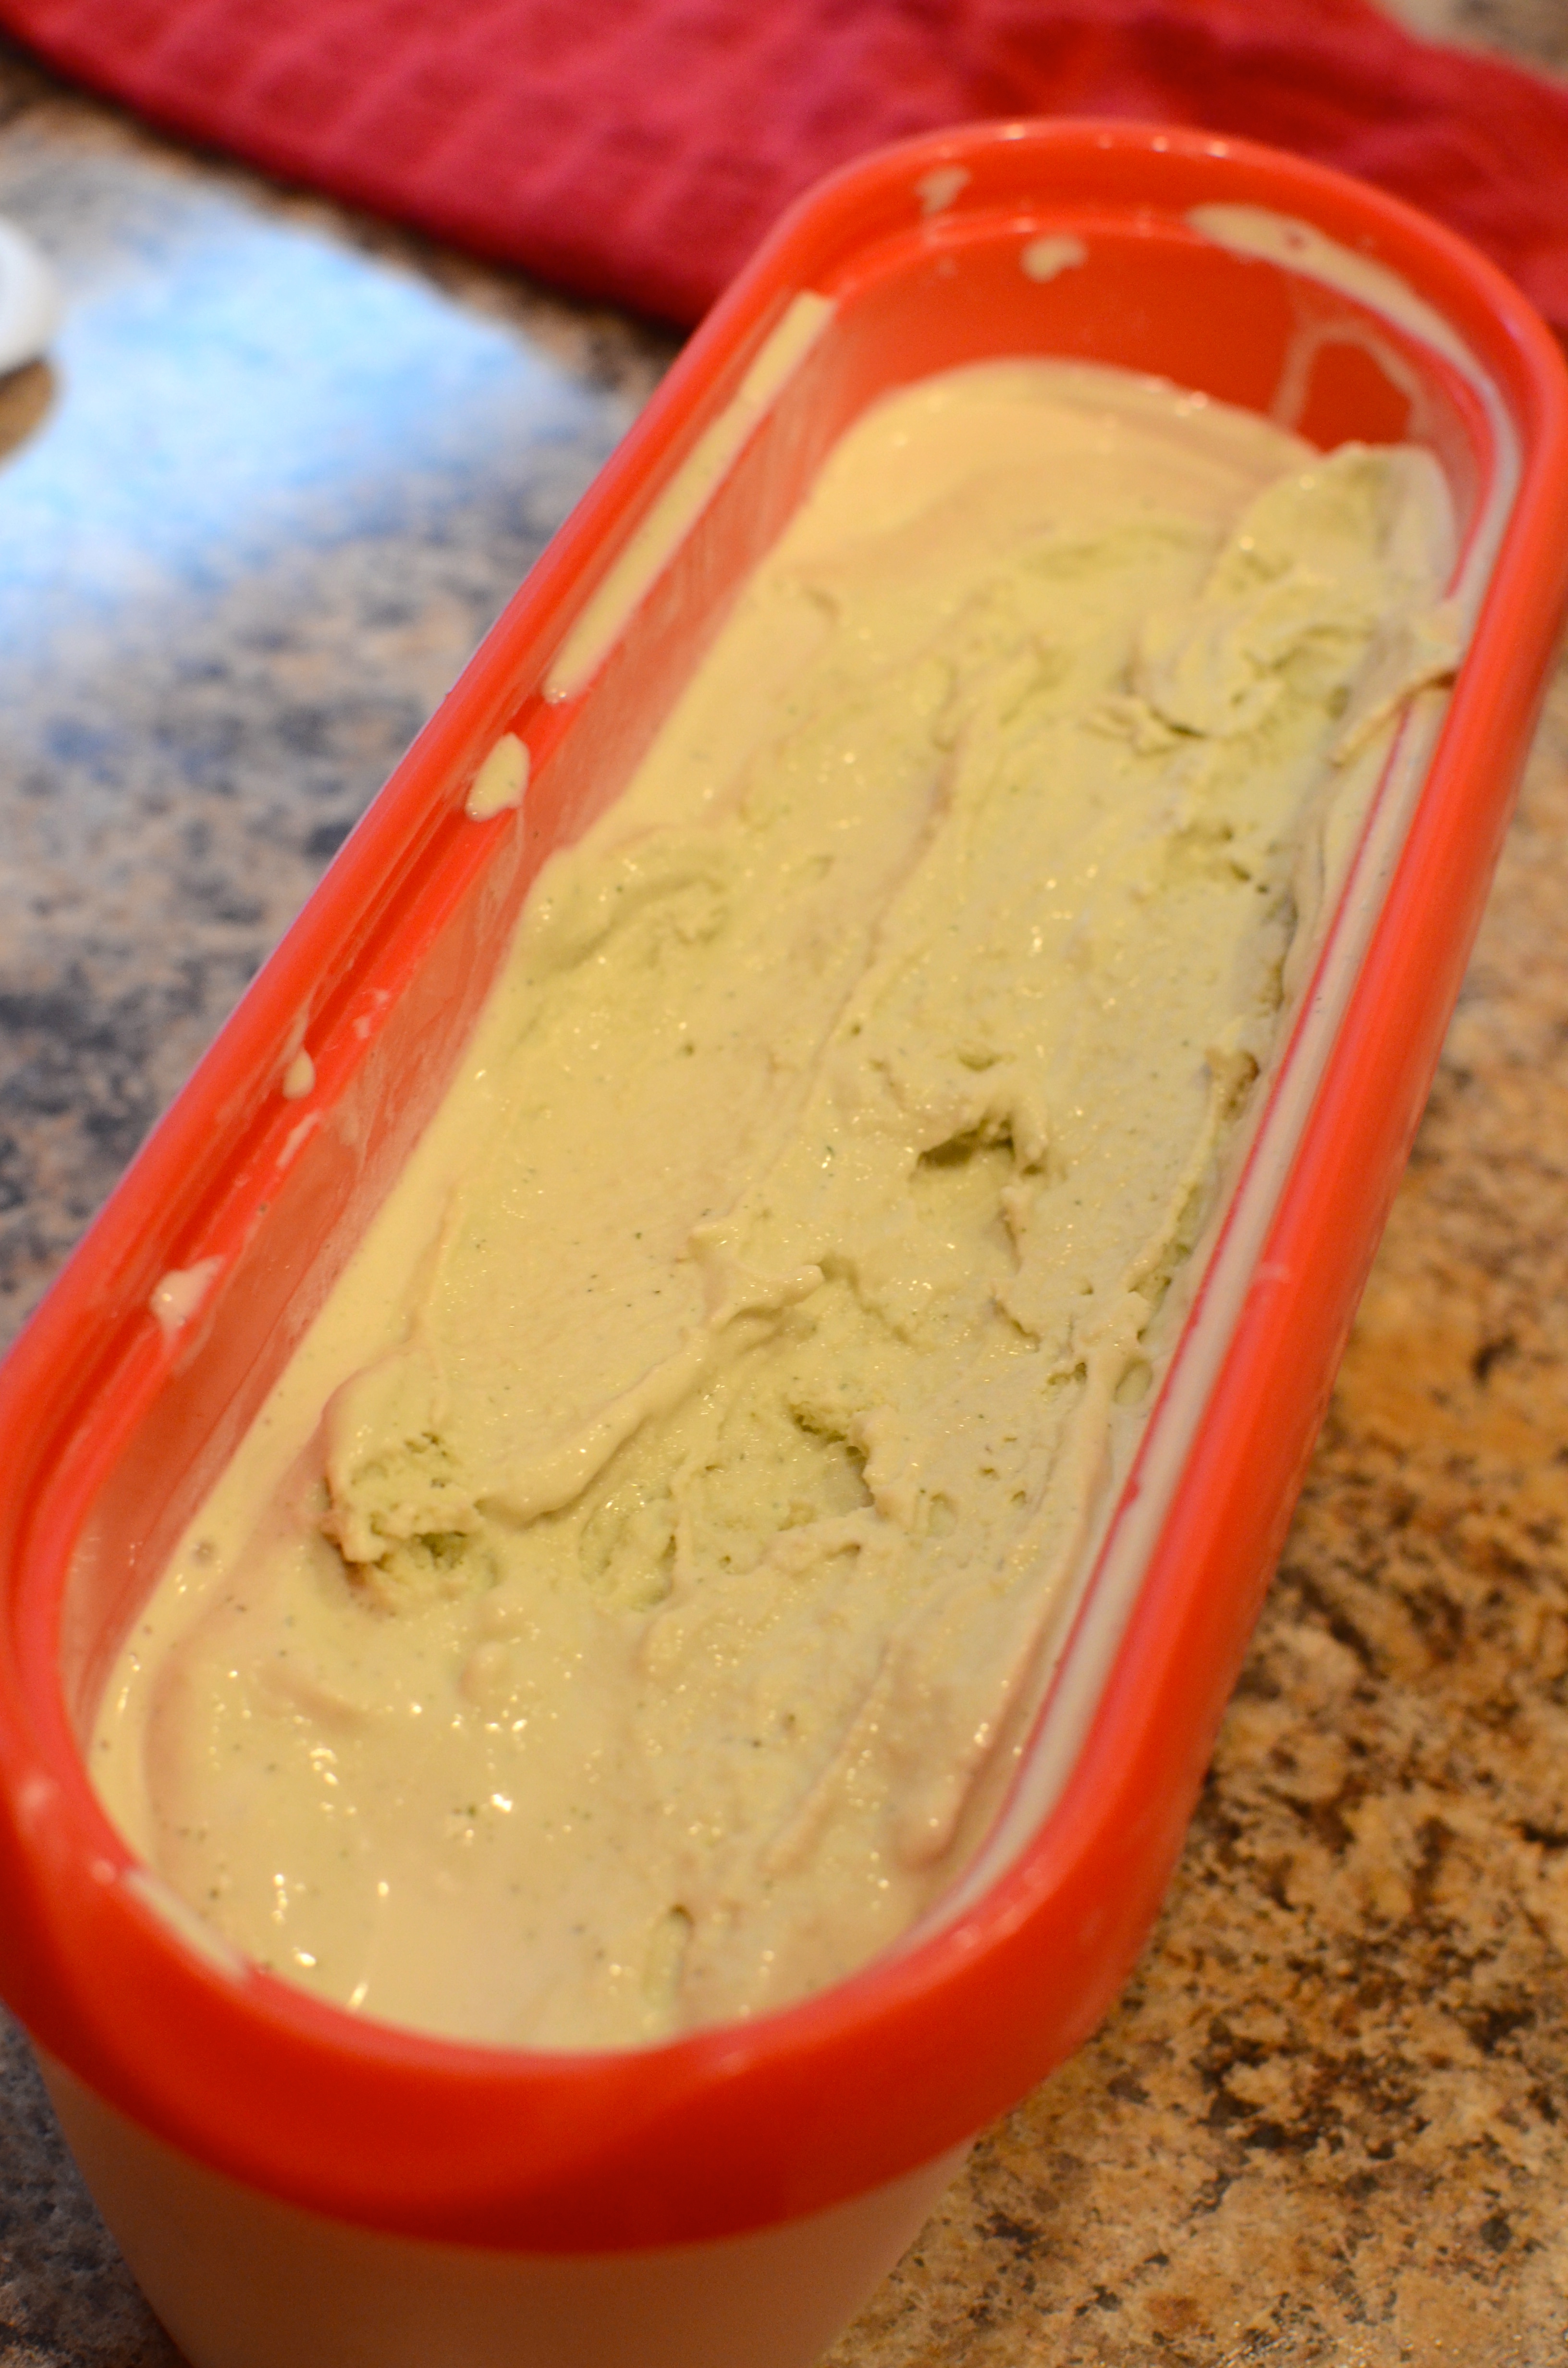
After 20 minutes in this frozen-bowl style, you’ll have soft-serve.

Transfer to a freezer container to harden.
Happy summer!