Miso Soba Noodles with Roasted Cherry Tomatoes

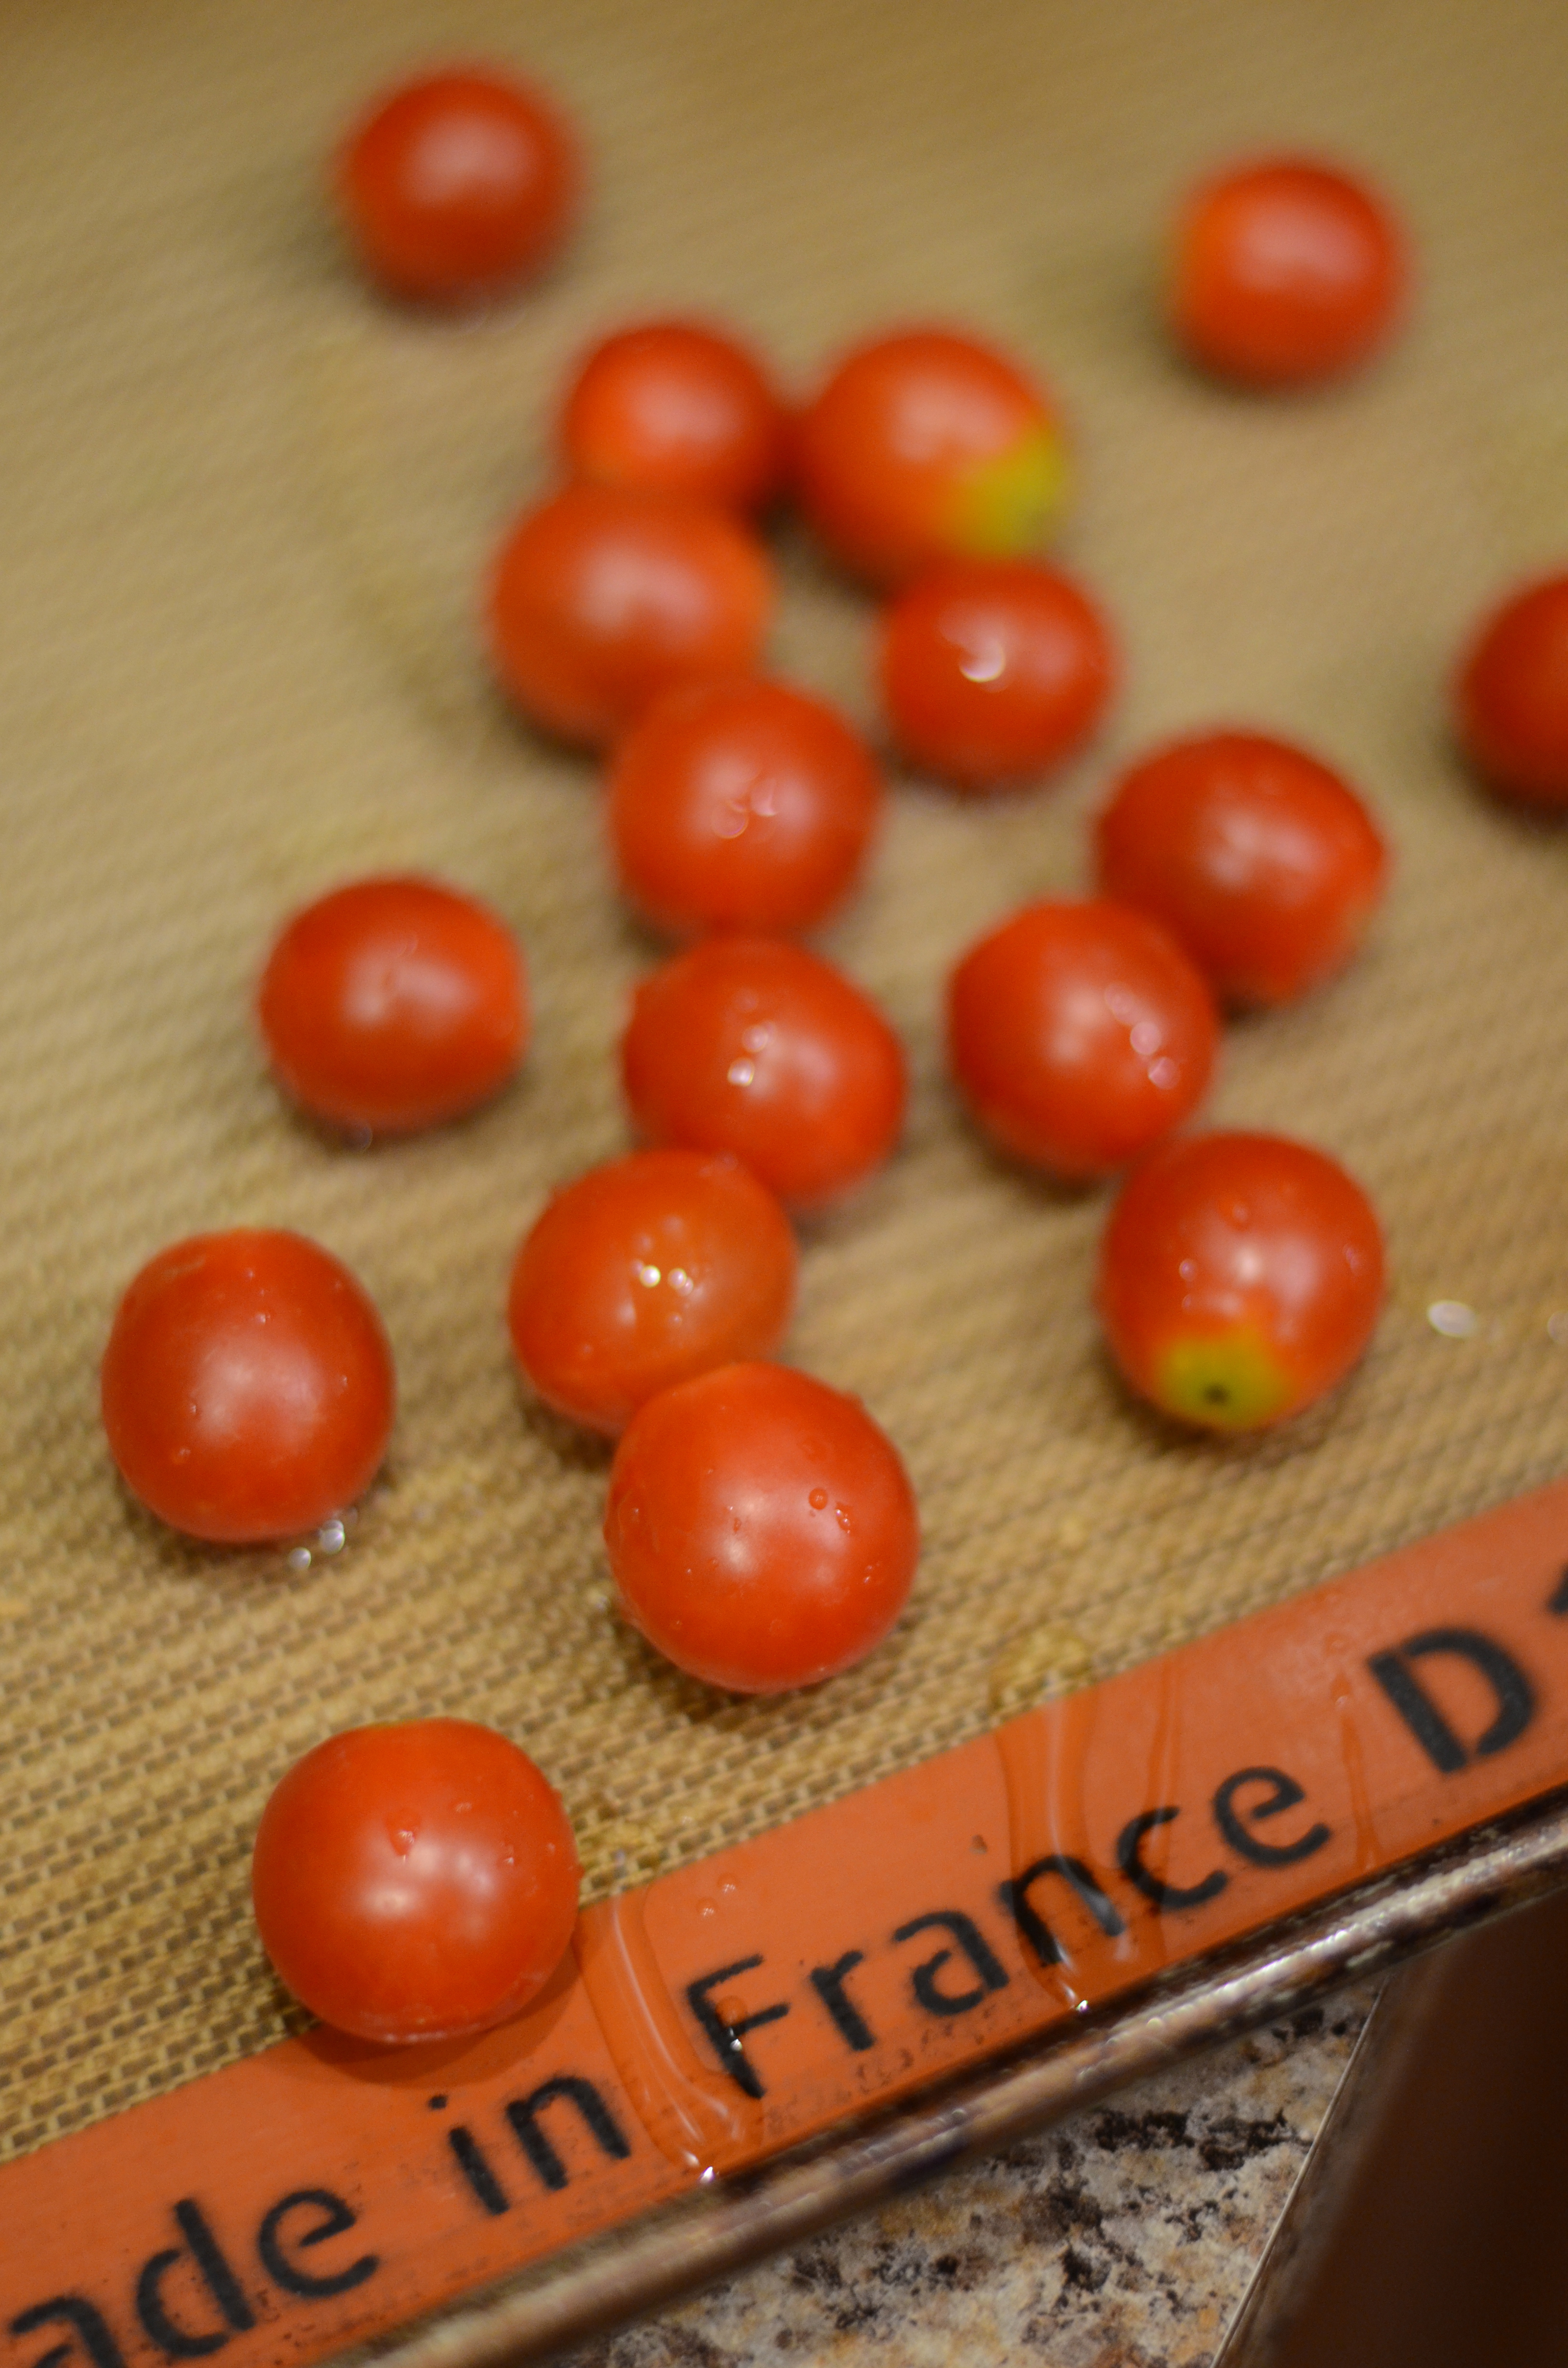
I knew the day would come when I would have plenty of tomatoes. If I was ever worried about not getting my fill of ripe tomatoes this summer, my cherry tomato plants have been sure to put me at ease. I can’t complain about the steady output from the two plants. In fact, I am particularly pleased that the plump orbs keep well on the counter, several days after being picked. They are easy to share with friends and family, and they just keep coming.
DSC_9575
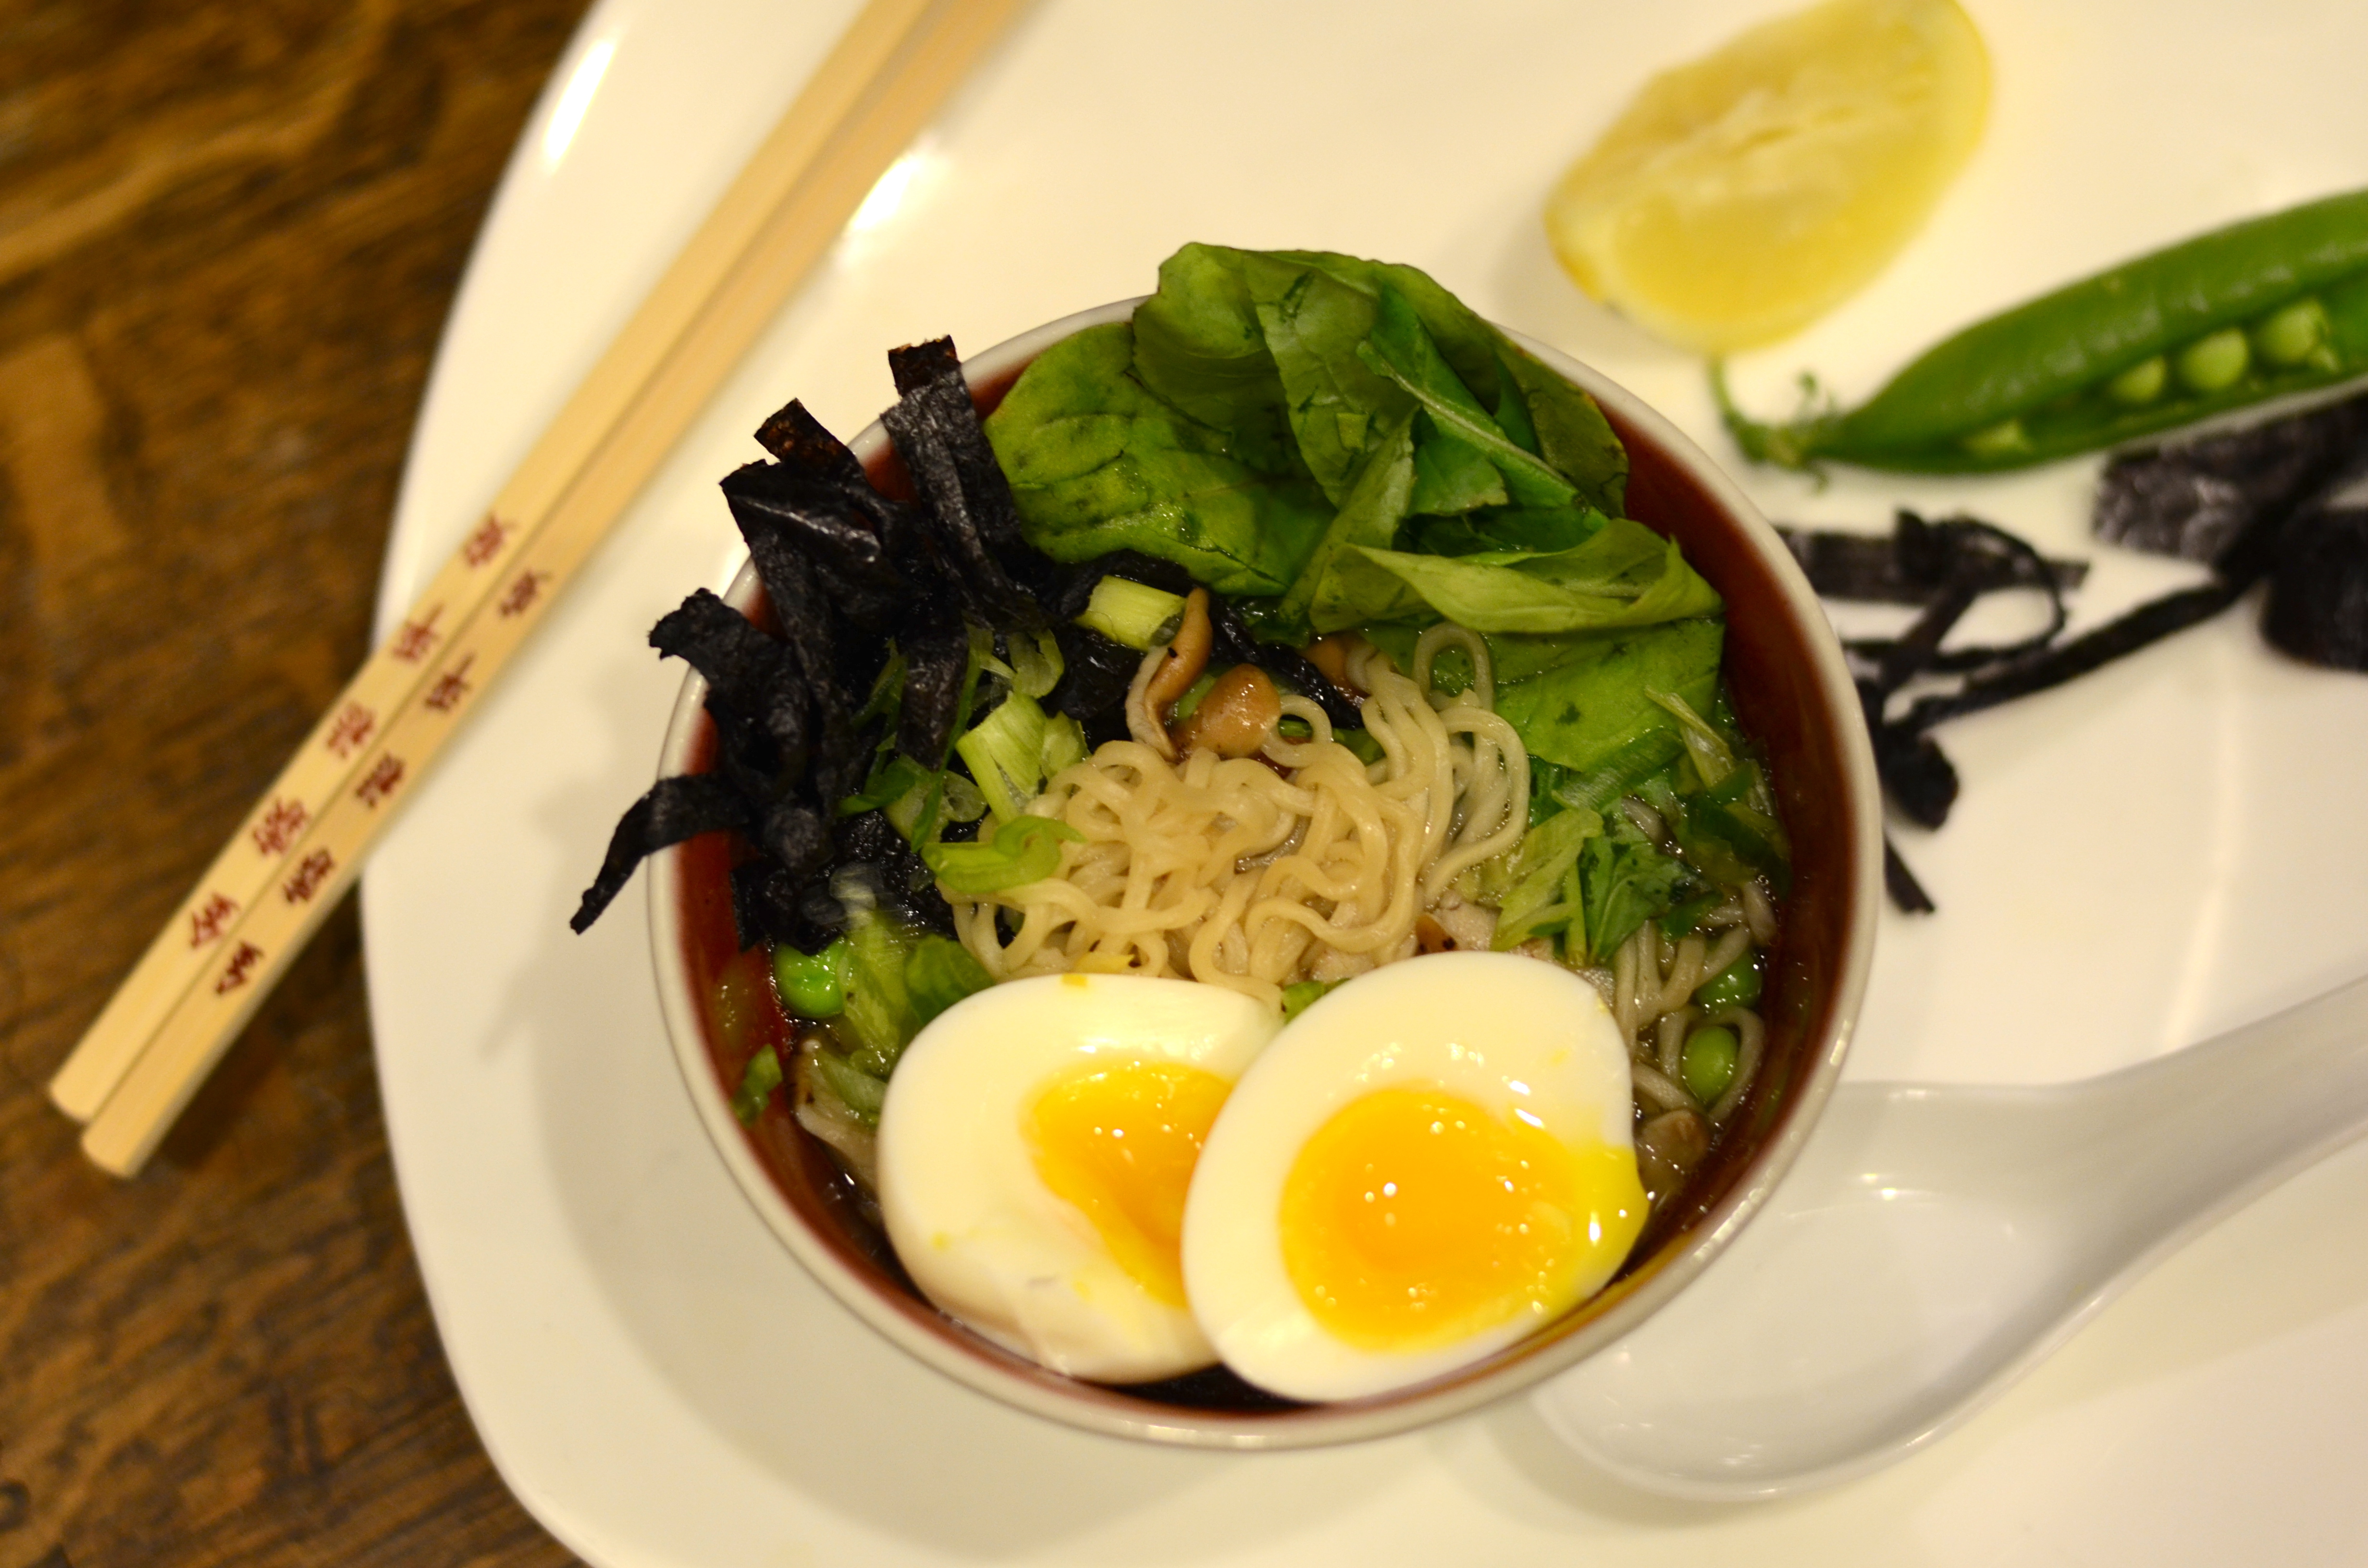
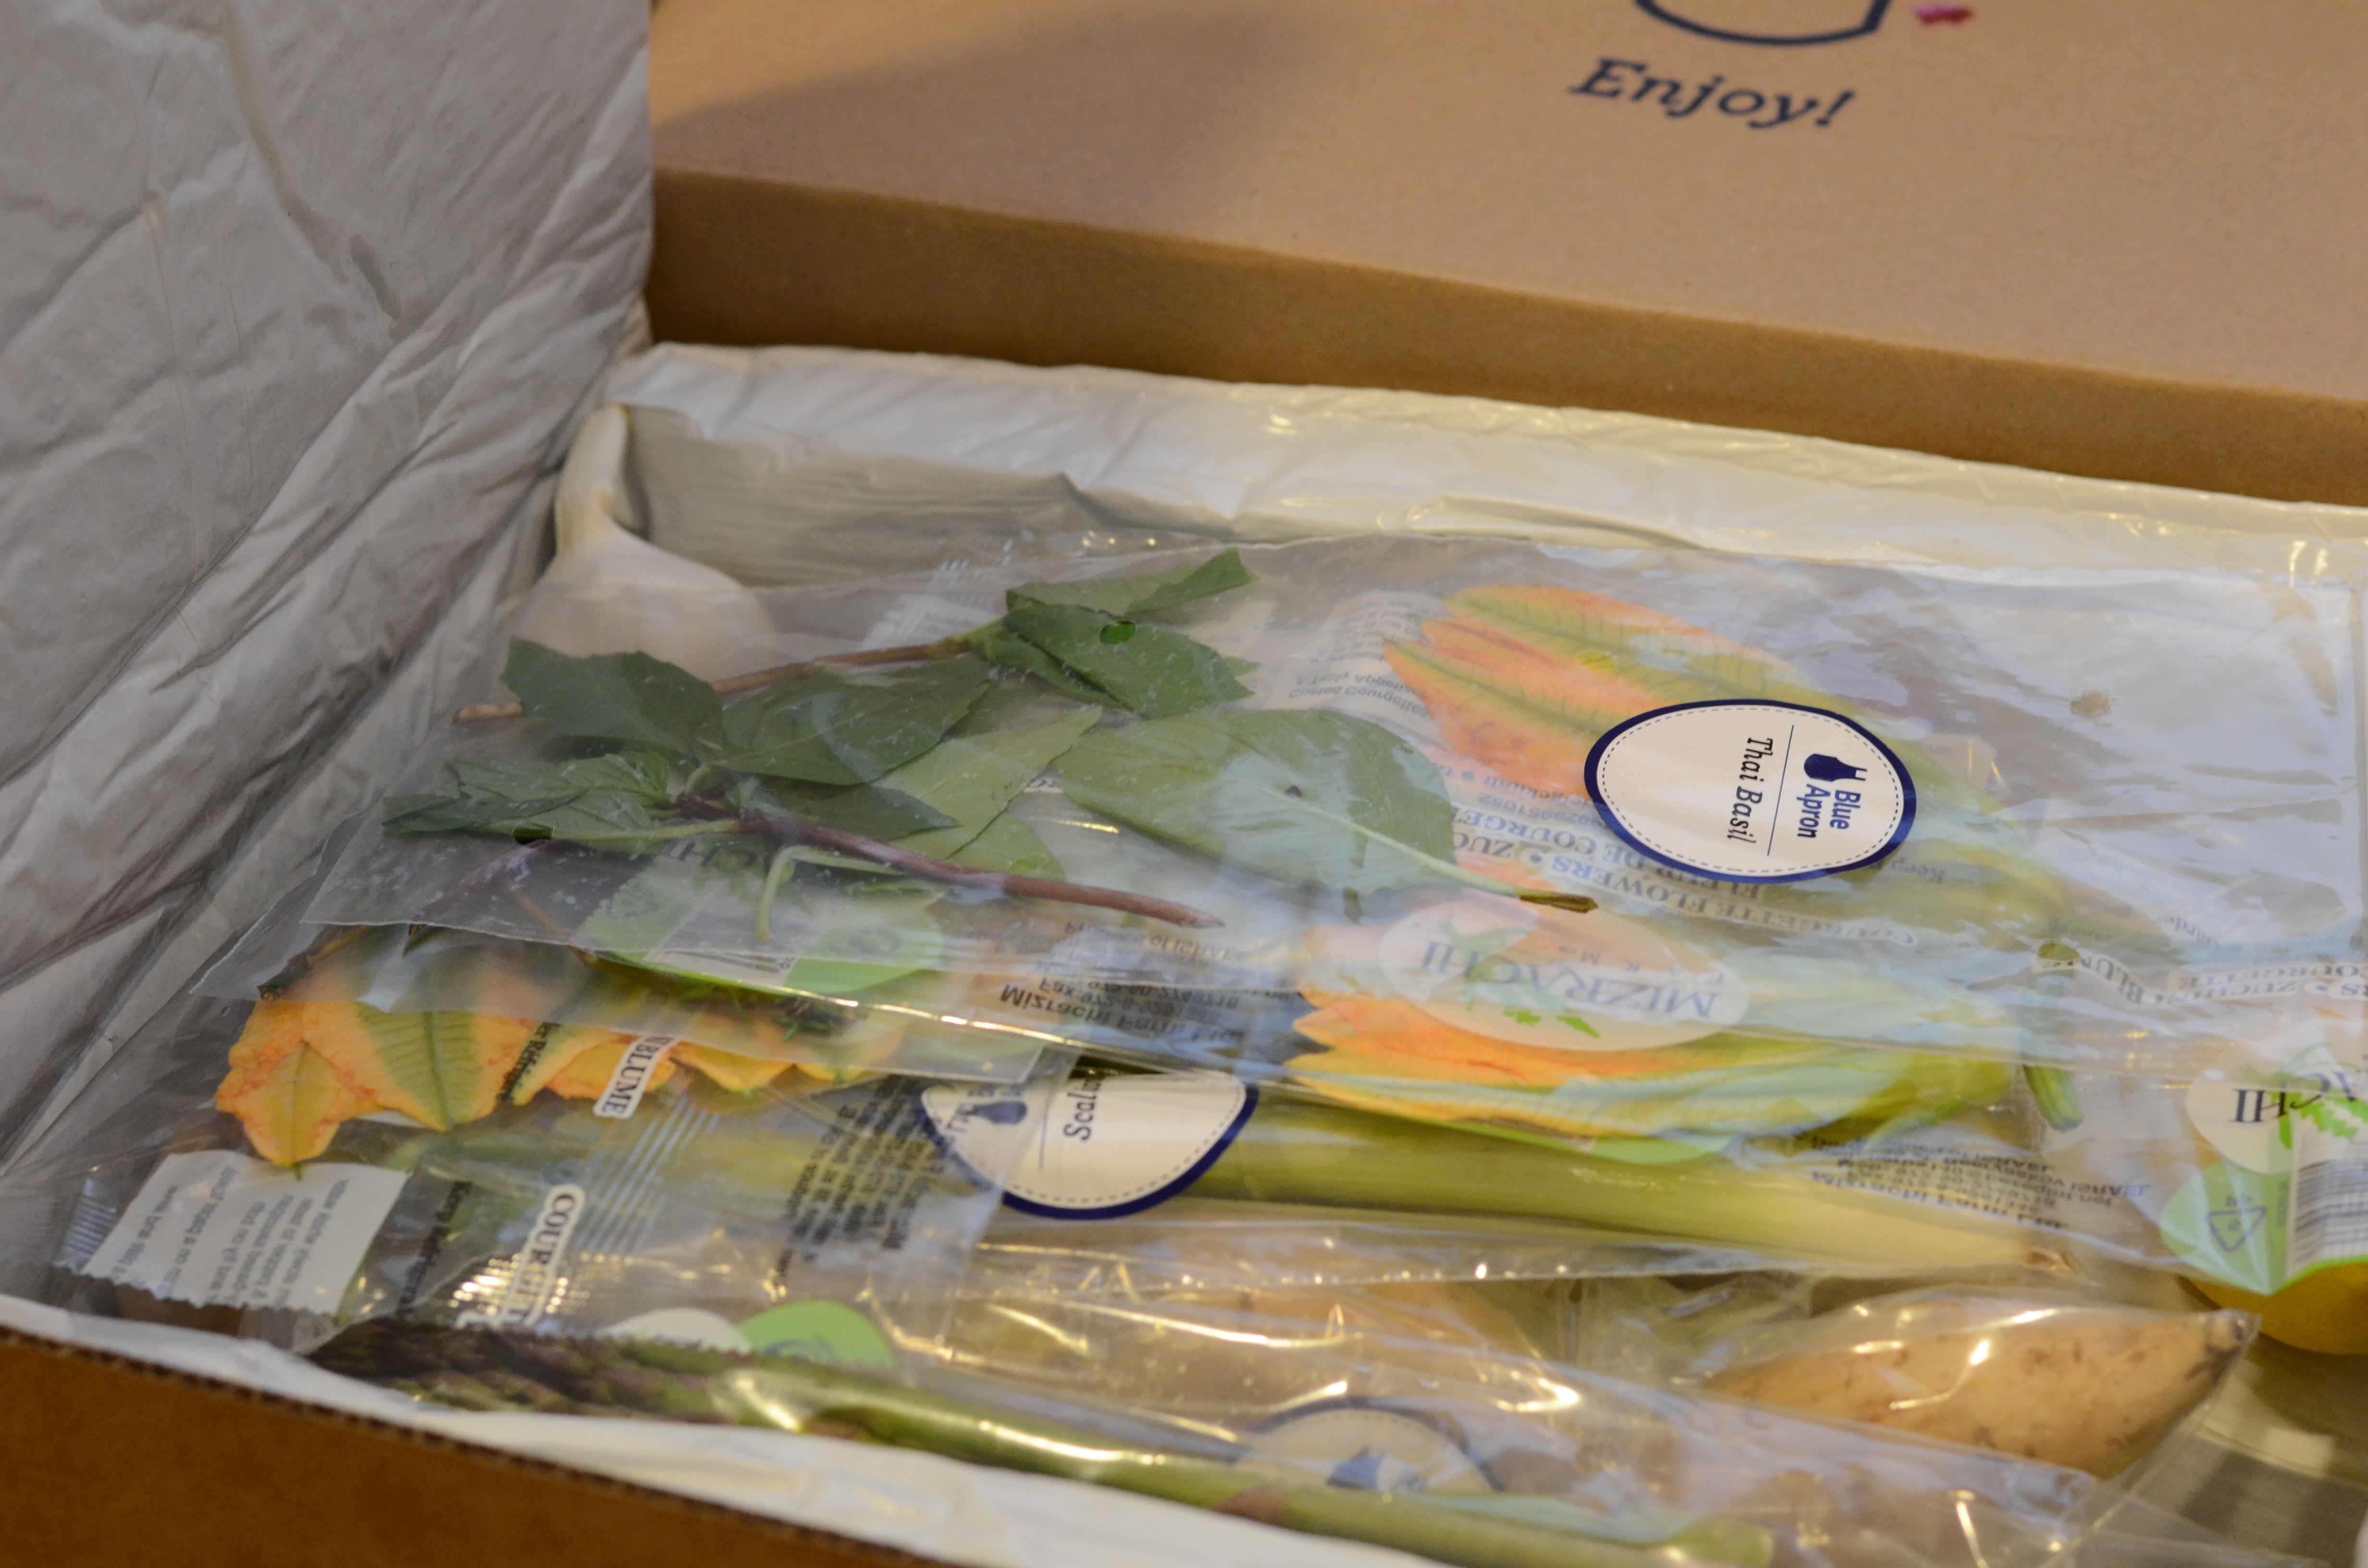
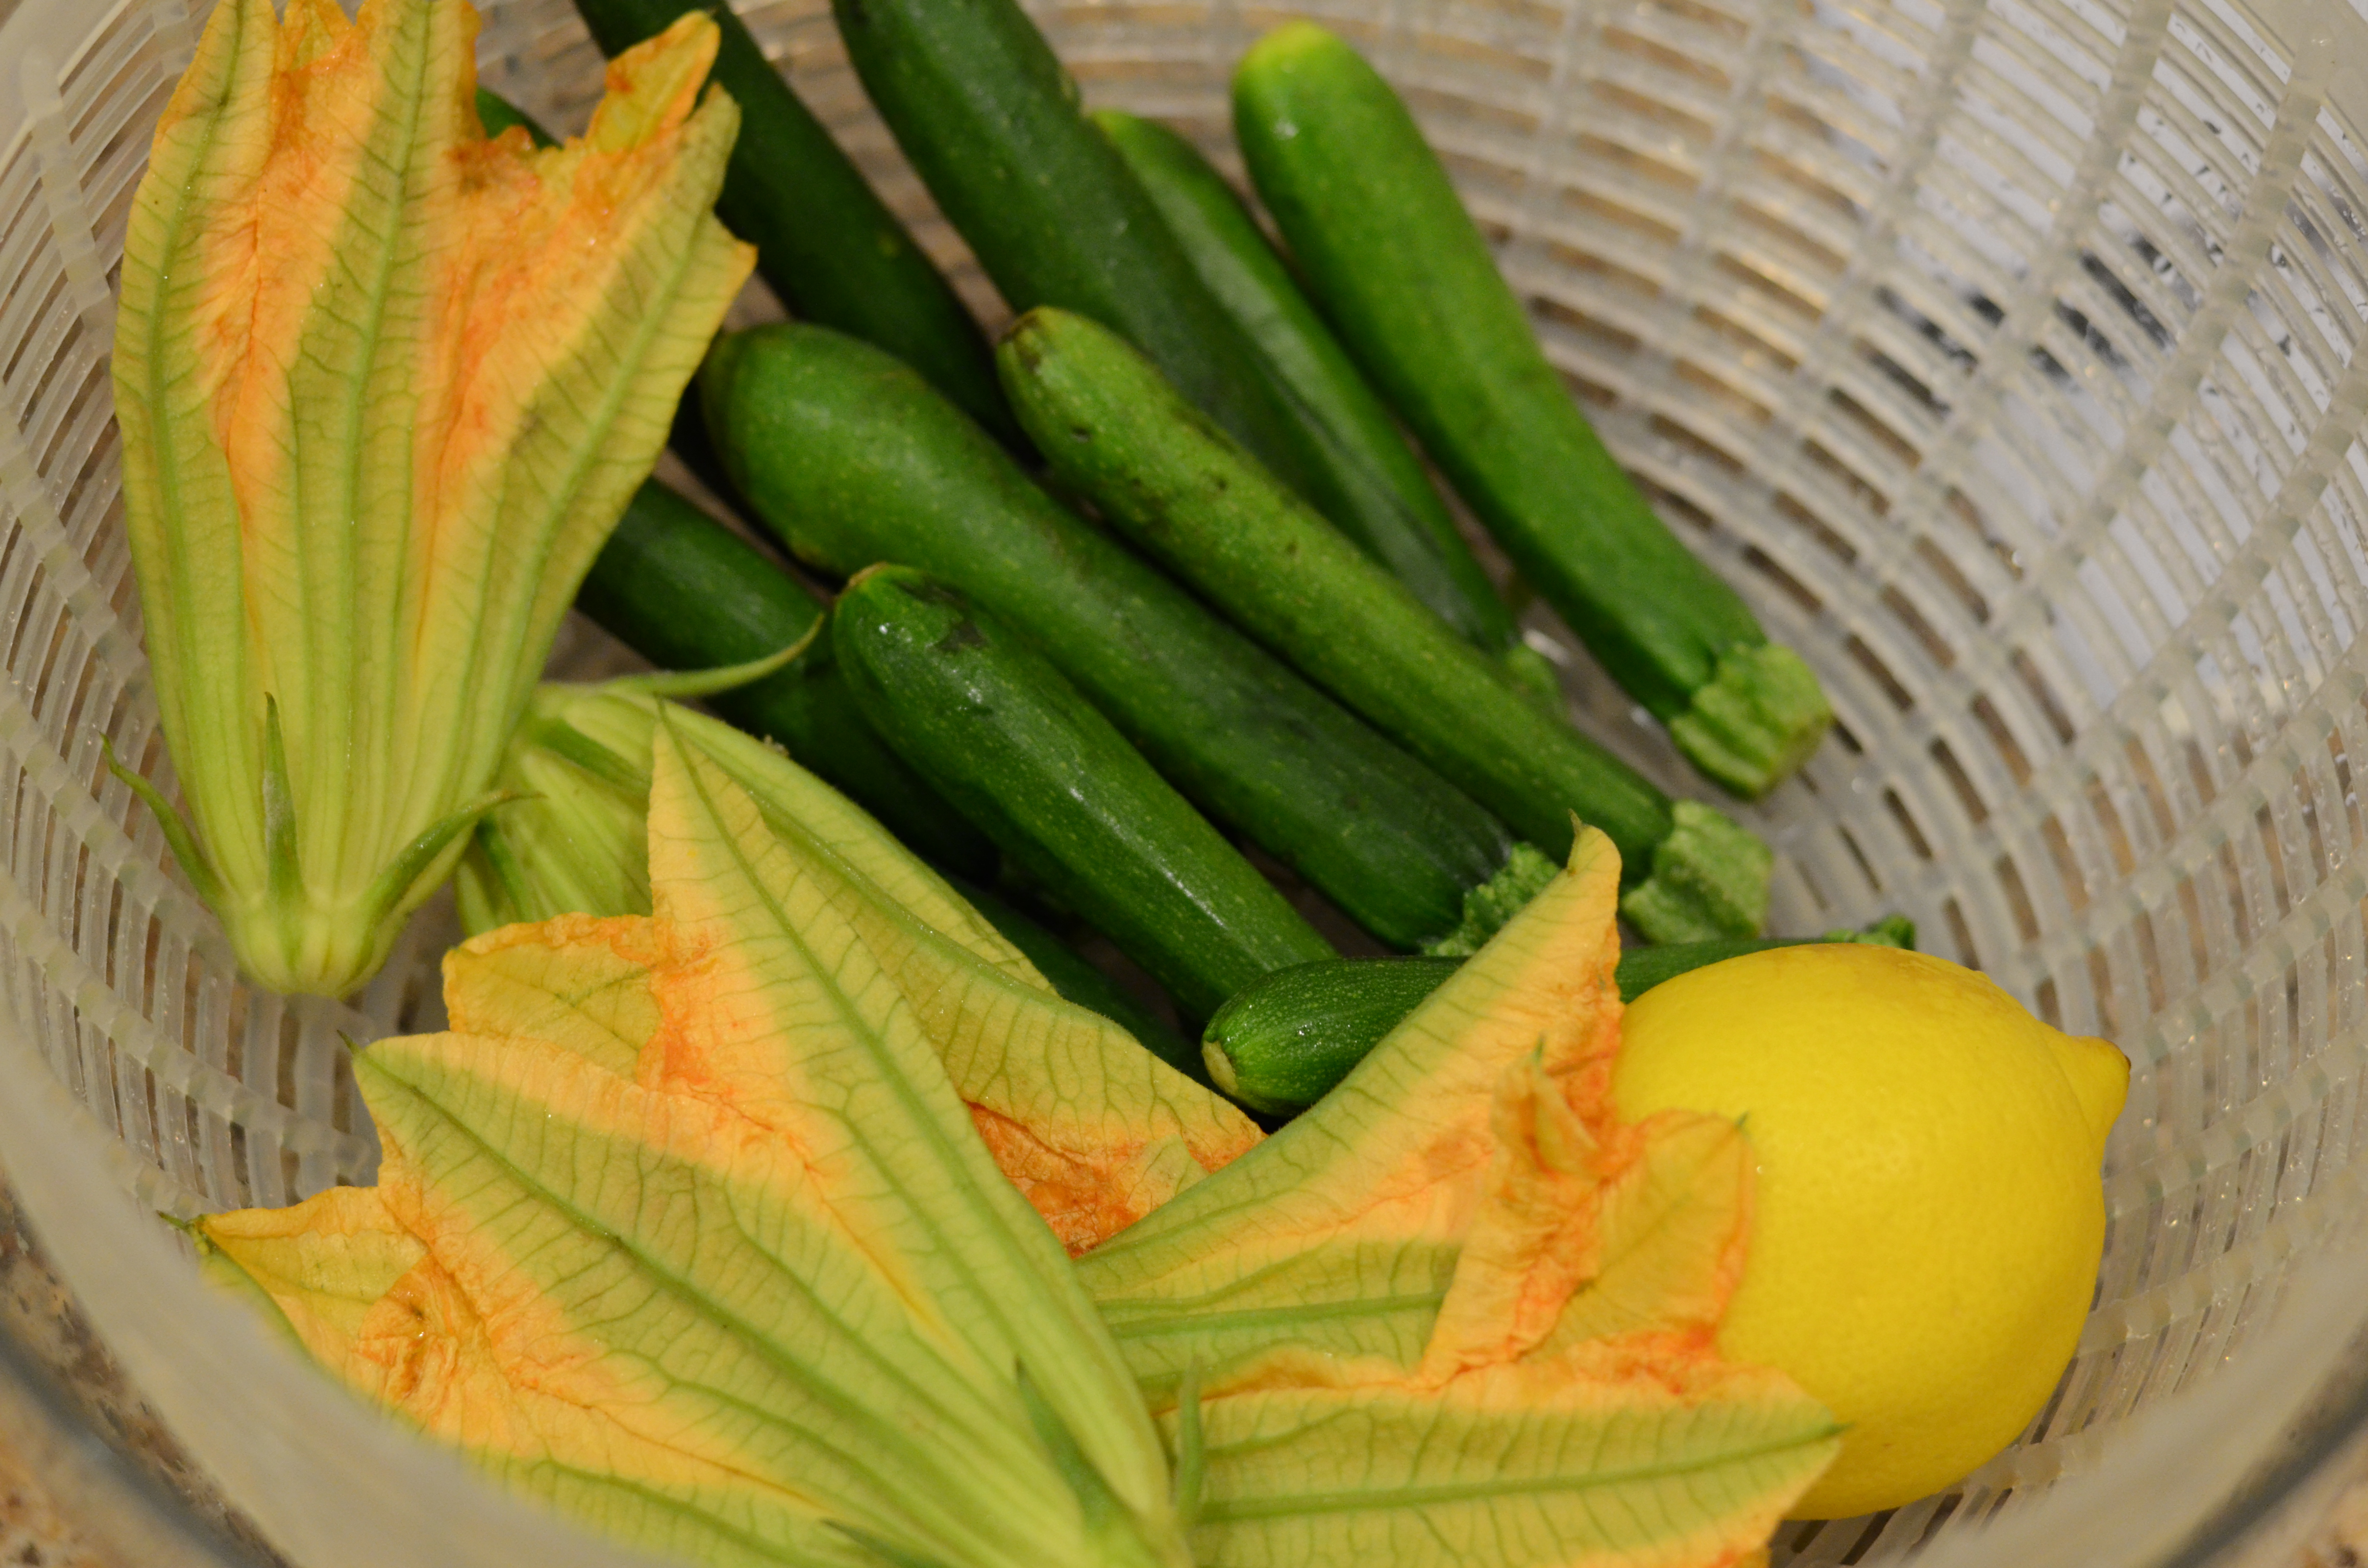
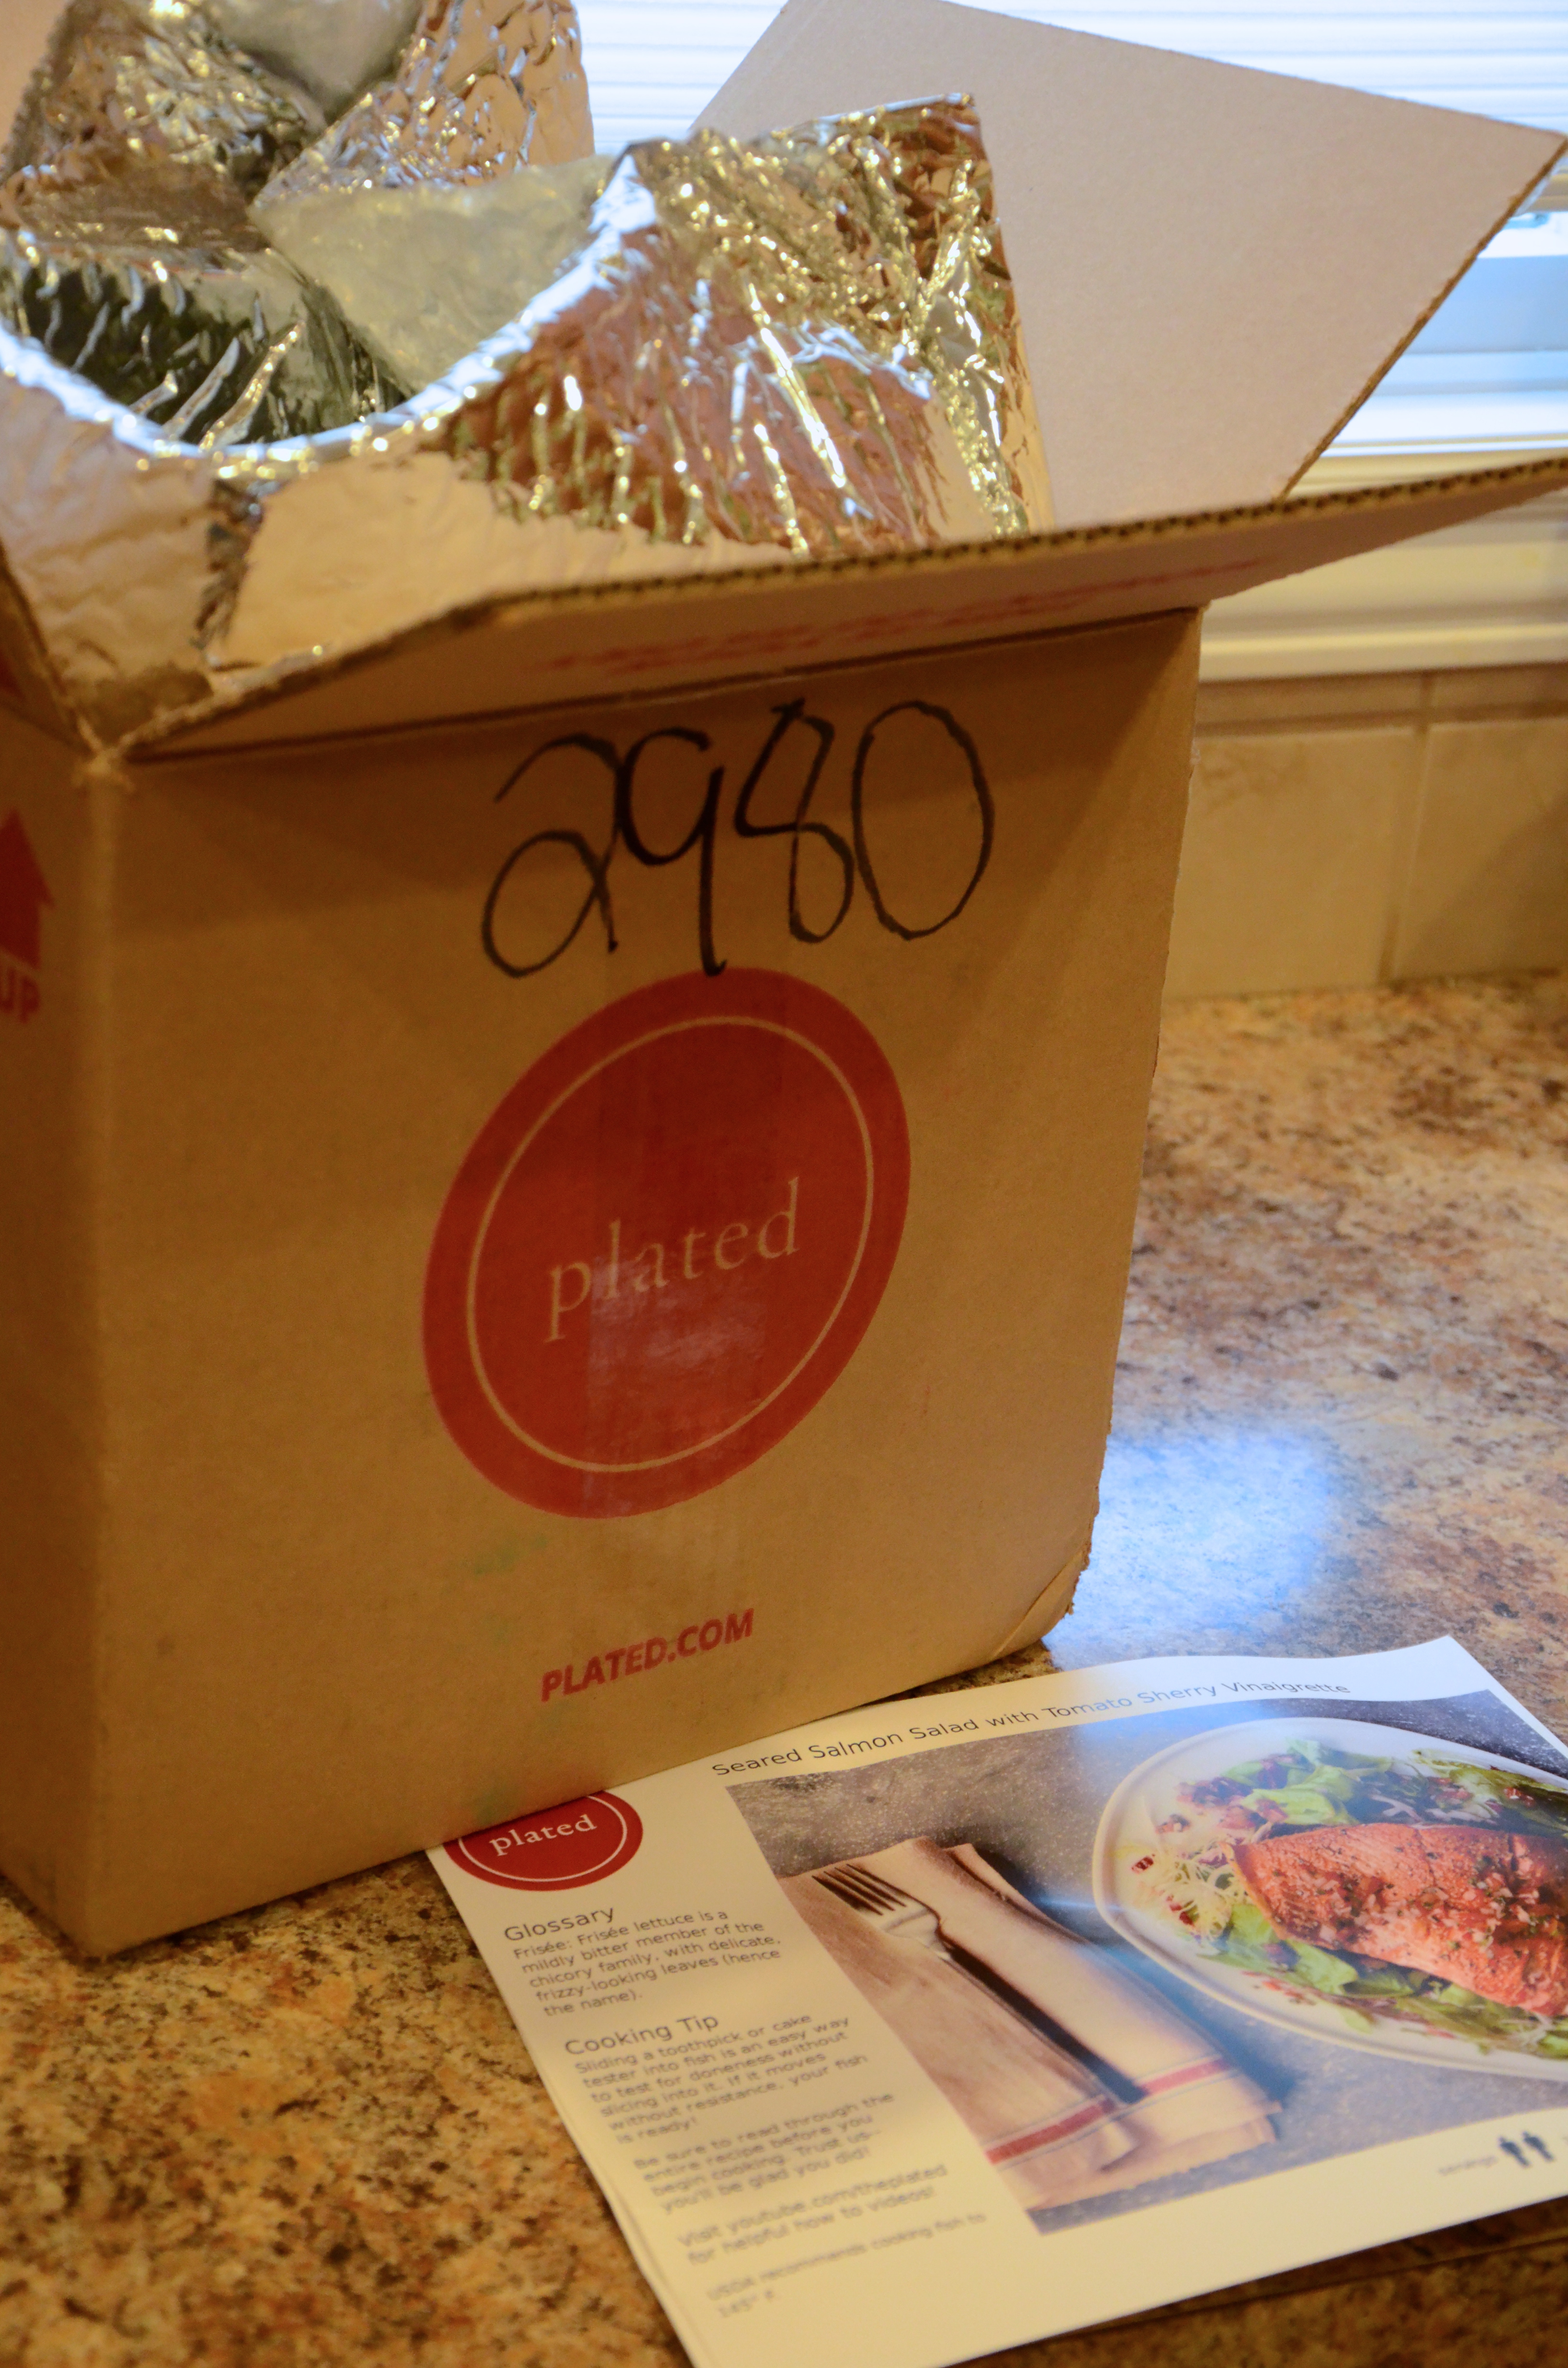
Fresh cherry or grape tomatoes are wonderful for snacking, but I do love me a cooked tomato, warm and burst open at the seams. Don’t you? Roasted cherry tomatoes serve as the topping for this delicious soba noodle dish, a recipe I picked from Blue Apron. I only used the Blue Apron delivery service once so far, but I’m on the mailing list, and I saw this recipe in July. It seemed unusual to use tomatoes in a Japanese-inspired preparation. It intrigued me. Fortunately, my red miso stood ready (in place of the original recipe’s “hatcho miso”). In addition, I happen to have allowed myself to supplement my stock of CSA vegetables with the purchase a beautiful, leafy head of broccoli from a farm stand on my way home from a North Fork winery event over the weekend.
DSC_9551
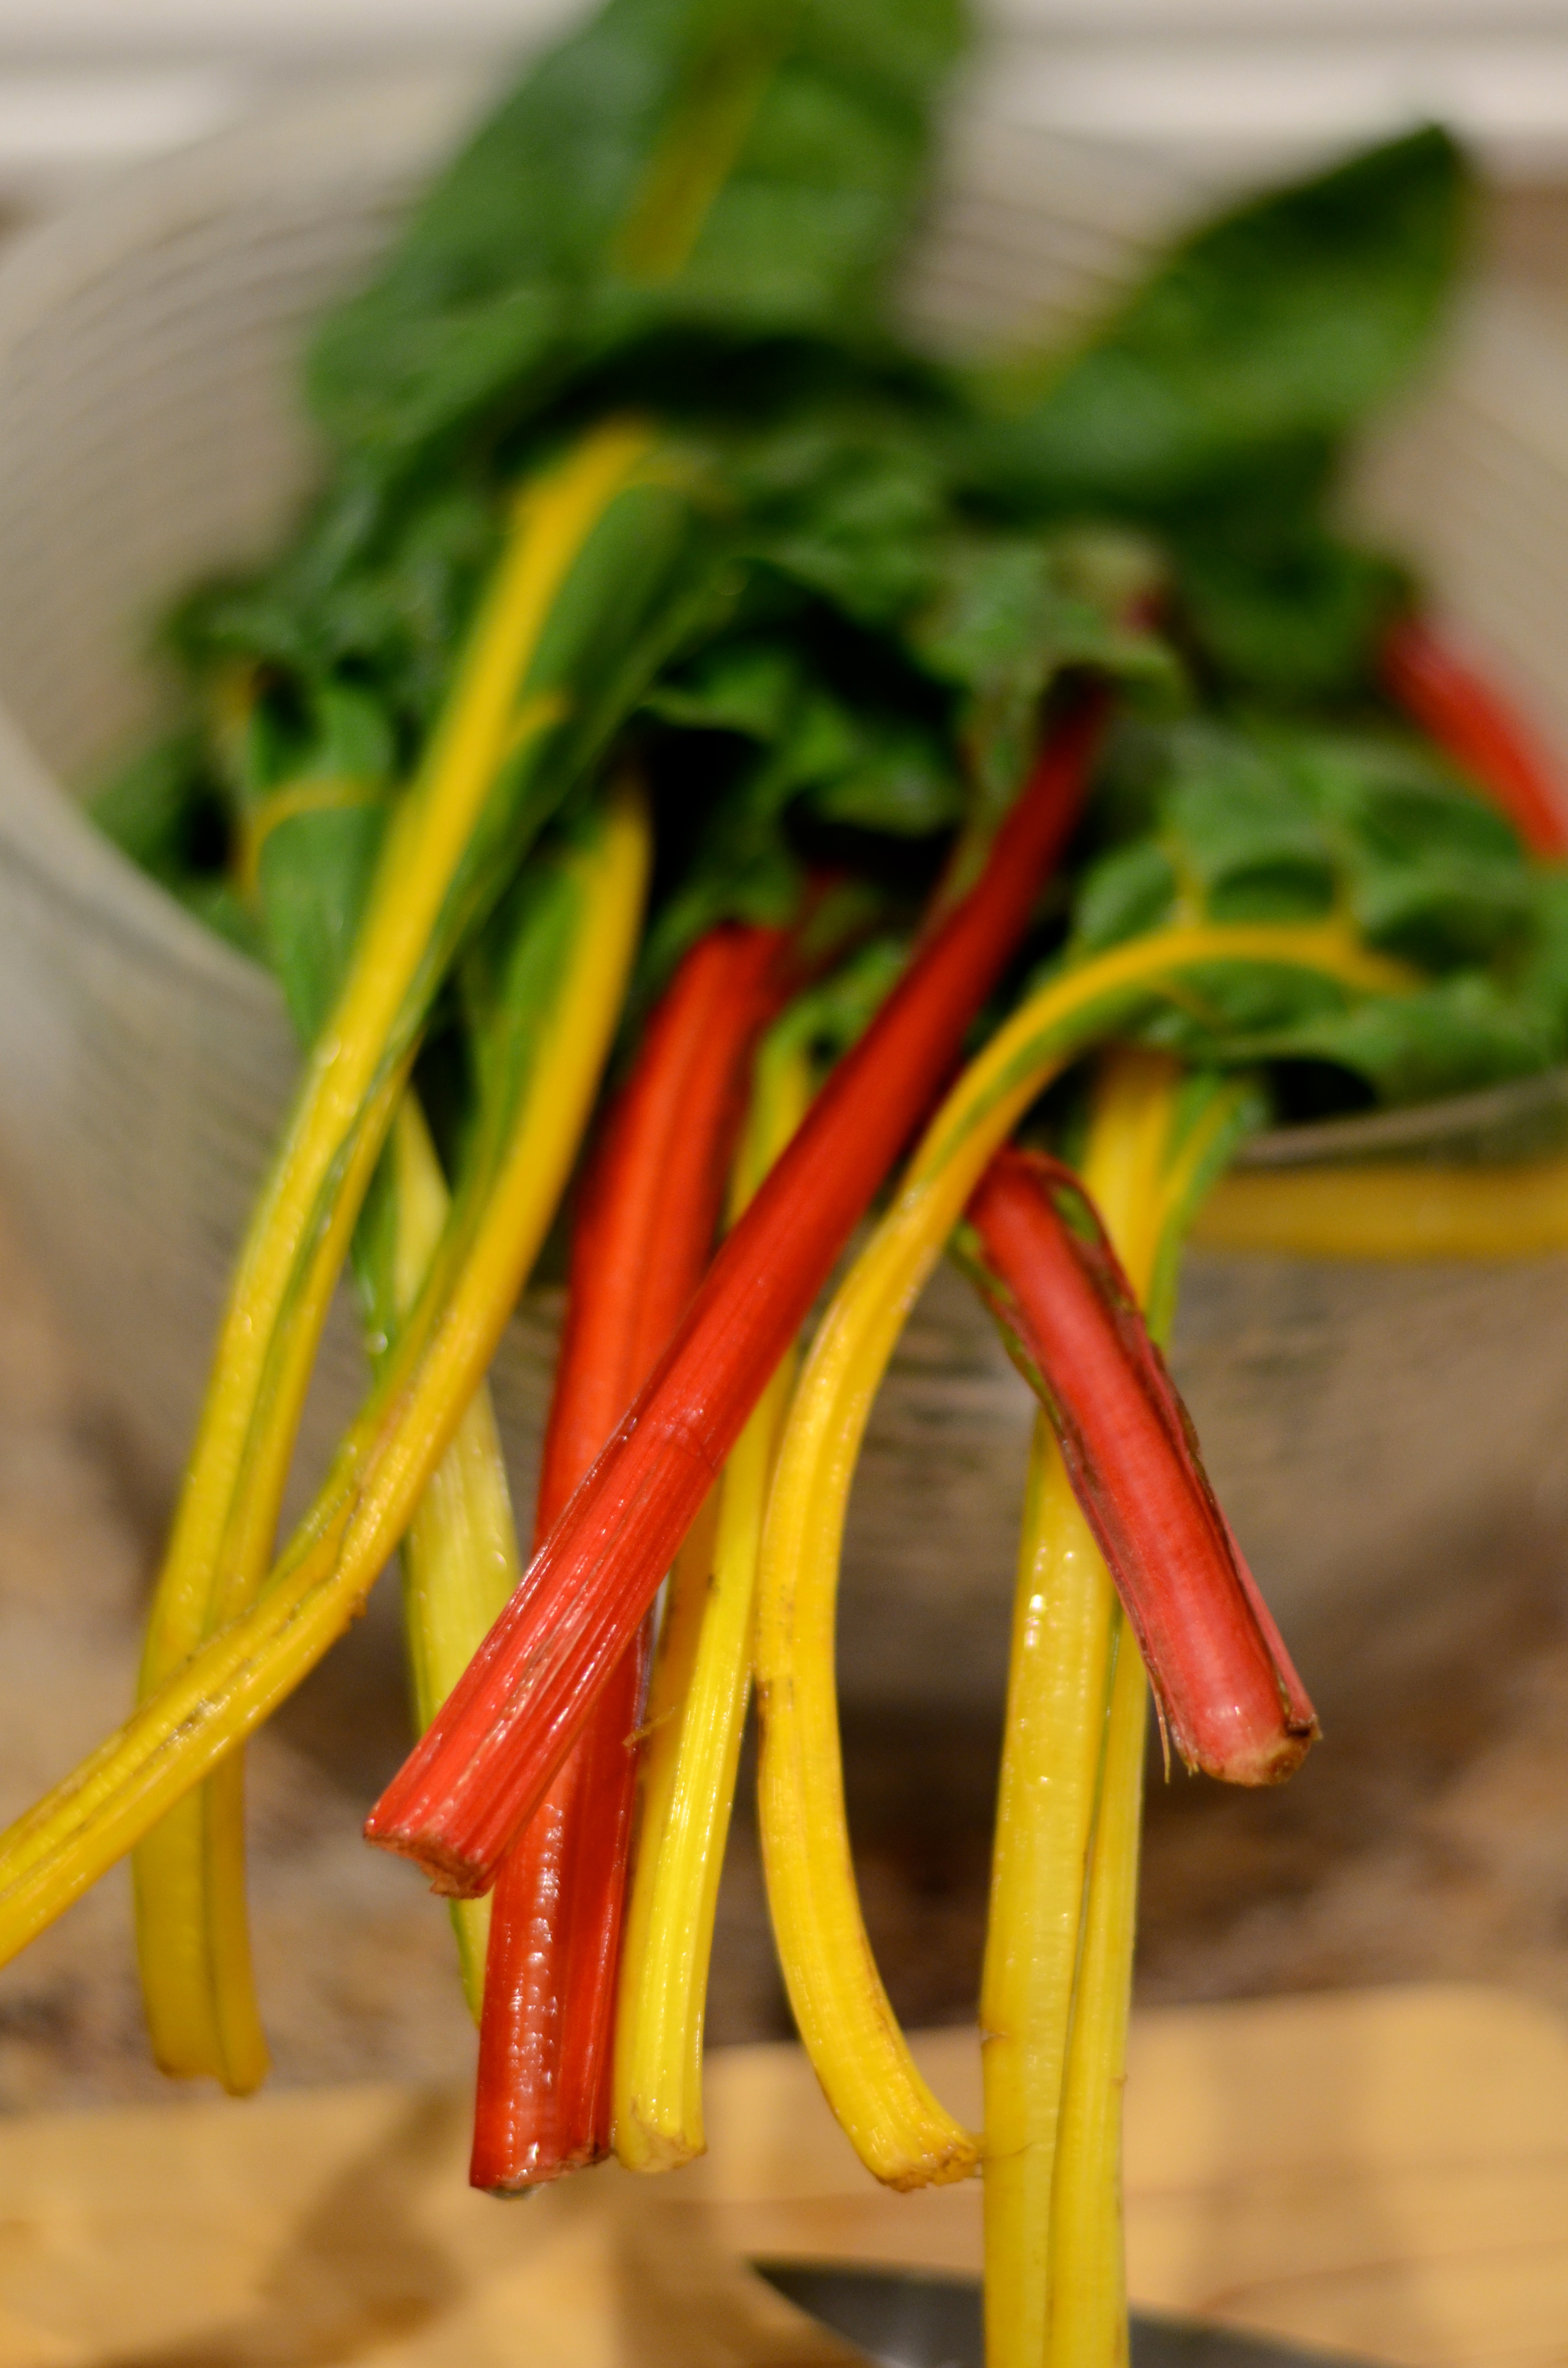
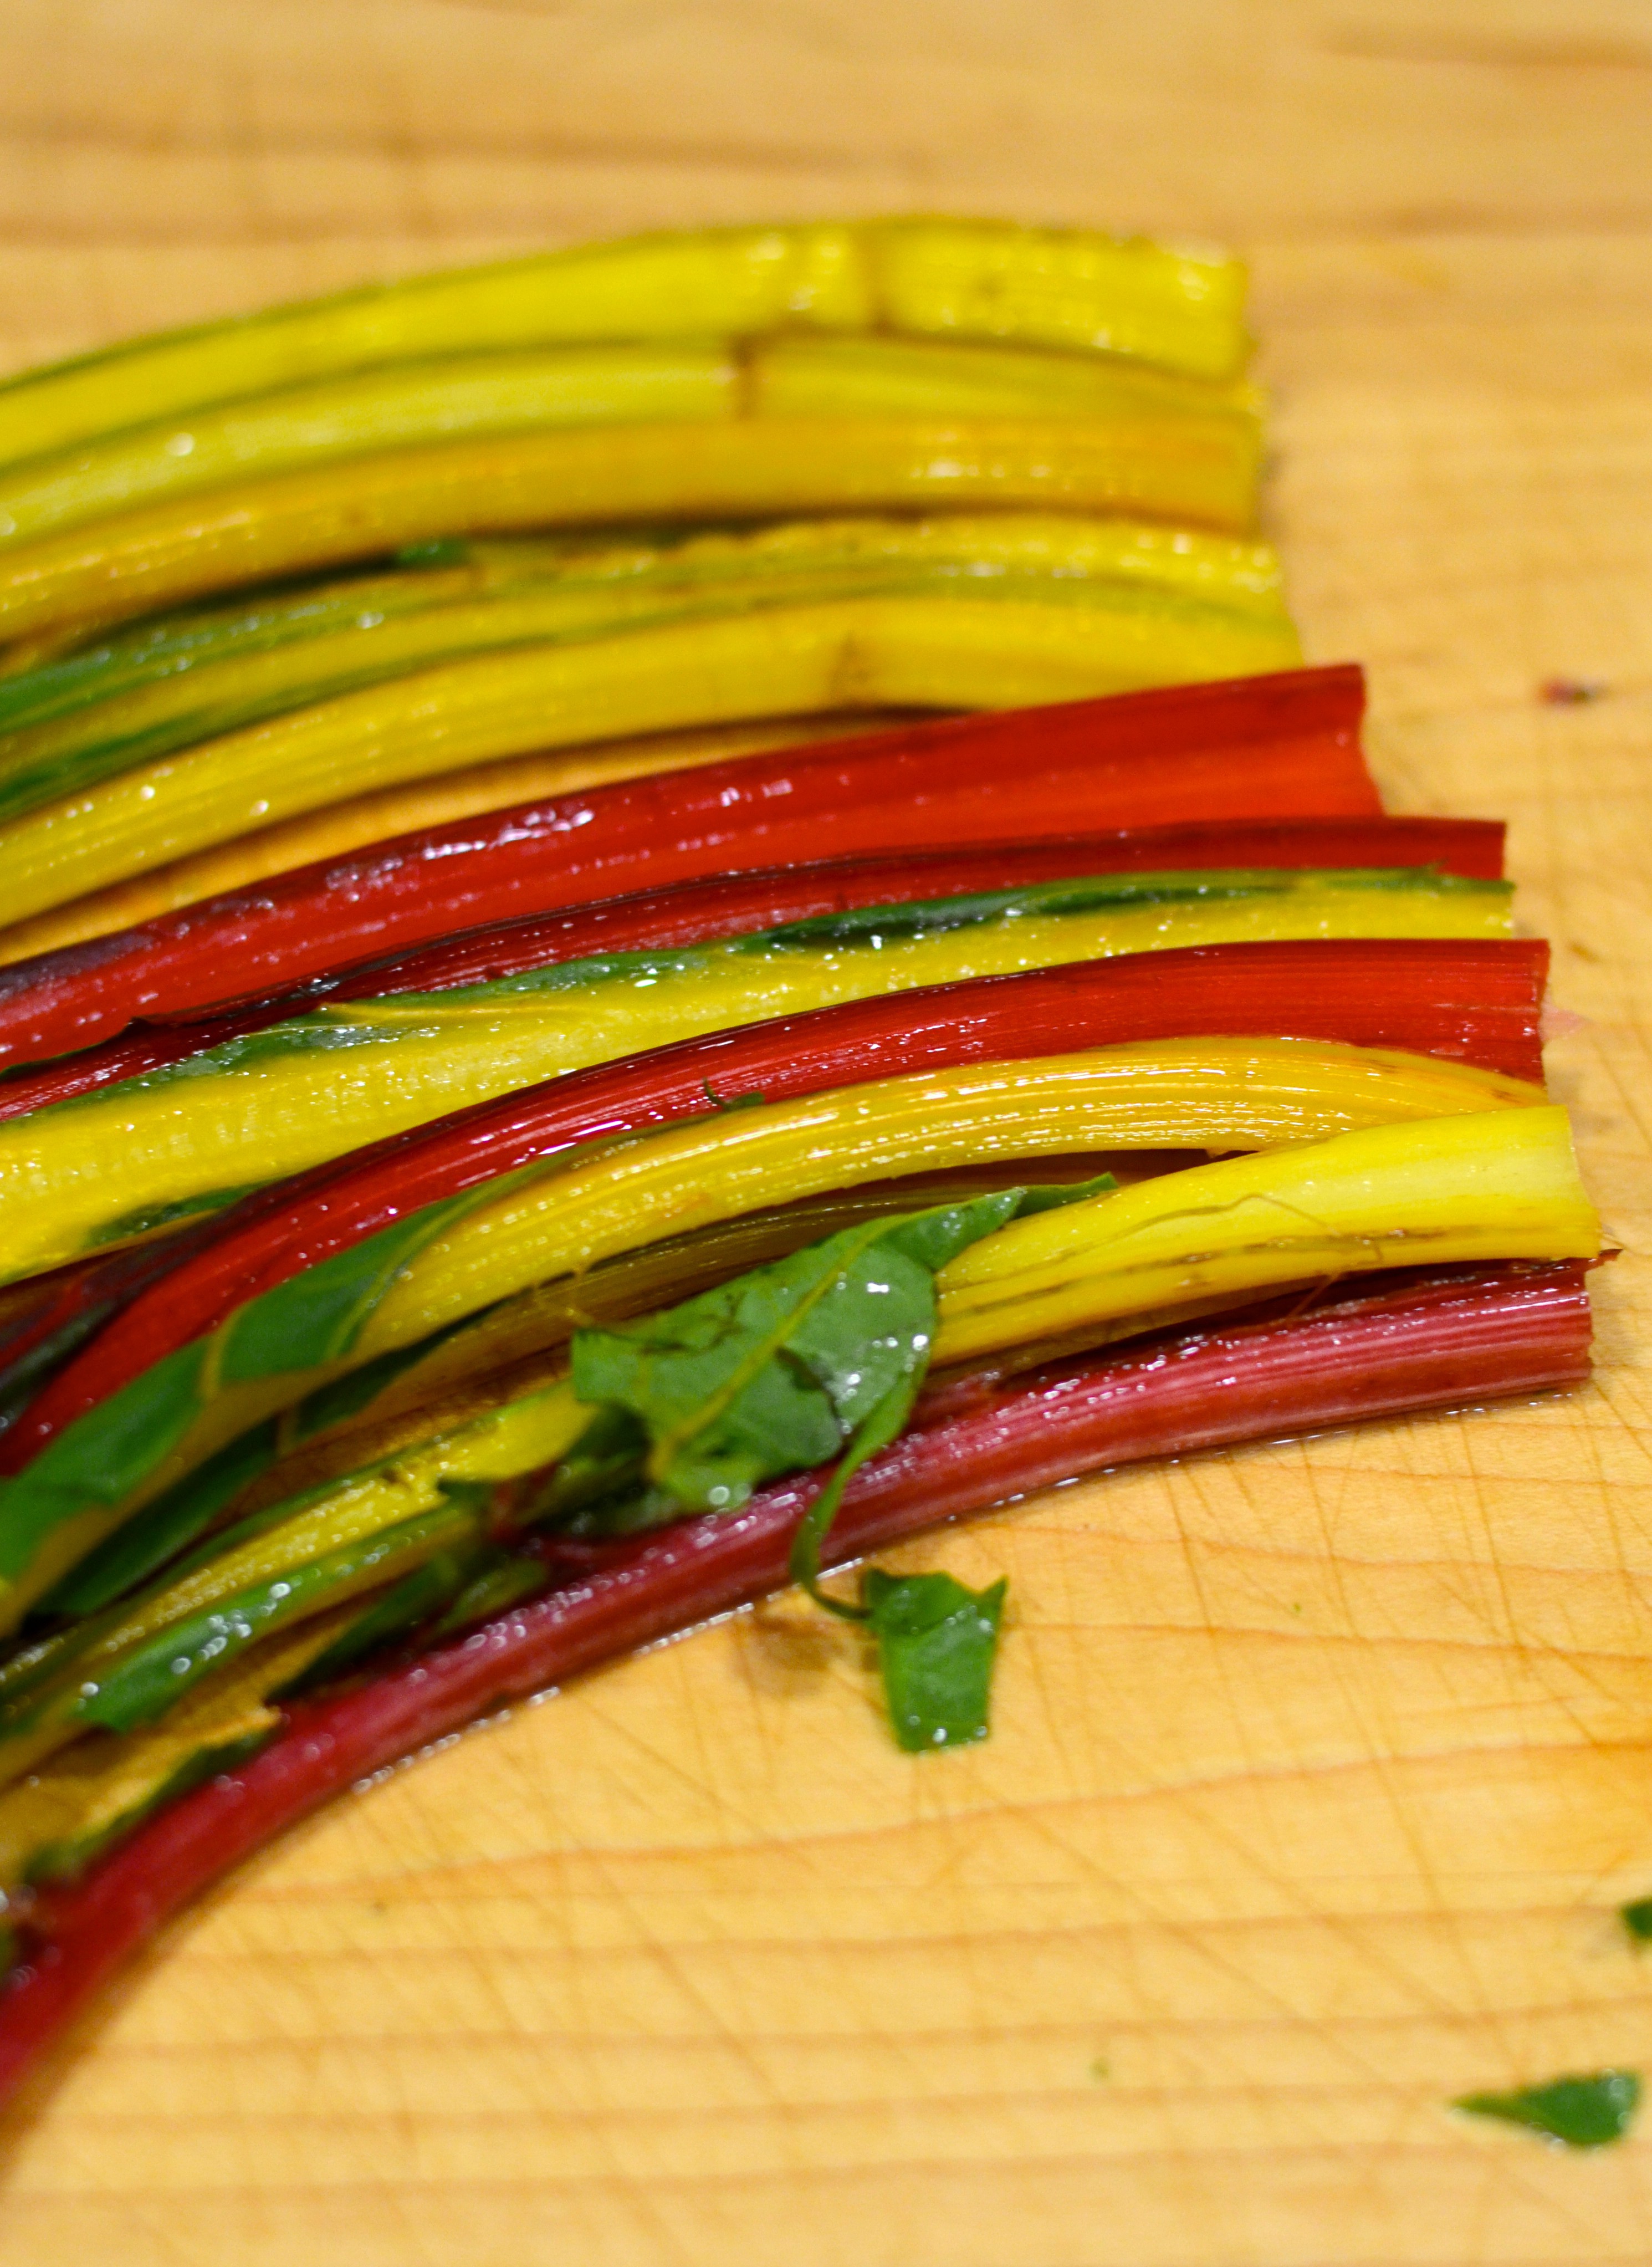
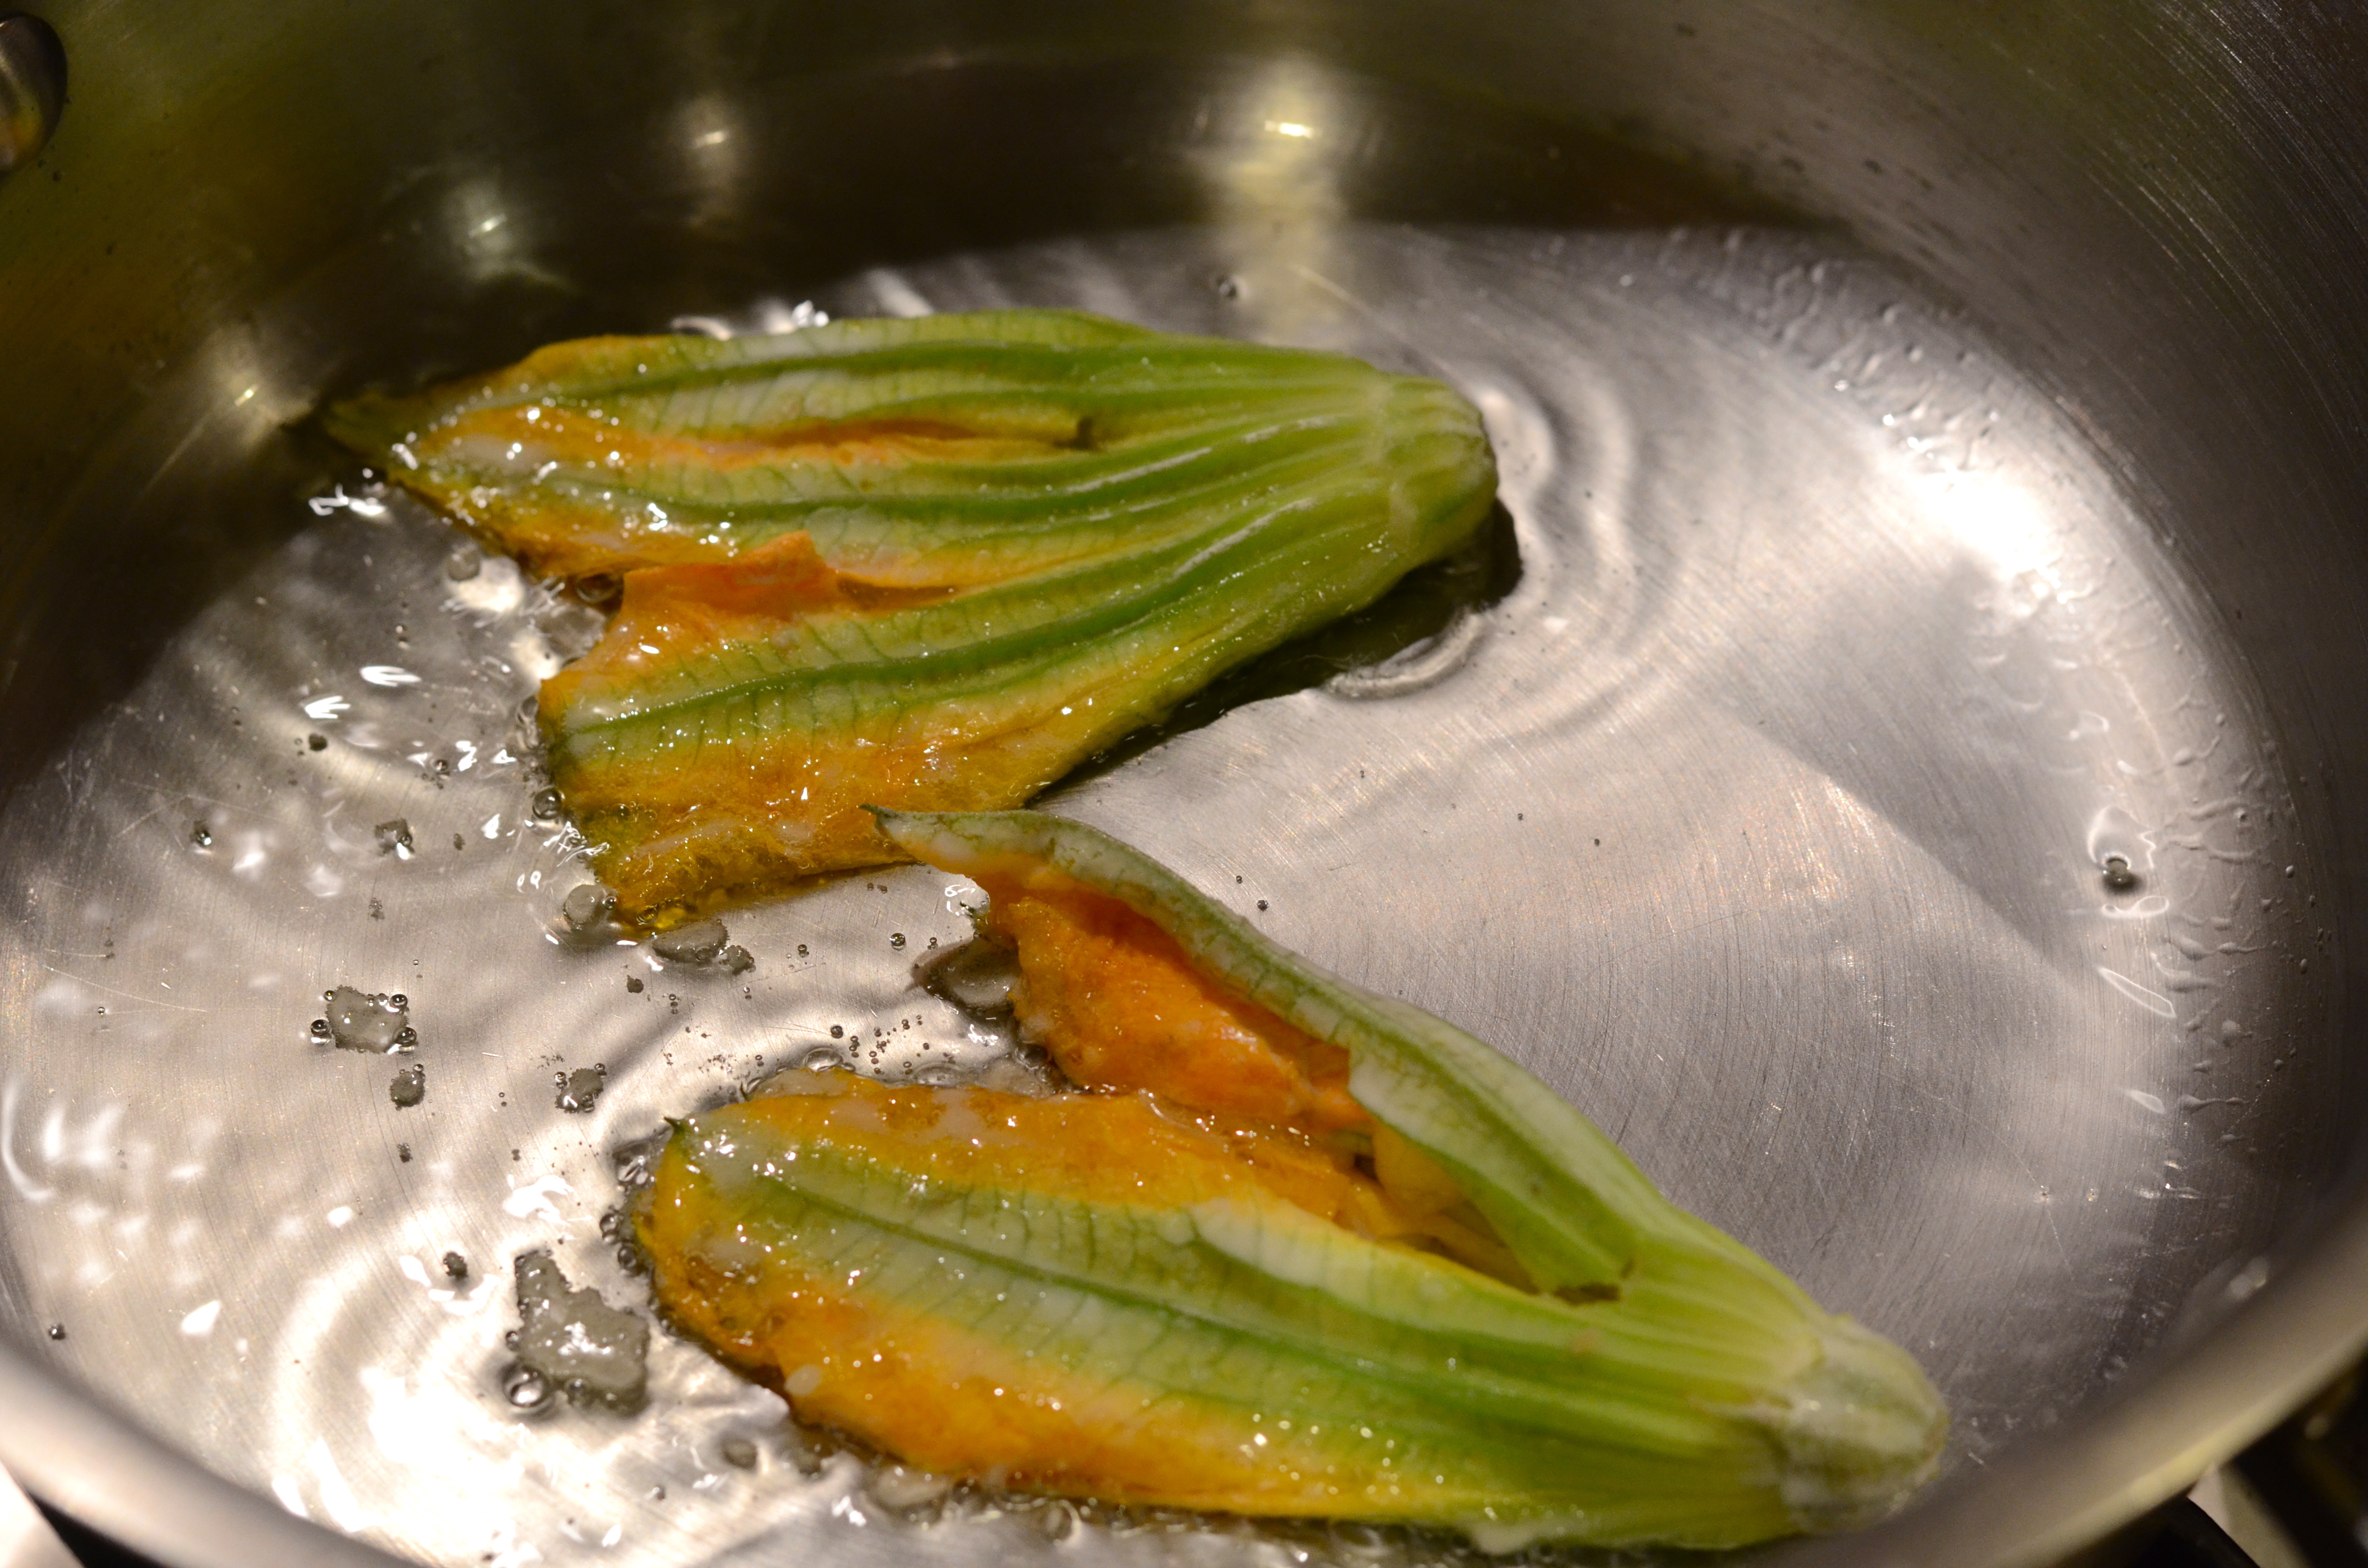
A portion of this broccoli took the place of what would have been Chinese broccoli. I even used some of the stems, peeled to remove the tough outer portion, and chopped. I keep reading that broccoli stems can be delicious, and I shudder to think of the dozens of giant broccoli stalks I’ve sent to the garbage in my day!
DSC_9556

Even with a few modifications, the meal came out great. I wished I had made twice as much. It’s definitely a keeper!
DSC_9570

Miso Soba Noodles with Roasted Cherry Tomatoes

Adapted from Blue Apron

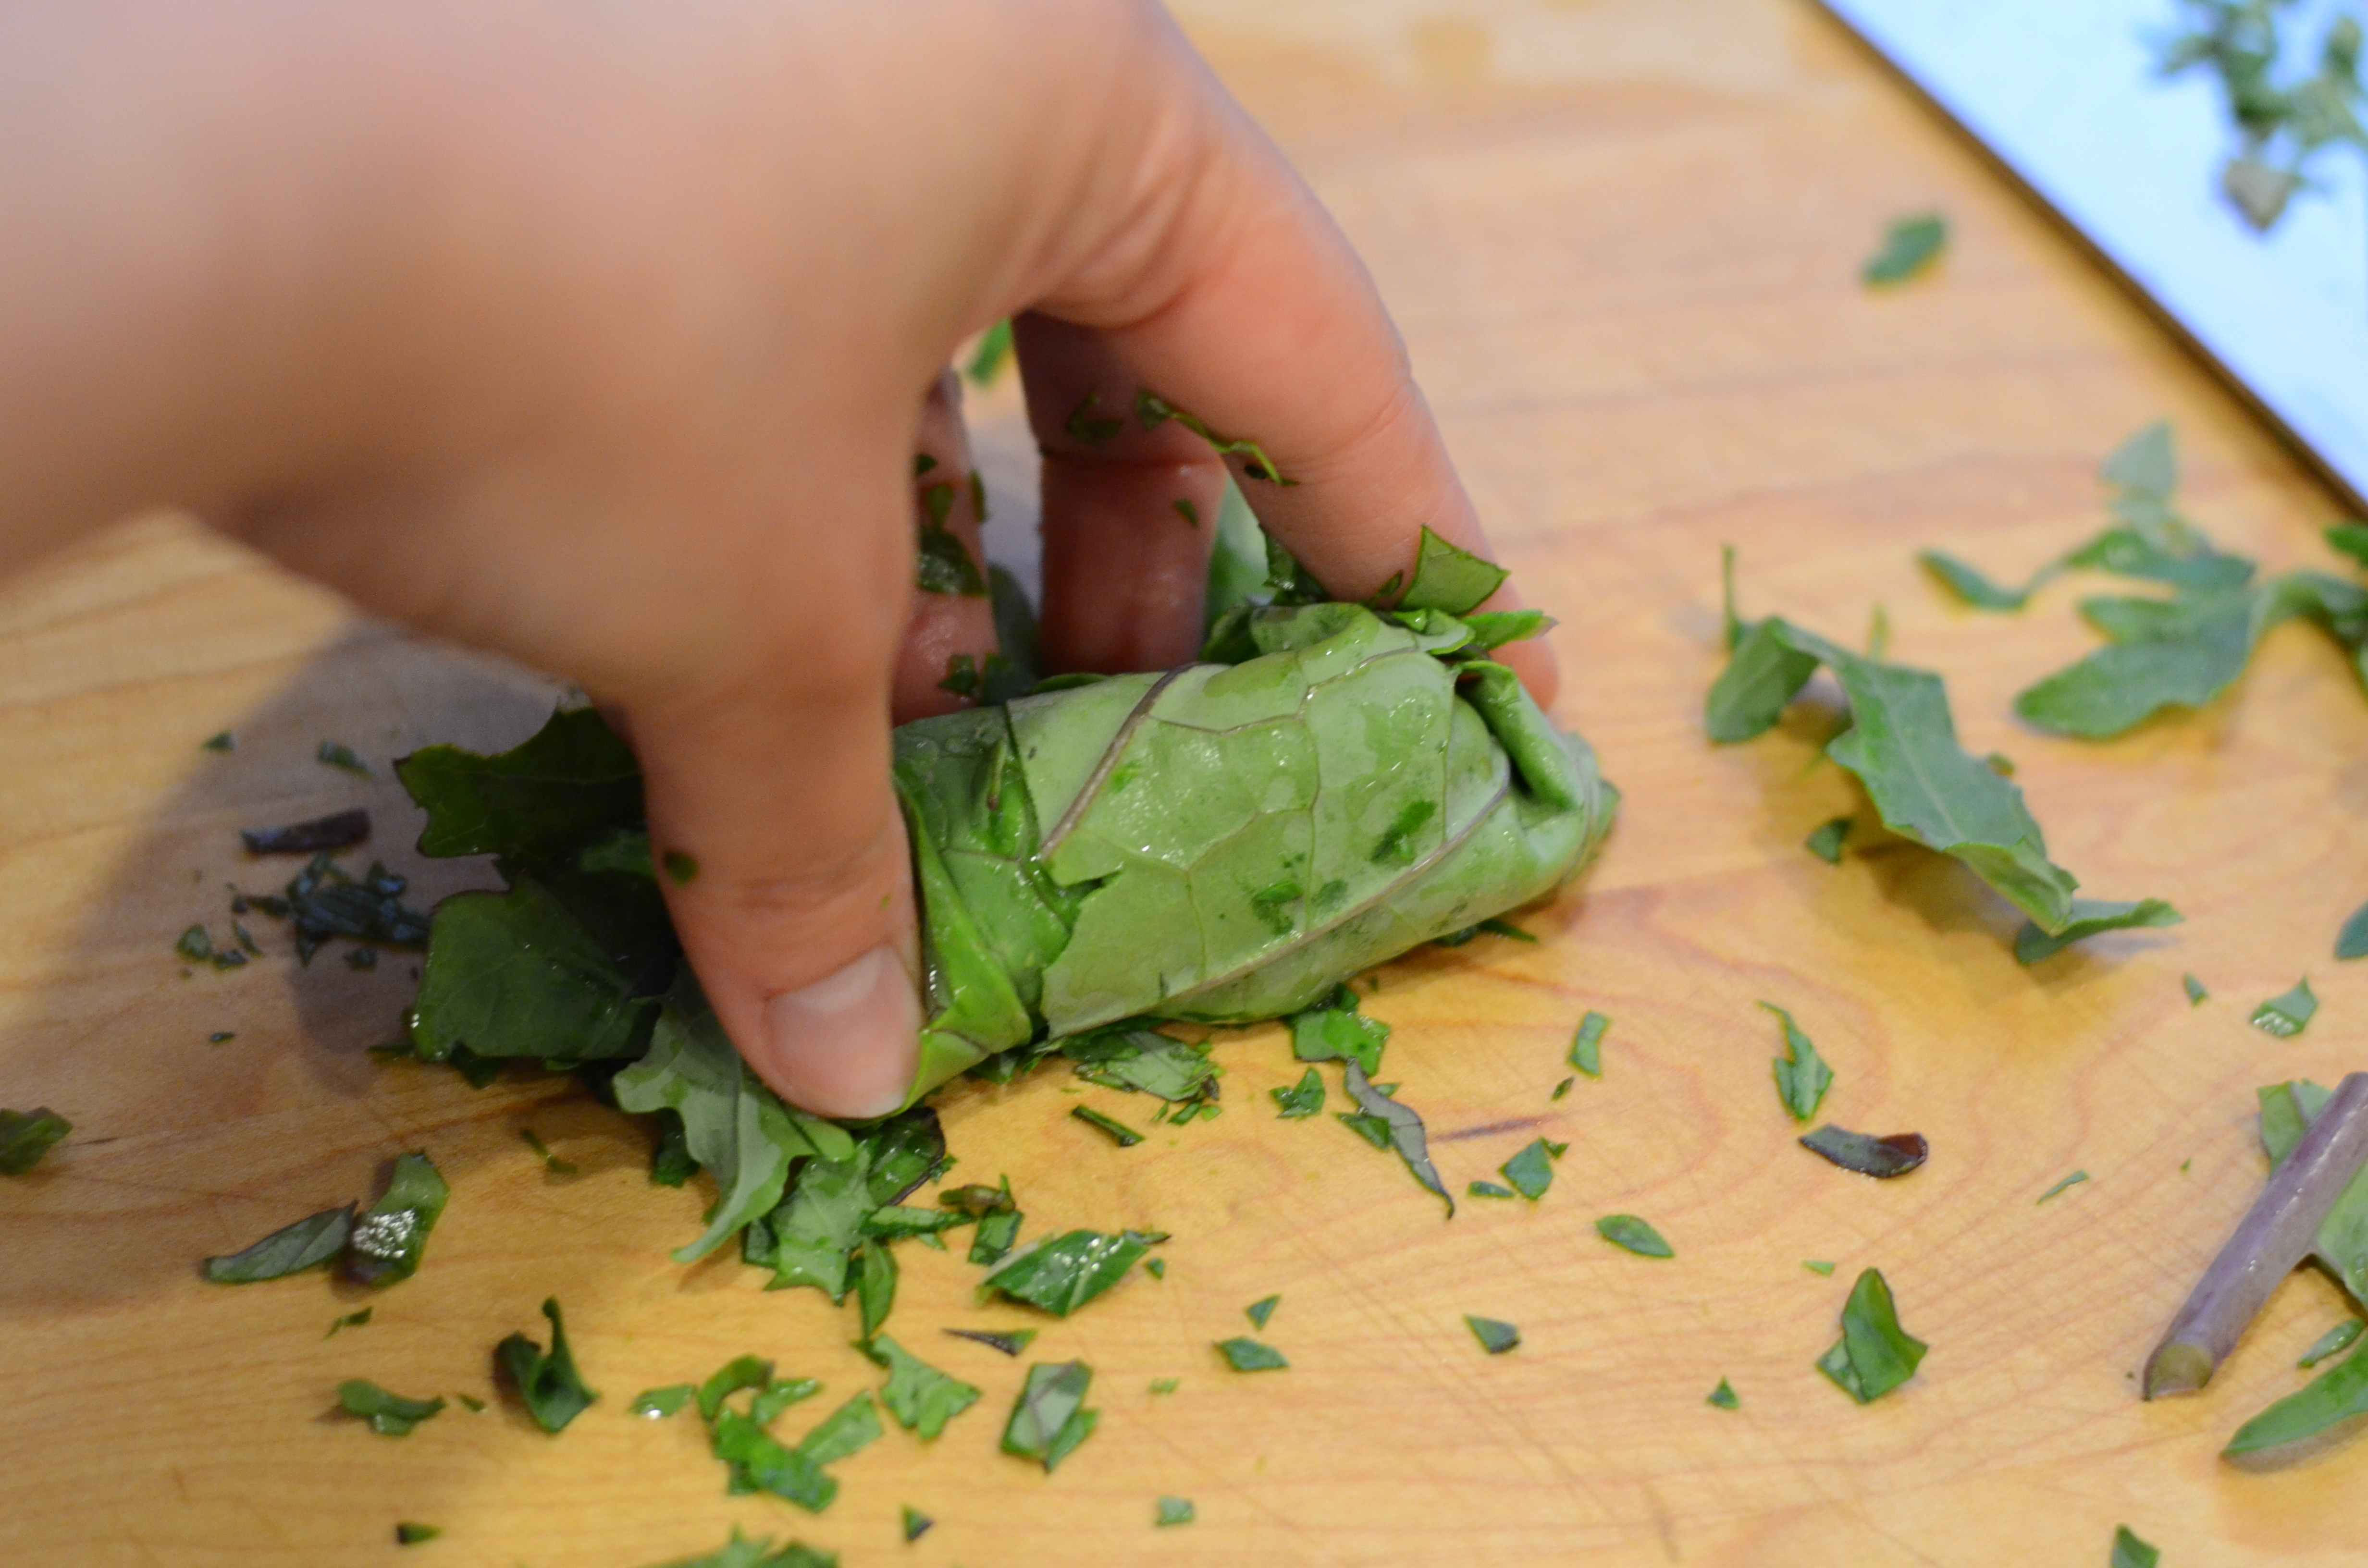
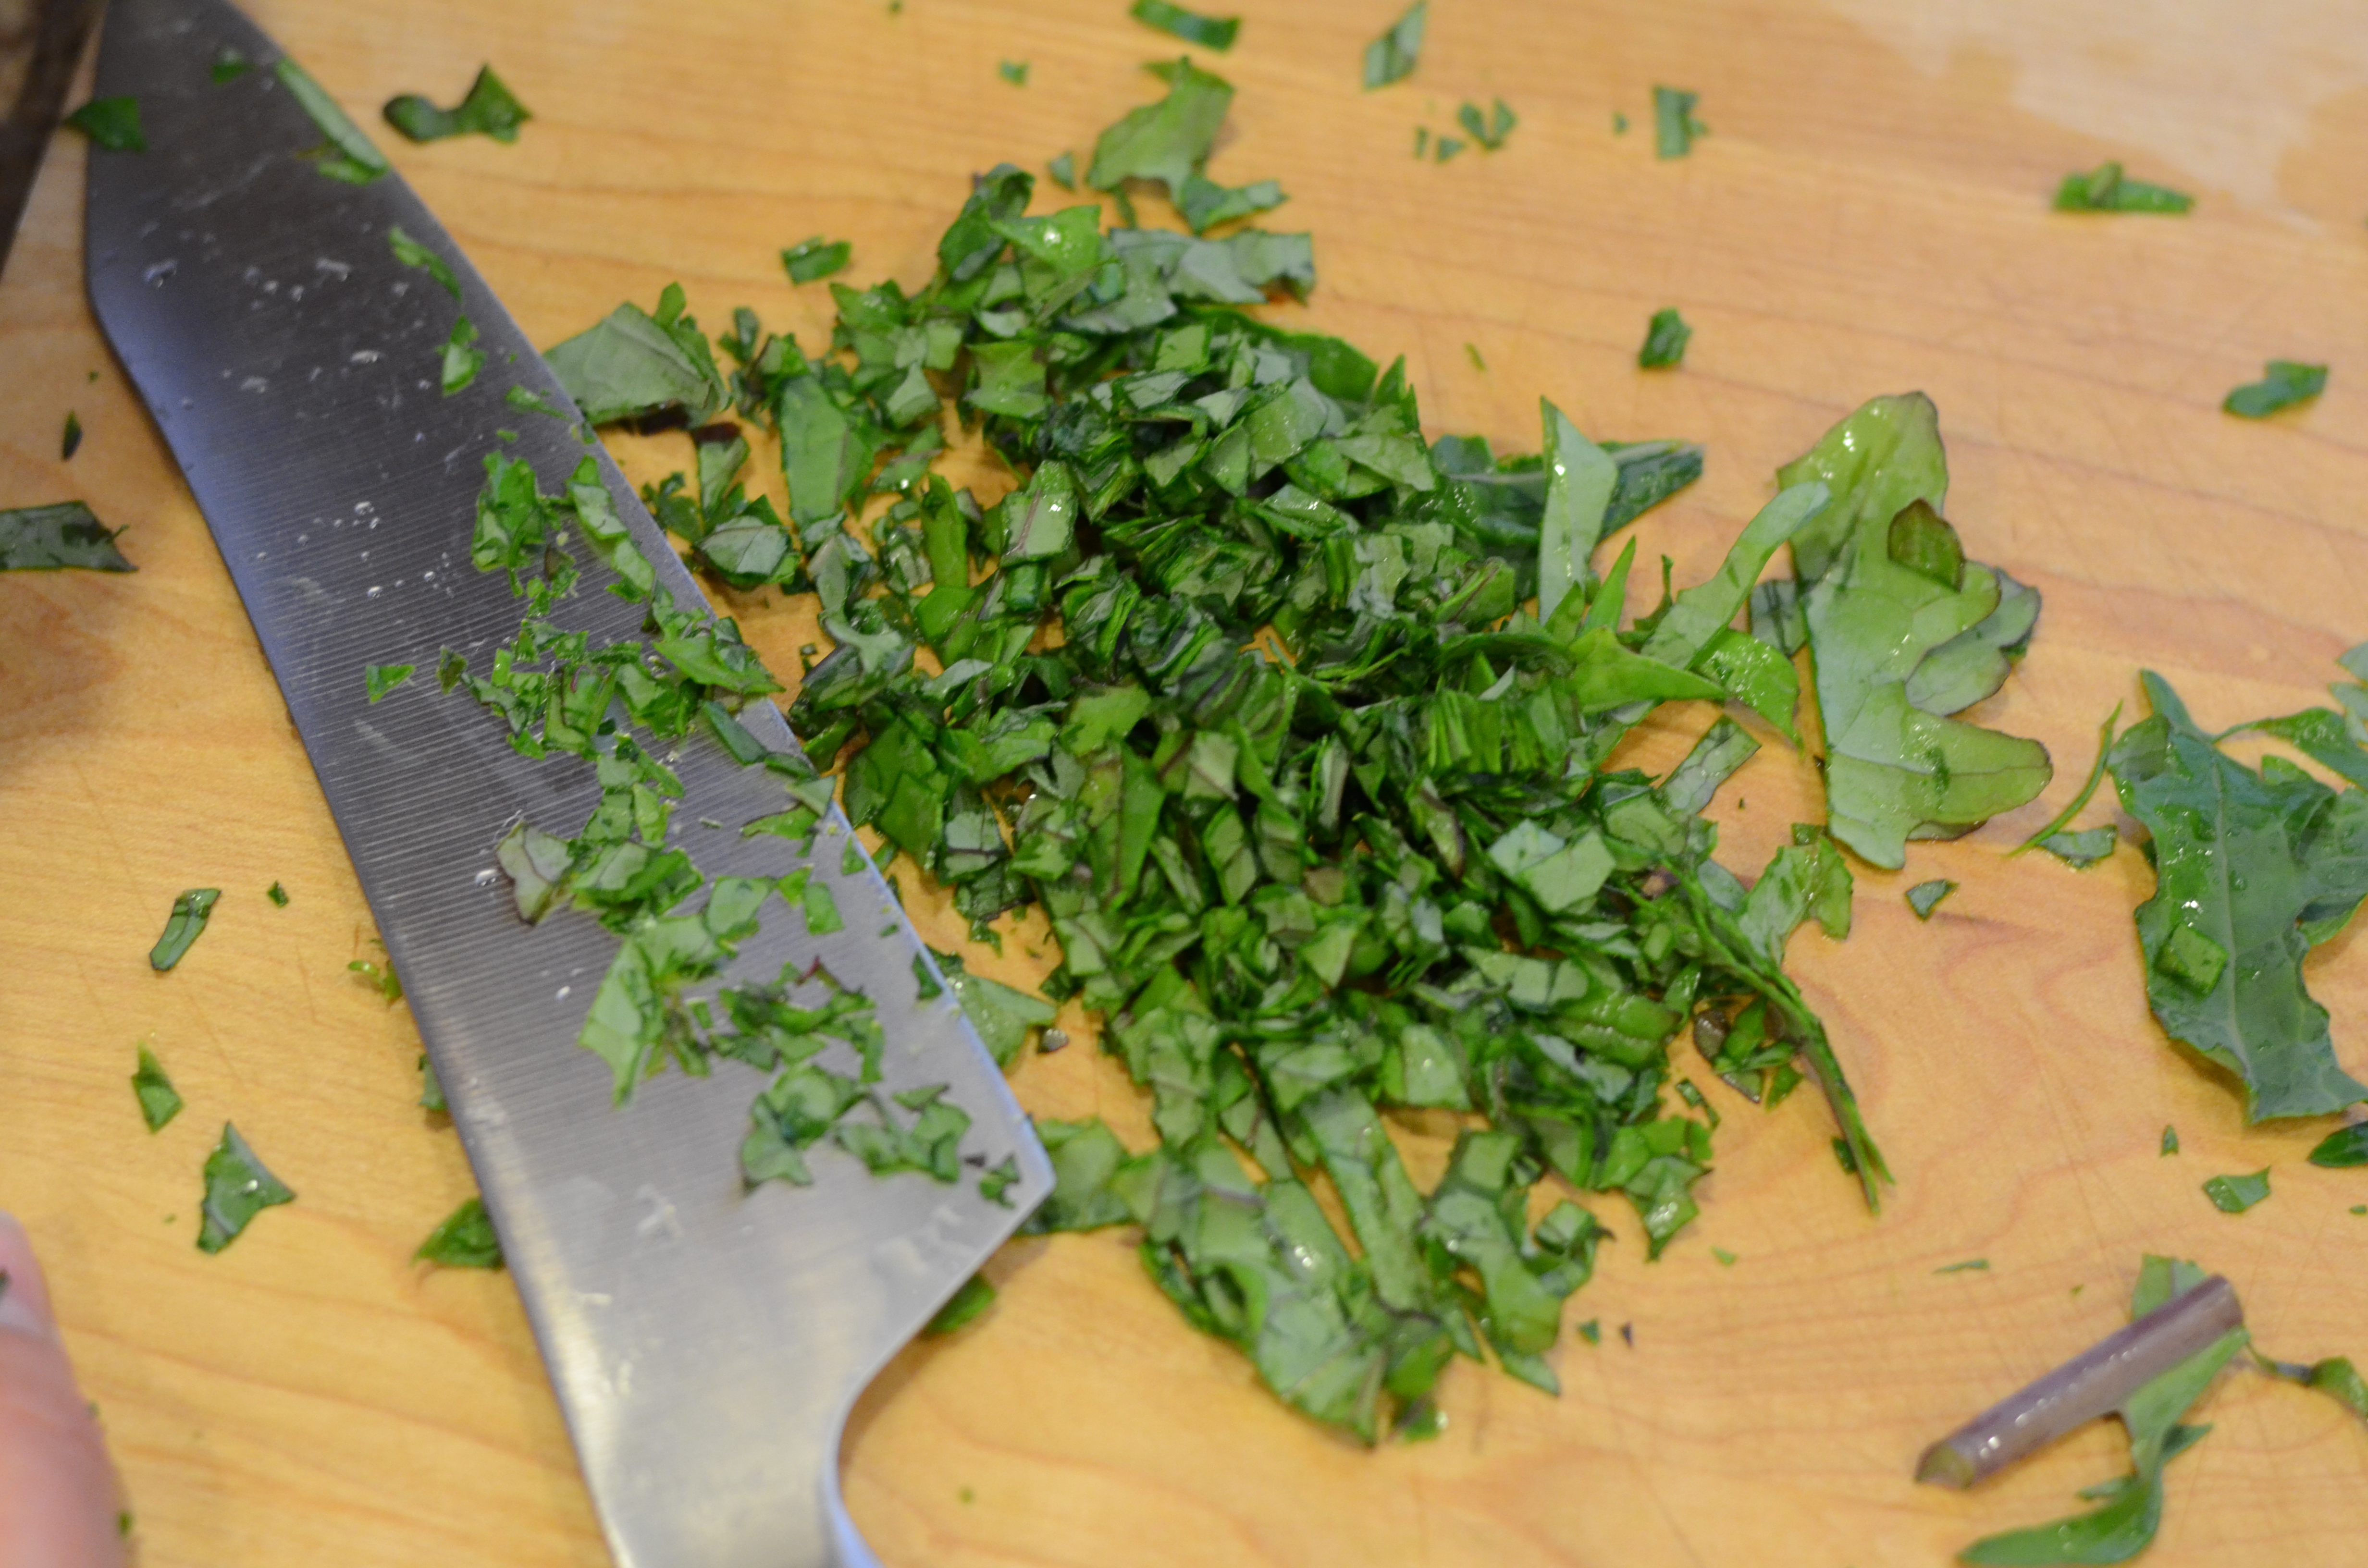
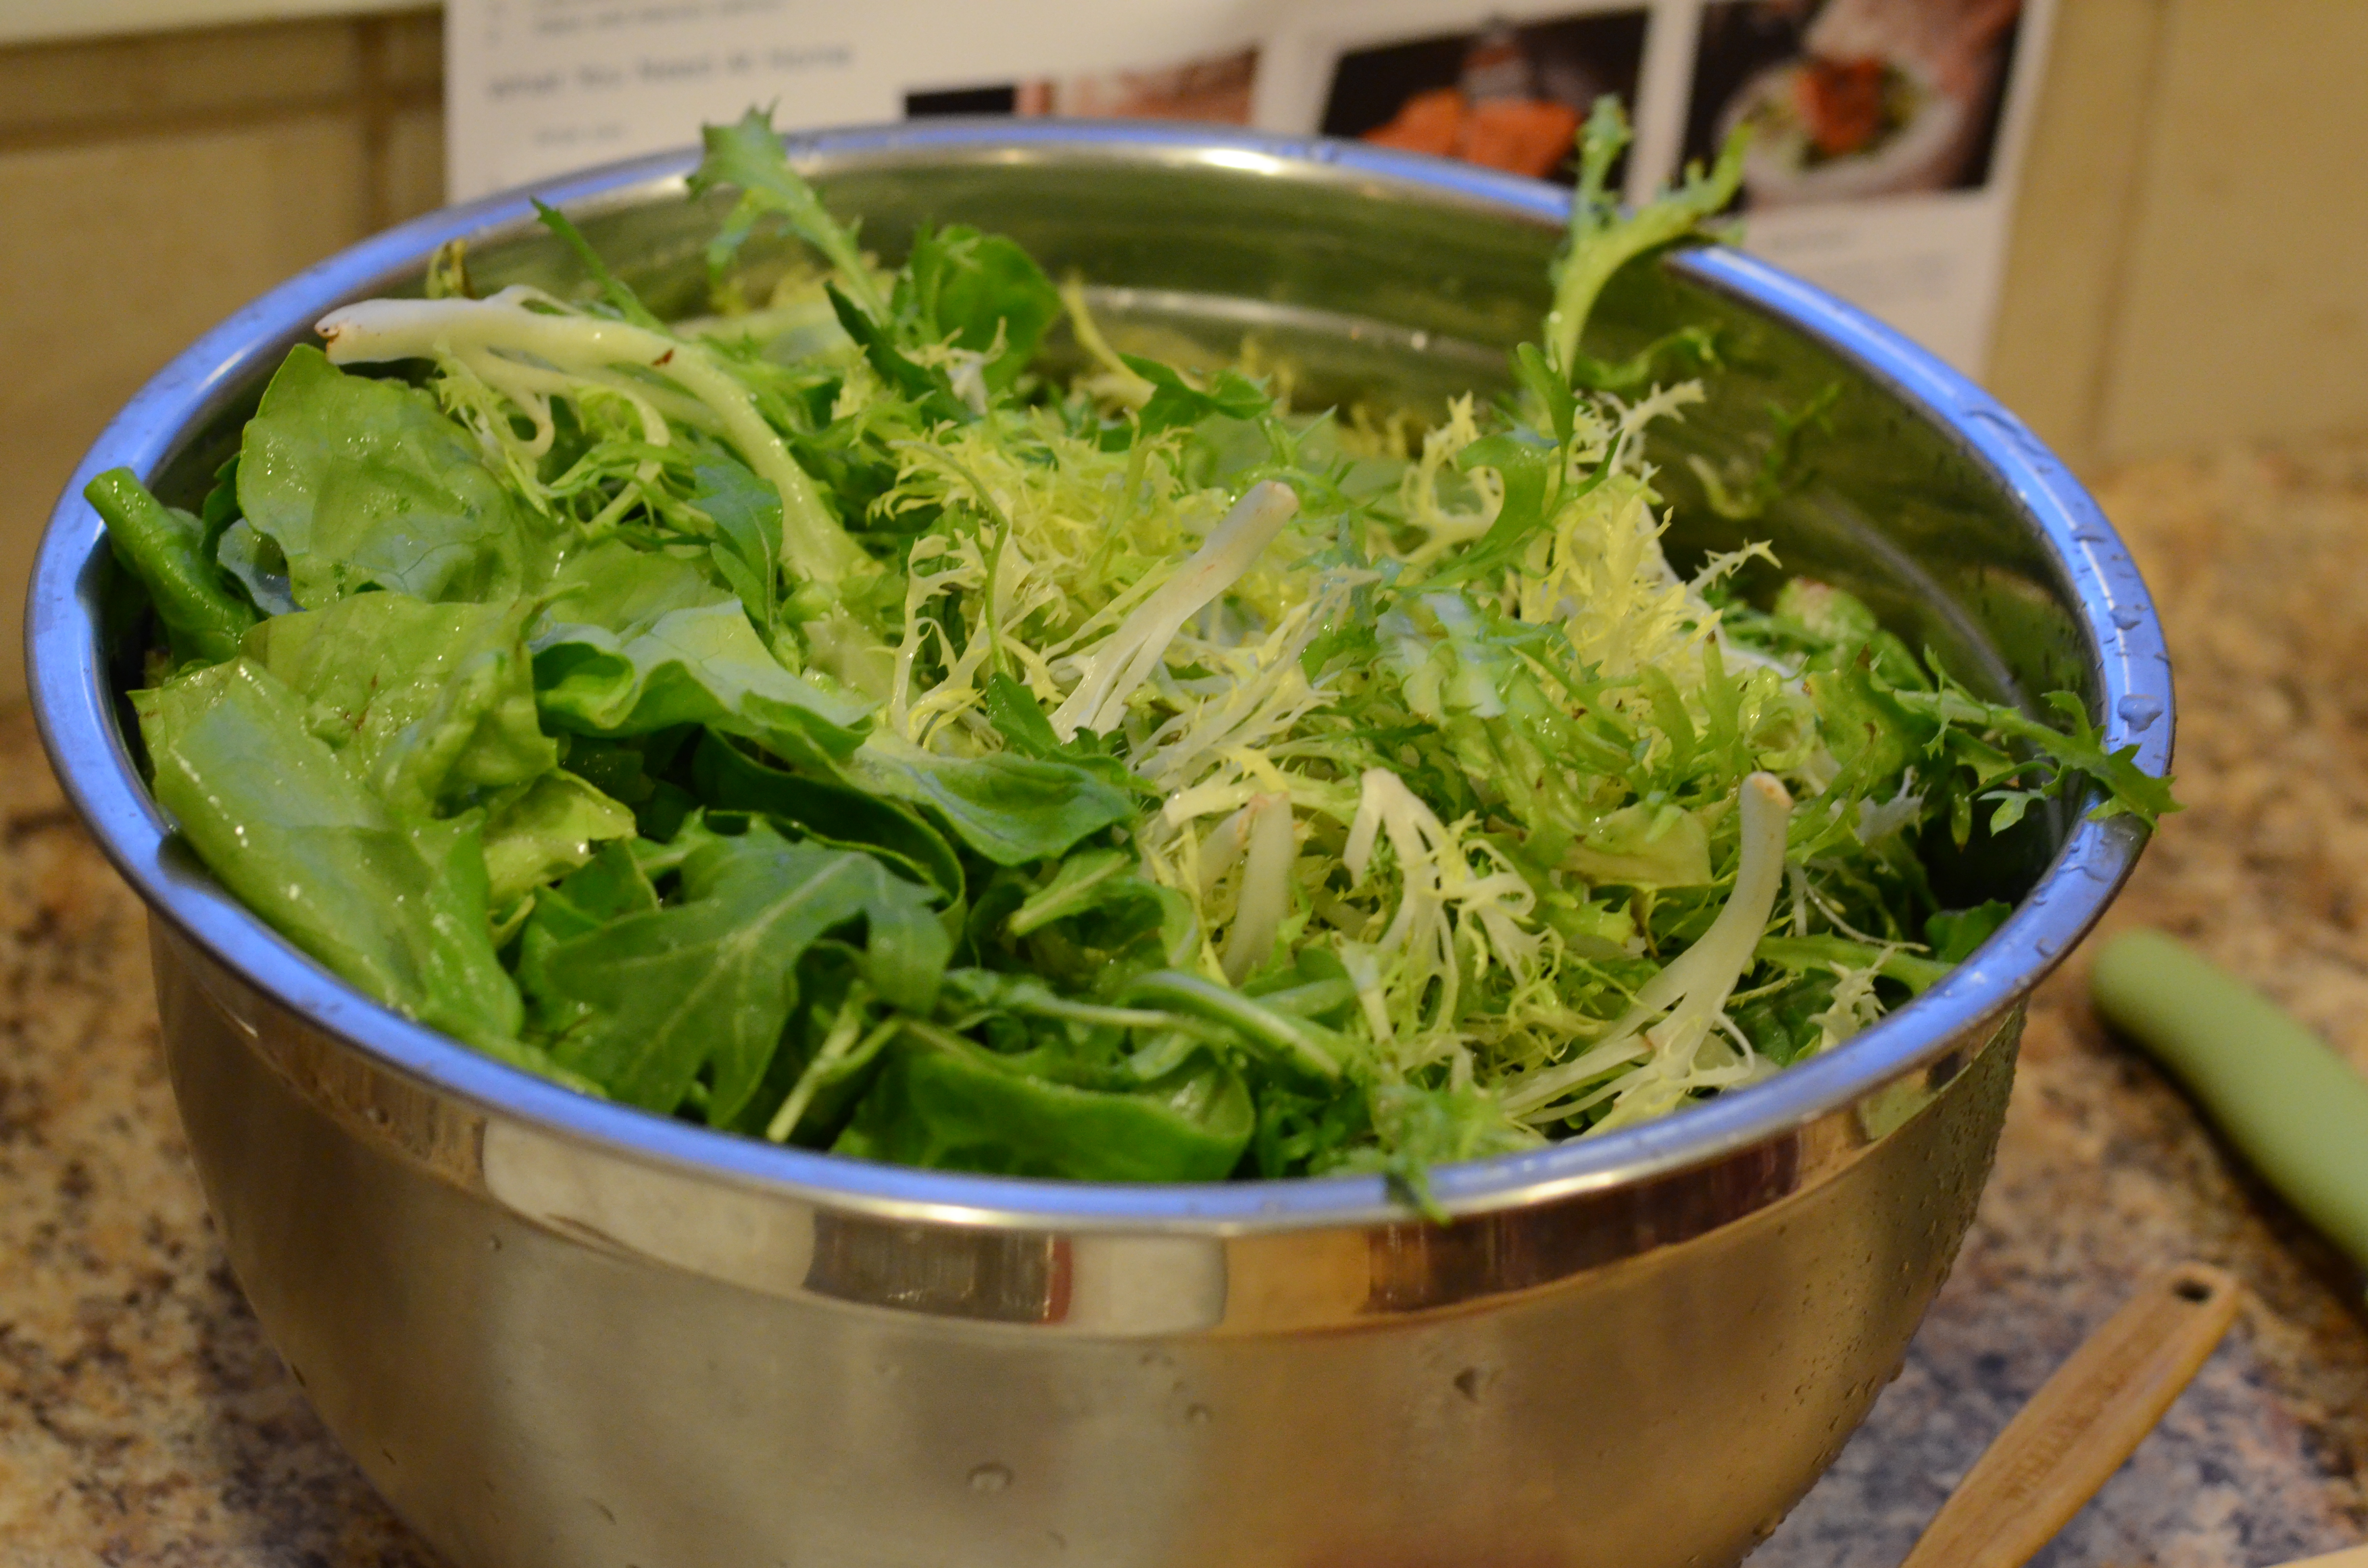
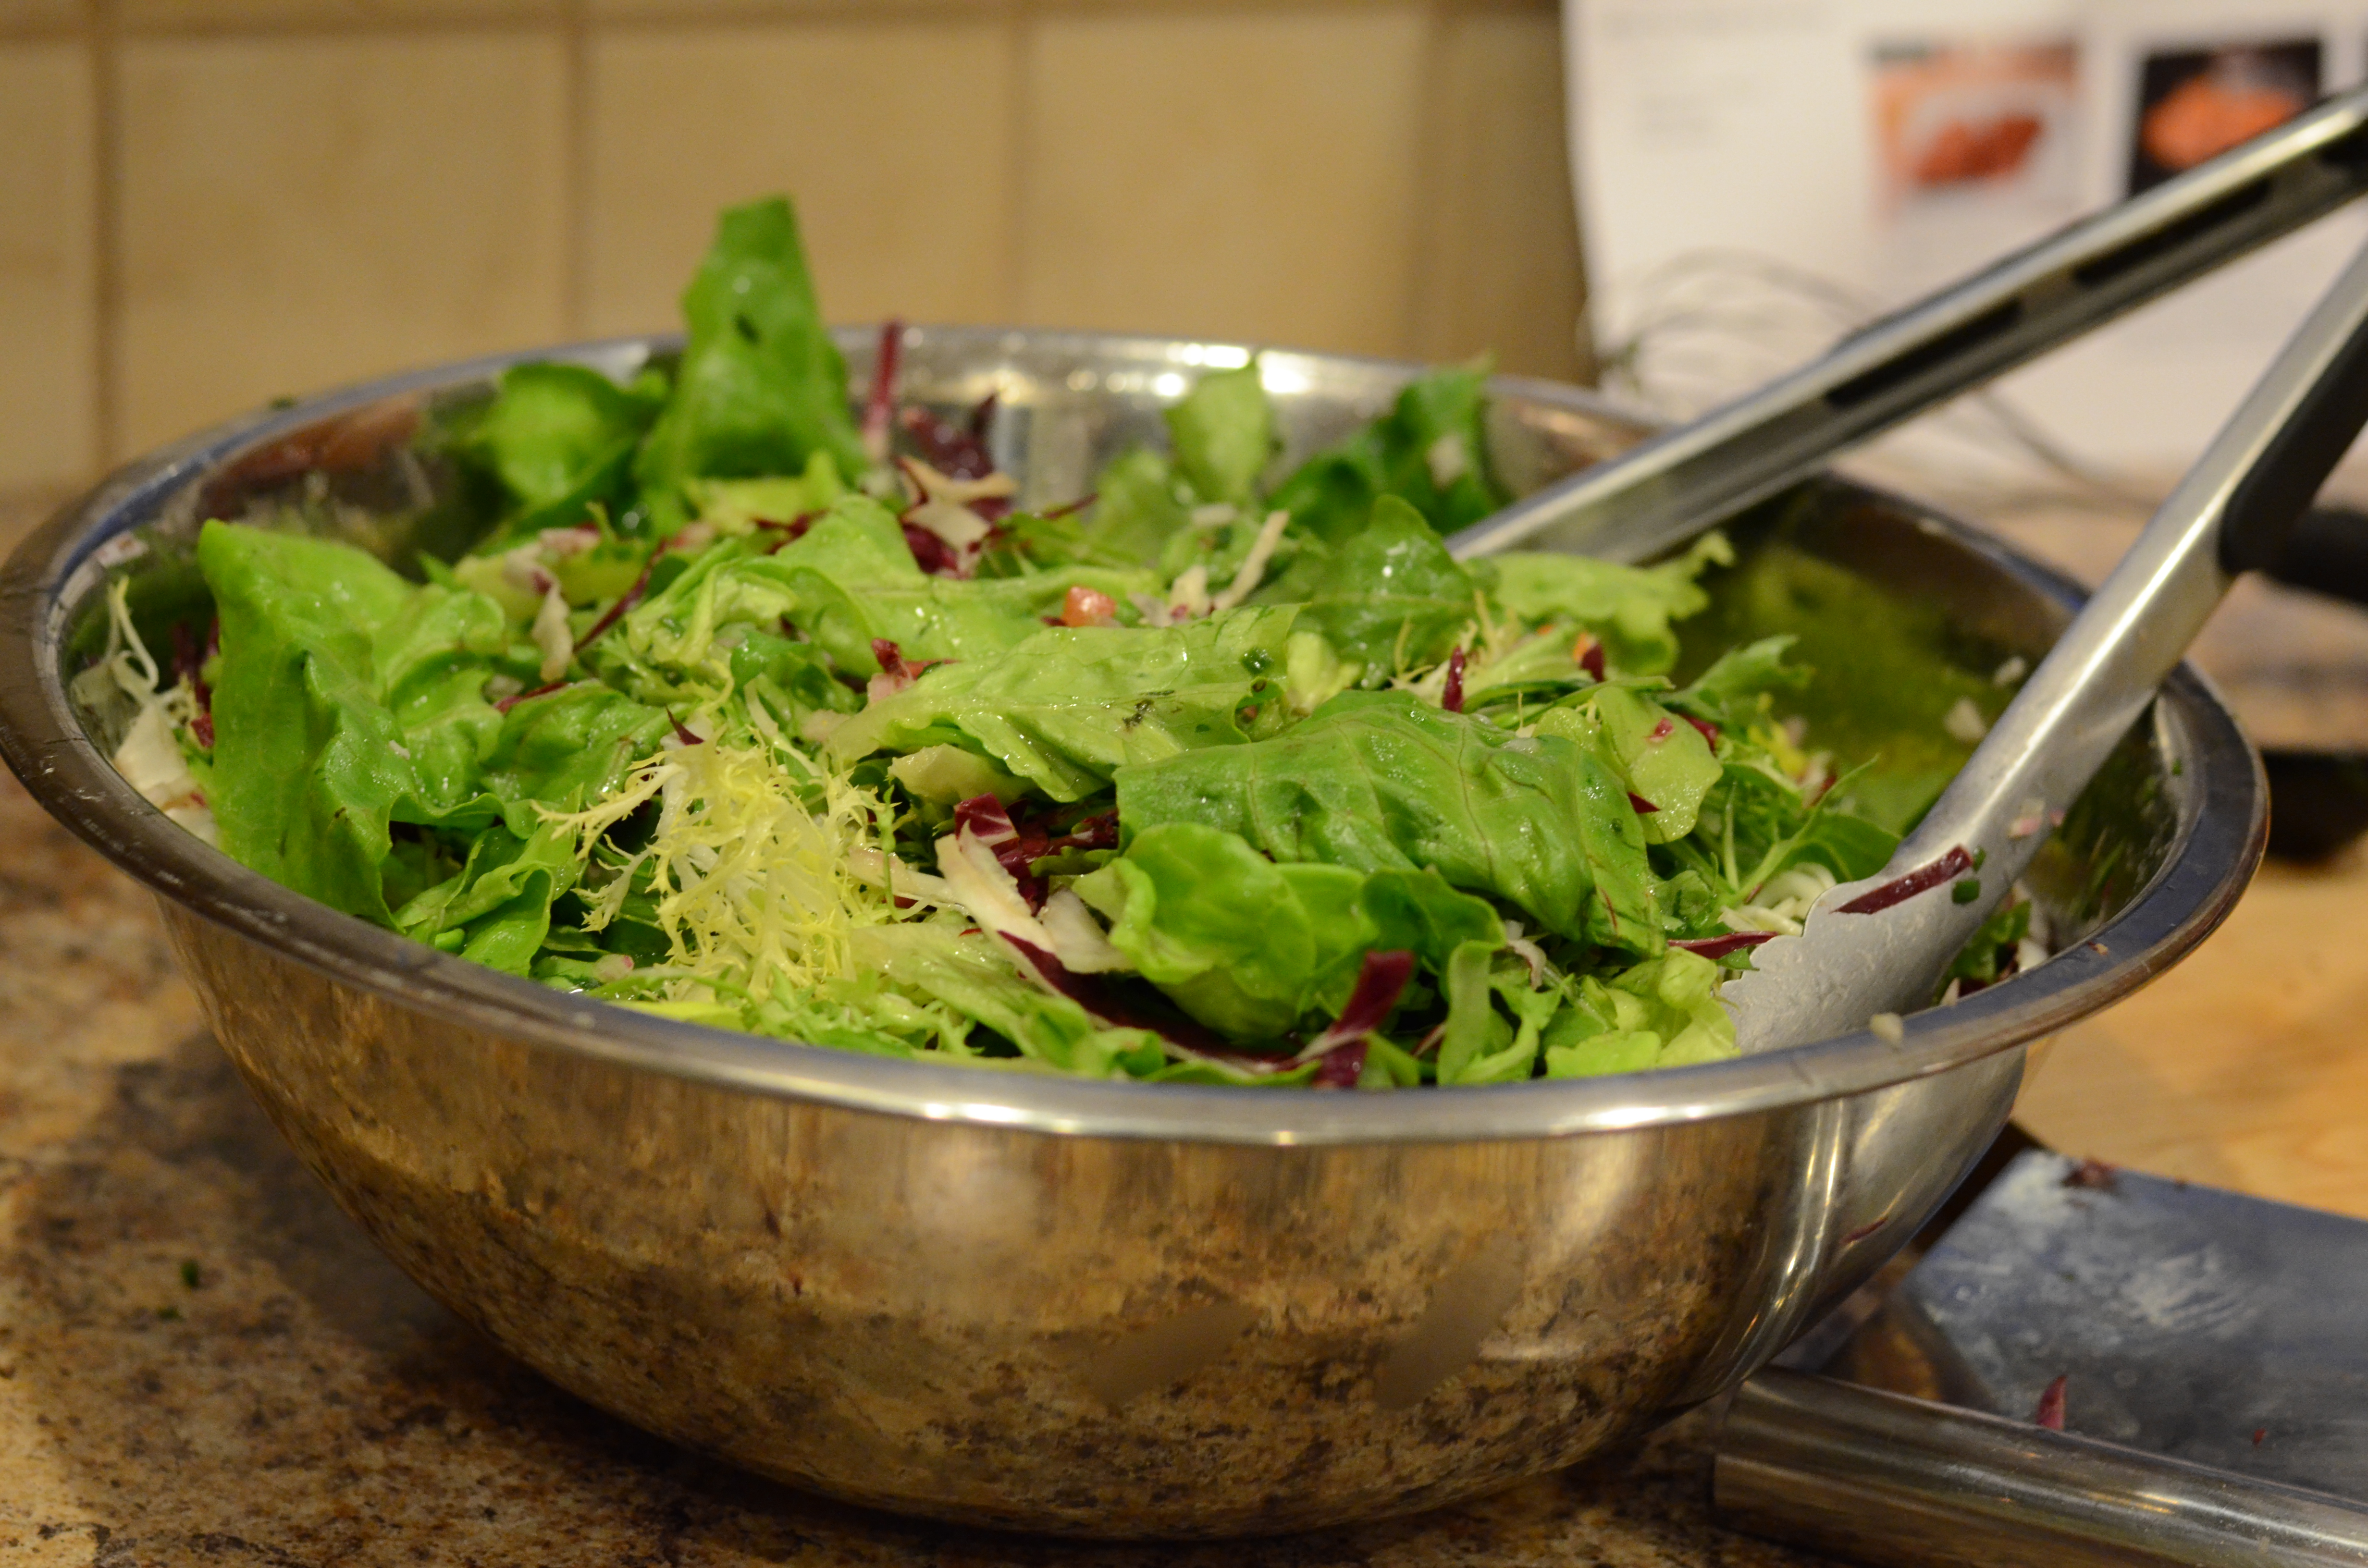
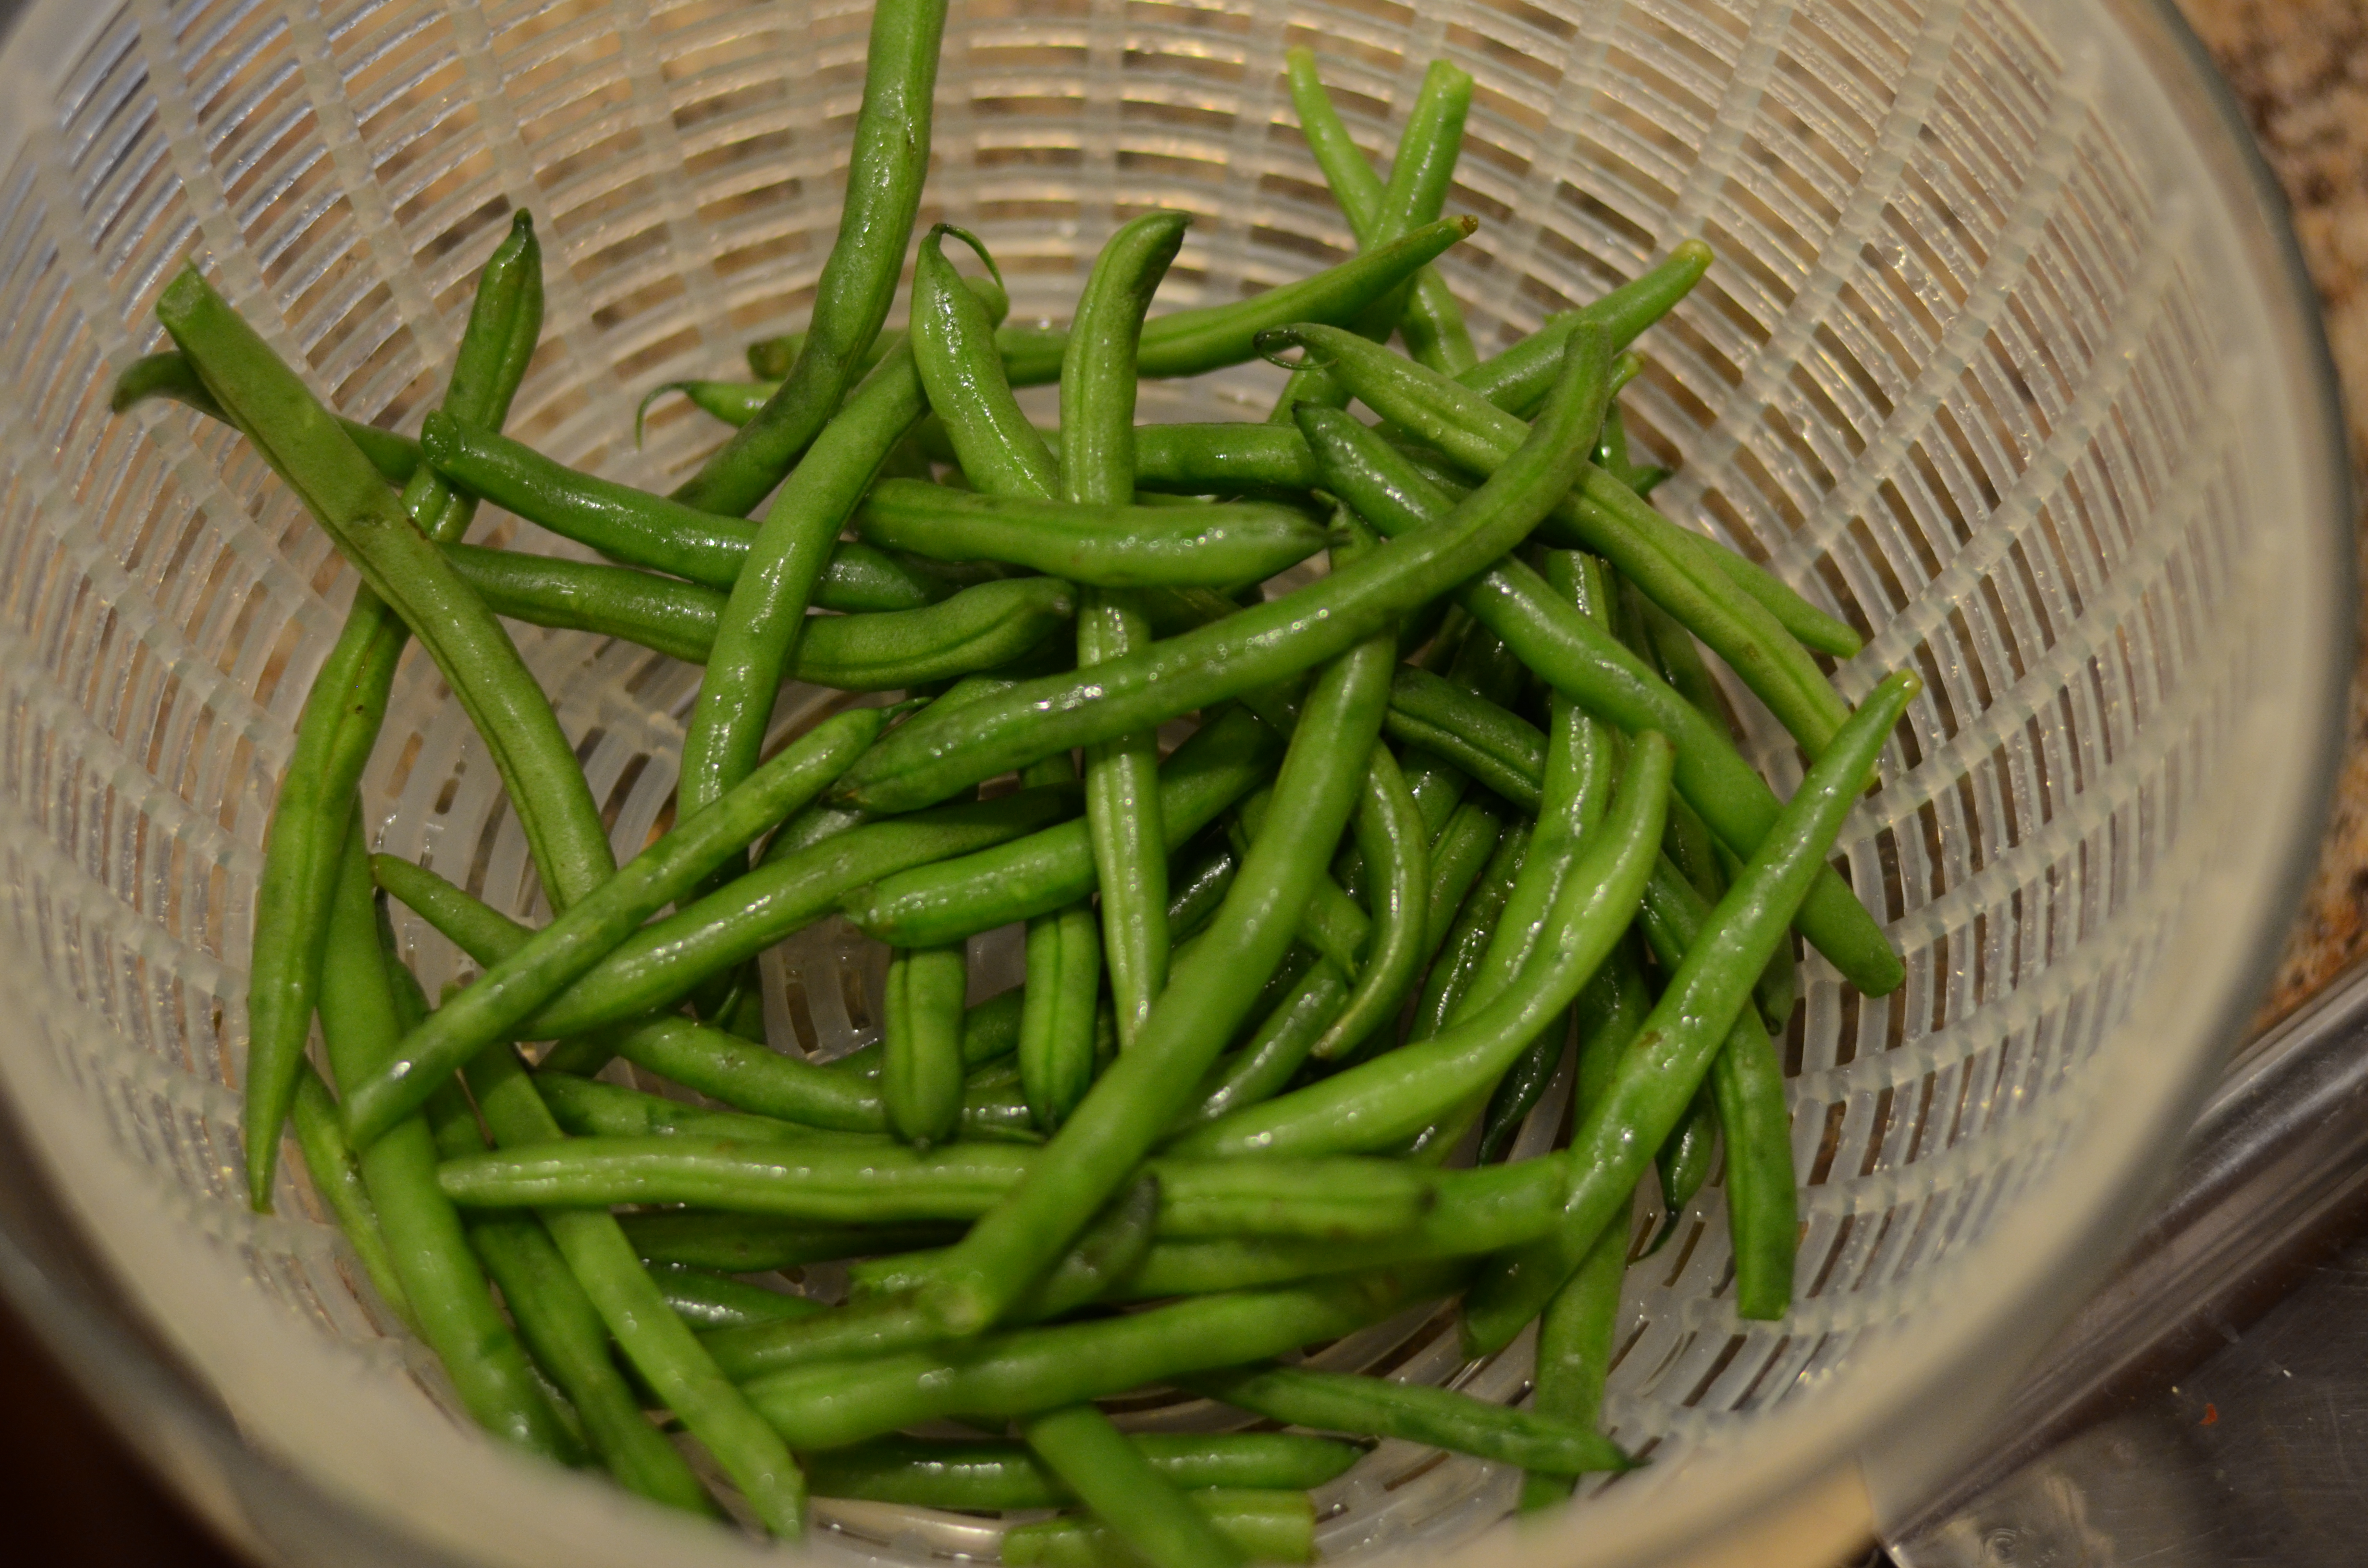
6 ounces Broccoli of any type, including leaves, finely chopped
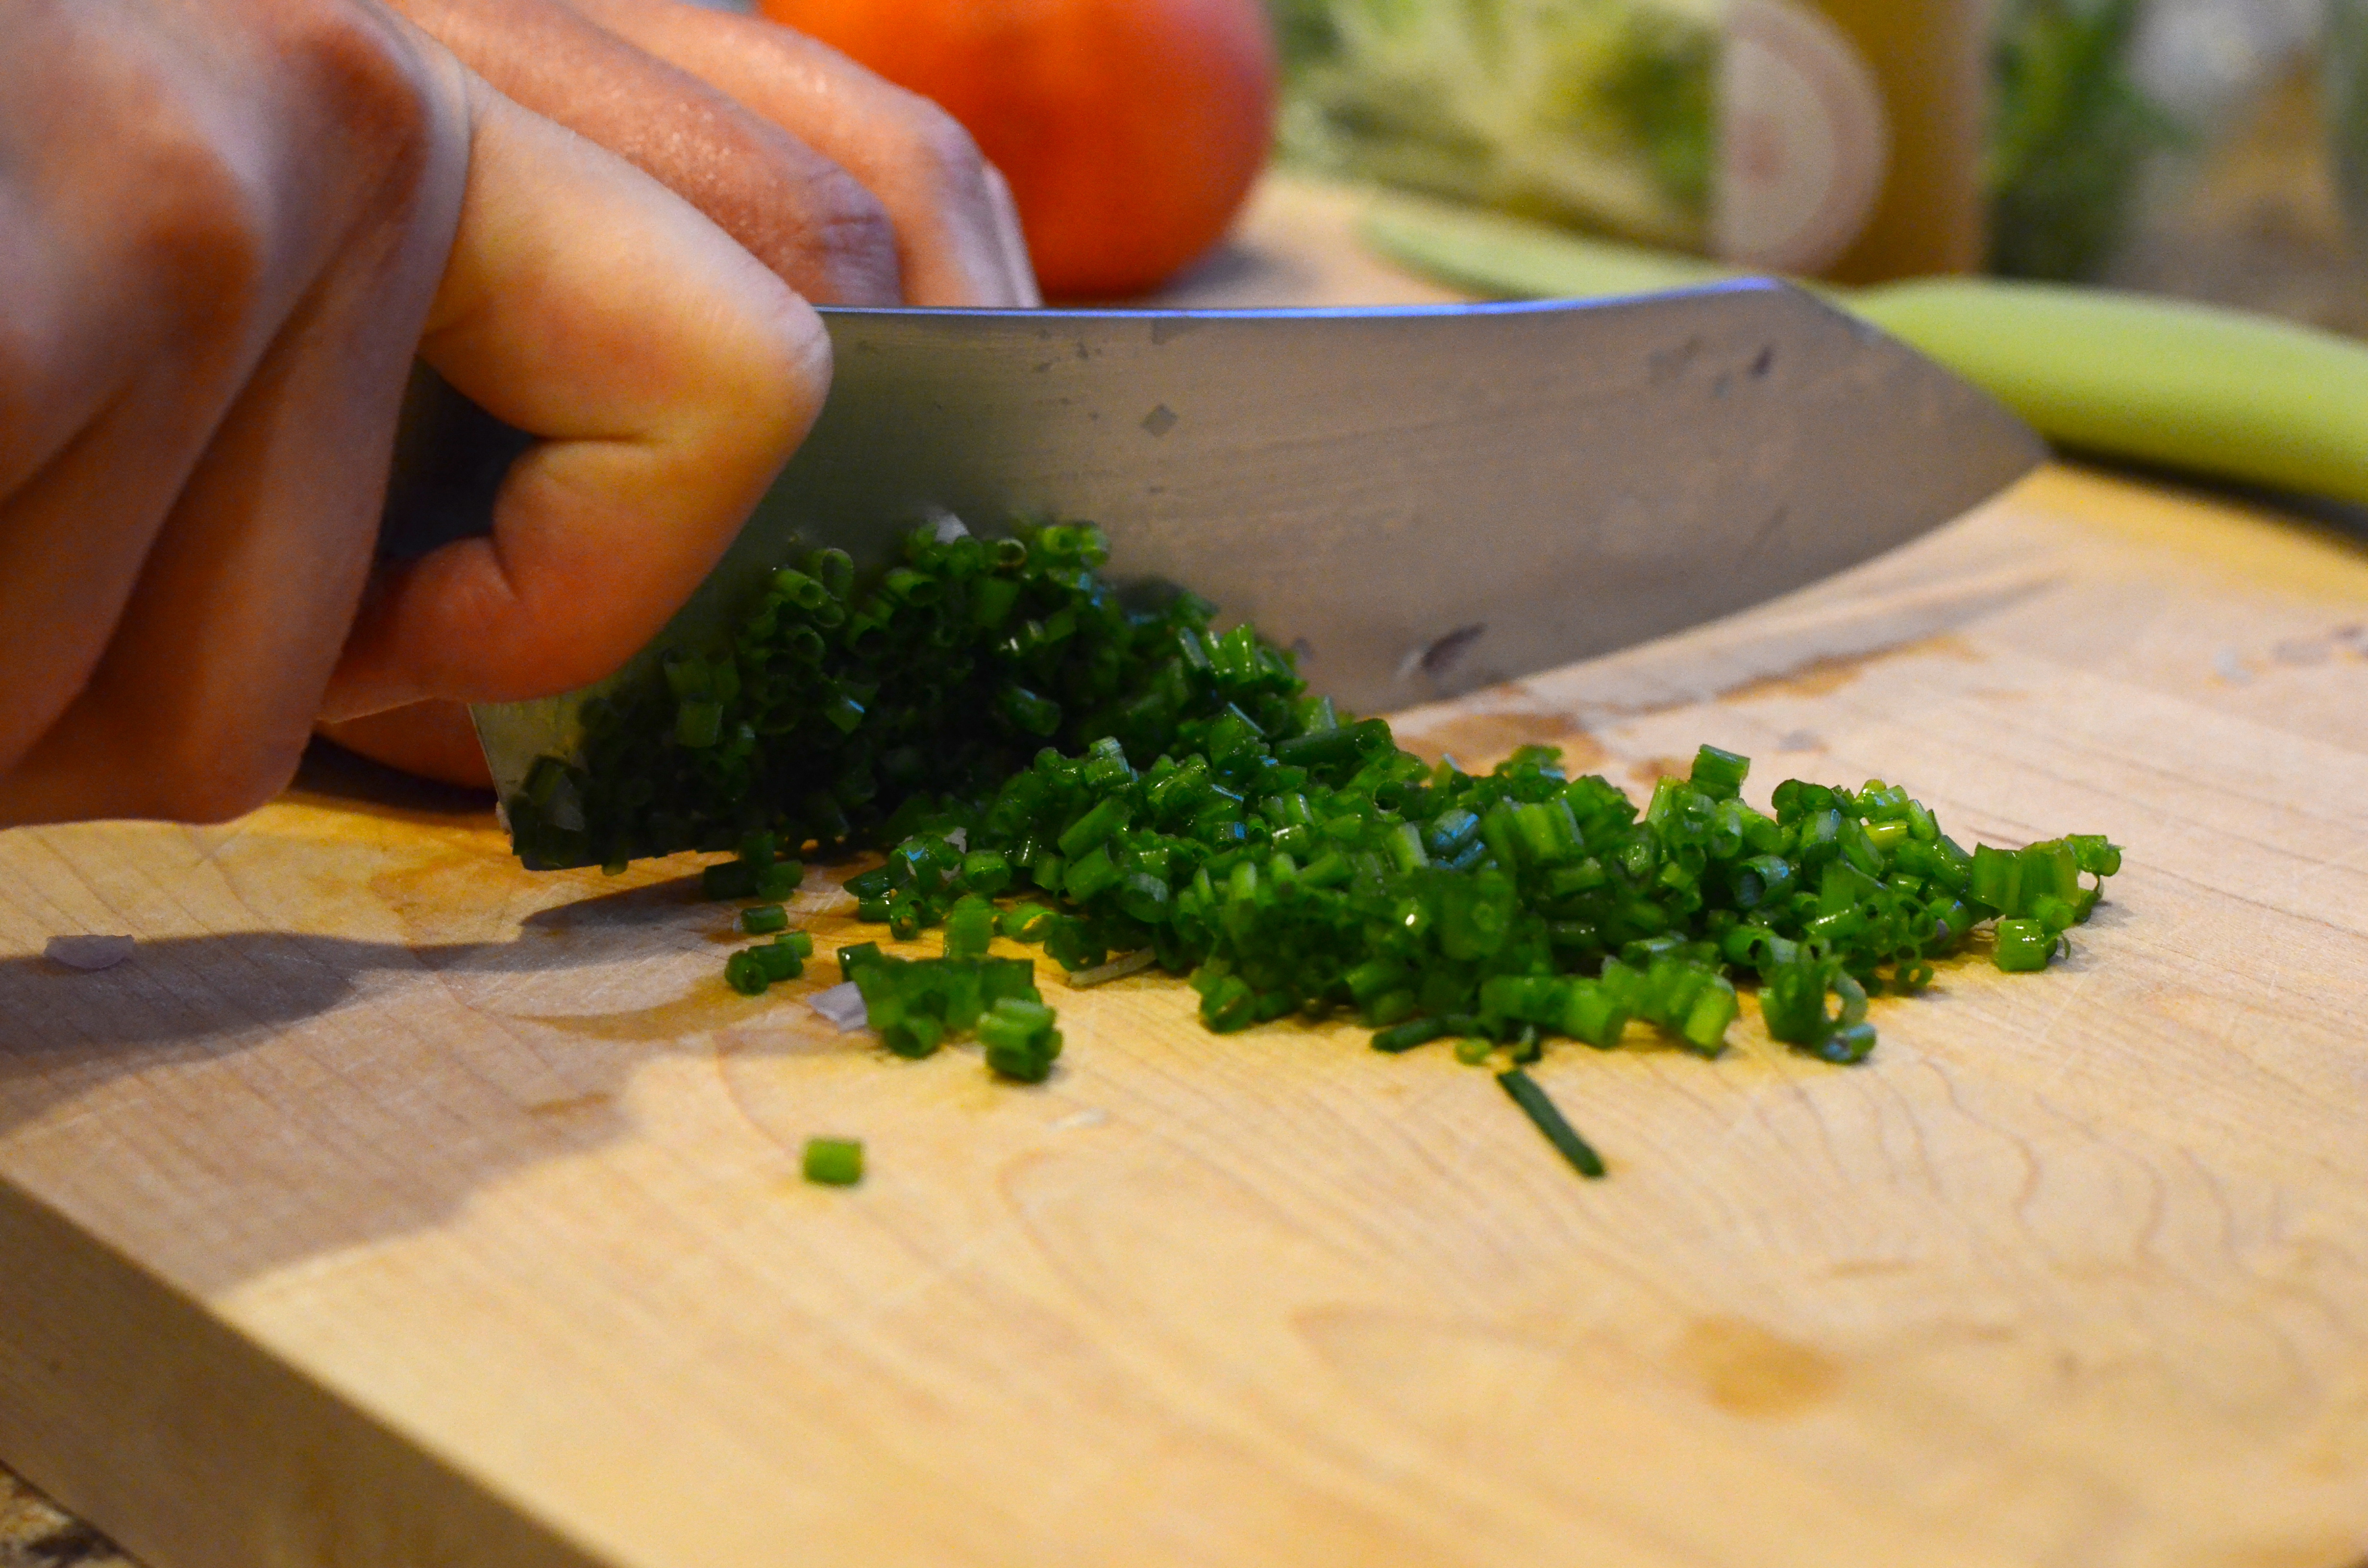
2 scallions, thinly sliced and whites and greens separated
about half a small white onion, finely chopped
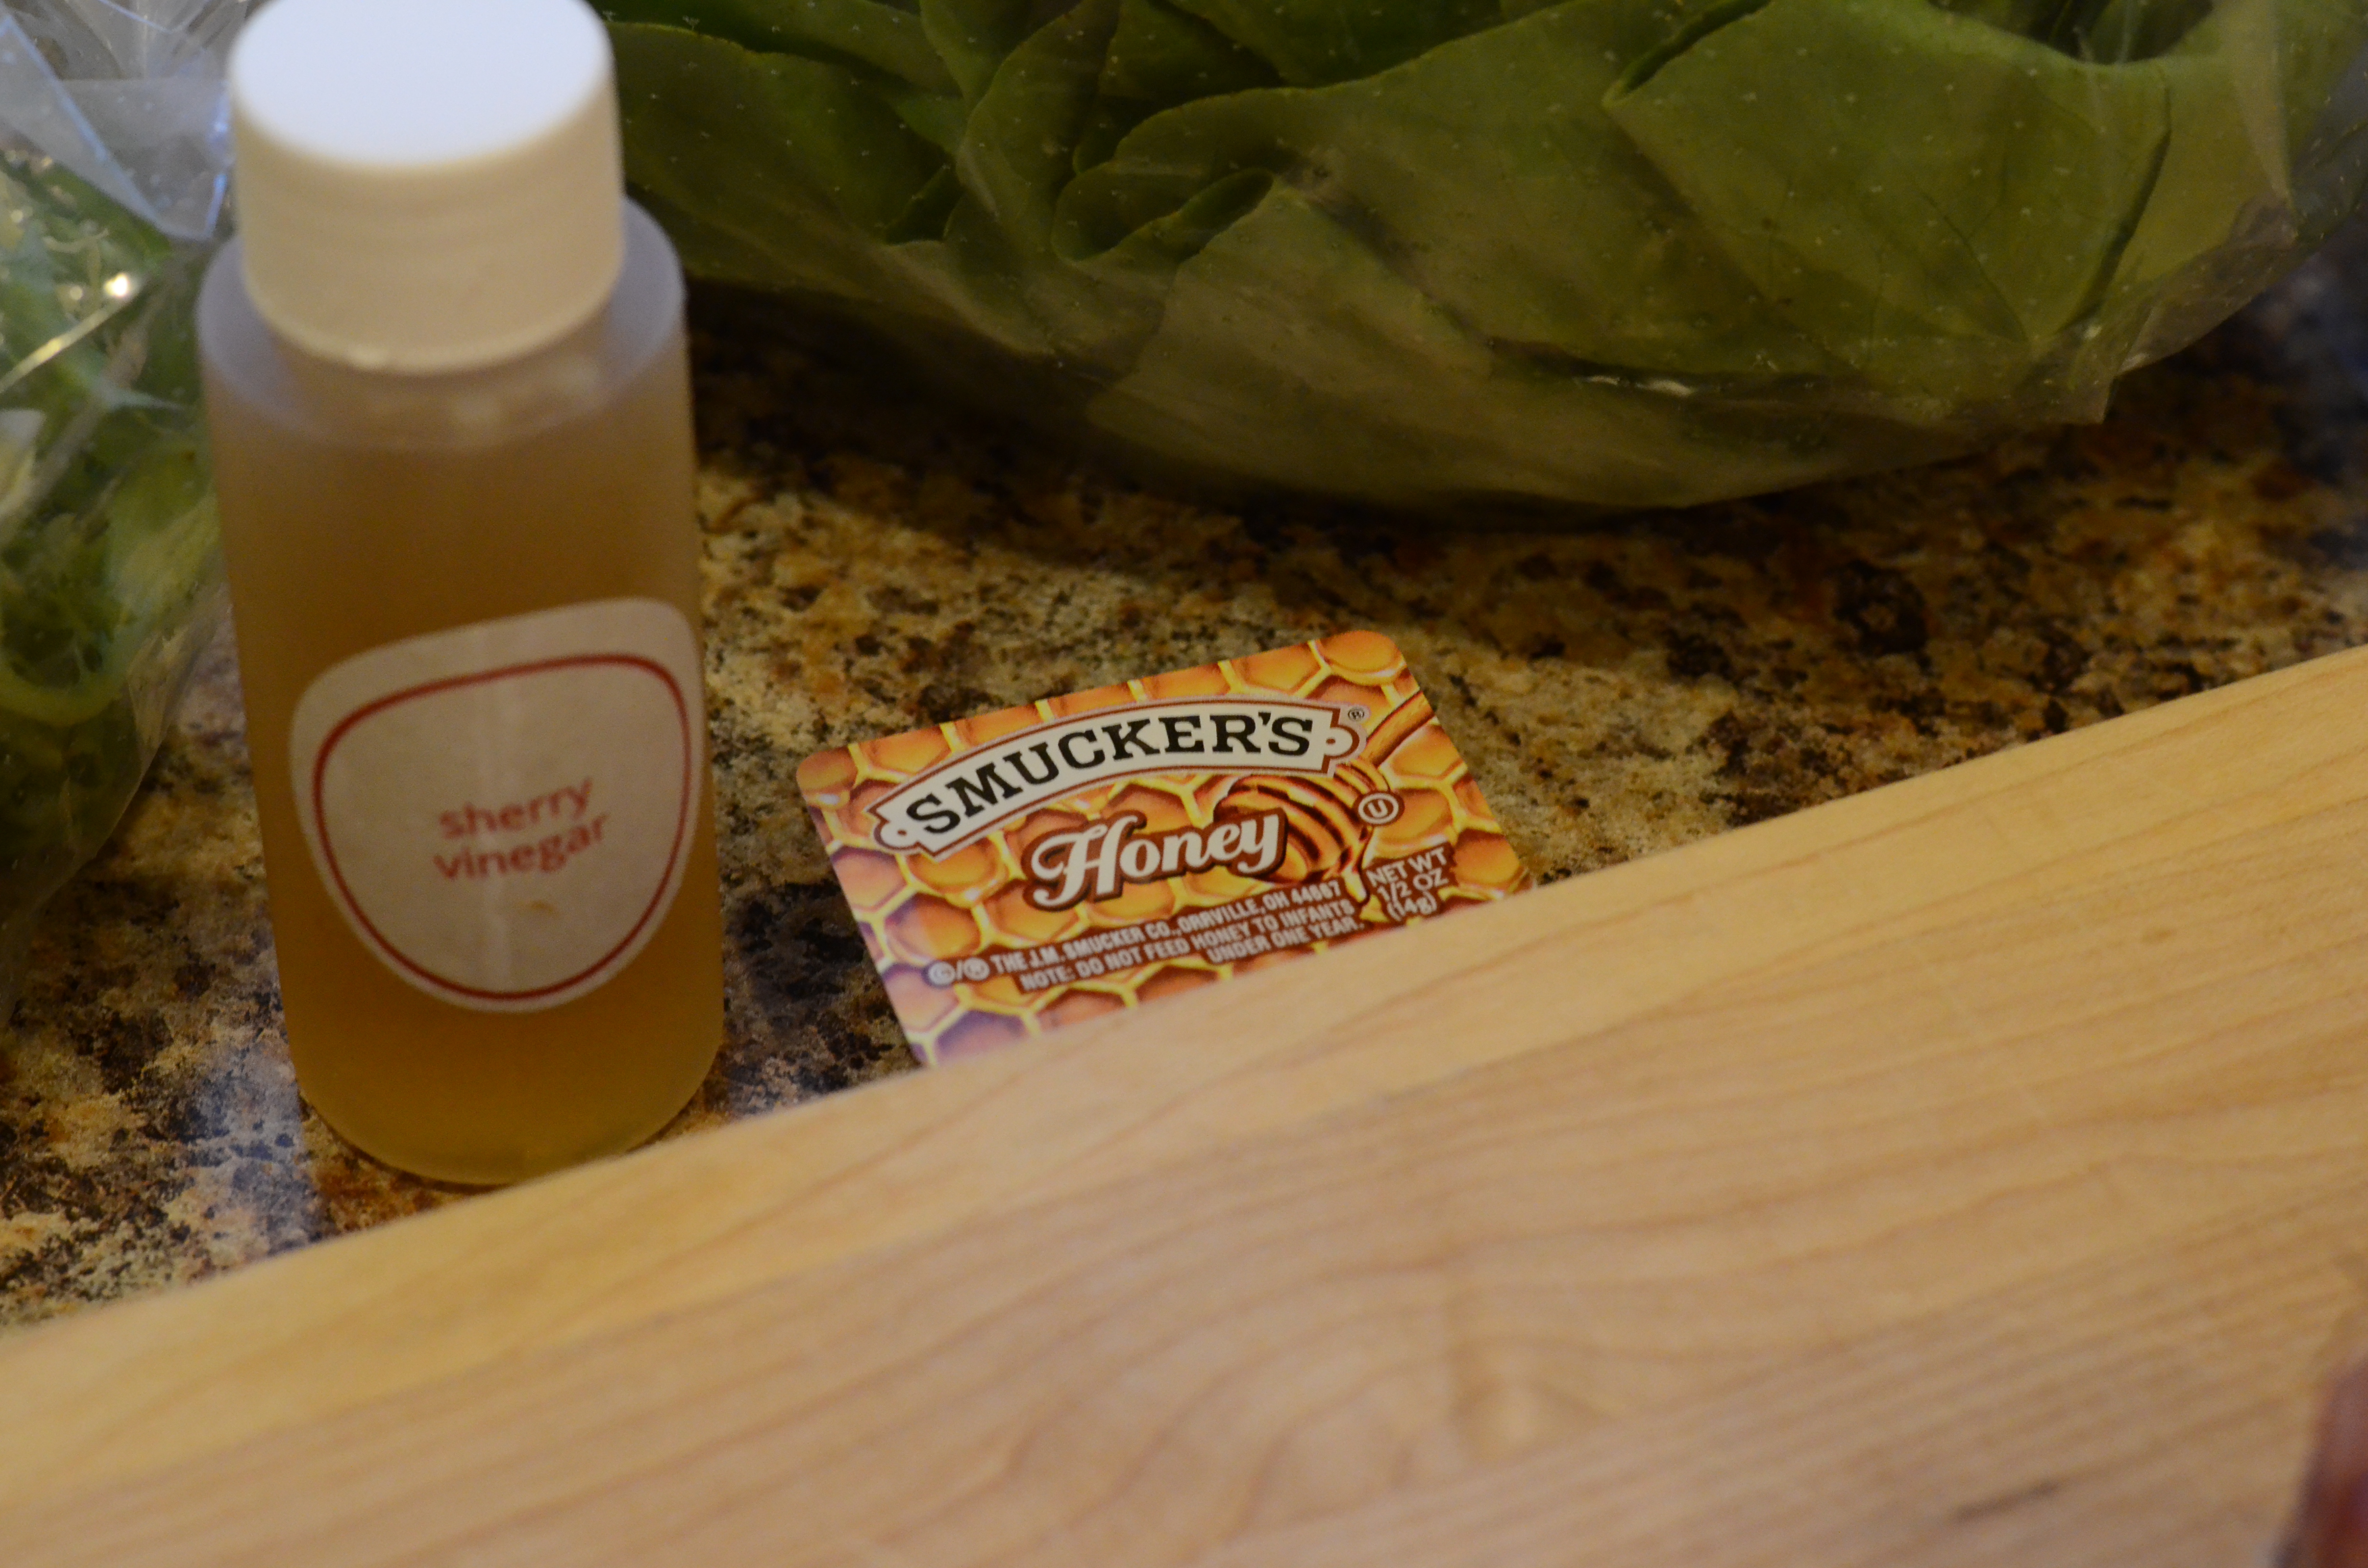
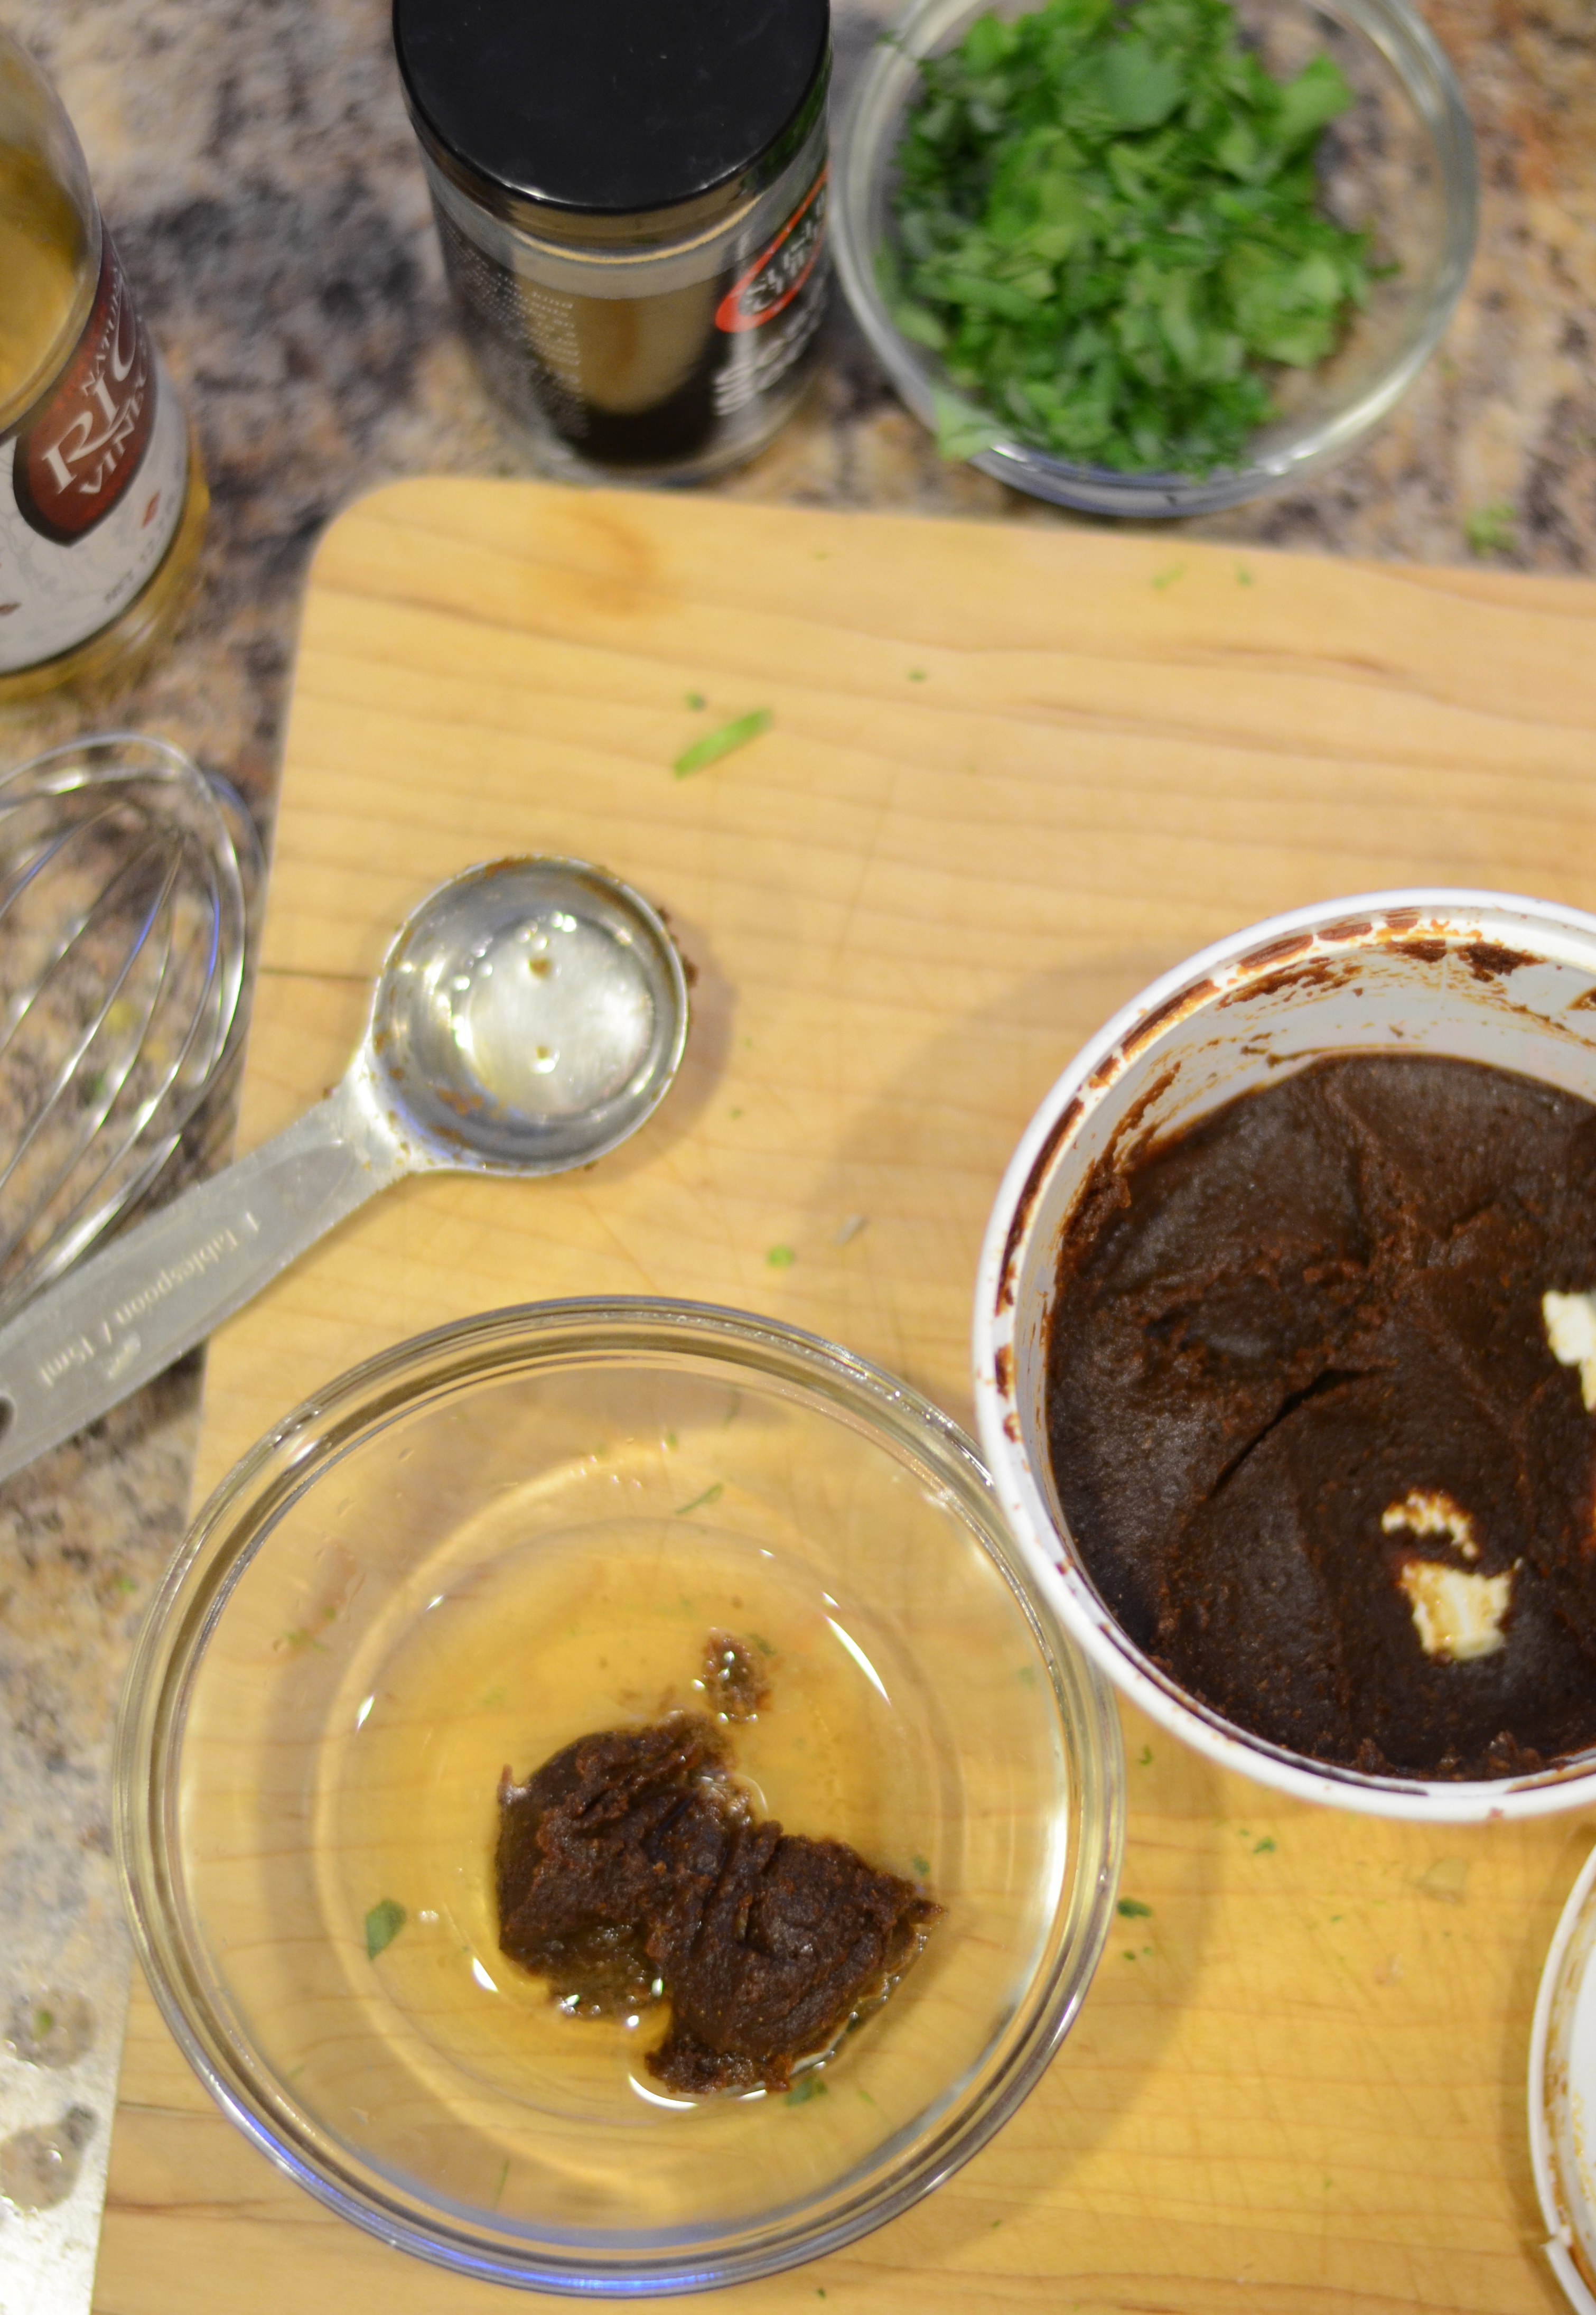
2 Tablespoons red miso paste
2 Tablespoons rice wine vinegar
3/4 Cup water
, divided
1 1-inch piece of fresh ginger root
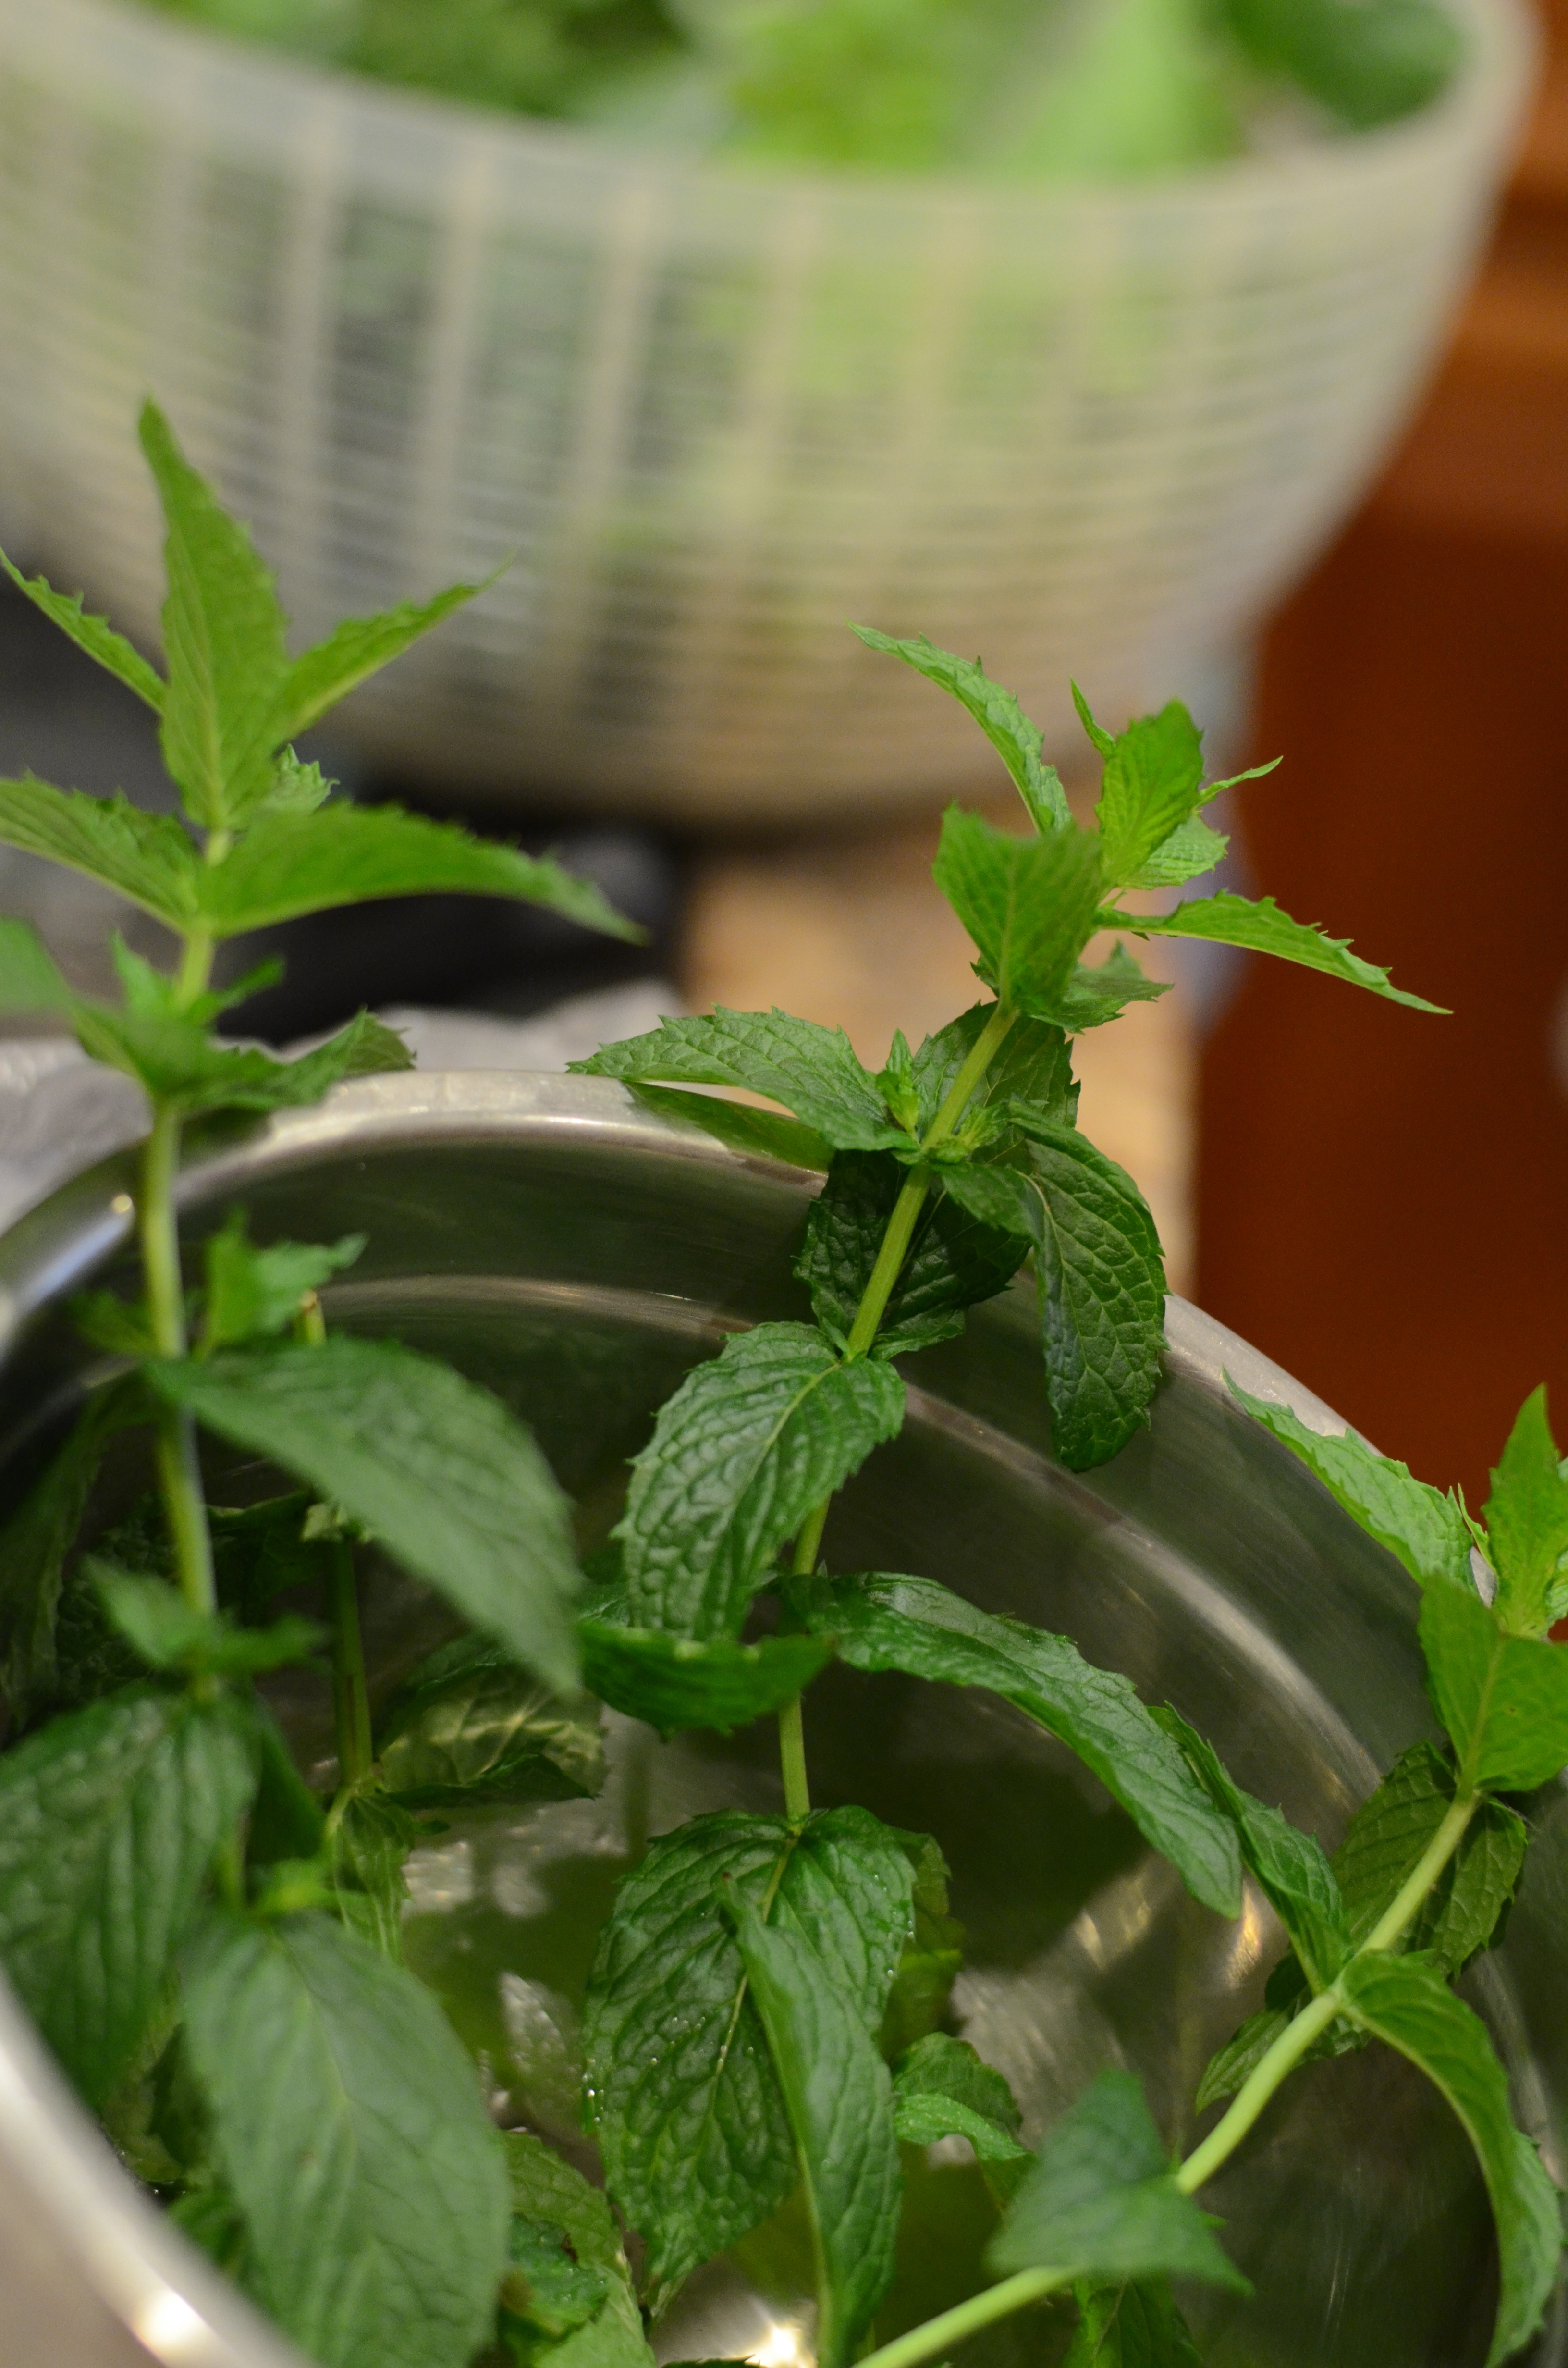
A few springs of cilantro
1 large clove garlic
1/2 small onion
, chopped
2 teaspoons sesame oil (toasted is fine)
2 Tablespoons roasted peanuts
2 Tablespoons sugar
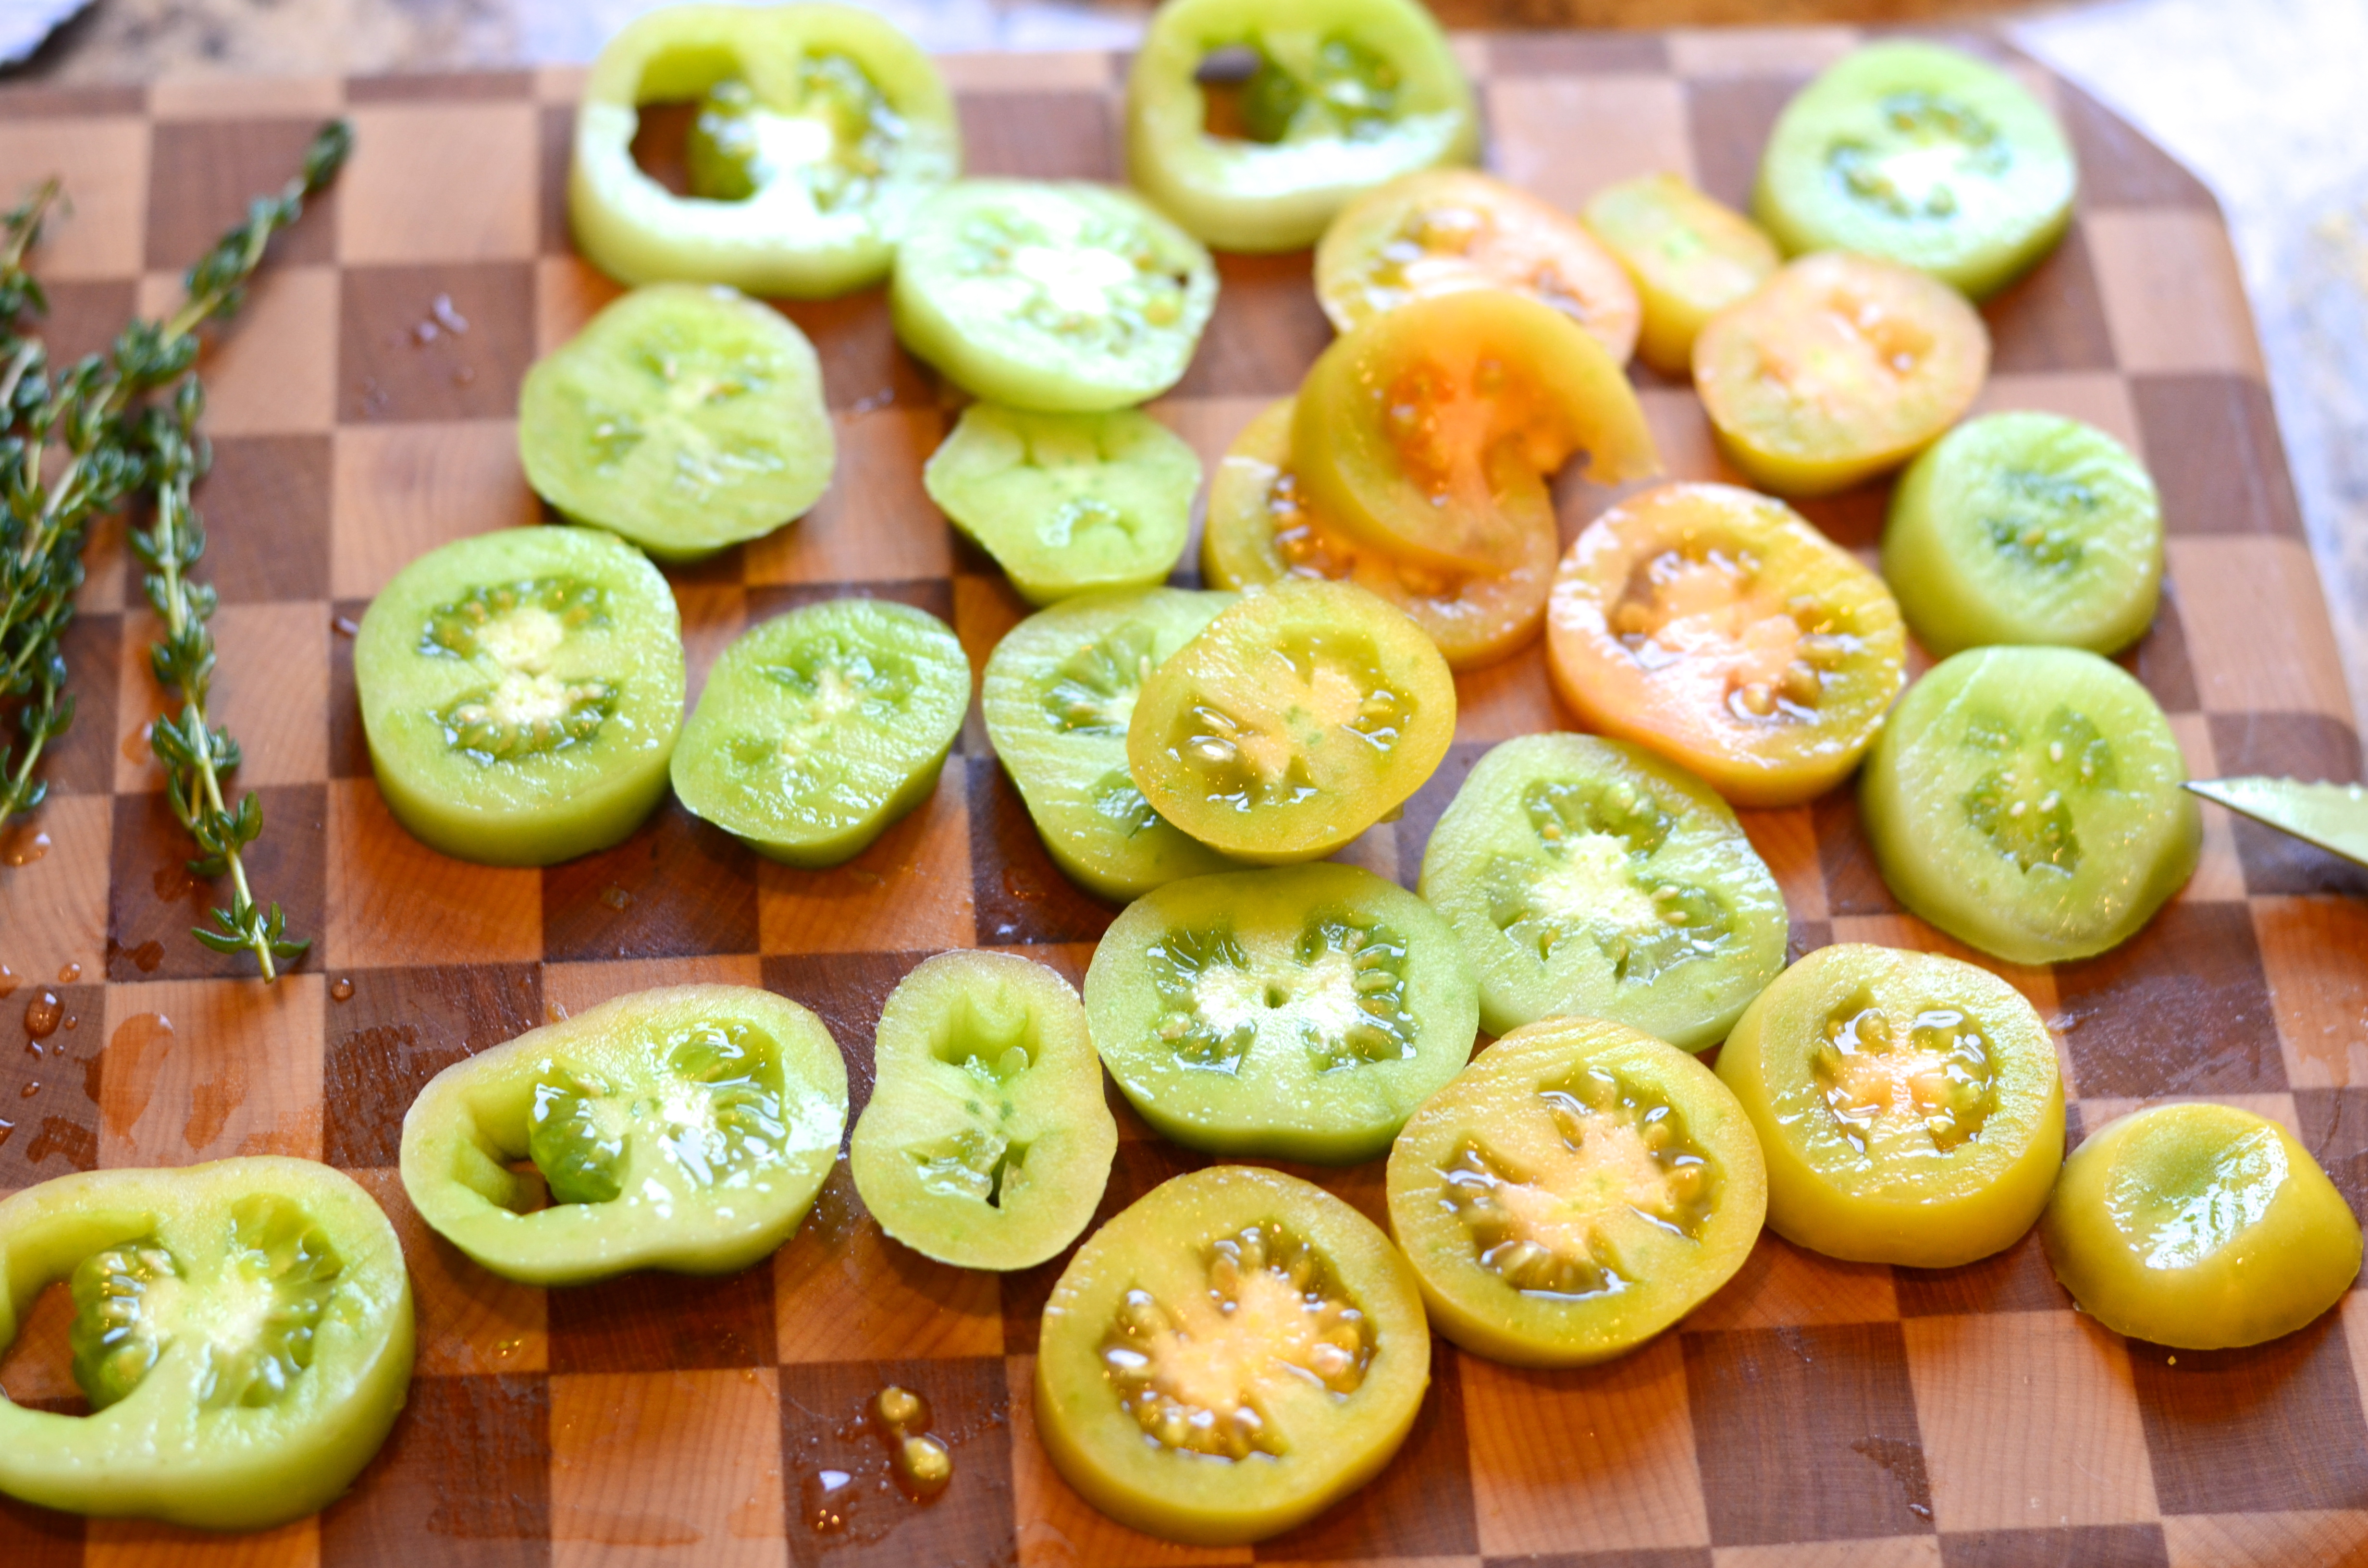
5 ounces cherry tomatoes
8 ounces soba noodles
2 teaspoons white sesame seeds

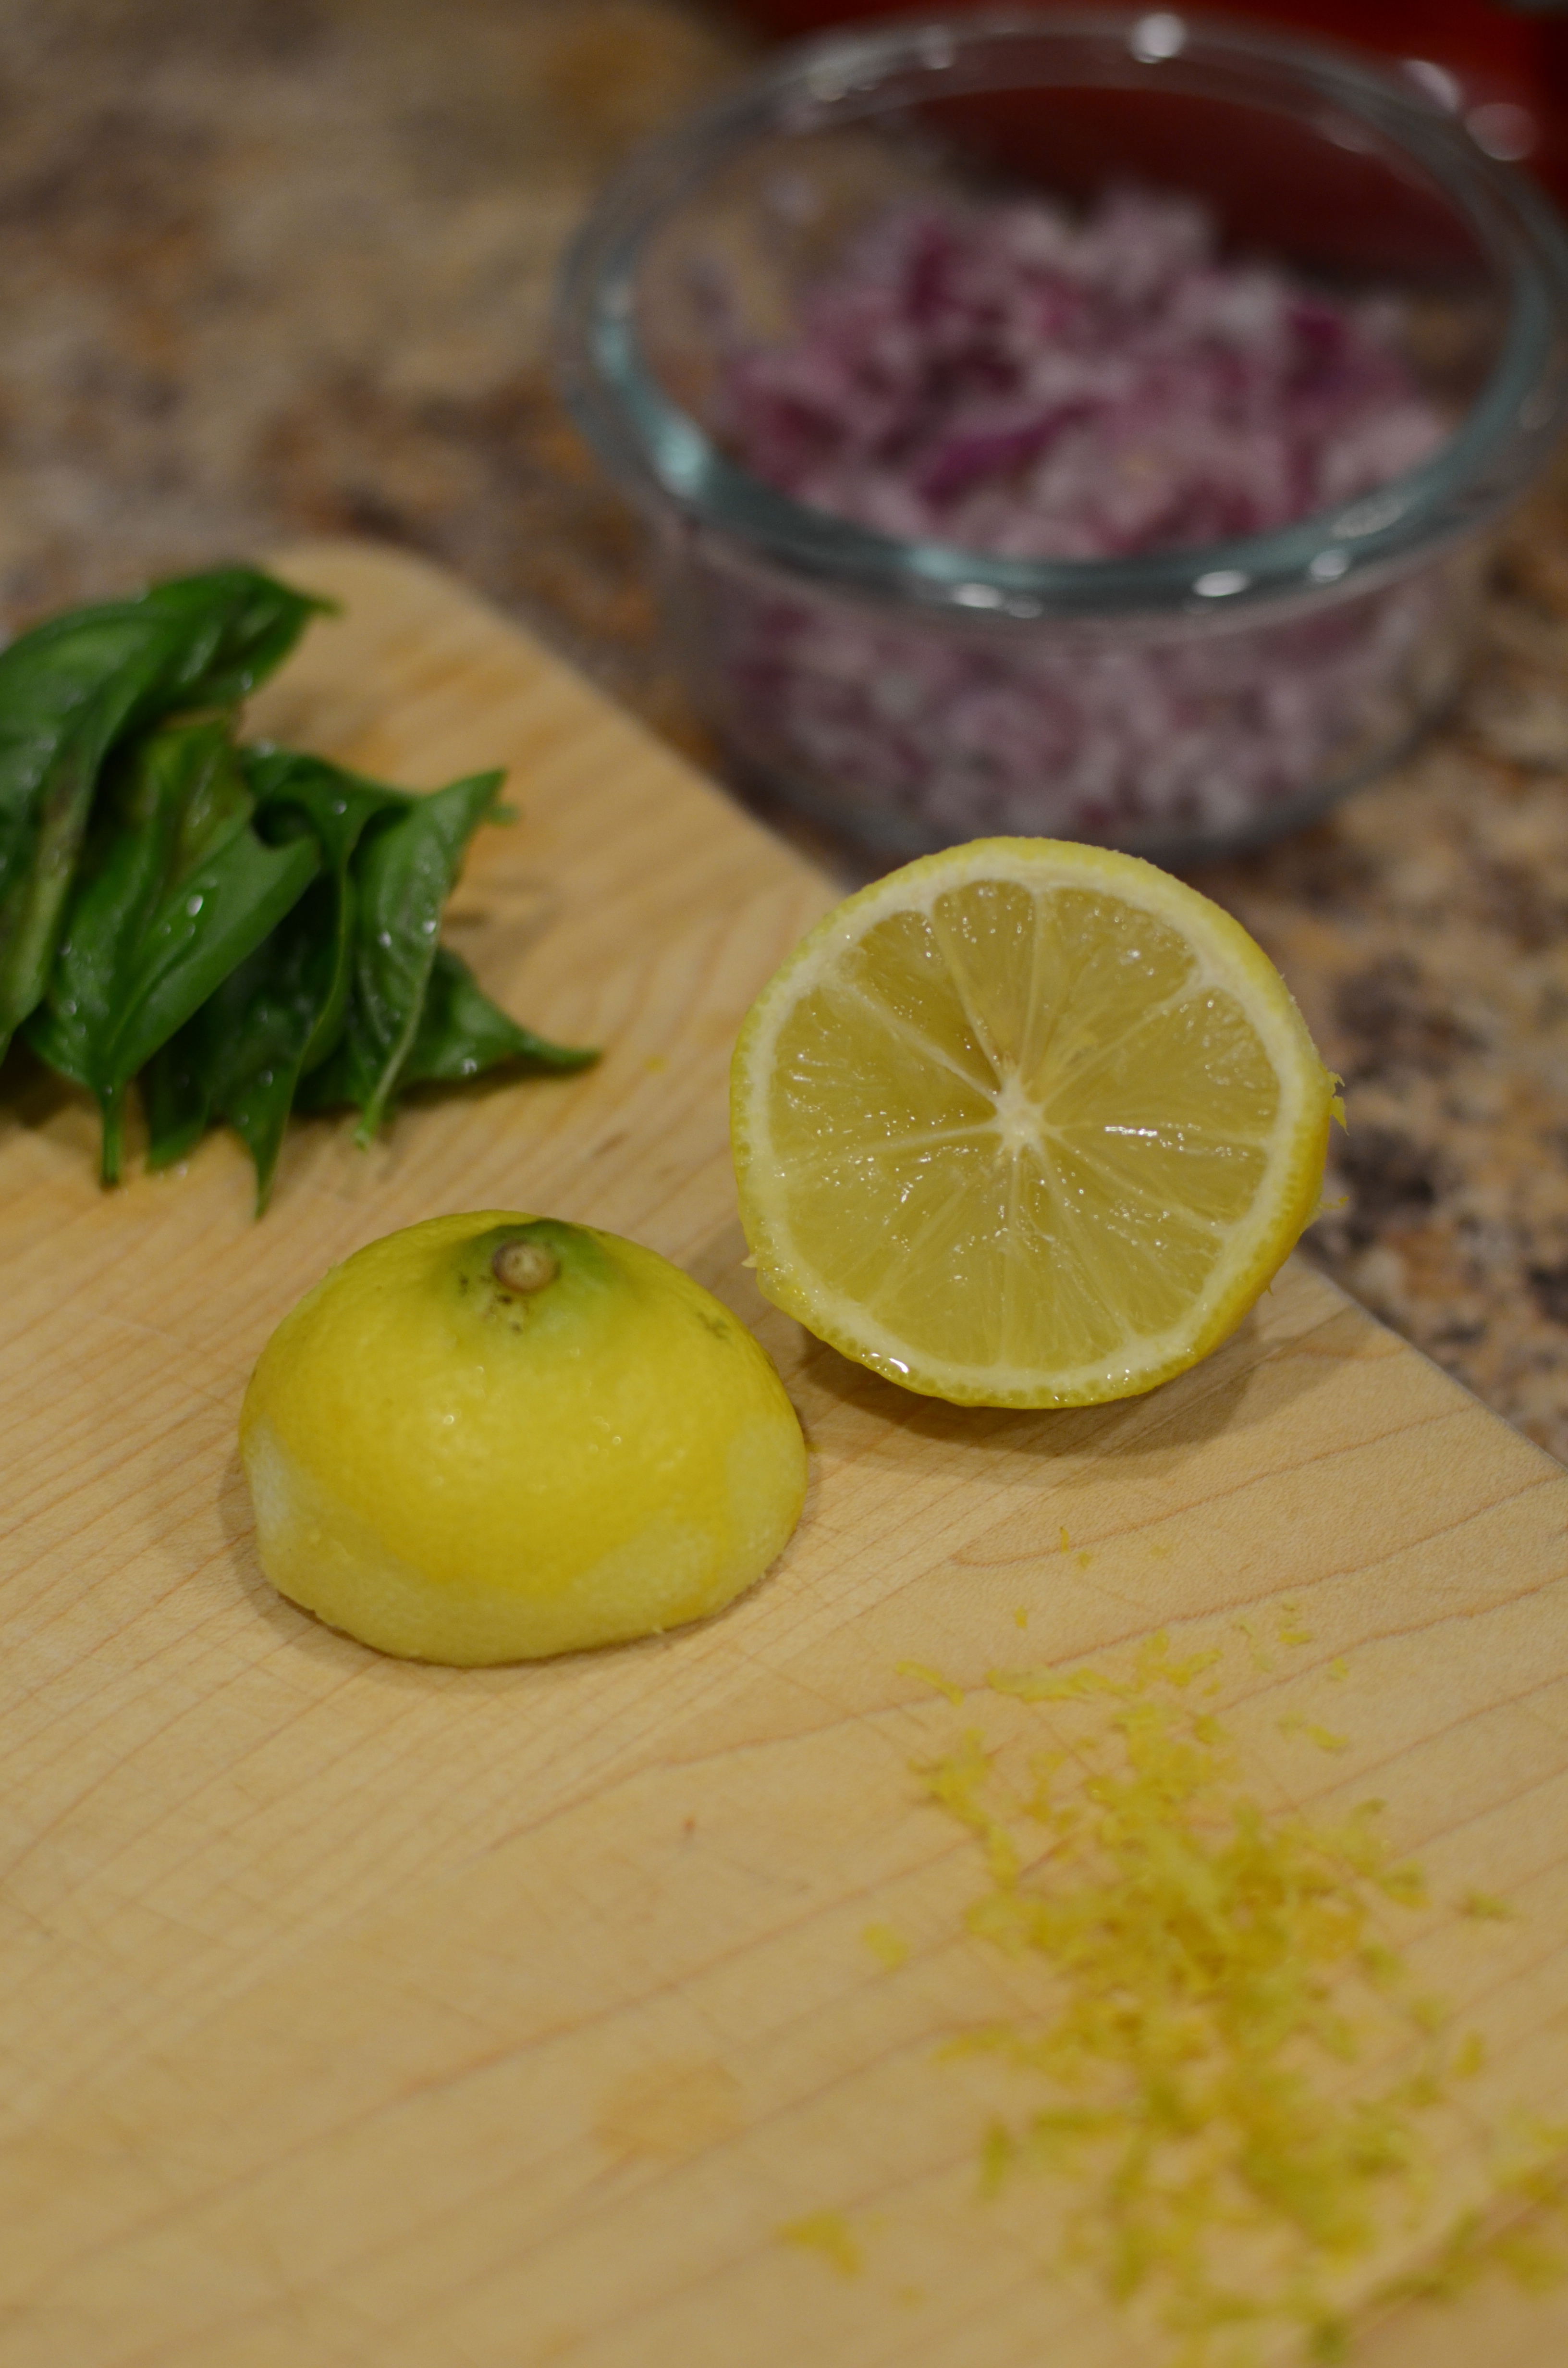
Wash the produce, chop, and set aside. The ginger root should be peeled and minced. The cilantro leaves can be picked from the stems, roughly chopped, and set in a bowl. Half will be added in the cooking process, and half will be saved for garnish.

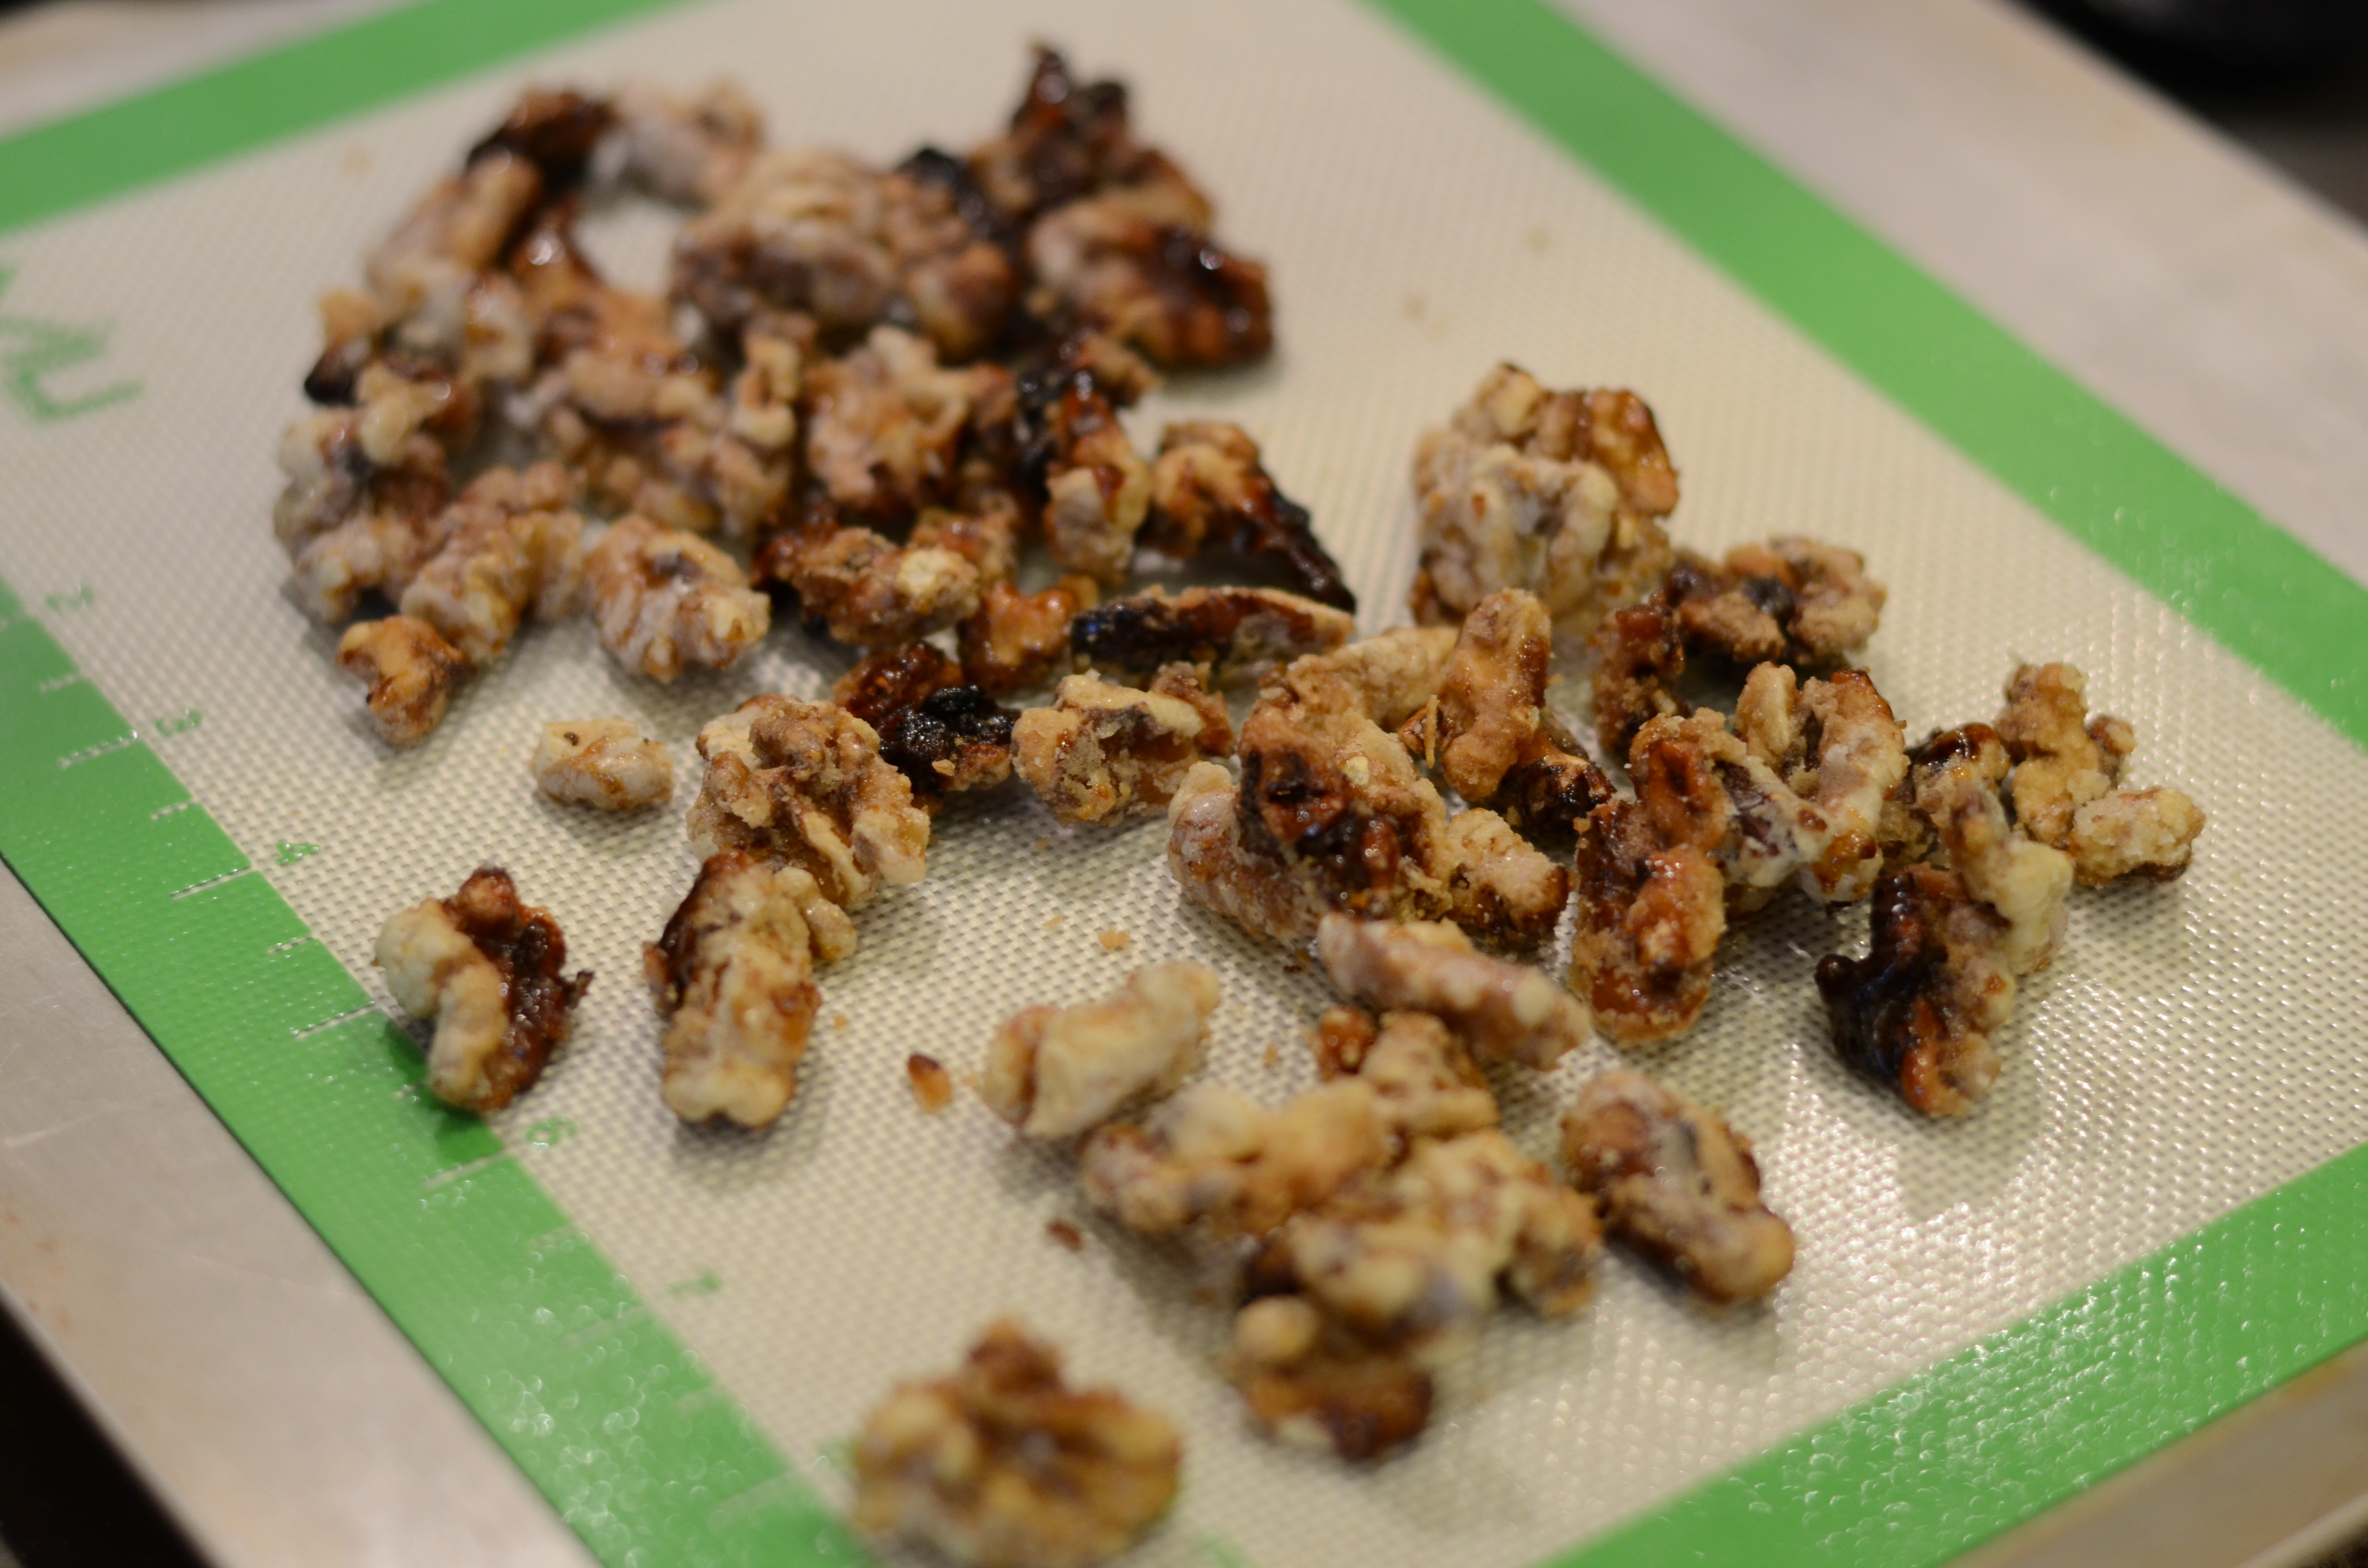
Another topping will be candied chopped peanuts (cashews are preferred, if you have them).
DSC_9548
To prepare, set a small pot with the sugar and 1/4 Cup of water over medium-high heat. Also prepare a small pan lined with a little bit of parchment paper. Allow the water-sugar mixture to boil, without stirring, for several minutes, until the color starts to change into a golden blonde. Remove from heat and stir in the chopped peanuts.
DSC_9553
Then pour the mixture onto the parchment paper. Spread evenly and allow to cool.

DSC_9561
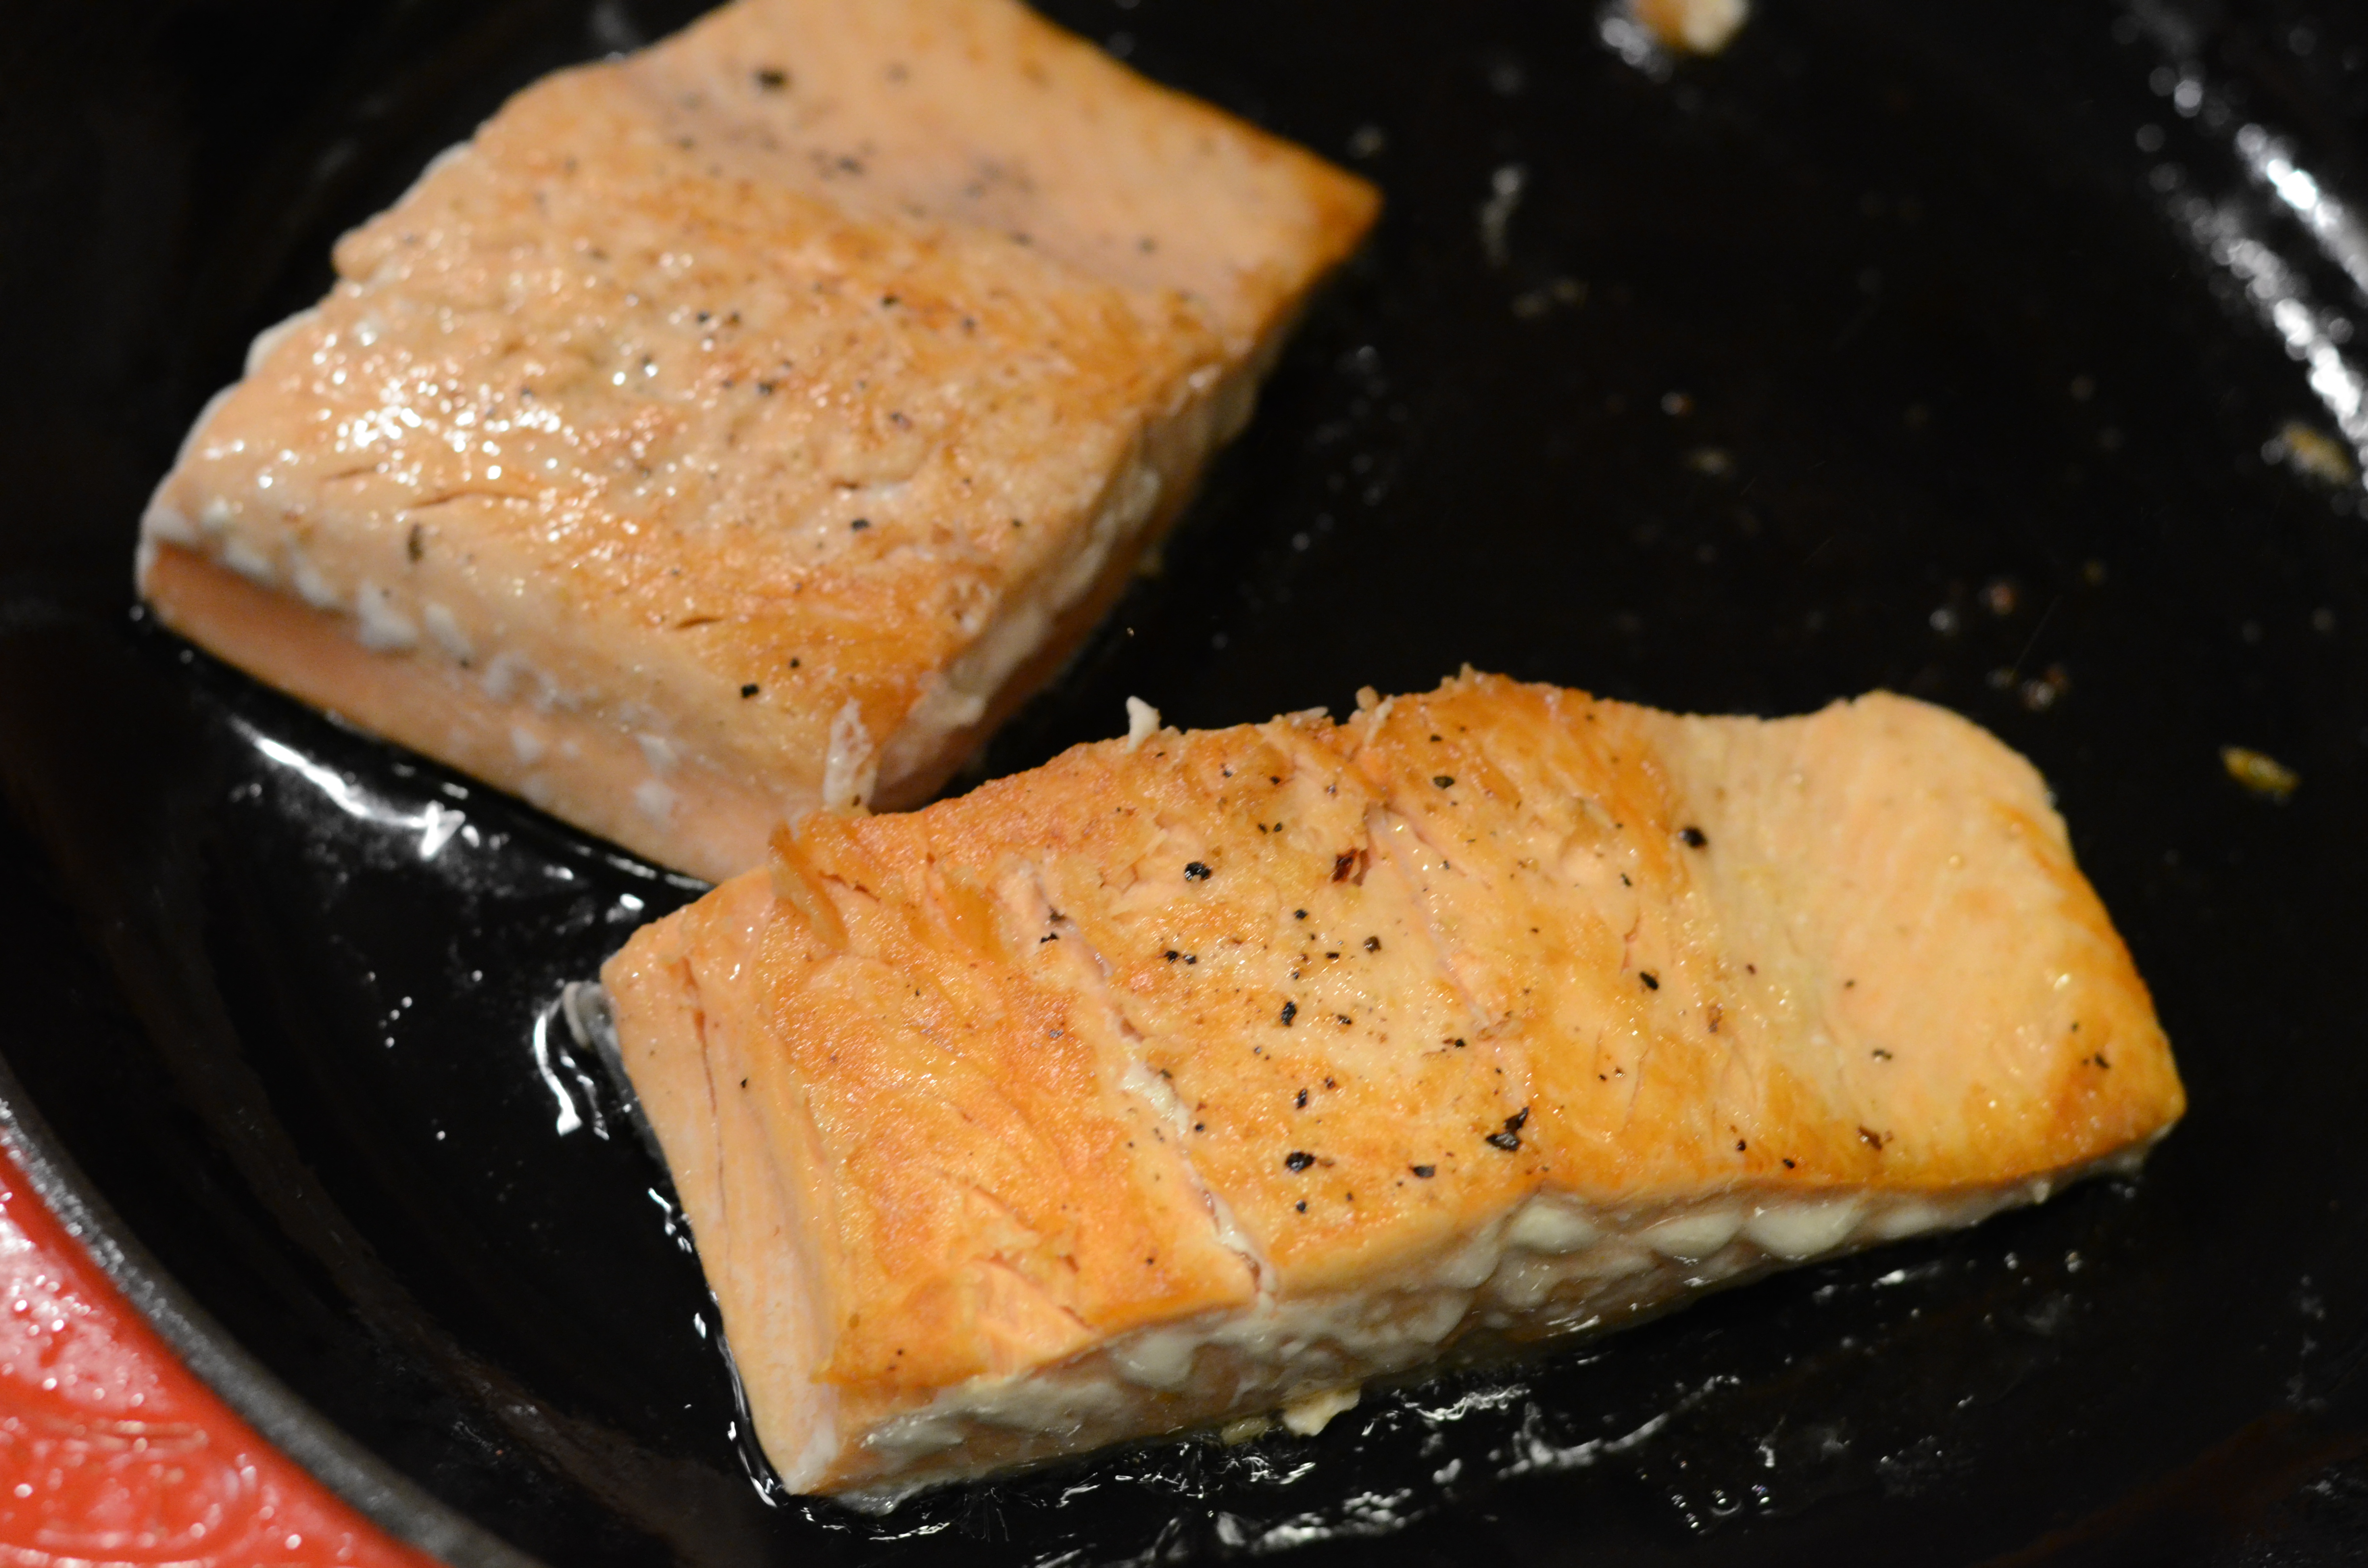
Here’s where it gets exciting (for the person washing dishes)! For the tomatoes, preheat the oven to 450°F. For the soba noodles, fill a medium pot with water and set over heat to boil. Grab a large sauté pan for the vegetables.

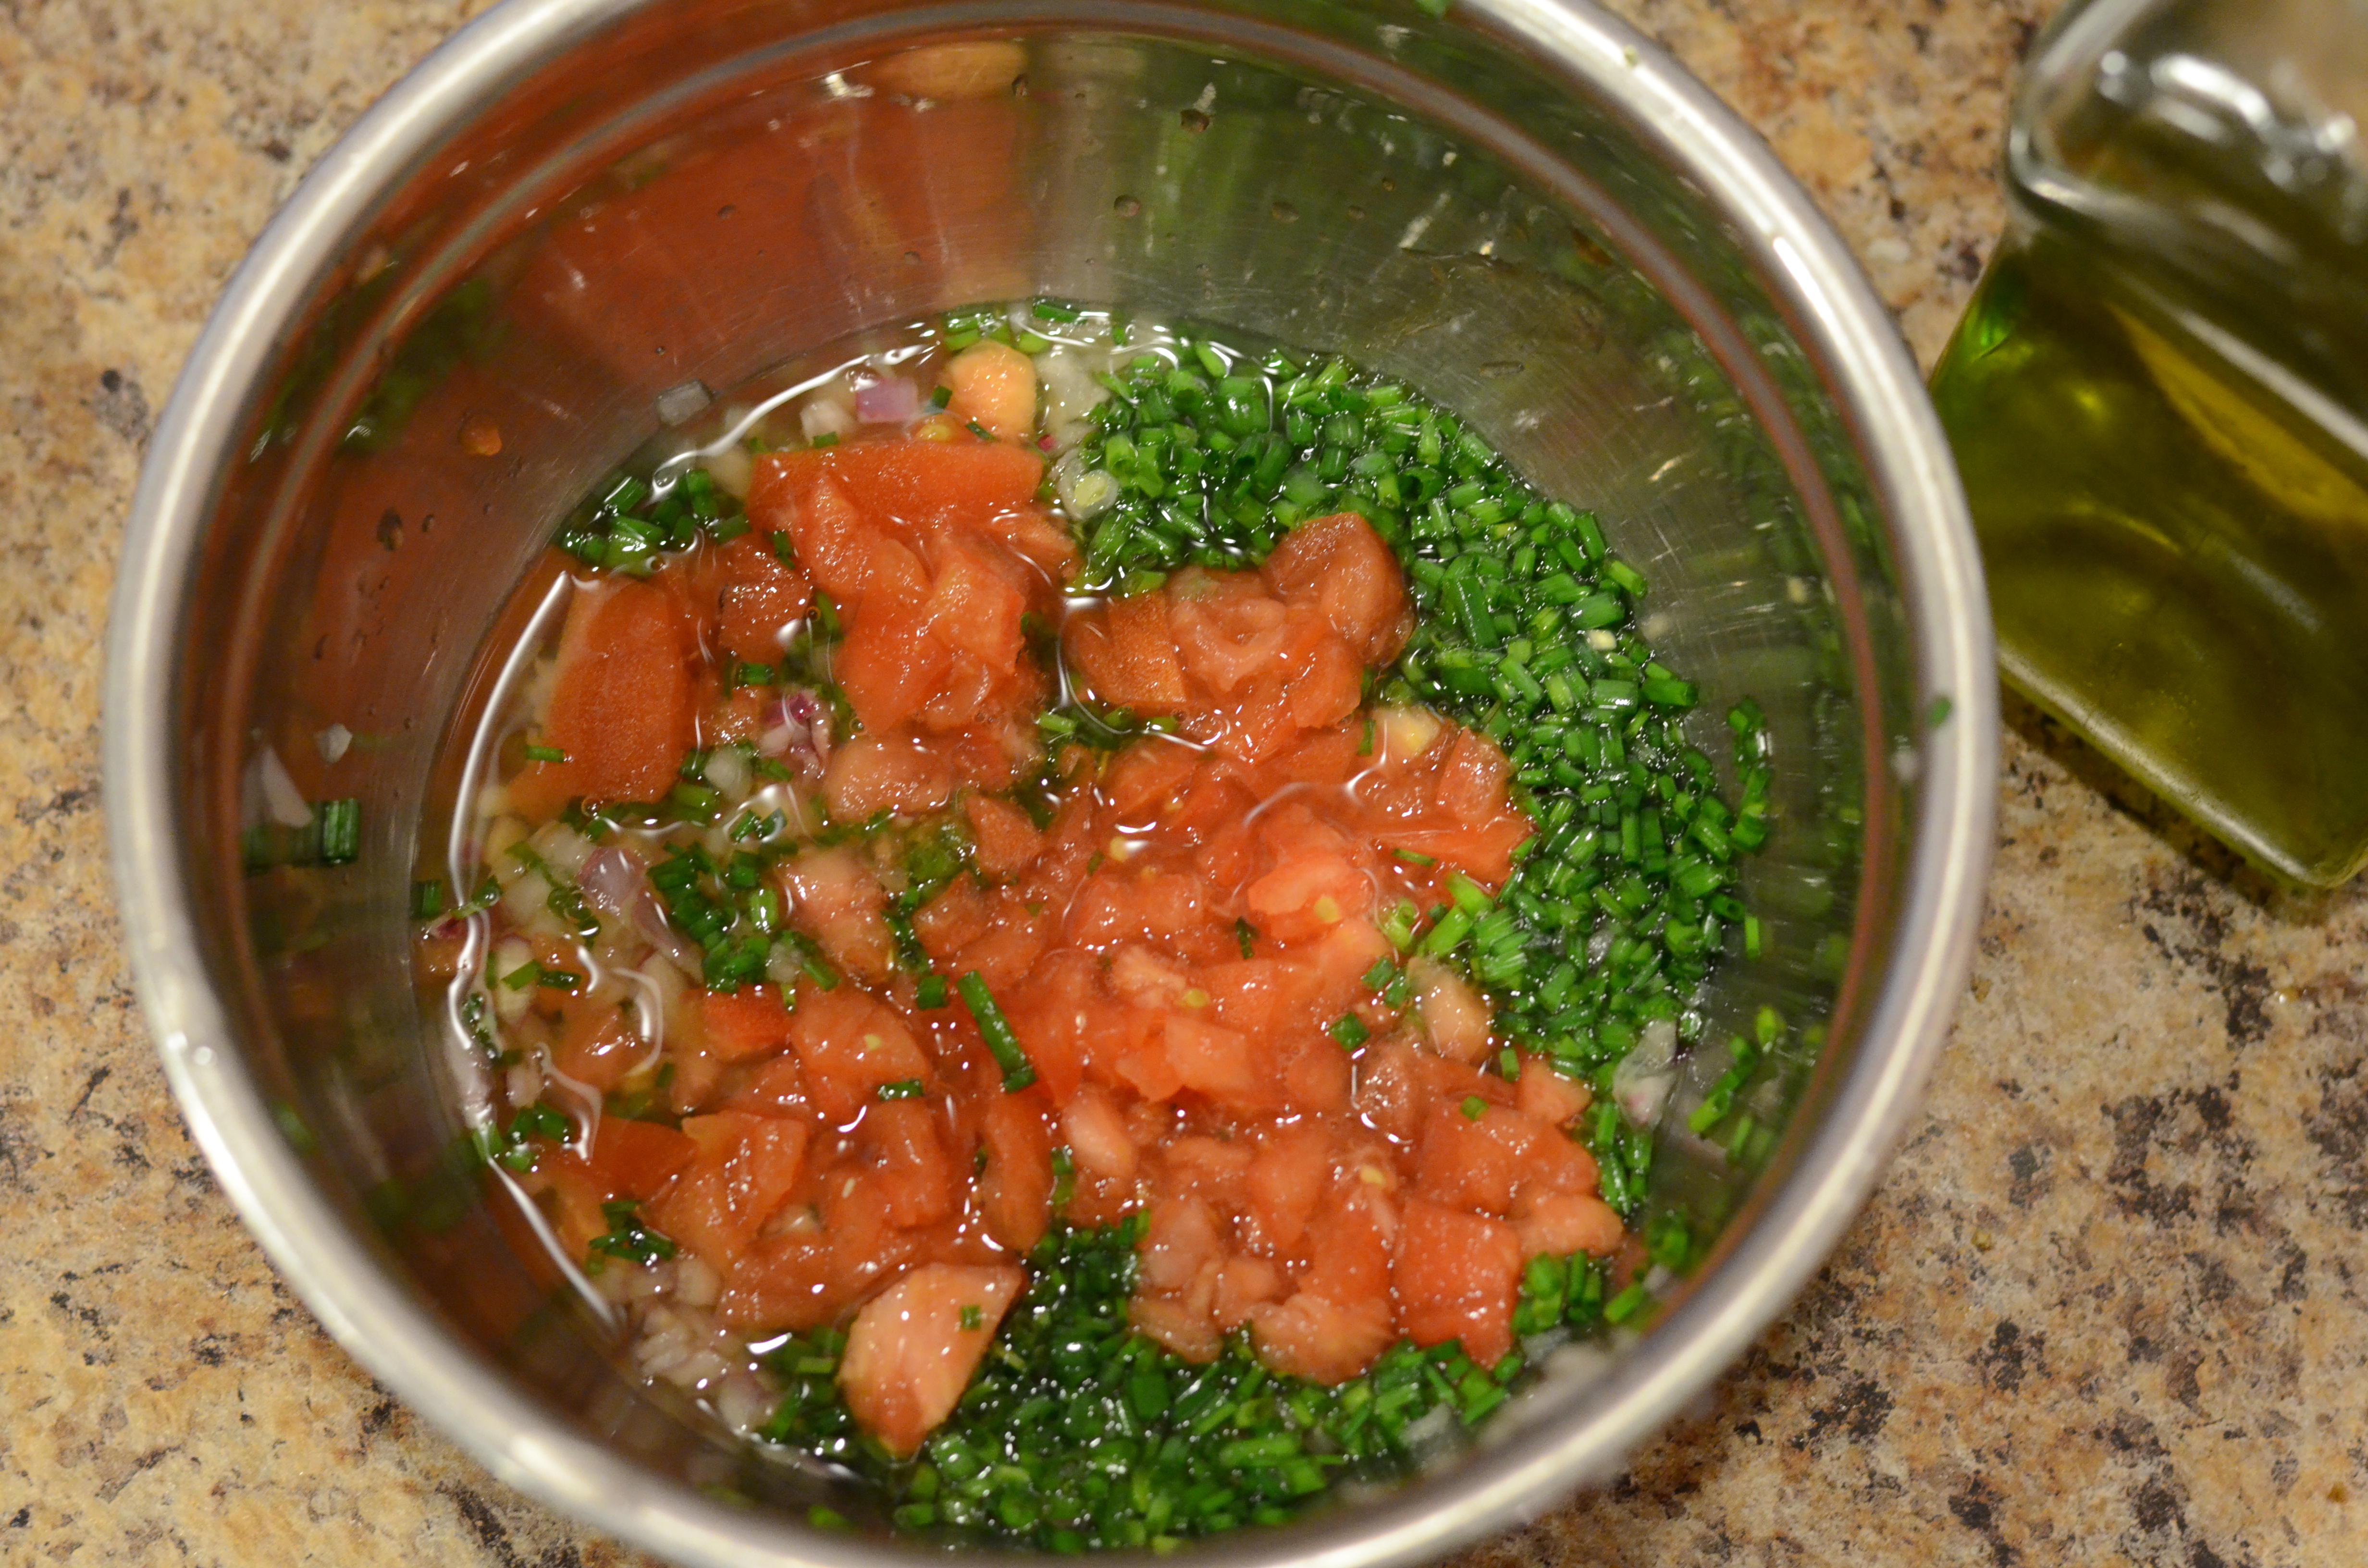
In a small bowl, whisk together the miso paste, rice wine vinegar, sesame oil and ½ Cup of water, until smooth.

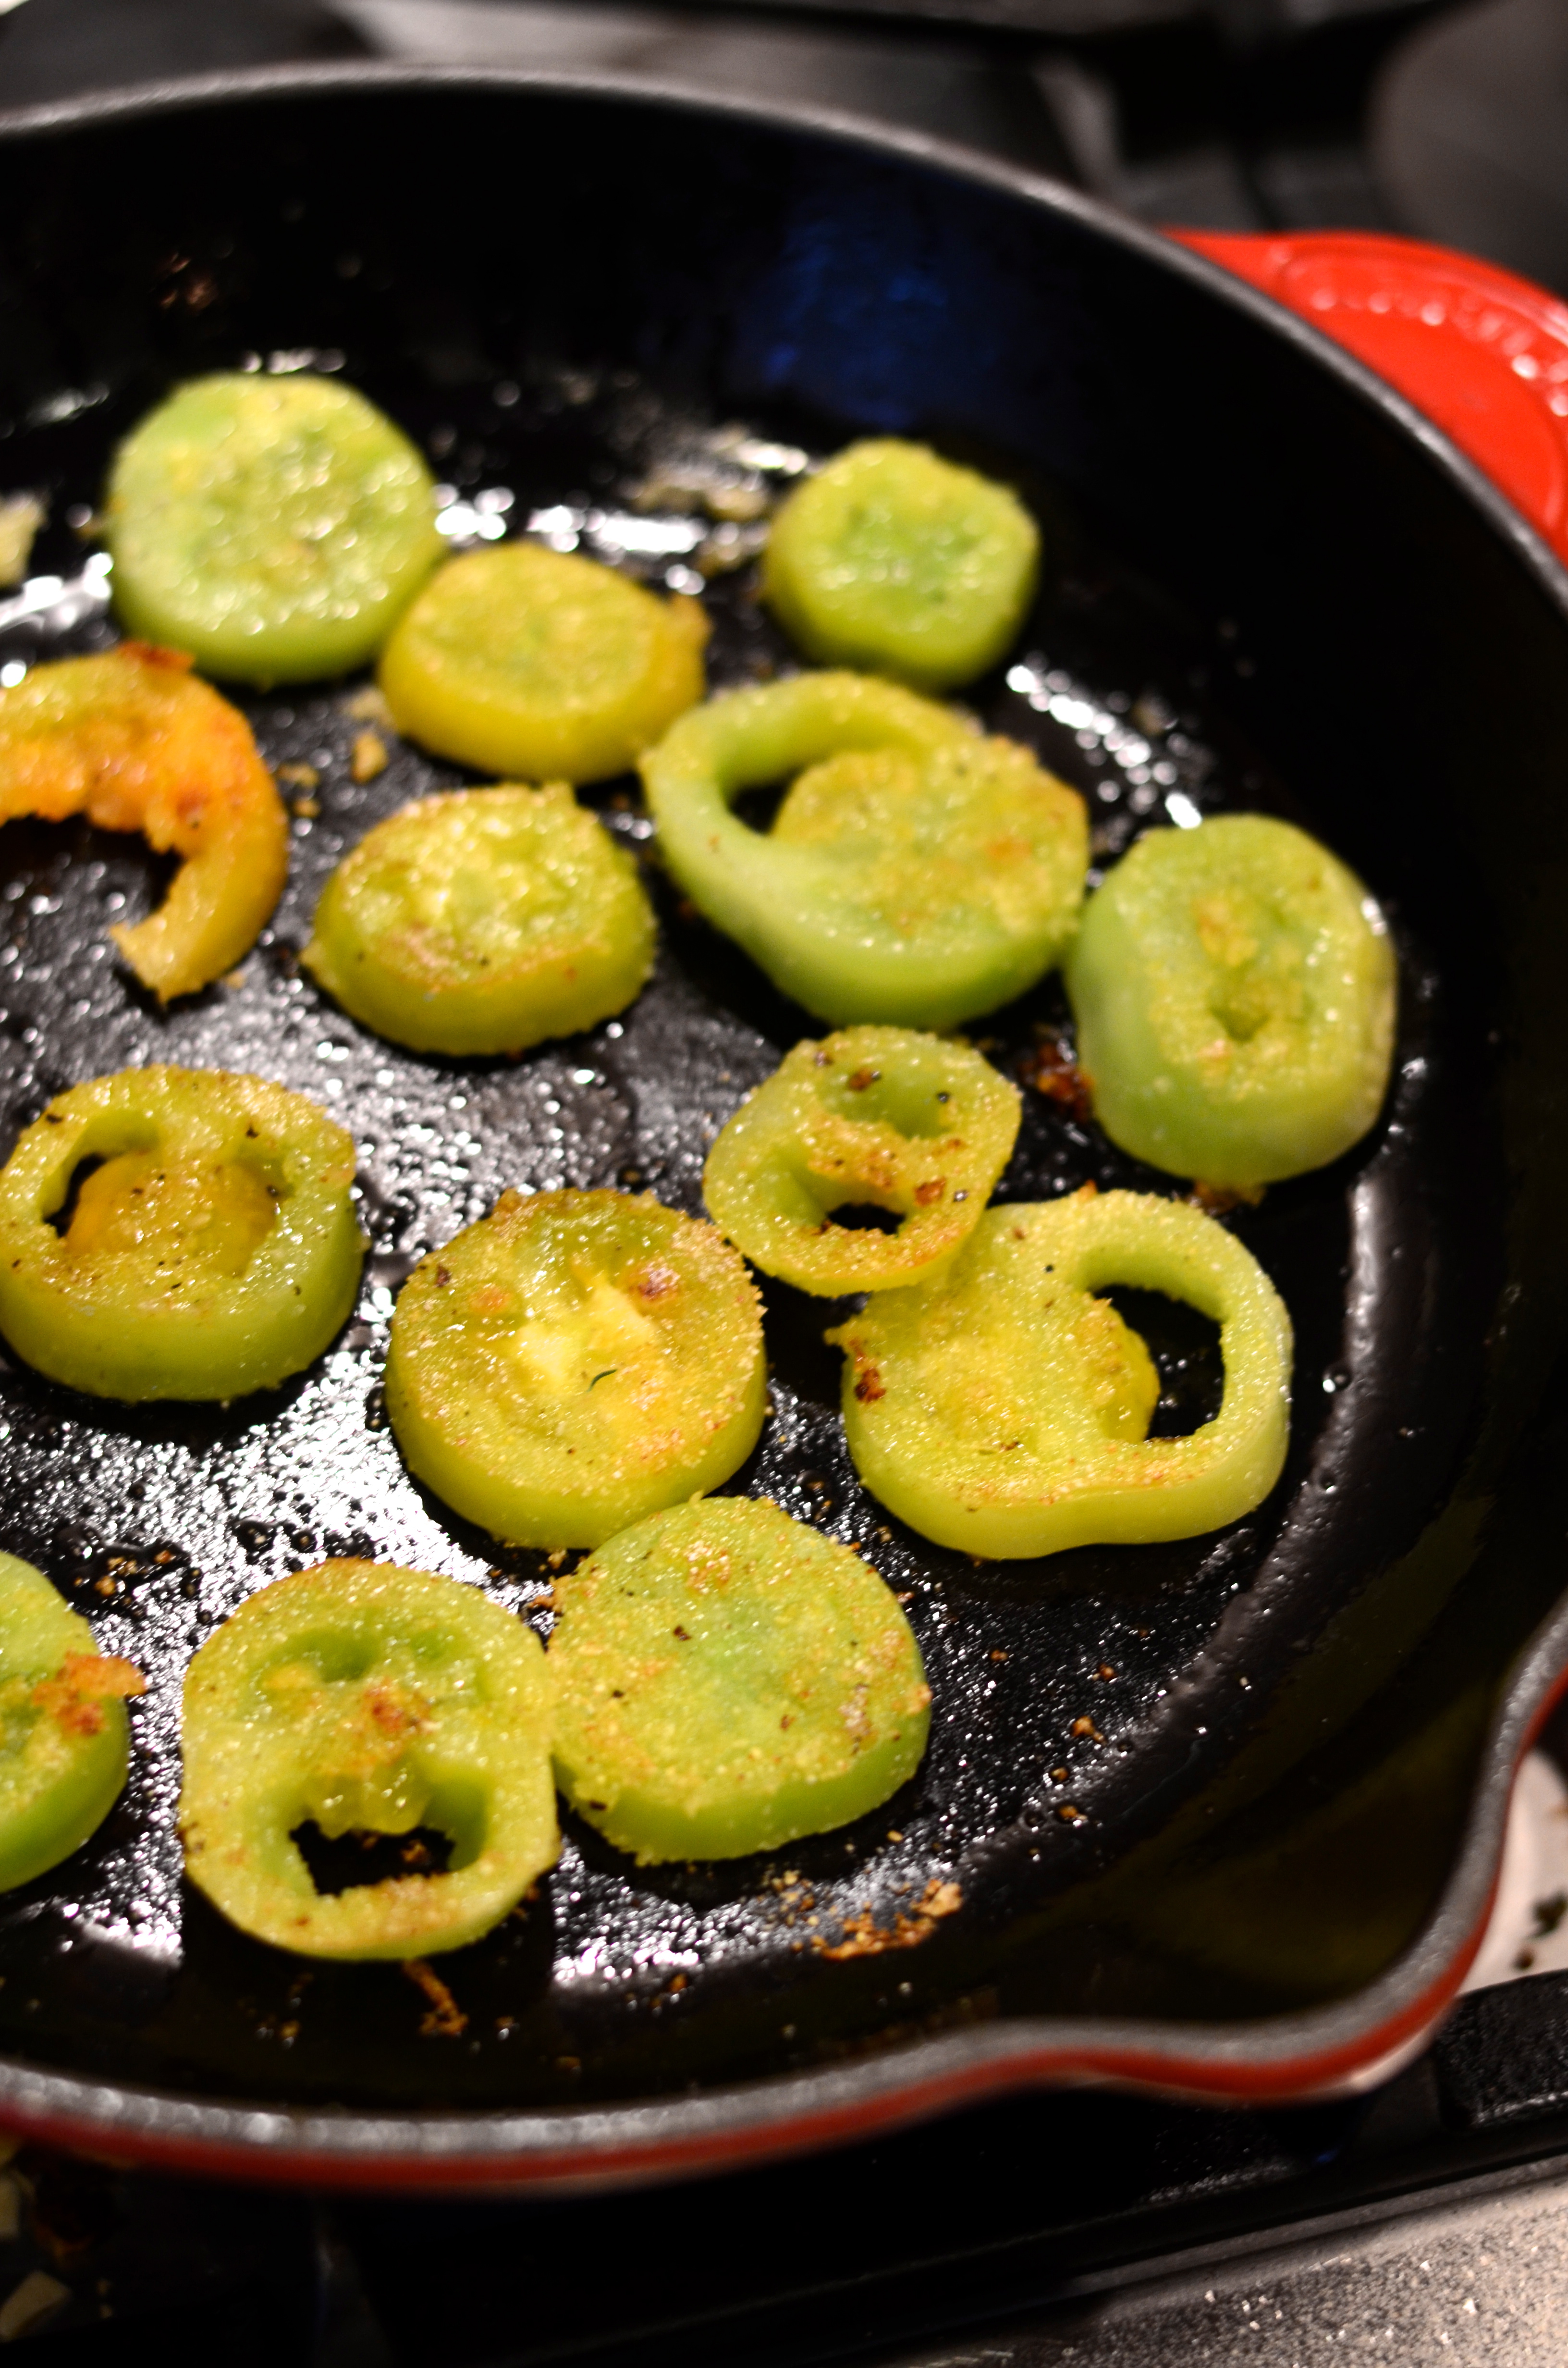
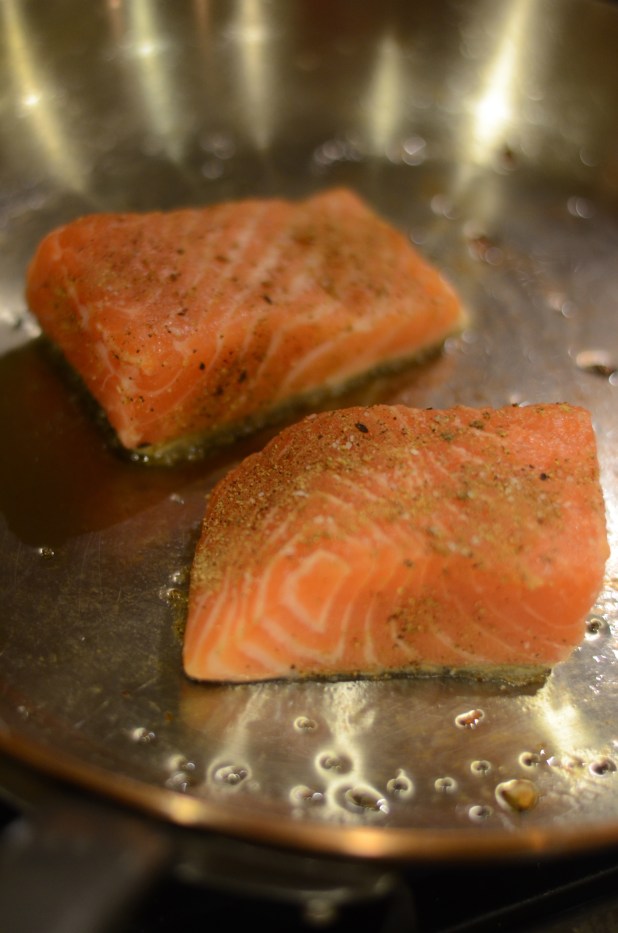
On a sheet plan, spread the cherry tomatoes and drizzle with olive oil. Season with salt and pepper and toss to coat. Roast 6 to 8 minutes, or until softened and lightly browned. Remove from the oven and keep warm.
DSC_9557
Meanwhile, cook the soba noodles briefly in the boiling water, 1 to 2 minutes. The noodles will remain somewhat firm. Drain and return to pan with a little bit of warm water to prevent sticking.

DSC_9566
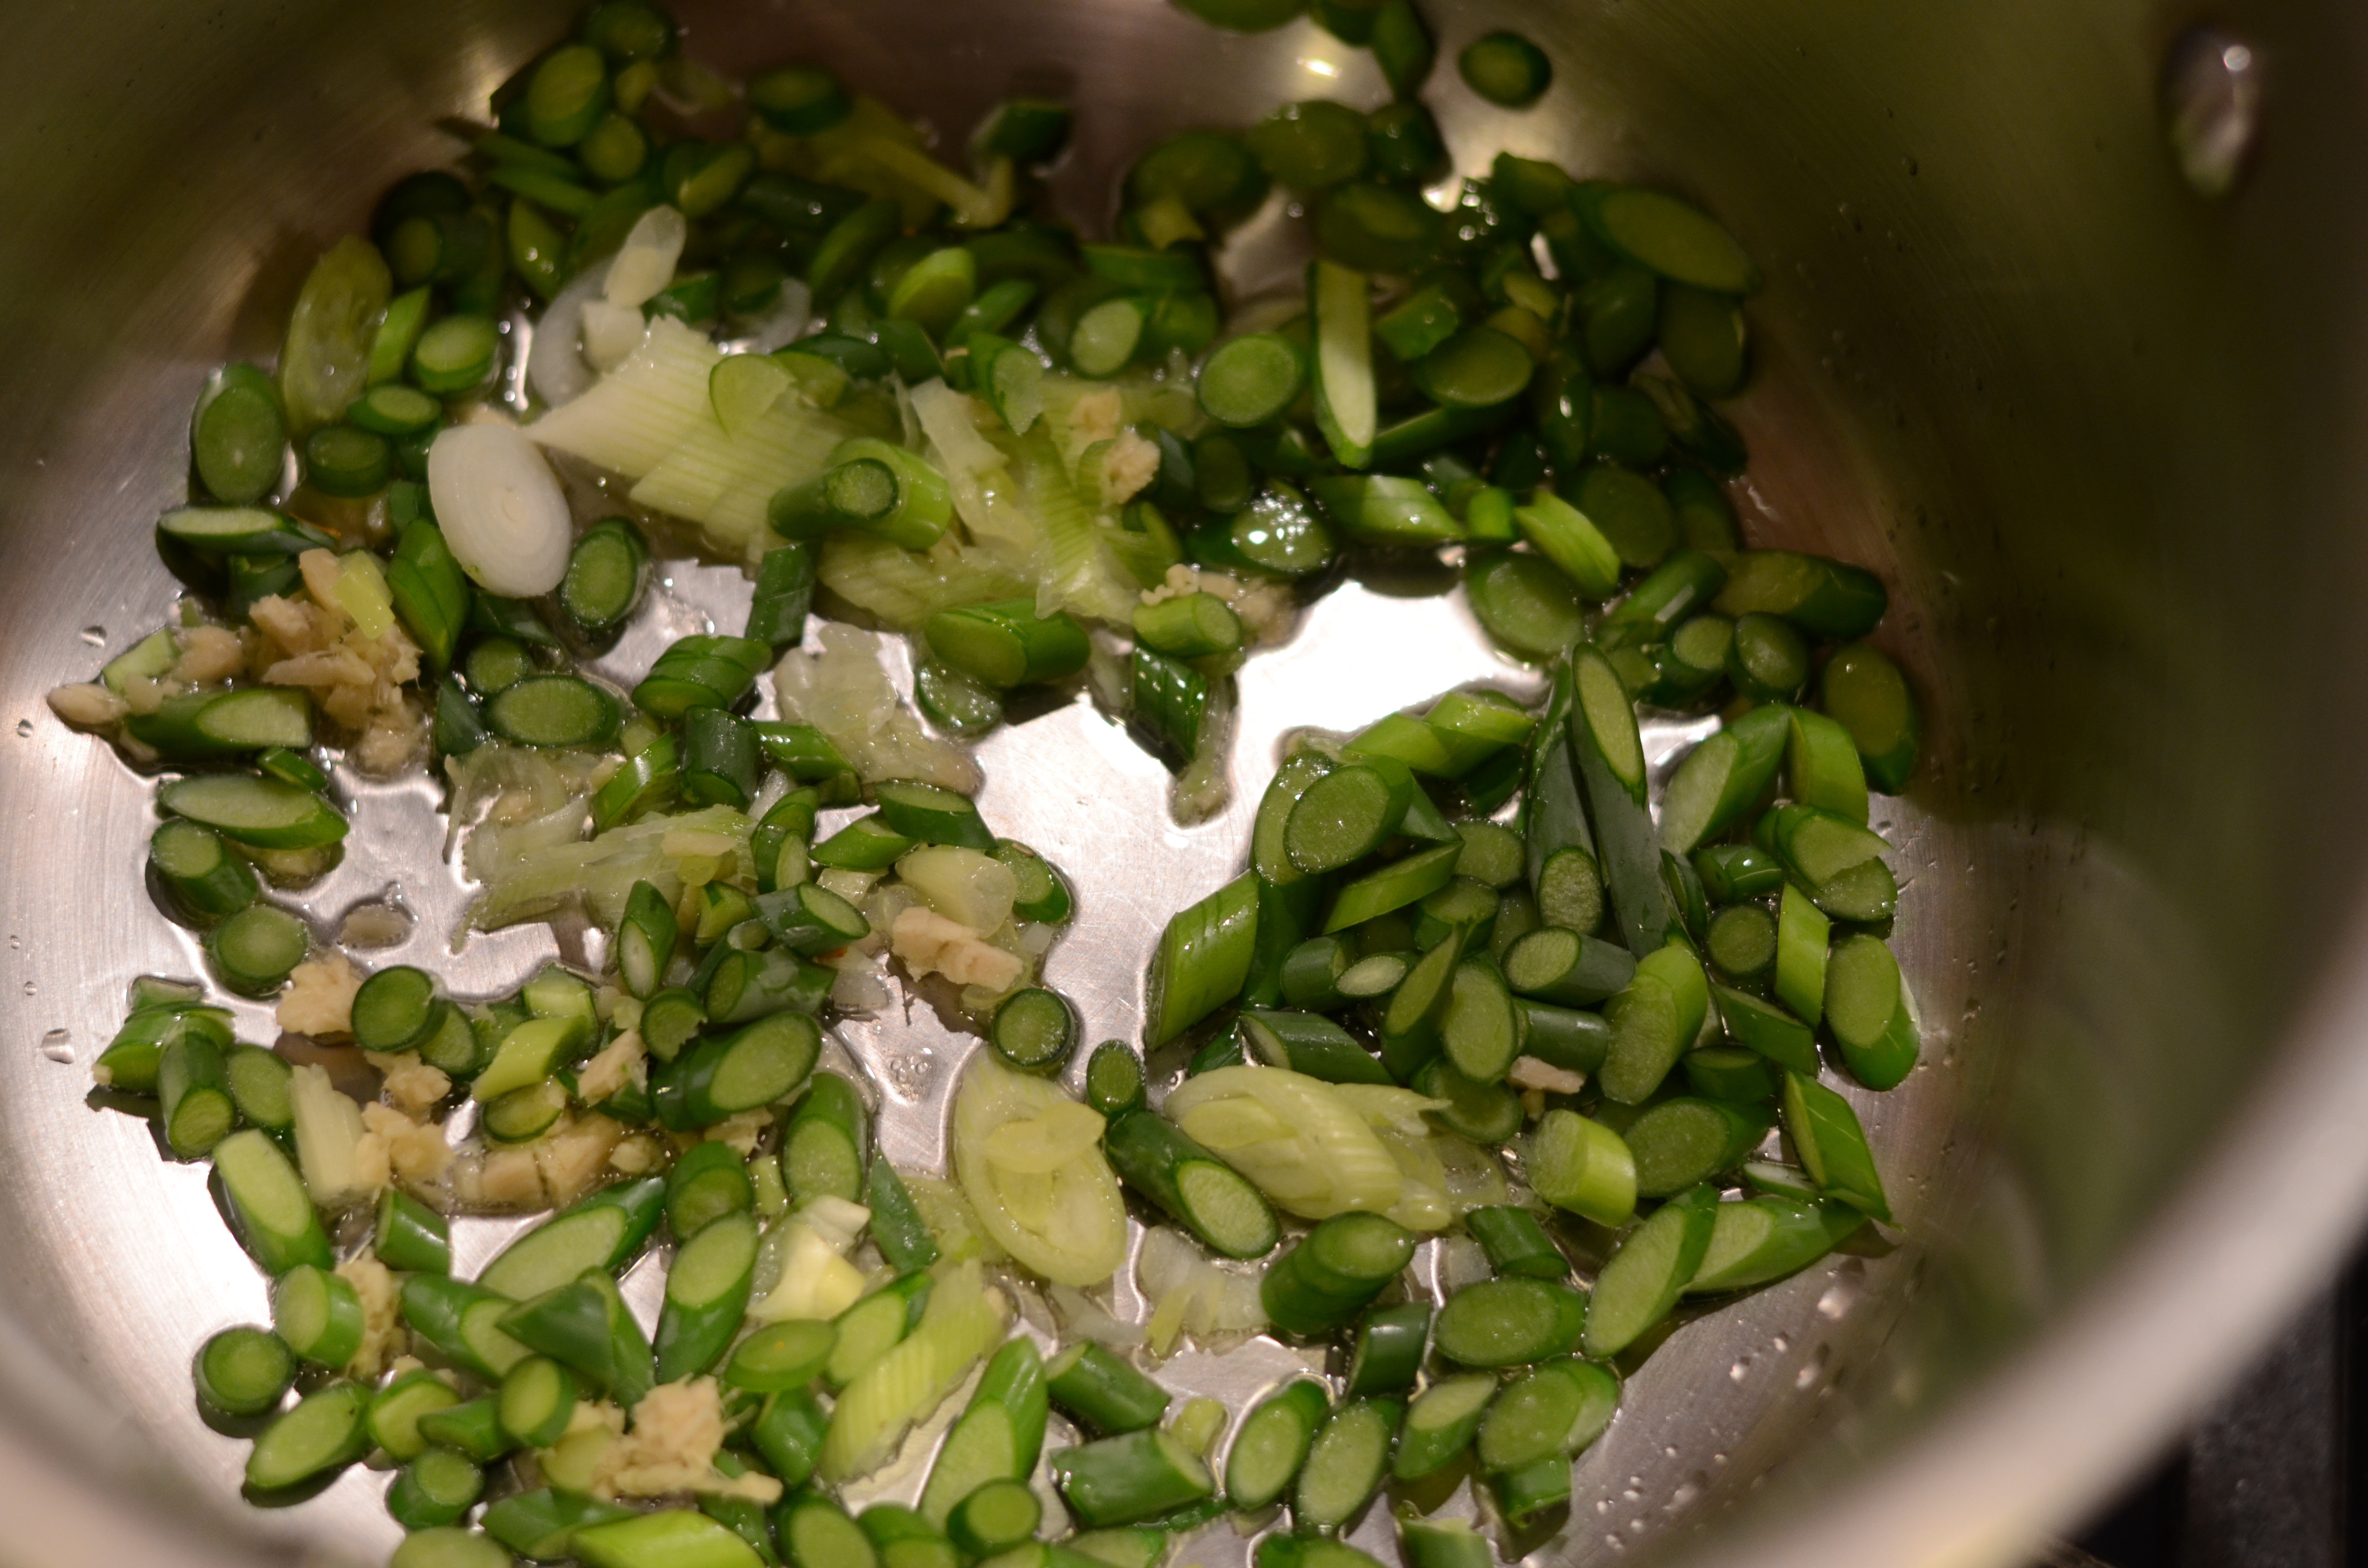
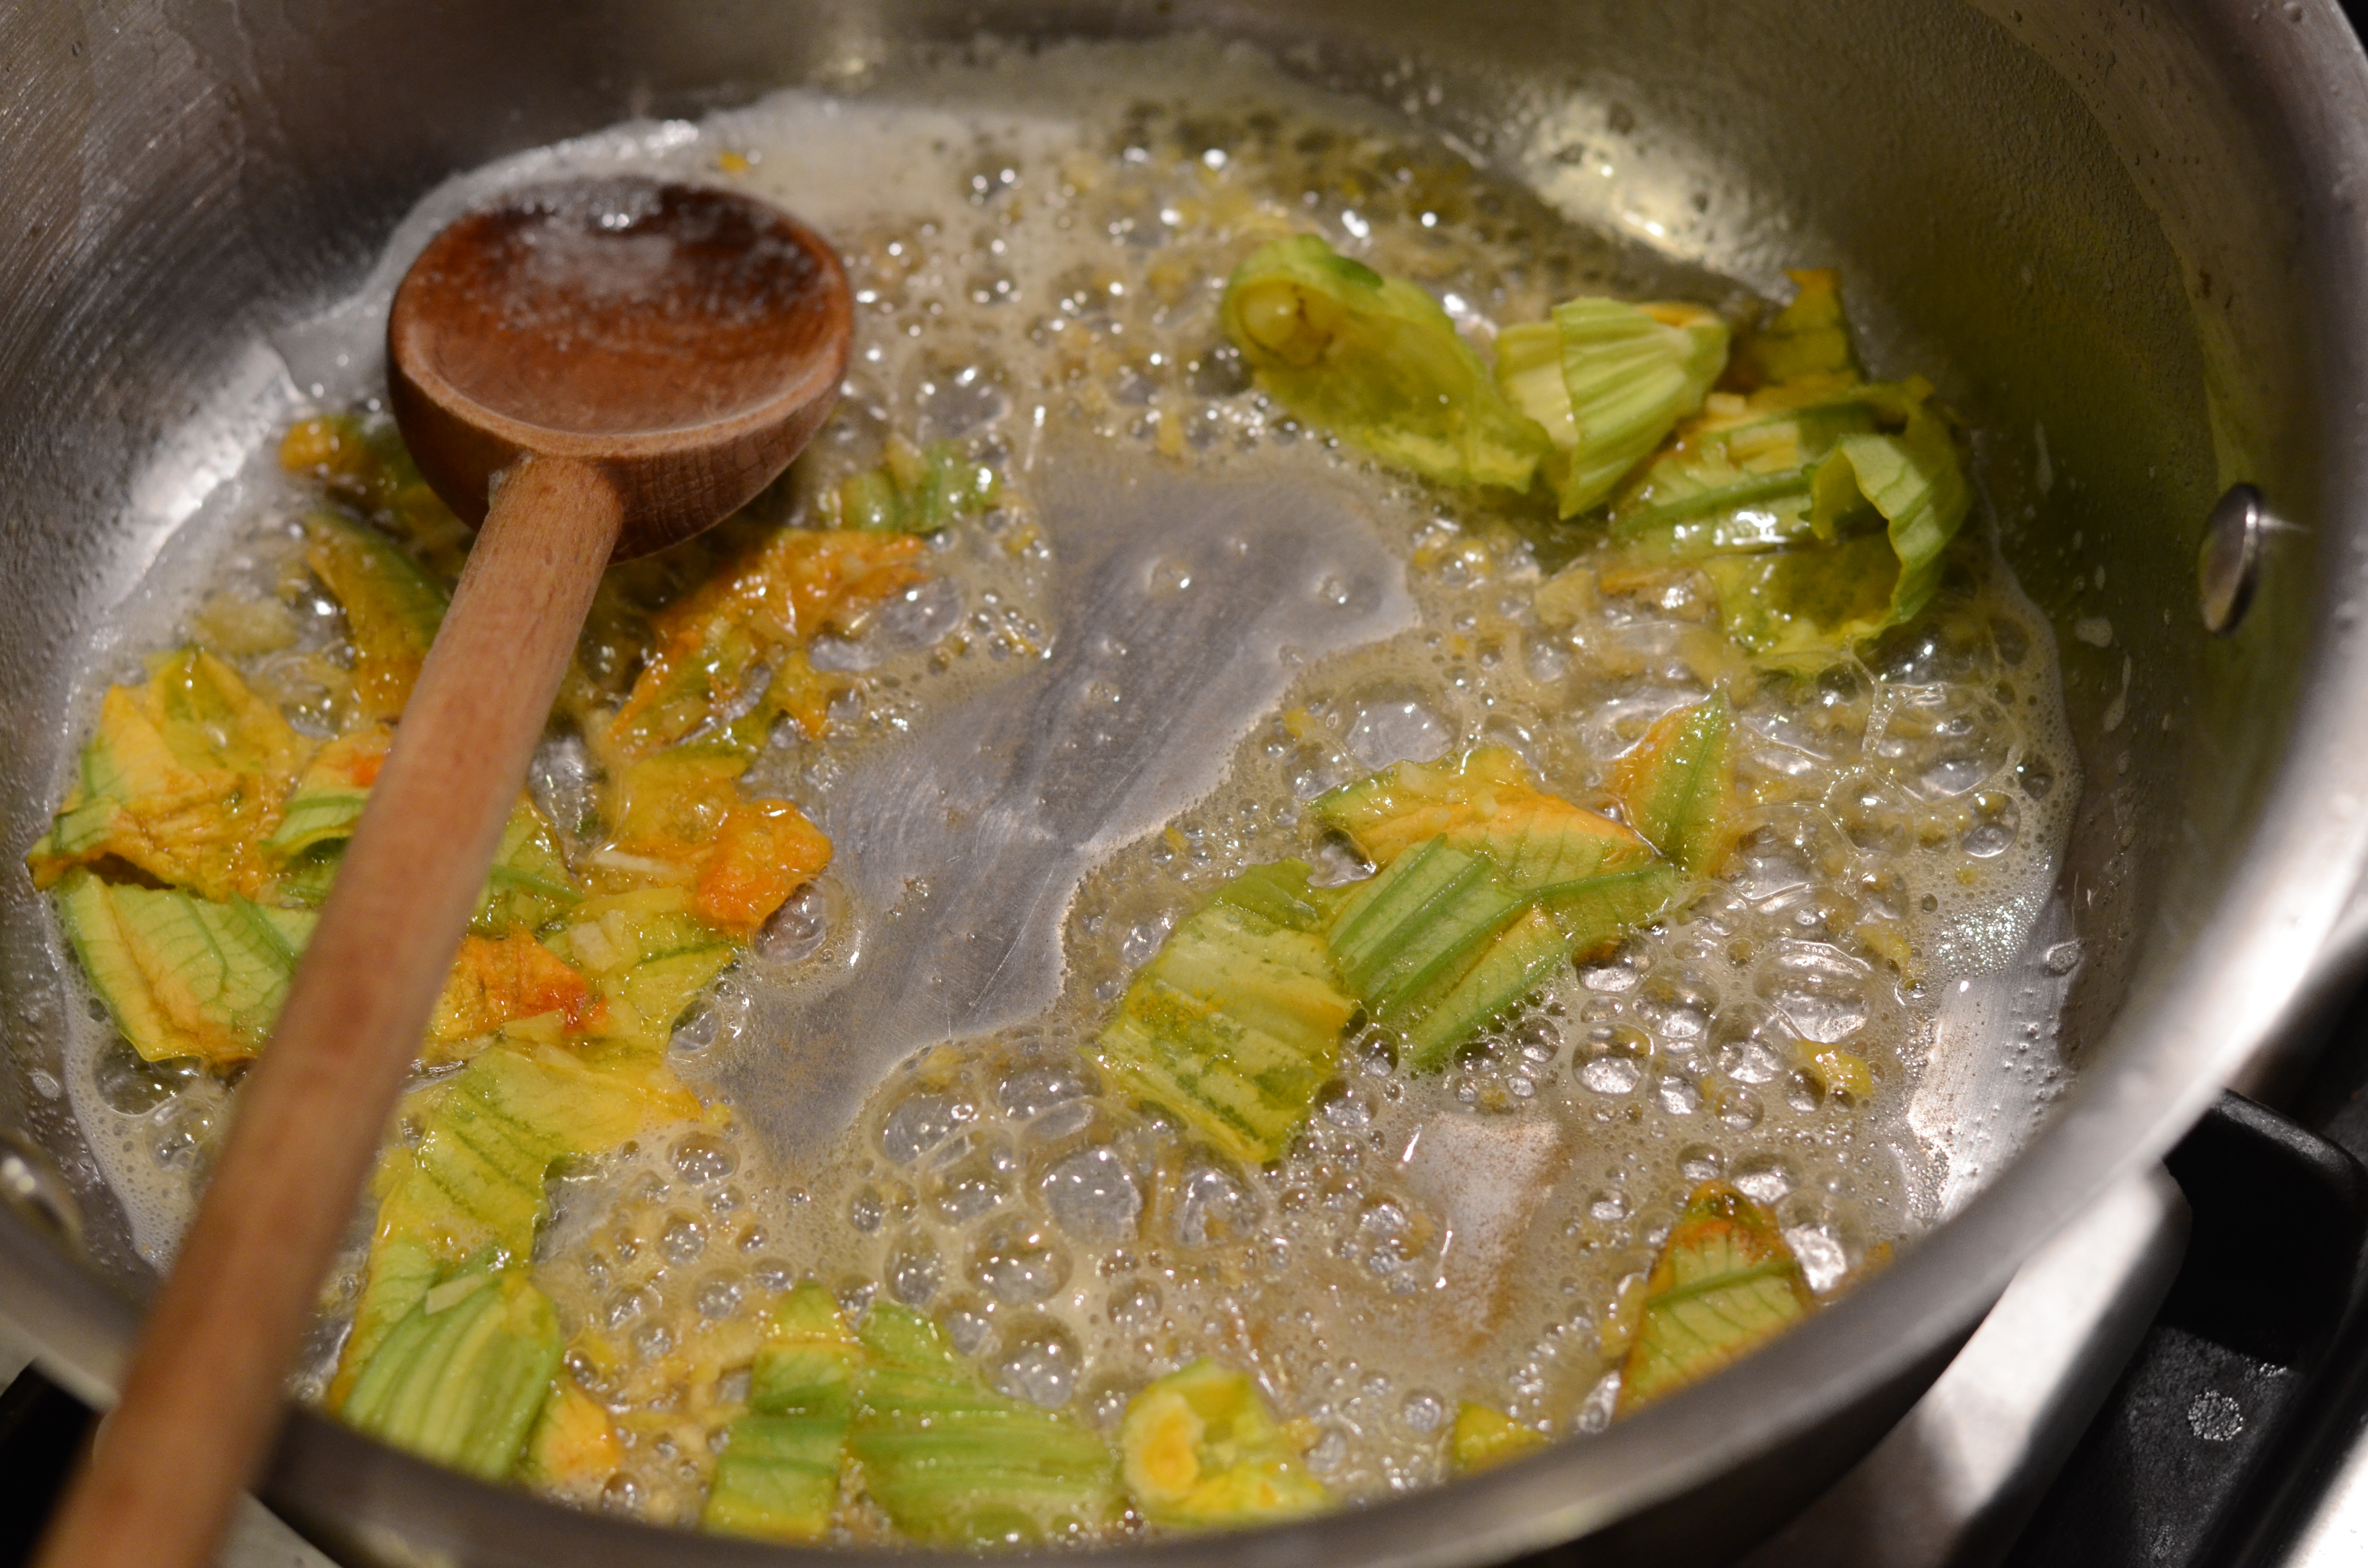
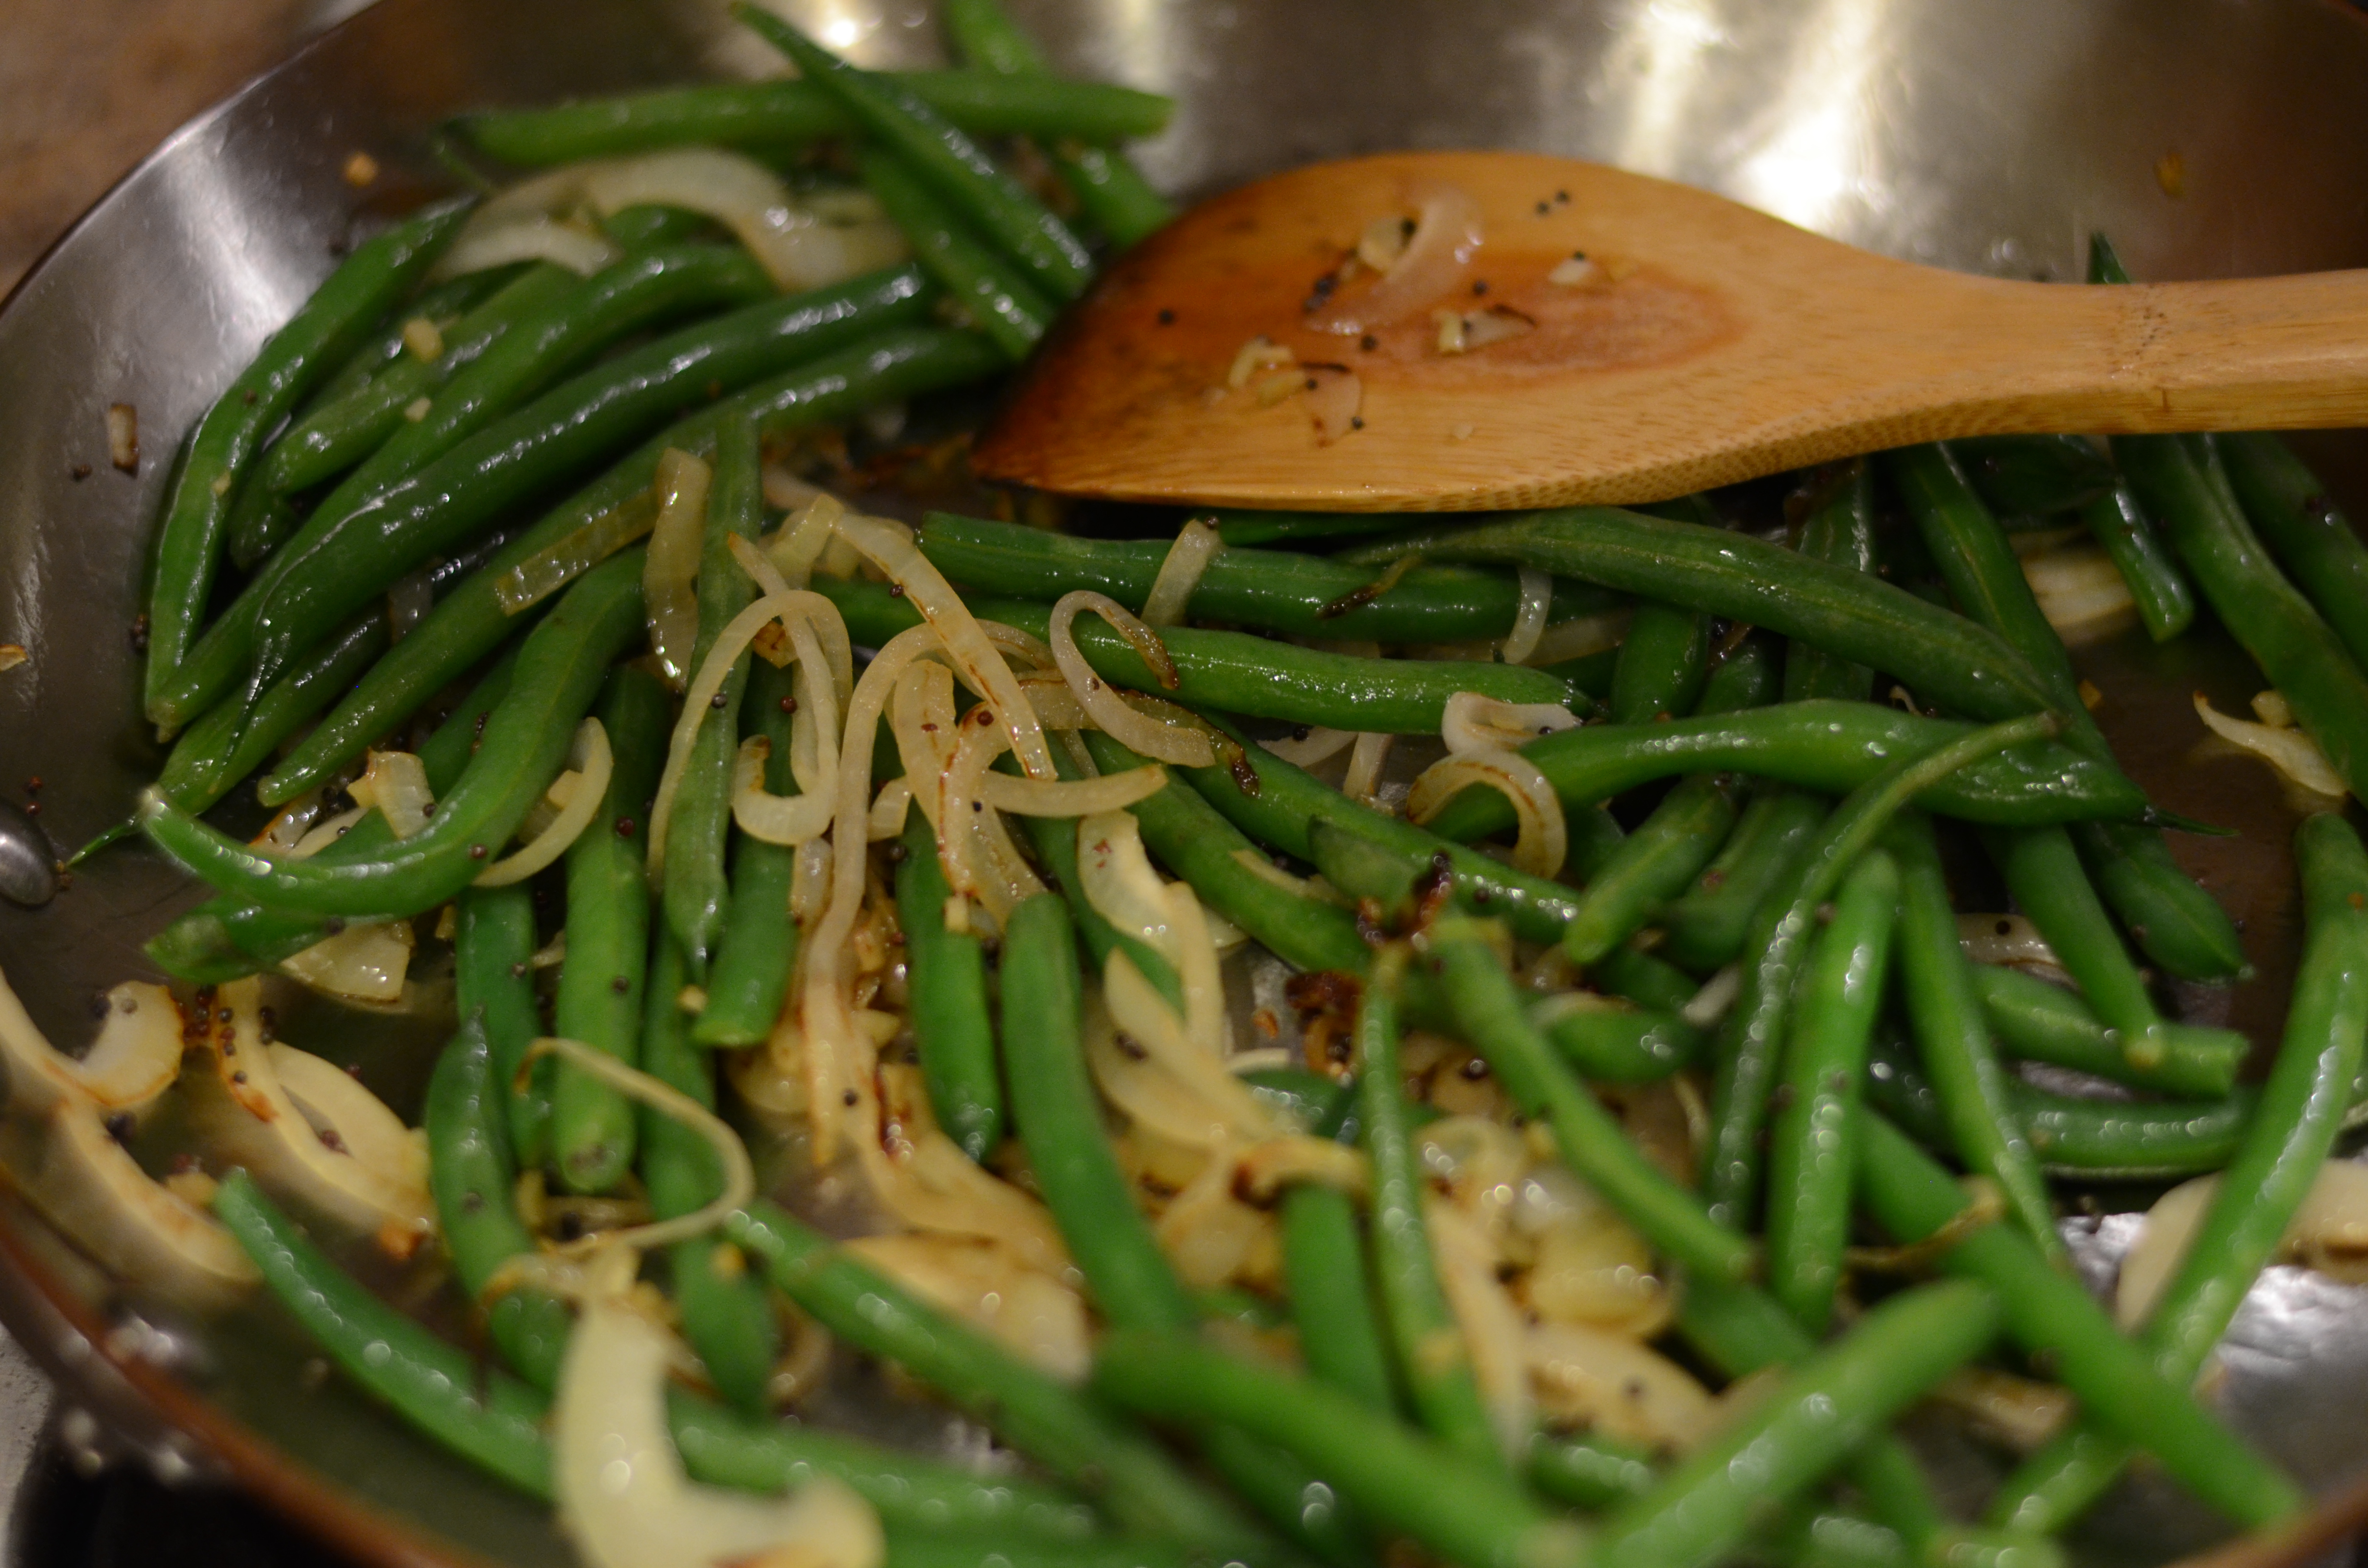
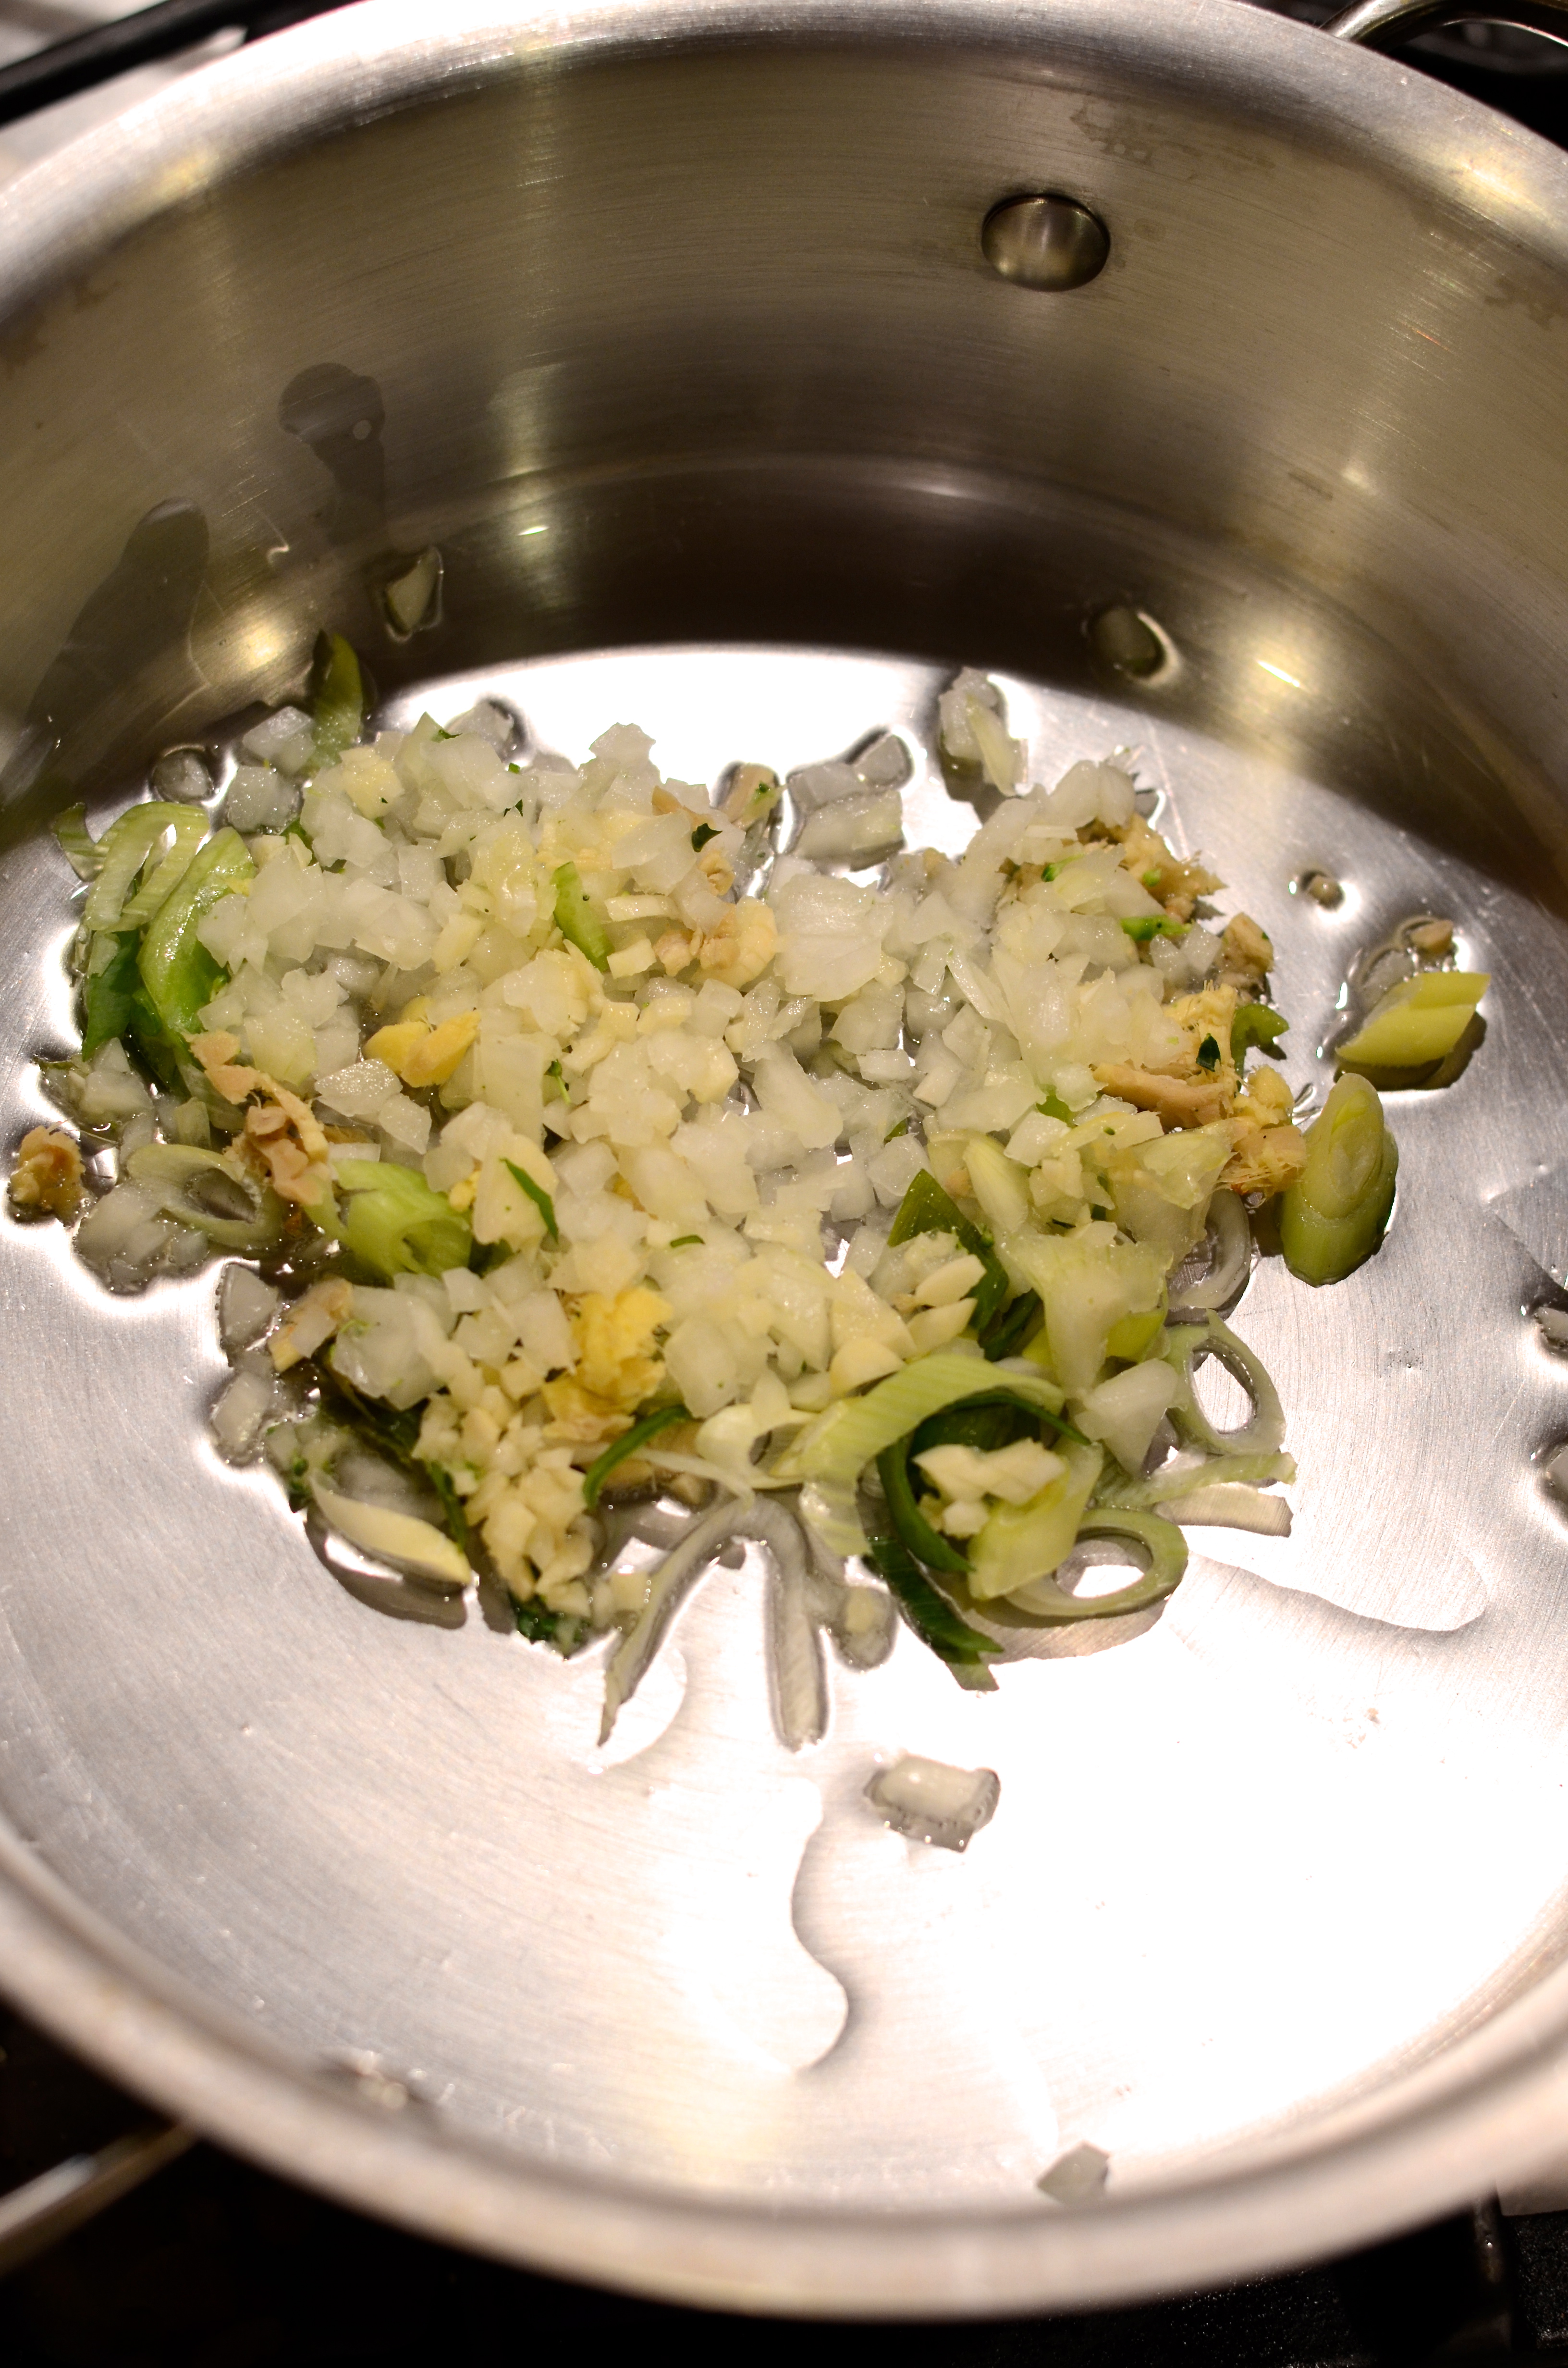
In the vegetable pan, heat 2 teaspoons of olive oil. Add the ginger, onion, and white part of scallions.

Sauté gently until they begin to soften. Add the broccoli and cook for several minutes until it becomes slightly tender. It’s likely that the broccoli stem portions will remain slightly crunchy, unless you pre-cook them, but they will add some nice additional texture.

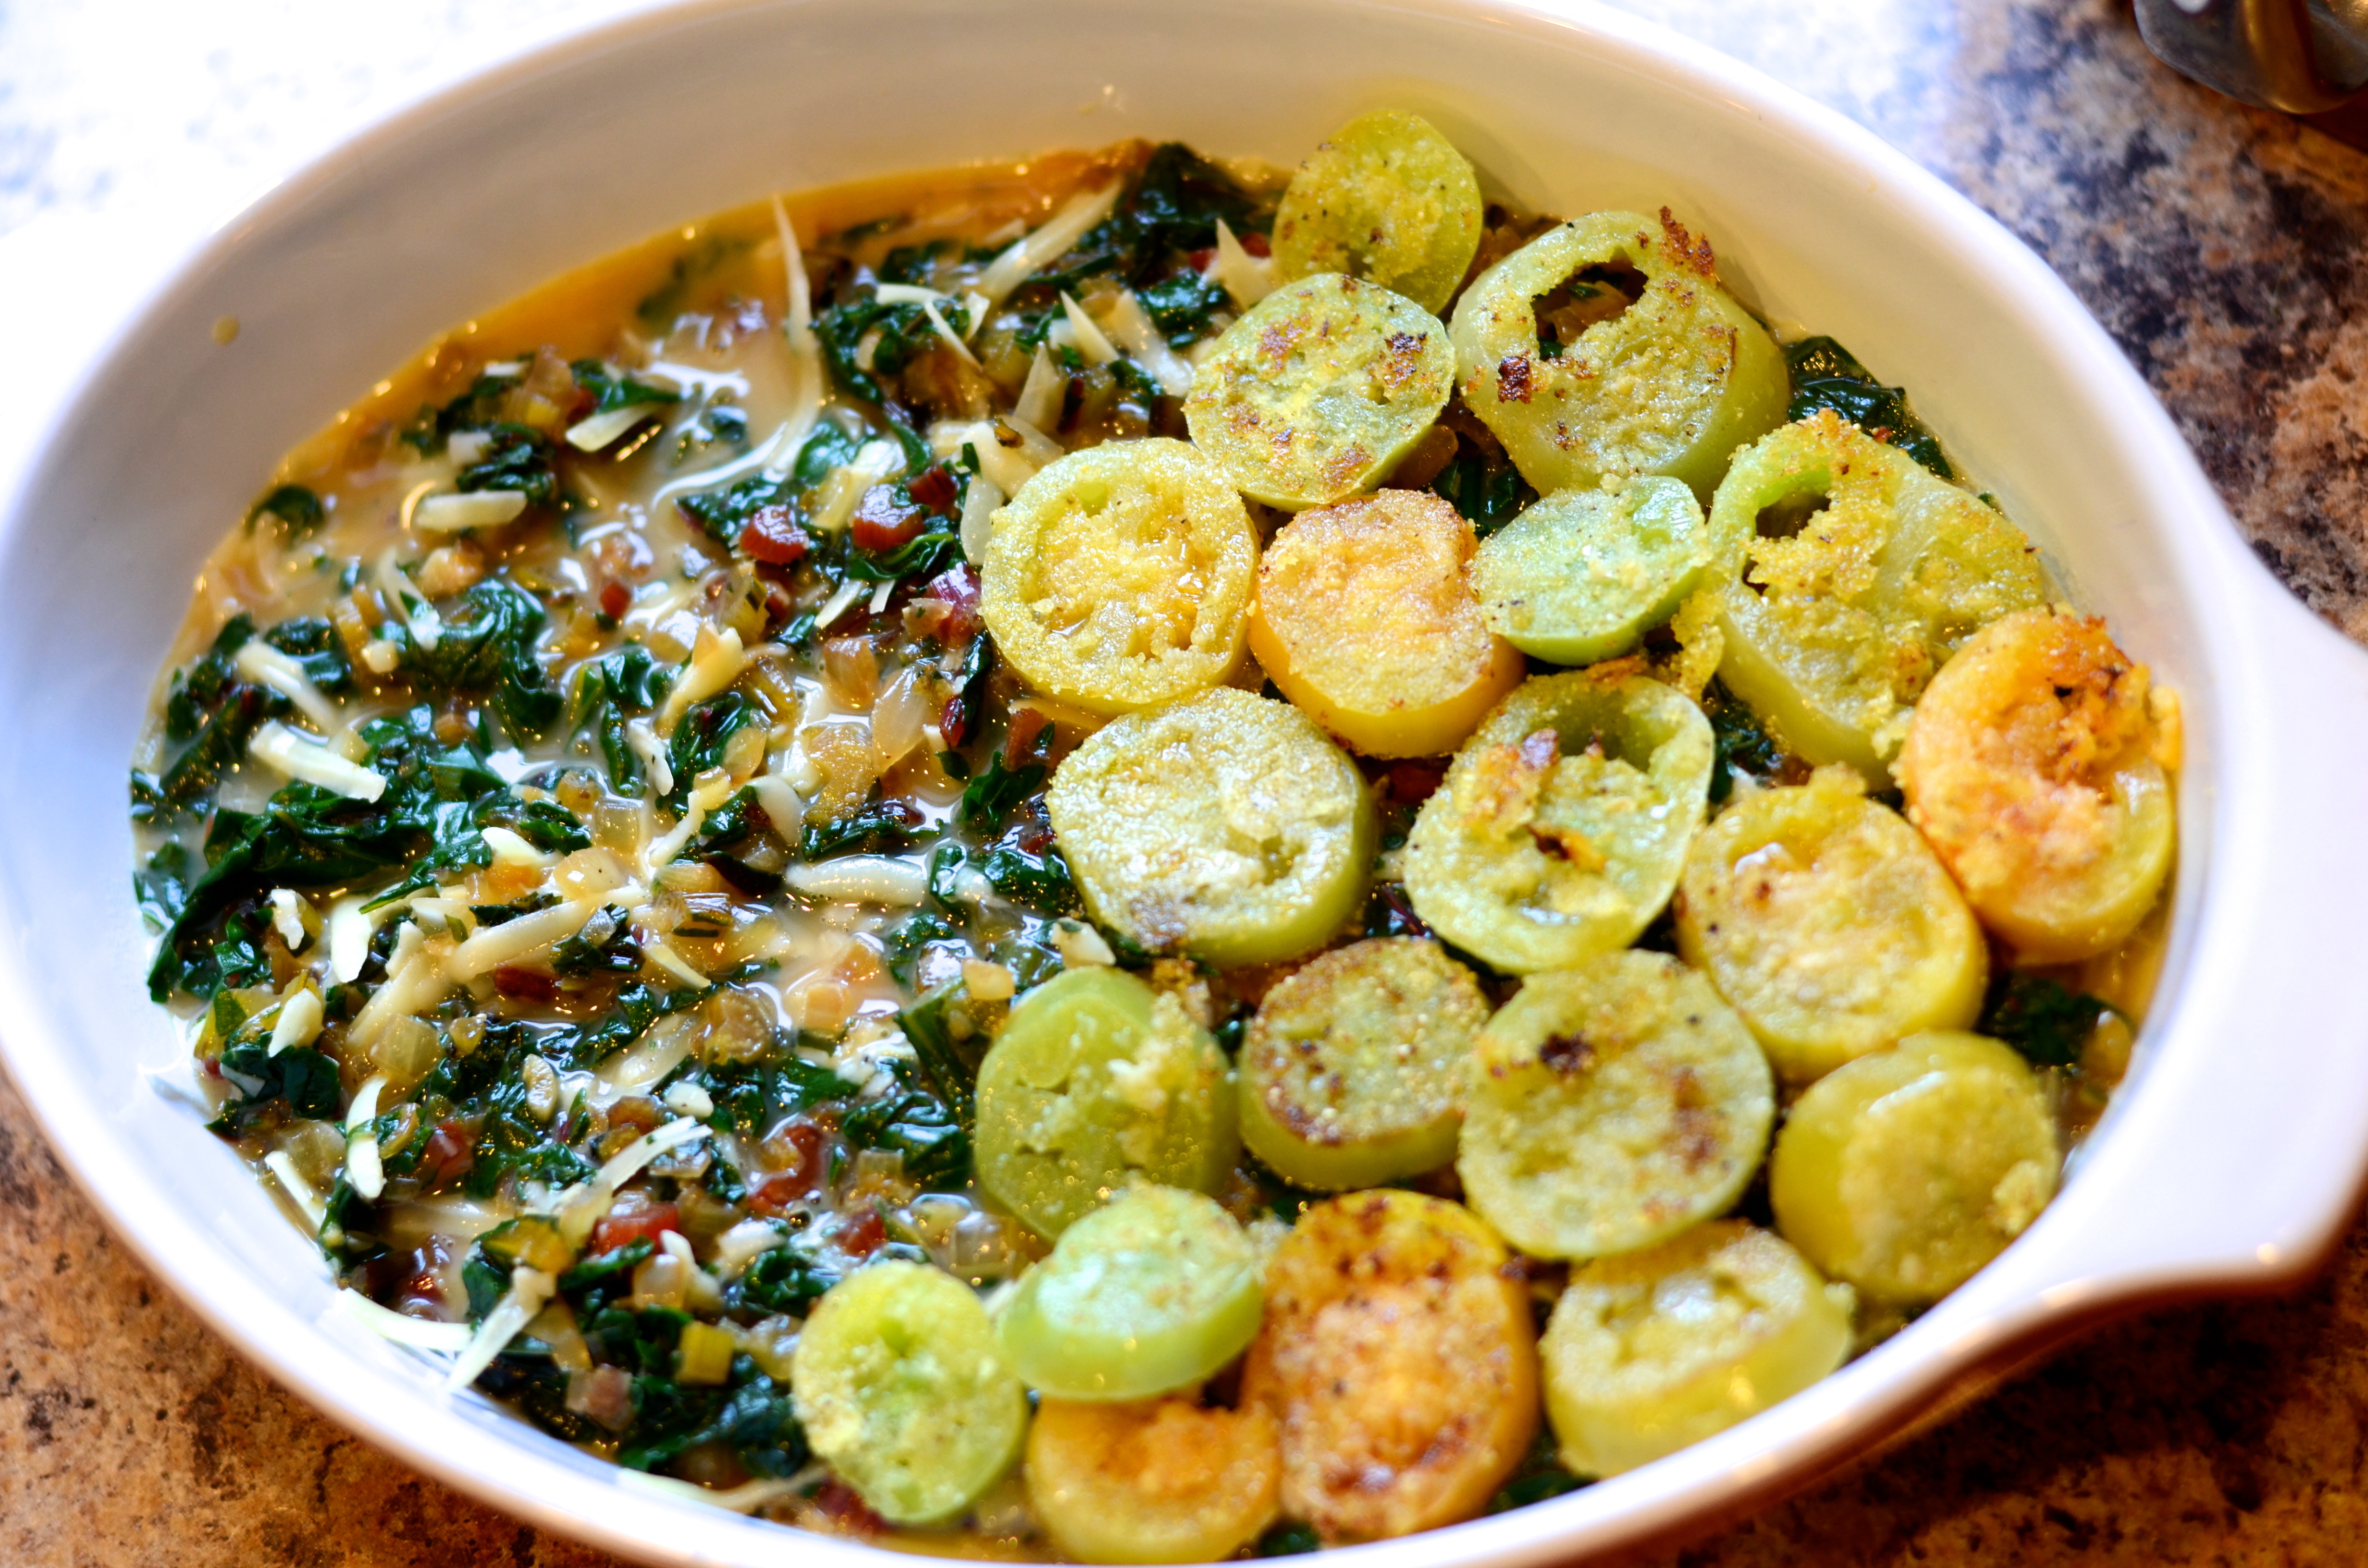
Pour in the miso mixture, the cooked soba noodles, half of the cilantro, and the green parts of the scallions.
DSC_9568
Cook for a few minutes, at which point most of the liquid will be absorbed. Remove from heat and taste for additional salt and pepper.

To serve, place the noodle mixture on each of two plates. Top with the roasted tomatoes and chopped candied peanuts. Finally, add the remaining cilantro and a sprinkling of sesame seeds

Mmm delicious!

Mmm delicious!

Green Tomato and Swiss Chard Gratin

The summer has been much cooler than previous summers, which has been refreshing. Lower energy bills are a perk, and subway and walking commutes are much less sticky. But the lower temperatures mean that my tomatoes have been pokey about ripening. I’m getting impatient! Chances are, as always, as soon as a couple of fruits start ripening, too many will, and I will be scrambling. Before that happens, I stole a few unripened tomatoes from the plant to make this dish.
DSC_9345
This is the first time I have tapped into the green tomatoes so early. There are usually some left over on the plant when the first frost creeps in, and I snatch them before my garden is winterized.

I make fried green tomatoes at least once every year. They keep me in touch with my southern roots. Buttermilk dressings and remoulade sauce make excellent pairings. In this recipe, lightly fried tomatoes make the topping of the gratin. It seems to me more like a crustless quiche of Swiss chard and Gruyère cheese with a green tomato topping.
DSC_9368
I hope you’re not getting sick of me posting about chard. Remember, you can substitute pretty much any hearty green..spinach, kale, collards, mustard greens, etc. I just happen to have chard again!
DSC_9325

Green Tomato and Swiss Chard Gratin
Reproduced from Martha Rose Shulman’s recipe in The New York Times

1 bunch Swiss chard, stems separated from the leaves
1 lb green tomatoes, sliced a little less than 1/2 inch thick
1/2-3/4 Cup cornmeal for dredging, as needed
Salt and freshly ground pepper to taste
3 Tablespoons olive oil
1 onion
, chopped
2 large garlic cloves, minced
2 teaspoons fresh thyme leaves, chopped
3 eggs, beaten
1/2 Cup milk
Approx 1/2 Cup or 2-3 ounces Gruyère cheese
, grated

DSC_9356
Prepare your 2-quart baking dish by spraying it with cooking spray or olive oil.

To blanch the swiss chard leaves, fill a large pot with salted water and bring to a boil. Fill a bowl with ice water. While the water heats, dice the swiss chard stems and set aside to be combined with the chopped onion.

Taste the rainbow.

Taste the rainbow.


DSC_9335

Once boiling, drop the chard leaves in the water and blanch for about 1 minute.
DSC_9337
Lift out of the water and transfer to the ice water to stop the cooking. Put the leaves in a colander to drain excess water. Chop and set aside.

Slice your green tomatoes. This is a little tedious with the plum tomatoes–ideally you have abundant round beefsteak or big boys. Season the slices with a little salt and pepper, and add a little salt and pepper to the cornmeal as well.
DSC_9346
Dredge the tomatoes in the cornmeal.
DSC_9348
Glug 2 Tablespoons of the olive oil in a heavy nonstick pan over medium-high heat. Pan-fry the tomatoes for about two minutes each side, until they are just starting to turn golden. A narrow flexible spatula, like the type used for fish, is helpful for turning over the slippery suckers. When done, transfer to a plate and set aside.
DSC_9350
While frying the tomatoes, preheat the oven to 375 degrees.

Add more olive oil to the now-empty pan and pour in the onion and chopped chard stems. Saute for about 5 minutes, until the vegetables soften. Add a pinch of salt, some grinds of pepper, and your minced garlic.
DSC_9354
Cook for about a minute, and then finally add the thyme and chopped chard. Stir everything together over medium heat for another minute. Good luck keeping it in the pan as your stir! Taste the mixture and add salt and pepper.

In a large bowl, whisk the 3 eggs with a generous pinch of salt and freshly ground pepper. Pour in the milk, stir, and then add the cheese and chard and stir. Pour into your baking dish.
DSC_9361
Layer the tomatoes over the top.
DSC_9362
Transfer to the oven and bake for 30 to 40 minutes. The gratin is done when the eggs are set and it is beginning to brown.

Could be browner.

Could be browner.


This makes a generous 6 servings, so I will be enjoying it all week!
Chow down!

Chow down!

Beet Carpaccio Salad with Goat Cheese, Proscuitto, and Candied Walnuts

Isn’t it ironic that the most delicious, comforting foods can look ugly in photographs. while cold, bland dishes appear stunning? (I checked to make sure that I am using the word “ironic” correctly, especially after watching Weird Al’s music video this week). We live in a world where it can’t be true that you ate good food unless you got a good picture. I can be reluctant to post certain recipes on this blog because they look unimpressive in my pictures.

I’m not going to dwell on these facts, because today I have a recipe for you that is delicious for the eyes and the mouth. Hooray!
DSC_9116
When you receive something as visually lively as red and white candy cane beets in your farm share, you have to show them off. If you have one red beet leftover from the previous week, even better! Throw in some salt, some sugar, and some fresh herbs, and some creamy and crunchy texture, and you have a delightful dish.

Beet Carpaccio Salad with Goat Cheese, Prosciutto, and Candied Walnuts
Inspired by this, this, and this

About 3 medium-large beets, of various colors – such as 1 red and 2 Chioggia
For the dressing:
1 Tablespoon of fresh basil
, chopped
1/2 teaspoon lemon zest
1 Tablespoon red onion
or shallot, minced
juice from 1 lemon
5 Tablespoons of extra virgin olive oil

To top it off:
about 2 ounces crumbled goat cheese
, to taste
about 2 teaspoons capers, to taste
1 piece of proscuitto, chopped into bite-sized pieces, to taste
about 3 Tablespoons candied walnuts, chopped (see below for instructions), to taste

You can roast the beets and glaze the walnuts for this recipe the day or even days before, which eases the pressure of completing it for dinner guests.

Burnt edges but still edible!

Burnt edges but still edible!

I thought I would take a shortcut and use a microwave method for combining the sugar and walnuts. Not a good idea–even at 2 minute intervals, they started burning and sticking before they were supposed to be done. As a result, I don’t advise following this recipe. Anyway, I used 1 Cup walnut halves and 1/3 Cup sugar plus 2 Tablespoons of water. Using these quantities and caramelizing on the stovetop with a little more water would probably be fine. Once they are coated in melted sugar, pour onto a sheet to cool. Transfer to an airtight container and use for any and all salads. Or snacking.

For roasting the beets, heat the oven to 350F. Trim the beets before roasting.
DSC_9098
Wrap in an aluminum foil packet with a little sprinkle of water. Place on a roasting pan and cook until tender when pierced with a fork (check at 45 minutes). Once done and cool, they should be easy to peel.

The chioggia beets remind me of a beautiful sunset...

The chioggia beets remind me of a beautiful sunset…

Slice the beets thinly and layer on a white dish, alternating colors.
DSC_9103

Prepare the dressing ingredients: lemon, basil, onion, and olive oil.
DSC_9108
You could add a pinch of sugar or a drop of honey if you want more sweetness.

Drizzle dressing evenly over the beets.
DSC_9114

Top with crumbled goat cheese, walnuts, prosciutto slices, and capers.
DSC_9115
The assembled salad keeps well and develops more flavor in the refrigerator.
DSC_9120
Because it looks so beautiful, you won’t hesitate to reach for any leftovers!

Spring Vegetable Ramen

Viki collageIt’s no big secret that I’m a big fan of vegetables in the garlic and onion family, also known as Allium vegetables. I haven’t yet gone to the trouble of calculating, but Allium species ingredients may be in 95% of my recipes on this blog! allium Onions, garlic, scallions, shallots, chives–I love ’em all. One of my favorite bulbs that blooms in spring happens to be named Allium as well! Those flowers peaked weeks ago. The time for ramps has passed. Summer officially began last Saturday, and what do we have now? Garlic scapes. Those are the antennae in the goofy photo above.

I found an exciting way to use my scapes among Blue Apron’s weekly meal offerings. I like that they publish recipes on their website without requiring you to purchase the boxes, like I did recently. I’ll be honest, the recipe probably caught my eye because of the prominence of a slightly soft egg yolk in the picture. Also, it’s about time I join in on the country’s enthusiasm for ramen (though I refuse to make it with American cheese).
DSC_8956
DSC_8930
As a soup, you can really design this dish however you want. I chose to shop for a few items (mushrooms, peas, nori, and ramen noodles), and I had the rest ready to go.

Spring Vegetable Ramen
with Garlic Scapes, Shiitake Mushrooms and Egg

Adapted from Blue Apron

5 ounces fresh english peas, shelled
4 ounces sliced shiitake mushroom caps
2 eggs
2 garlic scapes
, thinly sliced
2 scallion, white and green parts thinly sliced separately
1 1-Inch piece ginger, peeled and minced
1 lemon
1 sheet nori
(dried seaweed)
4 Cups vegetable broth or stock
2 Tablespoons soy sauce
12 ounces ramen noodles
2 ounces arugula
Plenty of salt and pepper to taste
, which will depend greatly on the seasoning in your broth

I thawed a chunk of homemade (chicken) broth I had stowed away in the freezer for something like this. You really can use any broth, but you'll need vegetable if you're keeping it vegetarian, of course.

I thawed a chunk of homemade [chicken] broth I had stowed away in the freezer for something like this. You really can use any broth, but obviously you’ll need vegetable if you’re keeping it vegetarian.

DSC_8932
Take out all your ingredients for preparation, including the eggs. The eggs should come to room temperature before cooking. I was particularly nervous about this step because when I attempted to make hard-boiled eggs last week, I followed Martha Stewart’s instructions here, and it was a major failure.

Set a pot of salted water over high heat and bring to a boil while you prep all of the vegetables.

Tip: you can use one prep bowl for your sliced garlic scapes, the whites of your scallions, and the minced ginger. The green parts of the scallions should have their own bowl. The shelled peas have their own bowl.
DSC_8934

Remove some of the yellow rind of the lemon with a peeler. Avoid the white pith. Mince the rind finely. Measure 2 teaspoons and set aside. Quarter the lemon, remove its seeds, and set aside.

Make thin strips of nori with a knife or scissors (one of my favorite kitchen tools!).
DSC_8936
Carefully add the room-temperature eggs to the boiling water and set a timer for exactly 7 minutes. Then drain and rinse under cold water for about a minute to prevent them from cooking further.

In the same pot in which you boiled the eggs, set some more salted water to boil (yay less dishes!).
DSC_8938
In a second, larger pot, add about 2 teaspoons of olive oil and heat over medium heat.

Pour in the ingredients in your one bowl of scapes, green onion, and minced ginger. Season with salt and pepper. Sauté for a minute or two until slightly softened.

Add the mushrooms and cook for about a minute more. Then pour in the vegetable broth, soy sauce, and lemon zest. Squeeze in the juice from two of the lemon wedges, to start.
DSC_8939
Increase the heat to bring the broth to a boil. Then lower the heat so the mixture simmers; let it go for 8-10 minutes.

Moment of truth: while the broth simmers, peel the eggs and cut them in half lengthwise. (SUCCESS! Solid whites and slightly gooey yolk.)

Squeeze lemon juice over the arugula and toss. Add salt and pepper.

When the broth is about ready, stir in the peas, season with more salt and pepper, and remove from heat. Leave lid on to keep warm while you cook the noodles.

Add the noodles to your pot of boiling water, stirring to separate. Cook according to package directions. Drain rinse with warm water.

In two large bowls, divide the noodles.
DSC_8940
Pour broth in bowls. Garnish with the dressed arugula, scallions greens, nori strips, and eggs. Add a bit more lemon juice if needed.
DSC_8955

That's what I'm talking about.

That’s what I’m talking about.

Kale and Mint Salad with Spicy Peanut Dressing

A haiku:

‘Tis salad season
What came in this week’s farm share?
Yes, lettuce again.

It is the time of year to have greens on the brain. My Golden Earthworm Organic Farm CSA started distributing its shares just three weeks ago, and I am already racing to keep up. I don’t to come across as complaining–this is some of the freshest, most nutritious food I can eat. And remember Crystal’s experiment? You might be interested in catching up with her here. Sounds like she might enjoy salad right now.

I used recipes from all different sources for my weeks’ inspiration. There was the Warm Orzo Salad with radishes and Dijon vinaigrette, from Good Housekeeping magazine, which I ate spooned over mixed greens. I cracked open Alice Waters’ The Art of Simple Food II to mix it up and make Red Romaine Salad with Sherry Vinegar and Garlic.
IMG_0699
Joy the Baker inspired me to use the baby kale in her Tuna, Kale, and Egg Salad recipe.
IMG_0692
A real highlight, these strawberries arrived in last week’s share. Eating them sliced over arugula with balsamic glaze drizzle was almost as good as dessert, and I didn’t even add the usual goat cheese!

One particular kale salad I made last week was special. It was a rock star salad; it rocked with flavor. Since kale is so hip, perhaps I should call it a pop star salad? If so, it would compare to those pop stars you think of and say, “he’s so famous, he can’t be any good,” and then you end up being impressed by his talent.

Once again, this salad has an Asian flair–the soy sauce, the spice, the peanut butter. It reminded me of the flavors I loved so much at a restaurant named Chin Chin, in Melbourne, Australia. It’s the kind of heat that makes your nose run a little, but you don’t feel like you’re dying.

DSC_8736
Kale and Mint Salad with Spicy Peanut Dressing
from Food52 user dymnyno

Salad*:
1 large bunch lacinato kale, chopped very small
1 Cup fresh mint, minced, or a combination of fresh mint and fresh cilantro
1 Cup walnuts, chopped

Dressing:
3 Tablespoons smooth peanut butter
3 Tablespoons warm water
3 Tablespoons rice wine vinegar
1 Tablespoon pomegranate molasses
1 Tablespoon soy sauce
1 teaspoon fresh garlic
, minced
2 teaspoons fresh ginger, peeled and minced
1 teaspoon sesame oil
1 teaspoon dried red chili flakes

DSC_8727
*These quantities aren’t meant to be precise. I realize that a “large” bunch is very subjective–usually one of my pet peeves in recipes, so I should have given you a weight by ounces. But the idea is to vary the ratios based on your taste preferences and what you have at home. In my case, I had leftover cilantro, a herb that would sensibly fit in with this flavor profile.

DSC_8726Mint was one of the first plants to assert itself in my garden this spring. Some people consider them weeds, they take over so much. If you have to pull some up, try to use it in a salad before tossing the rest!

When you are prepping the salad, the step of mincing the kale makes such a big difference in the texture. Kale can be tough, and this method helps tenderize the leaves without pre-cooking them. I found that the most efficient way to mince the kale was to remove the stems, stack and leaves, roll them up, and slice, using the chiffonade method. See below.
DSC_8729
DSC_8730
DSC_8732
DSC_8733
DSC_8735

Toss the chopped kale, chopped herbs, and the walnuts together.
DSC_8737
DSC_8741To a blender or food processor, add the peanut butter, warm water, garlic, rice wine vinegar, pomegranate molasses, soy sauce, minced ginger, sesame oil and red chili flakes. Mix at high speed until everything is smooth. So easy.

Since every bunch of kale is a different size, and every salad is going to be a different size, pour just some of the dressing into the salad at first. Add more as you go until you feel it is adequately dressed, and save the rest for another salad.
DSC_8747
I see more rock star salads like this in my future. But the next batch of green lettuce I get? I think I’ll put some on a burger.
DSC_8751

Fresh Gnocchi & Baby Zucchini with Pan-friend Squash Blossoms – Blue Apron

This post is the third in a series in which I review one of the services that provides pre-portioned ingredients and recipes, delivered to your door. The first was Hello Fresh, then Plated, and now Blue Apron.
See: Salmon Salad – Plated and Hello fresh – hello leftovers?

Like I did for the others, I signed up for Blue Apron through a promotion. It may have had to do with the process of entering that code, but I was a little put off by the fact I had to fully commit my credit card and ordering information before I could select the meals that were going to be covered. I saw the recipes they were featuring in the upcoming weeks. I discovered that while I wasn’t permitted to mark off individual recipes for my next delivery, I could fiddle with my meal preferences (whether I ate meat, fish, etc.) in order to get what I wanted. From some of the reviews, I see that people don’t always receive their top picks. I was pretty excited about the three meals kits I would be getting: Pan-Seared Drum and Tomato Jam with Himalayan Red Rice Risotto & Asparagus, Fresh Gnocchi and Baby Zucchini with Crispy Squash Blossoms & Lemon Brown Butter, and King Trumpet Mushroom Steam Buns with Miso Butter & Japanese Sweet Potato Salad.
DSC_8717
I felt good about the recipes because several of them used ingredients I never have or had never even tried. Like Hello Fresh, I had to order three meals of two servings (I could, mercifully, order only two with Plated). The pricing is very similar, at $10-$12 per person per plate.
DSC_8715
Blue Apron’s delivery came in a giant box. It was thoroughly lined with padding, which kept the ingredients well-protected.
DSC_8718
Everything arrived in great condition. Blue Apron uses the same brand of freezer packs as Plated to keep highly perishable items, like fish, cool at the bottom of the box. I liked the use of brown bags for packaging some of the smaller, miscellaneous ingredients. There was a mix of items that did and did not need refrigeration, but they were small enough to stick in the fridge either way.
DSC_8722

As usual, I executed the fish recipe first. I enjoyed the fish itself, and appreciated the accompanying ingredients, but the dish as a whole seemed overly simple. I had the same issue as before with the rice being bland at first, until I realized that I needed to be truly liberal with salt and pepper. Perhaps I should have added extra garlic–the recipe called for two cloves and they gave me a whole head, which happen to be pretty old.

The recipe I am featuring here is the gnocchi and baby zucchini recipe; this one came out great!

I will say that on the day I unpacked the box, I looked over the squash blossoms, the very top item. I was shocked to see in blaring text that they were a product of Israel.
DSC_8719
Now, I know my produce can come from various parts of the world a different times of the year. But I felt that Blue Apron had specifically alluded to the fact it is spring in the United States, and it is the season to pick the blossoms from the zucchini plants here. Nevermind that it is a little early for that. I felt slightly misled.

Fresh Gnocchi and Baby Zucchini with Crispy Squash Blossoms & Lemon Brown Butter
From Blue Apron
Makes 2 servings

4 whole squash blossoms
1 small lemon
1/2 lb baby zucchini
1/4 Cup rice flour
2 Tablespoons butter
1/3 Cup pecorino cheese
, grated
10 ounces fresh potato gnocchi
Approx. 2-3 Tablespoons of canola oil, for frying

Start by washing and drying the produce.
DSC_8899
DSC_8903Set a large pot of salted water over heat to bring to a boil for the gnocchi for later. Remove the stems and pluck the stamens out of the squash blossoms. Reserve two of the whole flowers to fry. Roughly chop the other two flowers.

Take the lemon and remove some of the yellow rind with a peeler. Avoid the white bitter pith. Finely mince the rind and measure 2 teaspoons to set aside. Cut the lemon in half. Take one of the halves and half that, so that you have a wedge for serving with each of the plates.
DSC_8904
Cut the tops and bottoms off of the zucchini and discard. Slice the zucchini in half lengthwise and then crosswise so you have quarters. Set aside.
DSC_8905

DSC_8907Now we fry the flowers. Combine the rice flour and ⅓ cup of water in a medium bowl to create a batter. It may seem very thin.

Coat the bottom of a medium sauté pan with oil and heat until very hot. If you flick a little water into the oil and it sizzles, it is ready to go. Dip the whole squash blossoms in the batter, allowing any excess to drip off. Because my batter was so watery, I felt like hardly anything stuck. Perhaps I could have added less water.
DSC_8908
Transfer the battered squash blossoms to the pan and cook until crispy, 2-3 minutes per side. Transfer to a paper towel-lined plate and sprinkle with salt. Set aside.

Discard the oil from your sauté pan, pouring it into a heatproof bowl to cool first. Carefully wipe out the pan.

Time for the lemon brown butter sauce. To the same pan, add the butter and melt. As a warning, the pan may have retained so much heat that the butter already starts to melt and brown without turning the heat back on at first.
DSC_8910
Watching closely, cook until the butter foams, and swirl around until it becomes golden brown and smalls nutty, about 2-3 minutes.

Add the chopped squash blossoms and lemon zest and cook, stirring frequently, 5 to 10 seconds, or until thoroughly coated.
DSC_8911
Add the zucchini and season with salt and pepper. Cook, stirring occasionally, 3-5 minutes. Once the squash is tender, stir in the juice of your lemon half.
DSC_8913

In the meantime, add the gnocchi to the pot of boiling water.
DSC_8912
The gnocchi should be done and tender in 2-3 minutes, when it floats to the top of the pot. Use a slotted spoon or strainer to transfer the cooked gnocchi to the pan with the cooked zucchini and brown butter. If the zucchini isn’t tender yet, transfer the gnocchi temporarily to a separate bowl.
DSC_8915
I love the little ridges! These reminded me of Alf.
ALF Season 1

Pour in most of the Pecorino cheese, keeping a few pinches for serving. Scoop ¼ Cup of reserved pasta water and stir into the mixture.
DSC_8916
Remove from heat and season with salt and pepper to taste. Serve the gnocchi on 2 dishes, topped with a fried squash blossom each. Sprinkle with the remaining Pecorino cheese.
DSC_8917
Once I scooped out what I felt was two servings, there was about one serving left in the pan. I was underserving because my husband and I had snacked beforehand, and were eating a salad as well. For once, I was content with the quantity of food that came out. And the taste was wonderful. The lemon flavor really shined, balanced by the salty cheese, and the tender gnocchi and zucchini created a very pleasant mouthfeel. I would have liked to see the fried blossoms come out crispier; improvements could be made to the batter. This will be a great recipe to return to when the squash blossoms are harvested here in New York!

Blue Apron Rating (on a scale of 1-5):
Ordering: 2
Packaging: 4
Ingredients (freshness): 3
Recipe accuracy (quantities, ratios): 4
Instructions: 4
Recipe uniqueness: 4
Accuracy of portion sizing: 4
Taste: 5

Salmon Salad – Plated

Last year, I ordered a box from Hello Fresh so I could test out the recipe-kit home delivery service. These types of meal kits are now delivered by a growing number of companies, suggesting that the model appeals to a substantial number of people. Or perhaps it is a fad. It would be great if these were an answer to the question I often hear from my single, on-the-go friends: if I buy ingredients to cook at home for myself one night, what am I supposed to do with all the excess? I’m only one person! I’m not so sure these boxes are the perfect solution. My conclusion about Hello Fresh was that its meal options were good and the prices fair, but the ingredient ratios were off, the instructions incomplete, and the serving count questionable. I also wished that Hello Fresh could somehow consider the fact I have a more well-stocked pantry than most.

A friend of mine had high praised for Plated, another service aimed at simplifying home cooking. Taking advantage of a promotion, I decided to give this one a try as well. I selected a seafood choice for one of my meals, once again, since fish is expensive. I’m also trying to incorporate the recommended two servings of healthy fish per week. My second meal choice was a pulled barbecue chicken with a pico de gallo salsa.

To assess Plated, let’s start with the packaging. The box is lined with an insulated bag.
DSC_8584
The meat and fish are stored in the bottom of the box, covered with frozen packs that are reusable.

I will add these to my growing collection of ice packs!

I will add these to my growing collection of ice packs!


Then there’s the produce, some of which is in its own packaging, and some of which I find in the larger bags labeled by recipes.
DSC_8587
The fresh tomatoes didn’t fare too well with this; they were packaged near a heavy can of beans and ended up bruised.

I saw that these bags were labeled “Greenbags,” which sounded familiar to me but I couldn’t recall the features.
DSC_8589
I got excited when I thought they might be biodegradable, but when I looked them up I didn’t see that in the description–they are meant to absorb the ethylene gas that can make produce ripen and rot too quickly. At least I can reuse them for other fruits and vegetables.

I wasn’t ready to cook the day the box arrived, but it was easy to transfer the individual packages to the refrigerator. The next day, I pulled out my ingredients and recipe card for Seared Salmon Salad with Tomato Sherry Vinaigrette.
DSC_8593

Seared Salmon Salad with Tomato Sherry Vinaigrette
From Plated

1 medium tomato, seeded and minced
1 shallot, minced
1 lemon, juiced
1/2 bunch of chives, minced
1 Tablespoon honey
1/4 Cup sherry vinegar
3 Tablespoons of olive oil
, divided
1 Cup arugula
3 ounces frisée
3 ounces radicchio
1 small head butter lettuce
2 fillets wild Alaskan salmon
salt and black pepper

The first step on Plated’s card is “Prepare ingredients.” This is where it provides instructions such as “Rinse X. Rise and Mince X. Slice X.” I included some of those directions in my list of ingredients, like I usually do. Basically, the salad dressing is made first, and then most of that is tossed with the greens.
DSC_8598
Right away, I made some disappointing observations. The shallot was fairly large, and the tomato was not. They were basically the same size. I made the executive decision to use 2/3 of the shallot, which was probably still more than necessary.
DSC_8594

Seeding the tomato.

Seeding the tomato.


To make the dressing, combine tomato, shallot, chive, juice of one lemon, honey, and sherry vinegar.
You can see that the tomato is a little mushy.

You can see that the tomato is a little mushy.


Really, this is how the honey comes? Normal people don't have honey at home?

Really, this is how the honey comes? Normal people don’t have honey at home?


Gradually add 2 Tablespoons of olive oil, whisking to emulsify. Taste and add salt and pepper to season.

The next set of challenges involved the salad greens, which are to be combined in a large bowl. After everything is washed, the frisée is to be trimmed first to discard root (I didn’t seem much of a root), the radicchio needs its core removed and a thin slice, and the arugula can go in as is.
DSC_8608
The instructions for the butter lettuce were “rinse and tear into bite-size pieces.” The problem: the head of butter lettuce was very, very sandy and gritty. That is not going to dissipate with a “rinse”–the only way to get rid of the grit is to slosh the separated leaves in a bowl of cold water, lift them out (leaving the dirt behind), and then rinse again in a colander/salad spinner. Unless you’re sure that people ordering this plate know about the persistent grit, I think it’s important to include cleaning tips like this.
DSC_8606
In addition, this was a massive amount of salad. I started with one bowl, but had to switch to a larger bowl to accommodate it all. I still had trouble keeping everything contained during the next step, which is to pour in half of the dressing and toss to coat.

Bowl attempt # 1.

Bowl attempt # 1.


I'm pretty sure this is the LARGEST bowl I have.

I’m pretty sure this is the LARGEST bowl I have.


Time to prepare the salmon. The instructions say to rinse and pat dry with paper towels. I’ve never been a rinse-r of meats and fish, but since the salmon was sealed in some kind of liquid, I followed directions. The fillets were very soggy, so the drying step was key.

Season with salt and pepper.
DSC_8609
Heat about 1 Tablespoon of olive or other vegetable oil in a pan over medium heat–something nonstick but heavy would be best. When hot, add salmon, flesh-side down, and cook until golden on the outside, 3-5 minutes. Repeat on the other side, careful not to overcook beyond medium-rare.
DSC_8614
Arrange salad on two plates and place salmon on top. Spoon over some of the reserved dressing.
DSC_8617

Do you see how much salad this is? The plates would have to be massive to hold all of the salad.

Do you see how much salad this is? The plates would have to be massive to hold all of the salad.

My husband joined me for dinner and suffered through some of the bitter elements of the salad. Perhaps this recipe wasn’t the best choice for us because of the salad; I could have done without the frisée myself, since I find its frizzy texture only appropriate in very select dishes, and I already knew the radicchio would be strong. Of course, I could have easily left those parts out. The salad dressing was tasty and paired well with the salmon, but it needed more tomato and could have had more honey or sugar to balance all the bitterness.

As you may have guessed, I reached a similar conclusion for Plated as I had for Hello Fresh: it may not produce the best results for newbie cooks, or those who tend to follow recipes word-for-word. It certainly doesn’t guarantee proper portions for the selected number of “plates,” which means that people aren’t cutting back as much on food waste as they might think. As long as you keep that in mind, you might enjoy the healthy, high-quality ingredients and the convenience of avoiding a trip to the grocery store.

Plated Rating (sample size of 1, on a scale of 1-5):
Packaging: 3
Ingredients (freshness): 3
Recipe accuracy (quantities, ratios): 2
Instructions: 2
Recipe uniqueness: 4
Accuracy of portion sizing: 1
Taste: 3

Scallion Pancakes with Ginger Dipping Sauce

There are some weeks when I hardly cook at all. Last week was one of those weeks. I figure that I generally cook at least three times a week, often four. This week I cooked once. The rest of the nights were dining out and leftovers. There were plenty of leftovers for lunches and snacks, thanks to the huge batch of meatballs that came out of Smitten Kitchen’s lamb meatballs recipe (which used up some pretty old feta cheese). Then Matt brought home the rest of the individual pastrami sandwich he ordered for lunch from Harold’s New York Deli. To get some perspective on the size of their portions, I once took a picture of a single slice of their cake next to a wine bottle, which matched it in length. Too bad I can’t find that photo.

It’s as though I’m still in that pre-vacation mode, careful to be realistic about how much time I’ll actually have to cook before the kitchen is abandoned for restaurants or food truck tasting events. As a result, I didn’t have a whole lot prepared when Mother’s Day crept up, and I had the assignment of appetizers for my family gathering.

With leftover scallions, ginger, shredded mozzarella and other italian cheeses from home, the provisions of my mom’s pantry, and a dozen and a half button mushrooms, Matt and I cranked out two crowd-pleasing hot apps with little to no shopping, and minimal labor!

DSC_8555I did a variation on this stuffed mushroom recipe. I will admit that hollowing out the mushrooms is a bit labor-intensive.
DSC_8578
This is an accomplishment for me, considering that I generally bite off way more than I can chew when it comes to recipes for entertaining. In addition, the first recipe I ever tried (and still use) for scallion pancakes is much more challenging, and has added steps. The most difficult part of making scallion pancakes is getting the scallions distributed throughout the dough, and not having them squeeze out everywhere and make a mess. The other recipe I use, an older one from Cooking Light, adds slippery sautéed mushrooms to the mix; those little suckers don’t like to stay in the dough.

But for a simple Sunday afternoon appetizer, a simplified recipe is the winner. You get most of your flavor from the dipping sauce, and it is much less messy to make.

Scallion Pancakes with Ginger Dipping Sauce
from Ming Tsai via The Food Network
Makes at least 24 slices of pancake for dipping

Pancakes:
2 Cups all-purpose flour
1 Cup boiling water
1/2 Cup scallions
, sliced
1 Tablespoon sesame oil
1/2 Cup canola oil

Salt and black pepper

Ginger Dipping Sauce (makes more than you need for 1 recipe of pancakes):
1/4 Cup soy sauce
1/4 Cup vinegar
, preferably Chinese rice vinegar, but don’t worry about substituting other light vinegars you have
1/4 Cup scallions, sliced
1 teaspoon ginger, minced
1 teaspoon red pepper flakes
1 teaspoon sugar

First, prepare the dough, which needs to rest for 30 minutes once made.
Sift flour into a bowl or a food processor. Pour the boiling water in at a steady stream while mixing, either with a wooden spoon or spatula or in a food processor. Add water until a ball is formed. After starting to mix with a spoon, we switched to mixing by hand to get the dough into a ball.
DSC_8551
Let dough relax for at least 30 minutes, under a damp towel, while you slice and dice.
DSC_8554
Prepare the dipping sauce. My substitution for Chinese rice vinegar was half seasoned rice vinegar and half regular white vinegar.
DSC_8556
DSC_8563

Prepare a lightly floured surface and roll out the dough into a thin rectangle. Brush to the edge with sesame oil.
DSC_8570
Sprinkle evenly with scallions. Leave a little bit of room around the edges. Season with salt and pepper.
DSC_8571
Roll from the long side like a sponge cake. Cut with a knife into 4 pieces.
DSC_8572
(I should have gotten more pictures of this next part, but I was distracted. Guests would be arriving soon, and my dear husband needed assistance.)

Take one of the four pieces and gently twist three times, like a Tootsie roll wrapper. As you are doing this, it should stretch the piece a bit lengthwise. Take that snake and make a spiral, like a lollipop.

This definitely doesn't look like a lollipop. Do what you can-it doesn't have to look good at this stage!

This definitely doesn’t look like a lollipop. Do what you can-it doesn’t have to look good at this stage!


Take a rolling pin to this circle and flatten into a 5 to 6 inch pancake. Repeat.
DSC_8574
The pancakes are then basically fried in canola oil. If you have a larger nonstick pan, you can do more than one at a time. With a smaller pan, I fried one at a time, adding canola oil as I went. You need a good coating of canola oil in the pan to get a golden brown.
DSC_8575
Cut into wedges (I prefer using kitchen shears) and serve immediately with dipping sauce. They will be gone before you know it!
DSC_8577

Tuscan Soup

It has been two weeks since we returned from our vacation to Italy and France, and I haven’t yet recovered from withdrawal. I long to return to days of wandering through historic cities in the spring sunshine. The jet lag lasted about five days before dissipating, but these cravings have lingered.

Italy was a feast. My main impression of the food is that people love meat, based on the abundance of meats we tried and encountered. Cured meats and sausage and porchetta. Yes, there was some excellent pasta (mostly enjoyed in a meat sauce), one excellent roasted shrimp “secondi” and two times I ordered a market-fresh (but not necessarily stellar) Mediterranean fish. I should have sought out vegetables more often. In Florence, I enjoyed one outstanding, flavorful chickpea soup, where some of the chickpeas had been blended to create a thickened, creamy base. Sadly, it was served at a restaurant where there service was so poor that I left fuming–we were treated almost as if we were invisible. Later that week, I had a lentil soup as part of a no-nonsense, prixe-fixe lunch at a restaurant frequented by locals, and it was terribly bland and uninteresting–clearly reflecting its place as part of a “value” lunch.

I don’t want to sound unimpressed with the trip; we loved the vibe of Italy, and savored numerous inspiring dishes. Here’s a small sample of our photos. Hover your mouse over each picture and click to view full captions.


It was rather timely to come across this Tuscan vegetable-based soup recipe last week, on the website Blue Apron, a grocery subscription service. The less fortunate part was that I couldn’t find toscano (also known as lacinato) kale! Tuscan kale is darker green and flatter, without the curly edges, and I really wanted to use it. After trying four stores, I resigned myself to a fact I already knew, that toscano kale is woefully out of season here right now, so I shouldn’t be using it anyway! Regular kale it is.

I will admit that a big part of the recipe’s draw for me was the soft-boiled egg on top–I am such a sucker for a runny egg. Drool. On a side note, is there anything more disappointing in life than when you expect the egg yolk you are being served at a restaurant will be runny and it’s not?

I have made poached eggs many times (they don’t always turn out great) but for some reason, I never made soft-boiled an egg. What an epiphany! It’s a much less messy-and still healthy-way to enjoy the liquid yolk.
DSC_8451
Tuscan Ribollita Soup with Soft Boiled Egg
From Blue Apron
2-4 servings

Part 1 ingredients:
1 onion, diced
4 cloves of garlic, minced
1 carrot, peeled and diced
salt and pepper to taste

Part 2 ingredients:
about 8 ounces kale (any type)
1 14.5 ounce can cannellini beans, drained and rinsed
1 14.5 ounce can diced tomatoes
1/8 teaspoon crushed red pepper flakes
3.5 Cups vegetable broth

salt and pepper to taste

Part 3 ingredients:
2 slices sourdough bread
, or 1 large sourdough roll, cut into bite sized pieces
1/2 Cup parsley, coarsely chopped
1/2 Cup Parmesan cheese, grated
2 eggs (or more for additional servings)
salt and pepper to taste

DSC_8428
The reason I divided the ingredients into three parts is that you can use your time more efficiently by prepping the ingredients for each part while the previous set of ingredients are cooking. I did all my mise en place at first, which took quite some time, and then I was less occupied during the cooking stages. One could do dishes during those down times, of course.

Firstly, take your eggs out of the refrigerator to come to room temperature. Perhaps you are one of those lucky ones who has such fresh eggs you don’t need to refrigerate them in the first place? I envy you. Fill a small saucepan with some water and a pinch of salt and set aside for later.
DSC_8432

In a large pot, heat 2 teaspoons of olive oil on medium. Add the onion and garlic and cook 2 to 3 minutes, until softened. Add carrots and a little bit of salt and pepper. Cook the mixture for a few minutes, until the carrots have softened.
DSC_8438
Put the small saucepan over heat so it comes to a boil.

To your large pot, add all of the Part 2 ingredients (beans, diced tomatoes, kale, vegetable broth, and crushed red pepper flakes).

See why you need a large pot?

See why you need a large pot?


Season with salt and pepper. Increase the heat to bring the soup to a boil, and then reduce the heat to medium and simmer 6 to 8 minutes, smelling and tasting to see if the flavors have come together enough for your liking.
DSC_8444
Add the bread cubes, half the parsley, and half of the Parmesan cheese to the soup and stir.
DSC_8443
DSC_8446
If you feel there is not enough liquid, it is fine to add a little water (especially if you are using a rich vegetable stock). Let the soup cook, without stirring, for 5 to 7 minutes, or until thickened. Add even more salt and pepper to taste!
DSC_8448
While the soup is simmering, gently place the eggs in the saucepan of boiling water. Cook for exactly 5 minutes. Have a small bowl of cold water ready, and transfer the eggs into the bowl with a slotted spoon. Then run the eggs under more cold water for 30 seconds. Gently peel the eggs (be careful) and set aside.

Fill two bowls with soup and place one soft-boiled egg in each. Garnish with Parmesan cheese and parsley.
DSC_8453
That’s what I’m talking about!

Spice-Roasted Salmon with Green Beans and Rice

The whole spring-forward-daylight-savings-thing is a killer. In spite of the fact I tried to go to bed early last Saturday night, I was dragging every morning thereafter. My distaste was only slightly dampened by noticing sunlight later in the evenings. If only there was a way to experience the thrill of extra daylight without losing sleep. Can’t the clock switch from 4:00 to 5:00 pm on a Monday?

I really didn’t feel like cooking when I got home from the gym last Tuesday evening. I was tempted to make my dinner out of a mishmash of snacks and cheese; maybe I’d go as far as to open some boxed pasta or a can of beans. The fact that I had fresh fish in the refrigerator, waiting to be cooked, meant I needed to overcome these impulses.

I’m glad I sucked it up. It doesn’t take long to put together a fresh, complete weeknight meal like this, getting in my omega 3s and vitamins. Green beans and salmon cook quickly (especially with subjective measures of done-ness, so you can be even quicker if you want) and rice is hands off. I only had to chop 3 small things and measure a couple of others. Easy breezy!

The spice seasoning for the fish is garam masala. I have been making garam masala by toasting fresh whole spices at home, and one of the last times I made it, I made a pretty large batch.
DSC_6741
While we’re on the topic of spices, I have a reason to mention my spice cabinet organization.
DSC_6734
As you can imagine, it can be hard to keep track of a dozen little by-the-ounce plastic baggies of spices. Occasionally I relocate them to other empty spice containers, but they take less space in the bag. I found stackable plastic flat containers at the Container Store which have 6 shallow compartments. I can arrange several spices front to back in the compartments. Then I label the front with dry erase marker with each item in order. This way, I can see what I have with a quick glance, and I’m maximizing the space.
DSC_6730

What’s my organizational scheme for the rest of the spices? Well, you know how it is with your own kitchen. I just have a feel for where to find certain ones, particular ones that are used together in the same recipes. This is one of the reasons it is so utterly challenging to cook in someone else’s kitchen, isn’t it? (At least, the majority of someones who don’t alphabetize their spices.)

Back to the cooking! A note on timing and temperature: the steps to this meal include boiling some basmati rice, blanching the green beans, sautéing the green beans, and pan-roasting the fish. My husband will tell you, I have a “thing” about my food being served at the proper temperature (and I pay close attention to this at restaurants). That usually takes the form of me wanting hot food to be served noticeably hot. You’re going to want to eat your salmon freshly cooked, so it should be the last thing you finish, obviously. I wanted to minimize dirty dishes, so, while the rice was cooking, I blanched the green beans and then sautéed them first in the same pan I planned to use for the salmon. While the salmon was finishing up later, I gave the beans a quick reheat in the emptied blanching pot.

Then everything got cold as I was taking pictures, of course. No one ever mentions that!

Spice-Roasted Salmon with Yogurt Sauce
For 2
Adapted from Cooking Light

1 1/2 tablespoons olive oil, divided
2 sustainable salmon fillets, 6 ounces each
1/2 teaspoon garam masala
1/4 teaspoon kosher salt,
divided
about 4 Tablespoons plain Greek yogurt, 2% preferred
1 Tablespoons green onions
, thinly sliced, plus extra to garnish rice
1/2 teaspoon fresh lime juice
1 lemon
, cut into wedges

Heat a large skillet over medium-high heat. Add 2 teaspoons oil to pan; swirl to coat.

Sprinkle fillets evenly with garam masala and 1/2 teaspoon salt. Add fillets to pan, skin side down. Cook about 7 minutes; turn over, and cook 1-2 minutes or until desired degree of done-ness and temperature.
DSC_6745
DSC_6746
While the salmon is cooking, combine ingredients for the sauce. Whisk 2 1/2 teaspoons oil, 1/8 teaspoon salt, yogurt, green onions, and lime juice in a small bowl.

The original recipe called for a combination of creme fraiche or sour cream and yogurt for the sauce. I only had Greek yogurt, which is my go-to substitute for creme fraiche and sour cream anyway, so I used the yogurt alone. It still tasted great to me.

Dollop mixture onto fillets, when serving, along with lemon wedges on the side.


Indian-spiced Green Beans

From Martha Stewart Living

1 teaspoon kosher salt
, plus more for seasoning
1 pound string green beans, stem ends trimmed
2 teaspoons vegetable oil
1 teaspoon brown mustard seeds
1/2 large or 1 small yellow onion (about 4 ounces
), thinly sliced into rounds or half-moons
2 teaspoons fresh ginger, minced

DSC_6727

Remember, you can keep your fresh ginger in the freezer to make it last so much longer!

Remember, you can keep your fresh ginger in the freezer to make it last so much longer!


Bring a pot of water to a boil. Fill a large bowl with ice and water. Once water is boiling, add 1 teaspoon salt and string beans.
DSC_6725
Cook about 3 minutes (the beans should turn bright green), and drain into a colander. Transfer to ice bath and slosh the beans around. Drain again.

Set the large skillet over high heat, and add vegetable oil. When hot, add mustard seeds, and cook about 30 seconds, until seeds start to pop.
DSC_6736
Add onion, and cook, stirring until they begin to brown, 3 to 4 minutes. Add ginger, and cook 1 minute more. Add reserved string beans, and cook, stirring until hot. Season with salt to taste.
DSC_6738

Dinner is served! I realized later that my salmon was incorrectly placed here with the skin side up.

Dinner is served! I realized later that my salmon was incorrectly placed here with the skin side up.

Mmm, that's better.

Mmm, that’s better.