Top Brassica

DSC_6230It’s cruciferous vegetable season. Who is excited? This is good stuff. Well, at least some of it. I don’t think all brassica (turnips, cabbage, broccoli, Brussel sprouts, etc.) are created equal in terms of flavor. But apparently some portion of the population can use genetics as an excuse for disliking the taste of these foods. Brassica plants contain something similar to the bitter compound phenylthiocarbamide (PTC), and scientists found that humans have dramatic variations in PTC sensitivity, with some people being “taste blind.”

I won’t let you use your genetics as an excuse! We humans can overcome nature when we want to.

Somewhere along the way in reading my cooking magazines, email newsletters, and online media, I came across a recipe for using cauliflower as pesto. For some reason (genetics?), I liked the idea of obliterating the cauliflower and transforming it into something mostly unrecognizable.

Part 1:
Linguine with Cauliflower Pesto
From The Washington Post

Kosher salt
6 to 8 ounces dried linguine
or other thin pasta
plus reserved pasta water
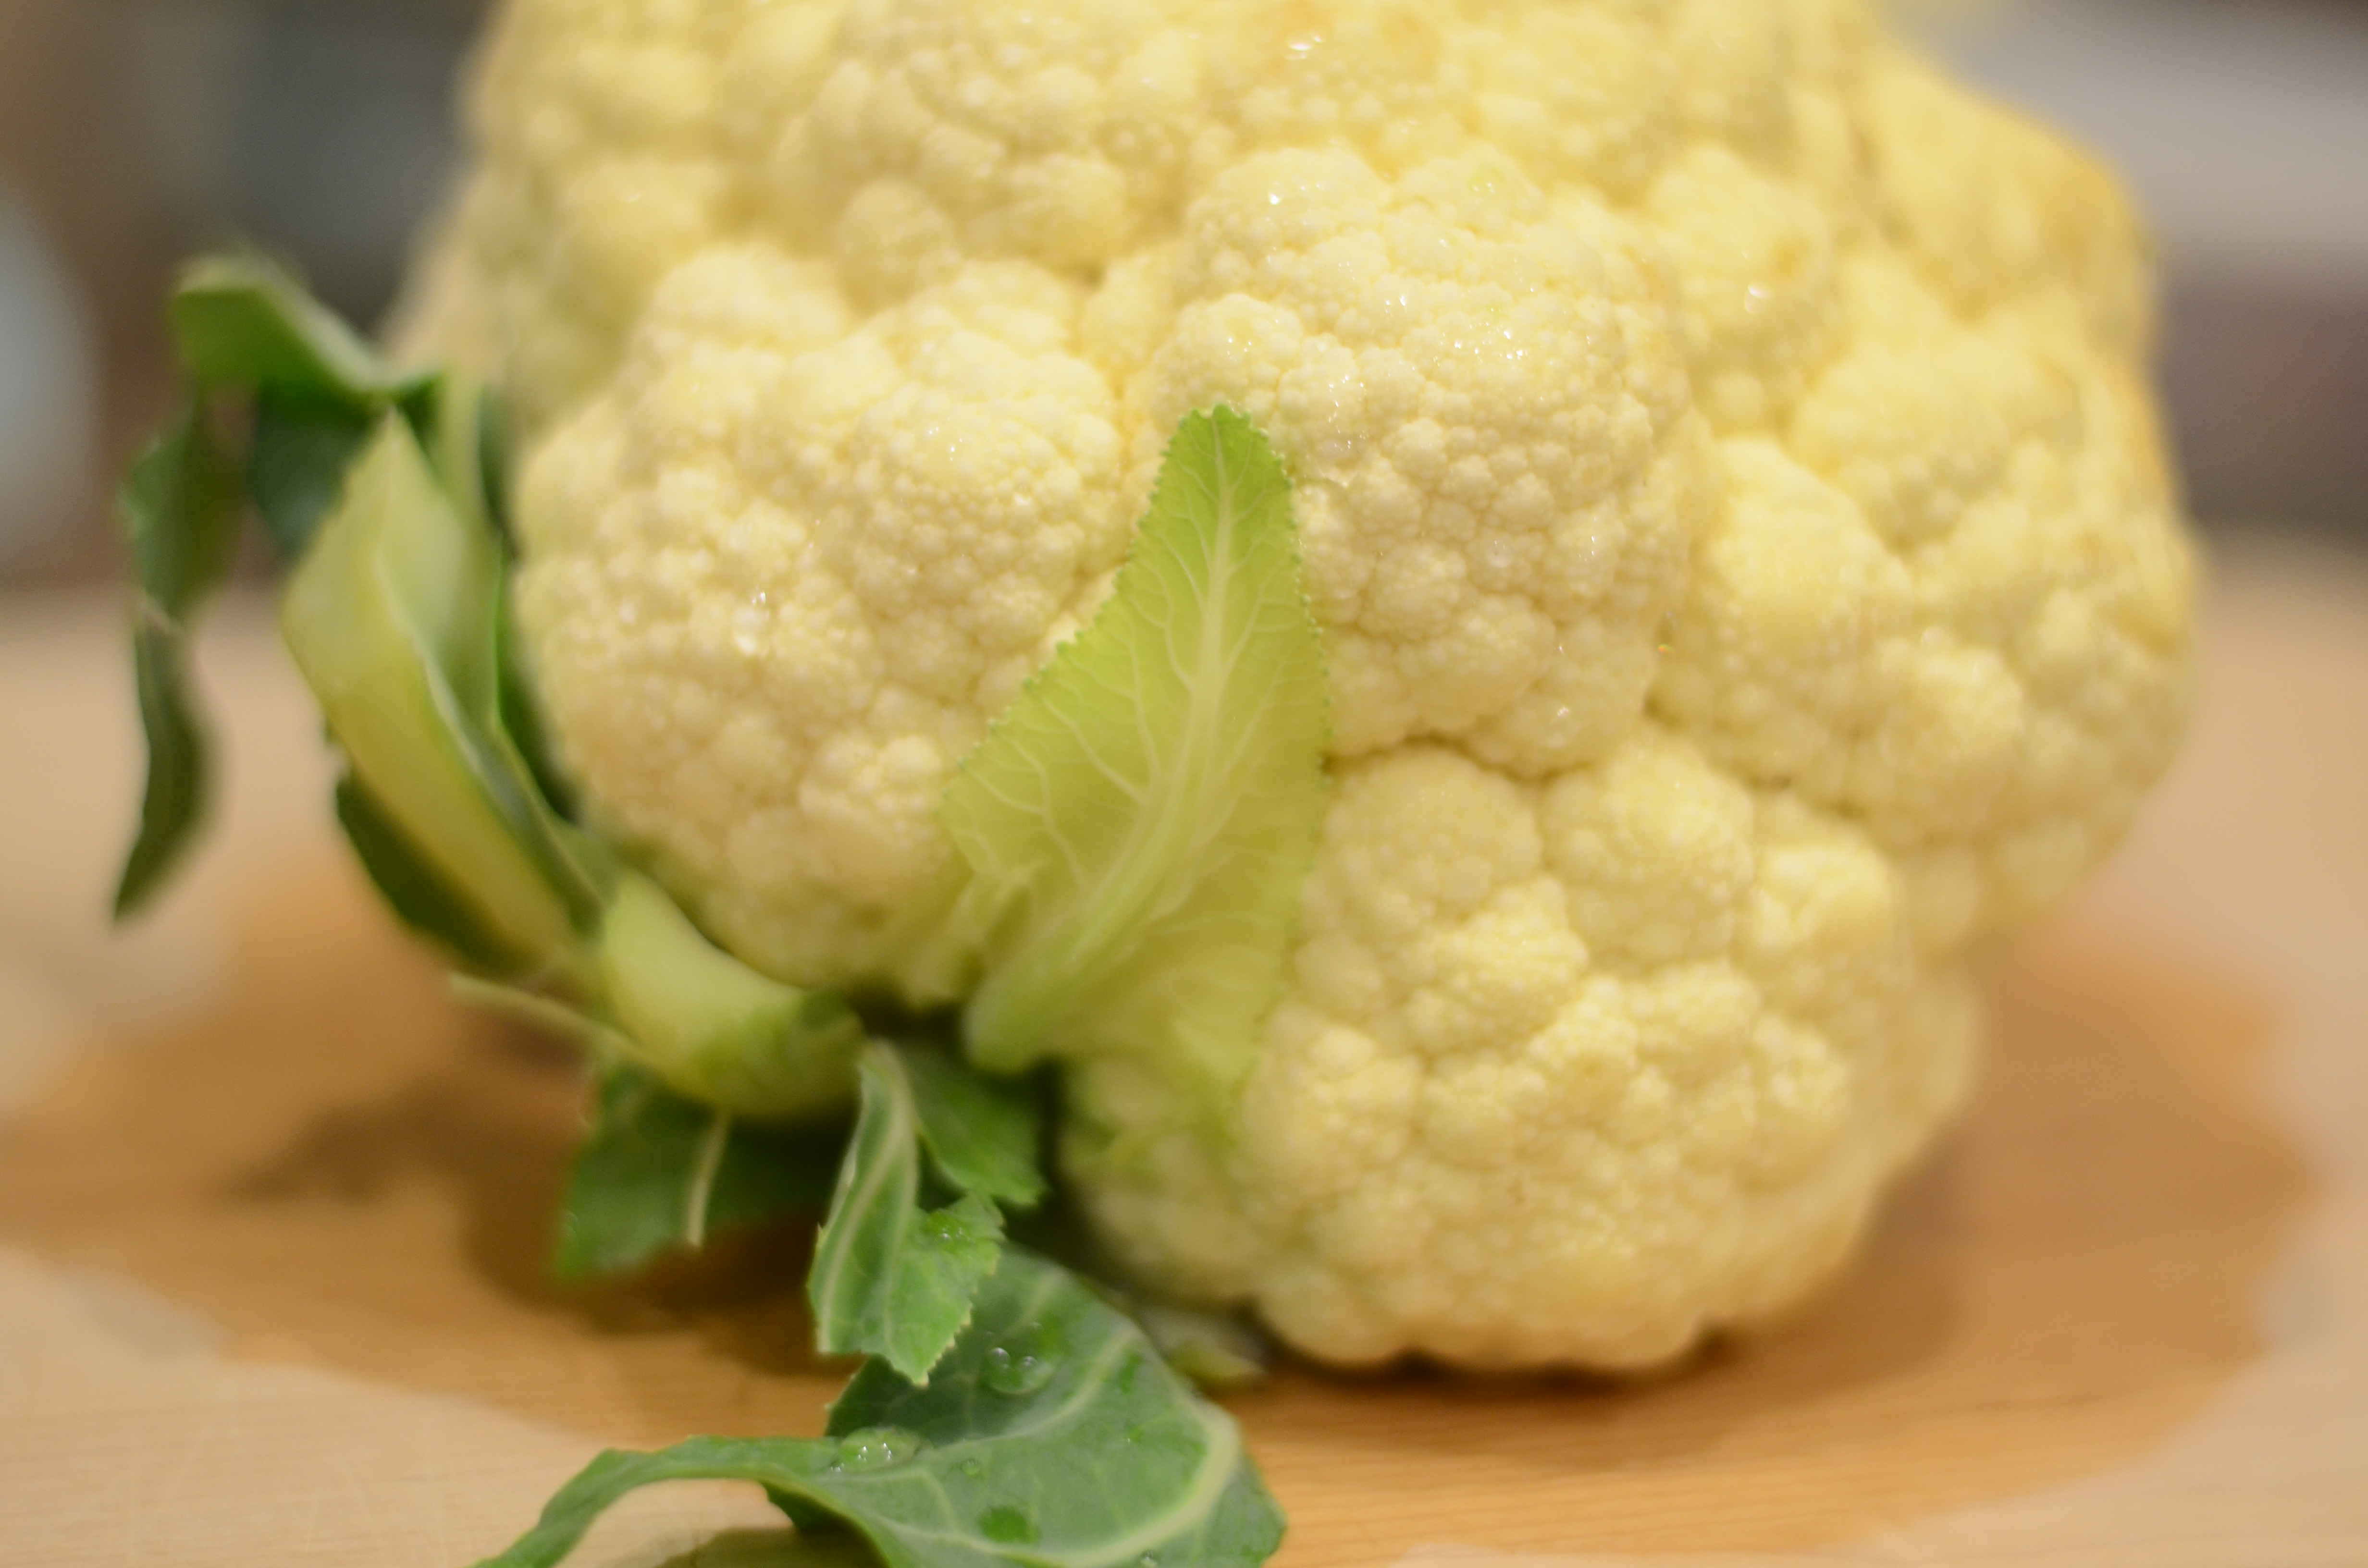
1 small (13-ounce) head cauliflower
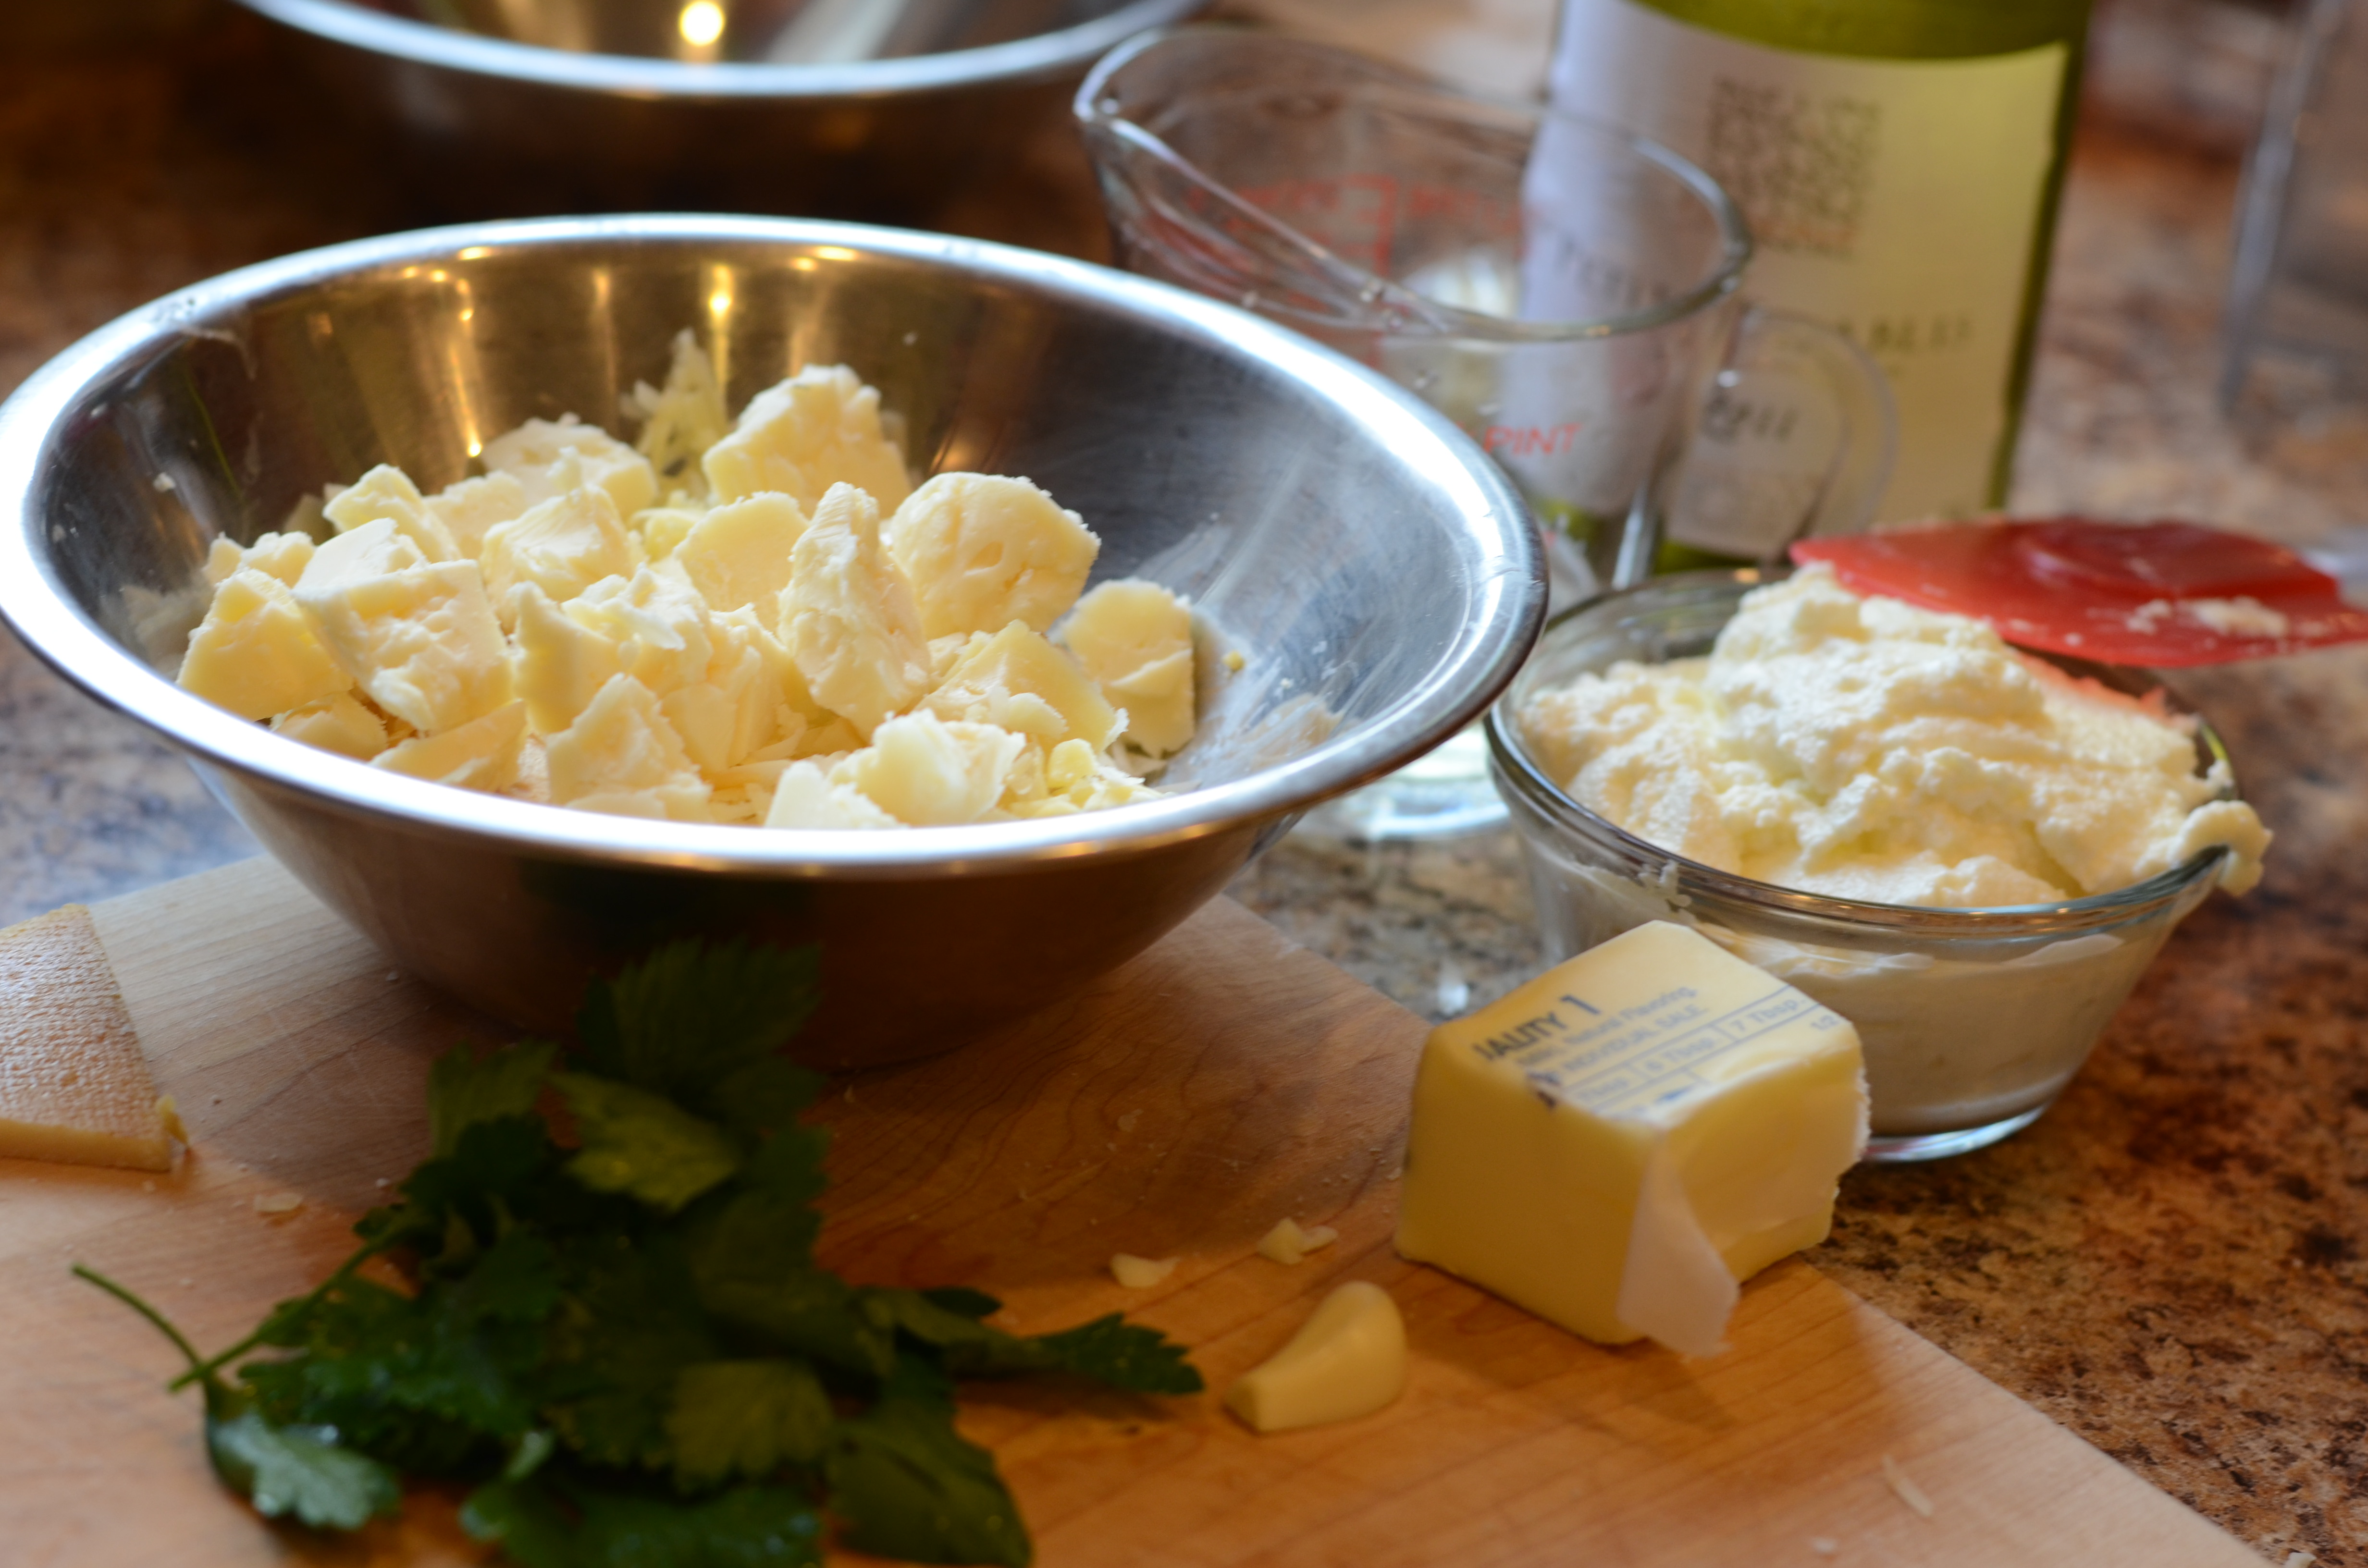
1/2 Cup unsalted almonds
(or pine nuts)
2 or 3 dry-packed sun-dried tomatoes, coarsely chopped (I used oven-dried tomatoes from my garden that had been frozen)
1-ounce Parmigiano-Reggiano cheese, or other similar hard Italian grating cheese, chopped
1 medium clove garlic
1 Tablespoon capers
, drained and rinsed
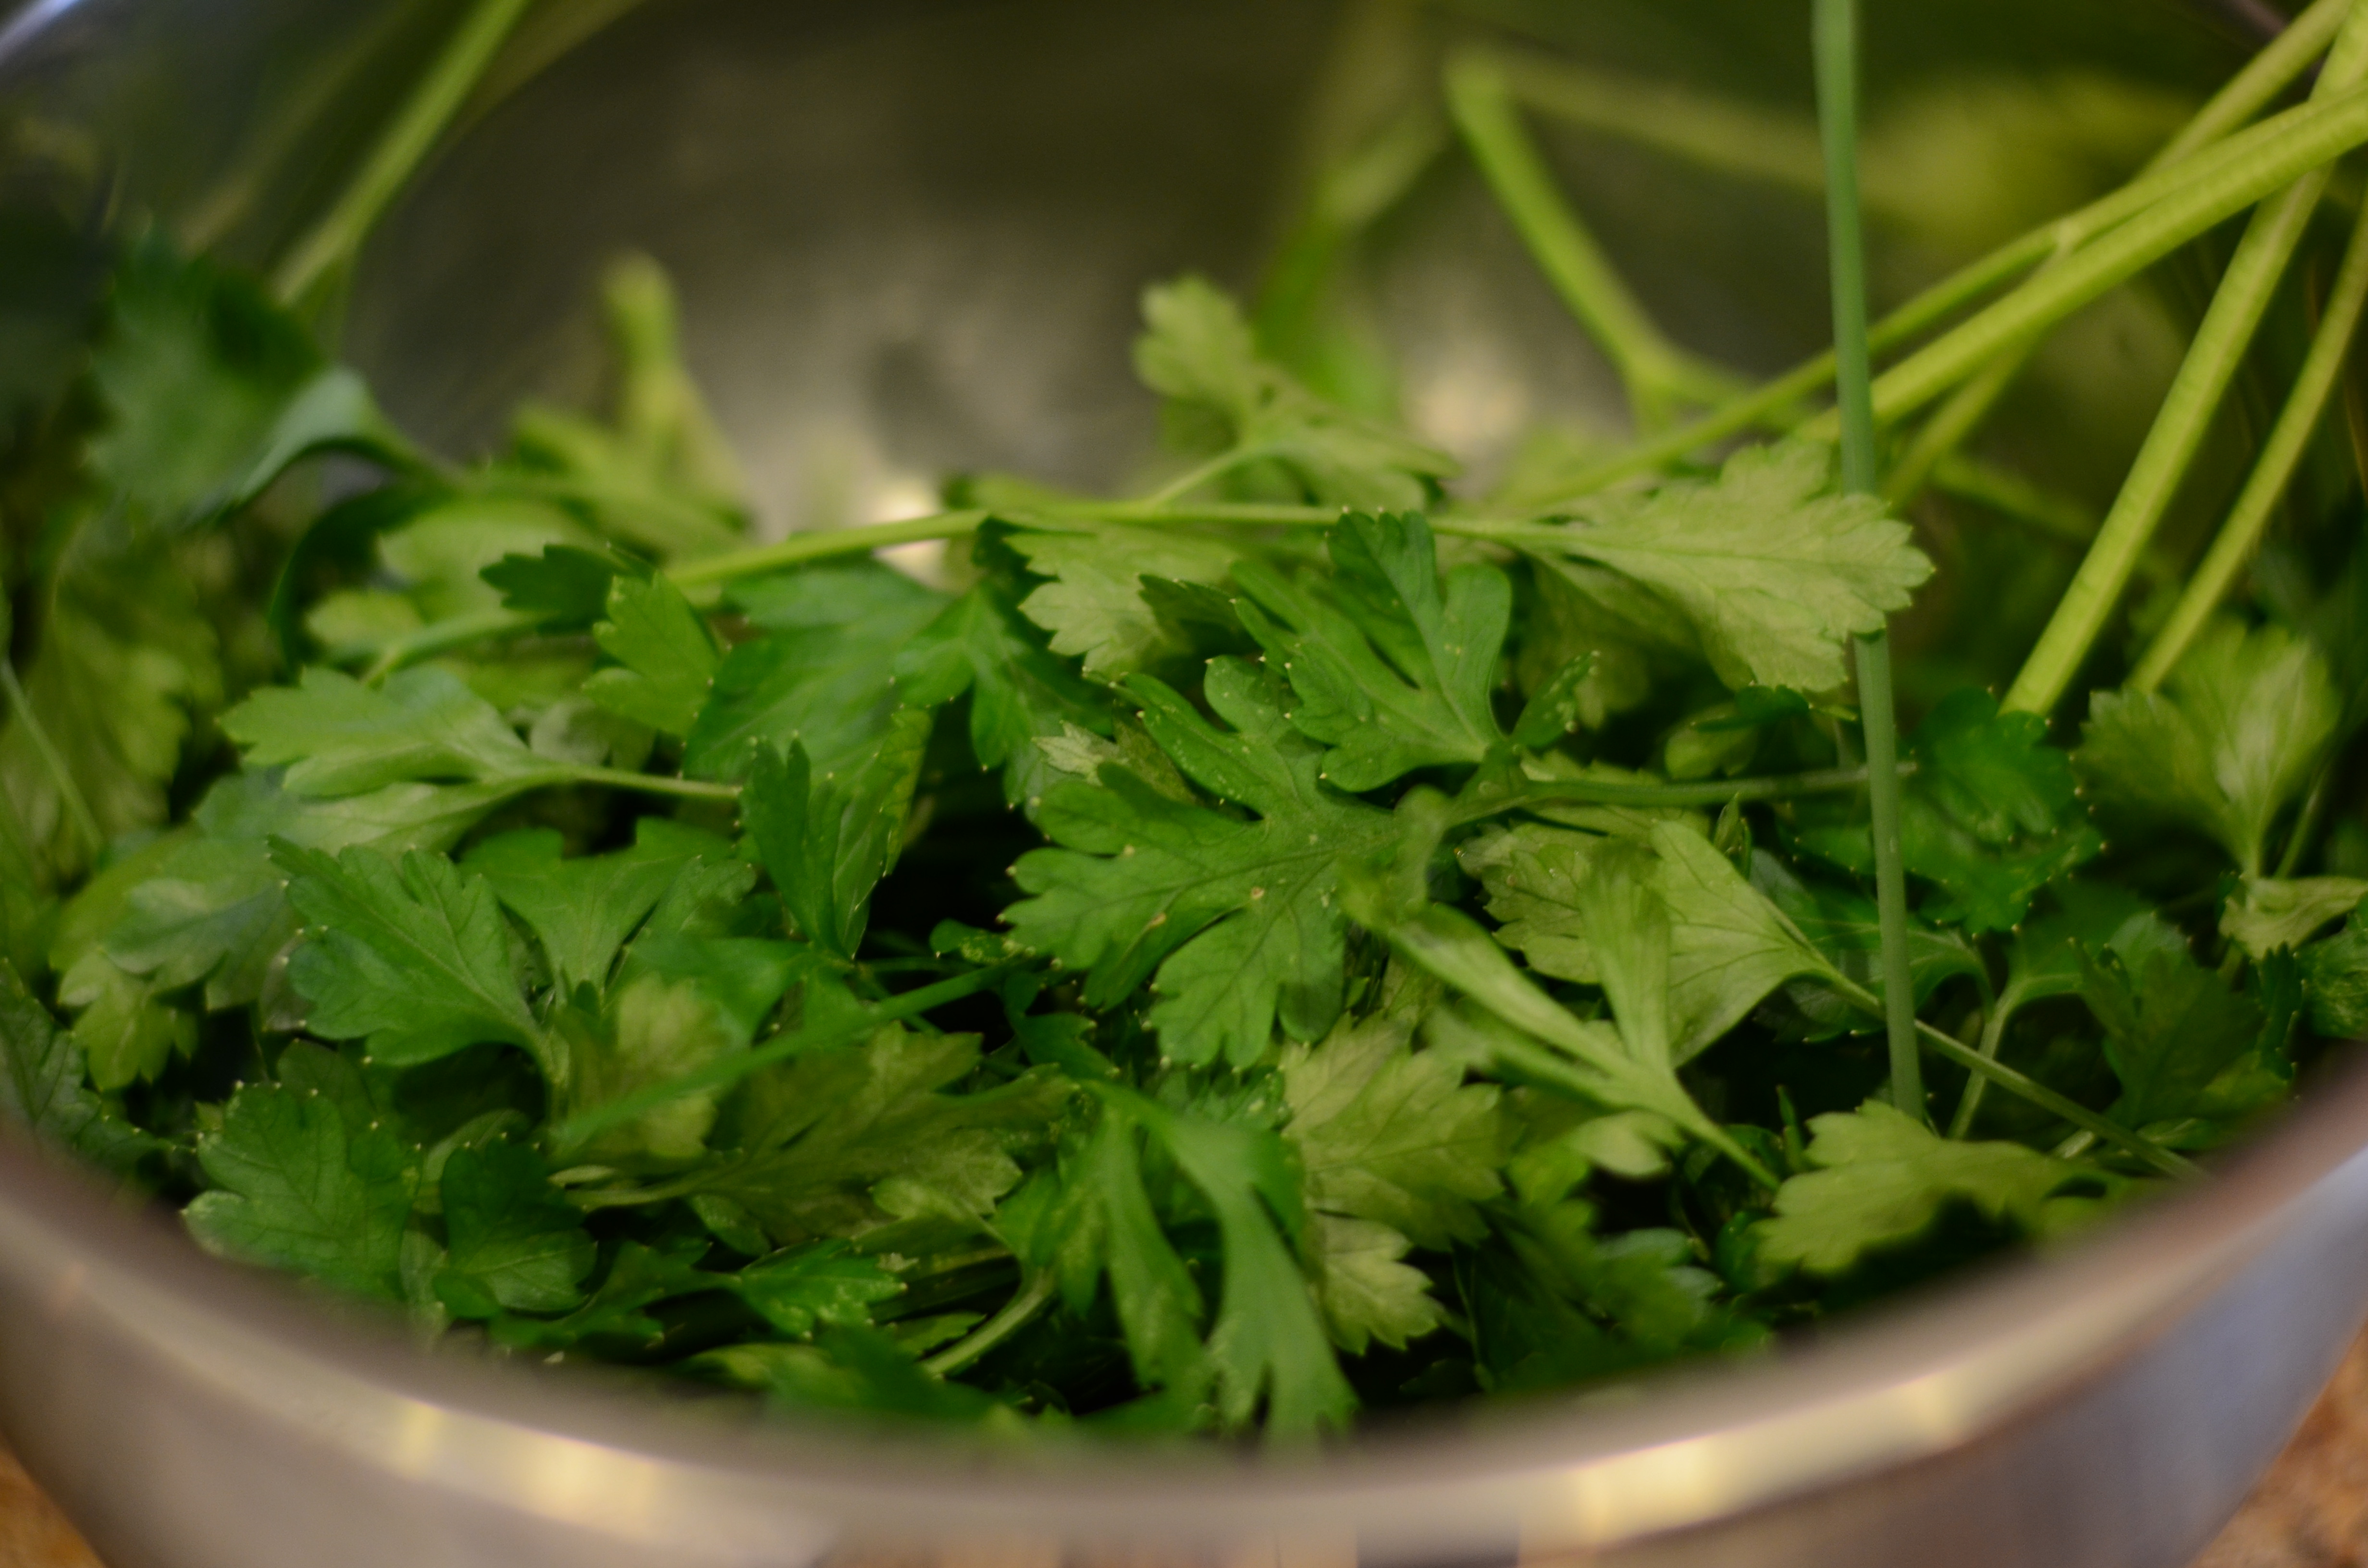
Small handful flat-leaf parsley leaves
Crushed red pepper flakes
, to taste
3-5 Tablespoons olive oil, to taste
2 to 3 teaspoons sherry vinegar, to taste

Cook linguine according to the package directions in a large pot of salted boiling water. When draining, reserve 1 cup of the pasta water. Keep pasta warm while preparing the pesto.

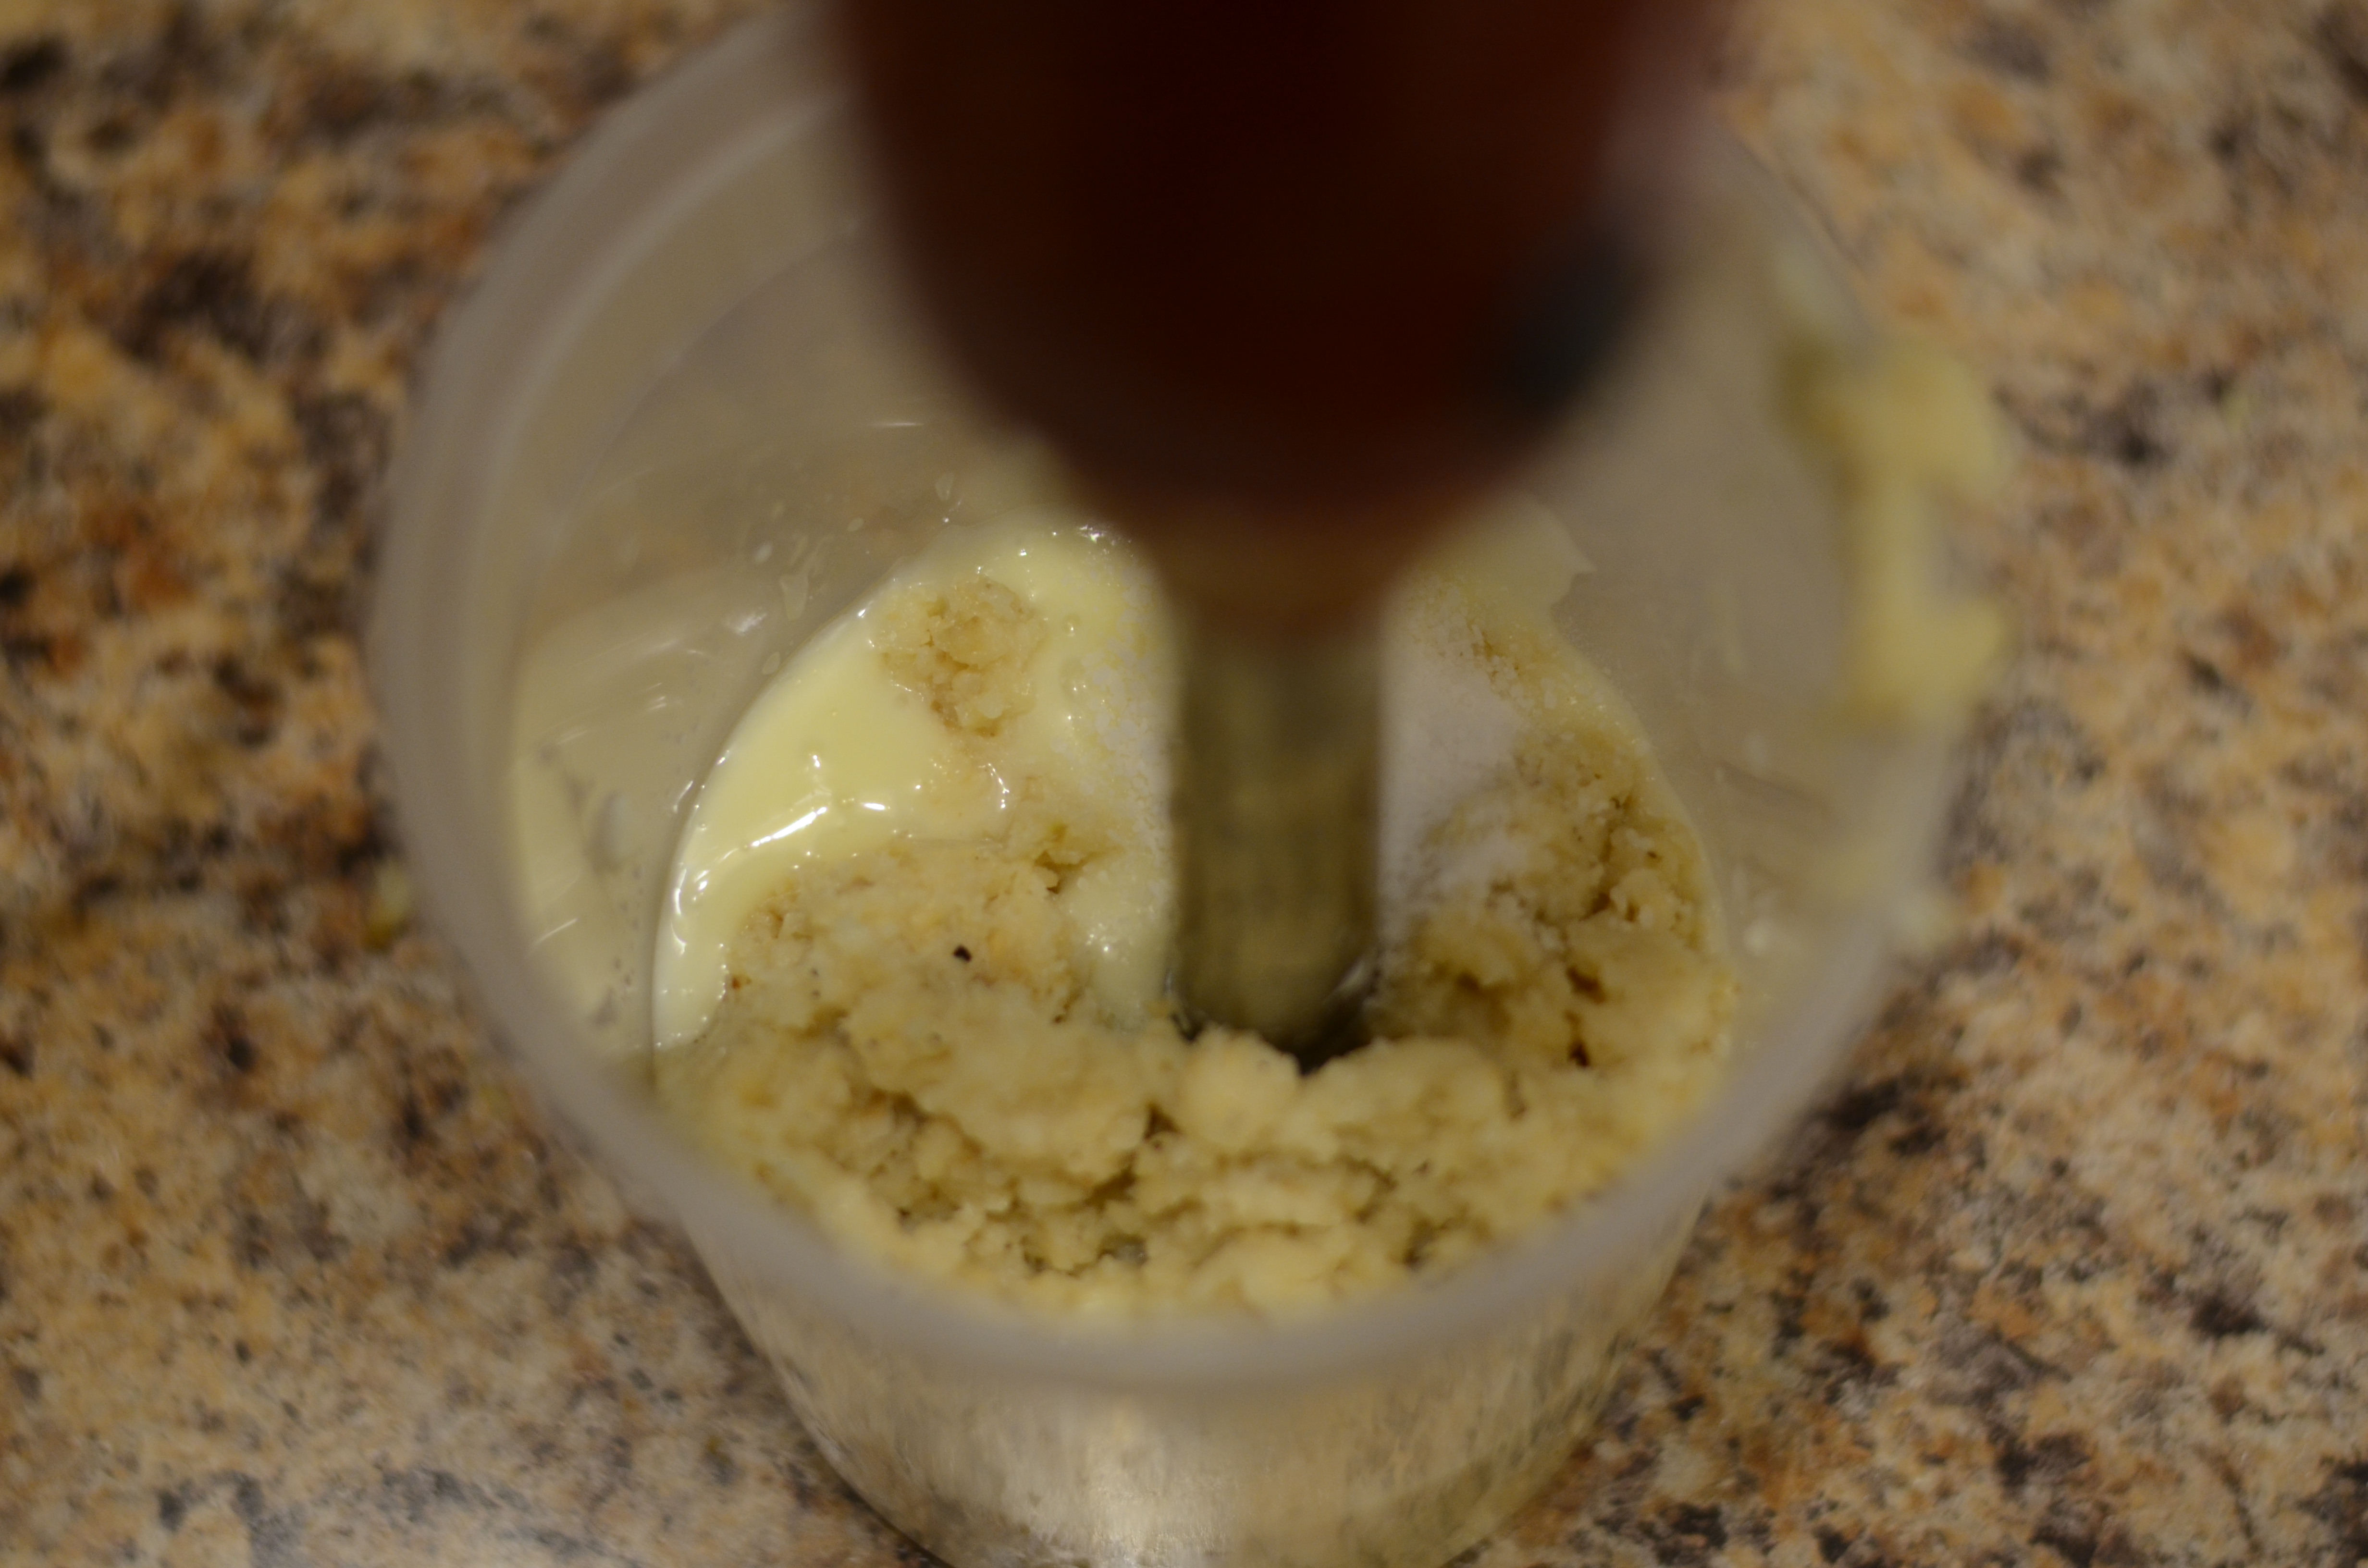
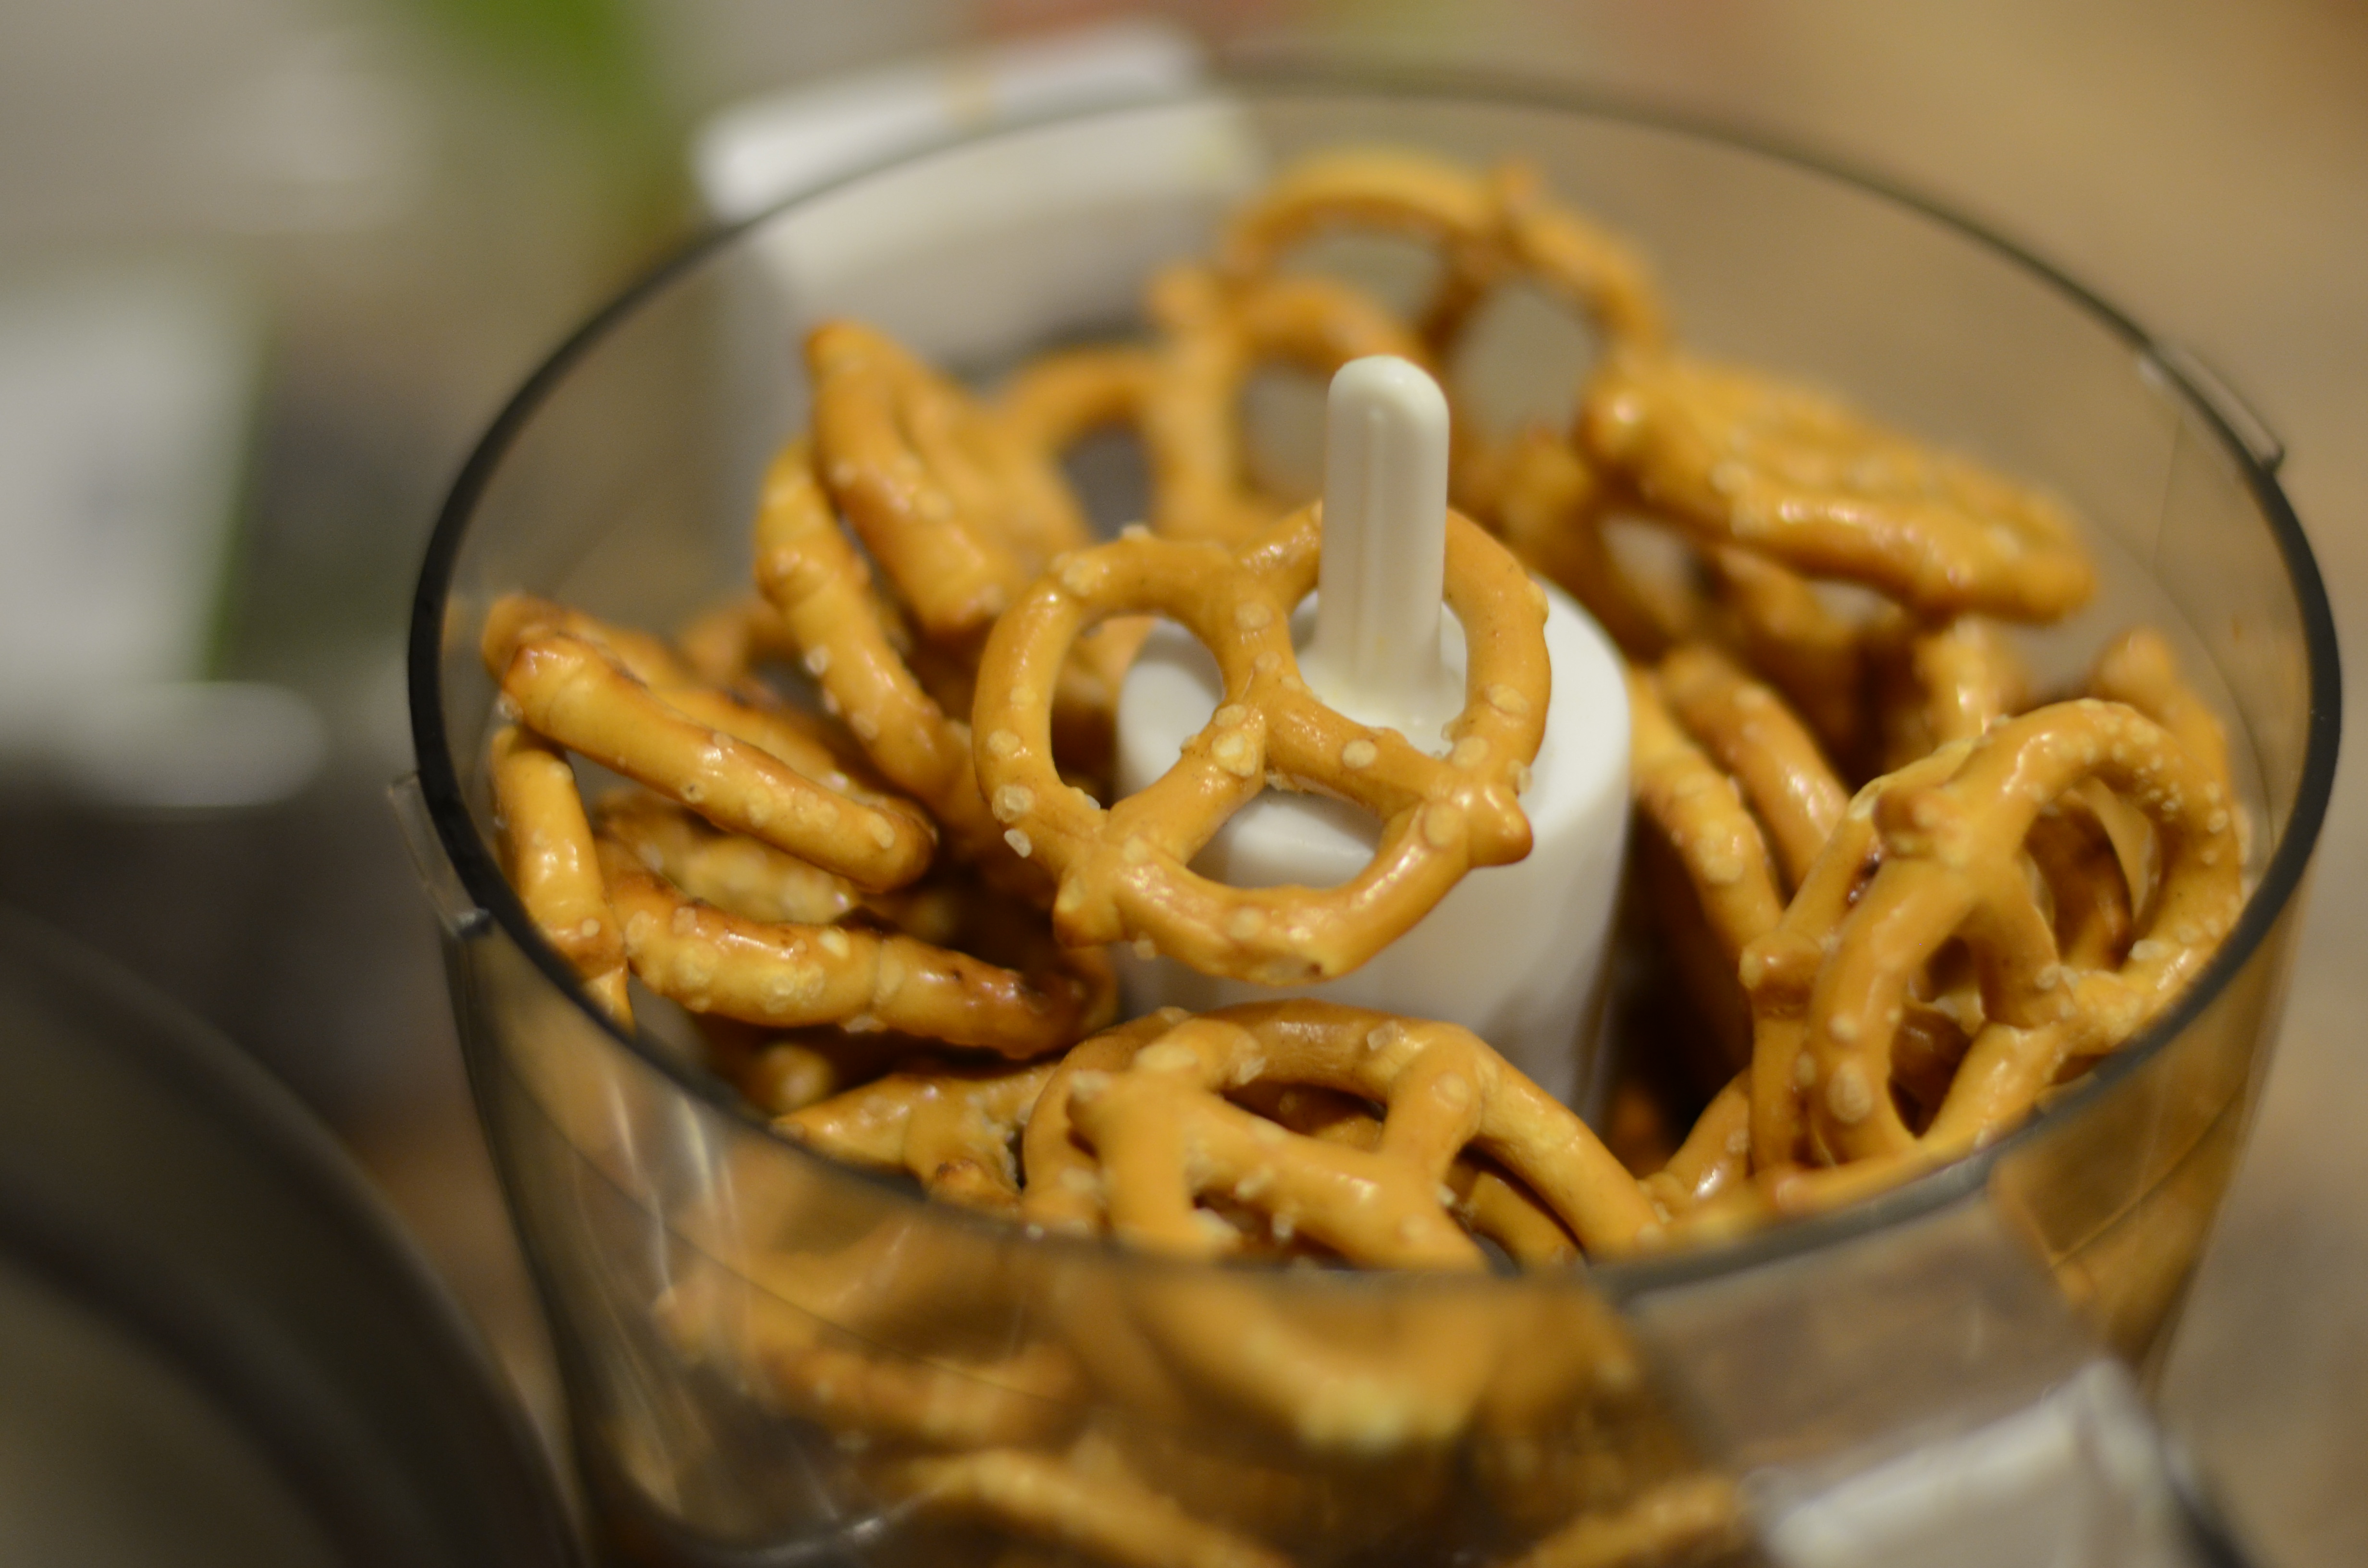
Cut the cauliflower into chunks, placing them in the food processor as you work.
DSC_6231
Stop when the bowl is about halfway full to allow space for processing (it is much easier to do this in two batches rather than forcing all the cauliflower in and having to pulse and stir repeatedly-trust me).
DSC_6254
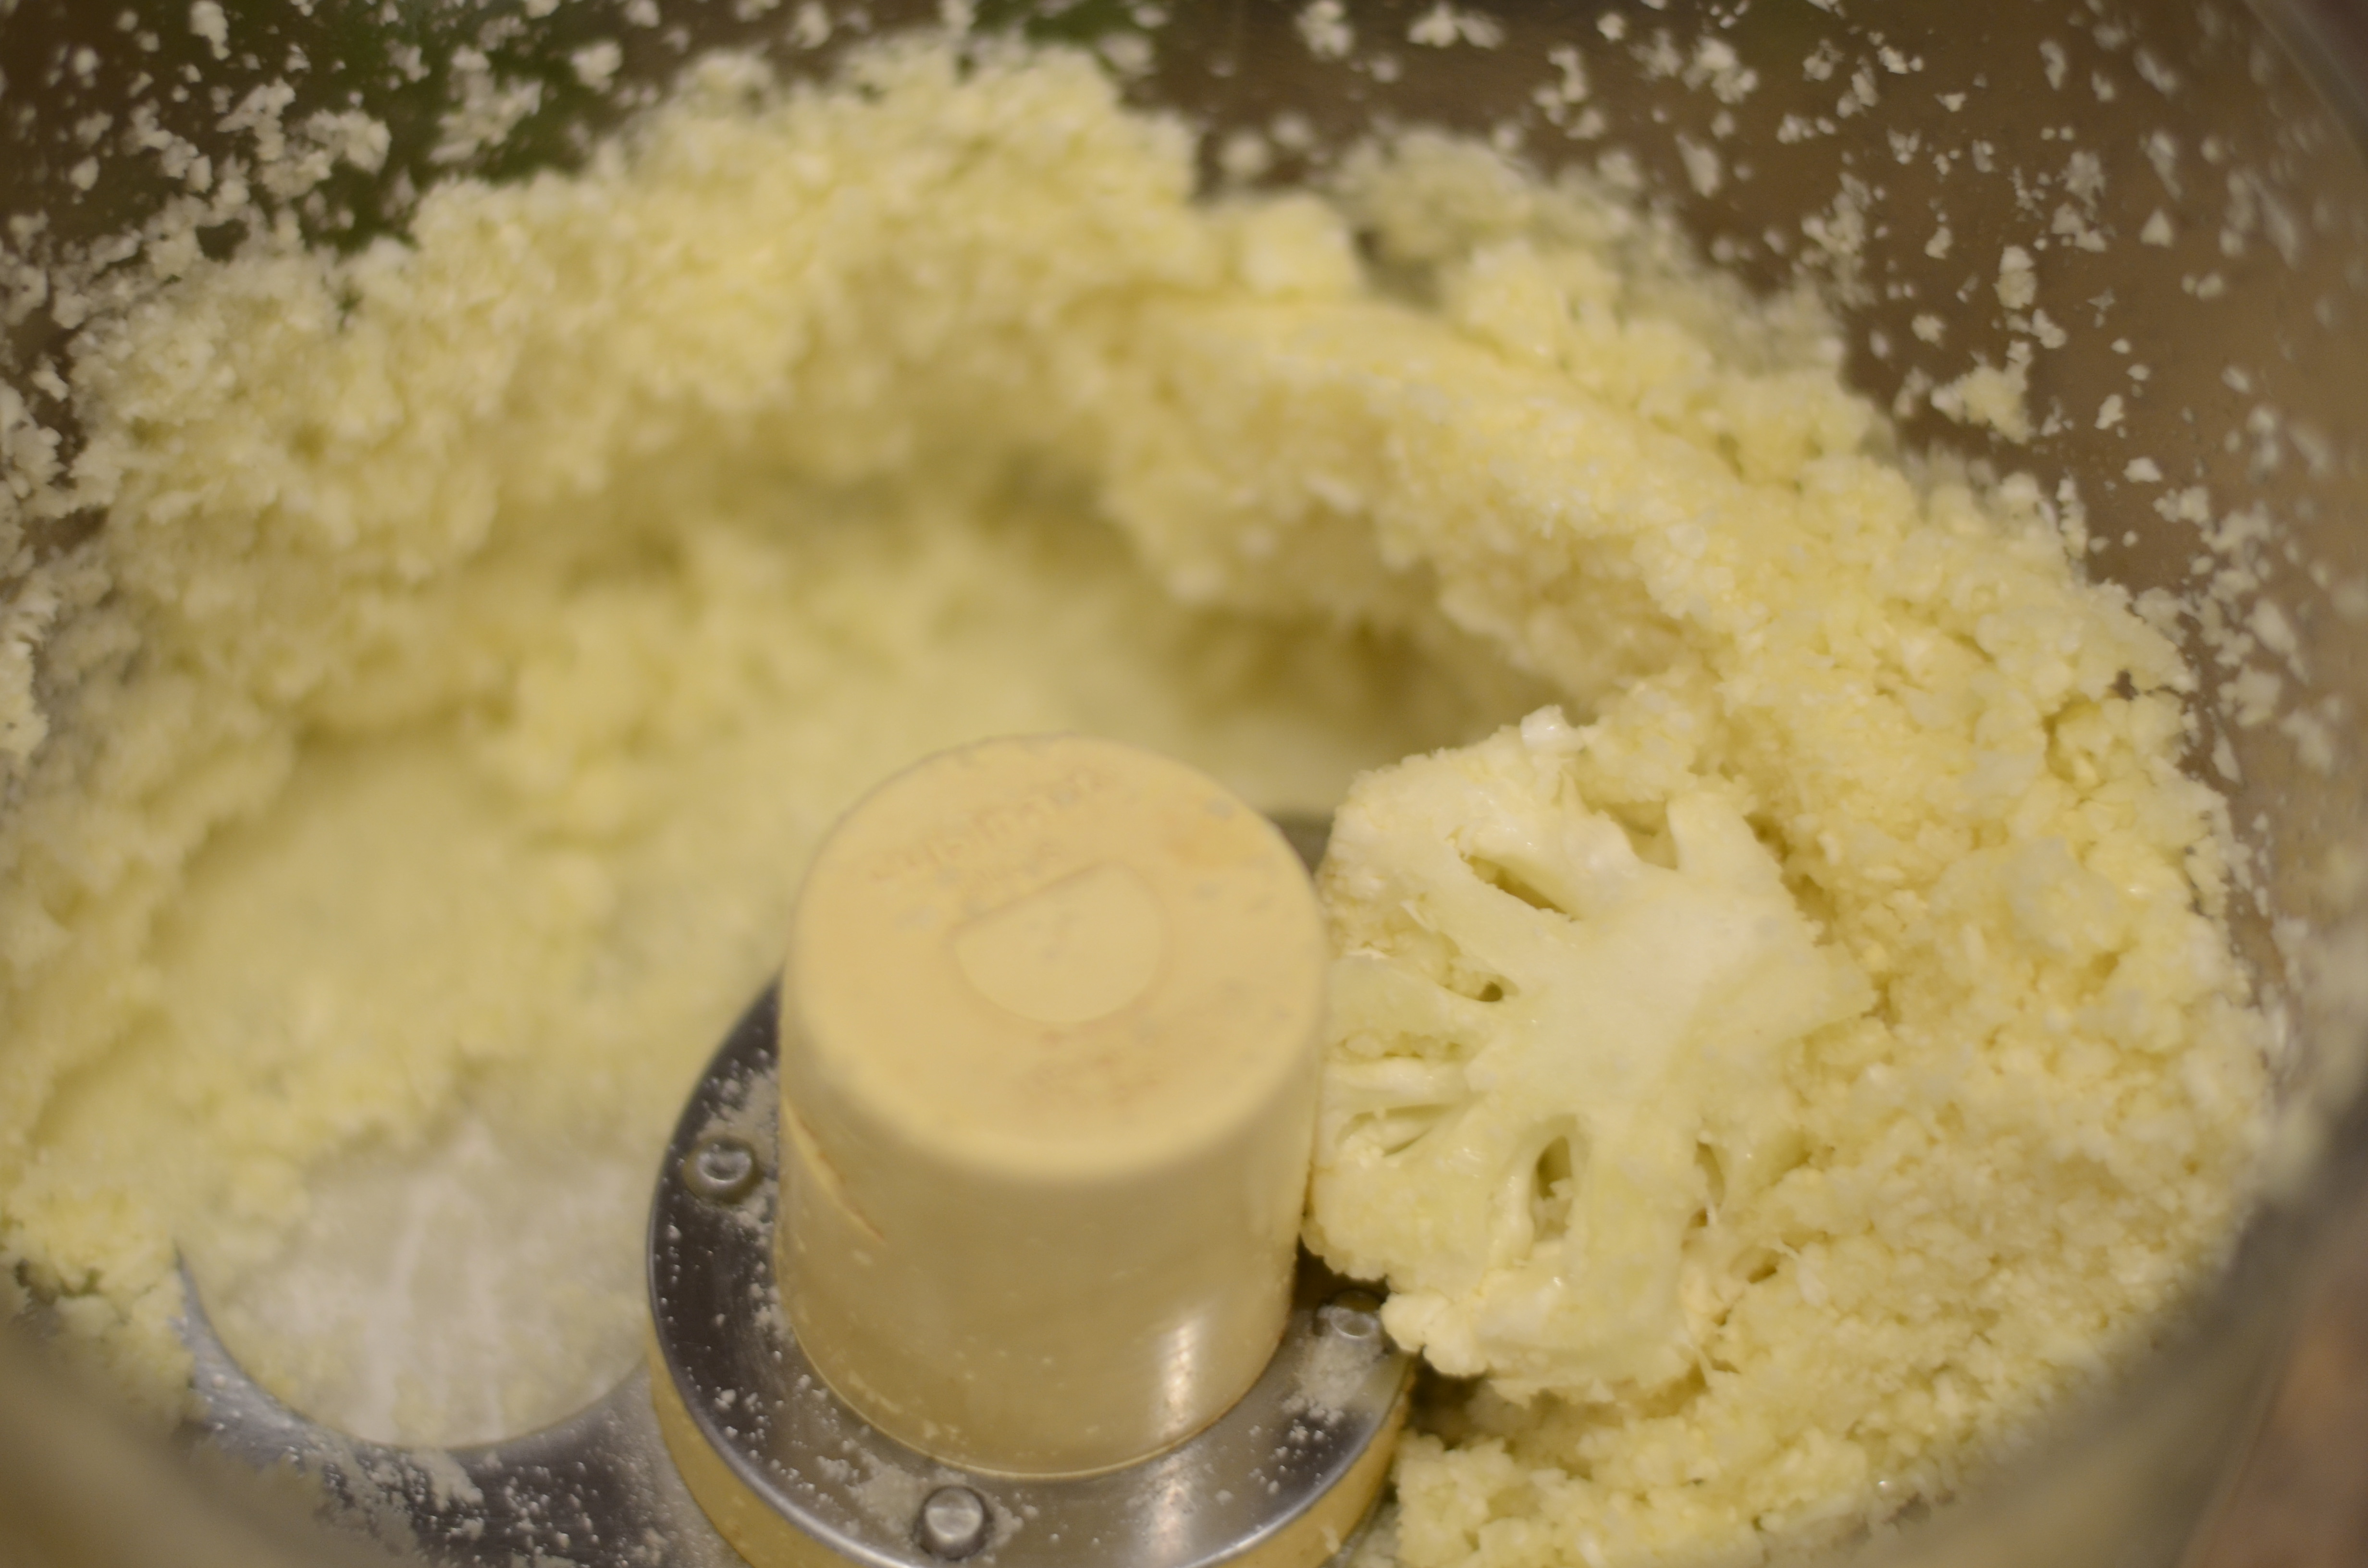
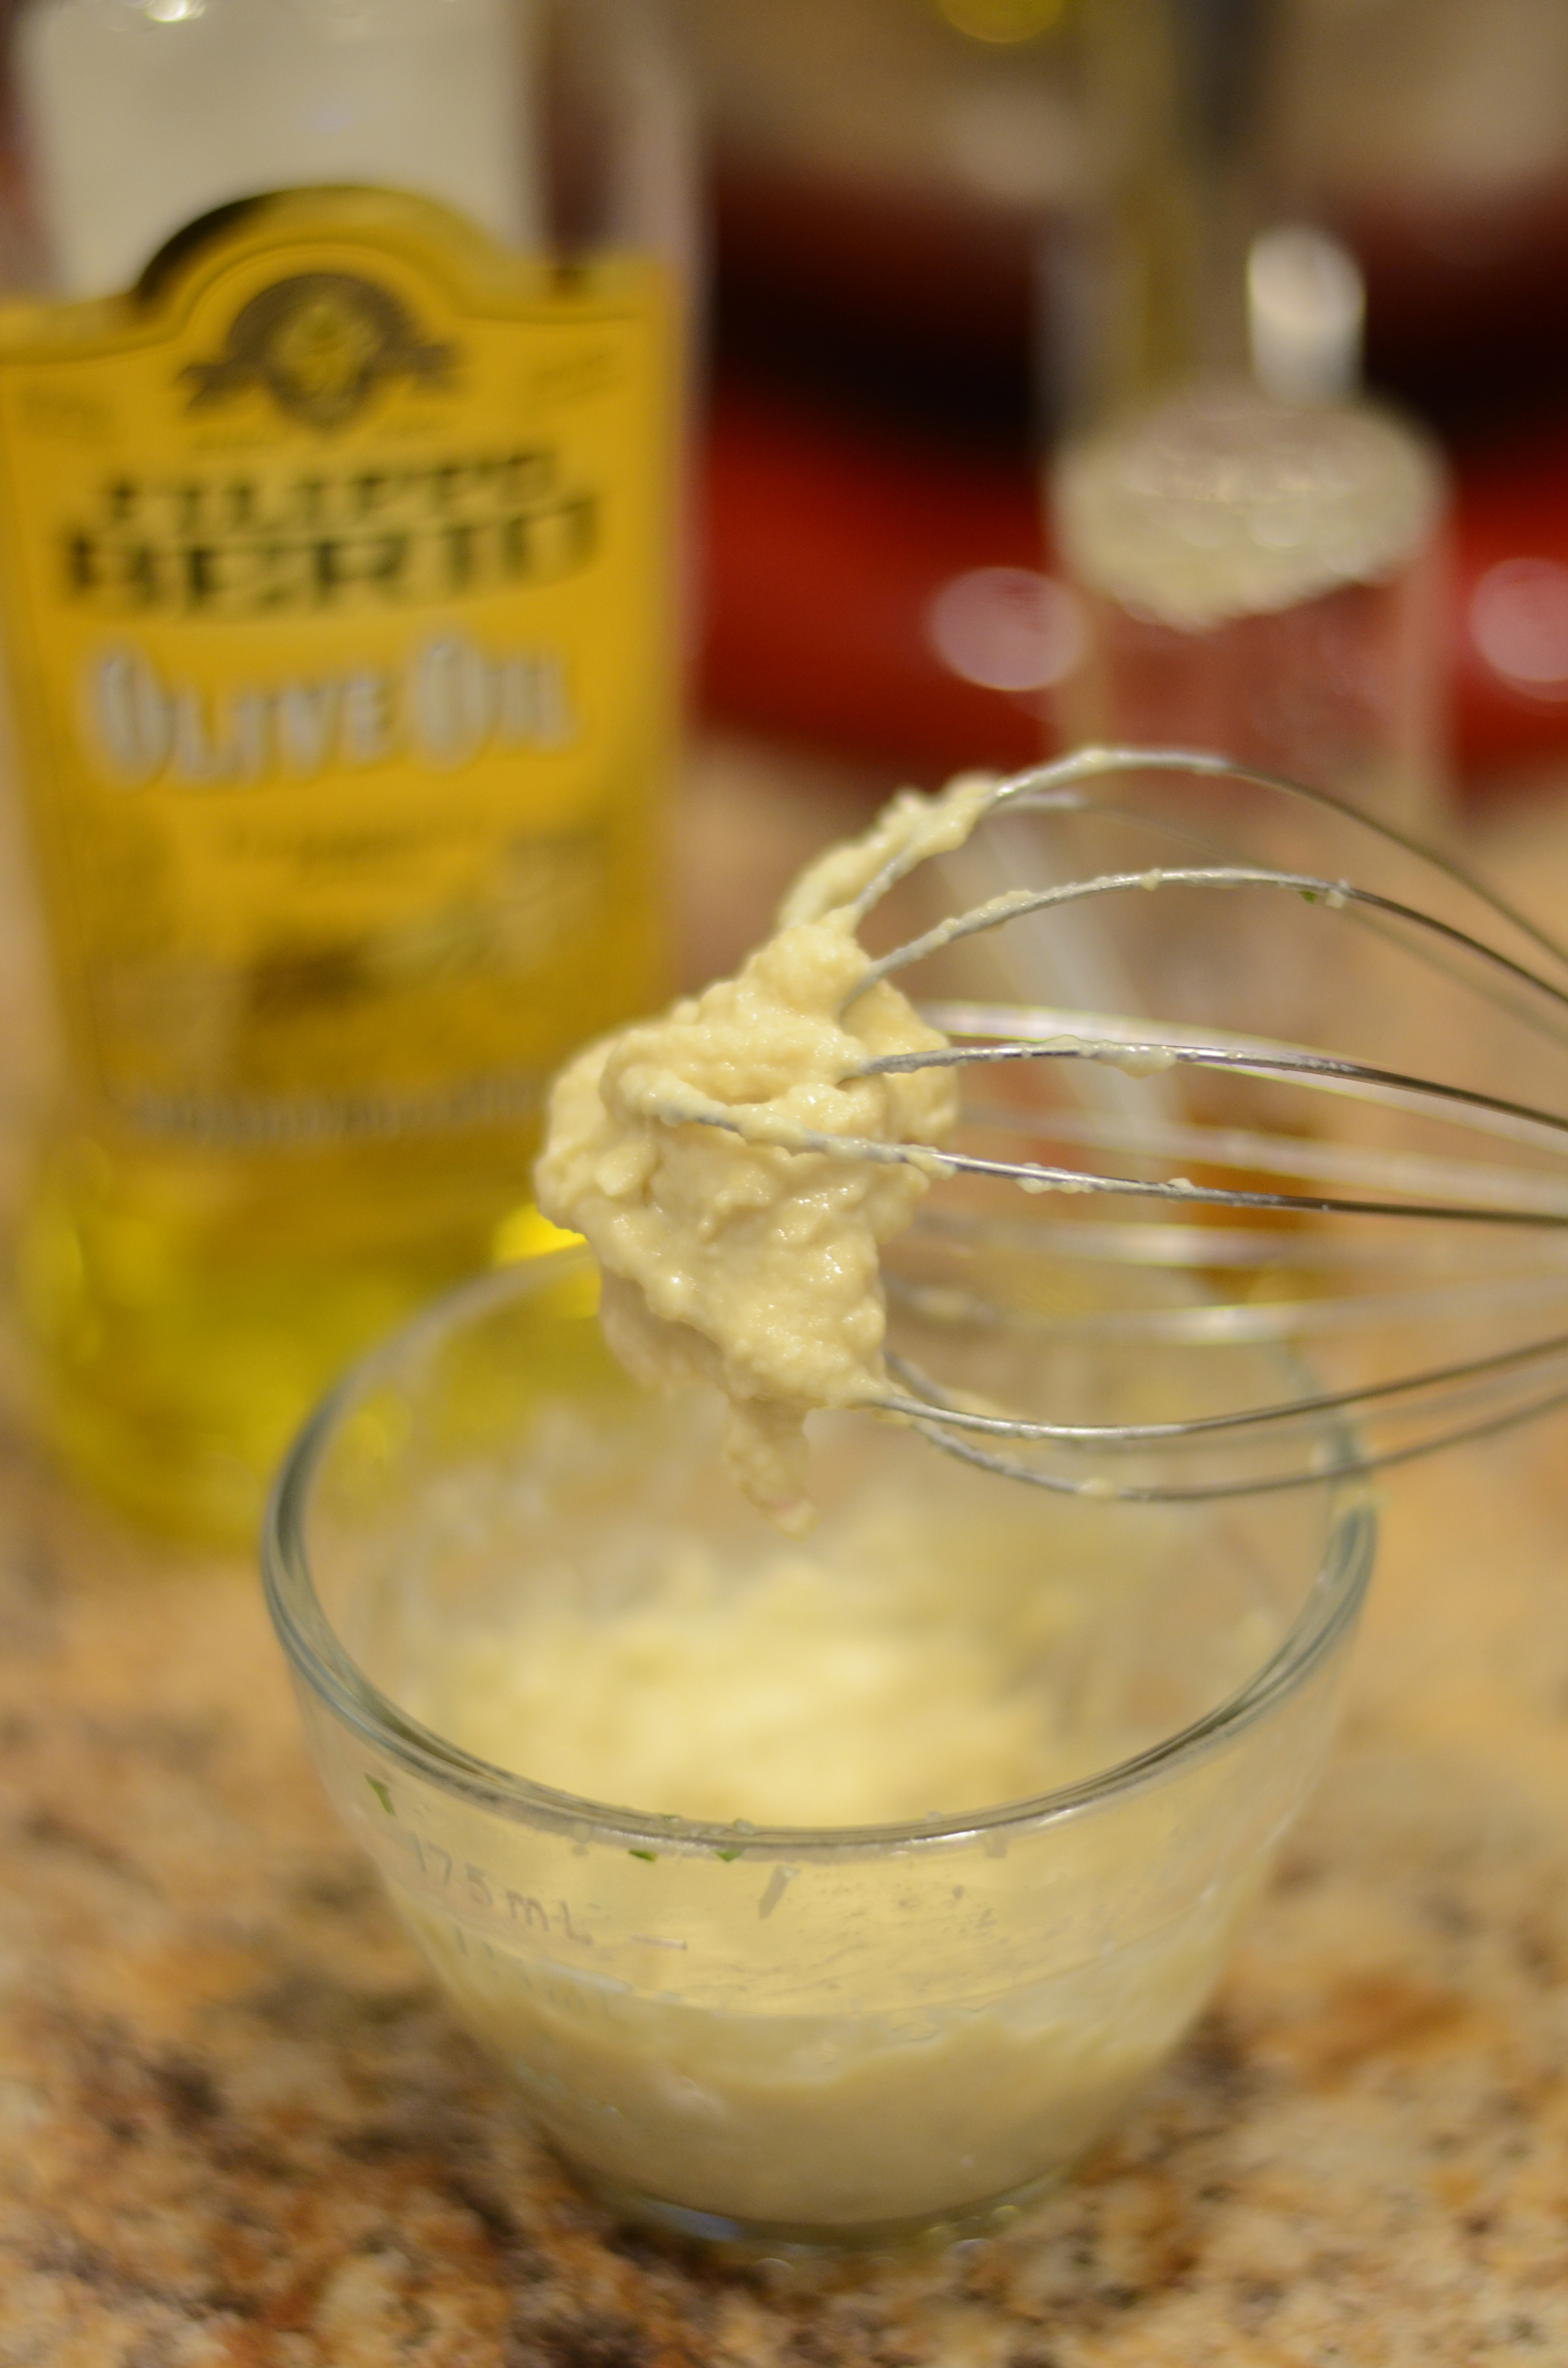
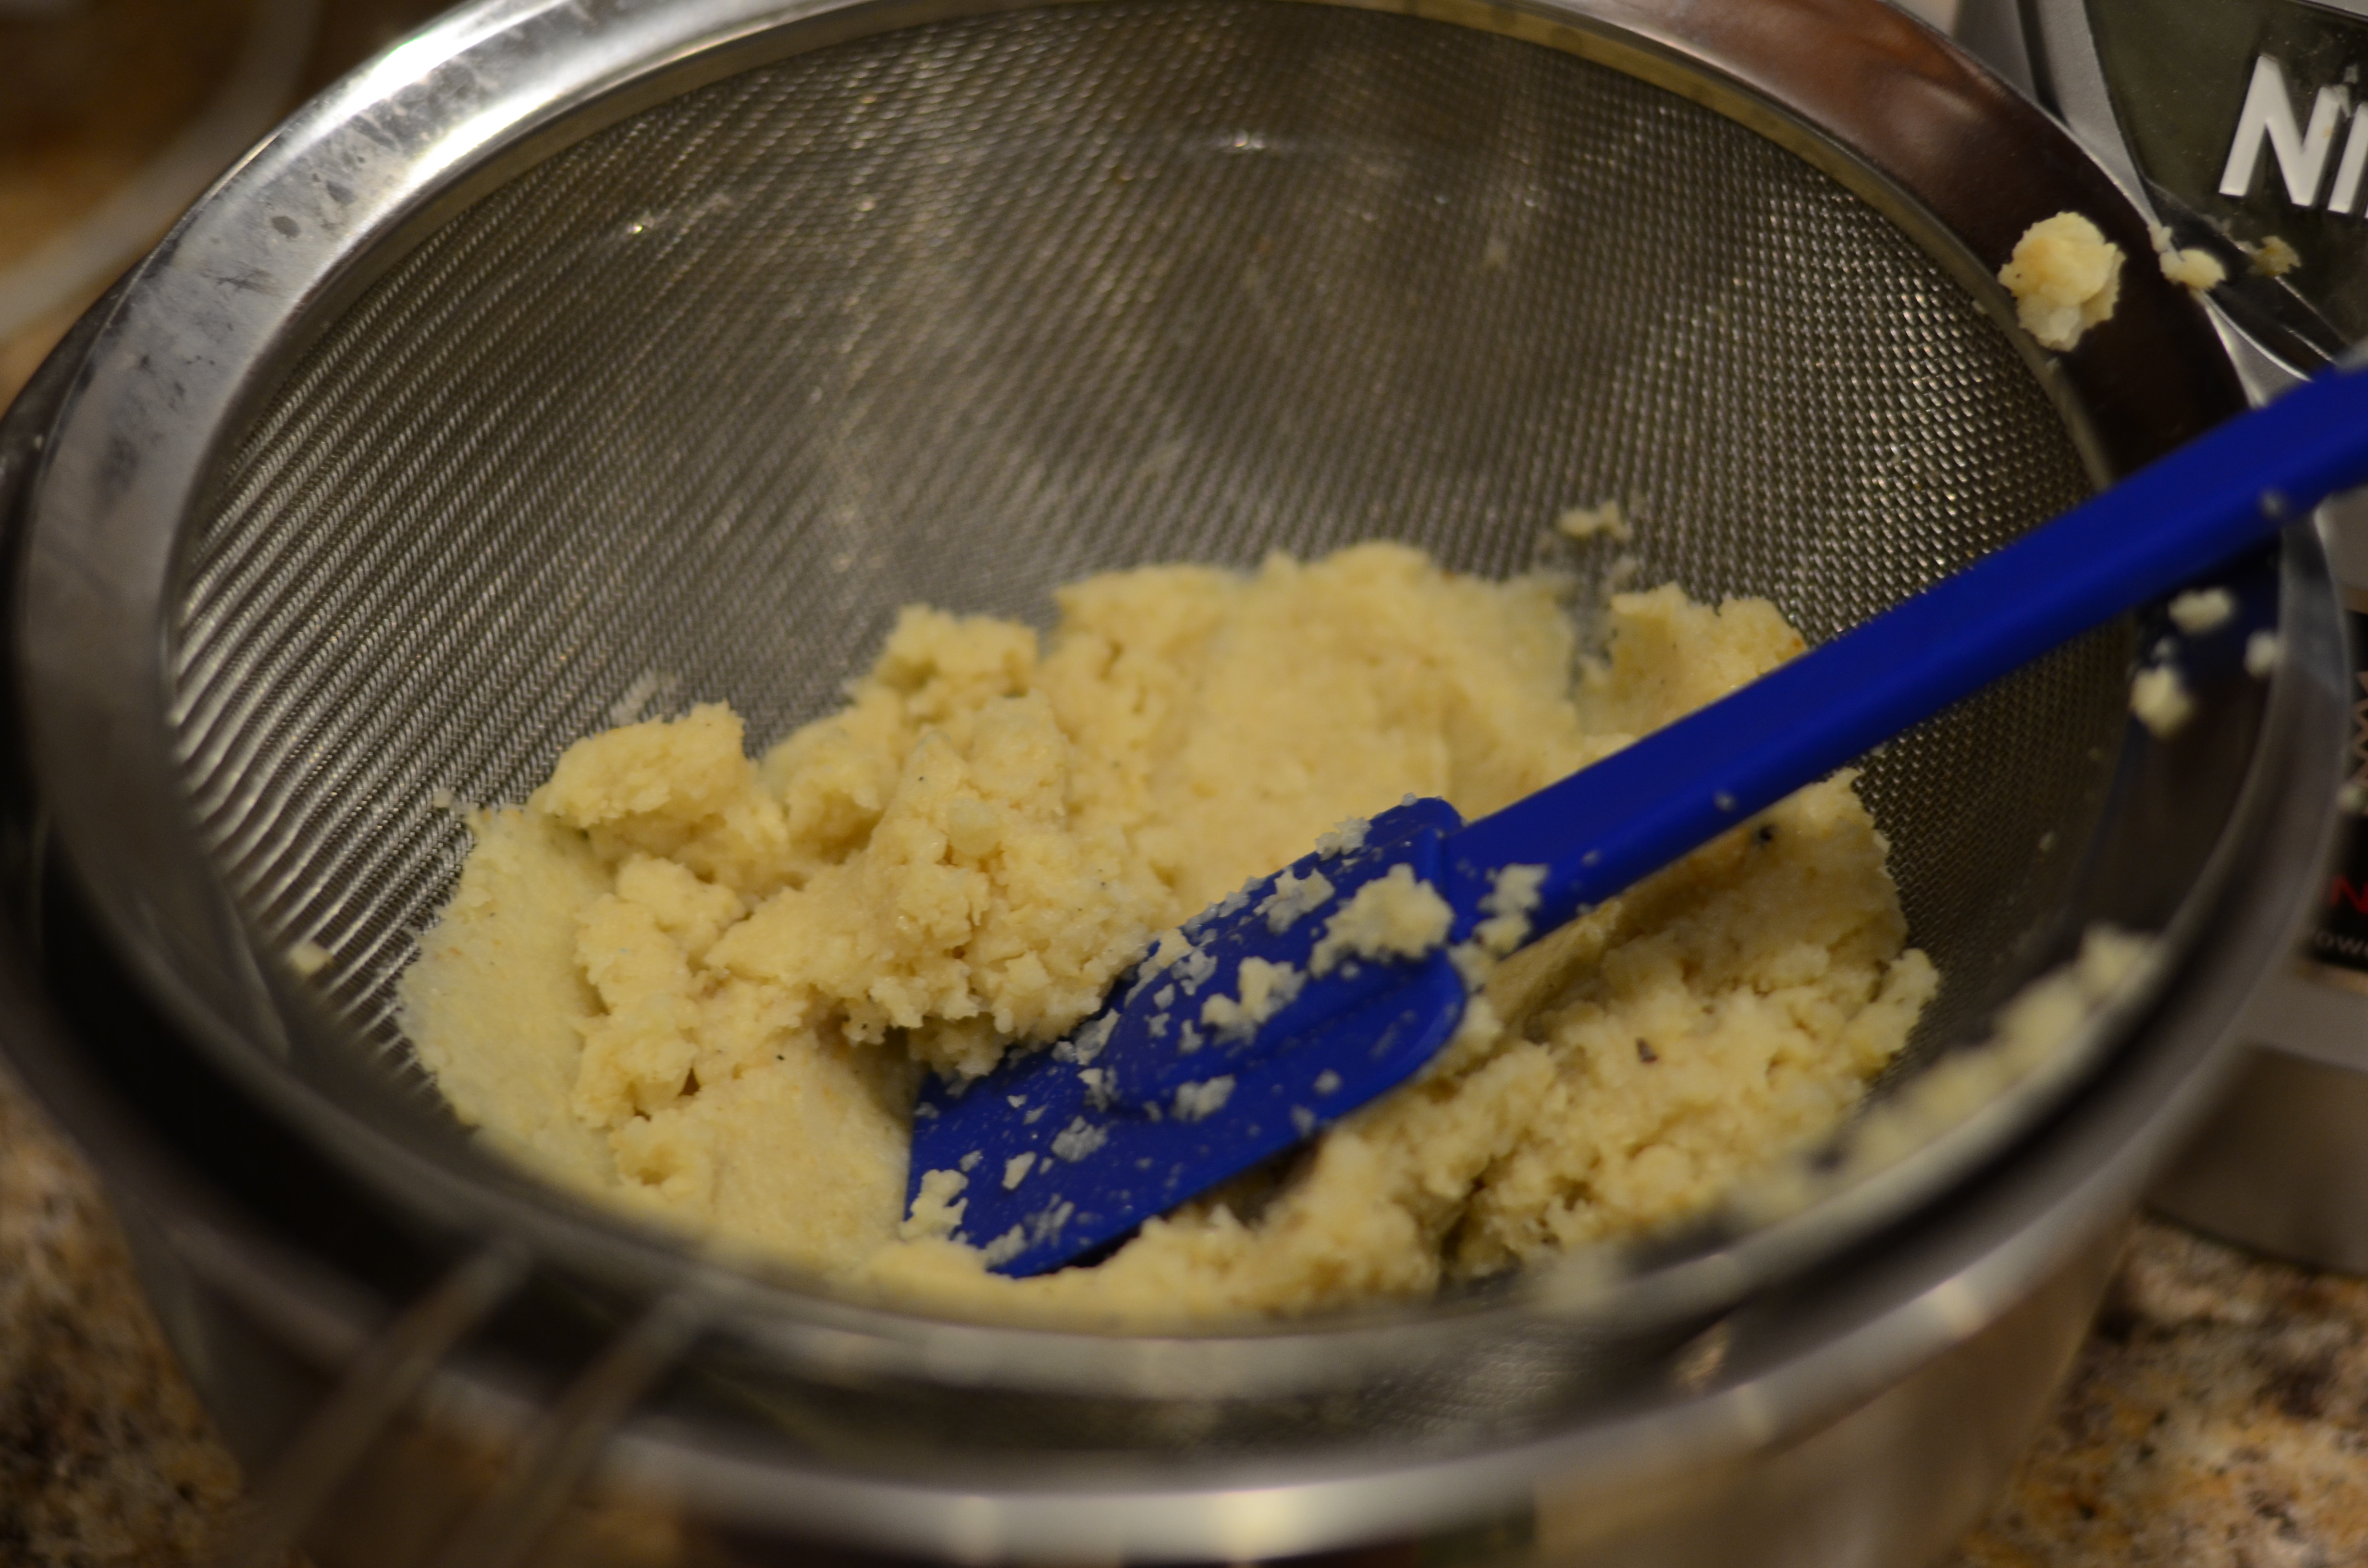
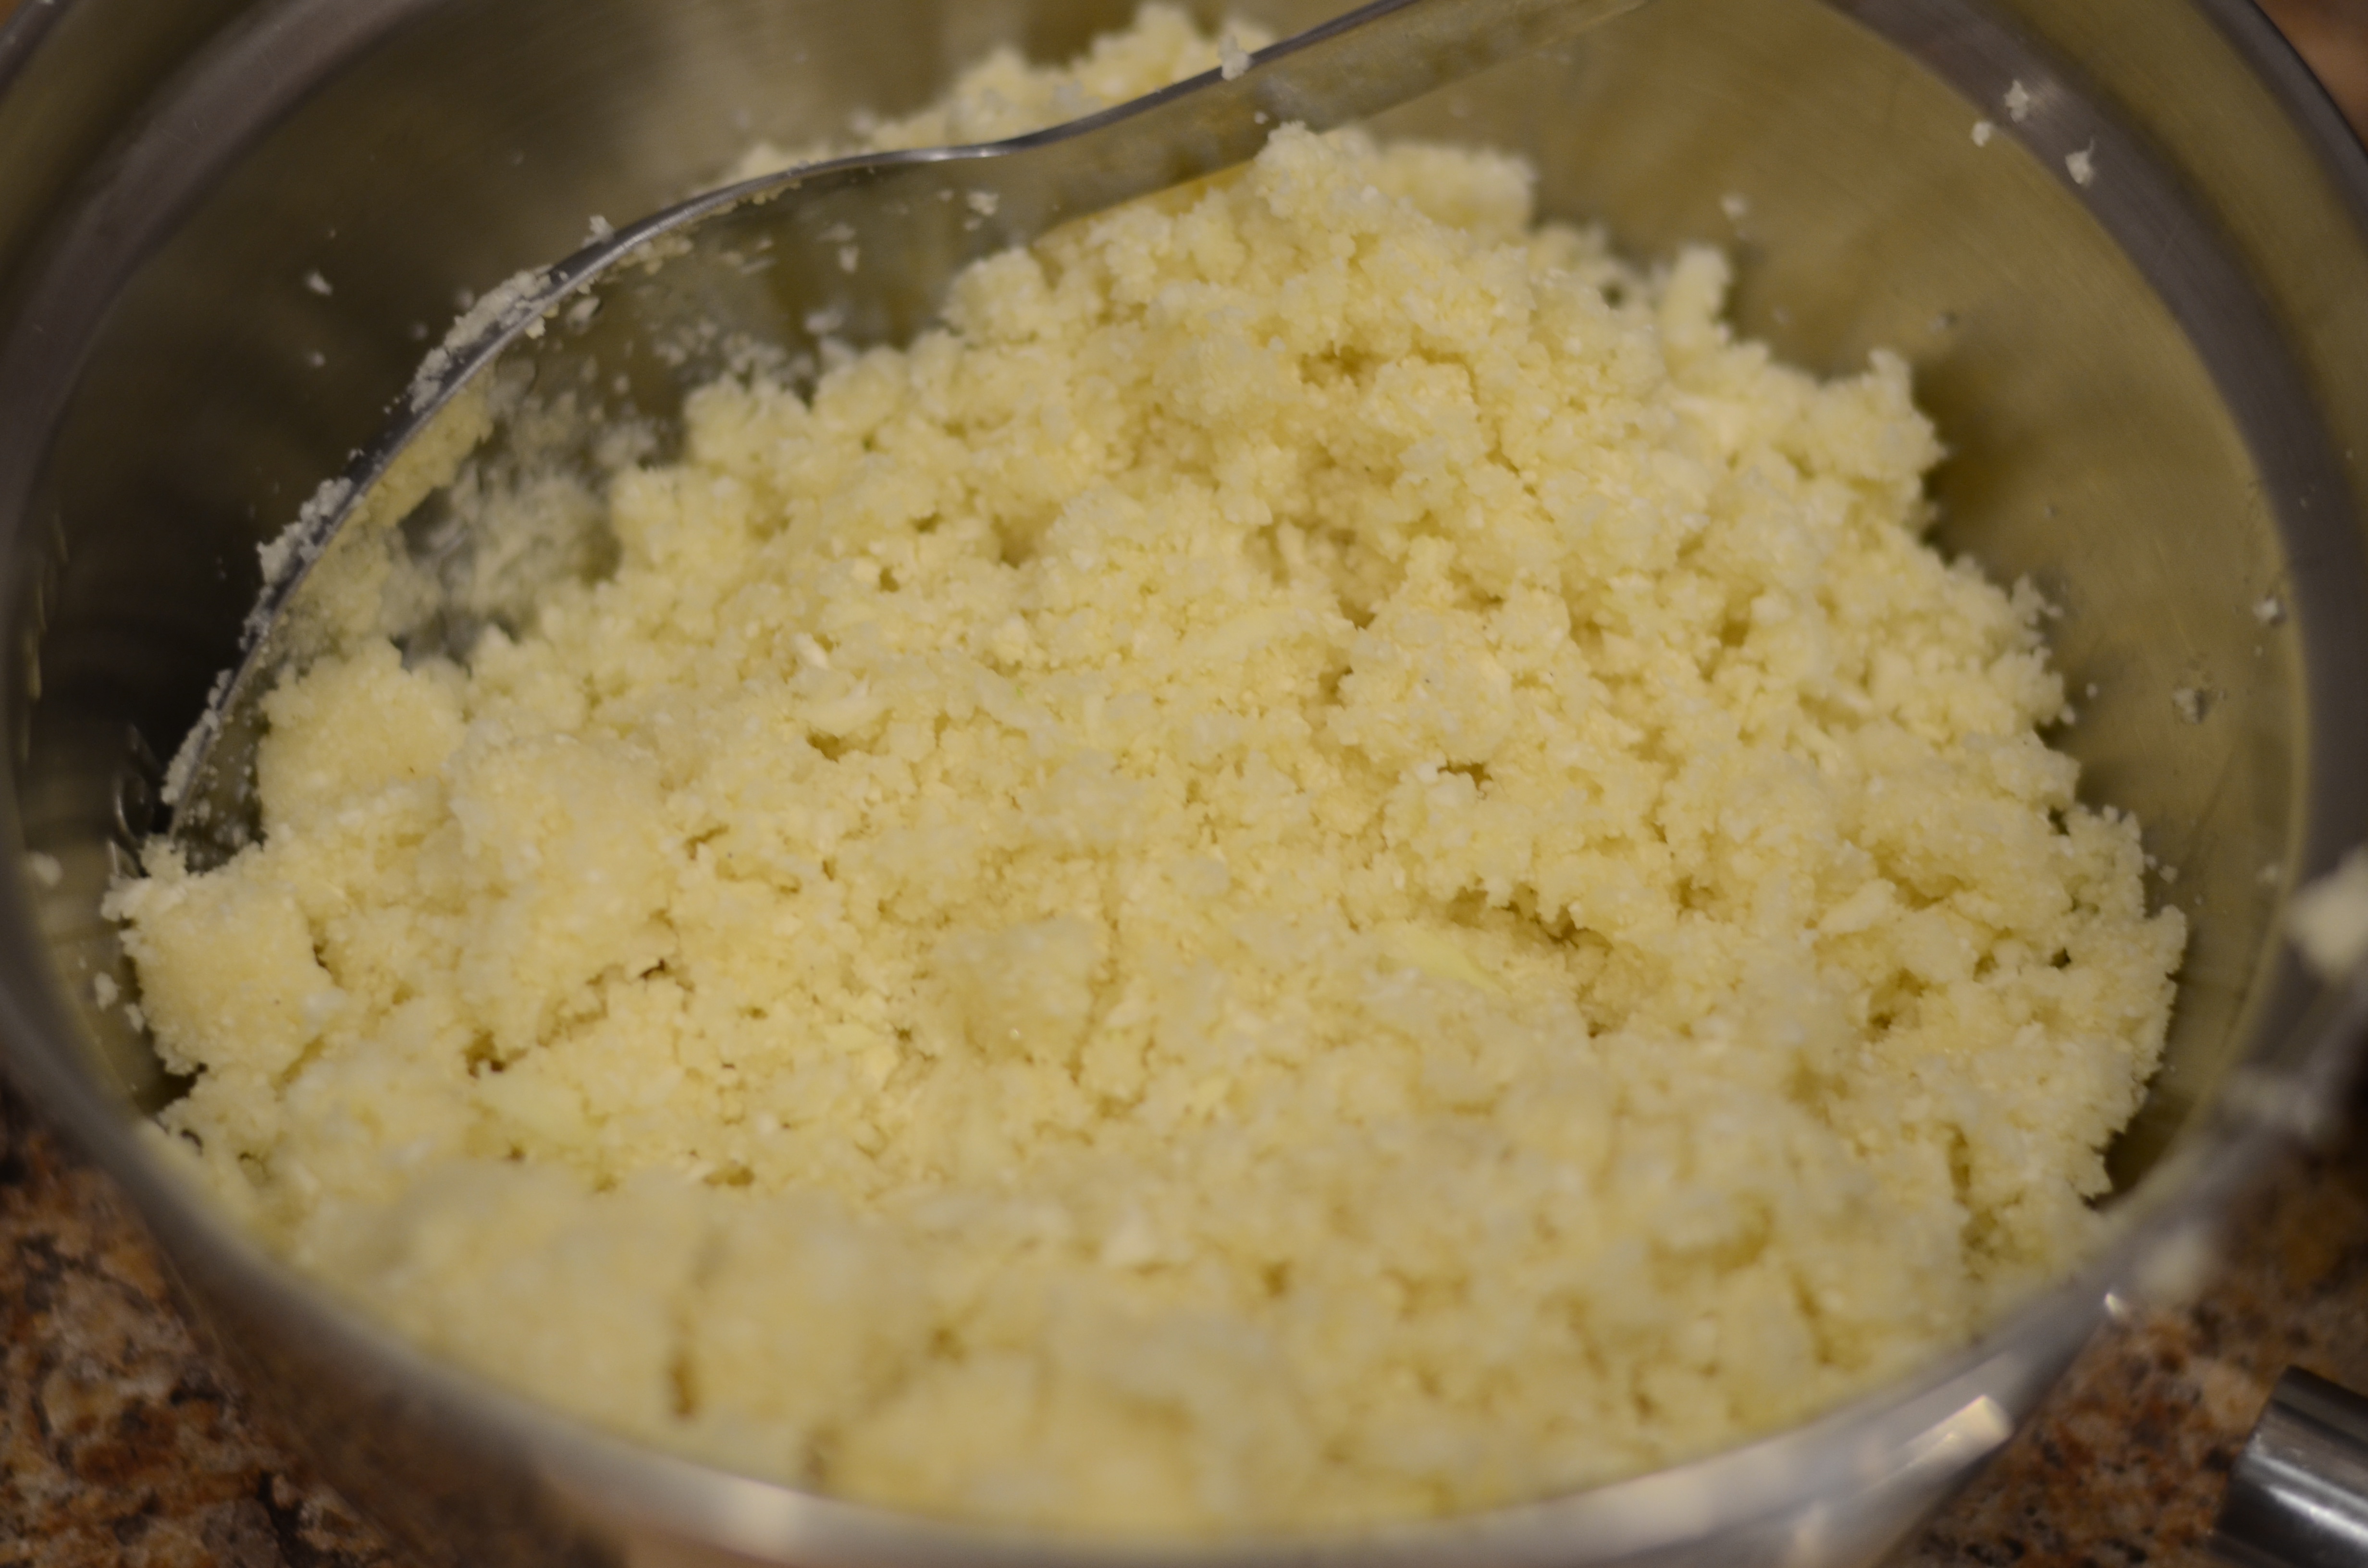
Pulse until crumbs appear couscous-like. Transfer to a large mixing bowl.
DSC_6255
DSC_6252
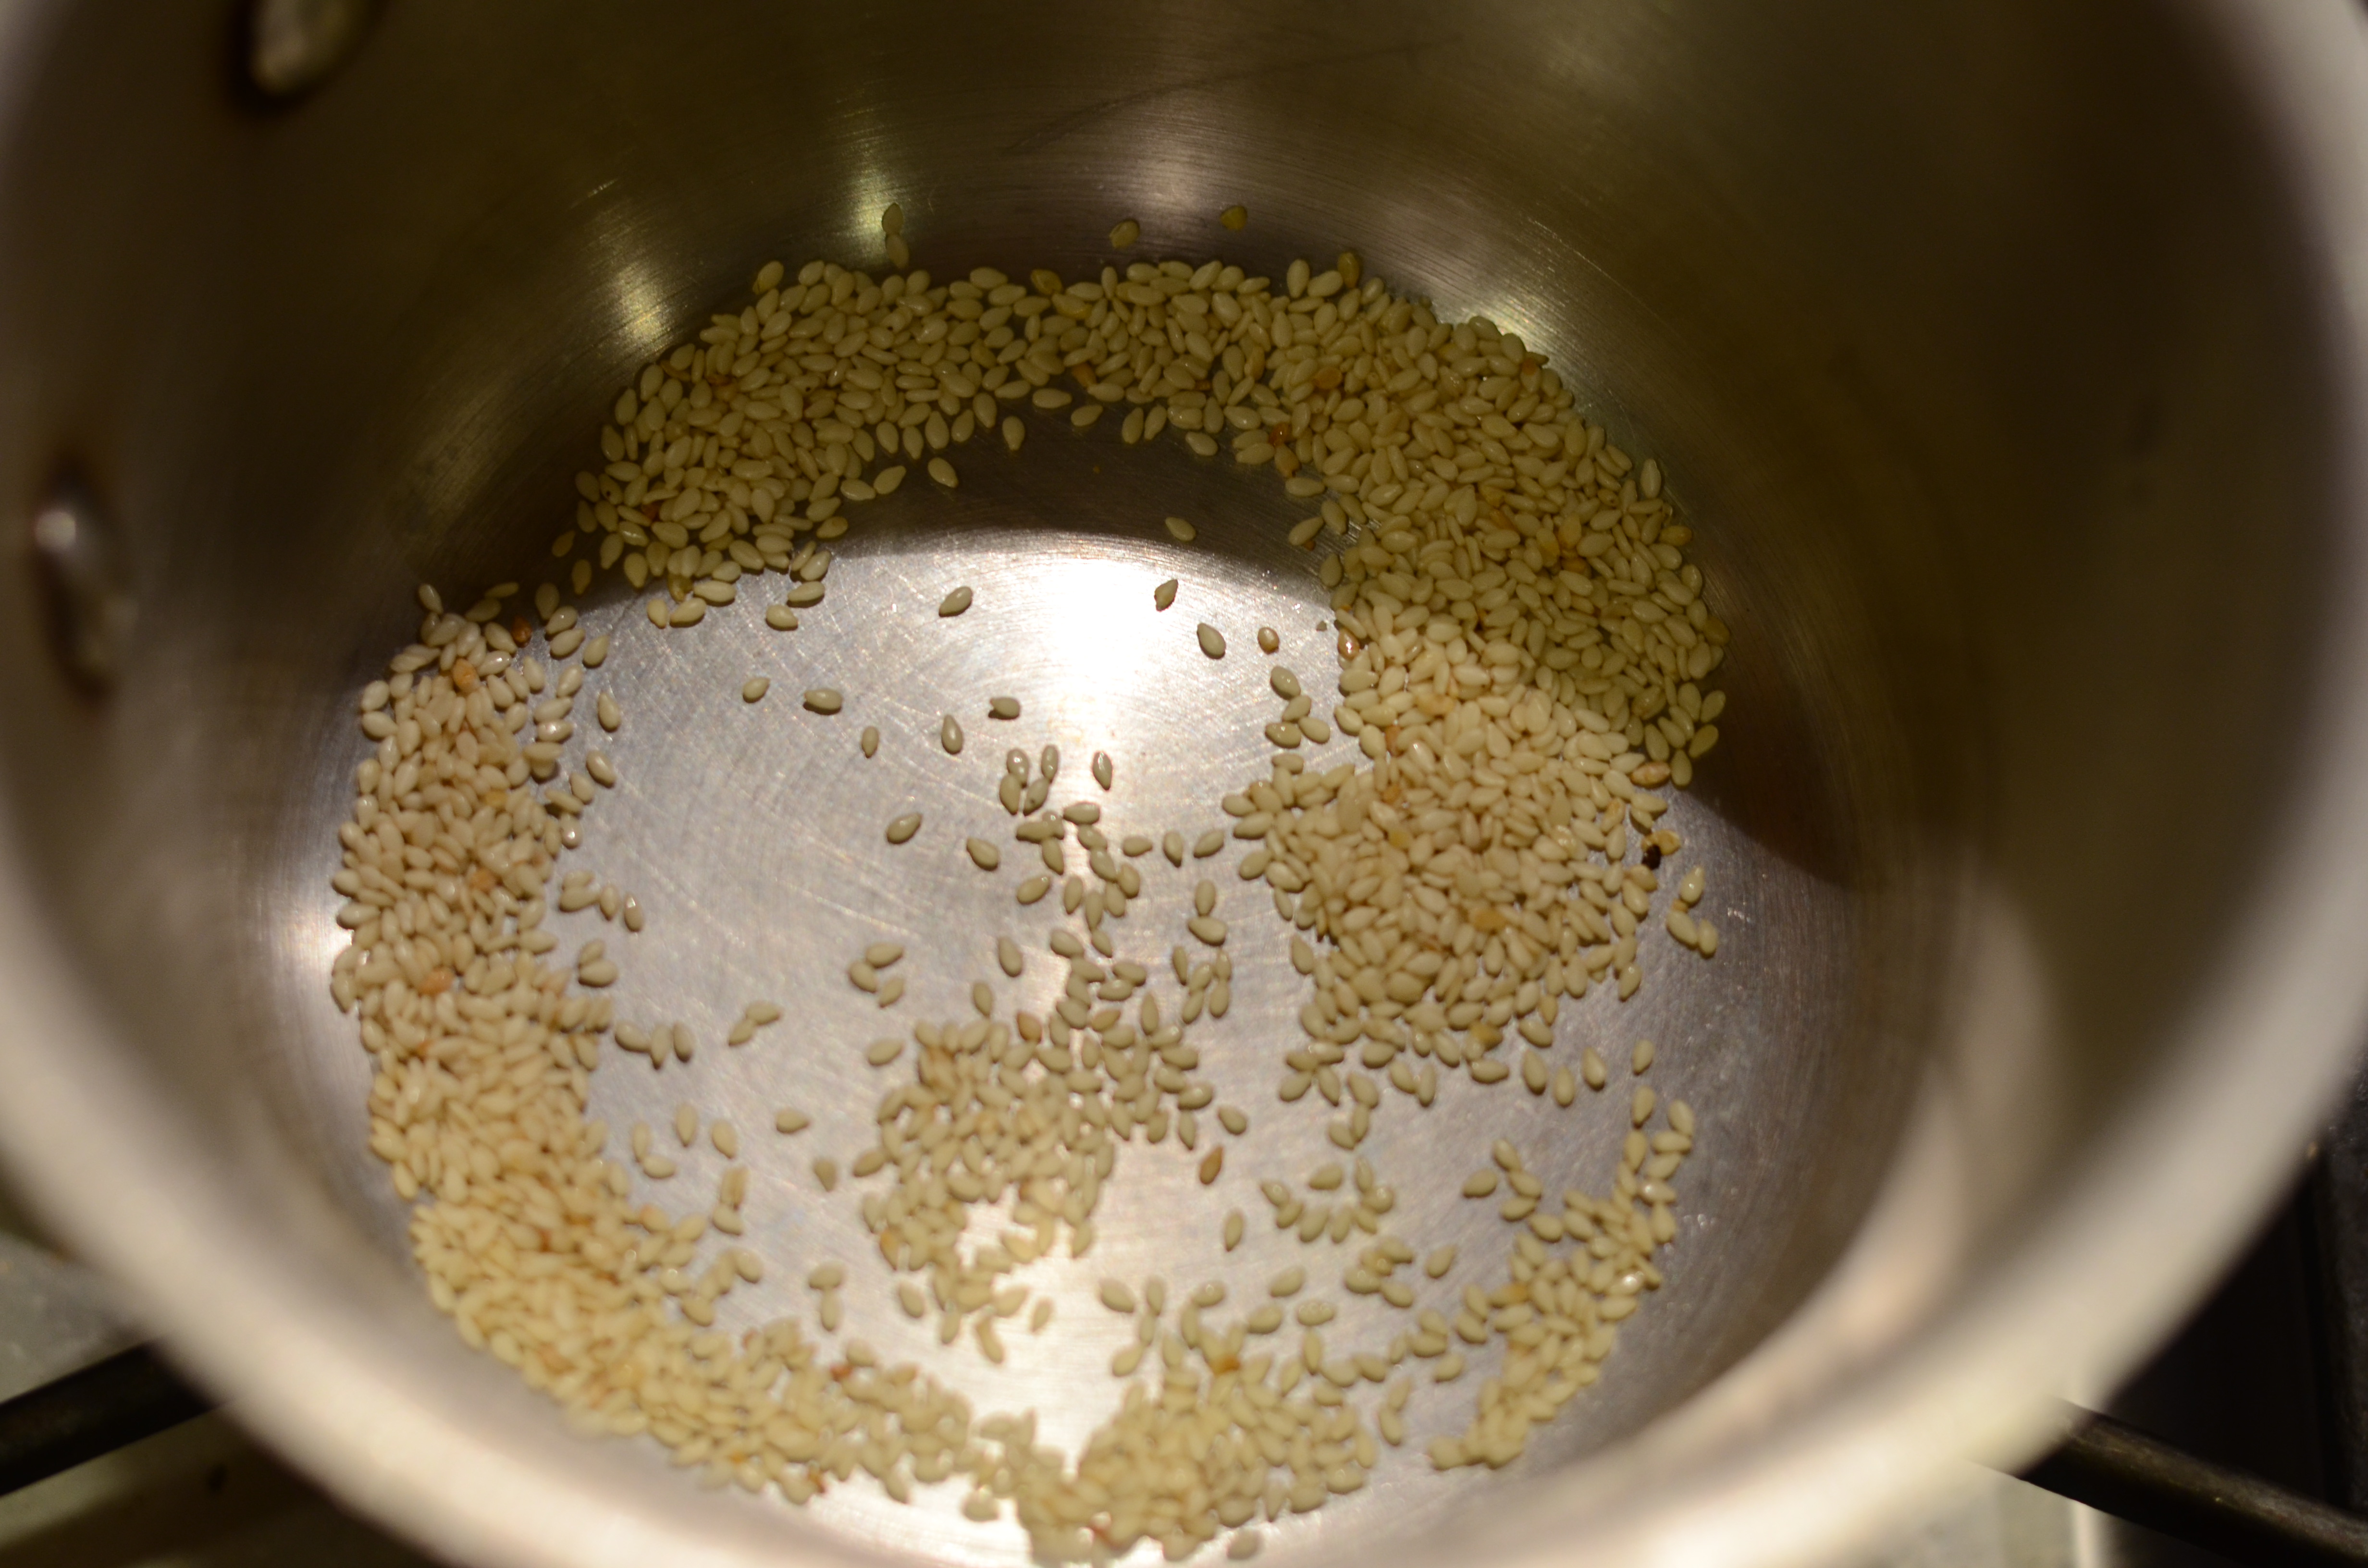
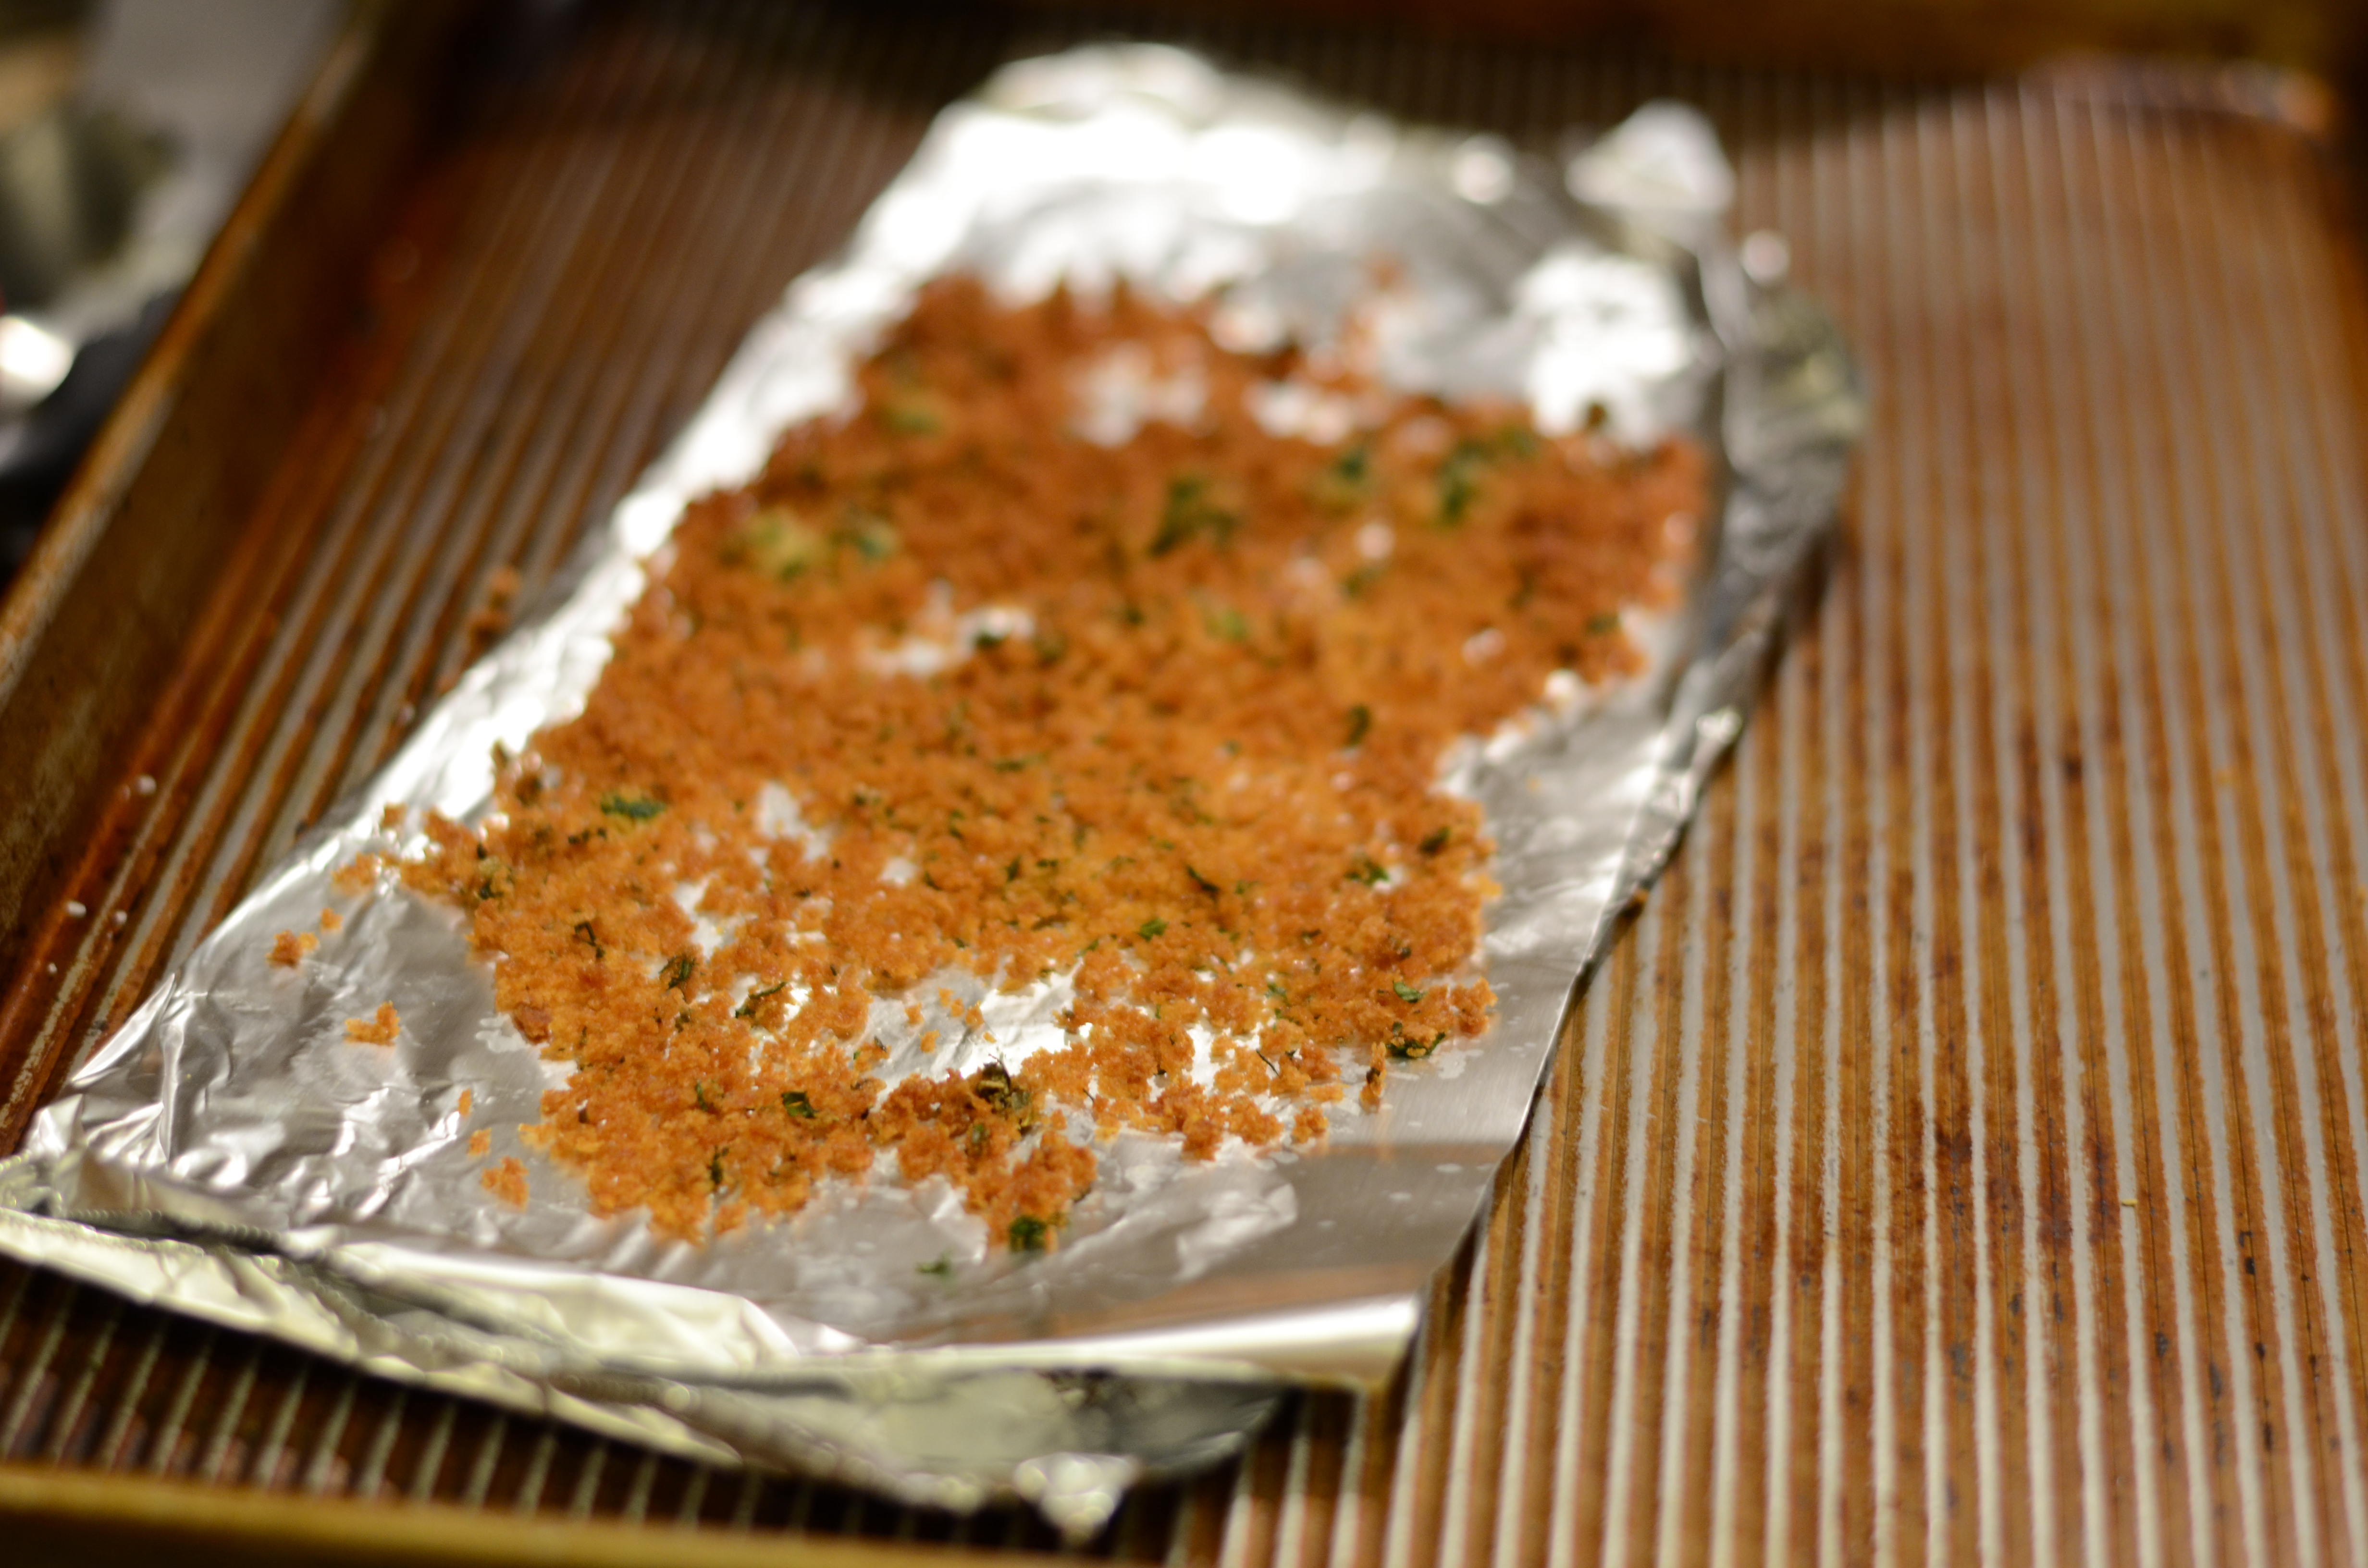
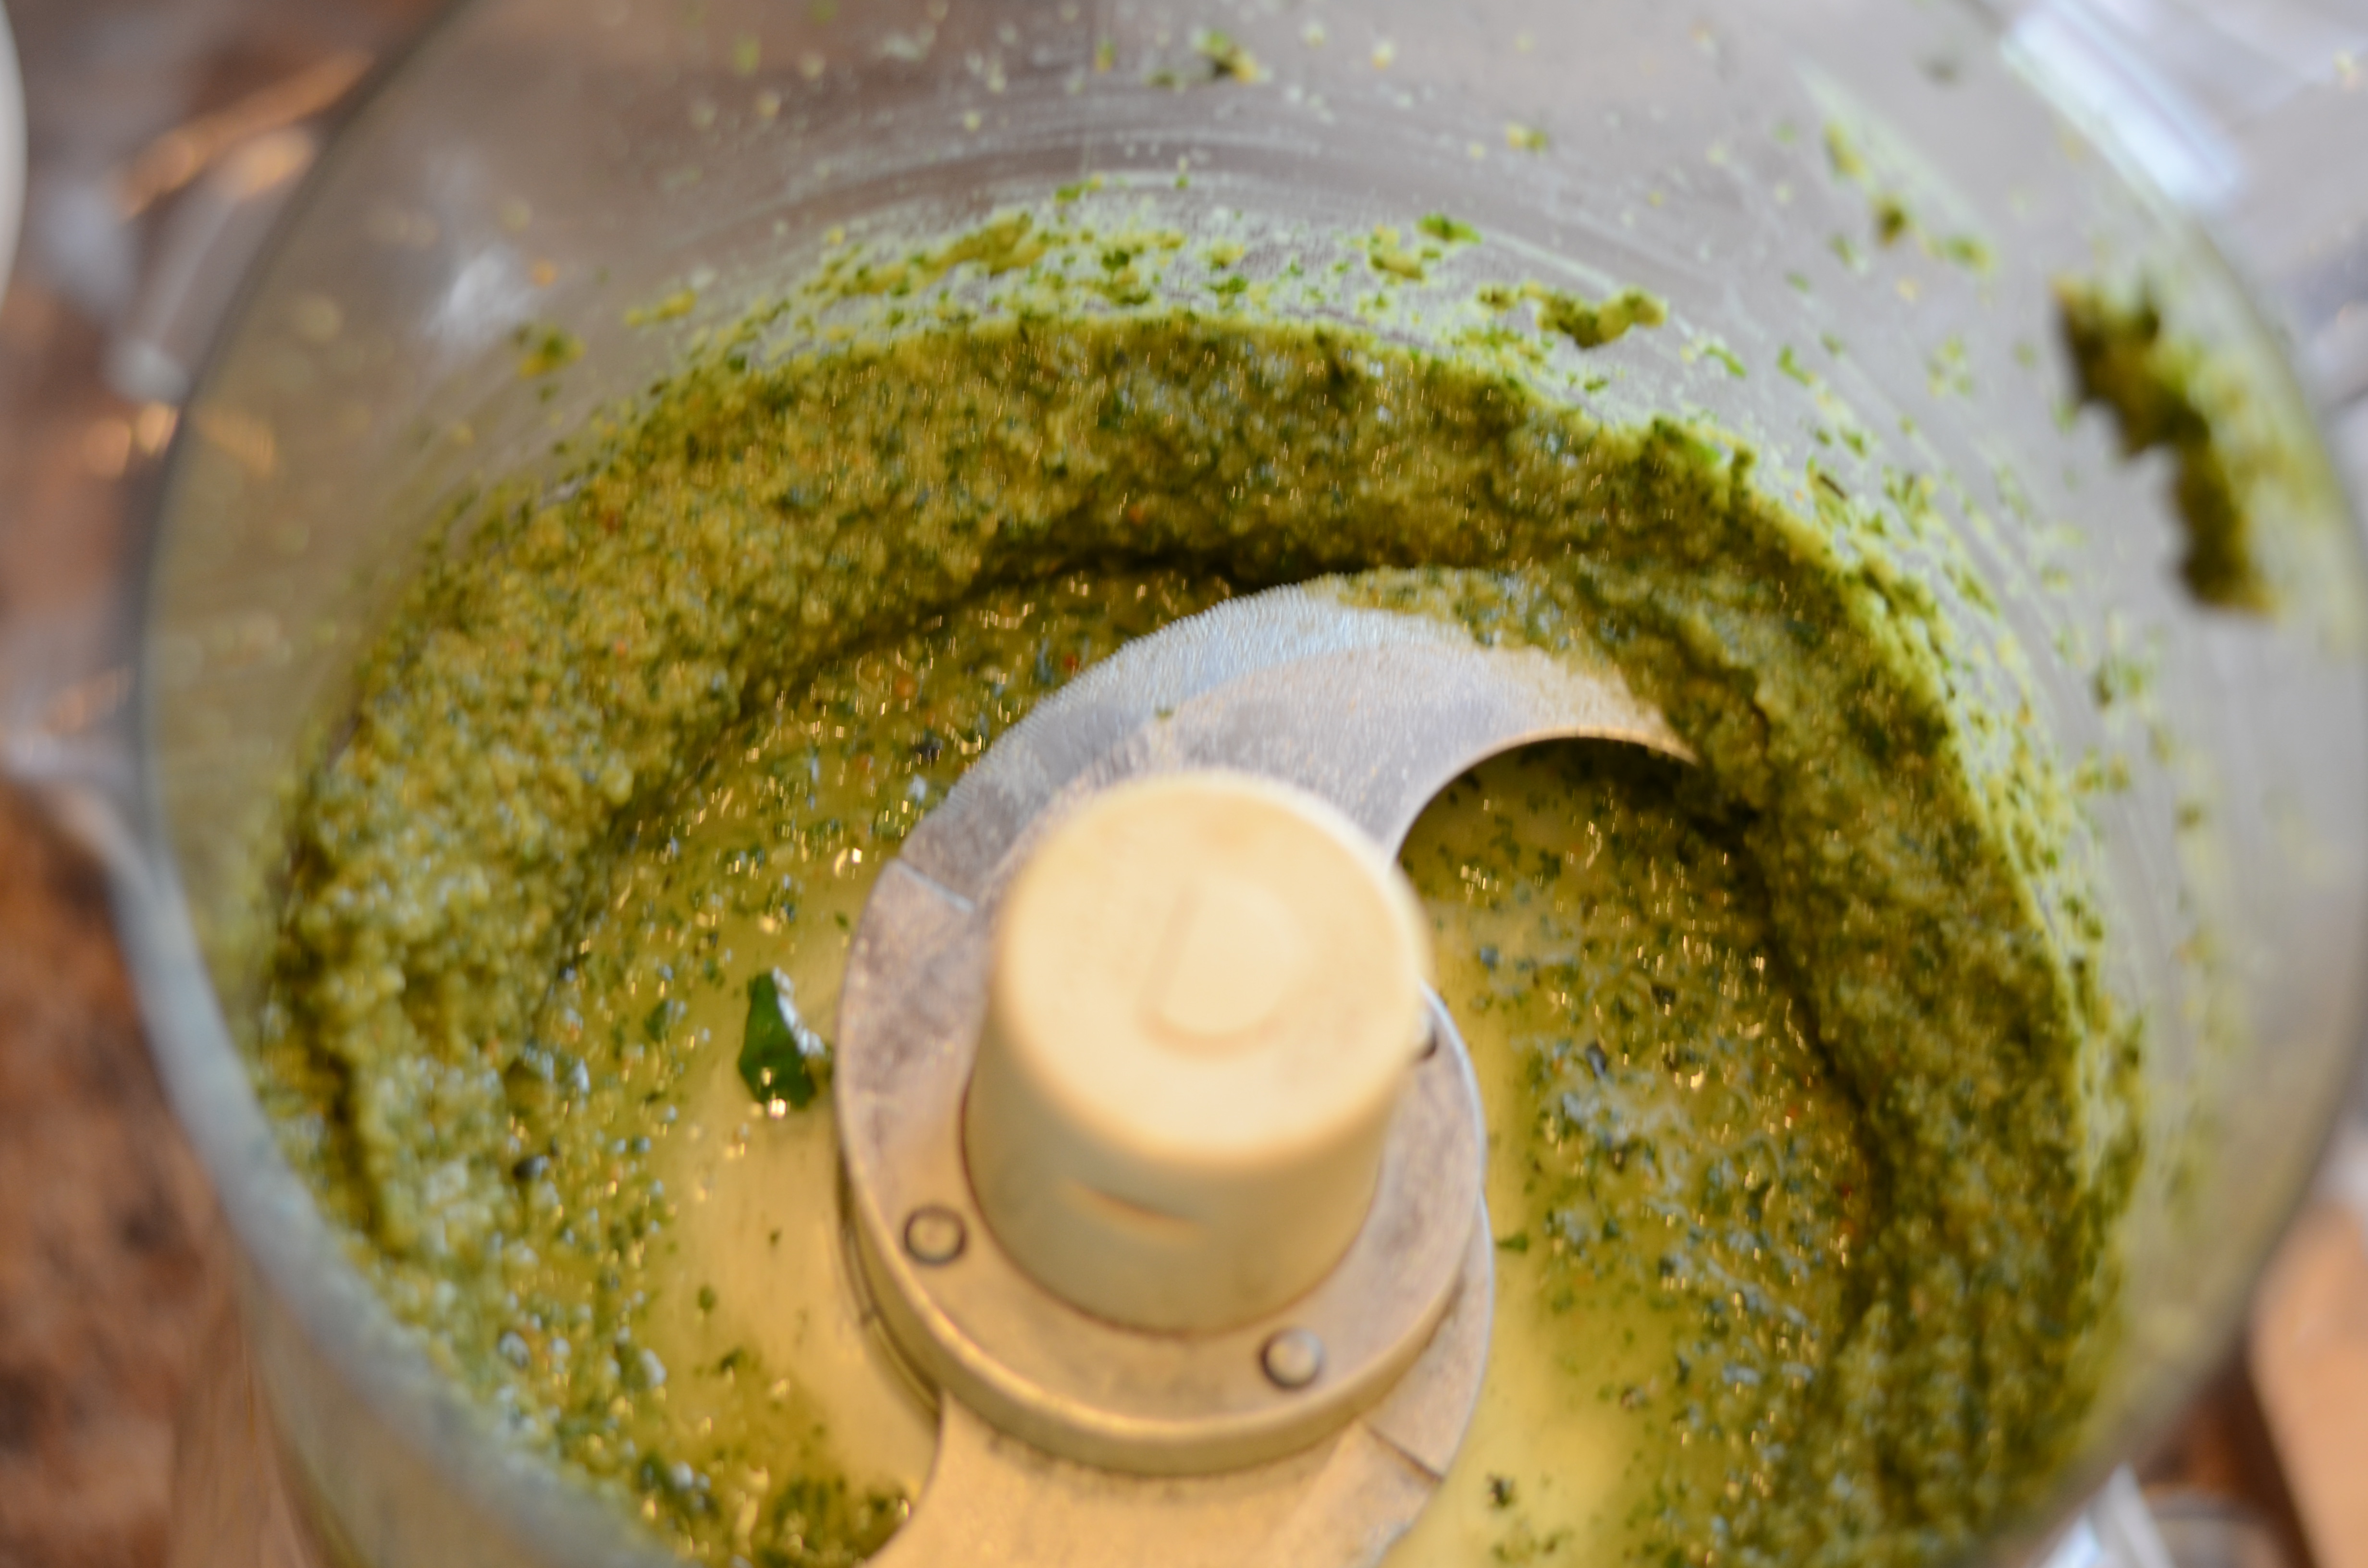
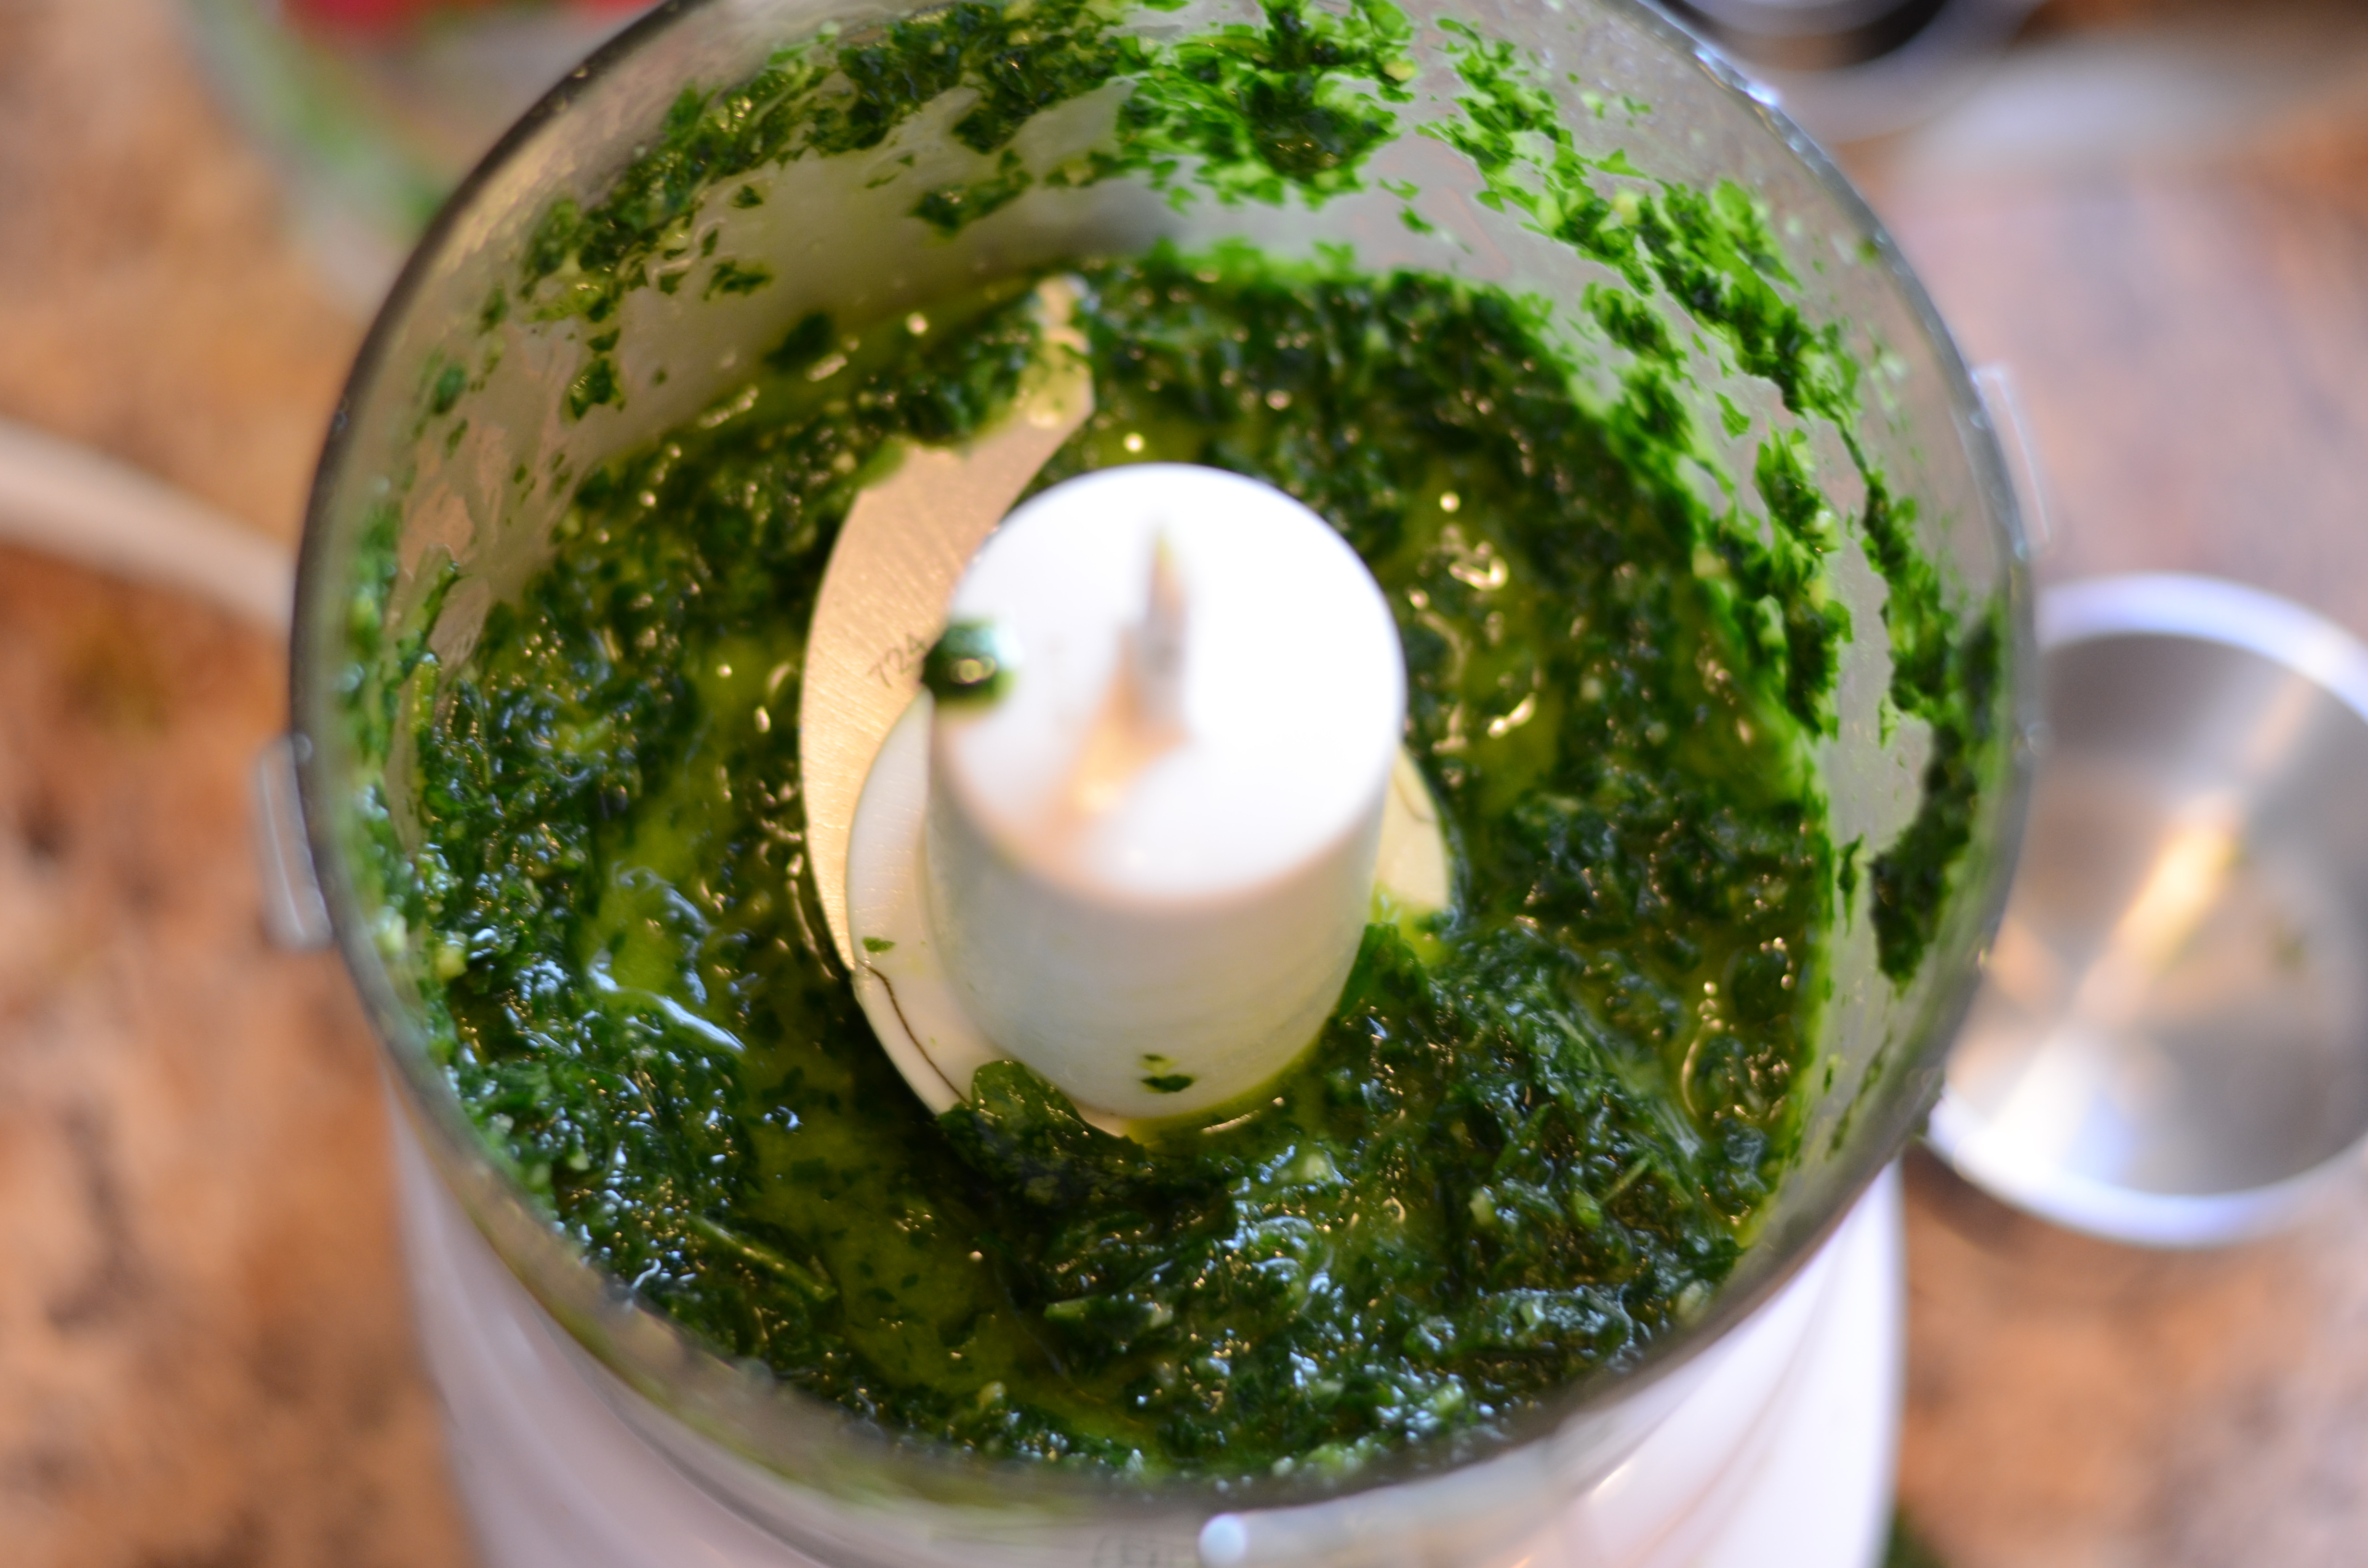
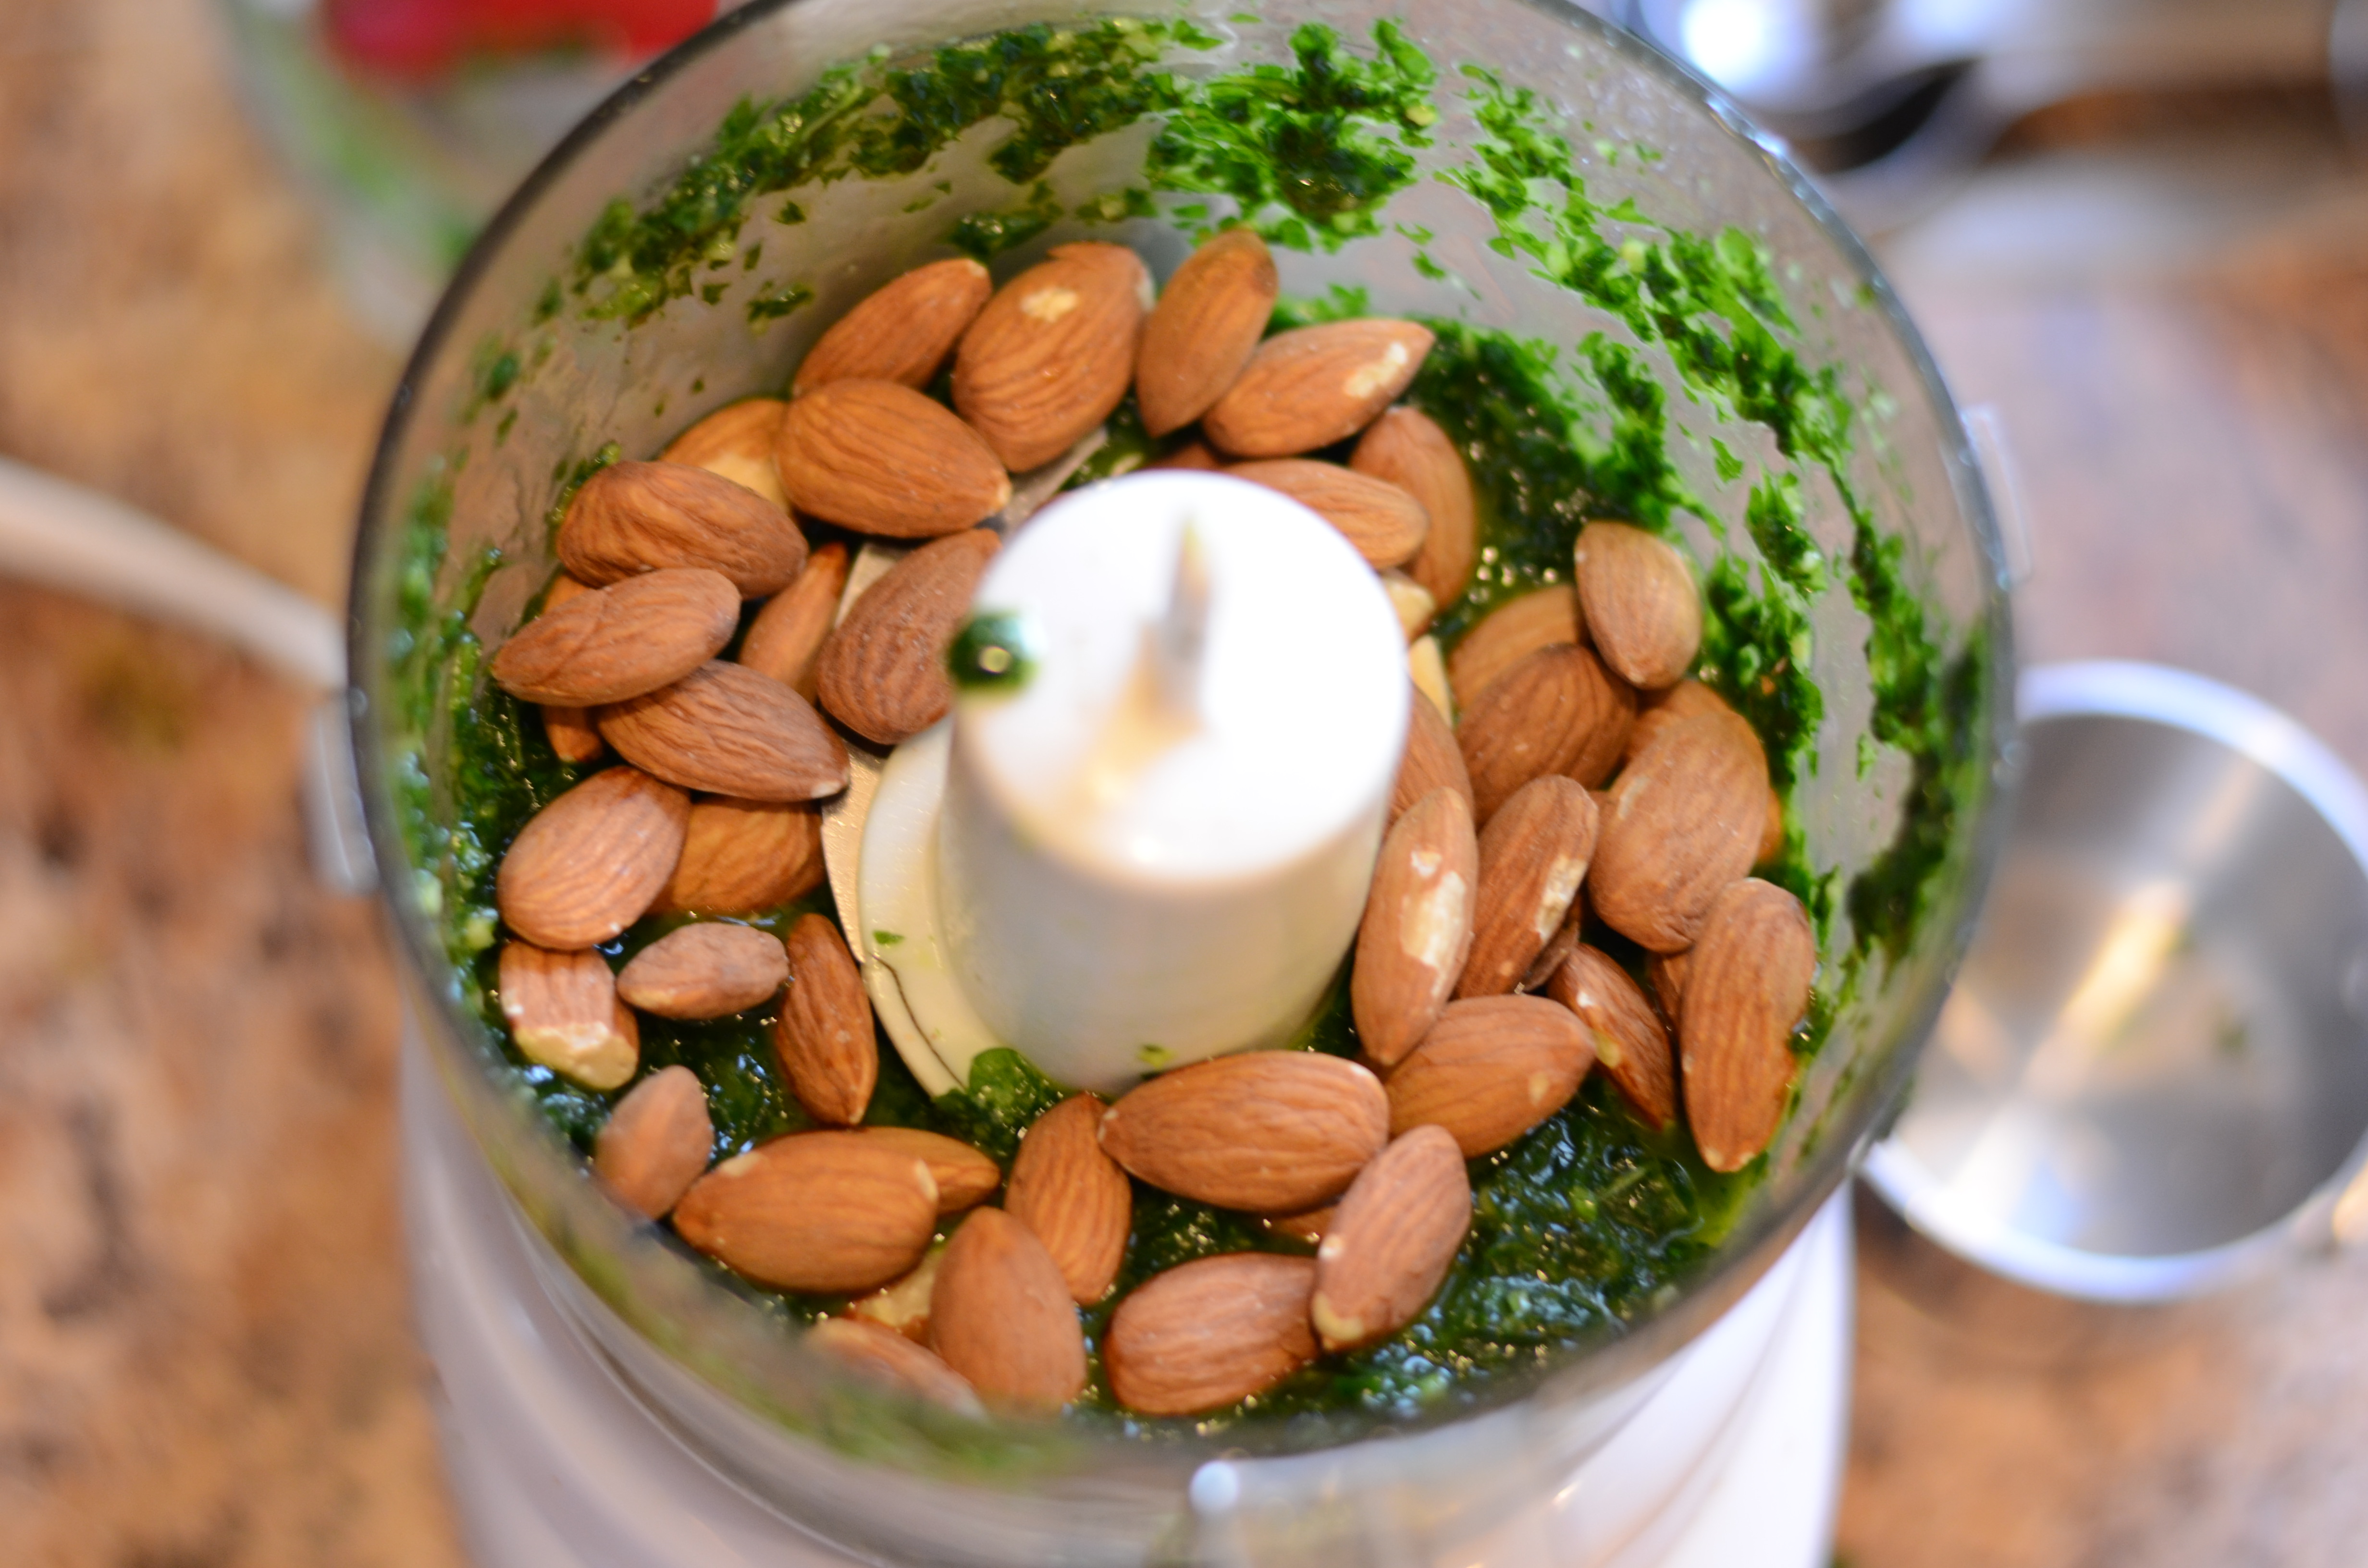
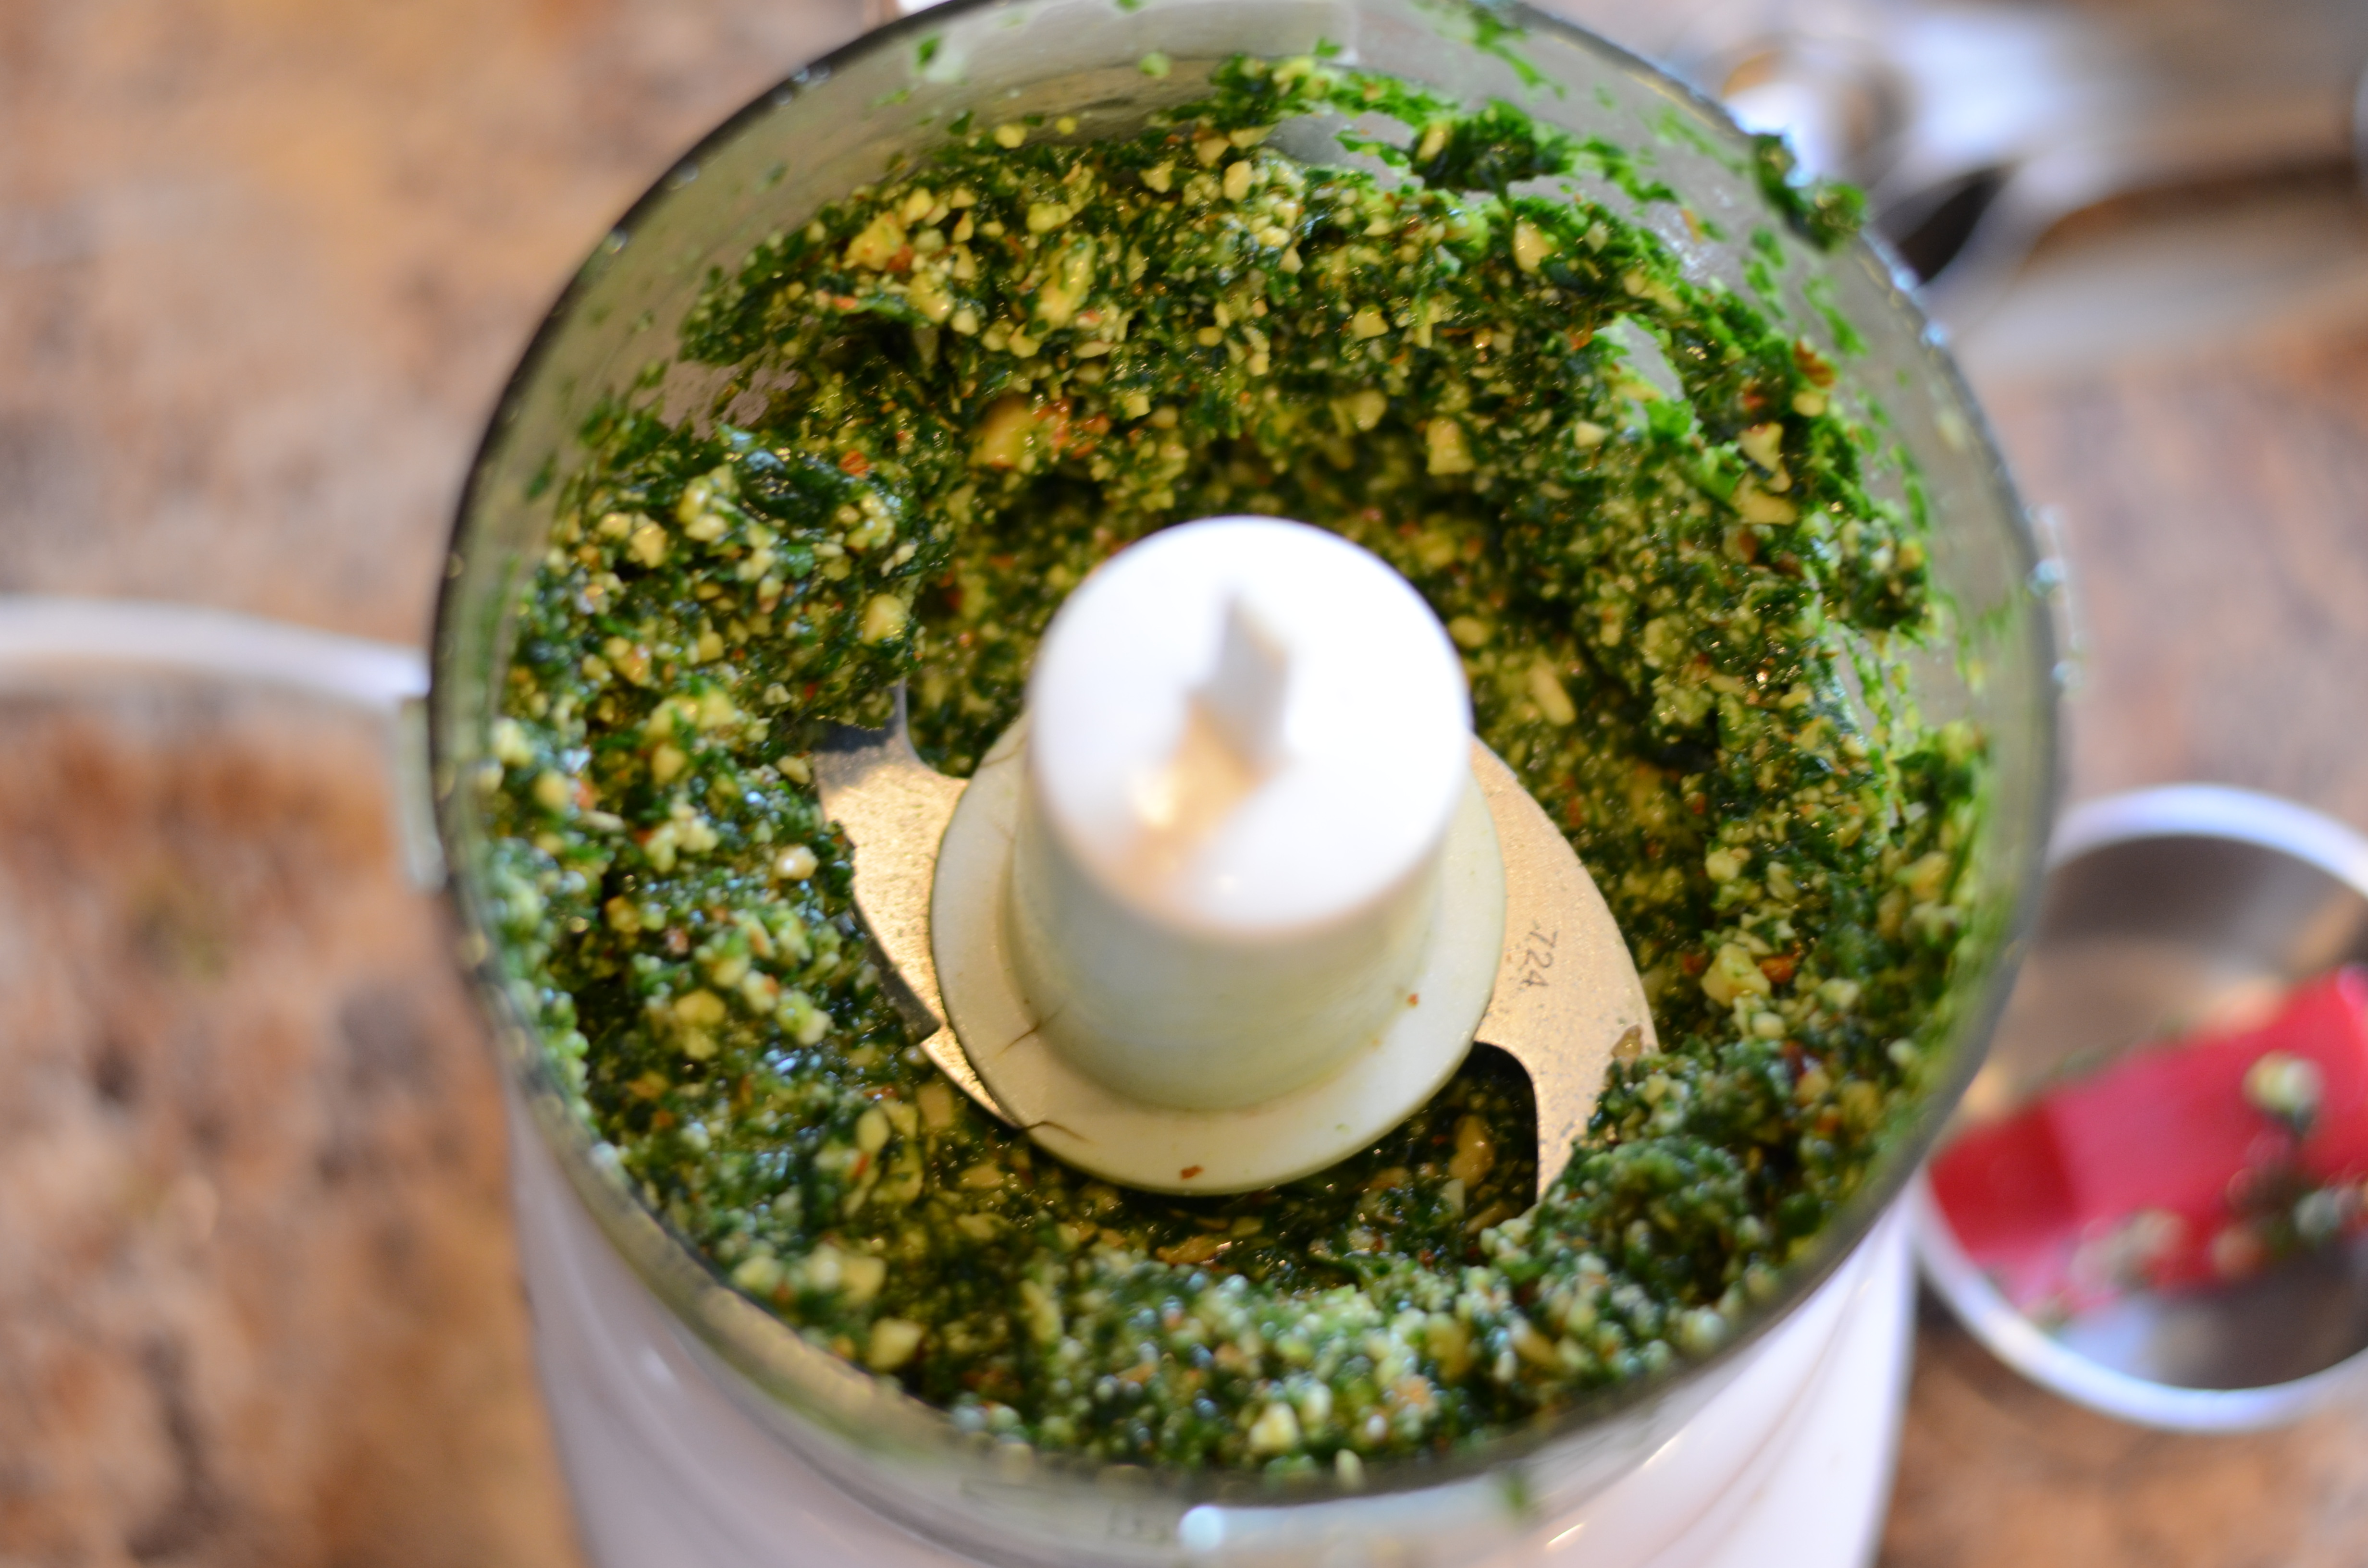
Toast the almonds in the oven or in a small, dry skillet over medium-low heat until lightly browned, paying close attention and stirring to avoid burning. Cool, then put in the food processor. Add the sun-dried tomatoes, the cheese, garlic, capers and parsley. Process to a chunky bread-crumb consistency, then add the mixture to the mixing bowl with the cauliflower in the bowl.
DSC_6261
DSC_6263
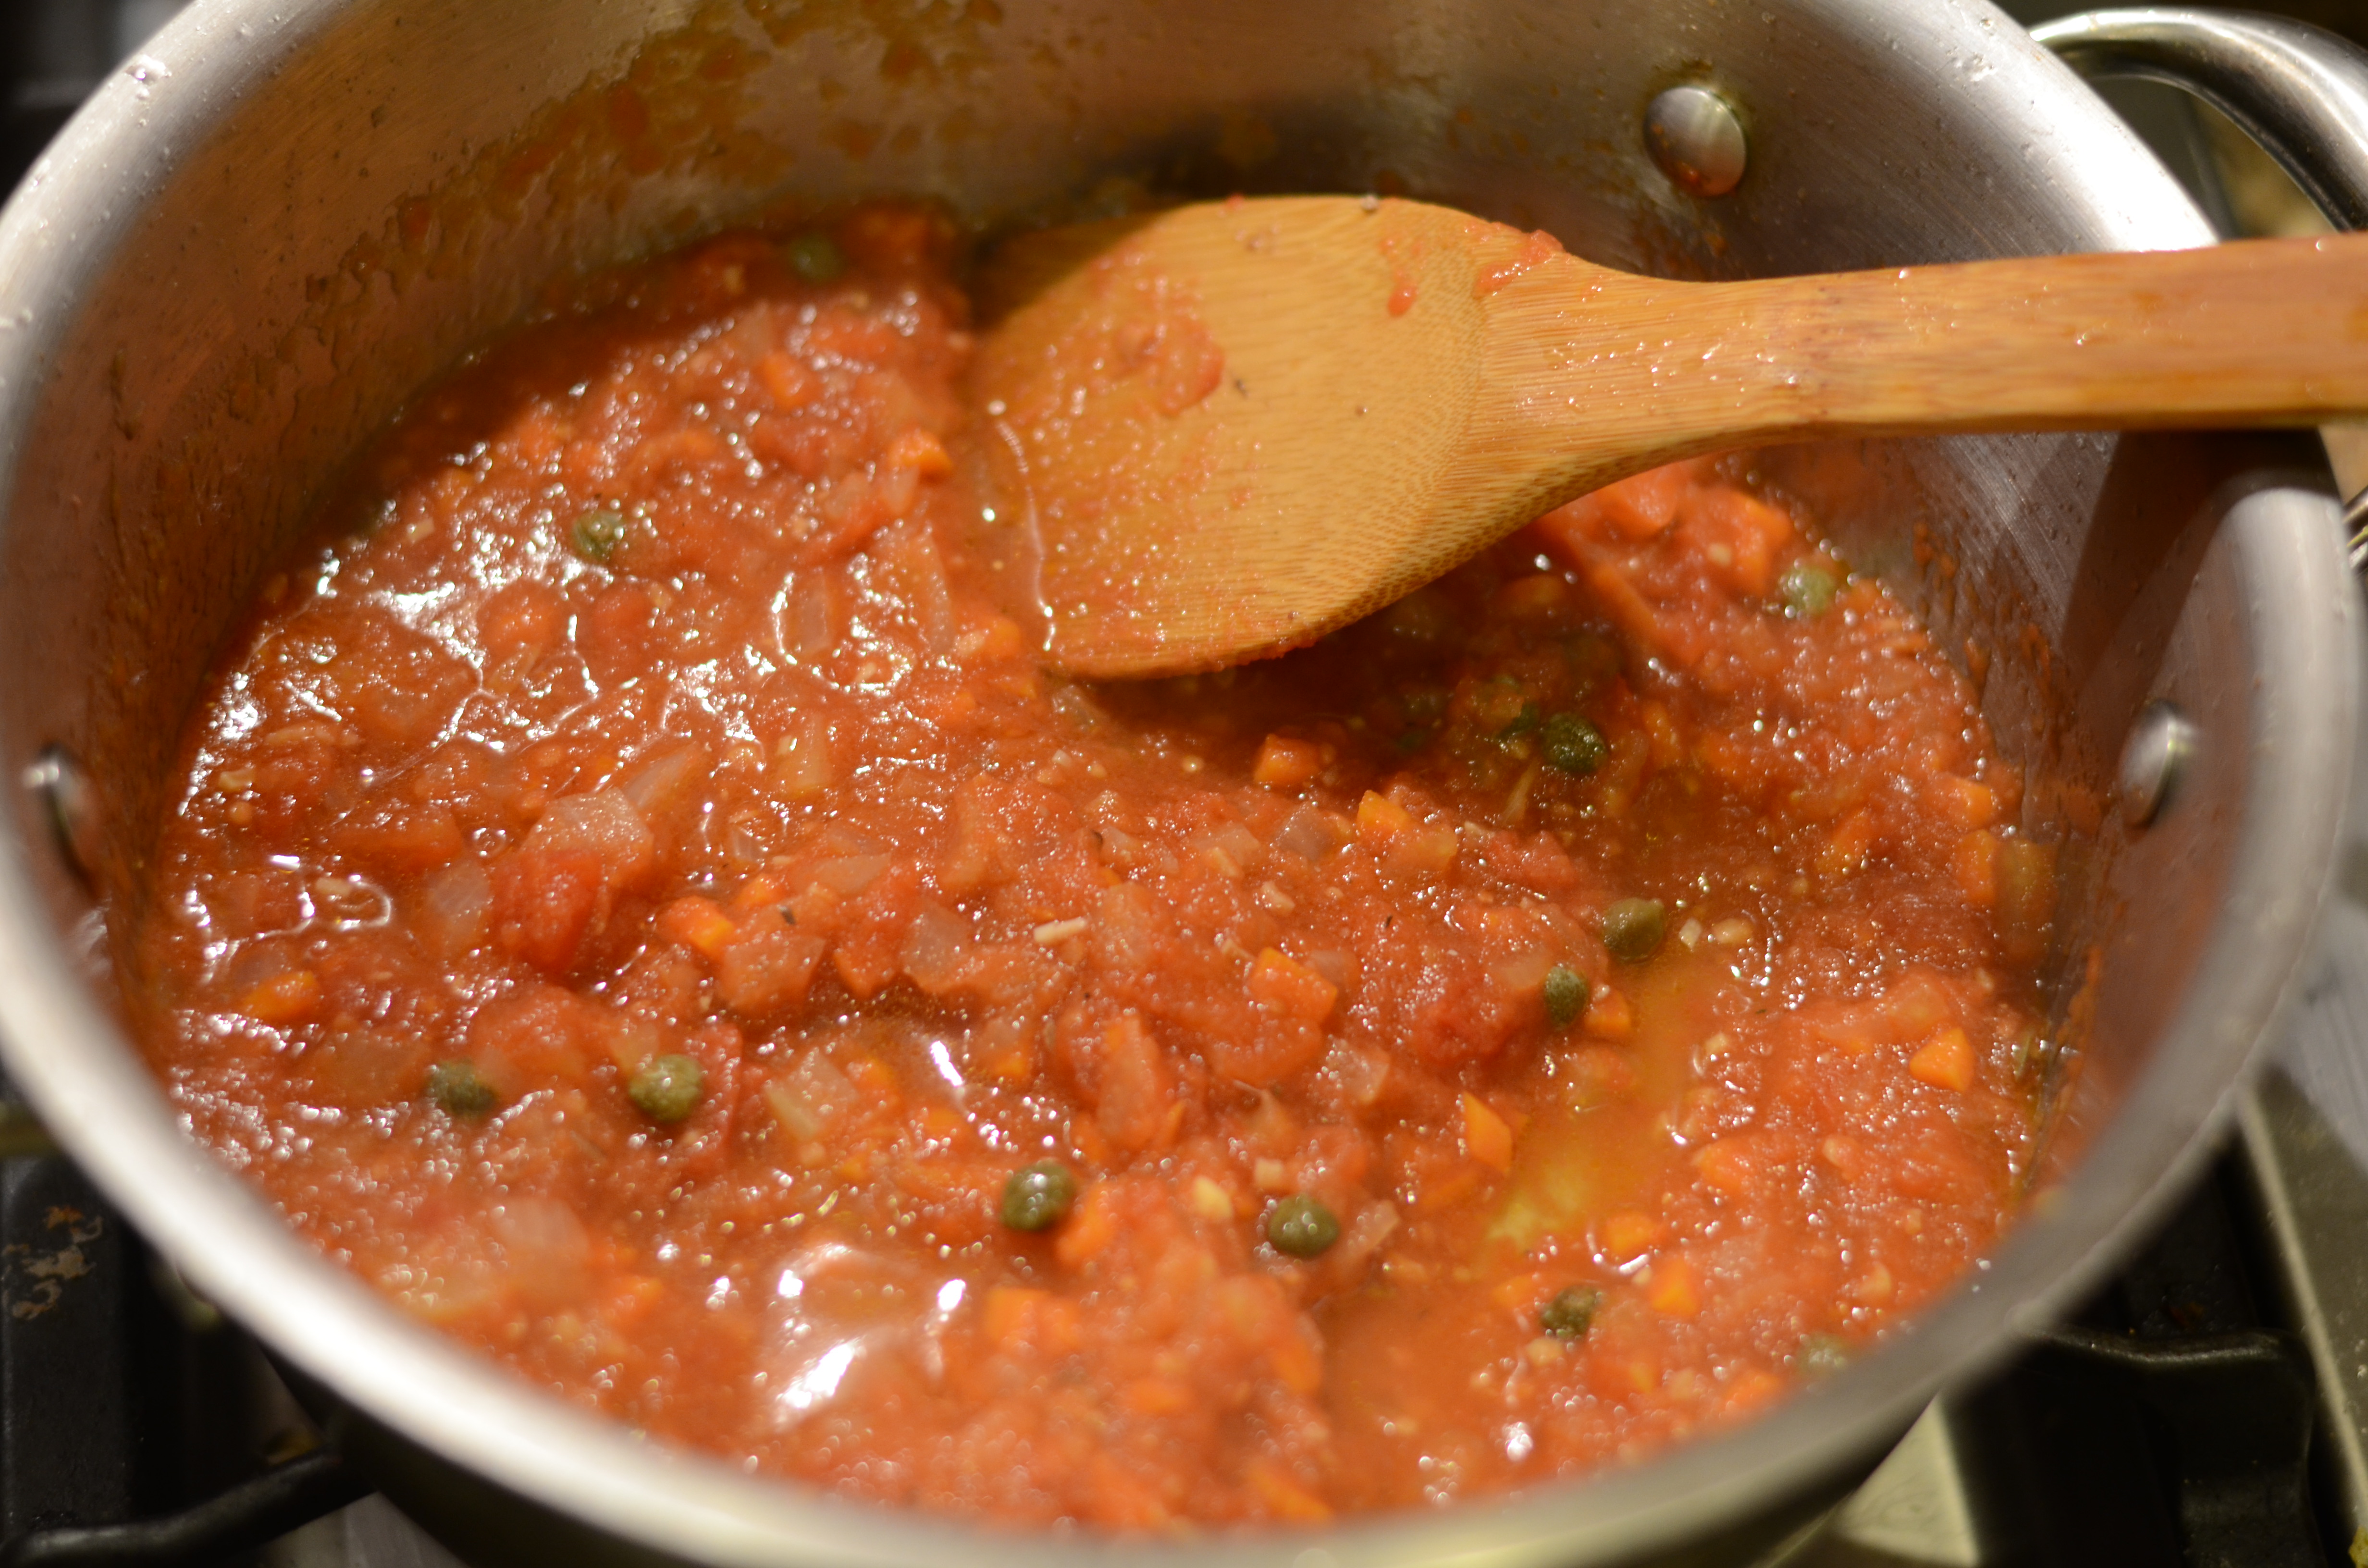
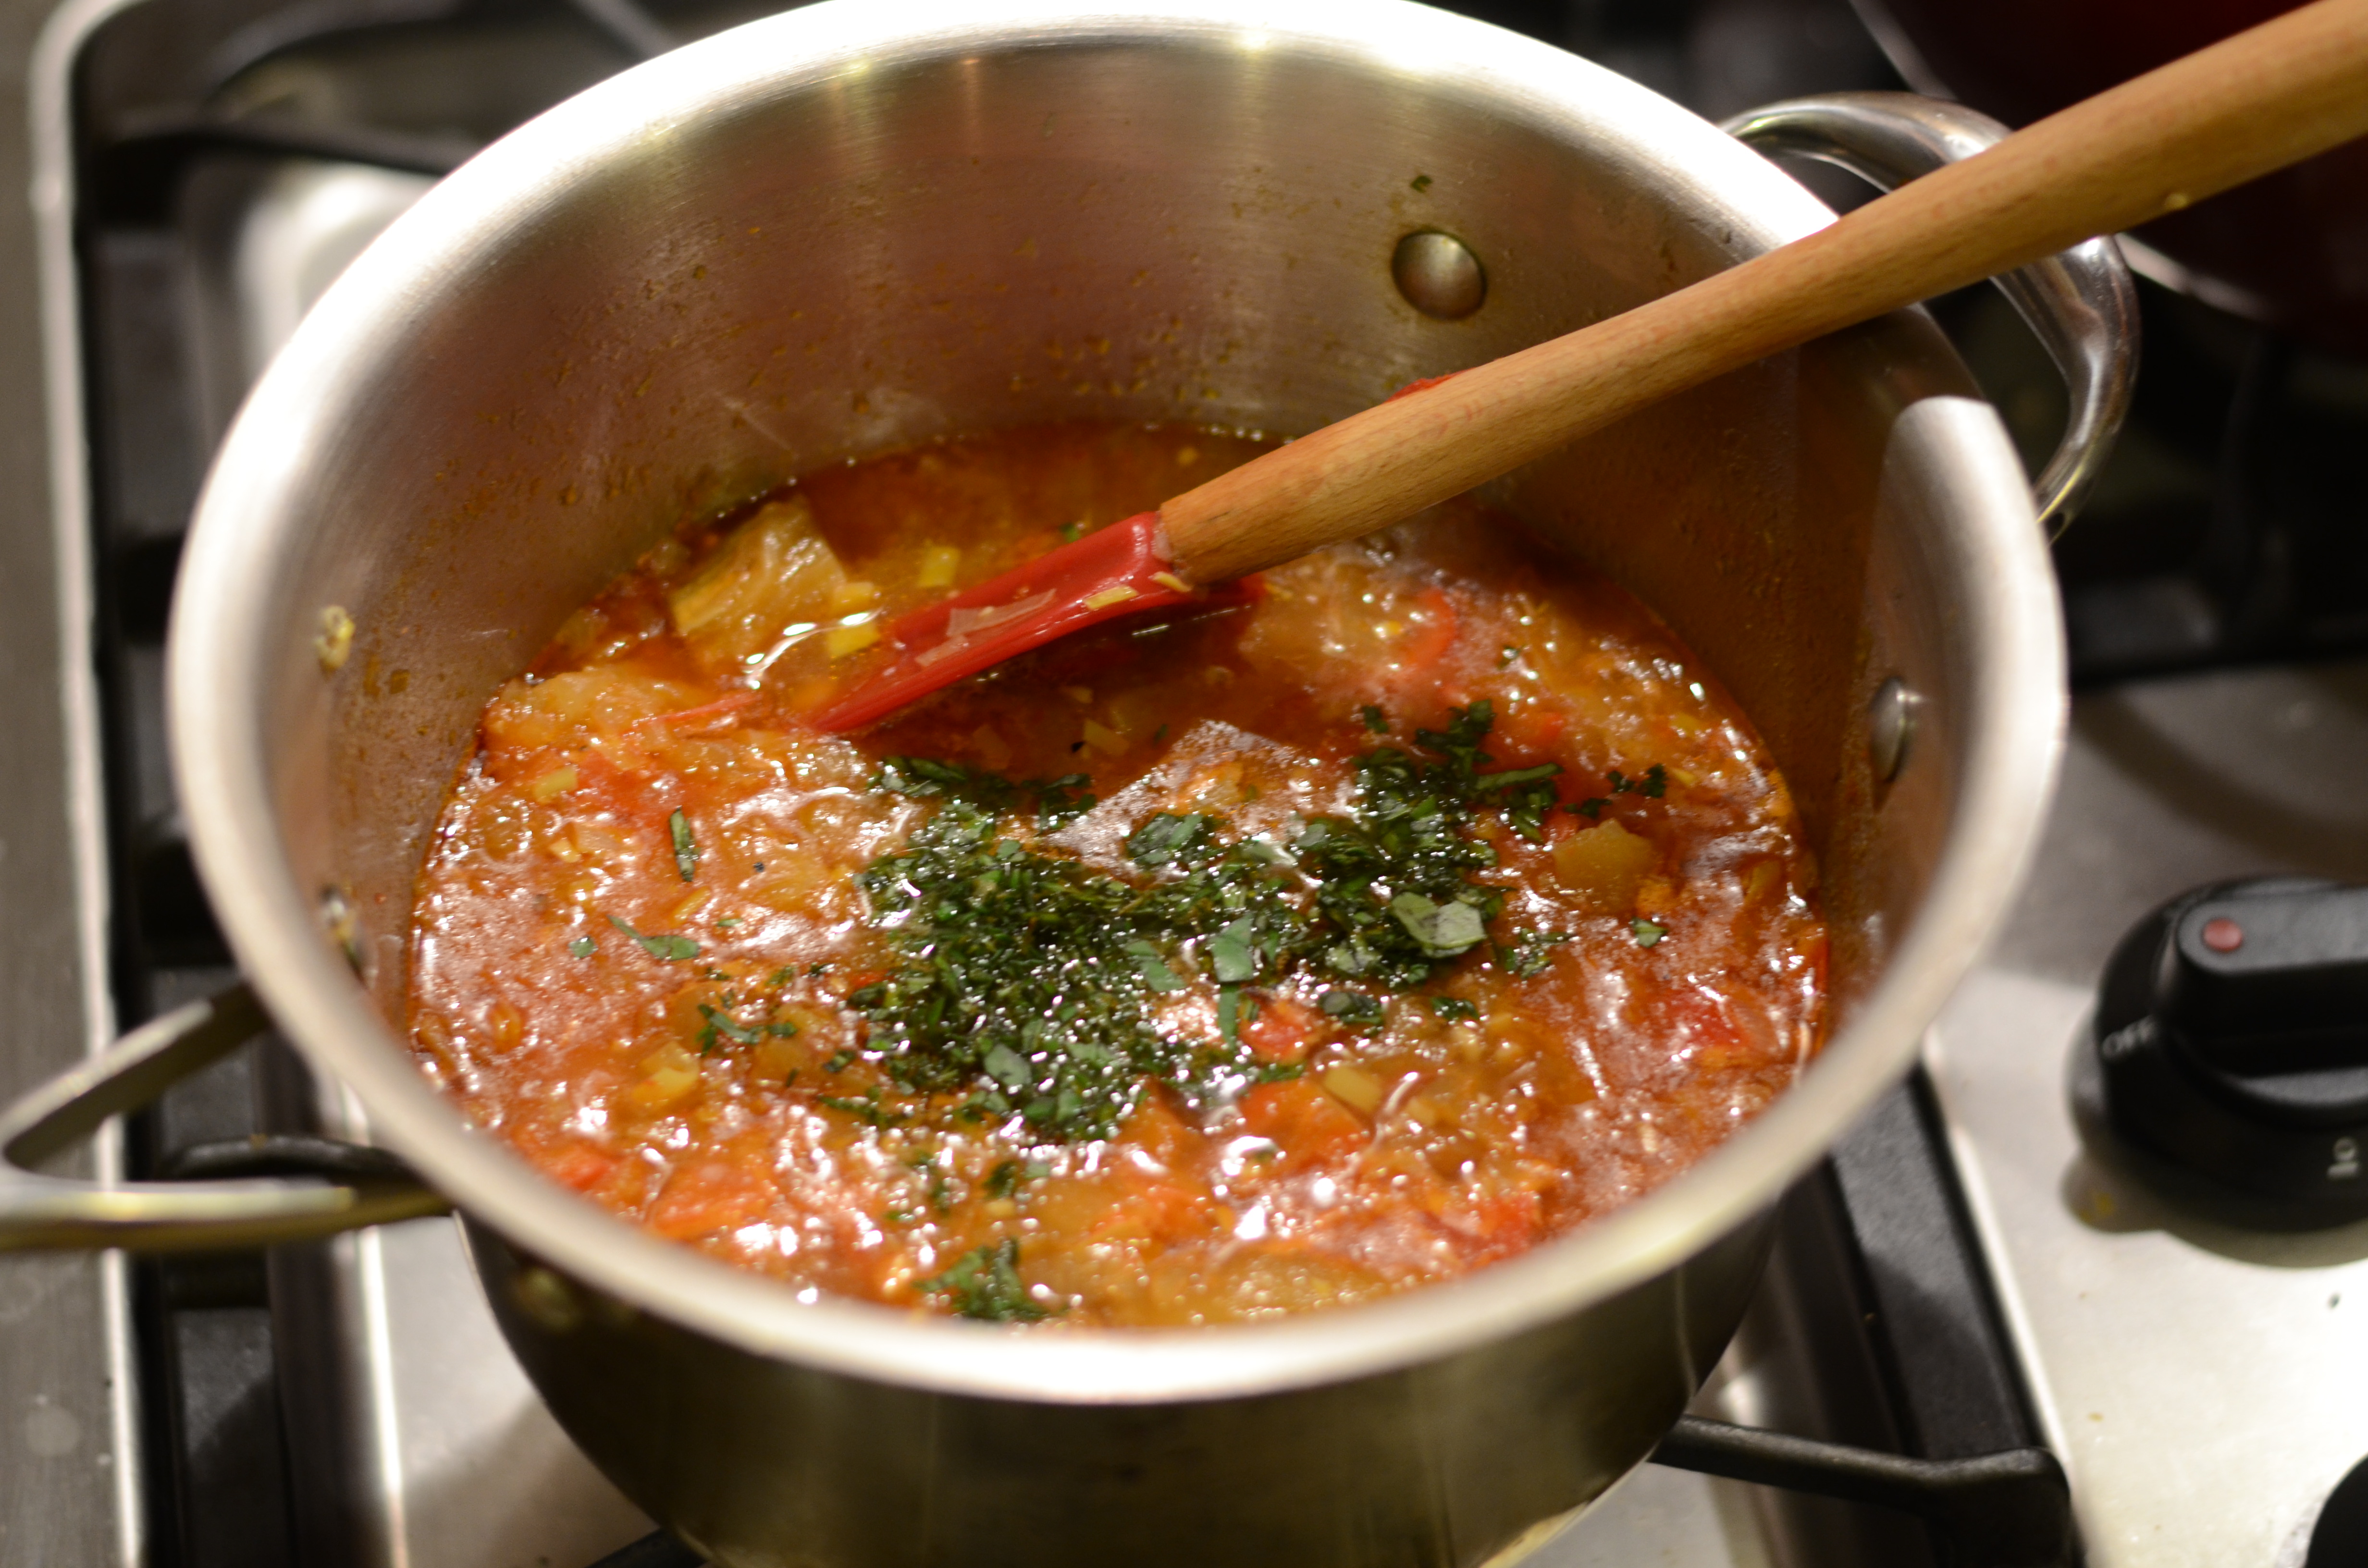
Stir in the oil, 2 teaspoons of the vinegar, 1/2 teaspoon of salt and crushed red pepper flakes to form a pesto-like mixture. The yield is several cups, likely more than you need for 4 servings of pasta.

Add the pasta and toss to coat. Add as much of the reserved pasta cooking water as needed to create the desired consistency. Taste, and adjust the seasoning, adding the remaining 1/2 teaspoon of vinegar as needed. I found that the recipe needed extra oil (which could be added in an earlier step also). It may be more accurate to gauge the flavor and texture once everything is stirred in with the pasta.

Bon appétit!

Bon appétit!

Part 2:
I had all this leftover cauliflower pesto, and I didn’t want to keep eating it with pasta. Fortunately, I remembered hearing that you can use a cauliflower mixture as a pizza crust.

Cauliflower Pizza
Adapted from Quick, Cheap Kitchen

Pizza crust:
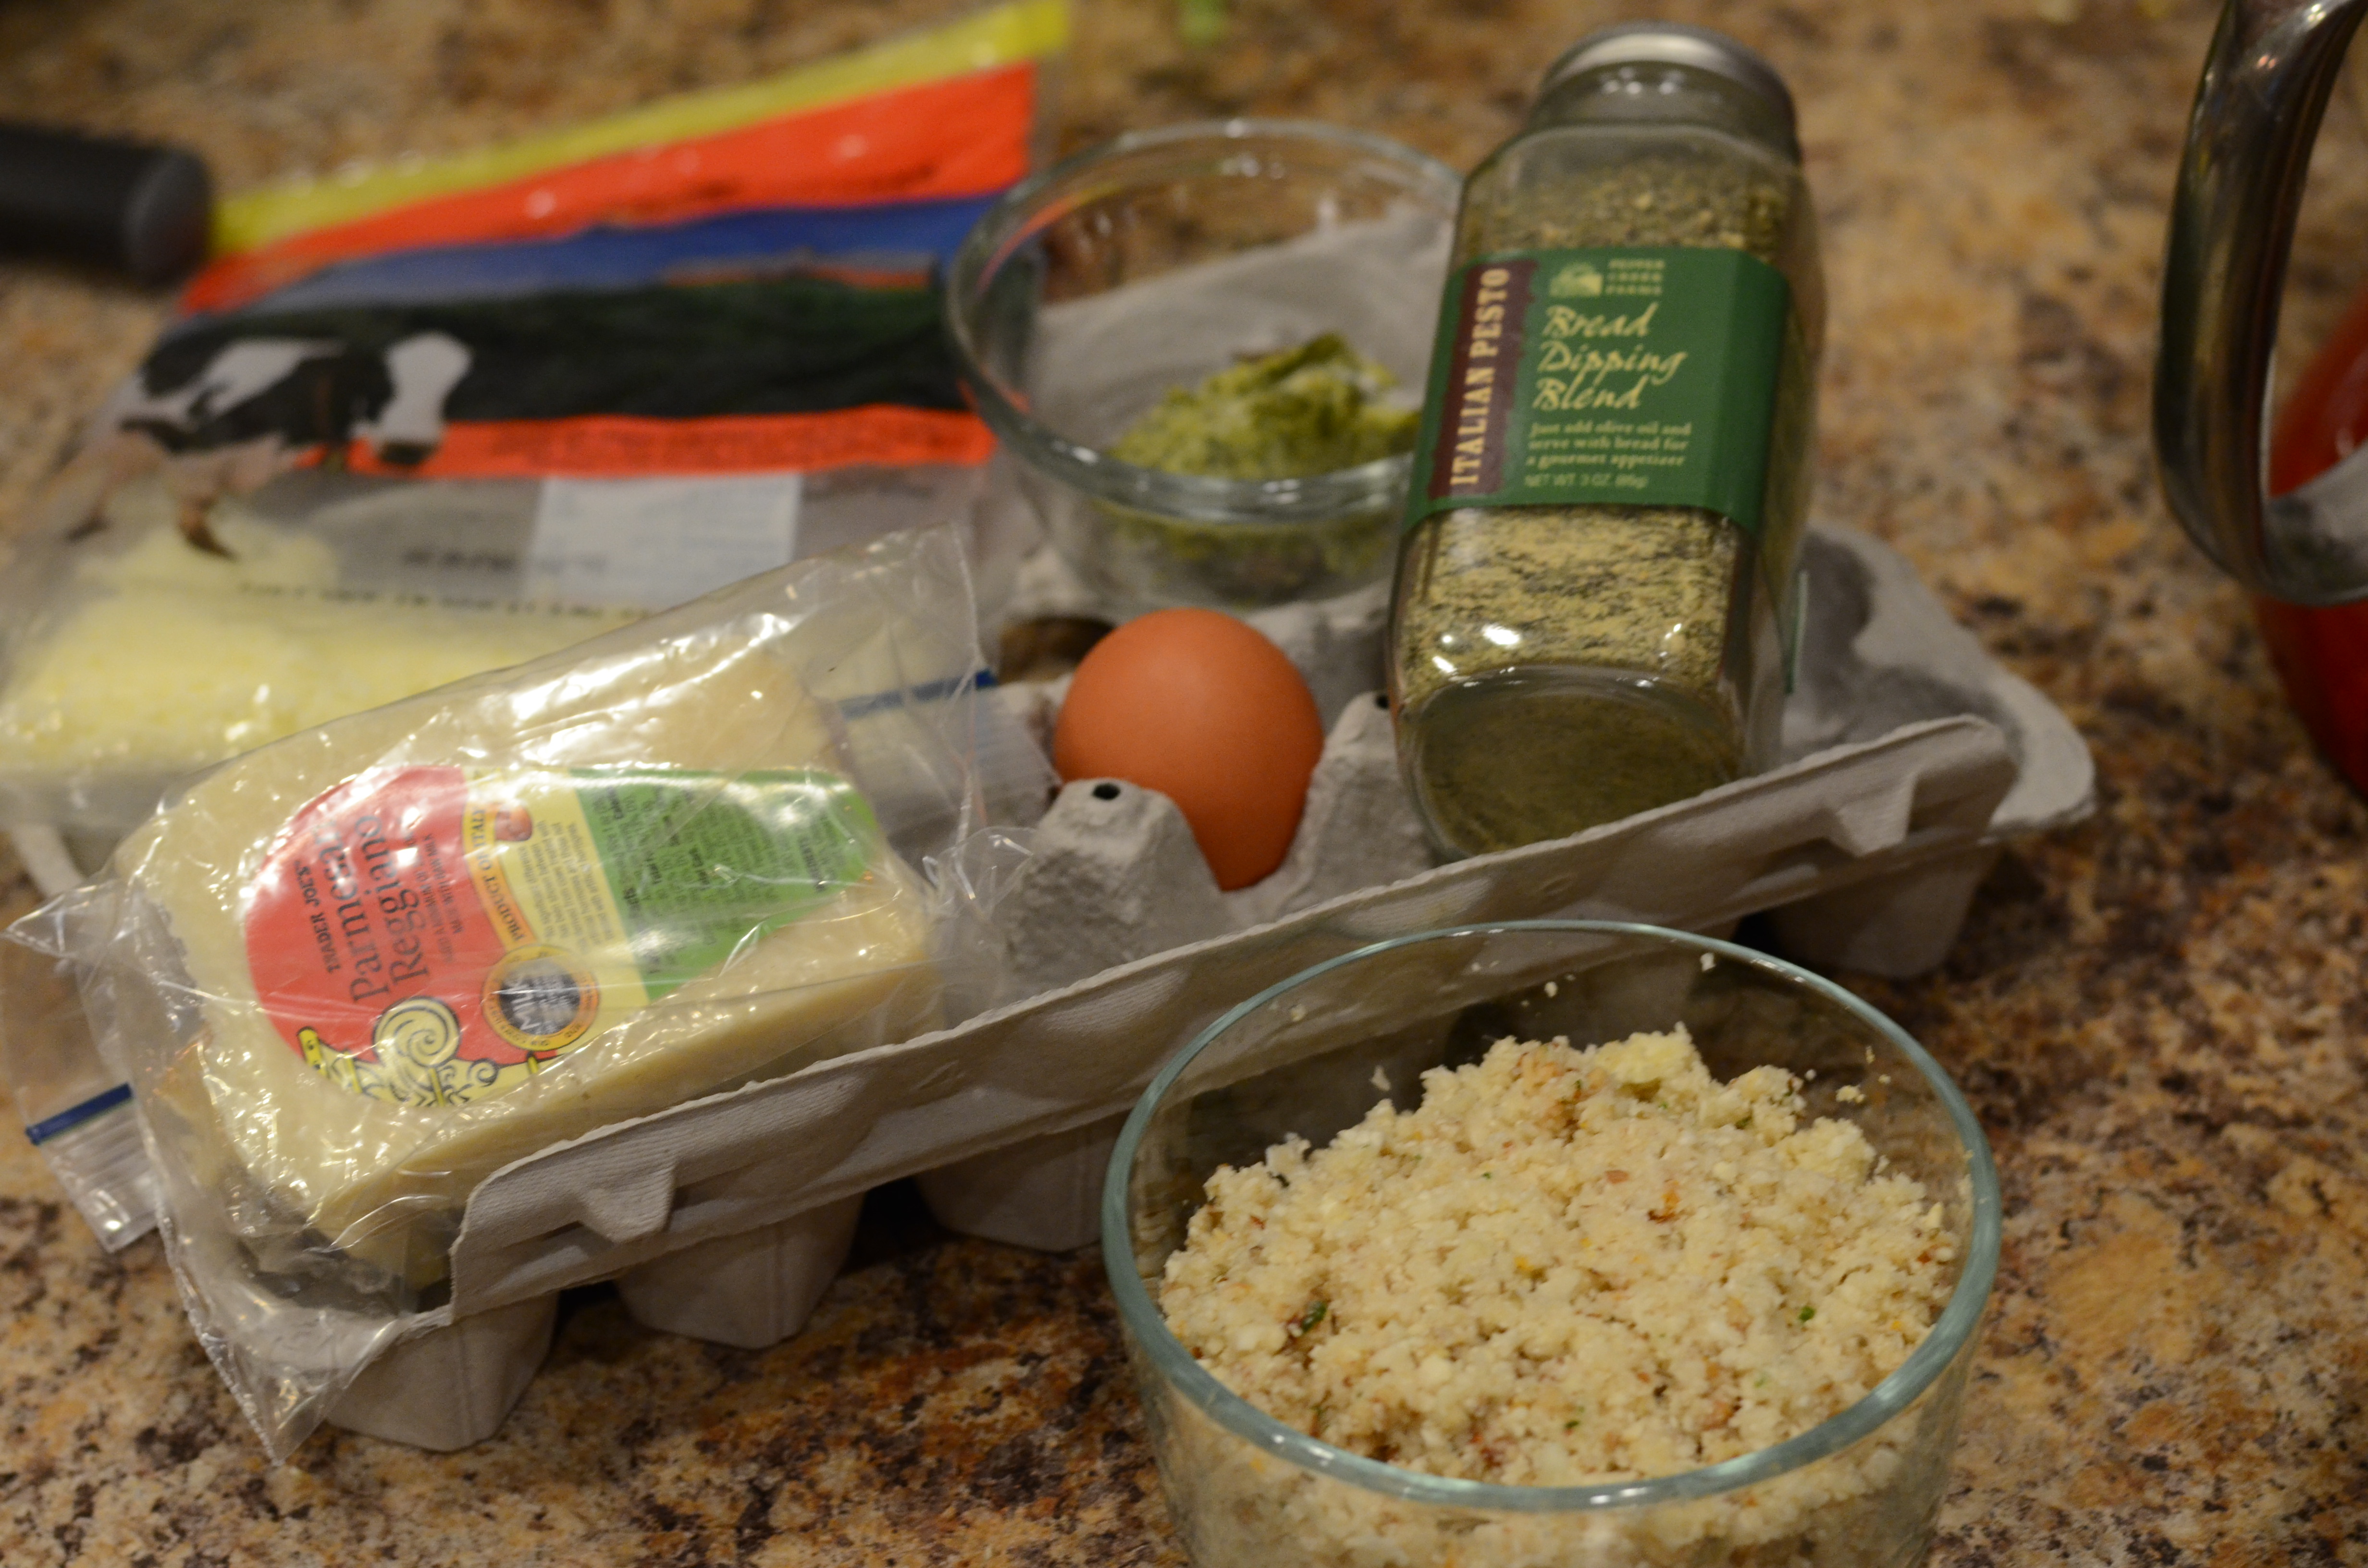
Approx. 2 Cups of my leftover cauliflower pesto mix, or just raw cauliflower ground in a food processor
1 egg
1/4 Cup shredded mozzarella
3 Tablespoons of flour

dried Italian seasonings to taste, around 1 teaspoon. I used a bread dipping seasoning mix (basil, parmesan, onion powder, garlic powder) plus oregano
salt and pepper to taste

Toppings: Whatever you want! My example:
2-3 Tablespoons prepared basil pesto
2/3 Cup swiss chard stems
Olive oil

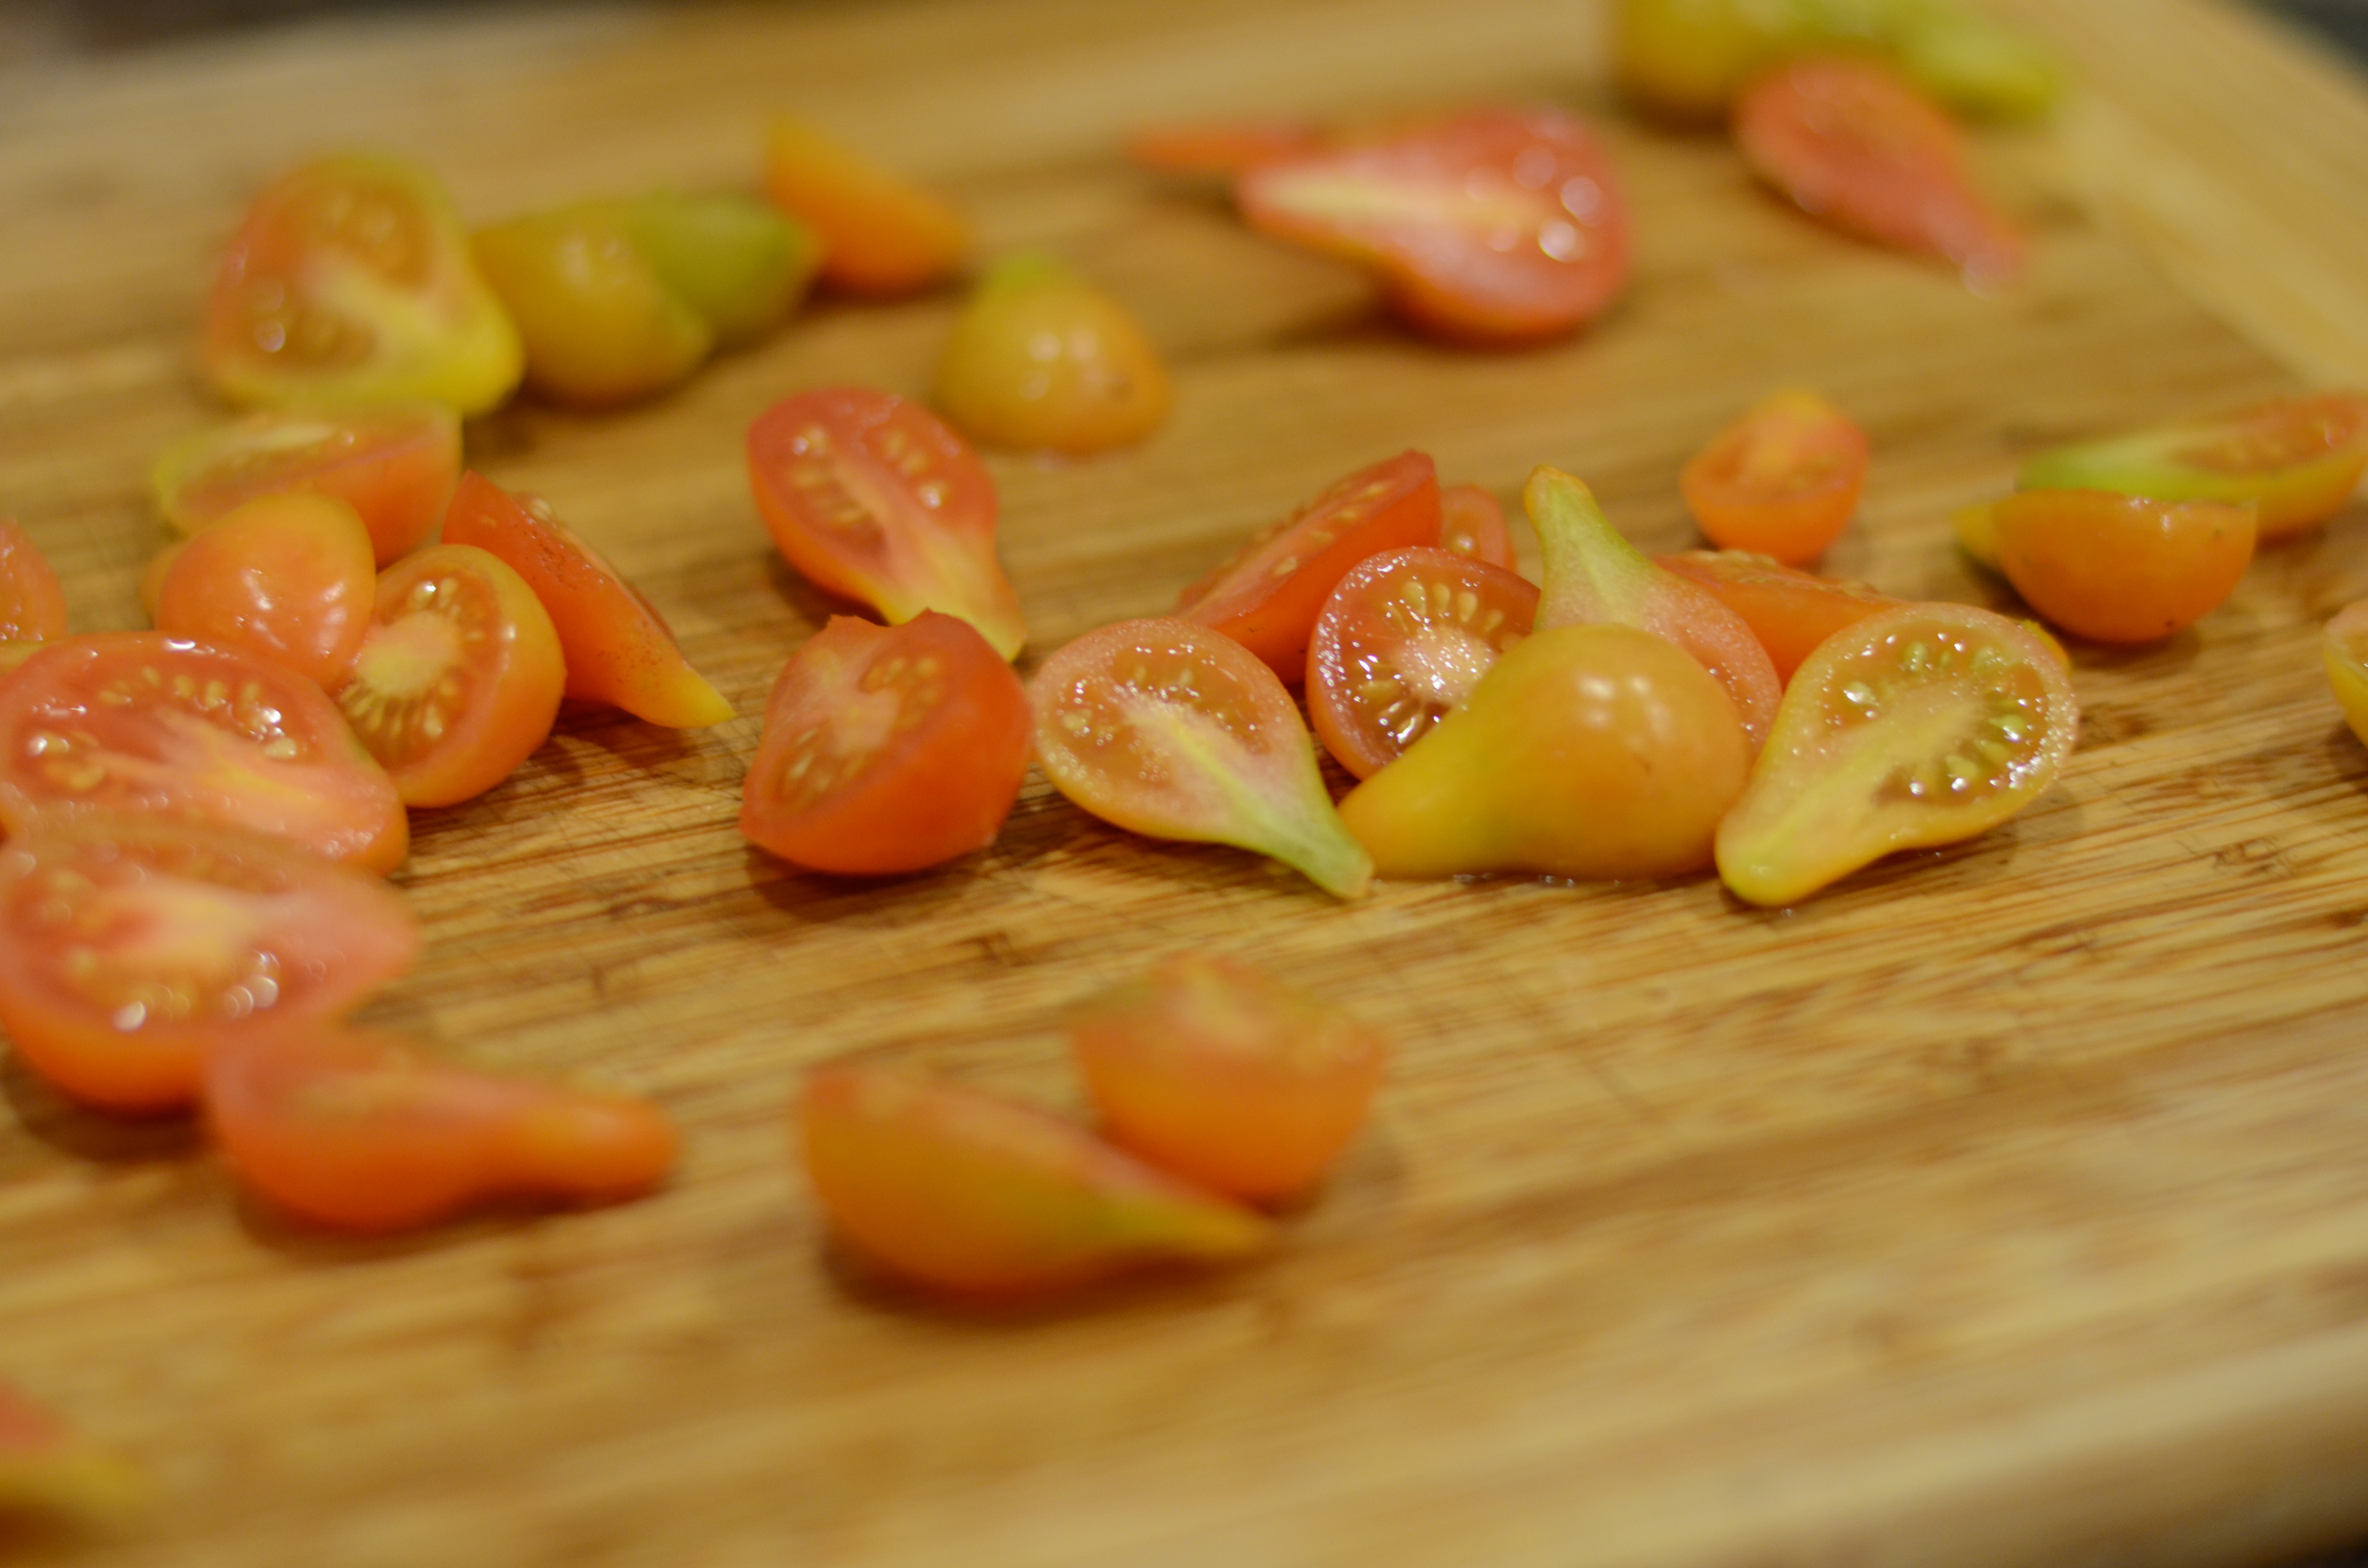
3/4 Cup cherry or grape tomatoes
A sprinkling parmesan cheeses

DSC_6277
Preheat the oven to 450 degrees Fahrenheit.
Microwave cauliflower in a glass bowl for about 8 minutes. Let it cool some, and then transfer to a cheese cloth or clean dish towel to squeeze out any excess water.

My cauliflower mixture was already pretty dry..

My cauliflower mixture was already pretty dry..


DSC_6287
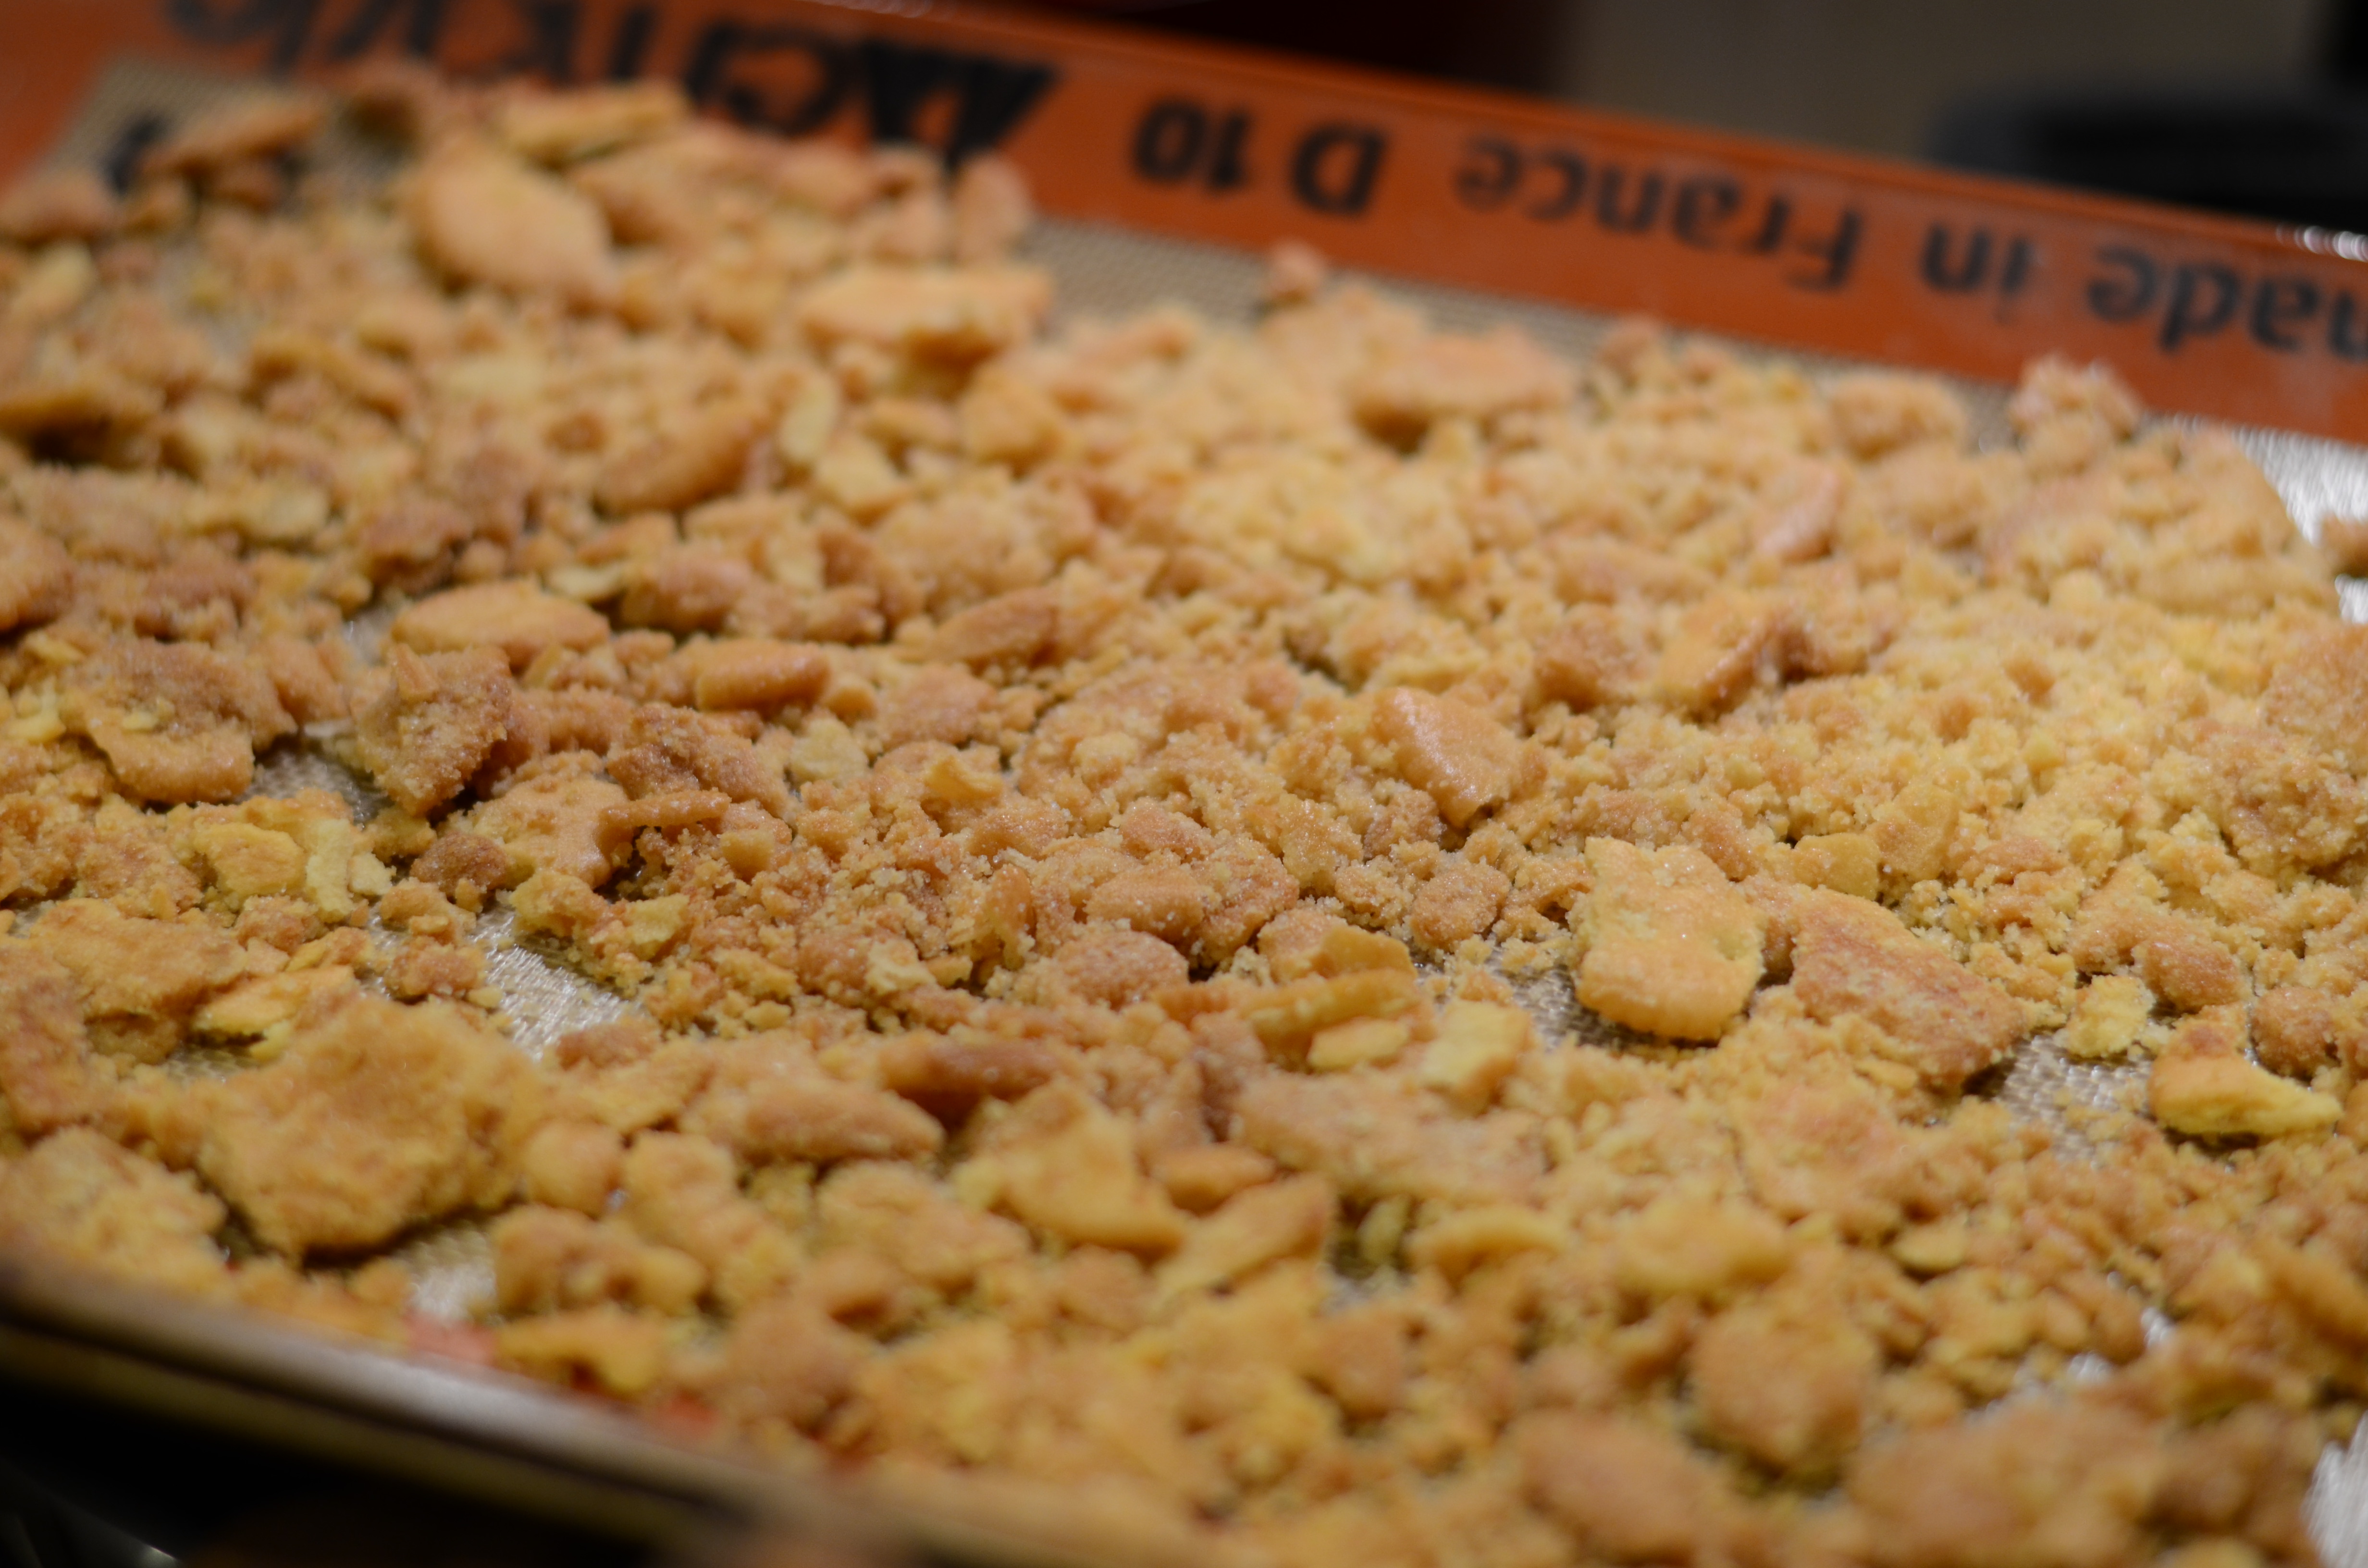
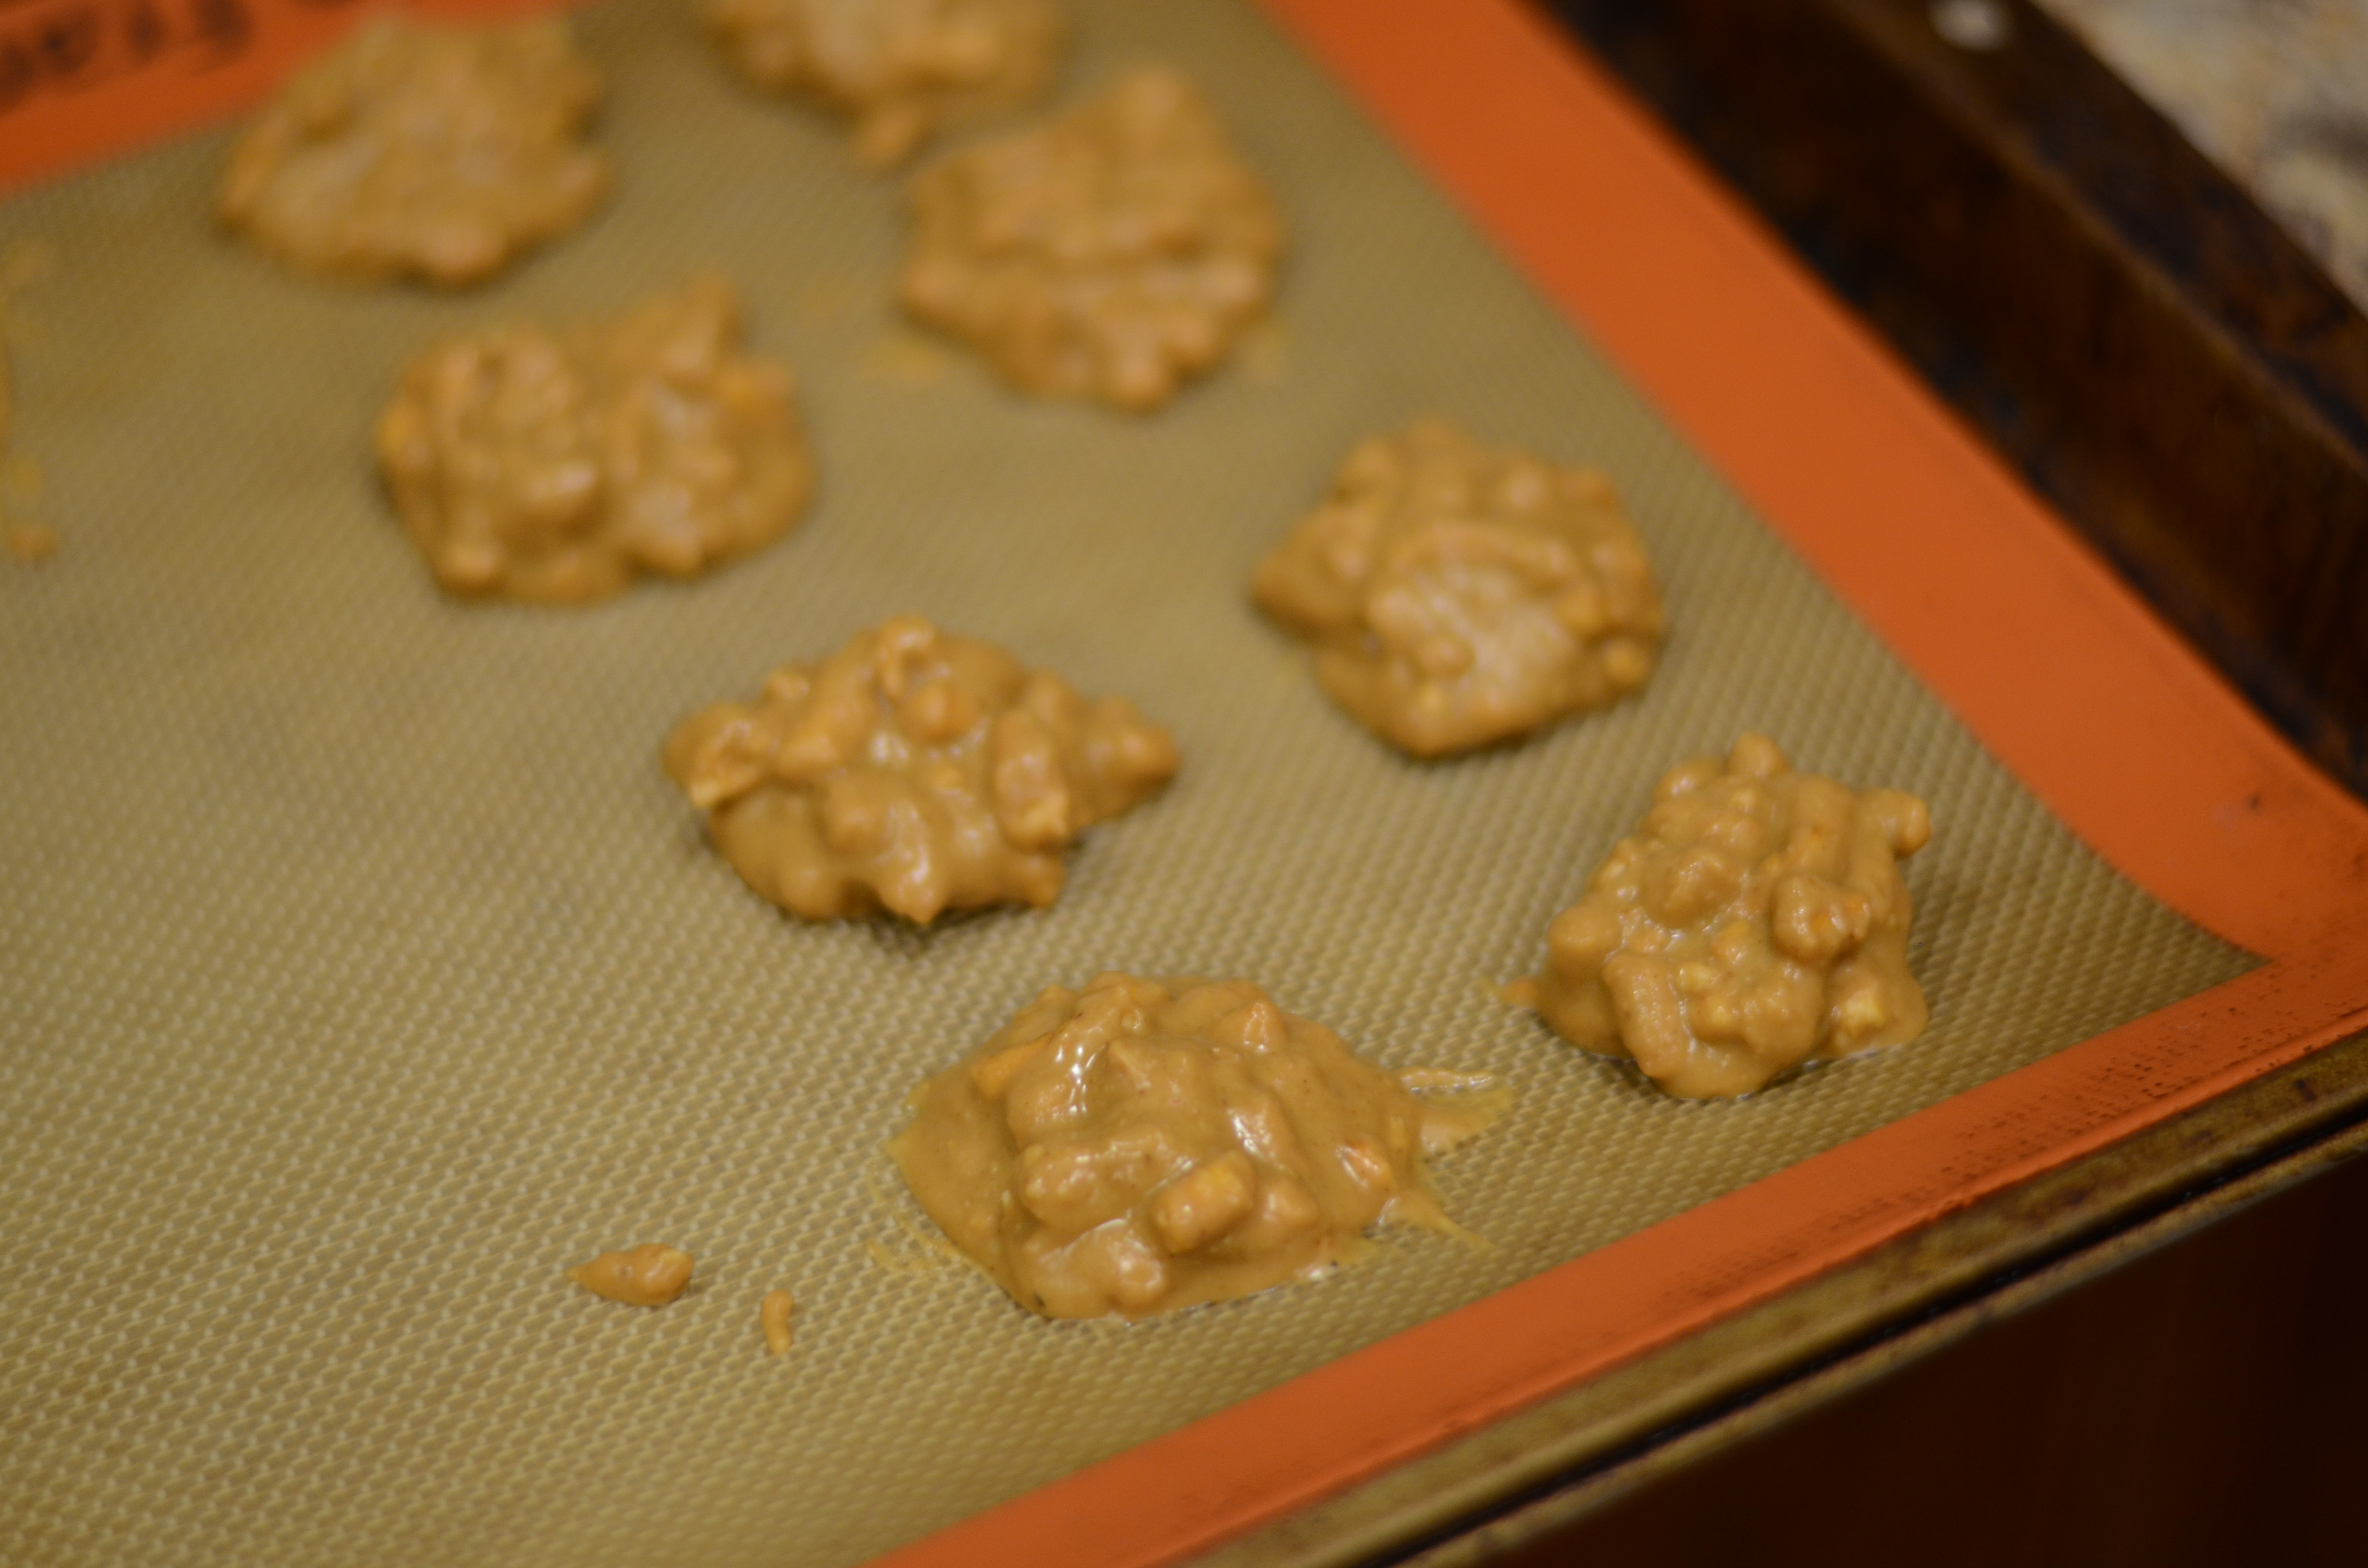
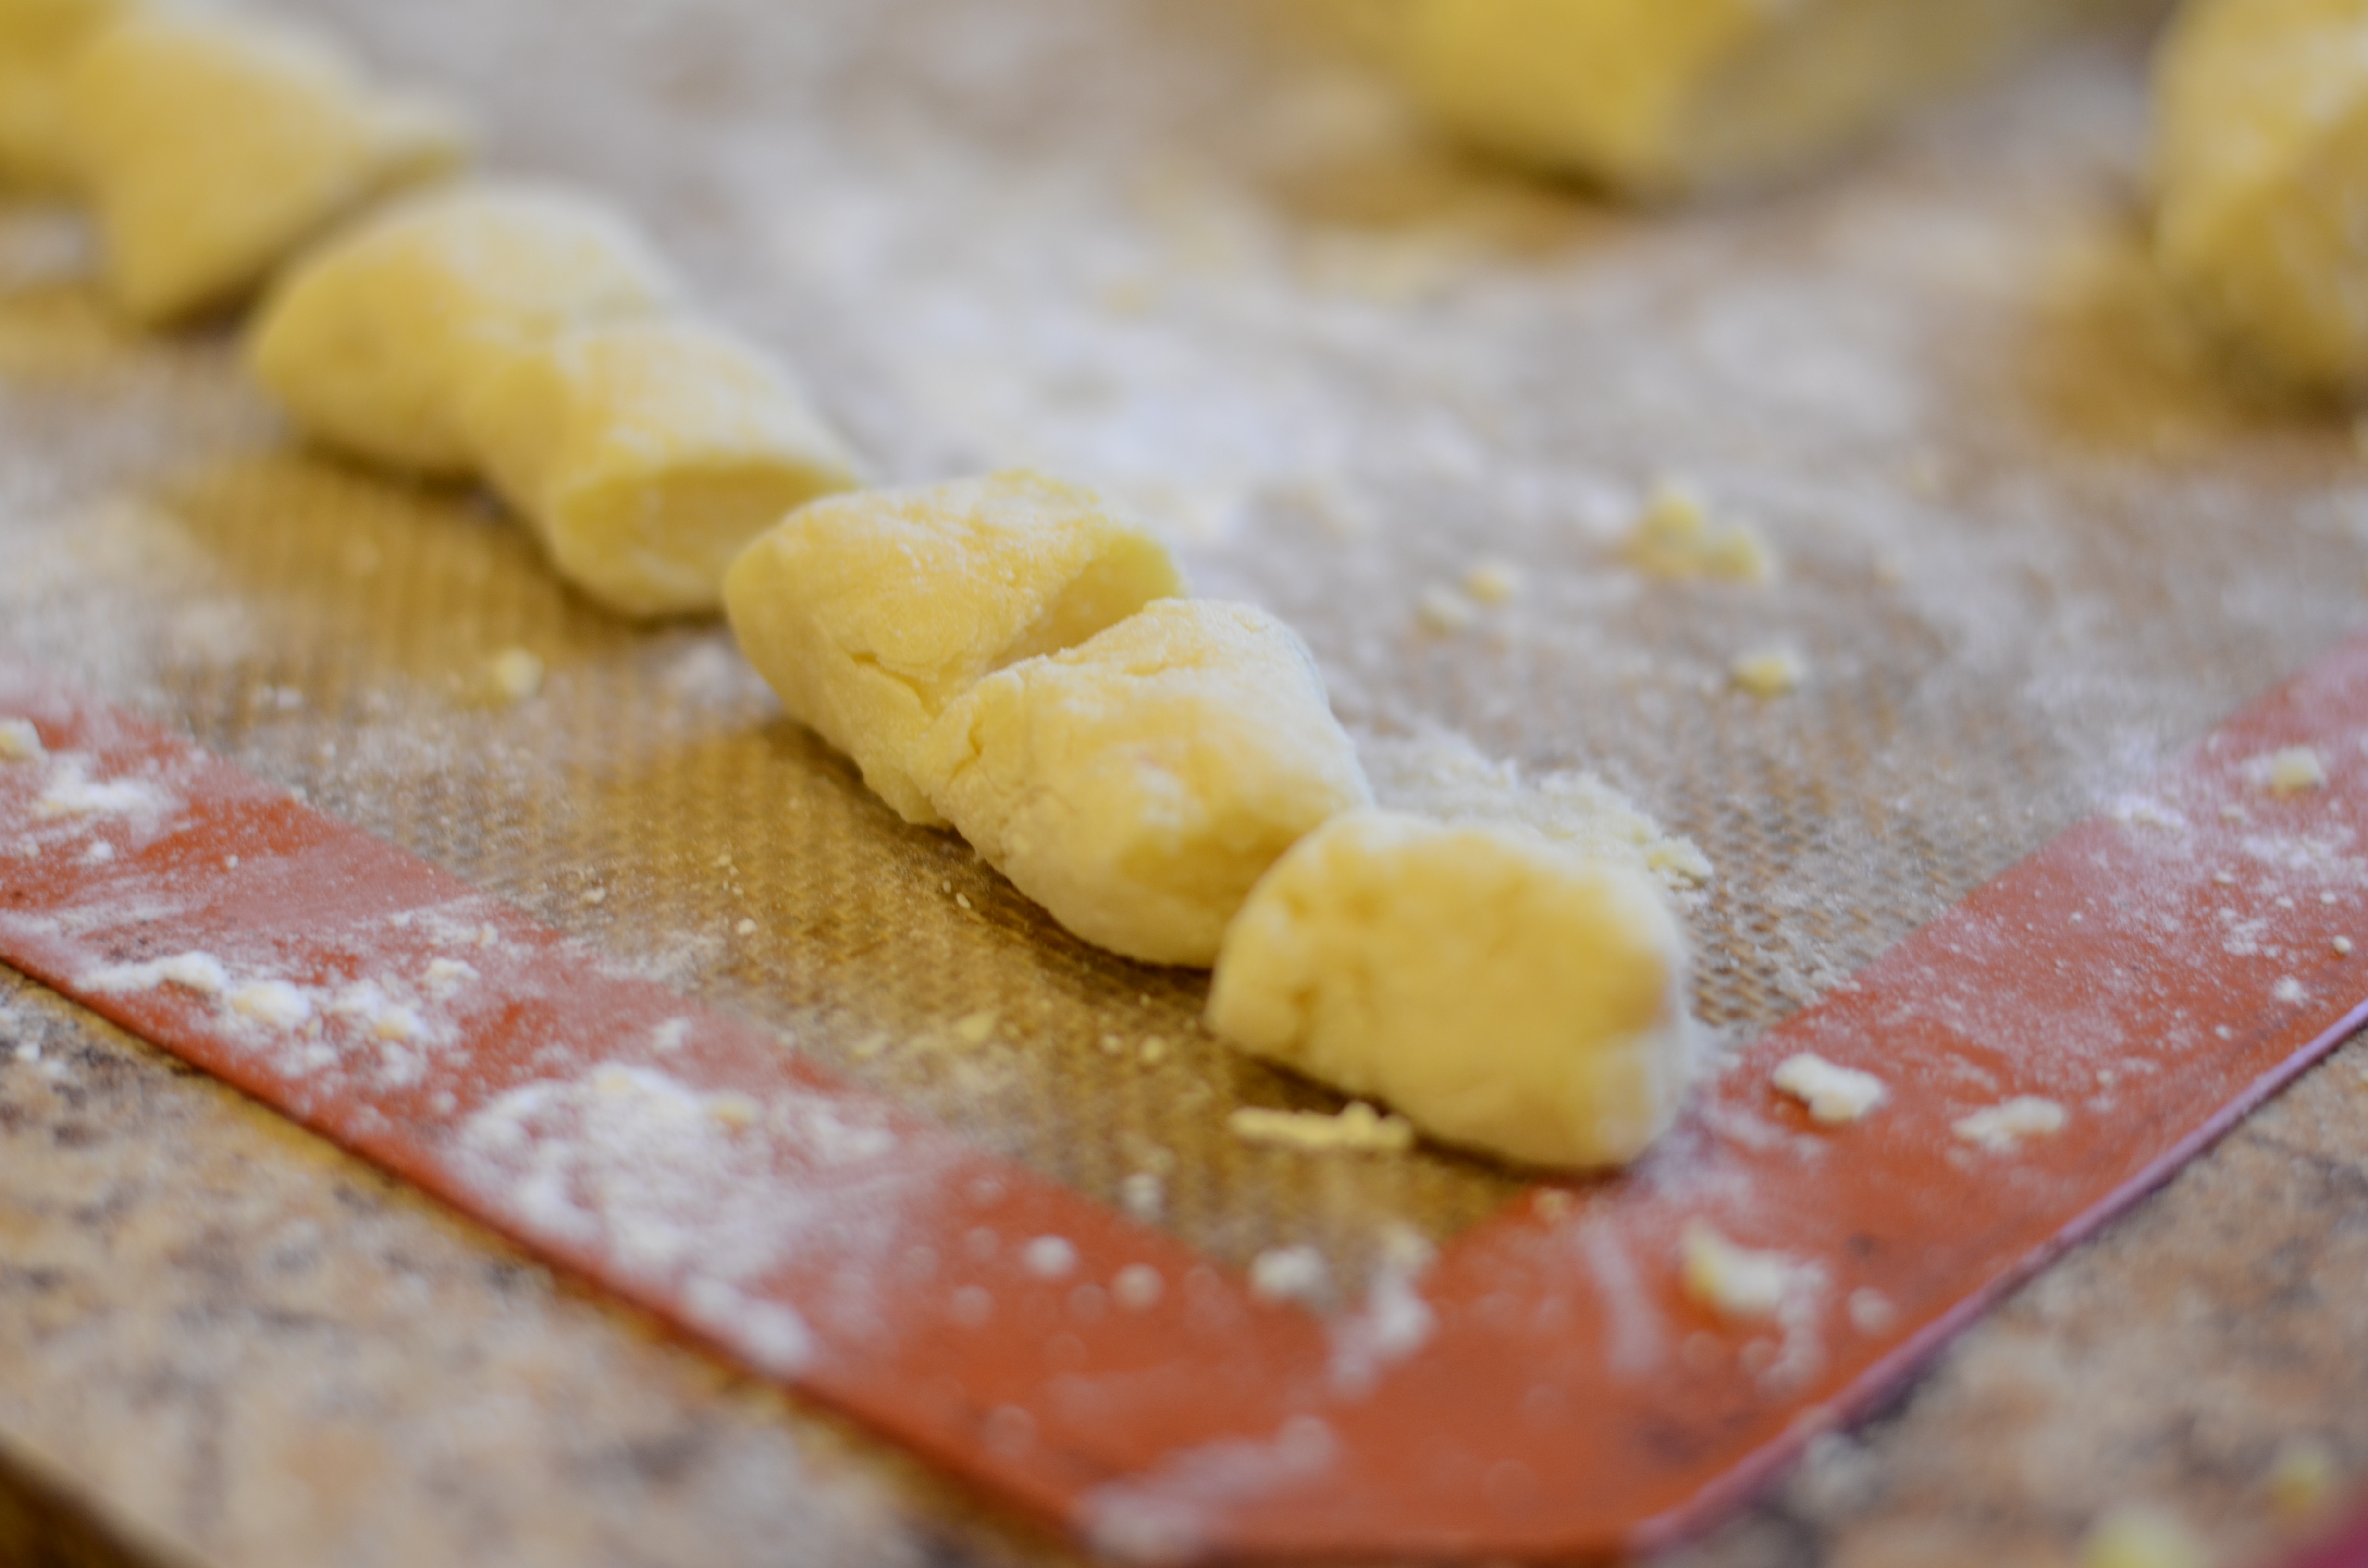
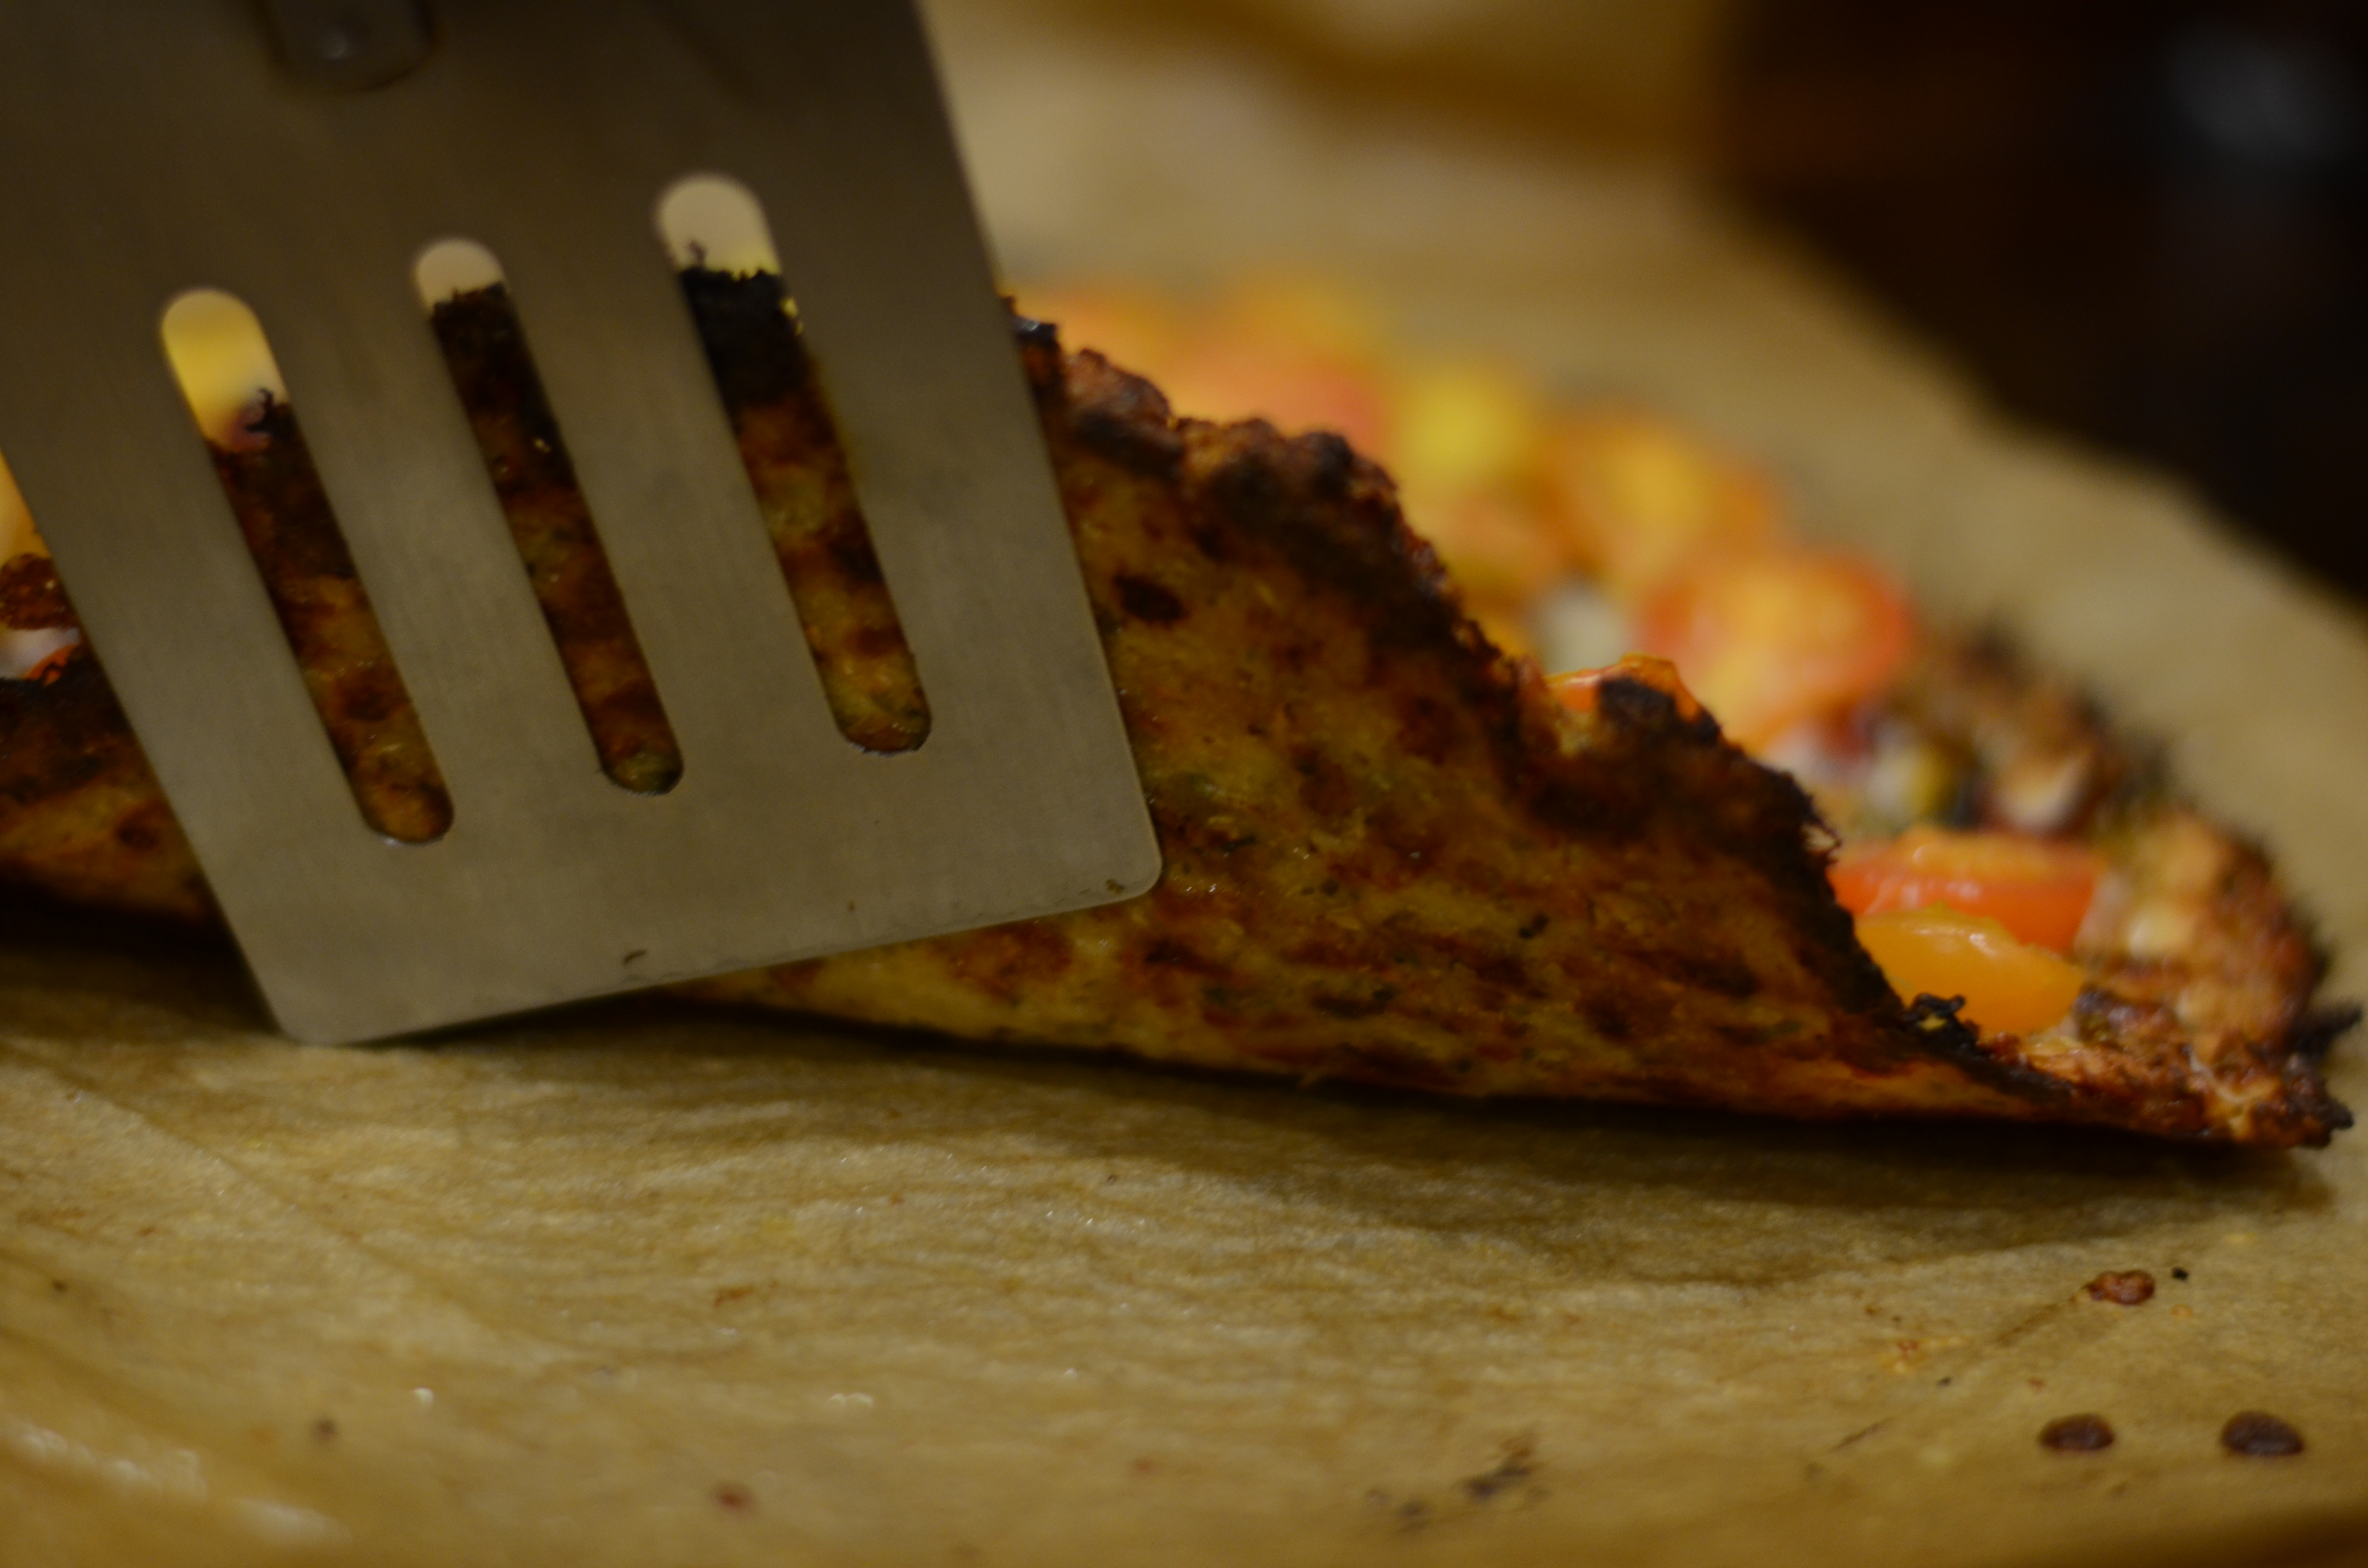
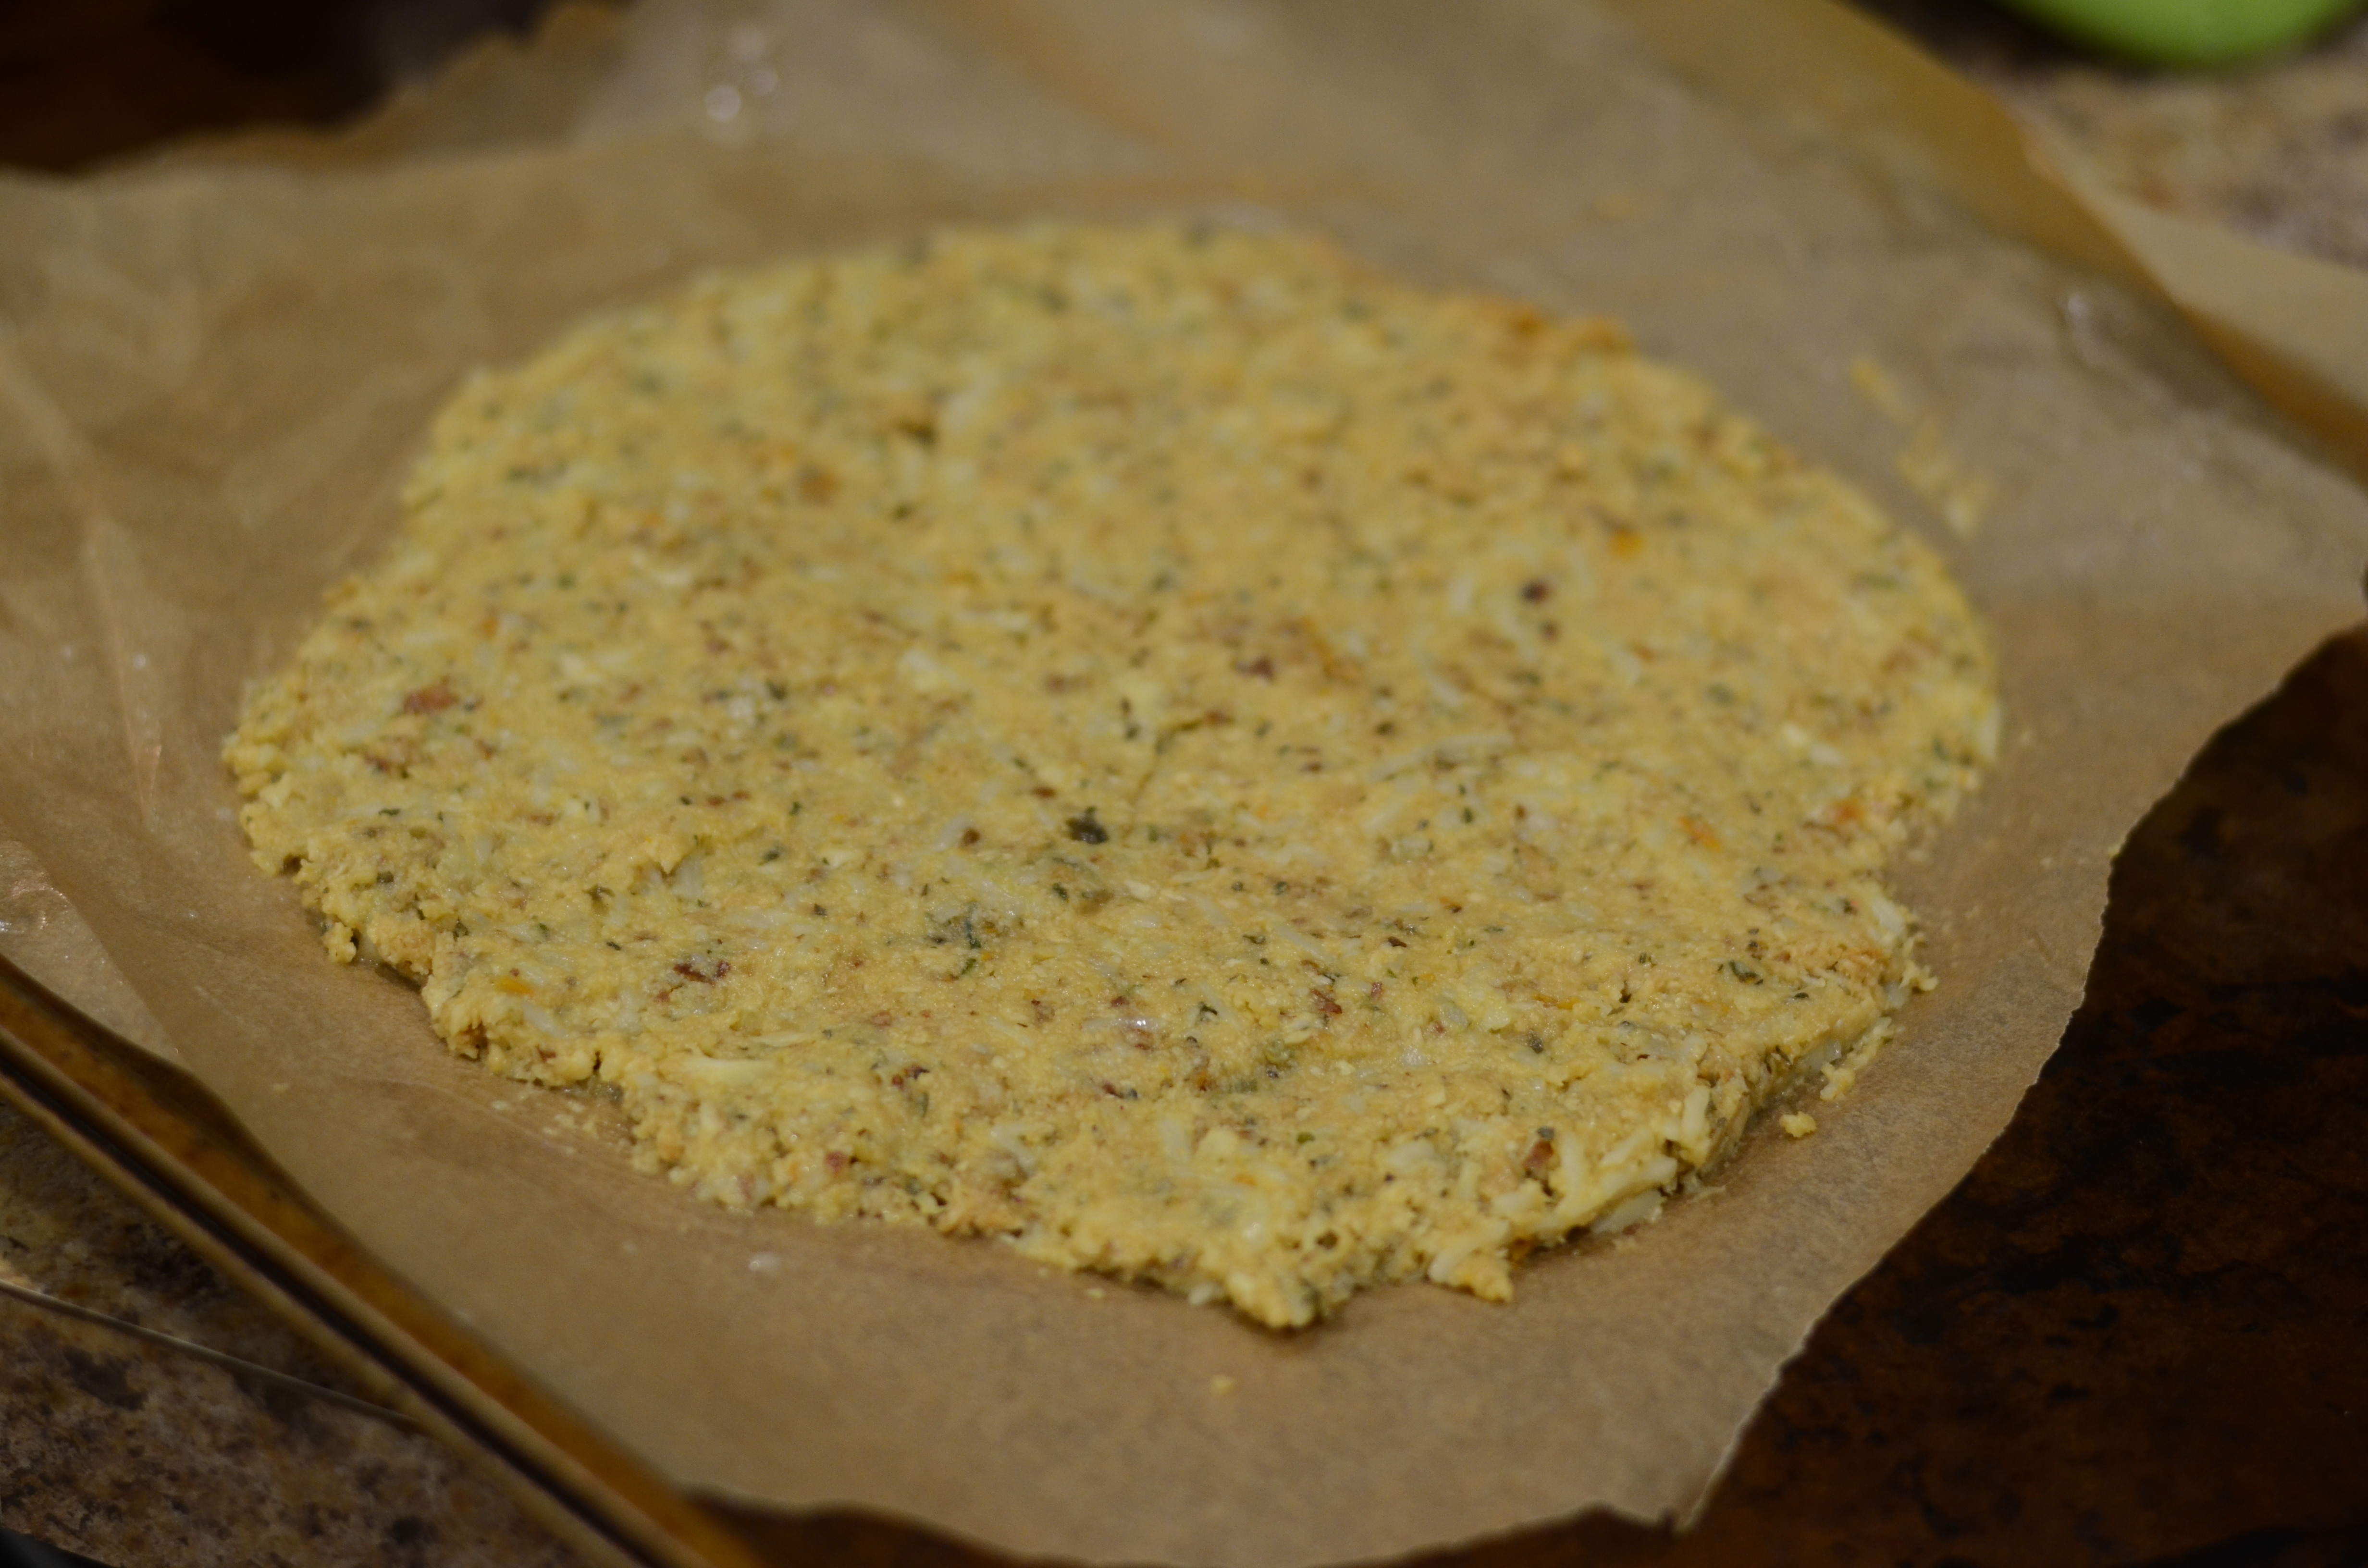
Mix together cauliflower, egg, mozzarella, herbs and spices in a large bowl. Spread the cauliflower crust out into a big pan using a rubber spatula. You can use a Silpat, parchment paper, or grease the pan and scatter with cornmeal or semolina. Bake the crust about 10-15 minutes. You will see the crust star to get very dark on the sides.
Mmm browned cheese bits.

Mmm browned cheese bits.


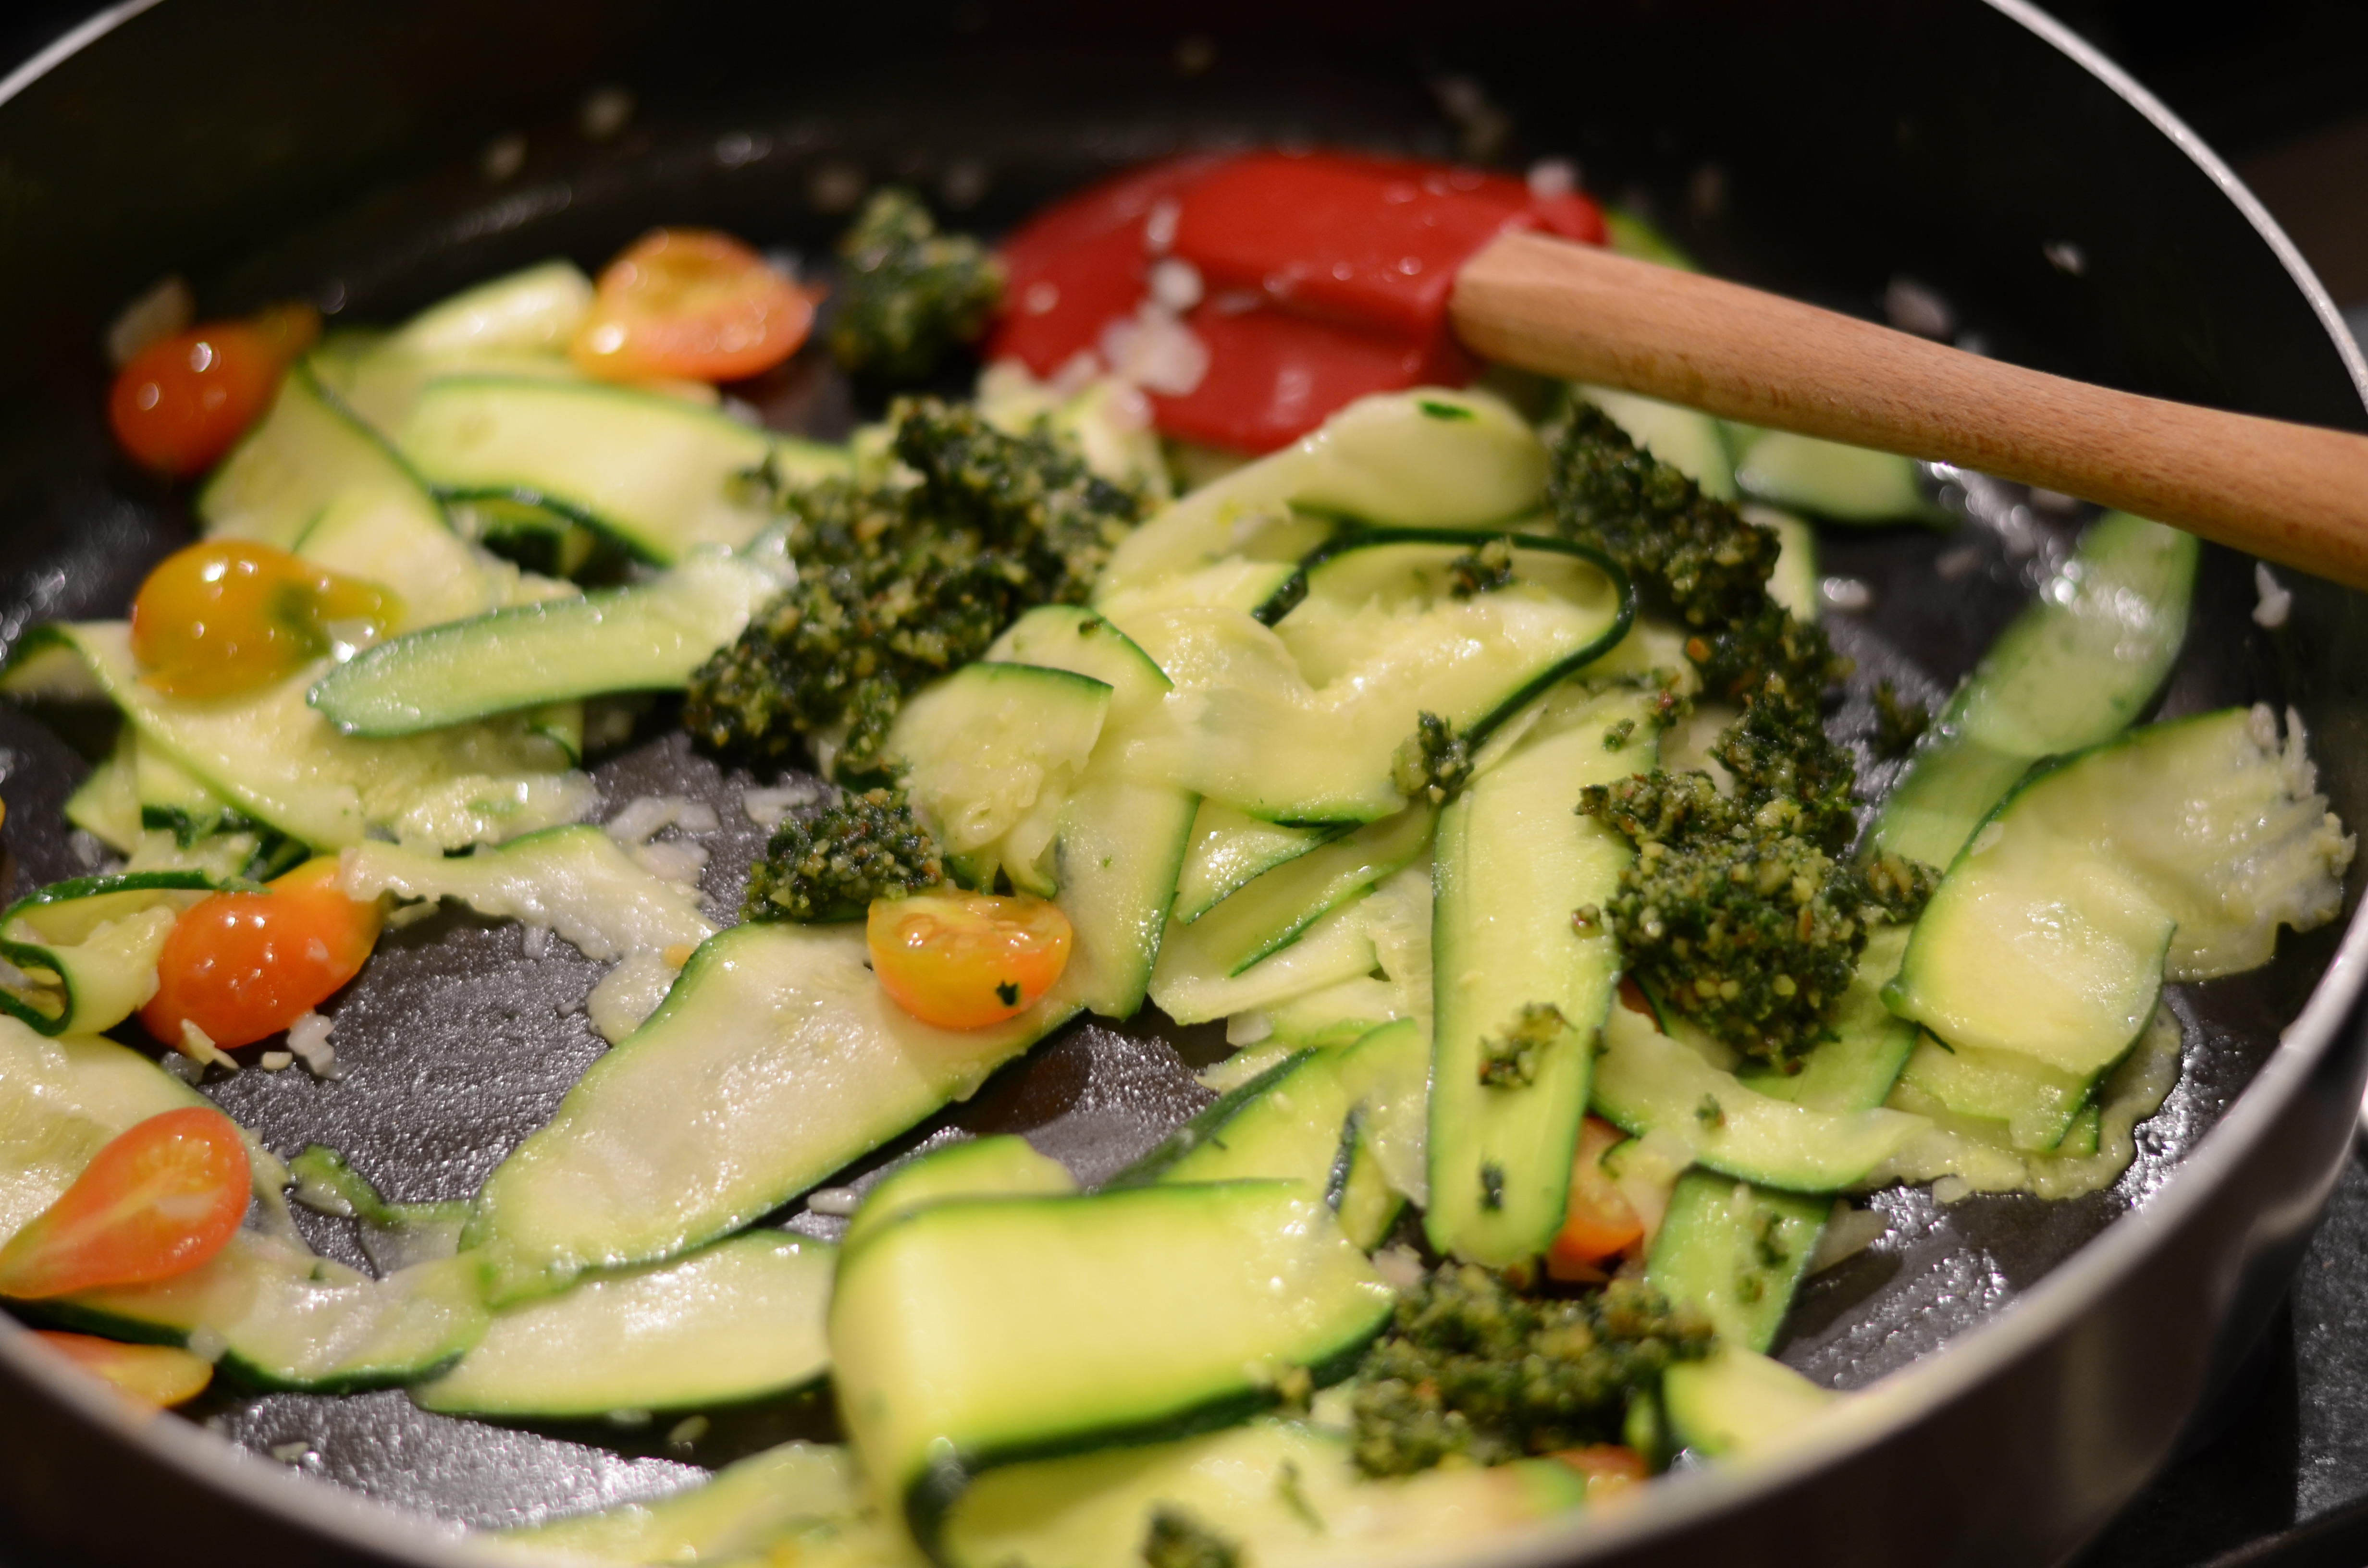
While the crust is browning, prepare toppings.
I sautéed my swiss chard stems in olive oil.
DSC_6280
And halved the tomatoes from my garden (this is the last of the ripe ones!)
DSC_6284
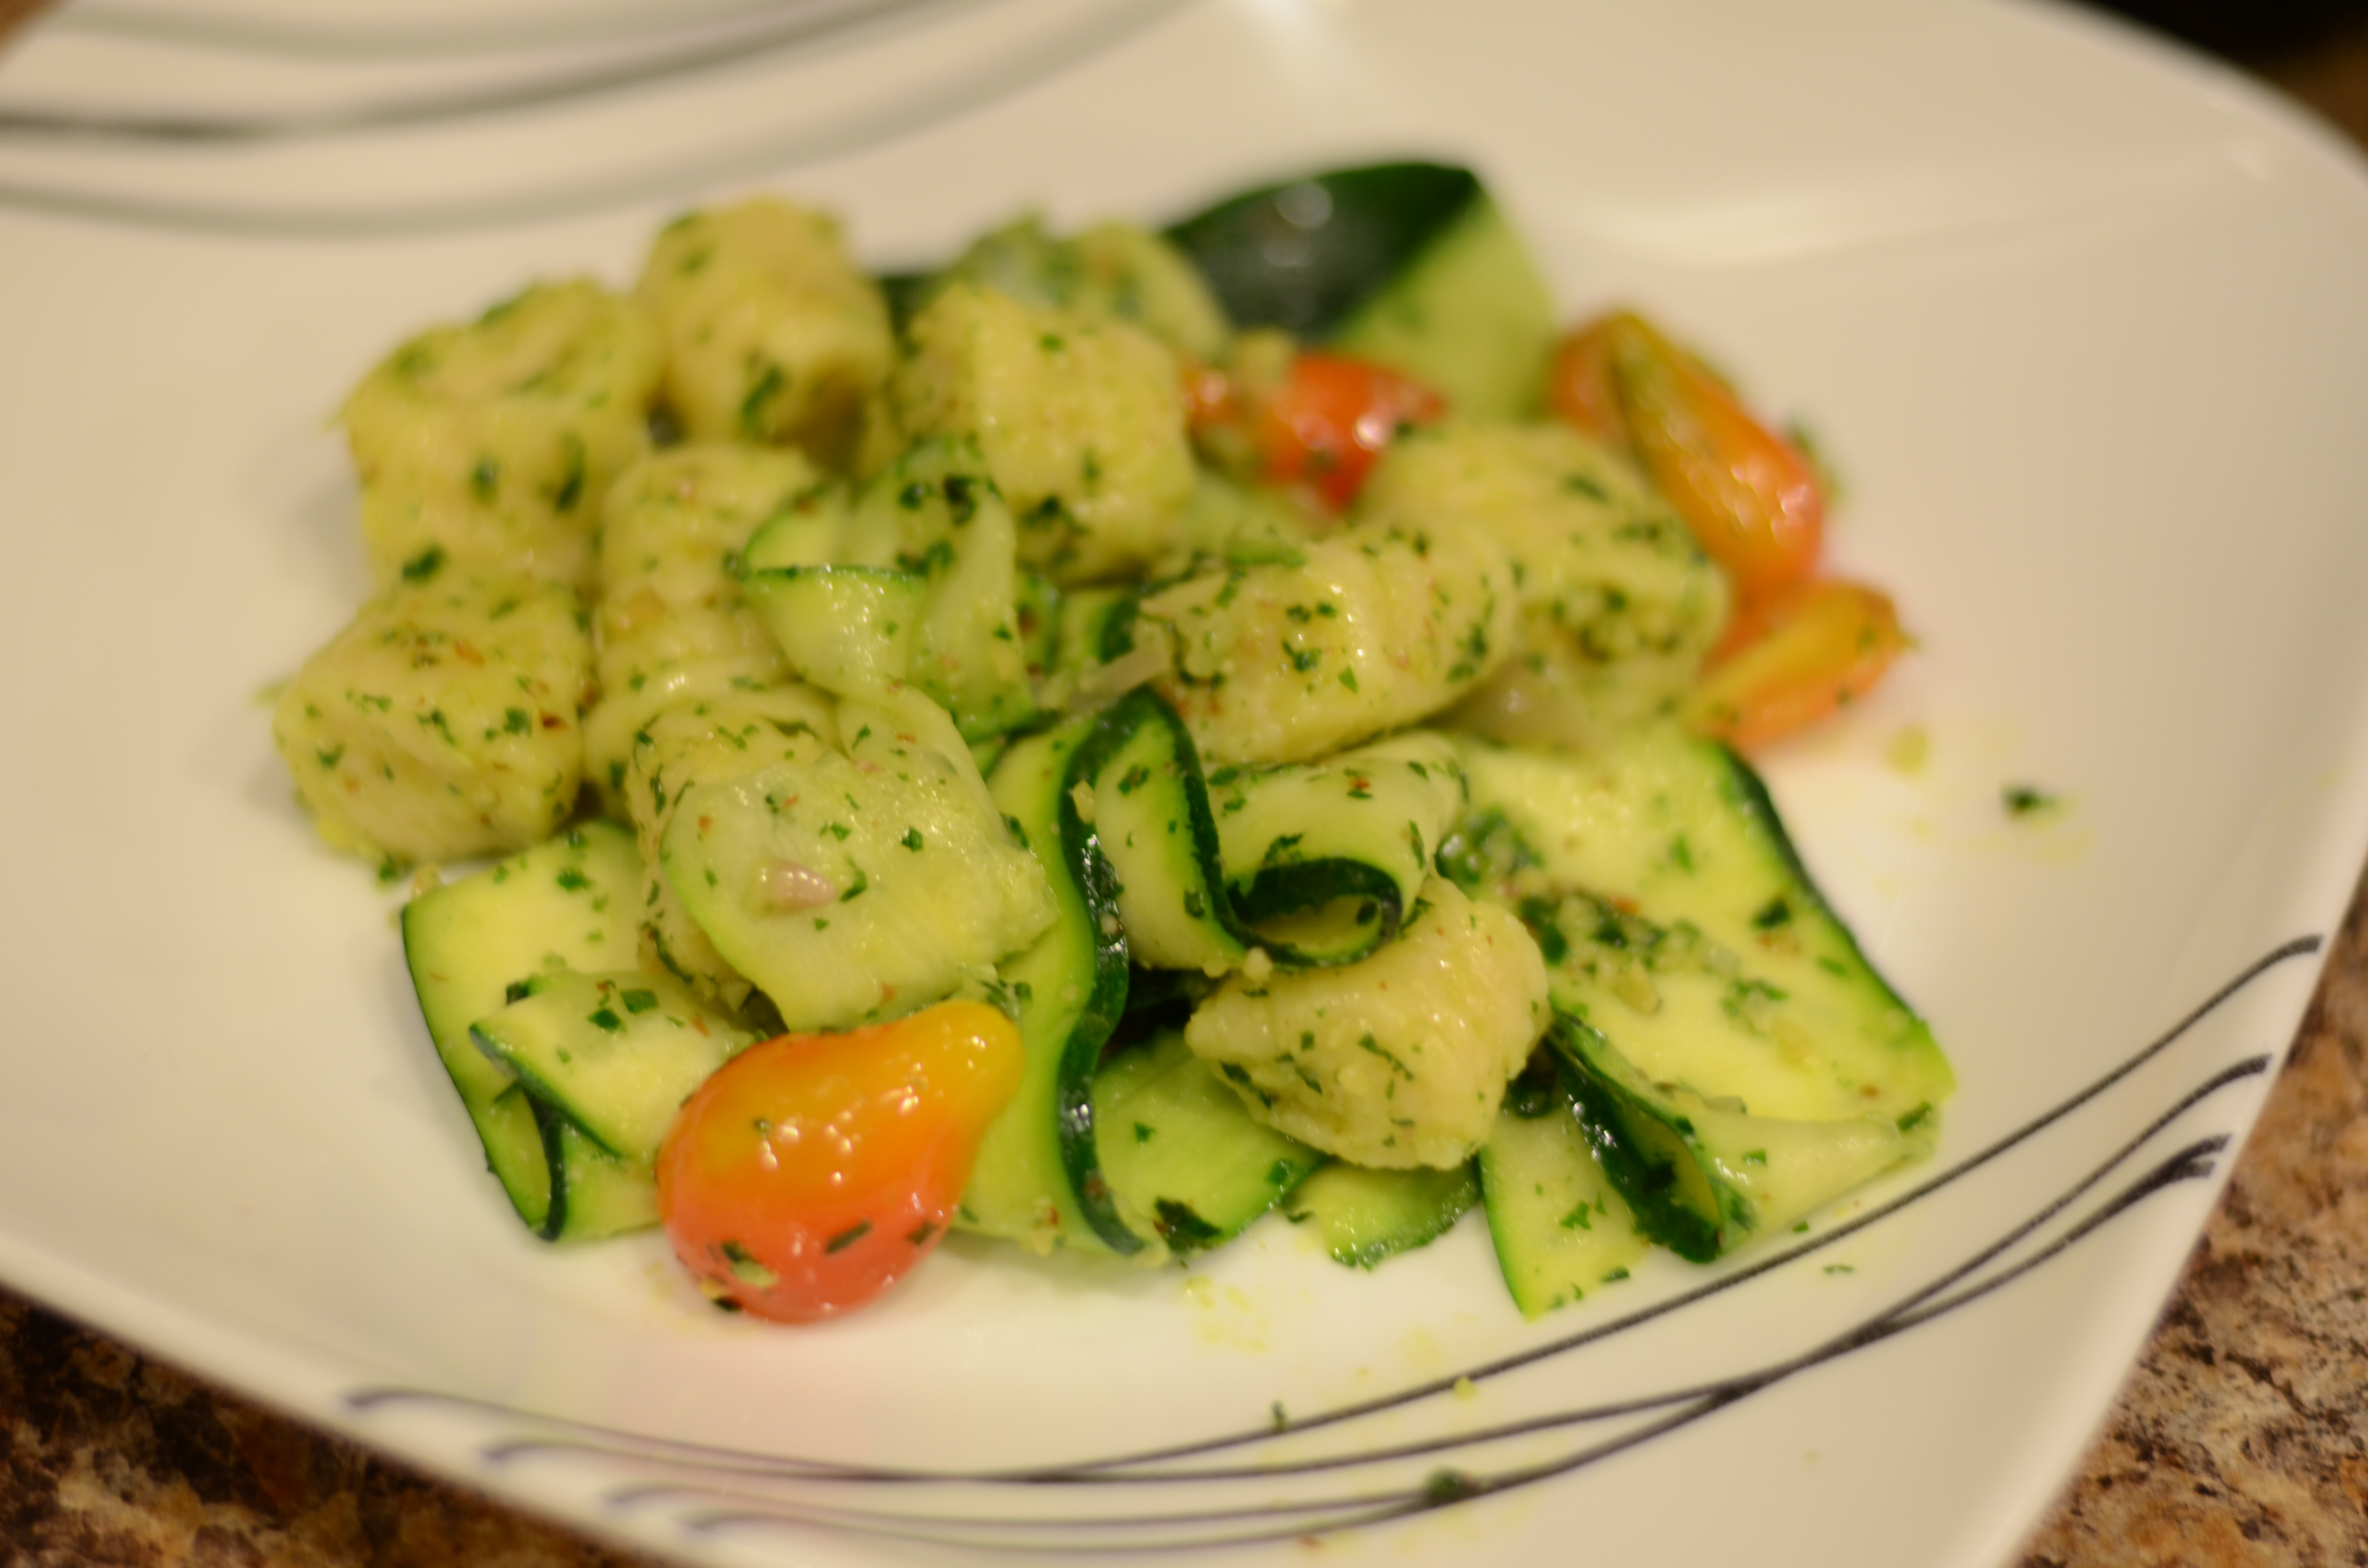
Add the pesto, swiss chard, halved tomatoes, and cheese. Lower the oven temperature to about 375 degrees and return the pizza to the oven to bake for about 10 more minutes, until the cheese is melted.
DSC_6294
Got it just in time.

Got it just in time.

DSC_6301

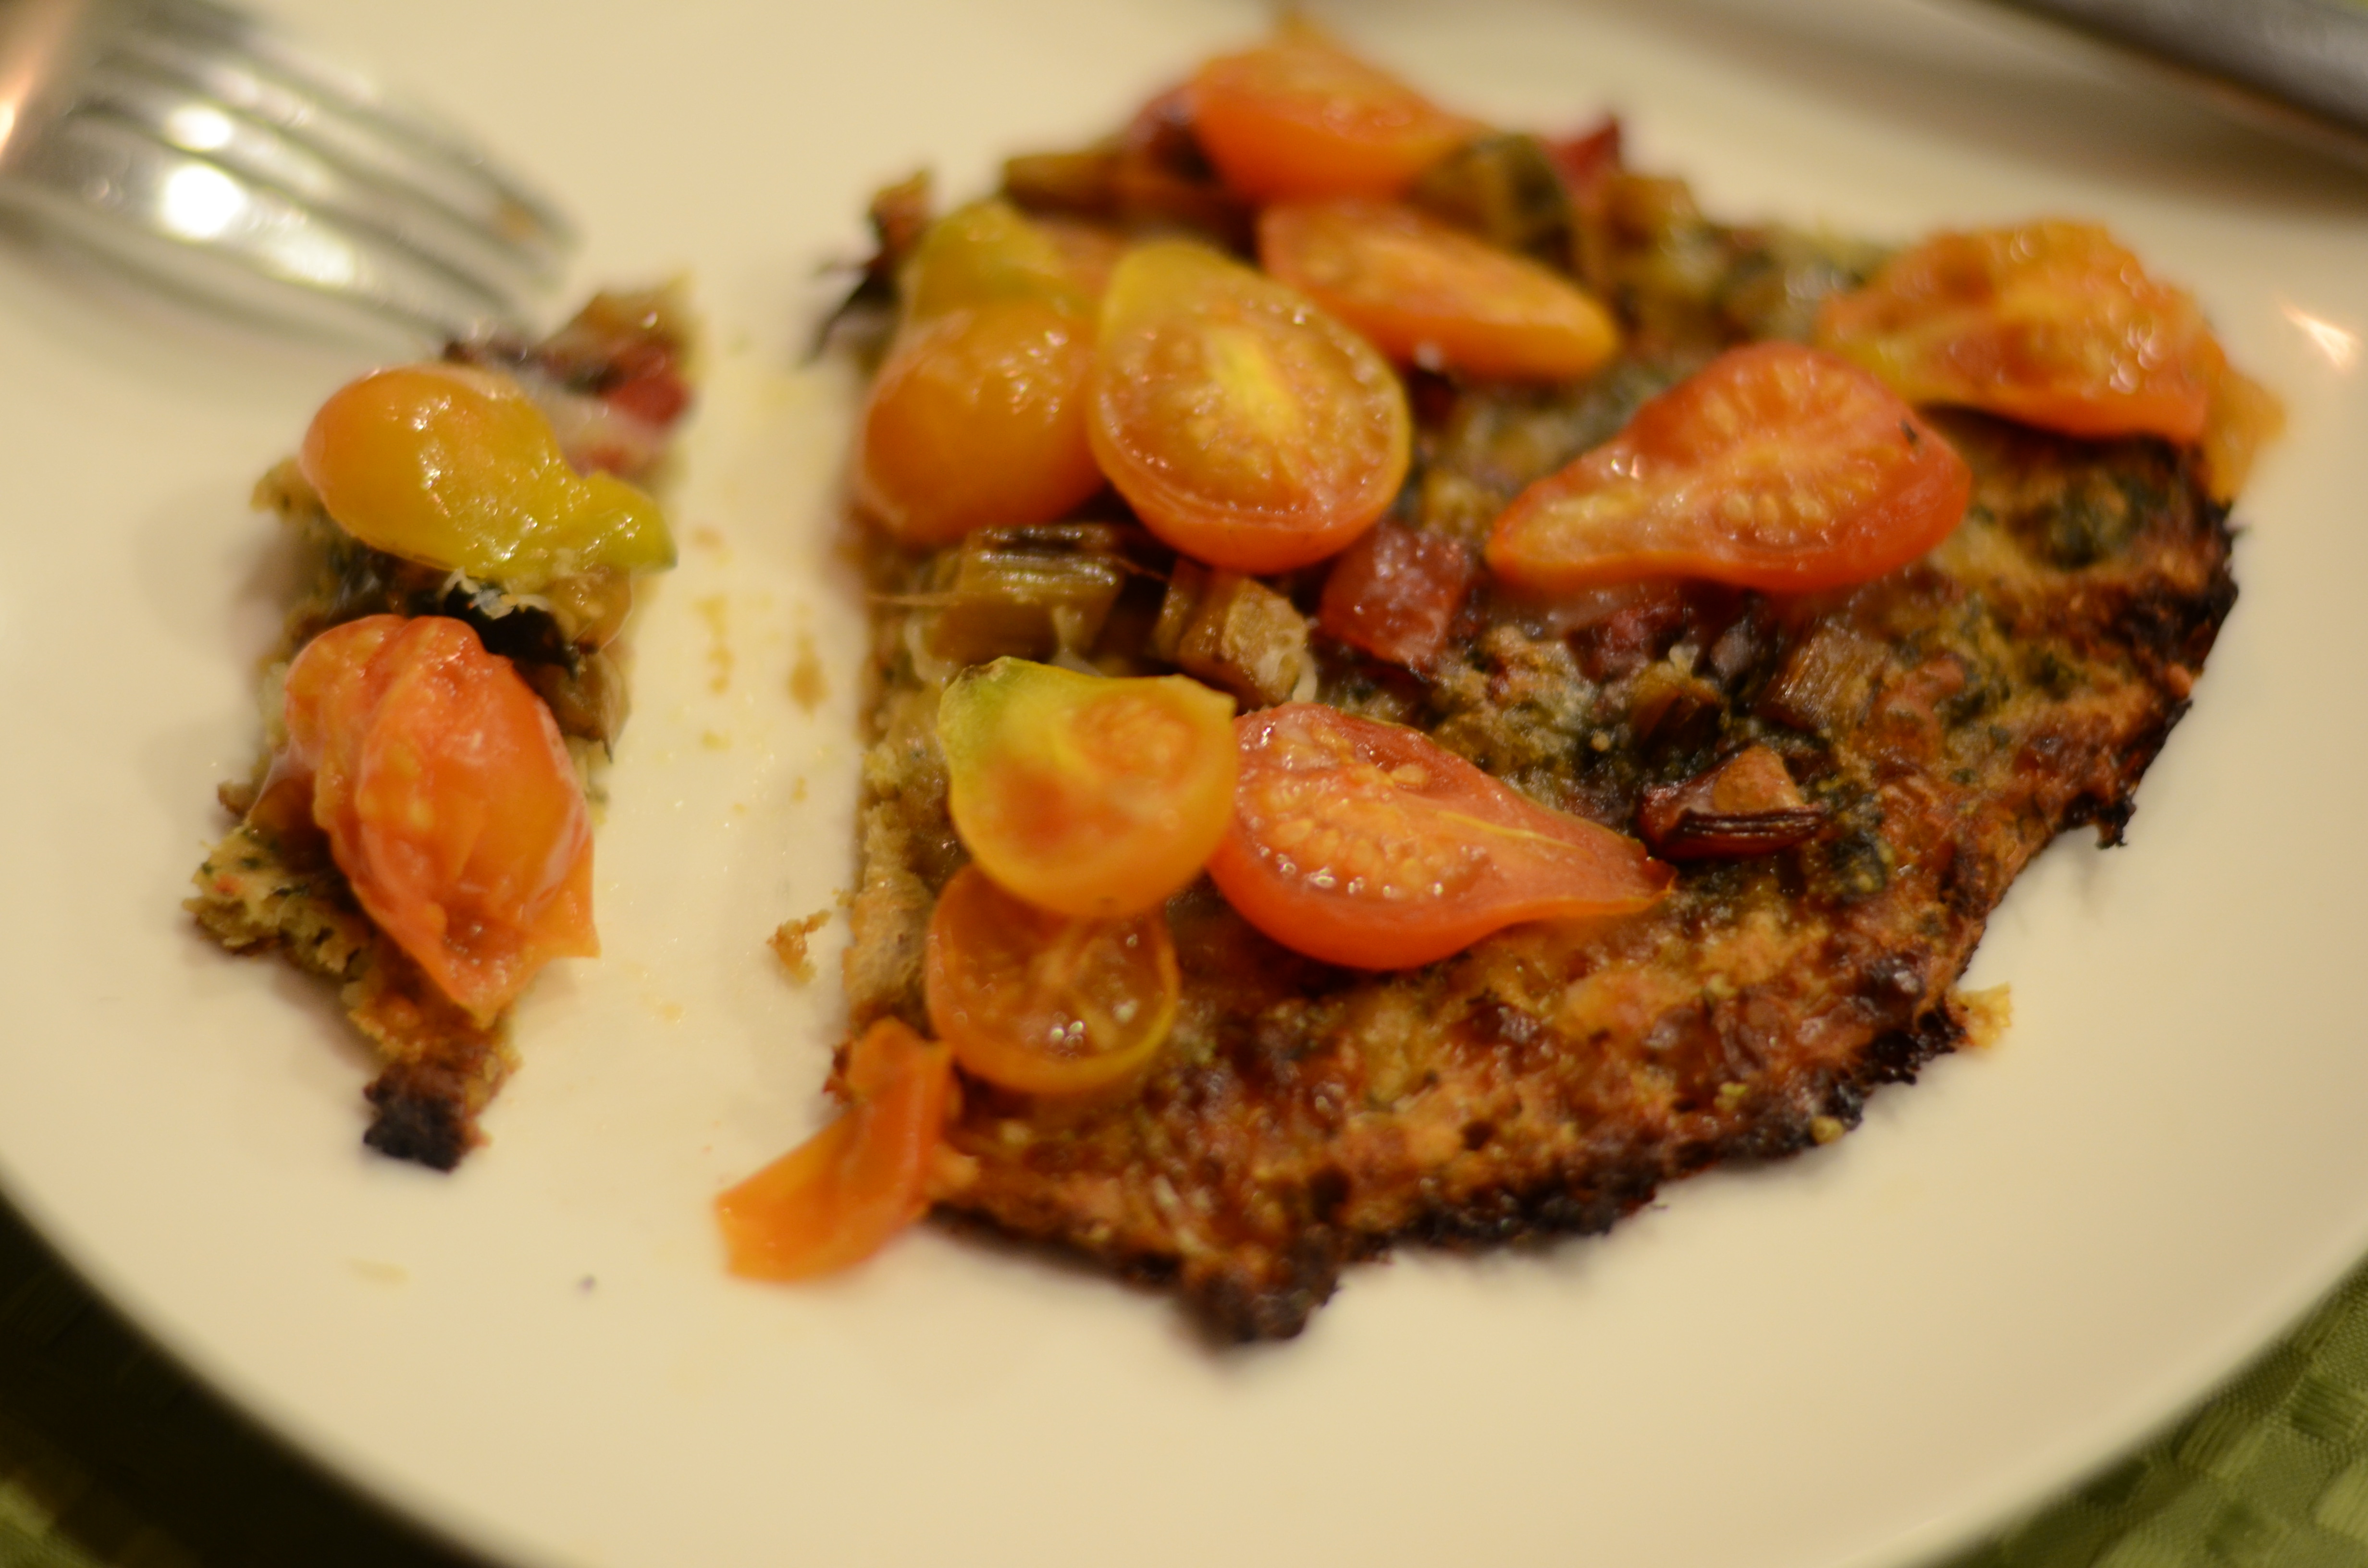
The result was wonderfully indulgent. There must be a significant amount of “good fats” in each serving. It’s basically eating pesto on pesto after all! I had no trouble finishing the whole pizza myself in two days. That’s pretty impressive for cauliflower.

Orange and Green, Two Ways

I’m getting nervous that my food is starting to look the same.

I was going to make my next post about pasta with cauliflower pesto. I’m putting it off because I’m afraid it will remind you of a recent post, one that happens to use the same pasta and has many of the same textures. You’d rather have some visual variety, right?

As you know, with my mostly seasonal, vegetable-based, waste-minimizing cooking, I find myself looking for recipes that use up ingredients I have on hand, ideally many at once. Through this pursuit of efficiency, I have come to learn about certain important combinations. The sweetness of dried fruits counteracts bitter greens. Earthy vegetables take well to sugar. If a vegetable has a lot of sweetness, particularly after roasting, it will benefit from a touch of acid, from vinegar, or perhaps can be enhanced by the tang of a tomato from my garden. And orange and green make a solid couple.

Sure, I could learn these lessons through broad culinary study. But it is the personal experiences that make the facts “stick.”

I prepared the below two recipes a few weeks apart, realizing their connection only afterwards. The broccoli bowl recipe is from a Smitten Kitchen blog post, and the kale dressed with roasted vegetables and tahini through a random search. Both authors suggest that sweet potato could be replaced with butternut squash, which is also in season. I’m sure the kale and broccoli could be interchanged. Whatever items you choose to pair, they will look together.

Roasted Sweet Potato and Chickpea Over Kale
From The Vegan Cookbook Aficionado adapted from Orangette

15-ounce can chickpeas (about 1 ½ cups, you can also attempt soaking and cooking from dried beans like me), drained and rinsed
2 lbs (about 3-4 medium) sweet potatoes cut into 1 ½-inch pieces
1 large garlic clove, smashed
3/4 teaspoon ground allspice
1/2 teaspoon cinnamon
1/4 teaspoon cayenne
2 tablespoons olive oil

Kosher salt and pepper, to taste
4 Cups kale, washed, stems removed and roughly chopped
1/4 of a medium red onion, finely chopped
1/4 Cup cilantro leaves, coarsely chopped

Sauce:
1 garlic clove
, finely minced with a pinch of salt
3 1/2 tablespoons lemon juice
3 Tablespoons tahini
(be sure to stir well)
3-5 Tablespoons water
up to 1 tablespoon olive oil
1-2 teaspoons maple syrup

Preheat the oven to 425 degrees F.

Dry chickpeas slightly by blotting with a paper towel in a large bowl. Add cut sweet potato, garlic, allspice, cinnamon, cayenne, olive oil, salt and pepper. Toss until the sweet potato and chickpeas are evenly coated. Spread on a baking sheet, and bake for 15 to 25 minutes, mixing from time to time until the sweet potato has softened.

While the sweet potato is baking, combine the kale, onion and cilantro in a mixing bowl. Set aside.
DSC_6223
Make the tahini sauce. In a small bowl, whisk together the garlic and lemon juice. Add the tahini, and whisk to blend.
DSC_6227
Add the water and olive oil, whisk well, and taste for seasoning. The sauce should have plenty of nutty tahini flavor, but also a little kick of lemon.

Transfer roasted chickpea-sweet potato mixture to the mixing bowl with the kale. Let the mixture rest for a minute while the heat wilts the kale, and then toss gently to combine.
DSC_6226Add tahini sauce to taste, and toss carefully. If you are not serving the full recipe at once, you may want to keep the tahini sauce on the side.
DSC_6229

Miso Sweet Potato and Broccoli Bowl
Adapted from Smitten Kitchen

Grain and vegetable bowl:
1 cup dried rice* or another grain
1 to 2 large sweet potatoes (about 1.5 pounds)
1 large bundle broccoli (about 1 pound)
1 to 2 tablespoons olive oil
Coarse or kosher salt
Freshly ground black pepper

2 teaspoon sesame seeds, ideally a mix of black and white

Dressing:
1 Tablespoon fresh ginger, minced
1 small garlic clove, minced
2 Tablespoons miso**
2 Tablespoons tahini
1 Tablespoon honey
1/4 Cup rice vinegar
2 Tablespoons toasted sesame oil
2 Tablespoons olive oil


Adaptation notes:
*The heartier the grain, the better, in my opinion. I used the deliciously nutty Trader Joe’s brown rice medley, the one used in the hummus fritters recipe.

**The original recipe (like so many I keep finding) suggested white miso, but I only had the red kind on hand, so I used that, dang it. Incidentally, when I first bought the red miso it was for a broccoli recipe. Since then, I have learned that the general rule for miso is “the lighter the color, the more mild the flavor.” Well, go bold or go home, I say.

Heat oven to 400 degrees.
DSC_6071
While you prep, cook rice or grain according to package directions. Peel sweet potatoes and cut into 1-inch cubes. Cut broccoli into bite-sized florets.

Coat a rimmed baking sheet with olive oil. Layer sweet potatoes and sprinkle with salt and pepper. Roast for 20 minutes, until browning underneath. Flip and toss chunks around, then add broccoli.
DSC_6072
Season again with salt and pepper, and roast for another 10 to 20 minutes, until broccoli is lightly charred at edges and sweet potato is soft. Check periodically to see if you need to toss the vegetables more for even cooking.

Toast sesame seeds until fragrant, either on a stovetop skillet or in the oven (being careful not to burn).

Black sesame seeds would have made this much prettier!

Black sesame seeds would have made this much prettier!


While vegetables roast, prepare dressing: Combine everything in a blender and run until smooth, scraping down sides once.
DSC_6074
Taste and adjust seasonings. Deb suggests that the dressing should taste more salty than sweet for this dish.

Scoop some rice into bowls and top with the roasted sweet potatoes and broccoli. Coat with a little dressing and finish with toasted sesame seeds.
DSC_6080
Set extra dressing on the side to add as needed.
DSC_6083

Harvest Muffins

Time to get grating.
DSC_6122
Last week was as big one for the CSA harvest, plus I couldn’t resist picking up a couple of things at a farmer’s market I was passing, so it has been a busy time of cooking and eating and trying to keep up. No ordering lunch for this gal! It has been delicious though. There was a modified sweet potato shepherd’s pie made using leftover barbecue pulled pork my sister made for a family function and sent me home with. I made scallion pancakes, butternut squash parsley penne, and slightly spicy coconut chicken bok choy soup, the latter of which went really well with an ice cold lager beer home alone watching Dancing with the Stars (I’ve accepted my occasional loneliness while my husband has volunteer fire department responsibilities).

When it looked like my meals were already covered for the rest of the week, I knew I had to take precautions against food spoilage. Fortunately Melissa Clark came to my aid. Well, SHE didn’t actually COME to my side and counsel me, but how cool would it be for her make a video in my kitchen? I came across her harvest muffin recipe.

This recipe reminds me a little bit of the sourdough carrot cake recipe from August, which led me to King Arthur Flour’s “Kitchen Sink Carrot Cake” recipe. Muffins are easier, since they can be individually frozen and thawed as desired.
DSC_6209

Harvest Muffins
From The New York Times

1 1/8 Cups (140 grams) whole-wheat pastry flour
1 teaspoon (5 grams) baking soda
1 teaspoon ground cinnamon
1/4 teaspoon salt
2 large eggs
1/2 Cup olive oil
1 tablespoon honey
1/3 Cup (70 grams) packed dark brown sugar
1 small apple
, grated, and juices reserved (1/2 cup)
1/2 Cup grated carrots (or butternut squash or parsnips)
1/2 Cup grated beets (or zucchini)
1/3 Cup (55 grams) raisins
1/2 Cup (40 grams) unsweetened shredded coconut

A note on the inclusion of grams on the ingredient list above–it is a true a time saver to be able to use the kitchen scale instead of pulling out the different measuring cups and leveling them off.
DSC_6194

Preheat oven to 350 degrees. Grease muffin tins, either mini or regular. Prepare ingredients:

I ended up using a little more than 1/2 Cup of the carrots and beets.

I ended up using a little more than 1/2 Cup of the carrots and beets.


In a medium bowl, whisk together the flour, baking soda, cinnamon and salt.

To a large bowl, add the grated apple and juices and grated vegetables, eggs, olive oil, honey, and brown sugar.
DSC_6197
Combine.

Lovely!

Lovely!


Using a spatula, fold the dry ingredients into the wet mixture until just combined. Gently fold in the raisins and coconut.

Fill each muffin cup 3/4 of the way up.

It is hard to tell what is 3/4 of the way filled. These muffins aren't huge risers, so it wasn't a problem.

It is hard to tell what is 3/4 of the way filled. These muffins aren’t huge risers, so it wasn’t a problem.


Bake for about 15 to 18 minutes for mini-muffins and about 20 to 22 minutes for regular muffins.
8 minutes in--we're halfway there!

8 minutes in–we’re halfway there!


When an inserted toothpick comes out clean, the muffins are ready to be enjoyed.
DSC_6208
I know you’re wondering–the answer is yes, the muffins do taste a little like beets. You get the beet flavor when you first take a bite, but then it fades into the straightforward sweet taste you would find in any zucchini, apple, or banana bread. I will be enjoying these now until Thanksgiving!

Italian-American Wedding Soup

This recipe is brought to you by the letter E…for escarole. Escarole, that vegetable that makes me groan, because it tastes so bitter raw. Which means I have to make an E for effort to cook it, and when I do, I always feel the need to do something complicated instead of simply sautéing it. Yes, I know this is MY problem.

I was surprised to discover that escarole is a fairly normal ingredient to add to Italian Wedding Soup. The Italian-Style Wedding Soup flavor of Campbell’s used to be one of my favorites as a kid. Yet I’m not sure I have had soup by the same name since then, and I had never made it at home. Of course, it is just a name, and there’s a good chance I have had a chicken-broth-based-vegetable-soup-with-meat-and-sometimes-pasta. Did you know that “wedding soup” was a mistranslation, and the original Italian phrase actually meant “married soup,” because of how well meats and green vegetables marry together? Now you know.

I really enjoyed how this came out using the slow cooker. The meatballs were so tender. Each vegetable added something interesting to the overall flavor. And with the chicken broth base, it definitely came out tasting like comfort food.

Italian Wedding Soup with Escarole
Adapted from Better Homes and Gardens

DSC_6095Because I only had 1 pound of ground beef instead of 1.5, I scaled most of the entire recipe down by 25%–including using 3/4 of my 2 beaten eggs. I’ll spare you that silly instruction on the ingredient list (I probably could have gotten by with just 1 egg).

Besides keeping close to recommended ratios for keeping meatballs together, the recipe is, of course, flexible. If you increase the greens, like I did, be sure to compensate with added broth.

2 eggs, lightly beaten
1 cup finely chopped onion
1/3 cup fine dry bread crumbs (I used panko run through the food processor, but it would have probably worked in its original form)
2 tablespoons grated Parmesan cheese
2 tablespoons fresh Italian (flat-leaf) parsley
, coarsely chopped
1 teaspoon salt
3/4 teaspoon ground black pepper
1 1/2 pounds lean ground beef
(I used 1 pound, as mentioned earlier)
1 tablespoon vegetable oil
8 cups reduced-sodium chicken broth
(I used 6)
3 large carrots, chopped (I used 3/4 Cup)
2 pieces of celery, chopped (I used 1/2 Cup)
1/2 onion, chopped (I used 1/4 Cup)
2 tablespoons snipped fresh oregano or 1-1/2 teaspoons dried oregano, crushed (I used 1 tsp dried)
3/4 teaspoon dried basil (I used 1/2 tsp)
3/4 teaspoon garlic powder (I used 1/2 tsp)
2 bay leaves (I used 2 small Long Island bay leaves collected during a foraging tour with Wildman Steve Brill)
1 small head escarole (8 ounces), trimmed and cut into 1/2-inch strips (I used 6 ounces sliced escarole and 3.5 ounces of a mysterious green from my CSA I believe was mustard greens)
1 cup small pasta (I used whole wheat orzo because I had it – 3/4 Cup)
Fresh oregano sprigs (optional)

DSC_6090
DSC_6106

Escarole

Escarole

Mustard greens?

Mustard greens?


In a large bowl, combine eggs, onion, bread crumbs, cheese, parsley, 1/2 teaspoon of the salt, and 1/2 teaspoon of the pepper.
DSC_6094
Add ground beef; mix well.
DSC_6096
Shape mixture into about forty 1-1/4-inch meatballs.
DSC_6101
Now it is time to choose your method for browning the meatballs. One possibility is to use a large skillet, heat 1 tablespoon oil, and brown meatballs, half at a time, draining on paper towels. I tried this for the first half, and turning the meatballs was a challenge. It was much easier to bake them in oven at 350, turning once, for 10-15 min total.

In a 5- to 6-quart slow cooker, combine broth, carrots, dried herbs and spices, if using (oregano, basil, garlic powder etc.) the remaining 1/2 teaspoon salt, and the remaining 1/4 teaspoon pepper. Gently add meatballs.
DSC_6107
Cover and cook on low-heat setting for 6 hours, or on high-heat setting for 3 hours, stirring in fresh oregano (if using), pasta, and greens during the last 20 minutes of cooking.
DSC_6113
Ladle into bowls. Garnish if desired. Sit back and enjoy.
DSC_6116

Hearty and Heart Healthy

You knew the anchovies were going to make another appearance.
It came time to use up the rest of those anchovies, and at least some of my parsley, in a somewhat traditional pasta dish. I also wanted to use up tomato sauce I had made due to the bunches of cherry tomatoes I keep harvesting from my garden–in late October no less!

I transplanted one of my outdoor parsley plants to an indoor pot in the hopes it could produce for me in the winter.  It hasn't been looking great!

I transplanted one of my outdoor parsley plants to an indoor pot in the hopes it could produce for me in the winter. It hasn’t been looking great!


It is nice when something comes together I wasn’t expecting. This salty, toothsome dish packed a flavor punch. I ended up using one of the tiny dried out chilis I had on hand, something I also grew in a planter and don’t use very much, because I thought this recipe could benefit from some extra spice. Red pepper flakes add a nice touch in tomato sauce. Since I had fewer anchovy filets available than one of the original recipes suggested, I threw in capers to fill it out.

Pasta Oreganata With Garlic, Anchovies and Tomatoes
Adapted from a combination of Gwyneth Paltrow’s recipe in Bon Appetit and a New York Times recipe

1-2 Cups of chunky tomato sauce, previously made, such as Smitten Kitchen’s fresh tomato sauce
6 anchovy fillets packed in oil, drained
4 Tablespoons of olive oil, divided
4 garlic cloves, peeled and finely chopped
1 dried chili, finely chopped (optional)
1 Tablespoon capers
1/4 Cup plain dry breadcrumbs
1 Tablespoon fresh flat-leaf parsley
, finely chopped
1/2 teaspoon fresh thyme, finely chopped
Large pinch dried oregano
Freshly ground black pepper
8 ounces of linguine or spaghetti
, I use whole wheat
additional chopped parsley leaves
small fresh basil leaves
(optional)

Set the oven temperature to 400°. Line a small baking sheet with parchment paper or aluminum foil. Place breadcrumbs and herbs in a small bowl; season with salt and pepper. Drizzle 1 Tbsp. oil over; stir until mixture resembles damp sand.
DSC_6040
Bake until golden brown, 3-5 minutes. Set aside.
DSC_6046
Cook pasta in a large pot of boiling salted water, stirring occasionally, until al dente. Drain, reserving 1 cup pasta cooking liquid.

Put about 3 Tablespoons of olive oil in a medium skillet over medium heat; a minute later, add garlic. Cook garlic so it bubbles gently. When it is lightly browned all over, add anchovies.
DSC_6042
Cook, stirring occasionally, for about a minute, until anchovies begin to fall apart. Add capers, if using.
DSC_6043
Add tomato sauce and chili. Adjust heat so the sauce bubbles nicely, and cook until mixture cooks down and comes together a little, about 5 minutes. Taste and add salt and pepper as necessary.
DSC_6044
Add drained pasta to skillet; toss to coat, adding reserved pasta water by 1/4-cupfuls if dry. Remove from heat; stir in basil. Drizzle with remaining 2 Tbsp. oil. Divide among bowls. Top each with oreganata and extra parsley.
DSC_6048

Eat Ugly Food

Among the list of small contributions individuals can make to reduce food waste is to eat ugly food. Fight that primal, biological tendency to select only the most pristine pepper, the flawless fennel, the pure potato, the cleanest cucumber, or the blemish-free blueberry batch.

As I address this topic, let me pause to say that I struggle to walk the walk. The last time I went to the grocery store for produce, I scrutinized nearly every batch of cilantro on display before selecting what I felt was the perkiest. I am part of the problem.

Of course, as I sort through the bins, what I’m trying to do is get the best bang for my buck. At the end of the day, grocery stores probably throw out that slightly marred mango that keeps getting left behind. They are part of the problem, too. What if they charged a premium for perfect produce? With ugly items available, but at an irresistible price? Maybe someone would pay a lesser price. Maybe that lesser price makes the item fit into someone’s budget. Maybe for once healthy produce could be as affordable as junk!

Apples are in prime season right now. I heard a story on NPR the other day in which apple farmers talked about the fact that big box stores stipulate circumference requirements, and offer only 1/2 inch leeway. Read about the high standards of beauty that have been regulated in the U.S. (the links to the U.S.D.A. within this article work again, yay). I remember apple-picking a couple of years ago at a large orchard in Connecticut. There were apples all over the ground, tons of them, bruised and smashed or half-eaten and tossed to the side. Some were probably in fairly good shape, but people kicked them to the side. Of course no one wanted them–they wanted to spot their perfect apple and pick it from the tree. I was saddened by the prospect that these apples weren’t used at all.

My sister-in-law Maggie brought me back a ton of apples from picking this year, and they were all beautiful except for this one!

My sister-in-law Maggie brought me back a ton of apples from her own picking excursion this year. Here’s the only funny-looking one I found!

A UK study found that the amount thrown away due to “ugliness” amounted to 40% of fruits and vegetables, and the article made a point that this is particularly tragic considering that one in eight people worldwide are hungry. UntitledThe UN has taken notice of these shameful facts, and started a Think.Eat.Save campaign. It seems fairly recent. Apparently World Food Day was October 16, though the media I consume did not pick this up.

On a lighter note, I want to talk about a vegetable that is ugly even when it is looking its best–celeriac, or celery root. Like most root vegetables, celeriac works well roasted or mashed and can be very satisfying. Also like most root vegetables, it keeps for some time. I picked up celeriac as one of my CSA items a couple weeks ago and hadn’t gotten around to cooking it. Randomly, when I opened up my new momofuku milk bar cookbook the other day, the page that faced me was the recipe for celery root ganache.
DSC_5981
A friend recently brought over the cookbook for me as a wonderfully thoughtful gift. She reads my blog, and said that the author, chef Christina Tosi, uses leftover crumbs and components from various desserts in other concoctions at the restaurant, so she thought it might fit in with my philosophy. Of course, the ingredients lying around a restaurant kitchen are much different from a home kitchen’s. That’s OK–it’s still fun. If you have ever had a momofuku milk bar dessert, you understand that it might be worth it.

Adapted dish: Celery Root Ganache with Strawberry Sorbet and Ritz Crunch

Part 1
Recipe 1:
Celery Root Ganache

from the momofuku milk bar cookbook
makes 1.5 cups, which is a lot

1 medium celery root, peeled and cut into chunks
1 Tablespoon grapeseed oil
1/4 teaspoon kosher salt
1/4 teaspoon black pepper
, freshly ground
milk if needed

5.25 ounces white chocolate
3 Tablespoons butter
2 Tablespoons corn syrup or glucose
1/4 Cup cold heavy cream
1 teaspoon kosher salt

Equipment needed: blender or food processor, mesh strainer or food mill (optional?), immersion blender

Preheat the oven to 325.
DSC_5982
On a large sheet of aluminum foil, toss the celery root chunks with oil, salt and pepper. Fold up to enclose and place on a baking sheet. Roast in oven until celery root is mushy, and hopefully caramelized. The cookbook says 30-60 minutes, but I wasn’t satisfied with the mushiness until around 90 minutes.
DSC_5987
Use a blender to puree the celery root. Add milk if needed to get a smoother puree.
DSC_5988Then press through a fine-mesh strainer, or perhaps a food mill, to get a baby-food like texture. You will need 1/2 Cup.
DSC_5993
This is where I started to wonder if this was worth it. I was pressing and pressing and not getting enough squeezed out of my mesh strainer. I had already added a good amount of milk at the blender stage so I didn’t want to thin it out too much. I spent a lot of time to get just a few tablespoons of smooth puree, so I eventually gave up and decided to accept a grainier texture.

In a microwave-safe dish, combine the white chocolate and butter and heat at 15-second bursts in the microwave, stirring in between. The mixture should come together but be barely warm, not hot.

Transfer chocolate mixture to a tall, narrow container like a quart deli container.
DSC_6005
In another bowl, microwave corn syrup for 15 seconds and then add to the chocolate mixture. Use immersion blender to combine. Then stream in heavy cream with blender running and buzz until it comes together in a silky, smooth texture.
DSC_6006
Add to celery root puree to this along with the extra salt.
DSC_6008
Taste to see if it needs any additional salt. What will it taste like? I will tell you what I thought: yogurt-covered pretzel, all the way.

Ganache should be chilled in fridge for at least 4 hours to firm and can be stored there long-term, in an airtight container.

Part 2
Recipe 2:
Ritz Crunch

Makes about 2 Cups, which is dangerous

1 sleeve Ritz crackers (110g)
1/2 Cup sugar
1/4 Cup milk powder
1/2 teaspoon kosher salt
7 Tablespoons butter
, melted

Heat the oven to 275.
DSC_6024
Crush crackers with your hands in a medium bowl. Add the milk powder, sugar and salt and toss. Add melted butter; toss to coat.

Spread on parchment or Silpat-lined sheet pan.
DSC_6029
Bake for 20-25 minutes. It will be done when the clusters are slightly more golden and feel a little crispy.
DSC_6036
Cool completely before storing, in an airtight container. They can be stored at room temperature, in fridge, or in freezer.

Part 3
Strawberry Sorbet

This I purchased, on a late-season visit to Ralph’s Italian Ice.

To bring the parts together:
Shmear cold ganache across small desert plate. Scatter the Ritz crunch around. Place a generous scoop of strawberry sorbet at center.
DSC_6053
Yes, even when shortcuts and substitutes, this dessert took me a couple of days and generated infinite dirty dishes. When I tasted the final product–with the icy cold, sweet but fruity-tart sorbet, the delightfully salty ganache, and the buttery Ritz crunch–my main thought was “wow.” Also, “Christina Tosi is a genius.”

Hummus…fritters

I was in the mood for hummus the other day, and my husband asked if I wanted anything from Costco when he was making a trip. This is a bad combination. I should have simply made my own in a smaller quantity, but instead I ended up with the giant container.

Not that I’m complaining–I love hummus (don’t we all?). However, someone subsequently advised me that it says on the container to consume within 7 days of opening. I already weighed in about the news that “Best By” dates are subjective and unregulated, as reported by the NRDC. I’m sure that hummus tastes a bit better when freshly opened, but I’ve eaten from plenty of containers of hummus over much longer periods of time.
DSC_5950
It was great timing to receive the latest Cooking Light magazine and find a recipe that uses hummus in a different way, to make a composed entrée.

Hummus Rice Fritters with Mediterranean Accompaniments
From Cooking Light magazine
Makes at least 8 fritters

Fritters:
1 1/2 Cups leftover cooked brown rice
(could be from a pre-cooked packaged, made immediately before, or made a previous day!)
1 Cup prepared hummus (feel free to vary with flavored hummuses if that is what you have)
3 Tablespoons flour, all-purpose or cake
1/8 teaspoon ground red pepper
1 large egg white
4 teaspoons extra-virgin olive oil
1/4 teaspoon kosher salt

Salad/Pita Accompaniments:
2 Cups baby arugula
1 Tablespoon extra-virgin olive oil
1 Tablespoon fresh lemon juice
1/4 teaspoon kosher salt
1/4 teaspoon freshly ground black pepper
1 Cup cherry tomatoes
, halved
1 Cup cucumber, peeled and thinly sliced
1/2 Cup thinly sliced red onion (optional; I did not use)
1 ounce goat cheese, crumbled-about 1/4 Cup (optional–not as necessary if using the yogurt sauce)

I used a "brown rice medley"

I used a “brown rice medley”


Place first 5 ingredients in a food processor; process until smooth.
DSC_5954
DSC_5956
Does anyone have ideas, in general, for putting one egg yolk to good use, so I don't have to toss it?

Does anyone have ideas, in general, for putting one egg yolk to good use, so I don’t have to toss it?


Heat a large nonstick skillet over medium heat. Add 2 teaspoons oil to pan; swirl to coat. Add 4 (1/4-cup) batter mounds to pan, pressing each with the back of a spatula to flatten slightly (you may want to spray the spatula with oil or cooking spray so it doesn’t stick).
DSC_5957
Cook 4 minutes on each side or until golden and thoroughly cooked.
DSC_5958
Remove from pan; keep warm. Repeat procedure with 2 teaspoons oil and remaining batter. Sprinkle fritters with 1/4 teaspoon salt.
DSC_5959
Combine 1 tablespoon oil, 1/4 teaspoon salt, lemon juice, and black pepper in a large bowl, stirring with a whisk. Add arugula, cherry tomatoes, cucumber, and onion; toss gently to coat.

The reviews suggested a sauce, like one might have for falafel, and using pita. Turns out I had everything on hand. Feel free to adjust this to taste, of course, if you hate cilantro or find the lemon a little strong like I did. Greek yogurt is already tangy so I knocked the quantity down a bit. Otherwise, I find that garlic or garlic powder helps balance it out 🙂

Yogurt Sauce
from Food Network/Guy Fieri

1/2 Cup plain Greek yogurt
1 teaspoon lemon zest
1 teaspoon lemon juice
, freshly squeezed
2 teaspoons cilantro leaves, freshly chopped
1 teaspoons parsley leaves, freshly chopped
1/4 teaspoon ground cumin
Kosher salt
, as needed

Serve salad, yogurt sauce, cheese (if using), fritters and pita halves on a platter. Stuff filling into pita halves as desired and consume immediately.

Sad arugula. Still delicious!

Sad arugula. Still delicious!

Soup’s On

Something tragic happened earlier this month. My oven stopped working.

It was the day after my birthday, and I had plans to make pizza. I wanted to top it with barbecue chicken, because not long ago someone (who may or may not have been my husband) opened a second jar of barbecue sauce when we already had an open one in the fridge…but there’s no need to get into that.

The oven was failing to heat up on multiple settings, so as I grieved, I improvised by using the outdoor grill as an oven.

The oven failure comes at a time when we are starting to feel the chill outdoors. That means it is time to start baking, right? I read a lot of summer seasonal recipes in which people reference the fact that “you may not want to turn on your oven!” because of the heat. Honestly, I think I use the oven almost equally in summer and winter! I don’t think I’ve consciously decided not to use my oven because of the weather…perhaps I’m not discouraged because we have central air conditioning and cool tile floors. But how quickly I forget! Now I’m flashing back to the apartment I lived in right out of college, the top floor of a converted house, and how I survived one Long Island summer without air conditioning. I’m pretty sure I avoided the oven then.

Anyway, the point is, I don’t necessarily gravitate to the oven in fall. The thing I start thinking about when it comes to fall is SOUP.

Of course, soup is a great way to incorporate miscellaneous vegetables. So later that week, I found a recipe that utilized CSA peppers and eggplant, along with leeks. With the help of the immersion blender, Matt was persuaded to eat and ENJOY something with eggplant! Pretty much any roasting vegetable could be incorporated in a soup like this.

DSC_5868

Roasted Red Pepper and Eggplant Soup
Adapted from Bon Appétit via epicurious
Makes 4 servings

1 eggplant (about 1 pound), halved
~12 ounces red bell peppers
3 Tablespoons olive oil
1 medium onion
, chopped
~1 Cup/1 leek, halved lengthwise, dunked in cool water to remove grime, and thinly sliced crosswise (white and pale green parts only)
3 large garlic cloves, minced
4 1/4 Cups chicken stock or canned low-salt chicken broth
2 Tablespoons tomato paste
4 Tablespoons fresh basil
, chopped
1 Tablespoon fresh thyme, chopped
1.5 Tablespoons unsalted butter
1 Tablespoon fresh lemon juice
Parmesan cheese shavings

As you can see, Matt pulled out his tools and made a fair attempt to diagnose and potentially repair the oven. Now a week and a half later, the repairman came, only to say he has to order a part and come NEXT week to see if that fixes it.

As you can see, Matt pulled out his tools and made a fair attempt to diagnose and potentially repair the oven. Now a week and a half later, the repairman came, only to say he has to order a part and come NEXT week to see if that fixes it.


This is where an oven WOULD have come in handy–the original recipe called for roasting the vegetables on a parchment-lined baking sheet at 450°F. I once again turned to the grill, cranked up high to try to keep it over 400.

Pierce eggplants all over with fork. Transfer, cut side down, to baking sheet. Roast until tender, about 45 minutes.
DSC_5854
In the last 15 minutes of the eggplant’s cooking time, char bell peppers over a flame or in a broiler until blackened on all sides.

The blacker they get, the easier they are to peel.  These were a challenge.

The blacker they get, the easier they are to peel. These were a challenge.


Carefully add to a ziplock bag, sealed, and set aside for about 10 minutes.

Allow eggplant to cool slightly, then remove and discard peel. Chop eggplant into large pieces. Rinse pieces under running water. Drain well and set aside.
DSC_5881
Take out peppers, and peel, seed and coarsely chop.
DSC_5884
Heat oil in large pot over medium-high heat. Add onions and leek and sauté until tender, about 5 minutes. Add garlic; sauté 1 minute.

Stir in eggplant, peppers, chicken stock, and tomato paste. Bring to boil. Reduce heat to medium and simmer uncovered until vegetables are tender, about 45 minutes.

Stir in basil and thyme.
DSC_5891
Either cool slightly before using a blender to puree the soup in batches, or turn off heat and use an immersion blender to blend in the pot. Once blended, season with salt and pepper, and add butter and lemon juice (general side note: if you are making soup and upon tasting think it is missing something, try lemon juice). Warm over low heat if soup has cooled too much.

Transfer to bowls, and garnish with shaved Parmesan cheese.
DSC_5895

Peanut Butter Pretzel Time

A bag of pretzels lasts a really long time in my house.

When I snack, which of course happens, I choose almost anything other than pretzels by themselves. They just aren’t tempting.

Until you add chocolate to them.

DSC_5460
This bag of pretzels, which we had because of a giveaway or something, is destined to be crushed up and mixed with peanut butter and chocolate to make peanut butter truffle balls.

This recipe looked shockingly simple. No oven needed! I regret to inform you that I found it to be a pain in the you-know-what. Keep reading though–it might still interest you!

Peanut Butter Pretzel Truffles
From The Girl Who Ate Everything post and her source How Sweet It Is
Makes 20-30 Truffles

1 Cup natural peanut butter
3/4-1 Cup salted pretzels

1 Cup milk chocolate chips, or other chocolate to your liking (I do think milk chocolate works best with peanut butter)

Chop pretzels in a food processor.
DSC_5473
Combine peanut butter and pretzels in a small bowl.
DSC_5475
Chill in the freezer until very firm, at LEAST 30 minutes (I attempted rolling the mixture at one point and had to put the mix back).

Still not firm enough

Still not firm enough


Roll the peanut butter mixture into approximately 20 balls about 2 teaspoons each. You can try using a melon baller and your fingers or a small spoon, or two small spoons, and prepare to get messy. Place on a baking sheet lined with parchment or wax paper and freeze until very firm, at least one hour more more.
These don't look like balls.

These don’t look like balls.


When truffles are hard enough, prepare chocolate by melting it in the microwave at 15-20 second intervals, stirring each time. Roll the frozen balls in melted chocolate. Refrigerate until the chocolate is set, about 30 minutes.
I did use bittersweet chocolate for some of the truffles.

I did use bittersweet chocolate for some of the truffles.


That one truffle in the back looks nice.

That one truffle in the back looks nice.


Here’s the issue: I hate getting my hands messy. I strongly dislike stirring natural peanut butter, tahini, etc. (my friend Kristen will tell you about my struggles and groaning about tahini) because it often gets my hands message and greasy.

This time I stirred the peanut butter with the long handle part of a wooden spoon, which was an improvement of my past experiences, when I used a shorter spatula, and the stuff got all over the handle somehow.
DSC_5465
As for the step of rolling the peanut butter mixture into balls? There was no staying clean then. And coating them in chocolate? The melted chocolate is warm! So guess what, it melted the peanut butter! It was a joke. I wish I had gloves.

Once the process was complete I determined that it is not worth it to make fancy little balls, for me at least. Sure, I have raved about other people’s homemade truffles and how cute they are in their little one- to two-bite portions. But in this case, it would be SO MUCH EASIER to make bars!

Step 1. Melt enough milk chocolate to spread on the bottom of a small square baking pan. Put in freezer until hardened.
Step 2. Spread peanut butter on top of the chocolate layer. Top with pretzels broken into smaller pieces. Put in freezer until hardened.
Step 3. Melt enough milk chocolate to spread on top of the peanut butter pretzel layer. Put in freezer until hardened. Cut into small bars. Refrigerate when not serving.

What do these bars remind me of? Take 5 candy bars!! I remember when the Take 5 came out (Wikipedia tells me it was 2004, when I was just starting the period of life when I made the vast majority of my own food and grocery purchasing decisions), and I thought they were made especially for me. This is coming from someone whose main weaknesses are ice cream and cookies, but who doesn’t dive into just any candy. Somehow, I even have the willpower to forgo the tin of chocolate kisses in the hallway at work, where I pass multiple times. The two mass-produced candies that I love are peanut butter M&Ms, and Take 5 candy bars. Those I would have a much much harder time passing up.

Feel free to take notes. It is my birthday today after all 🙂

Look how my lovely formica countertop hides the peanut butter spills!

Look how my lovely formica countertop hides the peanut butter spills!

The Urge to Preserve

I started to feel the impending change of season press upon me.

The weather certainly wasn’t providing any hints, as I was enveloped by hot, wet, soupy air all last weekend. I did notice brown and orange leaves start to accumulate around the edges of the streets in my neighborhood. It was the obvious things: all of a sudden, Labor Day passed, beaches closed, schools started back in session, and I was reminded that, being September, we are only one month away from October, the month it first SNOWED last year.

Fortunately, it is possible to capture the lushness of summer in a tupperware container! I long to keep the excitement of my garden treasures alive. Call it the urge to preserve.

Cue the whir of the food processor.

Bunches of my healthy basil plant and flourishing parsley plants in hand, it was time to make some sauces and condiments.
DSC_5426
DSC_5425
Basil Pesto
Parsley Pesto
Fromage Fort

Pesto is one of the very few “recipes” I pretty much have memorized, and/or feel comfortable adjusting by taste and feel. It all started with a recipe Matt and I received from a cooking class put on at a now-closed local Viking Cooking School location.

Basil Pesto
From Viking Cooking School’s recipe packet for a Breads and Pizzas class
Makes about 1 Cup

1 large clove garlic, or to taste, peeled
1/4 Cup pine nuts
2 ounces/approx 1/4 Cup packed Parmigiano-Reggiano cheese
, finely grated
1/2 teaspoon kosher salt (to taste)
1/2 teaspoon freshly ground black pepper (to taste)
2 Cups (packed) fresh basil
1/4-1/3 Cup extra-virgin olive oil
should be plenty

DSC_5429
Toast the pine nuts by putting them in a 350 degree oven for just a few minutes, watching closely and shaking the pan after the first minute or two. This can also be done in a dry cast iron or saute pan over medium heat, stirring constantly. Pine nuts will continue to brown if they sit in a hot pan.
DSC_5431
Combine garlic, pine nuts, cheese, salt and pepper in a food processor and pulse to make a paste.
DSC_5433
Add basil and pulse.
DSC_5434
Drizzle in olive oil gradually, ideally with the motor running, until pesto reaches desired smooth consistency. Taste and adjust seasoning.
DSC_5436
Basil doesn’t retain its green color in pesto, when exposed to the air, so the best plan is to drizzle extra olive oil on top and put plastic wrap directly on the surface before refrigerating or freezing (it still tastes fine when it darkens). Pesto is both flavor and calorie rich, so I usually only use a little at time, which I can snag from the frozen container.
DSC_5437

While I was at it with the processing, I needed to deal with the variety of cheese cubes I bought on a whim at Fairway. (I swear, I have gotten much better about resisting the urge to impulse buy.) Cheese is one of those things that lasts a long time, making it easy for you to forget to use before it is too late. Fortunately, you can make something called Fromage Fort, a cheese spread, to transform the old cheese into something desirable for another week or so, and even use it for entertaining.
DSC_5440

Fromage Fort
From Alton Brown via Food Network online

1 pound left-over cheese, (cheddar, parmesan, ricotta, provolone, fontina, mozzarella, stinky blue cheeses all work*) at room temperature
1/4 cup dry white wine
3 tablespoons unsalted butter
, softened
2 tablespoons fresh parsley leaves
1 small clove garlic

Grate hard cheeses and cut others into 1/2-inch cubes. Place cheese, wine, butter, herbs, and garlic in a food processor and blend until smooth, approximately 2 minutes. Serve immediately or refrigerate for at least 1 hour for a firmer consistency. Store in the refrigerator; consume within a week (no problem!).
DSC_5442
*I used 5 ounces of ricotta, 7 ounces of the miscellaneous cubes that were probably in the gouda and ricotta salata families, and 6 ounce of Wisconsin extra sharp cheddar. It was beyond delicious, especially broiled on some sourdough toast.

Parsley Almond Pesto
Adapted from Food and Wine

1 clove garlic
1 1/2 Cups lightly packed flat-leaf parsley
with thick stems removed
1/4-1/2 teaspoon salt
1/3 Cup olive oil
1/3 Cup unsalted almonds

Puree garlic and parsley with the salt in food processor. Drizzle olive oil in gradually, ideally with the machine running. Add the almonds and pulse to chop.
DSC_5444
DSC_5447
DSC_5448
This can be saved in the same way as the basil pesto. However, it keeps its bright green flavor much better in the refrigerator.

I served this with gnocchi I made from the King Arthur Flour website.
DSC_5451
DSC_5450
DSC_5453

and a recipe that served gnocchi with zucchini and tomatoes but substituted in the parsley pesto:

Recognize those tomatoes yet?

Recognize those tomatoes yet?


DSC_5457
I can still taste summer!