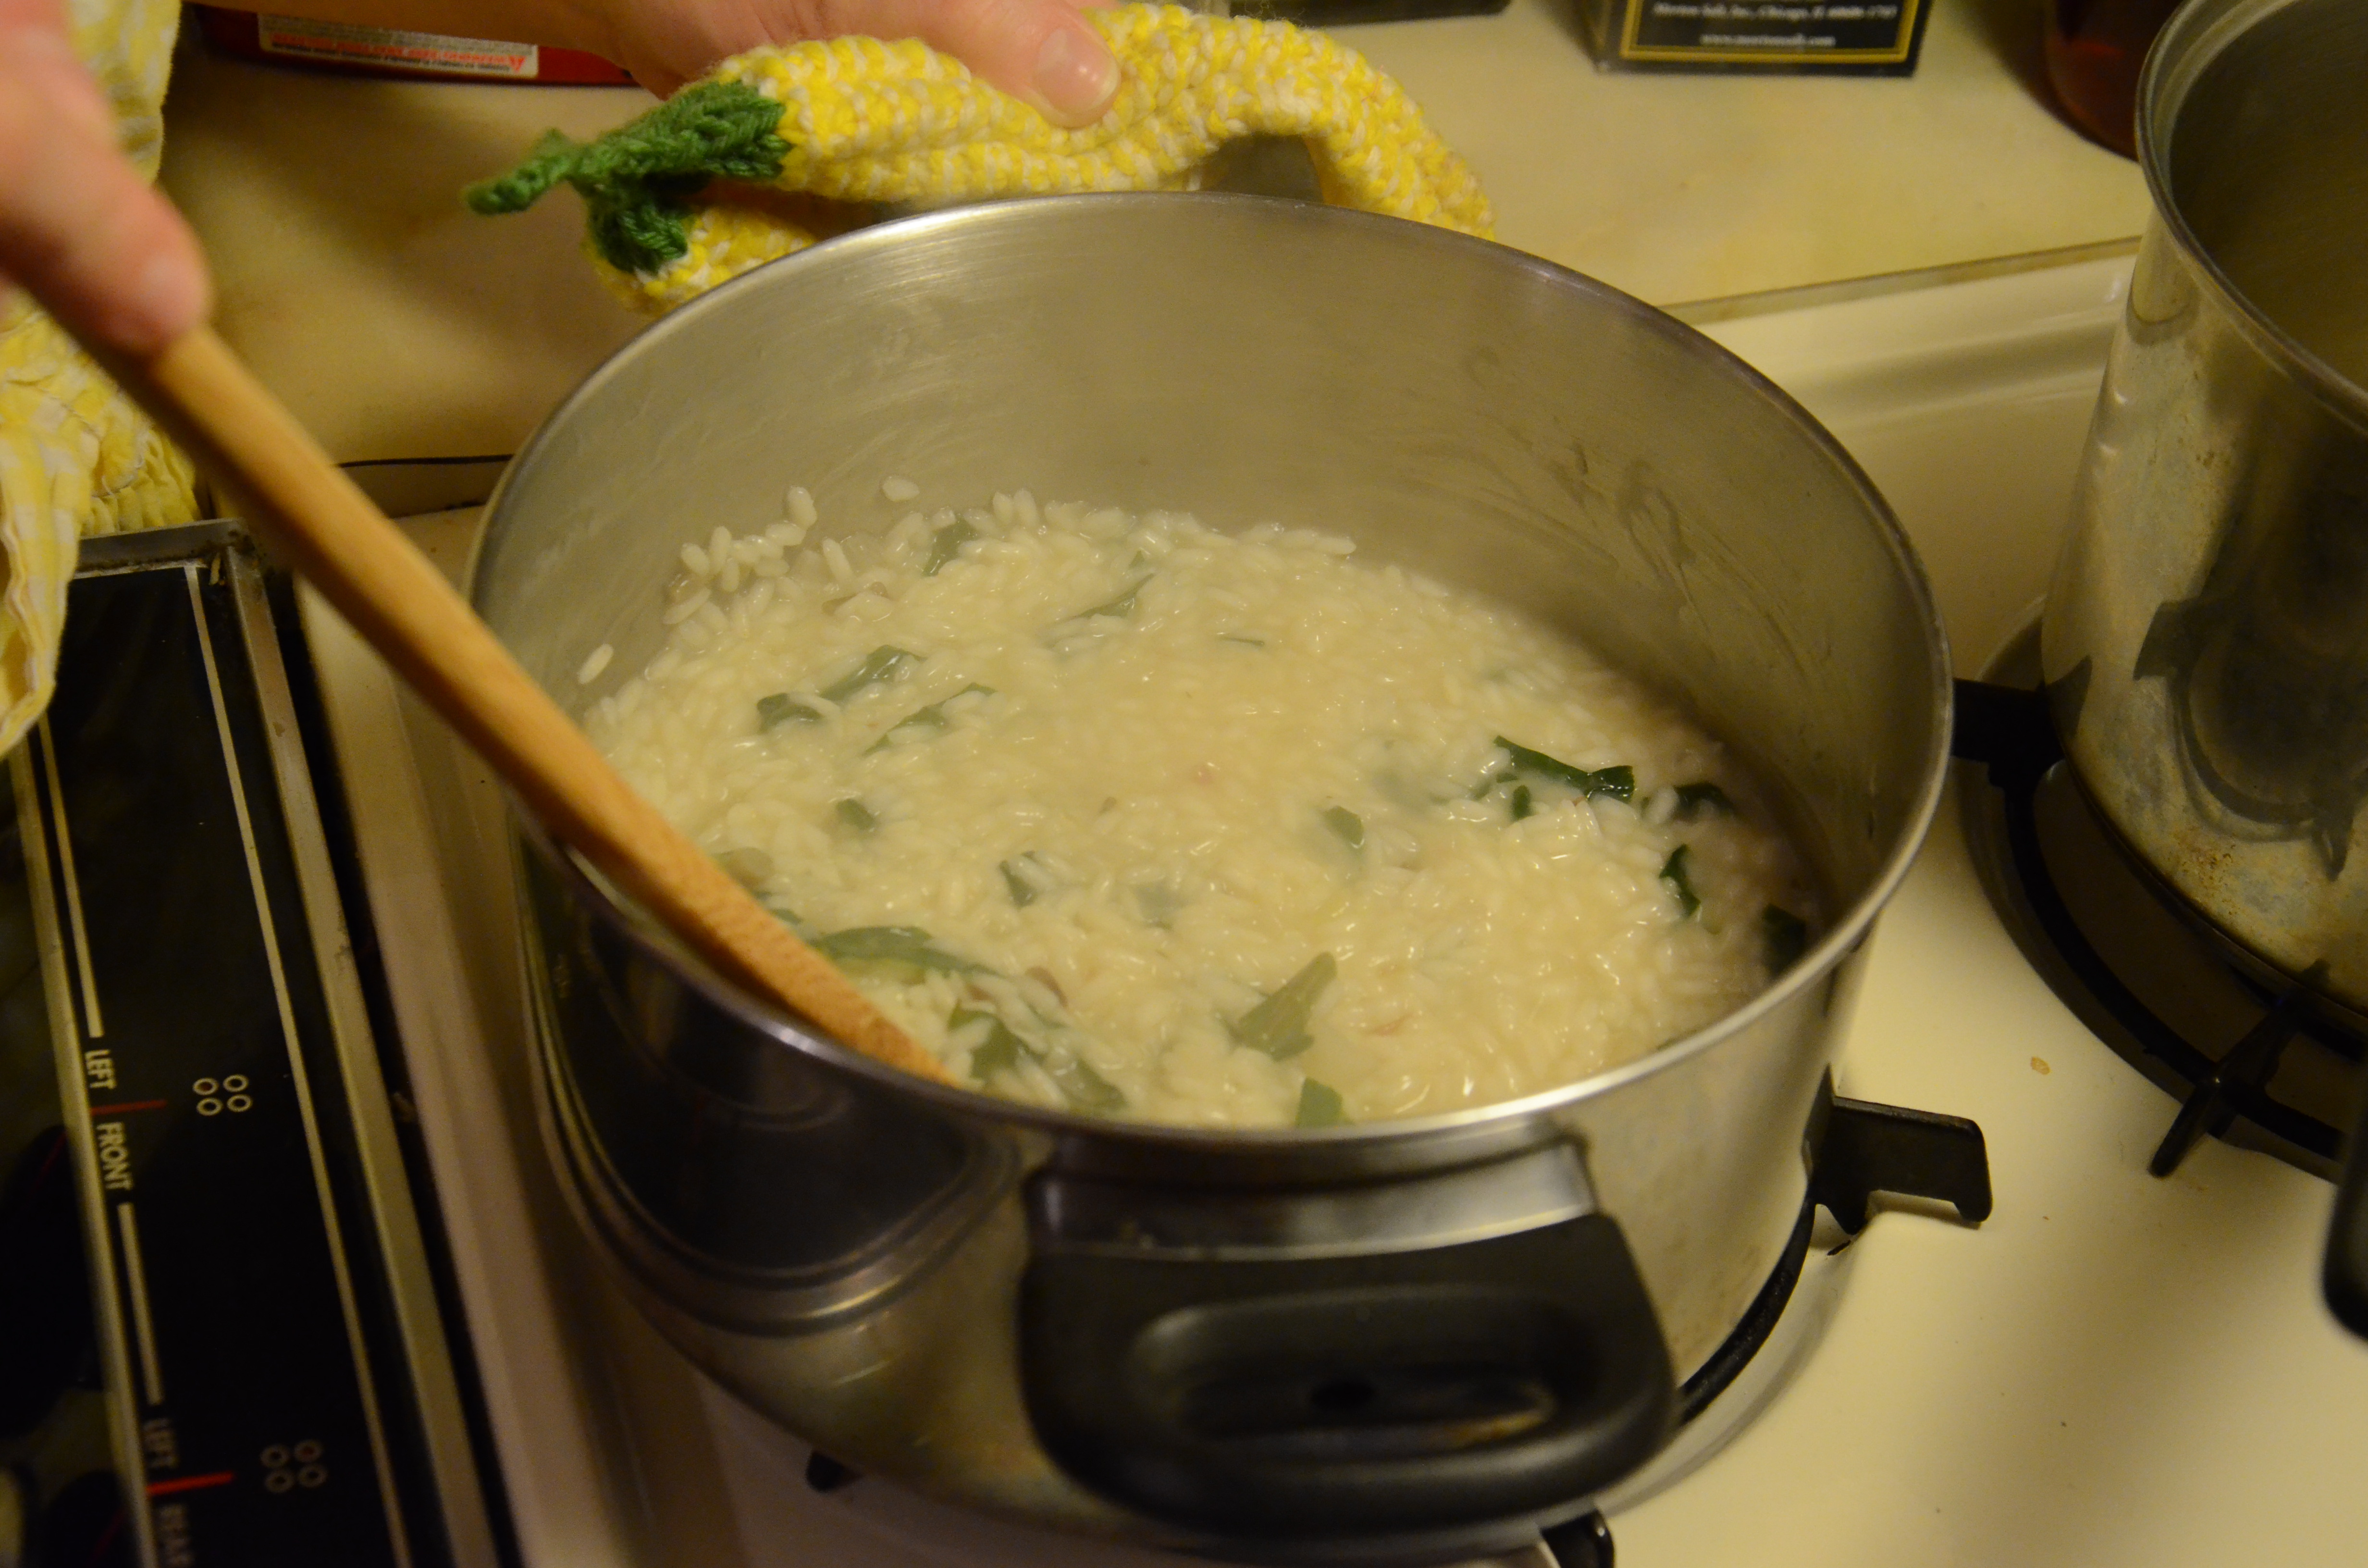
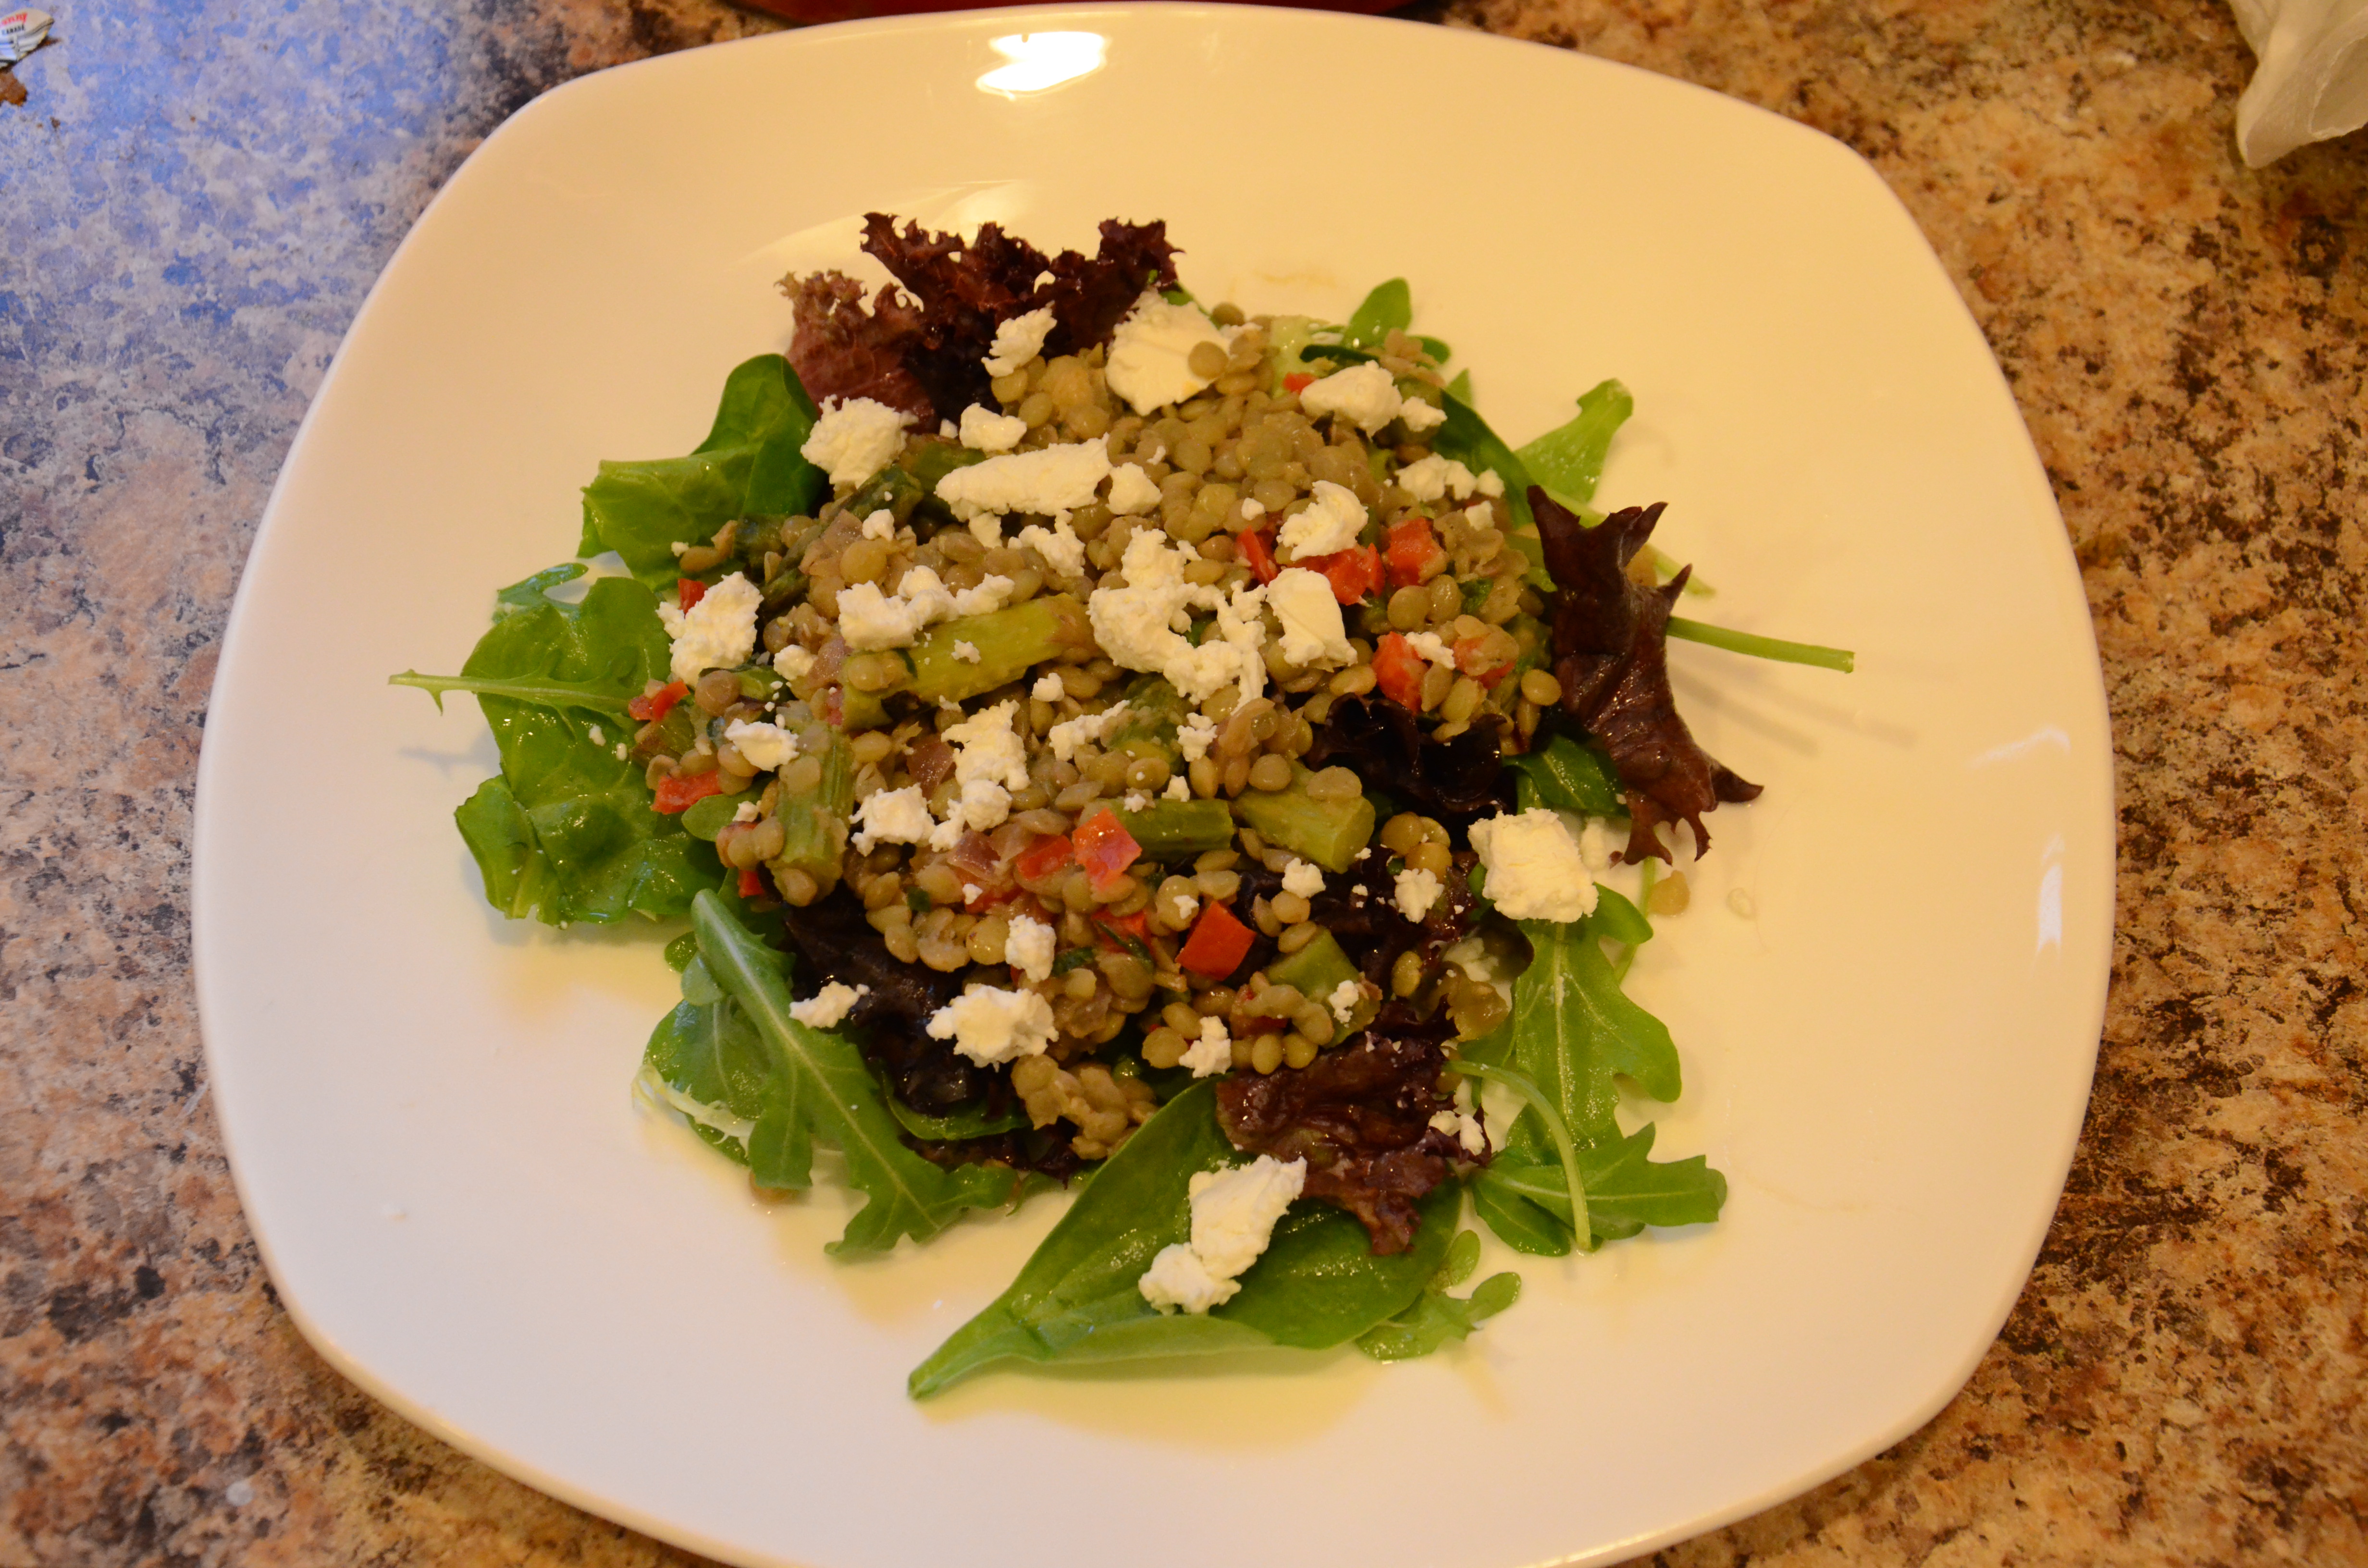
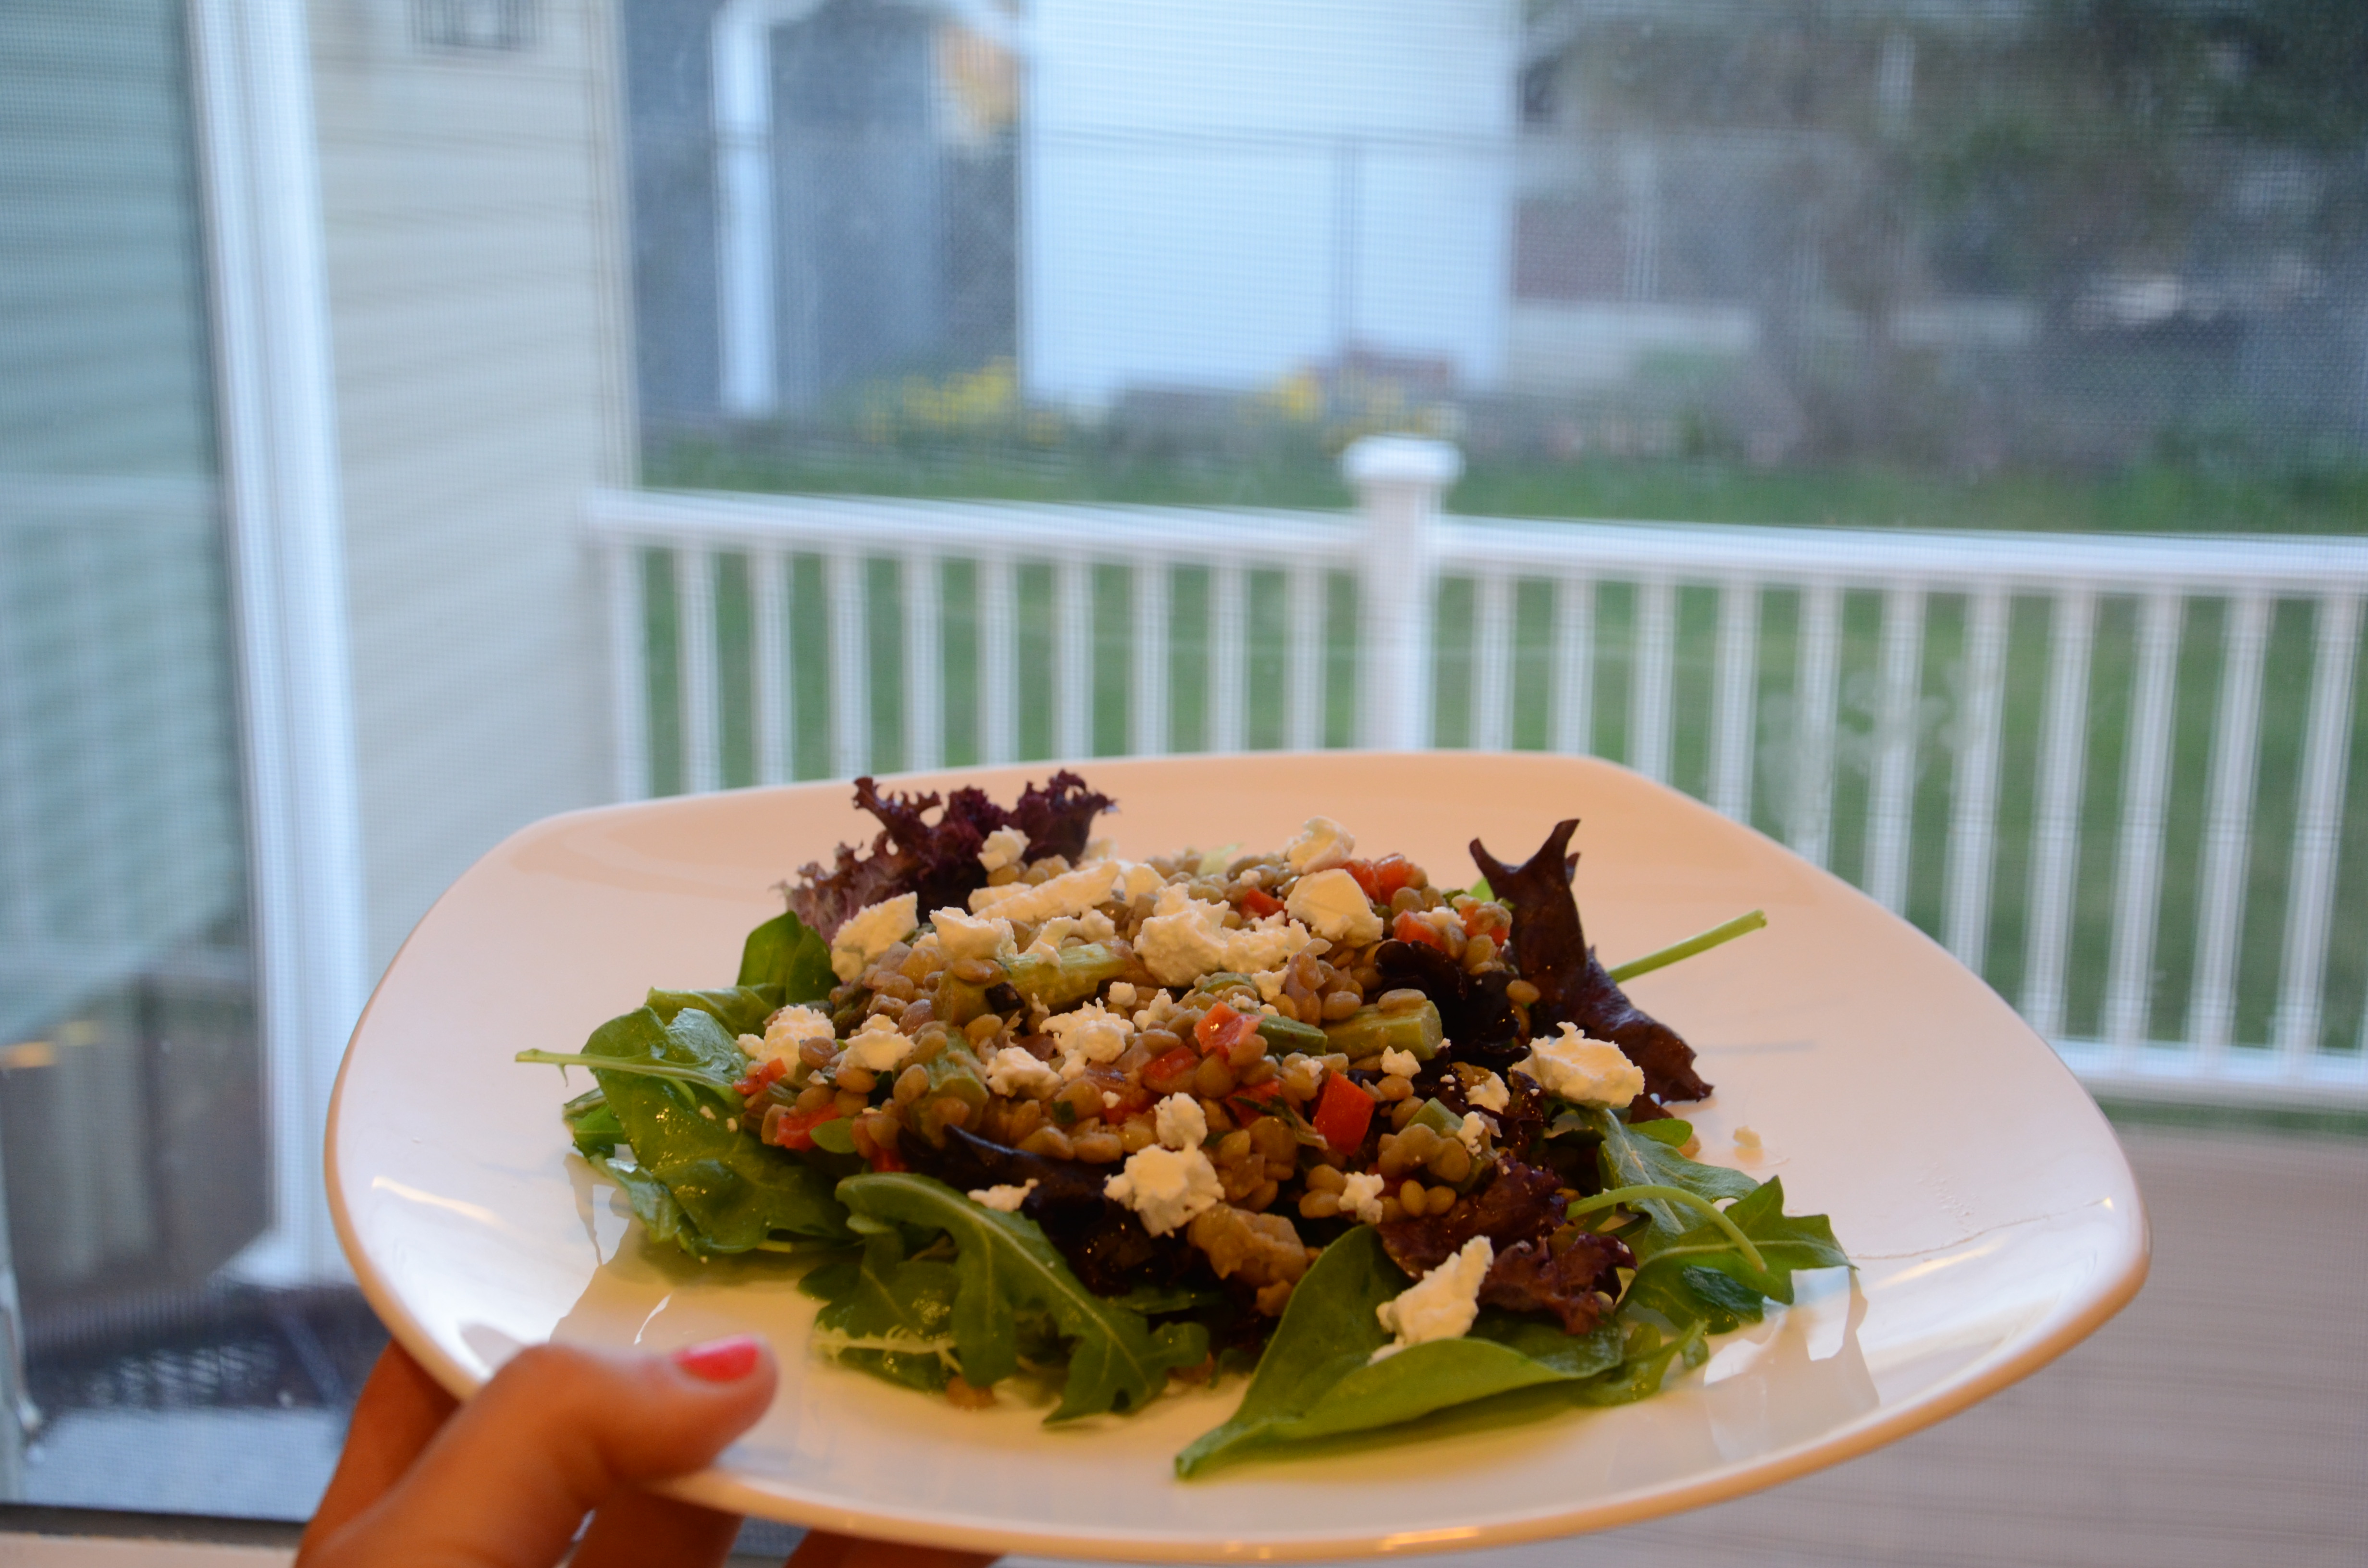
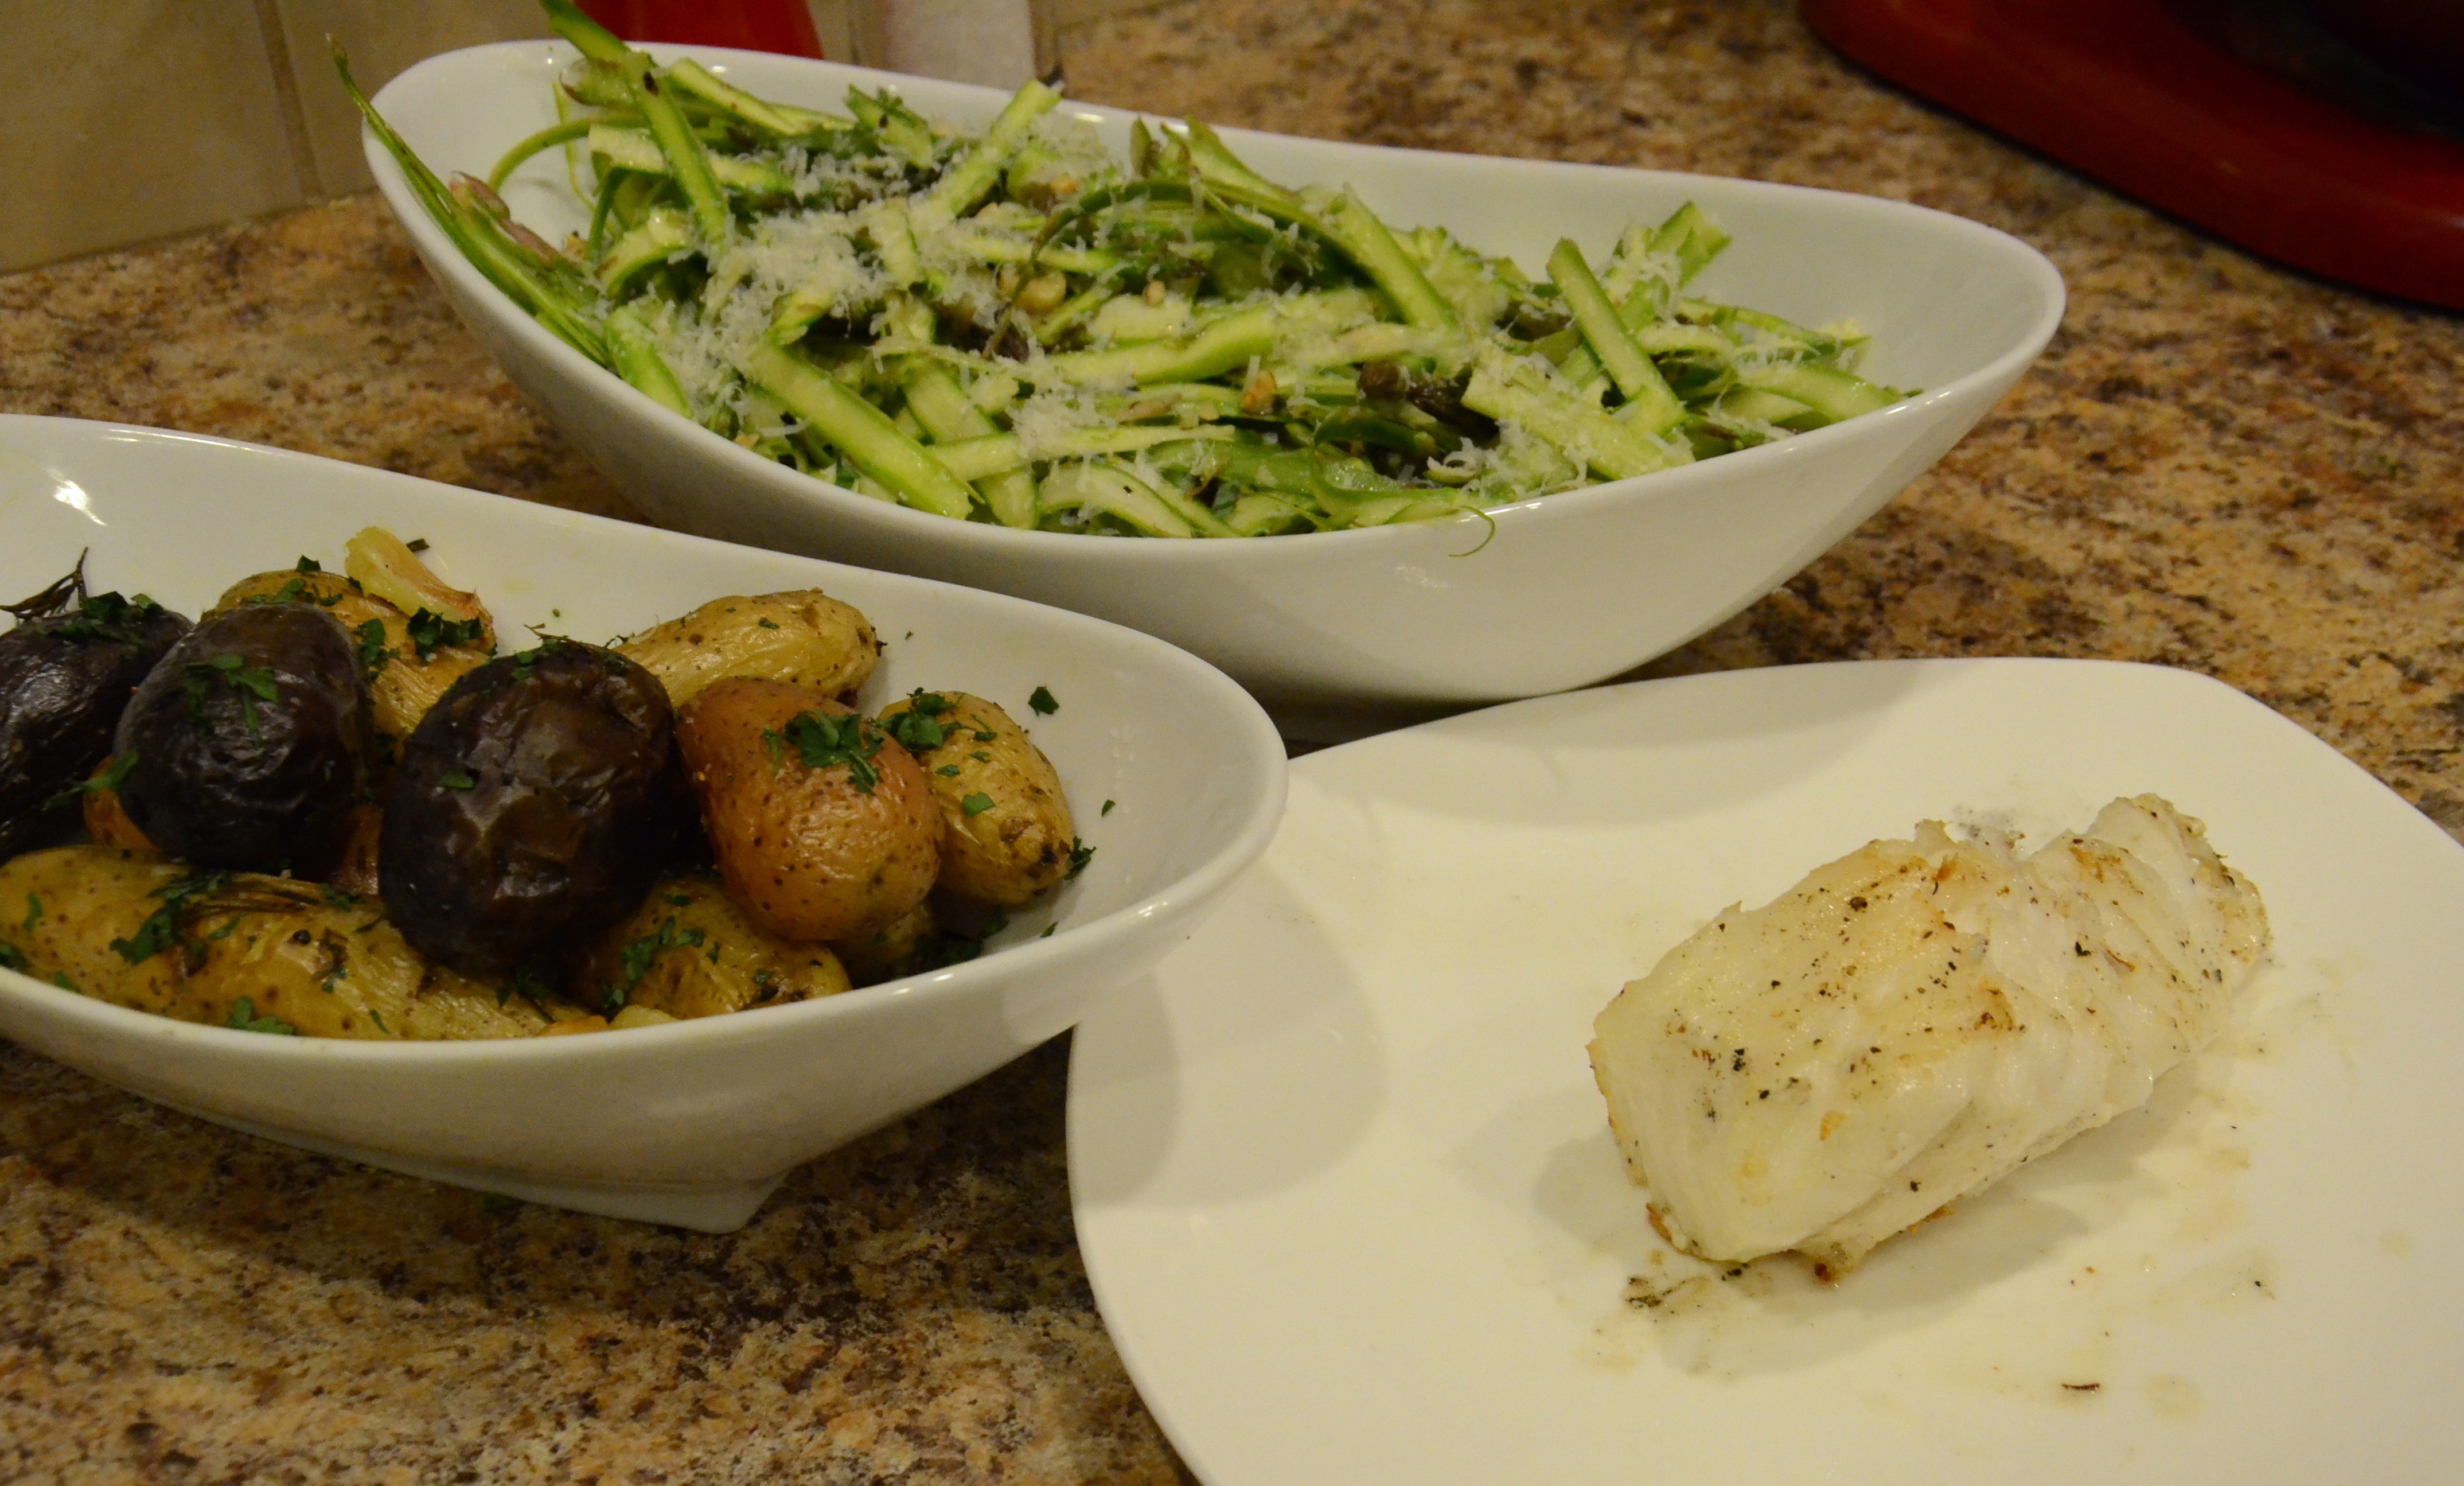
Last week I let someone else do the meal planning for me. I complained that the recipes were a bit of a hassle, and the dishes didn’t even come out that well. But the result was a balanced plate of food. This week, I challenged myself to plan a satisfying meal that would come together fairly quickly. And I would do the shopping myself.
As you should know this is not my strength: I often end up spending more than an hour, somehow, bringing together a single dish. Yet the April issue of Cooking Light was jam-packed with recipes for 80 meals under 40 minutes, and I was inspired (not so inspired that I could resist substituting in a recipe that I know would add to my clock time…but at least I acknowledge my silly ways). The meal was assembled in one hour, with only a little grilling help from my husband. So here it is! Protein (yes, fish again), vegetable and starch.
Grilled Sea Bass with Tarragon Beurre Blanc
Raw Shaved Asparagus With Lemon Dressing
Rosemary-Garlic Roasted Potatoes
Game plan: Prepare the potatoes and garlic; preheat the oven. If you’re going to use this ambitious asparagus recipe (simpler alternative from CL: Asparagus with Lemon and Pecorino), start shaving the stalks and do about half before you put the potatoes in the oven. Finish shaving the asparagus, then preheat the grill/grill pan for the fish. Make the sauce while grilling the fish.
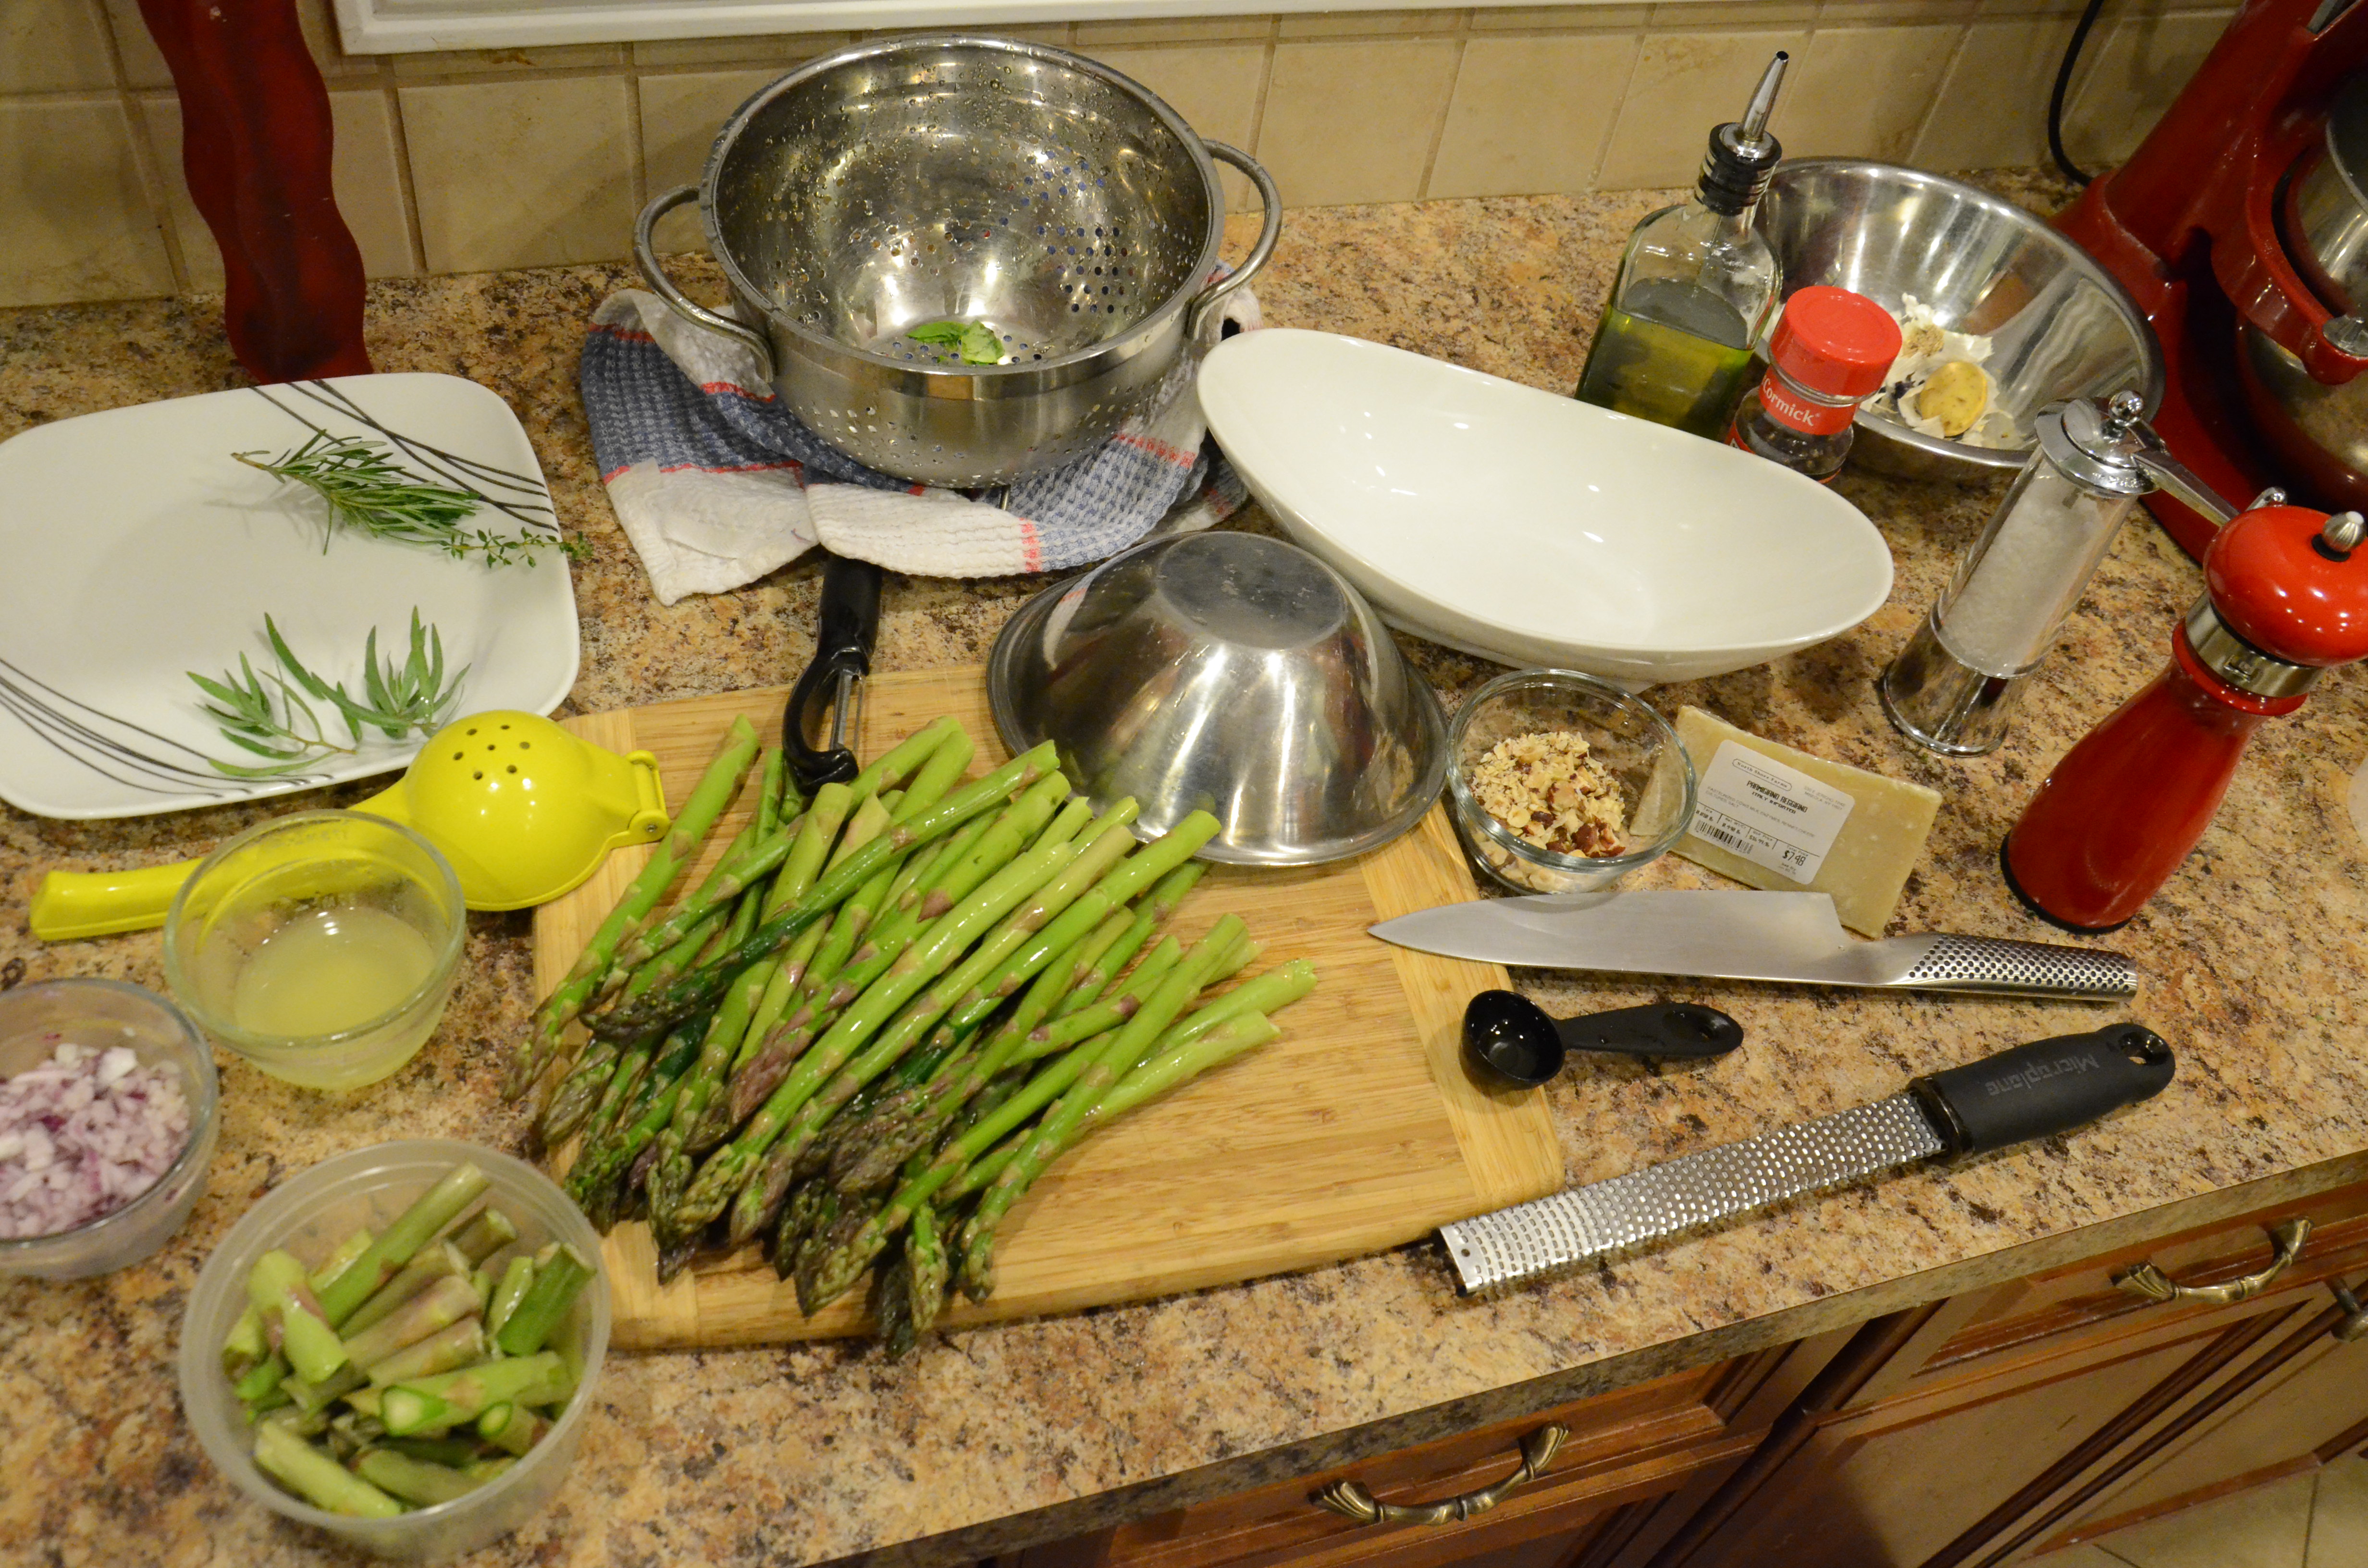
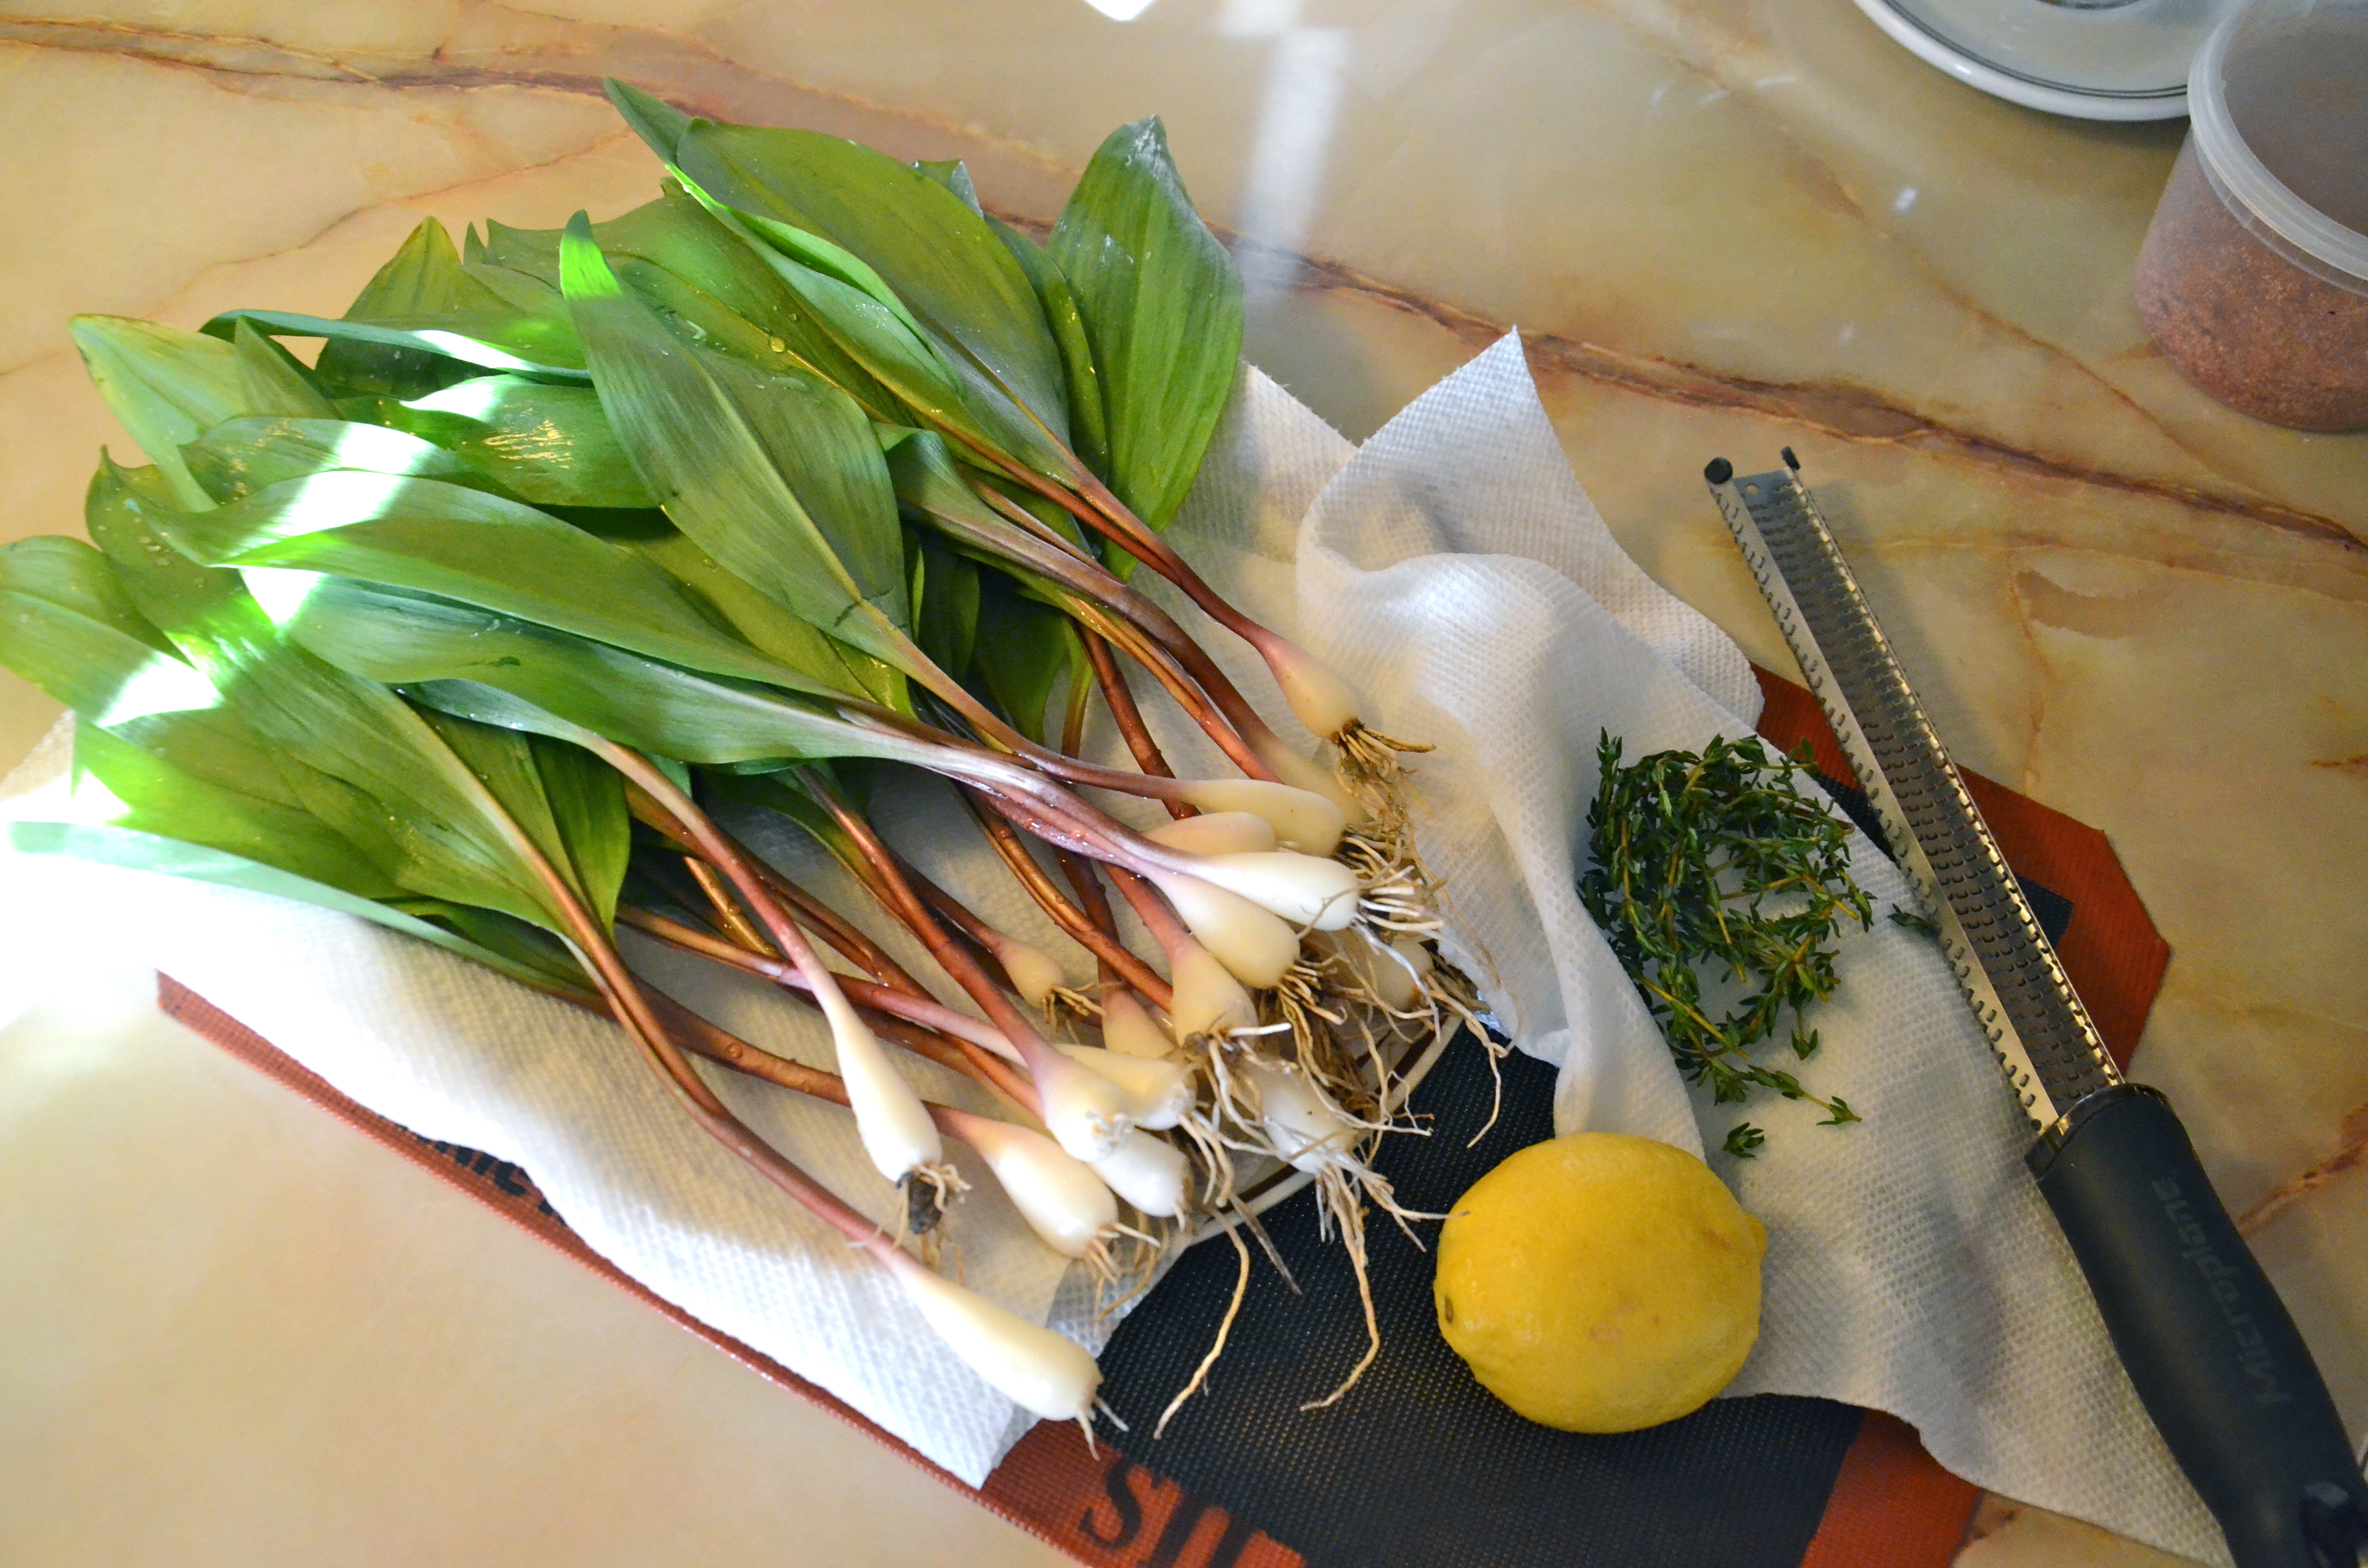
Raw Shaved Asparagus With Lemon Dressing
Adapted from Jonathan Waxman’s recipe in his cookbook Italian, My Way
 Check out my signed copy! ———->
Serves: 4 to 6
¼ cup hazelnuts, toasted and crushed
1-1 1/2 pound asparagus, ideally from a local farm
Juice of 1 lemon
¼ cup extra-virgin olive oil
Sea salt and freshly ground black pepper to taste
1 tablespoon Parmesan cheese, grated
Directions
Toast the hazelnuts on a baking sheet for 5–8 minutes in a preheated 350° oven; cool and then crush in a towel using a rolling pin (which helps remove the skins).
Wash and snap the asparagus spears at their base, setting bases aside for another use. Upend a small bowl, place a spear on the flat bottom and, using a vegetable peeler, gently shave long thin slices.

Eventually, I discovered that it was easier to do my first shaves with the asparagus pressed flat against the cutting board. Once it got thinned, I moved to the bowl. Be patient and forgive yourself if you can’t get all long, perfectly thick slices.
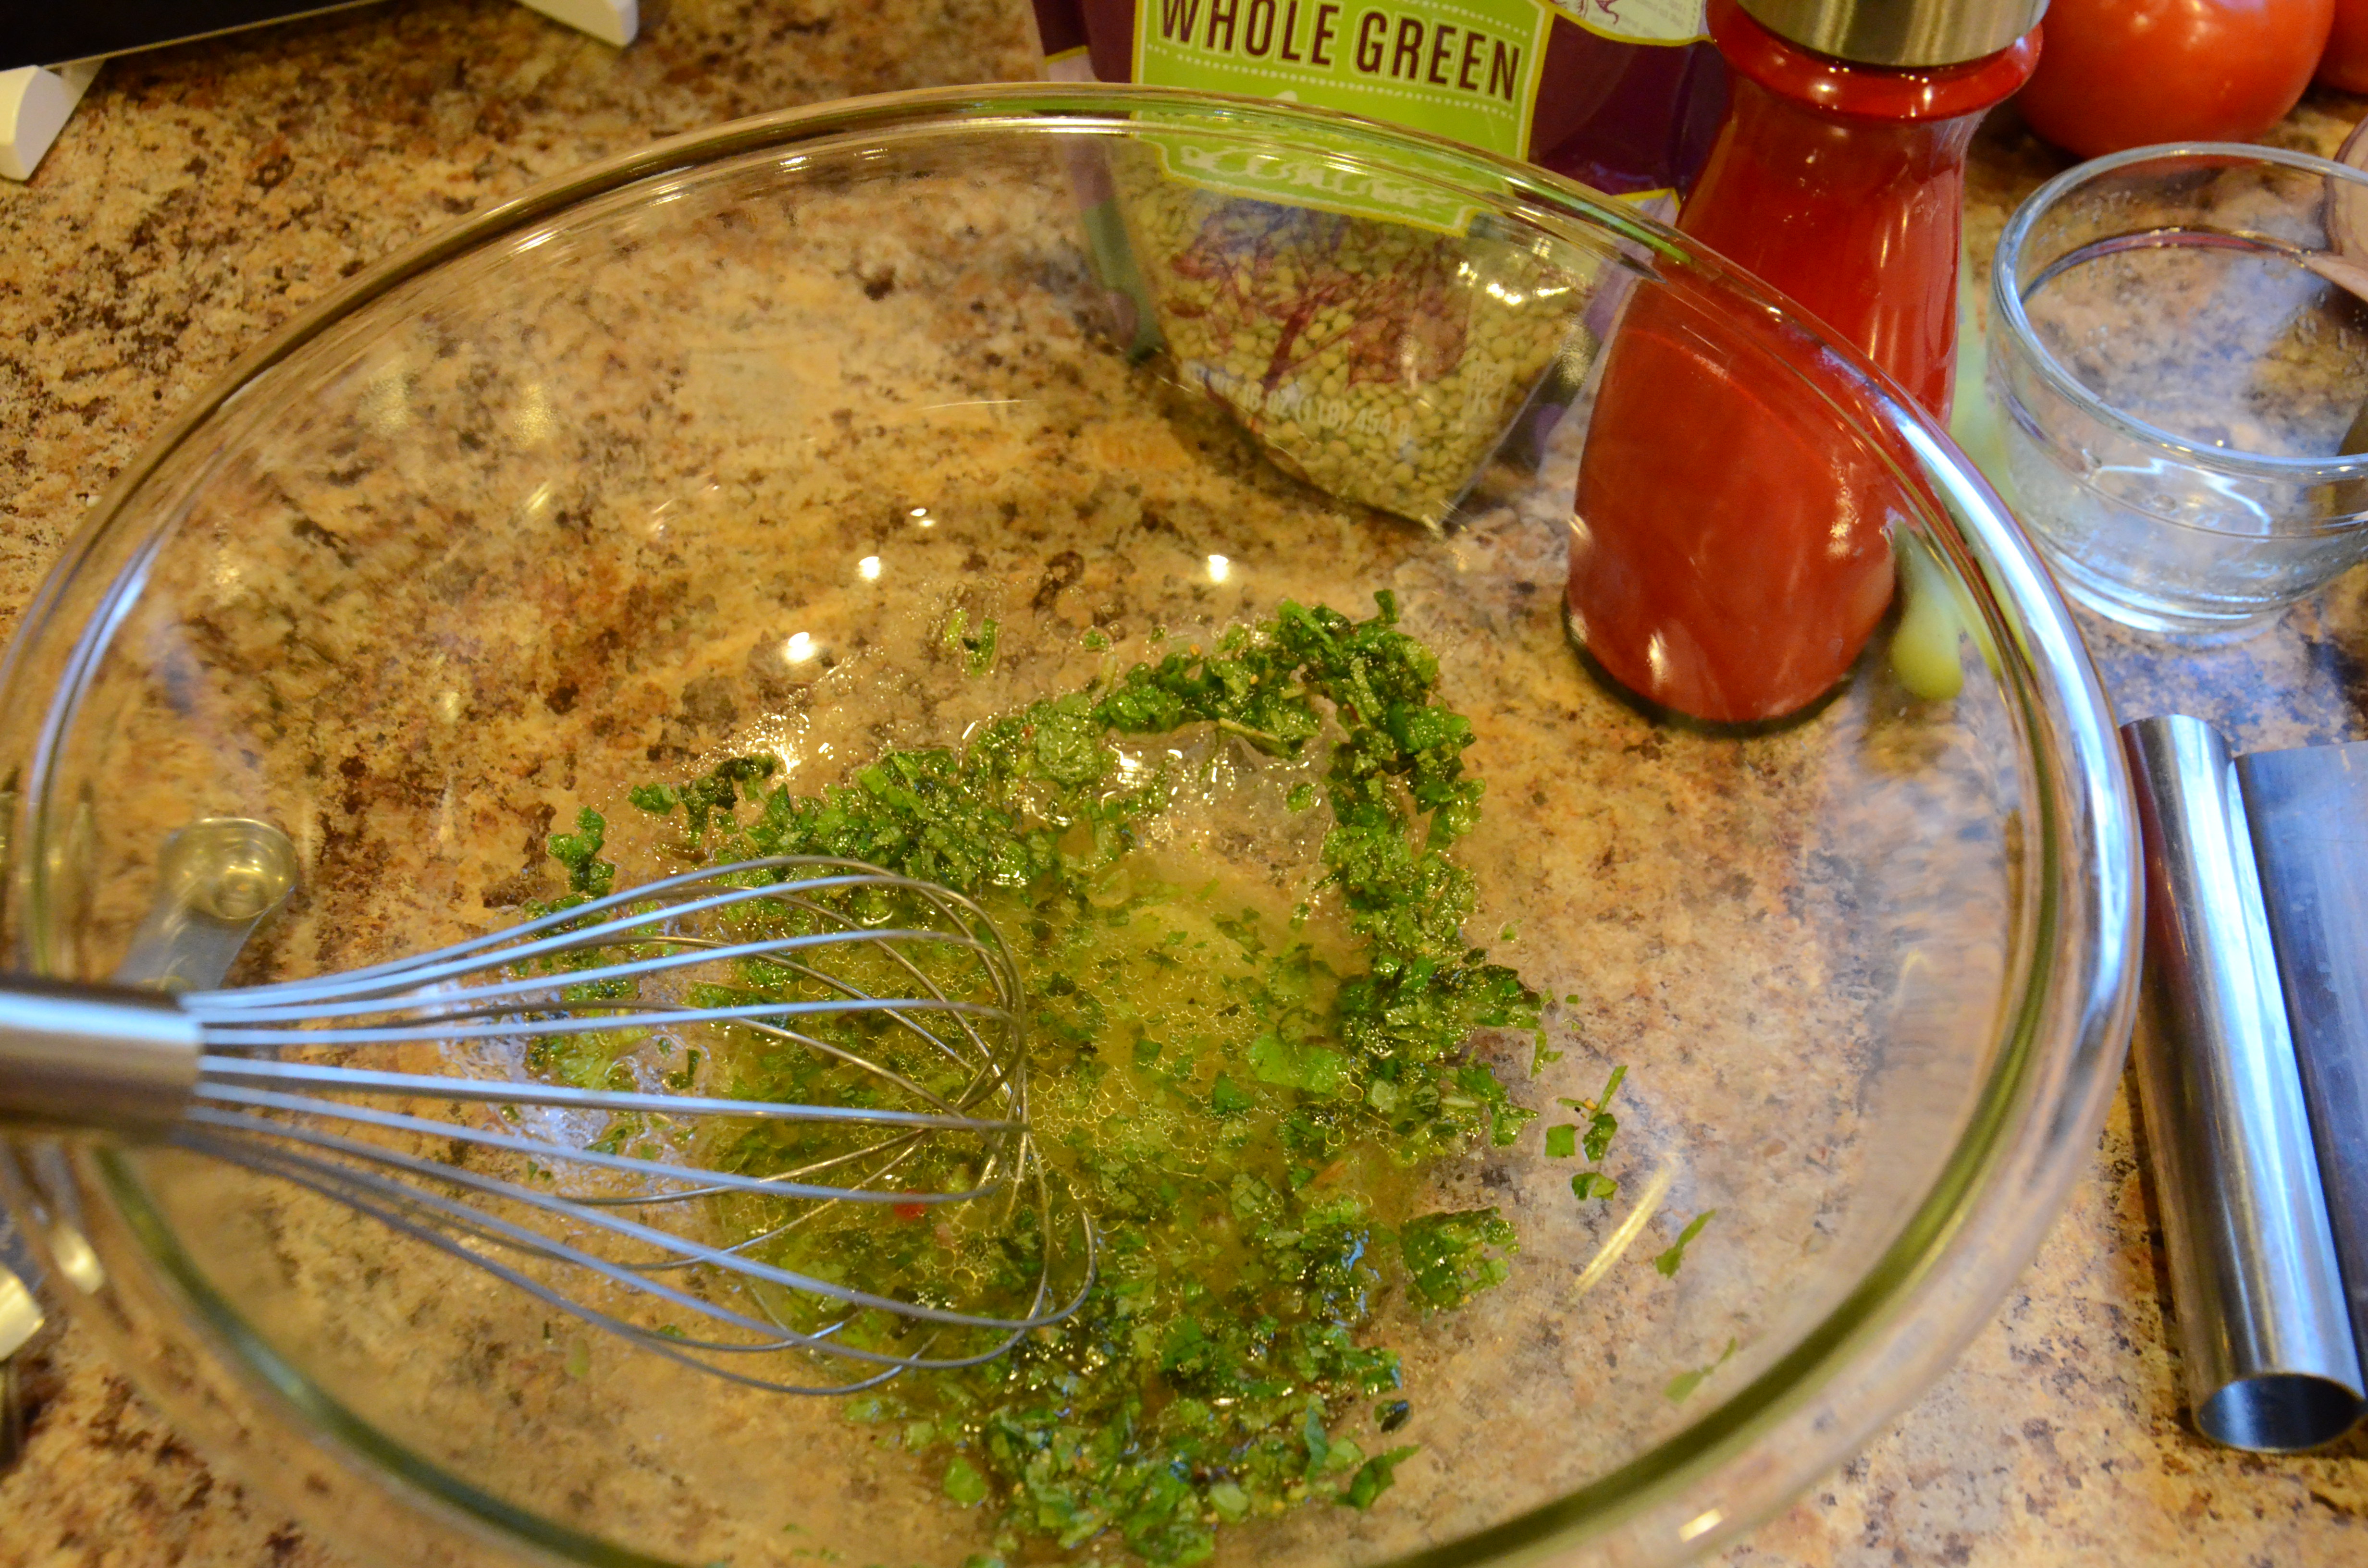
In a separate bowl, mix the lemon juice with the olive oil and add sea salt and black pepper. When the rest of the meal is ready, toss the dressing with the hazelnuts and asparagus. Serve with Parmesan sprinkled around.
Rosemary-Garlic Roasted Potatoes
Adapted from Cooking Light
Serves: 2
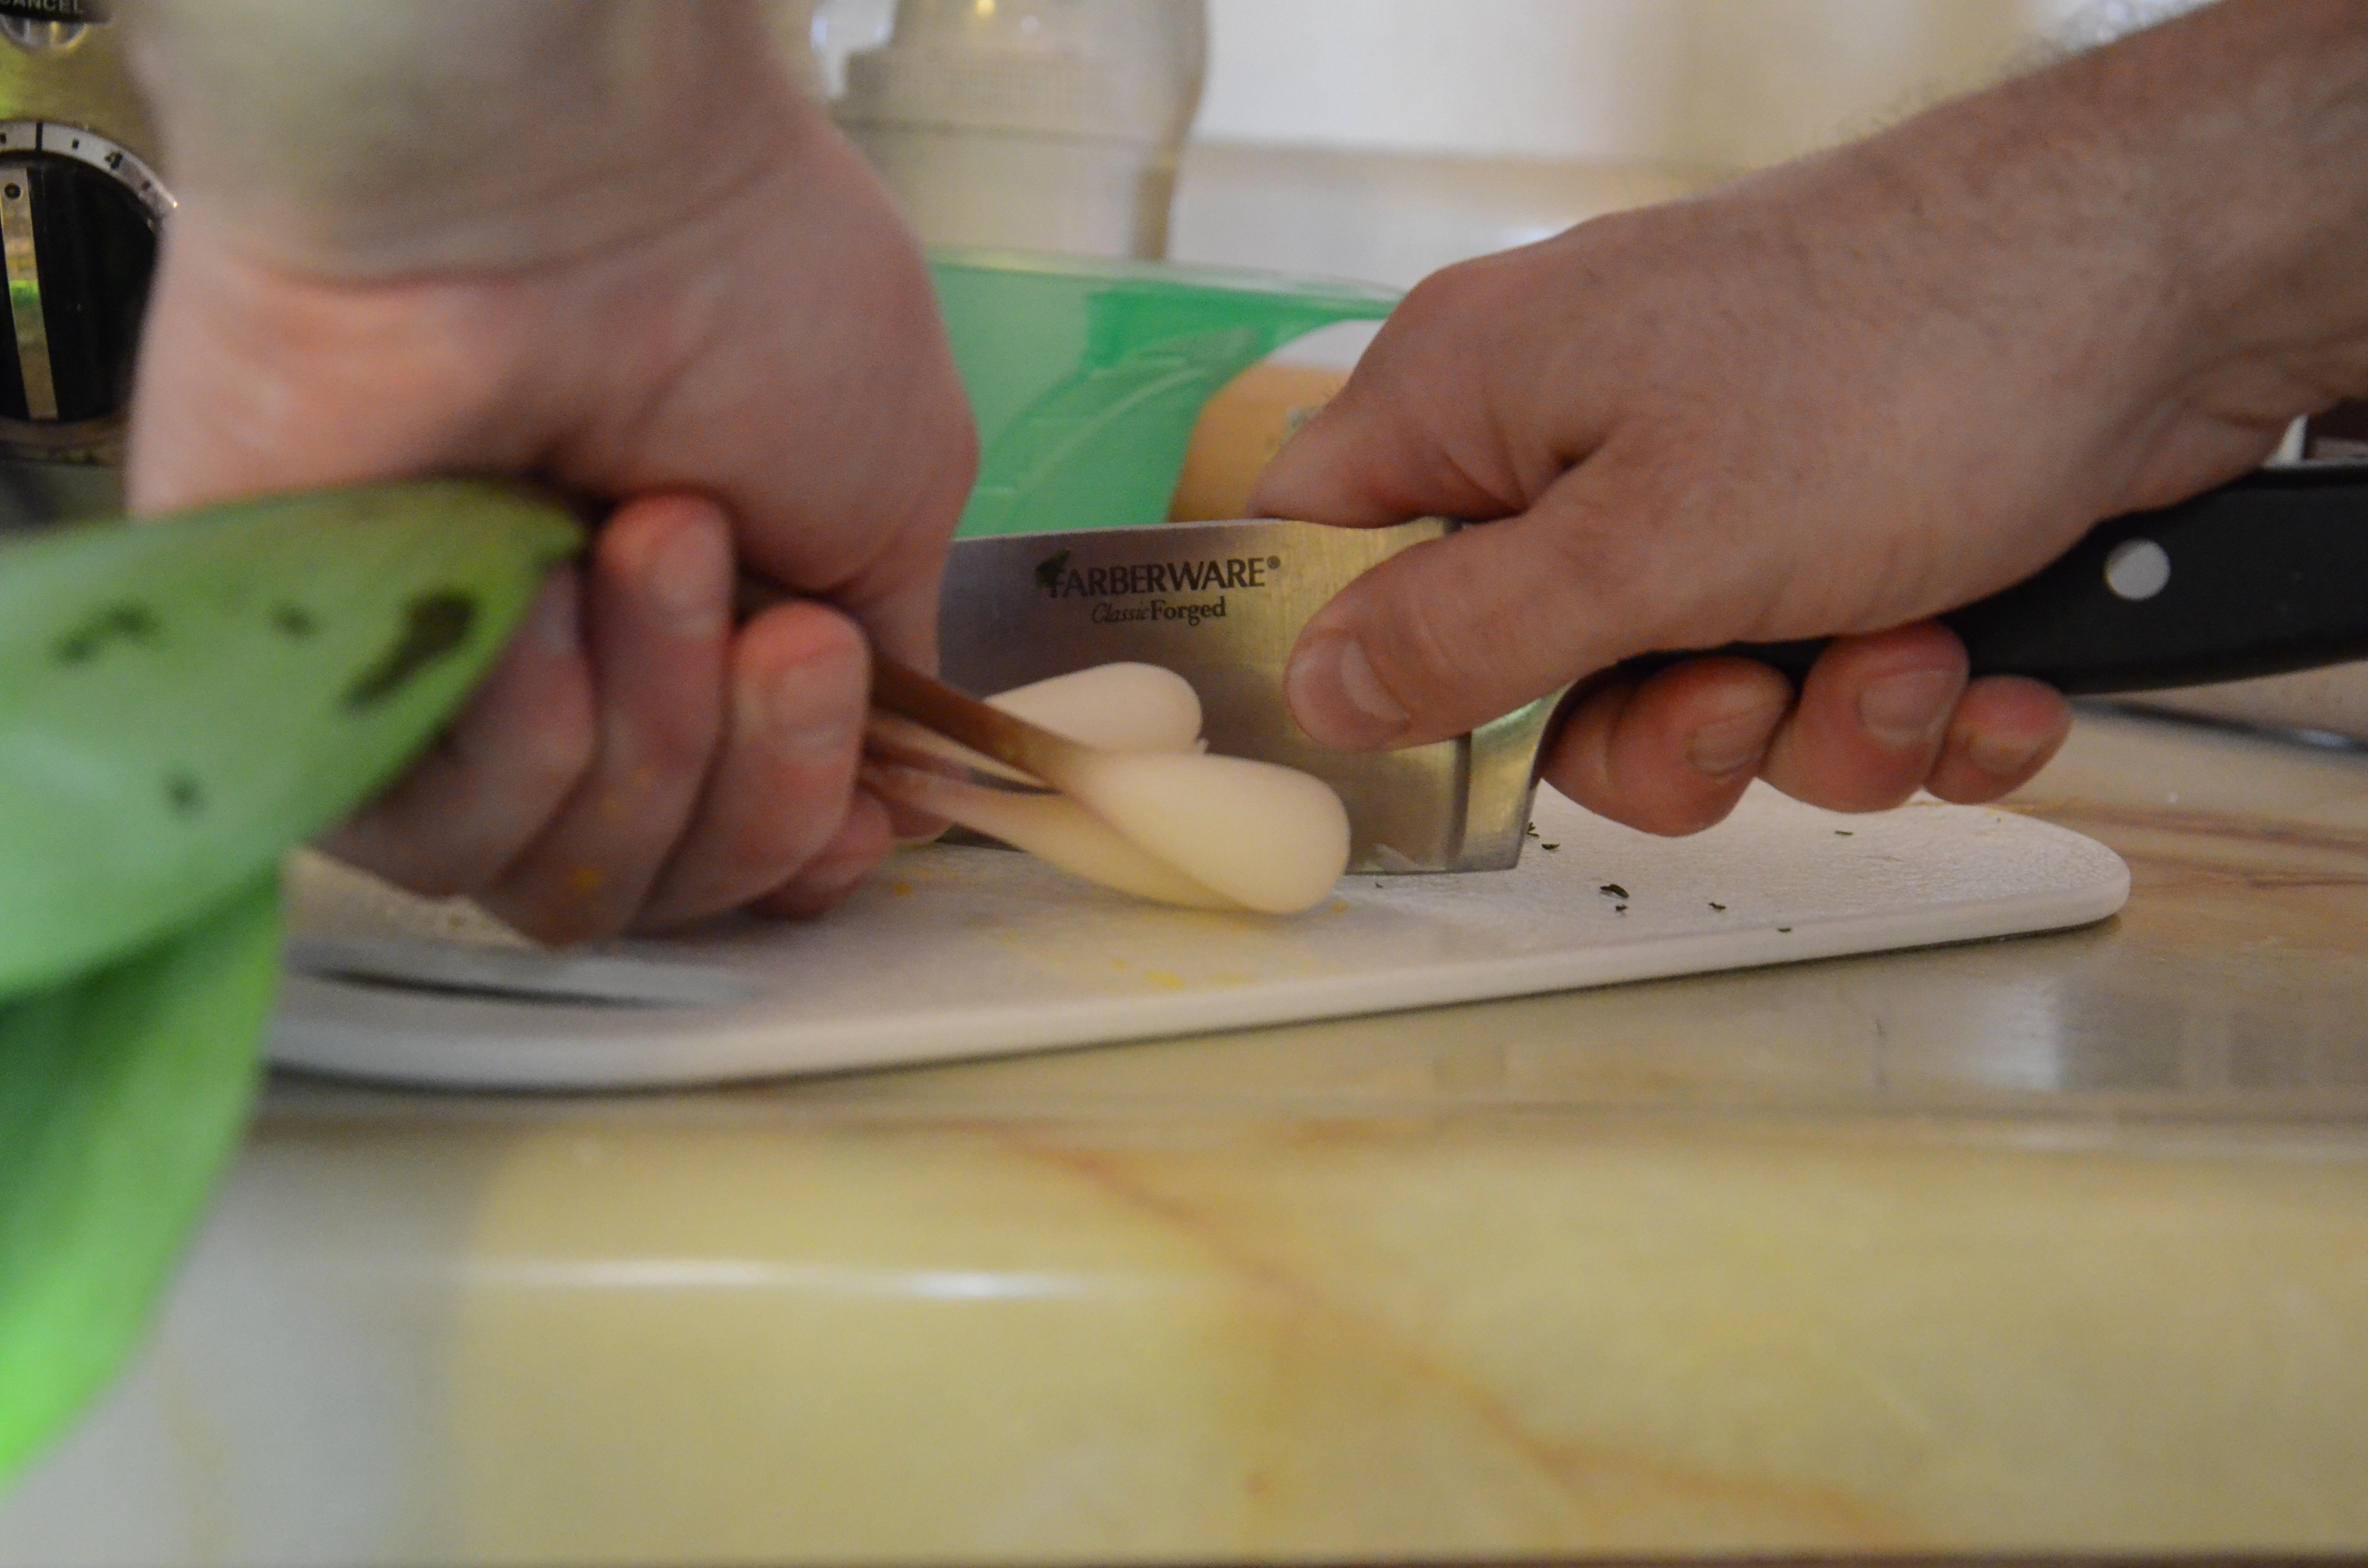
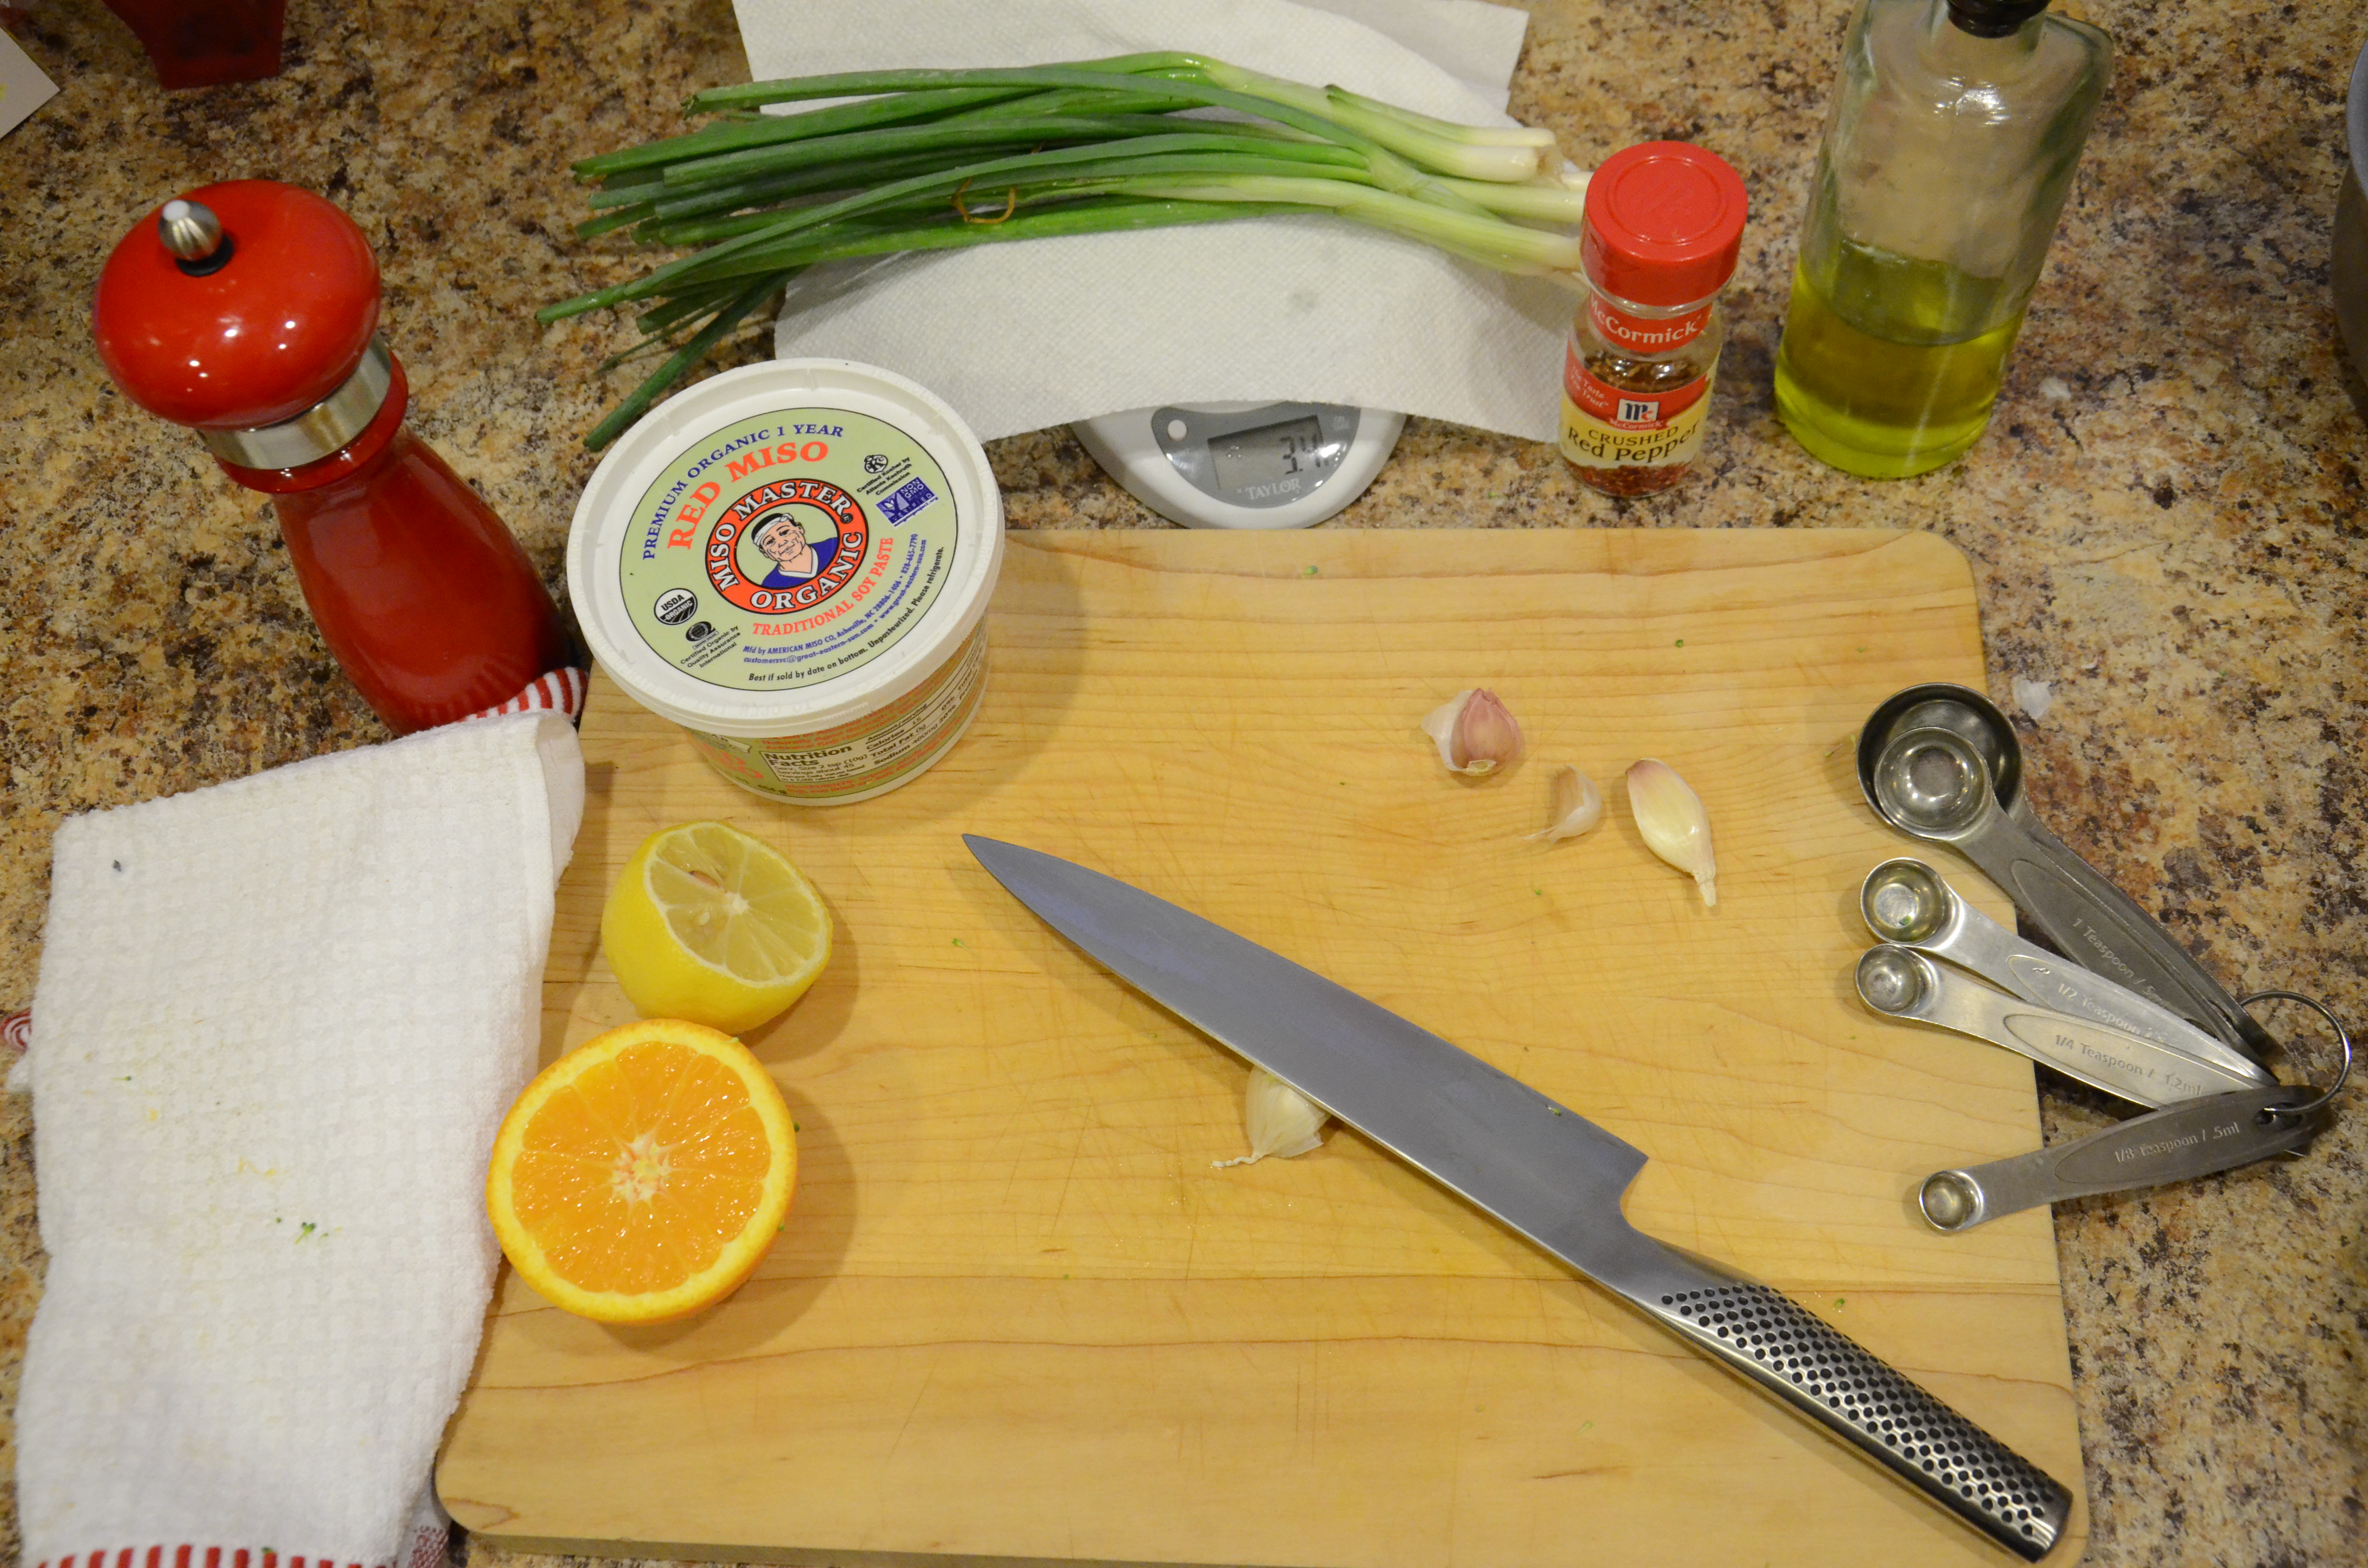
several large garlic cloves
1 tablespoons extra-virgin olive oil
14 ounces baby potatoes
1-2 small thyme sprigs
2 rosemary sprigs
1/4 teaspoon kosher or ground sea salt, divided (or to taste)
1/8 teaspoon freshly ground black pepper (or to taste)
1 tablespoon fresh flat-leaf parsley, chopped, if you have it
Directions
Preheat oven to 450°. If the potatoes are larger than fingerling potatoes, cut in halves or quarters. Smaller potatoes can be kept whole, but medium sized ones benefit from more surface area for crisping!
Place unpeeled garlic cloves, olive oil, potatoes, thyme sprigs, and rosemary sprigs in a large bowl; toss to coat. Arrange potato mixture on a foil-lined cookie sheet. Sprinkle evenly with salt and pepper. Bake at 425-450° for 25 minutes, stirring halfway and then checking for doneness toward the end of cooking time. Squeeze roasted garlic cloves out of their skin and return to potato mixture. Sprinkle with 1/8 teaspoon kosher salt and parsley.

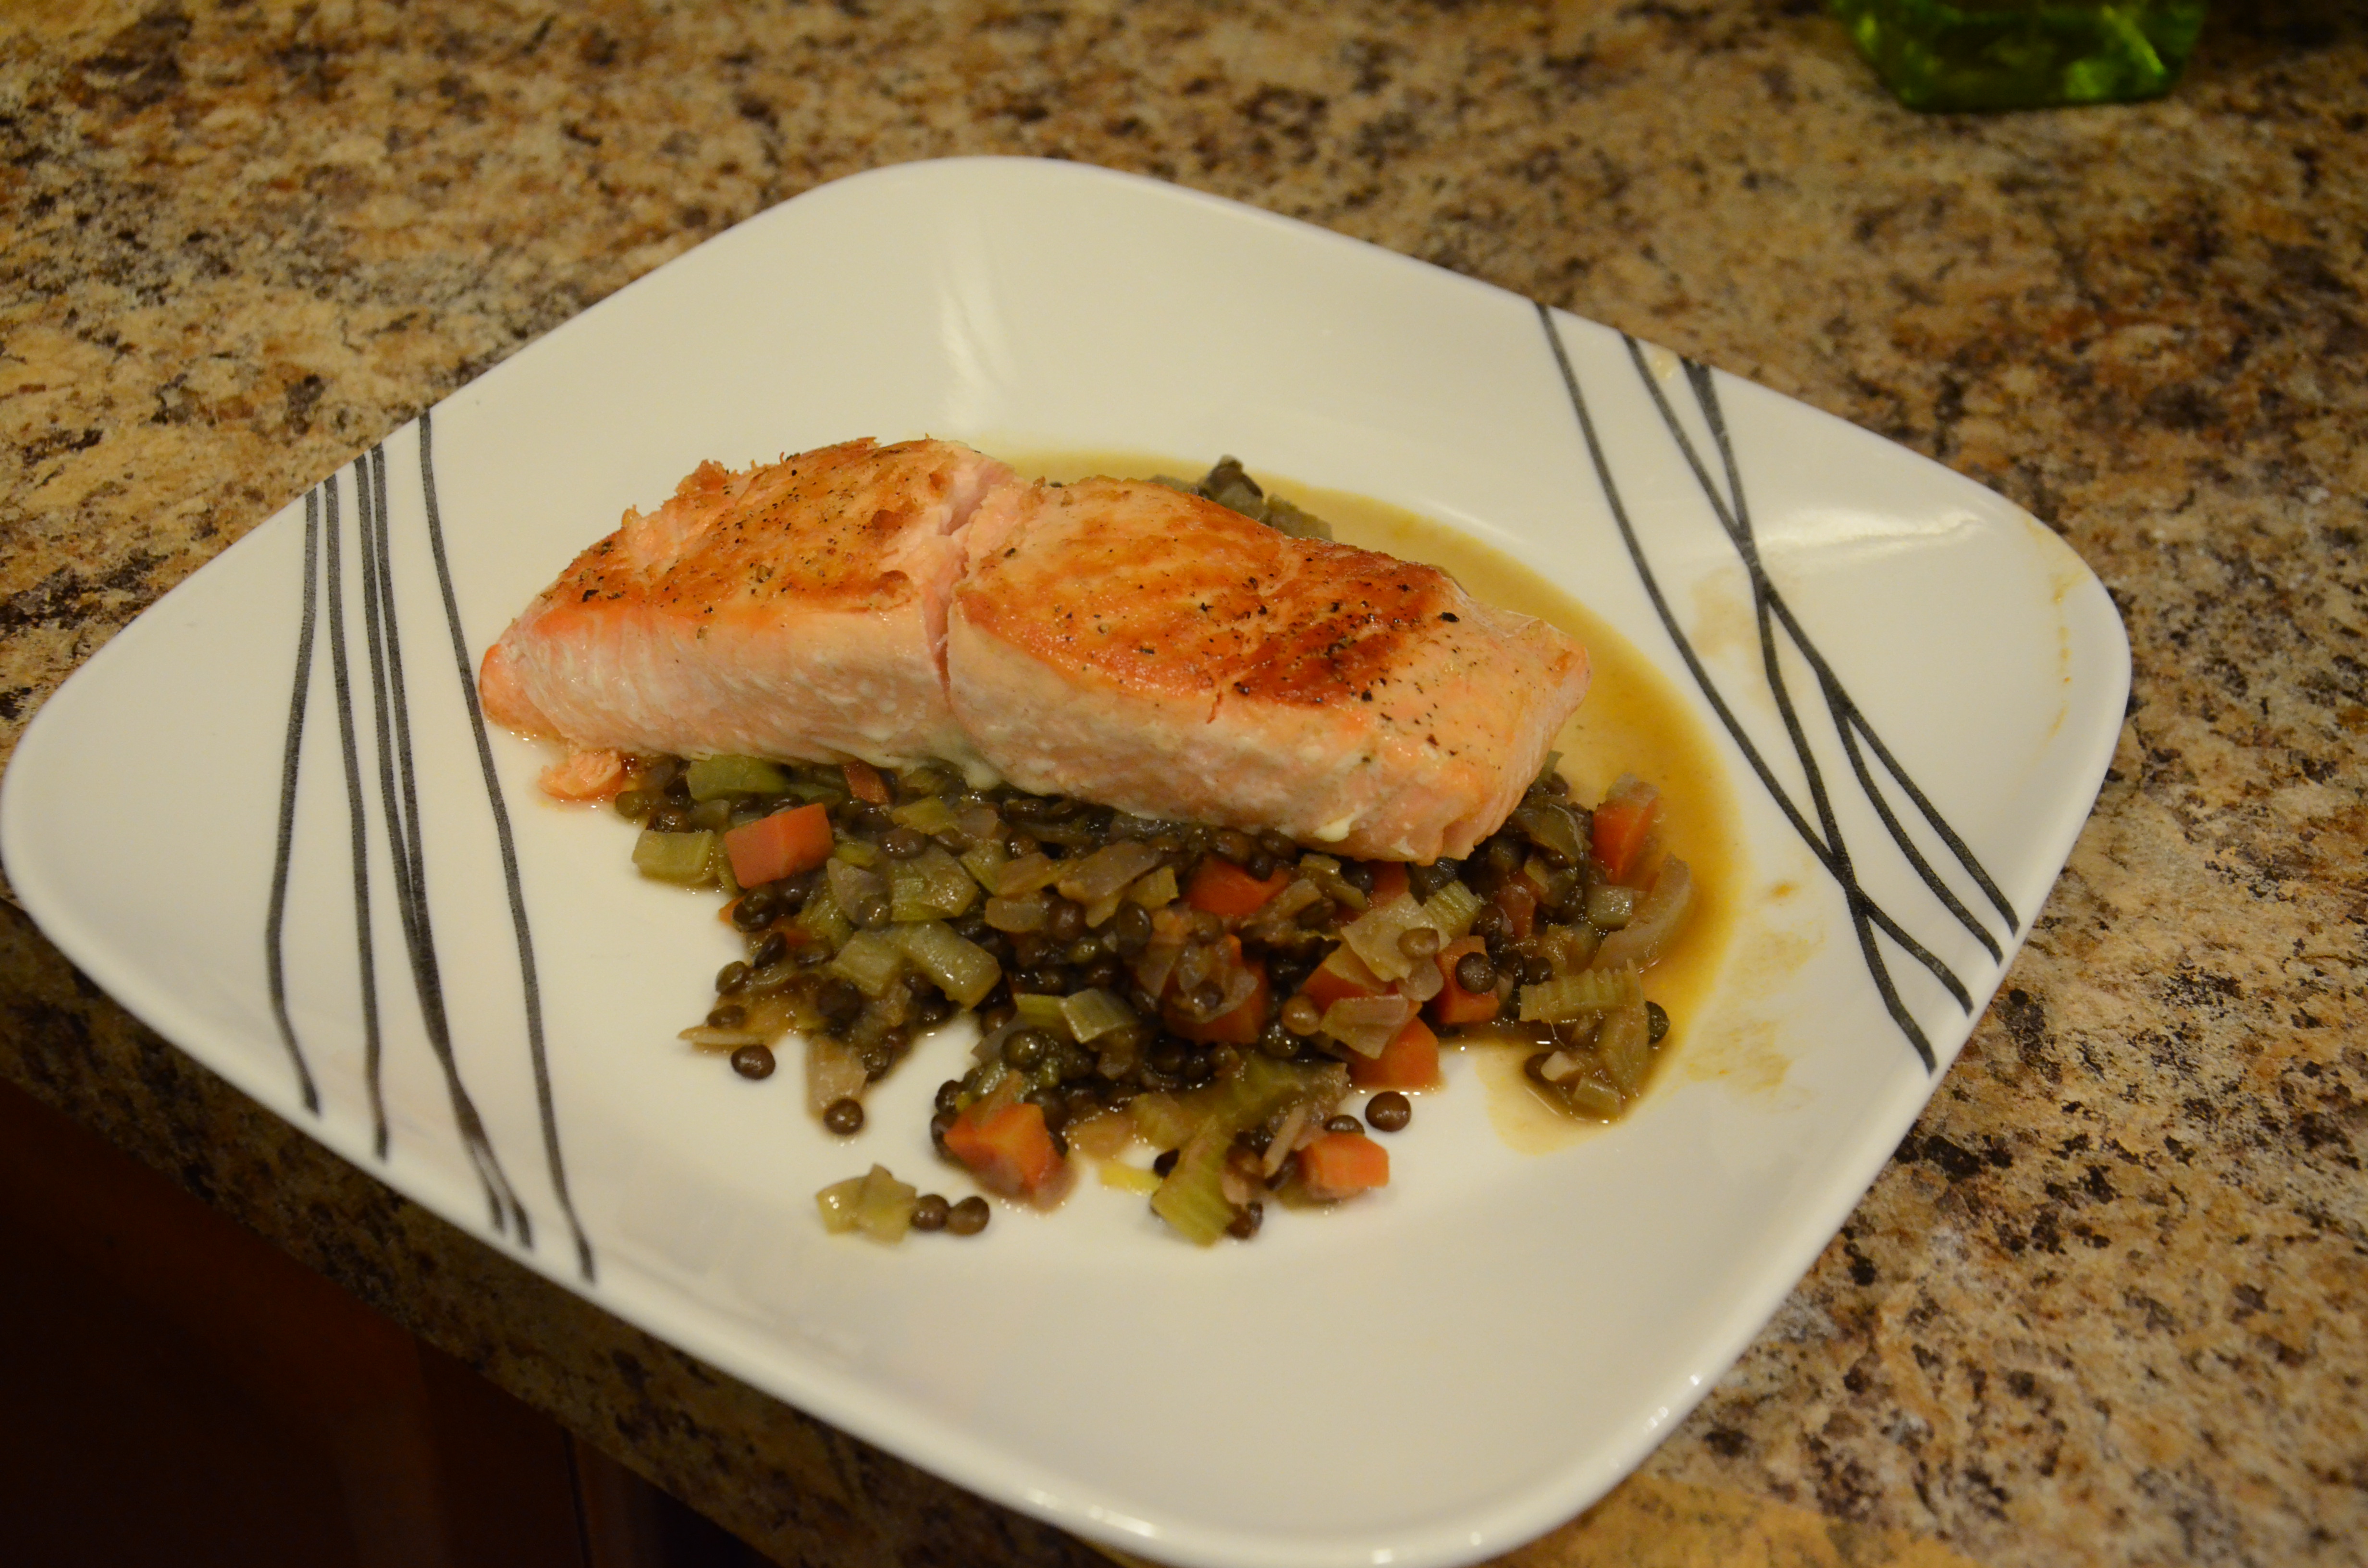
Grilled Sea Bass with Tarragon Beurre Blanc
Adapted from Cooking Light again
Serves: 2
Sauce:
1/3 cup dry white wine
2 tablespoons shallots, chopped
1/4 teaspoon whole black peppercorns
1 large tarragon sprig
1.5 tablespoons butter, cut into small pieces
1/2 teaspoon fresh tarragon, chopped
Fish:
2 (6-ounce) meaty white fish fillets, without skin — The recipe suggested halibut, but my grocery store didn’t have it. It also said cod or tilapia could be substituted (and would save money), but I couldn’t imagine how those would stand up so well to grilling, which I had my mind set on. The meatiest looking fish they had was the sea bass.
1/8 teaspoon kosher salt
1/8 teaspoon freshly ground black pepper
Cooking spray
Combine first 4 ingredients in a small heavy saucepan over medium-high heat; bring to a boil. Cook until liquid is reduced to 2 tablespoons. Remove from heat; strain through a fine sieve over a measuring cup, pressing mixture with the back of a spoon or spatula to release liquid.

Discard solids. Return liquid to pan. Add butter, 1 piece at a time, stirring with a whisk until butter is incorporated. Stir in tarragon.

Even at $19.95 a pound, I ended with a piece with a bunch of bones. Grrr.
Sprinkle fish evenly with salt and ground pepper. Heat a large grill pan over medium-high heat. Note: grill pans are great, but ours can be a beast to clean up. That’s why I like about the outdoor grill. It either doesn’t need cleaning…or maybe the grill fairy takes care of it?
Coat pan with cooking spray. Add fish to pan; cook 5 minutes on each side or until desired degree of doneness. Serve with sauce.

There it is–the makings of a great meal!