Among the list of small contributions individuals can make to reduce food waste is to eat ugly food. Fight that primal, biological tendency to select only the most pristine pepper, the flawless fennel, the pure potato, the cleanest cucumber, or the blemish-free blueberry batch.
As I address this topic, let me pause to say that I struggle to walk the walk. The last time I went to the grocery store for produce, I scrutinized nearly every batch of cilantro on display before selecting what I felt was the perkiest. I am part of the problem.
Of course, as I sort through the bins, what I’m trying to do is get the best bang for my buck. At the end of the day, grocery stores probably throw out that slightly marred mango that keeps getting left behind. They are part of the problem, too. What if they charged a premium for perfect produce? With ugly items available, but at an irresistible price? Maybe someone would pay a lesser price. Maybe that lesser price makes the item fit into someone’s budget. Maybe for once healthy produce could be as affordable as junk!
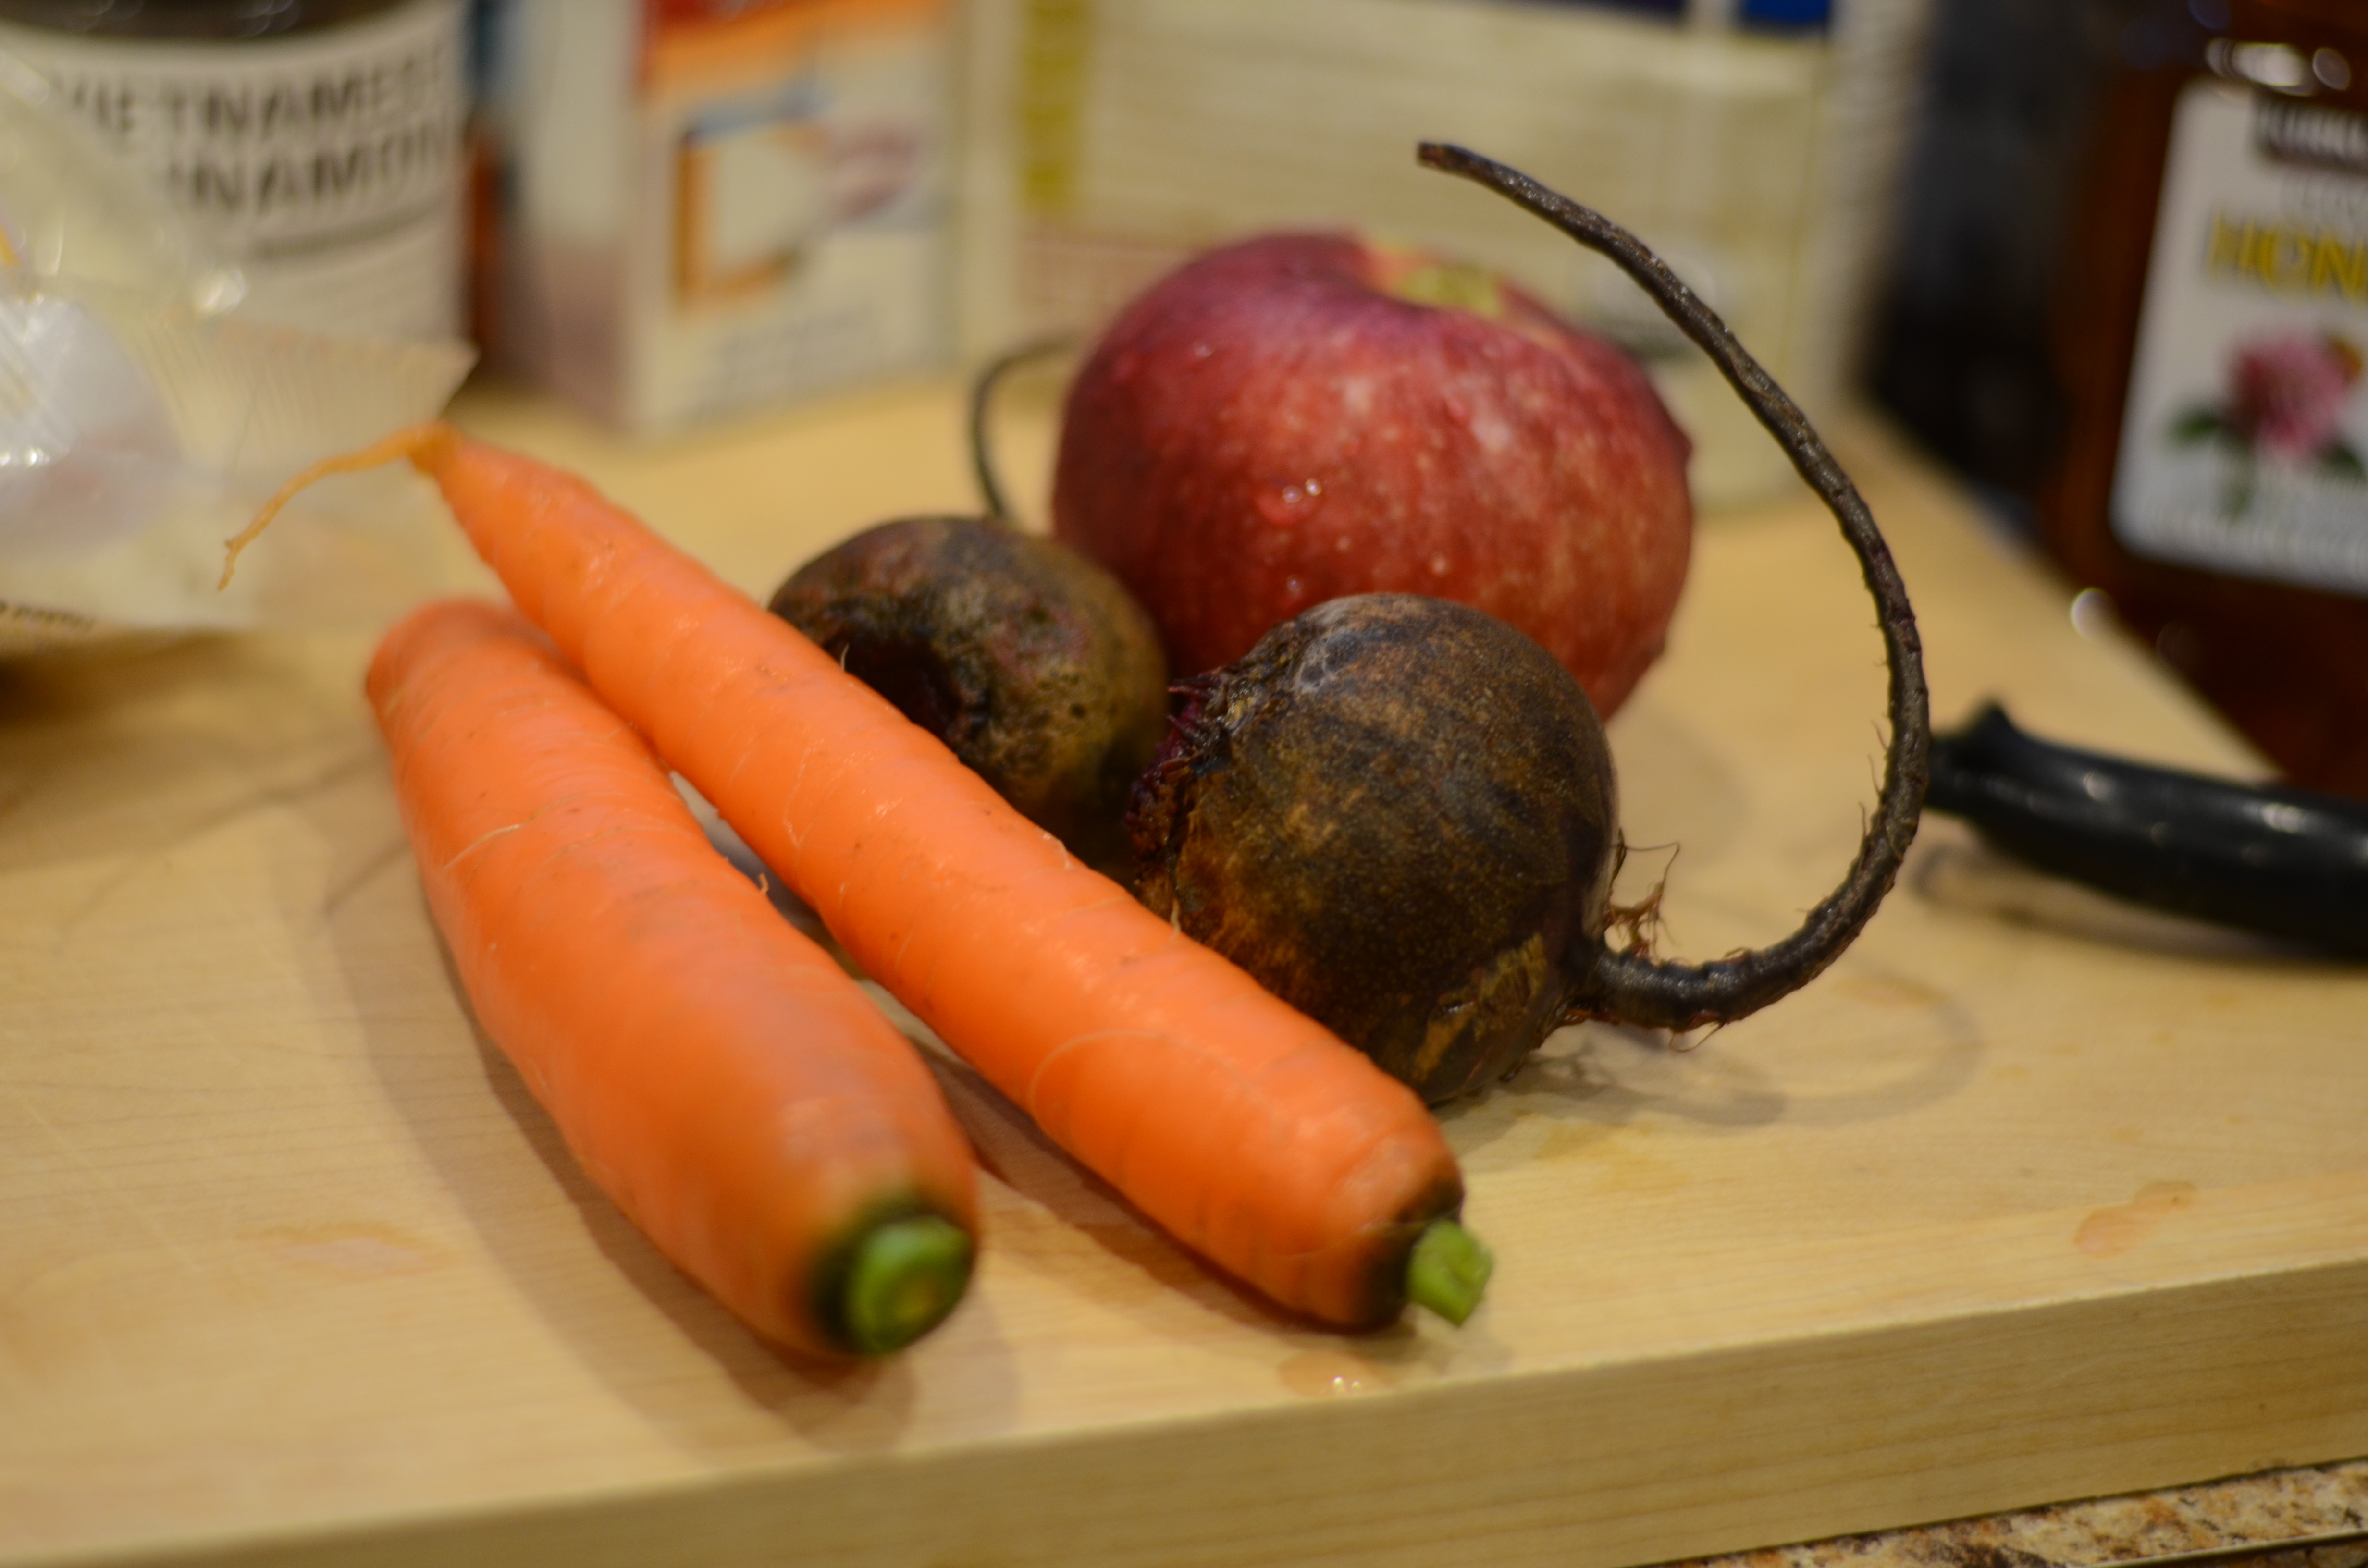
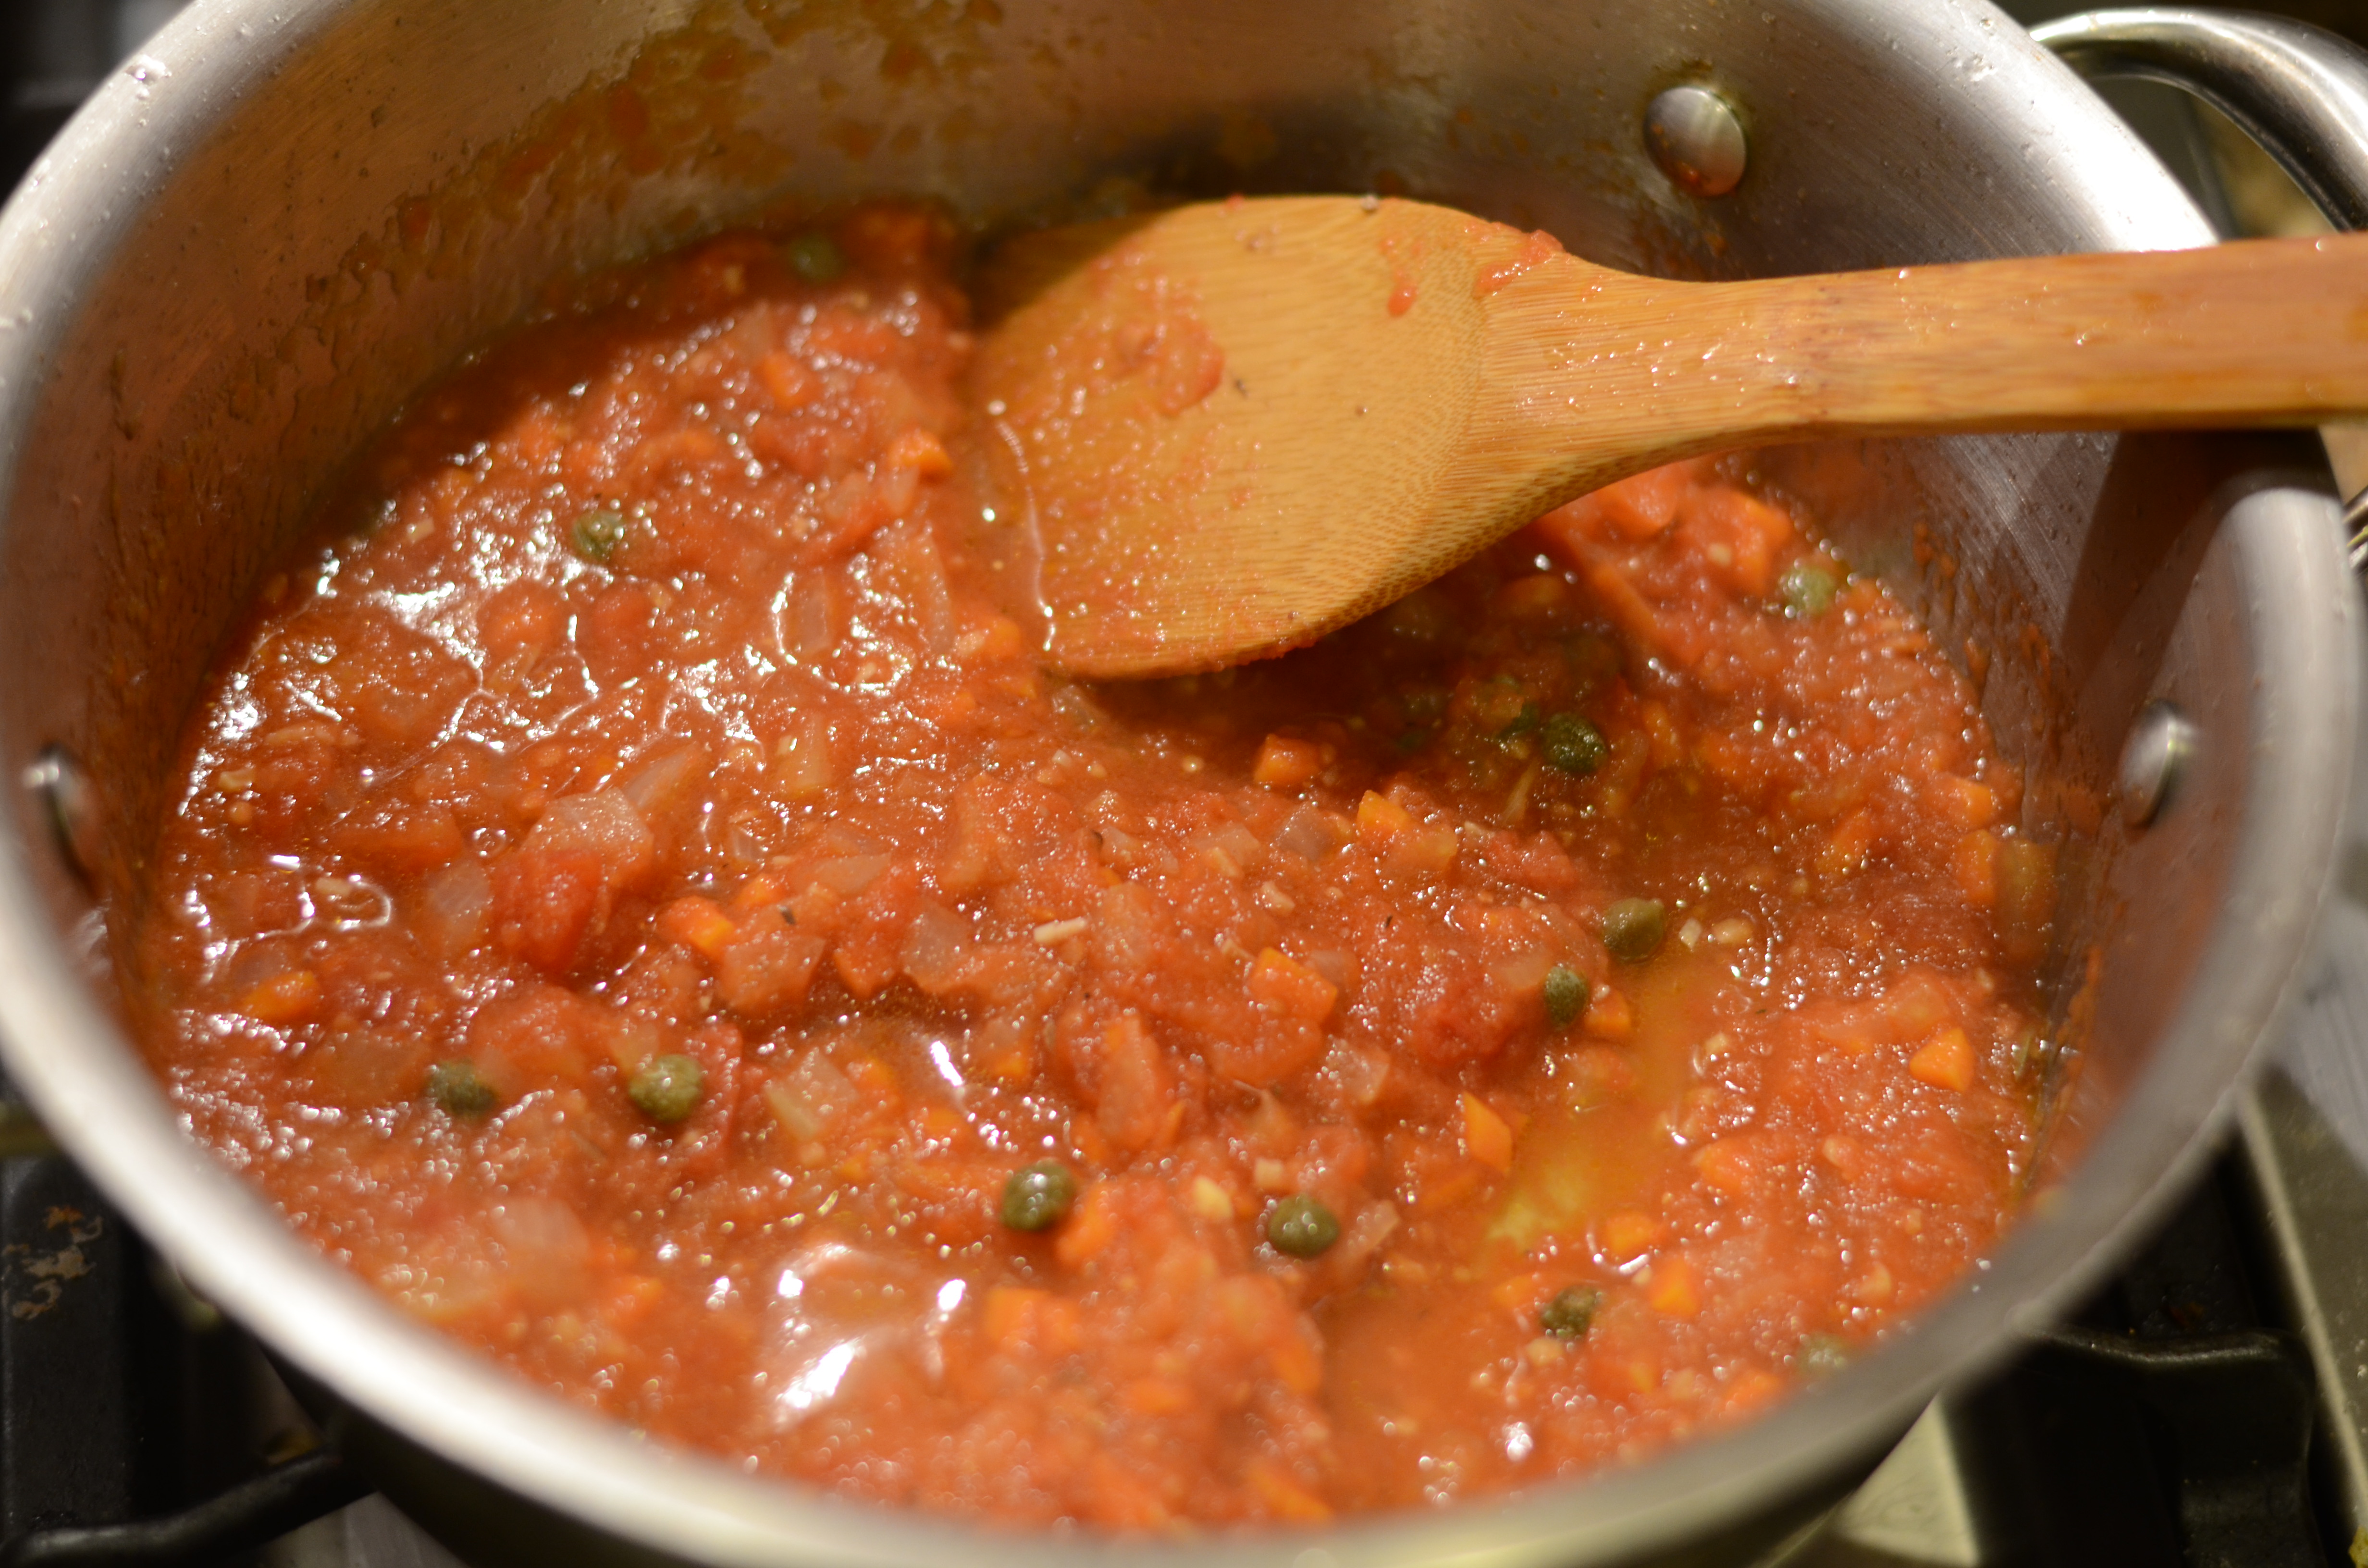
Apples are in prime season right now. I heard a story on NPR the other day in which apple farmers talked about the fact that big box stores stipulate circumference requirements, and offer only 1/2 inch leeway. Read about the high standards of beauty that have been regulated in the U.S. (the links to the U.S.D.A. within this article work again, yay). I remember apple-picking a couple of years ago at a large orchard in Connecticut. There were apples all over the ground, tons of them, bruised and smashed or half-eaten and tossed to the side. Some were probably in fairly good shape, but people kicked them to the side. Of course no one wanted them–they wanted to spot their perfect apple and pick it from the tree. I was saddened by the prospect that these apples weren’t used at all.
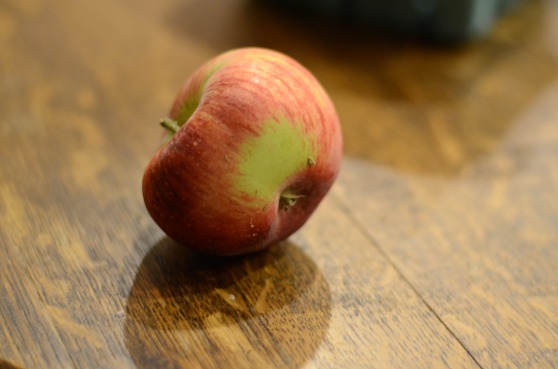
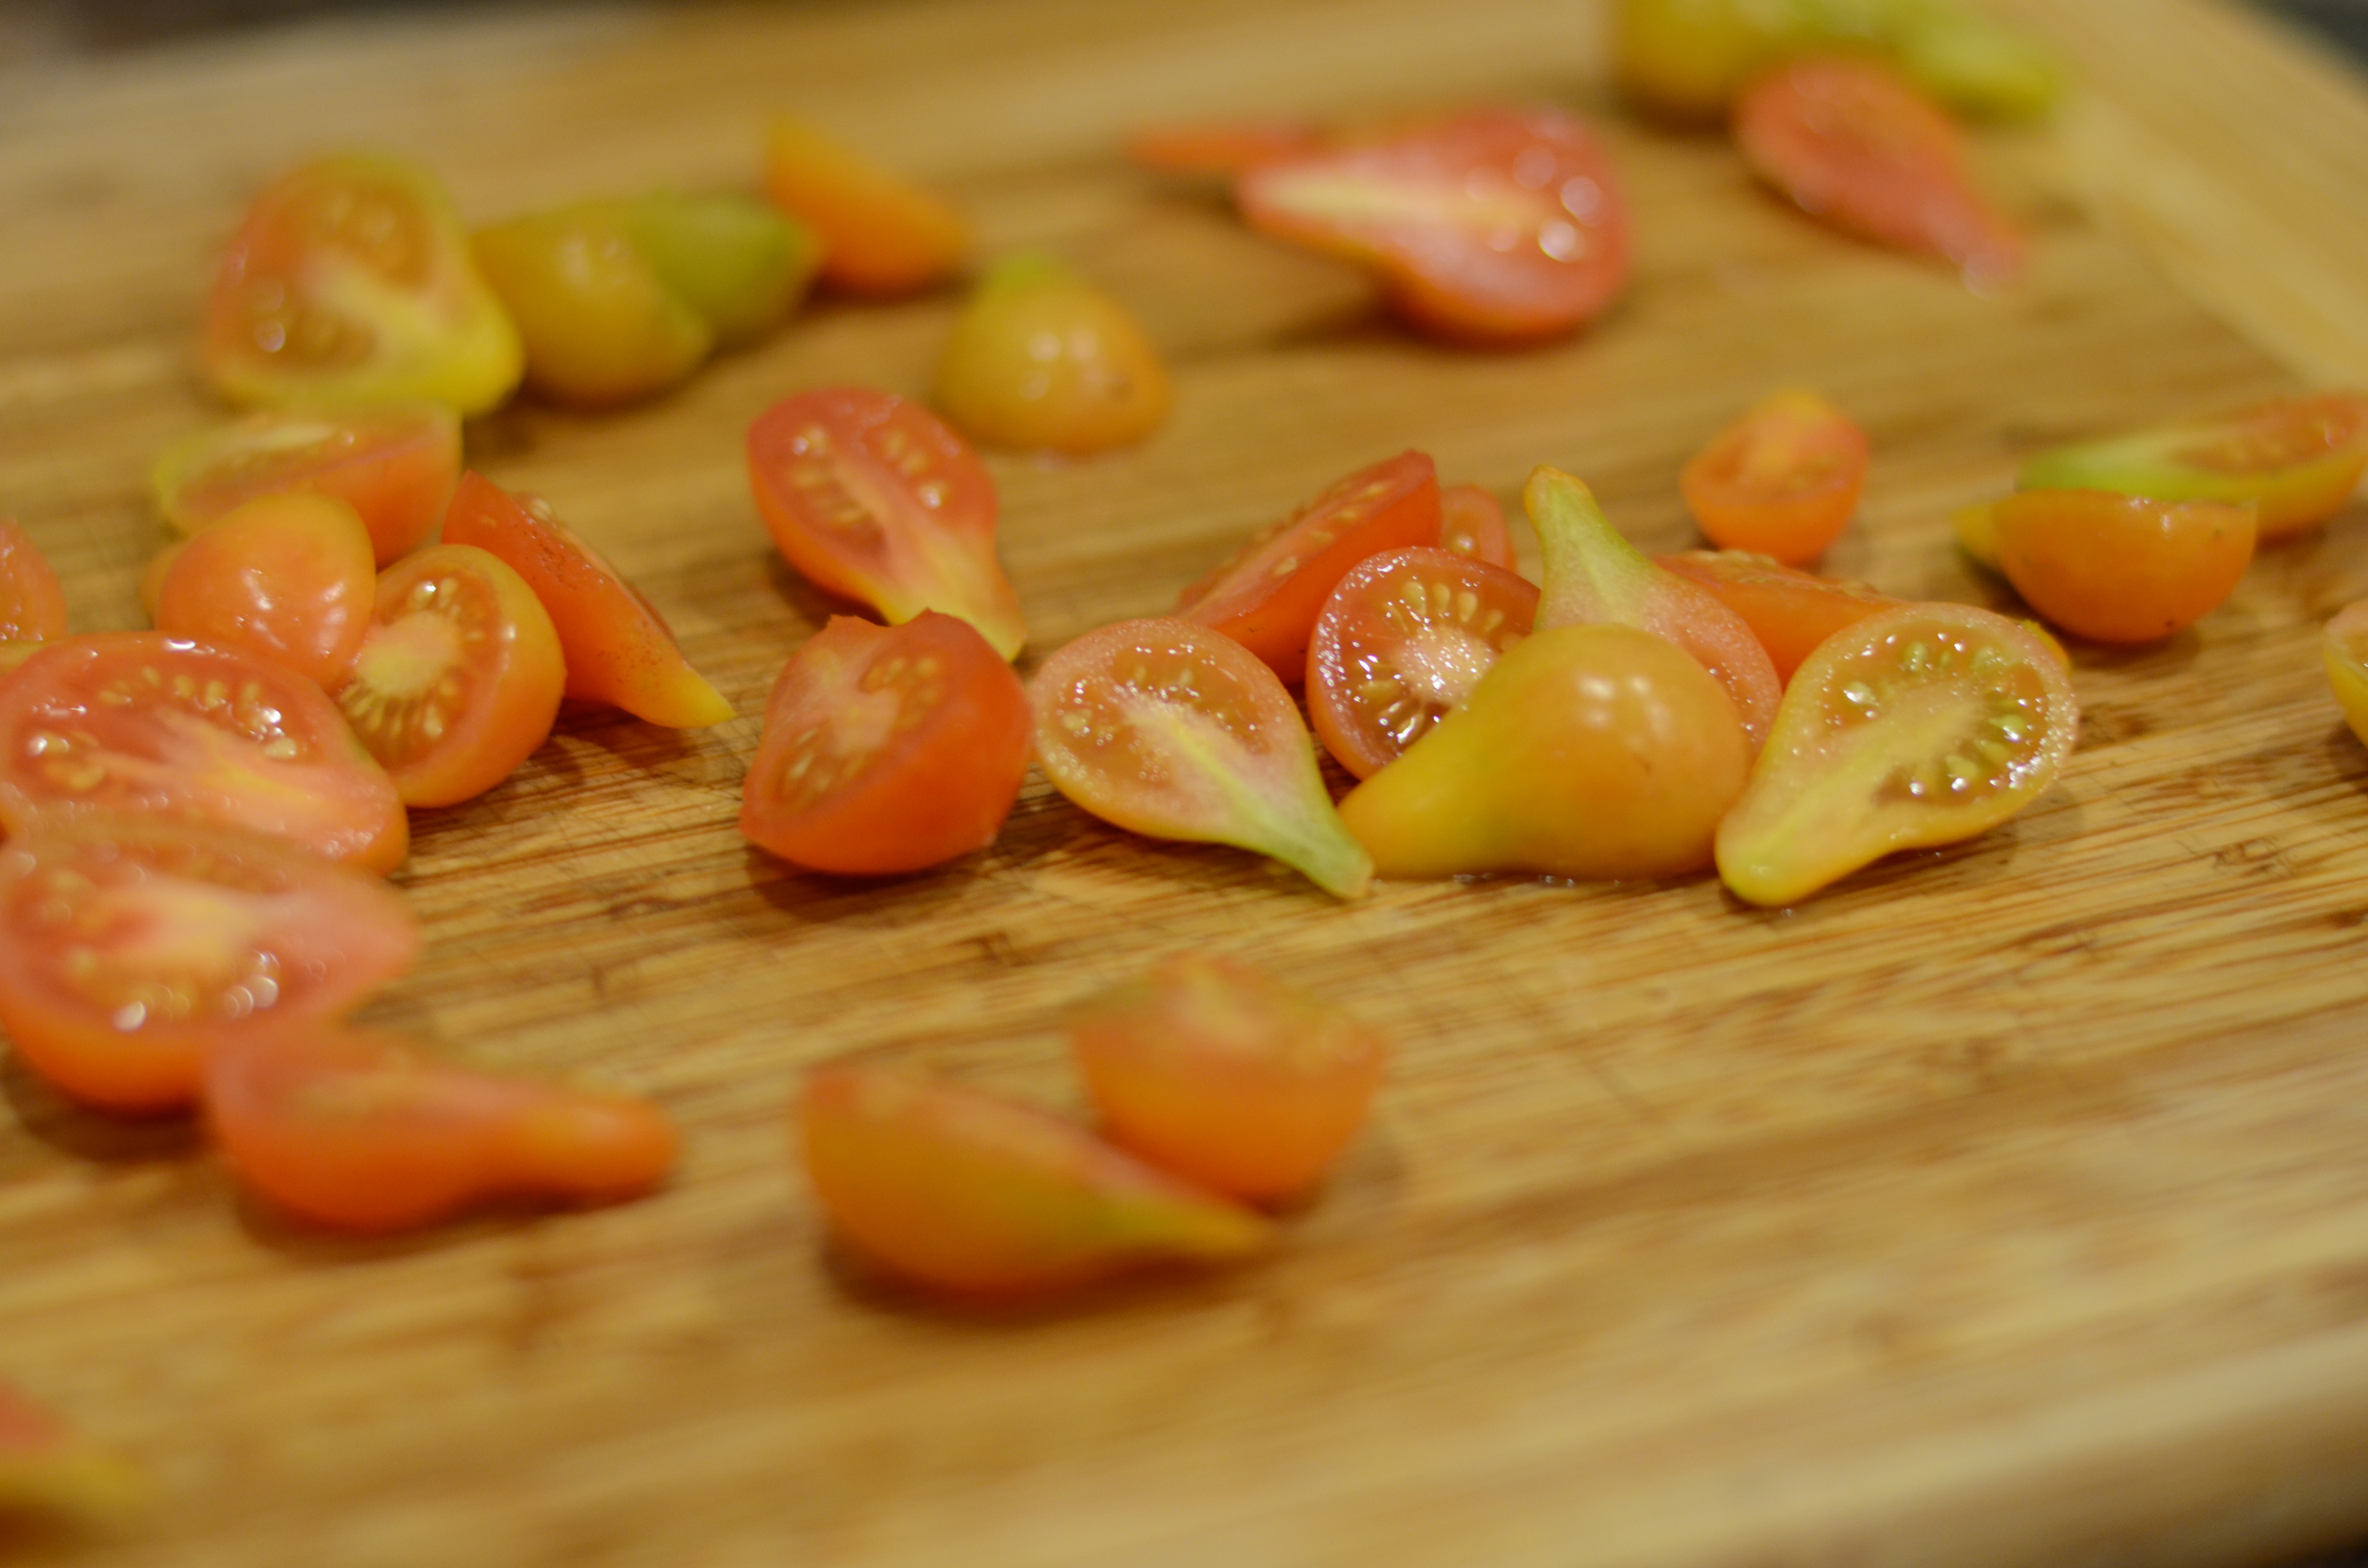
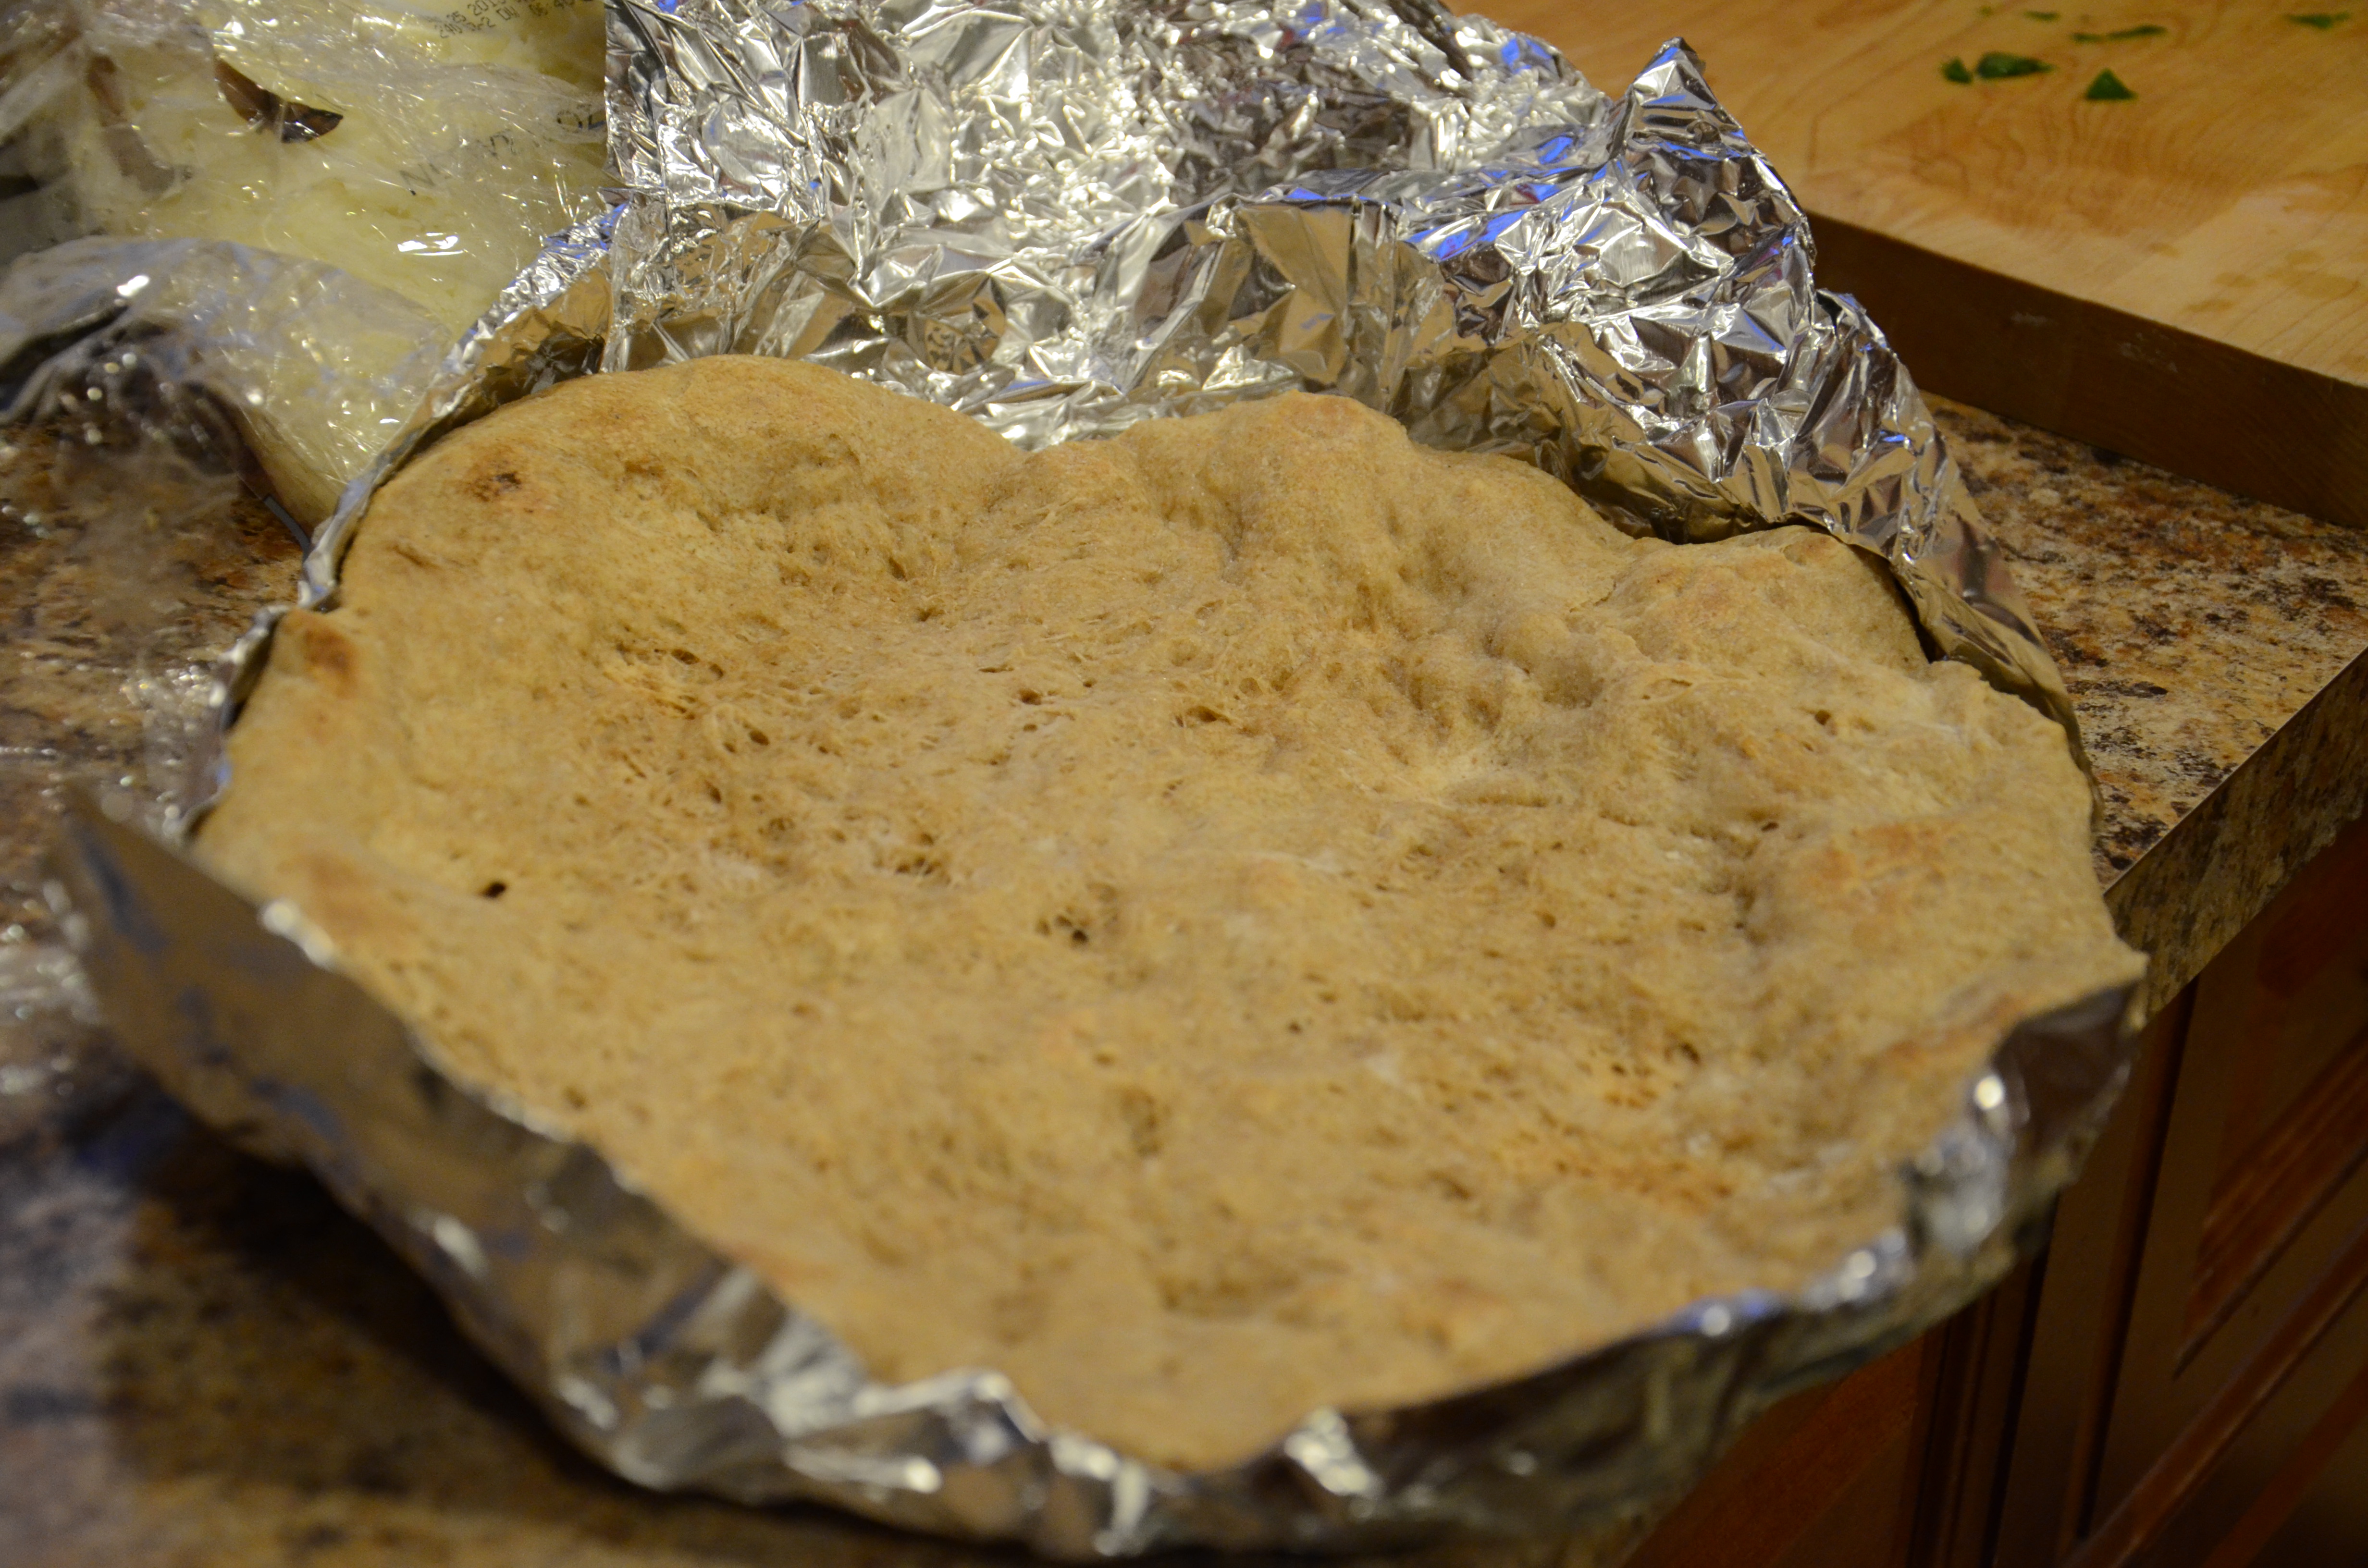
My sister-in-law Maggie brought me back a ton of apples from her own picking excursion this year. Here’s the only funny-looking one I found!
A UK study found that the amount thrown away due to “ugliness” amounted to 40% of fruits and vegetables, and the article made a point that this is particularly tragic considering that one in eight people worldwide are hungry.  The UN has taken notice of these shameful facts, and started a Think.Eat.Save campaign. It seems fairly recent. Apparently World Food Day was October 16, though the media I consume did not pick this up.
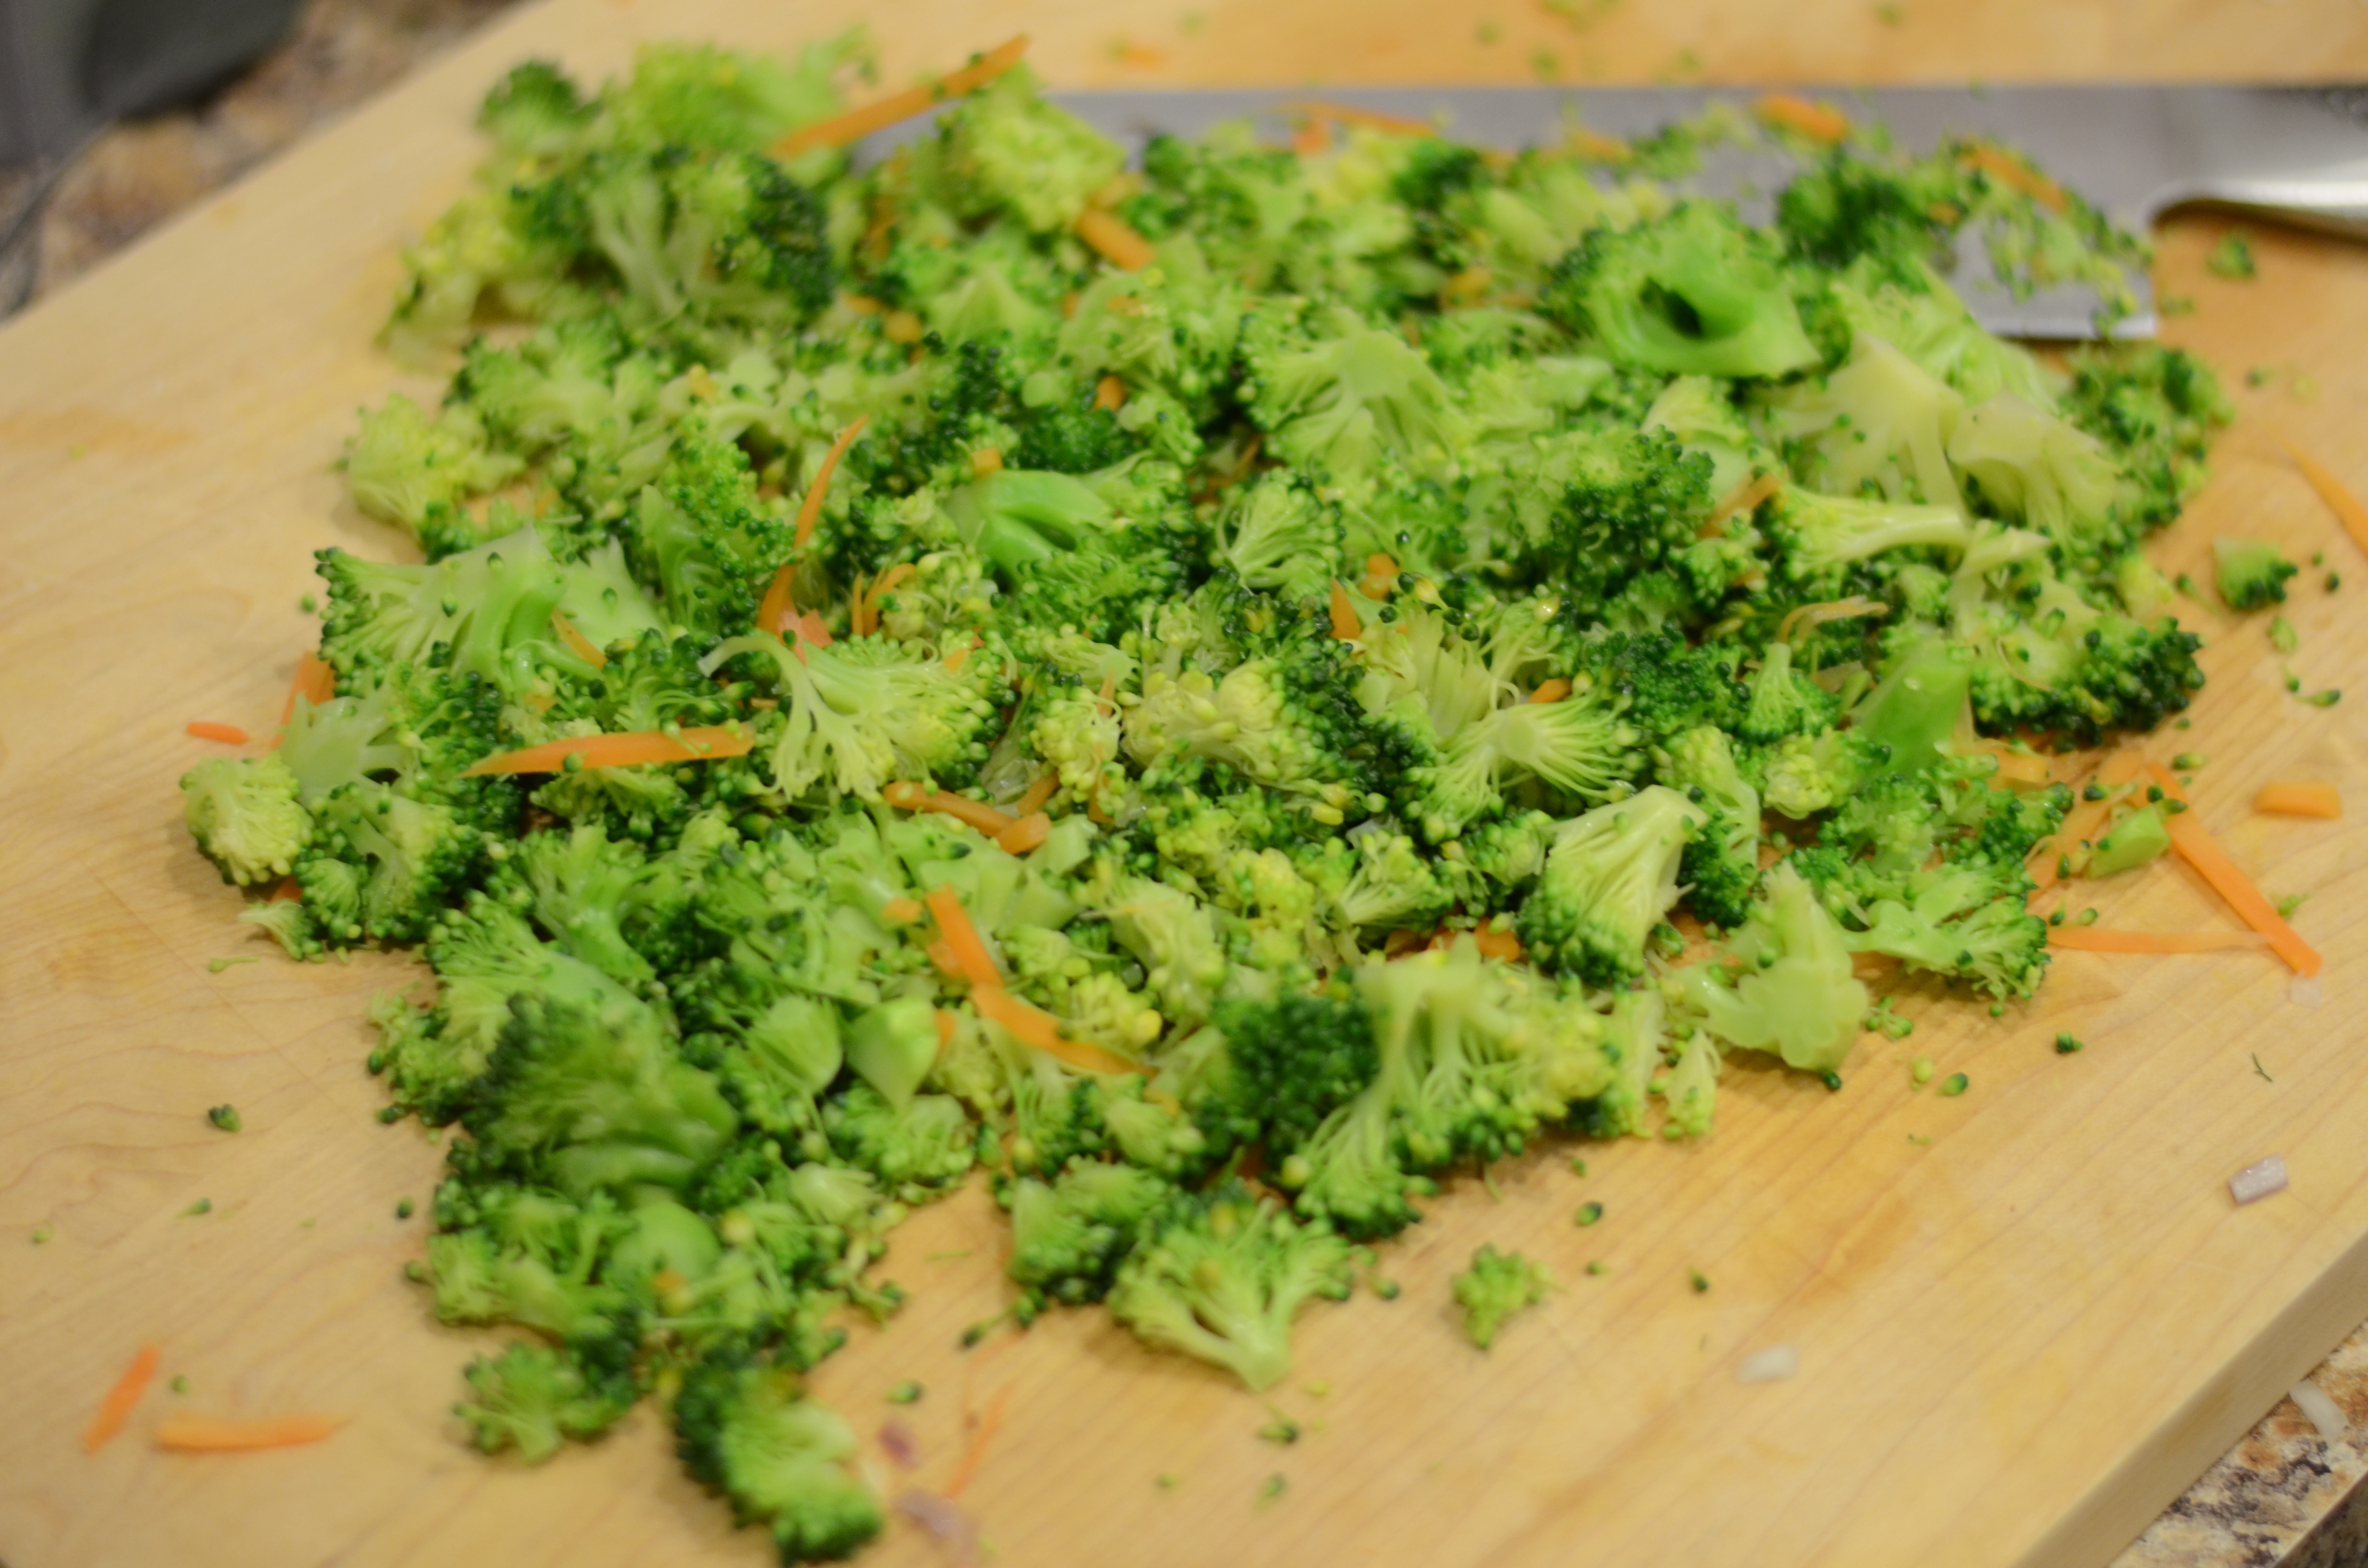
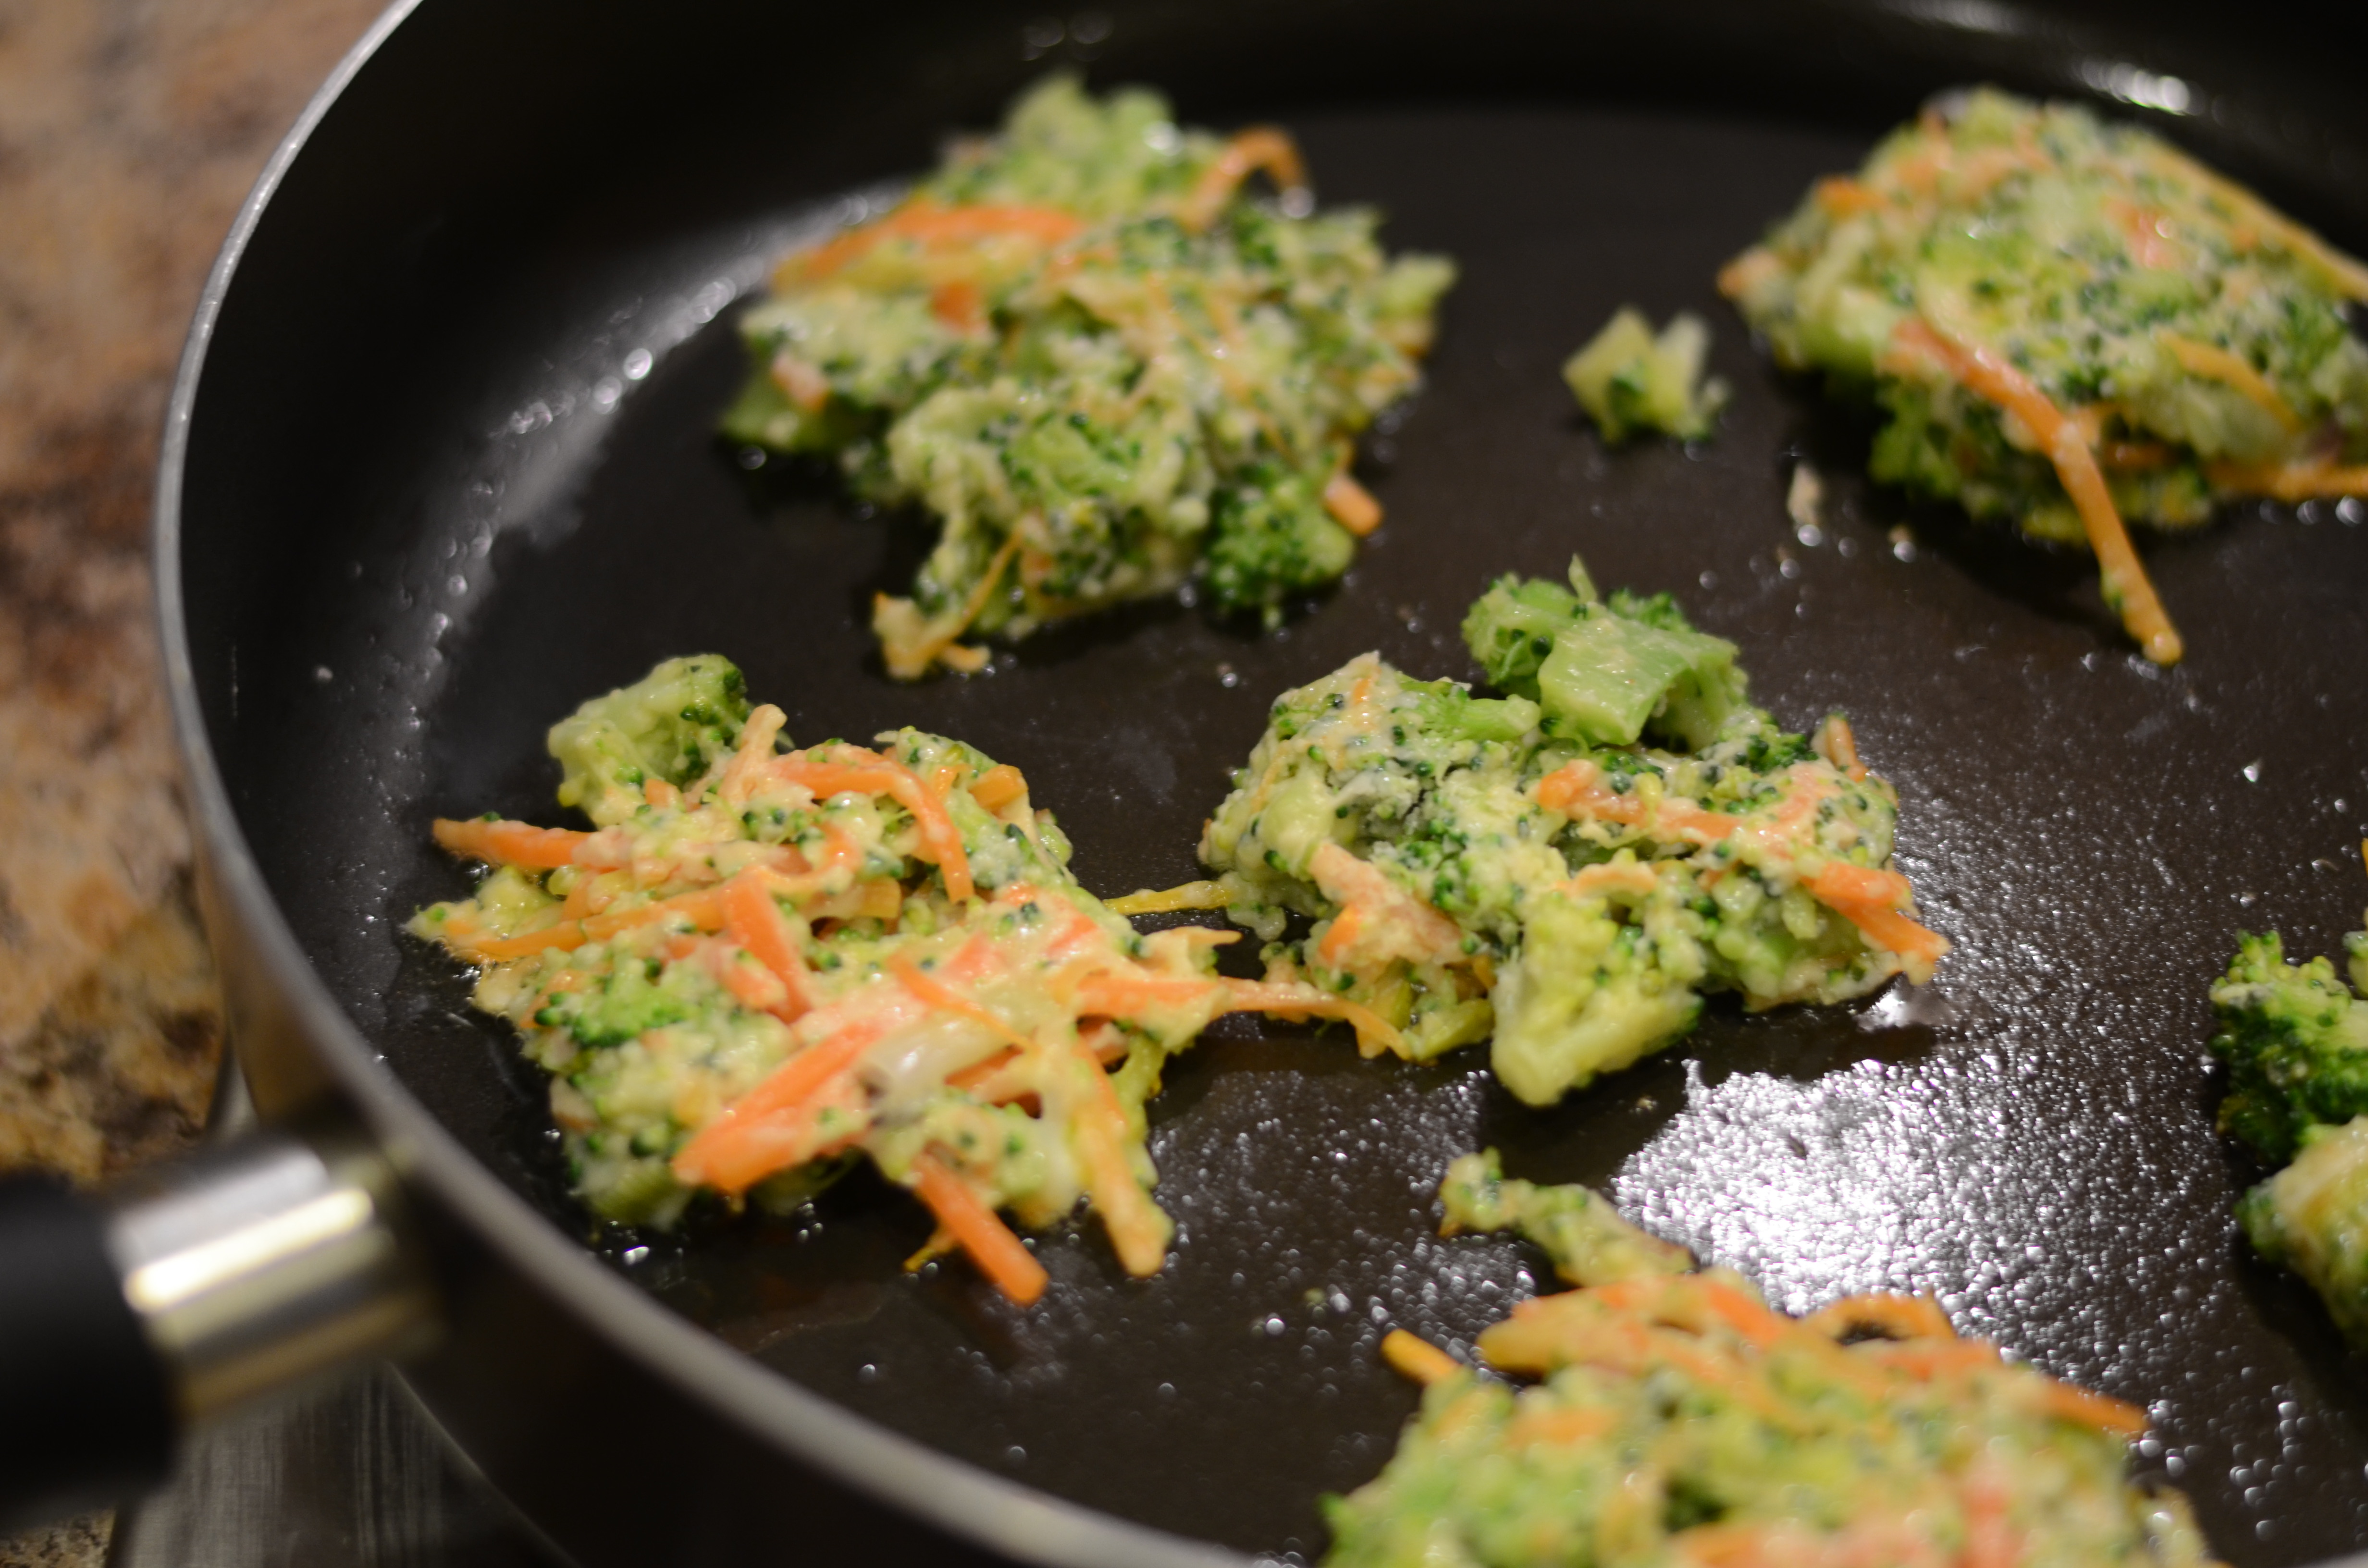
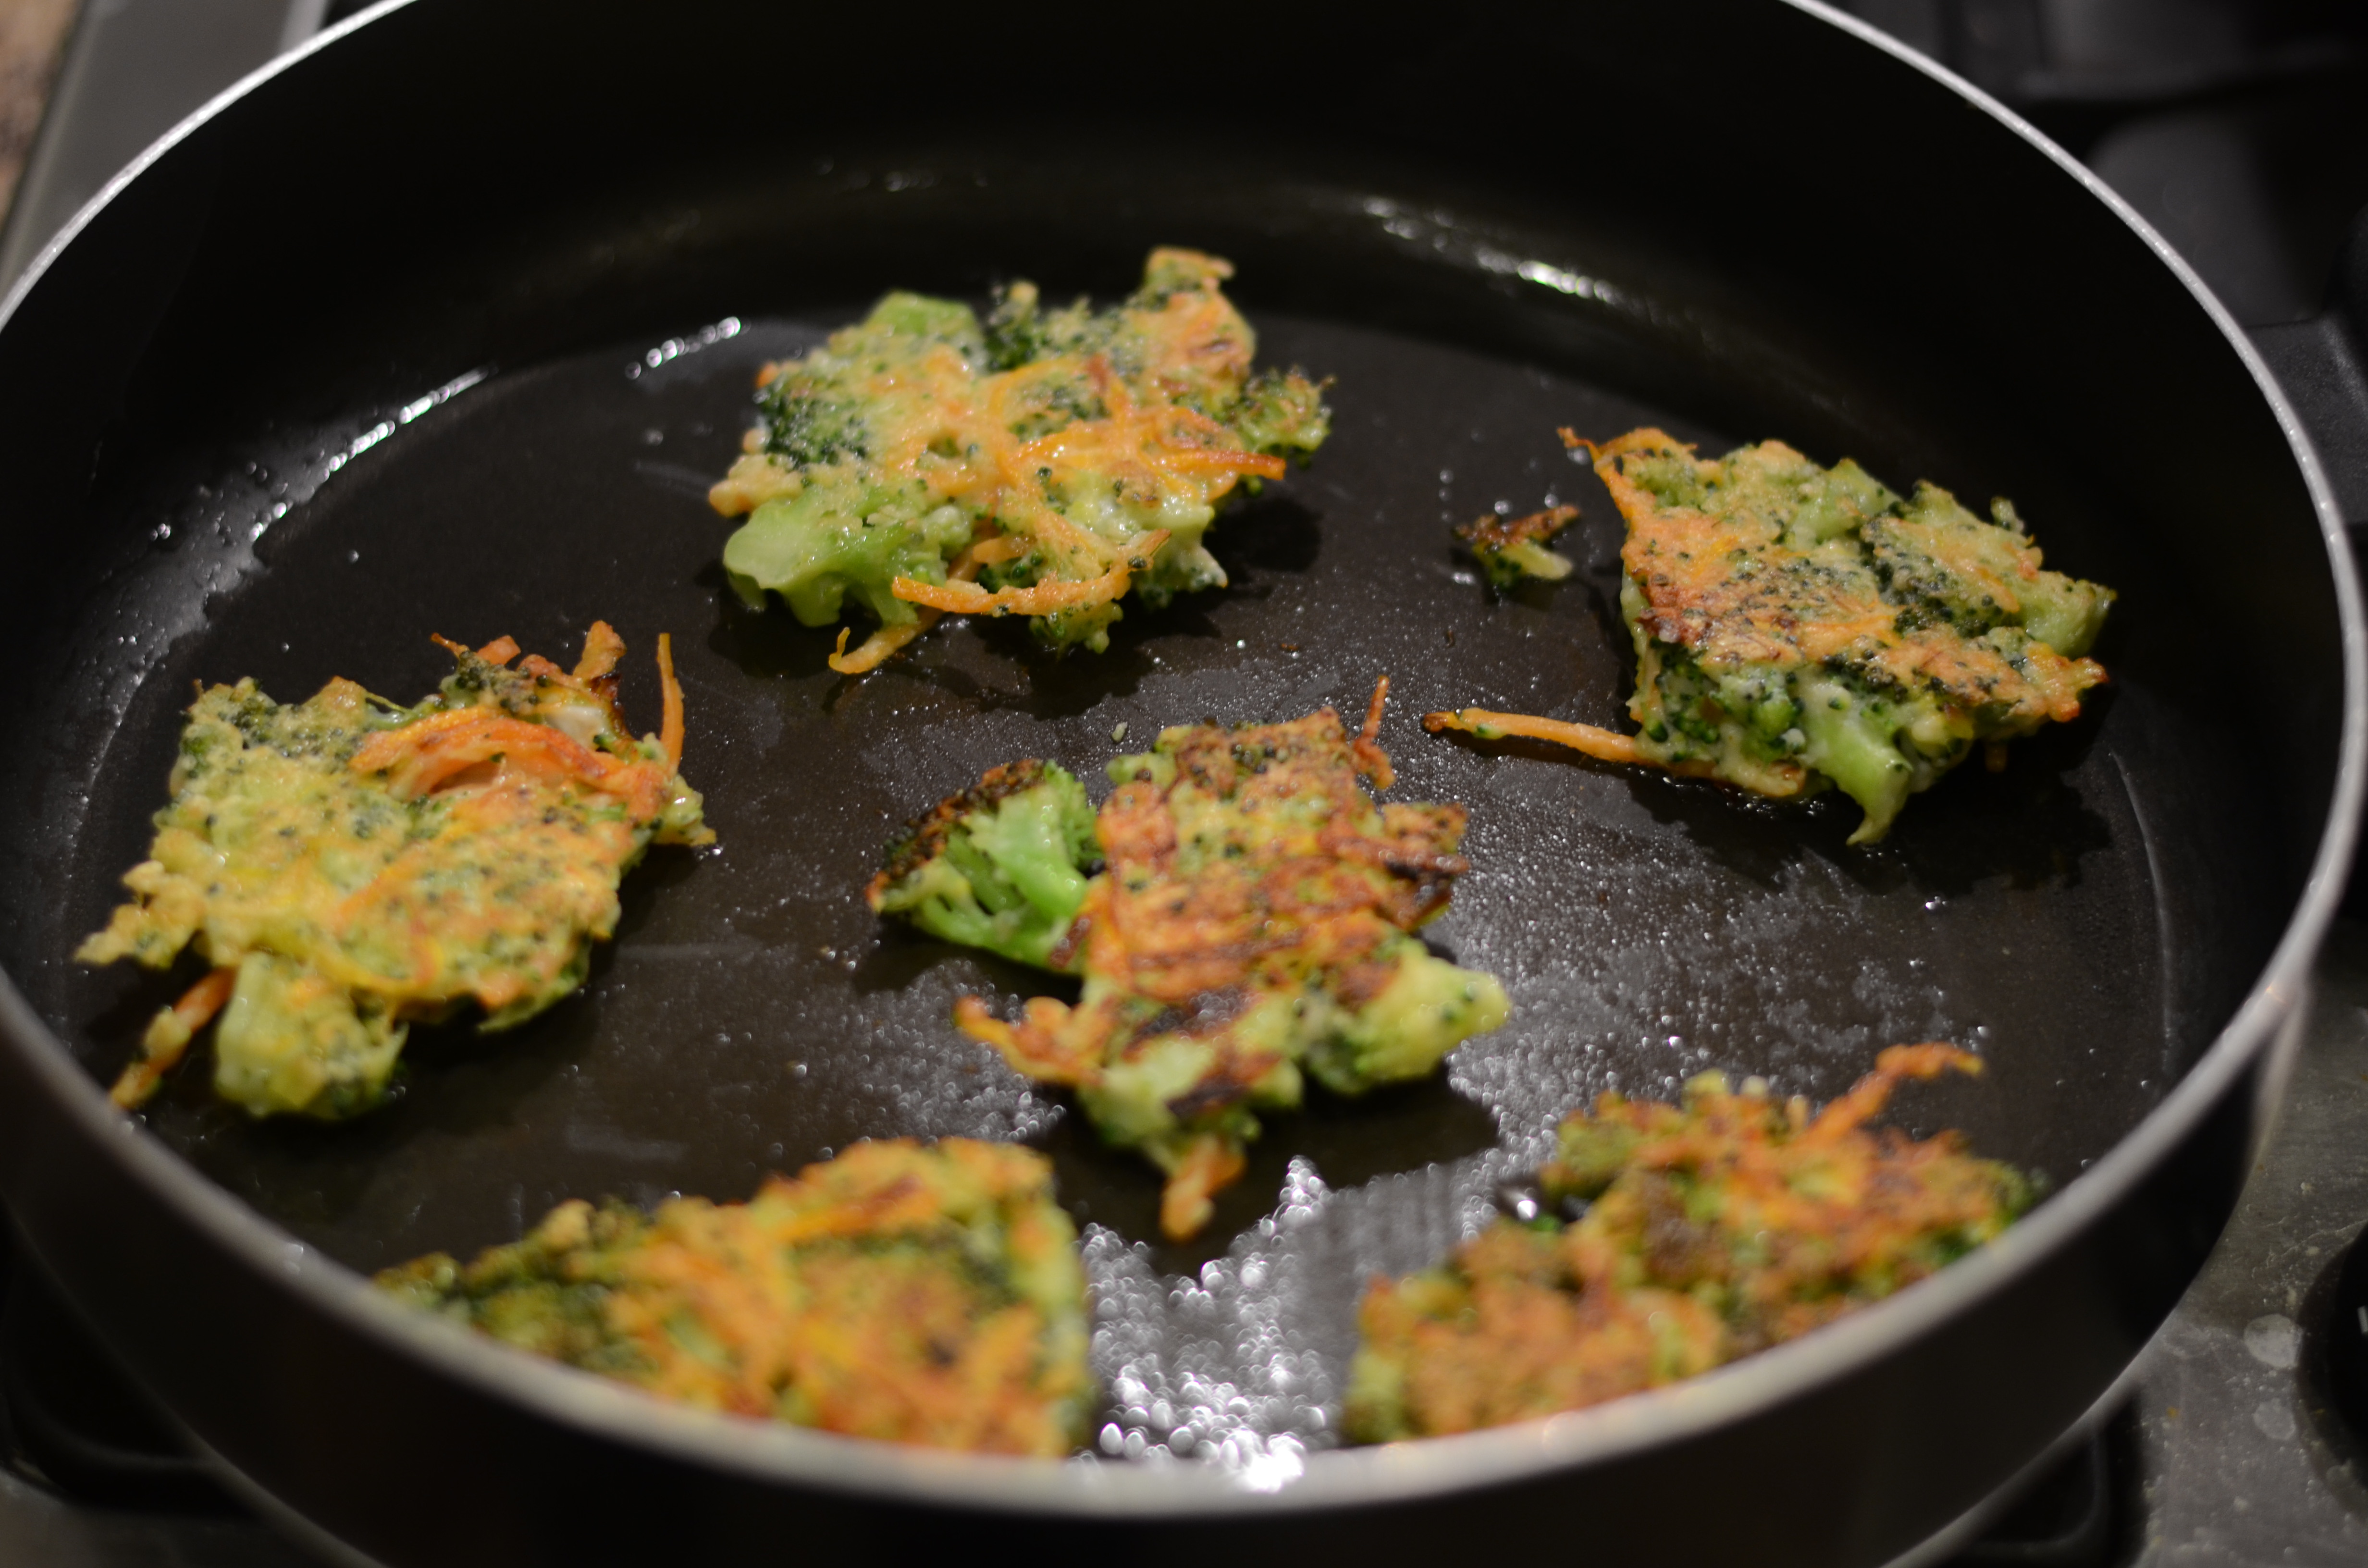
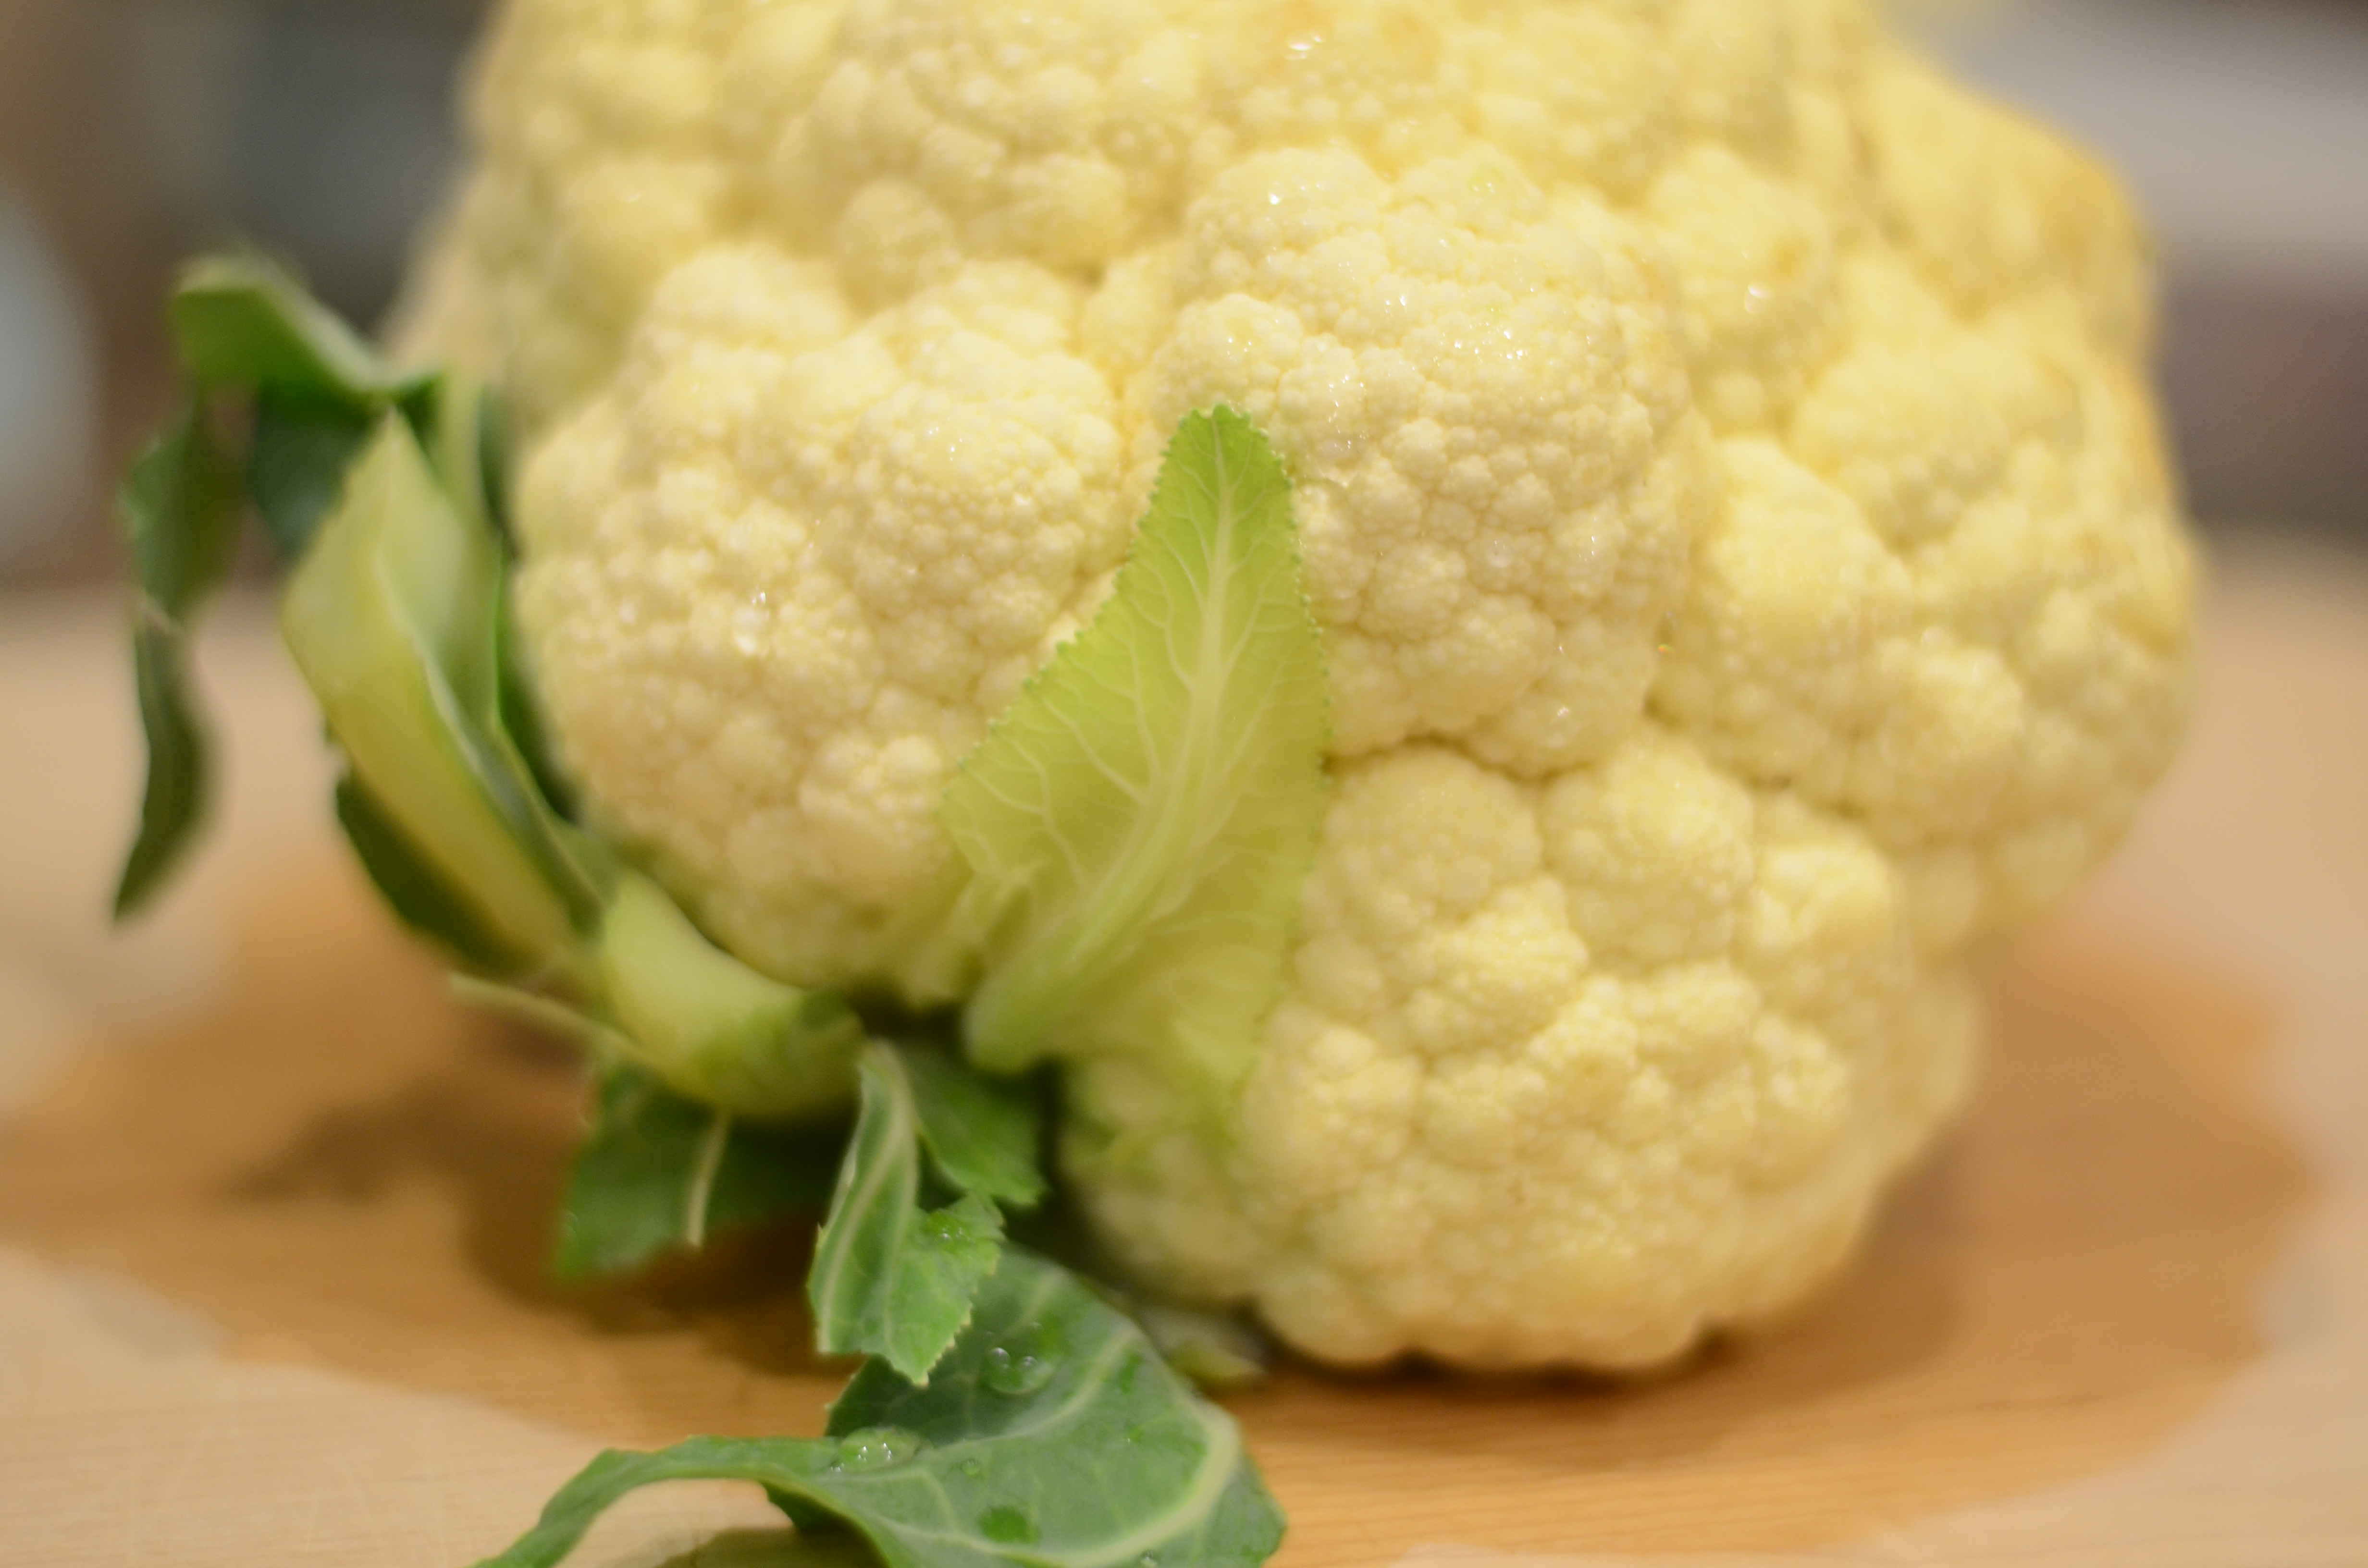
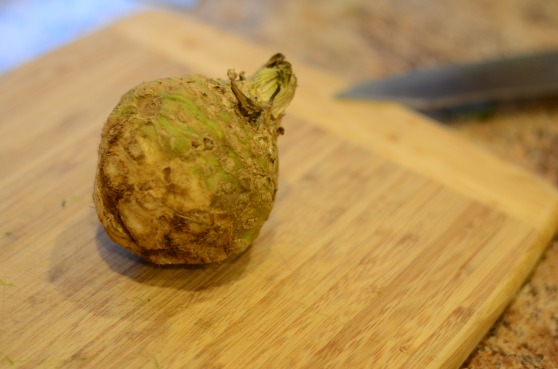
On a lighter note, I want to talk about a vegetable that is ugly even when it is looking its best–celeriac, or celery root. Like most root vegetables, celeriac works well roasted or mashed and can be very satisfying. Also like most root vegetables, it keeps for some time. I picked up celeriac as one of my CSA items a couple weeks ago and hadn’t gotten around to cooking it. Randomly, when I opened up my new momofuku milk bar cookbook the other day, the page that faced me was the recipe for celery root ganache.
A friend recently brought over the cookbook for me as a wonderfully thoughtful gift. She reads my blog, and said that the author, chef Christina Tosi, uses leftover crumbs and components from various desserts in other concoctions at the restaurant, so she thought it might fit in with my philosophy. Of course, the ingredients lying around a restaurant kitchen are much different from a home kitchen’s. That’s OK–it’s still fun. If you have ever had a momofuku milk bar dessert, you understand that it might be worth it.
Adapted dish: Celery Root Ganache with Strawberry Sorbet and Ritz Crunch
Part 1
Recipe 1:
Celery Root Ganache
from the momofuku milk bar cookbook
makes 1.5 cups, which is a lot
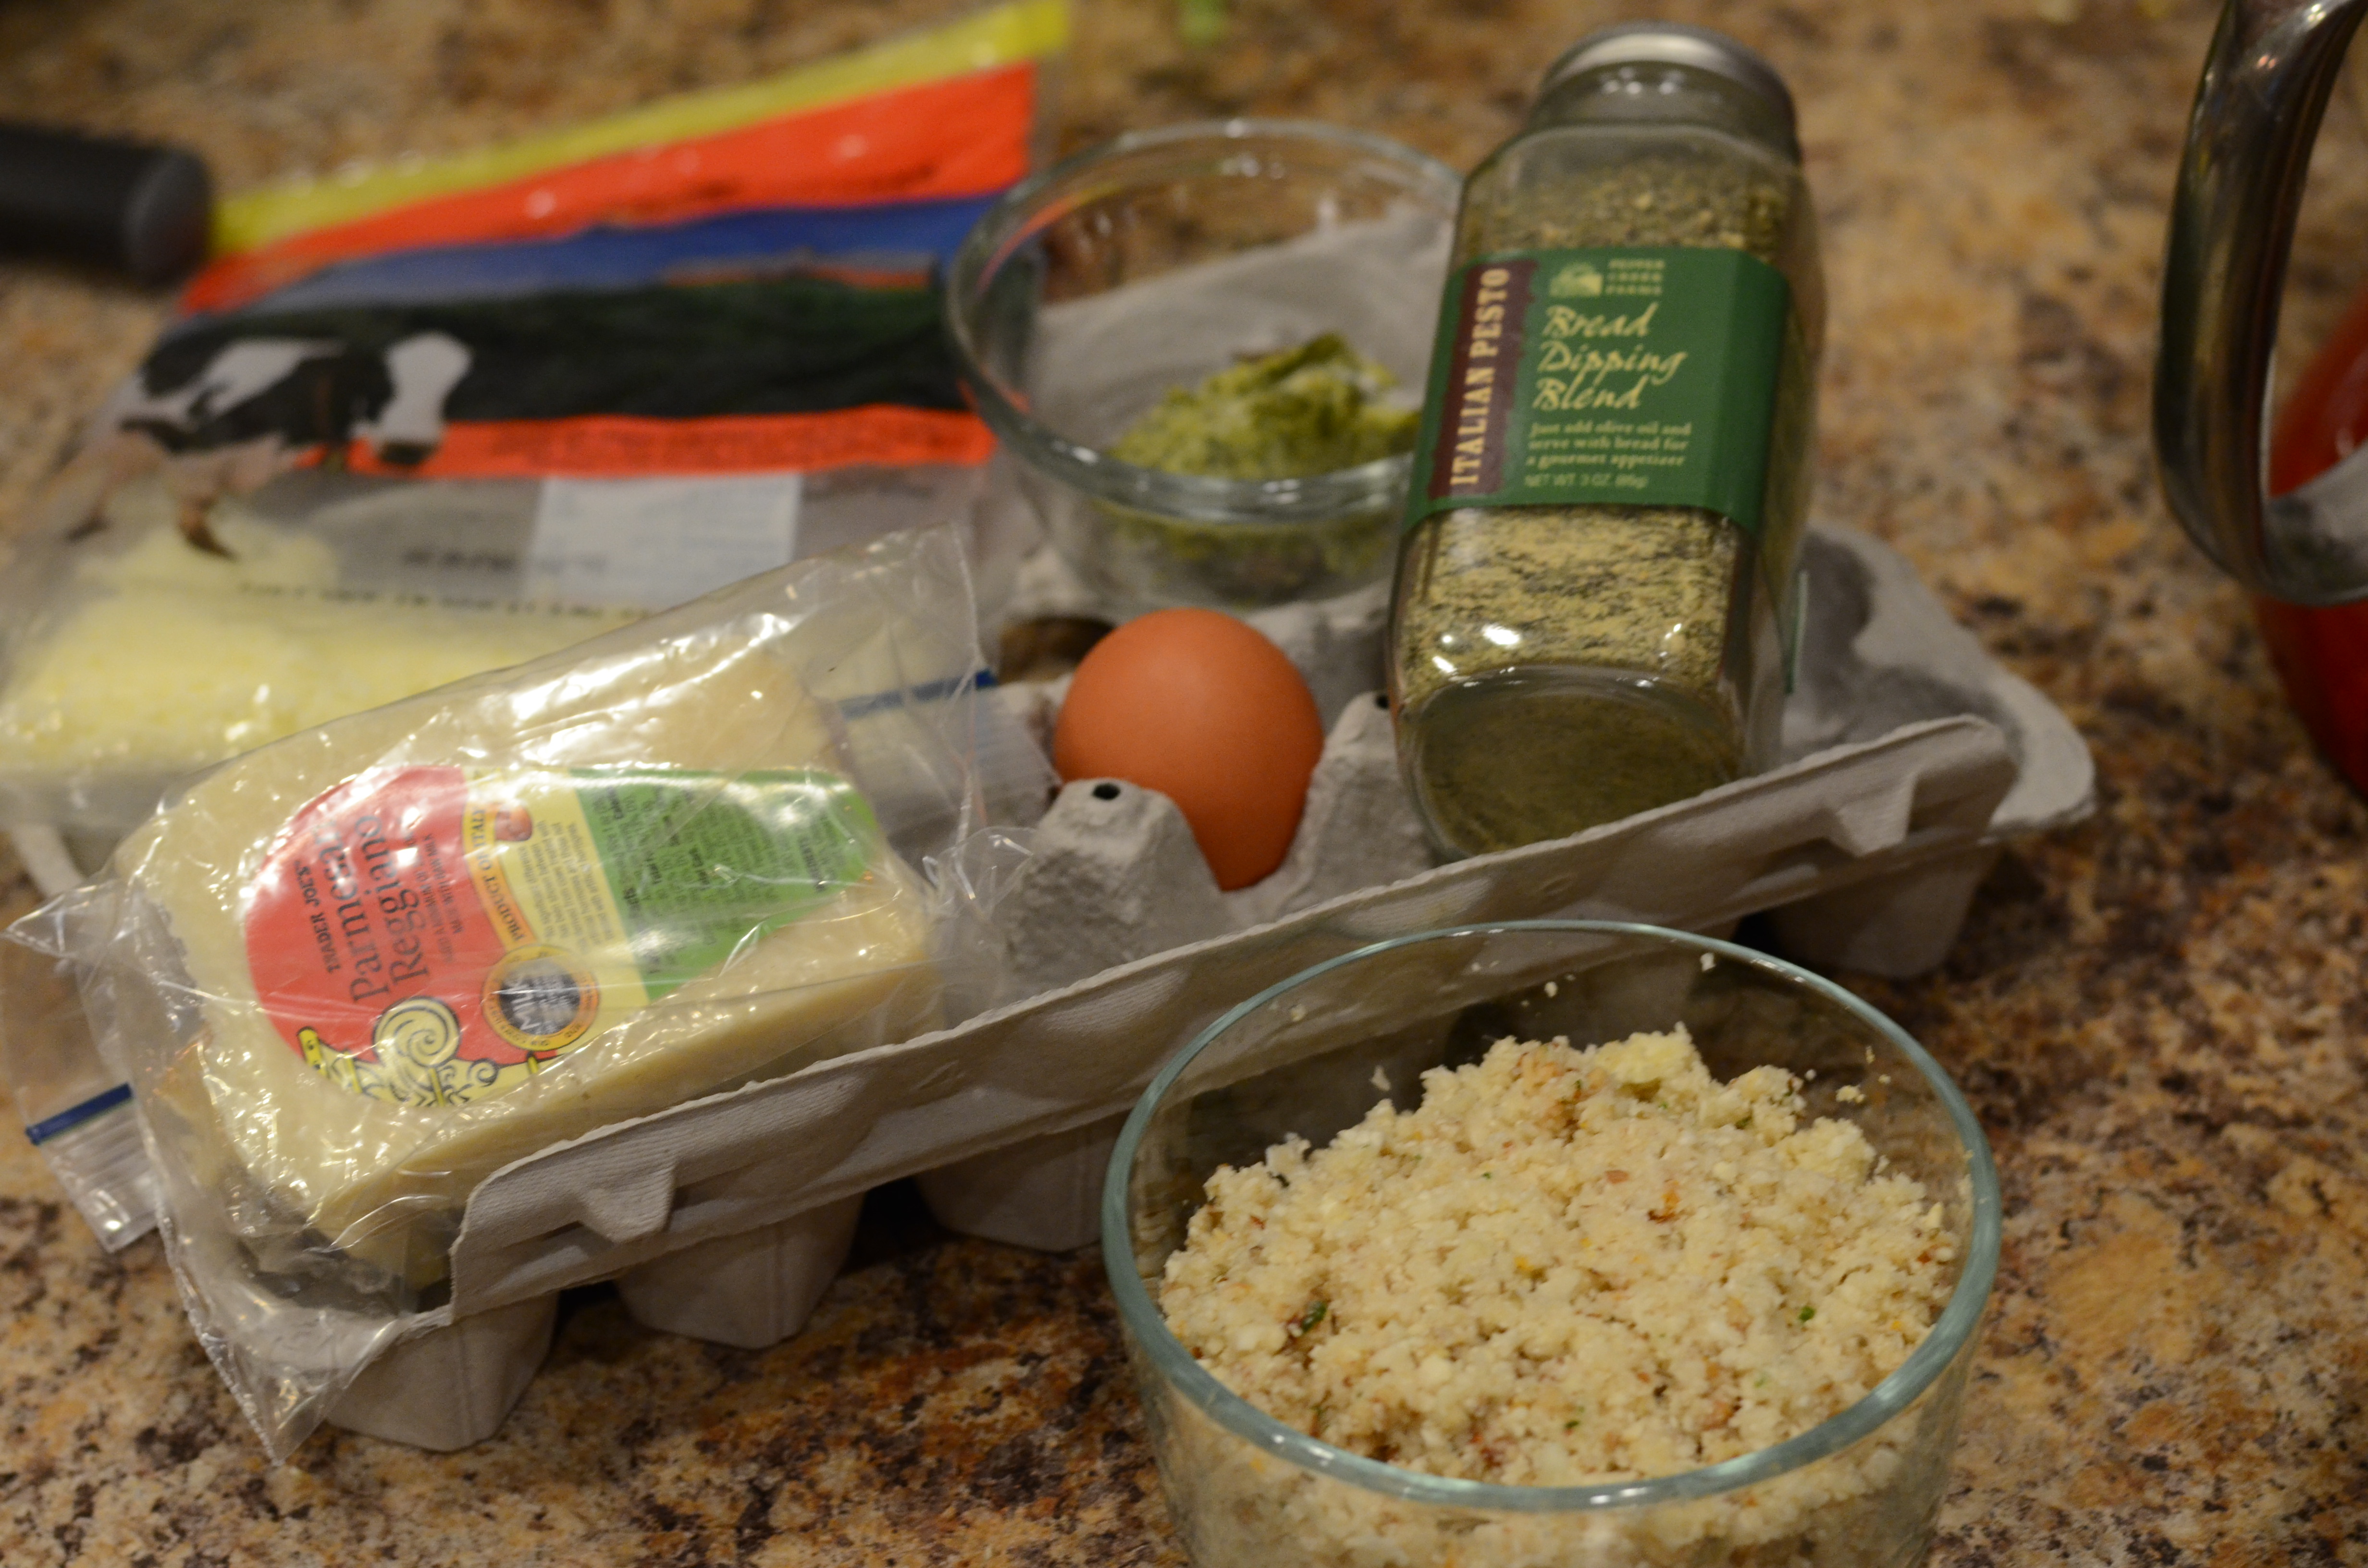
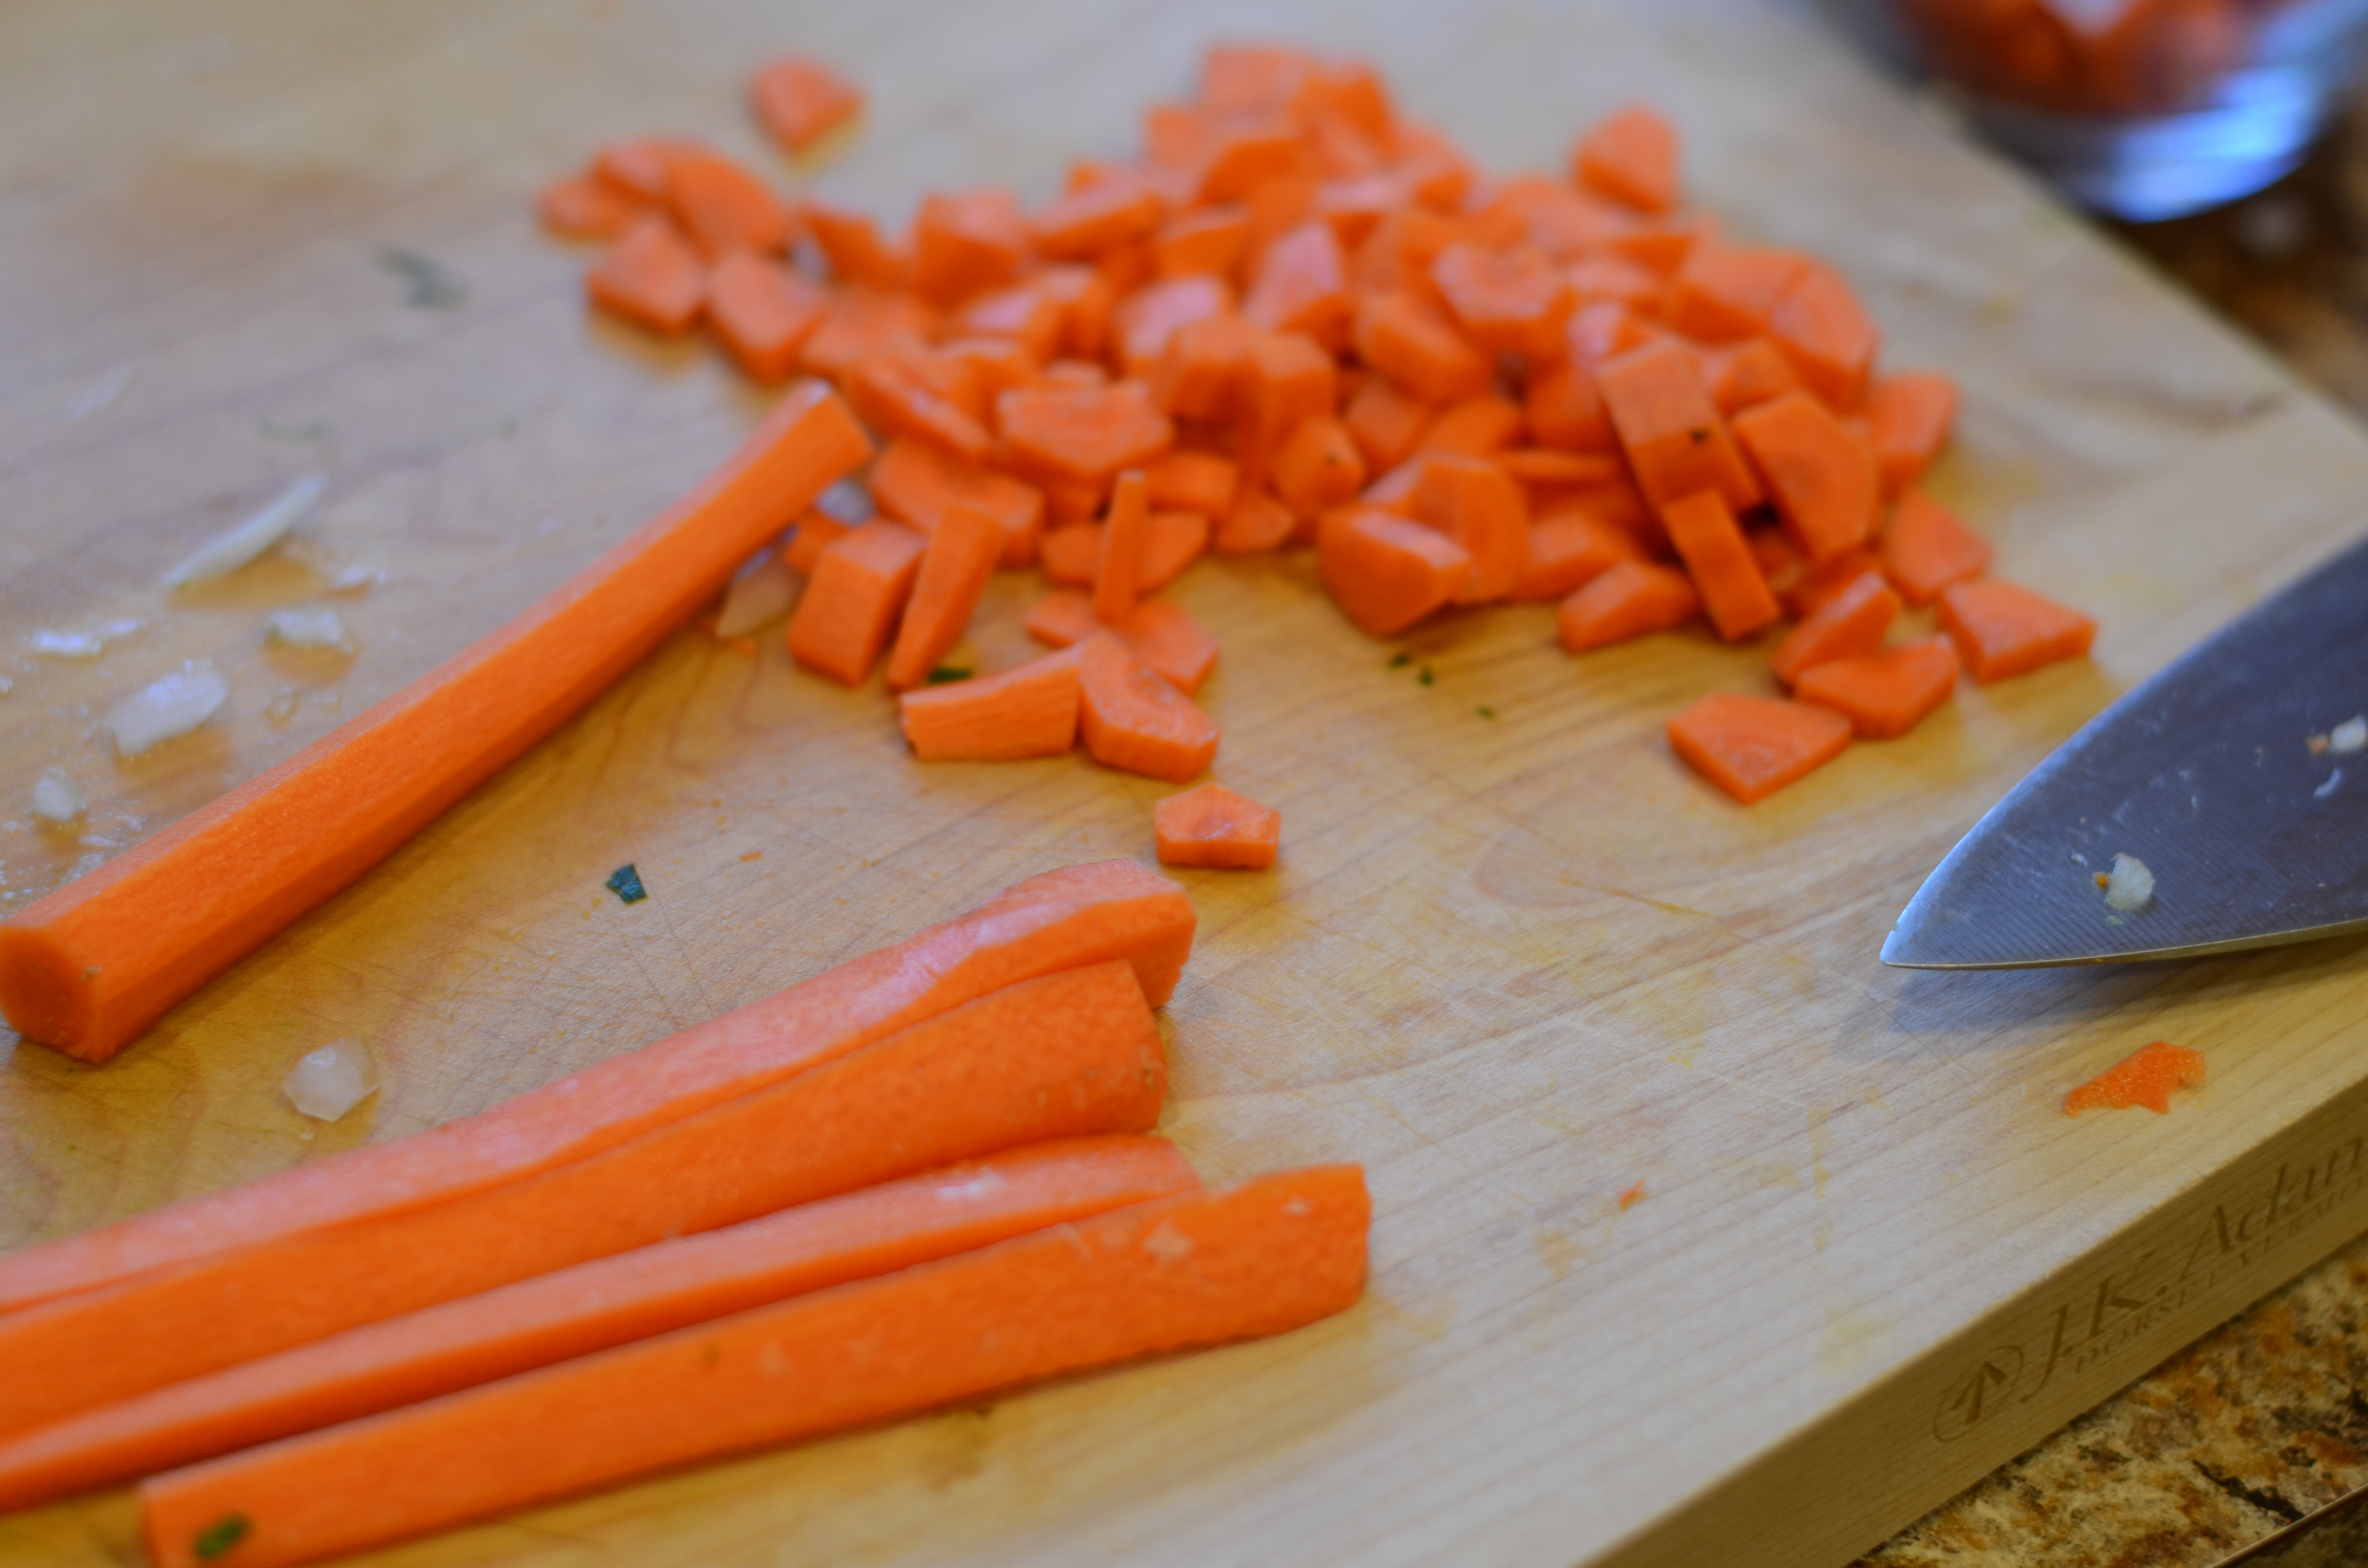
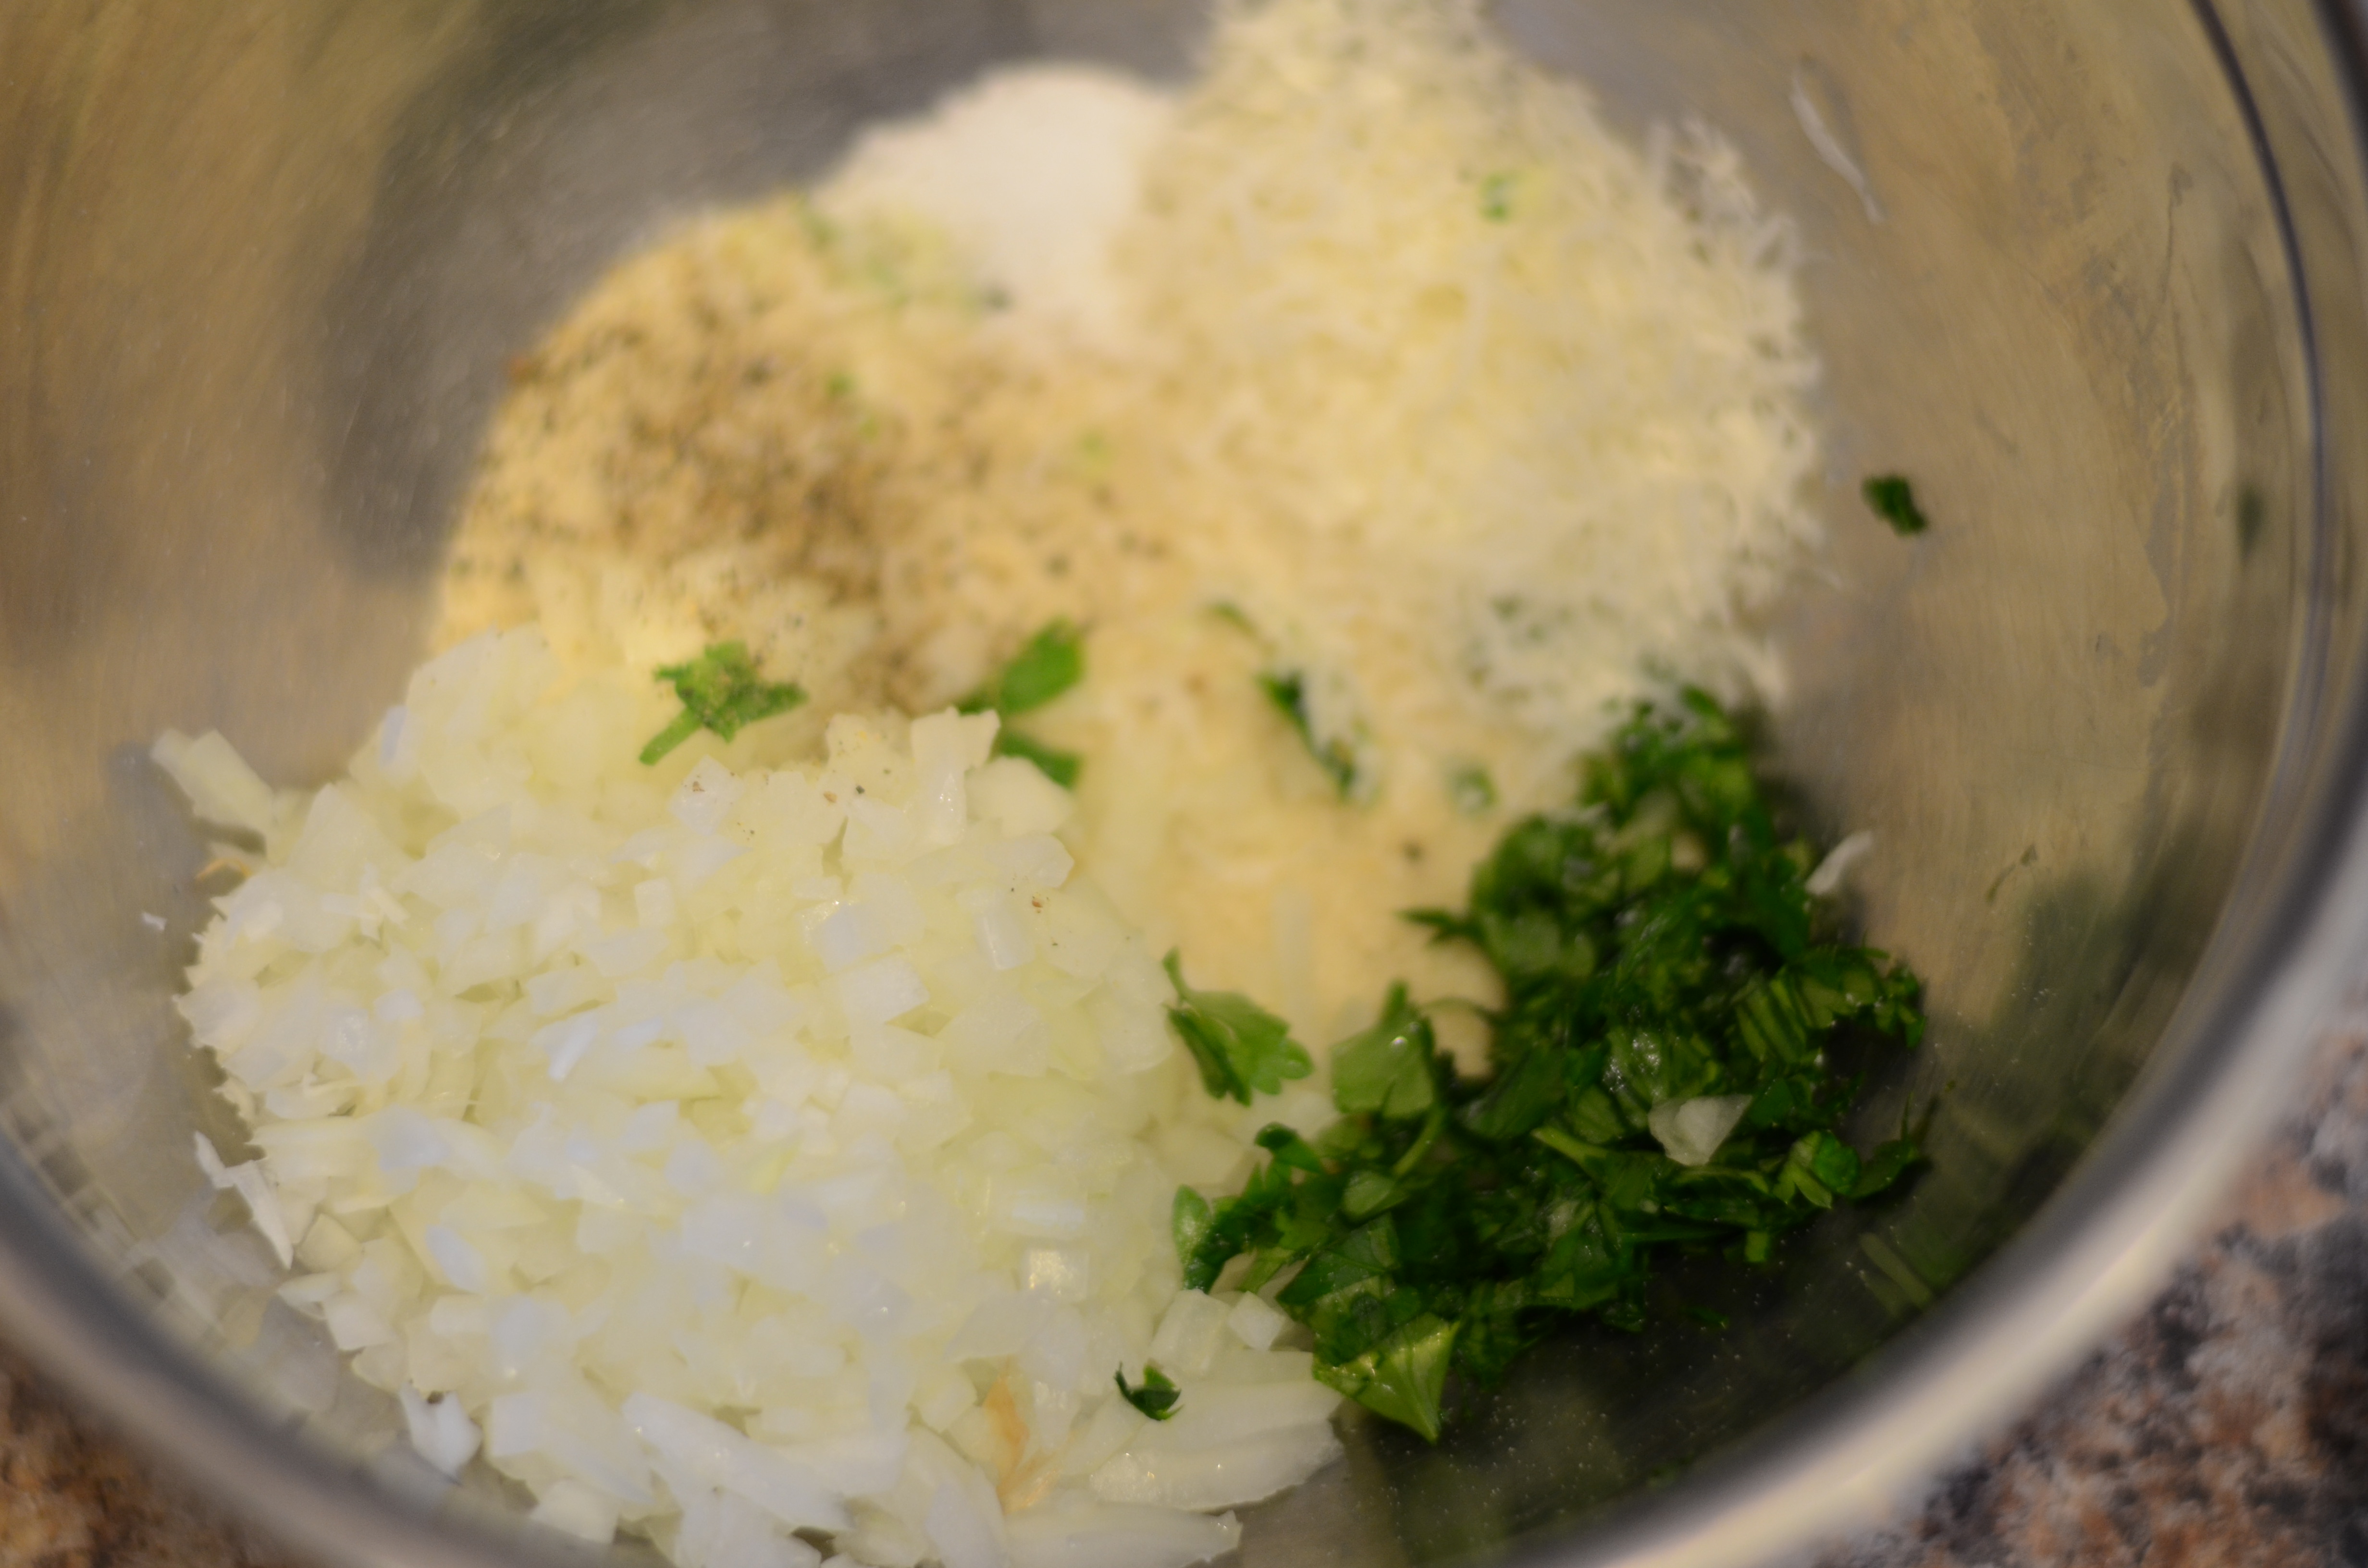
1 medium celery root, peeled and cut into chunks
1 Tablespoon grapeseed oil
1/4 teaspoon kosher salt
1/4 teaspoon black pepper, freshly ground
milk if needed
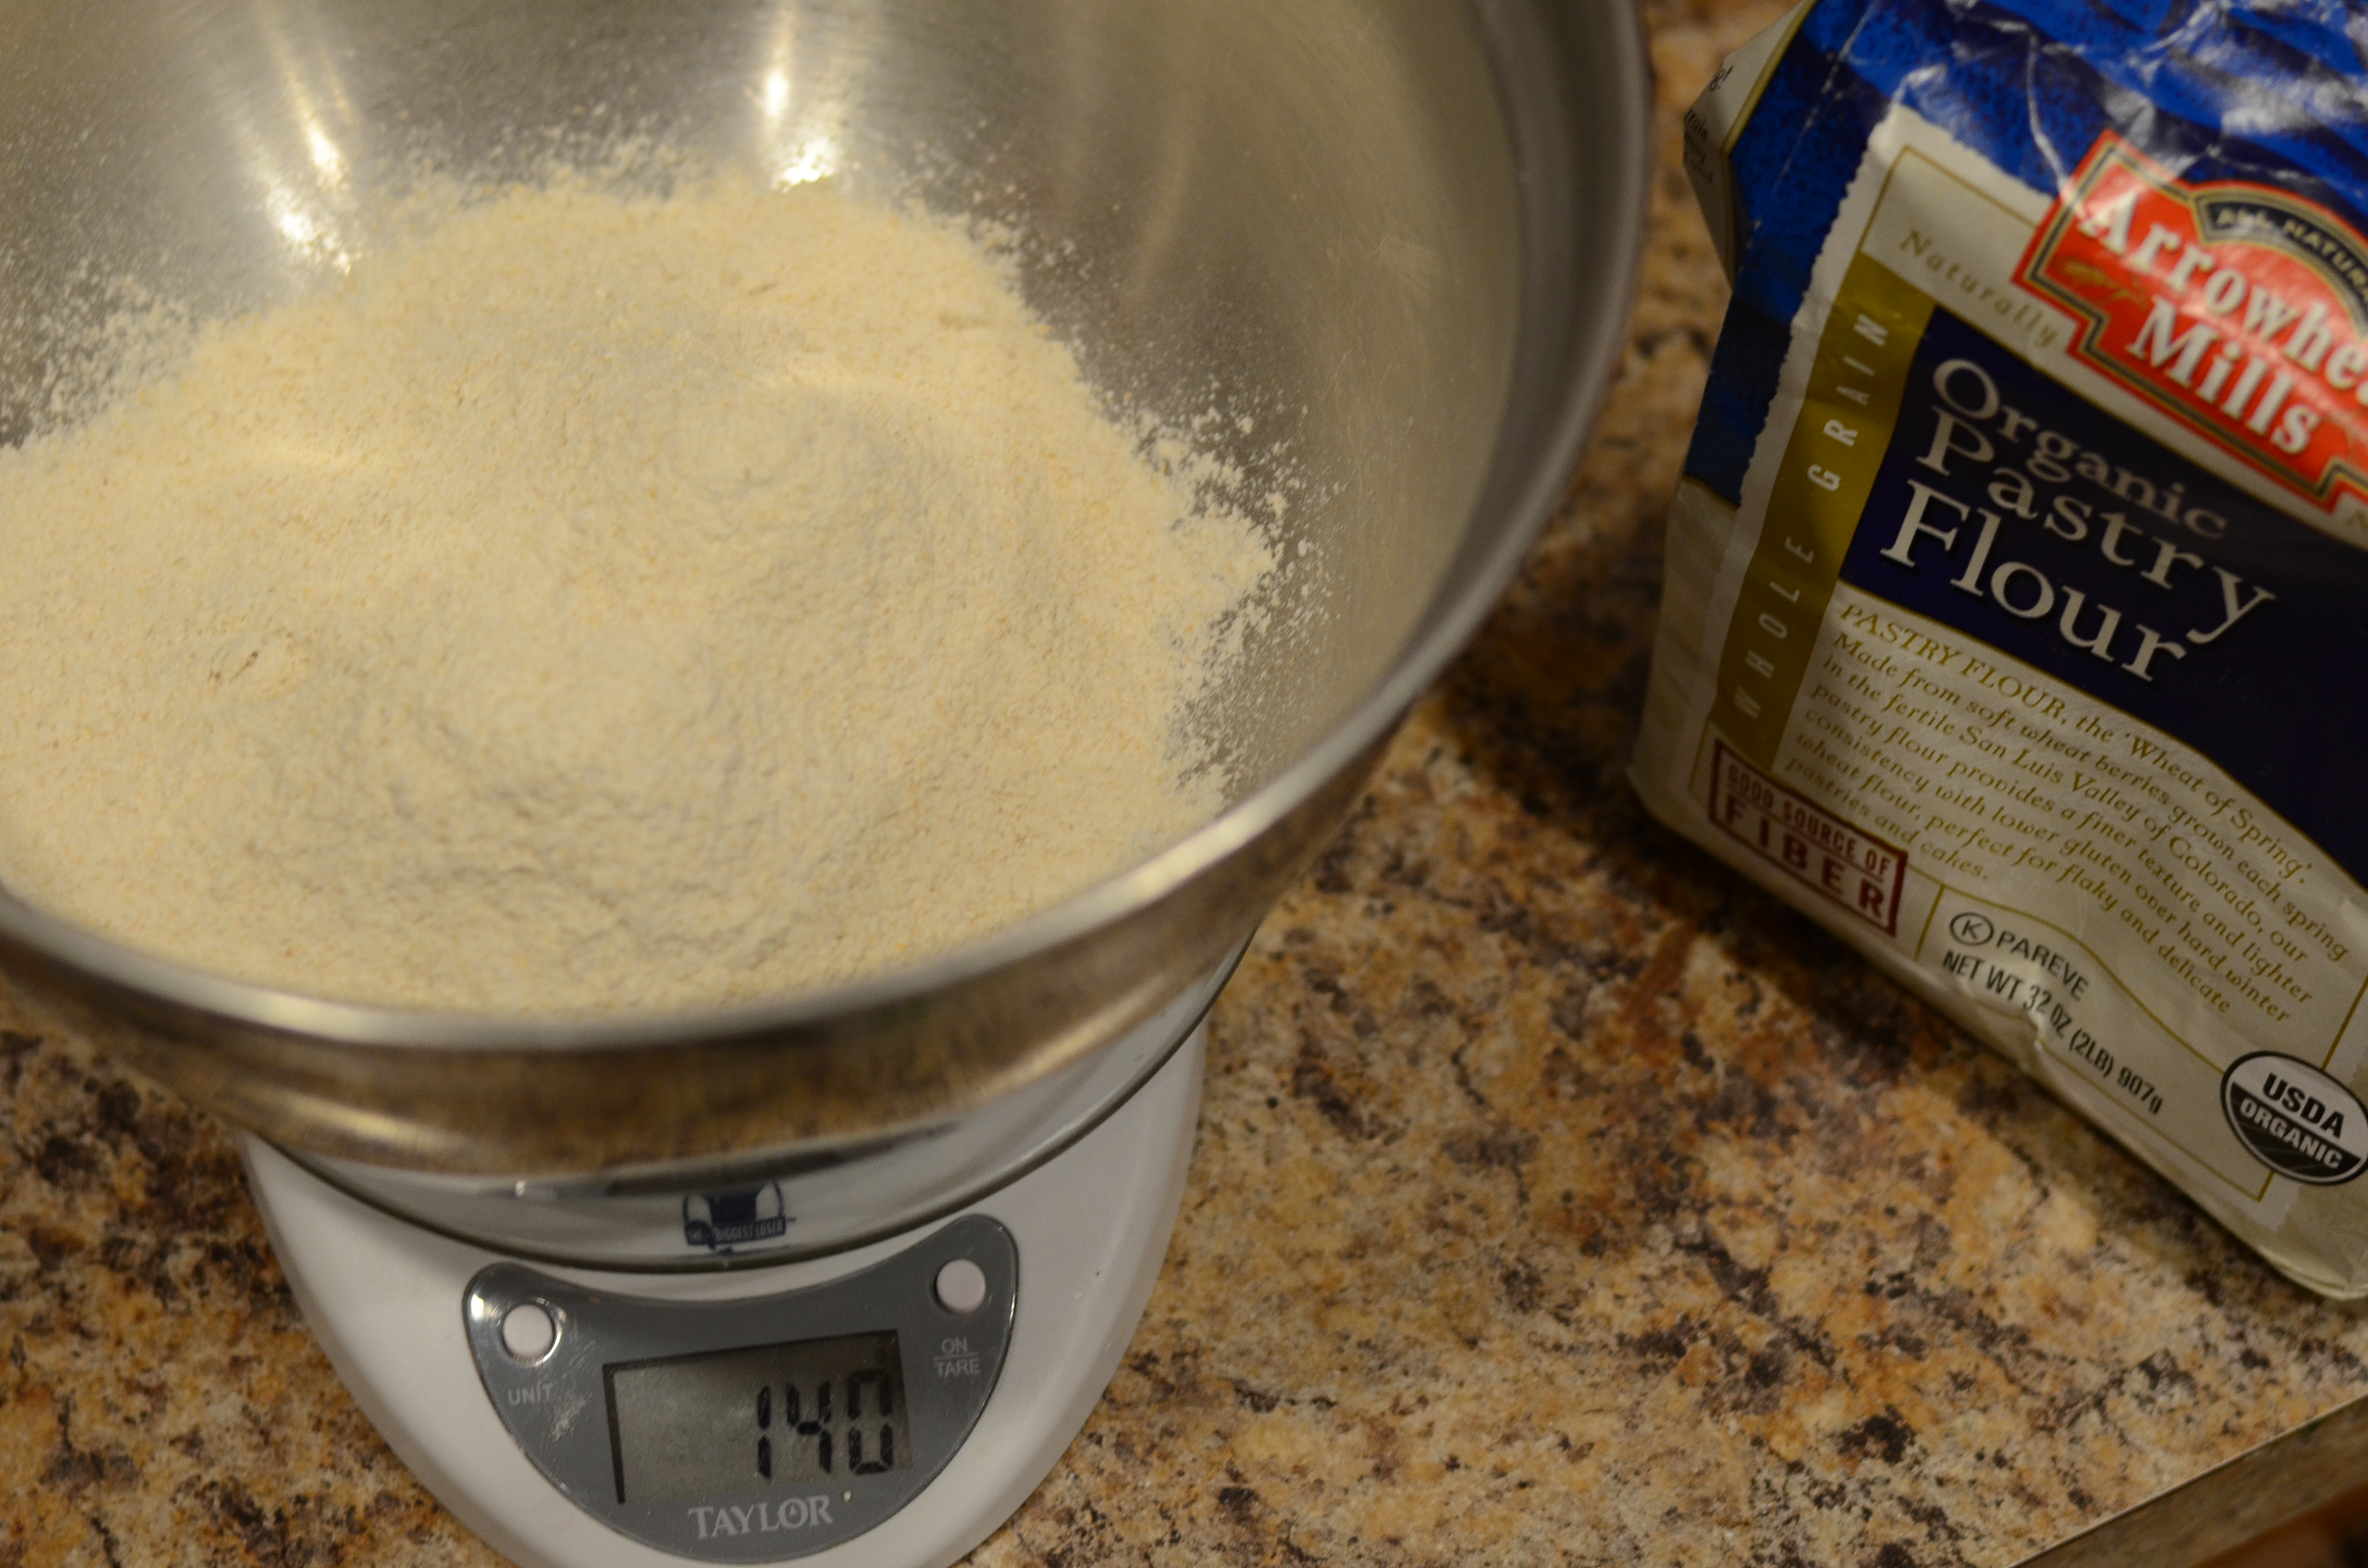
5.25 ounces white chocolate
3 Tablespoons butter
2 Tablespoons corn syrup or glucose
1/4 Cup cold heavy cream
1 teaspoon kosher salt
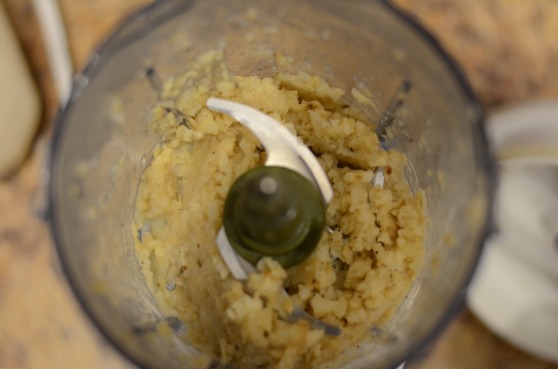
Equipment needed: blender or food processor, mesh strainer or food mill (optional?), immersion blender
Preheat the oven to 325.
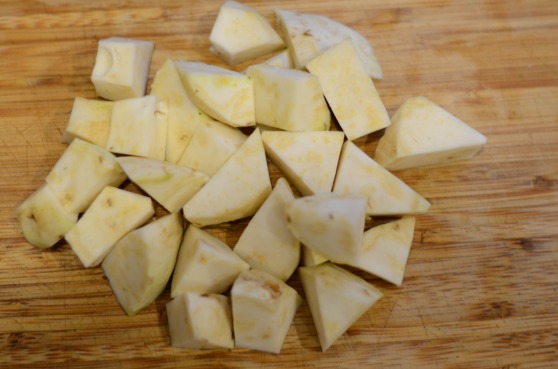
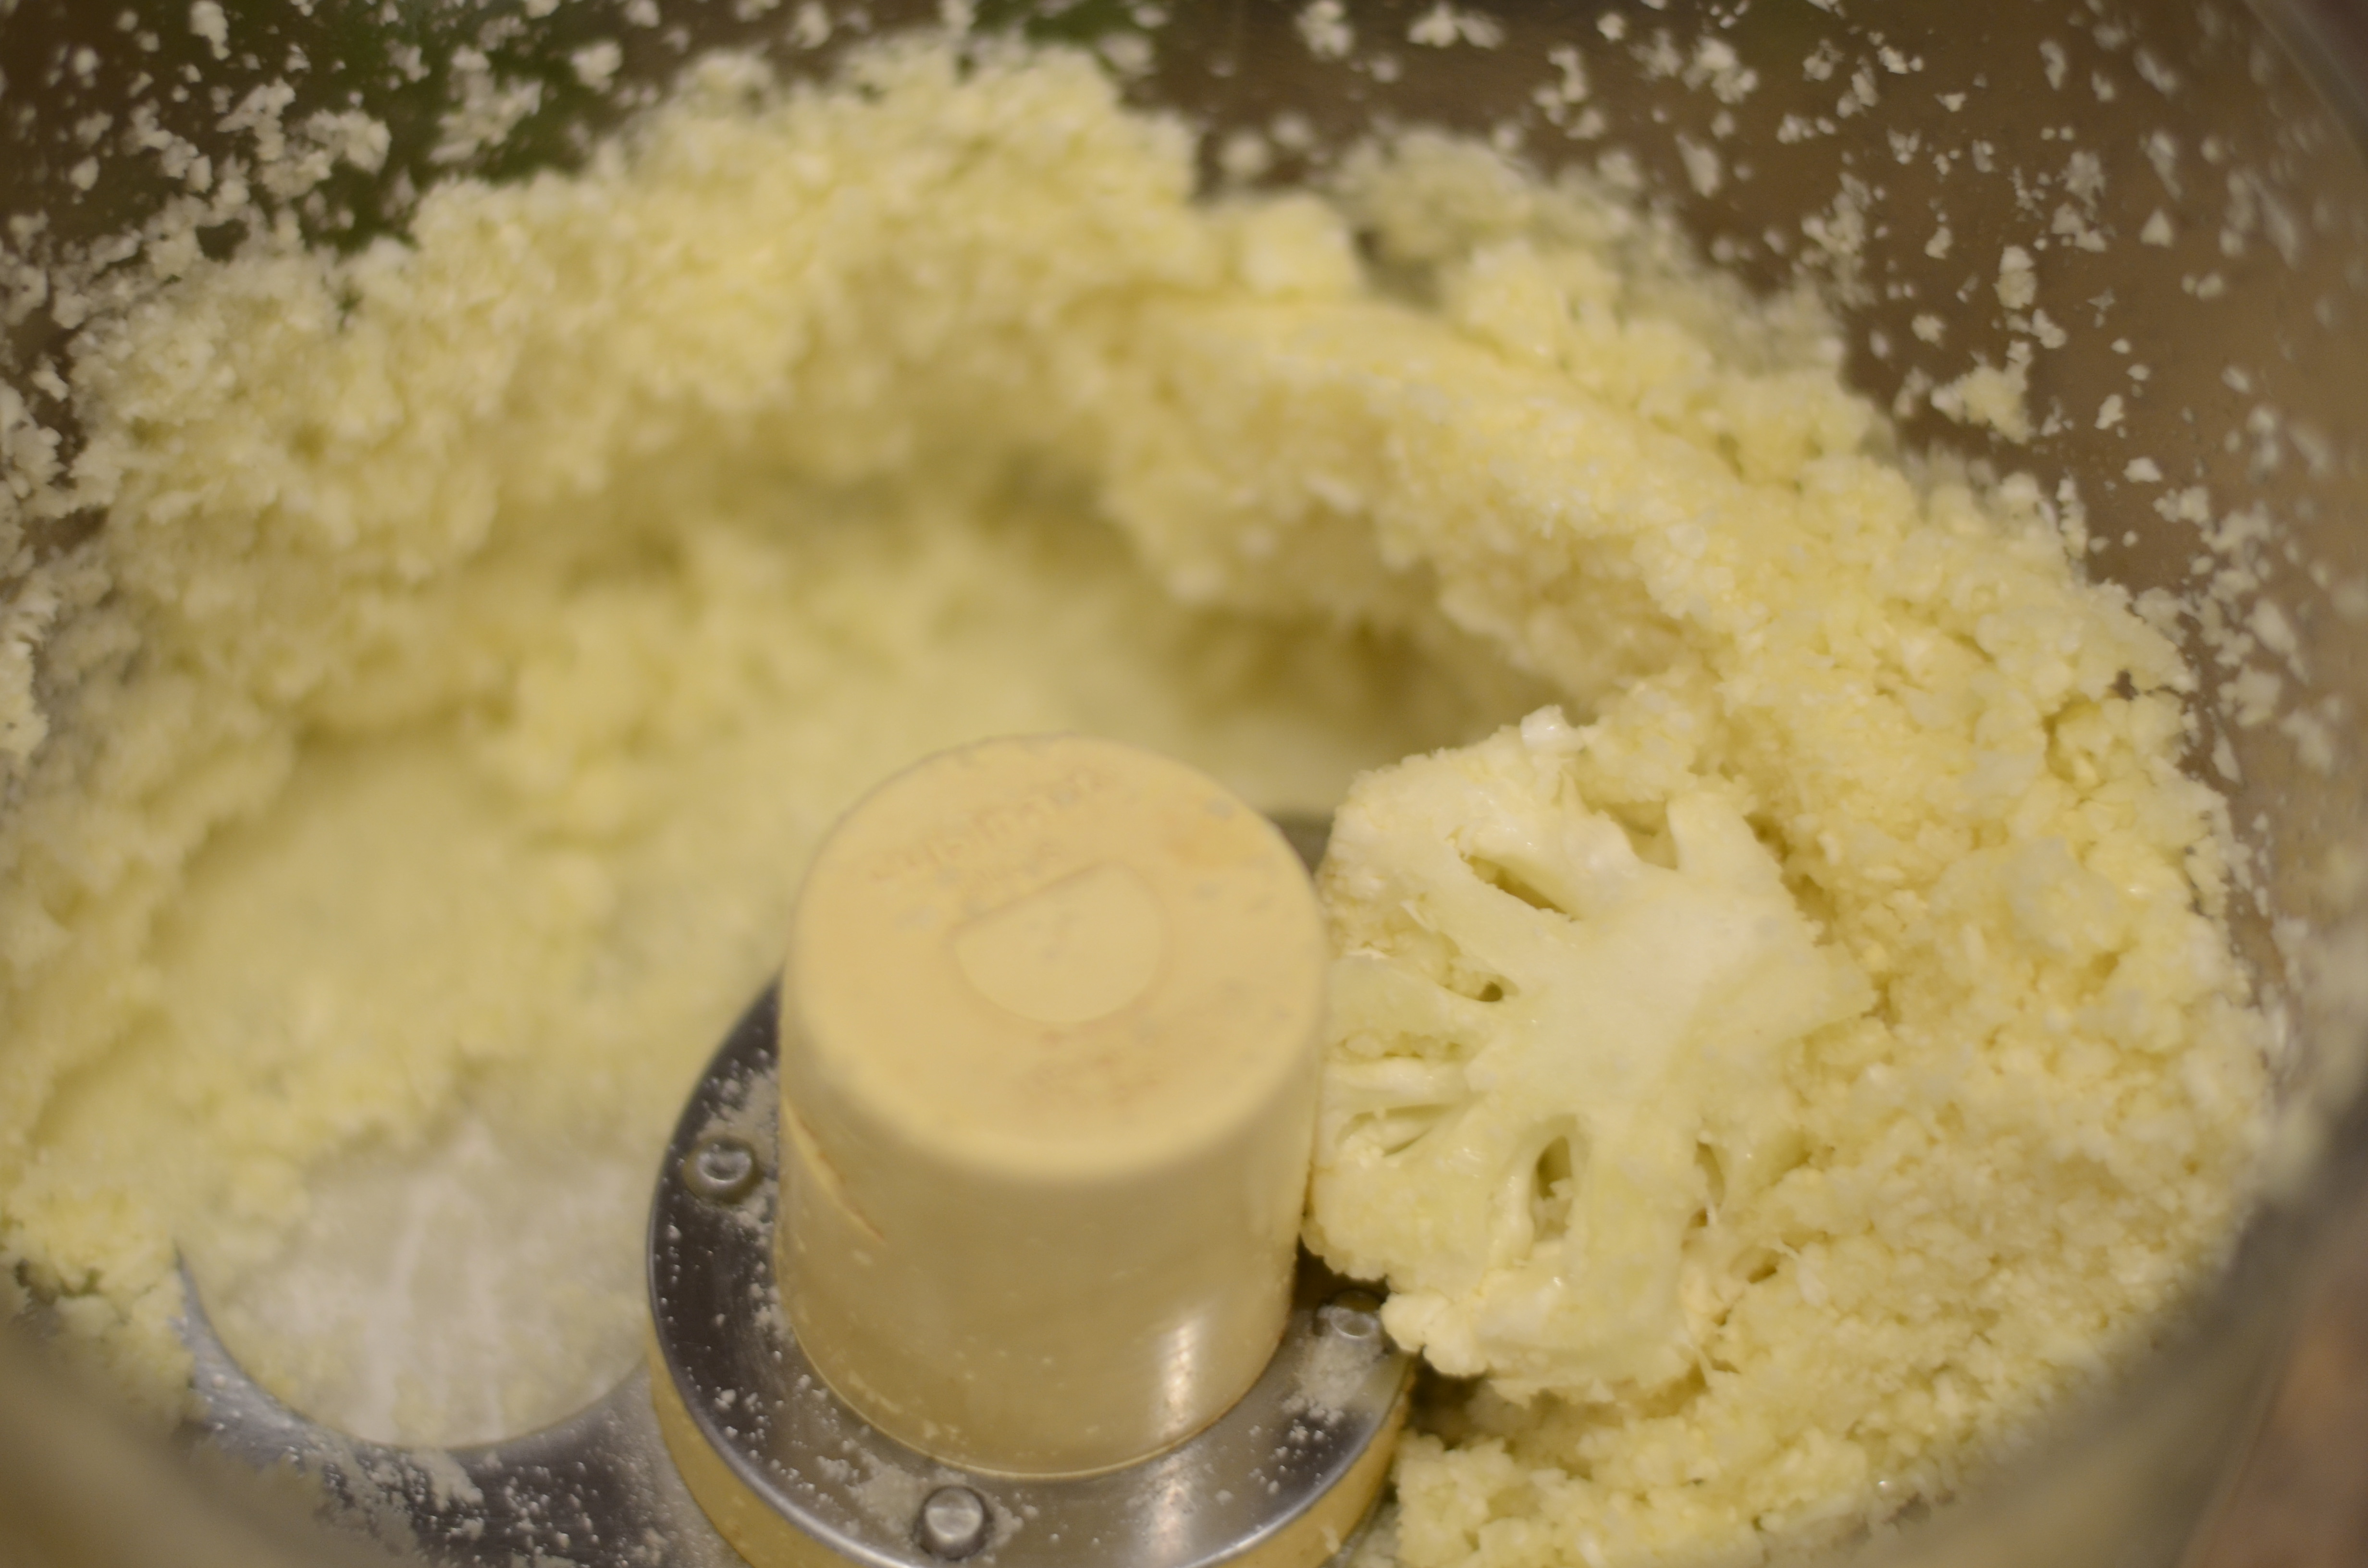
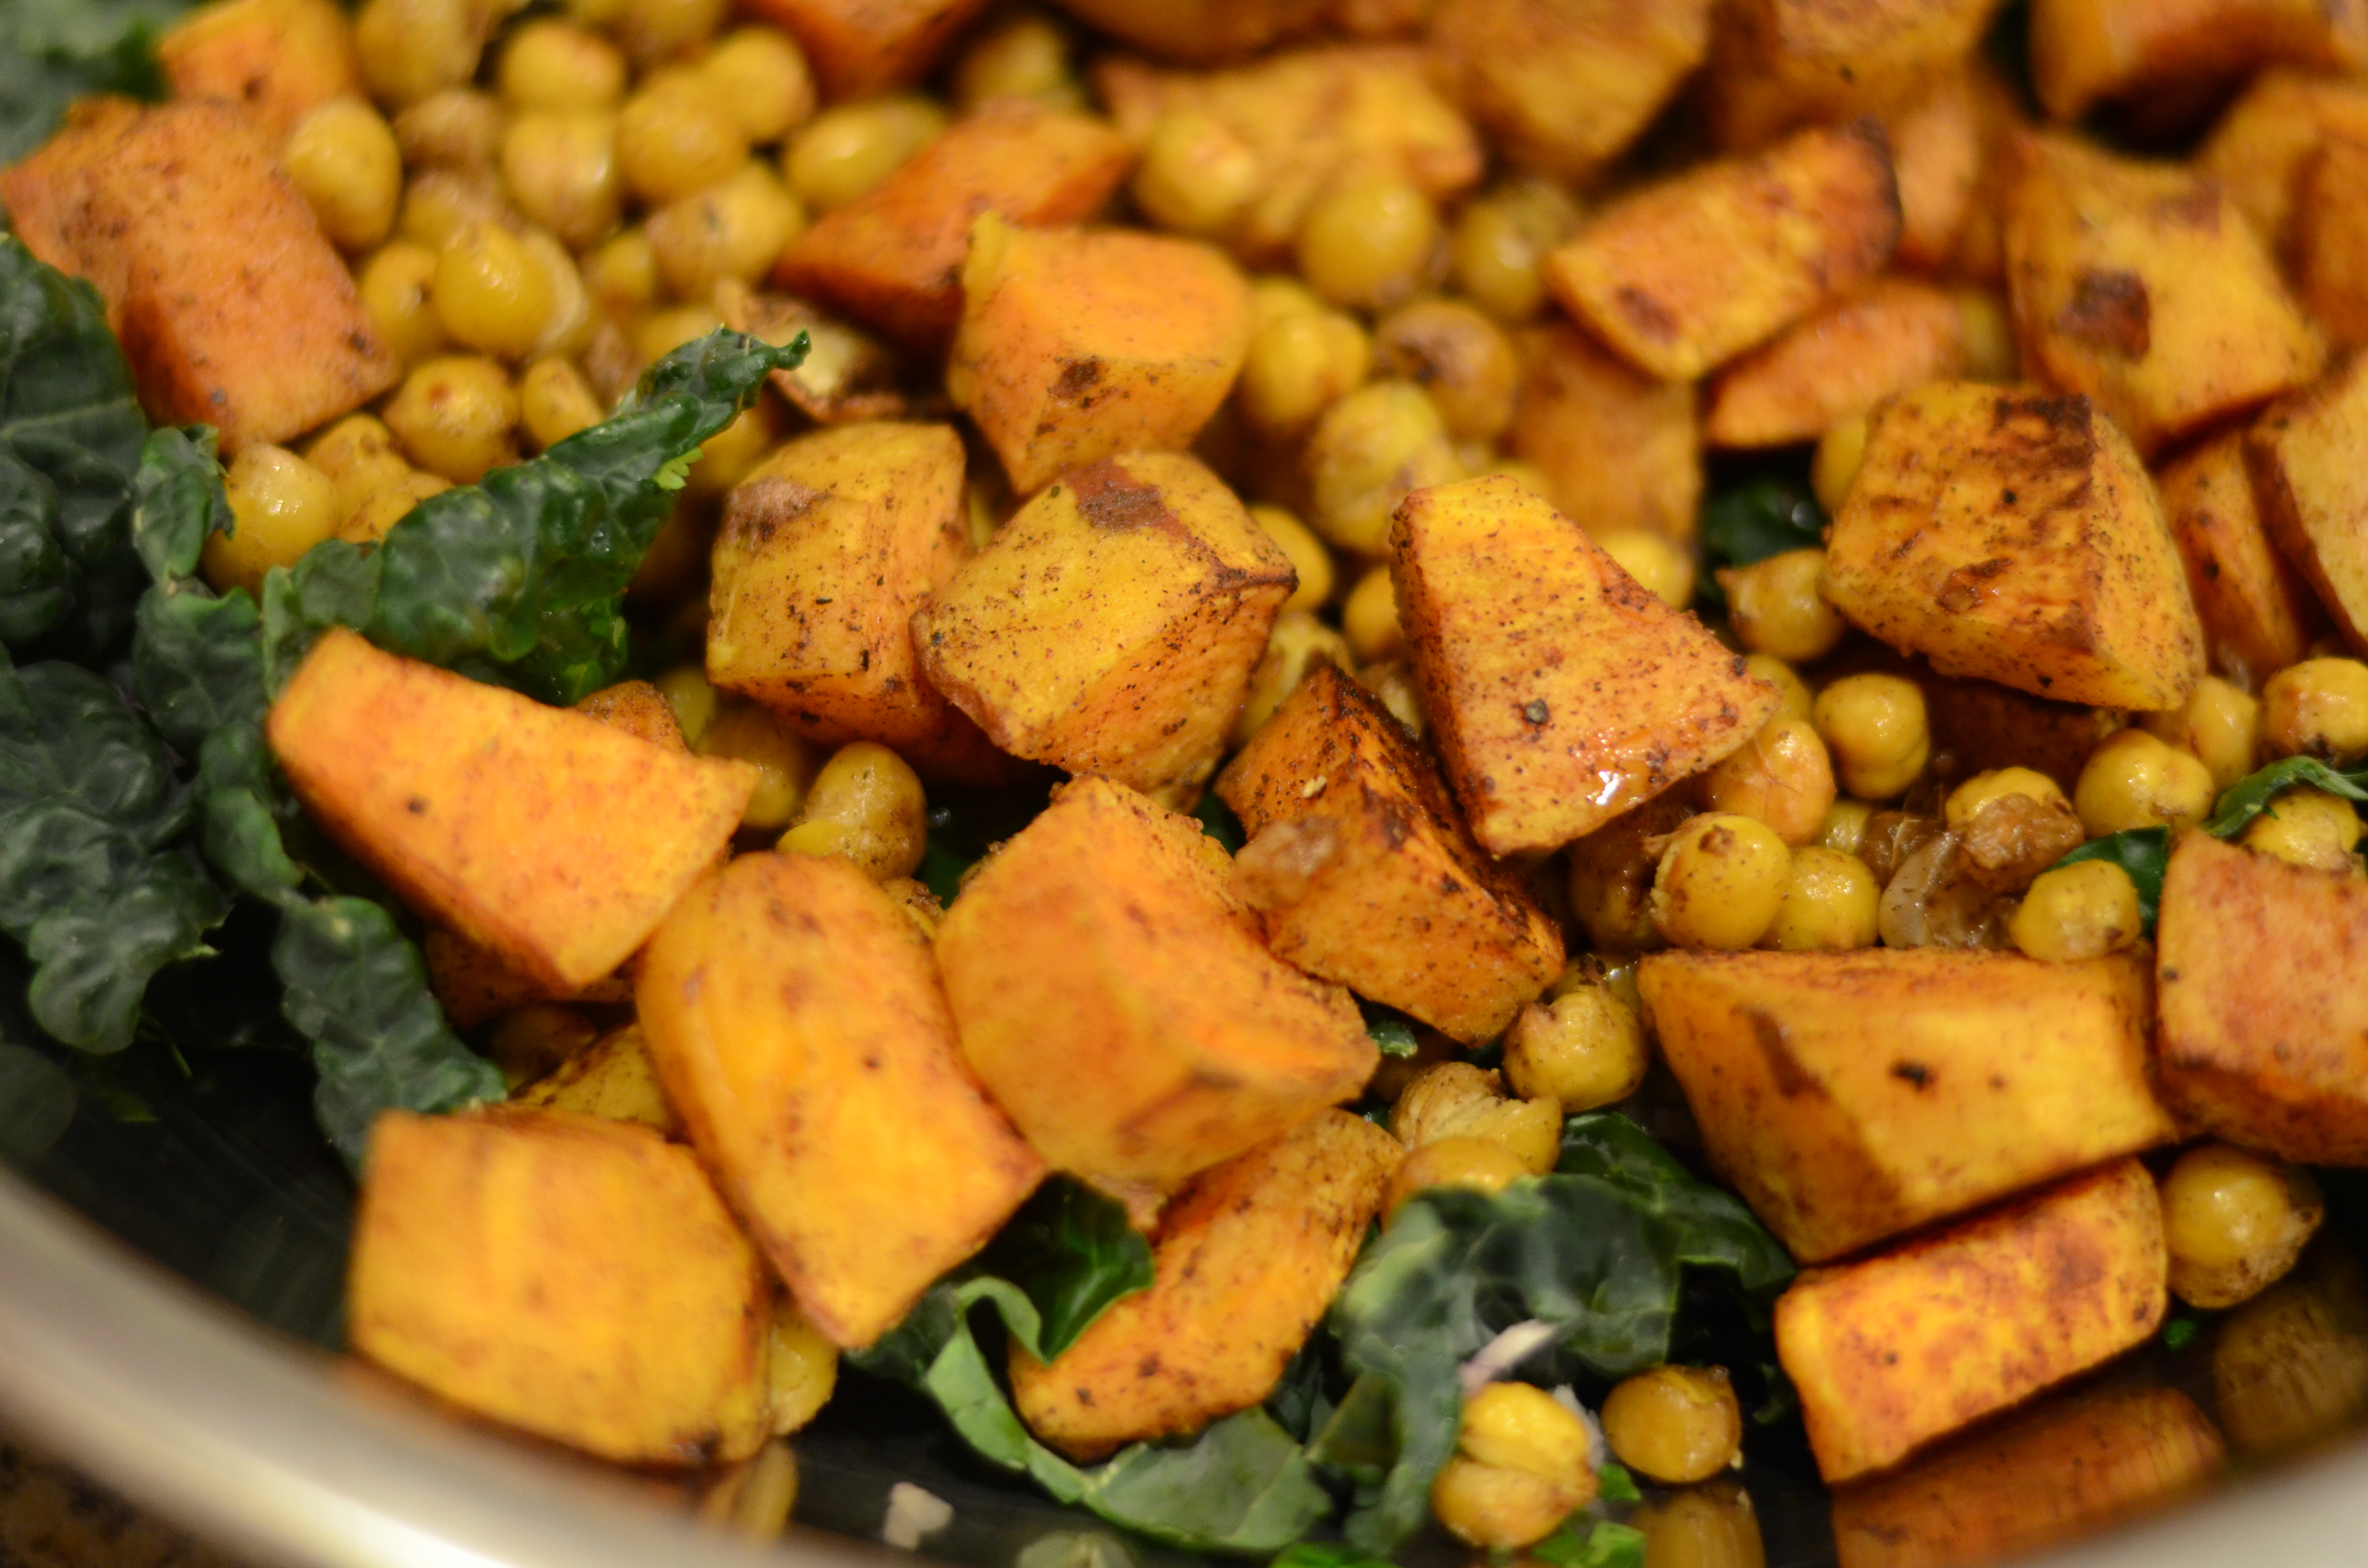
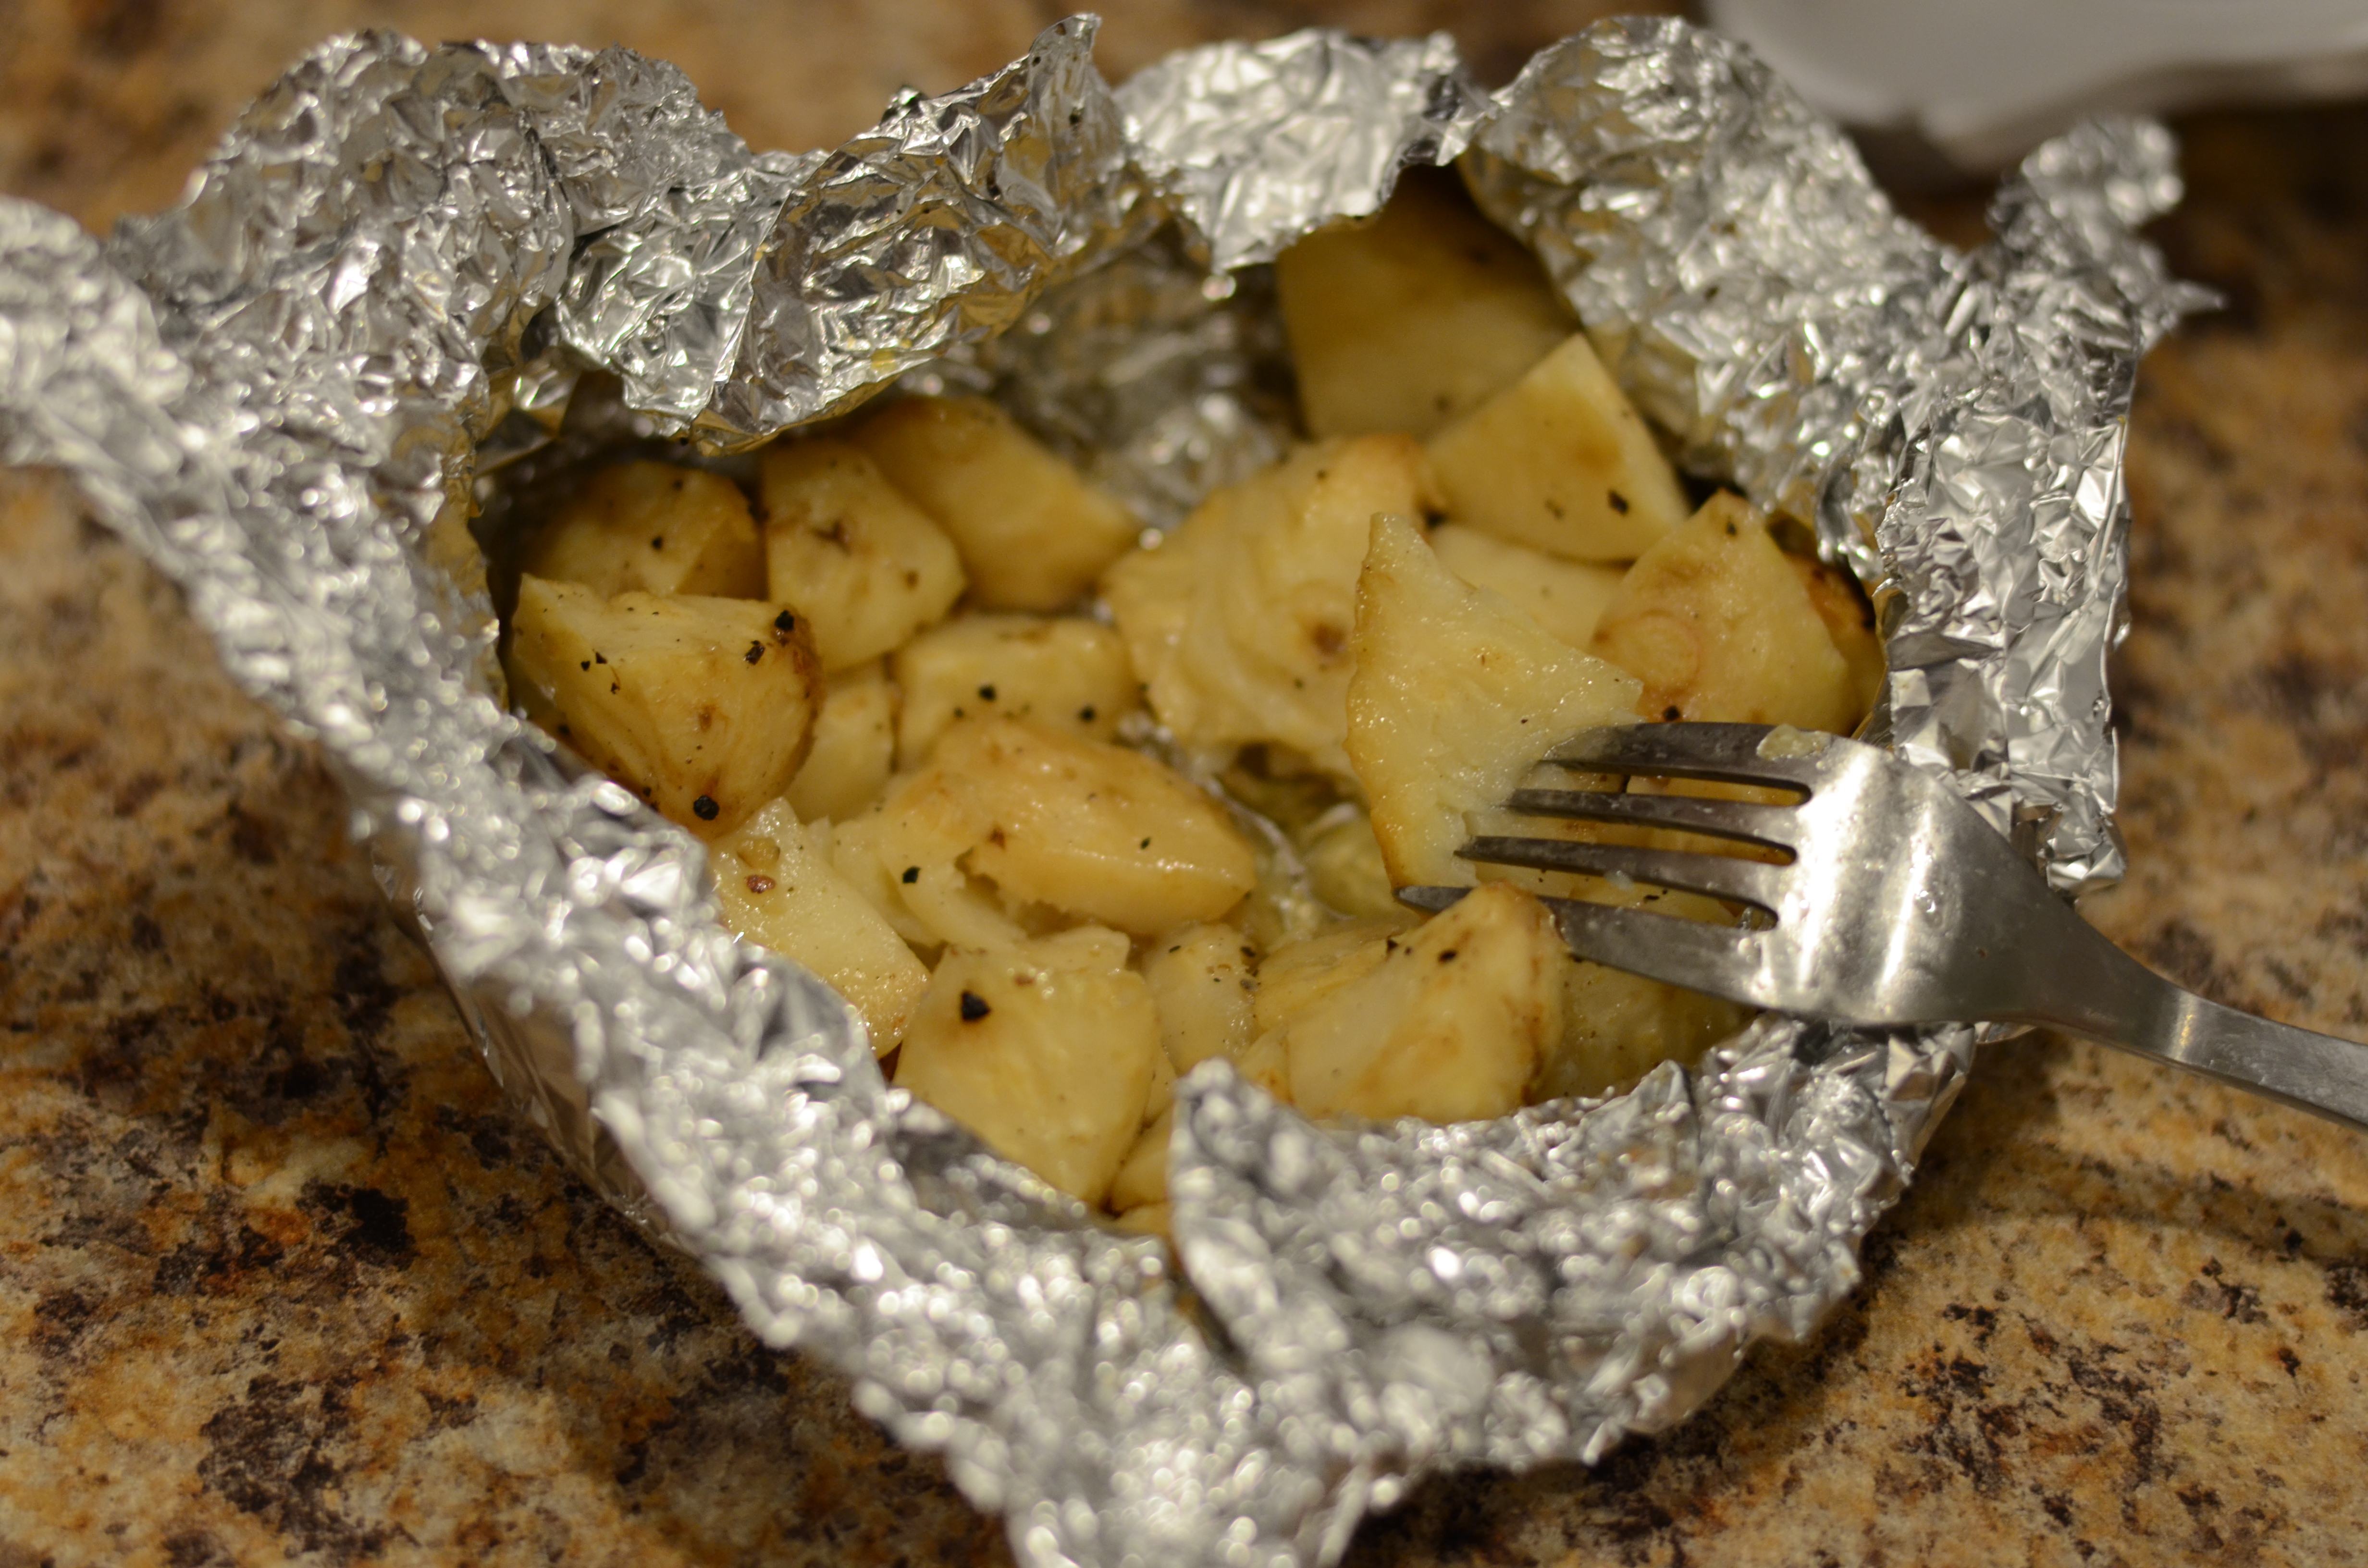
On a large sheet of aluminum foil, toss the celery root chunks with oil, salt and pepper. Fold up to enclose and place on a baking sheet. Roast in oven until celery root is mushy, and hopefully caramelized. The cookbook says 30-60 minutes, but I wasn’t satisfied with the mushiness until around 90 minutes.

Use a blender to puree the celery root. Add milk if needed to get a smoother puree.
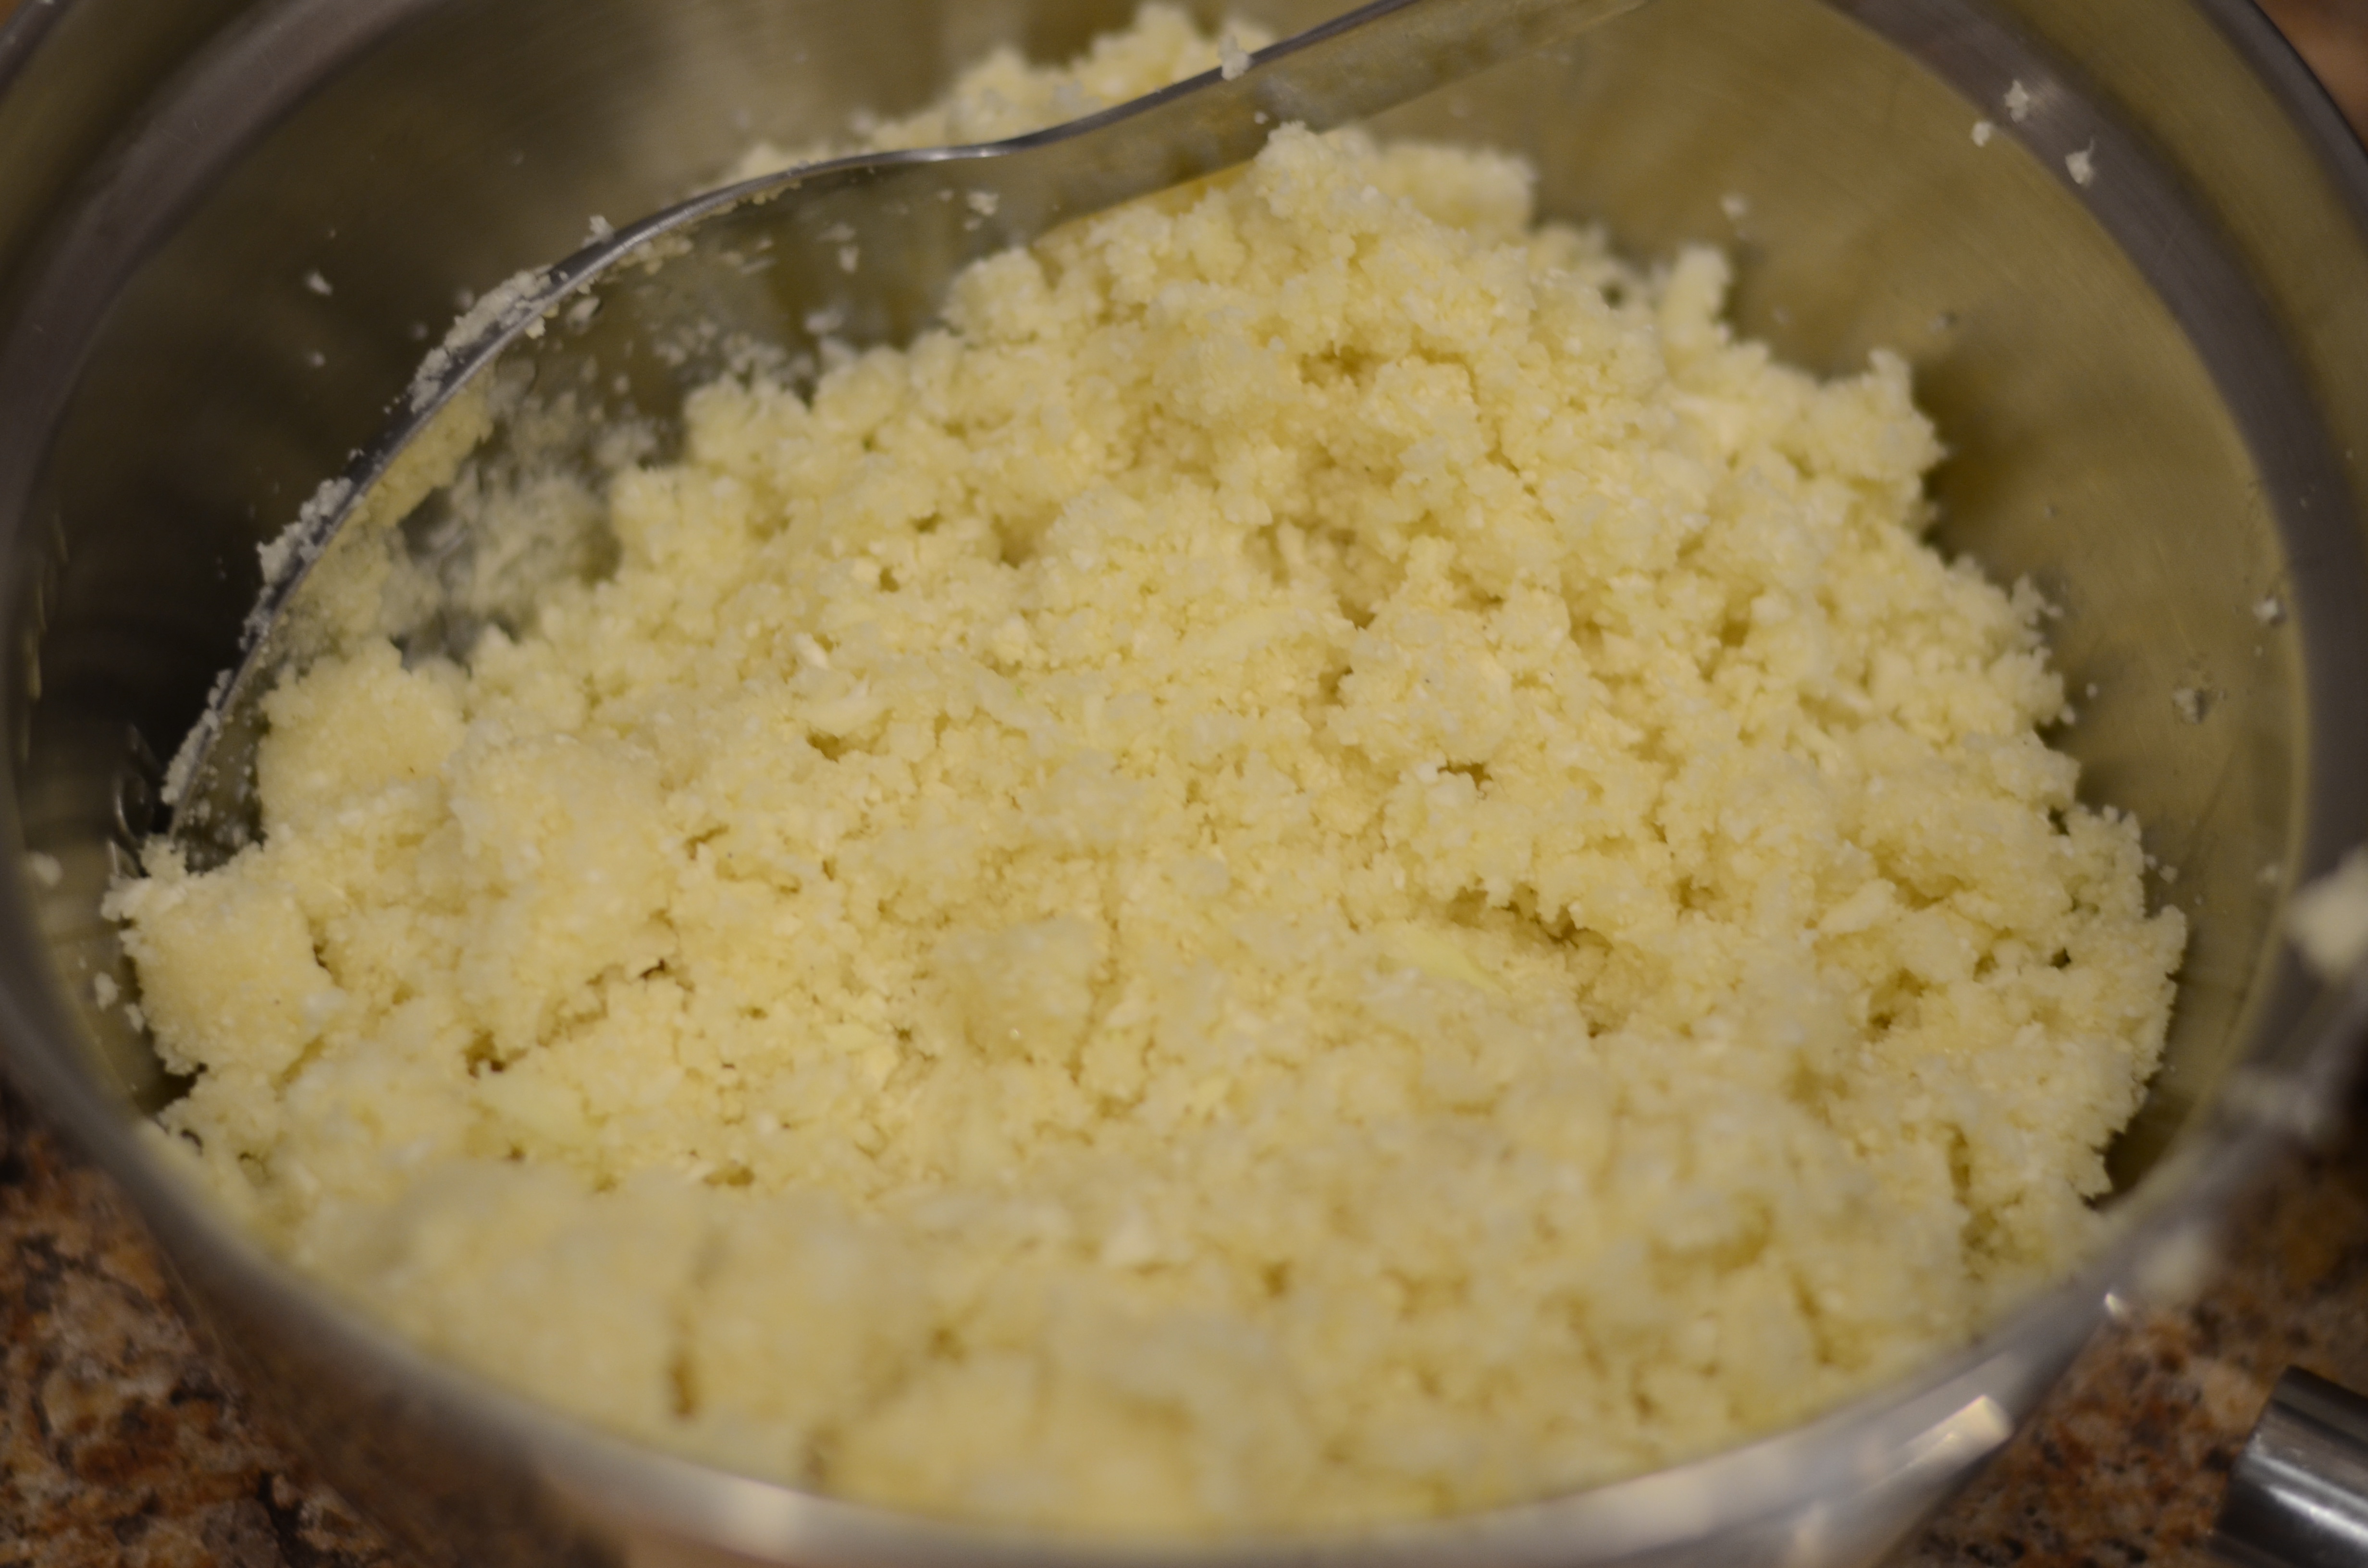
 Then press through a fine-mesh strainer, or perhaps a food mill, to get a baby-food like texture. You will need 1/2 Cup.
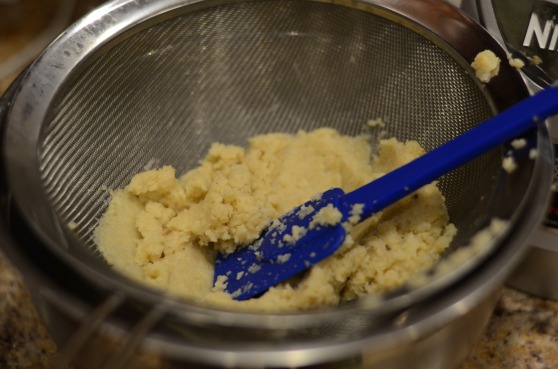
This is where I started to wonder if this was worth it. I was pressing and pressing and not getting enough squeezed out of my mesh strainer. I had already added a good amount of milk at the blender stage so I didn’t want to thin it out too much. I spent a lot of time to get just a few tablespoons of smooth puree, so I eventually gave up and decided to accept a grainier texture.
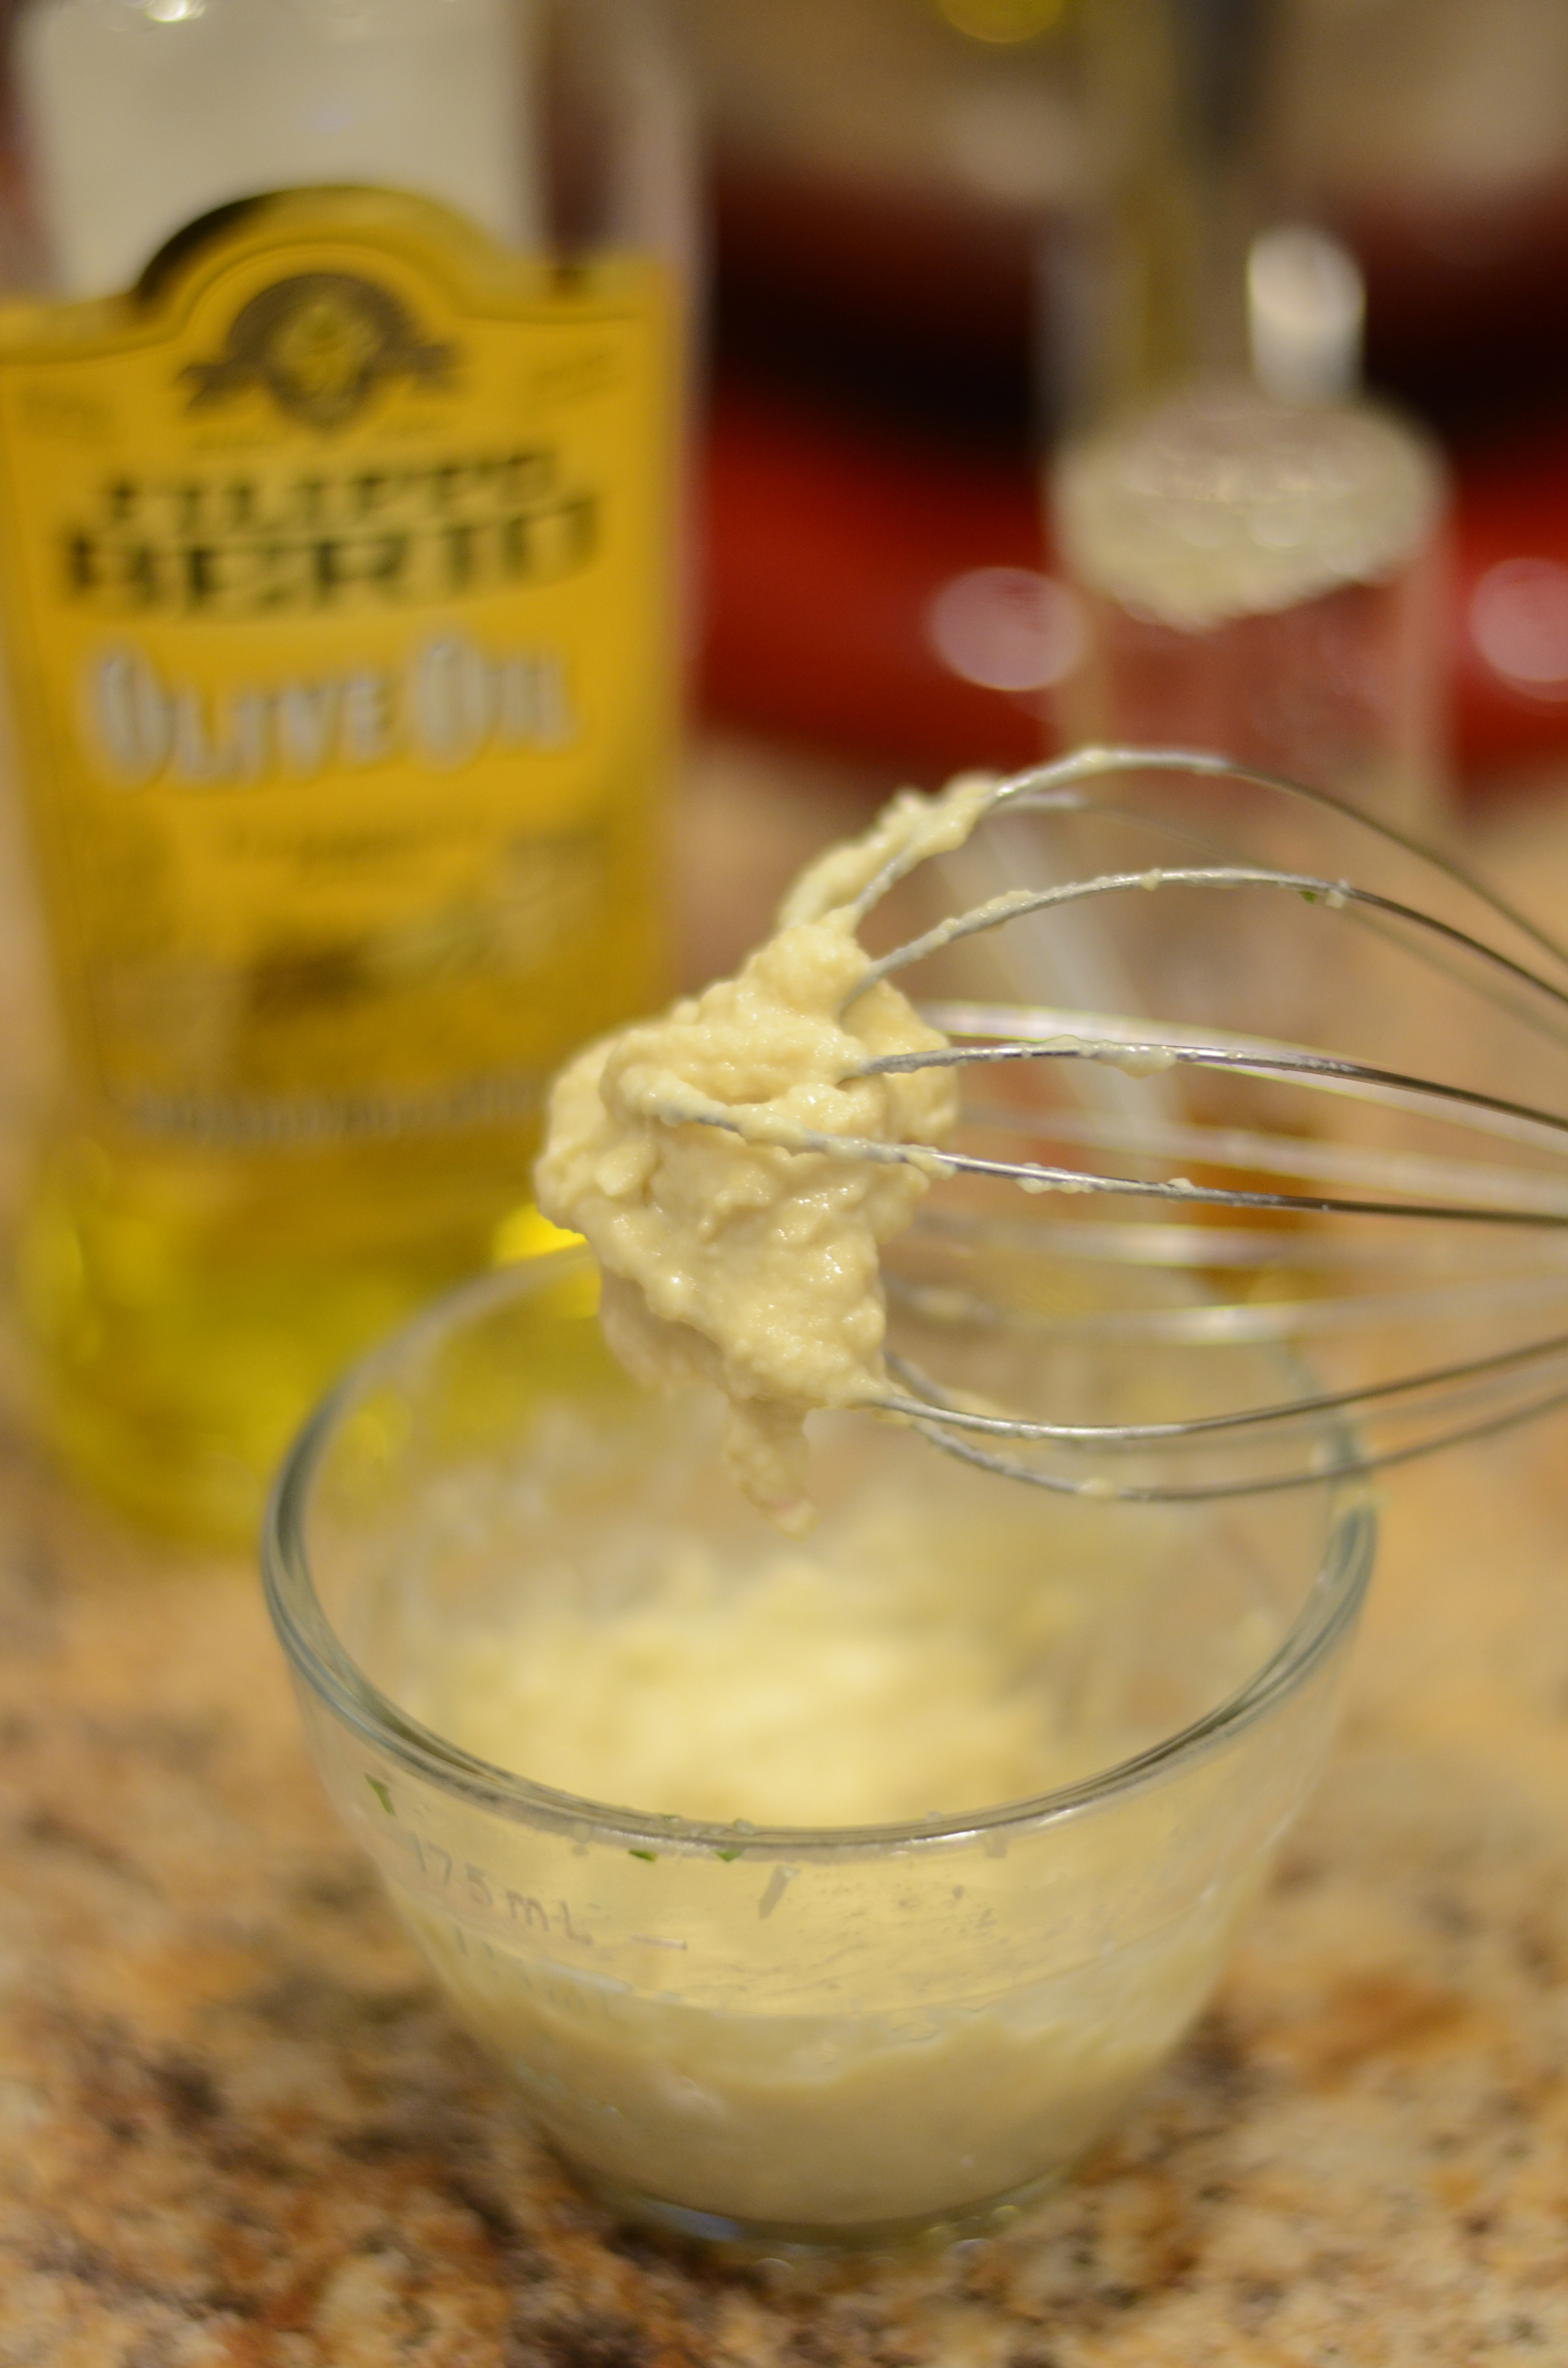
In a microwave-safe dish, combine the white chocolate and butter and heat at 15-second bursts in the microwave, stirring in between. The mixture should come together but be barely warm, not hot.
Transfer chocolate mixture to a tall, narrow container like a quart deli container.
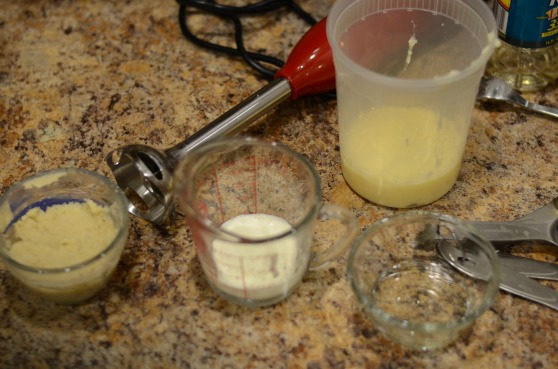
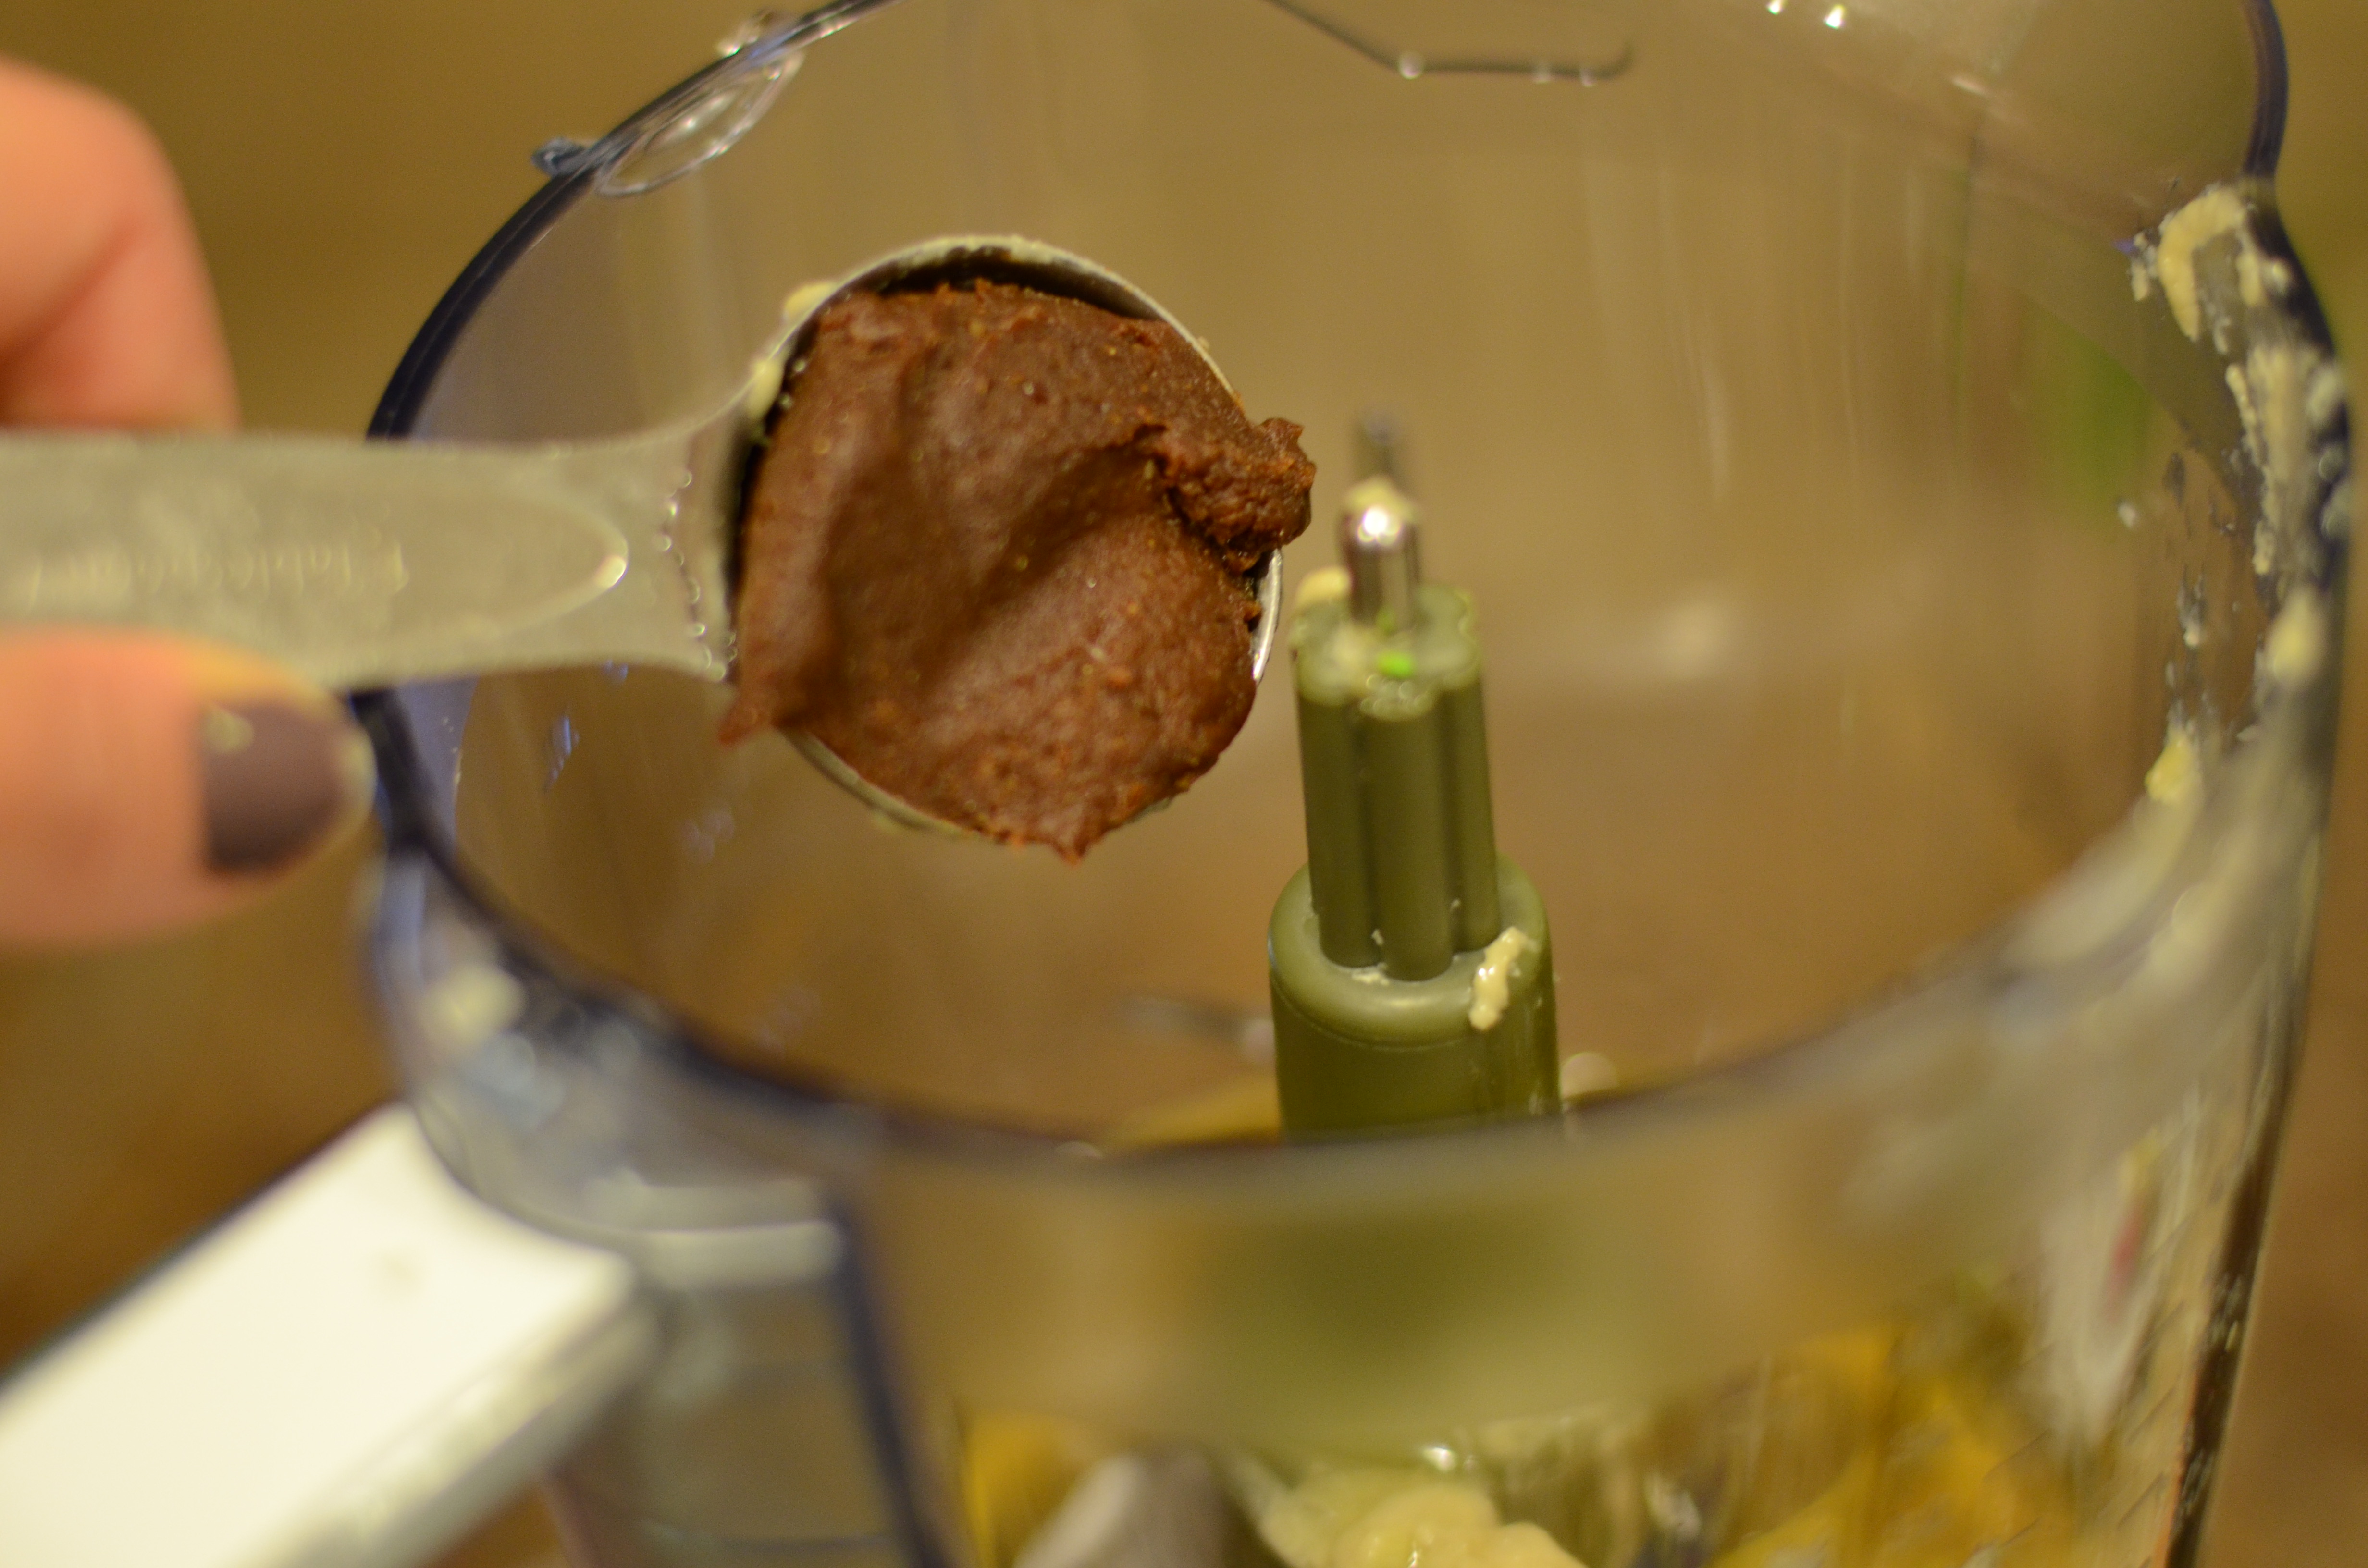
In another bowl, microwave corn syrup for 15 seconds and then add to the chocolate mixture. Use immersion blender to combine. Then stream in heavy cream with blender running and buzz until it comes together in a silky, smooth texture.
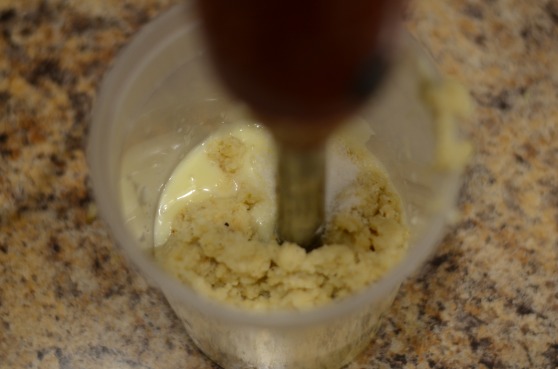
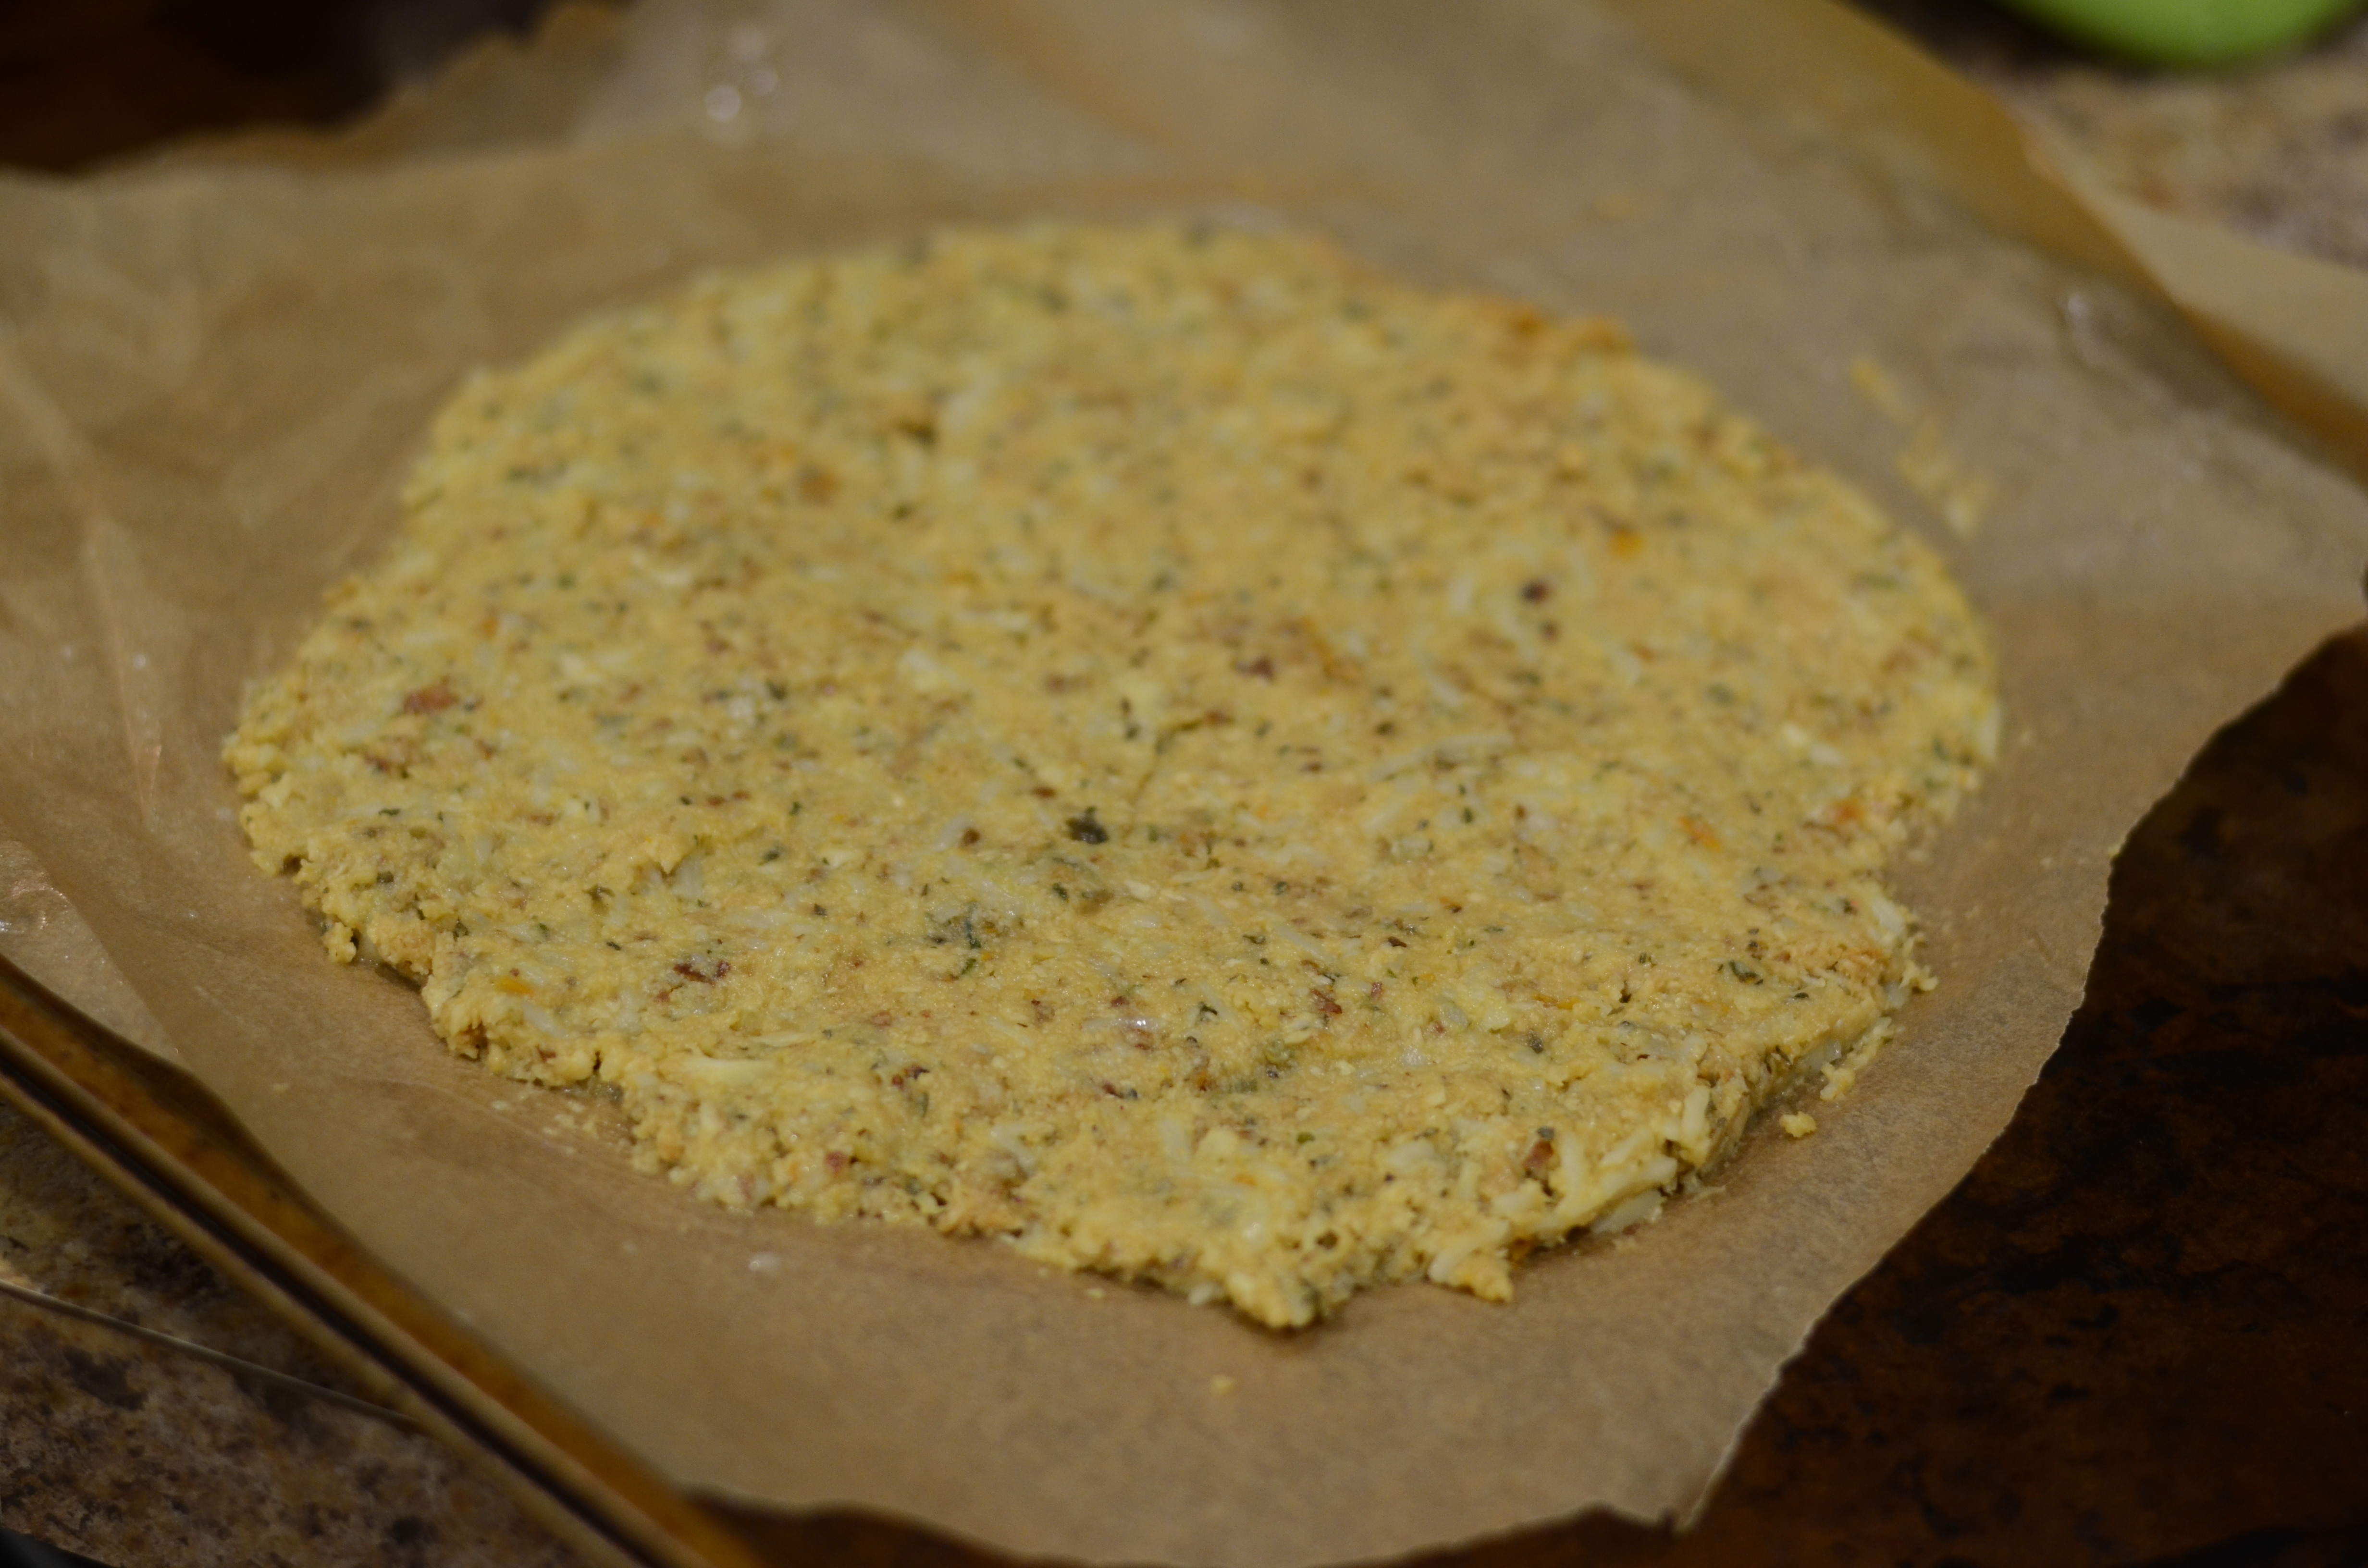
Add to celery root puree to this along with the extra salt.
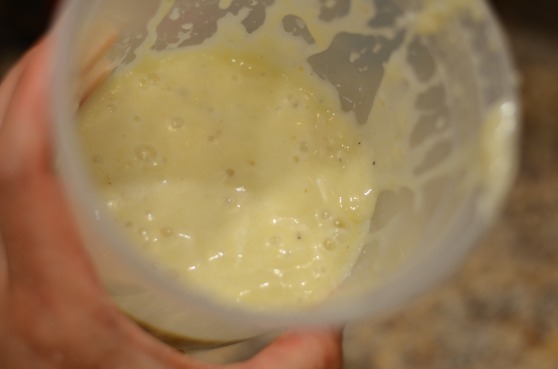
Taste to see if it needs any additional salt. What will it taste like? I will tell you what I thought: yogurt-covered pretzel, all the way.
Ganache should be chilled in fridge for at least 4 hours to firm and can be stored there long-term, in an airtight container.
Part 2
Recipe 2:
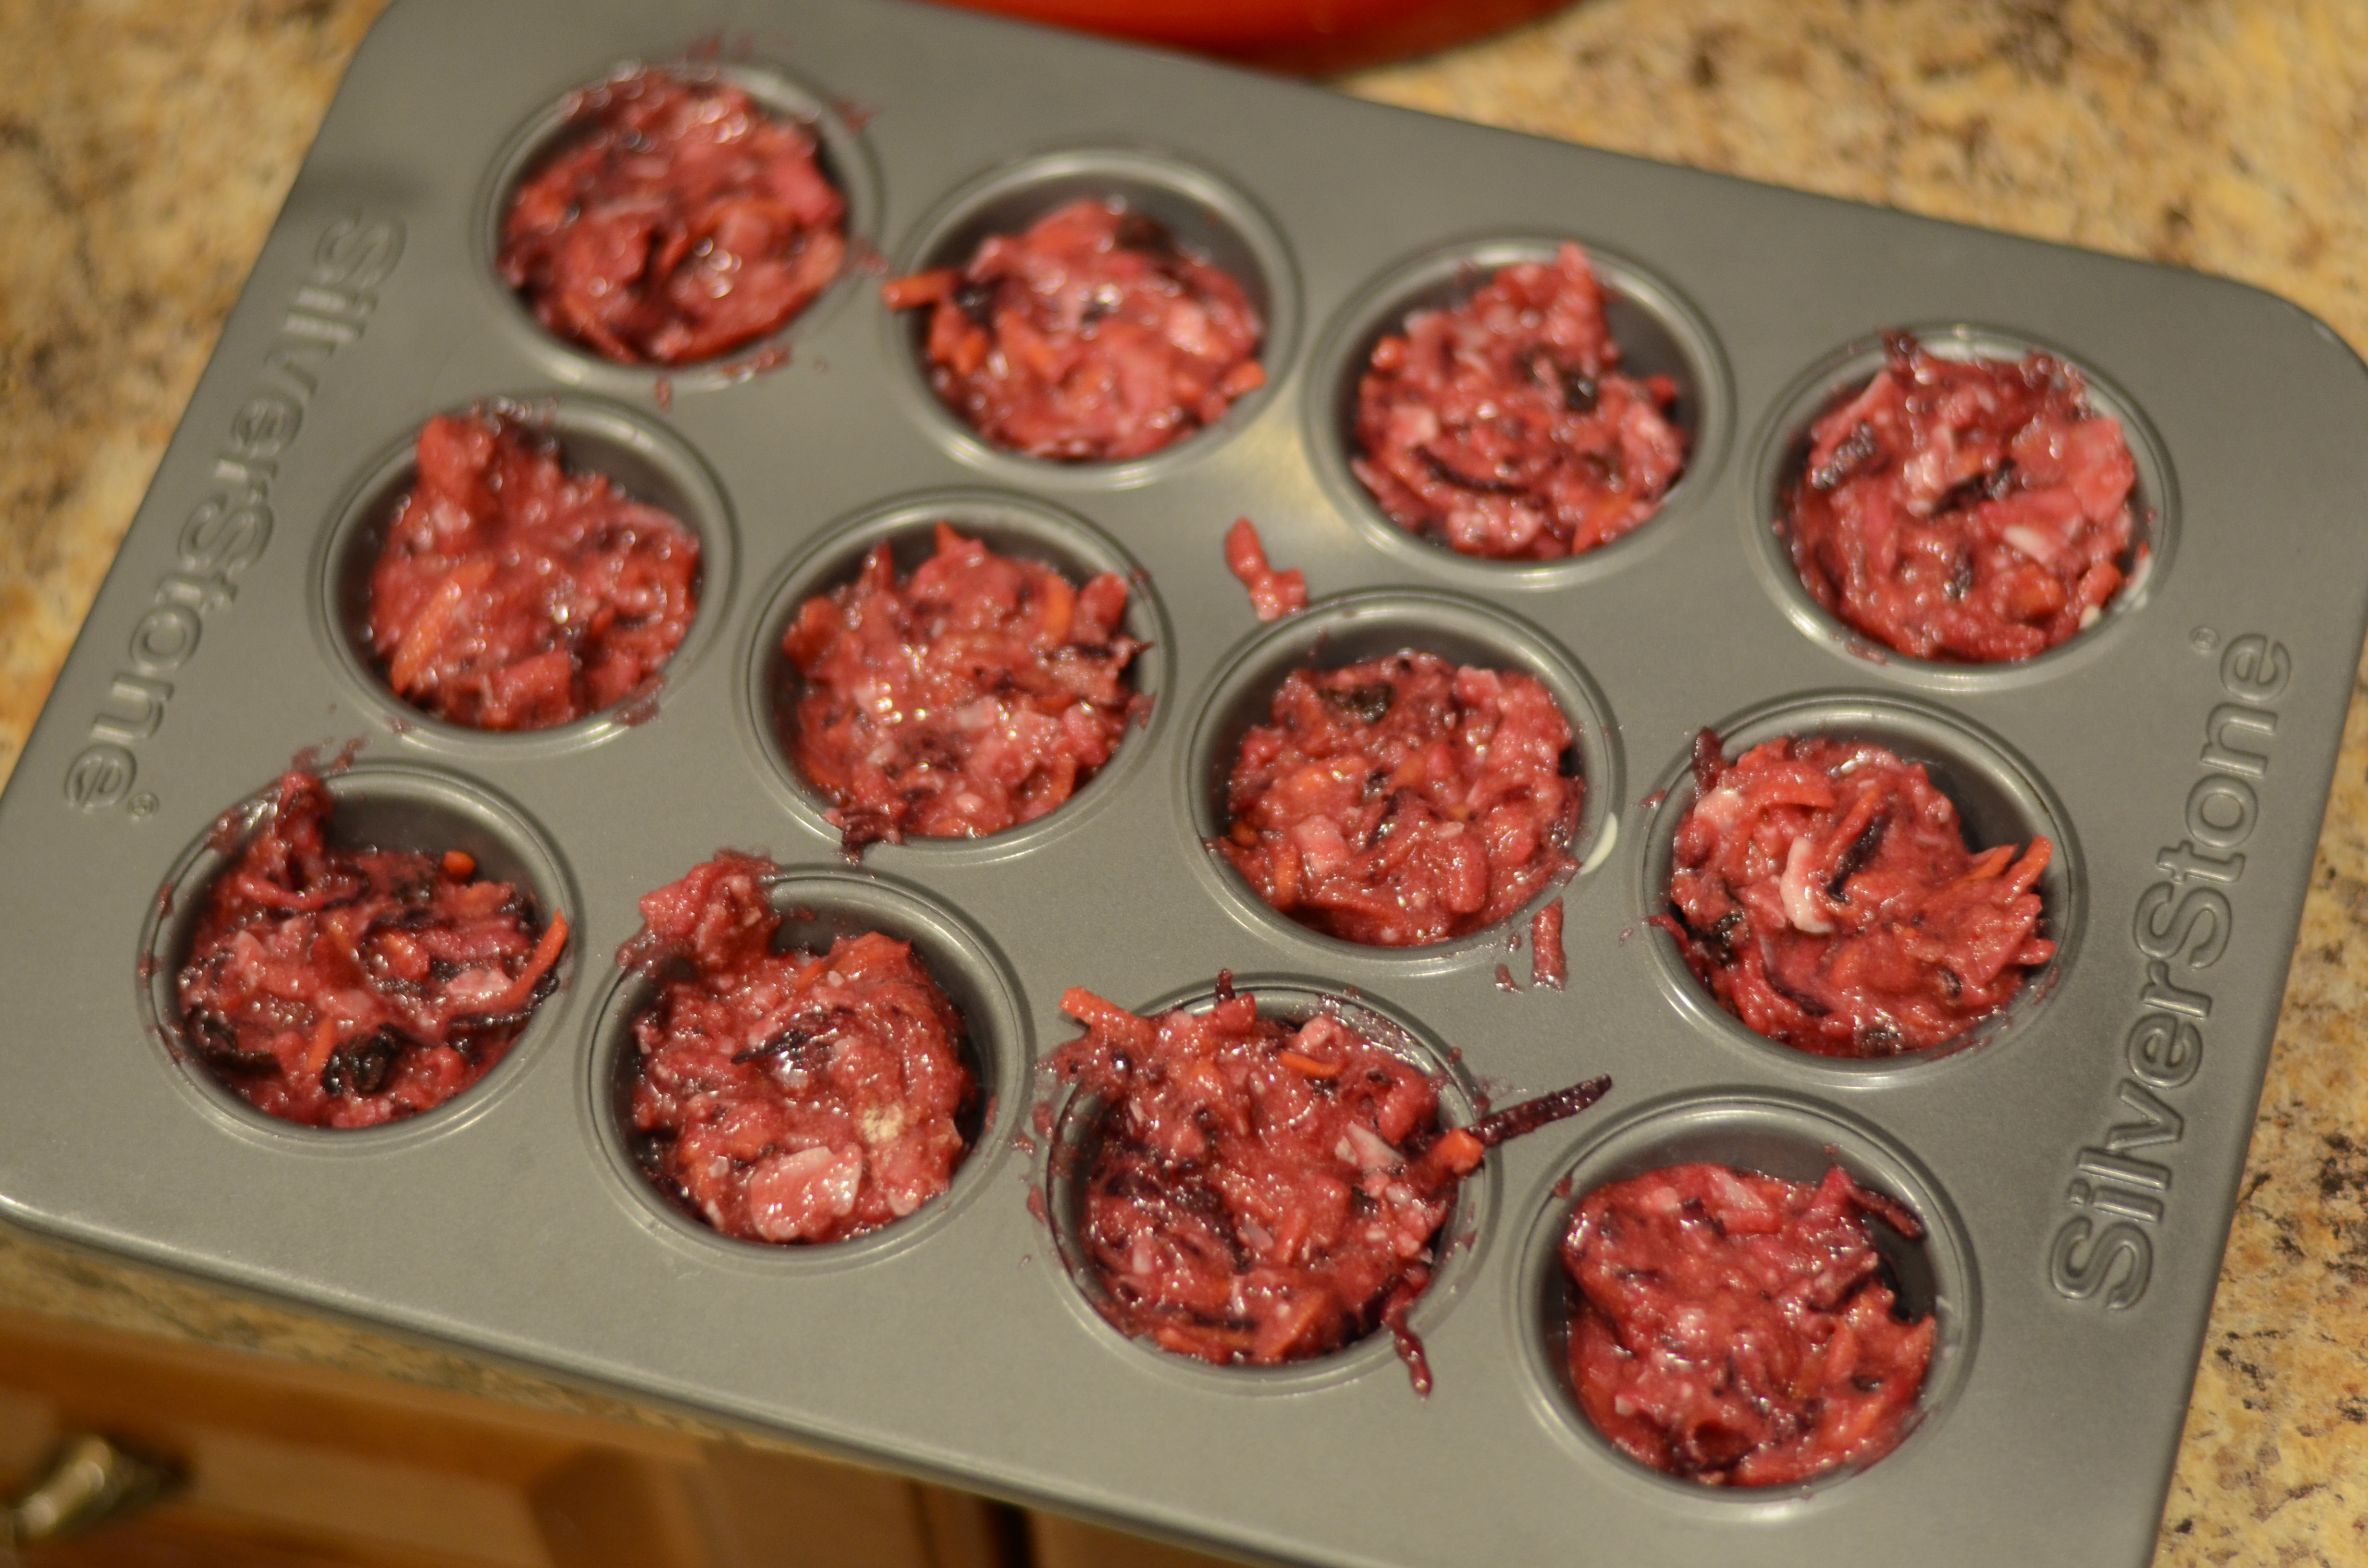
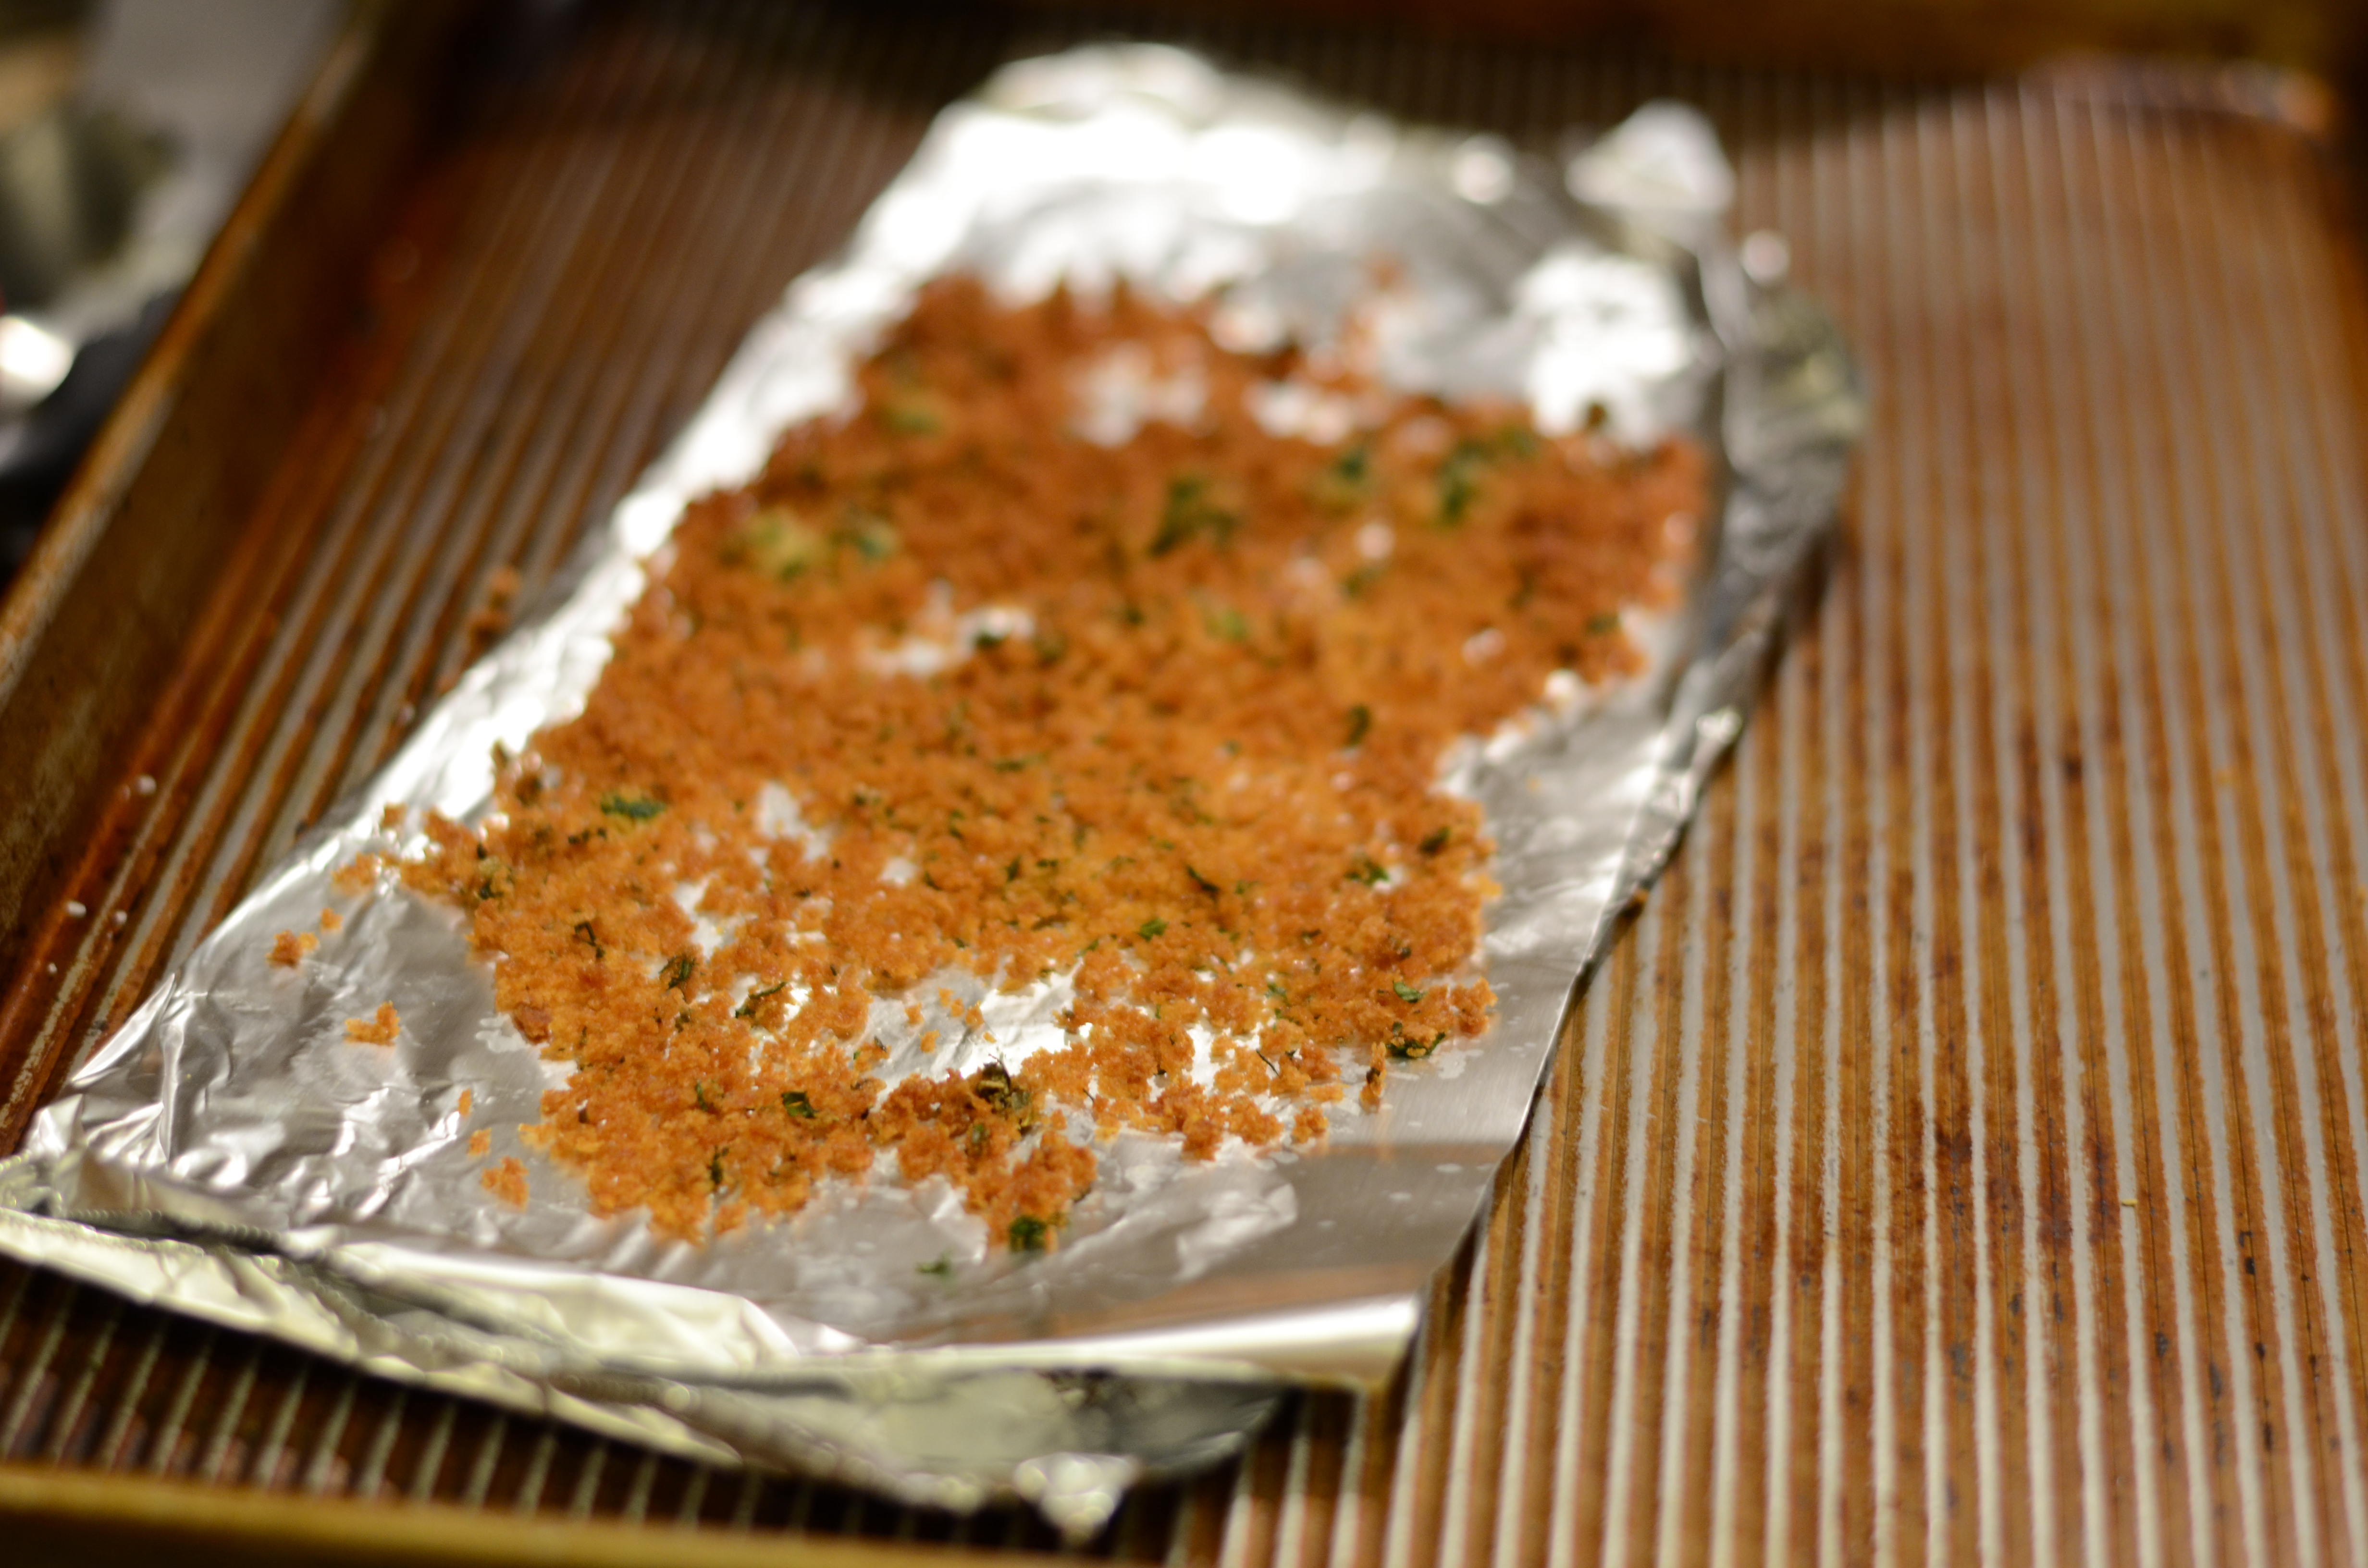
Ritz Crunch
Makes about 2 Cups, which is dangerous
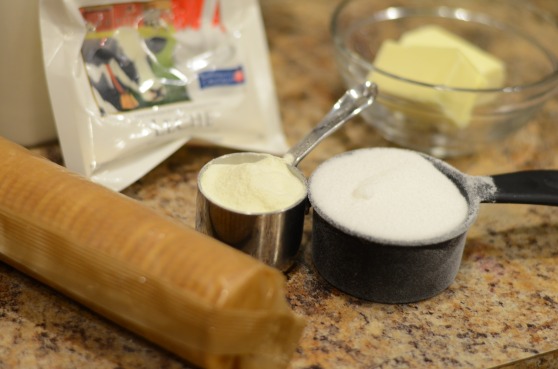
1 sleeve Ritz crackers (110g)
1/2 Cup sugar
1/4 Cup milk powder
1/2 teaspoon kosher salt
7 Tablespoons butter, melted
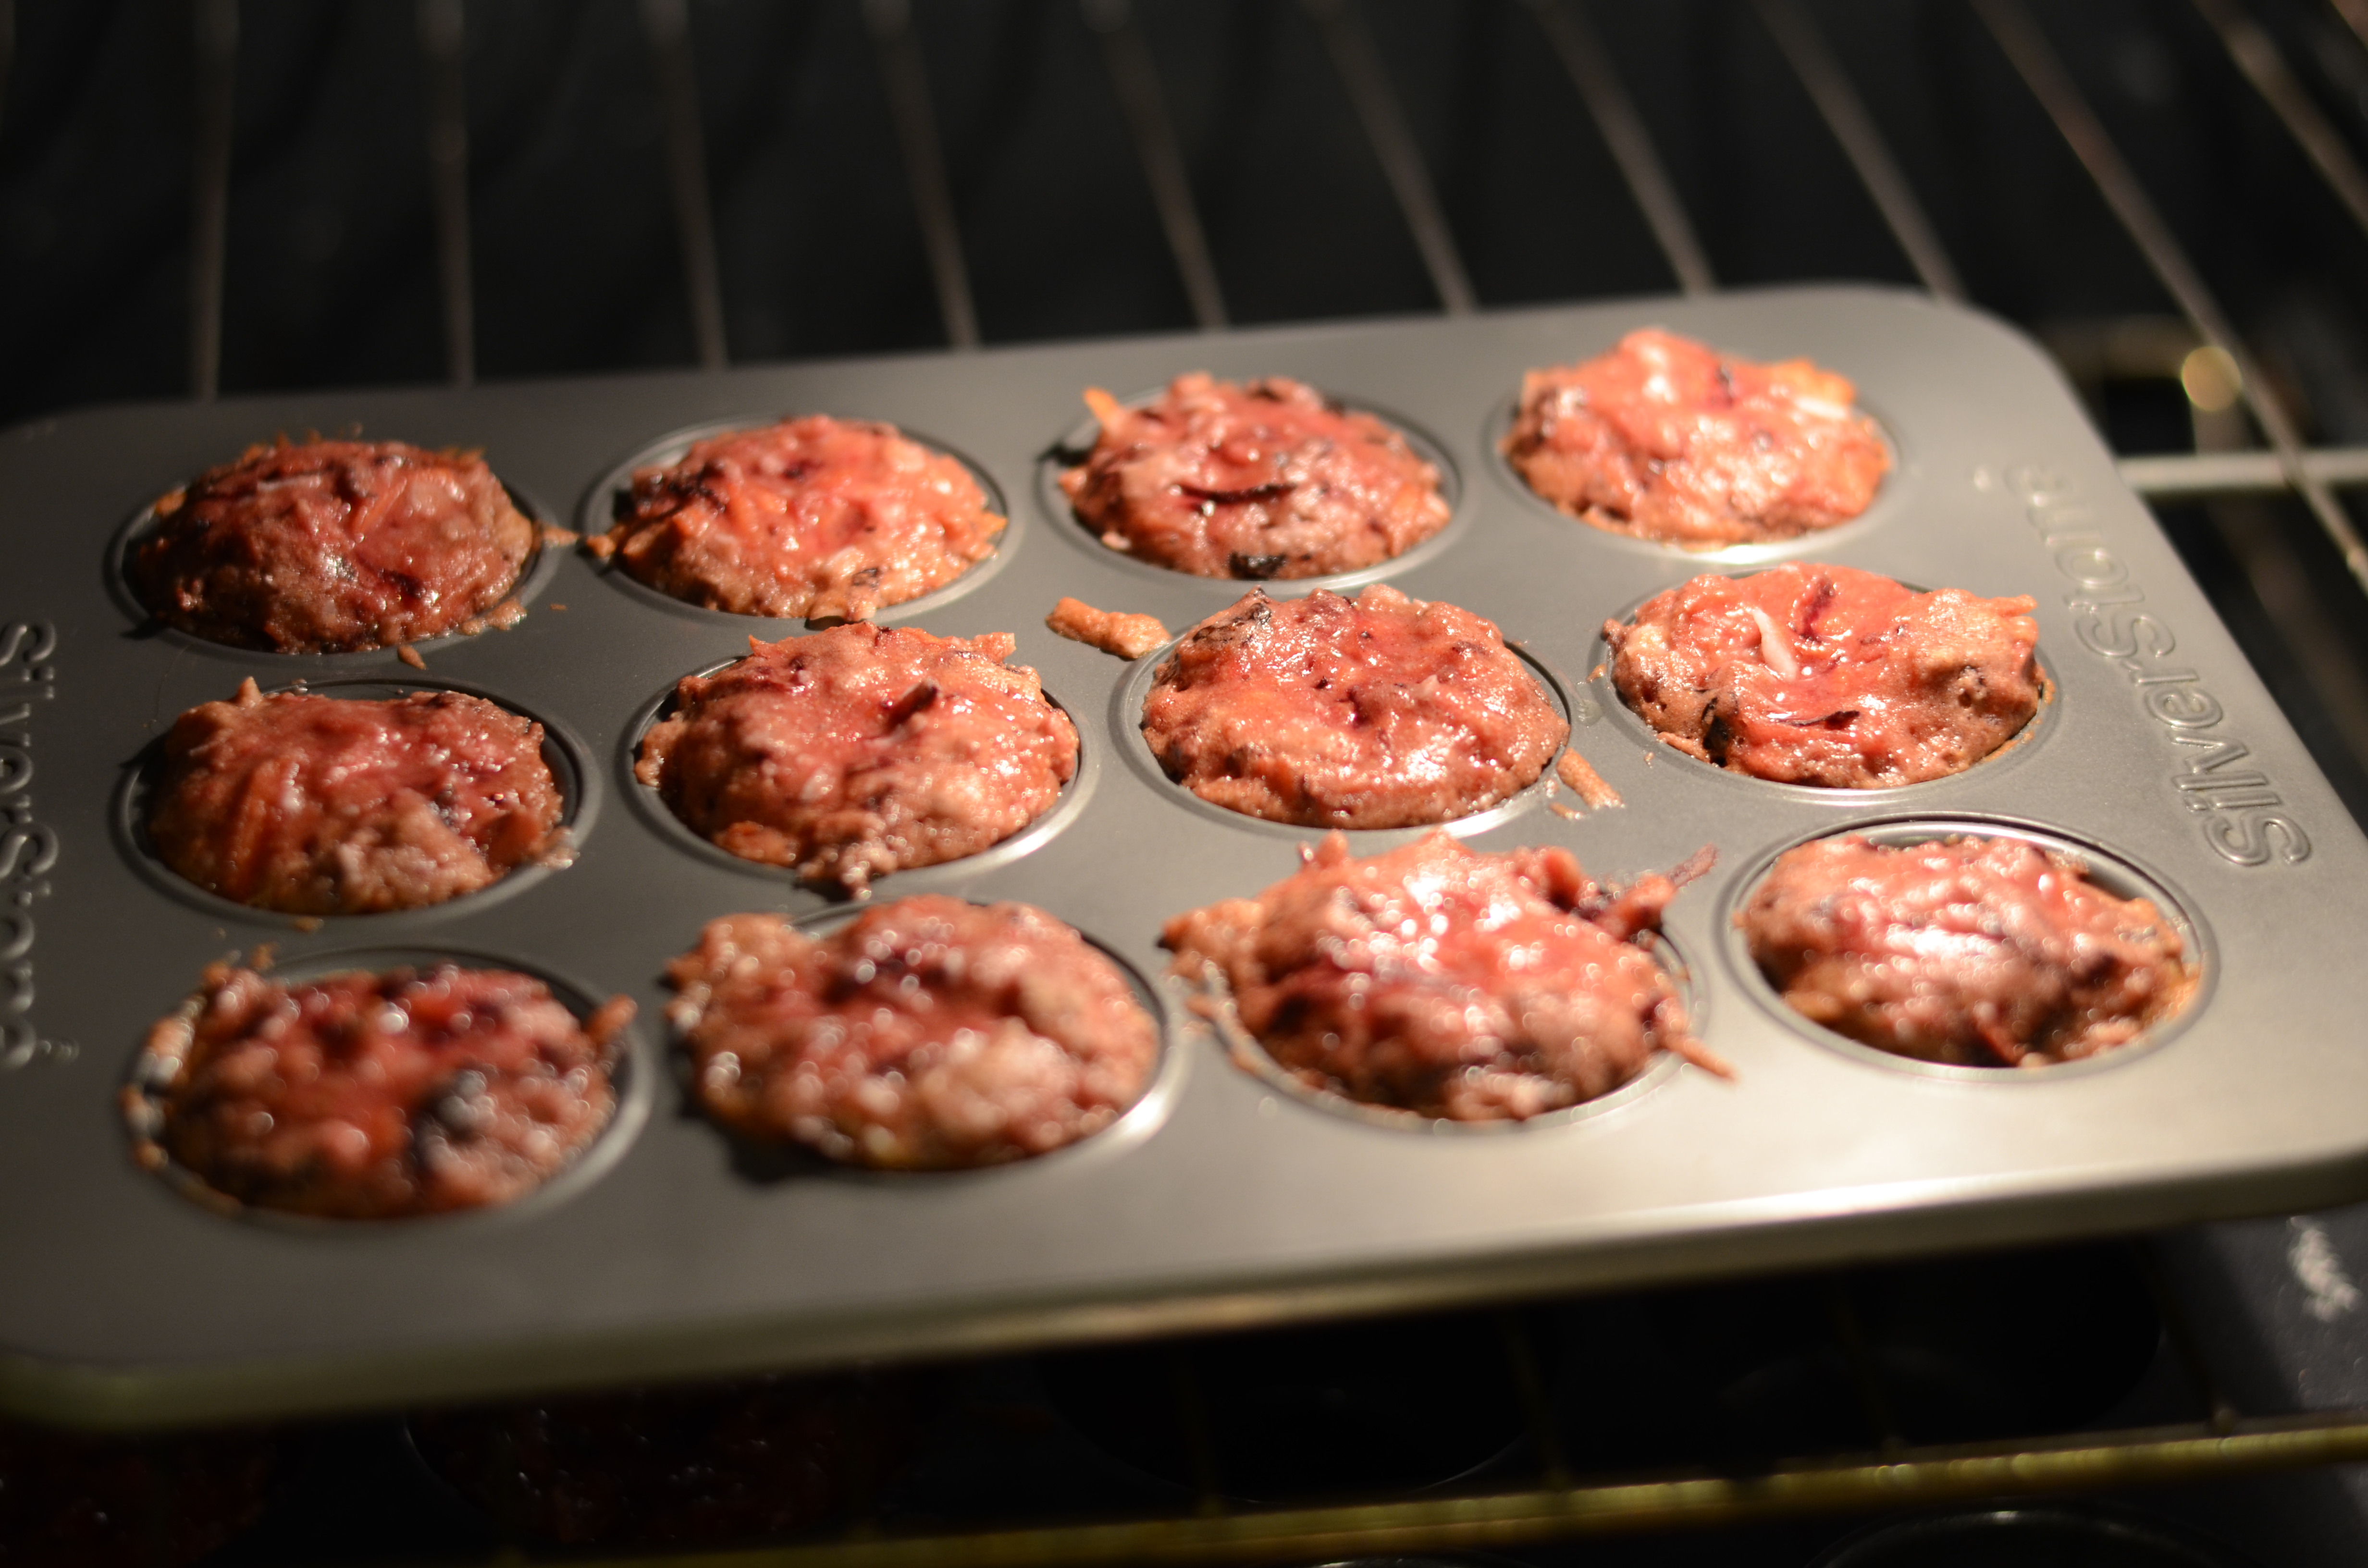
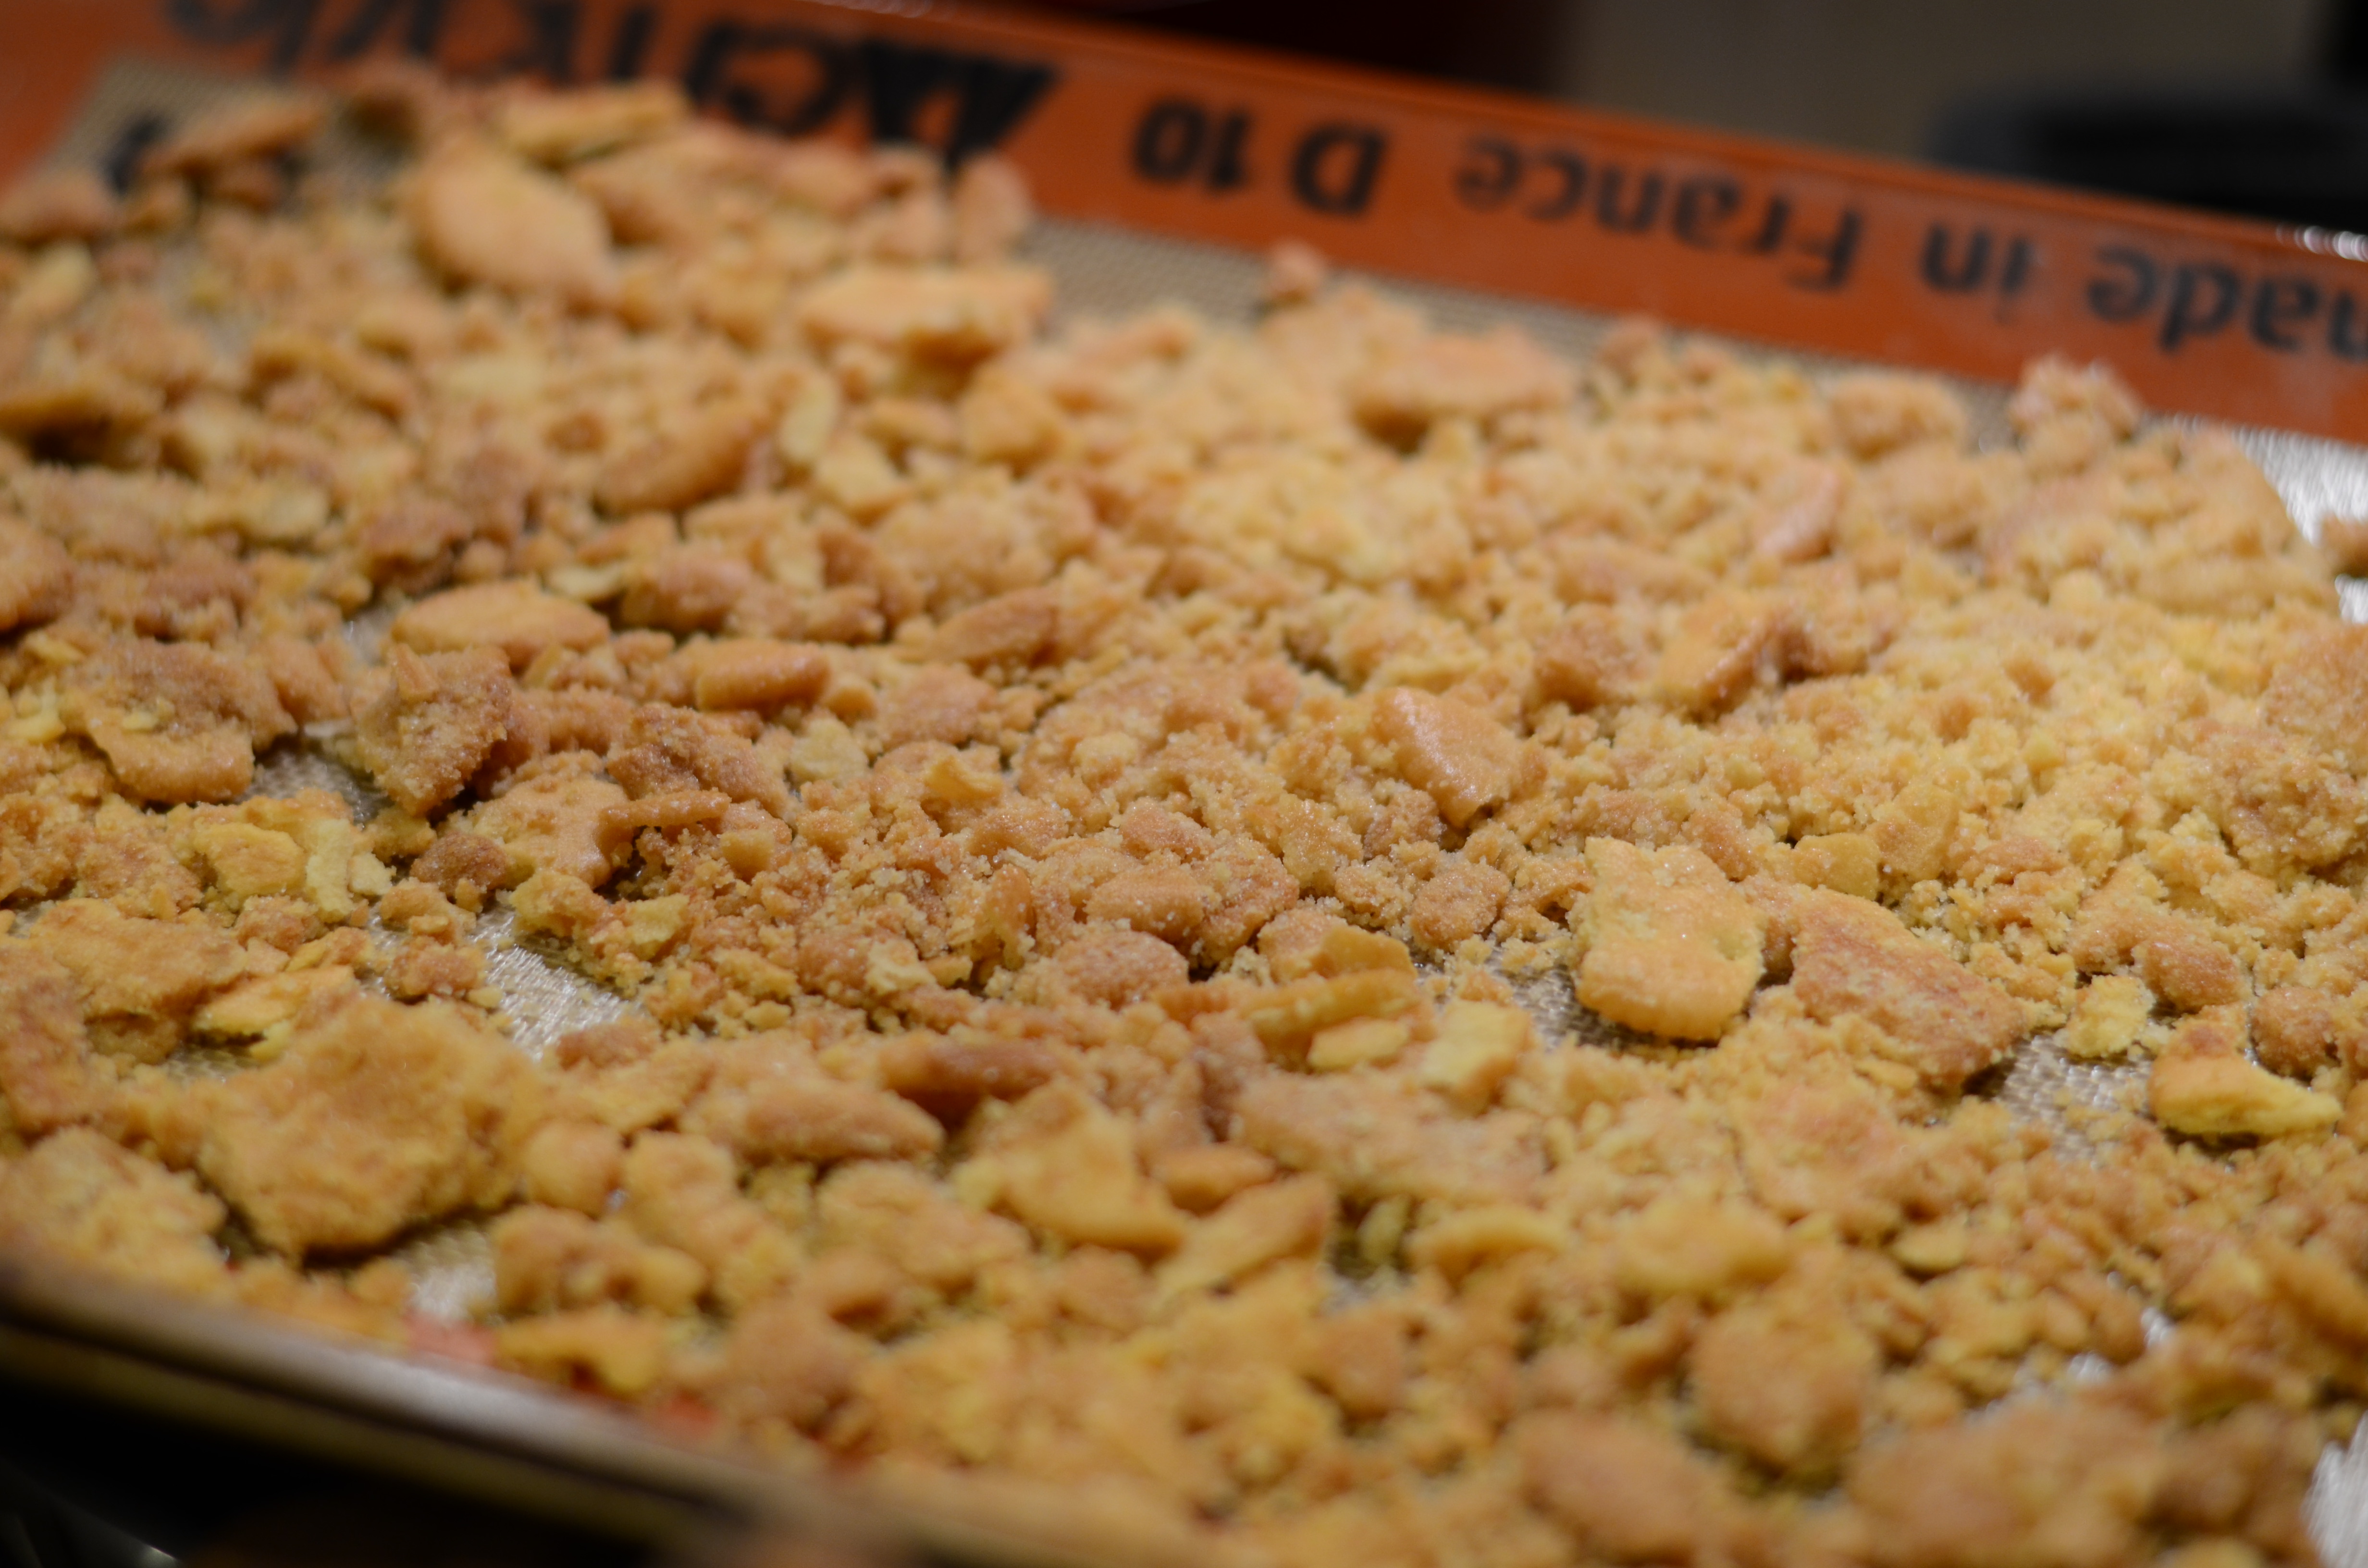
Heat the oven to 275.
Crush crackers with your hands in a medium bowl. Add the milk powder, sugar and salt and toss. Add melted butter; toss to coat.
Spread on parchment or Silpat-lined sheet pan.
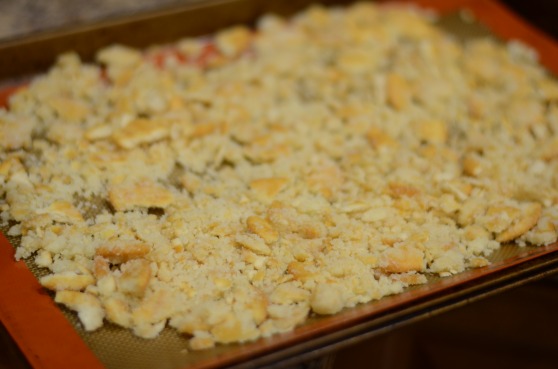
Bake for 20-25 minutes. It will be done when the clusters are slightly more golden and feel a little crispy.
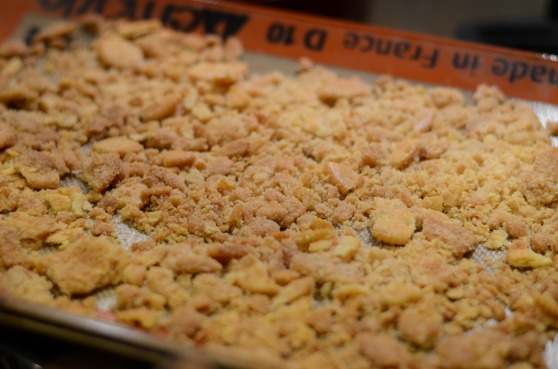
Cool completely before storing, in an airtight container. They can be stored at room temperature, in fridge, or in freezer.
Part 3
Strawberry Sorbet
This I purchased, on a late-season visit to Ralph’s Italian Ice.
To bring the parts together:
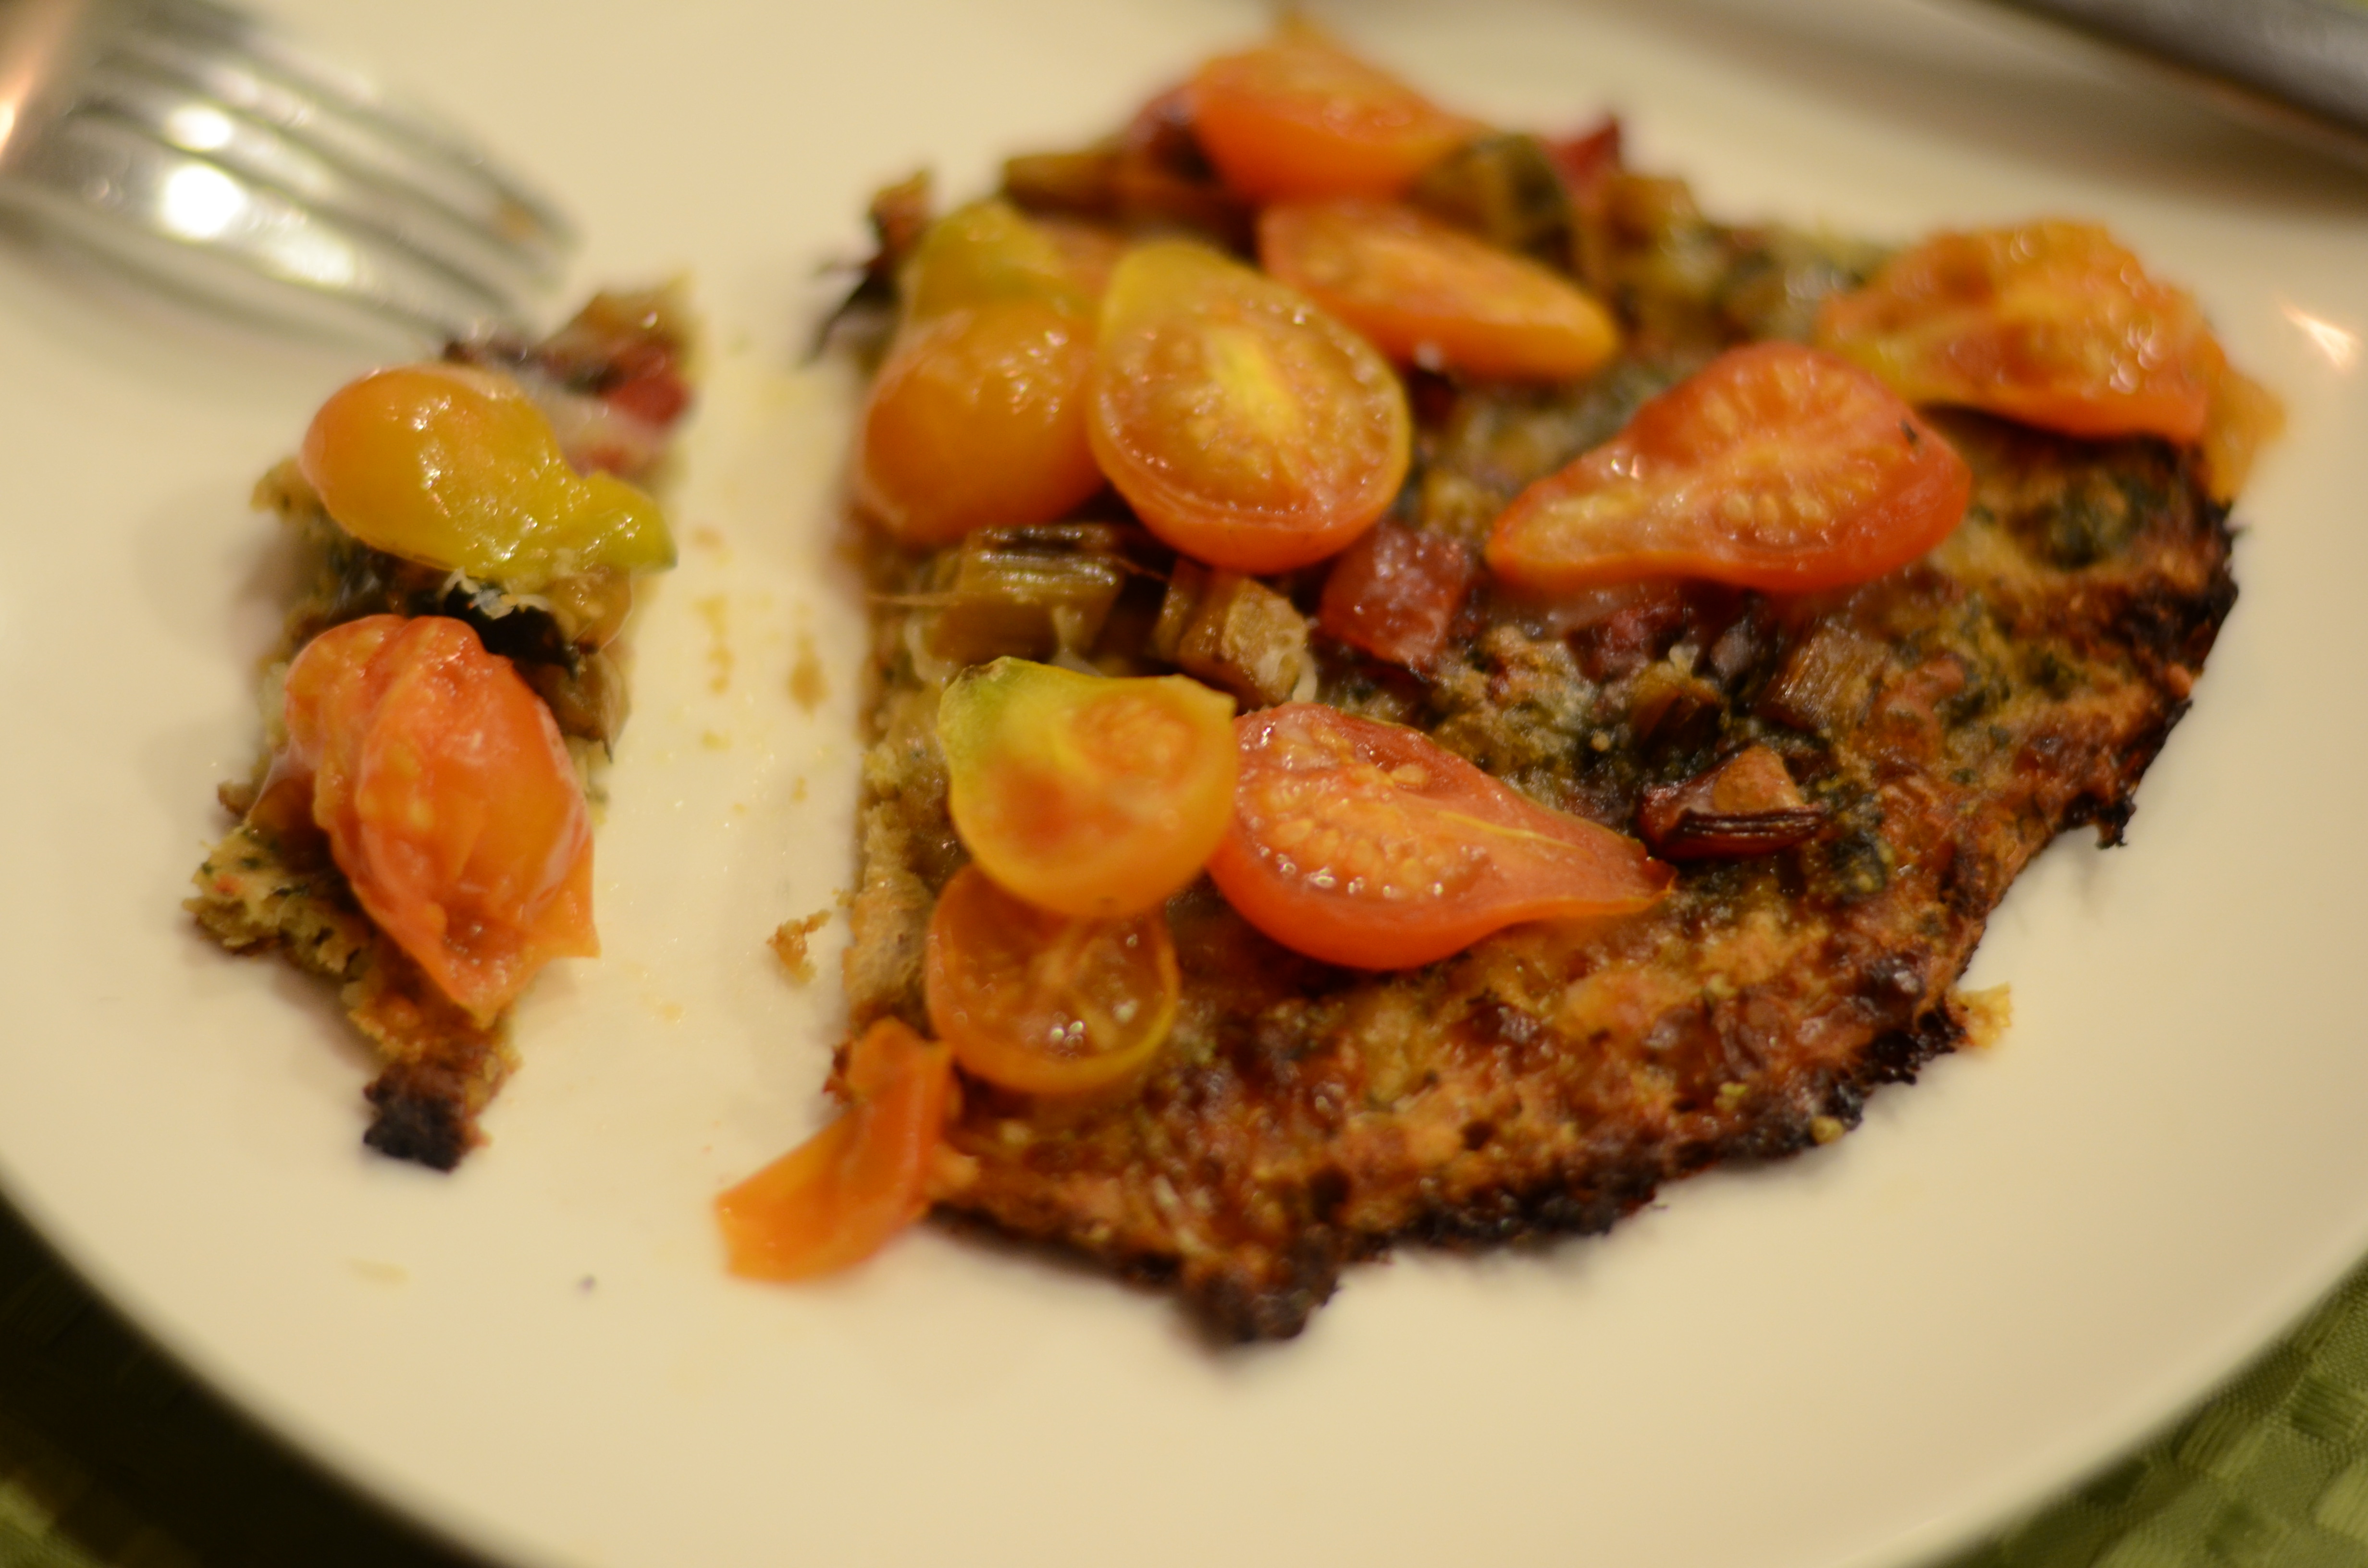
Shmear cold ganache across small desert plate. Scatter the Ritz crunch around. Place a generous scoop of strawberry sorbet at center.
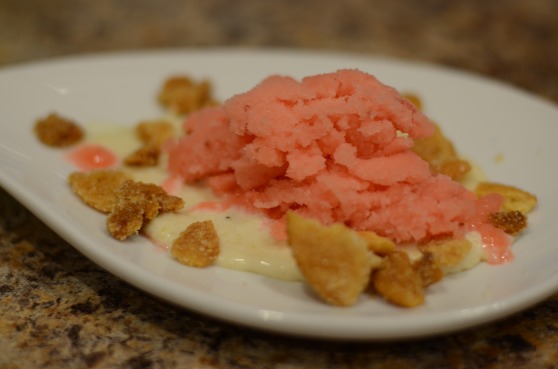
Yes, even when shortcuts and substitutes, this dessert took me a couple of days and generated infinite dirty dishes. When I tasted the final product–with the icy cold, sweet but fruity-tart sorbet, the delightfully salty ganache, and the buttery Ritz crunch–my main thought was “wow.” Also, “Christina Tosi is a genius.”