Something tragic happened earlier this month. My oven stopped working.
It was the day after my birthday, and I had plans to make pizza. I wanted to top it with barbecue chicken, because not long ago someone (who may or may not have been my husband) opened a second jar of barbecue sauce when we already had an open one in the fridge…but there’s no need to get into that.
The oven was failing to heat up on multiple settings, so as I grieved, I improvised by using the outdoor grill as an oven.
The oven failure comes at a time when we are starting to feel the chill outdoors. That means it is time to start baking, right? I read a lot of summer seasonal recipes in which people reference the fact that “you may not want to turn on your oven!” because of the heat. Honestly, I think I use the oven almost equally in summer and winter! I don’t think I’ve consciously decided not to use my oven because of the weather…perhaps I’m not discouraged because we have central air conditioning and cool tile floors. But how quickly I forget! Now I’m flashing back to the apartment I lived in right out of college, the top floor of a converted house, and how I survived one Long Island summer without air conditioning. I’m pretty sure I avoided the oven then.
Anyway, the point is, I don’t necessarily gravitate to the oven in fall. The thing I start thinking about when it comes to fall is SOUP.
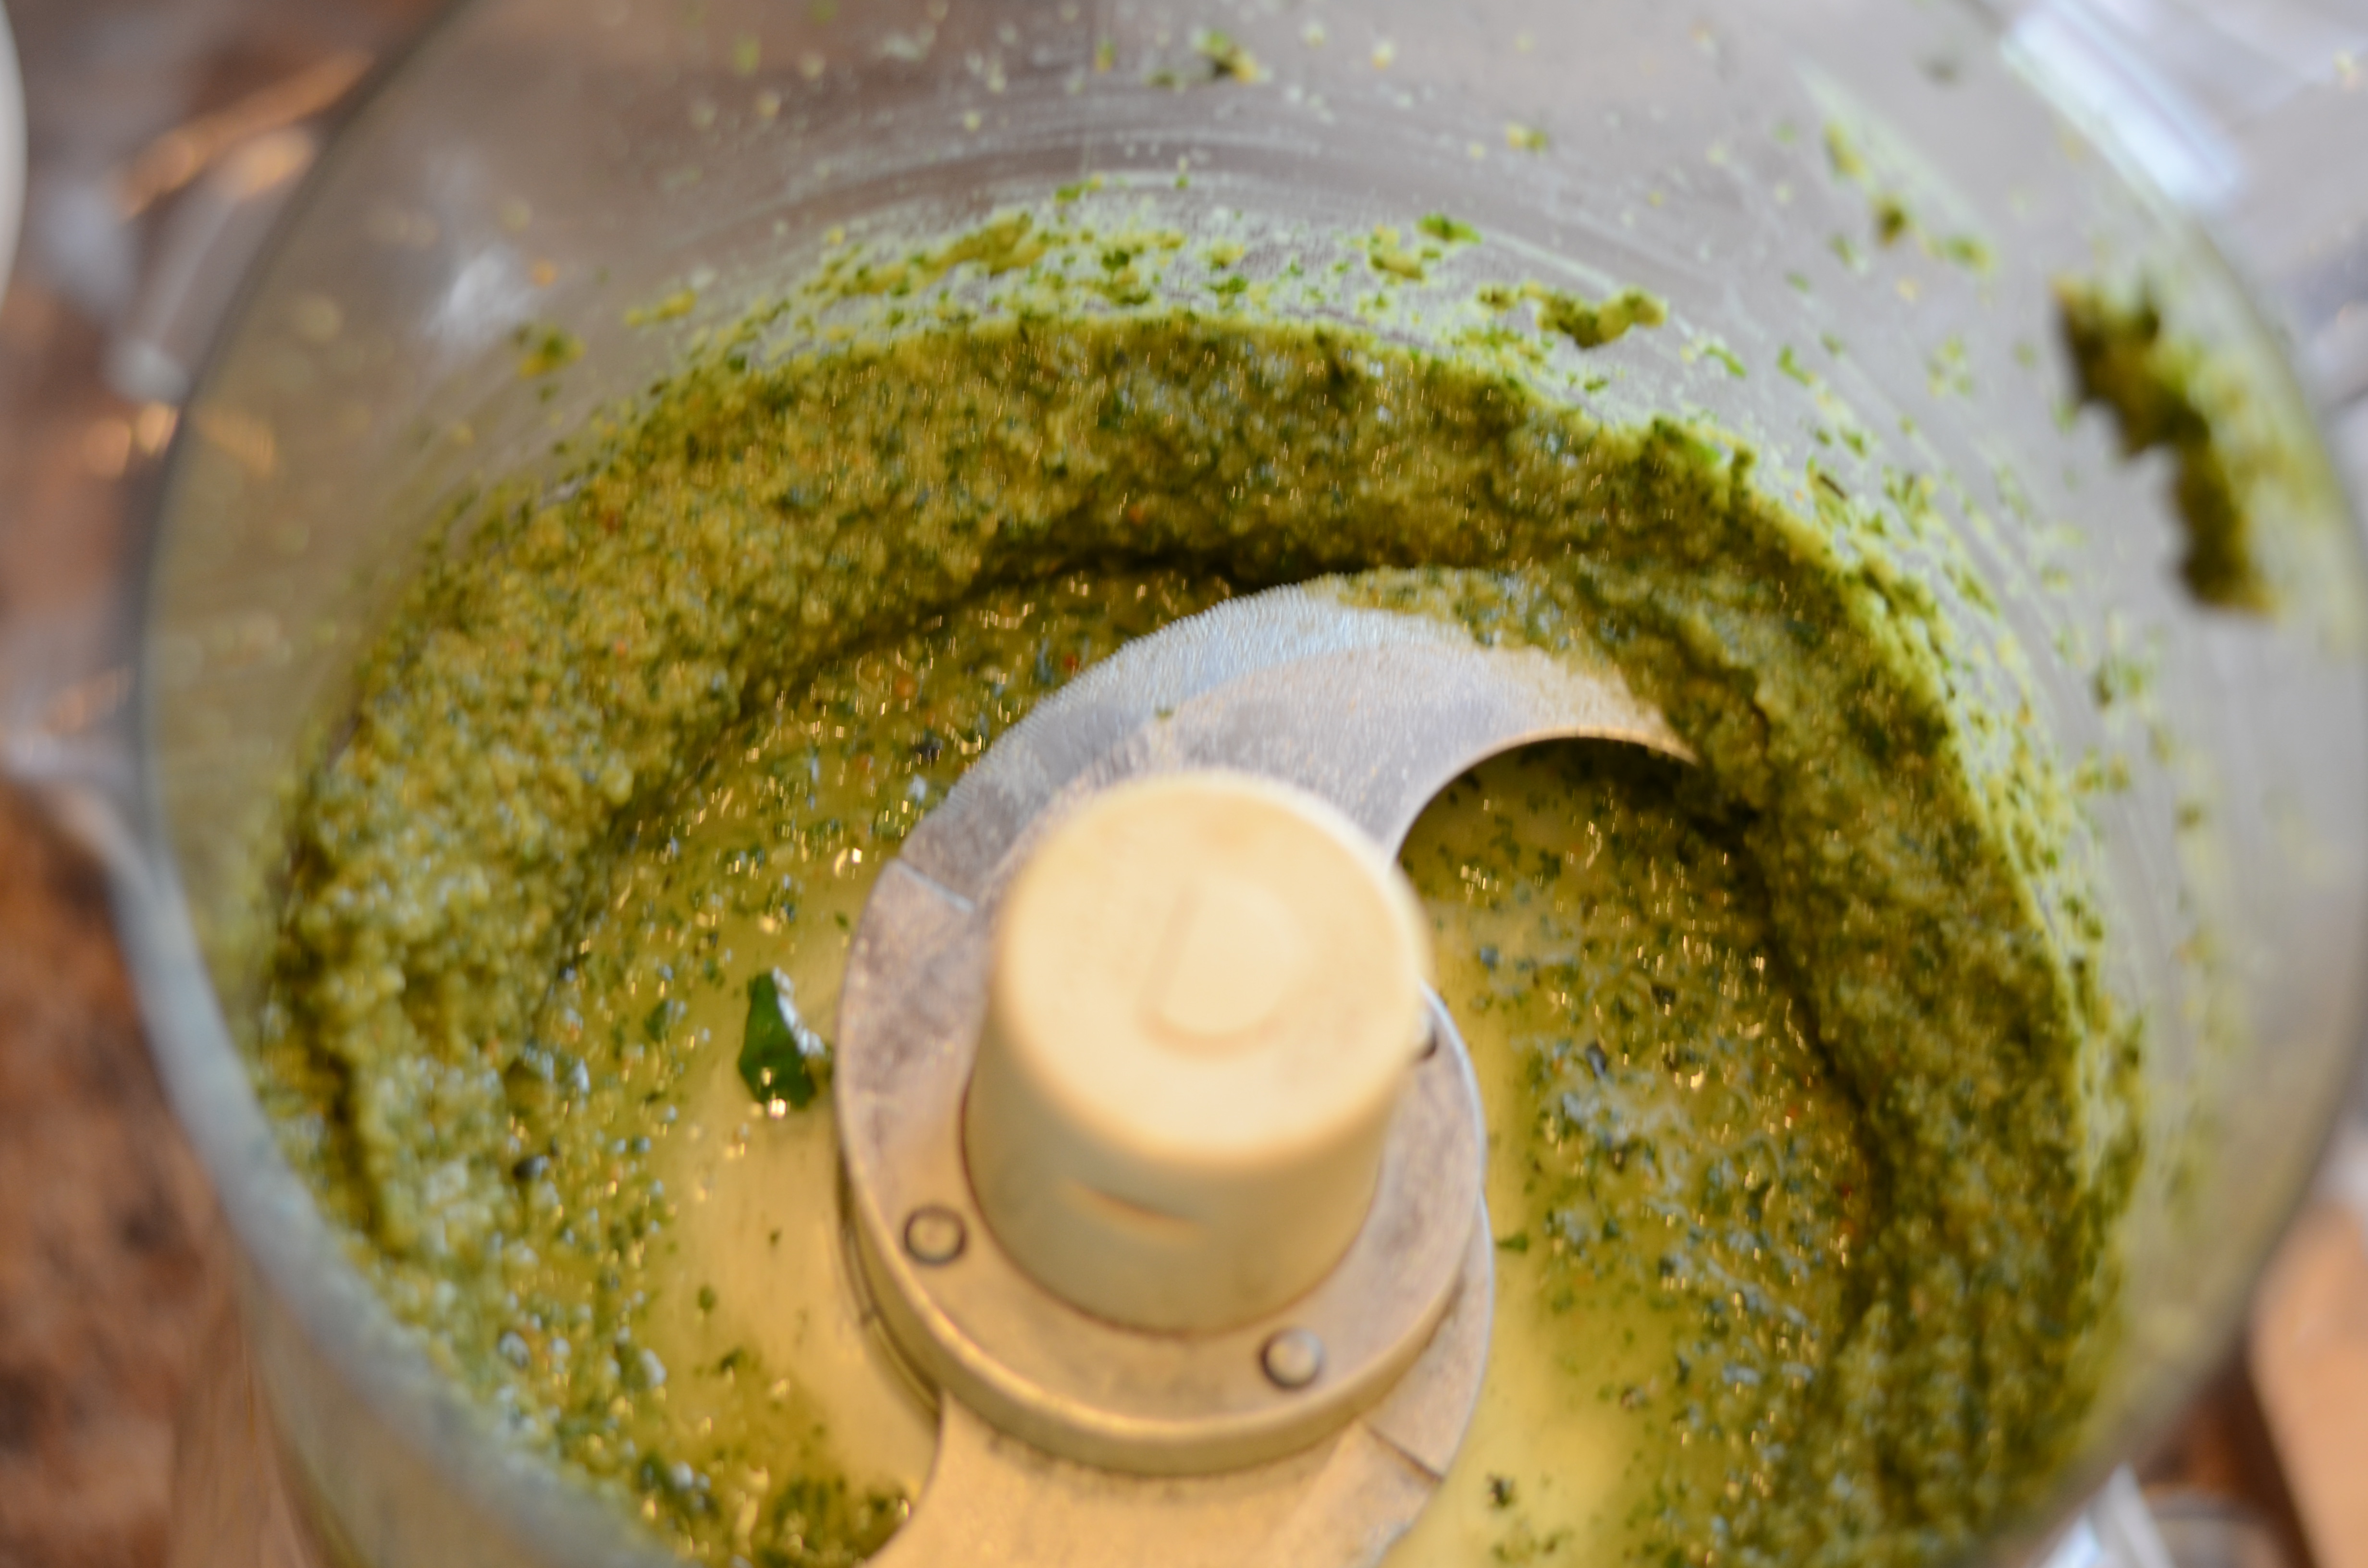
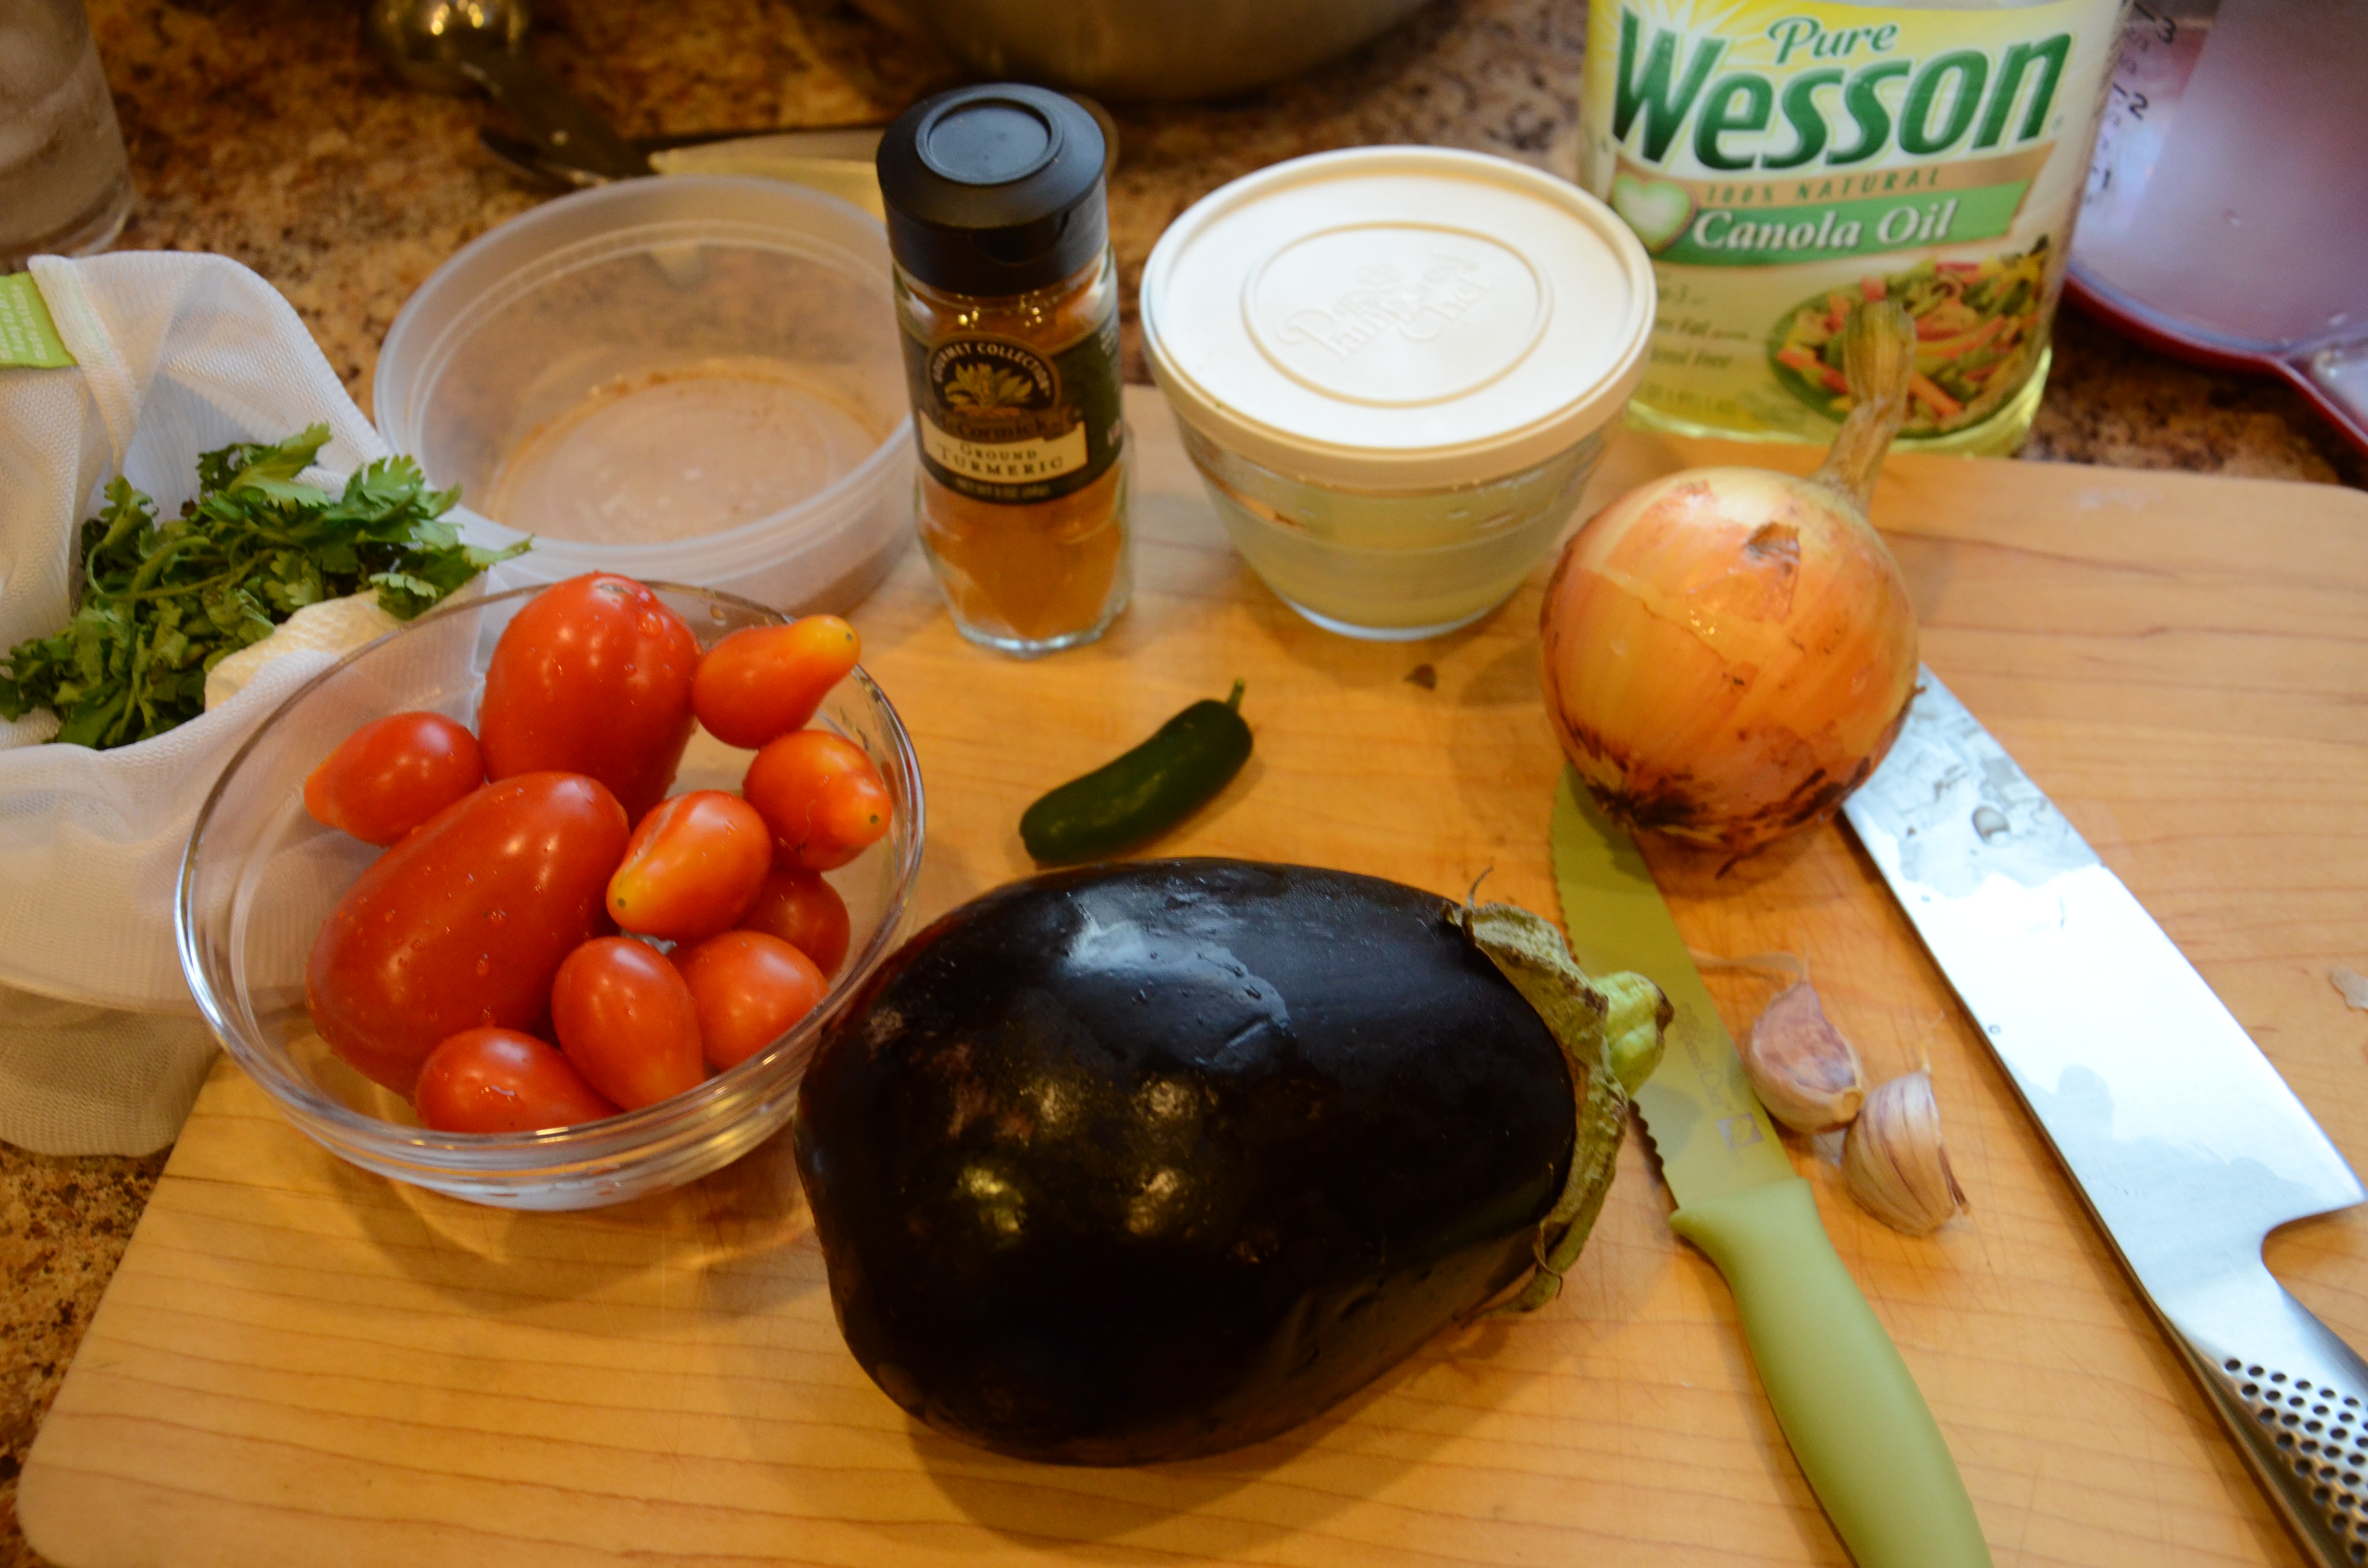
Of course, soup is a great way to incorporate miscellaneous vegetables. So later that week, I found a recipe that utilized CSA peppers and eggplant, along with leeks. With the help of the immersion blender, Matt was persuaded to eat and ENJOY something with eggplant! Pretty much any roasting vegetable could be incorporated in a soup like this.
Roasted Red Pepper and Eggplant Soup
Adapted from Bon Appétit via epicurious
Makes 4 servings
1 eggplant (about 1 pound), halved
~12 ounces red bell peppers
3 Tablespoons olive oil
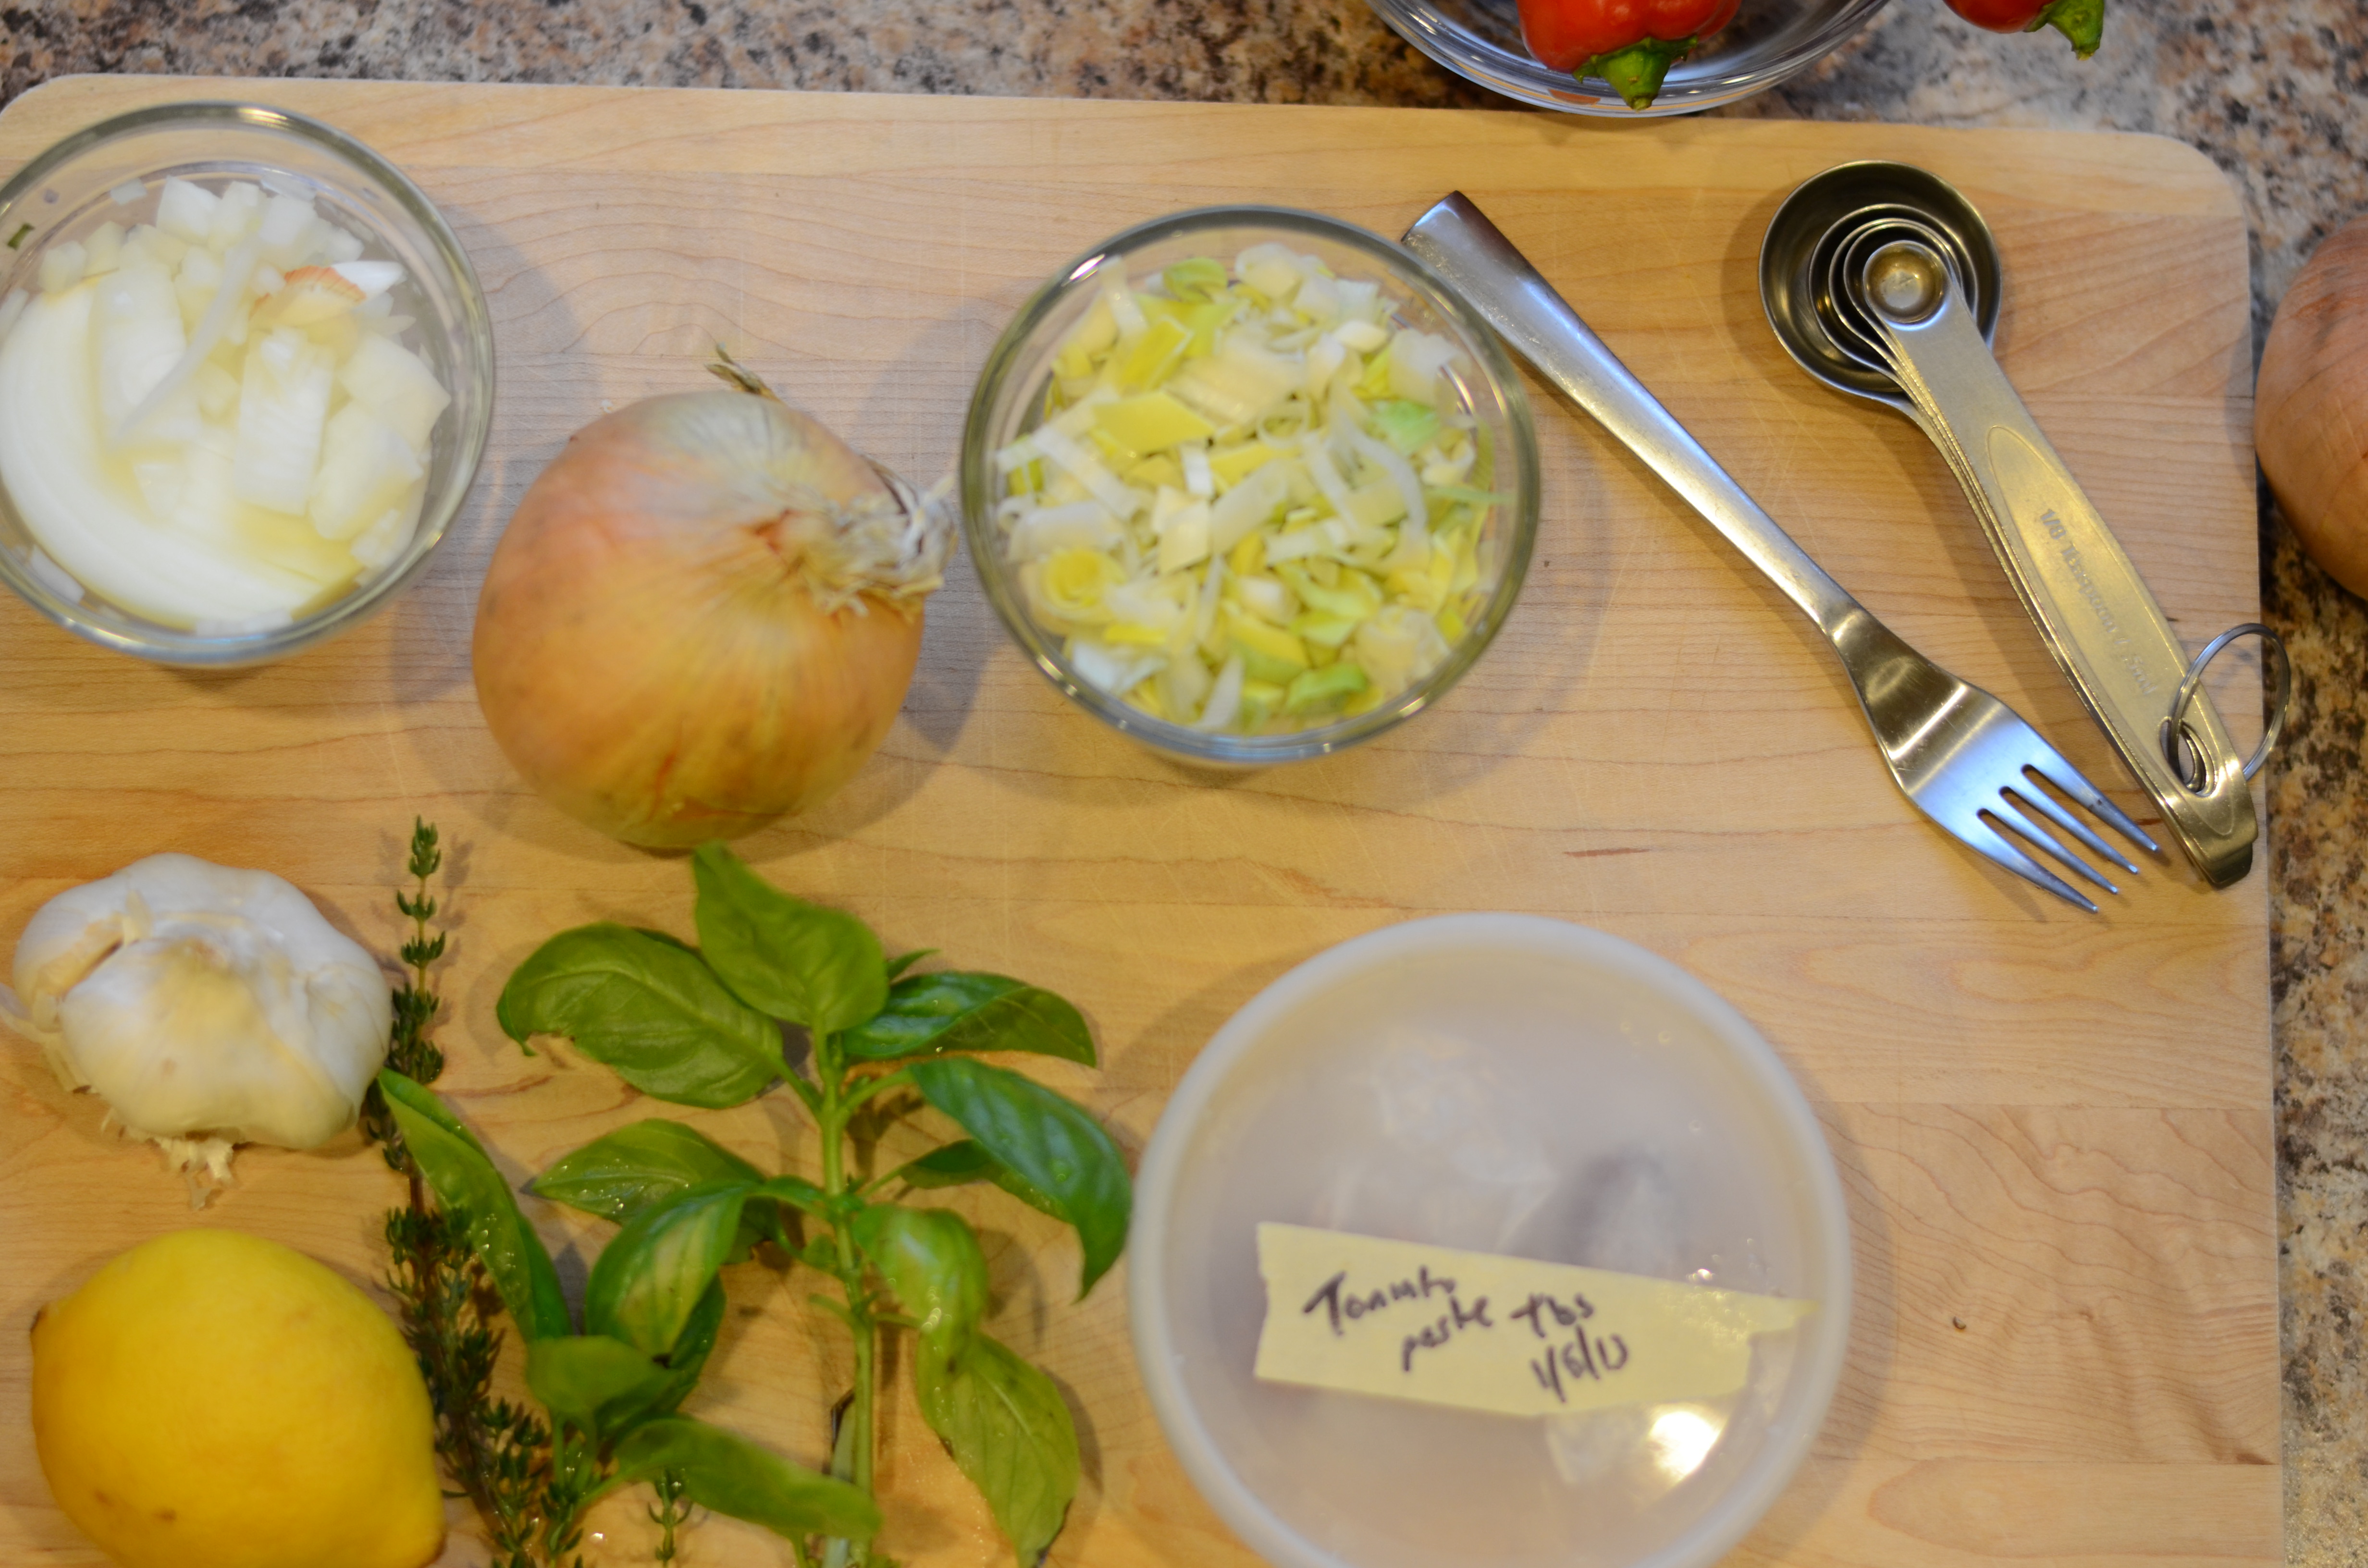
1 medium onion, chopped
~1 Cup/1 leek, halved lengthwise, dunked in cool water to remove grime, and thinly sliced crosswise (white and pale green parts only)
3 large garlic cloves, minced
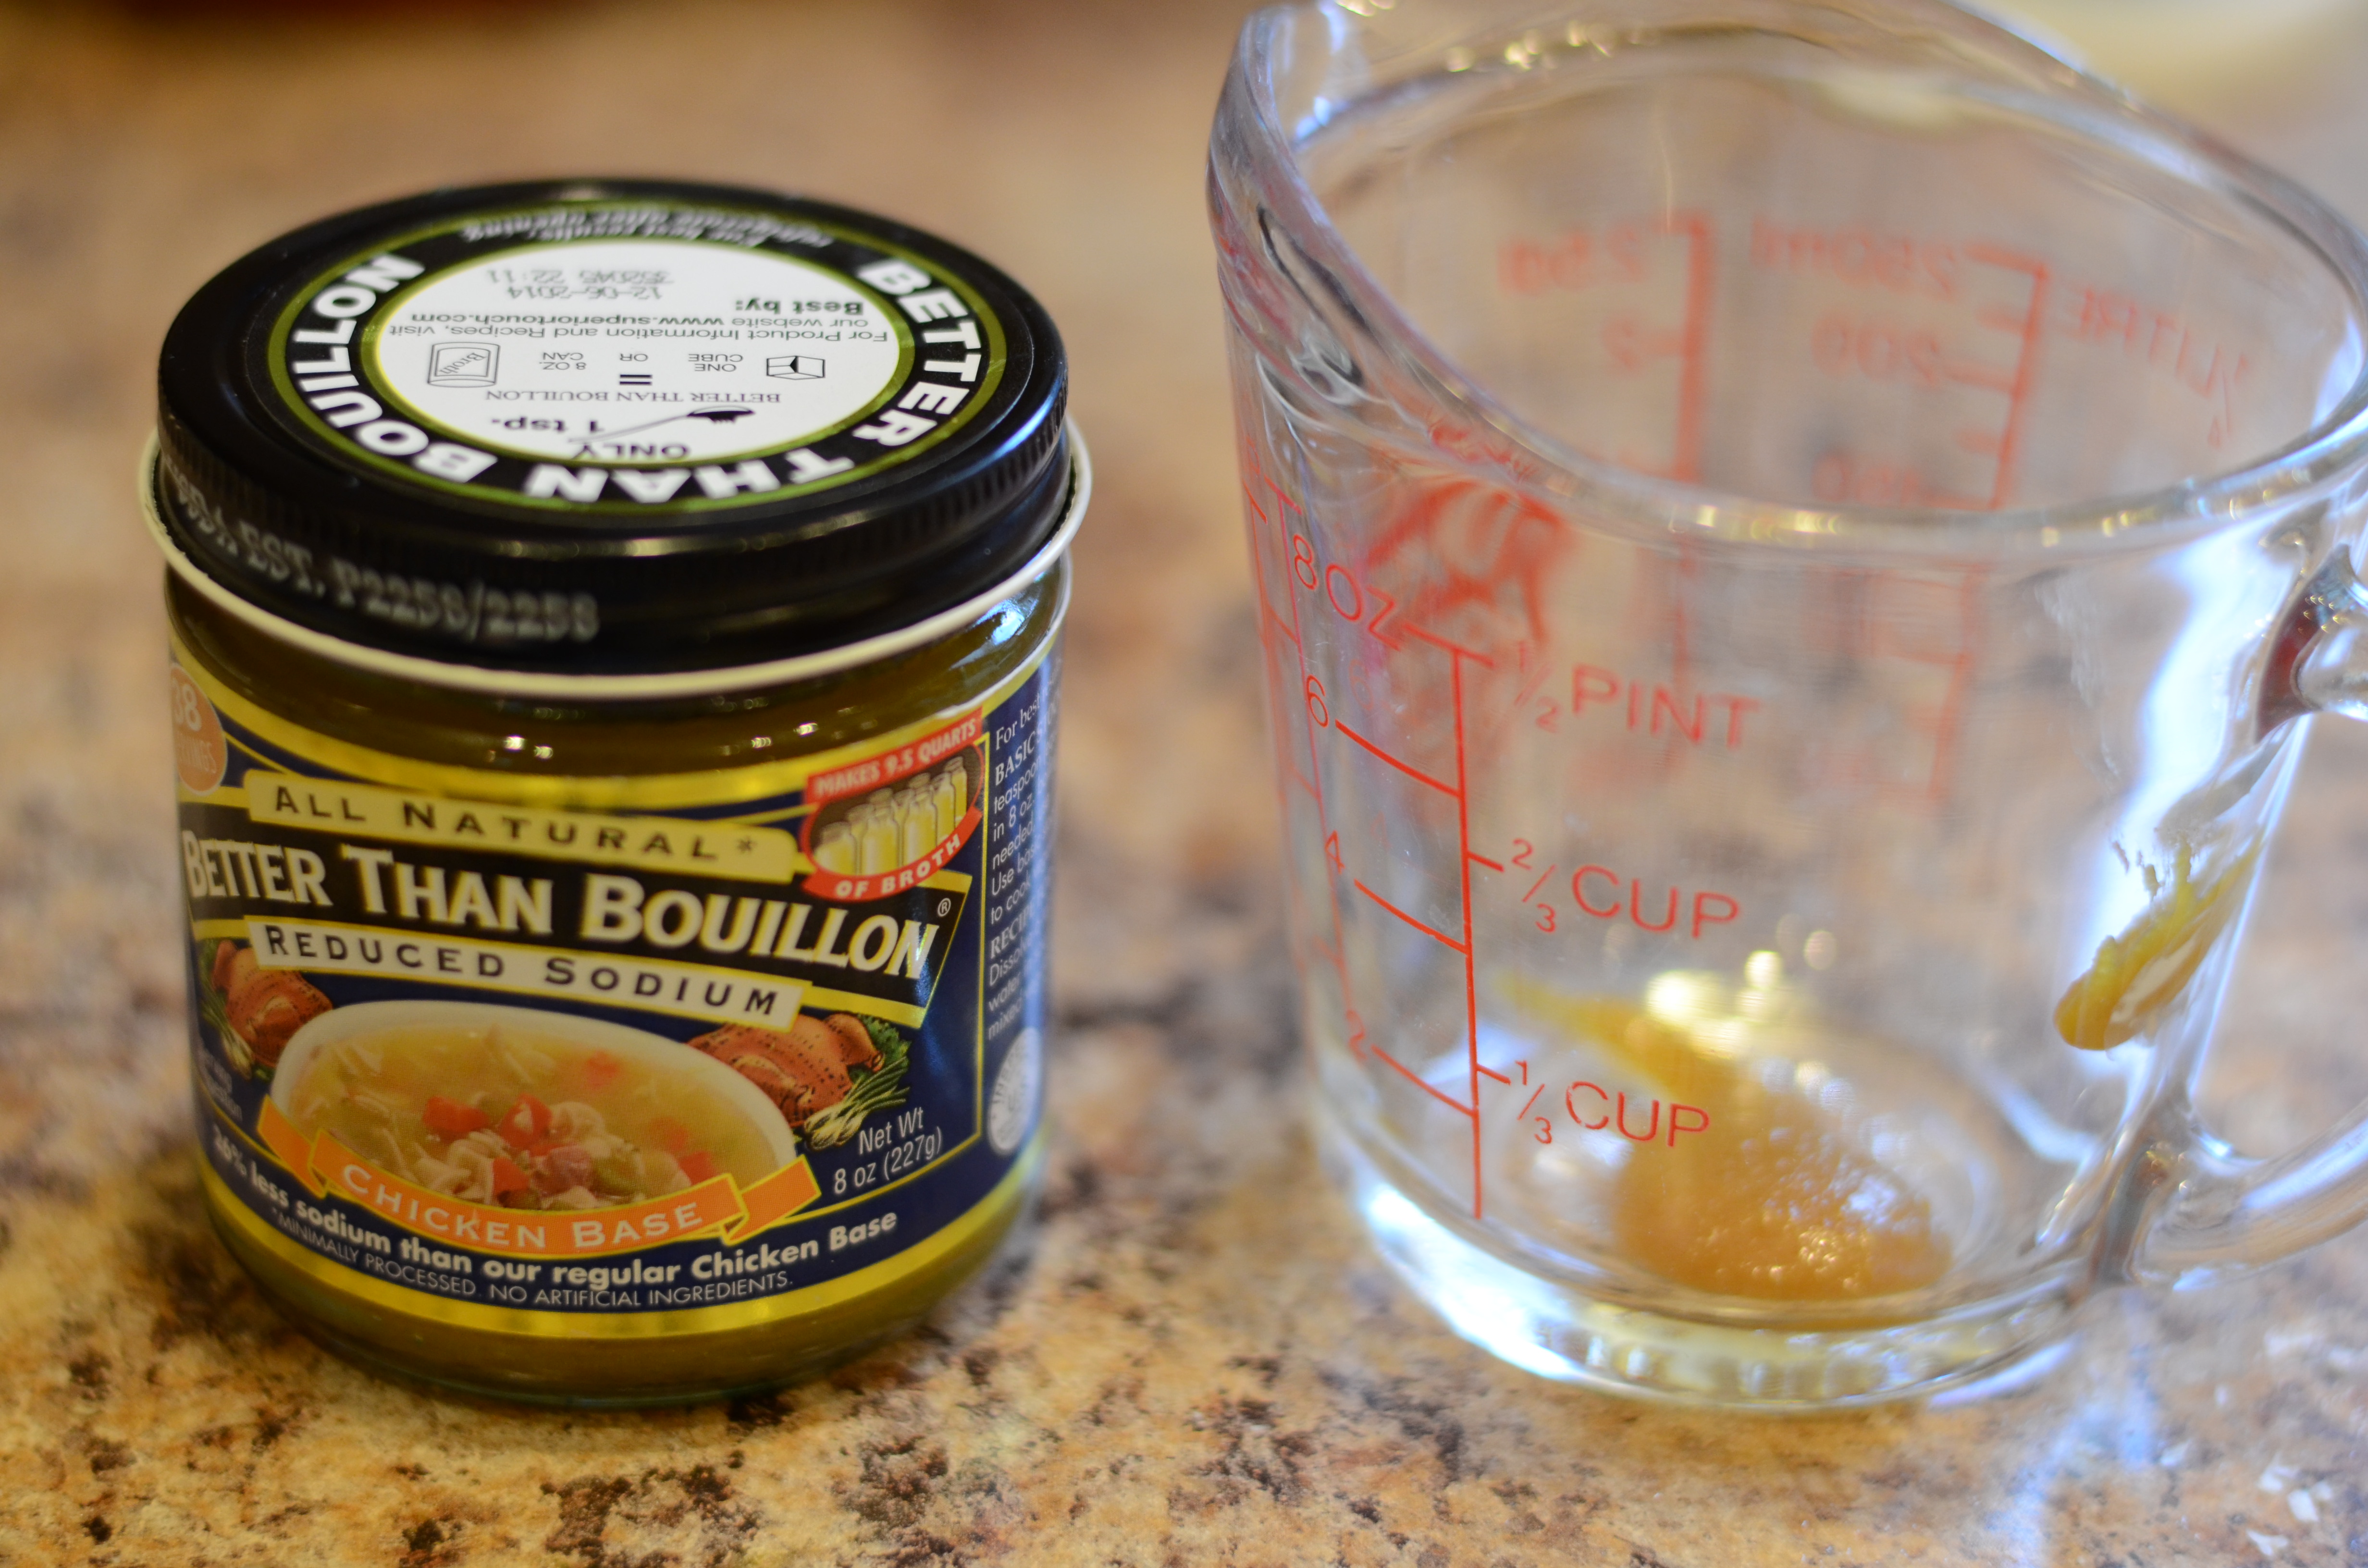
4 1/4 Cups chicken stock or canned low-salt chicken broth
2 Tablespoons tomato paste
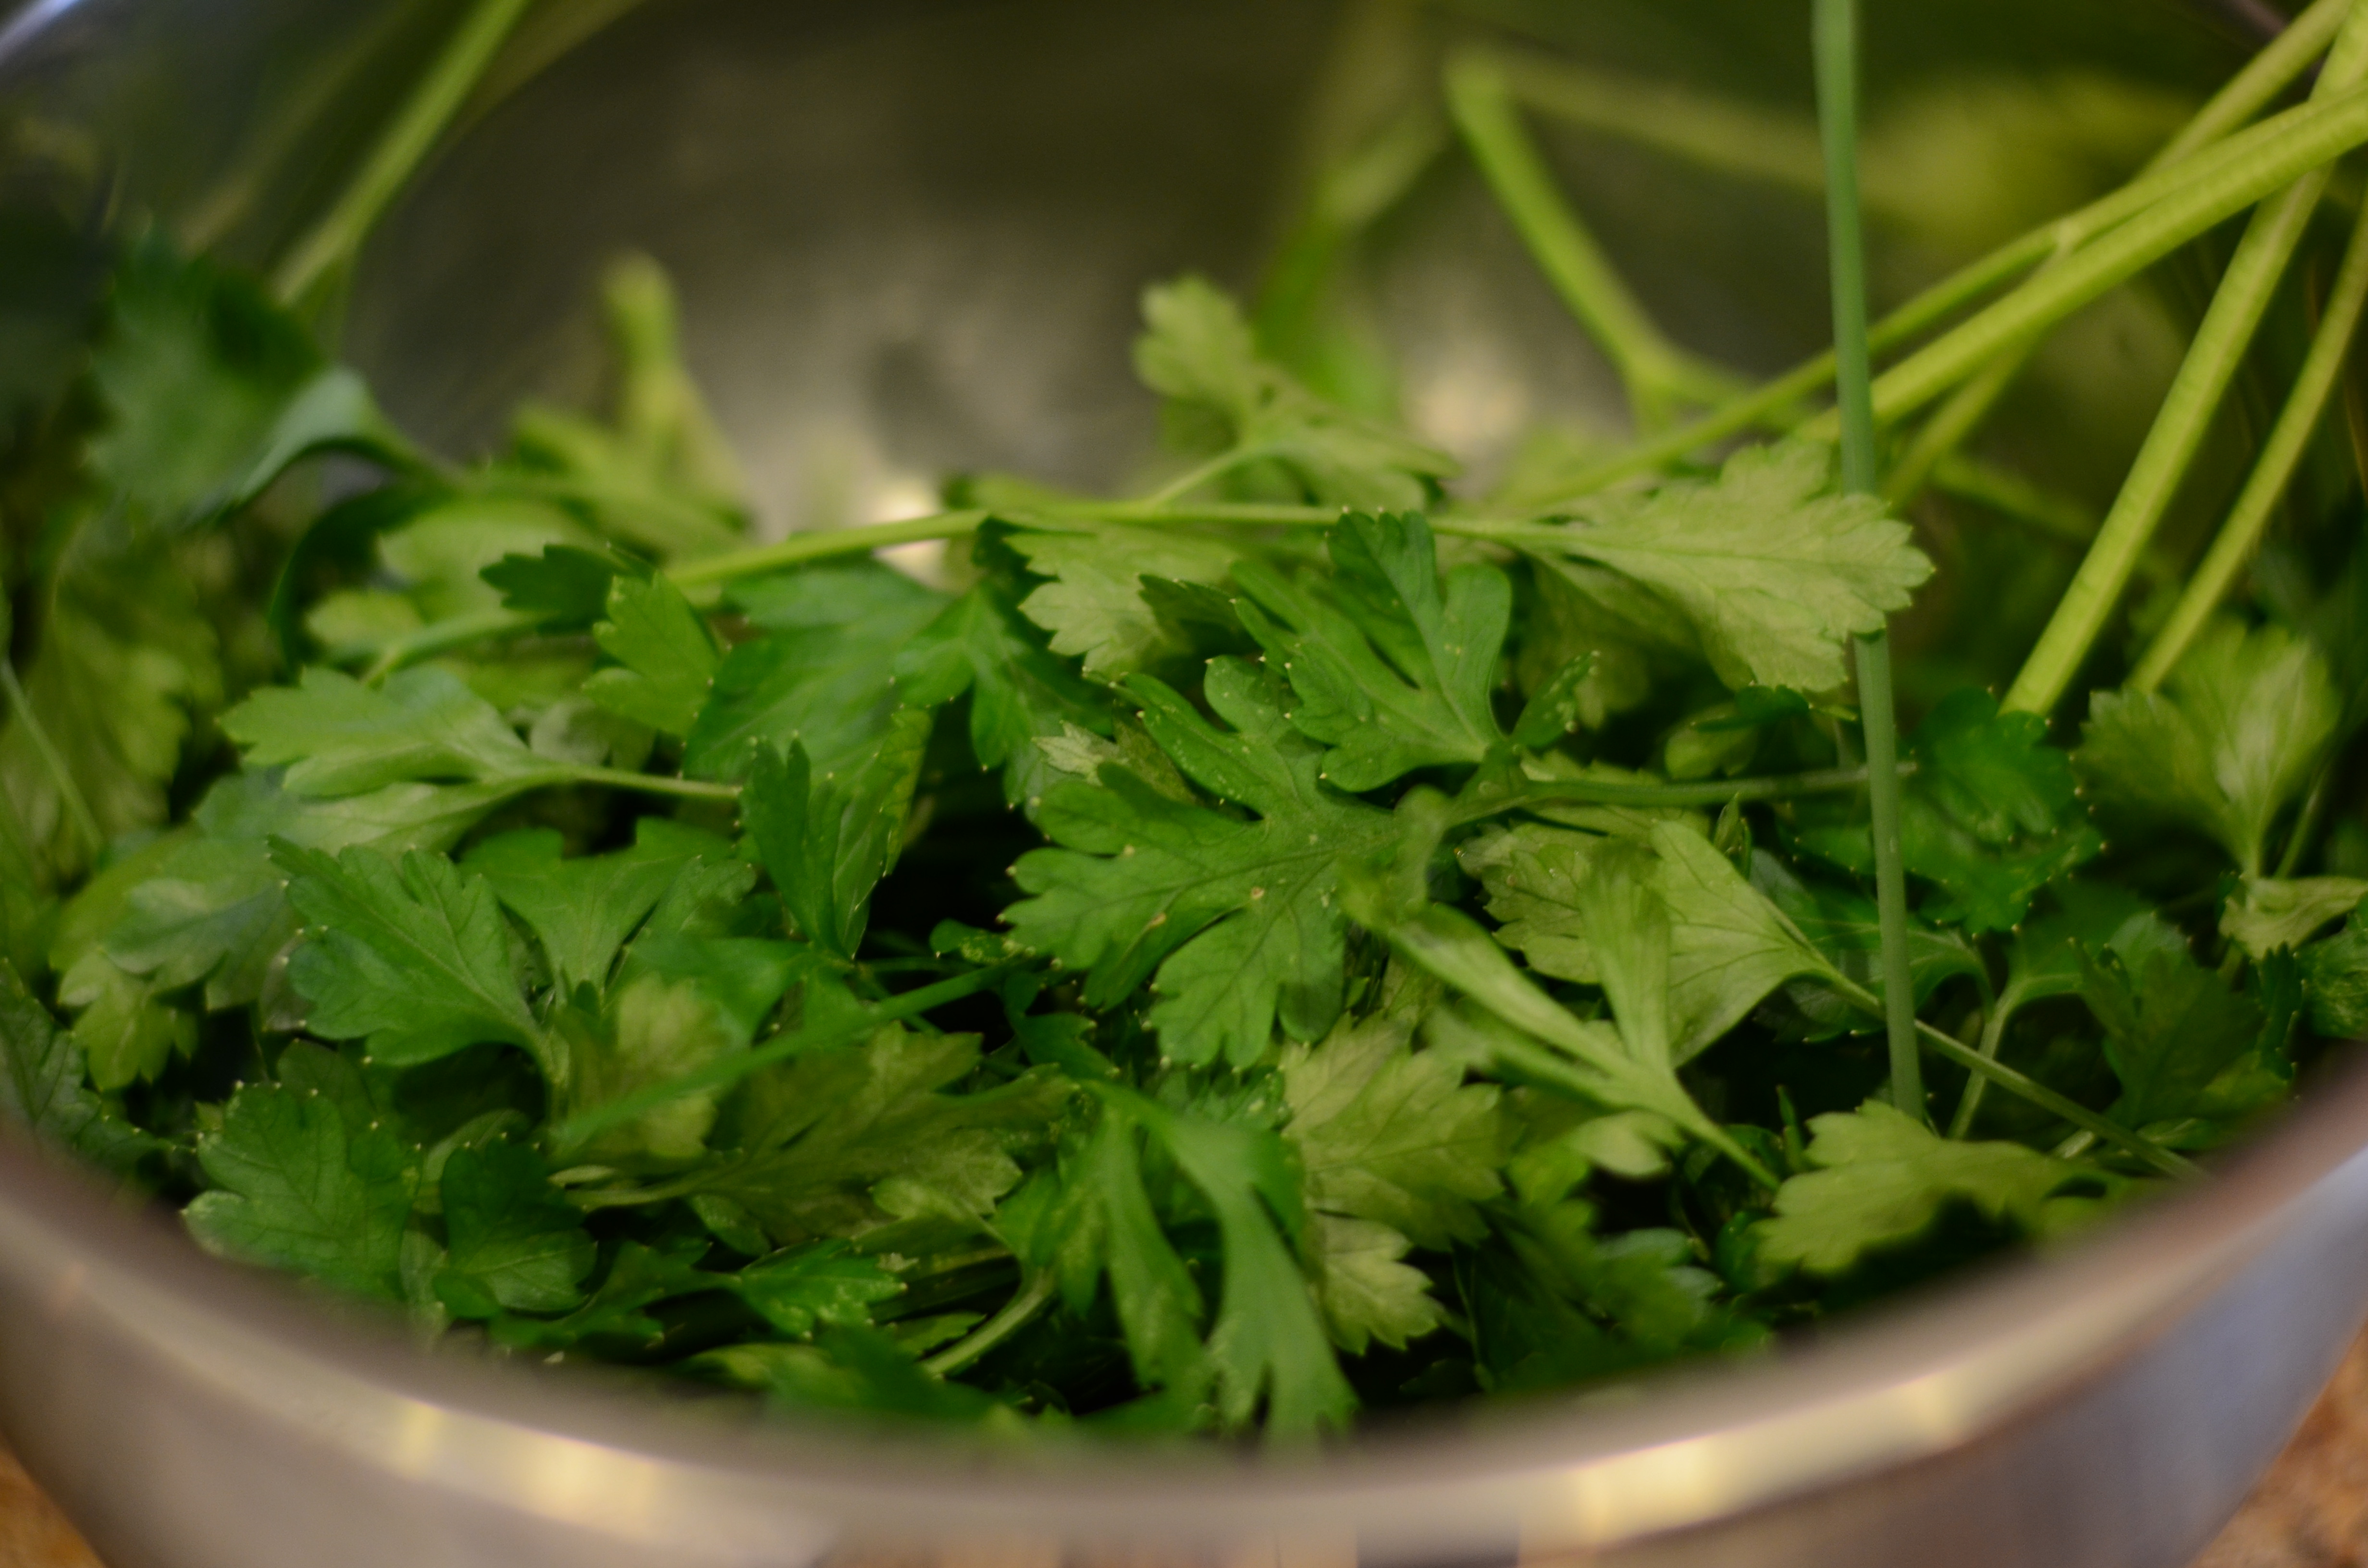
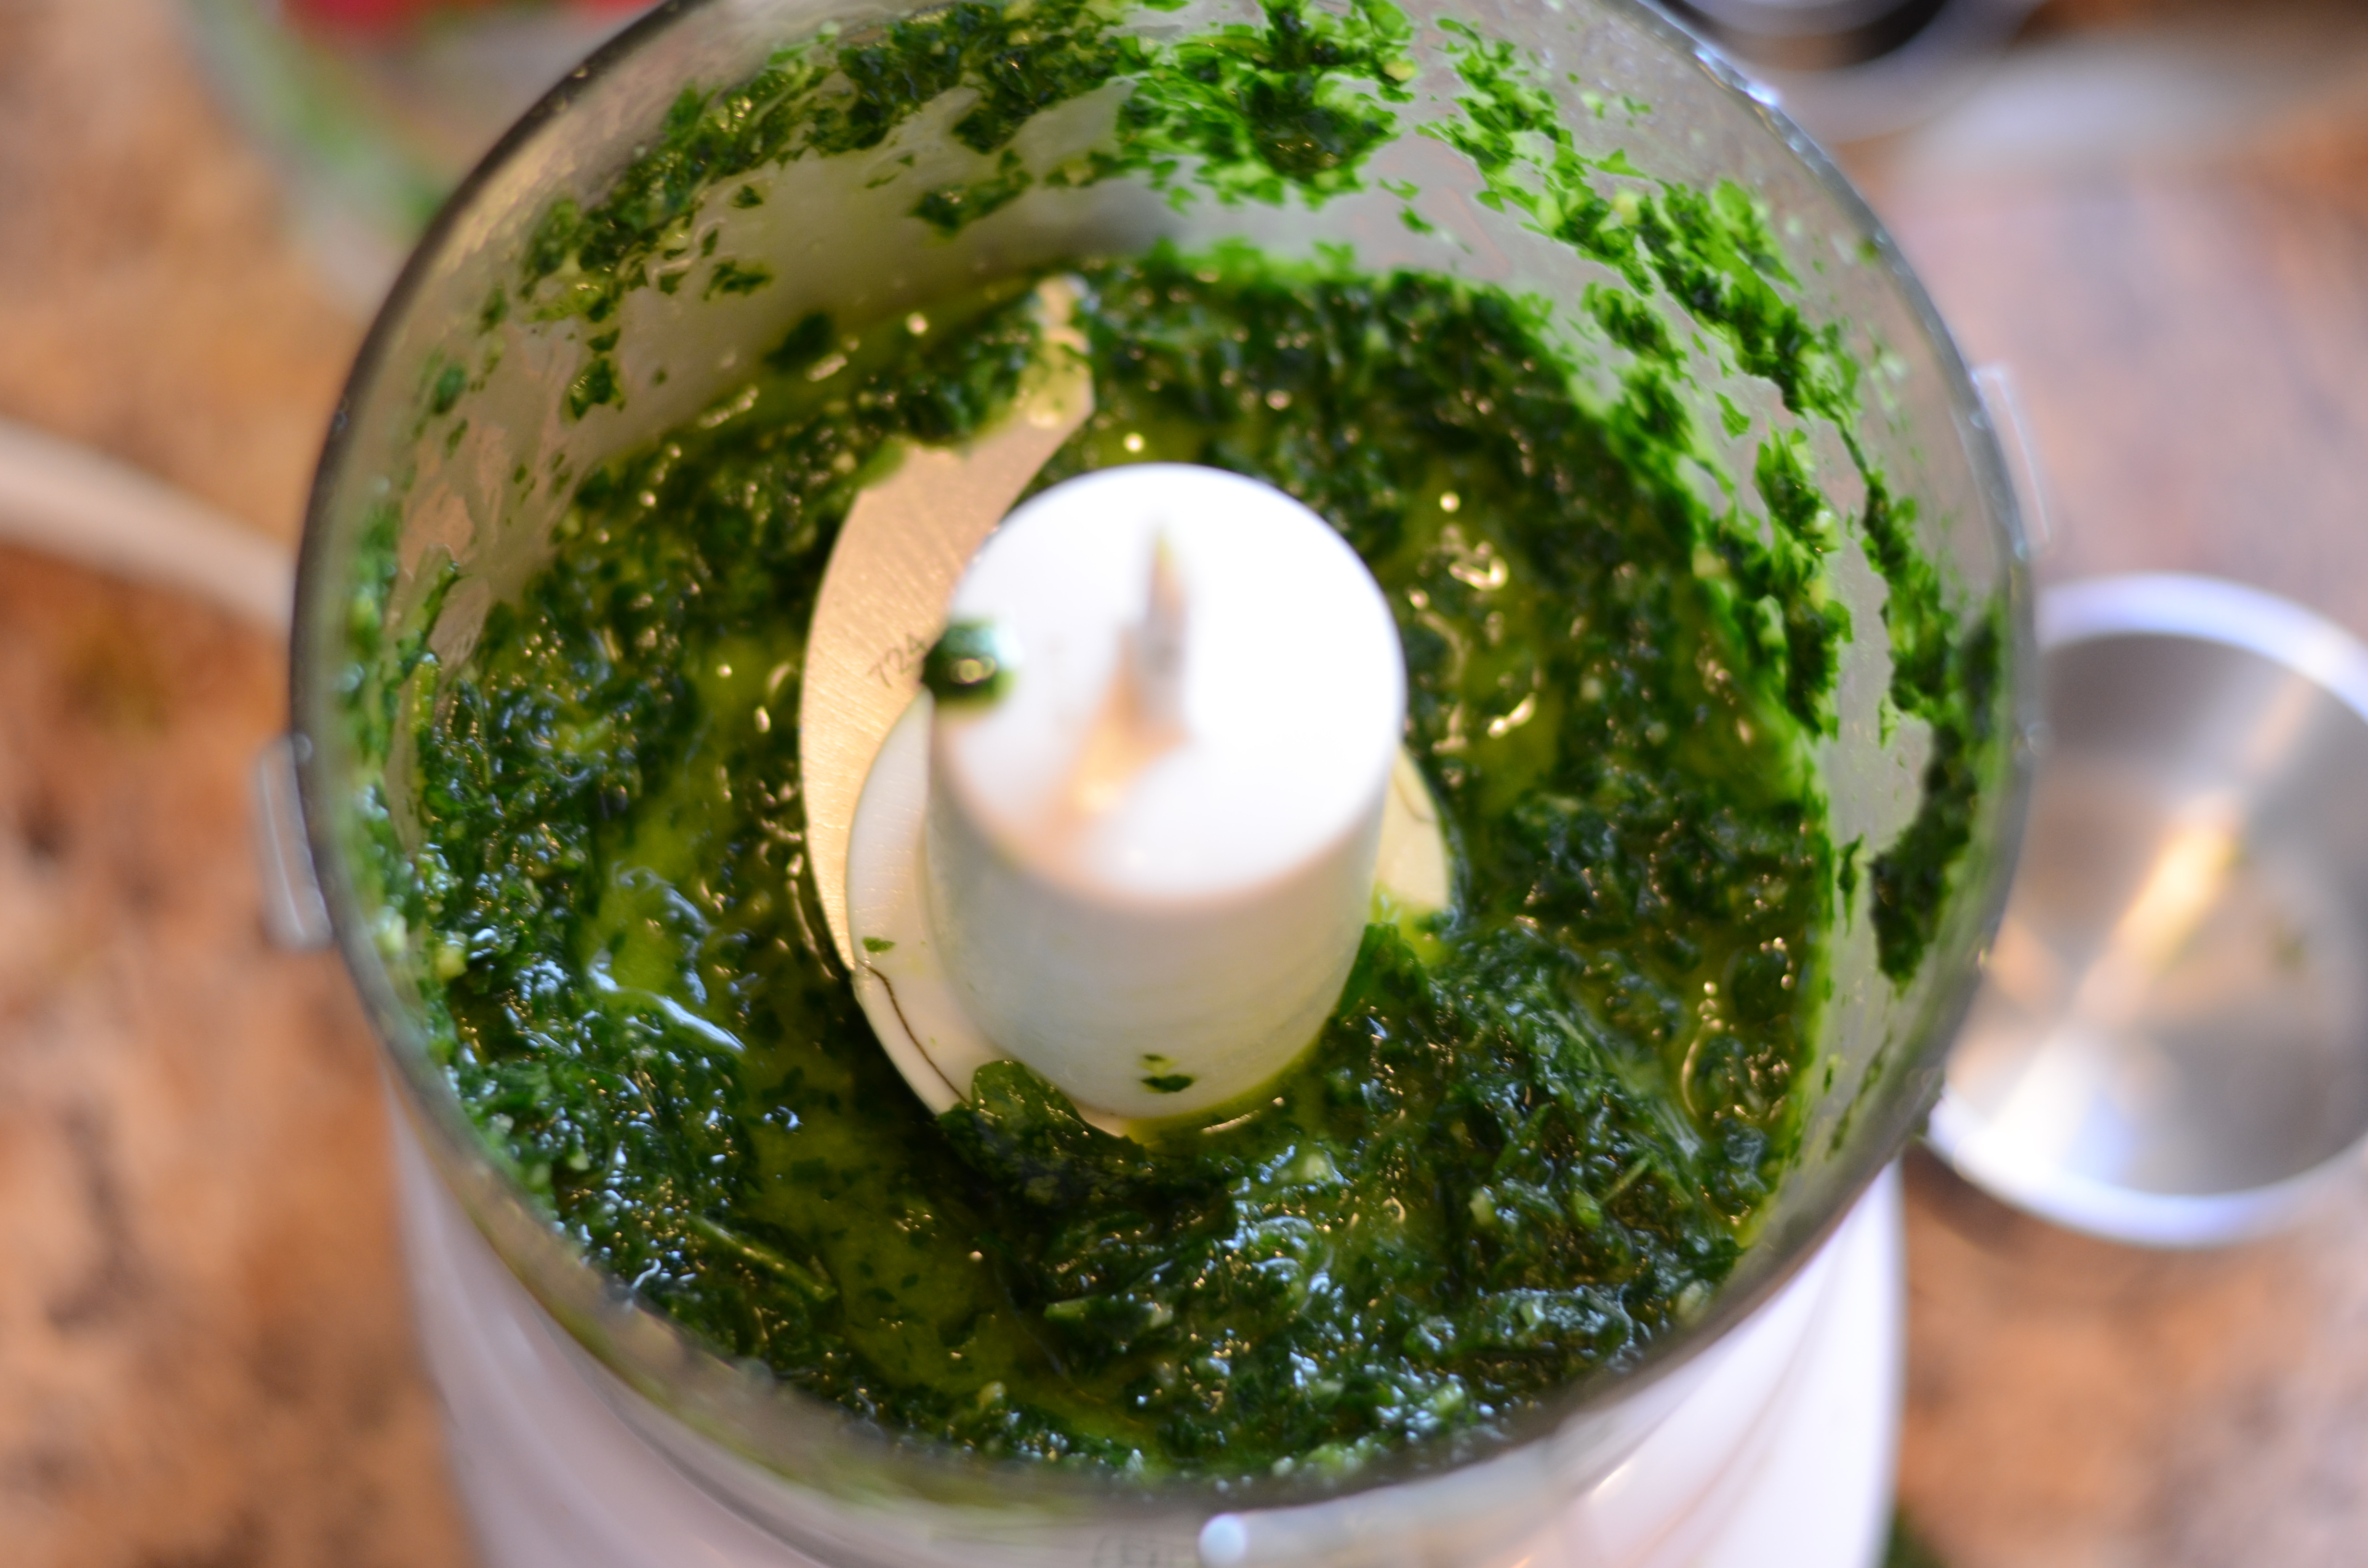
4 Tablespoons fresh basil, chopped
1 Tablespoon fresh thyme, chopped
1.5 Tablespoons unsalted butter
1 Tablespoon fresh lemon juice
Parmesan cheese shavings
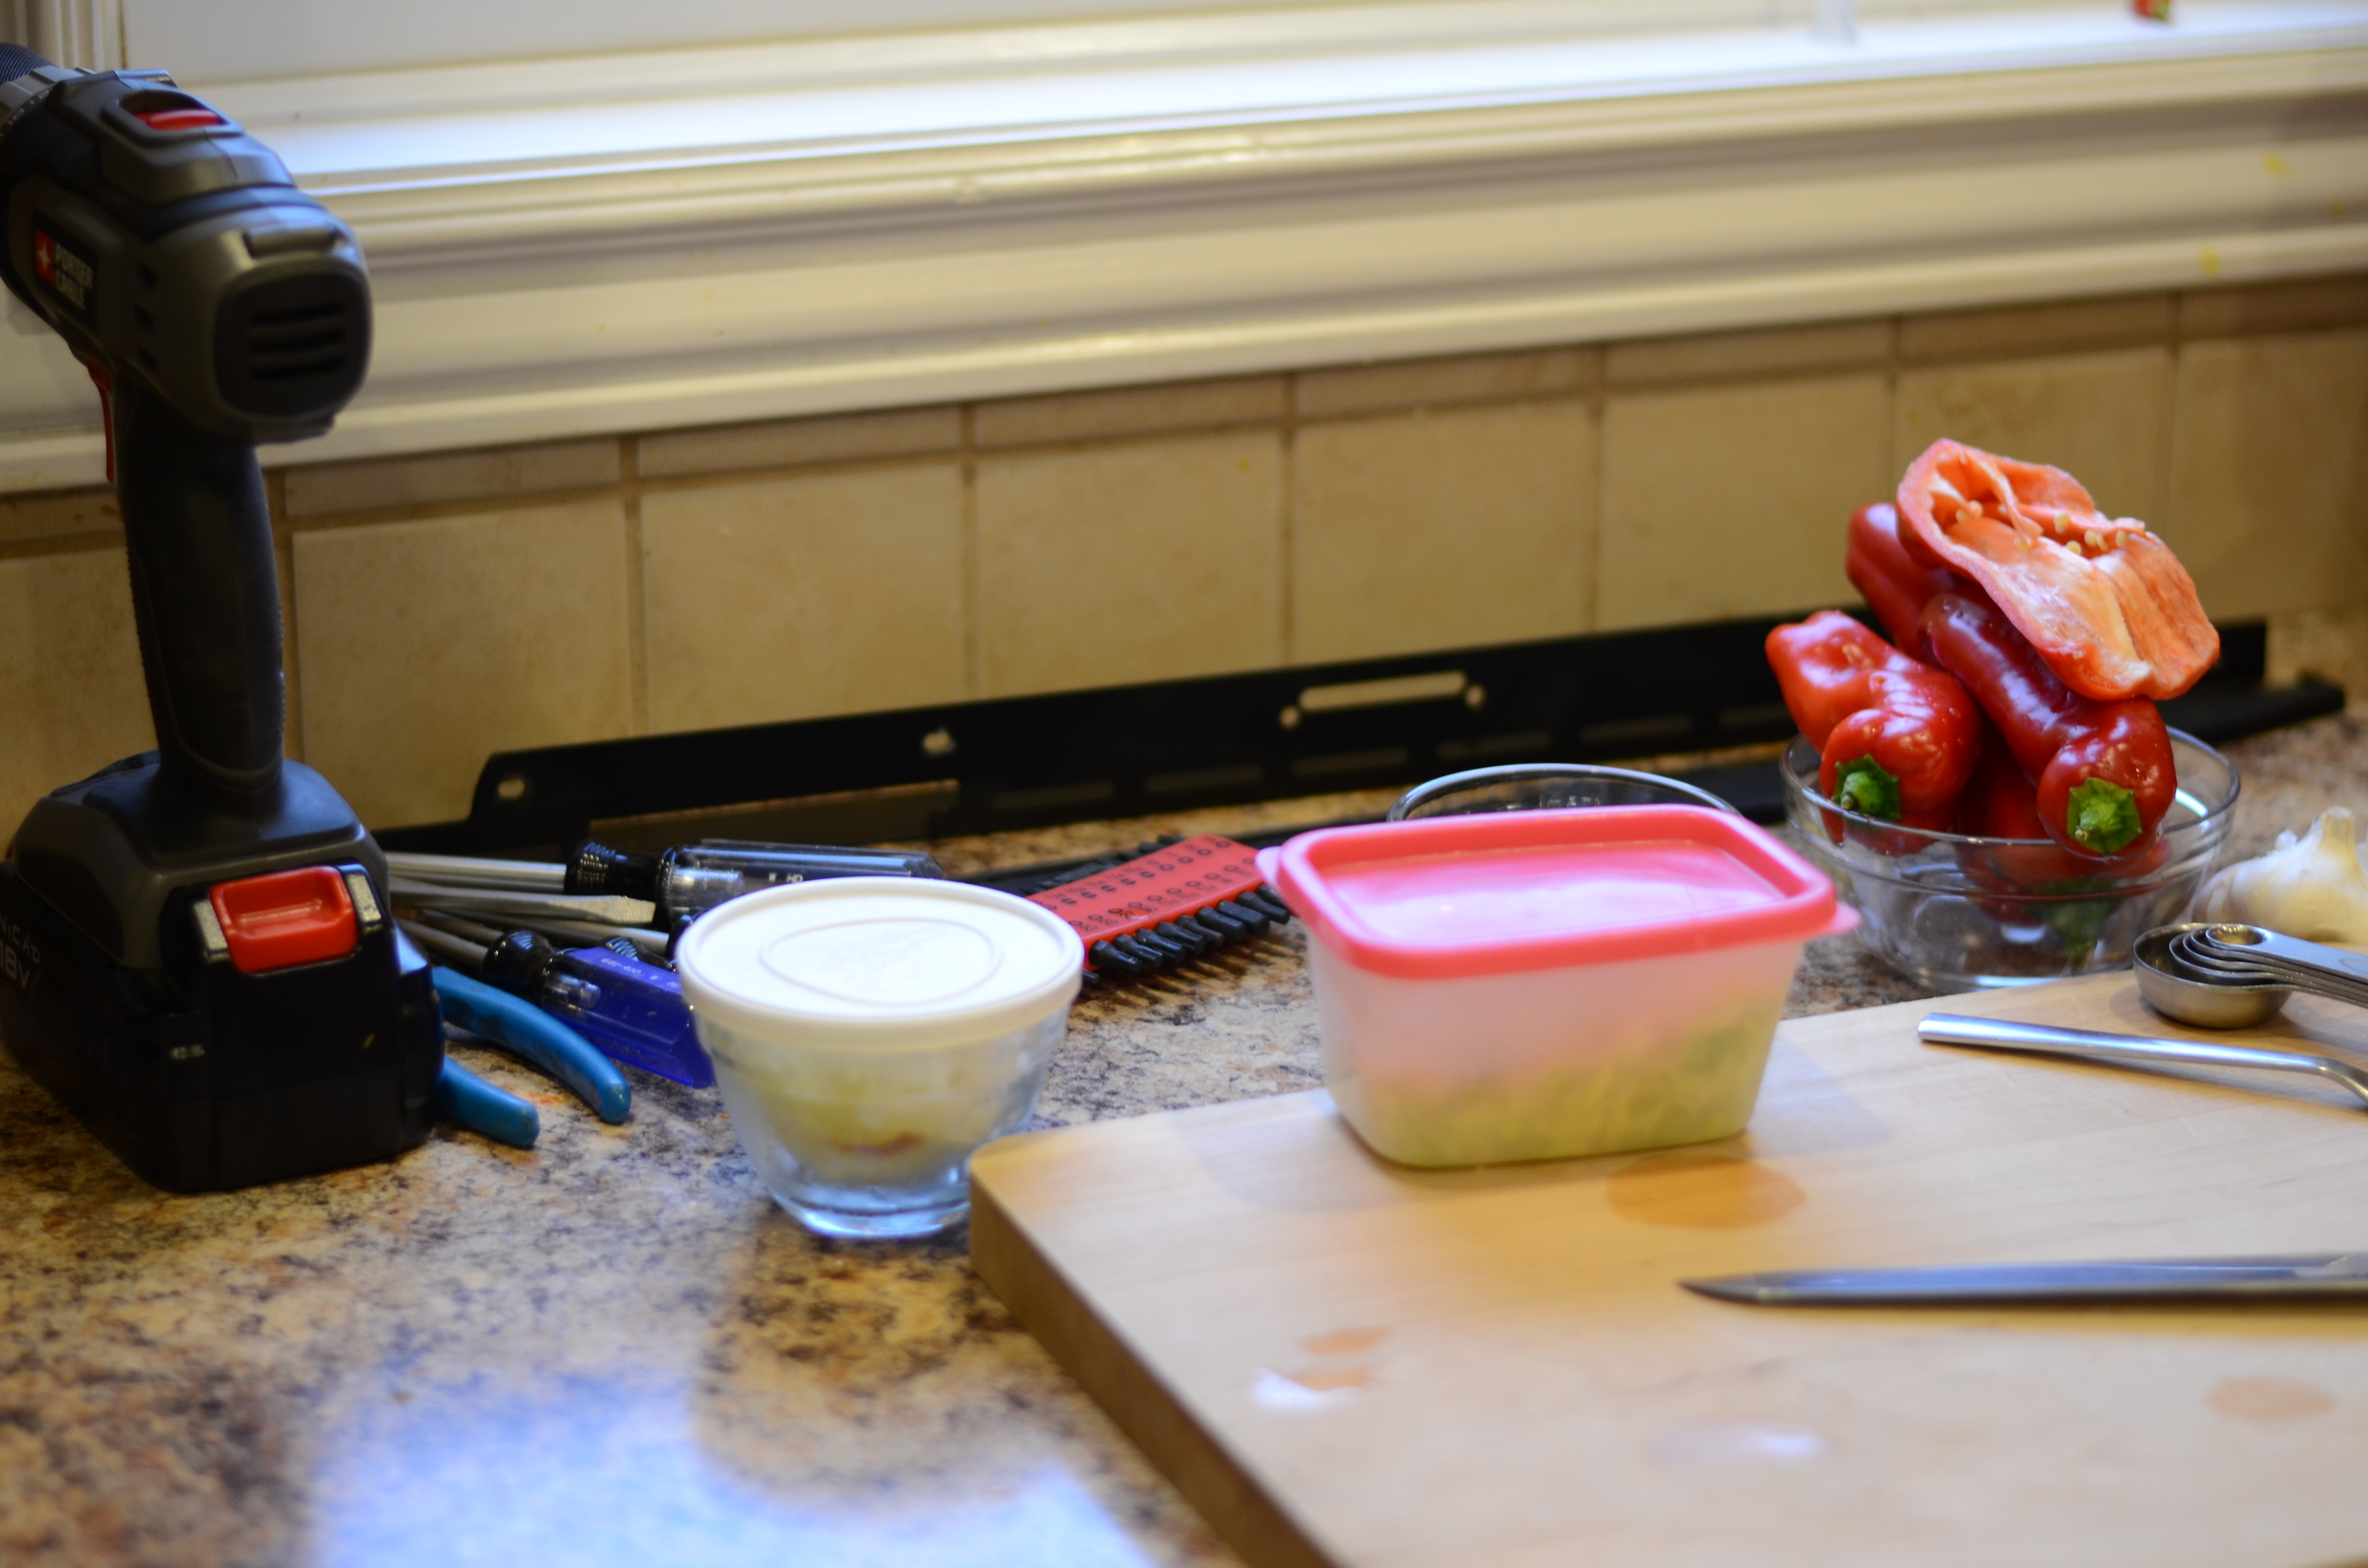
As you can see, Matt pulled out his tools and made a fair attempt to diagnose and potentially repair the oven. Now a week and a half later, the repairman came, only to say he has to order a part and come NEXT week to see if that fixes it.
This is where an oven WOULD have come in handy–the original recipe called for roasting the vegetables on a parchment-lined baking sheet at 450°F. I once again turned to the grill, cranked up high to try to keep it over 400.
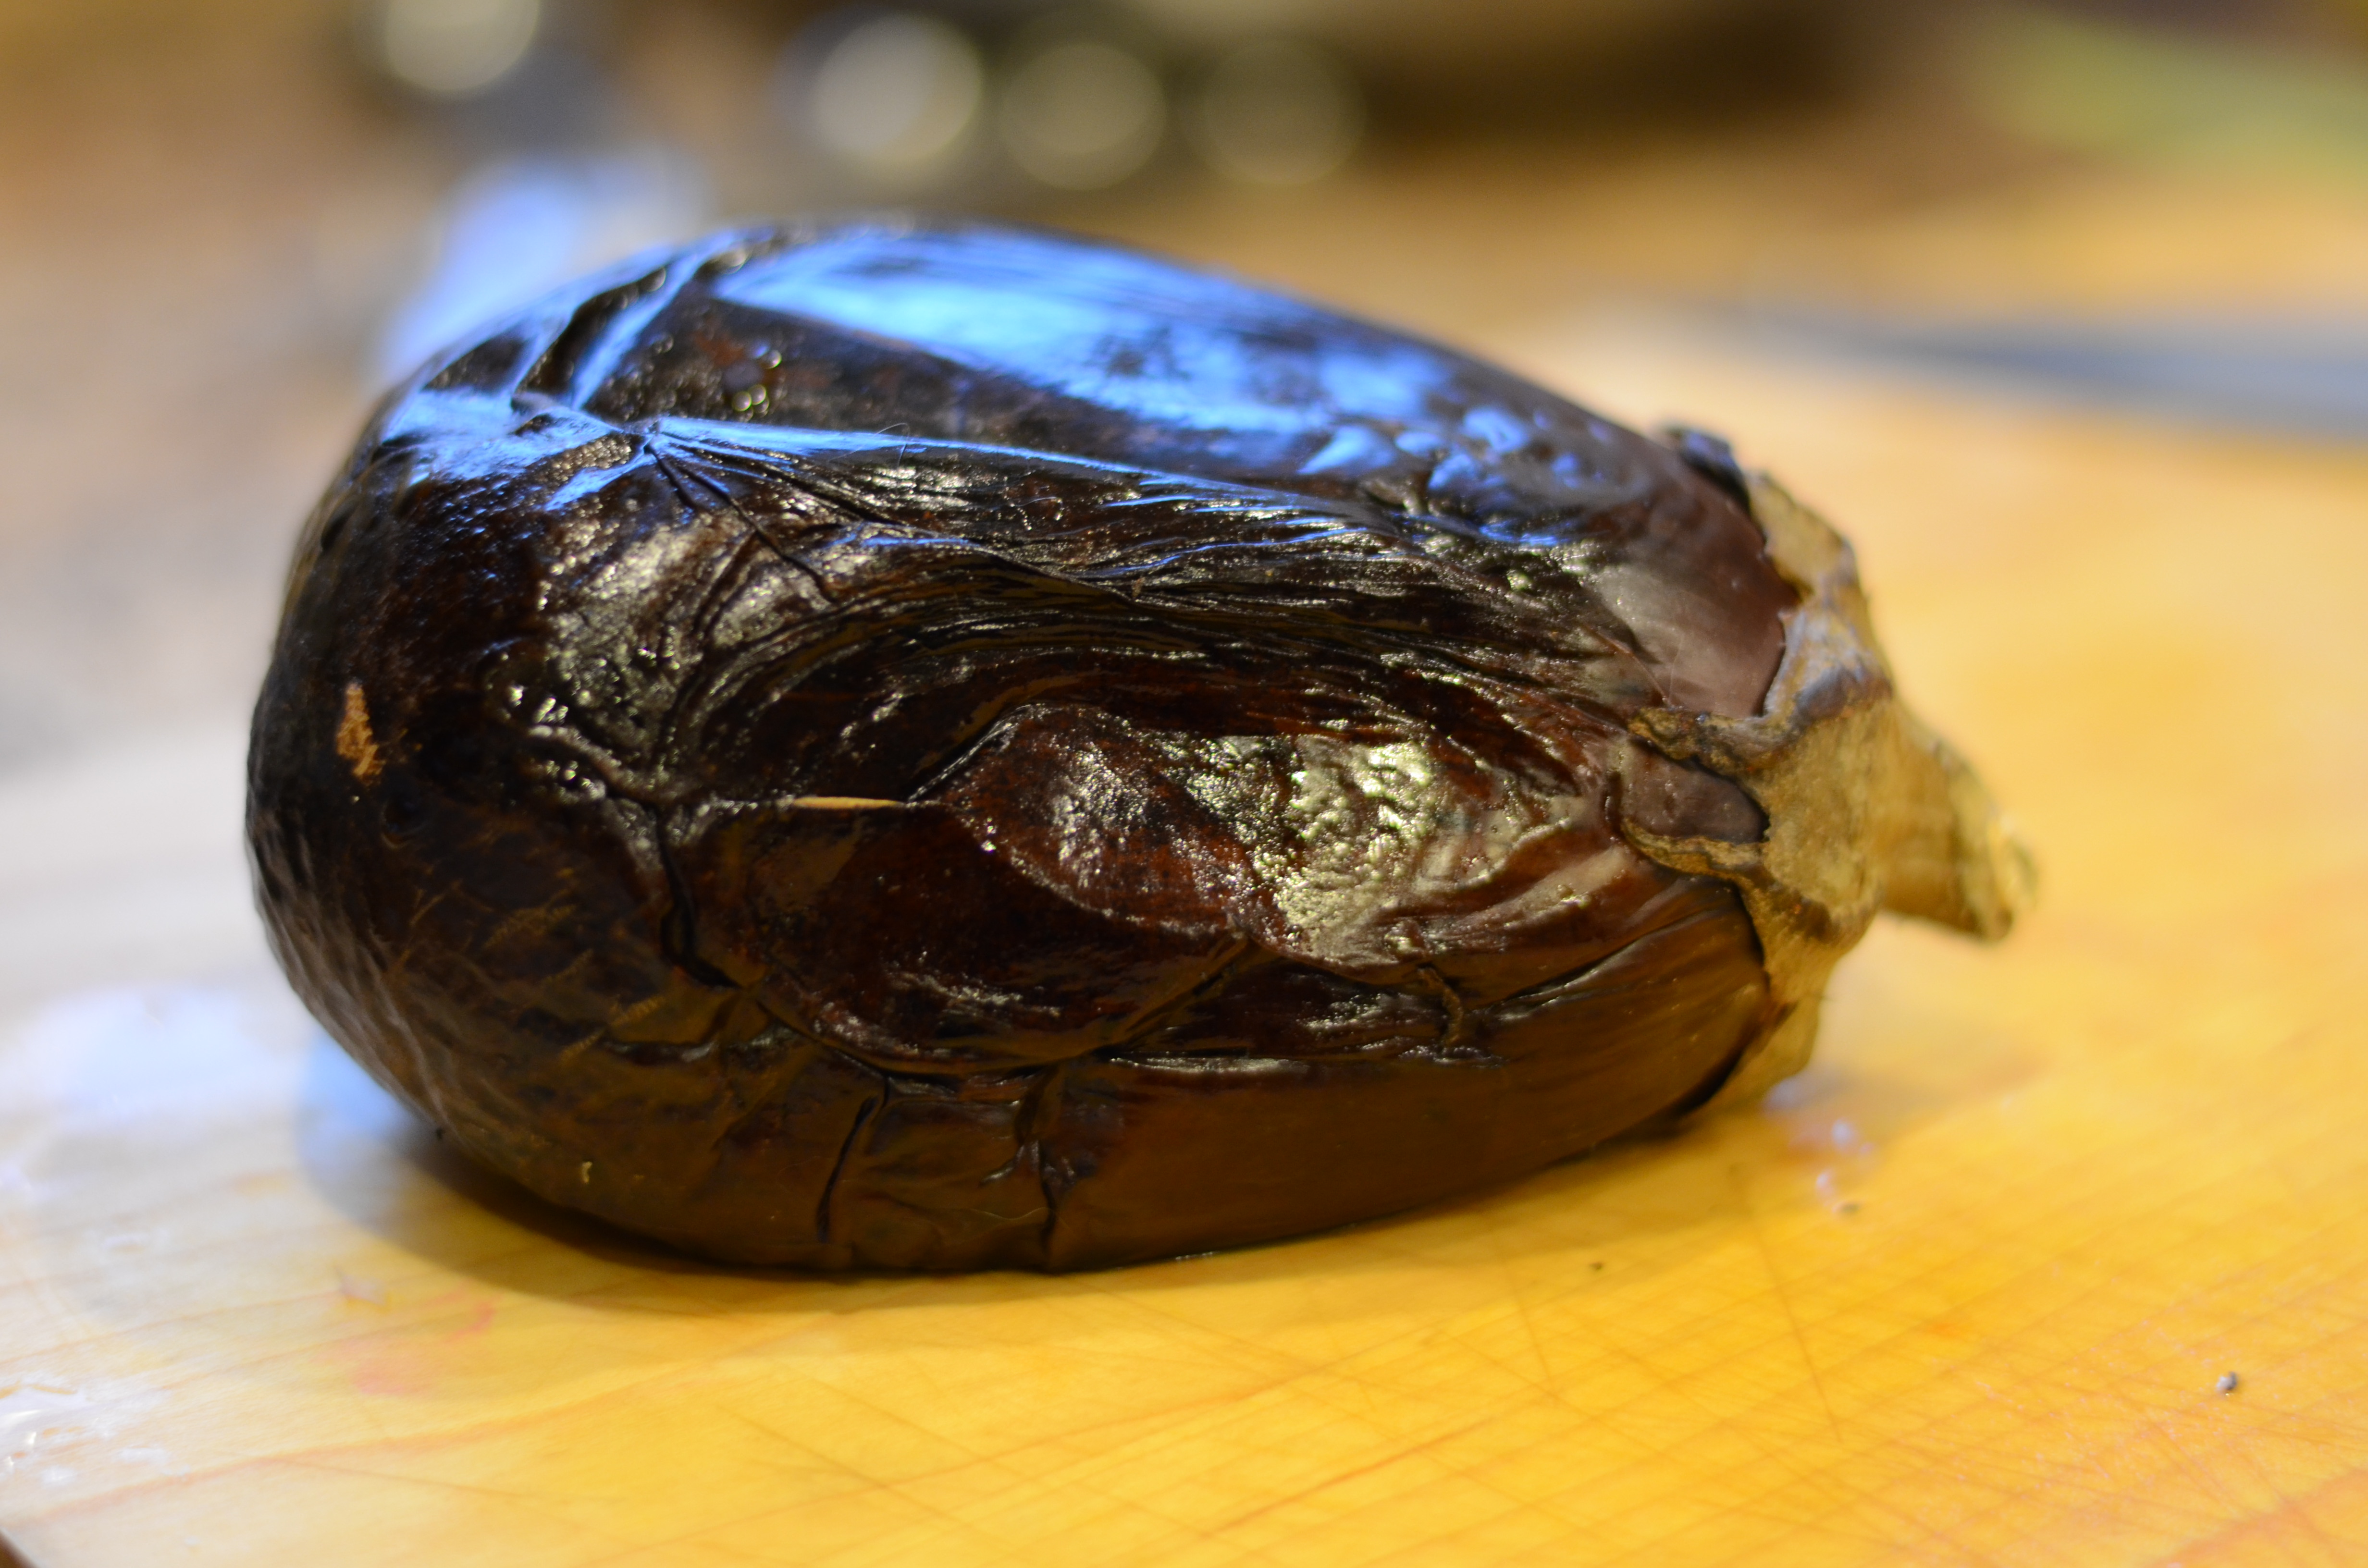
Pierce eggplants all over with fork. Transfer, cut side down, to baking sheet. Roast until tender, about 45 minutes.

In the last 15 minutes of the eggplant’s cooking time, char bell peppers over a flame or in a broiler until blackened on all sides.

The blacker they get, the easier they are to peel. These were a challenge.
Carefully add to a ziplock bag, sealed, and set aside for about 10 minutes.
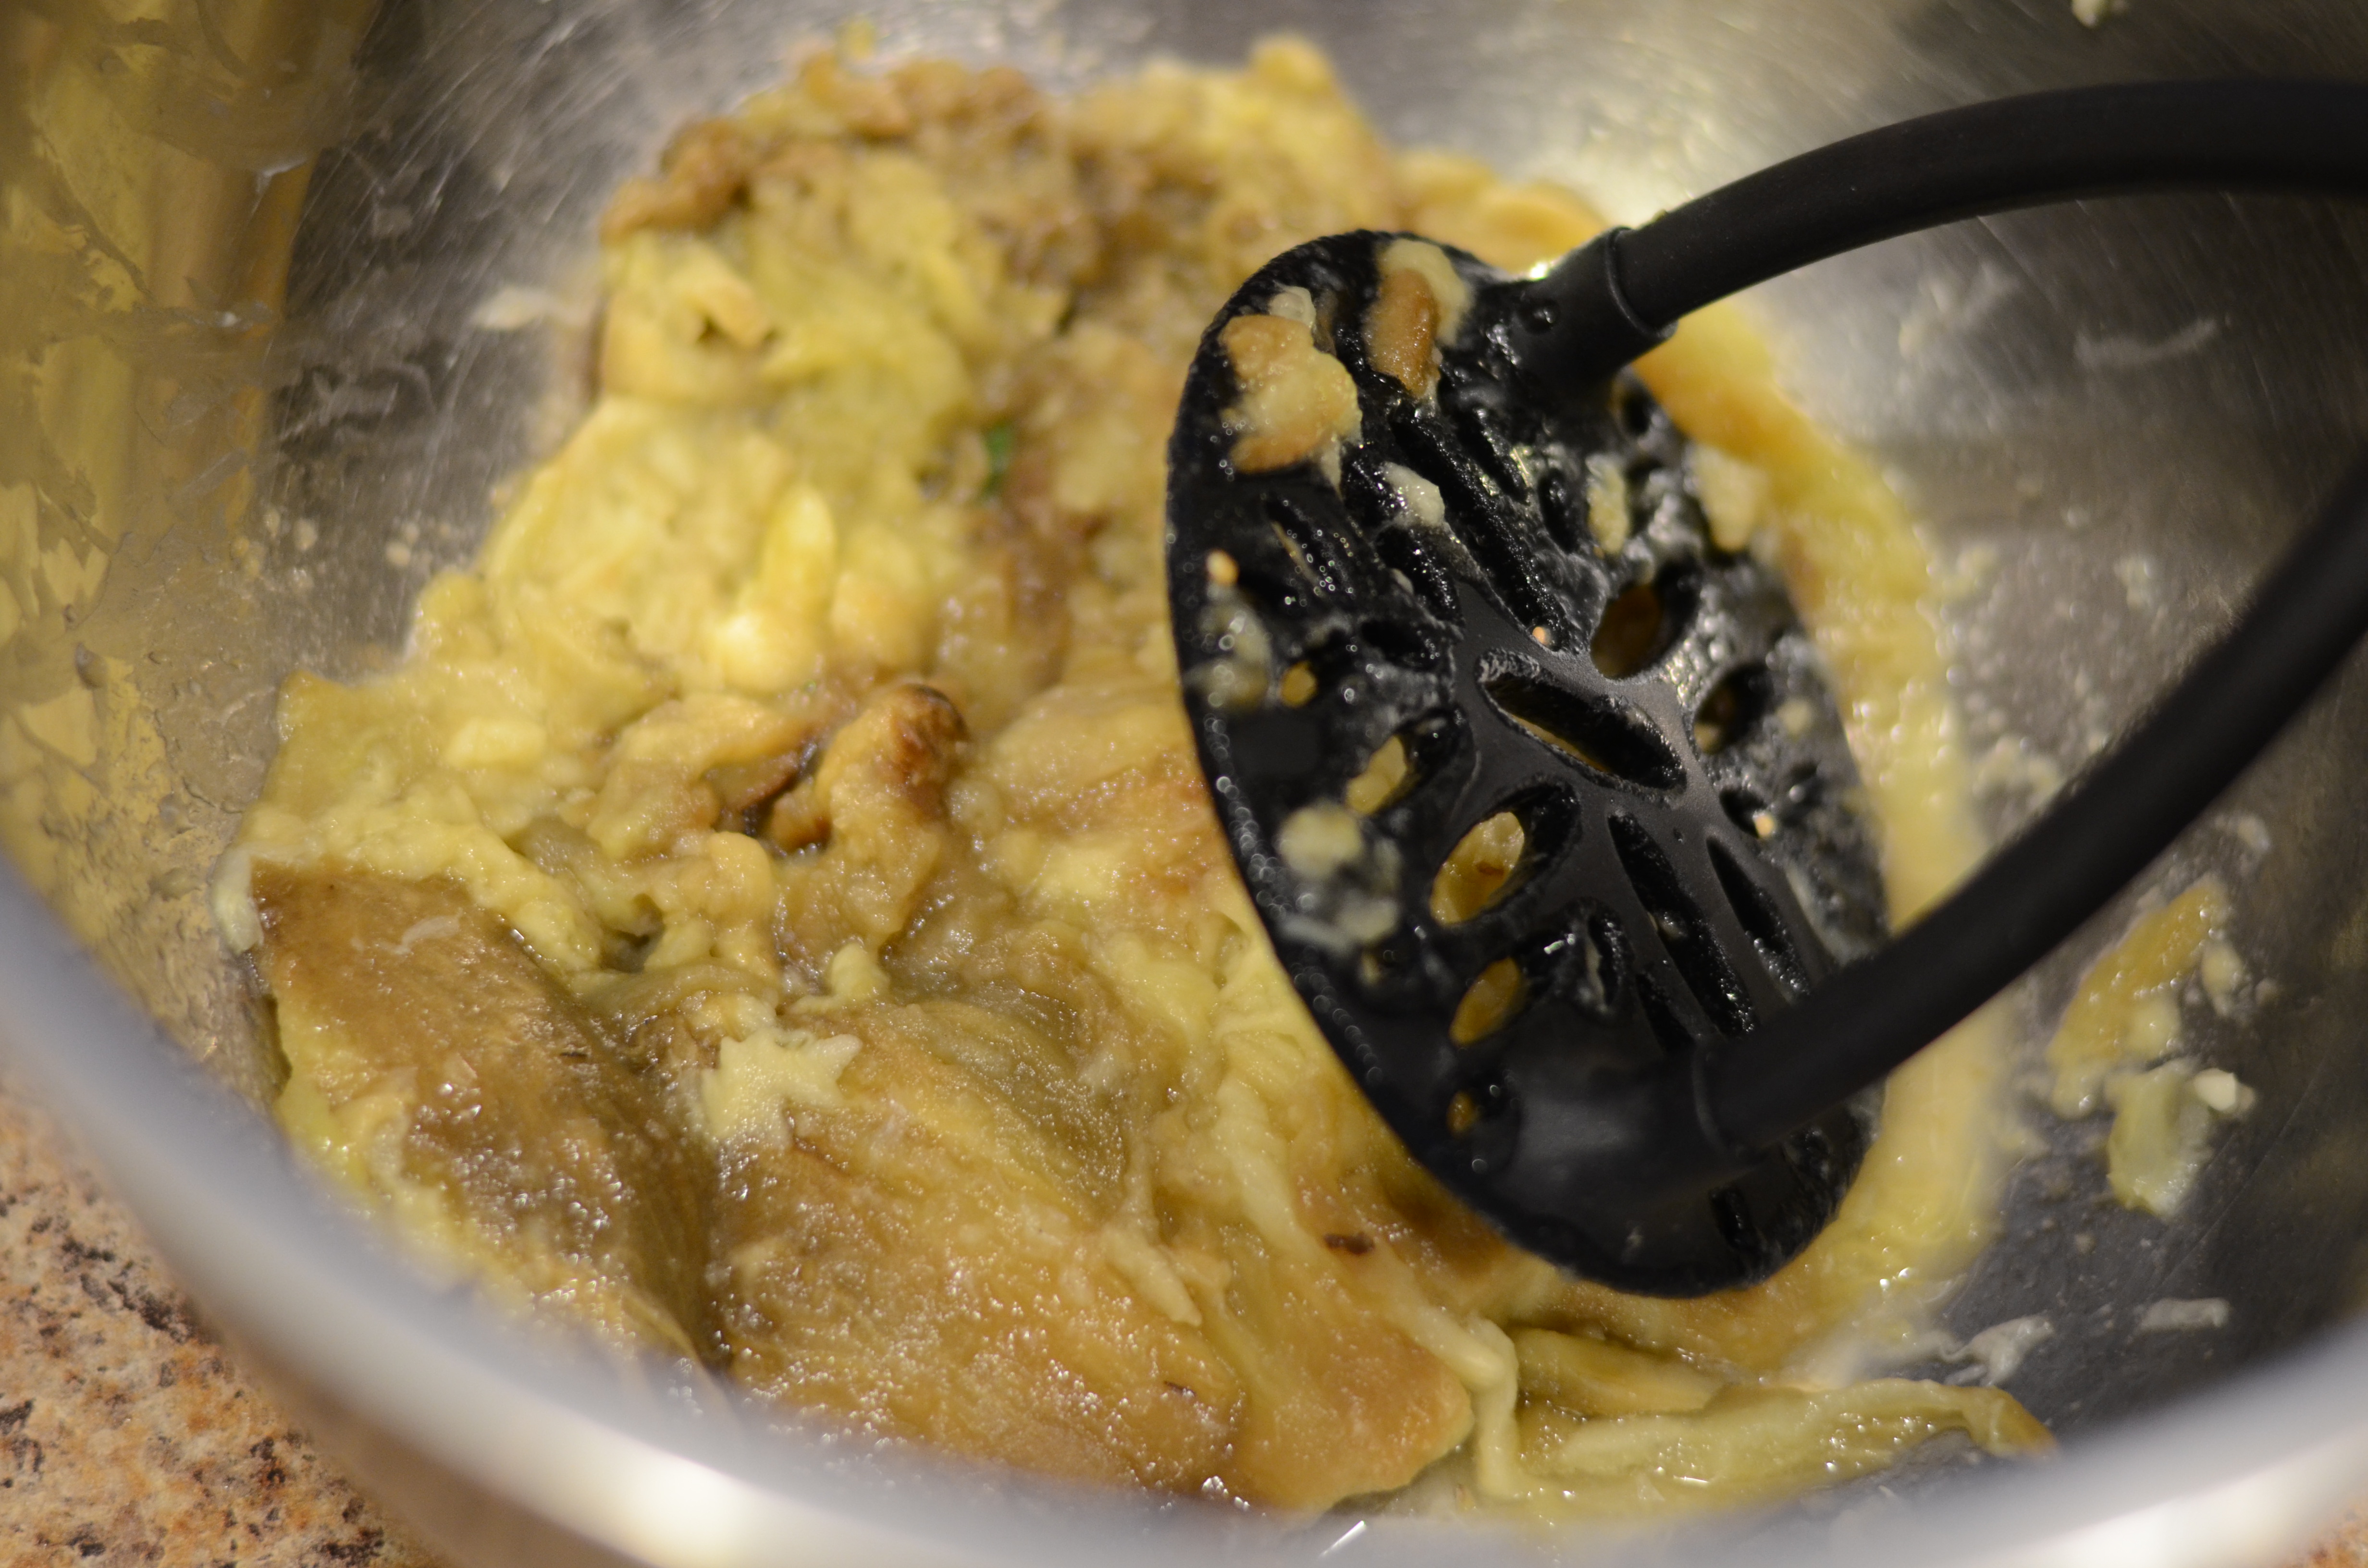
Allow eggplant to cool slightly, then remove and discard peel. Chop eggplant into large pieces. Rinse pieces under running water. Drain well and set aside.

Take out peppers, and peel, seed and coarsely chop.

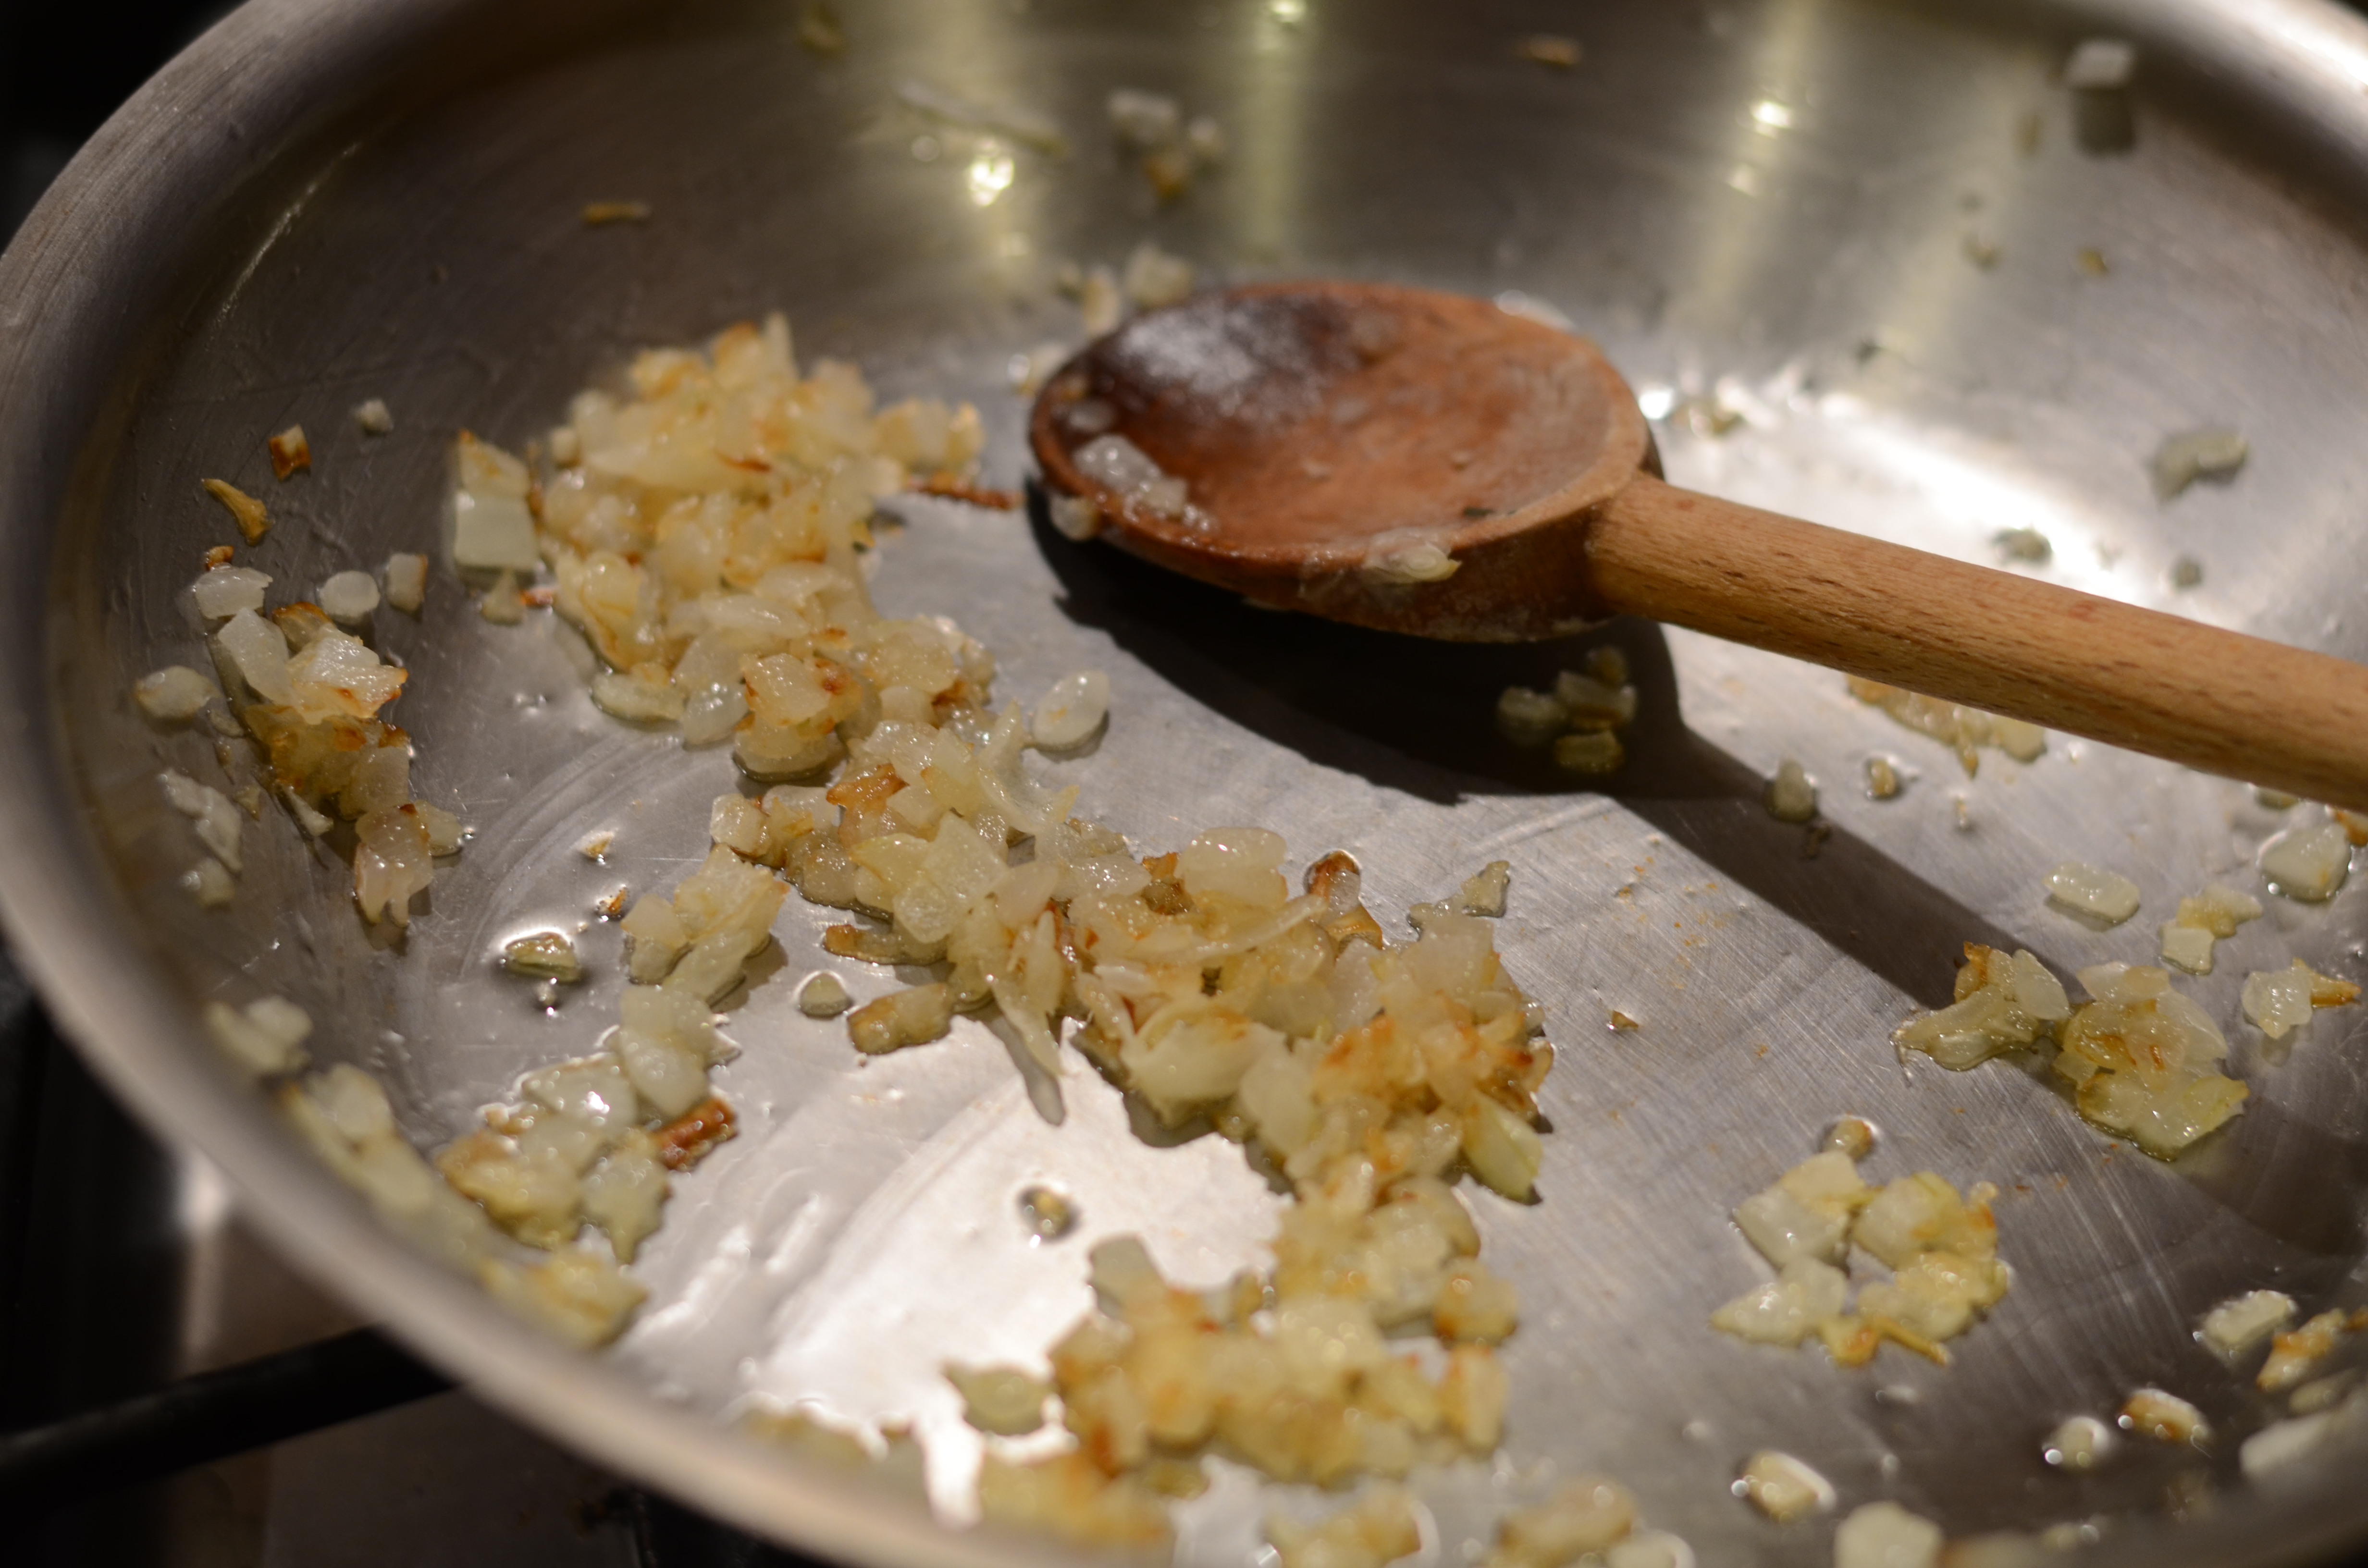
Heat oil in large pot over medium-high heat. Add onions and leek and sauté until tender, about 5 minutes. Add garlic; sauté 1 minute.
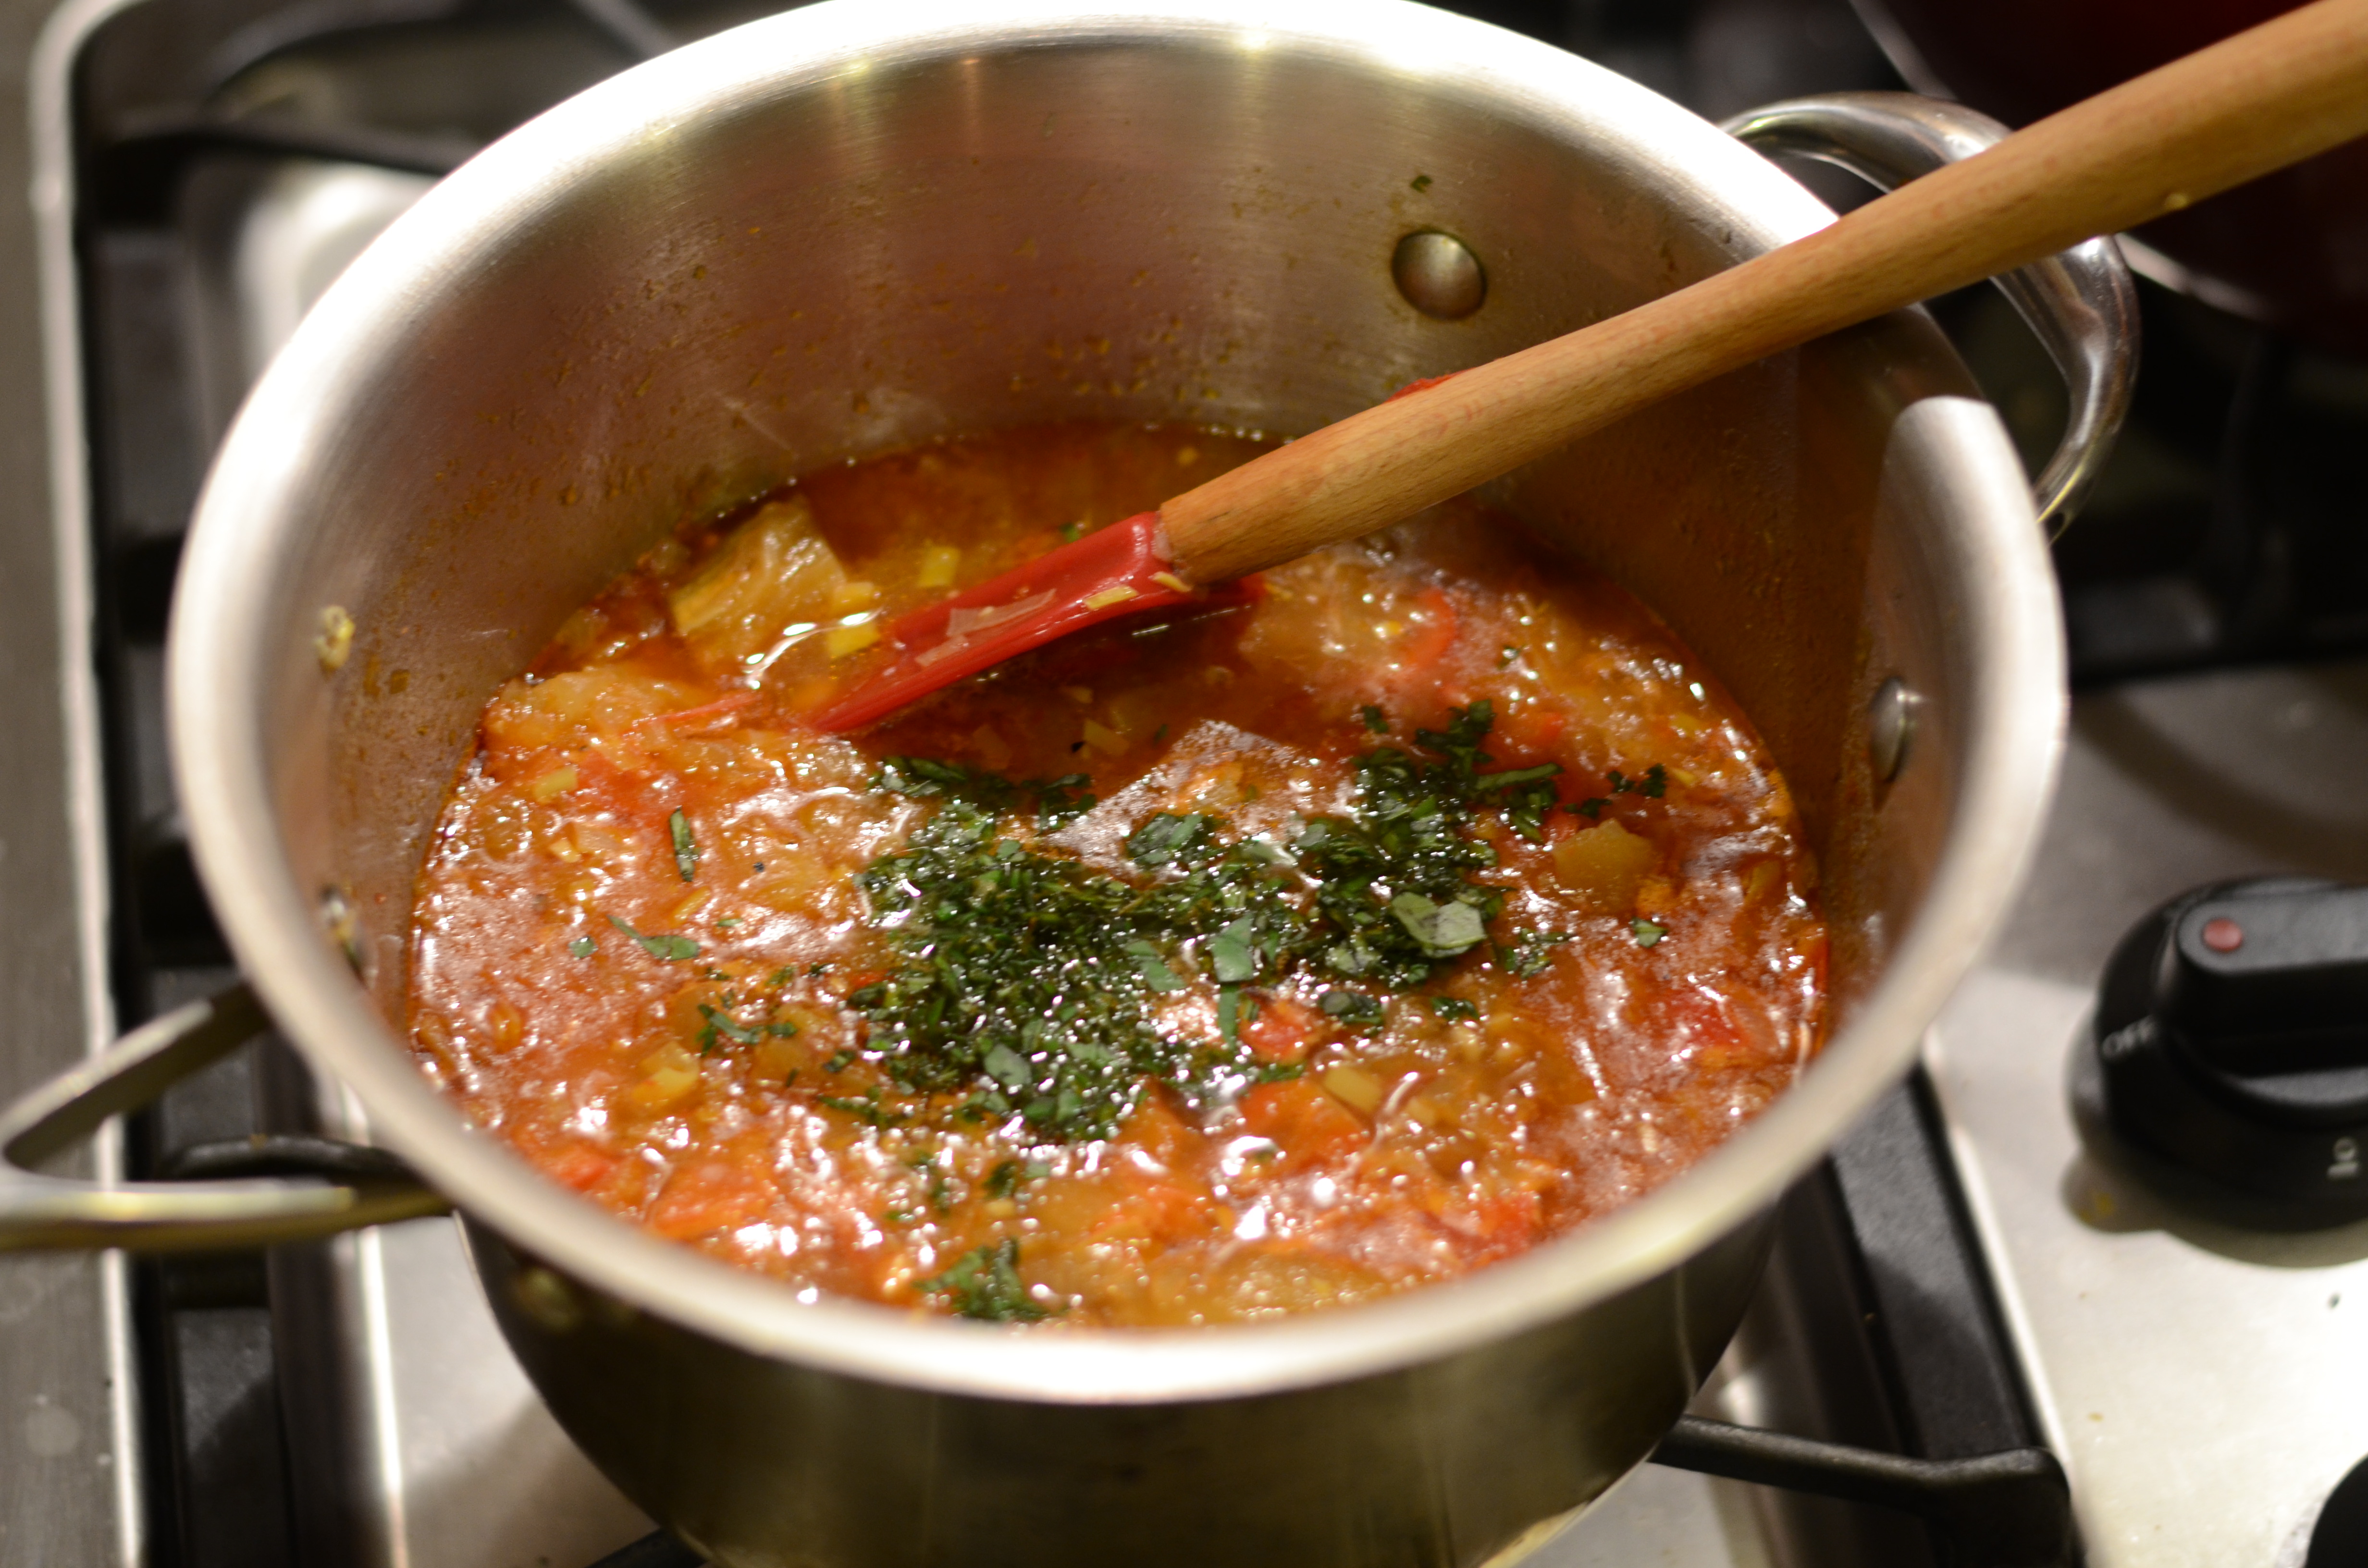
Stir in eggplant, peppers, chicken stock, and tomato paste. Bring to boil. Reduce heat to medium and simmer uncovered until vegetables are tender, about 45 minutes.
Stir in basil and thyme.
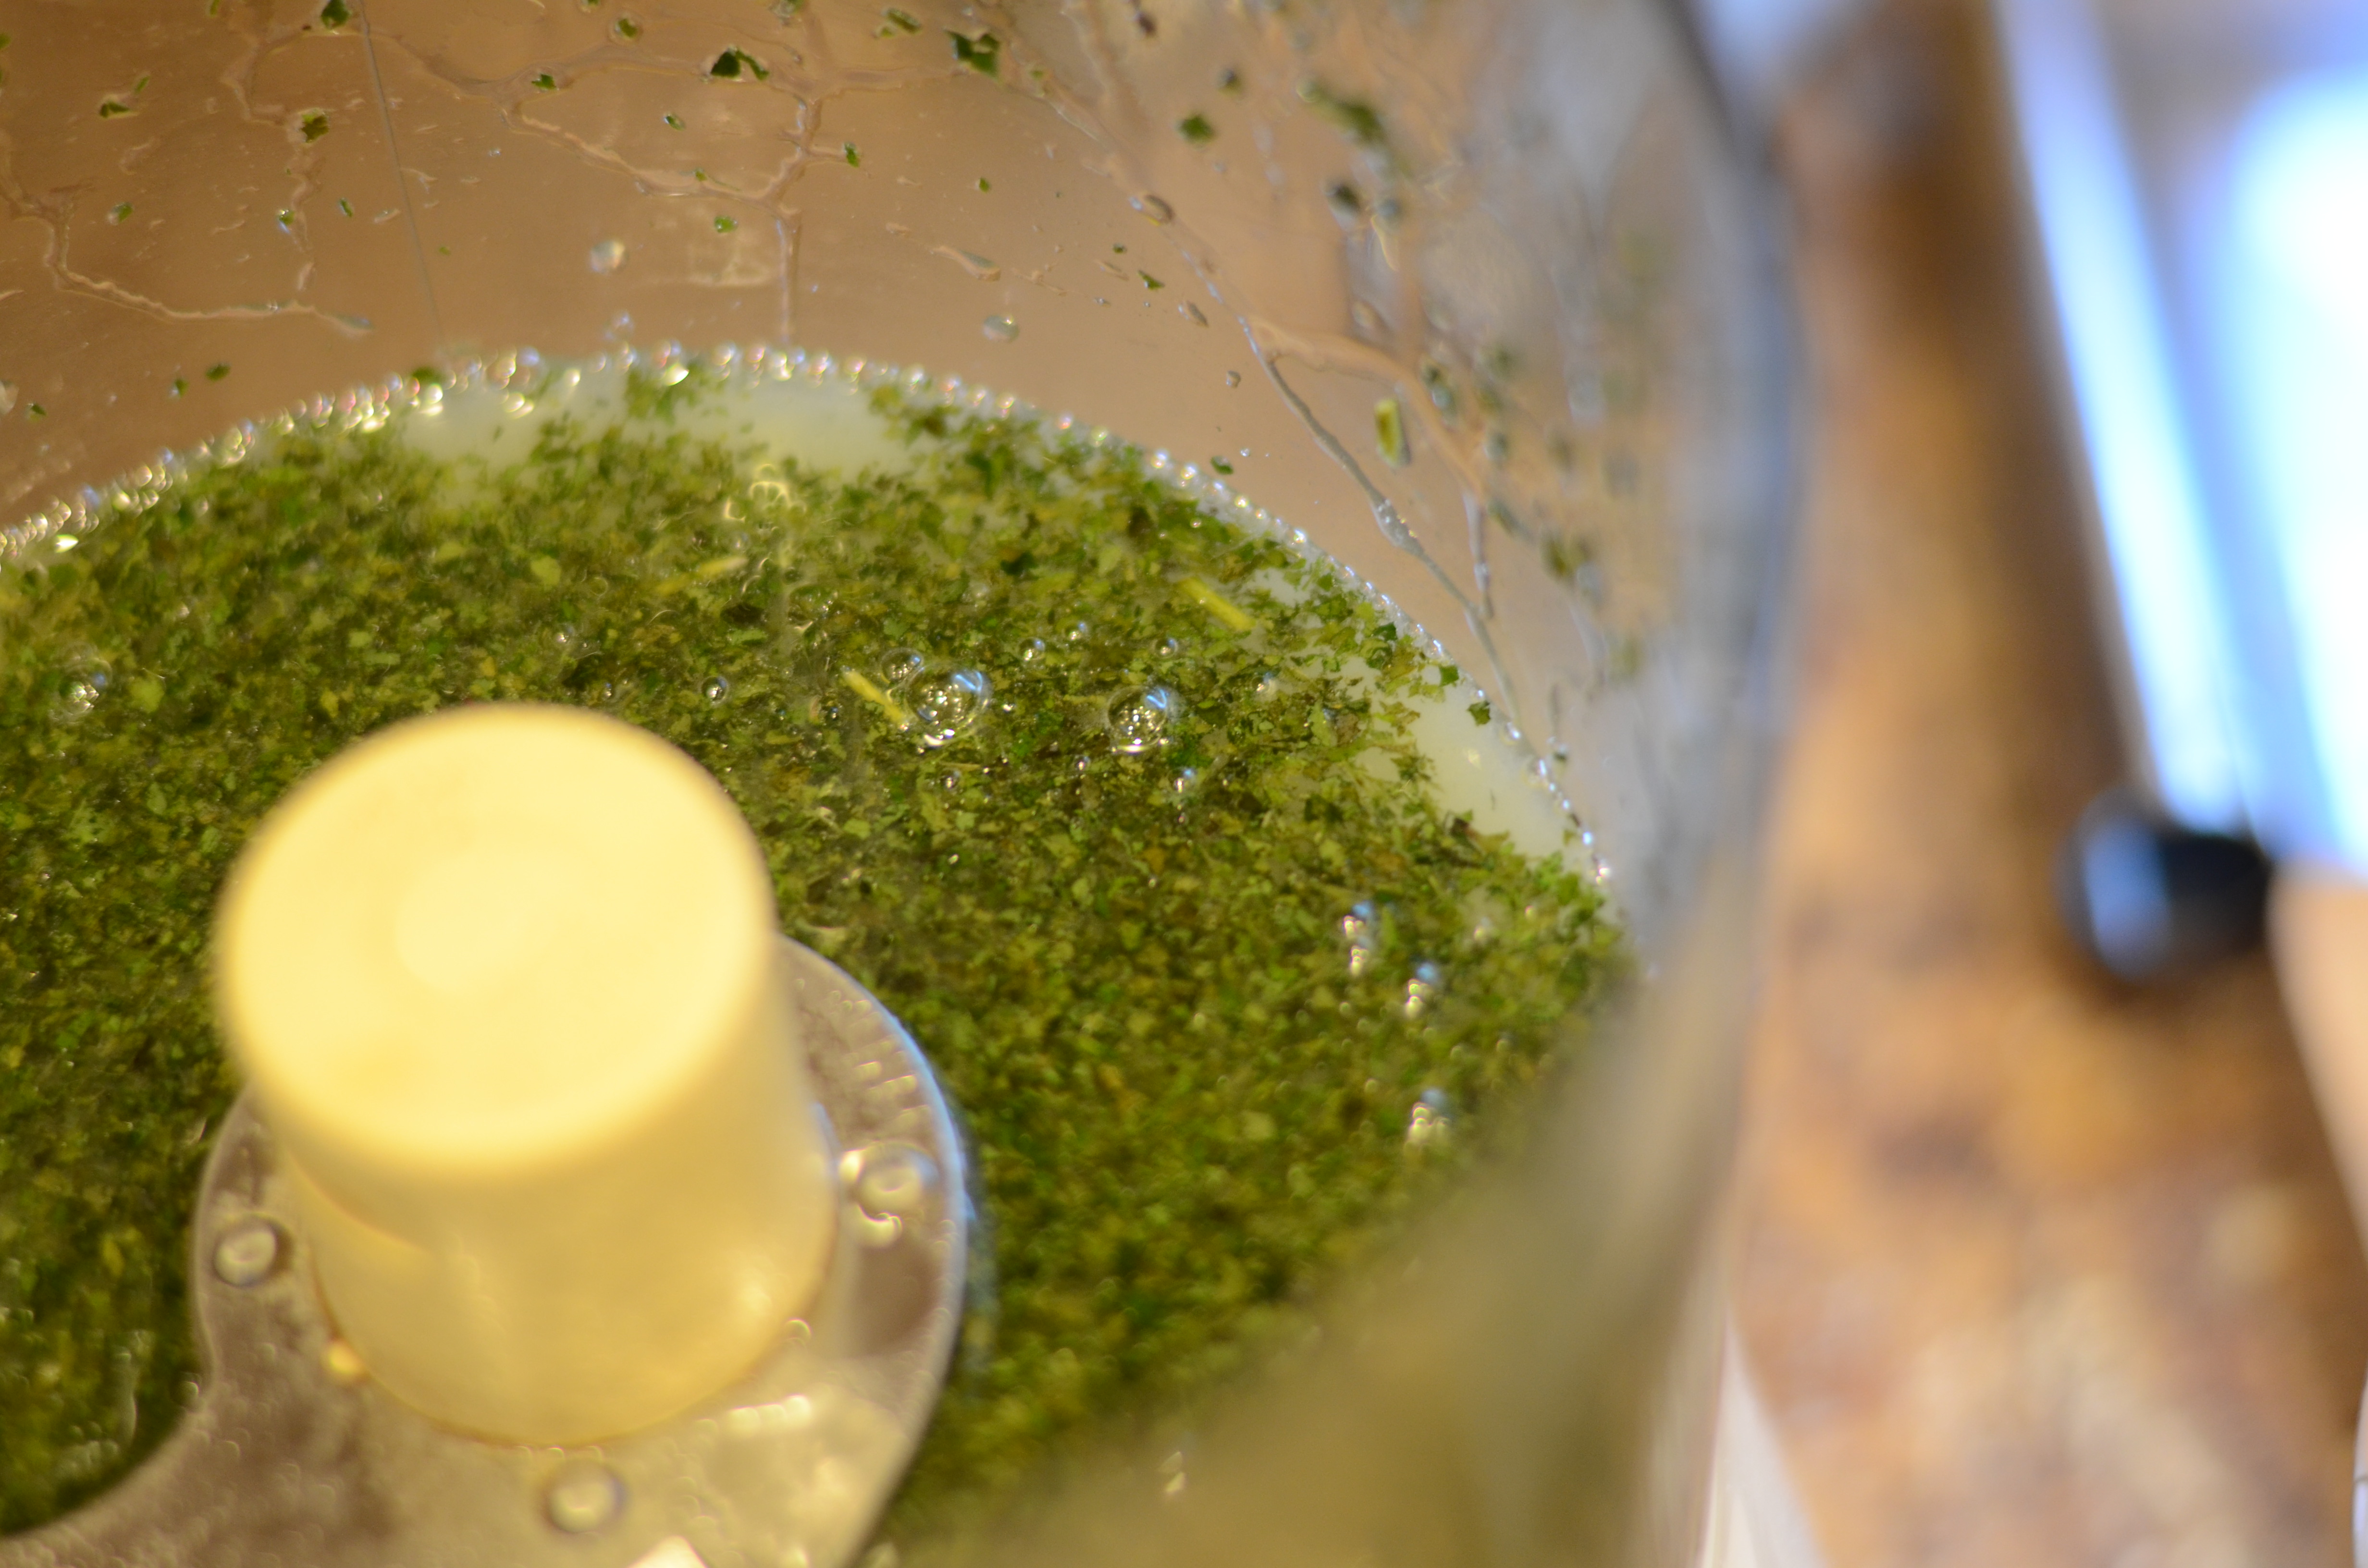
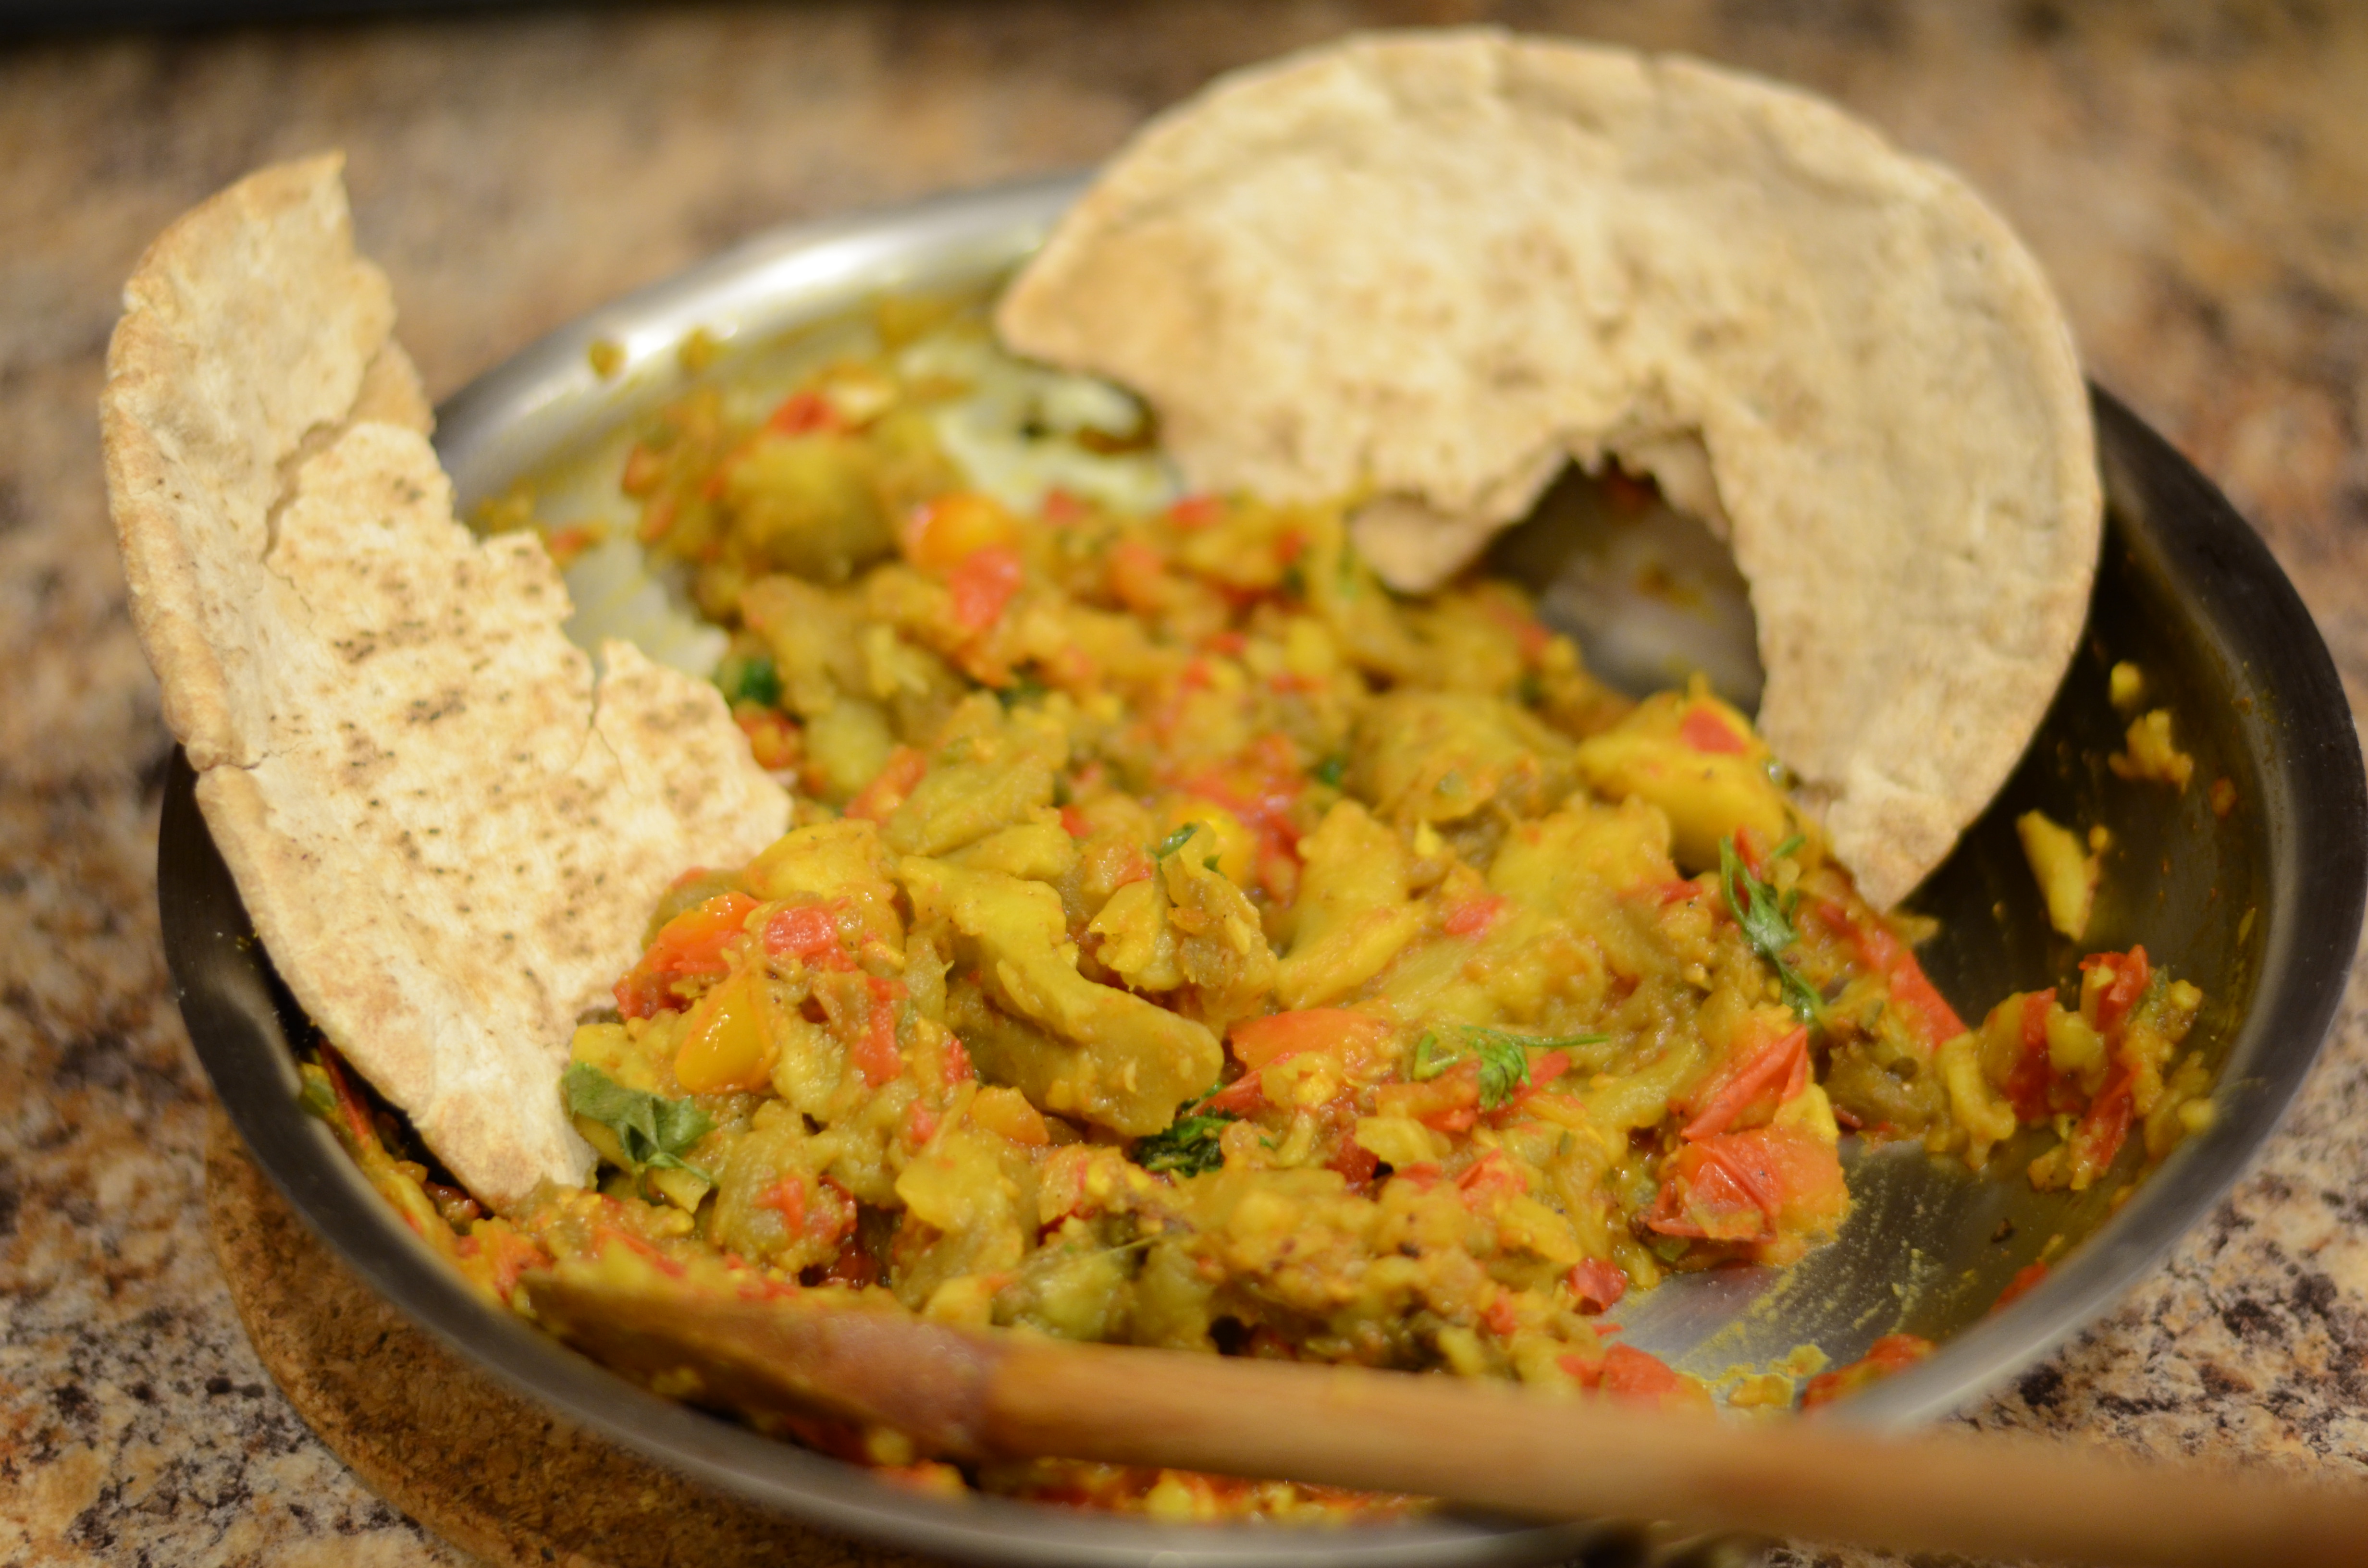
Either cool slightly before using a blender to puree the soup in batches, or turn off heat and use an immersion blender to blend in the pot. Once blended, season with salt and pepper, and add butter and lemon juice (general side note: if you are making soup and upon tasting think it is missing something, try lemon juice). Warm over low heat if soup has cooled too much.
Transfer to bowls, and garnish with shaved Parmesan cheese.