The Cucumber Conundrum

I am learning how different two years can be for vegetable crops!

I was wrong about getting lots of radishes and turnips. The zucchini hasn’t buried me. And my tomato crops, while not barren, haven’t produced so much that I have many to give away. As promised, here is the “after” picture.

I realize that it looks a little silly for my sunflowers to tower over the Japanese maple tree.

I realize that it looks a little silly for my sunflowers to tower over the Japanese maple tree.

And before.
DSC_4542

On the other hand, there has been SO MUCH cucumber from the farm share. It’s a tough one to keep fresh and interesting. Cucumber is eaten almost exclusively cold; you can’t generally preserve it by, say, drying it out (Googling to check…oh wait of course you can), and freezing it messes with the texture, right? The most common thing to do is make pickles. And I don’t love pickles! (Another problem that reduced my pickling motivation: I have managed to kill two dill plants before I had a chance to use them. Are they a tricky plant?)

So far, I have made a warm cucumber soup and some tomato cucumber salads. This week, I branched out and made cucumber sorbet!

Simple Mojito Cucumber Sorbet

From Vegetariantimes.com

3.4 – 1 Cup sugar
1 ½ cups mint leaves
2-3 medium cucumbers
, peeled, seeded, and cut into chunks
¼ Cup lime juice
2 oz. rum
, optional

DSC_5290

Naked cucumber

Naked cucumber

Side note: this is an awesome peeler.

Side note: this is an awesome peeler.

Bring sugar and 1/2 cup water to a boil in medium saucepan over medium heat. Boil 1 minute, or until sugar is dissolved. Remove from heat, and add mint leaves. Cover, and cool.

Riley wants to know what I'm up to.

Riley wants to know what I’m up to.


Transfer mint syrup to blender or food processor, and process until mint leaves are finely chopped.
DSC_5294
Add cucumber chunks, and blend until very smooth.
DSC_5296
DSC_5297
Chill in refrigerator until cold. Remove from fridge and stir lime juice and rum (if using).
DSC_5407
Churn in ice cream maker according to manufacturer’s directions.
DSC_5411
Just getting started

Just getting started


I think we are there!

I think we are there!

Transfer to container and freeze.
DSC_5415

Note: Numerous variations on the theme of cucumber sorbet/ice cream can be found online. Many steep the mint leaves instead of blending them in, like this does. Most also strain out the solids from the cucumber as well. I can see the benefit of a smoother texture. However, I think the chewiness of this recipe made it feel especially icy-cold and refreshing.

This was served in place of a pre-dinner cocktail on a warm night.
DSC_5420

Shrimp and Grits

We’re eating healthy again! Sort of. Matt is in a weight loss competition among volunteer fire department members. So he is counting calories.  And I don’t want him to shed way more than me so I’m going to make a little more of an effort. Sadly, that means less ice cream, and more moderation.

You wouldn’t think that shrimp and grits is a low-calorie option. But I pulled this recipe out of a recent Cooking Light magazine, and supposedly one serving is less than 300 calories!  And Matt loves shrimp and grits, as a rule, so I was excited to make it for him.  The only issue was that I did have to do a bit of actual grocery shopping for it. I did have the the half-and-half hanging around, and the green onions from the farm share. Polenta makes yet another appearance. The shrimp is from a frozen 2 pound bag from Costco that hangs out in the freezer. The mushrooms I did buy fresh.

Shrimp and Grits with Mushrooms
Adapted from Cooking Light
Serves: approximately 6

  • 3 Cups water
  • 1 Tablespoon butter
  • 3/4 cup uncooked quick-cooking grits or cornmeal polenta
  • 1.5 ounces grated Parmesan cheese (about 3/4 Cup slightly packed in)
  • 5/8 teaspoon kosher salt, divided

  • 3/4 teaspoon freshly ground black pepper, divided

  • 2 center-cut bacon slices, chopped

  • 1 Cup chopped white onion
  • 1 Tablespoon minced garlic
  • 8-ounces of presliced mushrooms (I used 4 ounces white mushrooms and 4 ounces exotic mushroom mix)

  • 1 pound medium shrimp, peeled and deveined
  • 1/2 teaspoon crushed red pepper (if you’re afraid of spice, lower the amount to 1/4 teaspoon)
  • 1/4 Cup half-and-half
  • 2 tablespoon all-purpose flour
  • 3/4 Cup fat-free, lower-sodium chicken broth

  • 1/3 Cup chopped green onions

Bring 3 cups water and butter to a boil in a small saucepan. While heating, make sure most ingredients are chopped, measured, and ready.
DSC_5194
Heat a large nonstick pan and cook bacon until crisp.  While this is cooking, you could whisk the grits/cornmeal into the boiling water and cook, stirring frequently, about 5 minutes, until smooth and desirable.
DSC_5198
Remove from heat. Stir in 1/4 teaspoon salt, and 1/2 teaspoon black pepper and cheese. Cover to keep warm.

A note about the cheese: the original recipe said 2 ounces, about 1/2 cup. But the size of your grated Parmesan must make a huge difference, because with my trusty kitchen scale I was well over the 1/2 Cup mark on my bowl and had just passed 1 ounce.  It seemed like a lot of cheese to me, so I stopped there.  I didn’t miss the parmesan flavor too much, more so on the second day reheat, so I would say 1.5 ounces is a safe bet.
DSC_5197
Add white onion, garlic, and mushrooms to pan; cook 8 minutes or until mushrooms begin to brown and give off liquid, stirring frequently. (At this point you could sautee a vegetable for the side, like green beans with garlic and red pepper like I did).
DSC_5201
Add shrimp and red pepper; cook 3 minutes.
DSC_5204
DSC_5206
Combine half-and-half and flour in a small bowl, stirring with a whisk until smooth. A note about the flour: you will see from my final product that the sauce is not quite as thick as I would  like. I used the original recipe, which called for 1 tablespoon of flour, but it did not really thicken up. I suspected that I should have mixed in more flour. My suspicion was proven correct based on this website at least, so I updated the website to specify 2 tablespoons.

I suppose the texture of my sauce could have been affected by the fact that I used lower-protein Better Than Bouillion Chicken Base–which, for the record, I bought because Cook’s Illustrated did a chicken stock/chicken broth test and rated this one of the top choices!
DSC_5203
Add broth, flour mixture, remaining 3/8 teaspoon salt, and remaining 1/4 teaspoon black pepper to pan; bring to a boil. Cook 2 minutes or until thickened a bit.
DSC_5209
Top with green onions. Serve shrimp mixture with grits and green beans.
DSC_5213
Another great thing: it only took about 30 minutes to make this pretty fancy-looking meal!
DSC_5212

Appetizing Appetizers

You know how it is when you go out to a restaurant, you read over the menu, and you wish you could order a dinner made up of entirely of appetizers? Appetizers can be the most interesting and appealing options. It happens to be the same case sometimes with the food I cook at home! That is my excuse for providing two disparate appetizer recipes in this week’s blog entry.

The truth is, I did a good job cooking last week, including main dishes, but I did a poor job managing my time overall. After spending the days in front of a computer at work, I avoided the computer at home, even when there were important things to do there, including this blog! And I still managed to get an insufficient amount of sleep.

Anyway…I was excited to get eggplant in the farm share, because I had this article filed away for reference. I selected the below recipe, and used up the rest of my homemade garam masala!

A continuation on my garam masala notes: some grocery stores, like my beloved Wegman’s, have a bulk spice section, where you have total control over how much you commit to getting at once. I found great spices at a natural food store, also in Ithaca, called Greenstar. I’m not sure if Whole Foods has this option–it may depend on your area. You can also buy a small portion online through Penzeys (they give recipe suggestions too) or Amazon.com (woo hoo “Add-On Item”) or even eBay.

Baingan Bharta
Adapted from Mark Bittman’s New York Times recipe

1 pound eggplant
1 tablespoon lime juice
1+ tablespoons vegetable oil
1/2 medium onion
, peeled and chopped
2 cloves garlic, peeled and finely chopped
1 small fresh chile like a jalapeño, or more to taste, seeds removed as desired and thinly sliced
1/2 pound fresh tomatoes, plum, grape or whatever type you have, chopped
1/4 teaspoon turmeric
1/2 teaspoon kosher salt
or to taste
2-4 tablespoons cup chopped cilantro, including stems, or to taste
1 teaspoon garam masala

I like this method of cooking the eggplant, which I never have tried before. In fact, after reading this article, I realized that, as far as I can remember, I may have only cooked eggplant in the form of “parmesan,” or something closely related. I certainly enjoy it other ways, including the eggplant fries at Ithaca Ale House and baba ghanoush. It was good to branch out at home. And it certainly wasn’t hard!

As you can see, I was really stretching it with the last of some cilantro which had been wilting in my fridge.

As you can see, I was really stretching it with the last of some cilantro which had been wilting in my fridge.


Prick the eggplant with a thin knife or grill skewer.

Broil or roast on a heated cast-iron pan in the hottest possible oven, checking every few minutes to turn as necessary so that the skin turns black and the eggplant collapses. Don’t forget (if you’re me) that every time you open the oven you are in danger of setting off the smoke detector. It should be done in about 20 minutes. You can also do this over a grill set to high heat.
DSC_5165
When the eggplant is cool enough to handle, it is extremely easy to peel! Cut away the hard stem.
DSC_5168
Chop or mash in a bowl, with lime juice.

I put another kitchen tool to use! This actually probably mashed the eggplant more than I would have wanted.

I put another kitchen tool to use! This actually probably mashed the eggplant more than I would have wanted.

Add oil to a skillet set to medium-high heat. Add the onion and cook, stirring often, until it is golden brown, 5-10 minutes depending on your temperature control.
DSC_5173
Add the garlic and chiles and cook for another minute.
Add the tomato, turmeric and salt. Cook until the tomato is soft, 5 minutes or so.
DSC_5174
Stir in the eggplant purée and cook, stirring, 3 to 5 minutes. Stir in the cilantro and garam masala and turn off the heat.
DSC_5177
Serve hot with warmed pita bread, naan or another type of Indian flatbread.
DSC_5178

Next up: I followed another blogger’s recreation of one of the many tempting recipes from the Smitten Kitchen cookbook: Scallion Biscuits with Whipped Goat cheese and Tomato Salad. I’ll let you read it here because she already includes helpful substitution suggestions (like for me, I used variations of milk and half and half in place of the whole milk and whipped cream in parts of the recipe). Also, because I have decided I mostly hate the process of working with cold butter to make pastry, I employed the cheating method: cutting the butter up into small pieces, putting them in the freezer to get super cold, and using a food processor to combine the butter and flour and then make the dough.

I served this as a first course for guests on Friday. And then I had leftovers for lunch on Saturday!
DSC_5186

Note that both of these recipes used tomatoes…from my garden…more on that soon!

Here I am with the entrée I served.
DSC_5183
DSC_5184

Love Affair with Zucchini

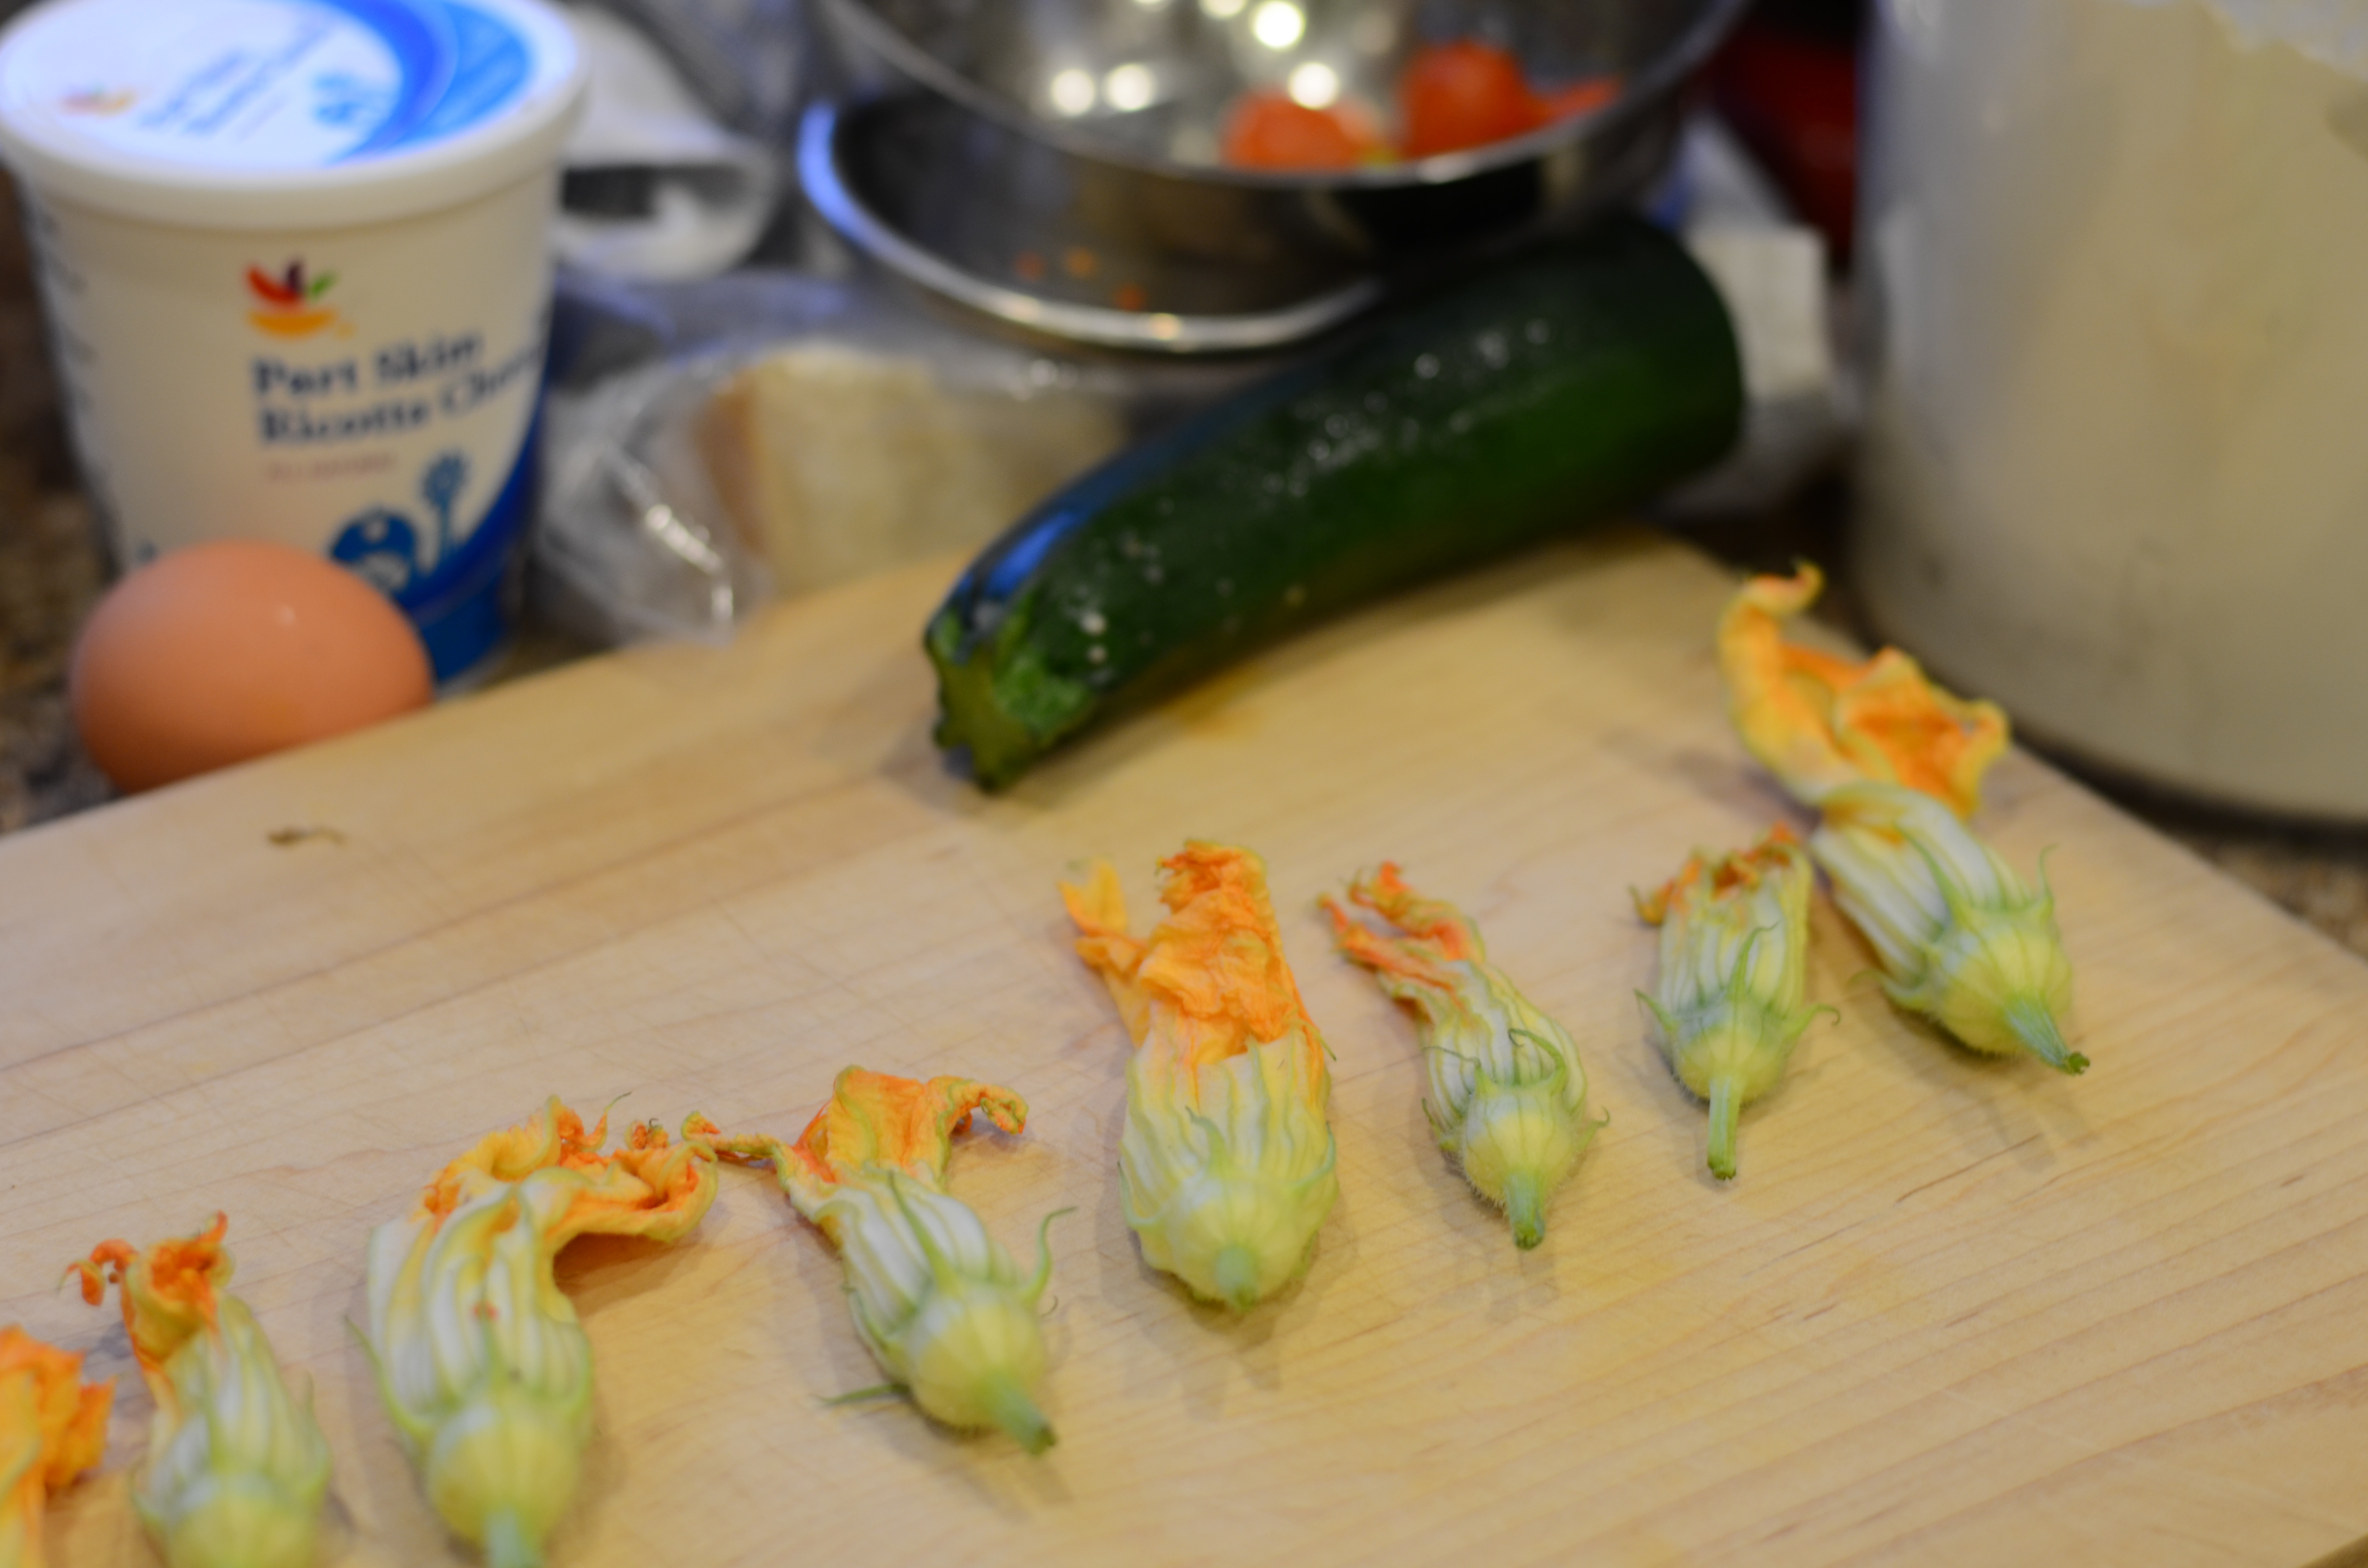
I could barely contain my excitement when I came across coveted squash blossoms while visiting the Ithaca Farmer’s Market last weekend.

These lovely, edible, light orange flowers of the zucchini plant are a delicacy, for sure, because as far as I know, they are only available for a short time in the summer. There is something special about eating a flower, especially when it has the potential for preparation as a feature in a meal, rather than a garnish.
DSC_5090
I had to wait a day to cook them, so they did wilt a little bit. But I already had ricotta in my fridge, planning ahead for this very time when I would get to stuff the flowers.

Rather appropriately, I also had zucchini itself in my fridge. I added it to a Smitten Kitchen recipe I saw a few weeks ago, “One-Pan Farro with Tomatoes.” I had been dying to make this recipe, mostly because I stinkin’ LOVE farro. (So chewy and yummy…shaped kind of like orzo pasta but with a denser texture, as a grain. Barley is somewhat similar). But also because Deb gave a very useful guide for one-pan cooking, based on her reliable testing. You see, most people (including myself) expect that the grain gets cooked in its own pot, and then the vegetables sauteed separately in second pan. Not her!

Full disclosure: I did use a second pan to saute my zucchini, since I thought it might benefit from a little sear and pre-softening, in case it became soggy when dropped directly into the main pan. I had looked over one of Smitten Kitchen’s other recipes with zucchini first for inspiration. That recipe has the squash ending up in a tart, and it does call for using a saute pan. At least I used that same saute pan for frying the blossom, which made me fairly efficient at minimizing the dishes pile in my sink!

DSC_5088

Squash Blossoms Stuffed with Ricotta

adapted from Gourmet on epicurus
Can be served with your favorite tomato sauce for dipping.

1 Cup ricotta, freshly made is best, and whole-milk is better, but part-skim (I used) is fine
1 large egg yolk
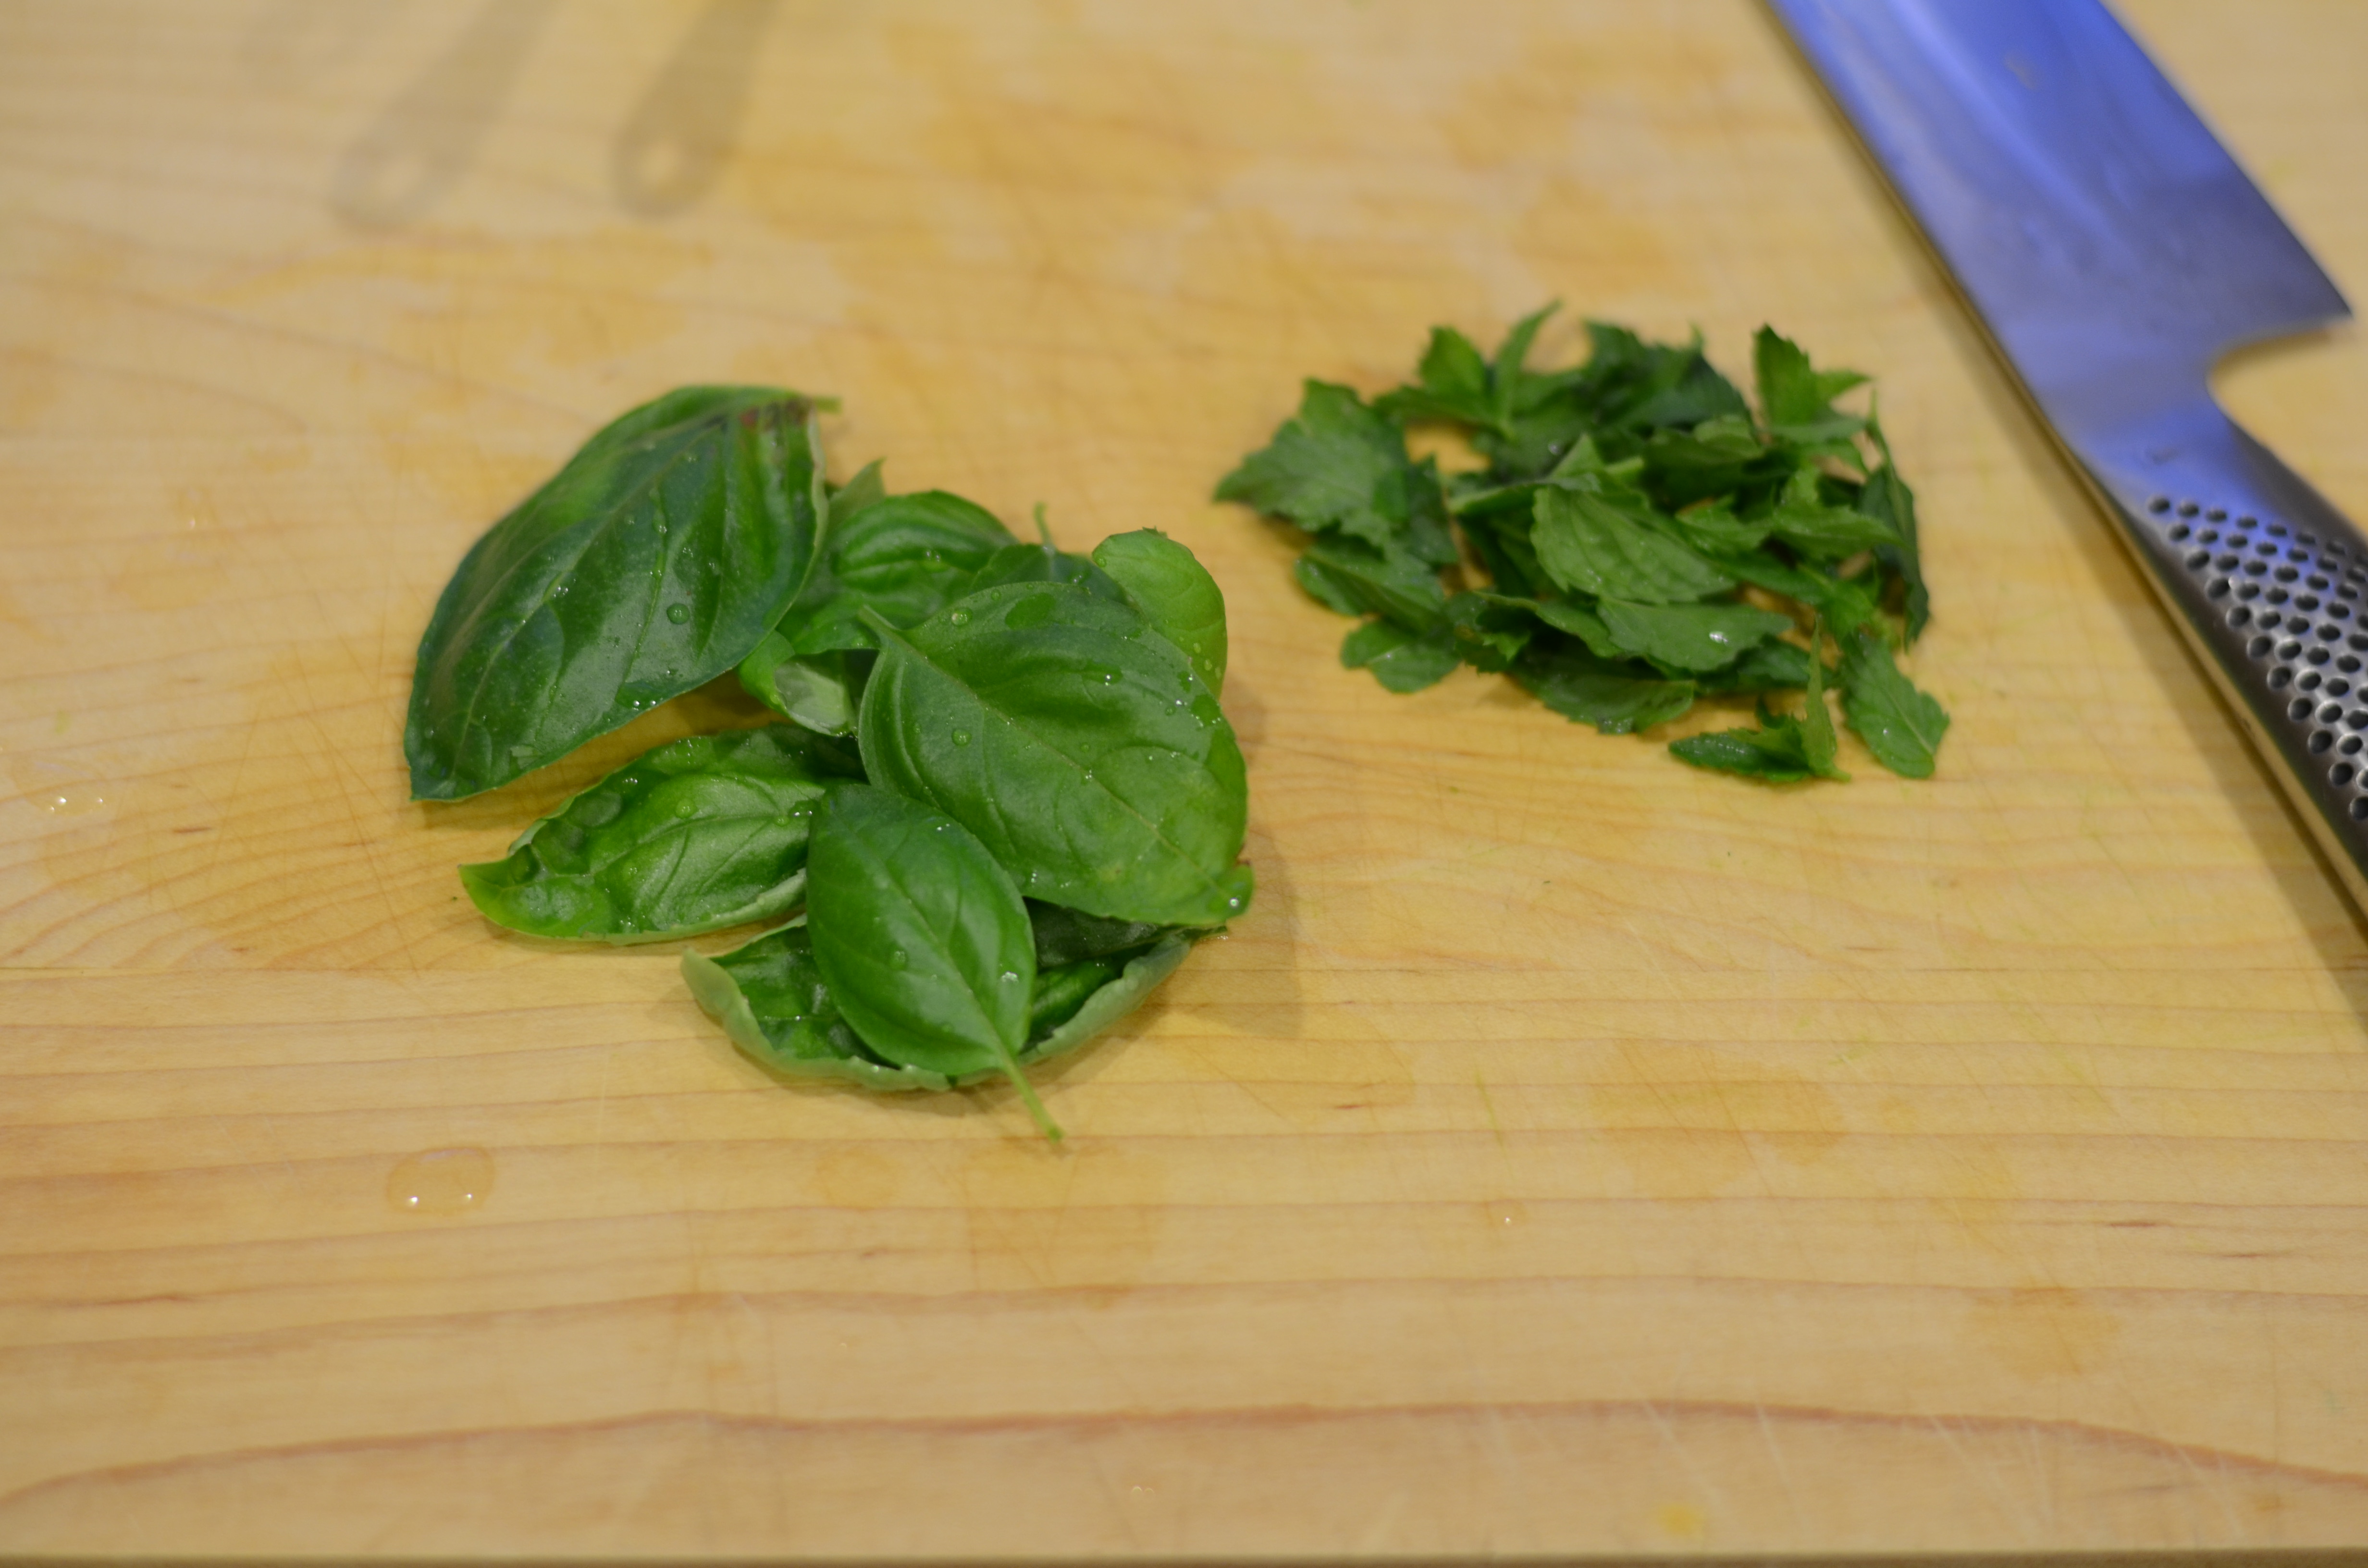
1/4 Cup fresh mint or basil or a combination, finely chopped
2/3 Cup grated Parmigiano-Reggiano cheese, divided
12 to 16 large zucchini squash blossoms
1/2 Cup plus 1 tablespoon all-purpose flour
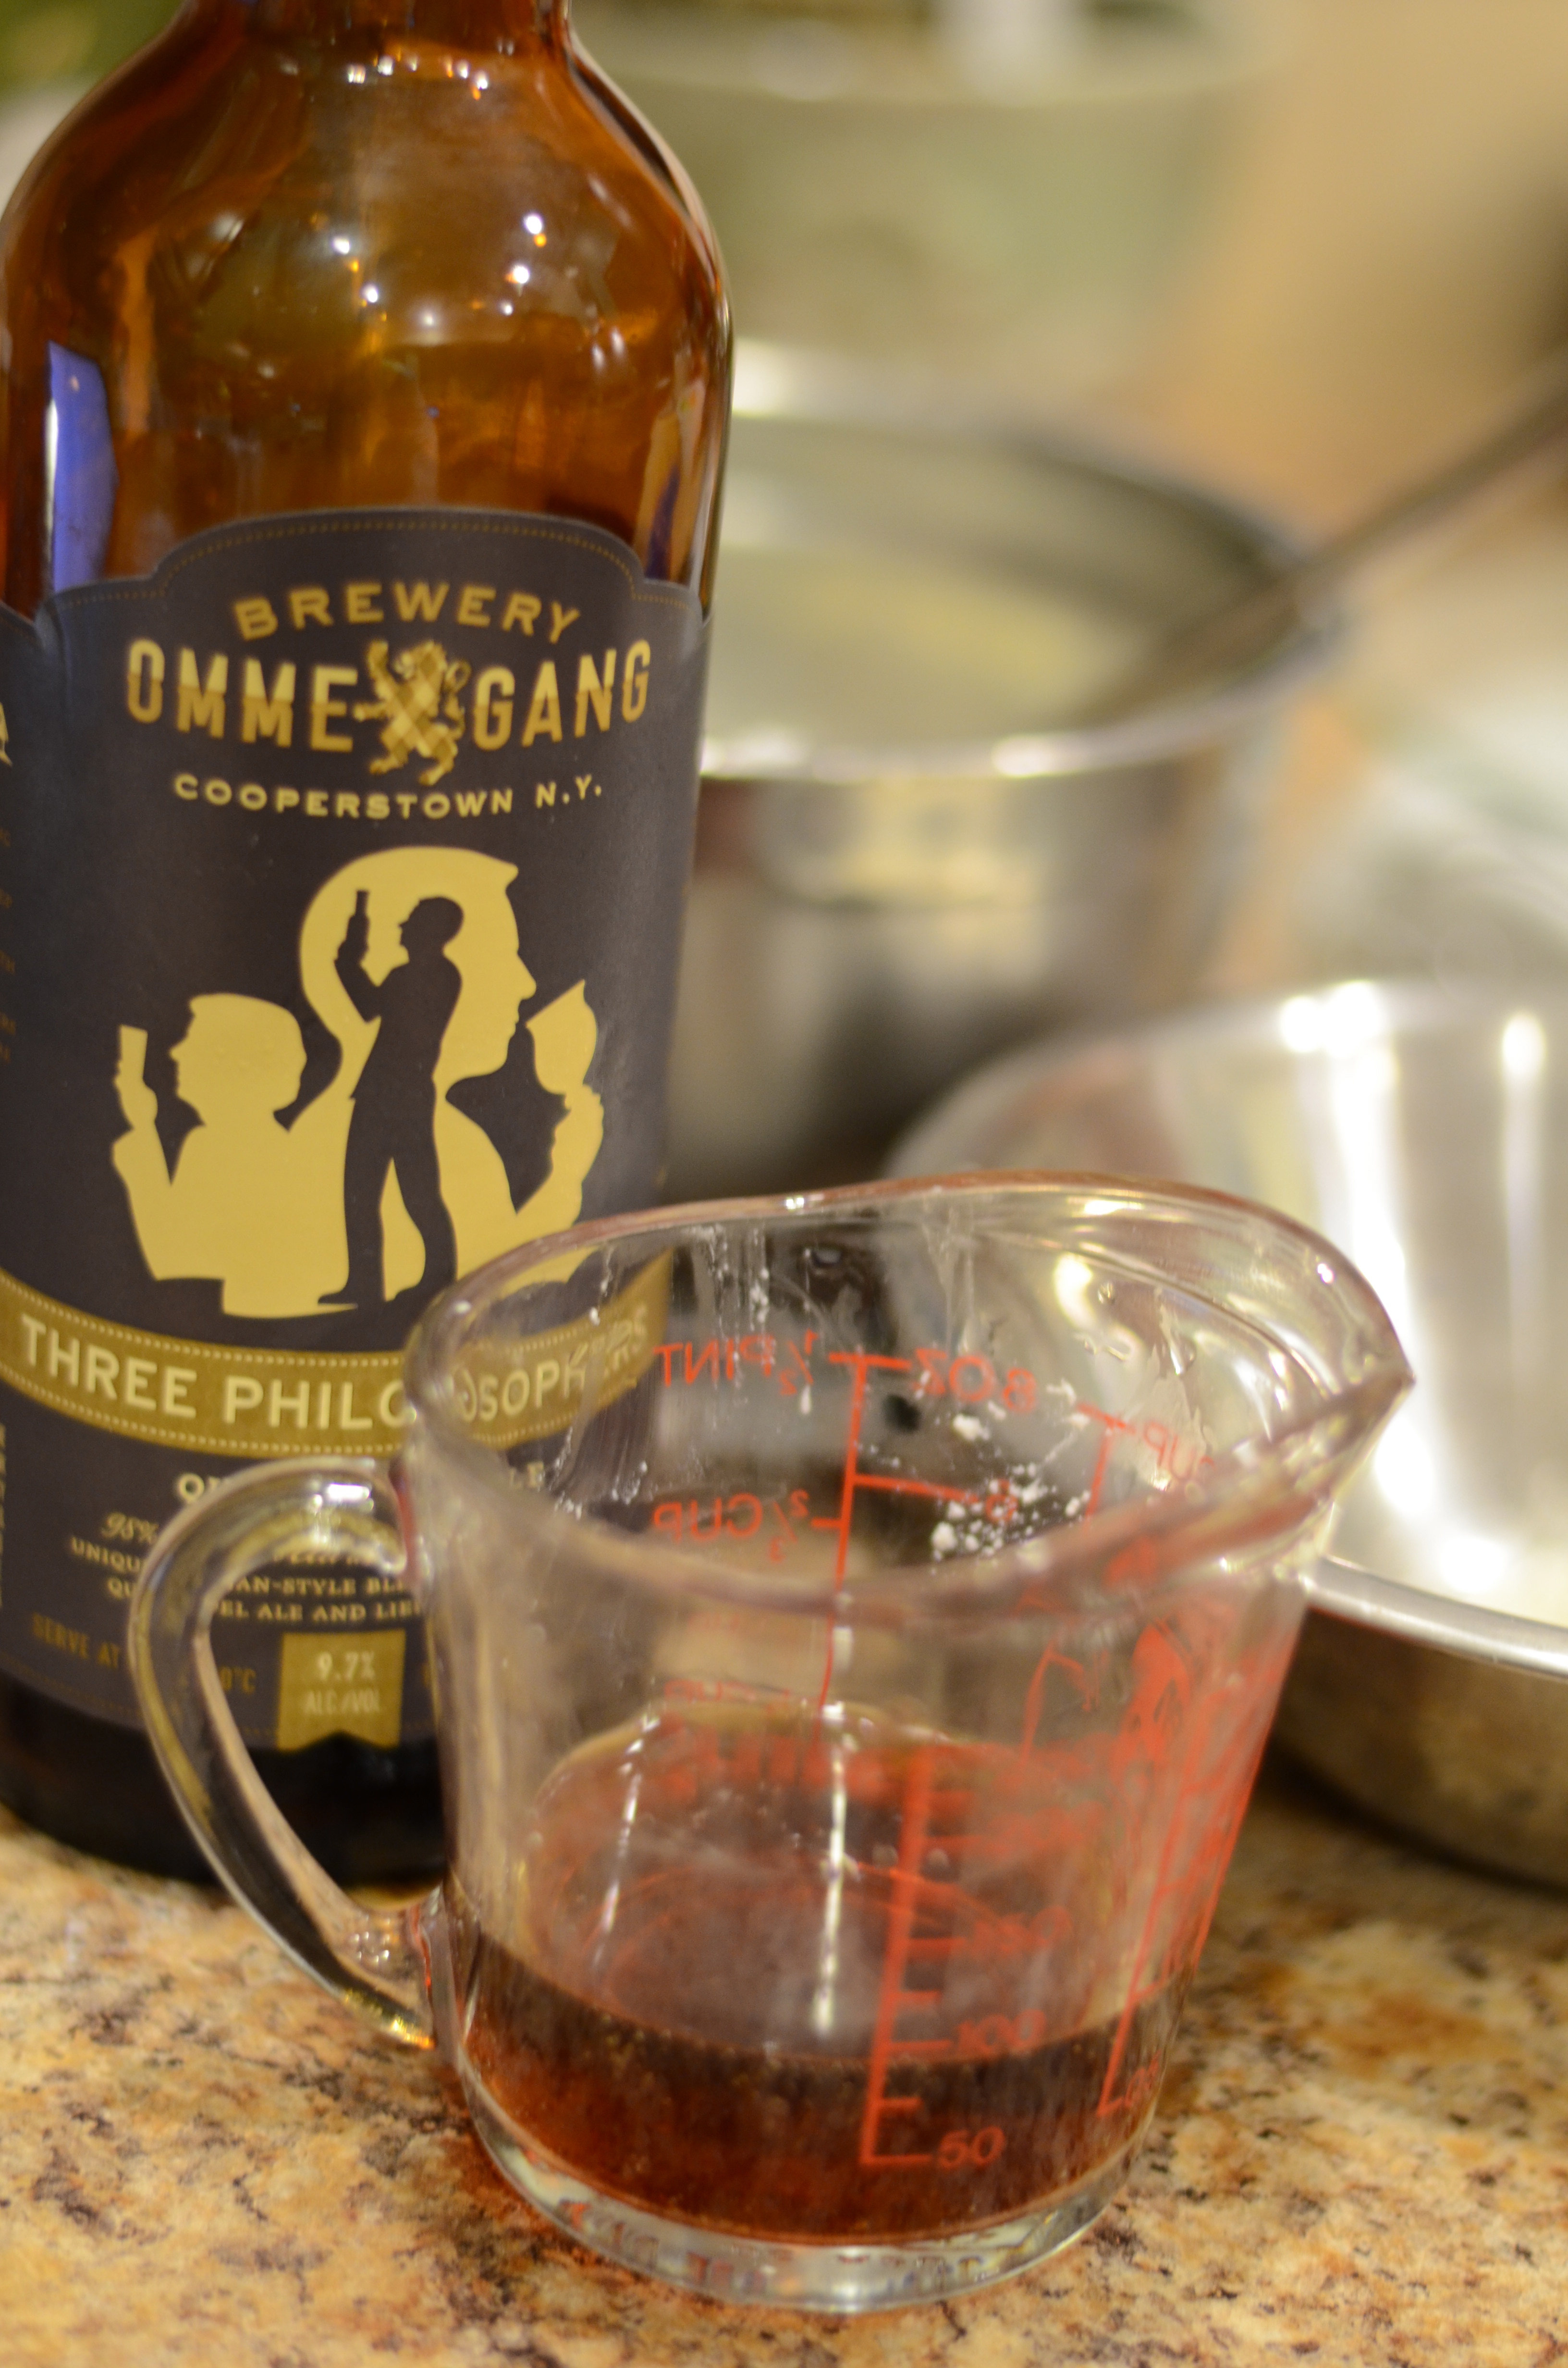
3/4 Cup chilled seltzer, club soda, or beer
Vegetable oil for frying

Equipment recommended: frying/candy thermometer.

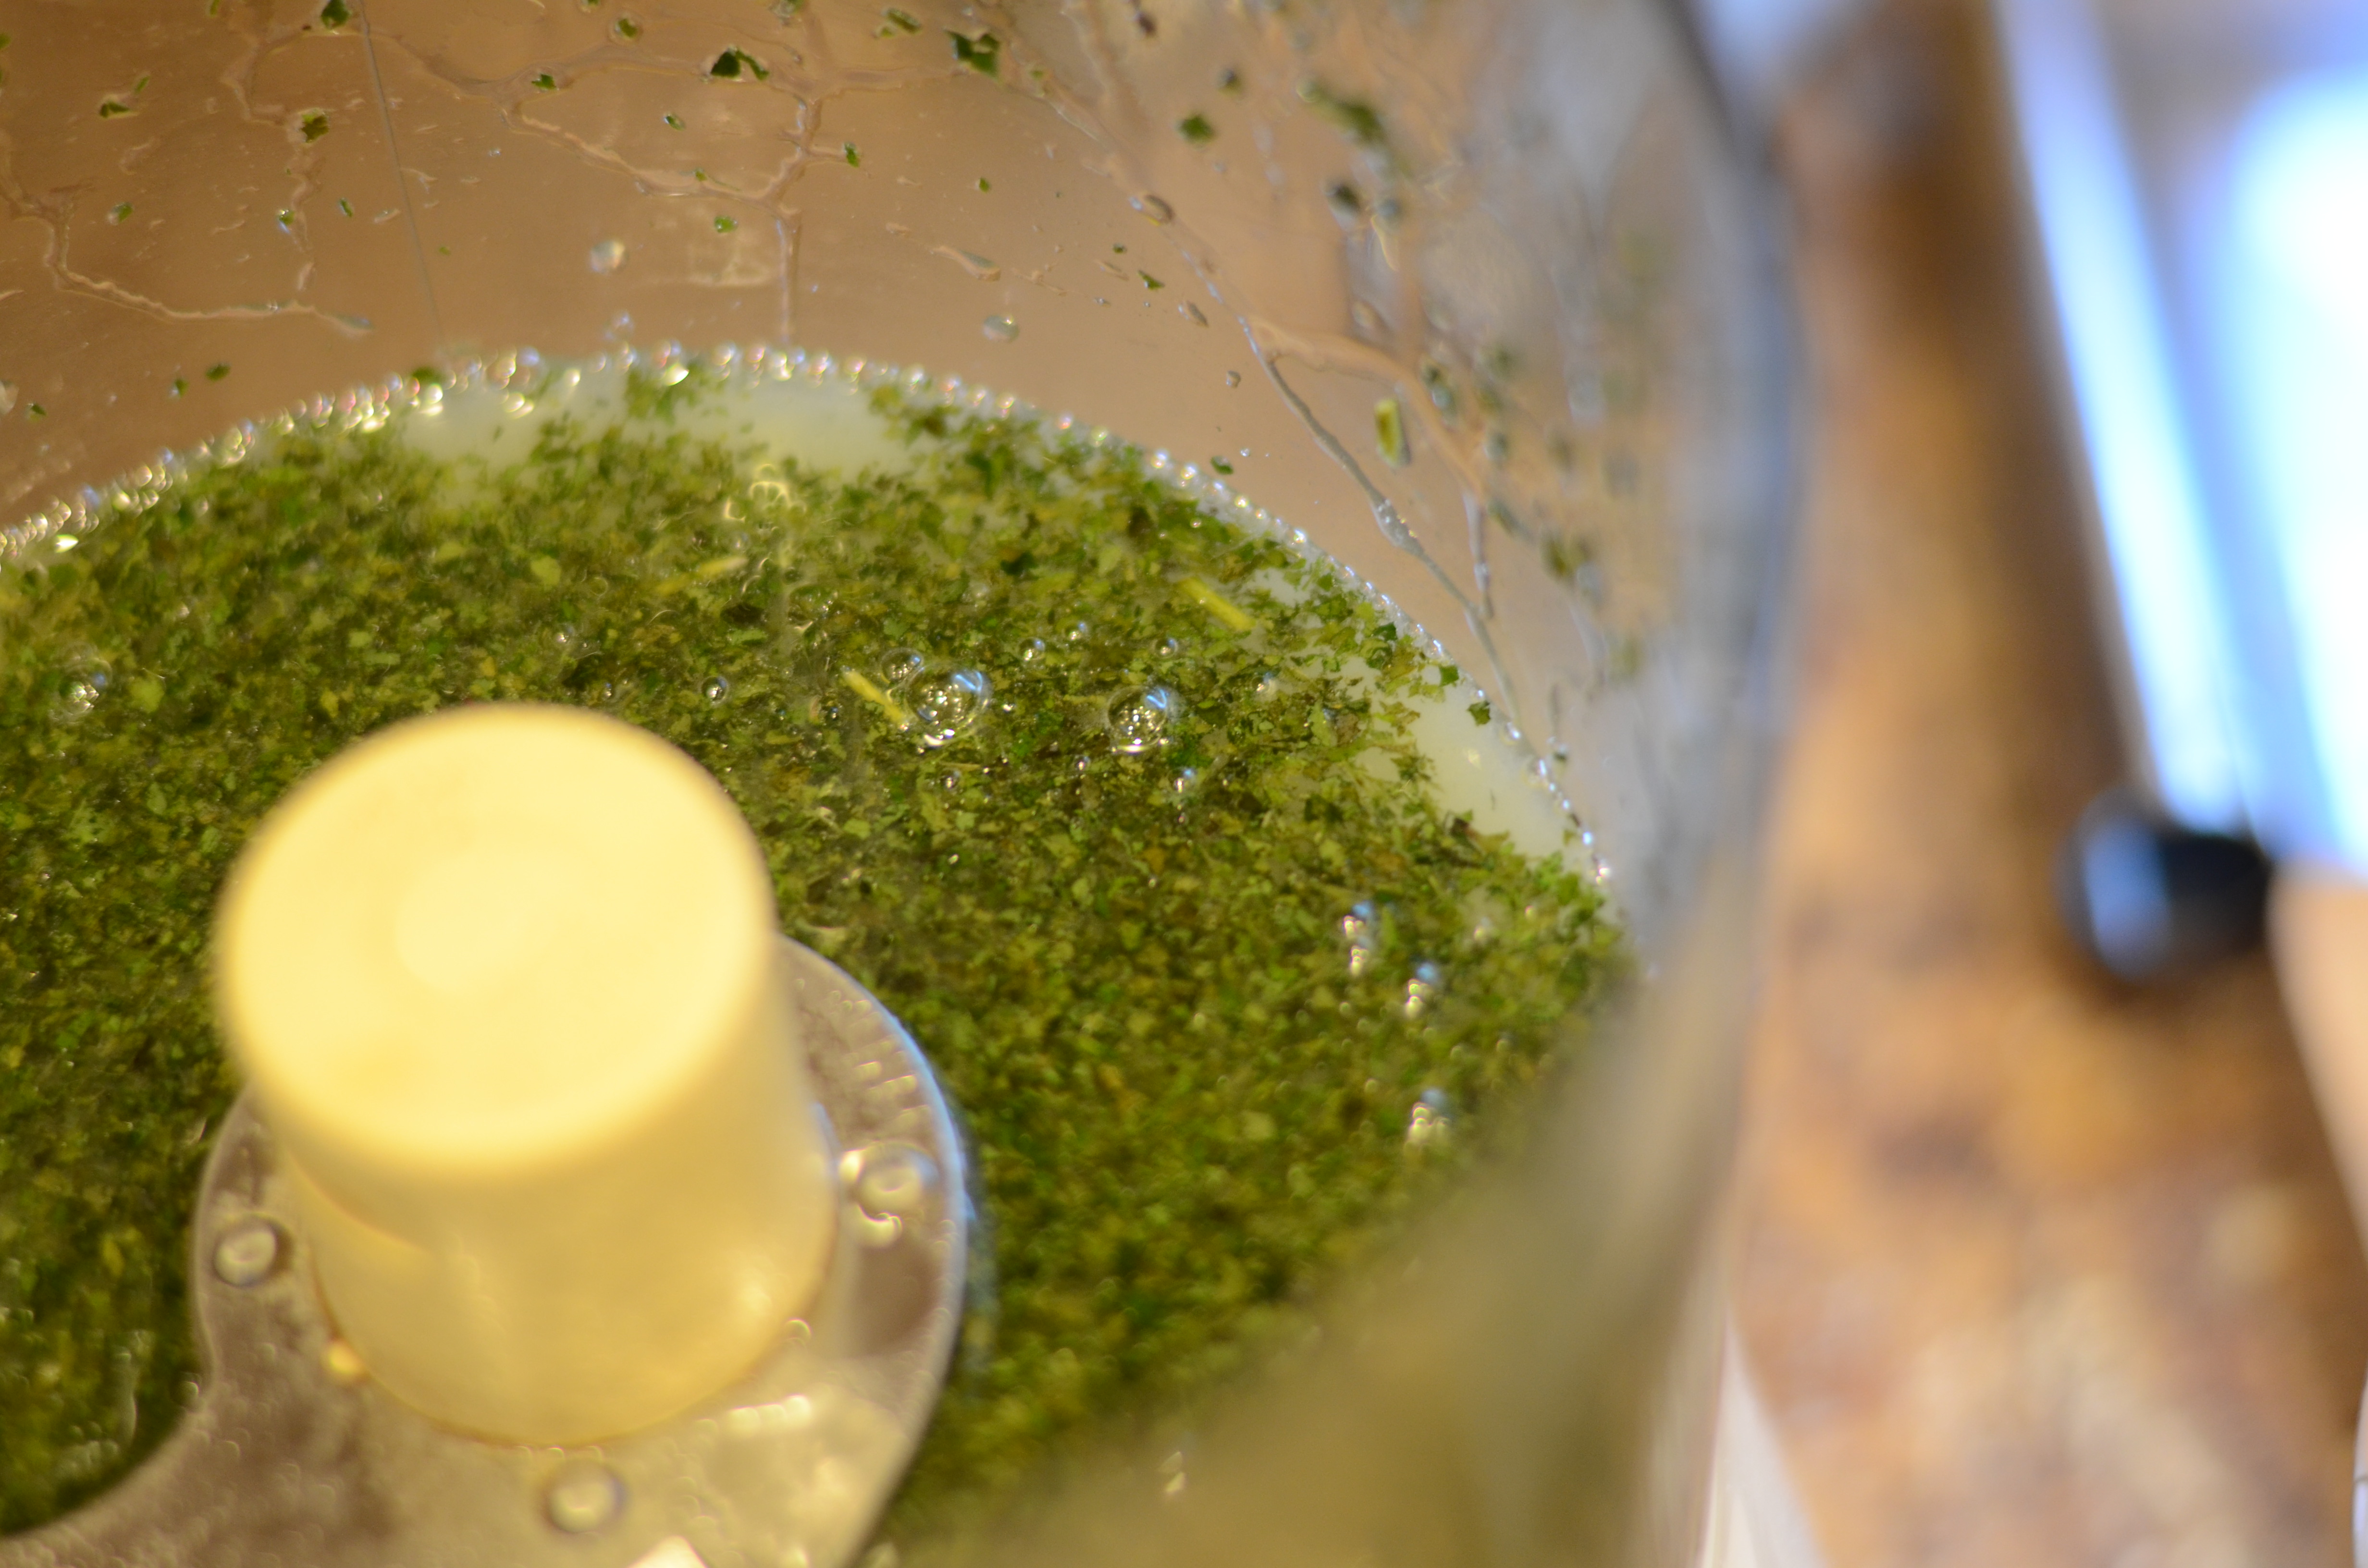
For the filling, stir together ricotta, yolk, herbs, 1/3 cup parmesan, and 1/8 teaspoon each of salt and pepper.

You may end up with extra filling, so feel free to scale it down to match the approximate number of blossoms you have. Yes, I realize that involves using part of an egg yolk–you could cook and eat the rest (why not?). Otherwise, I think that eggs are inexpensive and biodegradable enough that you aren’t being too wasteful if you discard a portion.

I used a combination of fresh spearmint and fresh basil from my garden.

I used a combination of fresh spearmint and fresh basil from my garden.


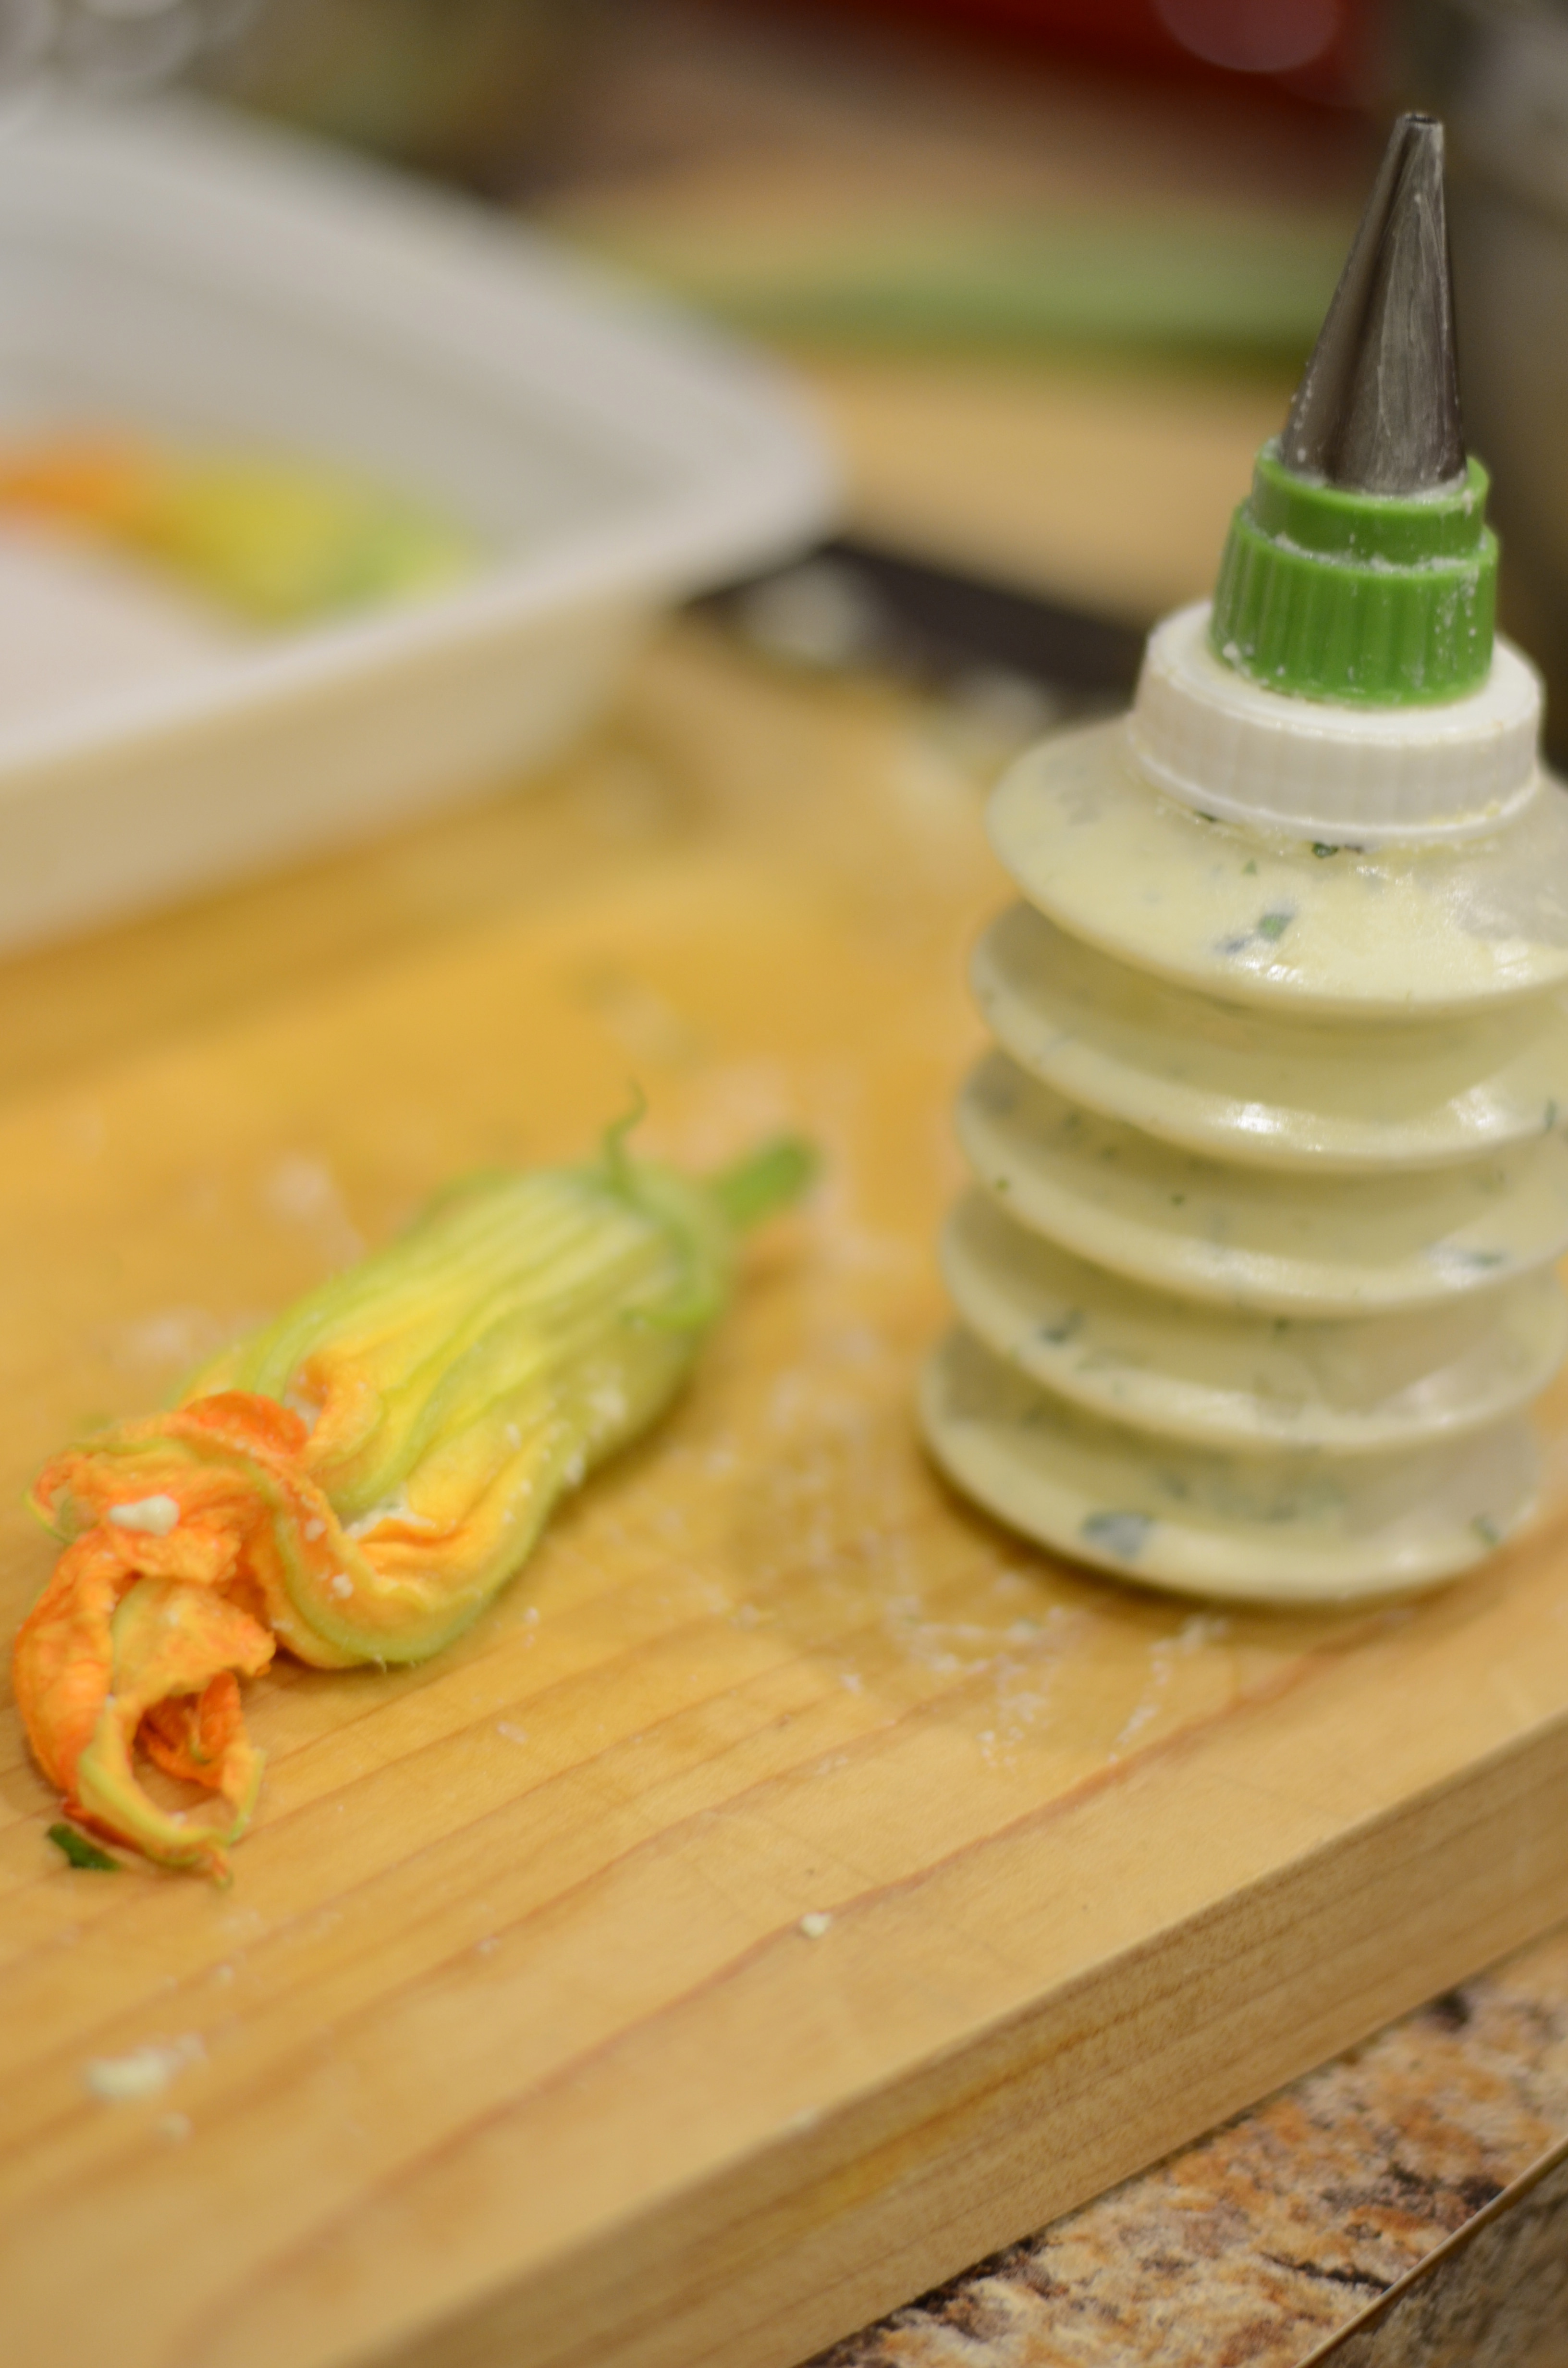
Carefully open each blossom and fill with ricotta filling, gently twisting end of blossom to enclose filling. I wouldn’t recommend using a spoon. The process will be so much easier if you can get your hands on something with a tapered tip which you can insert into the flower. Some reviewers did use the Ziplock bag-with-a-corner-snipped-off method.
DSC_5100
Whisk together flour, remaining 1/3 cup Parmesan, 1/4 teaspoon salt, and carbonated liquid in a small bowl.
I didn't want to open a new bottle of seltzer to use only a small portion! But opening and using up a beer? That could be arranged.

I didn’t want to open a new bottle of seltzer to use only a small portion! But opening and using up a beer? That could be arranged.


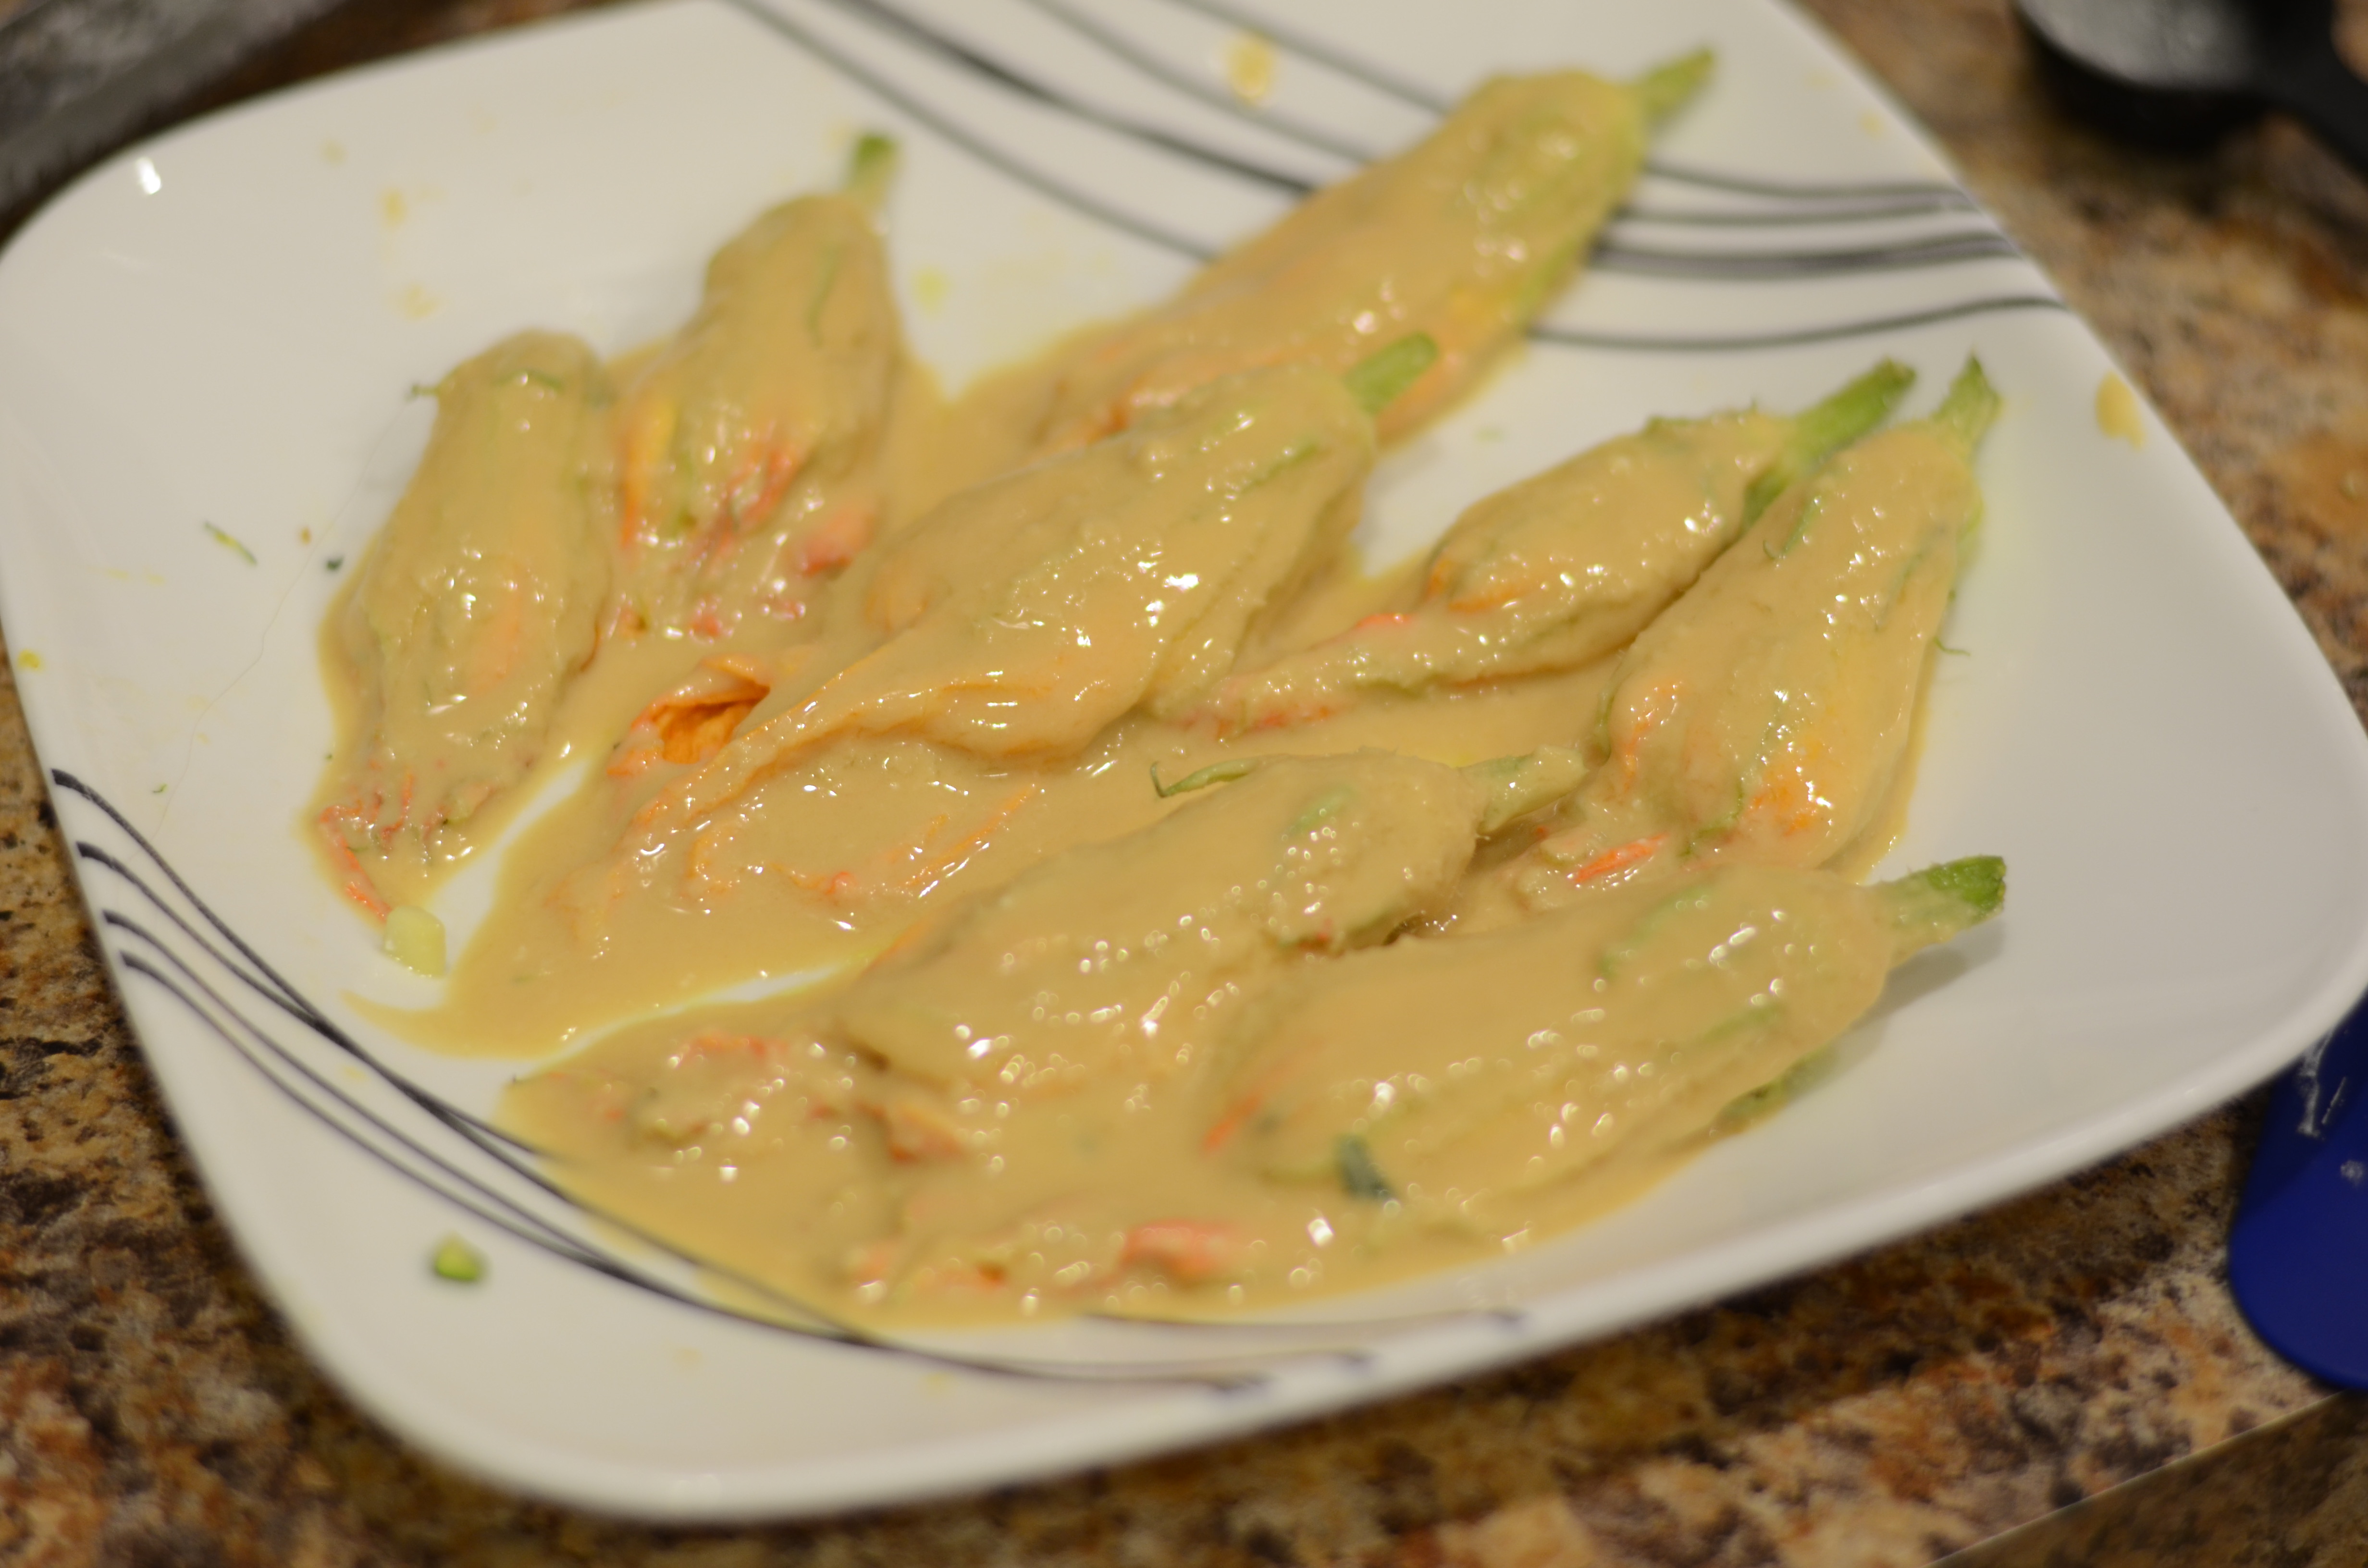
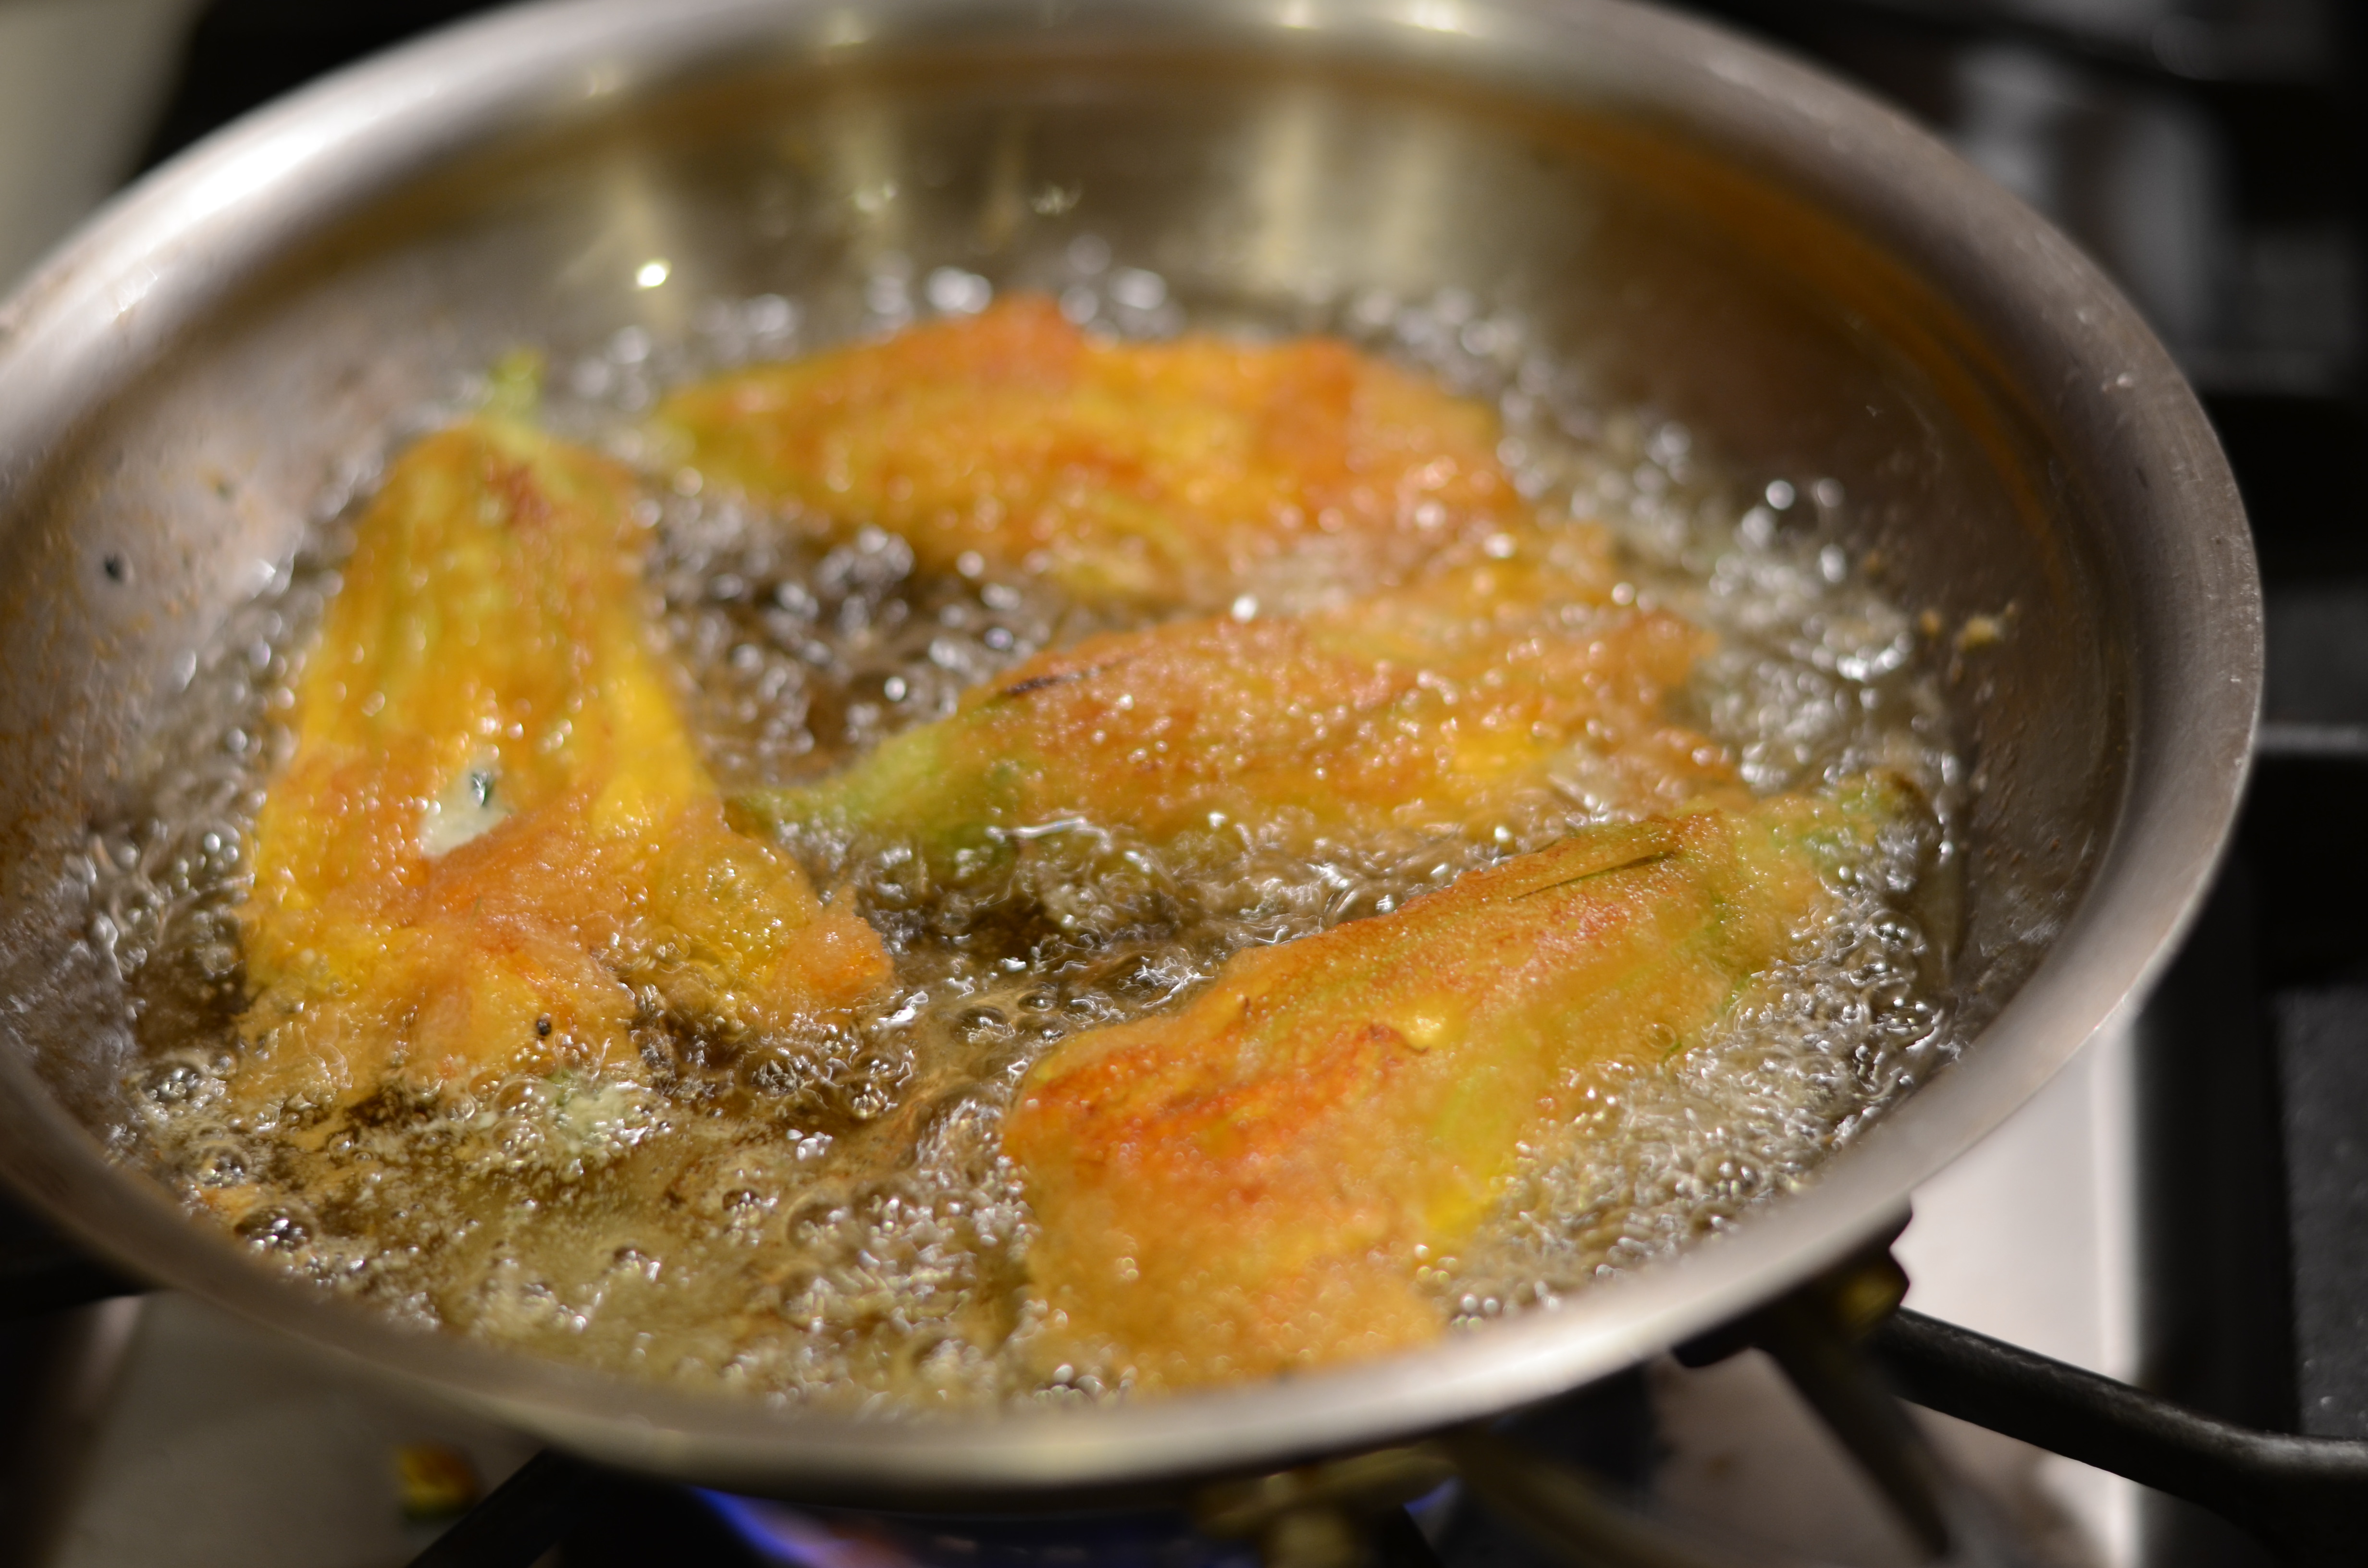
Heat 1/2 inch oil to 375°F in a heavy skillet sized to fit half your blossoms. Meanwhile, dip blossoms in batter to thinly coat.
DSC_5101
Fry coated blossoms in batches, gently turning once, until golden, 1 to 2 minutes total.
DSC_5103
Transfer with tongs to paper towels to drain. (Check the temperature of the oil so it comes back up to 375°F between batches.) Season with salt. Serve alone or with tomato sauce.
DSC_5107

Farro with Summer Garden Vegetables
Adapted from Smitten Kitchen

1.5 Cups water
3/4 Cup semi-pearled/whole farro
1/2 medium onion
(I used about 3 ounces)
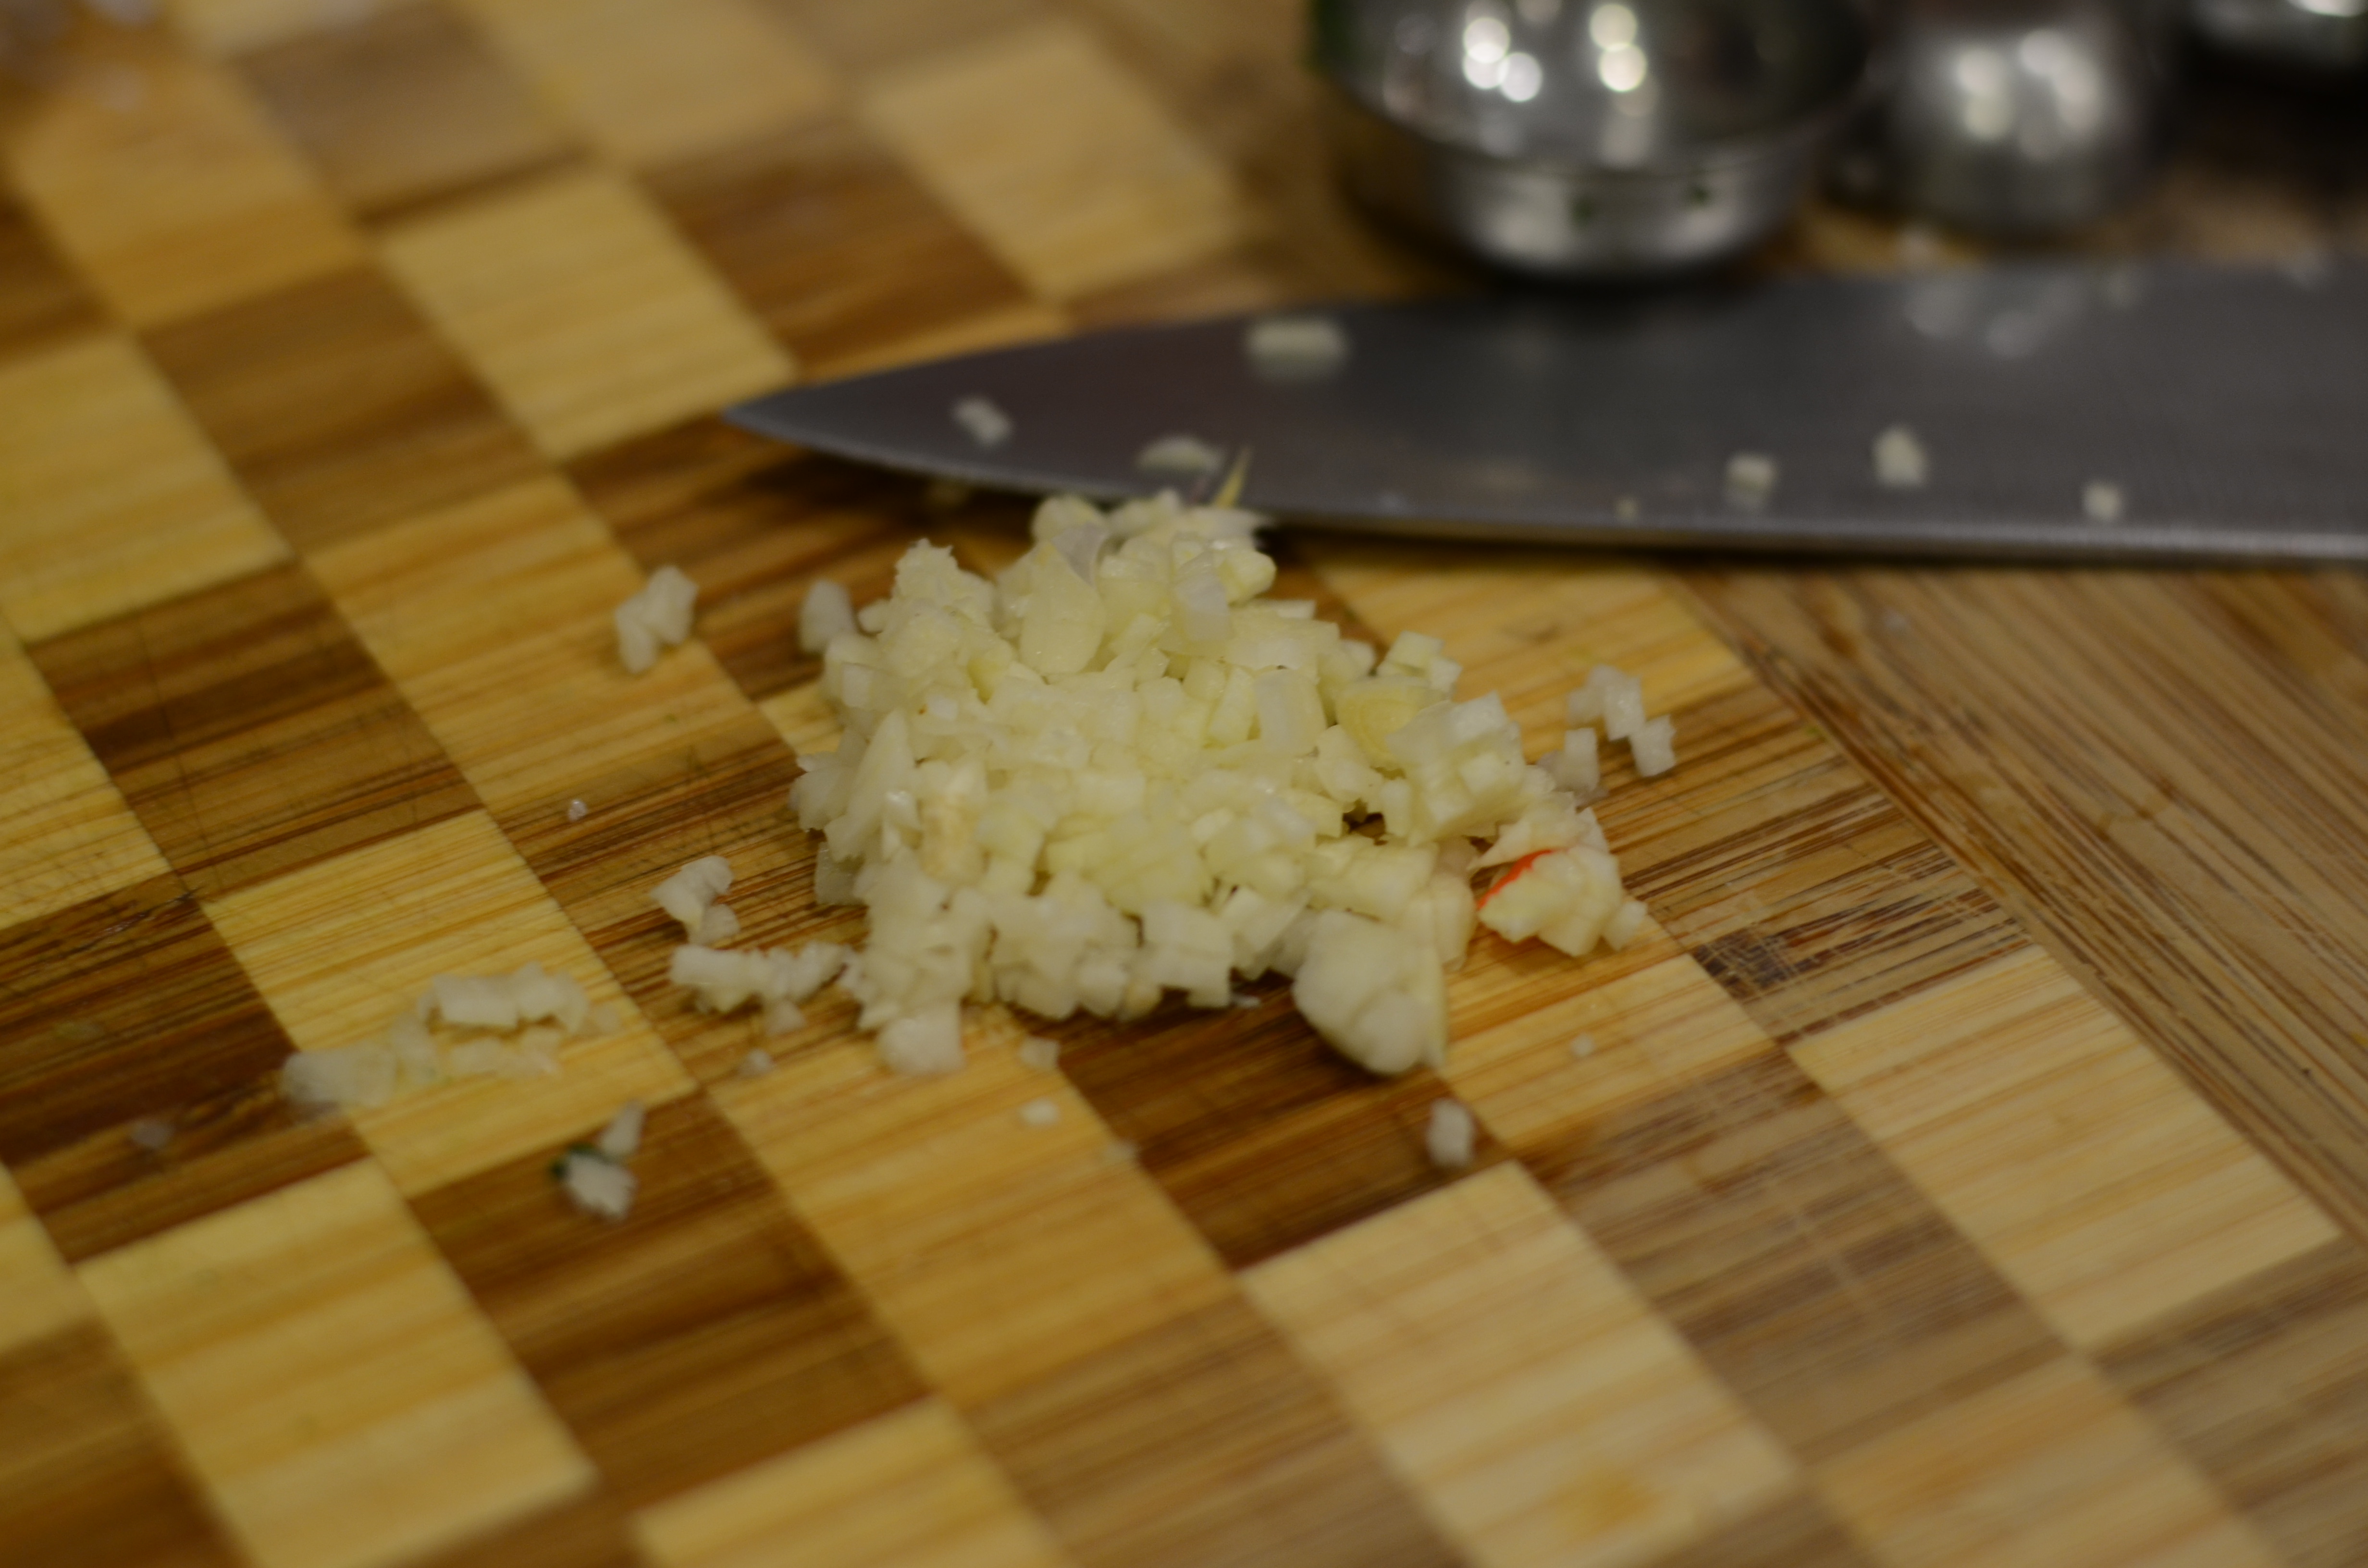
2 cloves garlic
4 ounces grape or cherry tomatoes
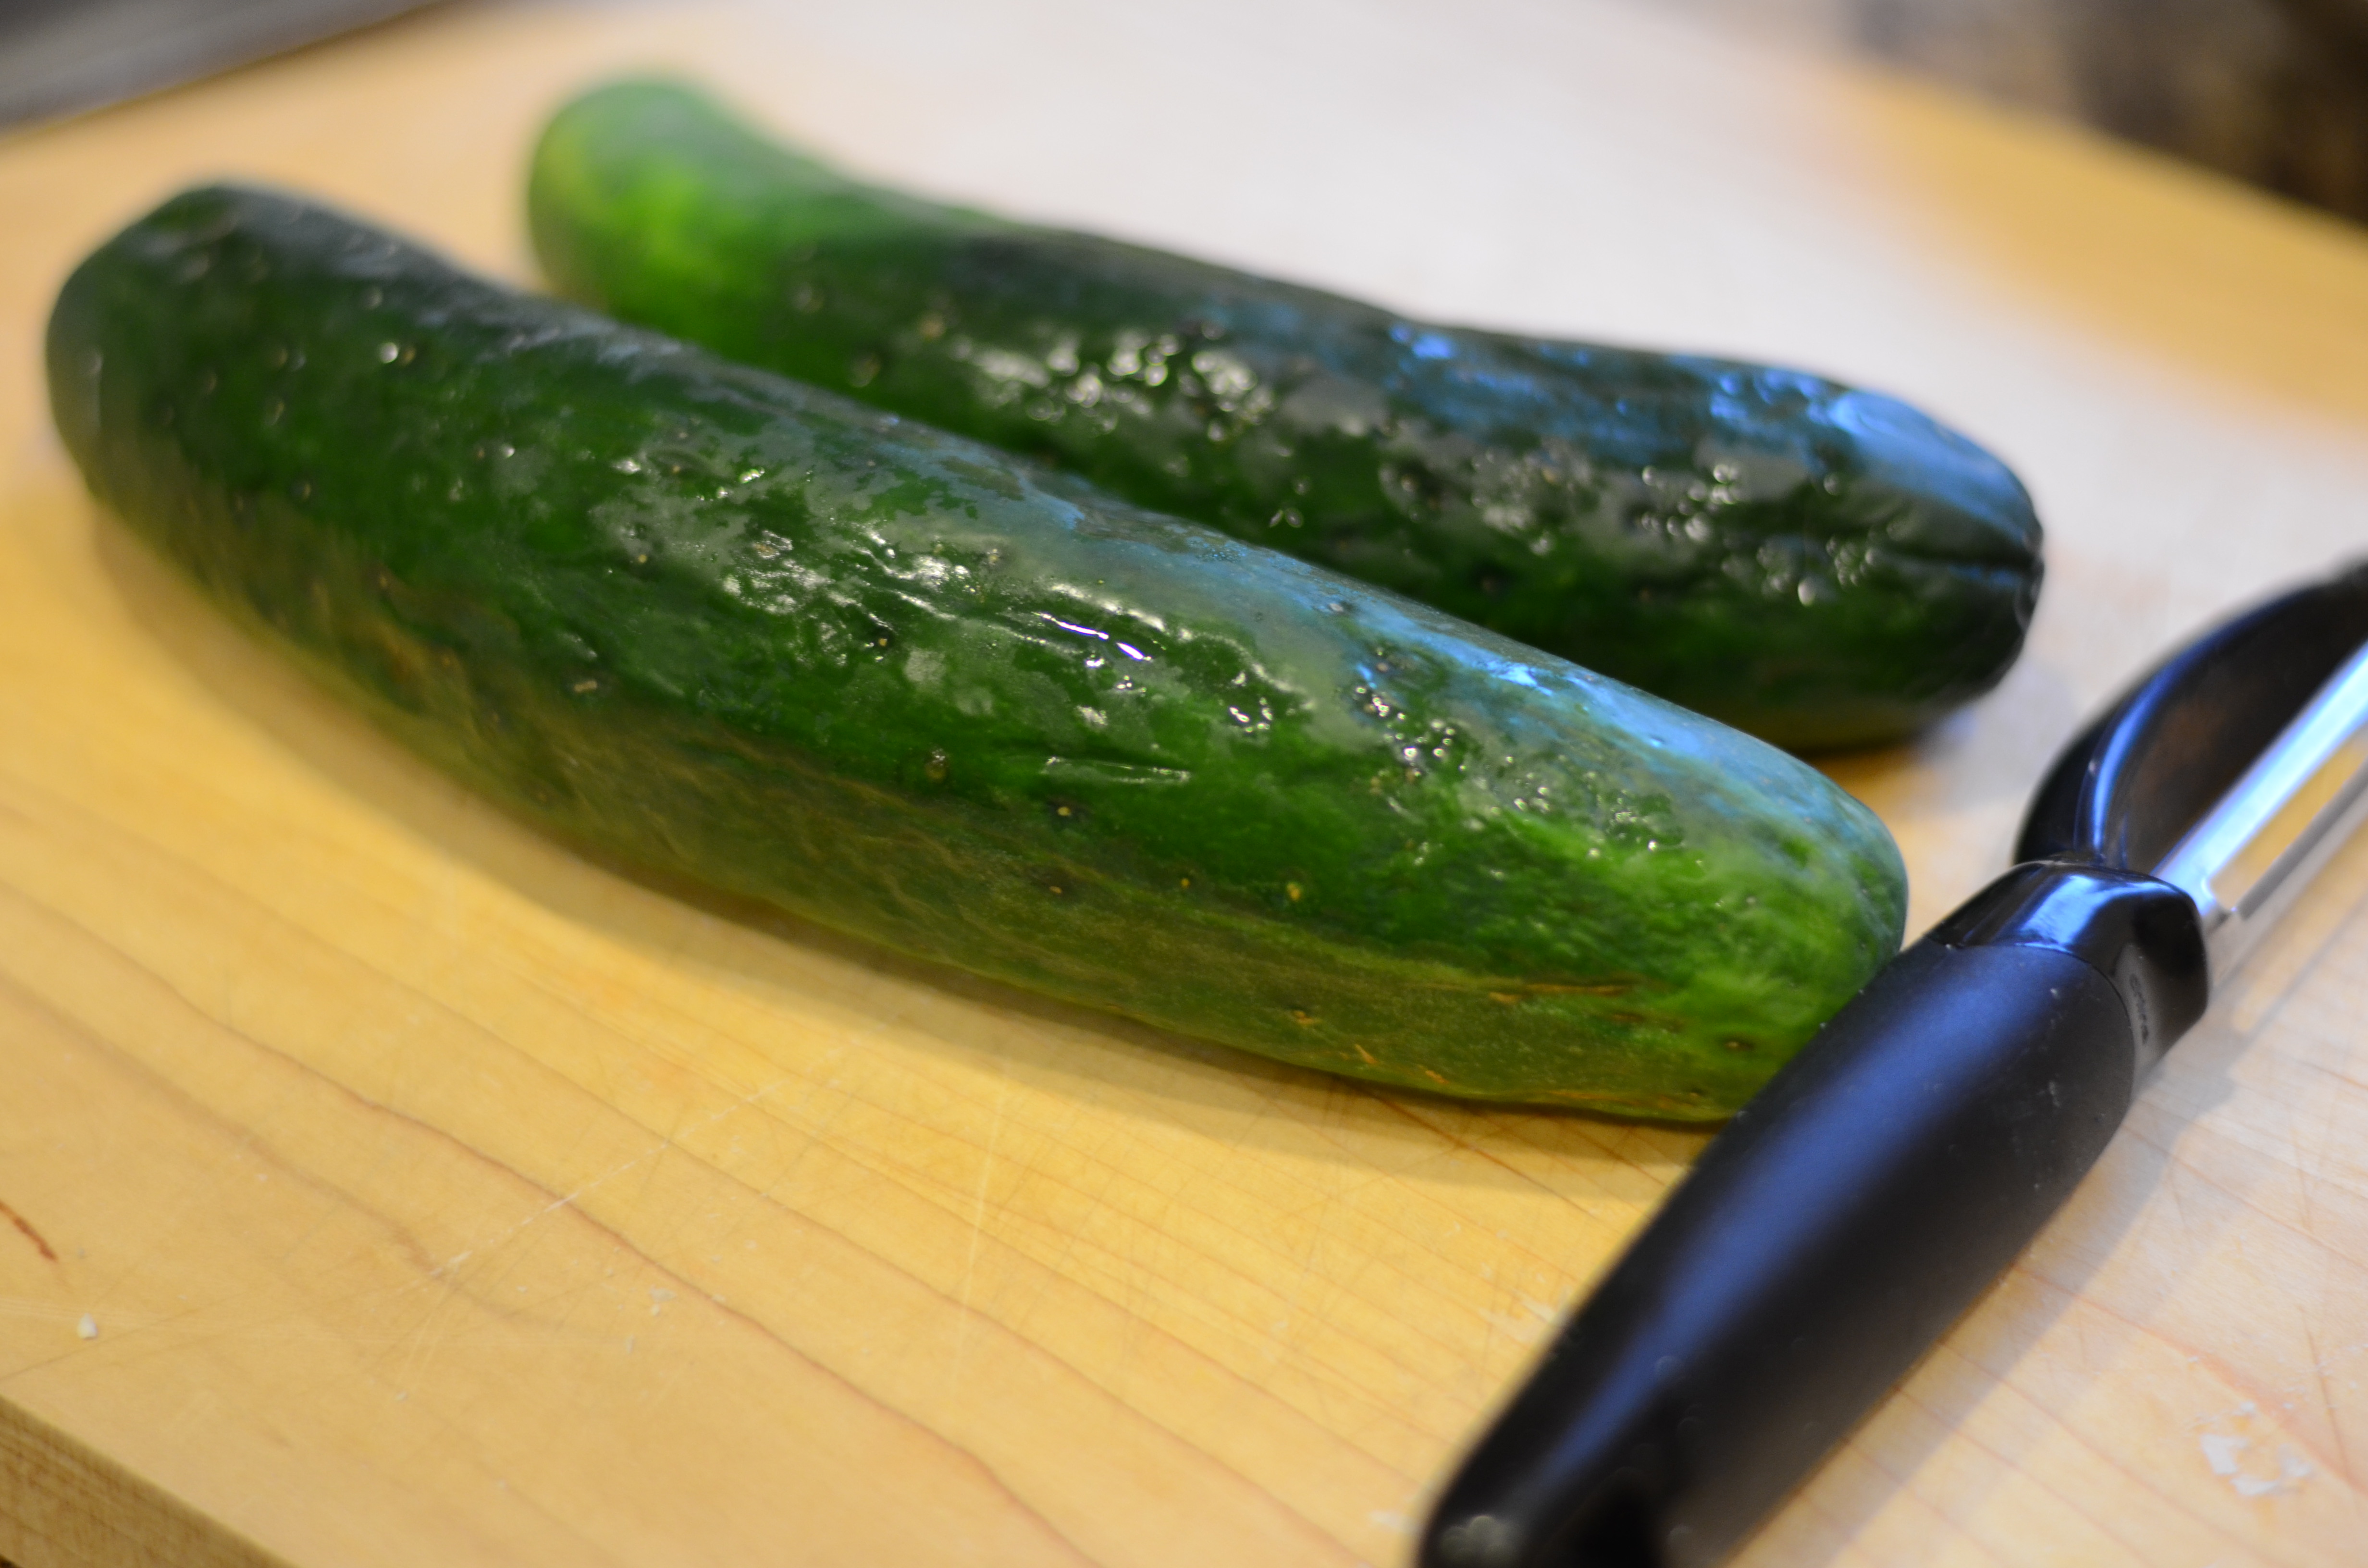
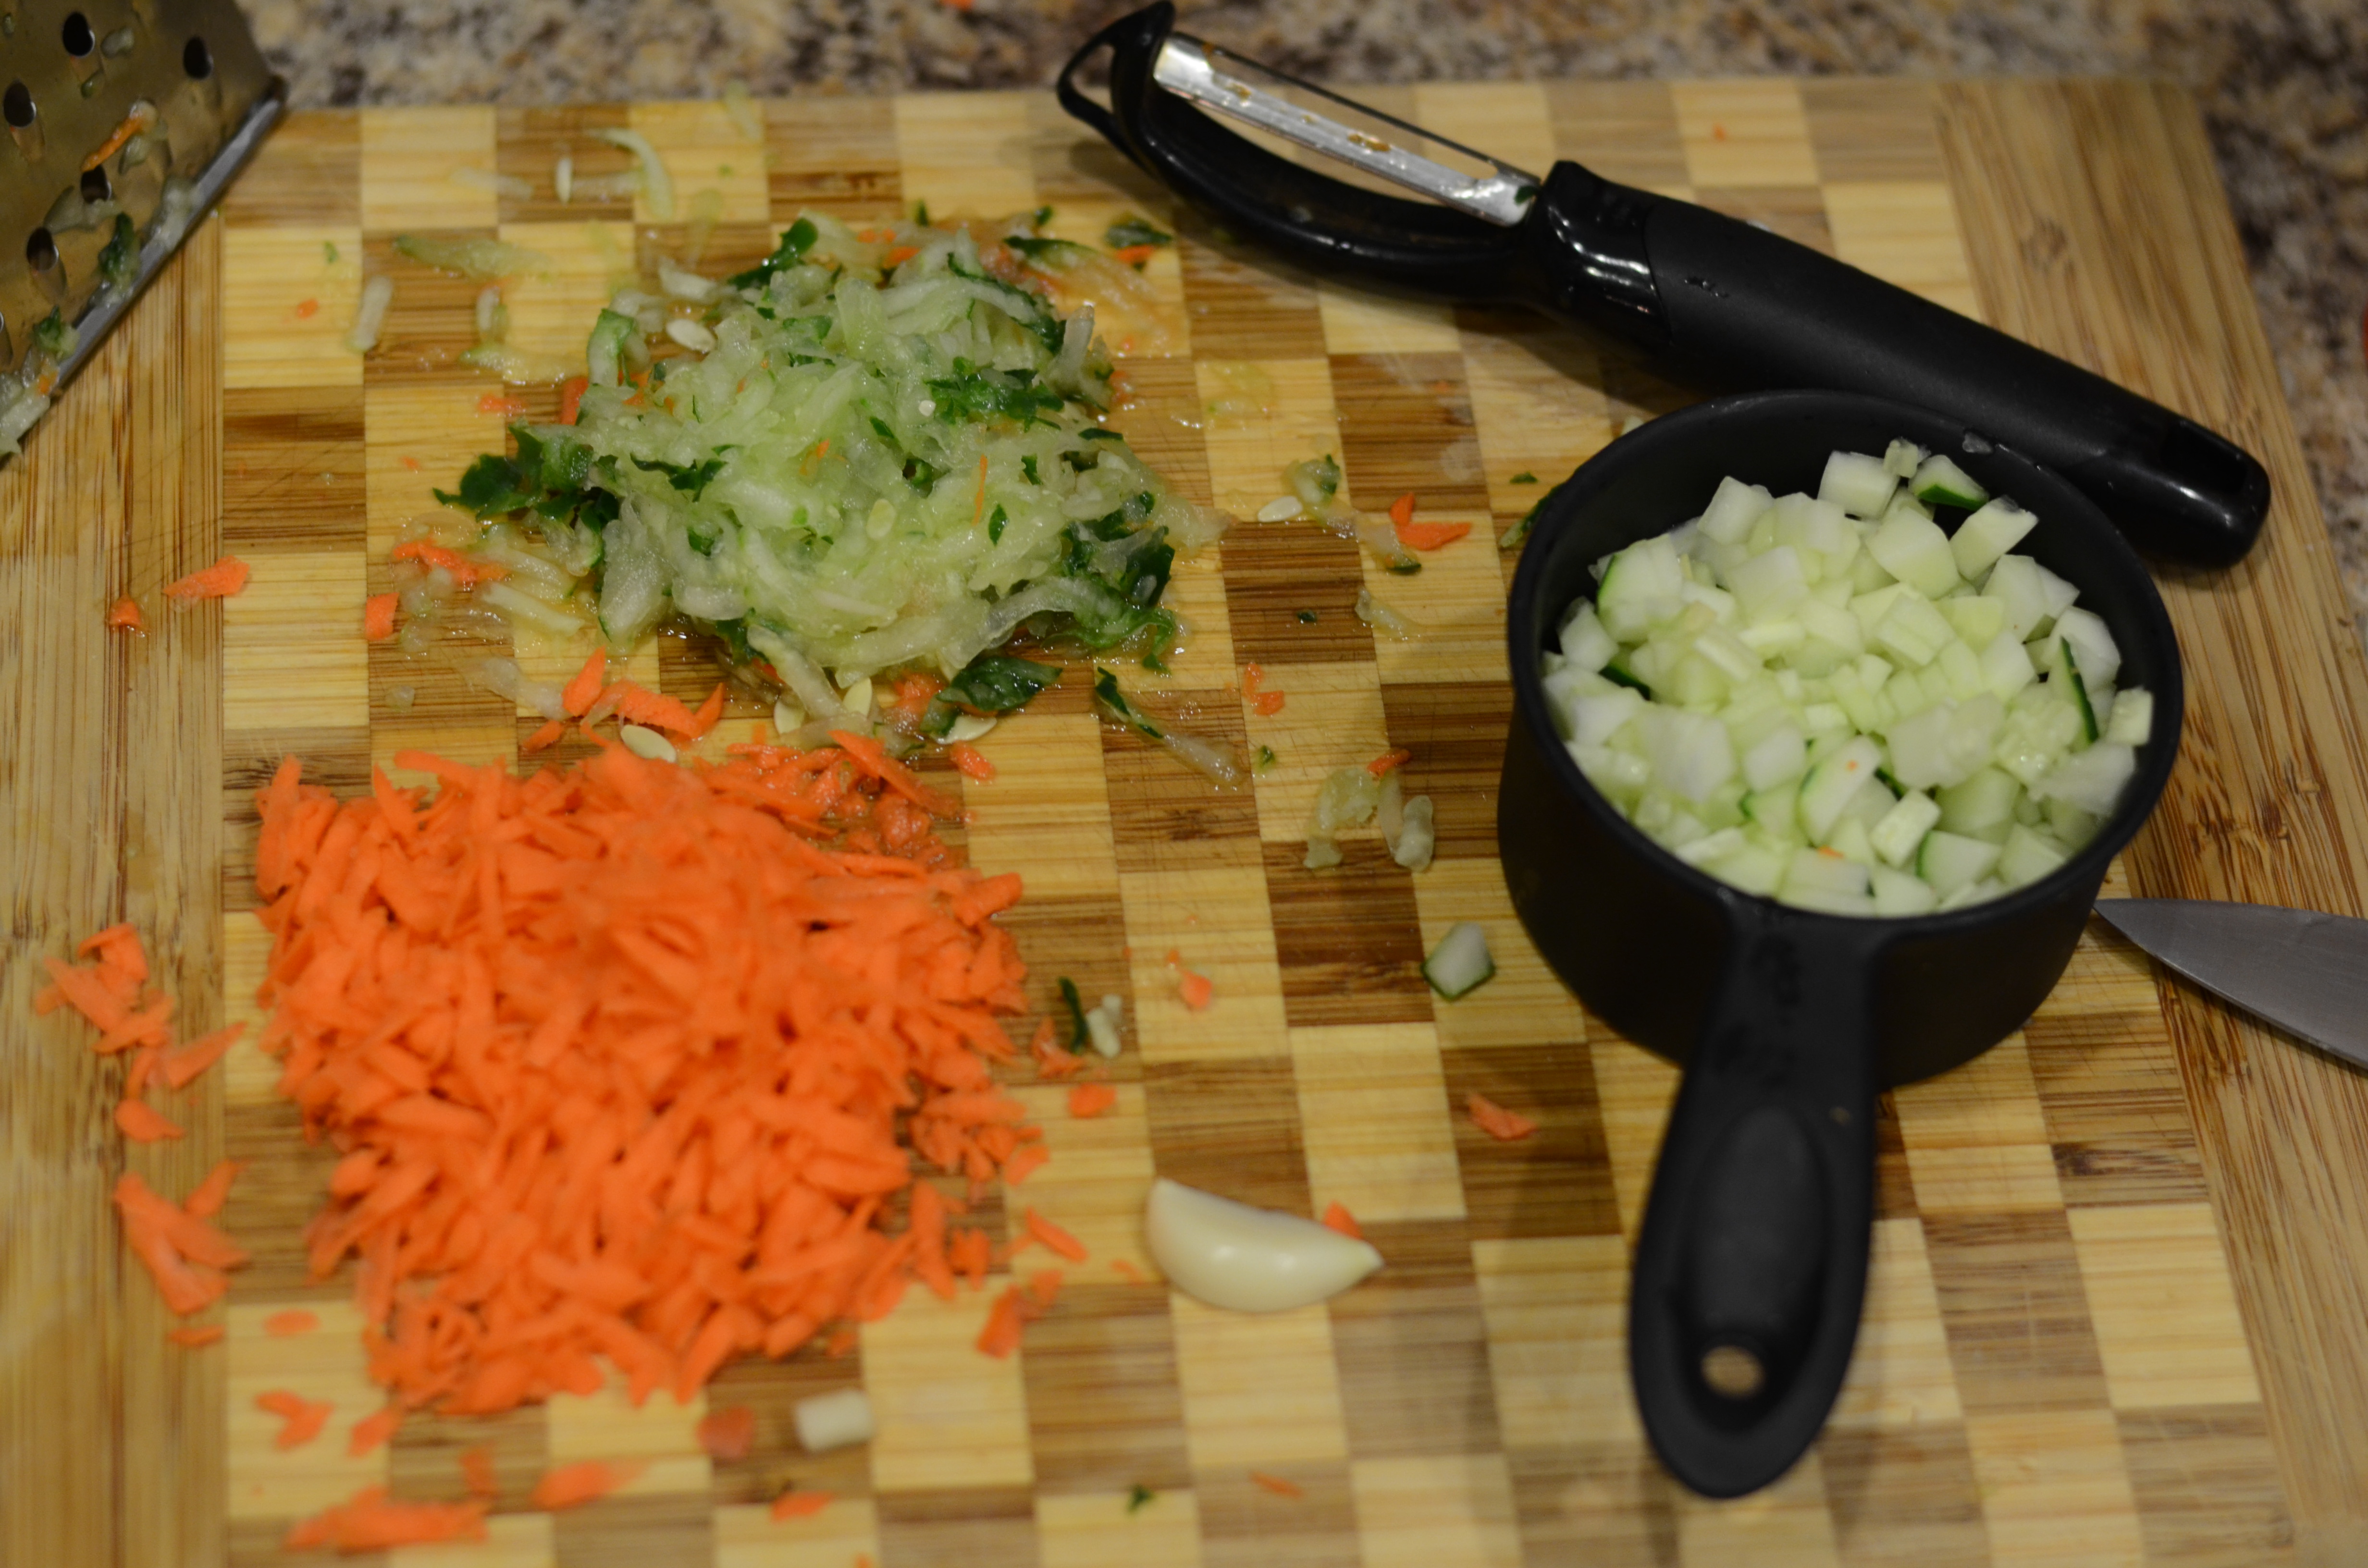
4 ounces zucchini
, diced
1 teaspoon kosher or coarse sea salt
Up to 1/4 teaspoon red pepper flakes (to taste)
2 teaspoons olive oil, plus extra for drizzling
Basil leaves, cut in chiffonade, for serving
Grated parmesan cheese, for serving

Place water and farro in a medium saucepan to presoak while you prepare the other ingredients.

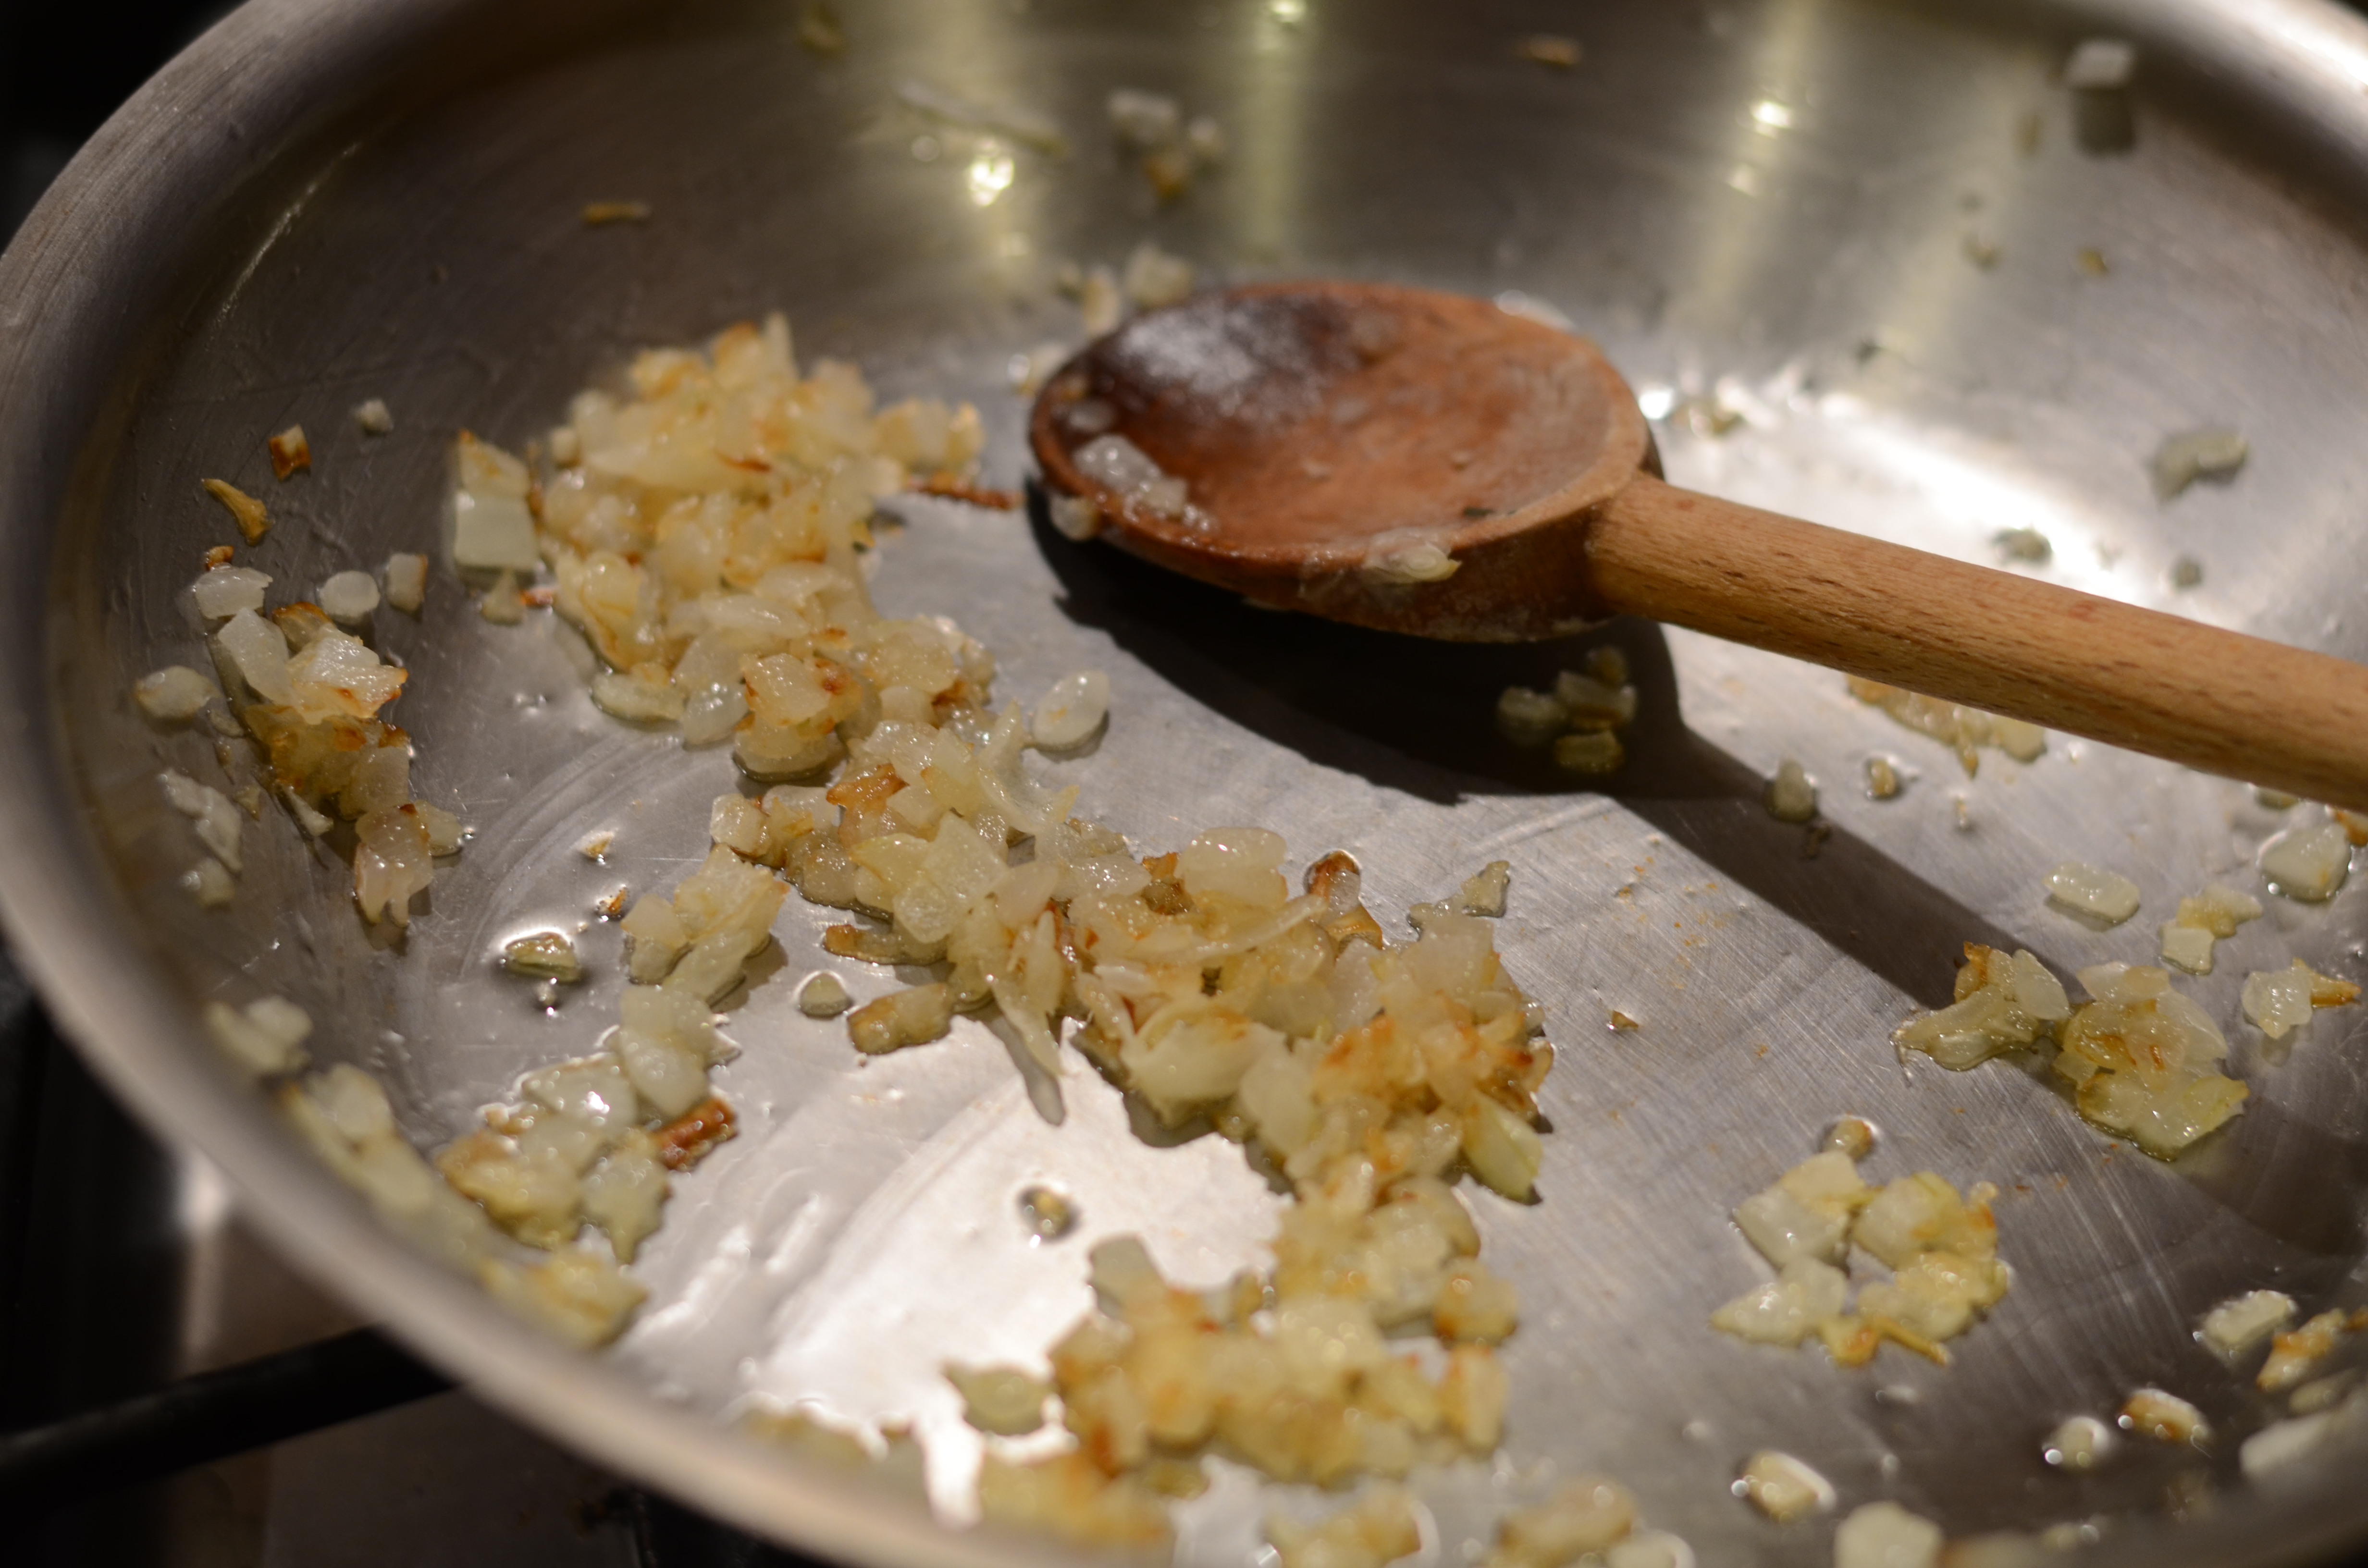
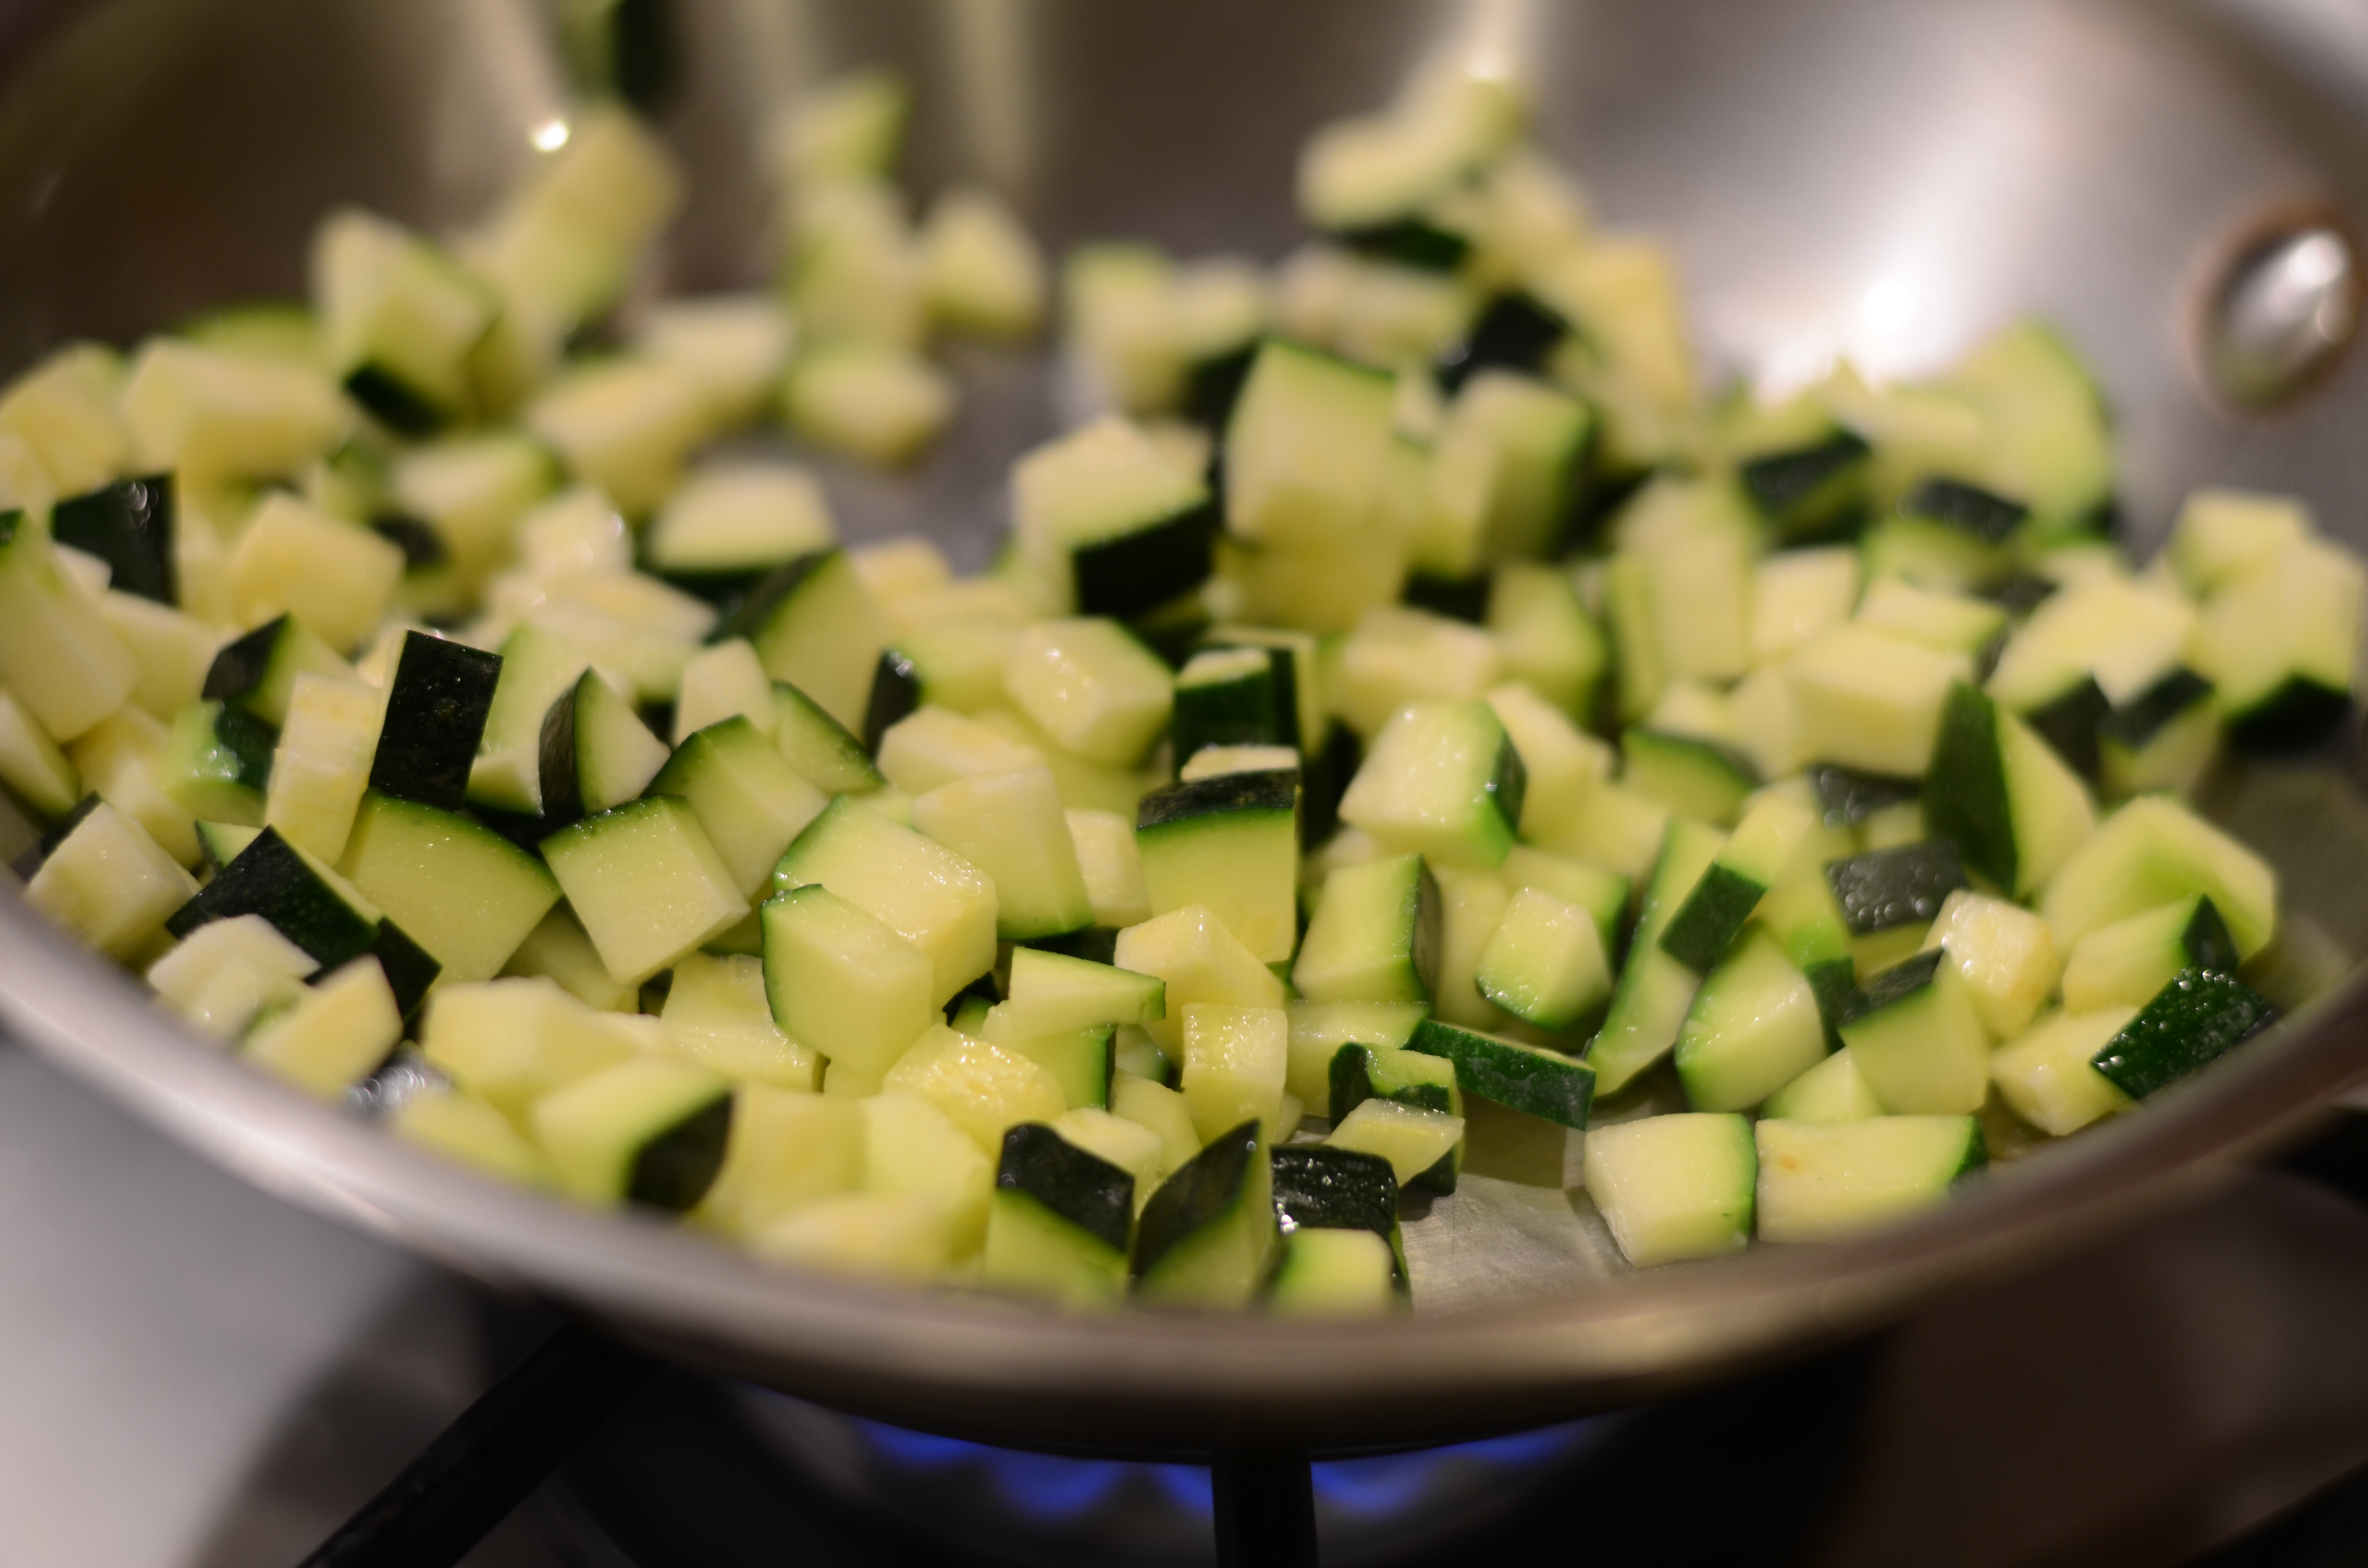
Add a little olive oil to a saute pan over medium-high heat. Add diced zucchini and cook until slightly softened, about 3 minutes.
DSC_5094
Add to saucepan with farro.

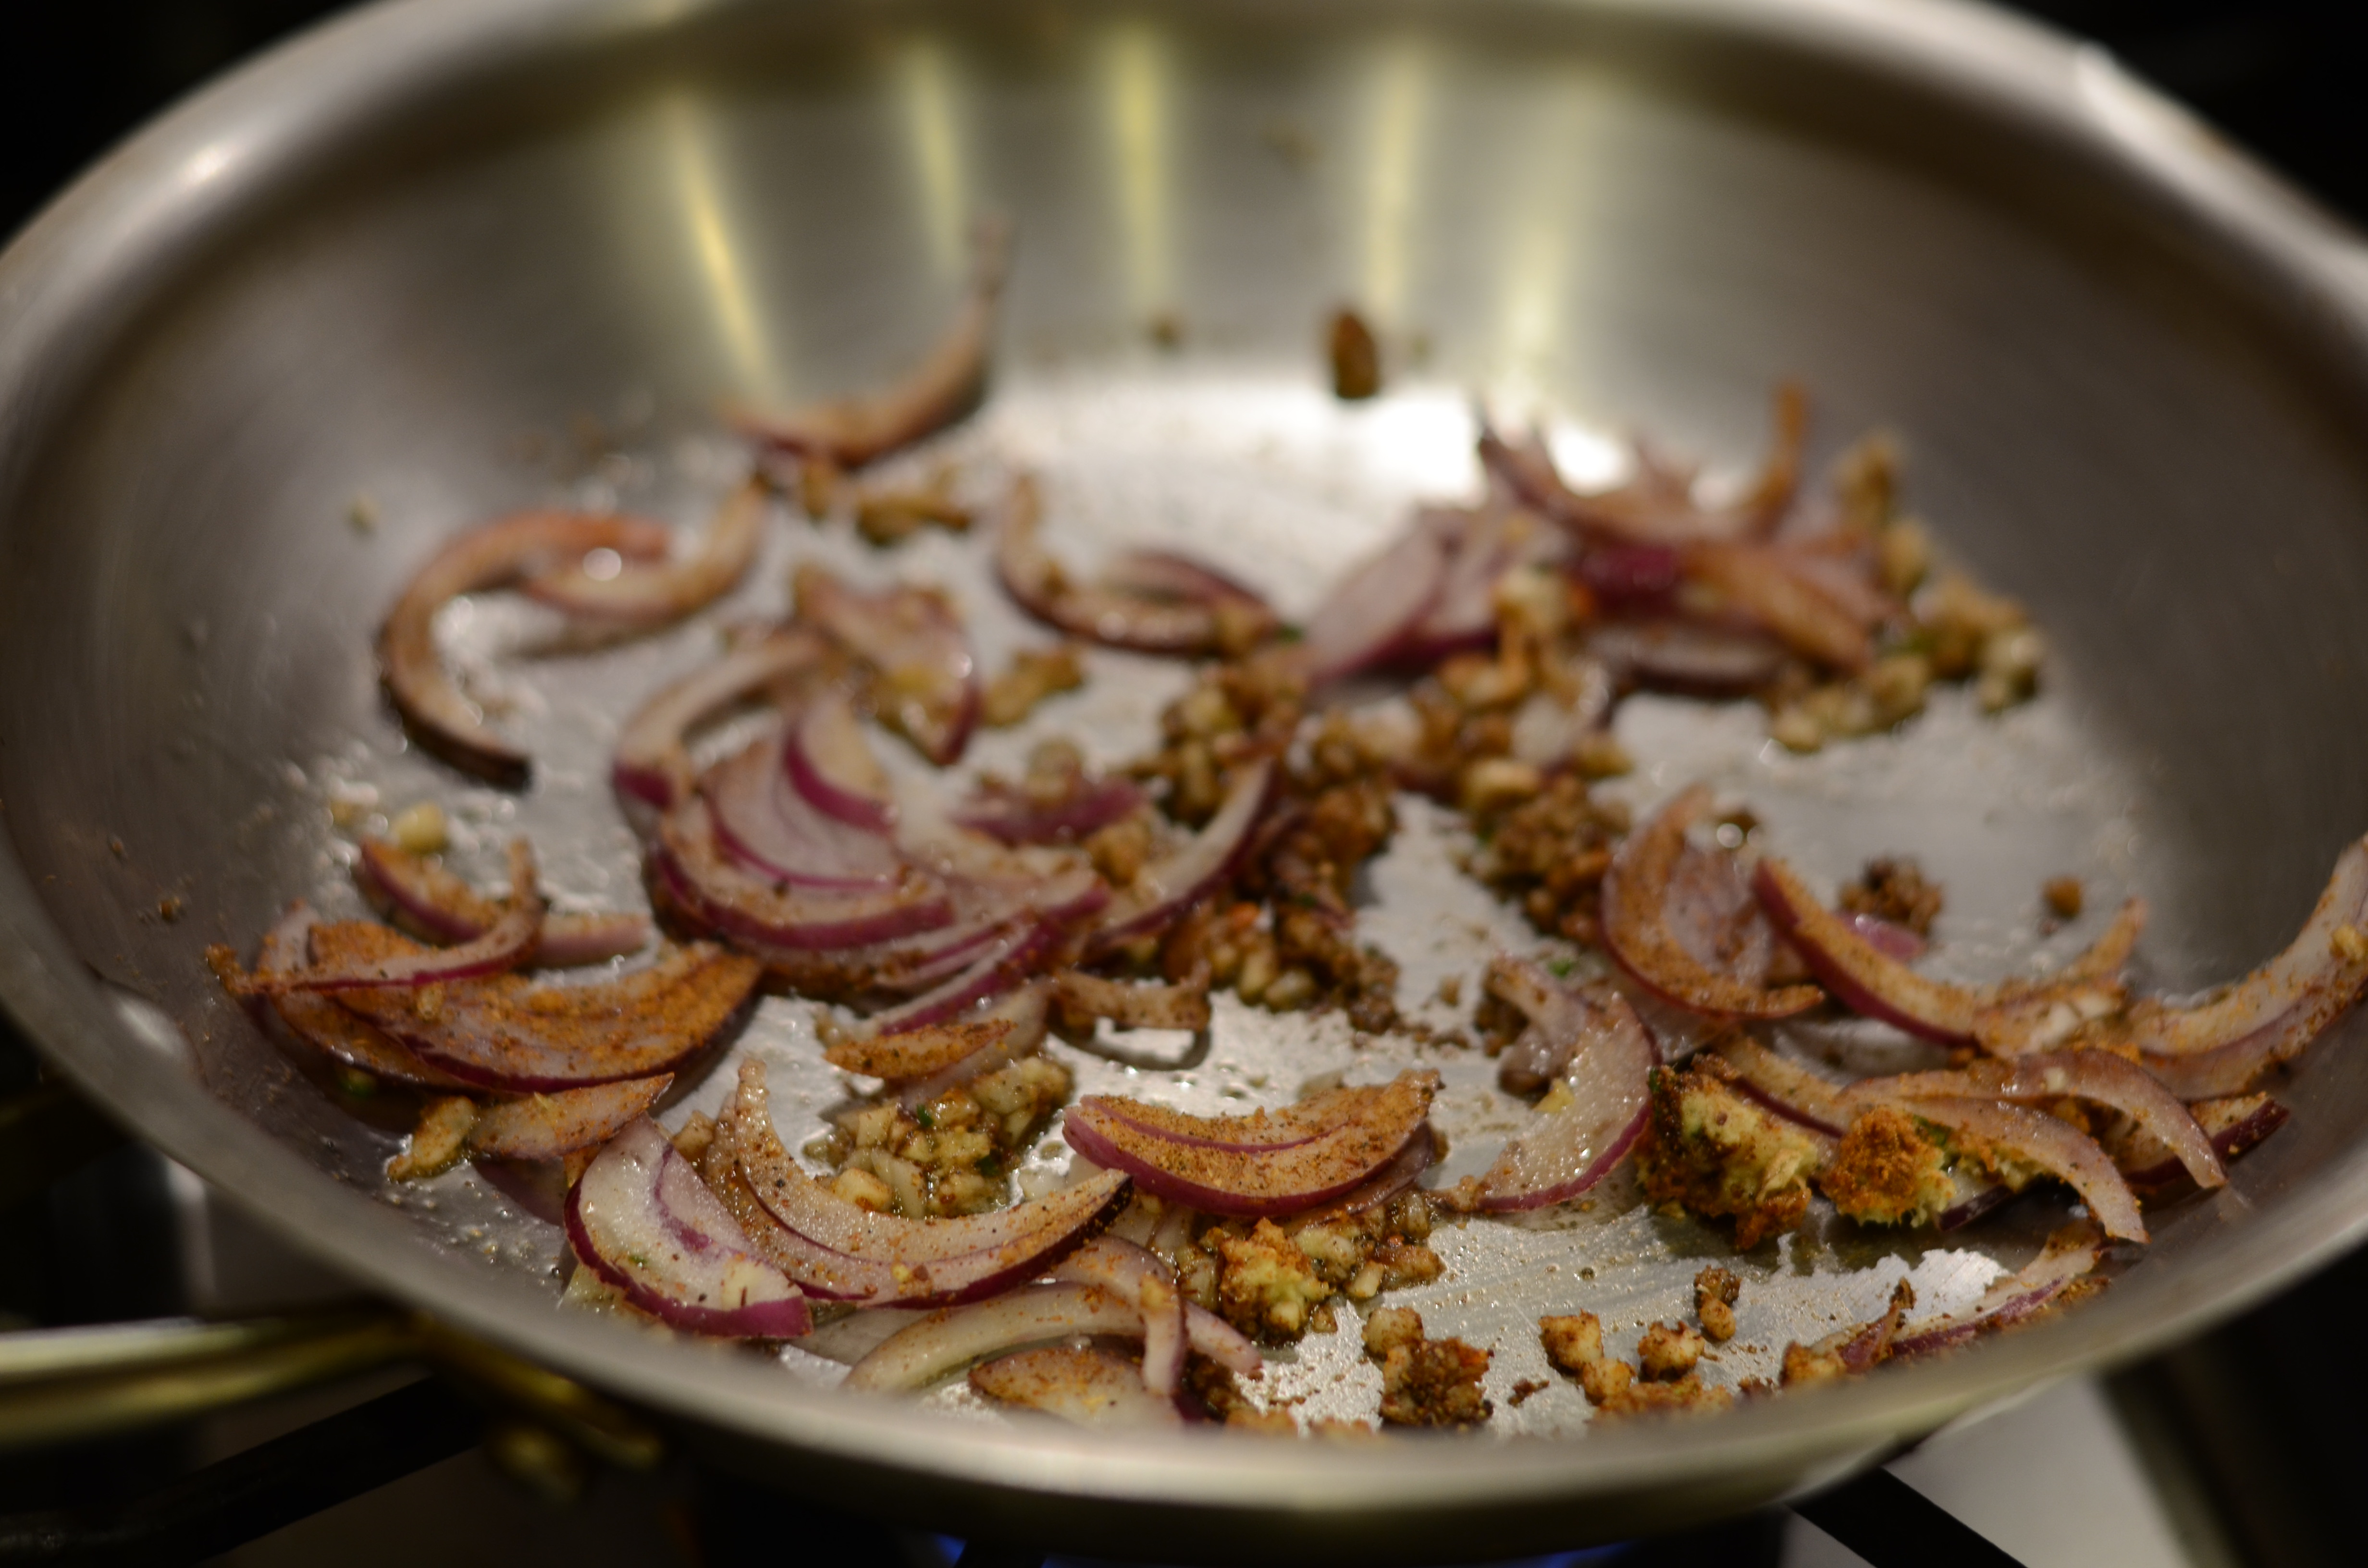
Cut halved onion in half again, and very thinly slice it into quarter-moons. Add to pot with farro. Thinly slice garlic cloves and add to pot.

Halve tomatoes and add.

Fresh from my front-yard garden!

Fresh from my front-yard garden!


DSC_5096
Add salt, pepper flakes (to taste) and 1 tablespoon olive oil to pan.
DSC_5097
Turn on heat to medium-high and set a timer for 30 minutes. Bring UNcovered pan up to a boil, then reduce to a gentle simmer, stirring occasionally. Check the farro’s texture after 30 minutes–it should be tender, but will be still chewy, and most of the water should be absorbed. If you let your heat get too high and the water boils off, you may have to add extra liquid.

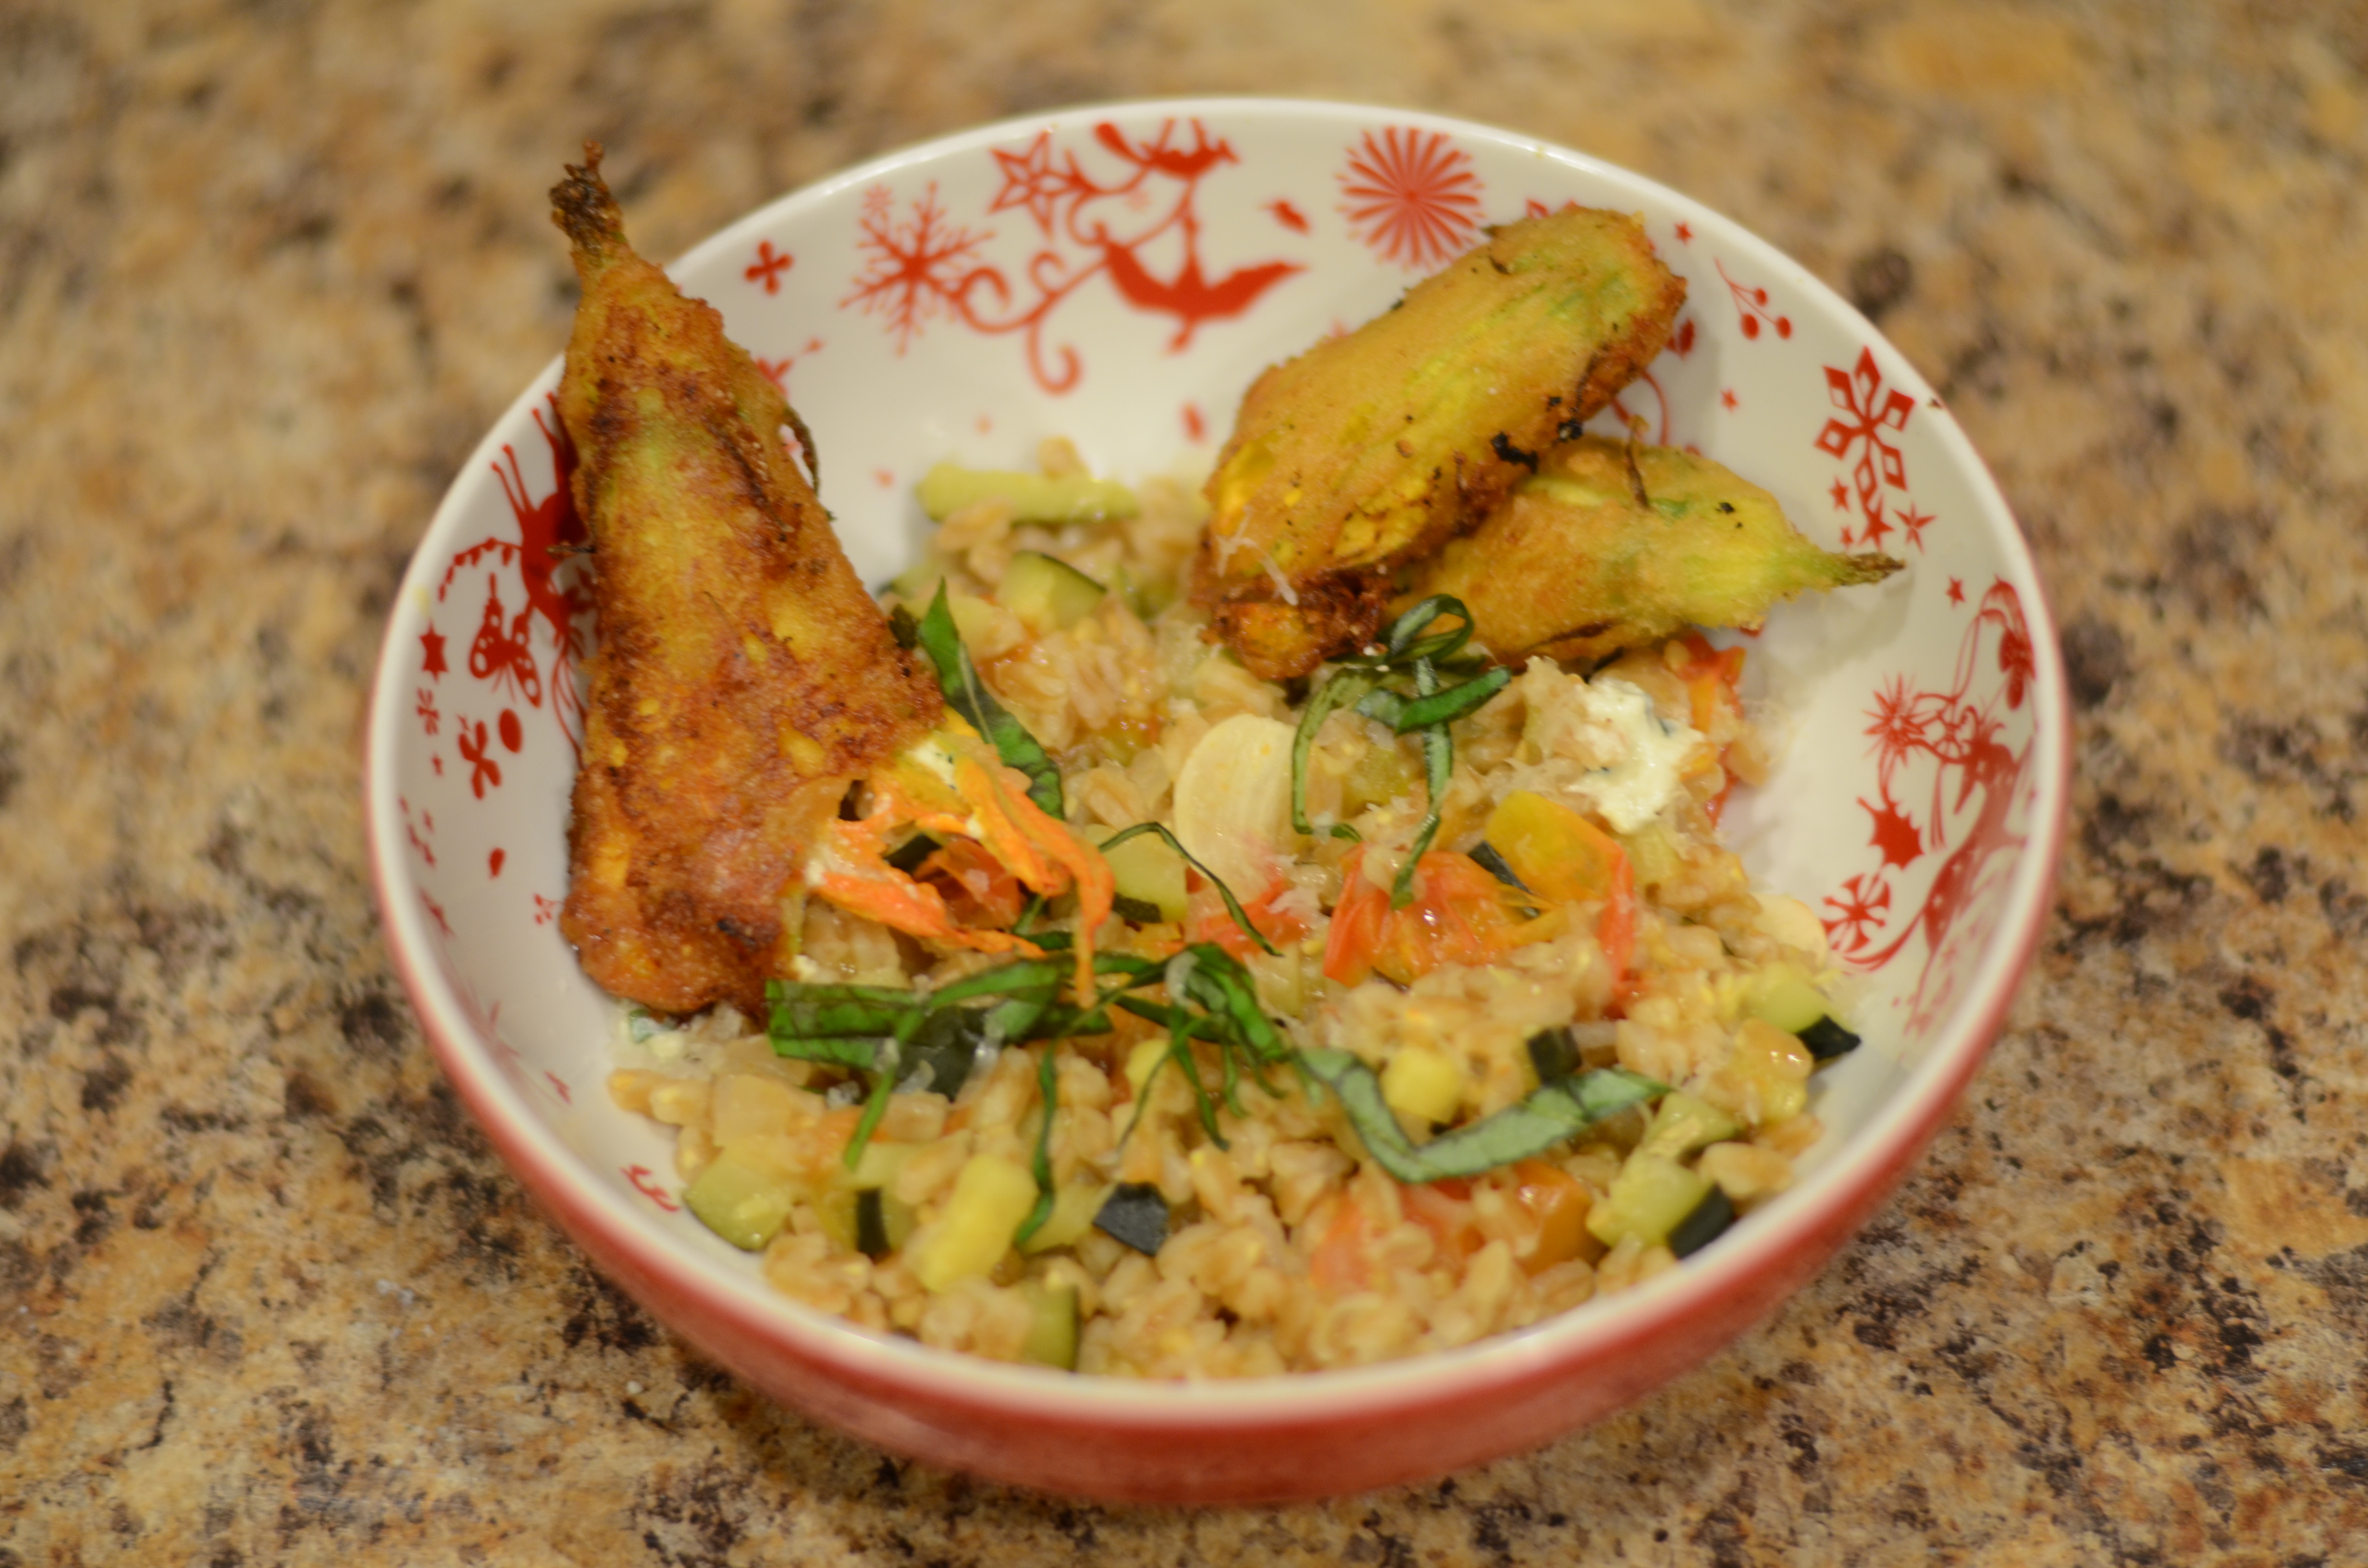
Transfer to a serving bowl. Drizzle with additional olive oil, basil and parmesan.
DSC_5106

It’s a zucchini + pasta/grain craze! Melissa Clark of the New York Times also used zucchini and tomatoes this week in her recipe.

Having the plant and the flower together!

Having the plant and the flower together!

Sourdough Carrot Cake

Have I mentioned that I am in possession of living culinary matter, matter that demands nurturing and care, also known as sourdough starter? I know I have mentioned my husband’s love of bread, and that is what led me to give him the starter as a birthday gift years ago. That same starter survives today, supplying tang to our breads, pizza doughs, and waffles, and this time, our cake.

The care I’m referring to is the regular “feeding.” Sourdough starter is kept in best tip-top shape by feeding it every week with some new flour and water. First, you dispose of, or use, 1 cup. And I will confess that we probably dispose of that cup more than 50% of the time, especially since many recipes call for FED starter.
DSC_5053
The latest King Arthur Flour catalog arrived, and one of the recipes that caught my eye was the Sourdough Carrot Cake that used UNFED starter! This recipe is a great example of my ability to cook my pantry with the addition of very few specially purchased grocery items. This time, that special item was crushed pineapple.

I followed this recipe almost exactly–I was surprised by how much oil it called for considering the pineapple added so much moisture, so I think I put in a smidge less oil than it called for, which I modify in the version below. This does make a generous amount of cake. It could also be served in a more bread-like form, similar to zucchini of banana bread. It would make at least two loaves. I completely eyeballed volumes with the various containers I used in an attempt to make cute little layer cakes. My output was the six ramekins (which puffed up) plus a full loaf pan.

Bonus: I ended up with little carrot cake cookies, when I sliced the top off these!

Bonus: I ended up with little carrot cake cookies, when I sliced the top off these!


Sourdough Carrot Cake
From King Arthur Flour

1 1/4 cups vegetable oil
2 Cups sugar
1 Cup sourdough starter
, right from the fridge, not fed
3 eggs
1 Cup (8 oz.) crushed pineapple
, mostly drained
2 Cups grated carrots
1/2 Cup chopped walnuts
1/2 Cup shredded coconut
2 teaspoons vanilla
2 1/2 Cups Unbleached All-Purpose Flour
2 teaspoons cinnamon
1/2 teaspoon salt
1 teaspoon baking soda
Cream Cheese Frosting
(optional)*

Grease desired baking pans – suggested single size is 9 x 13-inch – and sprinkle with flour. Set aside.

Combine oil and sugar, and stir in sourdough starter. Mix in eggs, one at a time, beating well after each. Fold in pineapple, carrots, walnuts, coconut and vanilla.

I was feeling lazy and used the food processor.

I was feeling lazy and used the food processor.


DSC_5052
In a separate bowl, combine flour, cinnamon, salt and baking soda.
DSC_5061
Add dry ingredients to wet ingredients, stirring just to combine.
I tried to capture the whir of the KitchenAId with my camera...haven't quite figured it out.

I tried to capture the whir of the KitchenAId with my camera…haven’t quite figured it out.


Spoon batter into pan. Bake in a preheated 350°F oven for 45 minutes, or until a toothpick or cake tester comes out clean. Remove cake from oven and cool completely before frosting.

DSC_5071
DSC_5073
*The frosting made the cake totally decadent, but I don’t think it is necessary. Feel free to half the below recipe, to incorporate with some but not all of the cake.

Simple Cream Cheese Frosting
1/4 to 1/2 Cup (1/2 to 1 stick) butter, at room temperature
8 ounces cream cheese, softened
1 teaspoon vanilla
3 1/2 cups (1 pound) confectioners’ sugar
milk, as needed for consistency

Combine butter, cream cheese and vanilla; beat until light and fluffy. Add sugar gradually, beating well. Add milk, a little at a time, until frosting is a spreadable consistency.

DSC_5069
Perhaps this recipe is irrelevant to you because you don’t have sourdough starter! Well, if you’re interested (and local), I’d be happy to get some of my starter in your hands. If you’re not interested in taking on such responsibility, King Arthur Flour has another similar, highly-rated carrot cake recipe.

Chicken Tikka

Still facing a mountain of leftover rice, I decided it was time to throw something saucy over it.

I sometimes shy away from Indian food because the overly spicy-hot dishes scare my digestive system. But my husband loves it, and we both really enjoyed a chicken tikka pizza I made about a month ago, from Cooking Light. I was struck by how this recipe gives just the right amount of heat so it is pleasant and neither bland nor sweat-producing. Here’s a look at how it turned out.
DSC_4526

This time, I easily made it workable for an entrée over rice. For a side, I made another fairly universally liked Indian recipe, cucumber raita. It just happened to work out that the cucumber crop is one of the few that is currently thriving at my CSA farm!

Chicken Tikka
adapted from Cooking Light

12 ounces skinless, boneless chicken breast halves
1/4 cup plain greek or regular low-fat yogurt
2 teaspoons garam masala*
, divided
Cooking spray
5/8 teaspoon kosher salt
, divided
1 (14.5-ounce) can unsalted diced tomatoes, drained
1 tablespoon olive oil
1 teaspoon fresh ginger
, peeled and grated, which is easily done with a piece kept in the freezer
1/4 teaspoon ground red pepper
3 garlic cloves
, minced
1/2 Cup red onion, thinly sliced
2 tablespoons half and half, cream, or milk — whatever you have should be OK

*Although I have a fairly broad span of spices in my pantry, garam masala is not one of them. Instead, I have many of the ingredient spices that go into a freshly ground garam masala. One of the reasons I have some of these whole spices is that last Christmas/Hanukkah I decided to make homemade mulling spice bags as gifts to some of my family. Here’s the recipe I followed for garam masala, with some substitutions — I didn’t have whole coriander seeds, just ground, and no black cumin seeds, so I just increased the regular cumin seeds. My cardamom was also green, not black. The fact that is still turned out well leads me to believe that you could also fudge this a little bit and still make it tasty! You could also just buy the garam masala, I suppose–preferably from a place where they sell it in bulk by the ounce.

Preheat broiler to high. Cut chicken in half horizontally. Combine chicken, yogurt, and 1/2 teaspoon garam masala. I let mine sit in the mixture for about 15 minutes while I prepared some of the other ingredients, and raita, so it would marinate a little bit.
DSC_5027
Place on a foil-lined baking sheet coated with cooking spray; sprinkle with 1/8 teaspoon salt.
DSC_5032
Broil 5 minutes on each side.

Add diced tomatoes to a food processor, blender, or mini chopper and pulse until almost smooth.

Heat a skillet over medium-high heat. Add oil to pan. Add 1 1/2 teaspoons garam masala, ginger, red pepper, garlic, and red onion. Cook 1 minute.
DSC_5036Stir in tomatoes; simmer 4 minutes. Stir in 1/2 teaspoon salt and cream. Cook on low for 1 minute.

Cut chicken into pieces. Add chicken to pan and mix.

Cucumber and Yogurt Salad
Adapted from Food Network

1 1/4 Cups 2% Greek yogurt, or regular plain yogurt strained a bit
1 Cup cucumber, a combination of chopped and coarsely shredded
1/4 Cup carrots, shredded
1/2 large clove garlic, finely minced, about 1 Tablespoon
a few springs of fresh cilantro, finely minced to make about 1/4 Cup
1/2 teaspoon kosher salt
1 tablespoons raisins
Freshly ground black pepper

I followed the original recipe for this recipe pretty much exactly one time before, and it was a hit. This time I modified it a bit because I had some carrots that were starting to languish, and some reviewers said that you can use any vegetables. Also, cilantro and mint are apparently interchangeable for this. Lastly, I ran out of golden raisins, but I remember that the burst of sweetness they provided was especially tasty, so I had to try it with regular raisins.

DSC_5029
DSC_5031

Careful not to add TOO much garlic to this recipe, as it can really "bloom" as it sits.

Careful not to add TOO much garlic to this recipe, as it can really “bloom” as it sits.

Whisk the yogurt until smooth. Add the rest of the ingredients, grinding a little black pepper in to taste.
DSC_5033
Stir, chill, and serve.

I found a great list of variations on raita from The New York Times online. Some of them seem so crazy to me I may have to try them someday!

Serve chicken tikka mixture over basmati rice with cooling yogurt salad on the side. Top with a few fresh cilantro leaves.
DSC_5040

Weekend Cooking – Part 2

Among the other ingredients I had lying around was red cabbage. A portion of the red cabbage had been dressed with lime juice and olive oil for slaw for fish tacos earlier in the week, but that barely made a dent. How is it that such a small-looking head of cabbage can make SO MANY shredded cups?
DSC_4885
The simply dressed slaw wasn’t doing it for me. I needed to bump it up a notch. And I was already pickling something, so I didn’t want to go that route. Little did I know that a raspberry vinaigrette would do so well!

Here’s my inspiration: Red Cabbage Salad with Green Apple, Lingonberry Preserves, and Toasted Walnuts. Old Viki might say, aw man, I don’t have lingonberry, do I have to go out and buy those to make this recipe?
New Viki says, hmm, I have all this raspberry jam I just made with the berries from my proliferating raspberry bush, could that work?

The answer is, of course. It works wonderfully.

Red Cabbage Salad with Raspberry Vinaigrette, Green Apple and Toasted Walnuts
Adapted from Epicurious/Bon Appetit again
Servings: 4

3 Tablespoons raspberry jam or preserve, preferably seedless but oh well
1 Tablespoon Dijon mustard
2 teaspoons red wine vinegar
1 teaspoon of lemon/lime juice
, or just more red wine vinegar
1/3-1/2 Cup canola oil
1 unpeeled Granny Smith apple
, cored and coarsely grated
1/2 cup walnut halves, toasted
4 cups thinly sliced red cabbage

To slice cabbage, first cut the head into quarters and then slice out the white core.

Toast the walnuts in the oven, on the stove, or in the microwave – be careful not to burn them like I always do.
DSC_4888
DSC_4887
To make the dressing, puree 1 tablespoon fruit jam/preserves, mustard, vinegar and lemon/lime juice in blender or food processor. Gradually add oil, with machine running if possible. Season dressing to taste with salt and pepper.

Set aside 1/4 of grated apple and several walnut halves for garnish.

Toss cabbage, remaining 2 tablespoons jam/preserves, apple, and walnuts in large bowl. Toss with enough dressing to coat. Season to taste with salt and pepper.
DSC_4891
Garnish with reserved grated apple and walnut halves and serve.
DSC_4893
Result: a pleasant Saturday lunch–when accompanied 1/2 a grilled cheese sandwich 🙂

DSC_4876And lastly, Saturday’s dinner. I once again tackled the stock of brown rice in my pantry. In spite of the fact my husband is a virtual carb-o-tarian, grains aren’t consumed as quickly as I would like. So I cooked the rest of a package of brown basmati rice on Friday night and had the leftovers ready to go on Saturday for a deliciously simple preparation of fried rice with ground turkey. Which meant I got to use my wok!

Turkey Fried Rice
from Taste of Home
Servings: 4

1 tablespoon olive oil
2 eggs, beaten
1/2 pound ground turkey
2 green onions
, thinly sliced (about 1/3 C)
1 clove of garlic, thinly sliced
3 cups cold cooked rice
1 cup bean sprouts (I used sprouts from a can)
1/4 cup fresh cilantro, minced
1/4 cup reduced-sodium soy sauce
2 tablespoons chunky peanut butter
1 teaspoon sugar
1/4 teaspoon garlic powder
1/4 teaspoon crushed red pepper flakes
1/4 teaspoon ground ginger

DSC_4897

Wine is one of the most essential ingredients shown in this picture.

DSC_4898
In a large skillet, heat oil over medium-high heat. Pour eggs into skillet. As eggs set, lift edges, letting uncooked portion flow underneath.
When eggs are completely cooked, remove to a plate and set aside.

In the same skillet or wok, cook turkey, green onions, and garlic over medium heat until meat is no longer pink. While turkey cooks, whisk until blended the soy sauce, peanut butter, sugar, garlic powder, red pepper flakes, and ginger in a small bowl and set aside.
DSC_4900
DSC_4902
Stir the rice, bean sprouts and cilantro and cook briefly until heated through. Stir sauce into skillet.
DSC_4903
Chop egg into small pieces; stir into skillet and heat through.

Serve with a lime wedge. Then, if you’re like me, settle in front of the TV to watch a movie.
DSC_4905

Weekend Cooking – Part 1 – Chard

I hadn’t done much cooking during the week, with dinners out and social gatherings, so I had big plans to use up a lot of ingredients on Friday night. It was to be a “cook the pantry” type of night. Then it got to be 8:30pm before I started. Why so late? Well, there was some drama in discovering that one of our cats was refusing to eat the dry food we had always fed her, so there were two trips to Petco to find alternatives. Then I was so sleepy that I tried to take a preliminary power nap. And one of the floors desperately needed to be vacuumed, and that needed to be done before too late so as not to disturb the neighbors. So, I didn’t have time to cook everything I wanted before bed. Fortunately, there was time on Saturday too!

I was facing another batch of swiss chard, so I decided to try something a little different. Why not puree it? This soup recipe was great because it also utilized parsley, which I received in the farm share at the same time it happens to be thriving in my garden. With the added tang and creaminess of lemon juice and greek yogurt and the salty zing of feta, we had a pleasant summery soup on our hands.
DSC_4840
DSC_4837

Chard, Herb, and Feta Soup
adapted from Bon Apetit
Serves 4

I’m not sure why the Bon Appetit recipe refers to this as a winter soup. Unless you have your own green house, the fresh herbs would be a big investment at the grocery store during the winter. I’m certain you could substitute spinach in this recipe, but there is no substitute for the fresh herbs.

2 Tablespoons olive oil
1 large onion
, coarsely chopped (I used about 1 C of onion I had left over)
2 large garlic cloves, smashed
1 pound Swiss chard leaves (center ribs and stems removed), coarsely chopped (about 10 cups)
3 1/2 cups vegetable broth
1 cup flat-leaf parsley
1/2 C fresh cilantro
1/4 C fresh mint leaves
1 tablespoon dried mint
1 teaspoon freshly grated nutmeg
1 tablespoon fresh lemon juice

Kosher salt and freshly ground black pepper, to taste
1/2 C plain Greek-style yogurt

Optional garnishes:
Plain Greek-style yogurt
Mixed chopped herbs
(such as parsley, cilantro, and mint)
Feta, crumbled
Kosher salt and freshly ground black pepper
Fresh lemon juice
Olive oil

DSC_4842
Heat oil in a large saucepan or dutch oven over medium heat. Add onion and garlic and cook, stirring often, until translucent and soft (do not brown), 7–8 minutes.

While they cook, roughly chop your herbs.
DSC_4850
Add chard, parsley, cilantro, fresh and dried mint, nutmeg, and broth to the pan.

It might seem like there isn't enough broth...

It might seem like there isn’t enough broth…

Bring to a boil, reduce heat, and simmer, stirring occasionally, until chard is tender, less than 10 minutes.

.....and then the chard shrinks!

…..and then the chard shrinks!


Stir in lemon juice and season to taste with salt and pepper.

Take out your immersion blender tool and go at it. DSC_4866I like the idea of an immersion blender because it is very easy to clean compared to a food processor or blender. Yet it makes a mess with its splattering. Even with an apron, I don’t recommend wearing dry-clean only clothes with this one! Especially if you want your soup really really smooth, you could purée it in batches in a blender. Return to pan.

Place a few Tablespoons of the yogurt in a separate medium bowl. Add a ladle-full of warm soup and whisk until smooth. Repeat process twice more, using the yogurt and adding a total of 1 cup more soup.

Whisk yogurt mixture into soup in saucepan. Stir 1/4 cup herbs and about 1/4 cup of crumbled feta into soup. Season to taste with lemon juice, pepper, and salt, remembering that you will be garnishing with additional feta–and my feta at least was very salty.

Ladle soup into bowls and garnish with herbs and feta. Drizzle with oil, if desired. Serve with a good crusty bread, ideally.
DSC_4875

I had almost 3 Cups of leftover swiss chard stems, which I saved from disposal and pickled using this Bon Appetit recipe as guidance. I didn’t quite double the recipe–I ended up using about 3 Cups of Sugar, 1 3/4 Cups white vinegar, 4 Tablespoons Siracha, and 3/4 tsp of celery seed. Since they are supposed to sit for a few days, I have no idea how they will turn out, but I’ll let you know!

DSC_4883

Get Pot-lucky

Last weekend was a full weekend. On Saturday, we had a friend in town visiting so we went to a Yankees day game. On Sunday morning I was participating in the Color Run and then in the afternoon had a party to which I was expected to bring something. When we arrived home on Saturday evening, I still didn’t know what I was making.

A peek into my pantry revealed that I had some neglected sweet potatoes. I wondered about making potato salad with sweet potatoes, and with a little research I settled on this. From the time I started brainstorming to the time the salad was done was probably just 45 minutes. The parsley was in my garden and everything else was in my pantry or fridge. Score!

This salad has a lot going for it. There’s potential for substitutions, it develops flavors overnight, and it can safely sit out and be eaten at room (or outdoor) temperature. My vegetarian friends liked it, but I bet it would have been even tastier with bacon or prosciutto! (Check out this recipe for a fall or winter sweet potato dish, with prosciutto, that will knock your socks off).
DSC_4829
Summer Sweet Potato Salad
Adapted from a recipe by “NINABSLOAN” on SparkRecipes
Serves 6-8 if it is a main side dish, and many more at a potluck

1.5 pounds sweet potatoes or yams (about 2 potatoes that are on the large size)
1/2 C dried cranberries
1 shallot, thinly sliced
1/3 C pecans, chopped
2 Tablespoons fresh parsley, chopped

Dressing:
4 Tablespoons olive oil
2 Tablespoons rice vinegar
2 teaspoons Dijon mustard
salt and pepper
to taste

Set a pot of water to boil. Peel and cube sweet potatoes.
DSC_4818
DSC_4819
Add potatoes to water and boil until tender but still firm. Meanwhile, prepare remaining ingredients:
DSC_4820
Combine with drained sweet potatoes and then toss with dressing.
DSC_4824
DSC_4826
Chill and serve. Could it get much easier?

Even better in a festive bowl!

Even better in a festive bowl!

Candidates for Mayo

I have mentioned the fact that I worry about forgotten items accumulating in the refrigerator or pantry. I am revisiting that category of cooking this week. There was a reprieve from the pressure to use up fresh produce because my farm share drop-off day fell on July 4, and therefore was not distributed. And I actually managed to use up most of last week’s bounty within a few days!

The particular item on my mind was a jar of mayonnaise. I have been known to have mayonnaise reach its expiration date before it is used up. Neither Matt nor I are big cold cut sandwich eaters, I don’t especially like coleslaw, and I prefer vinegar-based dressings for my pasta and potato salads. As for this current jar, I have a confession to make- somehow the expiration date became illegible, so I don’t know when I am supposed to retire it. I planned to “chance” it for a few more recipes, and then no more.
DSC_4792
I almost forgot to mention that around this same time I learned that mayonnaise turned 100 this year. Who knew?

For the first application, I used the mayonnaise in a chocolate cake recipe I found on the website that seems to be a sister site in England. I made it MUCH harder for myself by going back and forth between internet searches to convert the grams to ounces when apparently I could have switched the units on my kitchen scale. Dang it. I was a little concerned about how the cake would turn out, particularly its texture, when I noticed that my mayonnaise was eggless. And clearly eggs are one of the common cake ingredients that the mayonnaise was supposed to fill in for!

Fortunately, it turned out fine. (And it didn’t make anyone sick. Woo hoo!). Even my pastry chef friend liked it. And the frosting, with the coffee flavor added (I used espresso powder), was killer.
DSC_4773

The next mayonnaise application would be oven fried chicken. Again, a random internet search taught me that mayonnaise could be an important player in making moist meat. What is great about this recipe is that you can make the coating out of pretty much anything you have hanging out in your pantry! I used melba toasts that somehow sat in my pantry for 9 months, and crispy rice cereal left over from marshmallow treats I had made to bring to a July 4th barbecue.

Oven Fried Chicken
adapted from Everyday Maven
Servings: It depends! This makes enough coating for at least 6 bone-in skinless chicken thighs, or at least 2 pounds of skinless chicken parts you are using. Most people would need two thicken thighs for a serving.

Approximately 2 pounds chicken pieces, skin removed (thighs, legs, breast, whole)
1 Cup Melba Toast, from 3 sub-packages
3/4 Cup crispy rice cereal
1/2 teaspoon garlic powder
1/4 tsp dried thyme
1/4 teaspoon cayenne pepper
1/2 teaspoon paprika
1 tsp kosher salt
1/2 teaspoon ground black pepper
1/2 Cup mayo
1 Tablespoon Dijon mustard
cooking spray or oil mister

DSC_4788
Preheat the oven to 350 degrees. (The original recipe said 400 degrees, and a very similar recipe said 350. I went with 350 because, honestly, I had time to kill. My thought was that the different temperature meant a different cook time but may not affect the chicken’s tenderness. It might be better to keep the temperature lower in case the breading gets too brown before the chicken reaches temperature.) Arrange a metal cooling rack over a jelly roll pan.

Crush the Melba toast in the packages, and then add to food processor to grind further. You want there to be some slightly larger pebbles after pulsing. Add any other, smaller crumbs, like crispy rice cereal, along with the rest of the spices. Pulse again.
DSC_4790

In a separate bowl, combine mayo and Dijon mustard.

At this point, you have two options: 1) use two bowls and coat each chicken piece individually by going from the mayo mixture to the crumbs, or 2) Use a zip lock bag and the “shake and bake” method.
DSC_4800
Place on rack on pan and spray with cooking spray.

See how much leftover breading I had?

See how much leftover breading I had?


Cook until chicken is done (juices run clear and temperature reaches 165 degrees – 40 minutes for my thighs) rotating the pan about halfway through. Remove and allow to cool for a few minutes. The resulting chicken is amazingly juicy and delicious.
See how much leftover breading I had?
While prepping the chicken, I came to my senses about the fact that I couldn’t serve chicken alone for dinner. I should have planned to offer a vegetable, but I hadn’t thought about that. Canned beans didn’t appeal to me, and the only appropriate vegetable in my freezer was peas. Here is a rare glimpse at my nearly empty refrigerator crisper drawer!
DSC_4797

What could I serve with this fried chicken? Well, waffles of course!

I still had leftover waffle mix from a Christmas gift box. I added a couple of tablespoons of sugar to the recipe on the can, because sugar wasn’t on the ingredients list and I like a touch of sweetness in my waffles, even for dinner. Then I drew on the information gained from a friend—who became obsessed with replicating the flavor and texture of European-style waffles, Belgian waffles like they serve from the Wafels and Dinges truck in NYC, and learned that one of the secrets to crispy waffles is an abundance of butter—and doubled the recommended amount of butter. The waffles came out great.
DSC_4815
A little hot sauce, a little maple syrup, and we had a “complete” meal.
DSC_4813
DSC_4810