It’s Burger Season!

Who doesn’t love a burger?

I may be misleading you with the title of this post, because what I will be featuring is a veggie burger. But this veggie burger is one of the best I have ever tasted.

I found the burger on Pinterest, drawn to this picture:

.
The author described the original burger, which was discovered at a well-known vegetarian restaurant, as quite burger-like, vegetarian or not!

DSC_4746
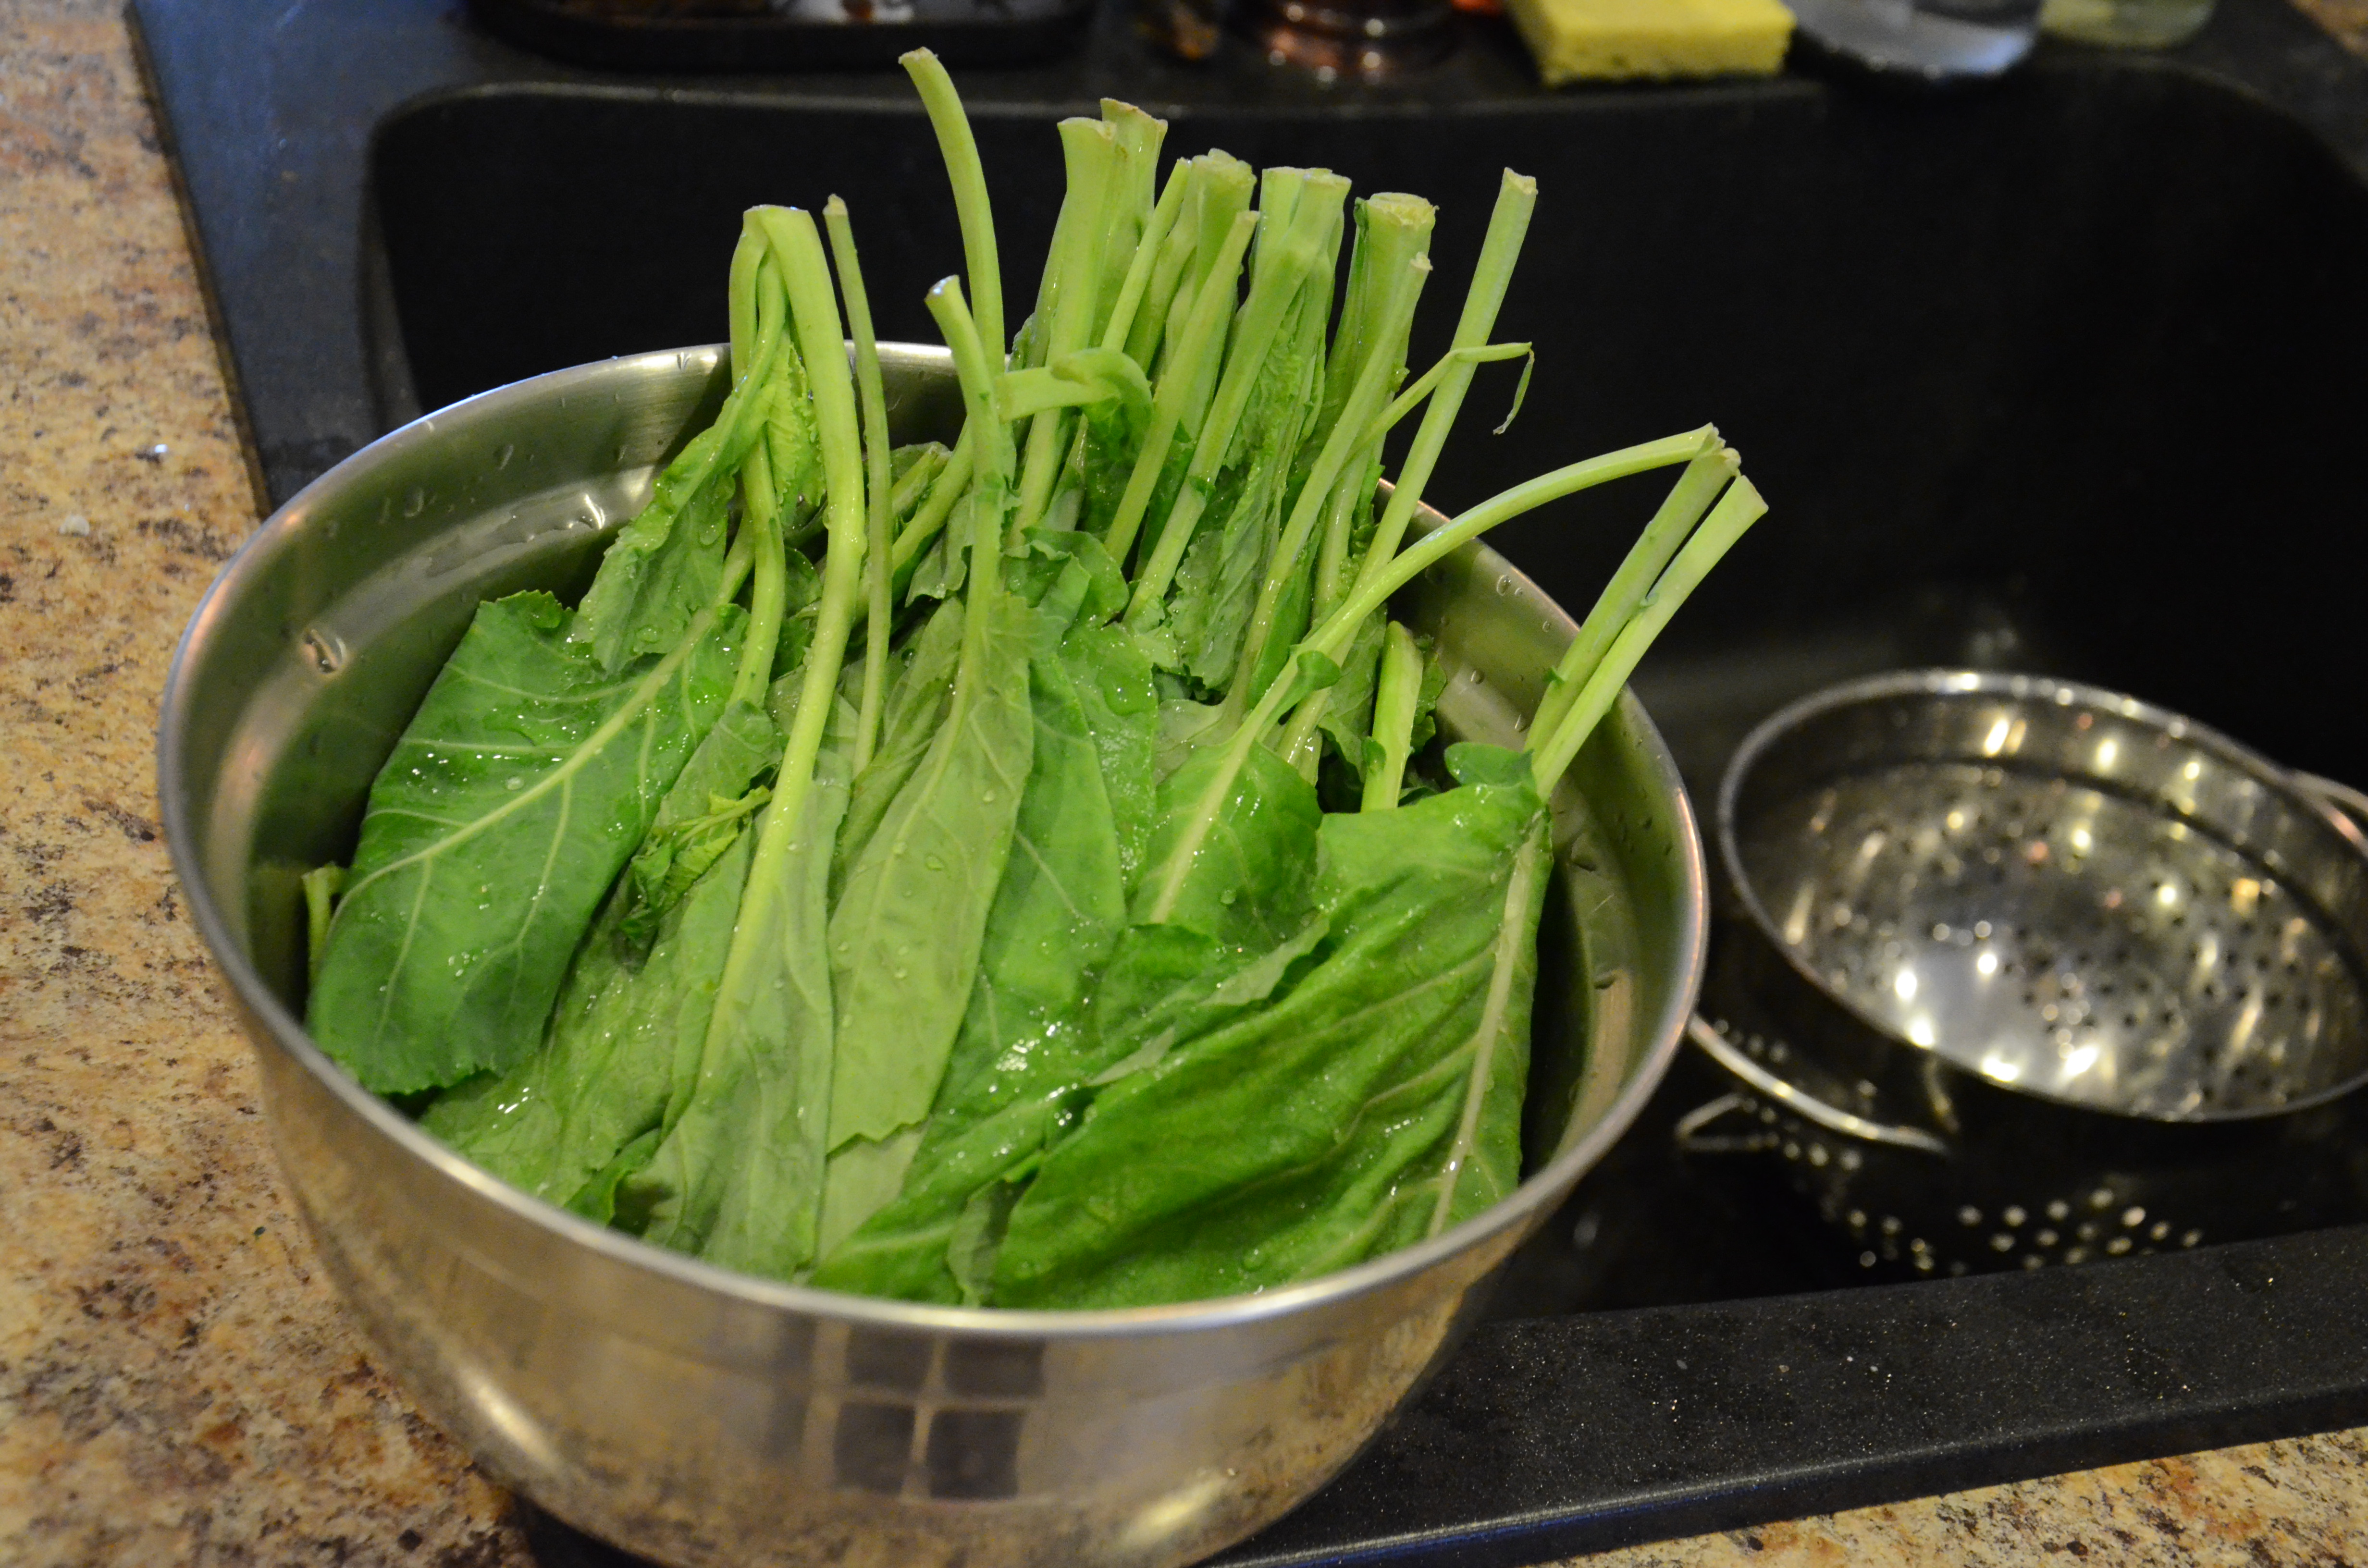
I’m particularly proud of how my version turned out because I truly improvised on this one. The recipe called for approximately one onion. We all know that onions vary widely in size, so that kind of recipe instruction bothers me. Sometimes it doesn’t matter, but a lot of times new or hesitant cooks would appreciate more precision. To represent that onion in this recipe, I used about 3/4 of a cup of “stuff”: a little bit of yellow onion, a little bit of leftover chopped red onion I had (from a recipe that actually stipulated the number of tablespoons), and—-chopped swiss chard stems! Swiss chard came in my share last week and I had yet to fully utilize it. I used a few leaves as a substitute for spinach in a blue cheese, sundried tomato, and greens sourdough bread I made in the bread maker the day before, and I saved the stems.
DSC_4751
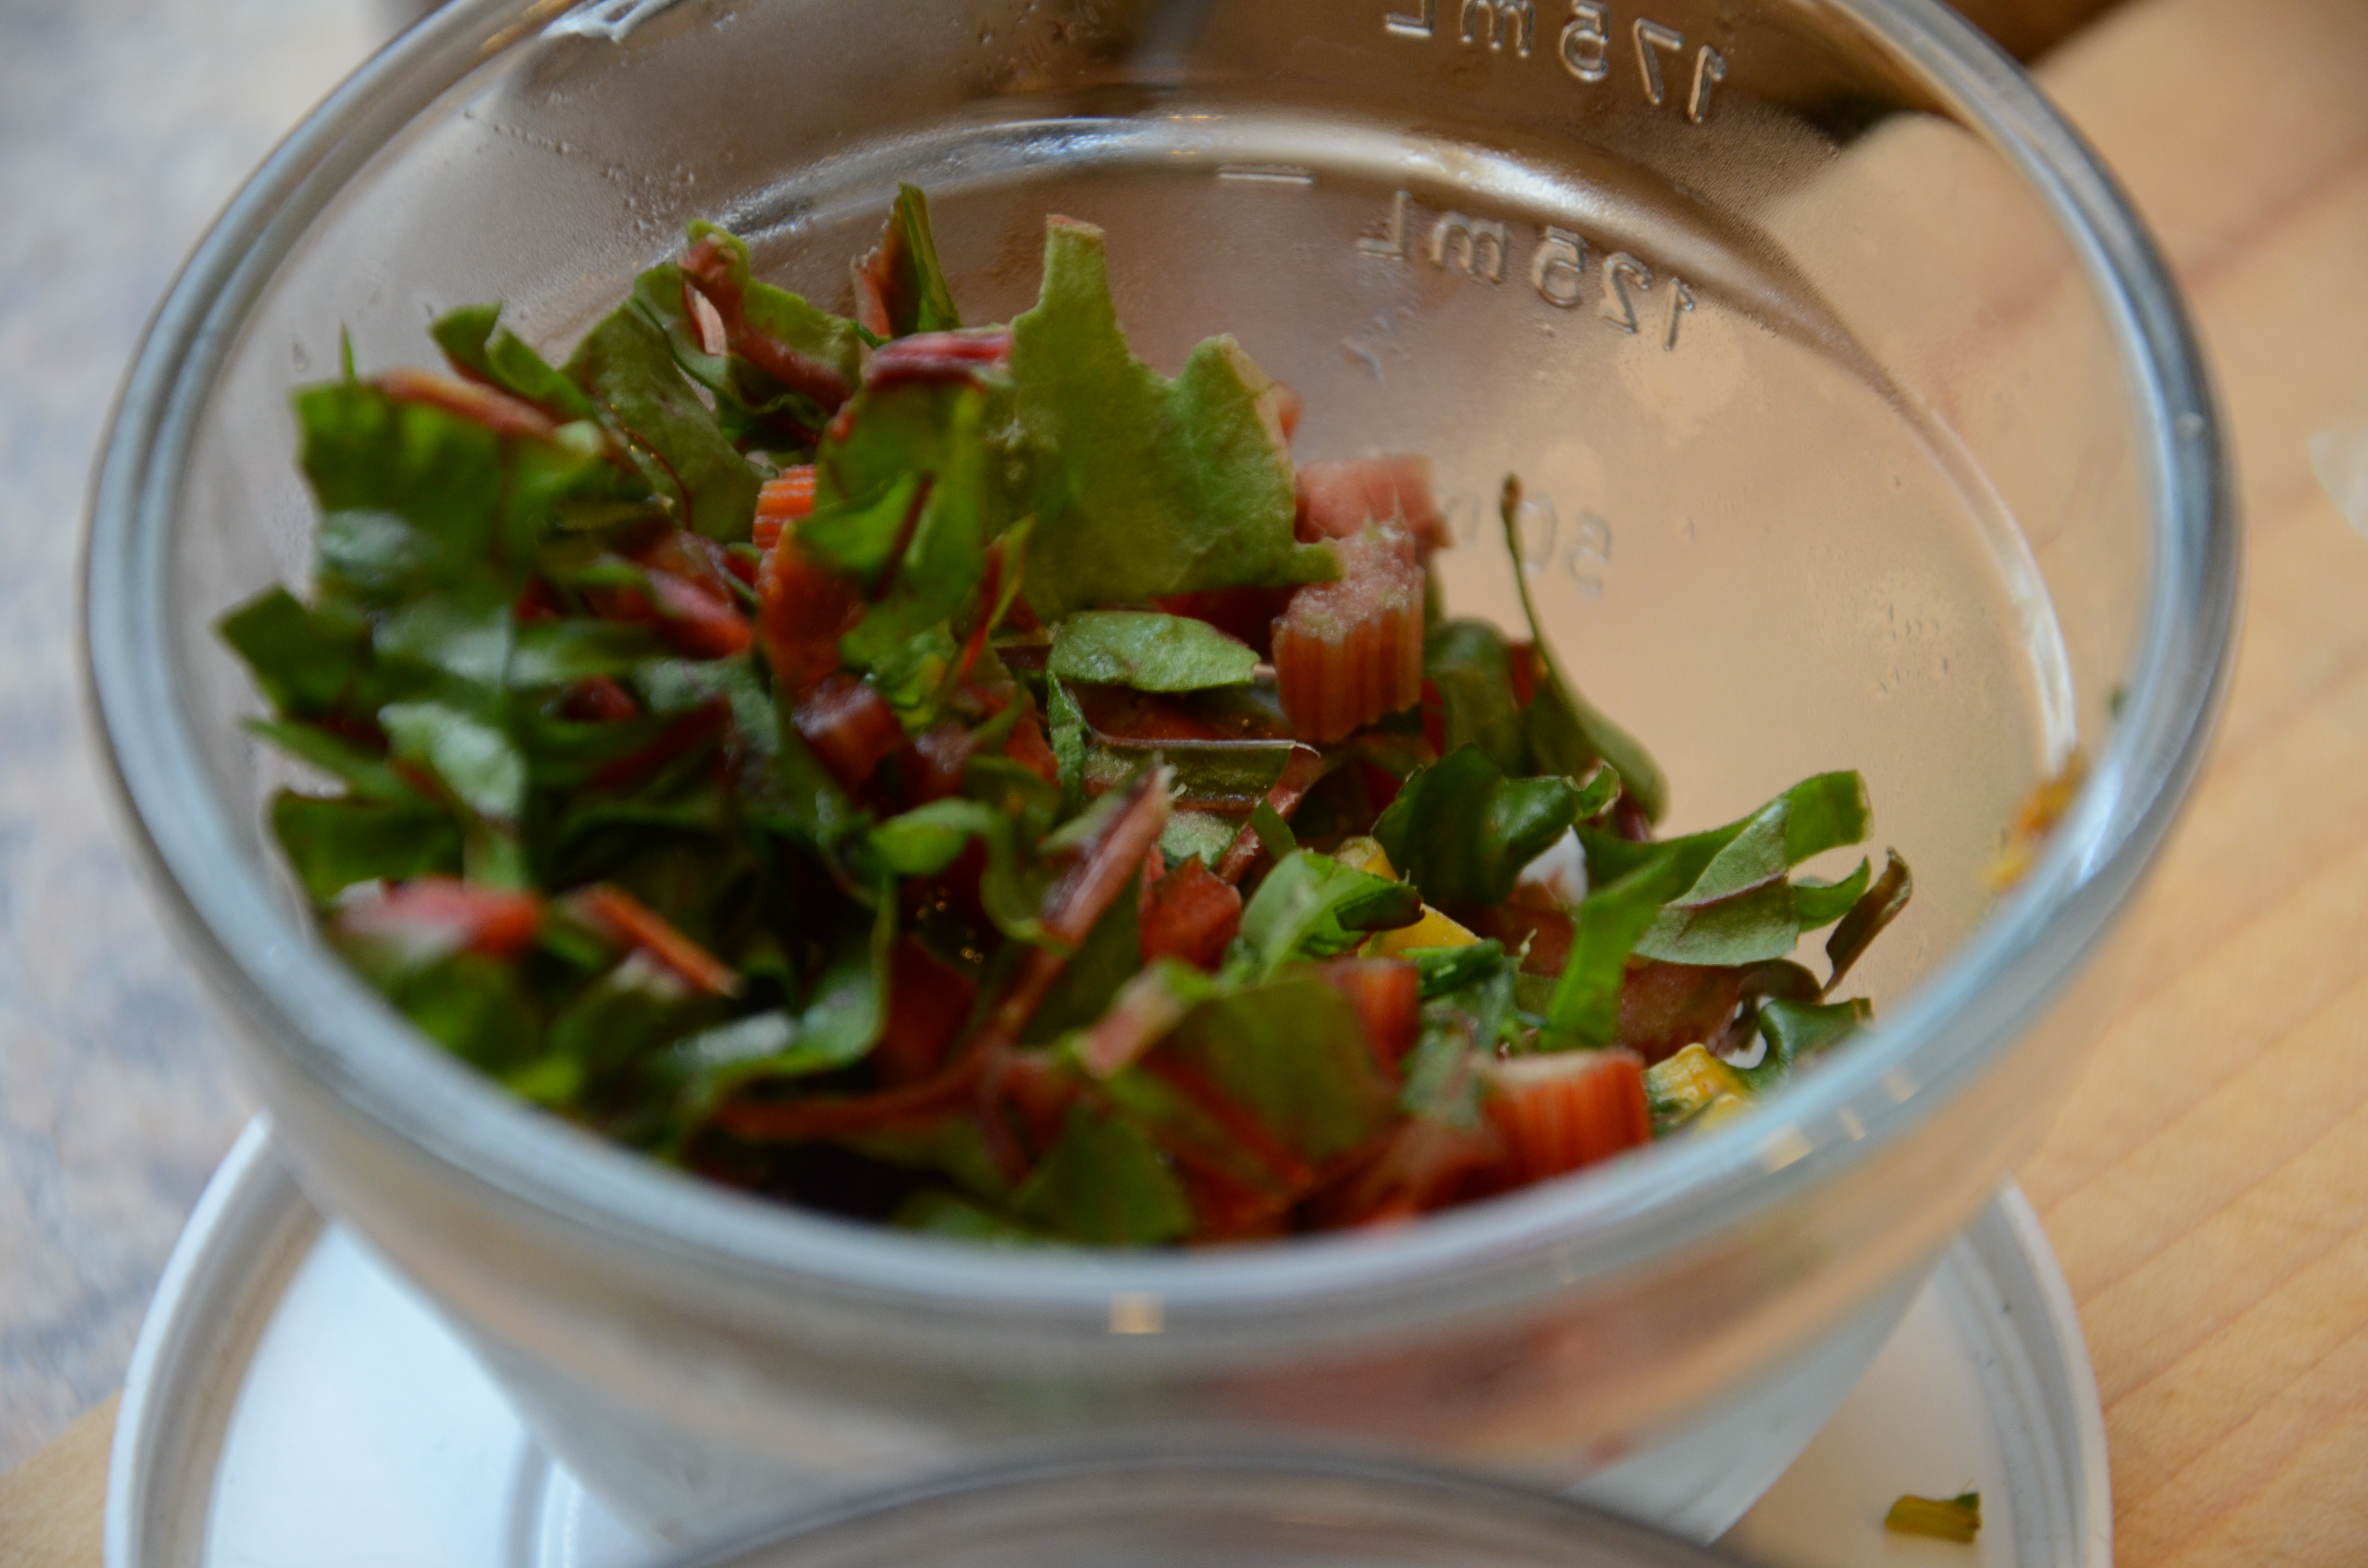
If you’re not familiar with swiss chard, I would say that it has more of an earthy flavor than other greens. I’m sure it has some similarities with beet greens (which could also be used here, if you have beets with the full tops!).
DSC_4753

Beet and Bean Burgers
Adapted from theKitchn’s recipe inspired by the veggie burgers at Northstar Cafe in Columbus, Ohio
makes about 4 medium burgers

1/4 cup brown rice (doubled if you like more rice-they say it makes a crispier burger)
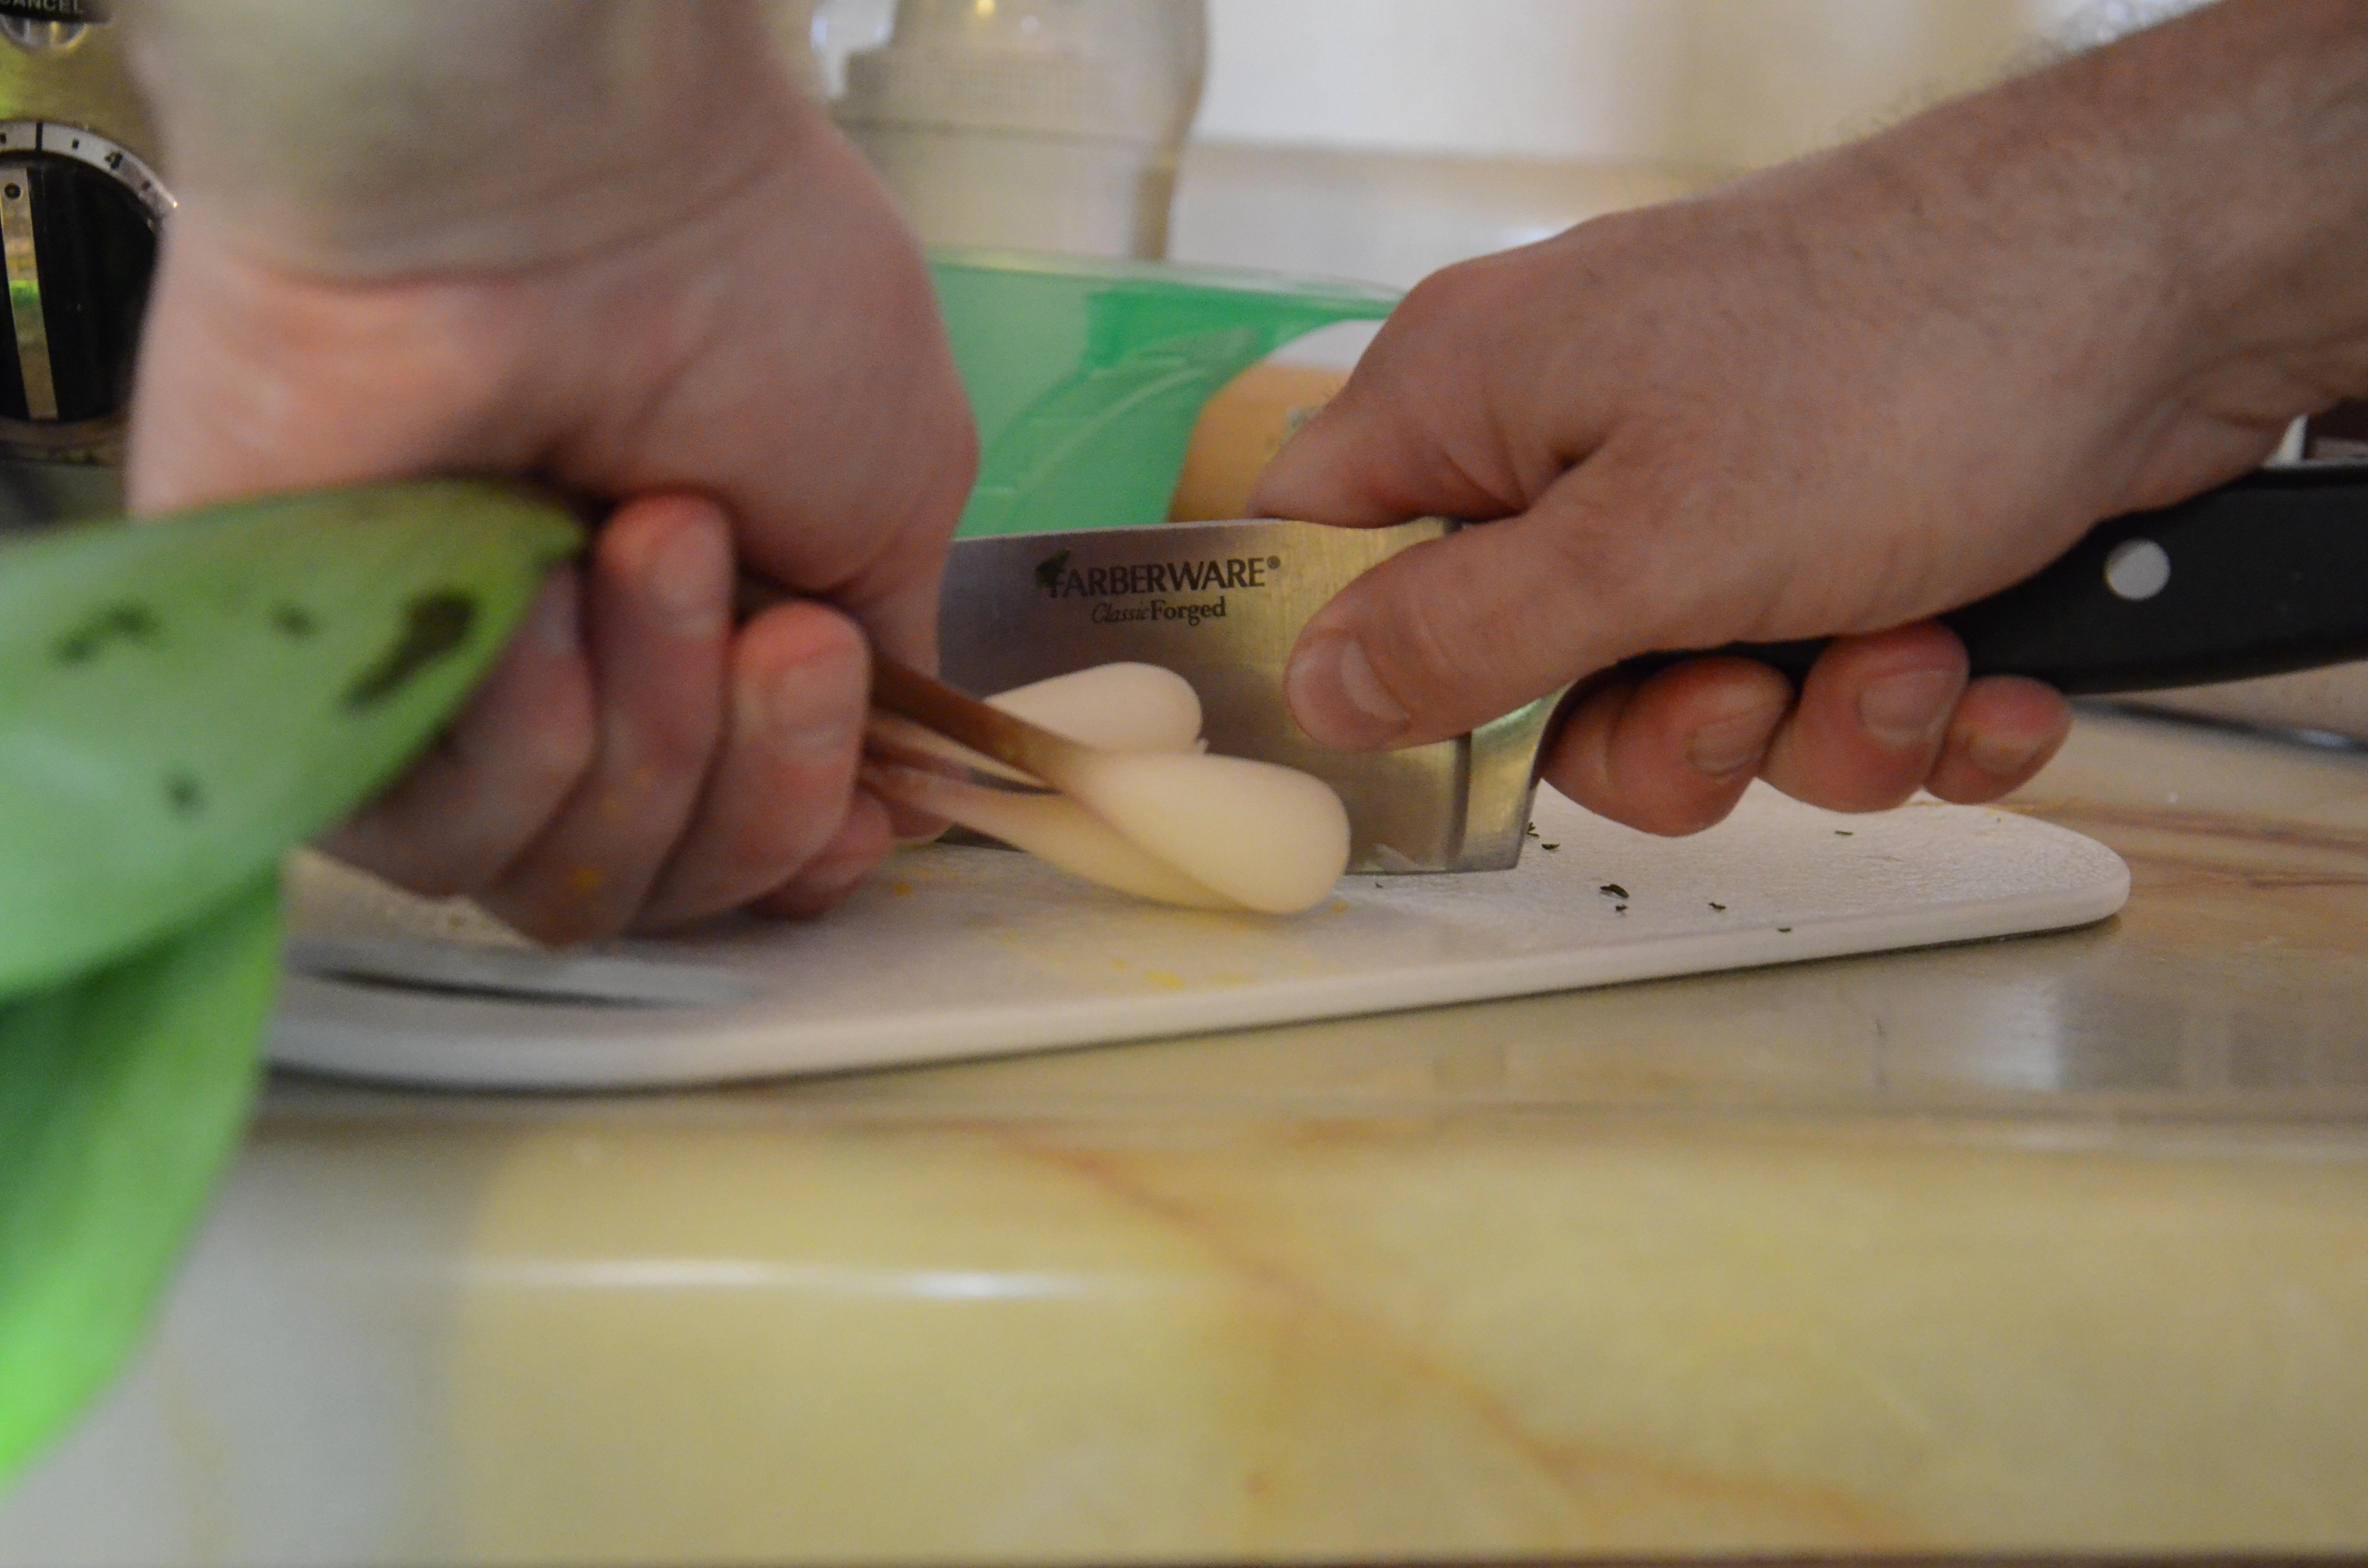
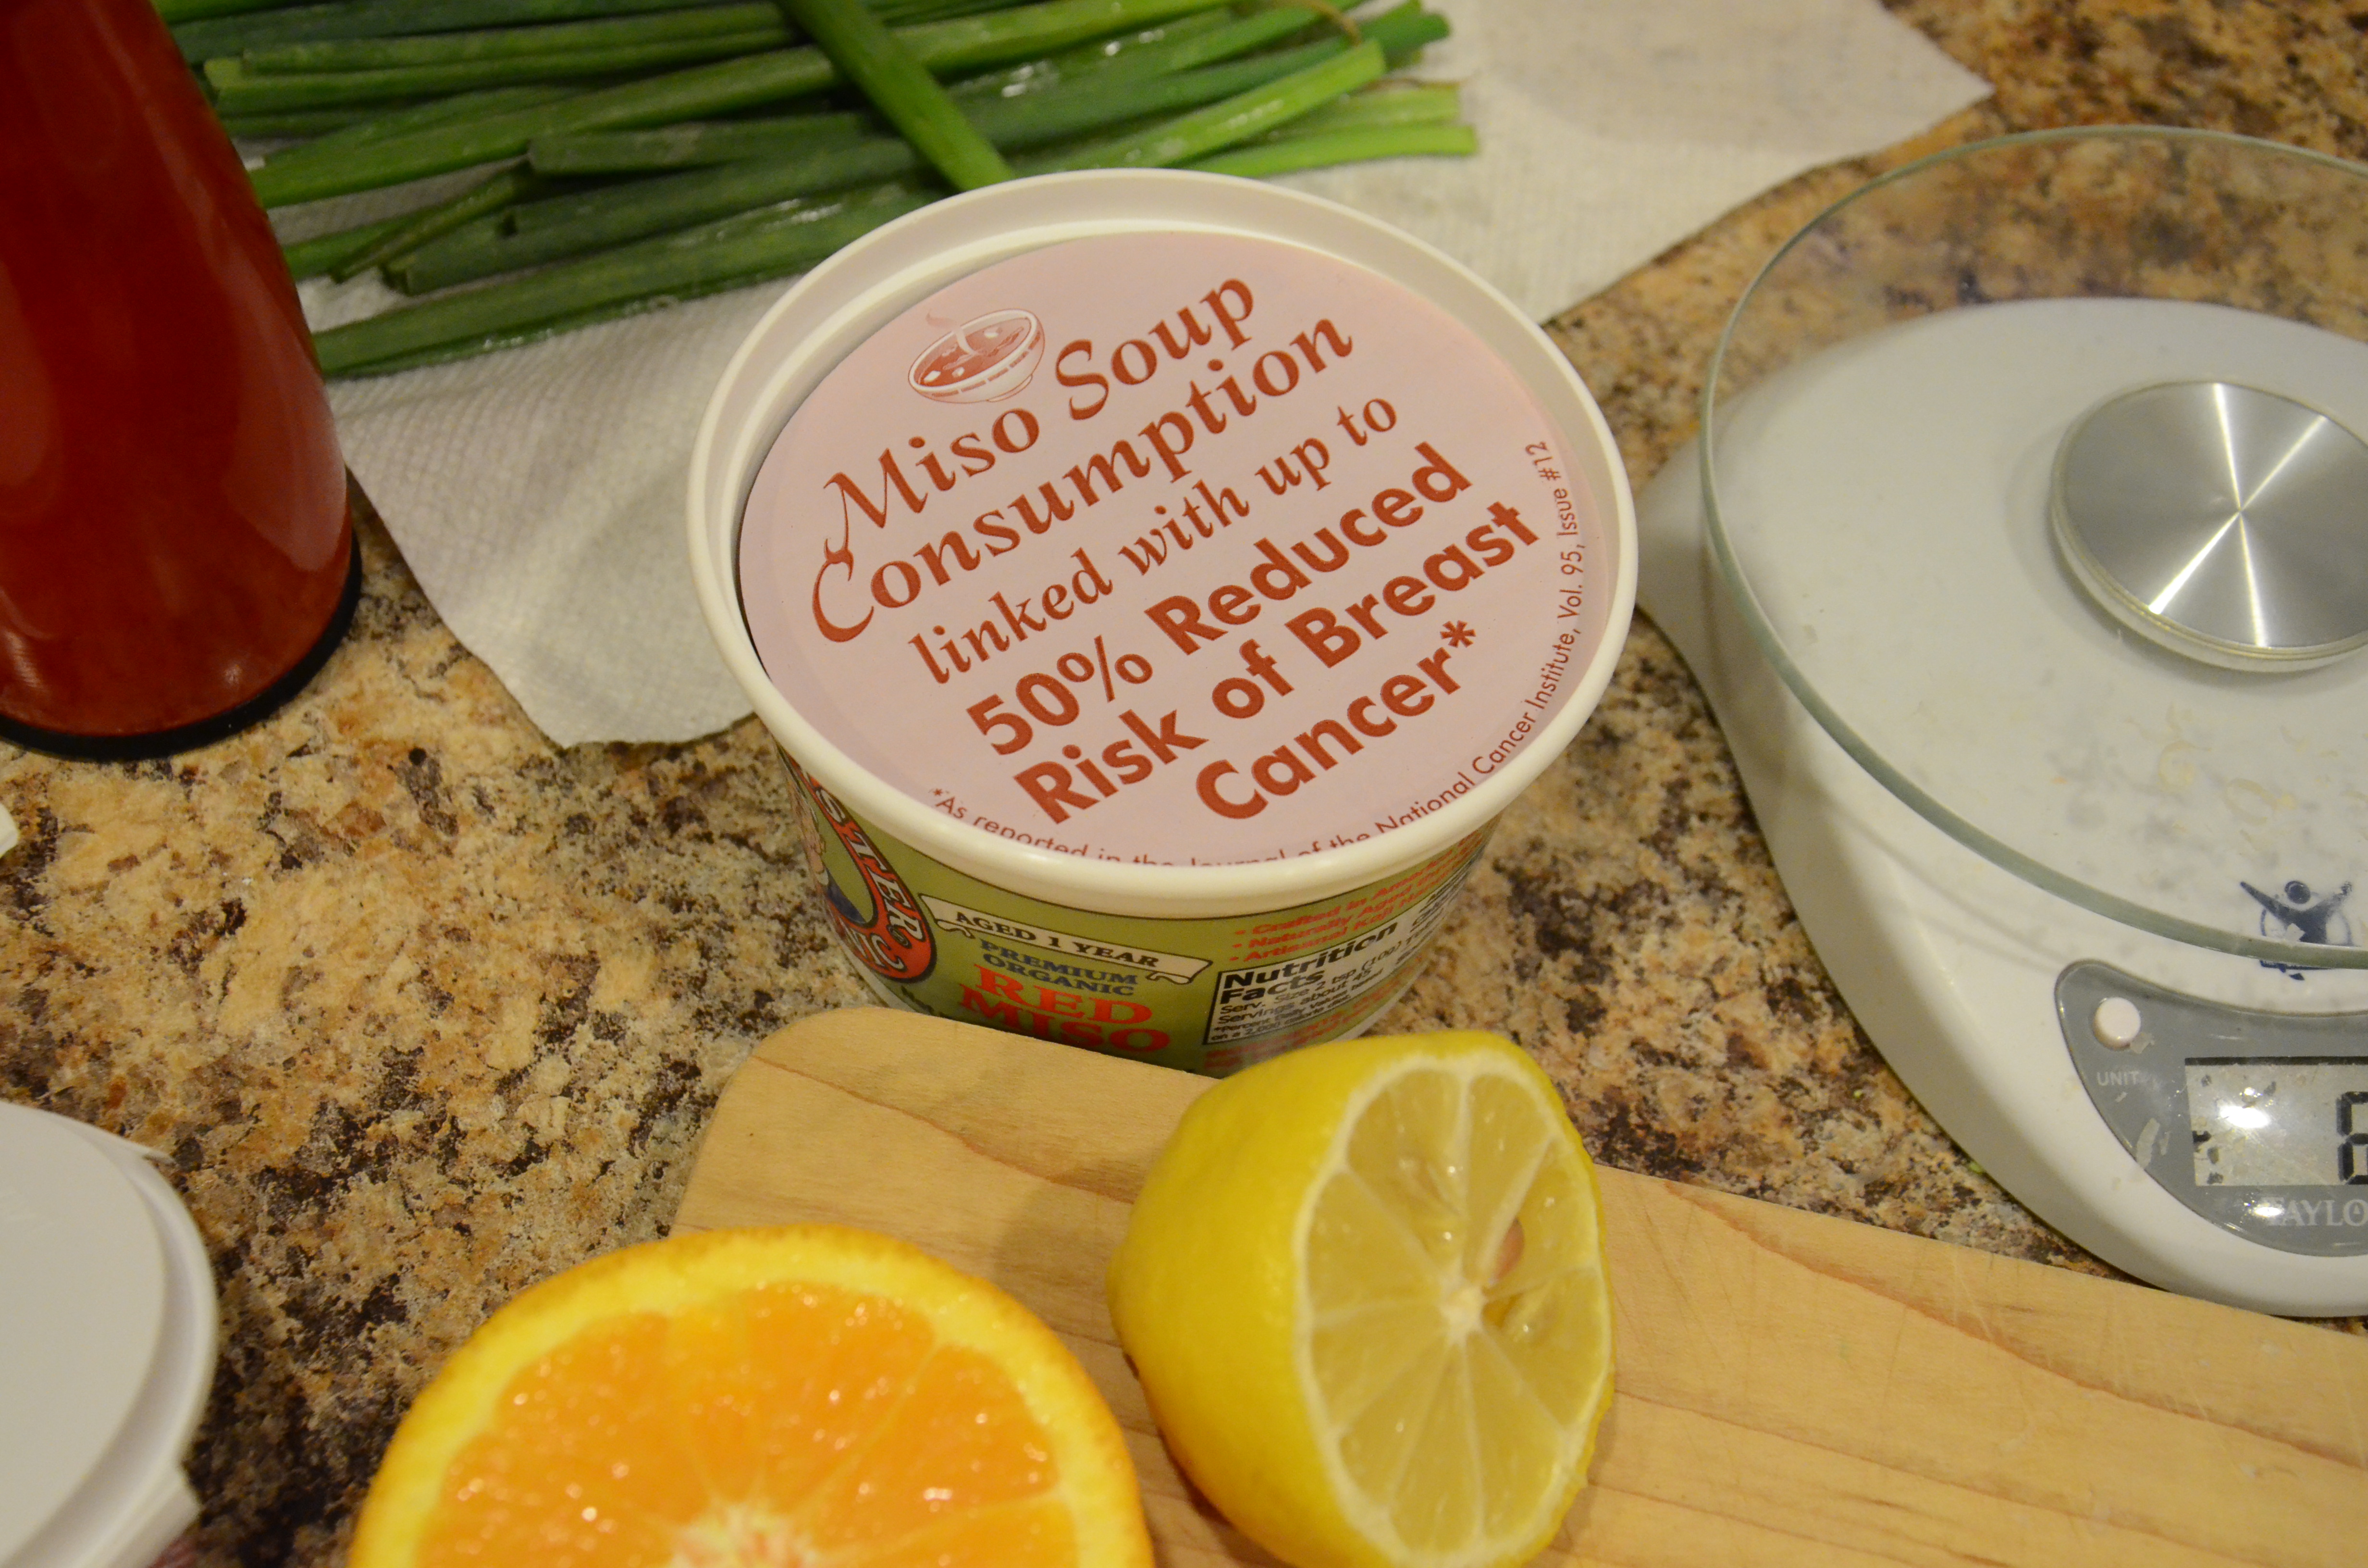
3/4 cup of some combination of onion (red, yellow, white, or even green) and swiss chard stem, diced small
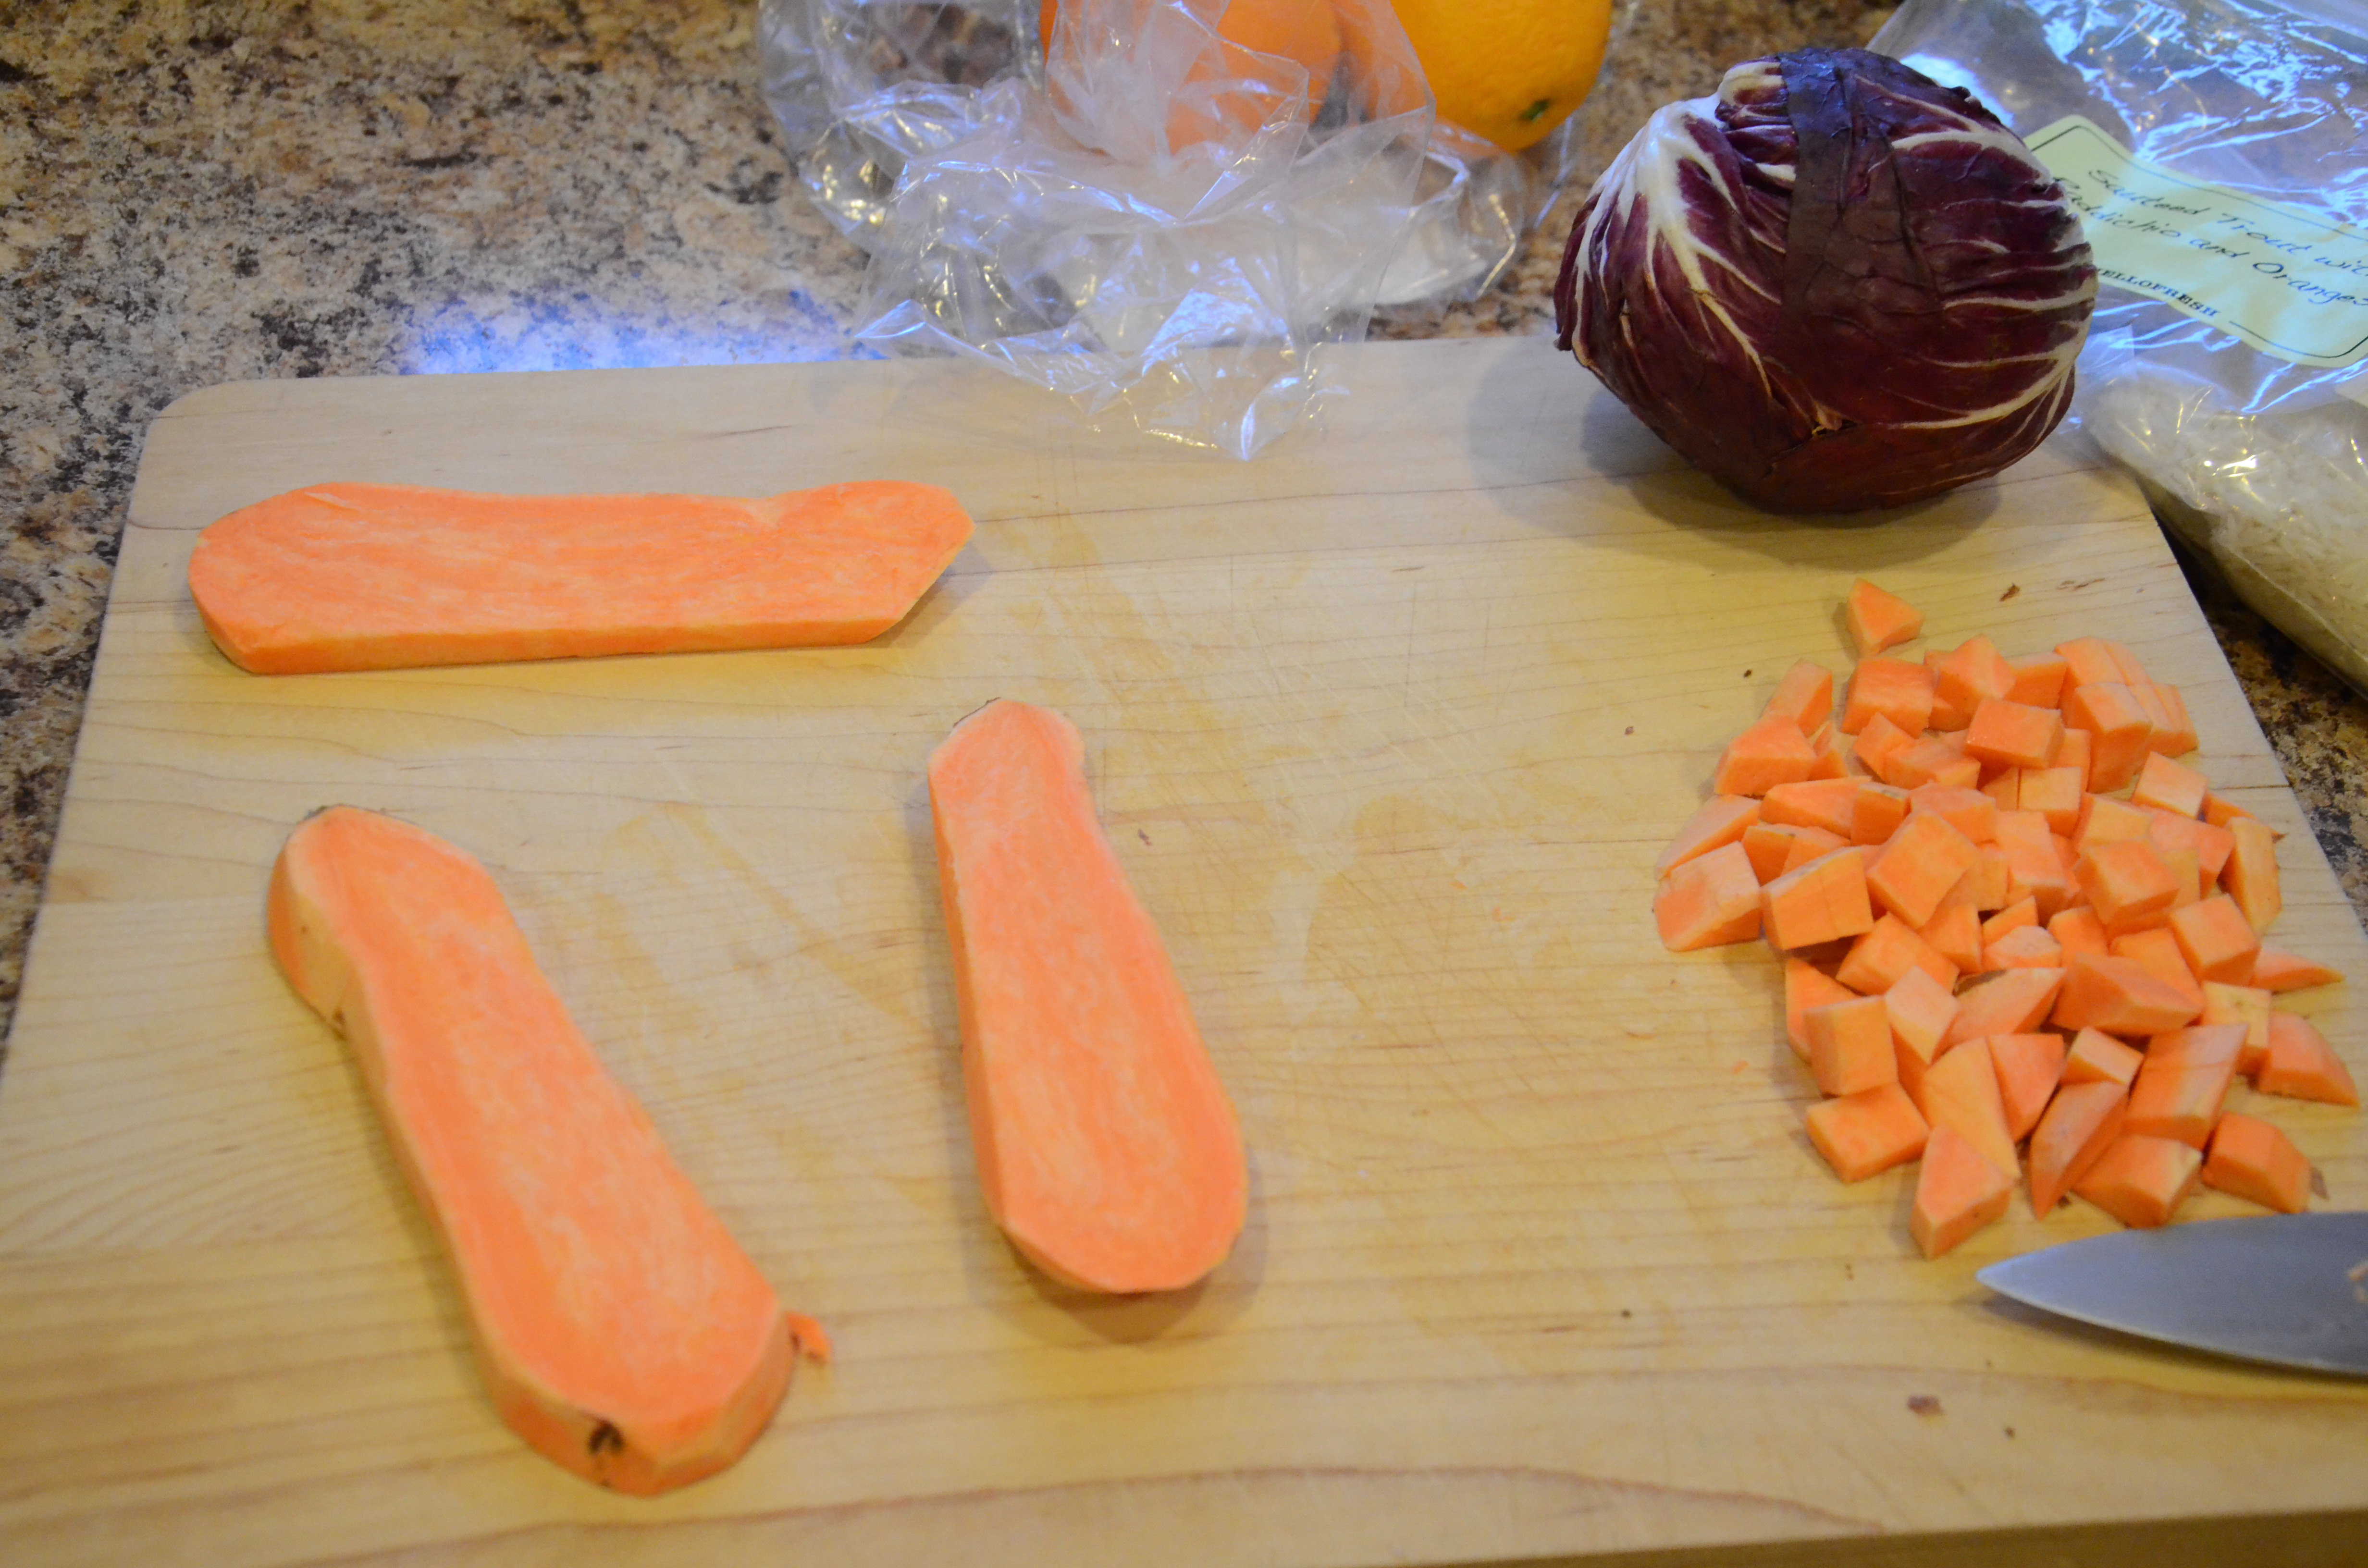
About 8 ounces of beets, diced small
3 cloves garlic, minced (to taste…at least 2 tsp for me)
1 Tablespoons cider vinegar
1/2 can black beans (about 3/4 cup), drained and rinsed
1/2 juice from 1/2 lemon
2 teaspoons extra-virgin olive oil
1 Tablespoon parsley, minced
1/2 teaspoon coriander
1/4 teaspoon fresh thyme
, minced
2+ Tablespoons all-purpose flour
salt and pepper to taste

cheese (optional) – provolone, monterey jack, or cheddar

Fill a pot with water and bring to a boil. Add a handful of salt and the rice, and reduce the heat to a simmer. Cook the rice until it is no longer al dente. You want it a little over-cooked. This will take at least 40 minutes, depending on your rice. Drain the rice and set it aside.

Heat a teaspoon of olive oil in a skillet over medium-high heat. Add the onion and swiss chard mixture, reduce the heat to medium, and cook until the onions are translucent and softened.
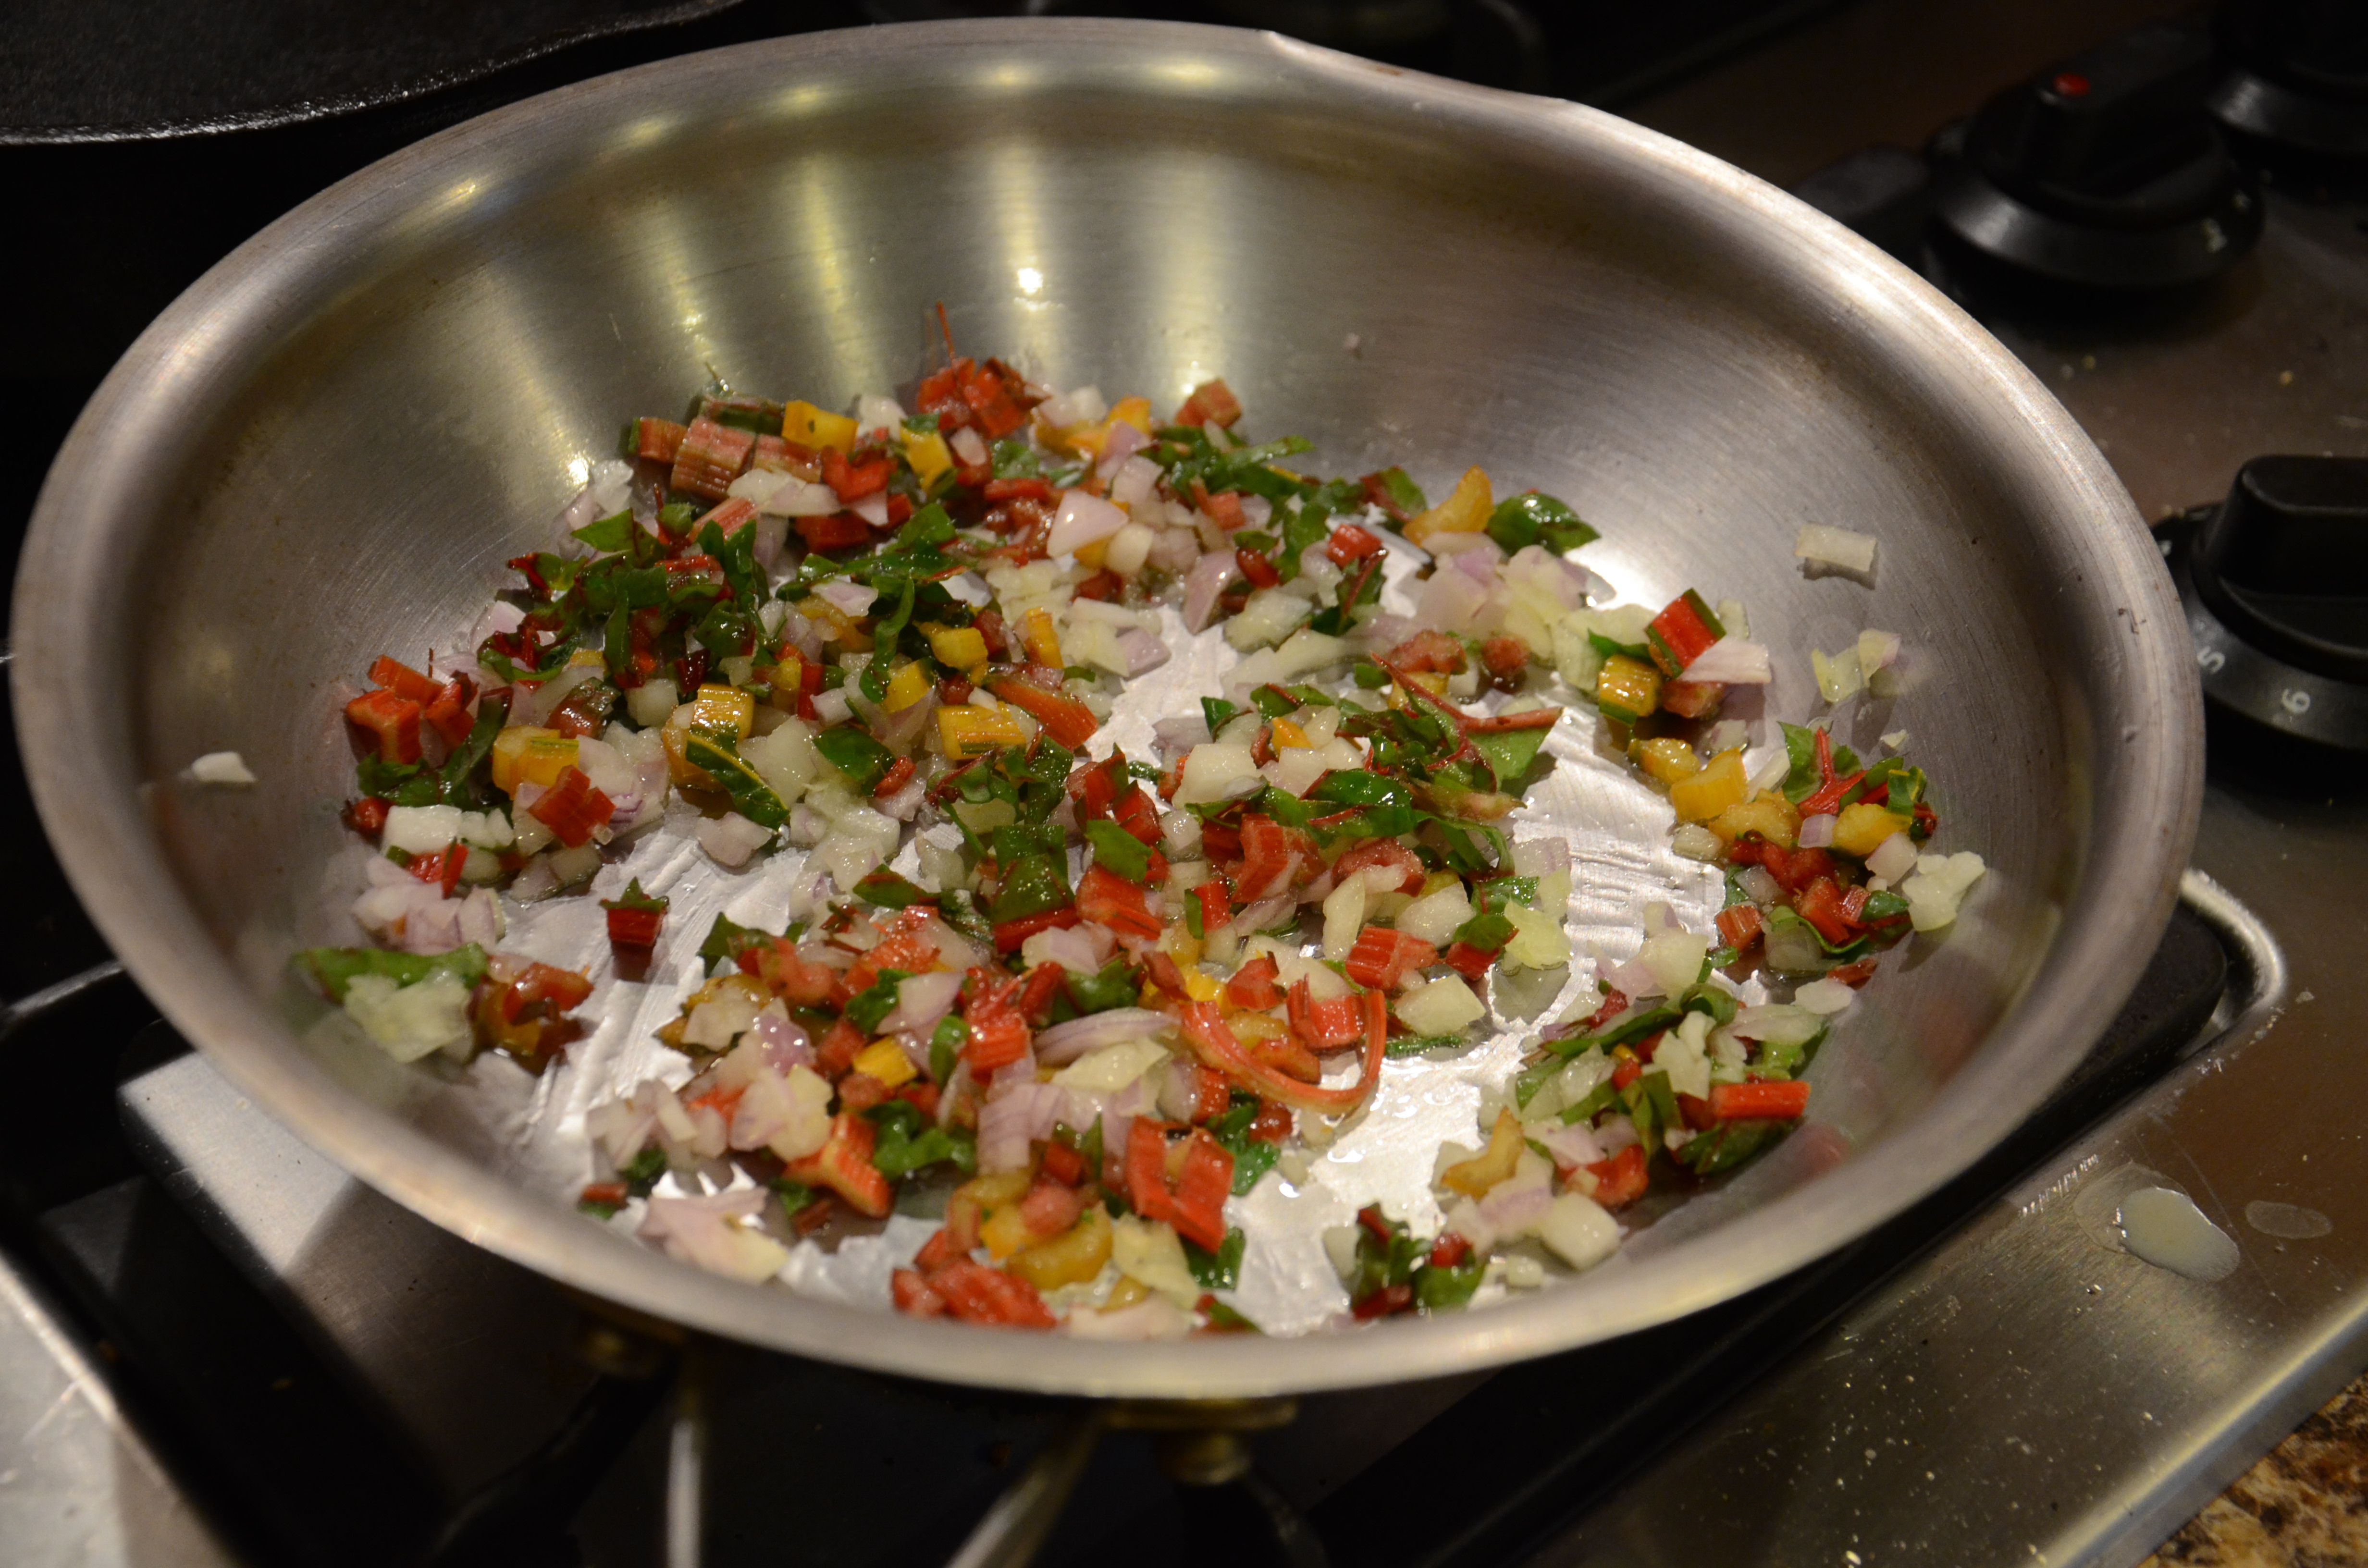
DSC_4754

So pretty!

Stir in the beets. Cover the pot and cook until the beets are completely tender, stirring occasionally. Give it at least five minutes and then taste for tenderness.
DSC_4755
Add the garlic and cook until it is fragrant, about 30 seconds. Deglaze the pan using the cider vinegar.

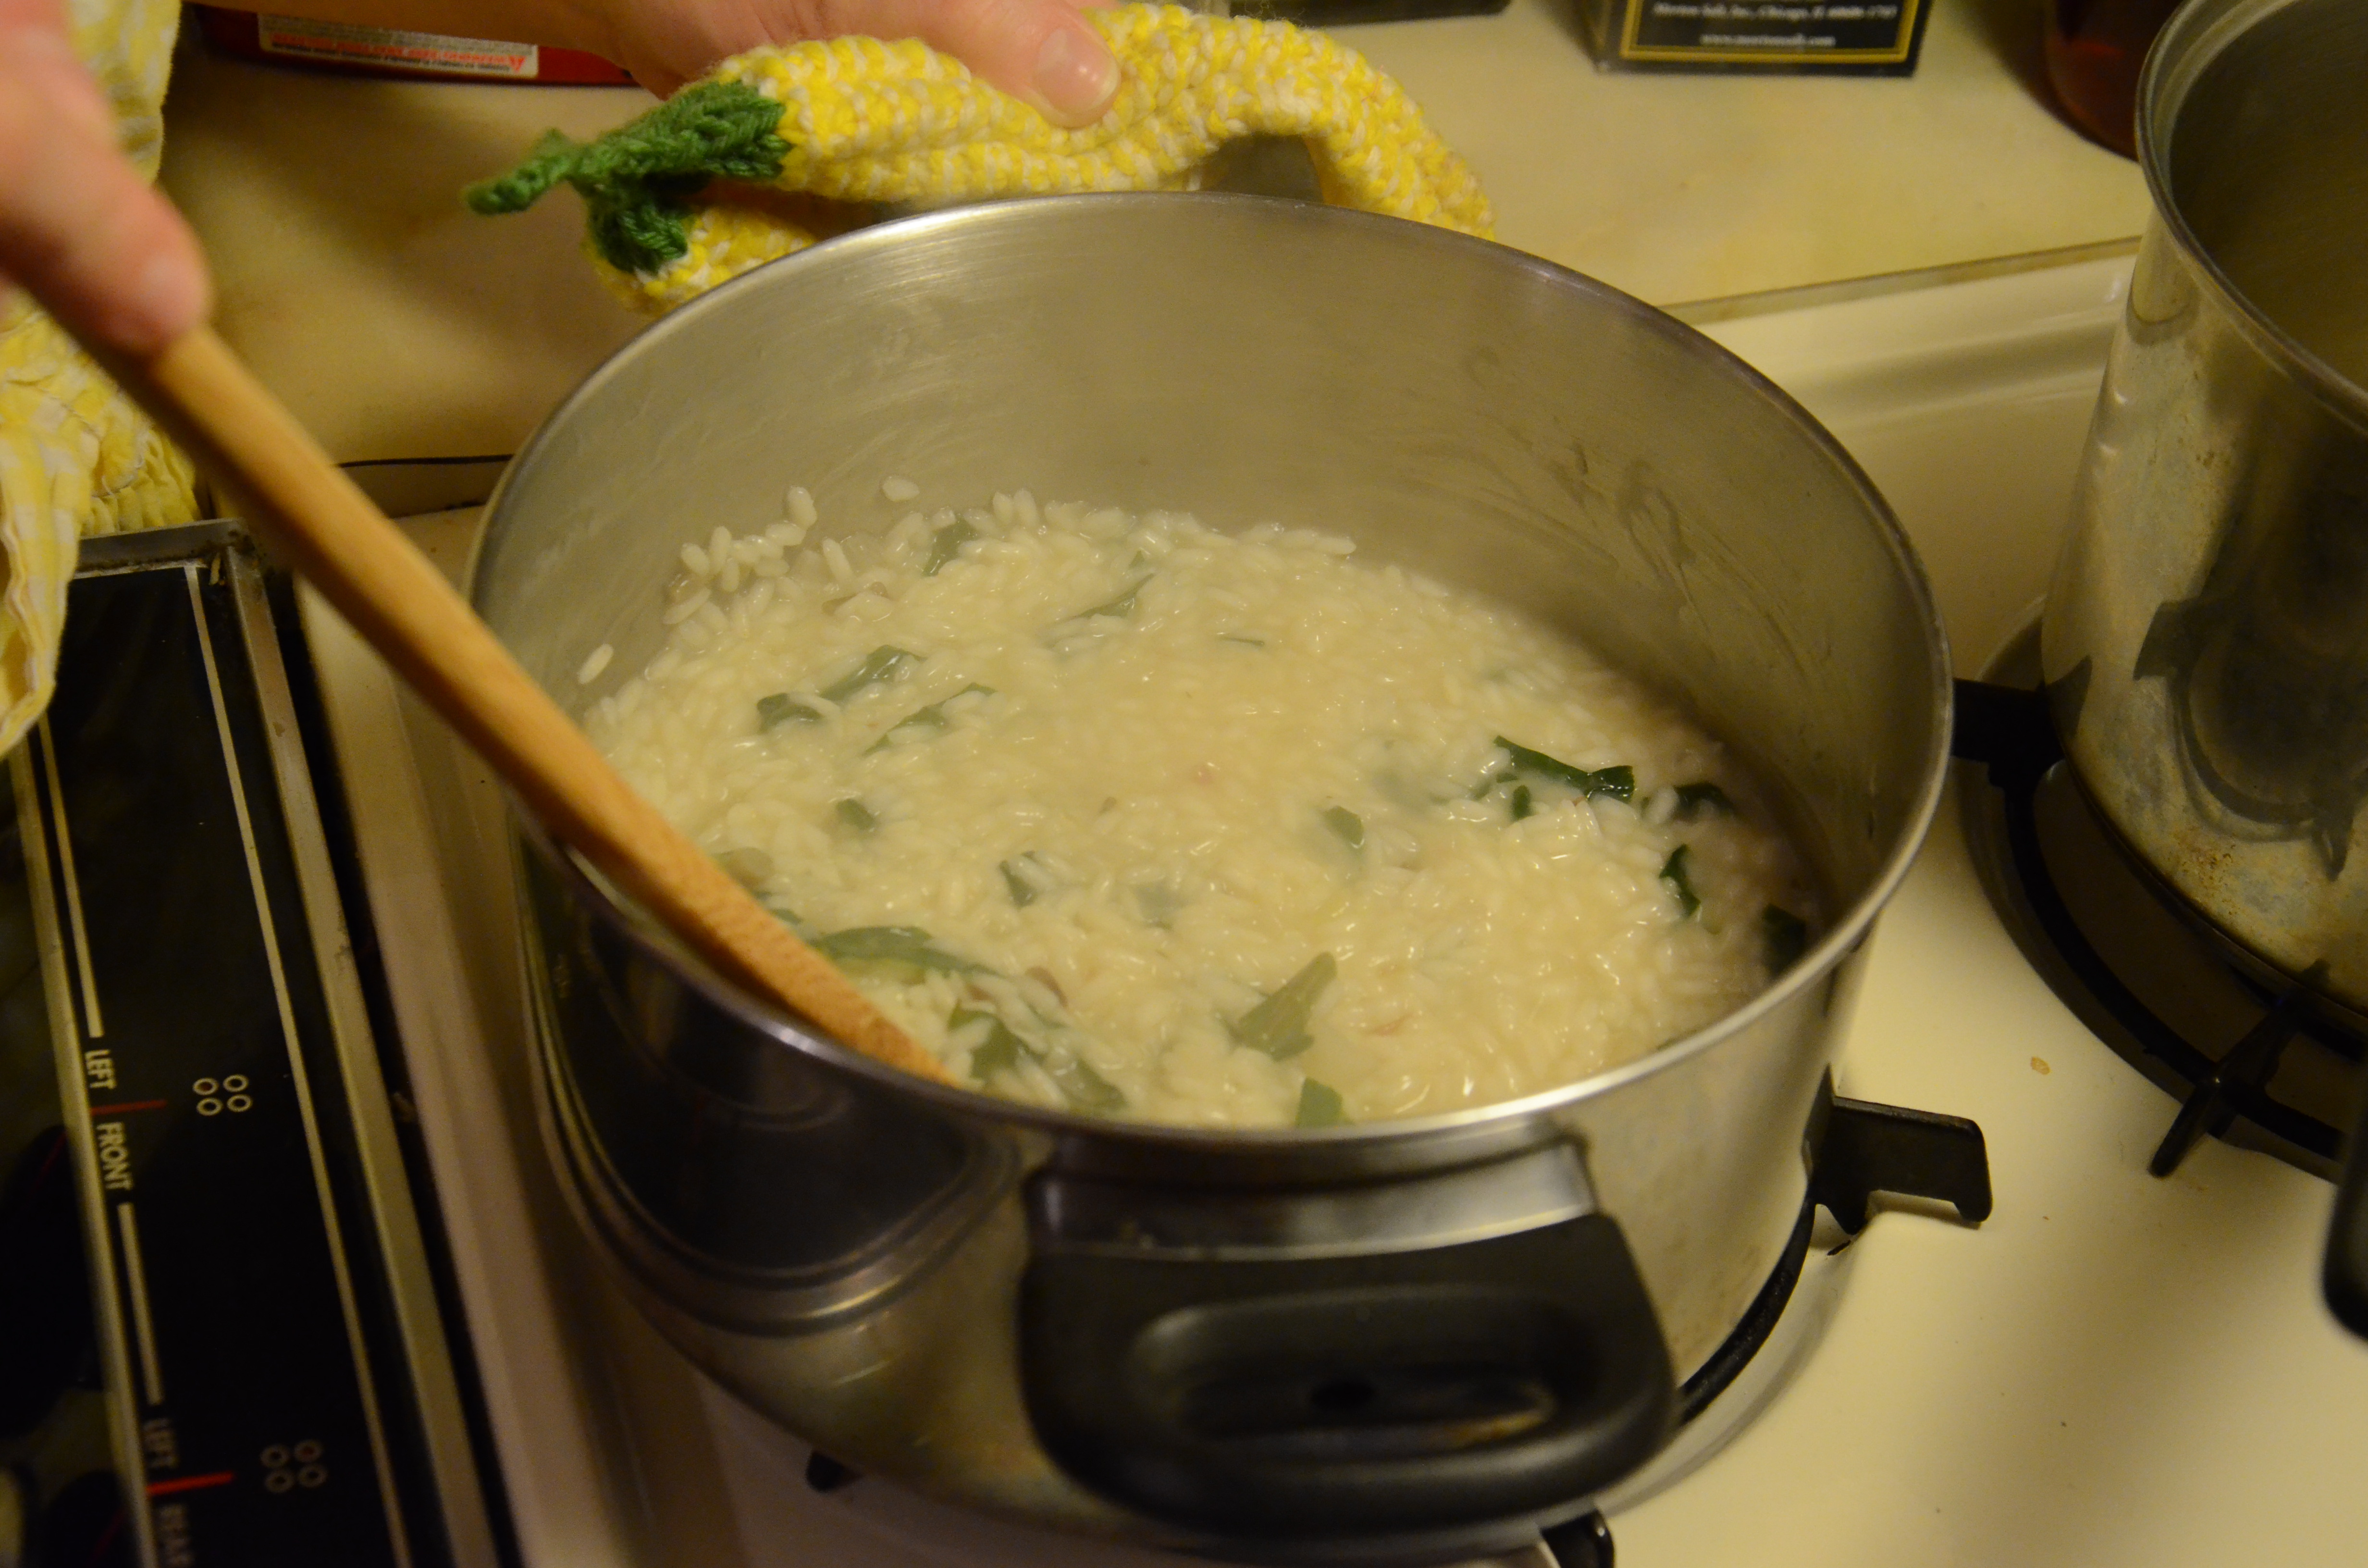
Empty the black beans into a large bowl and use a fork to mash them up a bit. Add the cooked rice, the beet and onion mixture, the lemon juice, the olive oil, and all the spices. Stir to combine.
DSC_4756
Add salt and pepper to taste. Add the flour and stir. I needed to add a little extra flour for keeping the mix together, and it still fell apart a bit. Reviewers on the recipe’s webpage mentioned using rolled oats as a binder as well.

Heat a cast-iron skillet over the highest heat. Add a few tablespoons of olive oil, enough to coat the bottom of the pan. Heat until it flows easily and shimmers.

Using your hands, form about a cup of the burger mixture into a patty between your palms. (Get ready to have horror-flick gory hands). Set it in the hot pan. Continue shaping and adding as many patties are you are making at one time and add to pan as they fit. Reduce heat.

DSC_4759

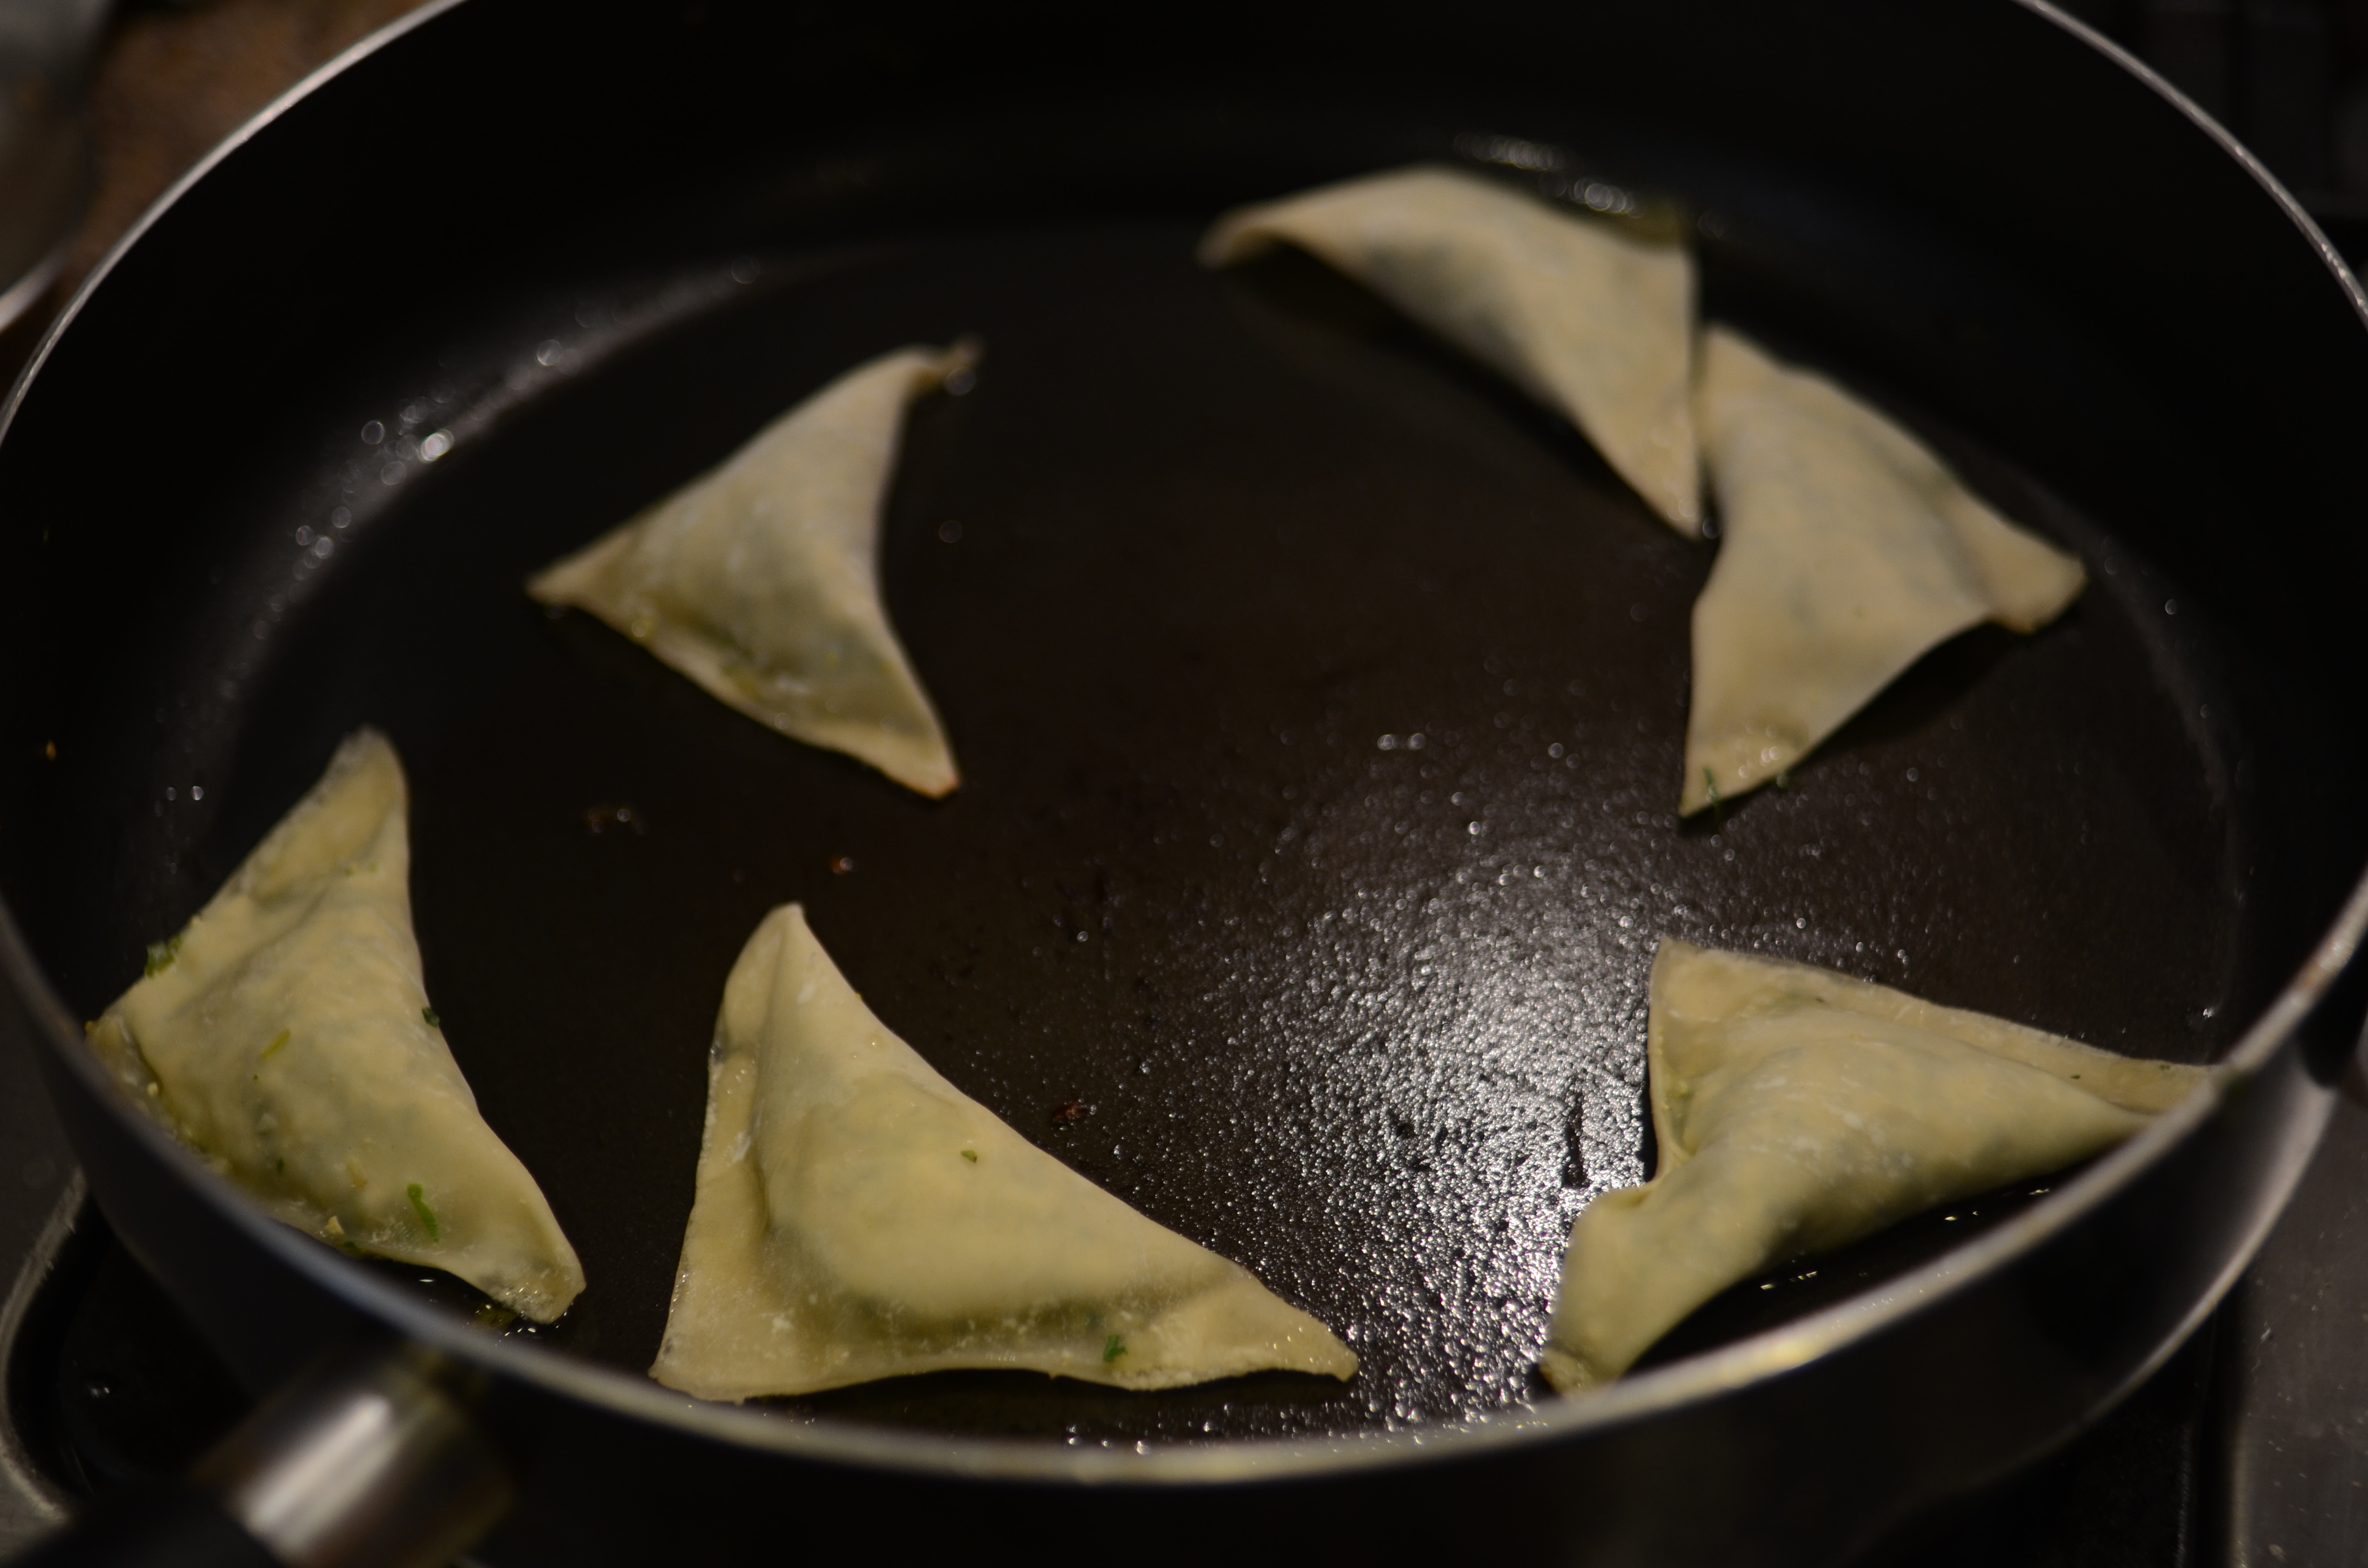
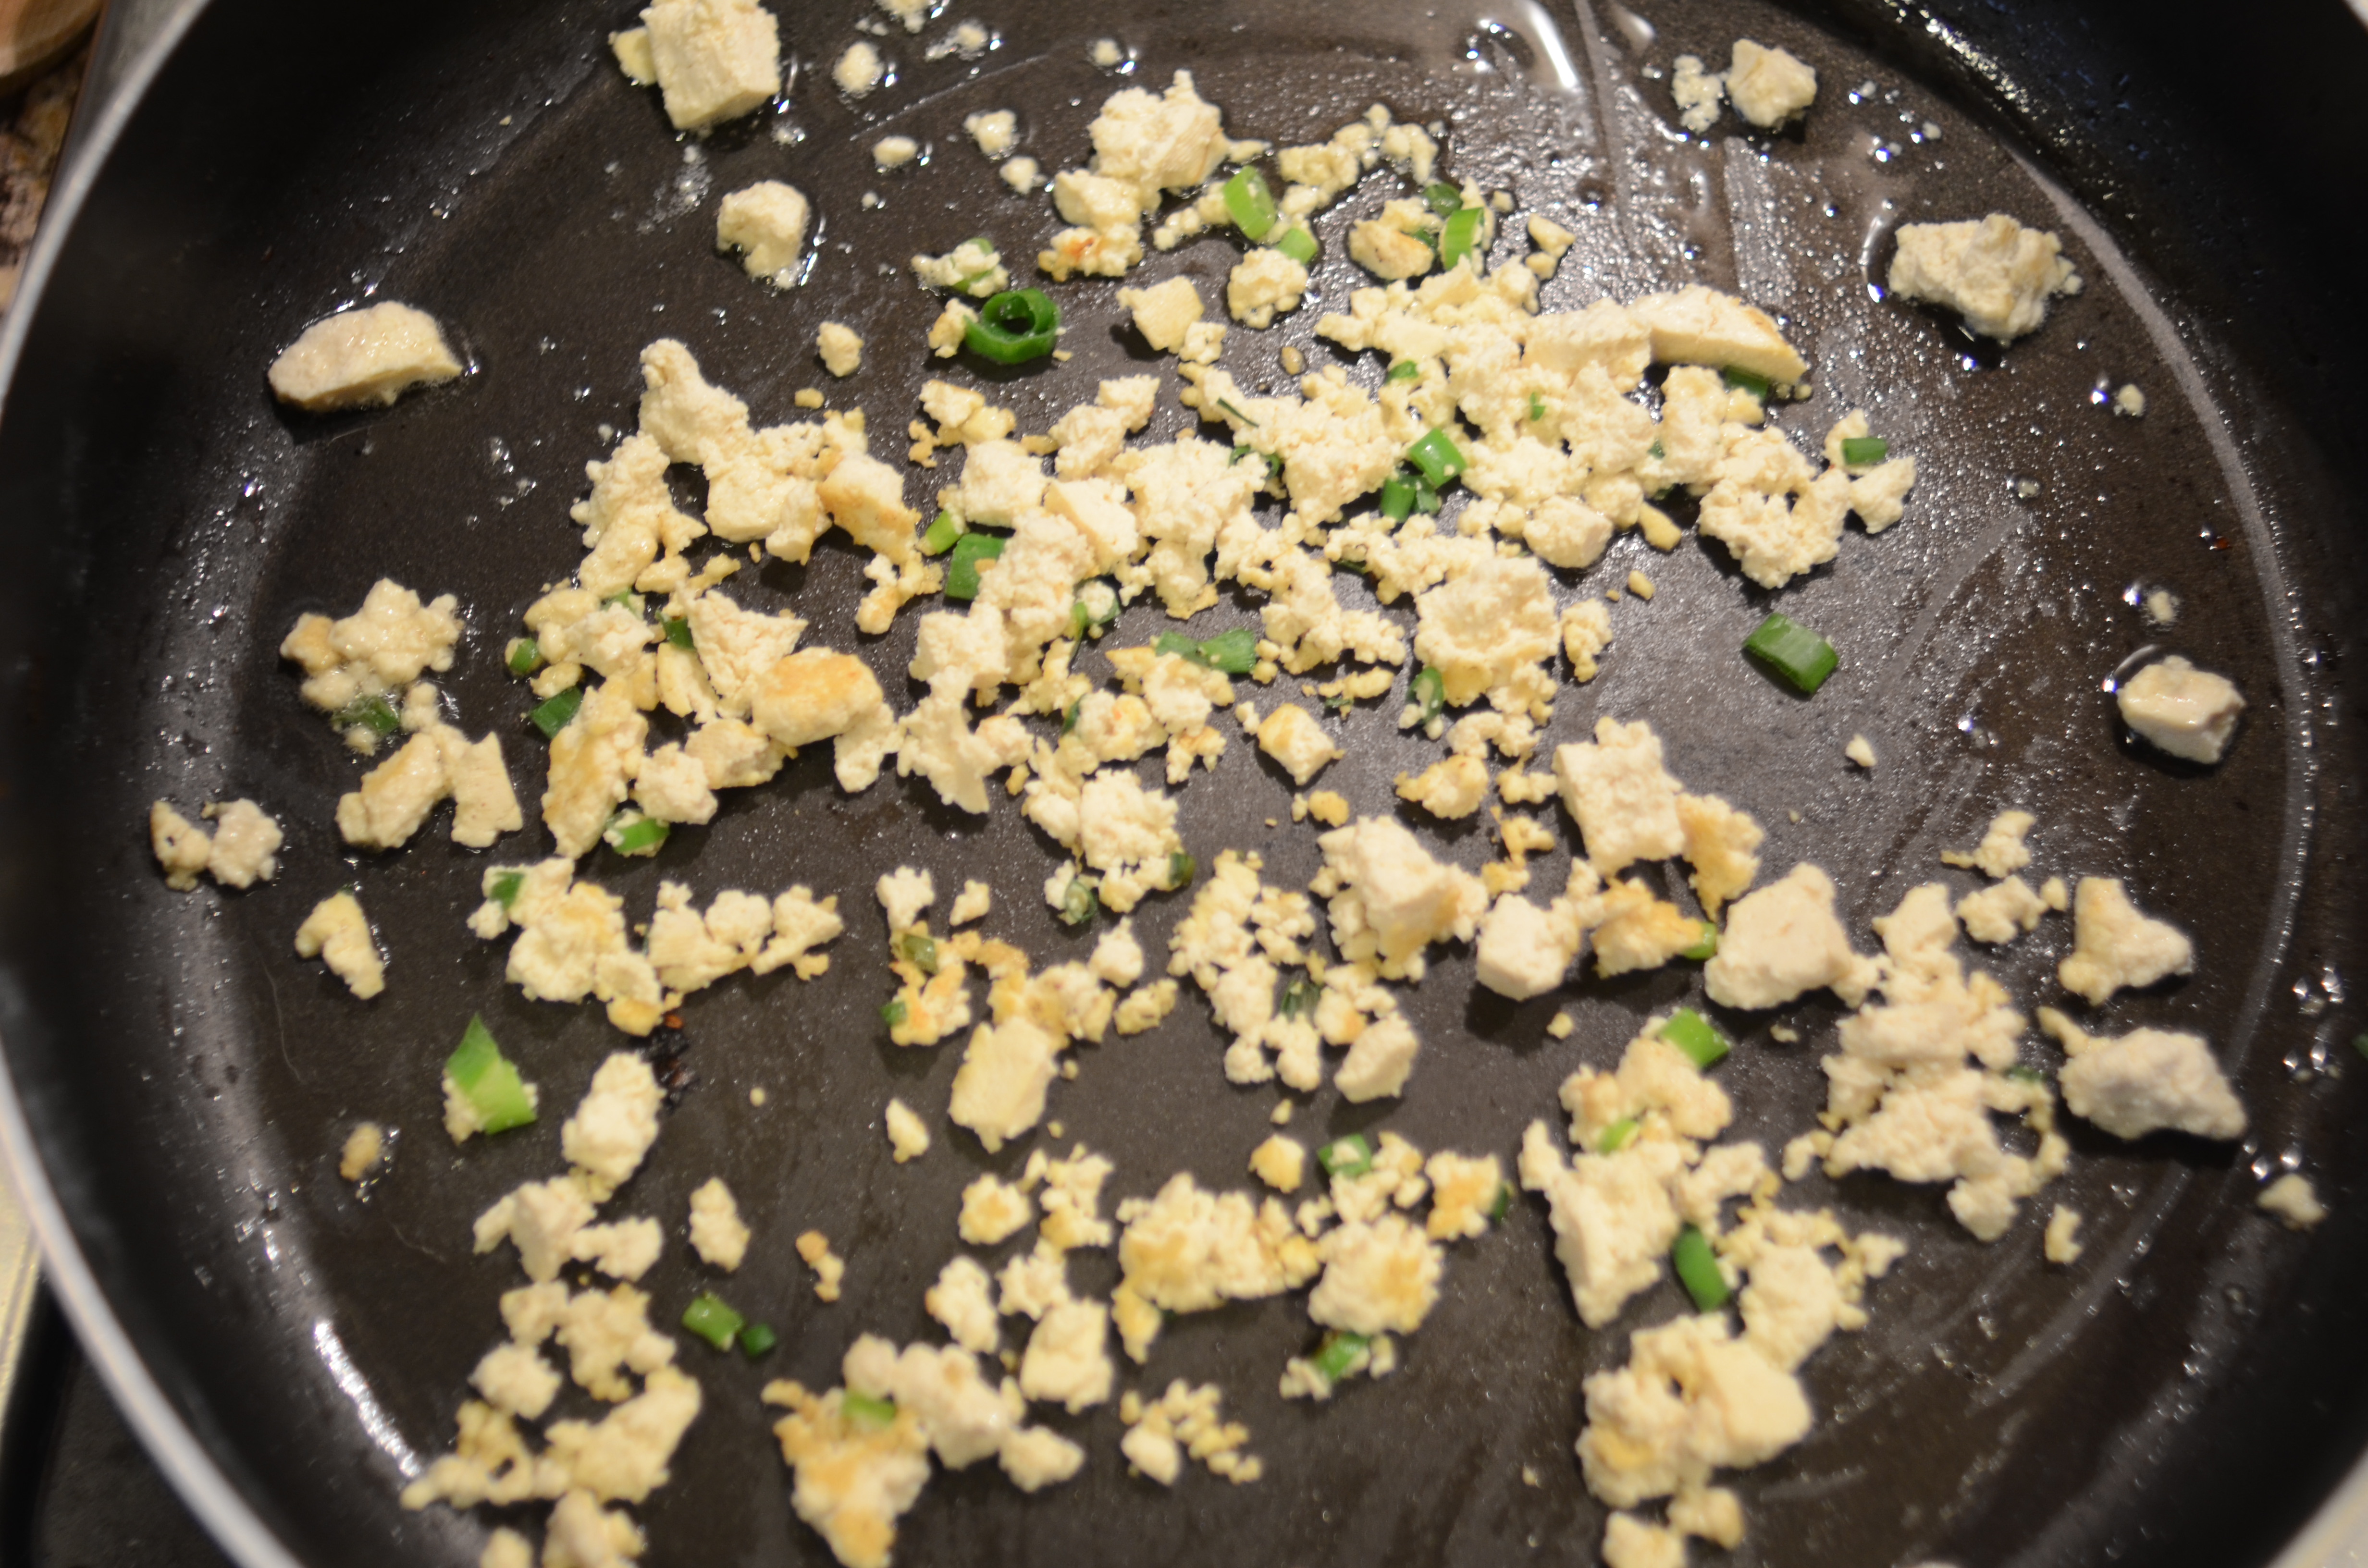
What’s wrong with this picture? Answer: not enough oil in the pan.

Note: the recipe says that the burgers are best eaten immediately. The mix can be kept in the fridge for a few days if you want to save it and make additional burgers at another time. I formed a few burgers and stuck them in the freezer–I’ll let you know if they hold up.

Cook the patties for 2 minutes, working to get a nice crust, then flip to the other side. If you’re adding cheese, lay a slice over the burgers now. Cook the second side for another 2 minutes.

Serve the veggie burgers on a toasted english muffin, burger buns or sandwich bread.

Seriously, this was so delicious.

Seriously, this was so delicious.

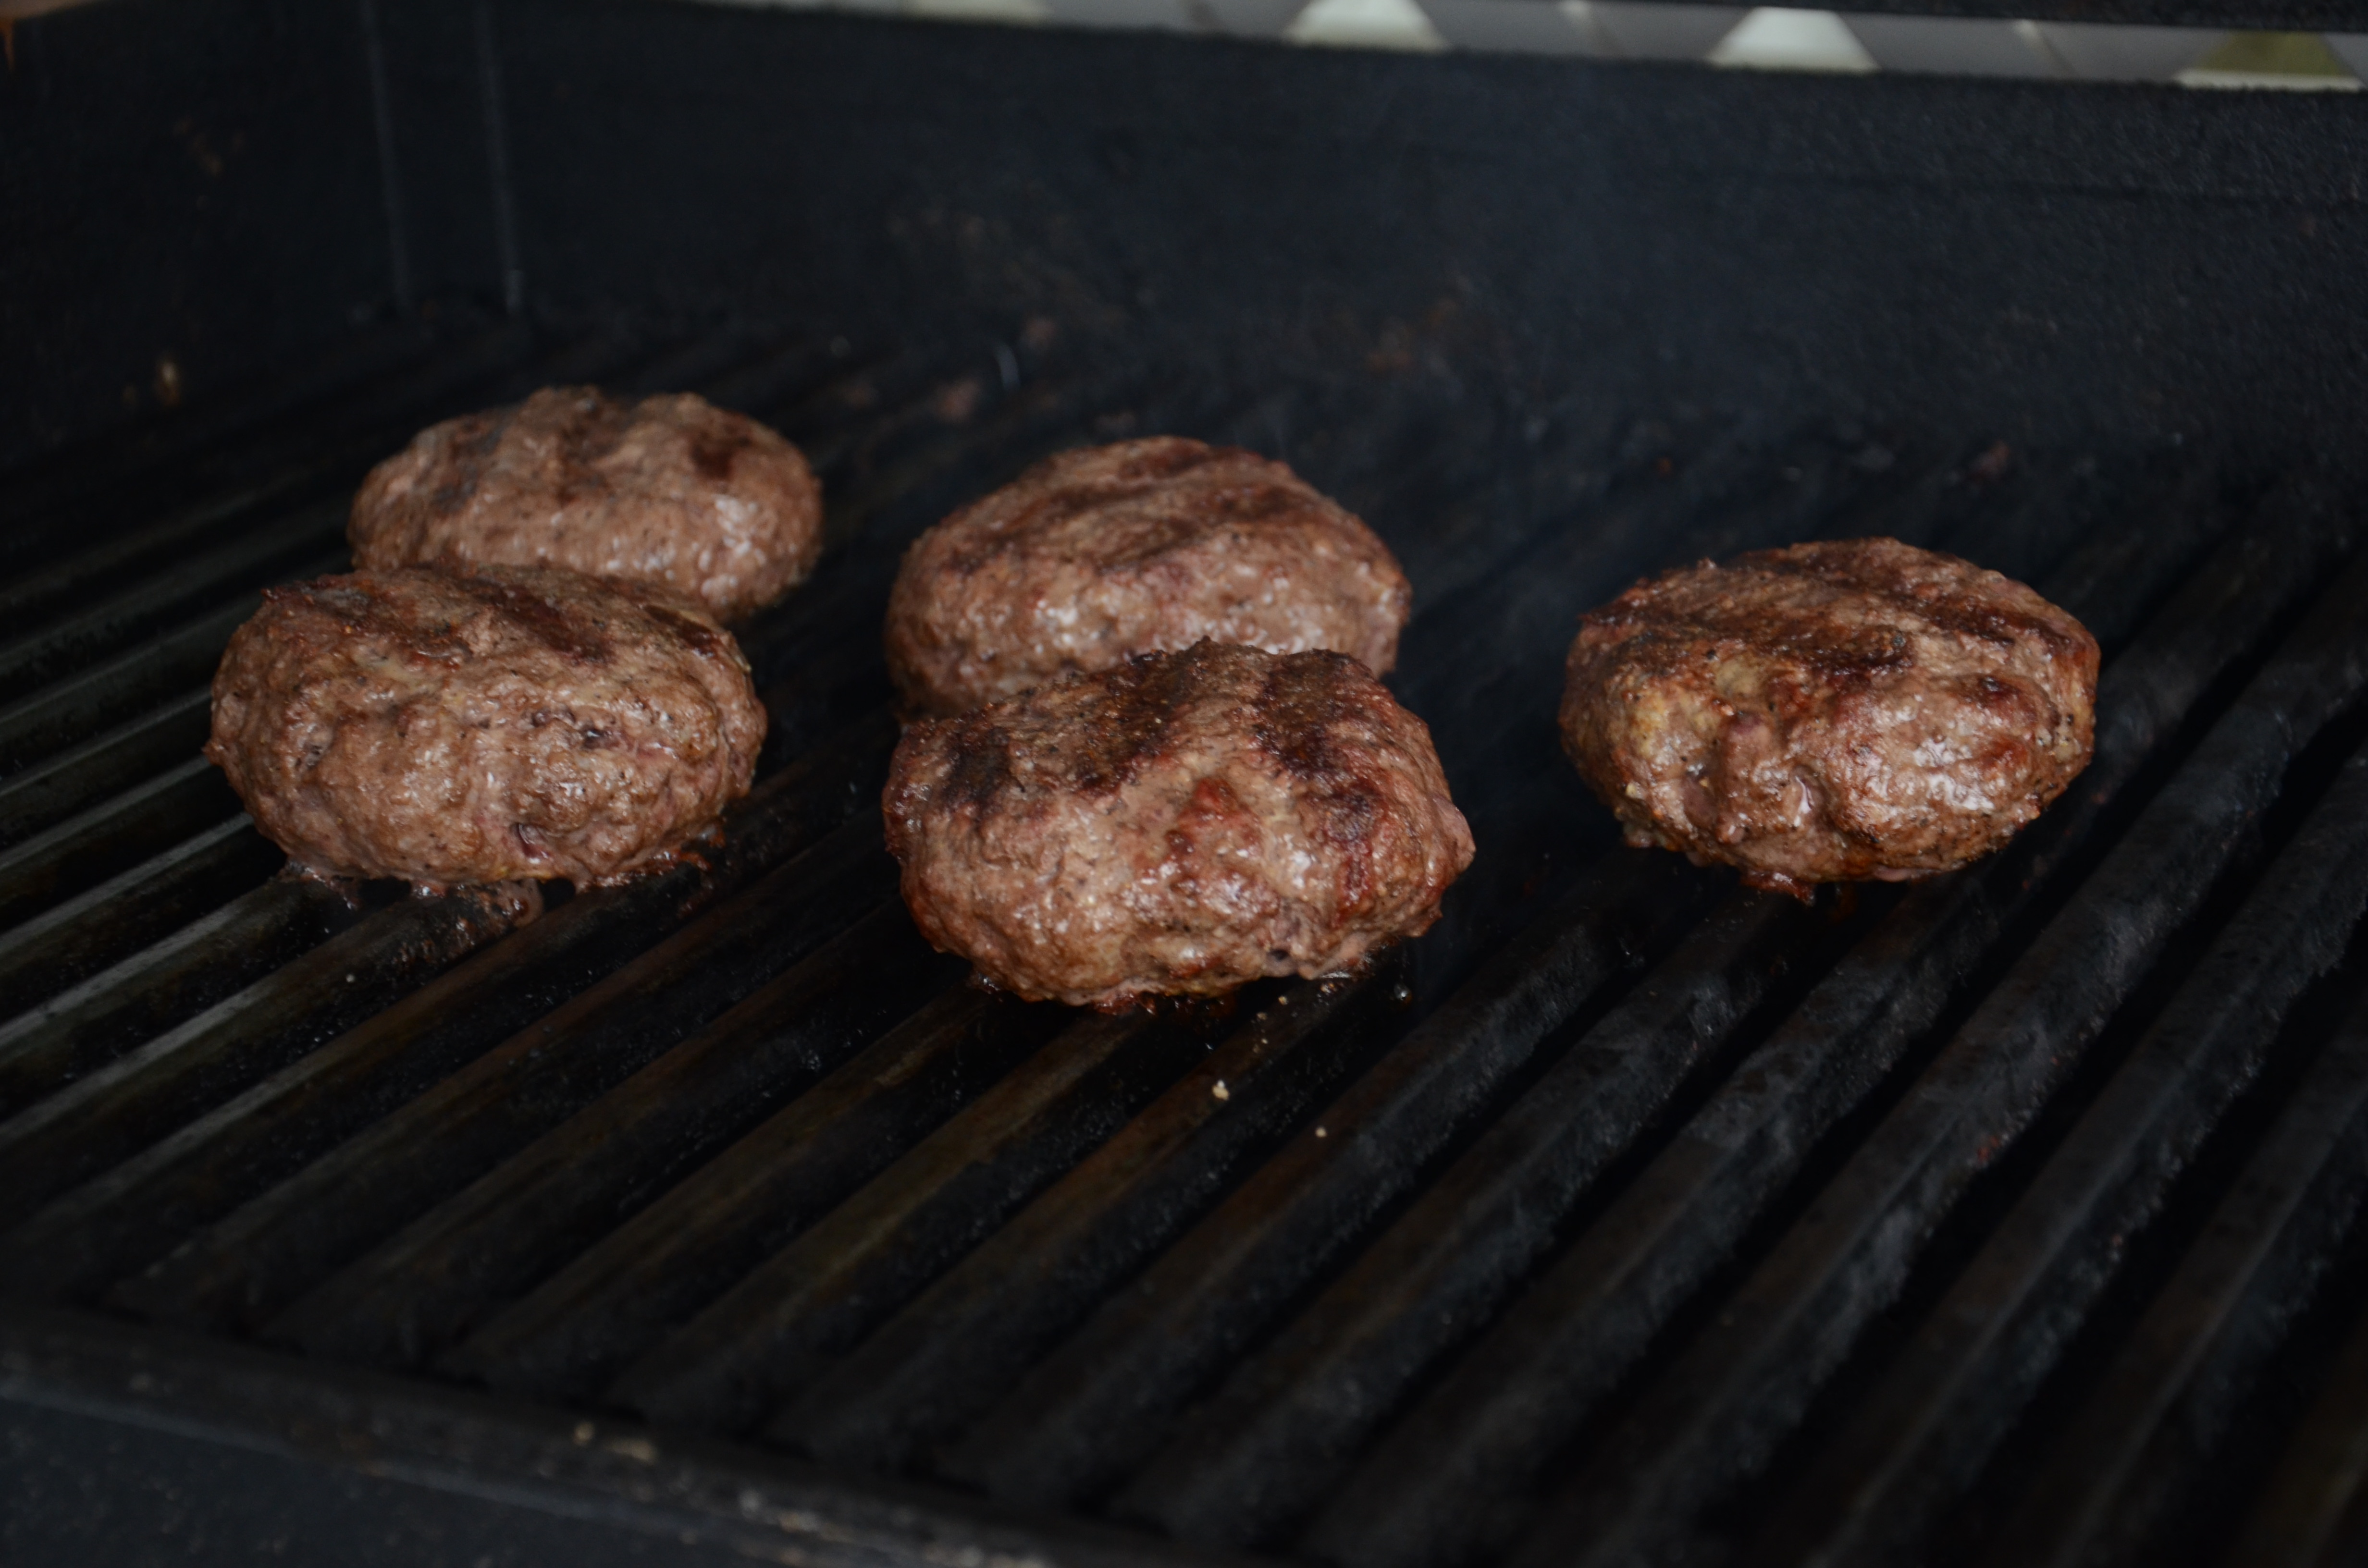
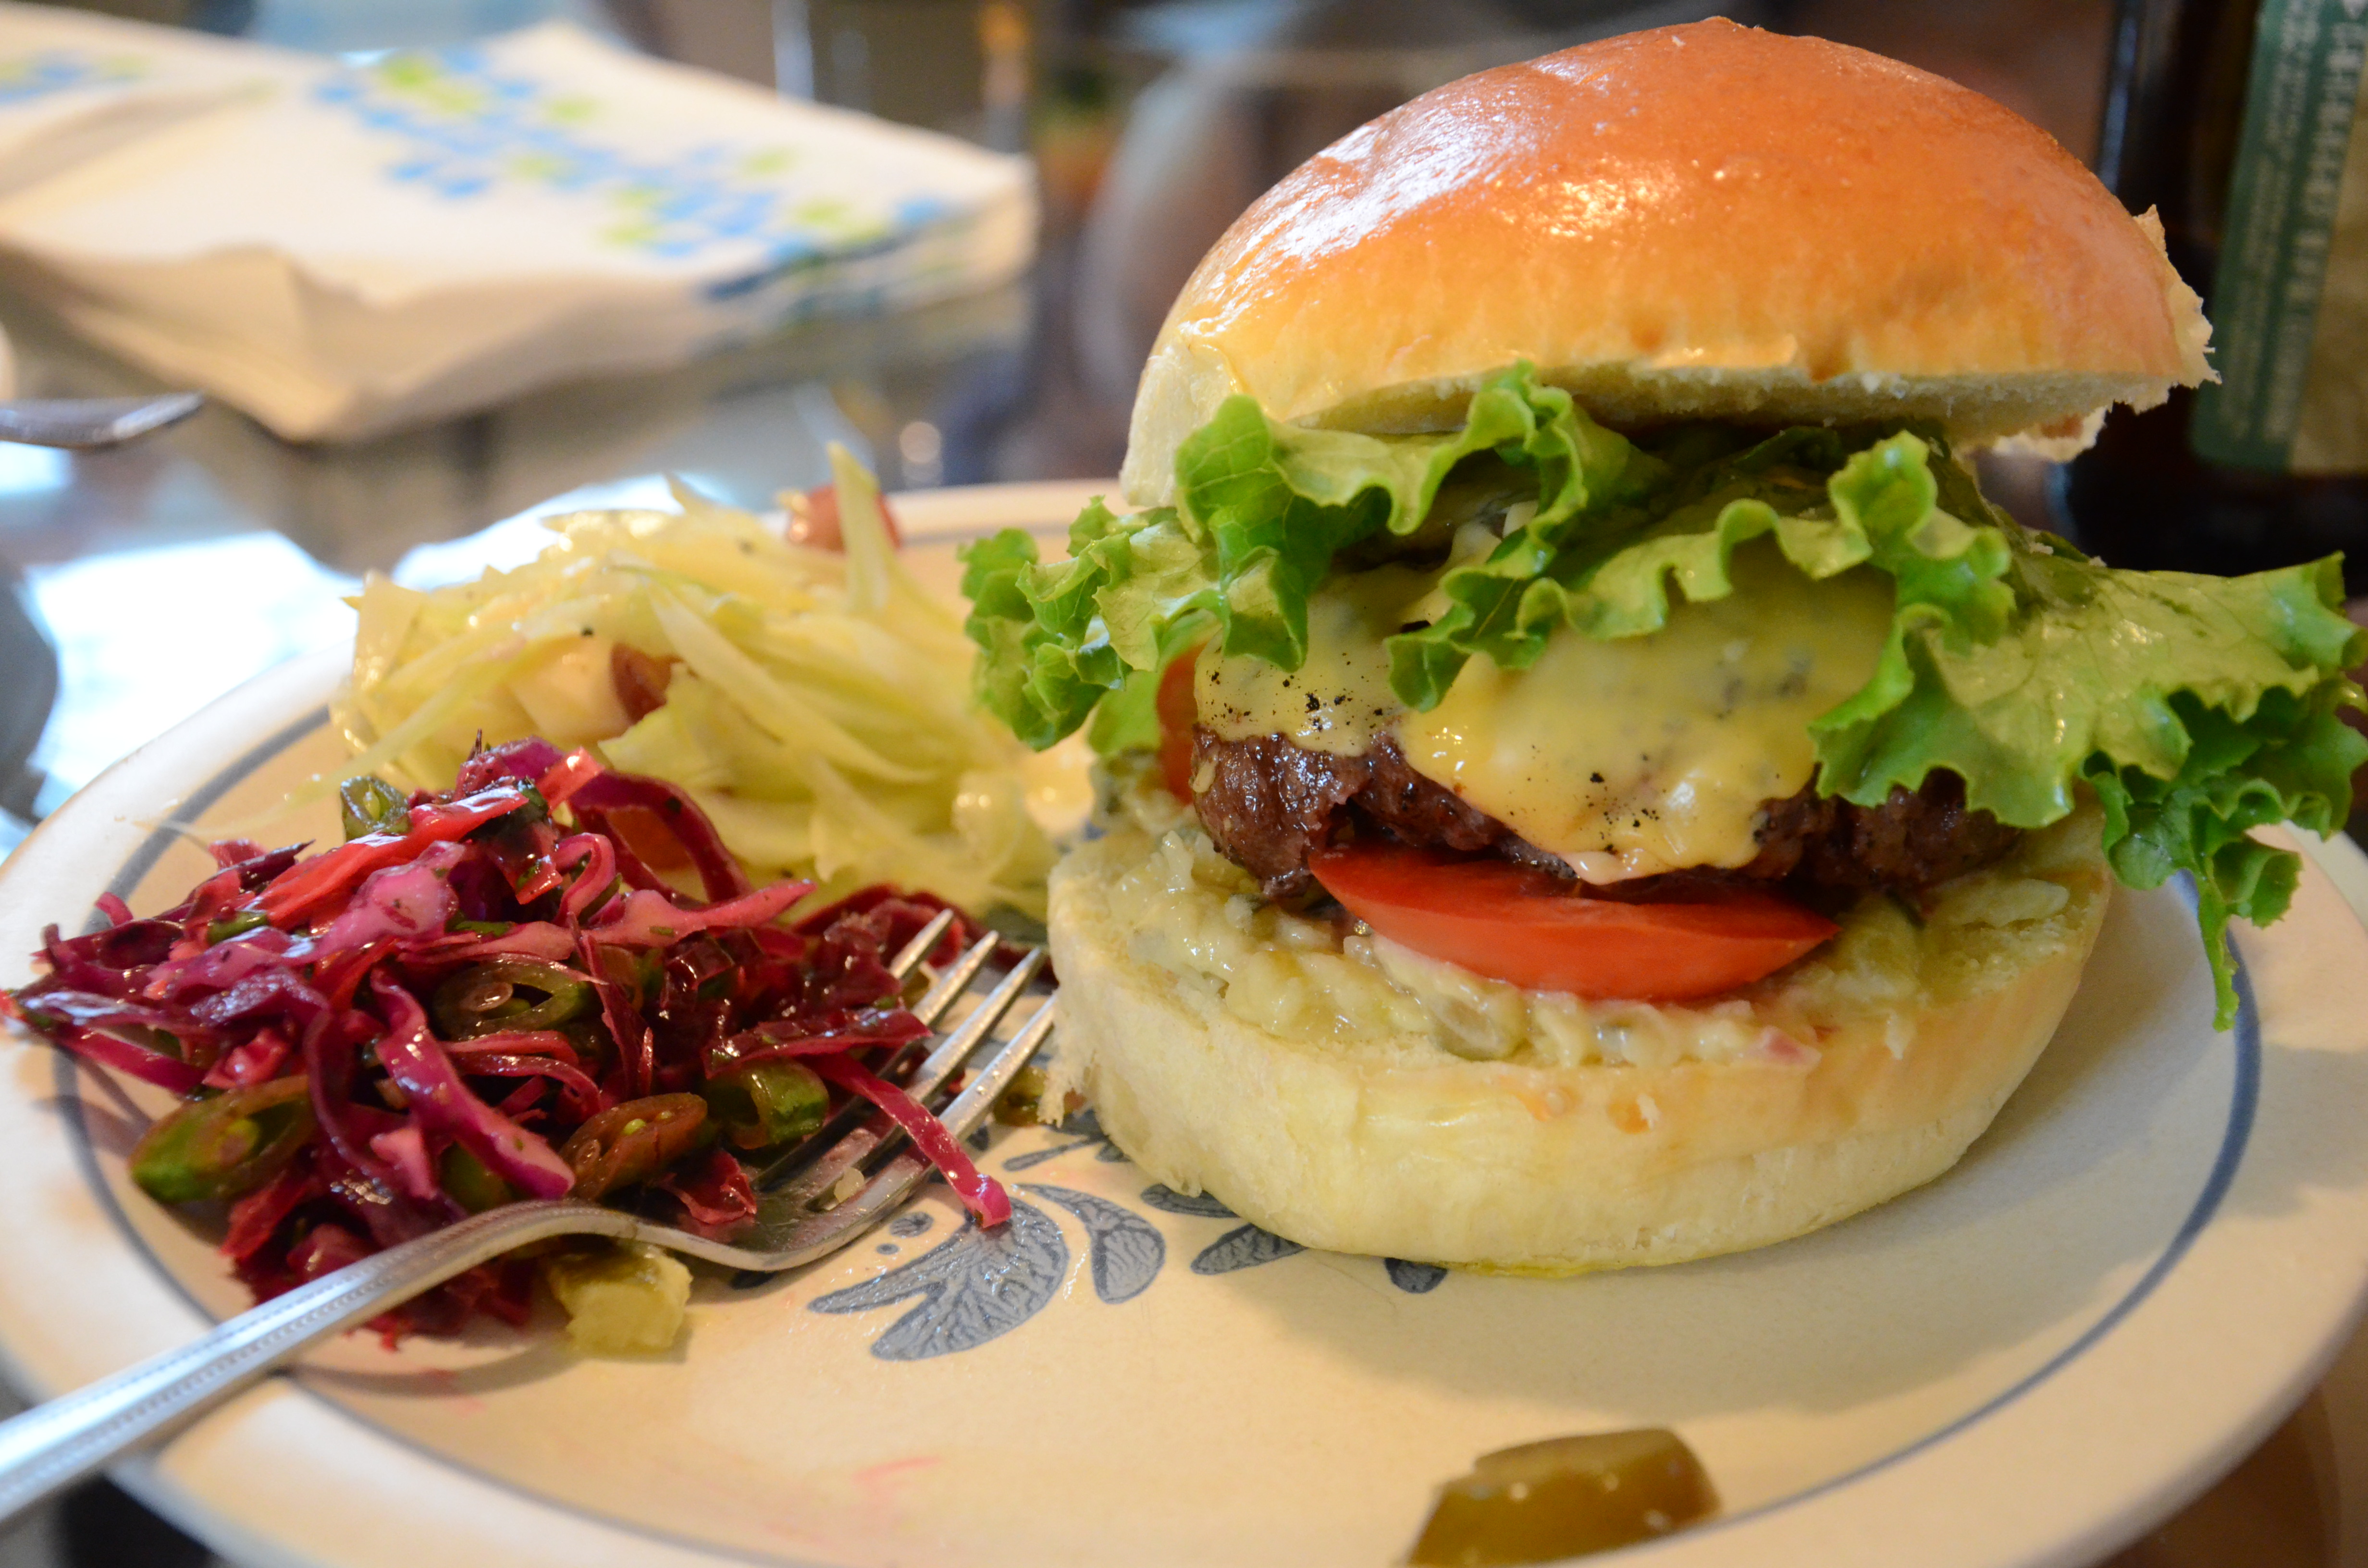
OK, OK, I know you want to see some meat. Here’s the burger I consumed at a friend’s house a few days later, made by our own Chef Chris Davila:

DSC_4769

The picture is blurry, but I’m sure you can see how it was cooked wonderfully medium rare.

He ground his own beef and used a combination of short ribs, sirloin, and flank steak. The recipe was from Saveur magazine’s June/July 2013 issue: Ultimate Grilled Cheeseburger. Special sauce and all.
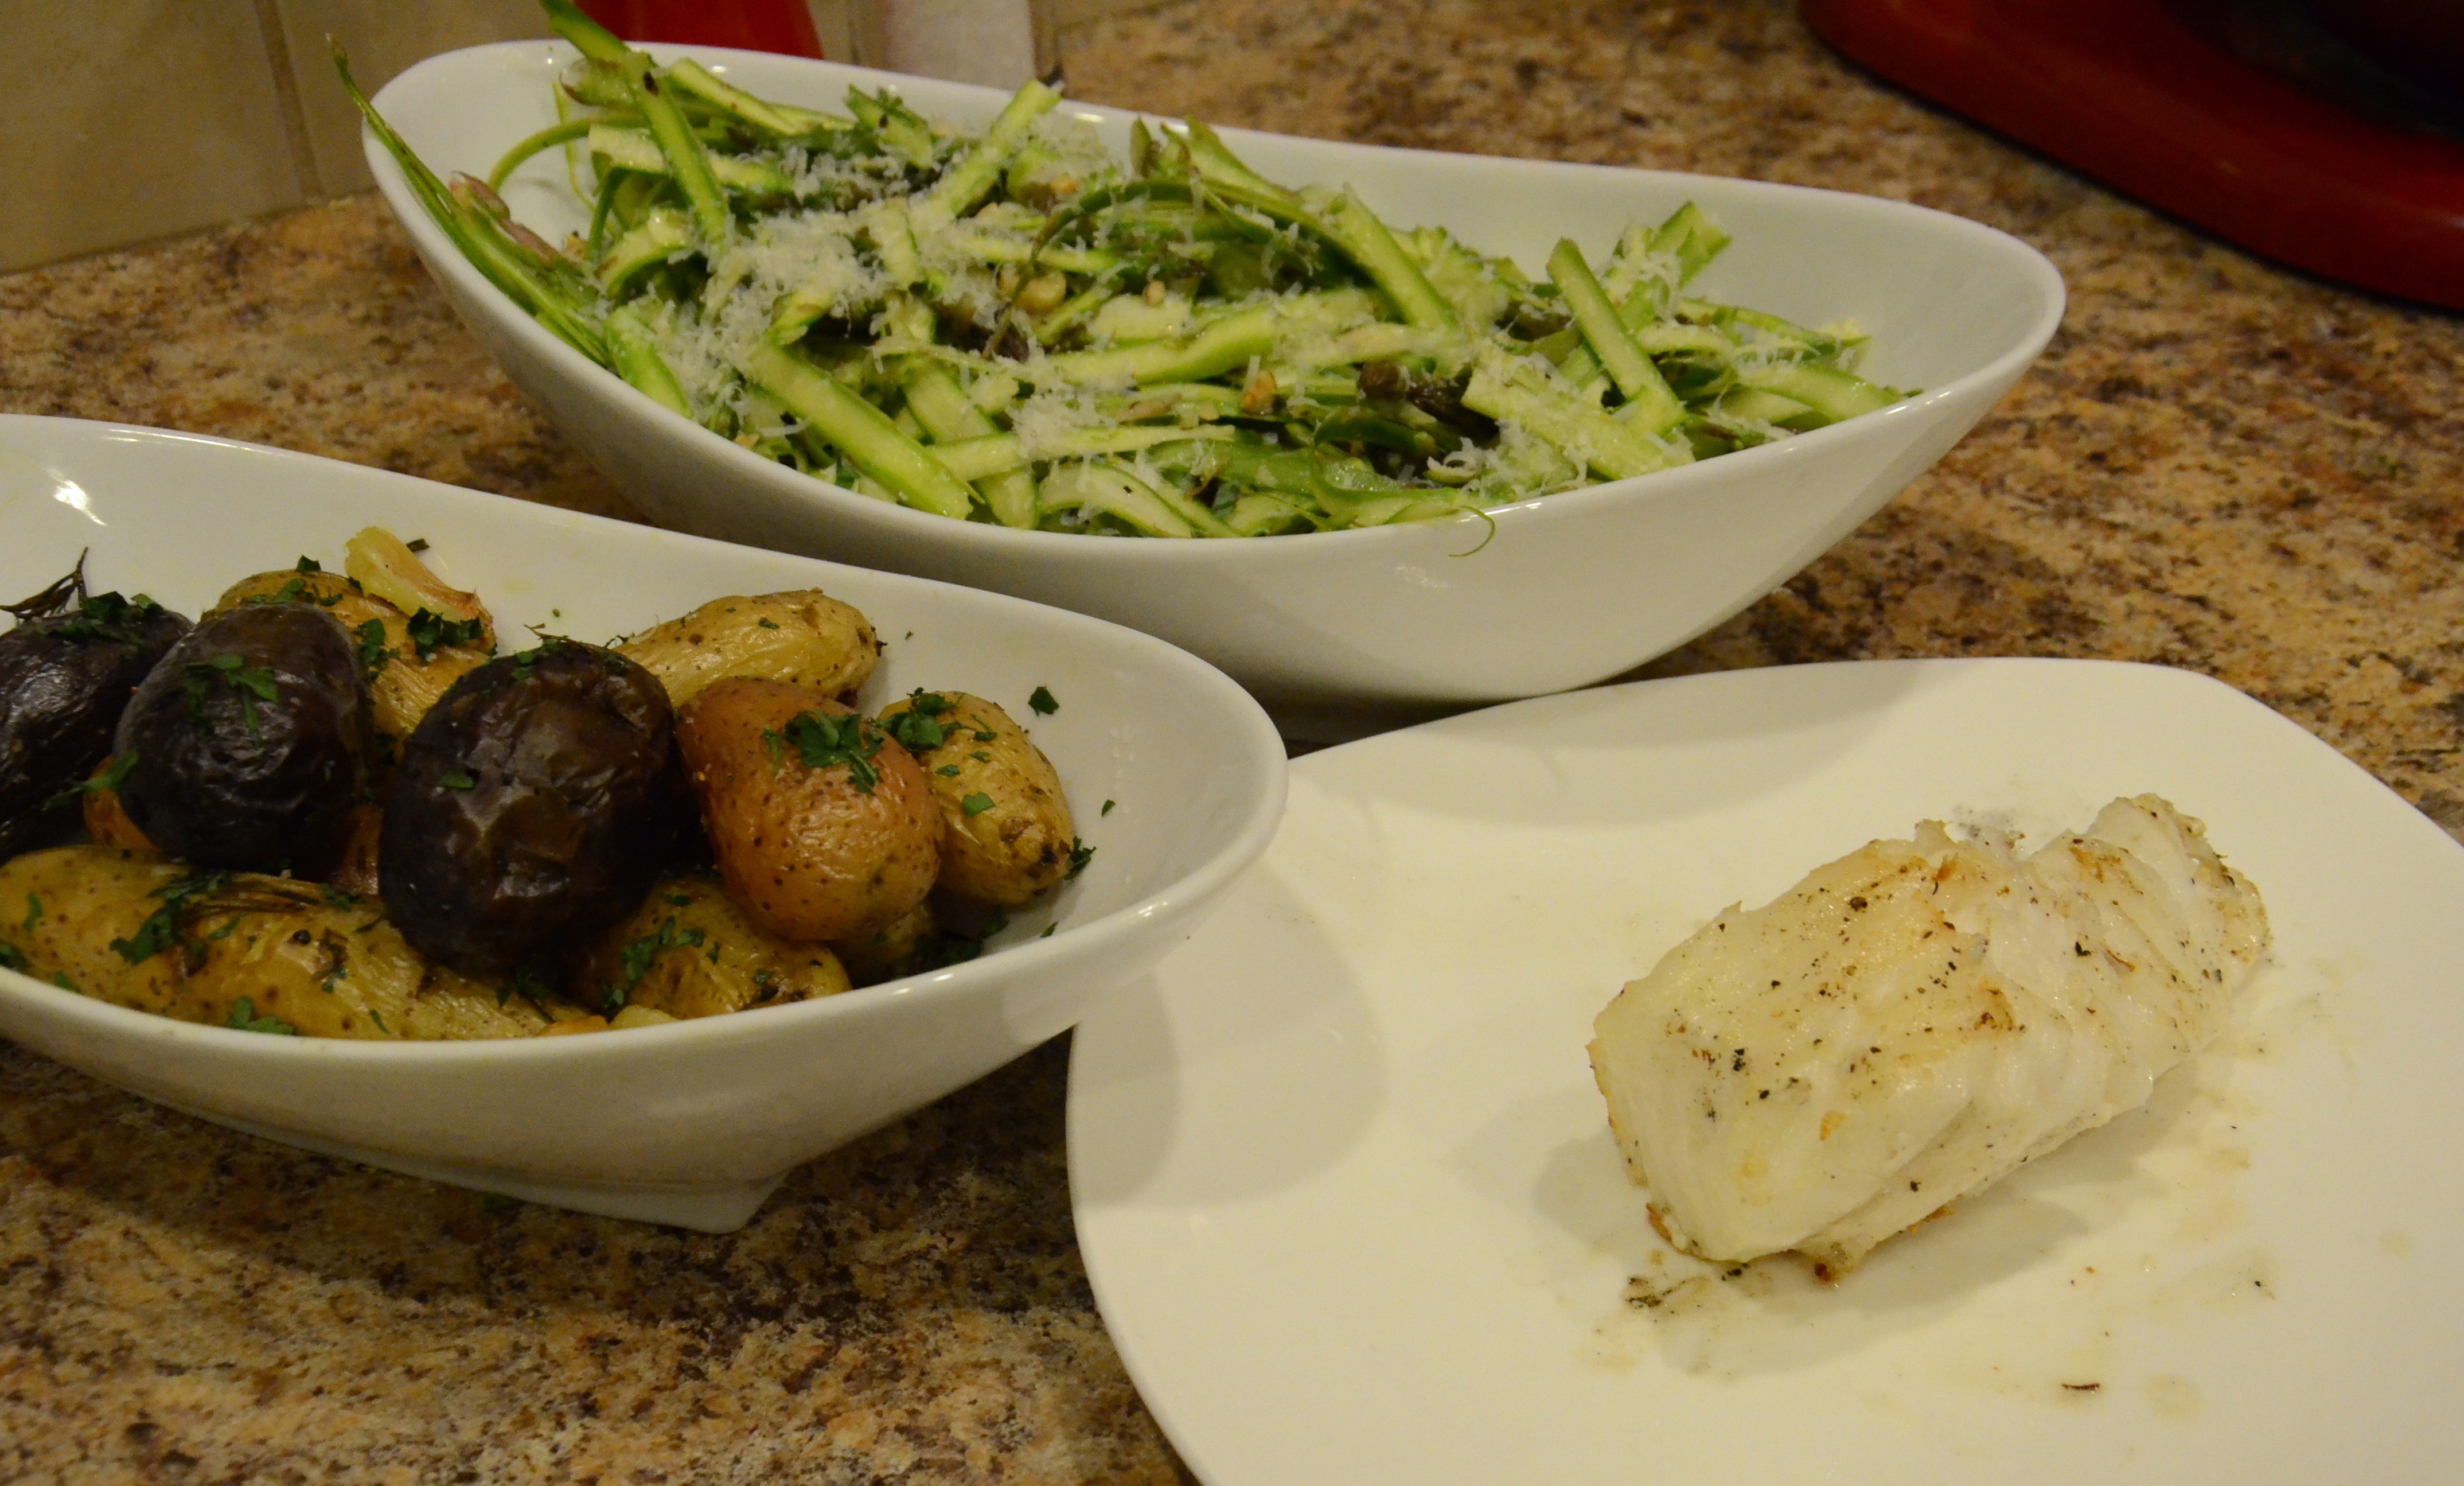
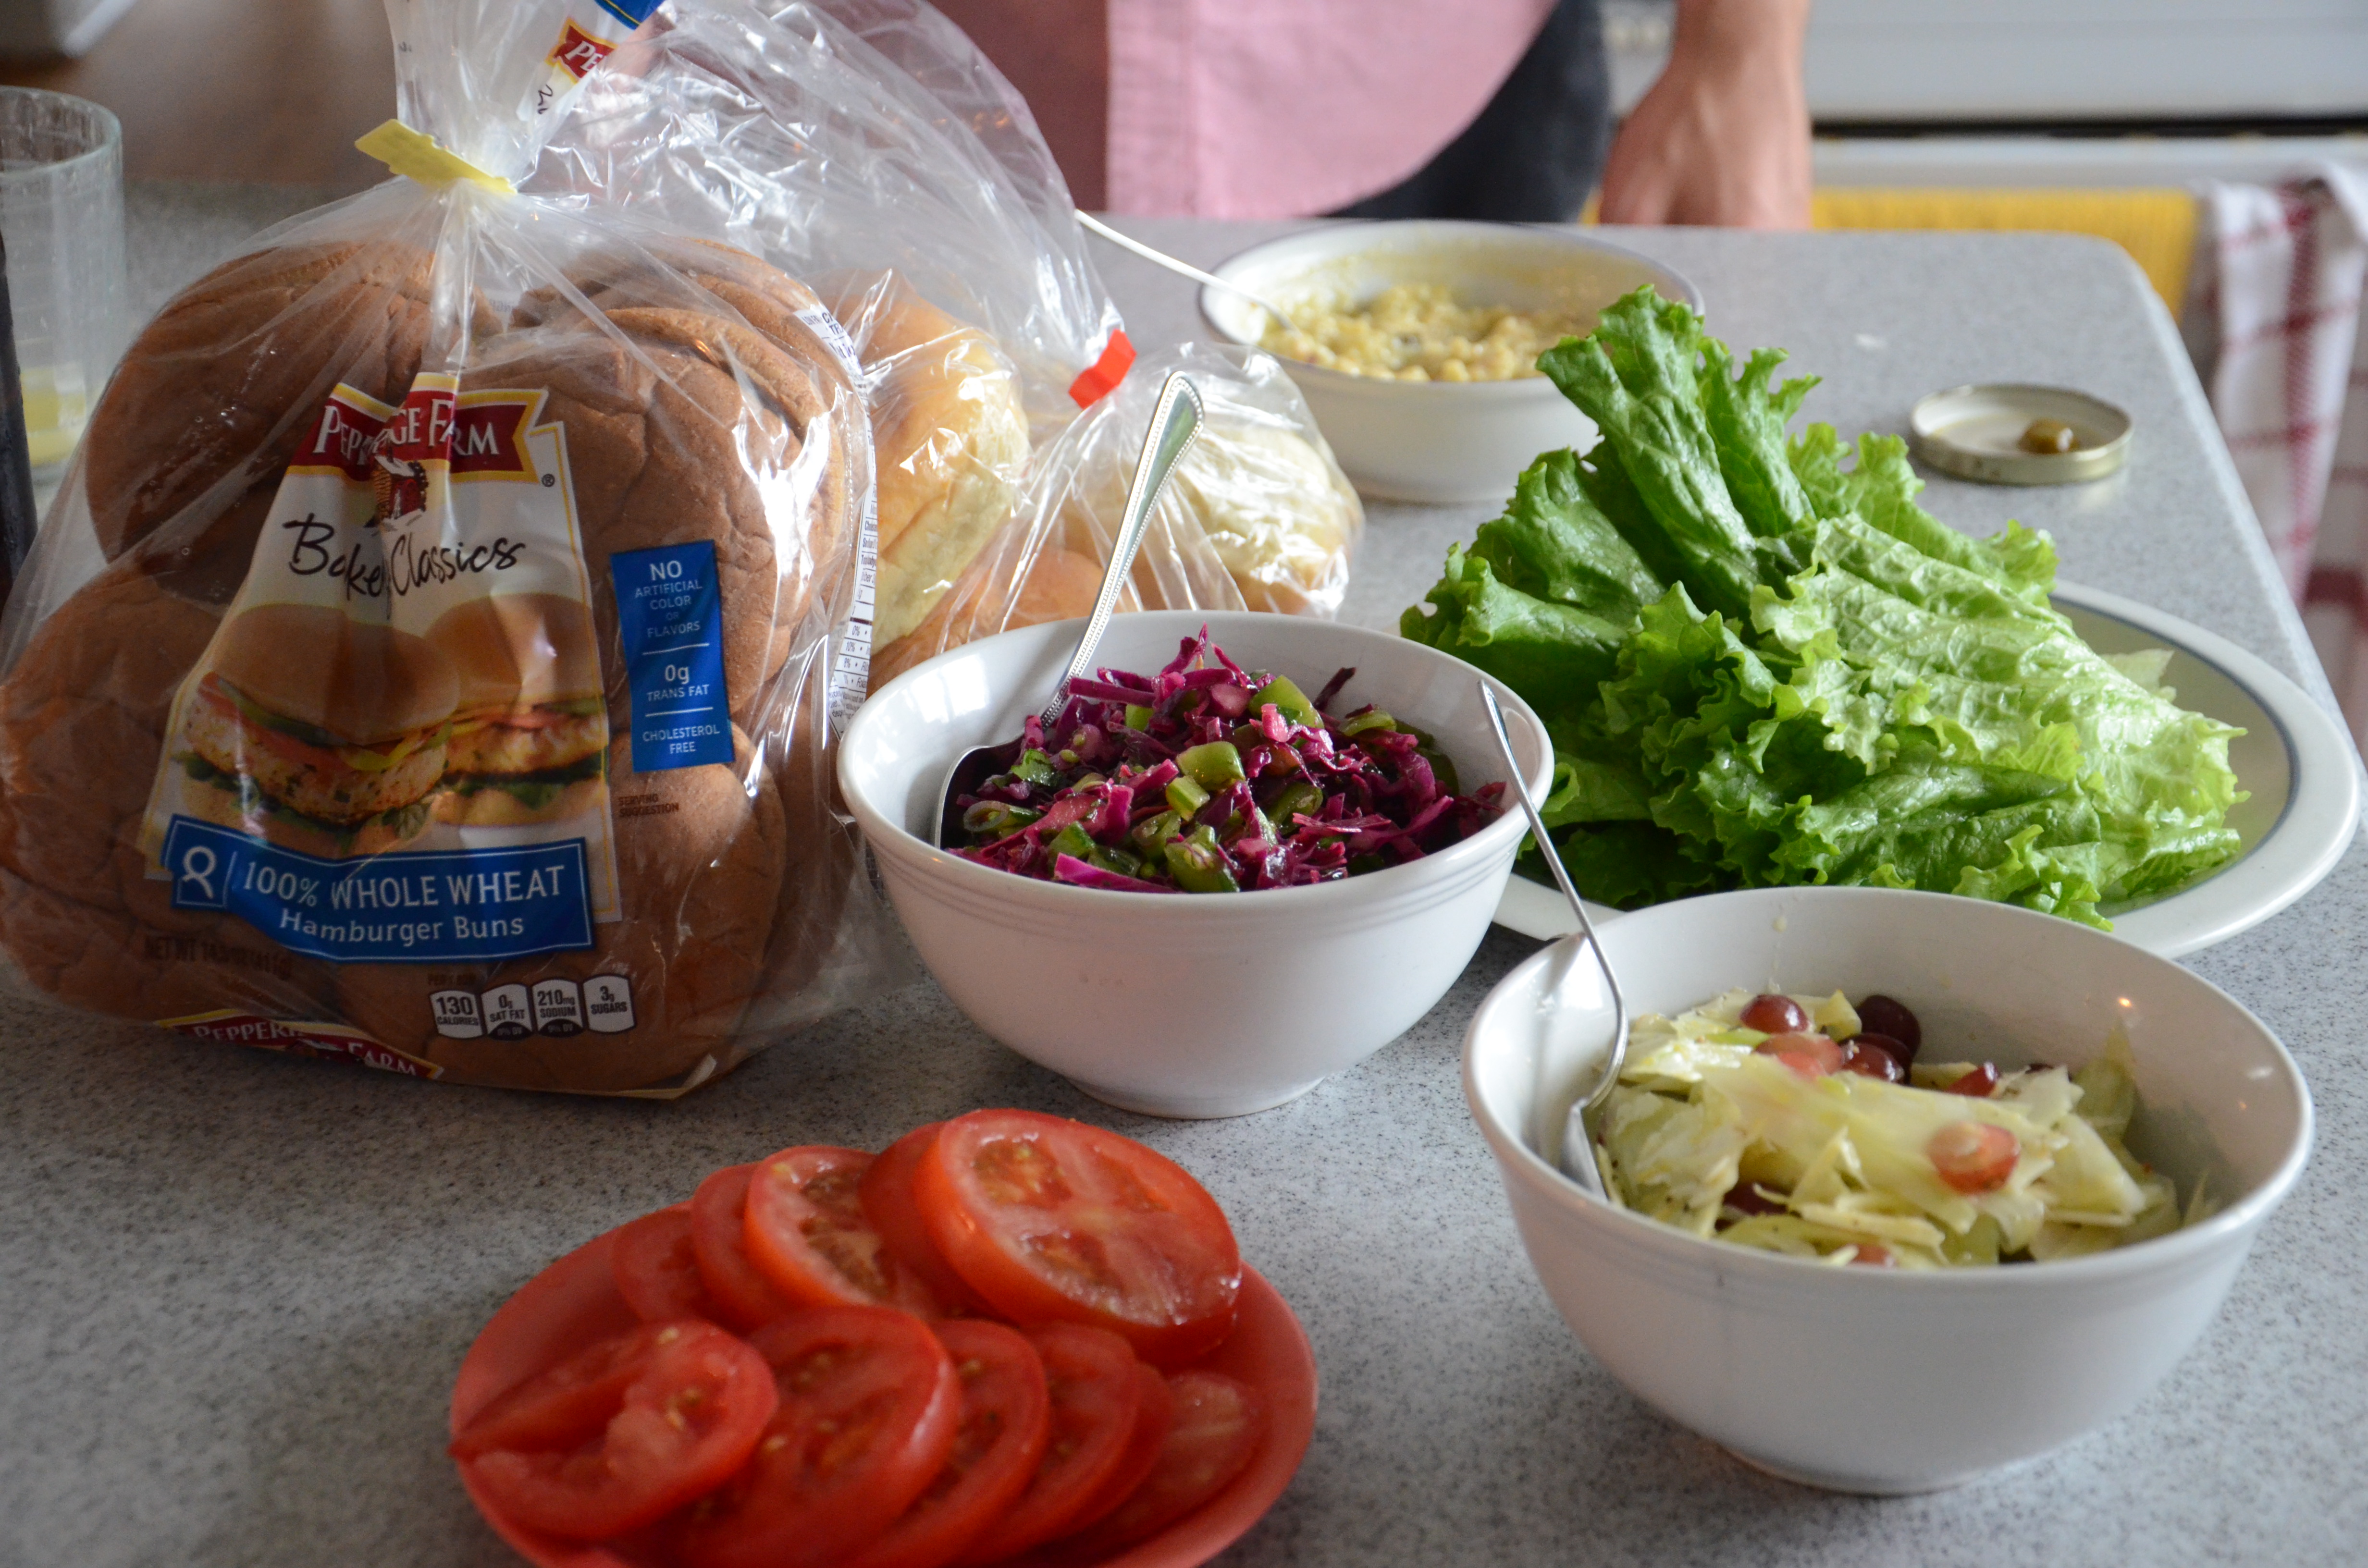
DSC_4770And the spread:
DSC_4765

Happy burger season!

DSC_4767

A vegetable melee

DSC_4676

This week’s CSA share

I came across the book Dinner: A Love Story last year when it was on display at my library as a new release. I loved the book’s story of the woman’s life and relationship with her husband and children described in the context of the different meals they cooked and ate, going from entertaining friends to surviving picky kids. While reading it, Jenny Rosenstrach kind of became my idol–I wanted to be like her and for my husband to be like hers, meaning that we would email back and forth to decide what to cook for dinner every day and then rush to make a commuter train that would allow time for making it. But my Matt will never love cooking as much as her Andy, and I’m OK with that. I’ll take his moderate interest in cooking and general willingness to try new things (as long as they don’t involve raw fruits, other than tomatoes and avocados).

I guess I didn’t realize that she maintained a current blog until this week, when it came up in my search results for escarole recipes. In this post, she shared my sentiments exactly. I don’t need to say anything more. I made her recipe almost exactly–I pared it down somewhat for using 1/2 of the block of tofu, and it still used almost the entire package of wontons. As that was more than my friend Kristen and I needed in one sitting, I froze some of the uncooked dumplings, like she said.

Getting ready to execute two tofu-eriffic recipes.

Getting ready to execute two tofu-eriffic recipes.

Fried Vegetable Dumplings
Adapted from Dinner a Love Story

1 tablespoon vegetable oil, plus more for frying
Dash of sesame oil
3 scallions, chopped
3/4 teaspoon fresh ginger, peeled and minced
1 clove garlic, minced

1/8 tsp Chinese Five Spice
a shake of red pepper flakes
3/4 a large bunch fresh escarole greens, chopped (or any other greens you don’t like)
1/2 block extra firm tofu, pressed and drained on paper towels for about 15 minutes, and sliced into rectangles)
a few chives, supplemented by a few extra scallions, roughly chopped
a few tablespoons fresh cilantro, roughly chopped
2 tablespoons soy sauce
3 tsp seasoned rice wine vinegar
Squeeze of lime
1 12-ounce pack of wonton wrappers

Add the oils to a large frying pan over medium heat and cook the scallions, ginger, garlic, red pepper flakes, and Chinese Five Spice for about 2 minutes. Add greens and cook for a minute or two until all leaves are slightly wilted.

Transfer the filling to the bowl of a large food processor. Add remaining ingredients (except wrappers) and pulse until everything is roughly chopped.
DSC_4690
DSC_4699
DSC_4708

Get ready to wrap: Set up a small bowl of water, the filling, your wontons, and a platter of some kind for transferring over to the frying pan.

Dip your fingers in the water and drag around the edges of a wonton. Spoon a small amount of the filling into the center of each wonton.

Putting Kristen to work.

Putting Kristen to work.

Fold in half to make a triangle shape. Pinch all sides together; smush their centers slightly so they’ll lay flat in the frying pan–we forgot this step and it made for some rawer wonton edges.
DSC_4726

Once all the dumplings are assembled (or, once a few are and you are too hungry to wait any longer) add a tablespoon vegetable oil to a large skillet set over medium-high heat. Fry in batches adding more oil as needed, until dumplings are crispy and golden, about 2 minutes on each side.
DSC_4714
DSC_4716
DSC_4717

Chow down.

Chow down.

Serve with soy sauce.

I happen to pick out another recipe this week that had similar ingredients. I halved the recipe so I could get away with the one block of tofu total for both.

Three-Herb and Tofu Lettuce Wraps with Soy-Honey Dipping Sauce
Adapted from Tasting Table Test Kitchen Recipe
Serves 2

Wraps:
1/2 one 14-ounce block extra-firm tofu, drained
2 scallions, ends removed and white and green parts thinly sliced
1 teaspoon grapeseed or canola oil, divided if necessary
a couple of garlic cloves, to taste (we did 2) finely chopped
1-inch piece fresh ginger (about 1 tablespoon), peeled and grated or finely shopped (this is easiest to do from frozen)
1/2 jalapeño chile, seeds scraped according to your spice toleration, and finely chopped
1/2 teaspoon kosher salt
most of the juice from ½ lime

4 separated whole leaves from Boston, Bibb or Butter lettuce
1/4 cup fresh basil leaves (preferably Thai basil)
1/4 cup fresh cilantro leaves
1/4 cup fresh mint leaves
2 Tablespoons peanuts,
roughly chopped

Dipping Sauce:
3 teaspoons low-sodium soy sauce
Juice of 1/2 lime
2 teaspoons honey
1 teaspoons mirin rice wine
(Chinese cooking wine)
1/4 teaspoon chile-garlic sauce

DSC_4687

Slice tofu horizontally into a few rectangles so that it can drain thoroughly on 3 layers of paper towels (or a kitchen towel). Press with additional paper towels (or a kitchen towel).

Crumble the tofu into a colander and use more paper towels (or a kitchen towel) to press the tofu, extracting even more liquid, until the tofu is finely crumbled and feels fairly dry. Add the sliced scallions to the tofu and toss to combine.
DSC_4695

Prepare large nonstick skillet, set over medium-high heat with oil. For this recipe, all of the tofu will fit in one layer in a large nonstick skillet–if doing the full recipe or with a smaller skillet, cook the tofu-scallion mixture in batches.

Cook without stirring until the tofu is browned, 3 to 4 minutes. Stir and continue to cook until the tofu browns a little more. The tofu and scallions take on a very unique crunch texture.
DSC_4731

With all of the cooked tofu in the skillet, make a well in the center add the garlic, ginger, jalapeño and salt.

DSC_4704

DSC_4703DSC_4727

Once the mixture starts to sizzle, after about 10 seconds, stir it into the surrounding tofu and cook until the tofu mixture is fragrant, stirring often, for about 1 minute. Transfer the mixture into a medium bowl, stir in the lime juice and set aside.

Make the dipping sauce: In a medium bowl, whisk together the soy sauce, lime juice, honey, mirin and chile-garlic sauce. Adjust to taste for more spice or more sweet.

Assemble the wraps: Set two lettuce leaves on each plate. Divide basil, cilantro and mint leaves among lettuce leaves, topping with sautéed tofu and peanuts, and drizzle sauce over the top.
DSC_4736
DSC_4738
DSC_4744

Messy and delicious.

My utensil holder runneth over

It is easy to accumulate a lot of stuff. In the mindset of “more is better” one discovers the truth that all the extras don’t necessarily add anything to life. Don’t get me wrong, I love The Container Store, but the irony isn’t lost on me that it is a store full of stuff to hold your stuff. Life would be simpler with less.  For example, sometimes I wish we could own just one set of bed sheets that gets washed and put right back on the bed so I don’t have to struggle to figure out how to fold a darn fitted sheet!  Also, they say that when you have a lot of clothing you seem to never wear, turn the hangers the opposite way until you wear them once, and if there are hangers still turned after a few months, donate those clothes.
This is what gave me the idea to assess the kitchen utensils we own in a similar way. Take a look at the number of spatulas we have.
DSC_4507
How many do we really need?

On Friday night, my husband and I hosted a pre-event cocktail party for his fire department company. Upwards of 30 people were expected. If there is any occasion you put a lot of kitchen equipment to work, it is for this type of cooking event.  Yet I don’t know that we actually used that many different things.  We did confirm a suspicion that what we could benefit from more serving platters.

Here are a few pictures of the food.

Beef and gorgonzola on crostini, served on a platter borrowed from my generous mother-in-law!

Beef and gorgonzola on crostini, served on a platter borrowed from my generous mother-in-law!

DSC_4671

Two types of phyllo triangles, courtesy of Smitten Kitchen again: Spinach and Feta and Mushroom and Blue Cheese.

Polenta cakes with tomato bruschetta.

Polenta cakes with tomato bruschetta.


Now, I have put a piece of blue tape on each utensil of questionable worthiness. As soon as I use one, the tape comes off. I marked the calendar for 4 months from now.  Items with blue tape remaining are in serious danger of eviction!

A perfect complement

As you can imagine, sometimes my quest for using up food makes for an unusual diet.

For example, I started last Sunday’s dinner with a kale and fruit smoothie, followed by grilled steak with chimichurri sauce, and topped off with bacon peanut butter cookies for dessert. Yep, you read that correctly.

Of course, I can explain:  Awhile back I had preserved leftover kale by freezing it in an ice cube tray, and I still hadn’t used it up. I added frozen berries, banana, nonfat greek yogurt, and honey for my appetizer drink. I made chimichurri again because I had made cubes of leftover parsley and cilantro leaves in olive oil also saved in the freezer.
As for the cookies….well, somehow my package of bacon wasn’t being used enough. And I had come across the recipe again from Joy the Baker. I was curious. How were they? All I can say is WOW.

Let’s talk about something that makes sense together: eggs and greens.

DSC_4576

This is what fresh collard greens look like!

I’ll be experiencing an influx of greens in the coming weeks, so I’ll be sneaking them in wherever I can. This is a good thing, because it adds nutrition that I have probably been lacking lately.  Can we agree for a minute that bacon, in moderation, fits into a healthy lifestyle too? This is another easy and adaptable recipe.

DSC_4582

Baked Eggs with Southern-Style Greens and Polenta
adapted from a Whole Foods online recipe
Serves: 2

1/4 cup uncooked grits or polenta (coarse cornmeal)
3/4 cup water
1/8 teaspoon salt

1/2 tablespoon butter
2 slices bacon
1 bunch collard greens
, stemmed and roughly chopped
2 eggs

Stemming the greens is probably the most tedious part of this process. Here’s a quick hint to save time: fold the leaf in half over the stem so you only need to make one slice to remove it!
DSC_4586
DSC_4587
Preheat oven to 400°F. Arrange 2 large ramekins (at least 5 ounces) on a baking sheet, grease, and set aside.

I used the remains of a package of instant polenta, which requires only five minutes of stirring. If using packaged polenta, follow the package directions. All methods start with boiling the water and salt, whisking in the grains, and reducing the heat to low. If using cornmeal or grits, you’ll be stirring often for 10-15 minutes until thick and creamy.
DSC_4585
Remove pan from stovetop. Stir in butter and season with salt and pepper. This is the step where I could definitely see something like shredded cheddar cheese added, if you’re into that sort of thing 🙂

Divide grits among prepared ramekins.

DSC_4584
Cook bacon in a large skillet over medium heat, turning occasionally, until just crisp, 6 to 8 minutes. Transfer to a paper towel-lined plate to drain and cool. Roughly chop.

Pour most of the bacon grease out of the pan, leaving about 1 tablespoon. Add greens to skillet and cook, tossing often, until wilted and just tender, about 5 minutes. Stir in bacon and season with salt and pepper. Arrange greens on top of grits in ramekins.
DSC_4589

Crack an egg into the center of each ramekin and bake until whites are almost set, 15-20 minutes. Keep an eye on them or you’ll be sad like me and miss out on a runny yolk! Set aside to let cool briefly then serve.

Not quite how it was supposed to turn out, with a set egg. That is what happens when you run upstairs to change your clothes toward the end of the cook time!

Not quite how it was supposed to turn out, with a set egg. That is what happens when you run upstairs to change your clothes toward the end of the cook time!

Still enjoyable.

Still enjoyable.

And so it begins

This past week, I picked my first of 26 weekly shares of vegetables from Golden Earthworm Organic Farm.

I started this writing in this blog, in earnest, after my CSA farm share season had ended last year. But this regular supply of truly fresh, unique, and beautiful produce is a major source of inspiration for “Make Haste Not Waste.” Each week, I feel compelled to take advantage of every vegetable.

I knew that the beginning of the season meant that I would be faced with at least one thing I wasn’t excited about: radishes.

It’s not that I hate radishes — there are very few foods I truly hate — but they don’t do much for me. They are more likely to elicit “ehhhhhh” than “mmmmm.”

In advance, I started collecting every recipe I can across that used radishes in an interesting way: I have recipes for radish butter, chicken, arugula, and radish pizza, and sesame cucumber and radishes. My hunch was correct: radishes were included in this first share.

DSC_4568

The first time around, I went with a salad recipe that would utilize lettuce greens that were also included in the share and which have a shorter shelf life.

Radish Salad with Goat Cheese
adapted from Cooking Light, April 2013
2 servings

2 teaspoons white wine vinegar
1.5 teaspoons extra-virgin olive oil
3/4 – 1 teaspoon honey
– I like my salad dressing a little sweet, especially when dealing with the slightly spicy/bitter flavor of radish
1/8 teaspoon of salt
1 cup radishes, sliced lengthwise into 1/4-inch wedges, leaving on root and 1/2 inches of stem
1.5 teaspoons fresh oregano, chopped
2 cups mixed lettuce greens, or baby spinach
4 tablespoons goat cheese, crumbled
1/4 teaspoon black pepper, freshly ground, or to taste

Combine first 4 ingredients in a medium bowl, stirring well.
Add radishes and oregano; toss to coat.

Divide lettuce between 2 plates. Using a slotted spoon, top each plate with 1/2 cup radishes. Sprinkle each with 2 tablespoons cheese and 1/8 teaspoon pepper. Drizzle remaining dressing evenly over salads.

DSC_4573
You know what? I was fine with the radishes in this dish. The assertive flavors of oregano and vinegar stood out more. In fact, I think my reaction to eating this salad might have been closer to “mmmm” than “ehhh.”

Still, I’ll probably be keeping my eye out for a recipe that hides radishes in a cake 🙂

Make it quick and make it quality

Last week I let someone else do the meal planning for me. I complained that the recipes were a bit of a hassle, and the dishes didn’t even come out that well. But the result was a balanced plate of food. This week, I challenged myself to plan a satisfying meal that would come together fairly quickly. And I would do the shopping myself.

As you should know this is not my strength: I often end up spending more than an hour, somehow, bringing together a single dish. Yet the April issue of Cooking Light was jam-packed with recipes for 80 meals under 40 minutes, and I was inspired (not so inspired that I could resist substituting in a recipe that I know would add to my clock time…but at least I acknowledge my silly ways). The meal was assembled in one hour, with only a little grilling help from my husband. So here it is! Protein (yes, fish again), vegetable and starch.

Grilled Sea Bass with Tarragon Beurre Blanc
Raw Shaved Asparagus With Lemon Dressing
Rosemary-Garlic Roasted Potatoes

DSC_4500

Game plan: Prepare the potatoes and garlic; preheat the oven. If you’re going to use this ambitious asparagus recipe (simpler alternative from CL: Asparagus with Lemon and Pecorino), start shaving the stalks and do about half before you put the potatoes in the oven. Finish shaving the asparagus, then preheat the grill/grill pan for the fish. Make the sauce while grilling the fish.
DSC_4489

Raw Shaved Asparagus With Lemon Dressing
Adapted from Jonathan Waxman’s recipe in his cookbook Italian, My Way
DSC_4533Check out my signed copy! ———->
Serves: 4 to 6

¼ cup hazelnuts, toasted and crushed
1-1 1/2 pound asparagus, ideally from a local farm
Juice of 1 lemon
¼ cup extra-virgin olive oil
Sea salt and freshly ground black pepper to taste
1 tablespoon Parmesan cheese, grated

Directions
Toast the hazelnuts on a baking sheet for 5–8 minutes in a preheated 350° oven; cool and then crush in a towel using a rolling pin (which helps remove the skins).

Wash and snap the asparagus spears at their base, setting bases aside for another use. Upend a small bowl, place a spear on the flat bottom and, using a vegetable peeler, gently shave long thin slices.
DSC_4490
Eventually, I discovered that it was easier to do my first shaves with the asparagus pressed flat against the cutting board. Once it got thinned, I moved to the bowl. Be patient and forgive yourself if you can’t get all long, perfectly thick slices.

In a separate bowl, mix the lemon juice with the olive oil and add sea salt and black pepper. When the rest of the meal is ready, toss the dressing with the hazelnuts and asparagus. Serve with Parmesan sprinkled around.

Rosemary-Garlic Roasted Potatoes
Adapted from Cooking Light
Serves: 2

several large garlic cloves
1 tablespoons extra-virgin olive oil

14 ounces baby potatoes
1-2 small thyme sprigs
2 rosemary sprigs
1/4 teaspoon kosher or ground sea salt, divided (or to taste)
1/8 teaspoon freshly ground black pepper (or to taste)
1 tablespoon fresh flat-leaf parsley, chopped, if you have it

Directions
Preheat oven to 450°. If the potatoes are larger than fingerling potatoes, cut in halves or quarters. Smaller potatoes can be kept whole, but medium sized ones benefit from more surface area for crisping!

Place unpeeled garlic cloves, olive oil, potatoes, thyme sprigs, and rosemary sprigs in a large bowl; toss to coat. Arrange potato mixture on a foil-lined cookie sheet. Sprinkle evenly with salt and pepper. Bake at 425-450° for 25 minutes, stirring halfway and then checking for doneness toward the end of cooking time. Squeeze roasted garlic cloves out of their skin and return to potato mixture. Sprinkle with 1/8 teaspoon kosher salt and parsley.
DSC_4498

Grilled Sea Bass with Tarragon Beurre Blanc
Adapted from Cooking Light again
Serves: 2

Sauce:
1/3 cup dry white wine

2 tablespoons shallots, chopped
1/4 teaspoon whole black peppercorns
1 large tarragon sprig
1.5 tablespoons butter
, cut into small pieces
1/2 teaspoon fresh tarragon, chopped

Fish:
2 (6-ounce) meaty white fish fillets, without skin — The recipe suggested halibut, but my grocery store didn’t have it. It also said cod or tilapia could be substituted (and would save money), but I couldn’t imagine how those would stand up so well to grilling, which I had my mind set on. The meatiest looking fish they had was the sea bass.
1/8 teaspoon kosher salt
1/8 teaspoon freshly ground black pepper
Cooking spray

Combine first 4 ingredients in a small heavy saucepan over medium-high heat; bring to a boil. Cook until liquid is reduced to 2 tablespoons. Remove from heat; strain through a fine sieve over a measuring cup, pressing mixture with the back of a spoon or spatula to release liquid.
DSC_4492
Discard solids. Return liquid to pan. Add butter, 1 piece at a time, stirring with a whisk until butter is incorporated. Stir in tarragon.

DSC_4495

Even at $19.95 a pound, I ended with a piece with a bunch of bones. Grrr.

Sprinkle fish evenly with salt and ground pepper. Heat a large grill pan over medium-high heat. Note: grill pans are great, but ours can be a beast to clean up. That’s why I like about the outdoor grill. It either doesn’t need cleaning…or maybe the grill fairy takes care of it?

Coat pan with cooking spray. Add fish to pan; cook 5 minutes on each side or until desired degree of doneness. Serve with sauce.

DSC_4502

There it is–the makings of a great meal!
DSC_4505

A taste of childhood

After eating some of the leftovers with my lunch at work on two occasions, I still had some of the rice and sweet potato in my fridge.

Then it dawned on me: make rice pudding. That’s what my dad would do.

My dad isn’t much of a cook, and never has been. He has gotten by the past 30 years, showering my mom with praises for her cooking, and cleaning up after meals. When my mom was was taking night seminary classes for a few years during my childhood, we mainly ate fast food.

But my dad has a sweet tooth to challenge the best of ’em.  This sweet tooth has been a motivating factor for him to dabble in the area of baking.  I remember him baking rice pudding quite regularly.  I think he secretly added extra rice to the pot during dinner prep so there would be enough left over! Because rice pudding can take a long time to bake, sometimes it would be still be baking well into my bedtime, intoxicating the house with its delicious scent.  Those were the nights my dad and I brushed our teeth twice.

My rice was made with a chicken broth substitute, so that savory aspect had to be dealt with. I hadn’t added too much salt and pepper to the dish as a whole, so that allowed for flexibility. I incorporated some other leftovers I had lying around — some of my raisins and cinnamon came from leftover rugelach filling (there always seems to be leftover filling, no matter what you’re making). I researched a few online versions of the recipe (like Paula Dean’s) and decided to follow one that involved some precooking of the custard on the stovetop, which meant that the pudding baked for around 30 minutes instead of an hour and a half.

Leftover Rice Pudding
adapted from Jolinda Hacket’s About.com post

2 Cups milk (I used a combination of 1/2 Cup half and half and 1.5 Cups skim milk)
1 cup leftover pre-cooked rice
(even one that had been cooked in broth with sweet potatoes a little salt added worked OK!)
2 eggs
1/4 cup+ granulated sugar
1/2 tsp vanilla extract
1/2 tsp cinnamon,
divided
1/3 cup raisins
dash of nutmeg

DSC_4470
Pre-heat oven to 350 degrees F.

In a medium saucepan, heat the milk and rice, stirring frequently so the milk doesn’t burn. Bring to a slow simmer. This takes at least 5 minutes.
DSC_4473
In a separate large bowl, combine the eggs, sugar, vanilla, raisins, and 1/4 tsp of cinnamon.
DSC_4472

Add egg mixture to the milk and rice and allow to cook for just a few minutes, stirring occasionally.

Pour into casserole or baking dish. Sprinkle remaining 1/4 tsp of cinnamon and dash of nutmeg on top of the custard.

DSC_4477

Not-so-evenly sprinkled cinnamon.

Bake for 20-30 minutes – 28 for my oven. If you can wait, allow to cool slightly before serving.

DSC_4485

Not too fancy, but comforting. Can be served hot or cold. But in case you’re wondering, my dad always eats it hot.

Hello fresh – hello leftovers!?

The business of meal home delivery service seems to be thriving. Public interest in food is ever-growing, and while that is often manifested by people eating out or watching others cook on TV, some are genuinely interested in getting their hands dirty. And sometimes they just don’t know where to start. This seems to have fueled the creation of a number of new companies that deliver hand-picked weekly recipes along with nearly all the required ingredients for several home-cooked meals.  Do you have trouble keeping your pantry, fridge and freezer consistently stocked? Have you discovered at times that you have four different types of bread but no protein? Overwhelmed by all the choices in the supermarket? Feel stumped by the 15 steps of instructions in a recipe? No worries, we have it all worked out for you.

I may not fall precisely within their target audience, as I do plan ahead for meals, I love grocery shopping, and I have binders and bookcases full of recipes to serve as starting points.  But listen to what they are promising – proper quantities of produce, meat, grains, etc. to create precisely 3 meals for precisely two people (or 4 people, or 6 people)  per meal – sounds efficient, right?  Fits right in with my philosophy, right? So, when the opportunity came to try HelloFresh at a discounted price (AmazonLocal deal), I decided it was my duty to give it a try.

DSC_4449

Special delivery!

DSC_4453

These plastic bags are solid–I tried and failed to rip them open by hand. Only scissors would do.

DSC_4451


My three meals were Sautéed Trout with Radicchio & Oranges, Beef and Noodle Soup in Soy Sauce Broth, and Creamy Penne with Edamame, Chicken and Crimini Mushrooms.  Since fresh fish spoils the fastest, I decided to start with that.

Sauteed Trout with Radicchio & Oranges
adapted from HelloFresh
Serves: more than 2!

2 trout fillets
Salt and peper

Radicchio & Oranges:
2 oranges
1 small head radicchio, thinly sliced
1 oz pecan halves, toasted
2 oz goat cheese
1 Tablesoon olive oil

Rice & Sweet Potato:
1 chicken stock cube and 2 Cups of water,
OR 2 Cups chicken stock
(would taste better)
1 Tablespoon olive oil
1 Cup basmati rice
Salt and pepper

Finish touches:
2 Tablespoons of chives, finely chopped

DSC_4456
Begin preparing the rice, before all the chopping: take 2 medium saucepans. In one, put the stock cube into a pot with 2 cups of water. Bring to a boil and dissolve the cube. Or, heat 2 cups chicken stock. Heat the second pan over medium-high heat and toast the pecans, shaking frequently, about 5 minutes until fragrant. This can also be done in a oven at 350 degrees, if watching very carefully. Remove pecans and chop when cool. Set aside.

Add 1 tablespoon of olive oil to the pan and add rice, cooking for 1 minute over medium heat. Add stock to the pan with the rice with a pinch of salt and bring to a boil. Lower the heat and cook, covered, for 5 minutes.
Meanwhile, get those sweet potatoes, radicchio and chives chopped.
DSC_4457


Doesn't it look like I have way more radicchio and chives than I need? Also, in their picture on the recipe, it all fit on one cutting board.. mine is running out of space!

Doesn’t it look like I have way more radicchio and chives than I need? Also, in their picture on the recipe, it all fit on one cutting board.. mine is running out of space!


After 5 minutes, add the chopped sweet potato to the rice and cook, covered, for 10 more minutes.
DSC_4459
Remove from heat and let sit for 5 minutes with the lid on.

Prepare the radicchio and orange: slice the ends (the poles) off of 1 orange. Carefully follow the curve of the fruit to cut away the peel and white pith. While holding the orange over a medium bowl, cut along both sides of each membrane to remove the segments into the bowl. Juice the other orange into the bowl. Add the radicchio, crumbled goat cheese, toasted chopped pecans, and 1 Tablesoon of olive oil. Season with salt and pepper.

Season the trout with salt and pepper. Heat 1 Tablespoon of olive oil in a large saute pan over medium-high heat. When hot, cook the trout, skin-side down, 3-4 minutes until golden brown. Don’t try to turn it early or disaster will ensue! Carefully flip and cook the other side for less than 3 minutes, until the trout is cooked through and flakes easily.

Do you see how much trout this is?

Do you see how much trout this is?

On the plate, either place the radicchio salad underneath or on top of the trout fillets (it is supposed to be trout THEN vegetables…whoops I, I misread that). Sprinkle with chives. Fluff the rice with a fork and serve on the side.

Looking back, I'm pretty embarrassed about the appearance of my chives in this picture. To be fair, later in the week I realized that my knife was in desperate need of honing (it makes a big difference) Also, this is what happens when you are rushing and trying to use only the corner of space left on the cutting board!

Looking back, I’m pretty embarrassed about the appearance of my chives in this picture. To be fair, later in the week I realized that my knife was in desperate need of honing (it makes a big difference) Also, this is what happens when you are rushing and trying to use only the corner of space left on the cutting board!

I prepared this dish on a time crunch, somewhat intentionally, because I thought that the prearrangement of ingredients would translate to speedier prep. Unfortunately, the chopping took quite some time. I had my plate of food ready in 45 minutes.

I love trout. I don’t love bitter radicchio, but it is more than tolerable with delicious goat cheese, sweet orange, and crunchy pecan–indeed, I have taken this approach before when radicchio appeared in my farm share. The rice was very blah and boring. It tasted like the salt and pepper I added to it–not impressive. I encourage creative additions….cumin, cinnamon, cayenne pepper perhaps? Not only did I have bland rice, but I had CUPS of leftover bland rice, after serving two people dinner! There was also radicchio salad a-plenty (of course, my husband doesn’t eat that).

Let’s evaluate HelloFresh overall. First of all, I have serious questions about their process for testing recipes. Every recipe I received was far from fool-proof. For example, the quantities of the ingredients they gave me for the Beef and Noodle Soup were way off. Though the recipe simply said to use “one thumb of ginger,” the hunk of ginger they provided was clearly too much for a recipe for two, so I guessed about a tablespoon and a half; also, there was almost no broth once everything was added together so I had to add water. Yet, even with my tweaks, the resulting dish had a pretty interesting and complex flavor, with the different components. The creamy pasta was delicious, though simple. Cooking the chicken was time-consuming — I would have been happy to have it as a vegetarian meal. As for value: the full price comes to about $11.50 per meal. I don’t think that is exorbitant, because quality meat and fish like this are expensive. It’s true, one would have a hard time finding a complete and filling meal made from such “fresh” ingredients at $11.50. However, it required me to do all of the work, and all the dishes too. Moreover, I was misled to believe that the food I was making would feed two people – no waste.

I’m encouraged by this idea of ingredients portioned for recipes. It looks like for now, though, I’m going to stick toI prefer shopping for myself and buying the quantities available in stores, and discovering creative ways to use everything up.

Hello Fresh Rating (sample size of 1, on a scale of 1-5):
Ordering: 4
Packaging: 3
Ingredients (freshness): 4
Recipe accuracy (quantities, ratios): 2
Instructions: 4
Recipe uniqueness: 4
Accuracy of portion sizing: 2
Taste: 3.5

Taking ramps and getting on the bandwagon

Have you heard the rage about ramps? Those bunches of mildly pungent spring onions that pop out for a short time, to the delight of foodies? It has been called a “Mania” by more than one source, with Eater and Grub Street tracking the appearance of ramps on restaurant menus. My interest was first piqued this spring 2013 either when I came across the ad for Ramp Fest in Hudson, NY (decided it would be wasteful to drive through NYC-area traffic, by myself, to partake), or when I saw Smitten Kitchen’s latest post. I had never cooked ramps, but I was pretty sure I had eaten them before, in a restaurant dish (apparently chefs hoard them).

DSC_4404

I learned that my friend Kelly is part of this cult. We were attending a mushroom-themed lecture and dinner, organized by our Cornell alma mater, when she brought up ramps, so I suppose that makes sense. She asked if I had had some yet this year. I lamented about western Long Island’s lack of good spring farmer’s markets, and told her I had not once seen them in ANY of my local grocery stores, but I didn’t feel the need to go out of my way when there are so many other vegetables to make use of. Then she offered to get me some, at the farmer’s market she walks by on her way to work at Columbia. Now was my chance! Who knows how long they will last?! I suggested we cook them together at her place that weekend.

Of course, I wanted to use the ramps at LEAST two ways. So here it goes.

Chimichurri Ramps Bread with Lemon Thyme Butter
discovered through Pinterest, on vegetarianadventures.com

Chimichurri:
1 bunch of ramps
(about 10 stalks)
1/4 cup olive oil
2 Tablespoons red wine vinegar
1/2 teaspoons salt
1/2 red pepper flakes
dash of pepper

For the bread:
1 cup warm water
2 teaspoons yeast
1 cup whole wheat flour

1 1/2 cup all purpose flour
1 Tablespoon olive oil
1/2 teaspoons salt

1/4 cup parmesan, shredded (apparently optional! Since we forgot to add it and it was still delicious)

For the butter:
6 Tablespoons butter
, softened
2 heaping teaspoons fresh thyme, minced
Half of a lemon’s worth of zest – wash lemon well to remove any wax

To make the bread: Combine the warm water and yeast in the large mixing bowl. Let sit for 5 minutes or until it becomes frothy. Add in the flours, salt, and olive oil and mix until combined. Knead dough in a stand mixer with hook attachment until smooth and elastic. If you don’t have a mixer, turn the dough onto a floured surface and knead by hand for ten minutes. If you are at Kelly and Kevin’s house, this floured surface is their cleaned off dining table. Hey, it worked! Transfer kneaded dough to an oiled bowl and cover with a clean dish towel. Let rise in a warm place for an hour.

While the bread is rising, make the butter: mash the lemon zest, softened butter, and thyme together. Depending on much your butter softened, wrap in parchment paper and place in the fridge until firm.

And make the chimmichurri: Rinse the ramps and cut off the roots and any rough tips. Slice into big chunks. Place all ingredients in a food processor (or blender) until a smooth paste forms. Taste for additional seasoning, and try not to eat it all right out of the container.
DSC_4407
Next, turn the dough out onto floured surface and roll into a rectangle, about 18 by 12 inches. Top with the chimichurri. At this point, you could add half of the shredded parmesan cheese too.
DSC_4410
Roll the long side of the dough towards you (jelly roll style, like you would for roulades or cinnamon rolls) and pinch the ends closed.
DSC_4416DSC_4413

This next instruction is a little messy: slice down the middle lengthwise, twist both pieces, and use the two parts to bread the bread by twirling around each other. (When I first saw this instruction, I pictured disaster. But with Kelly’s encouragement, I managed to keep most of the filling inside).
DSC_4427

Transfer to a greased baking sheet…

This whopper required four hands.

This whopper required four hands.

and let rise for another 30 minutes.  Preheat oven to 425.  Add the rest of the shredded Parmesan, and bake for roughly 25 minutes or until golden on top.
DSC_4441

Ramp Risotto
via NYMag.com
Serves: 4

5 tablespoons extra-virgin olive oil
4 ramps
1 small shallot
, finely chopped
Pinch of red-pepper flakes
1 cup arborio or other fancy risotto rice
1/2 cup dry white wine
4 cups chicken broth,
simmering in separate pot on stove
1 tablespoon unsalted butter
2 tablespoons Parmigiano-Reggiano cheese
, grated
Kosher salt to taste

In a wide, heavy-bottom saucepan, heat 3 tablespoons olive oil over medium-high heat. Finely chop ramp greens and stalks, reserving greens for later.

Kelly's husband Kevin working the slice.

Kelly’s husband Kevin working the slice.

DSC_4436

Add shallot, ramp stalks, and pepper flakes, and stir until the shallot is translucent, about two minutes.
DSC_4434
Add rice to pot and cook over medium heat for two minutes, stirring to coat rice with oil. Pour in 1/4 cup of the wine and boil until almost absorbed. Add 1/4 to 1/2 cup of hot broth at a time, stirring the rice constantly until almost all of the liquid is absorbed. Add another 1/4 cup of stock, the remaining wine, and a tablespoon of olive oil, continuing to stir.
DSC_4439
Add the ramp greens and more stock as needed and continue cooking and stirring until the risotto looks creamy but is still al dente, about 18 to 22 minutes.

Remove from heat and let the risotto stand for about 30 seconds. Add a drizzle of olive oil, butter, and cheese; stir until well combined. Season with salt.

What a ramptastic meal!

What a ramptastic meal!

In the end, I can understand the obsession with ramps. They are lovely. Their roots have a stronger flavor than leeks, more subtle than green onions, and more complex than yellow onions, with a slight flavor of garlic. And they are so easy to prepare! In spite of the fact that I have gotten pretty good at dicing onions, I don’t always enjoy the mess it makes with the little pieces going everywhere. The leaves wilt nicely too, retaining a bright green punch. If you like the idea of these recipes but can’t find ramps (surprise surprise) I will share Smitten Kitchen Deb’s suggestion of using a combination of green onions and a few spinach leaves, some pretty standard ingredients to have hanging around (or growing in a garden later in the summer). I’ll have to try this someday soon and let you know how it goes!

Kelly and me

Kelly and me

Keep Indefinitely

I bought red miso paste this weekend to use in a new recipe. Yes, this is another “specialty” ingredient that I anticipate using only occasionally. So why didn’t I resist the urge and skip this recipe?  Well, upon seeking out the item at Fairway, I found one brand, which came in a jar.  I inspected the label and read “Refrigerate and keep indefinitely.”  How perfect!

Plus, it was pretty interesting to open up the red miso container and see this message:

DSC_4381

Sounds good to me!


I know what I’ll be making next!

As a side note, this week is Earth Week, and I hope it caused you to pause for a moment here and there to think about how you can consume less and reduce waste. The newest step I am going to take is to purchase a rain barrel that will capture rainwater I will then use for my garden this summer.

Back to my “earthy” meal: I picked this unusual recipe merely because I had a head of fresh broccoli leftover. Anther head had been prepared via the simple and boring – yet still tasty – method of steaming, and served alongside pasta.

This was my first encounter with Bagna Càuda, and had I not looked into it further, I would have assumed it is always made with miso paste. But I learned that it is an Italian dish, specifically Pietmontese, made and served similarly to a fondue for dipping (Italian) vegetables like carrots, fennel, and artichokes. The name means “hot bath,” and usually involves olive oil, garlic, and anchovies, and sometimes incorporates butter or cream. It sounds comforting and delicious; why is this the first I’ve heard of it? Well for starters, perhaps I should have continued my subscription to Bon Appetit … Ironically, my reading loyalty has instead gone to Cooking Light .

I love the folks at Tasting Table, but their style of writing recipes in this particular series annoys me. They write that the recipe yields two servings, plus leftover bagna càuda that can be refrigerated for up to a month. But they don’t tell you how much bagna càuda to put on your two servings of broccoli, and how many servings you will have left over! The original bagna càuda subsection of this recipe called for 4 sticks of butter. Needless to say, I cut that down to one, and made sure that I had leftovers from that.

DSC_4380

Roasted Broccoli with Miso Bagna Càuda
adapted from TastingTable’s adaption of a recipe from Stephen Thorlton, sous chef at San Francisco’s State Bird Provisions
Serving size: at least 3 servings as a side-dish. It really depends on what you consider to count as one serving of a broccoli dish!

Broccoli:
~1 bunch broccoli, cut into florets – mine yielded 13.7 oz of florets
3 Tablespoon extra-virgin olive oil
1/4 teaspoon Kosher salt
1/8 teaspoon freshly ground black pepper
1/4 teaspoon dried red pepper flakes

Bagna Càuda:
1 stick unsalted butter
2 large garlic cloves
, finely chopped
3 ounces scallions, white and light green parts only, very finely chopped
1.333 Tablespoons red miso paste (I know, I know…)
2 Tablespoons extra-virgin olive oil

Finishing touches:
~1/2 Tablespoon lemon zest and ~1/2 Tablespoon orange zest, plus ~2 Tablespoons each freshly squeezed lemon and orange juice (or the zest and juice of 1/2 Meyer lemon, if you have that)
2 Tablespoons Parmesan cheese, finely grated
2 Tablespoons toasted panko or bread crumbs (optional)

Make the broccoli: Place a baking sheet in the oven and preheat the oven to 475°. This is when a little alarm goes off in my head to turn on the hood van in the kitchen, and/or open some windows. 9 times out of 10 that I use my oven at more than 400°, and especially when the broiler is involved, you can expect the smoke alarm to go off. Then it’s off to the dining area with a chair and a towel, waving frantically in the air while attempting to simultaneously plug at least one of my ears. I hope I’m not the only one.
DSC_4377
To a large mixing bowl, add and mix together the first 5 ingredients (through red pepper). Carefully remove the baking sheet from the oven (mine was in the oven for about 10 minuets) and add the broccoli to the baking sheet, shaking the pan to evenly distribute. Return to the oven and roast until the broccoli is charred and tender, 5 to 7 minutes.
DSC_4384Transfer broccoli from baking sheet back into the mixing bowl. Add panko to baking sheet, and place in oven, which has been turned OFF, for about 5 minutes until toasted. The leftover heat should be enough.

Make the bagna càuda: To a large saucepan set over medium heat, add the butter. Once the butter begins to melt, add the garlic and scallions. Whisk to combine. Once the garlic is very fragrant and lightly toasted, after about 5 minutes, turn the heat down to very low or off and whisk in the red miso paste. I read elsewhere that miso paste has a very bitter taste if burned, so it is important to avoid a high boil.

While whisking, drizzle in 2 heaping tablespoons of extra-virgin olive oil.

Transfer broccoli to serving bowl, or individual plates. Spoon the bagna càuda over the broccoli. Serve sprinkled with the zest and juice, grated Parmesan cheese, and toasted breadcrumbs (if using).

I served mine with half a pulled pork sandwich with Dinosaur Barbecue sauce, the leftovers from Matt’s Sunday session with our smoker.
DSC_4388