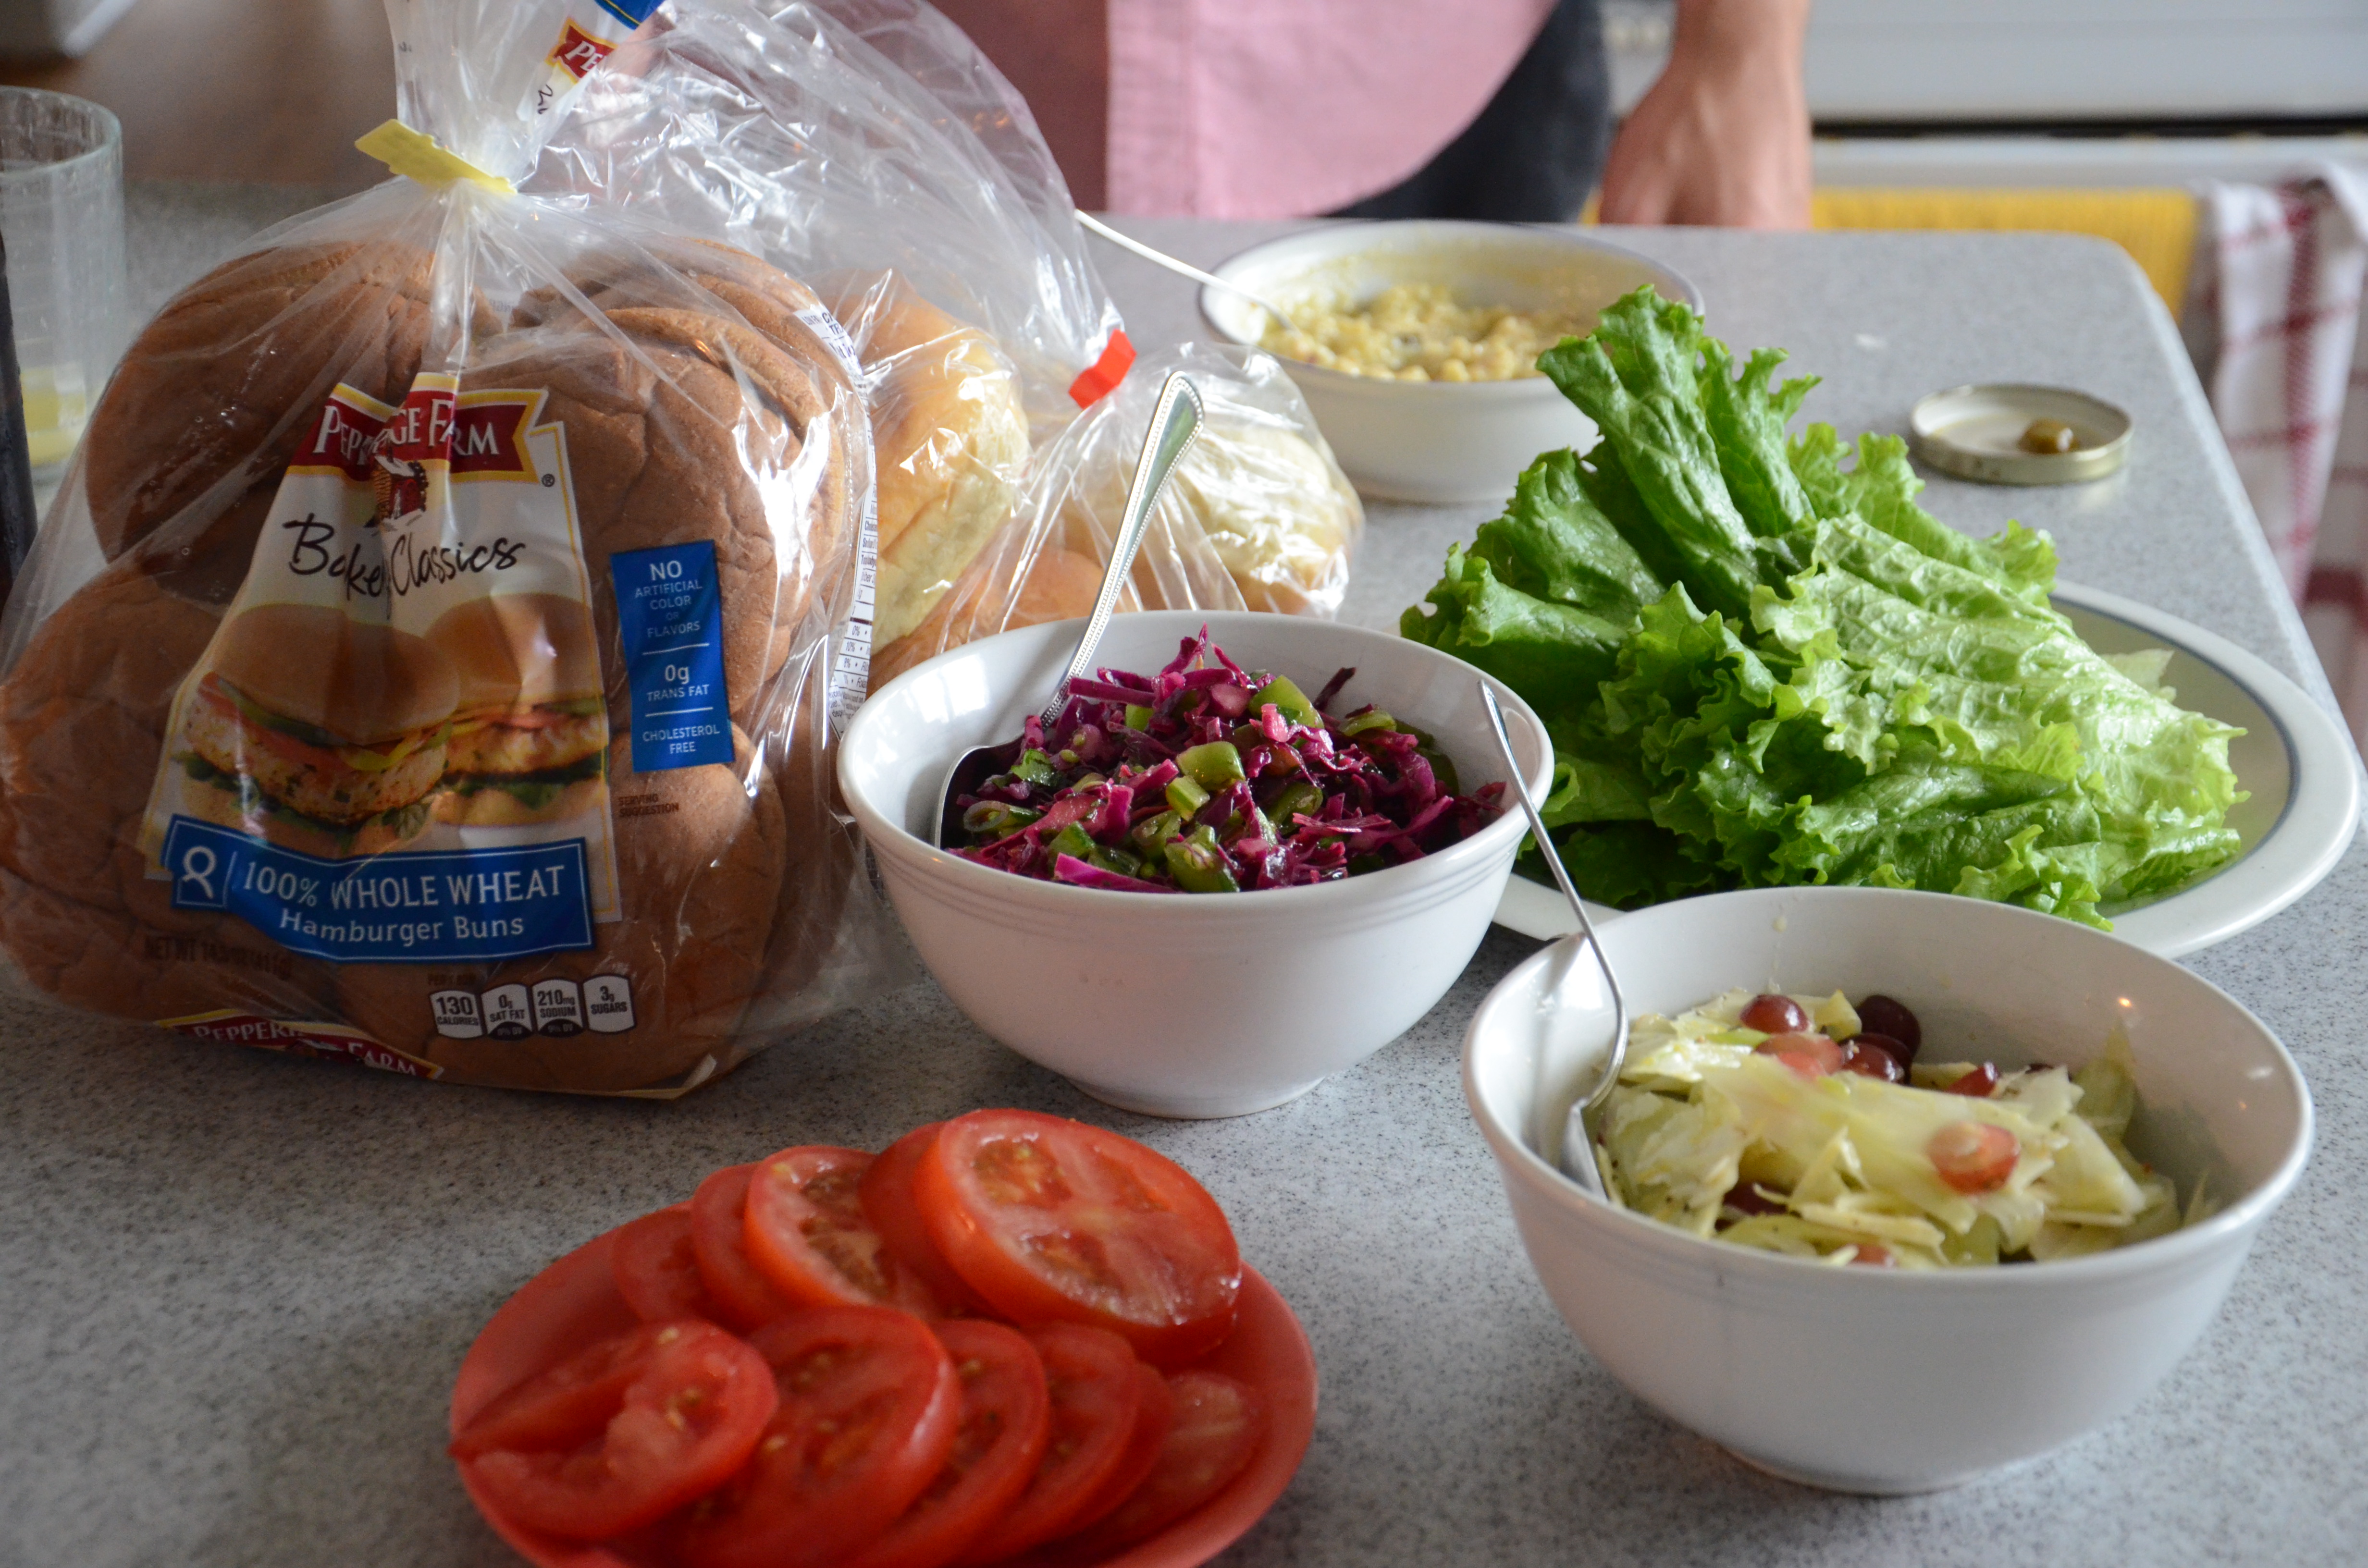
Among the other ingredients I had lying around was red cabbage. A portion of the red cabbage had been dressed with lime juice and olive oil for slaw for fish tacos earlier in the week, but that barely made a dent. How is it that such a small-looking head of cabbage can make SO MANY shredded cups?

The simply dressed slaw wasn’t doing it for me. I needed to bump it up a notch. And I was already pickling something, so I didn’t want to go that route. Little did I know that a raspberry vinaigrette would do so well!
Here’s my inspiration: Red Cabbage Salad with Green Apple, Lingonberry Preserves, and Toasted Walnuts. Old Viki might say, aw man, I don’t have lingonberry, do I have to go out and buy those to make this recipe?
New Viki says, hmm, I have all this raspberry jam I just made with the berries from my proliferating raspberry bush, could that work?
The answer is, of course. It works wonderfully.
Red Cabbage Salad with Raspberry Vinaigrette, Green Apple and Toasted Walnuts
Adapted from Epicurious/Bon Appetit again
Servings: 4
3 Tablespoons raspberry jam or preserve, preferably seedless but oh well
1 Tablespoon Dijon mustard
2 teaspoons red wine vinegar
1 teaspoon of lemon/lime juice, or just more red wine vinegar
1/3-1/2 Cup canola oil
1 unpeeled Granny Smith apple, cored and coarsely grated
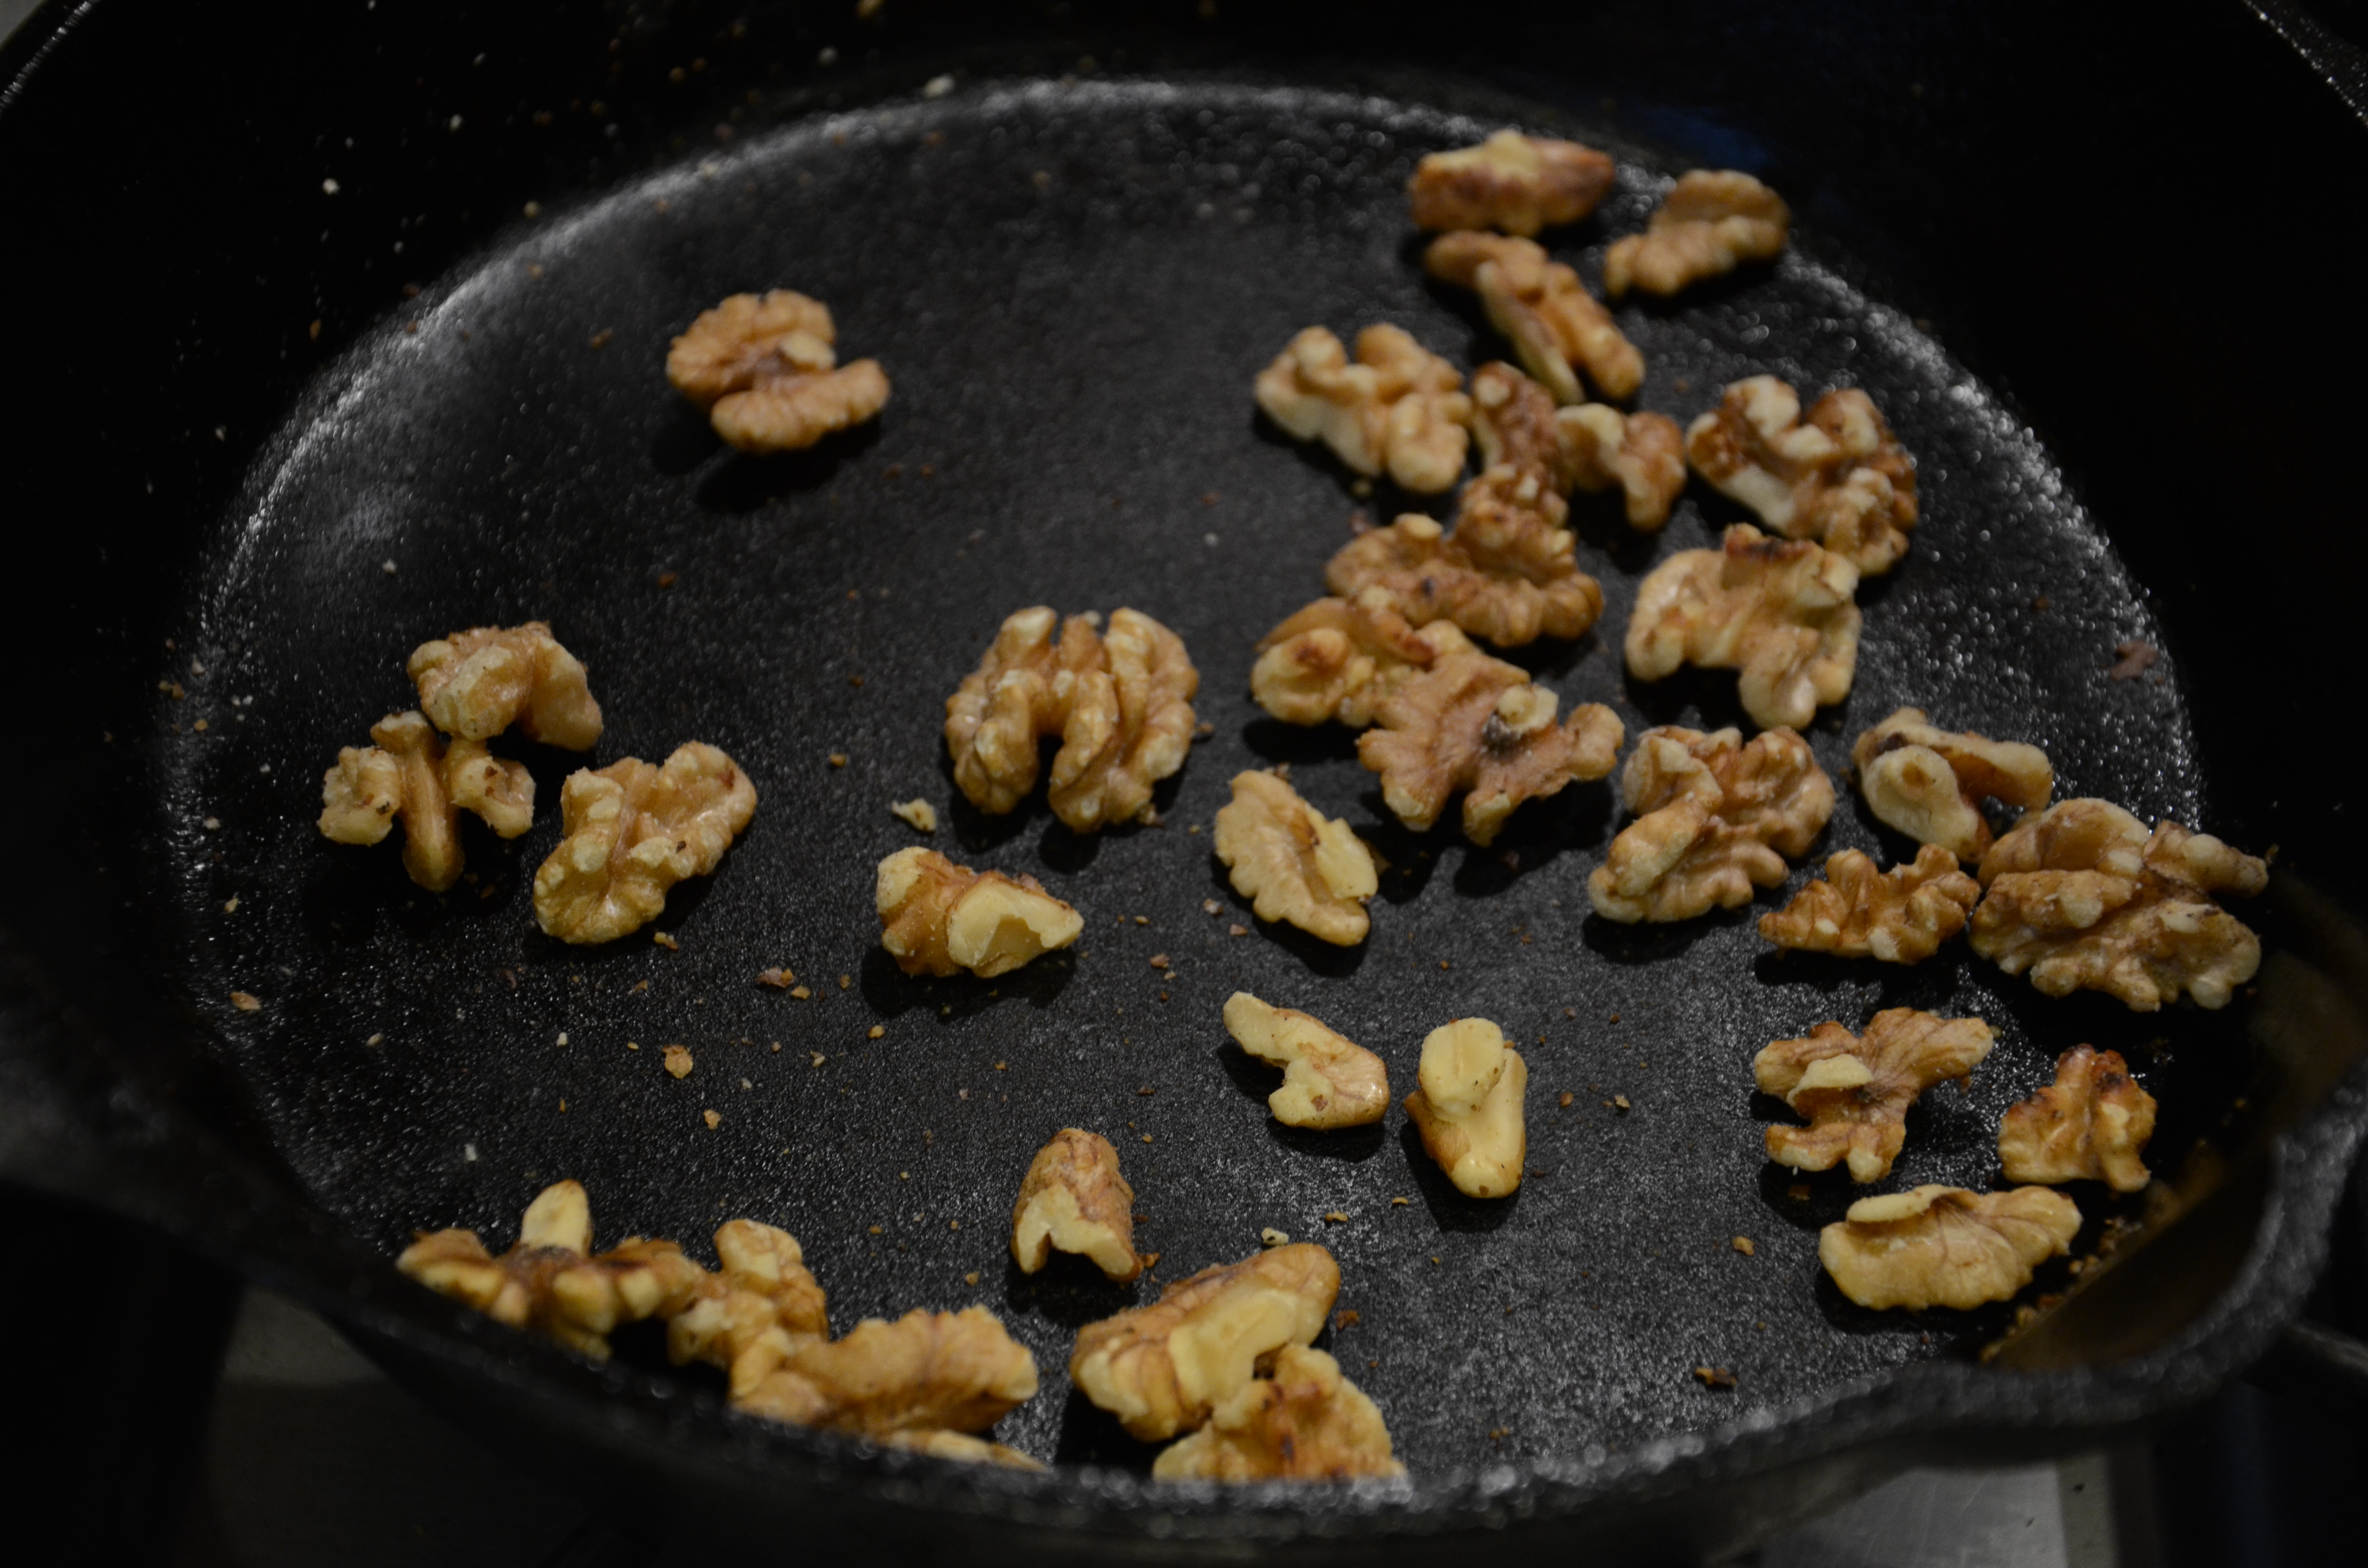
1/2 cup walnut halves, toasted
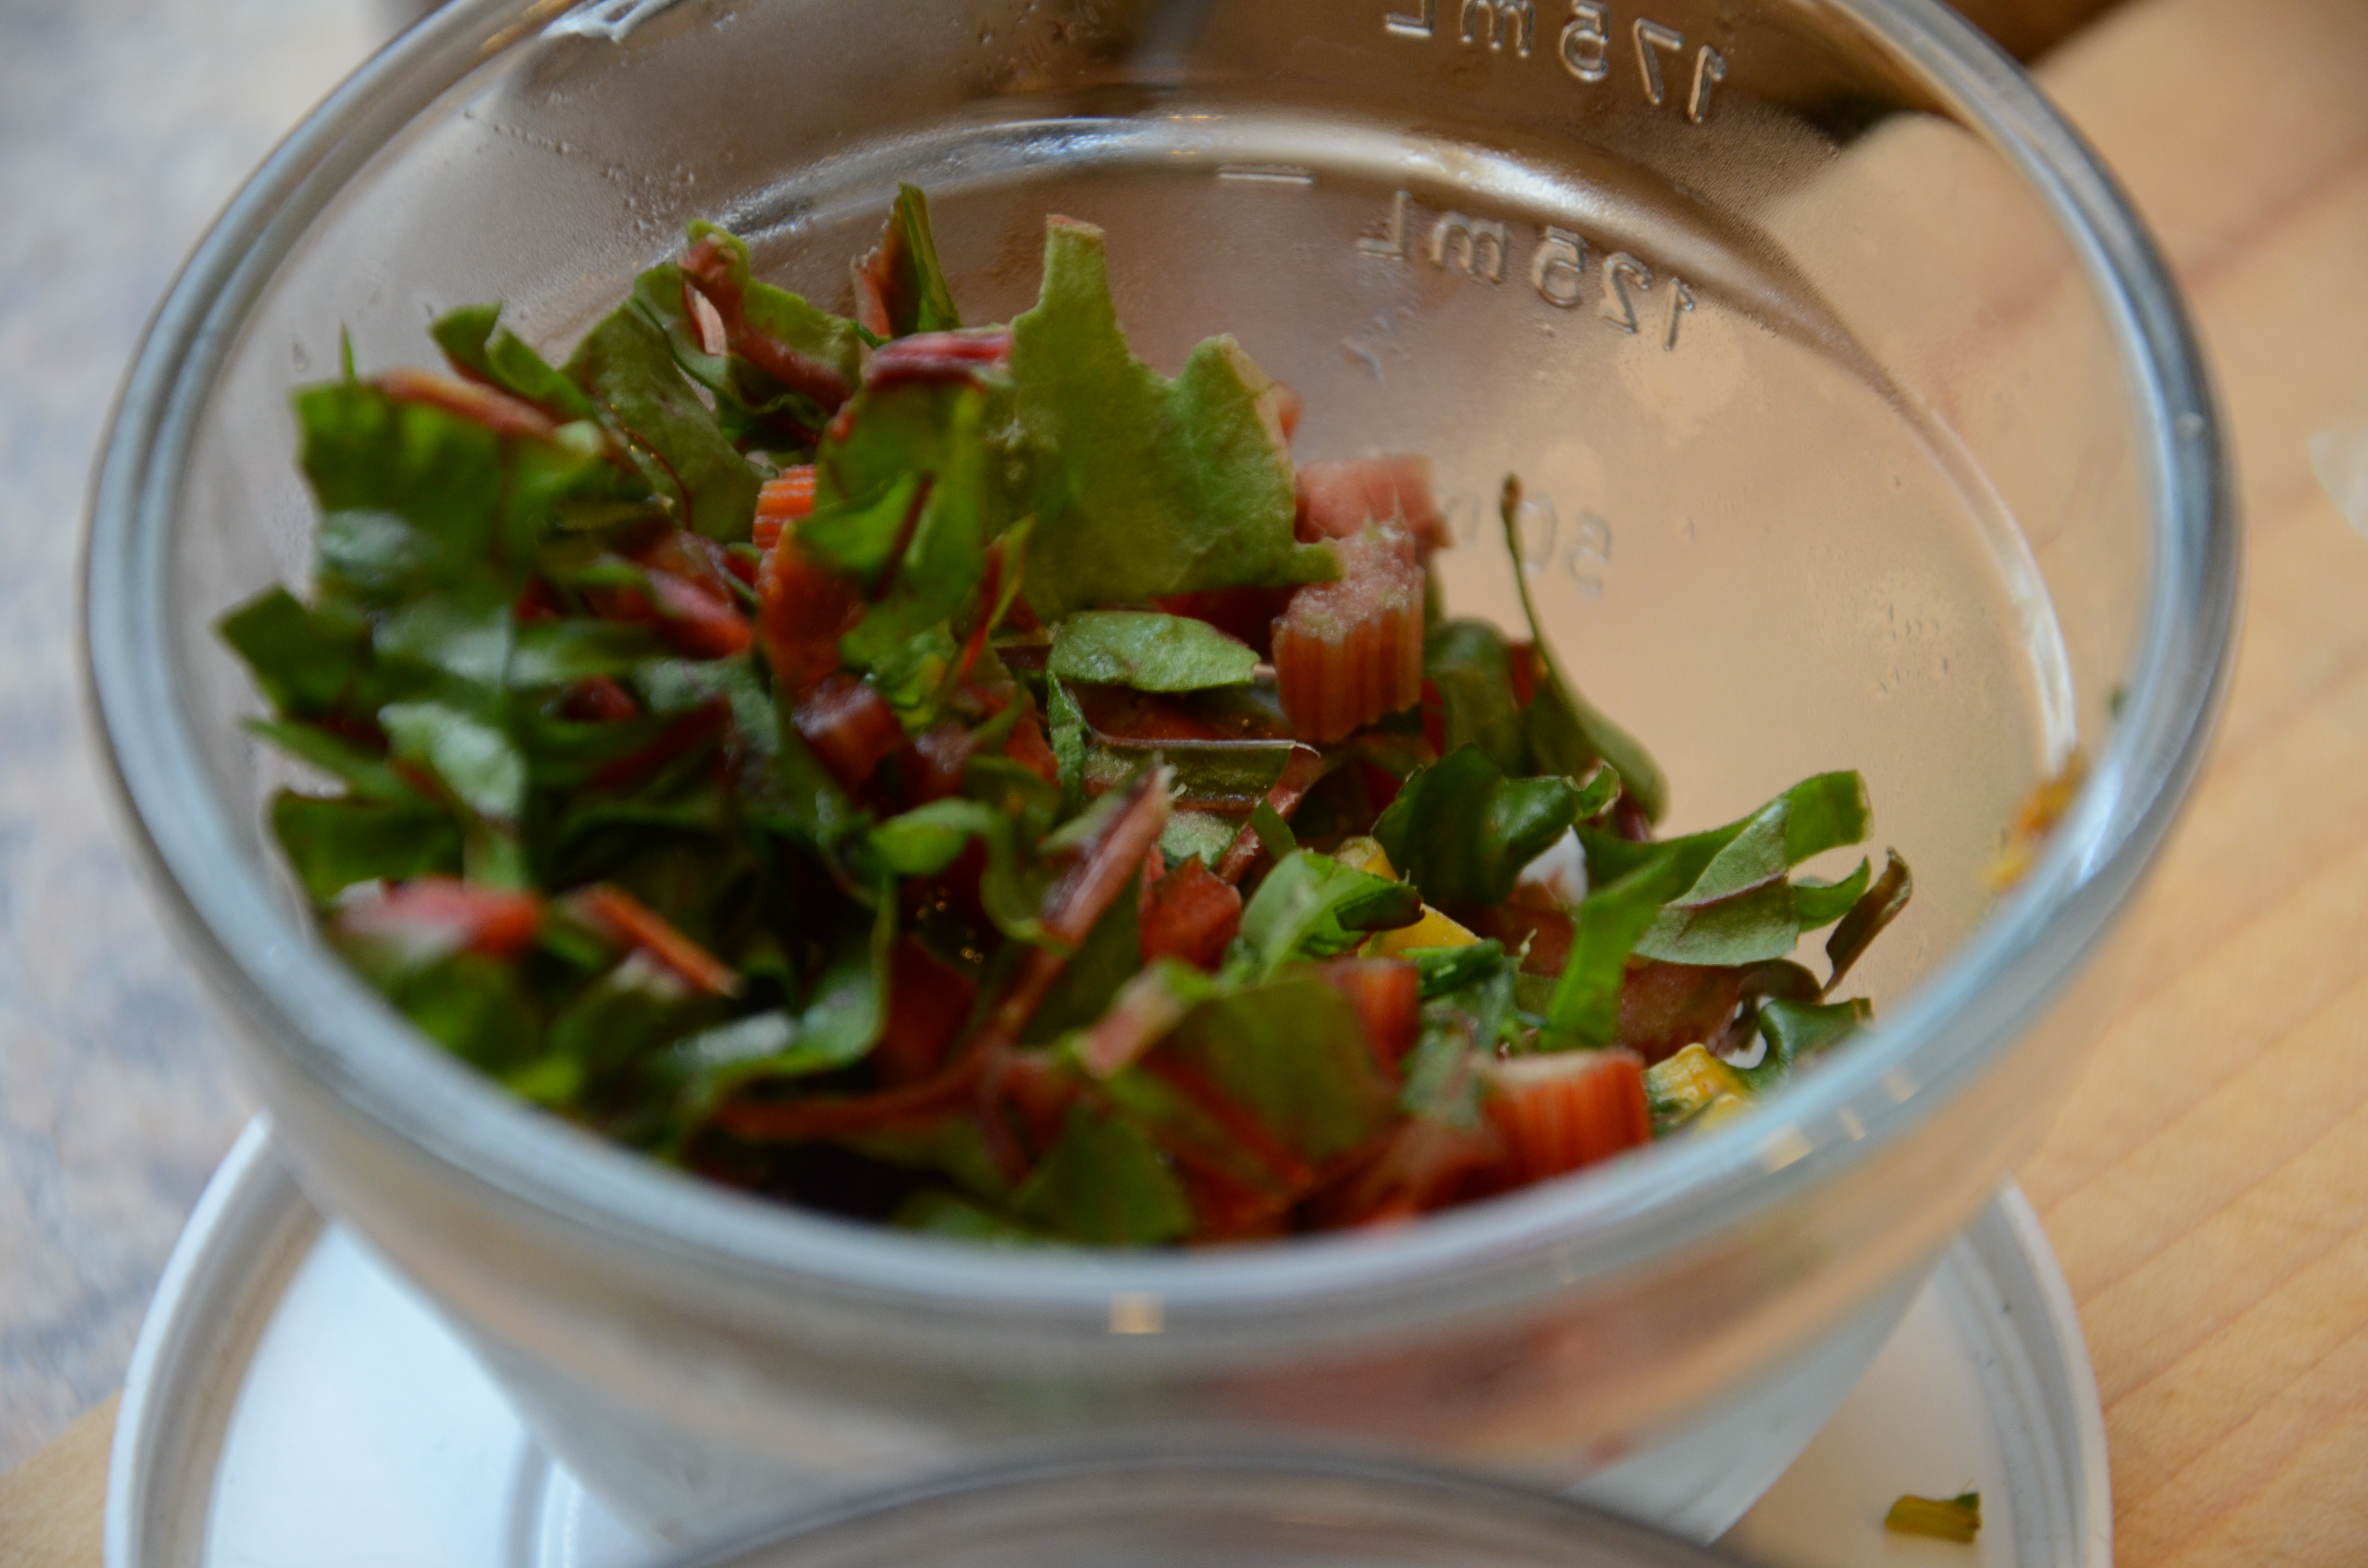
4 cups thinly sliced red cabbage
To slice cabbage, first cut the head into quarters and then slice out the white core.
Toast the walnuts in the oven, on the stove, or in the microwave – be careful not to burn them like I always do.
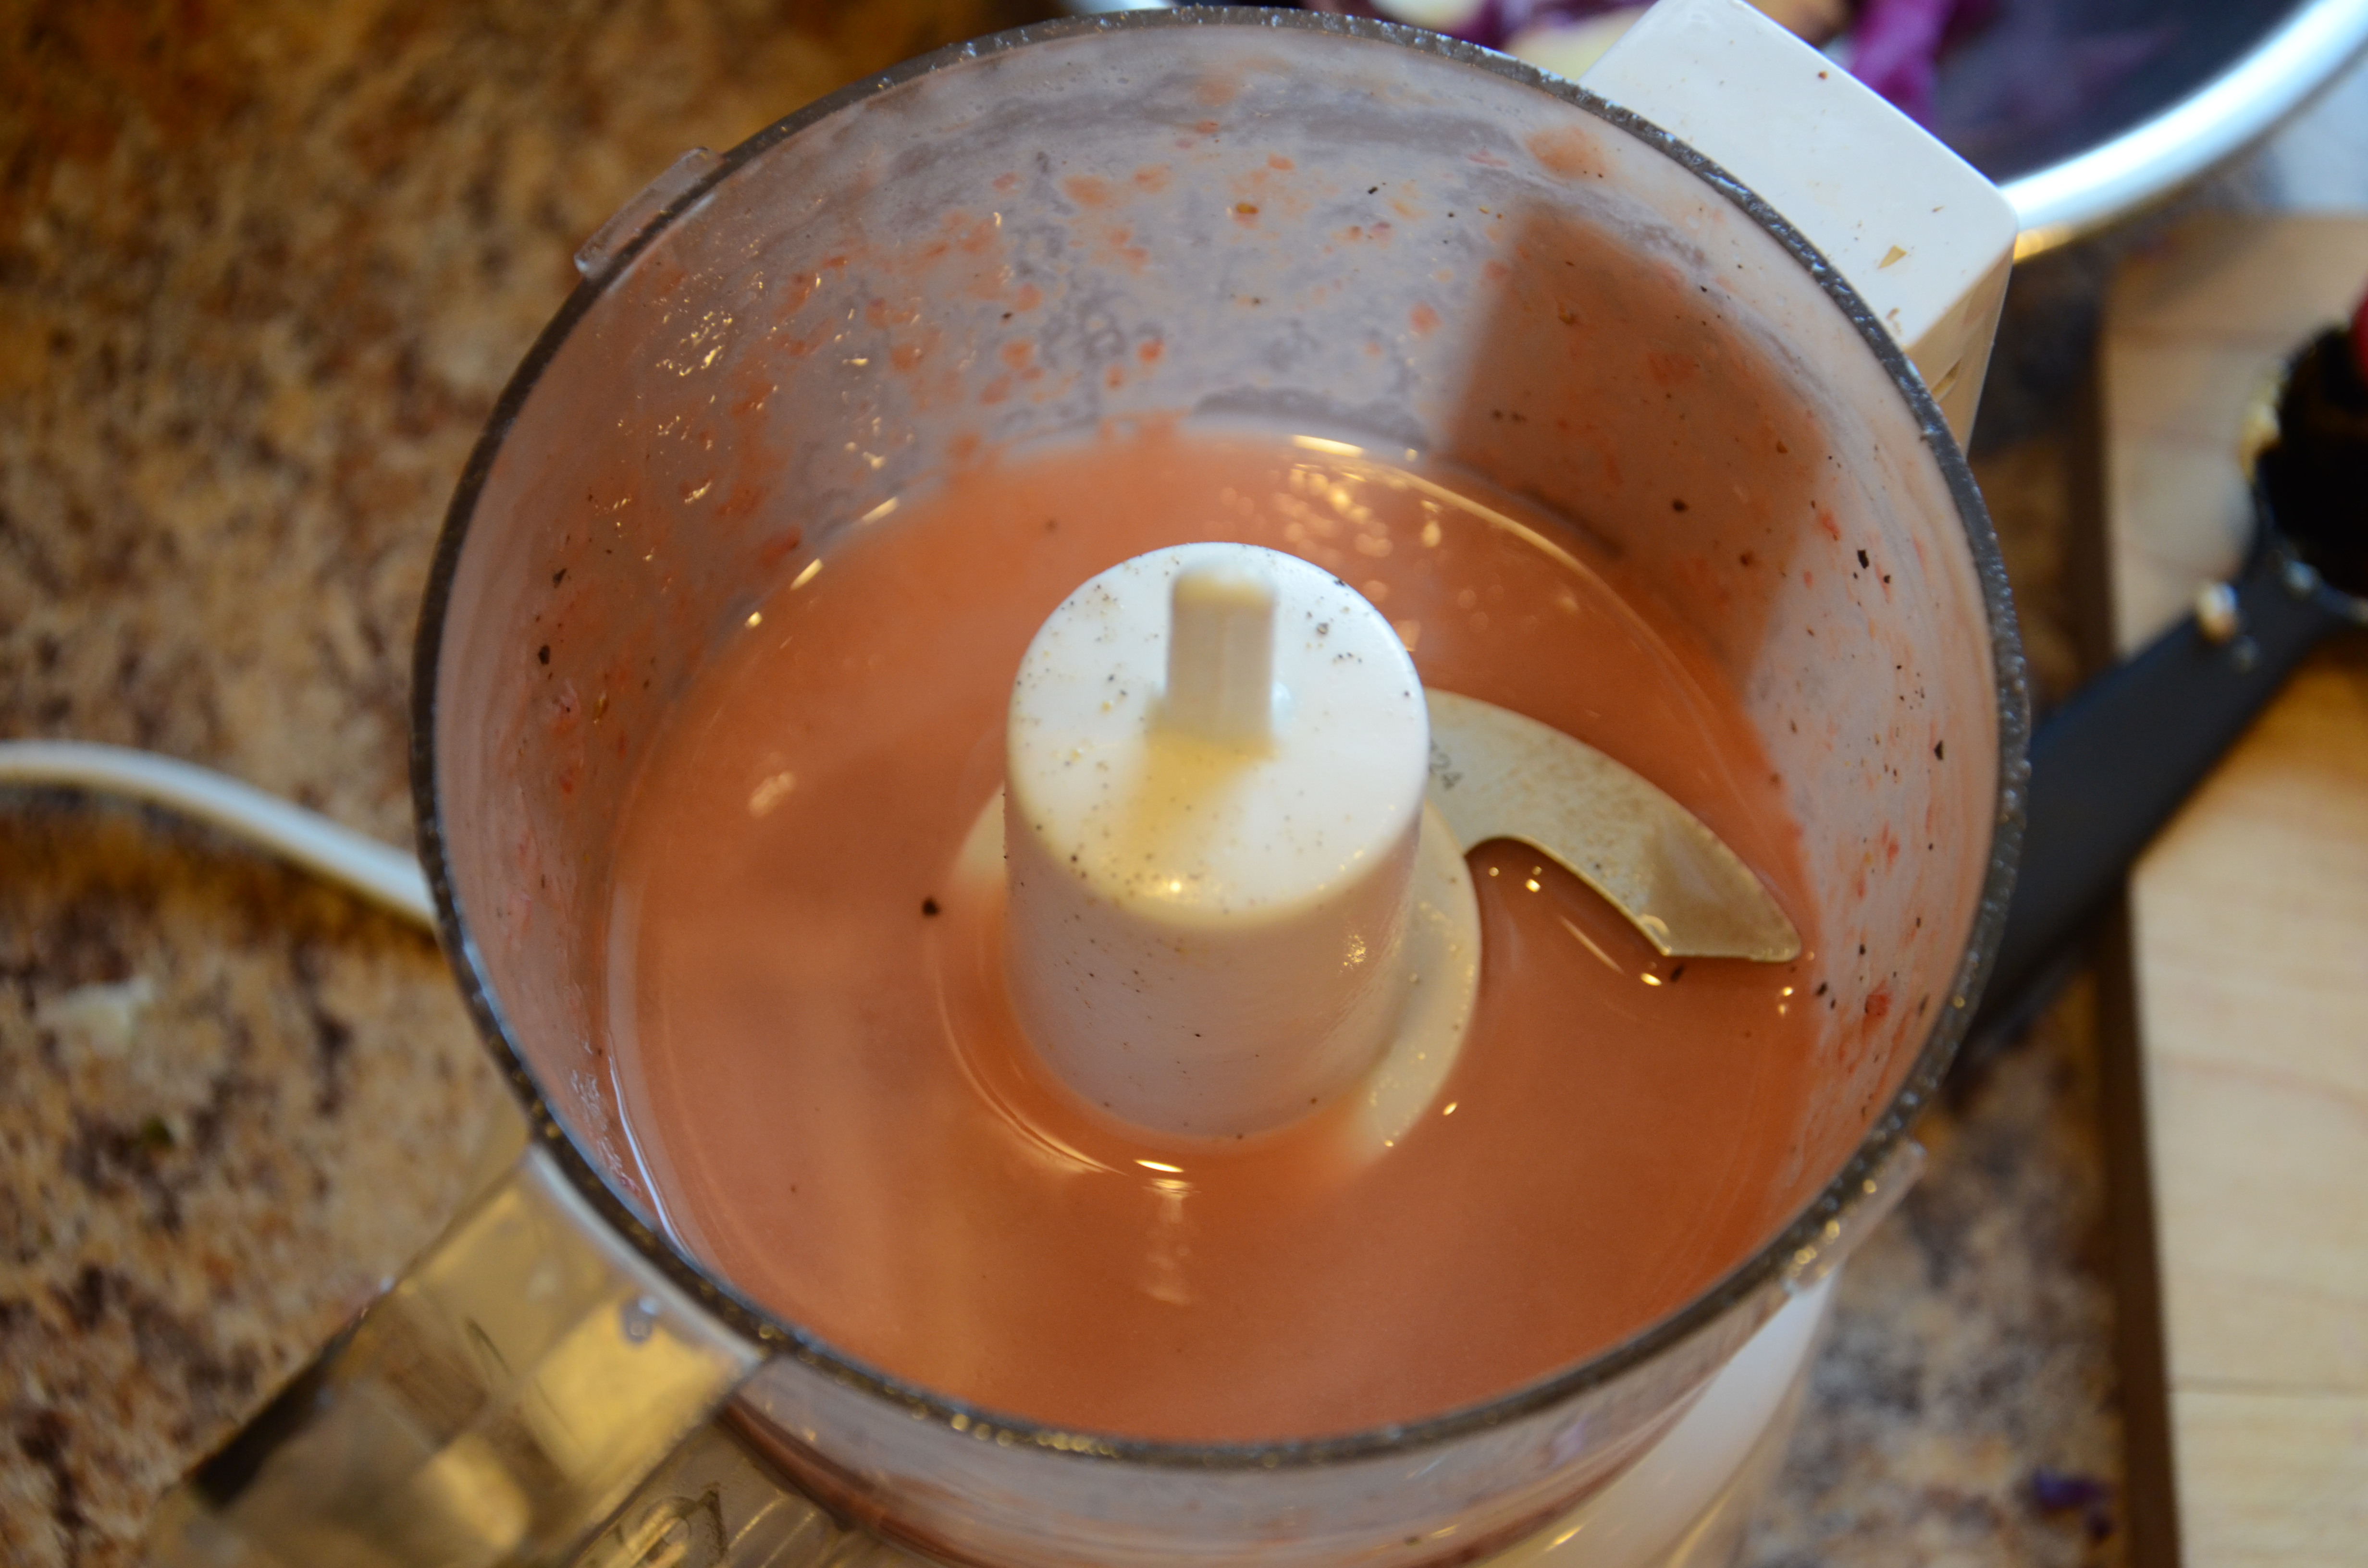
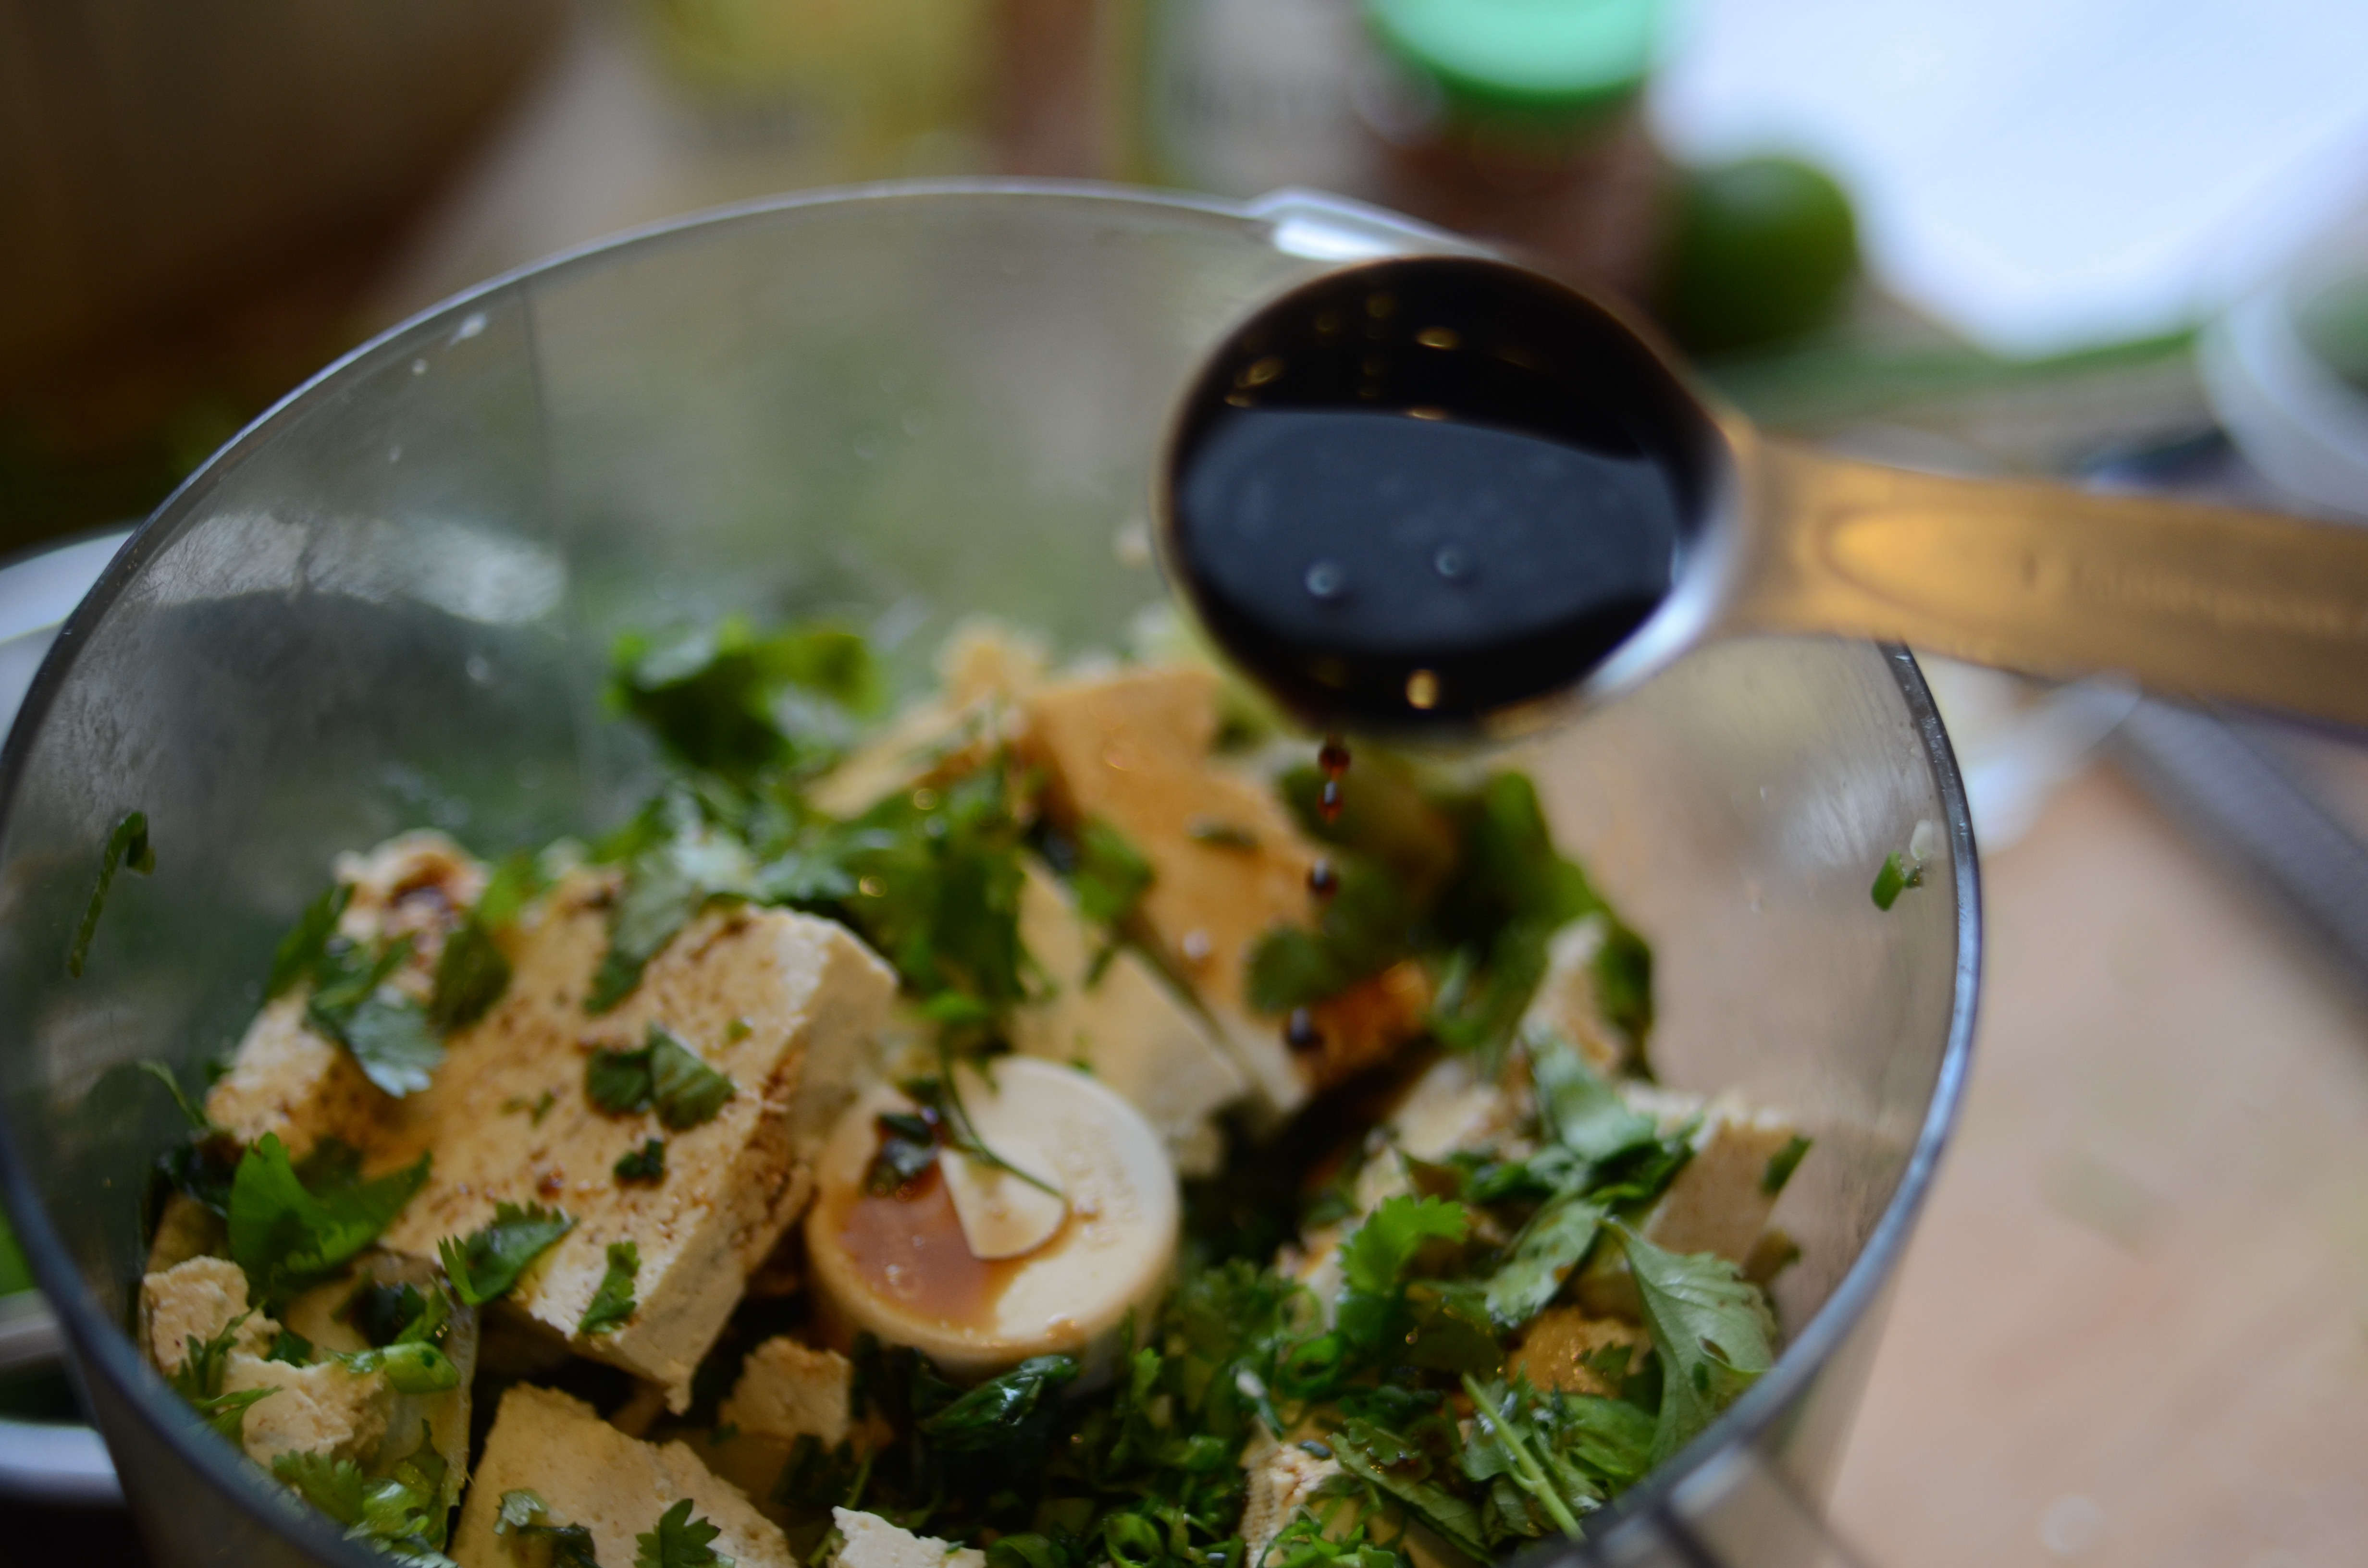
To make the dressing, puree 1 tablespoon fruit jam/preserves, mustard, vinegar and lemon/lime juice in blender or food processor. Gradually add oil, with machine running if possible. Season dressing to taste with salt and pepper.
Set aside 1/4 of grated apple and several walnut halves for garnish.
Toss cabbage, remaining 2 tablespoons jam/preserves, apple, and walnuts in large bowl. Toss with enough dressing to coat. Season to taste with salt and pepper.
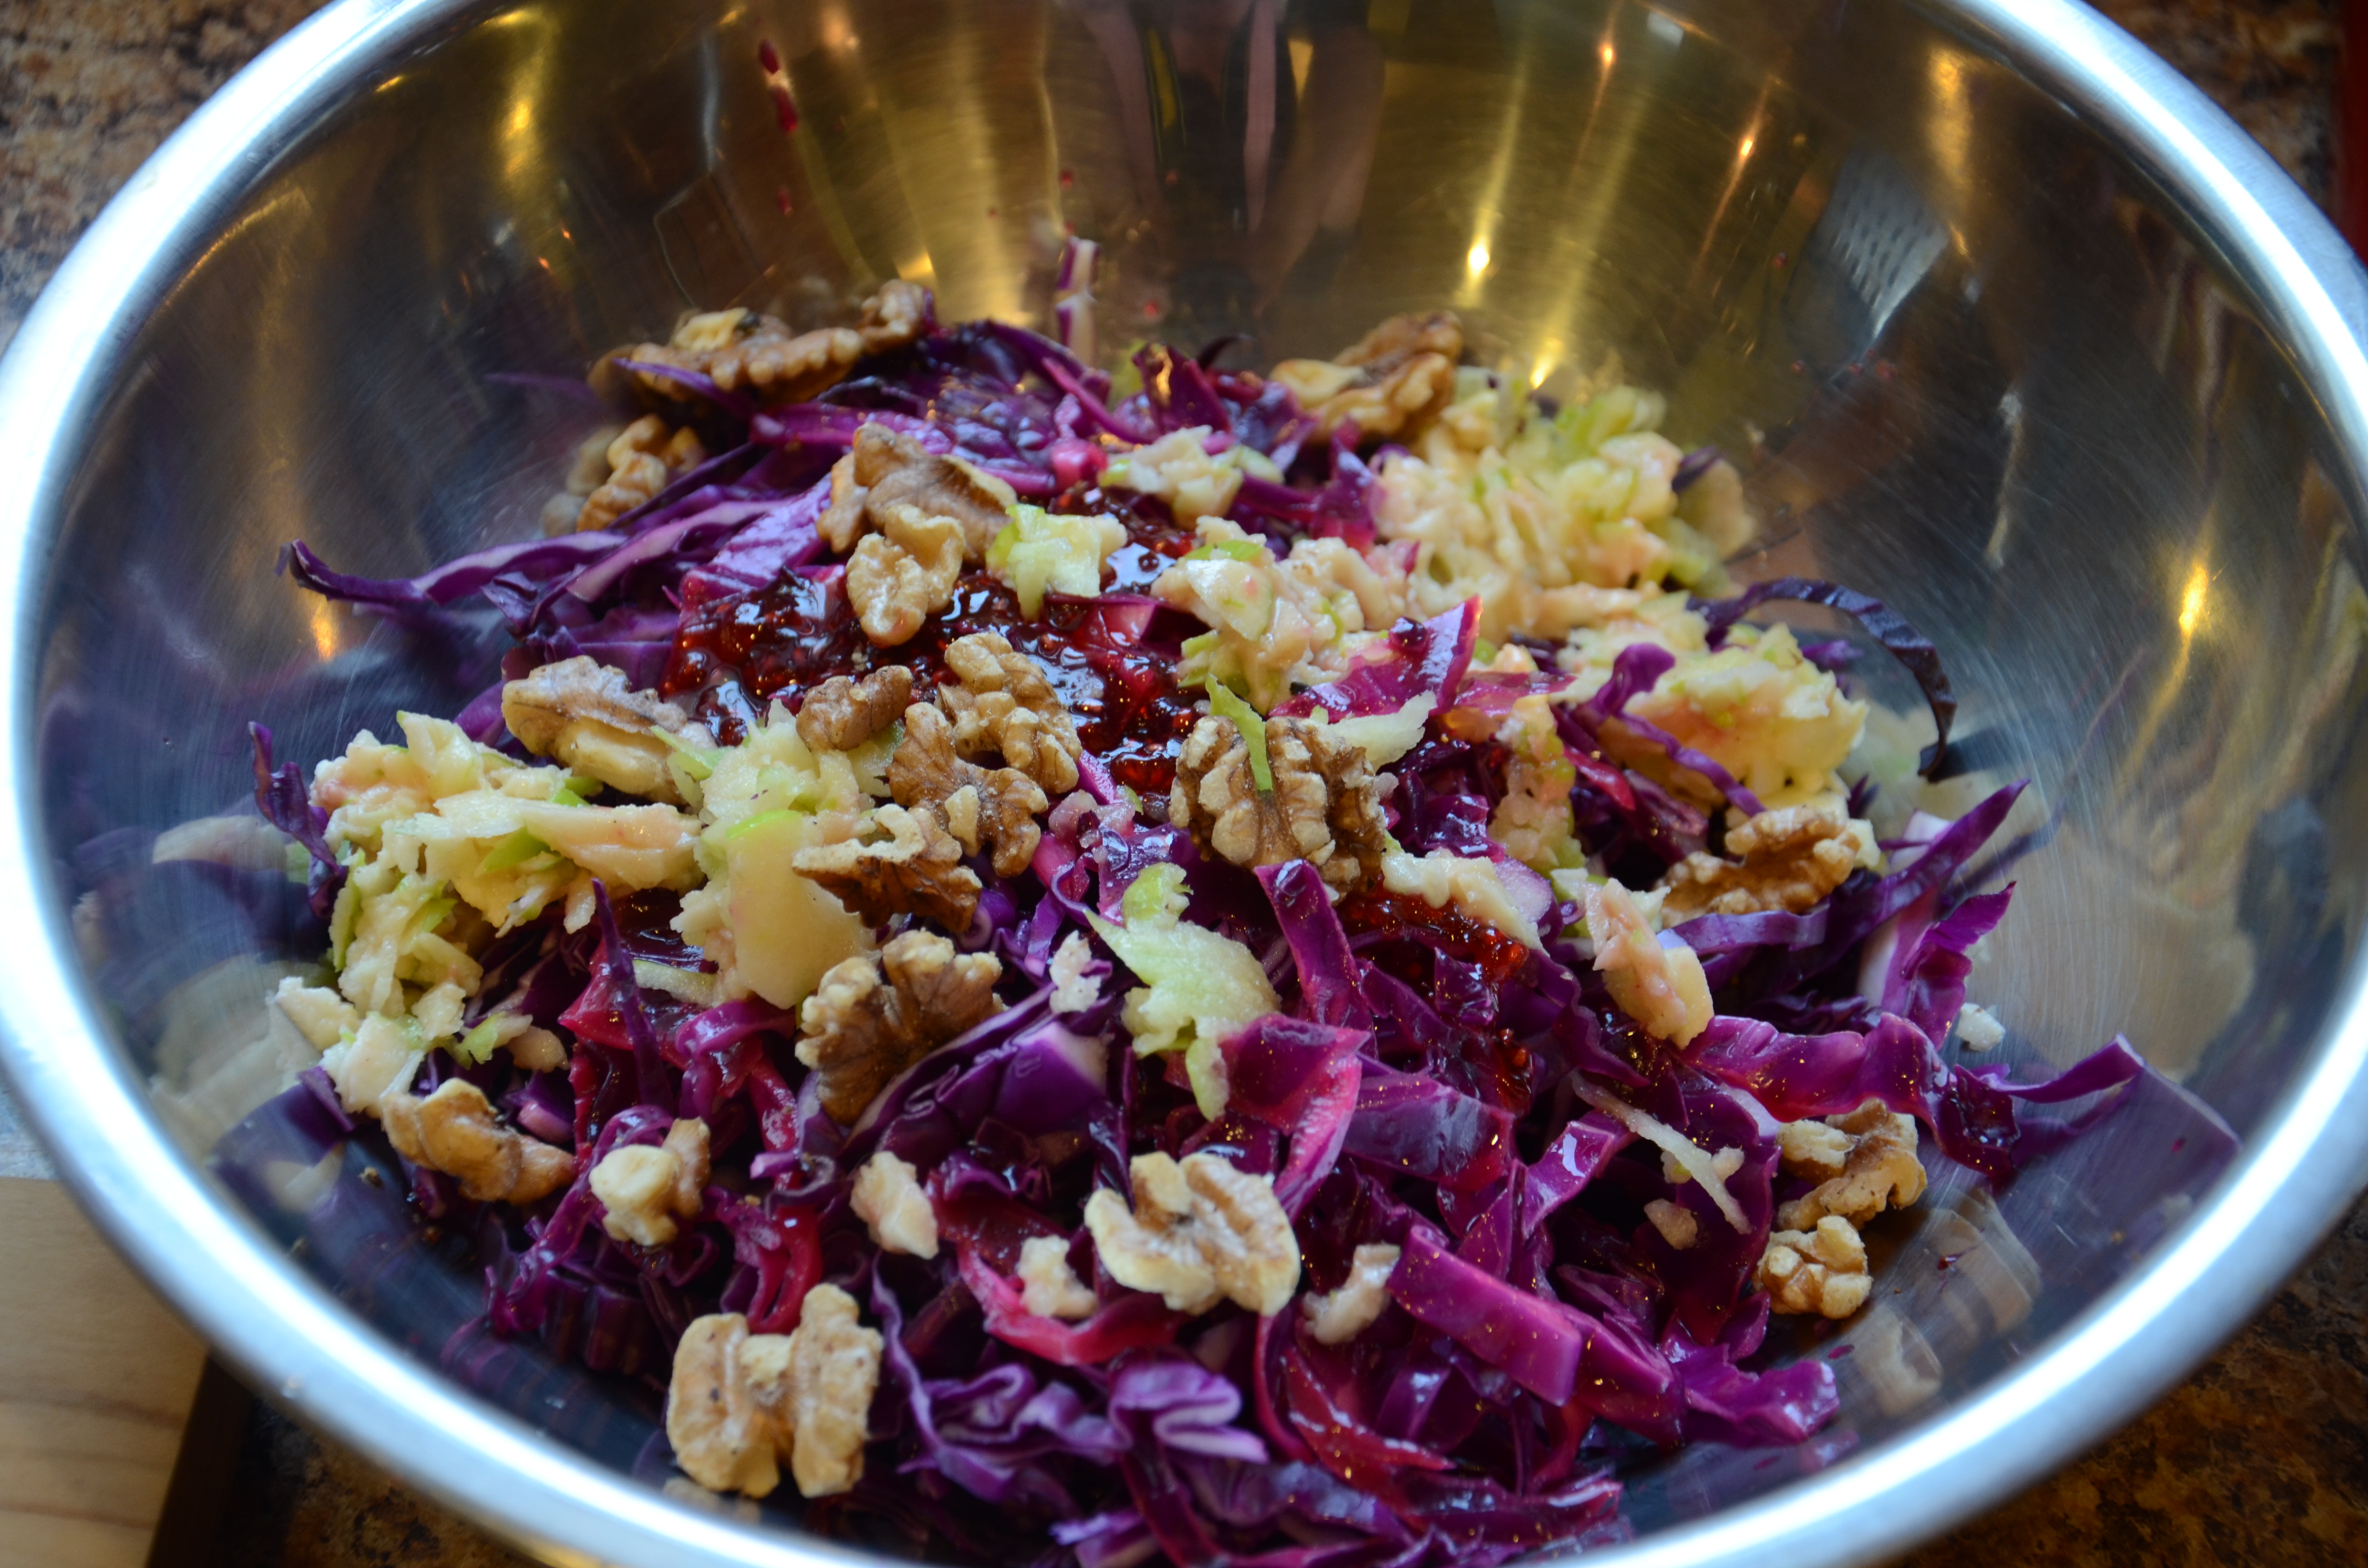
Garnish with reserved grated apple and walnut halves and serve.
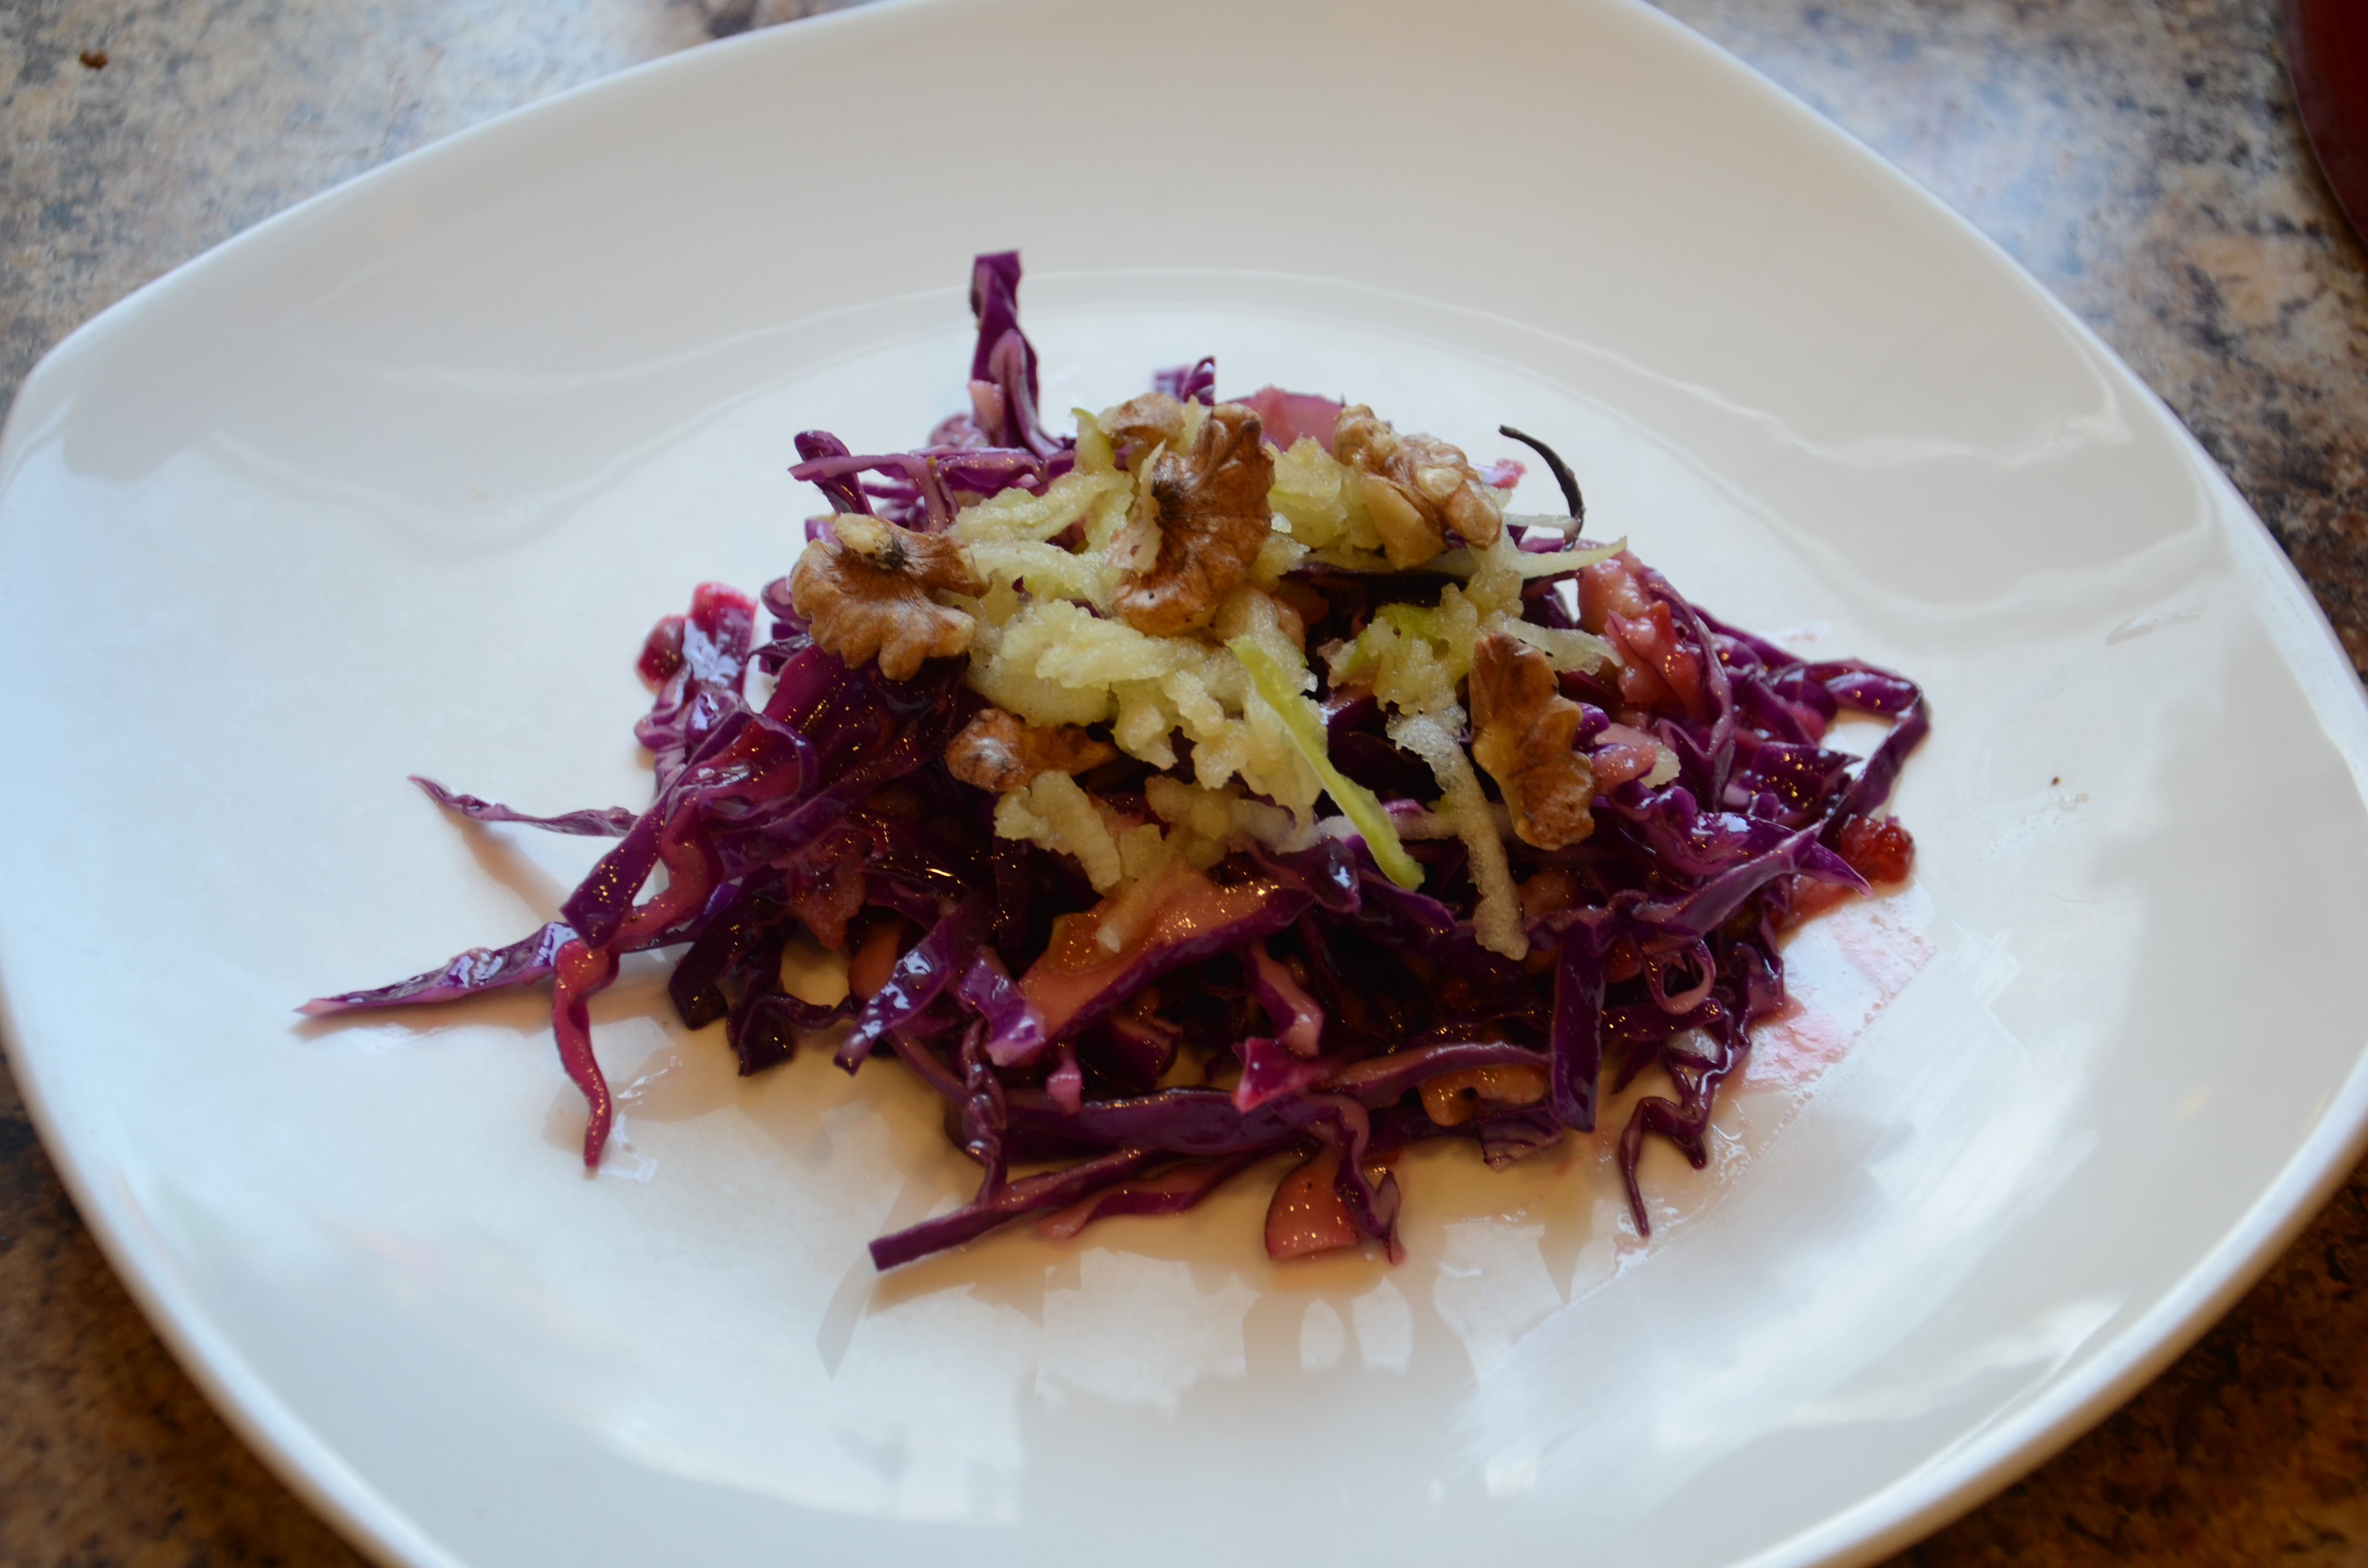
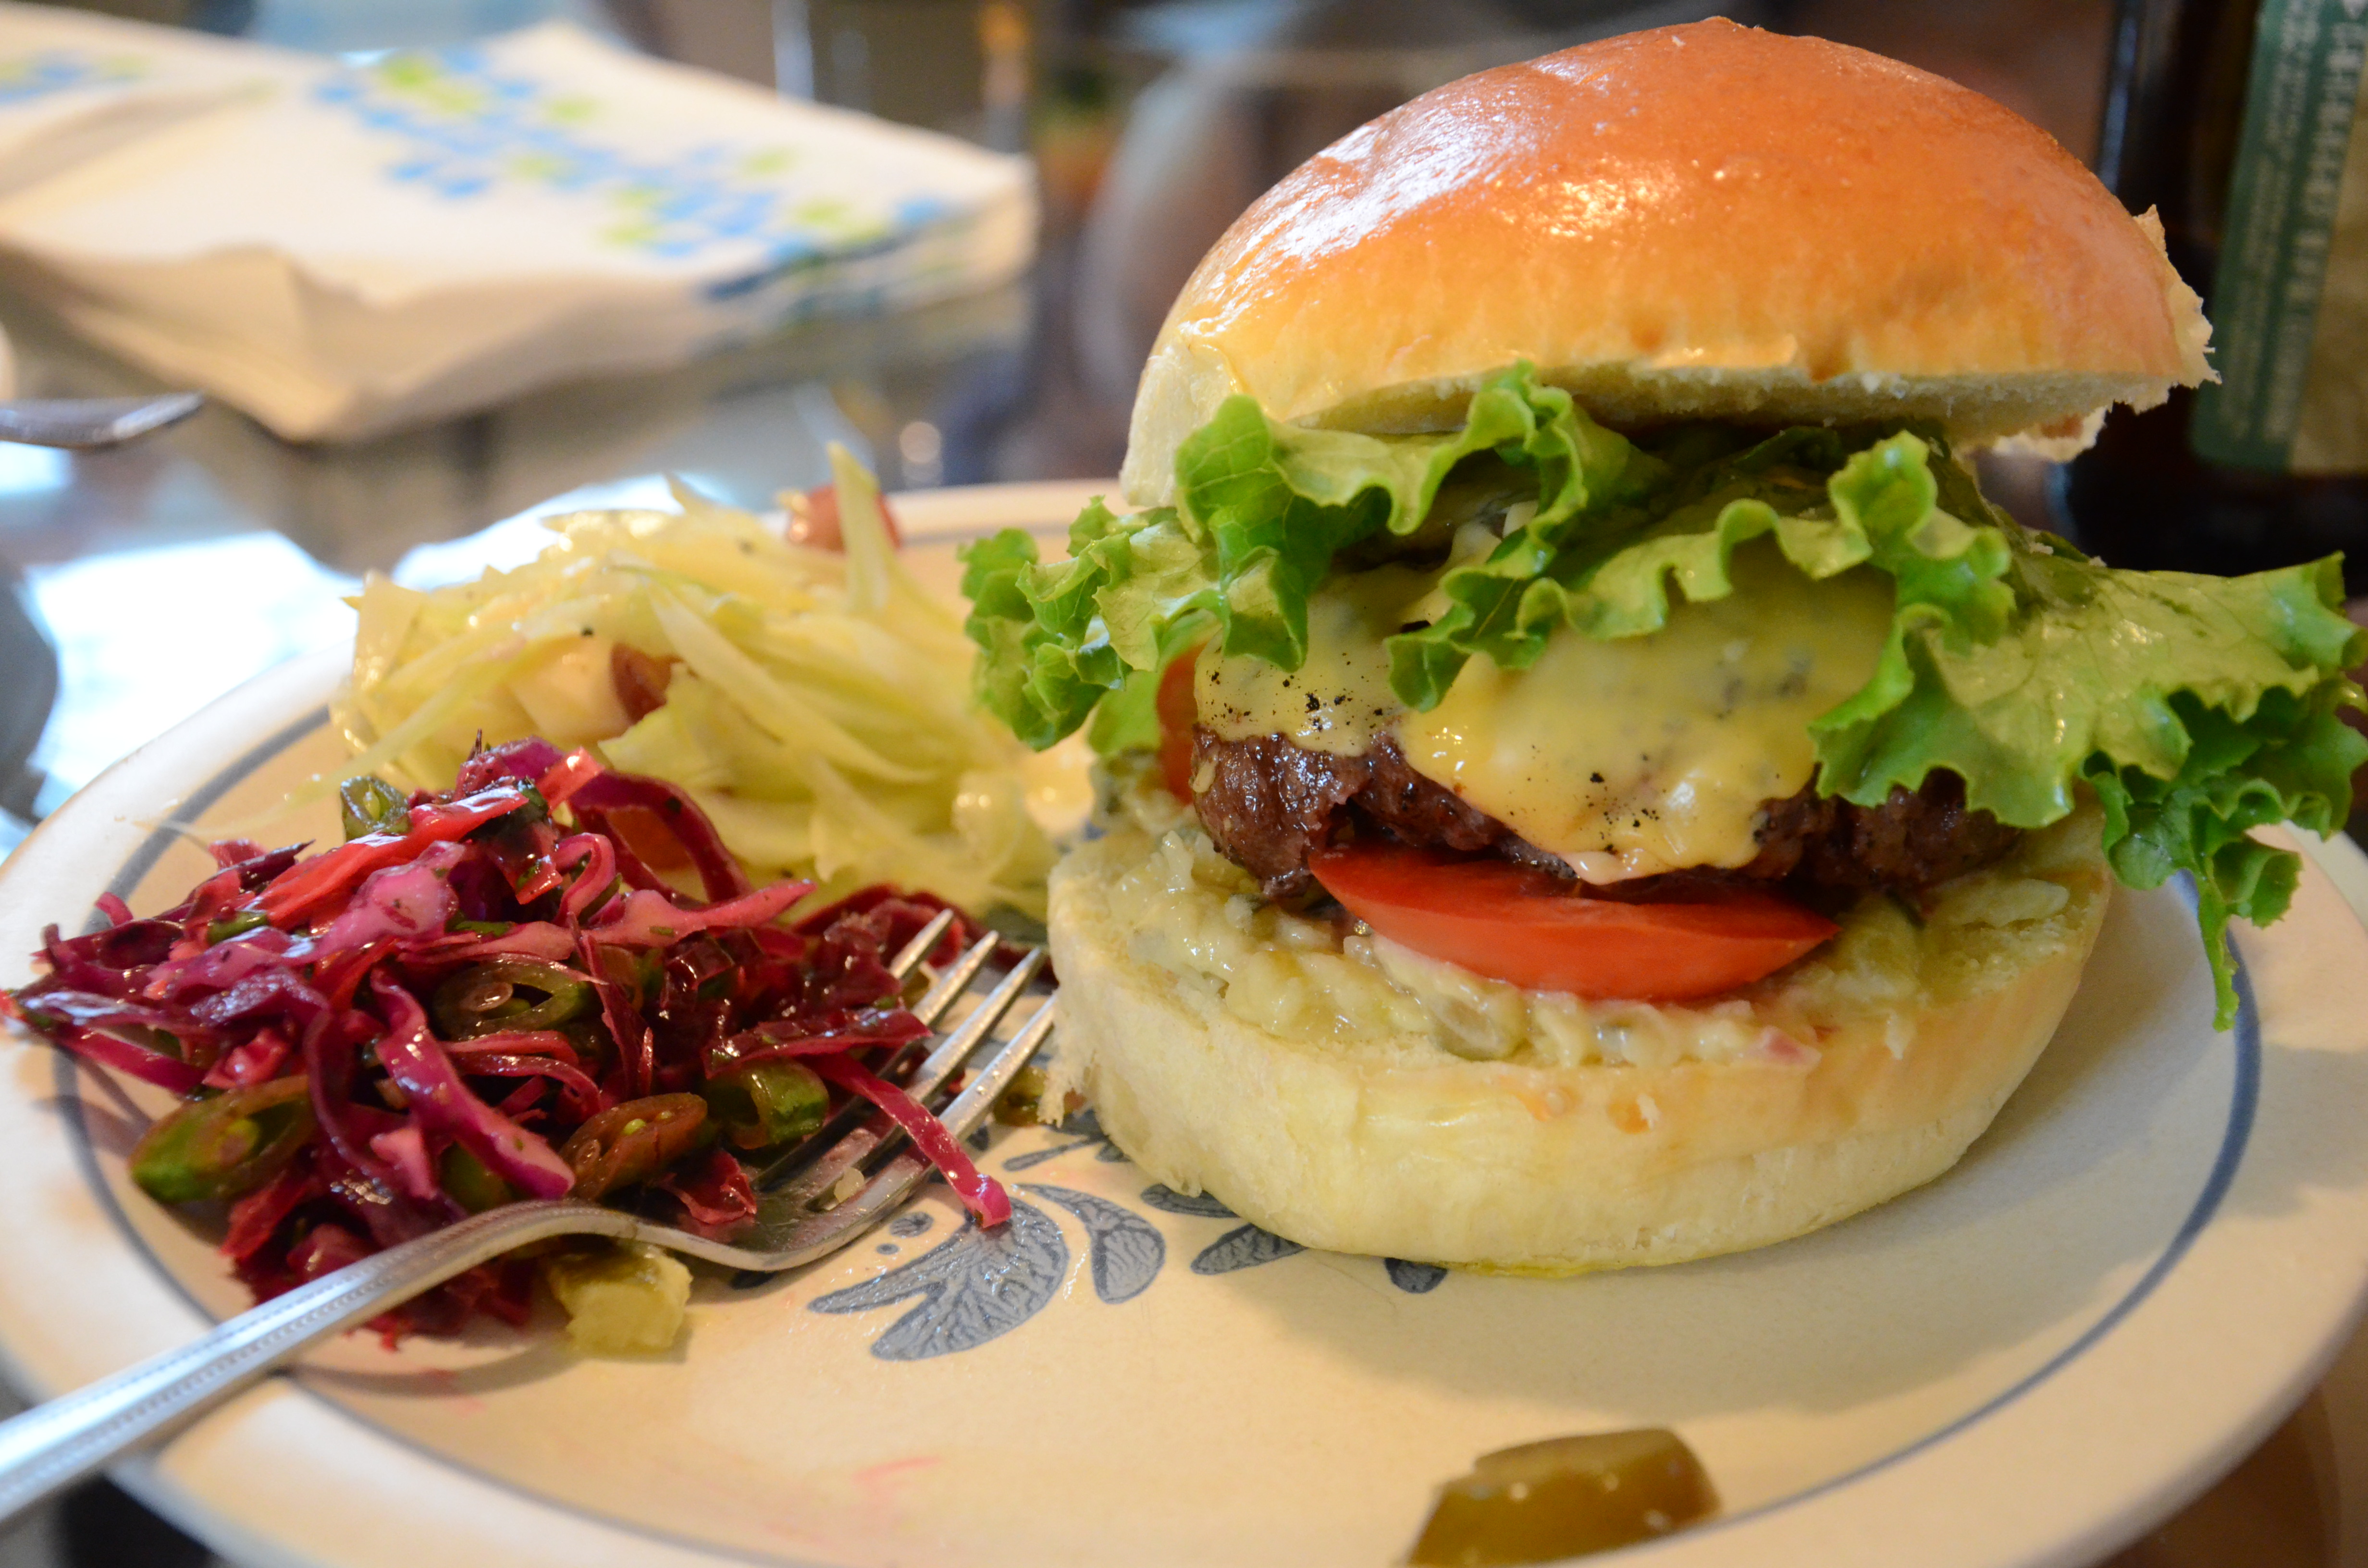
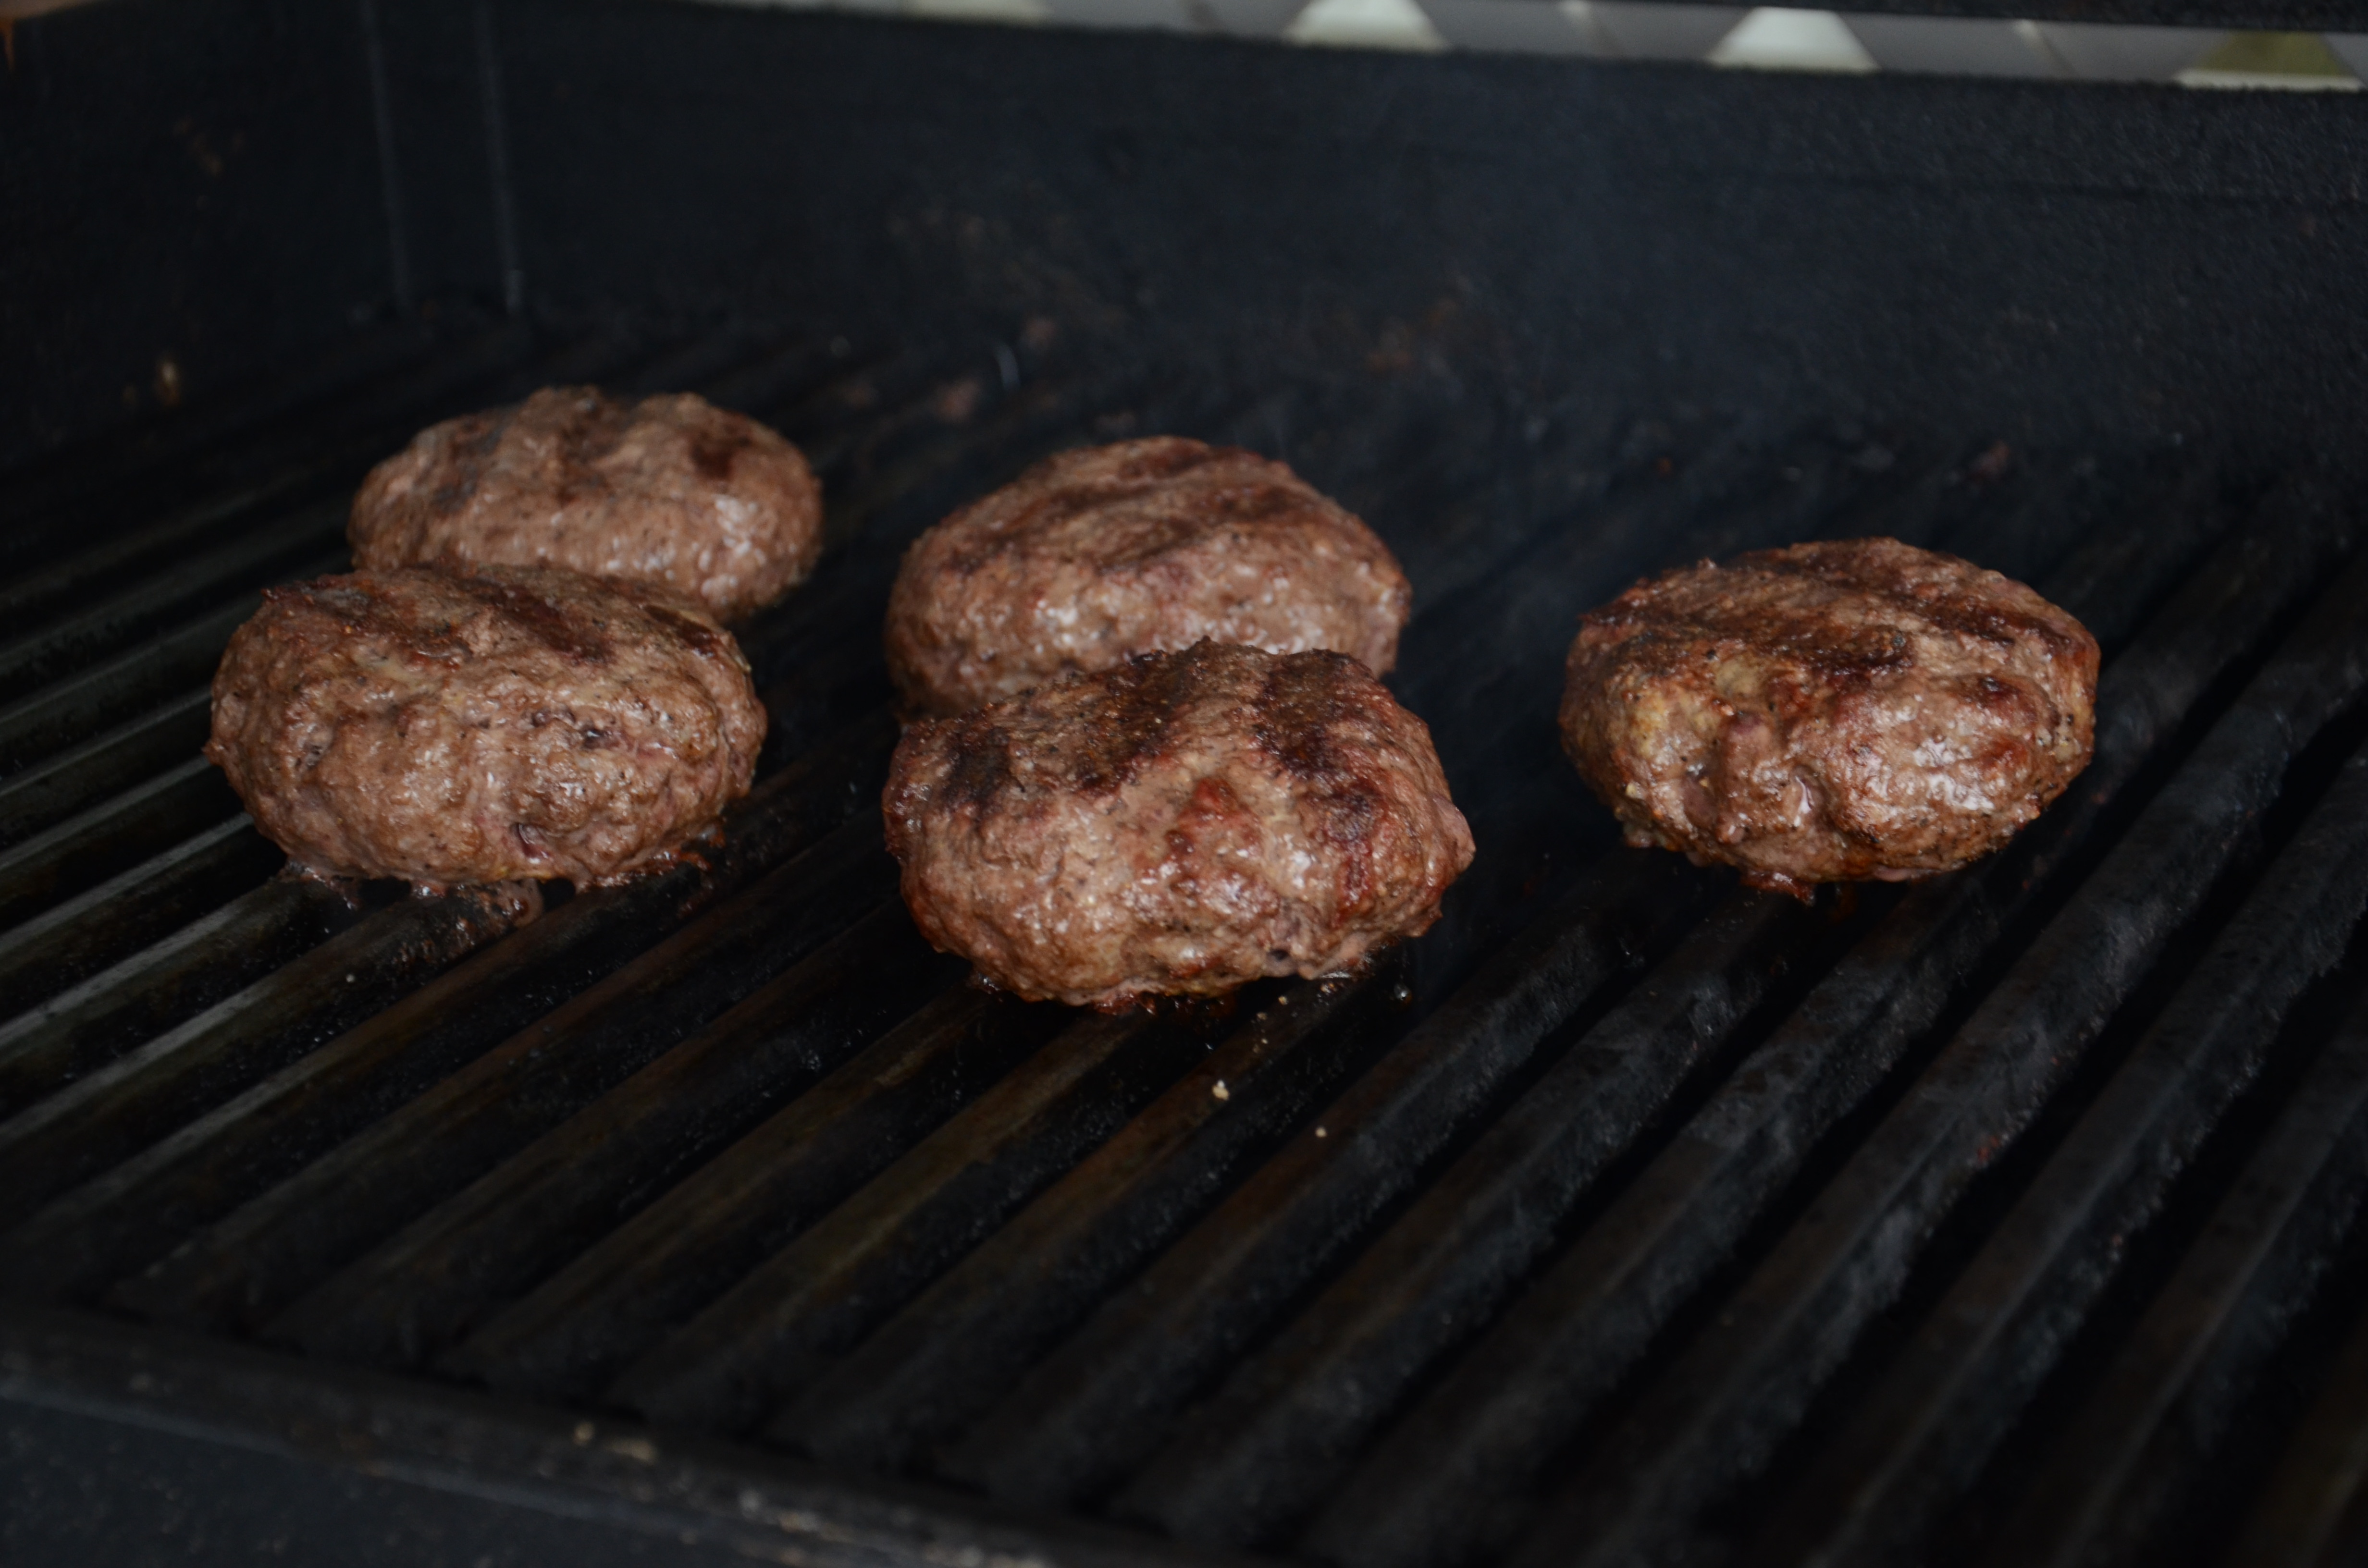
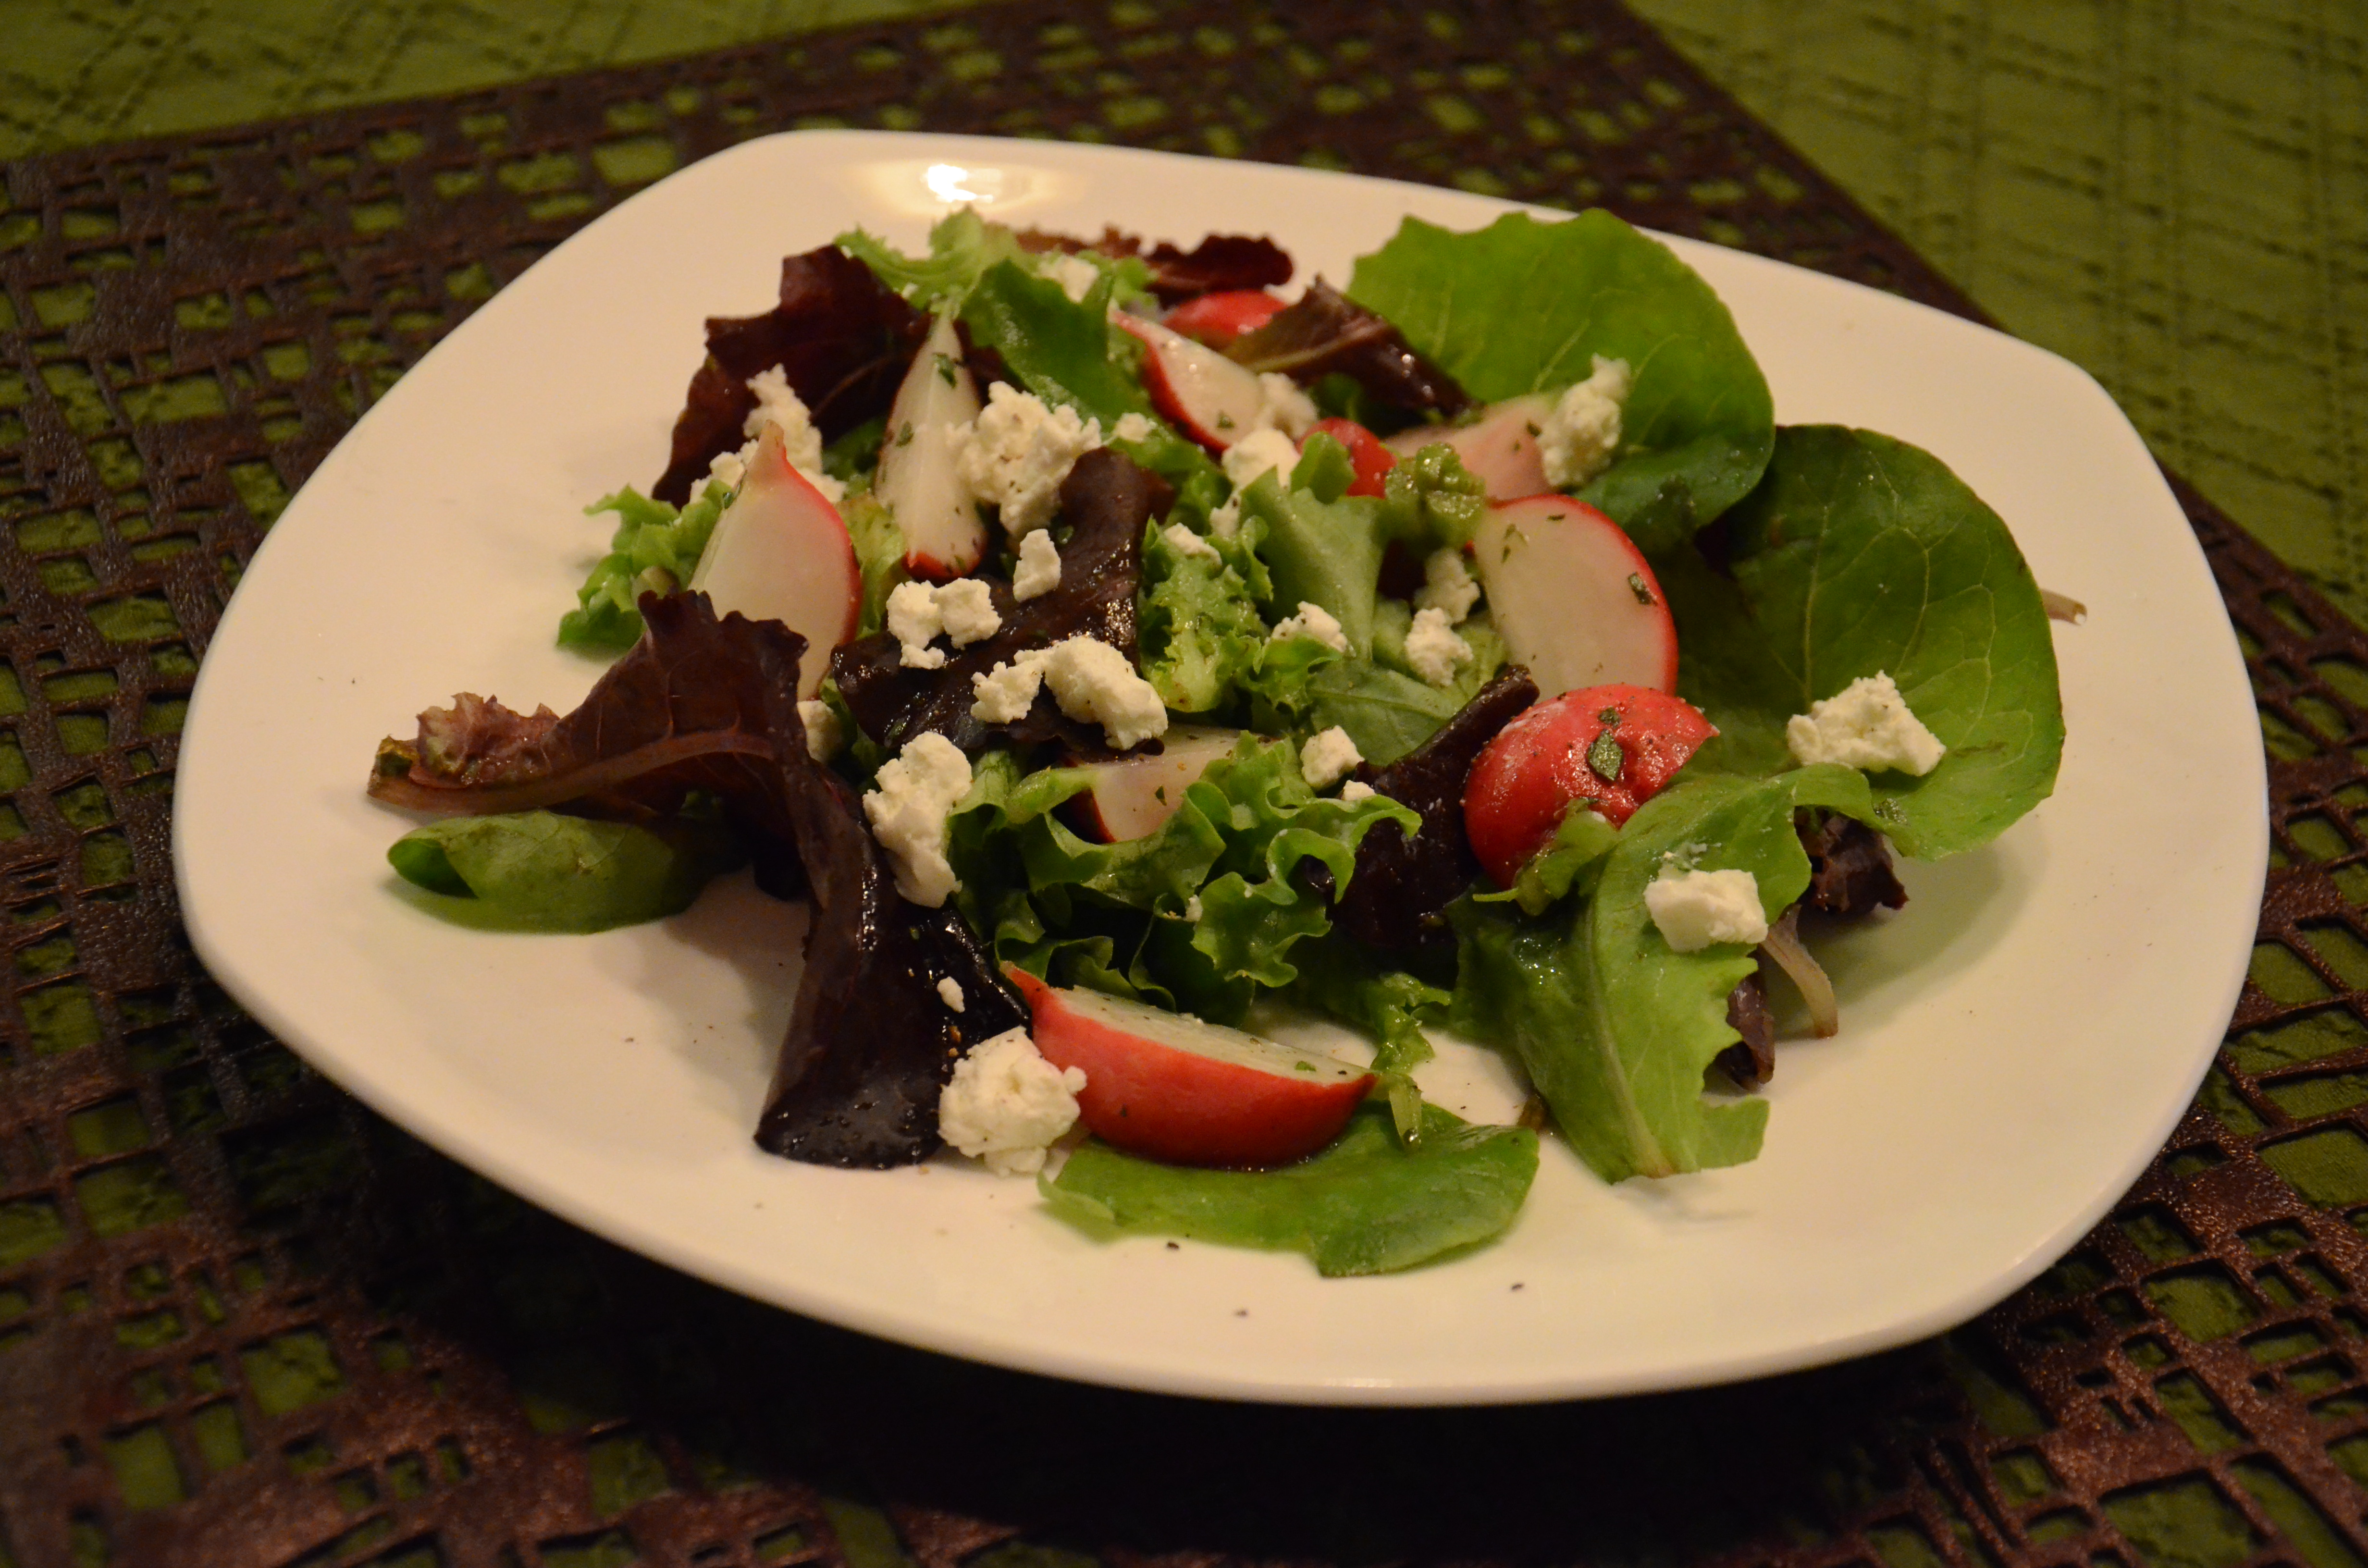
Result: a pleasant Saturday lunch–when accompanied 1/2 a grilled cheese sandwich 🙂
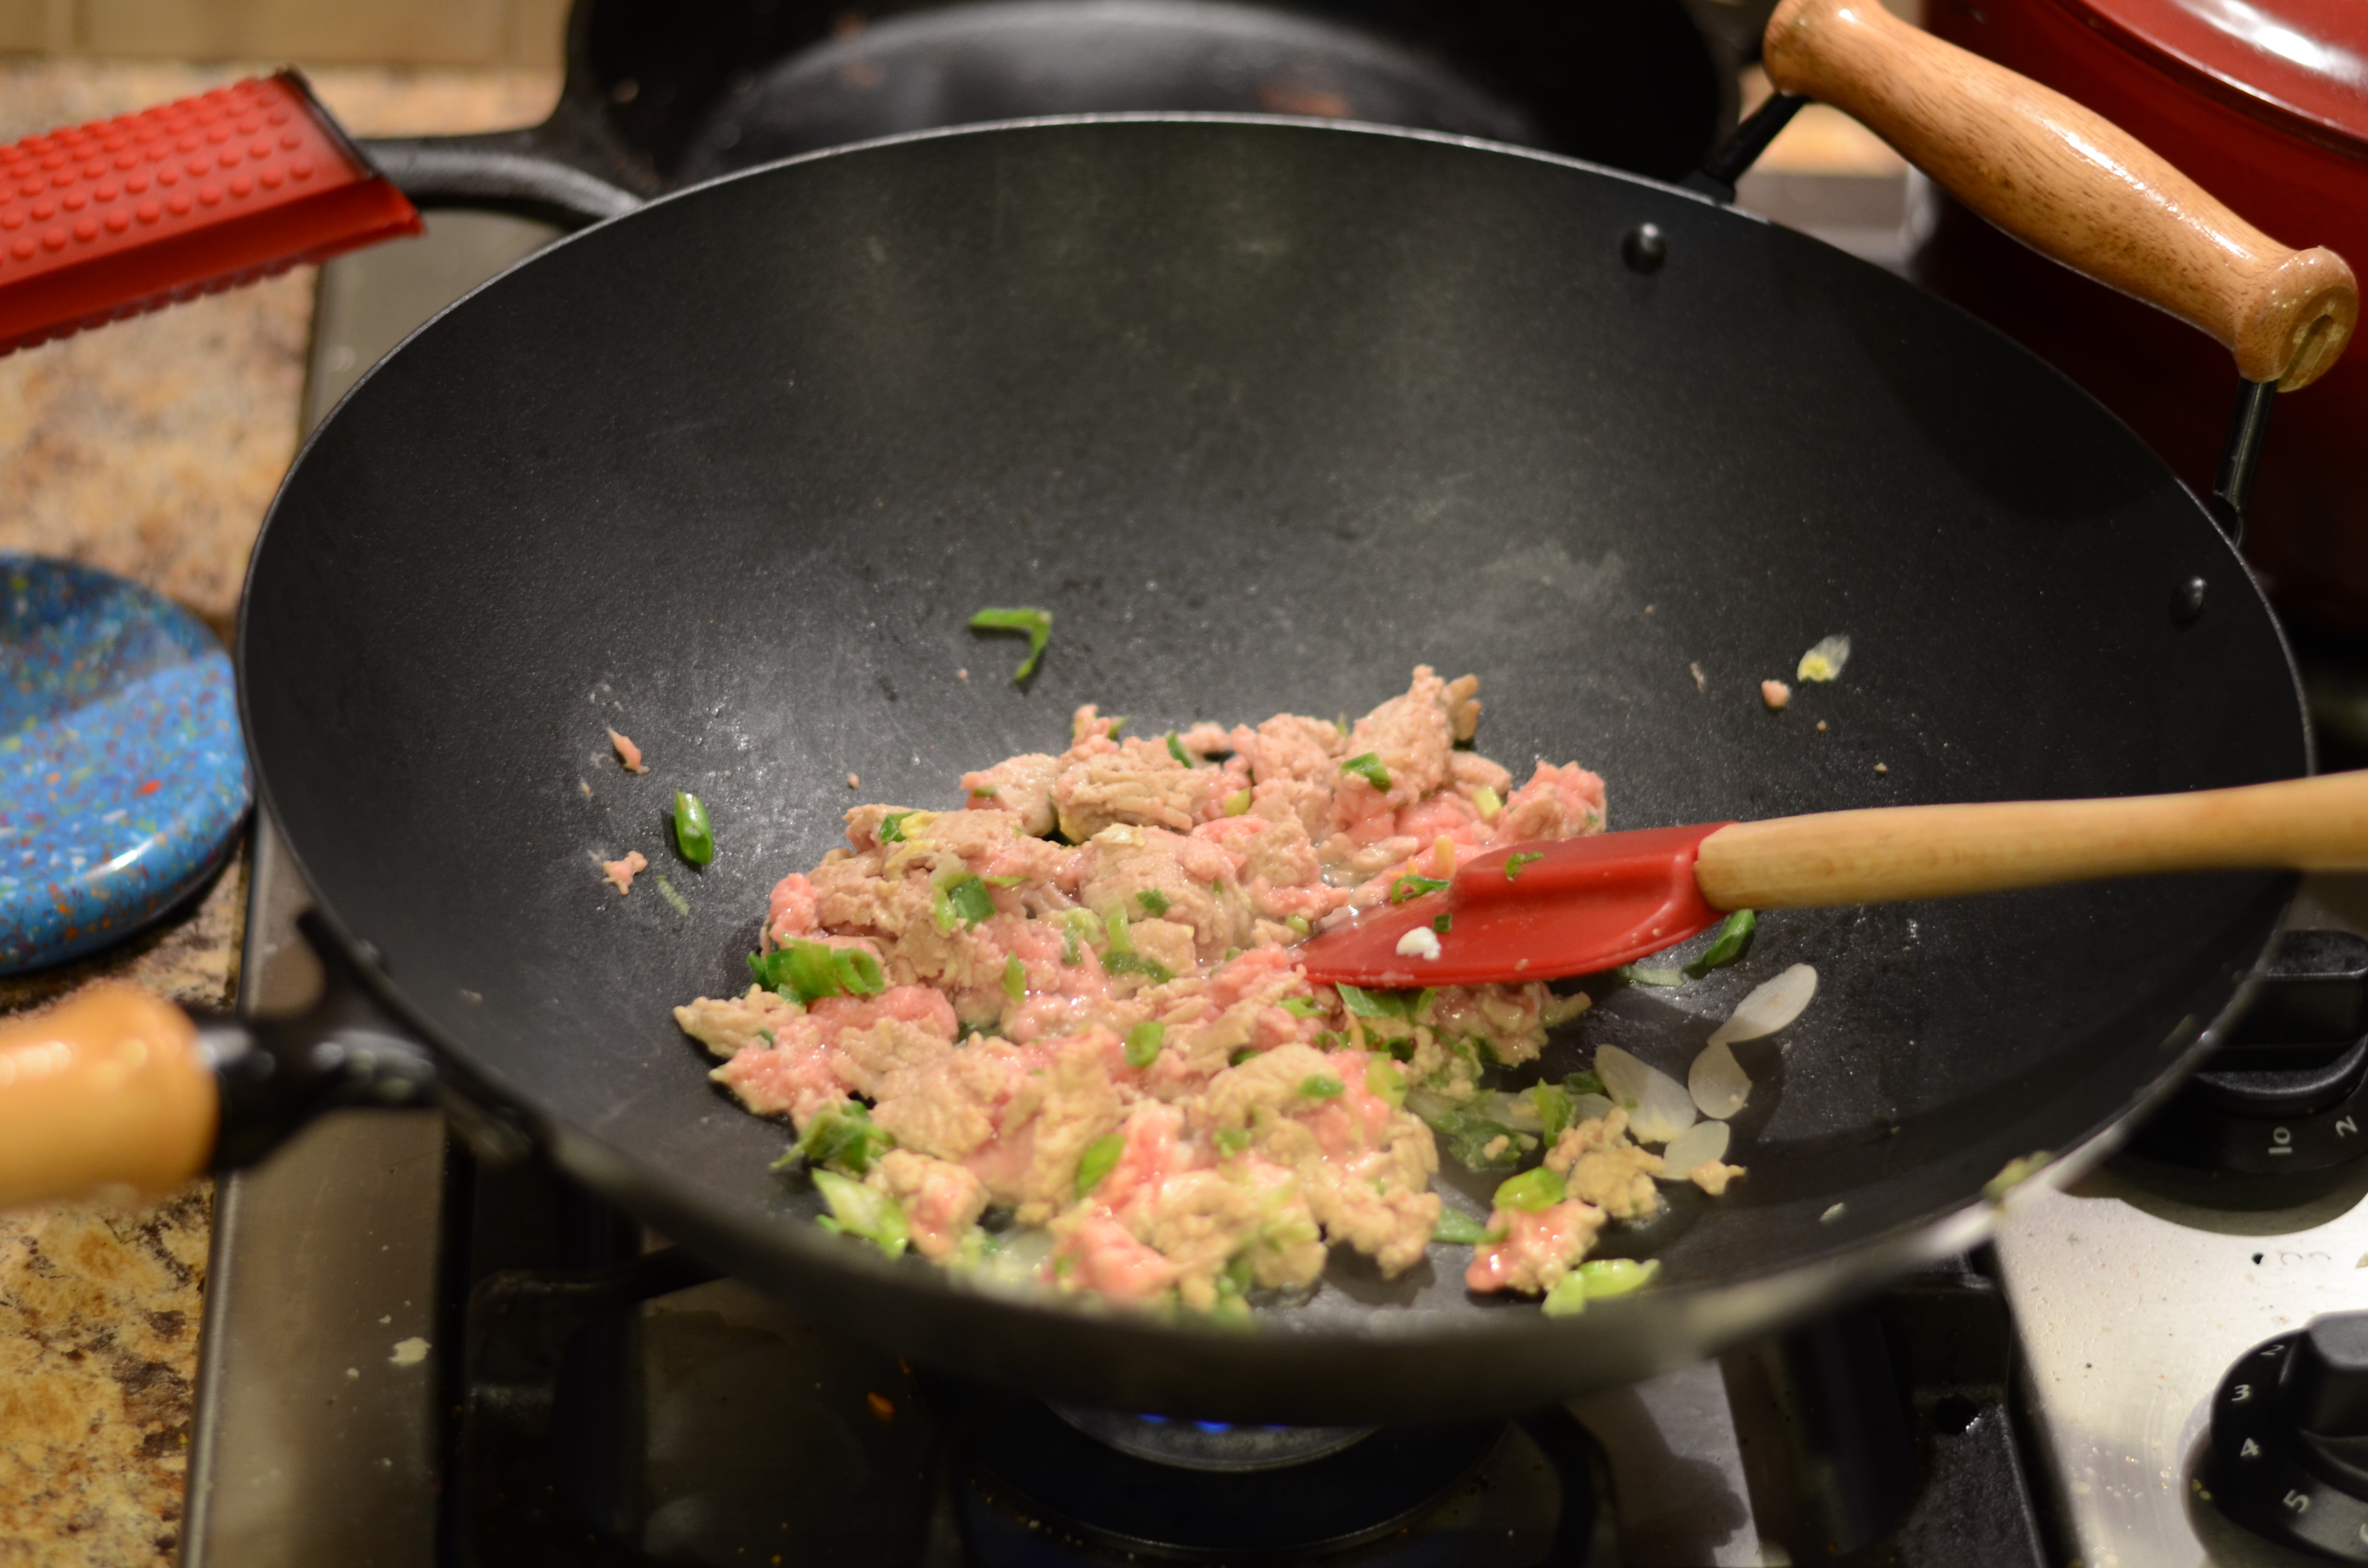
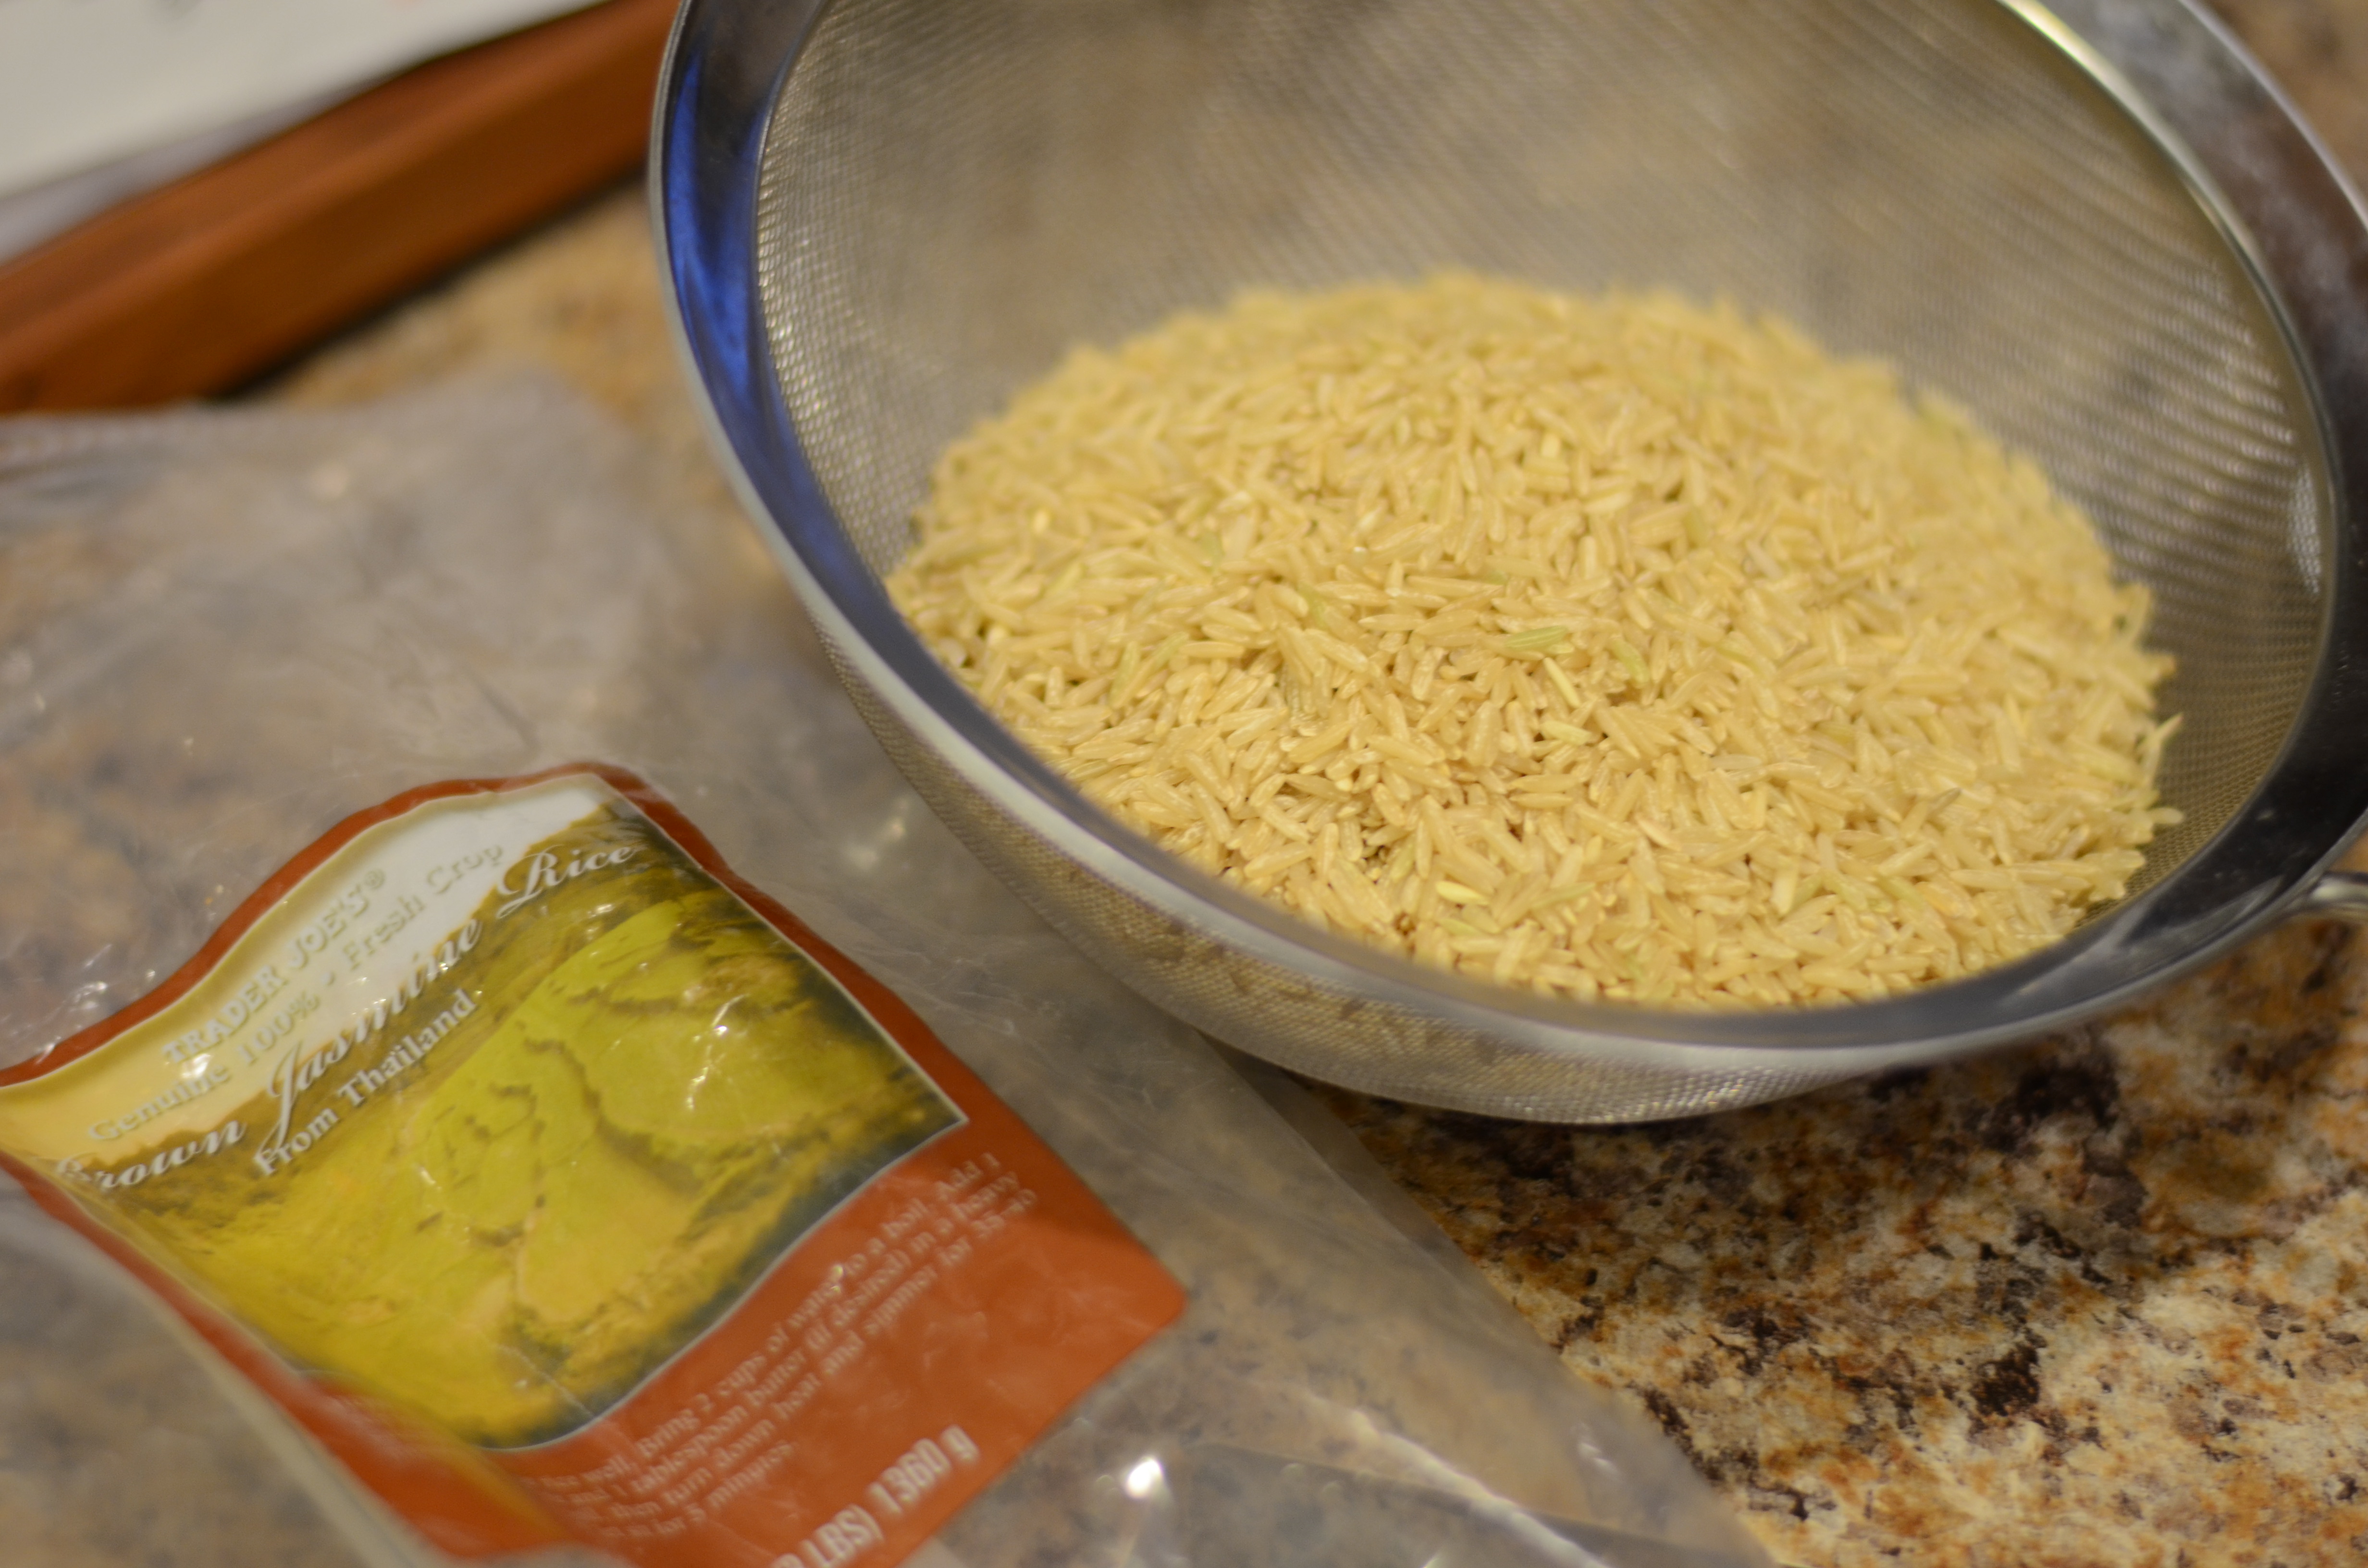 And lastly, Saturday’s dinner. I once again tackled the stock of brown rice in my pantry. In spite of the fact my husband is a virtual carb-o-tarian, grains aren’t consumed as quickly as I would like. So I cooked the rest of a package of brown basmati rice on Friday night and had the leftovers ready to go on Saturday for a deliciously simple preparation of fried rice with ground turkey. Which meant I got to use my wok!
Turkey Fried Rice
from Taste of Home
Servings: 4
1 tablespoon olive oil
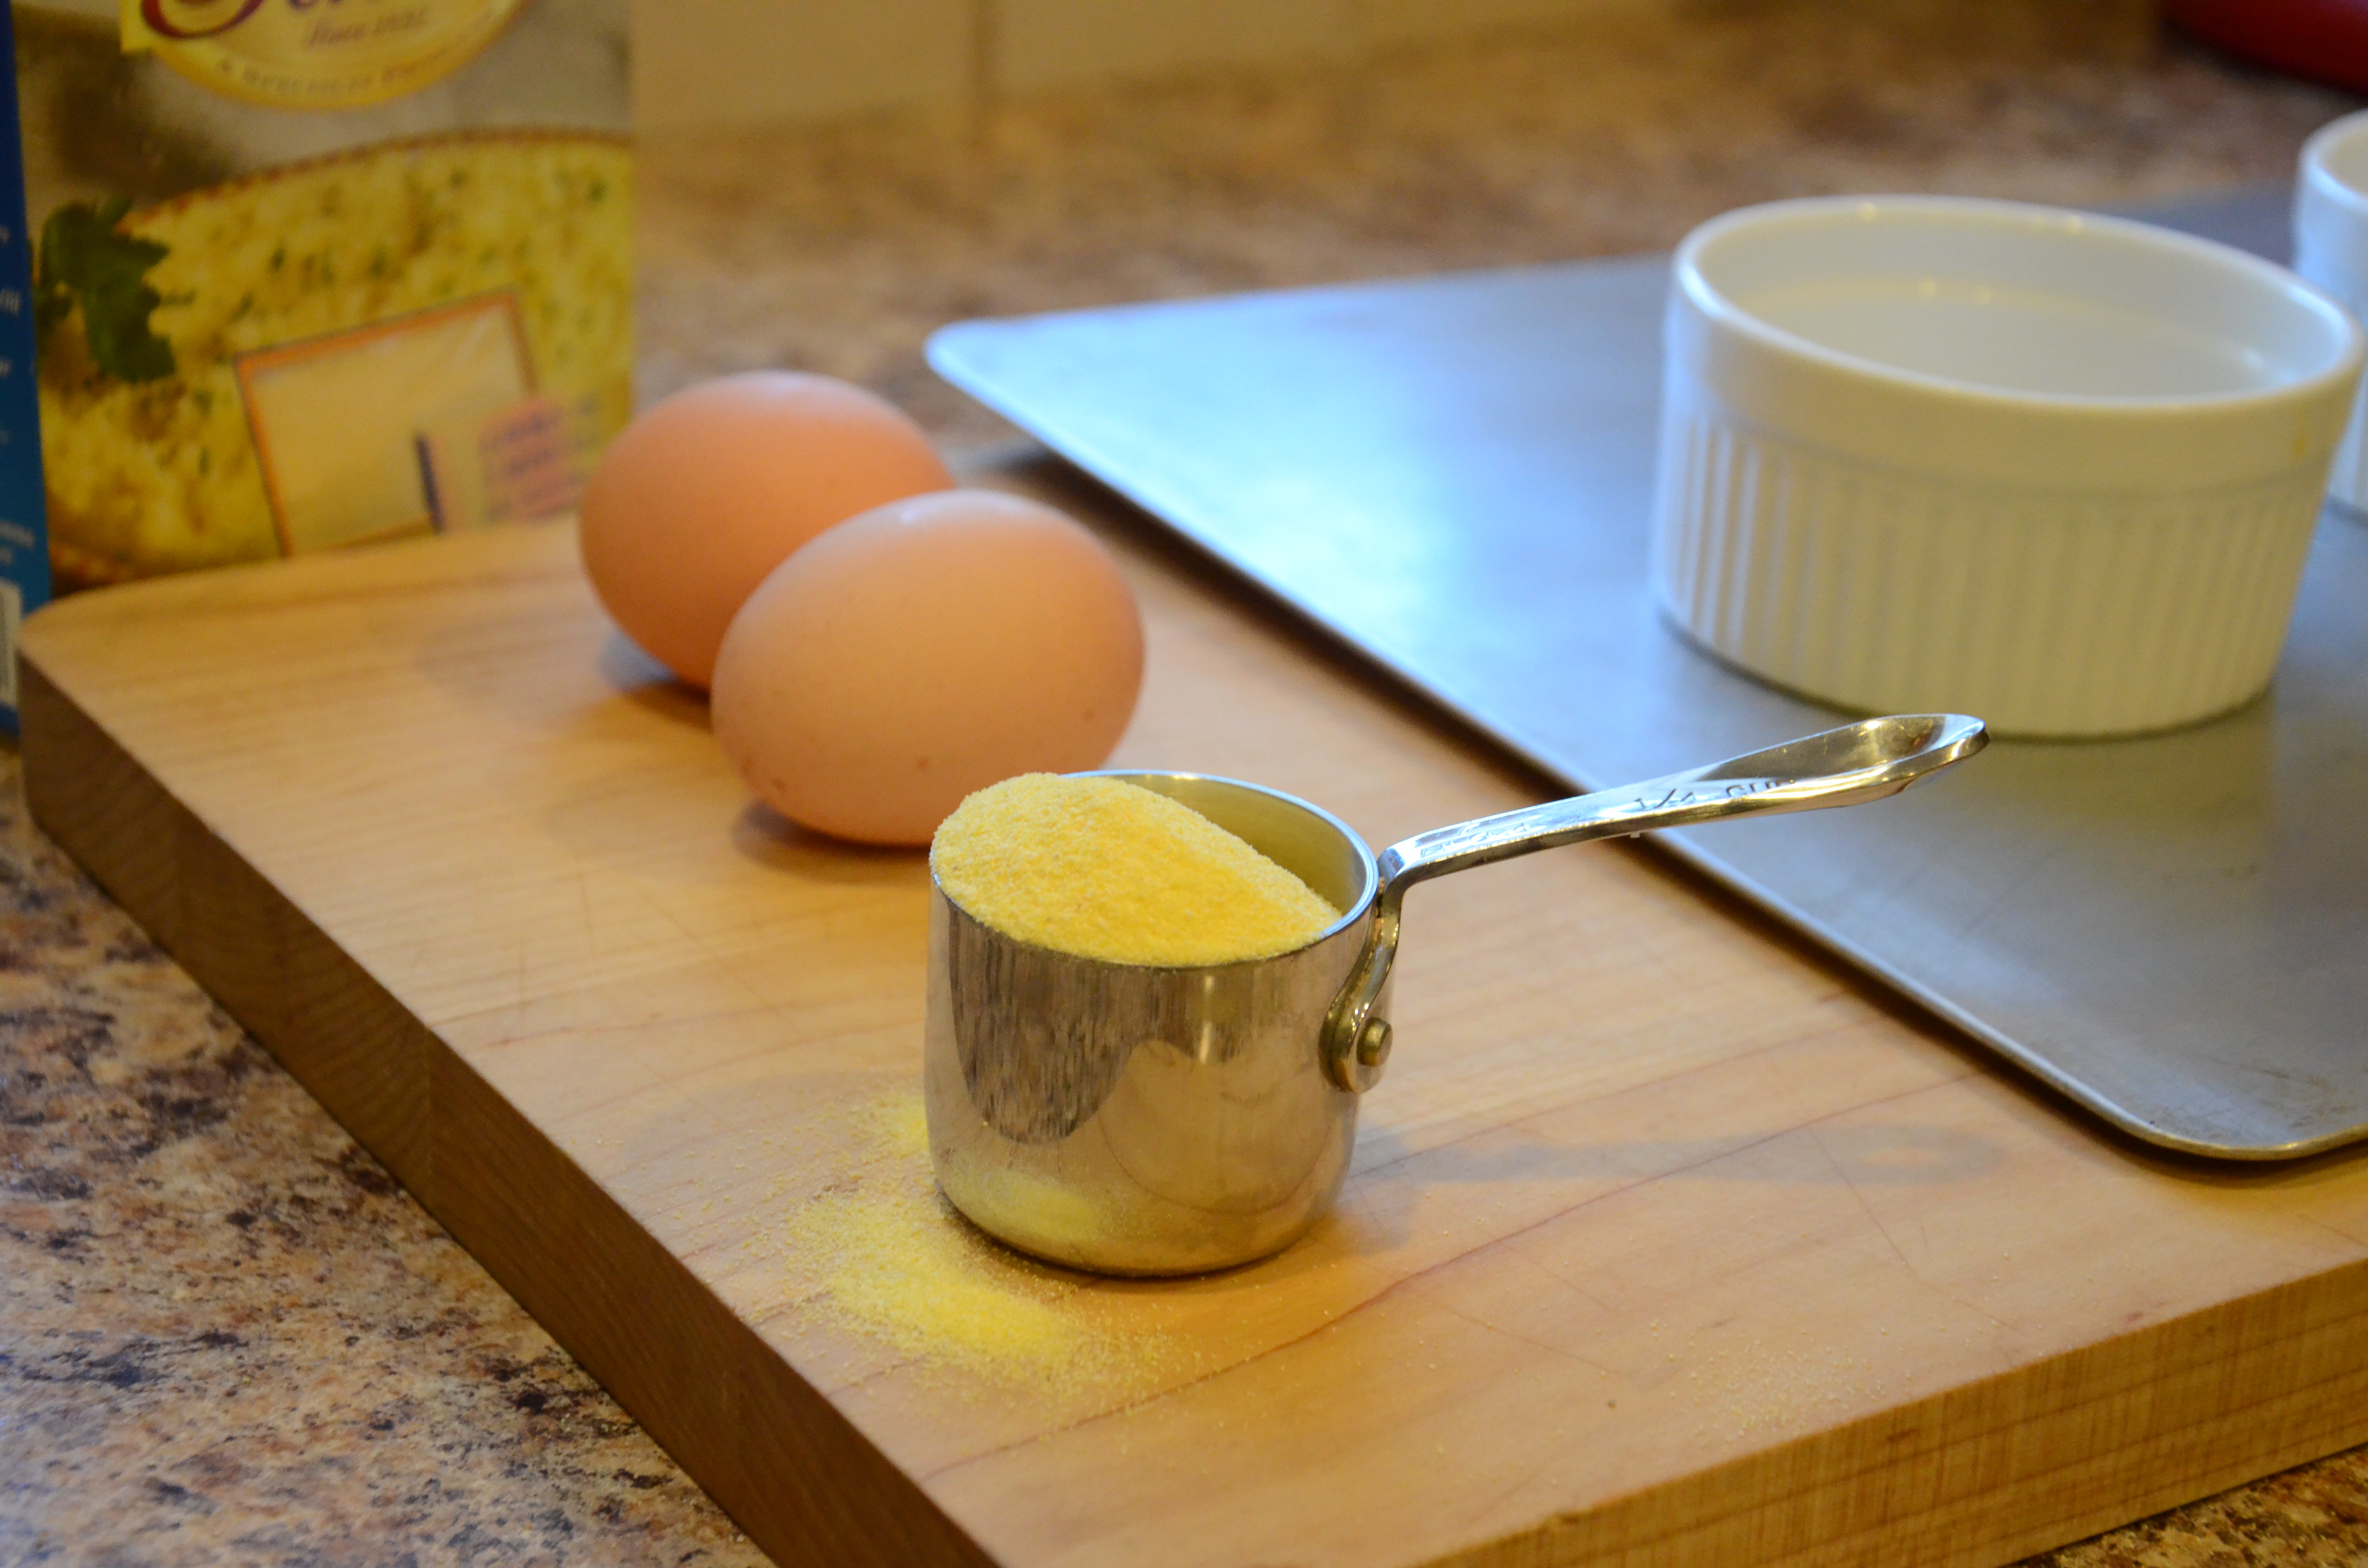
2 eggs, beaten
1/2 pound ground turkey
2 green onions, thinly sliced (about 1/3 C)
1 clove of garlic, thinly sliced
3 cups cold cooked rice
1 cup bean sprouts (I used sprouts from a can)
1/4 cup fresh cilantro, minced
1/4 cup reduced-sodium soy sauce
2 tablespoons chunky peanut butter
1 teaspoon sugar
1/4 teaspoon garlic powder
1/4 teaspoon crushed red pepper flakes
1/4 teaspoon ground ginger

Wine is one of the most essential ingredients shown in this picture.
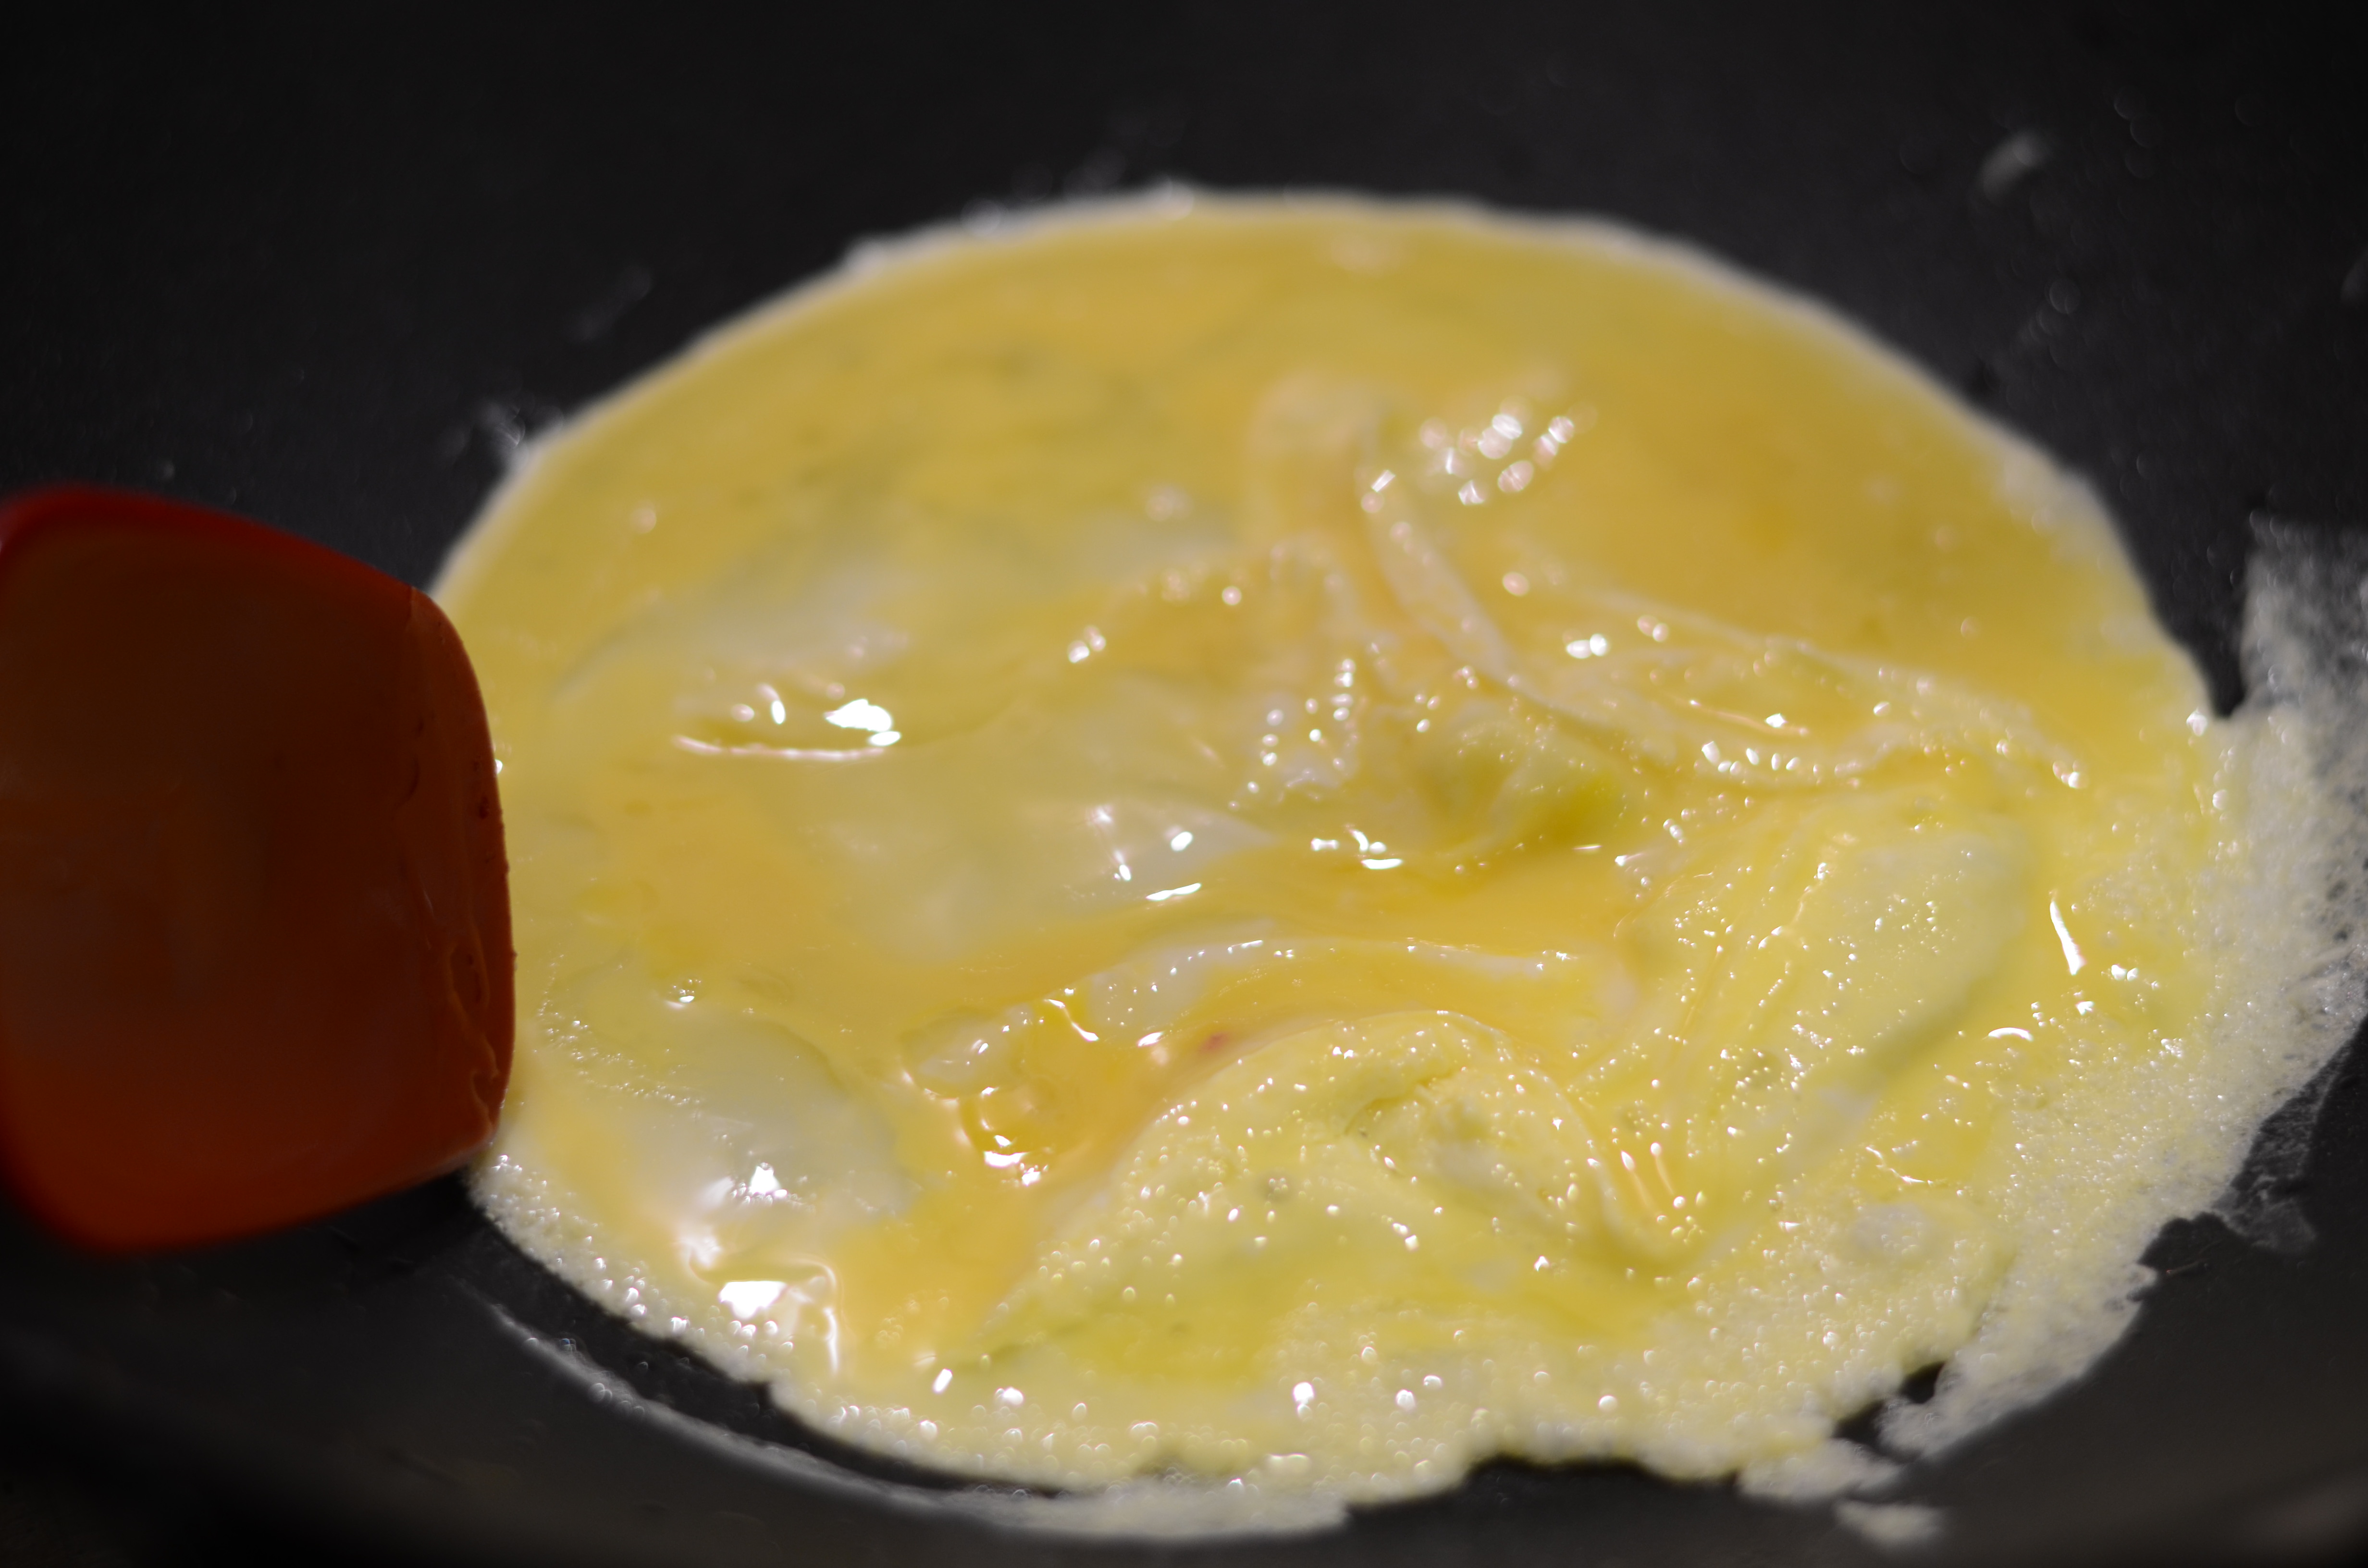
In a large skillet, heat oil over medium-high heat. Pour eggs into skillet. As eggs set, lift edges, letting uncooked portion flow underneath.
When eggs are completely cooked, remove to a plate and set aside.
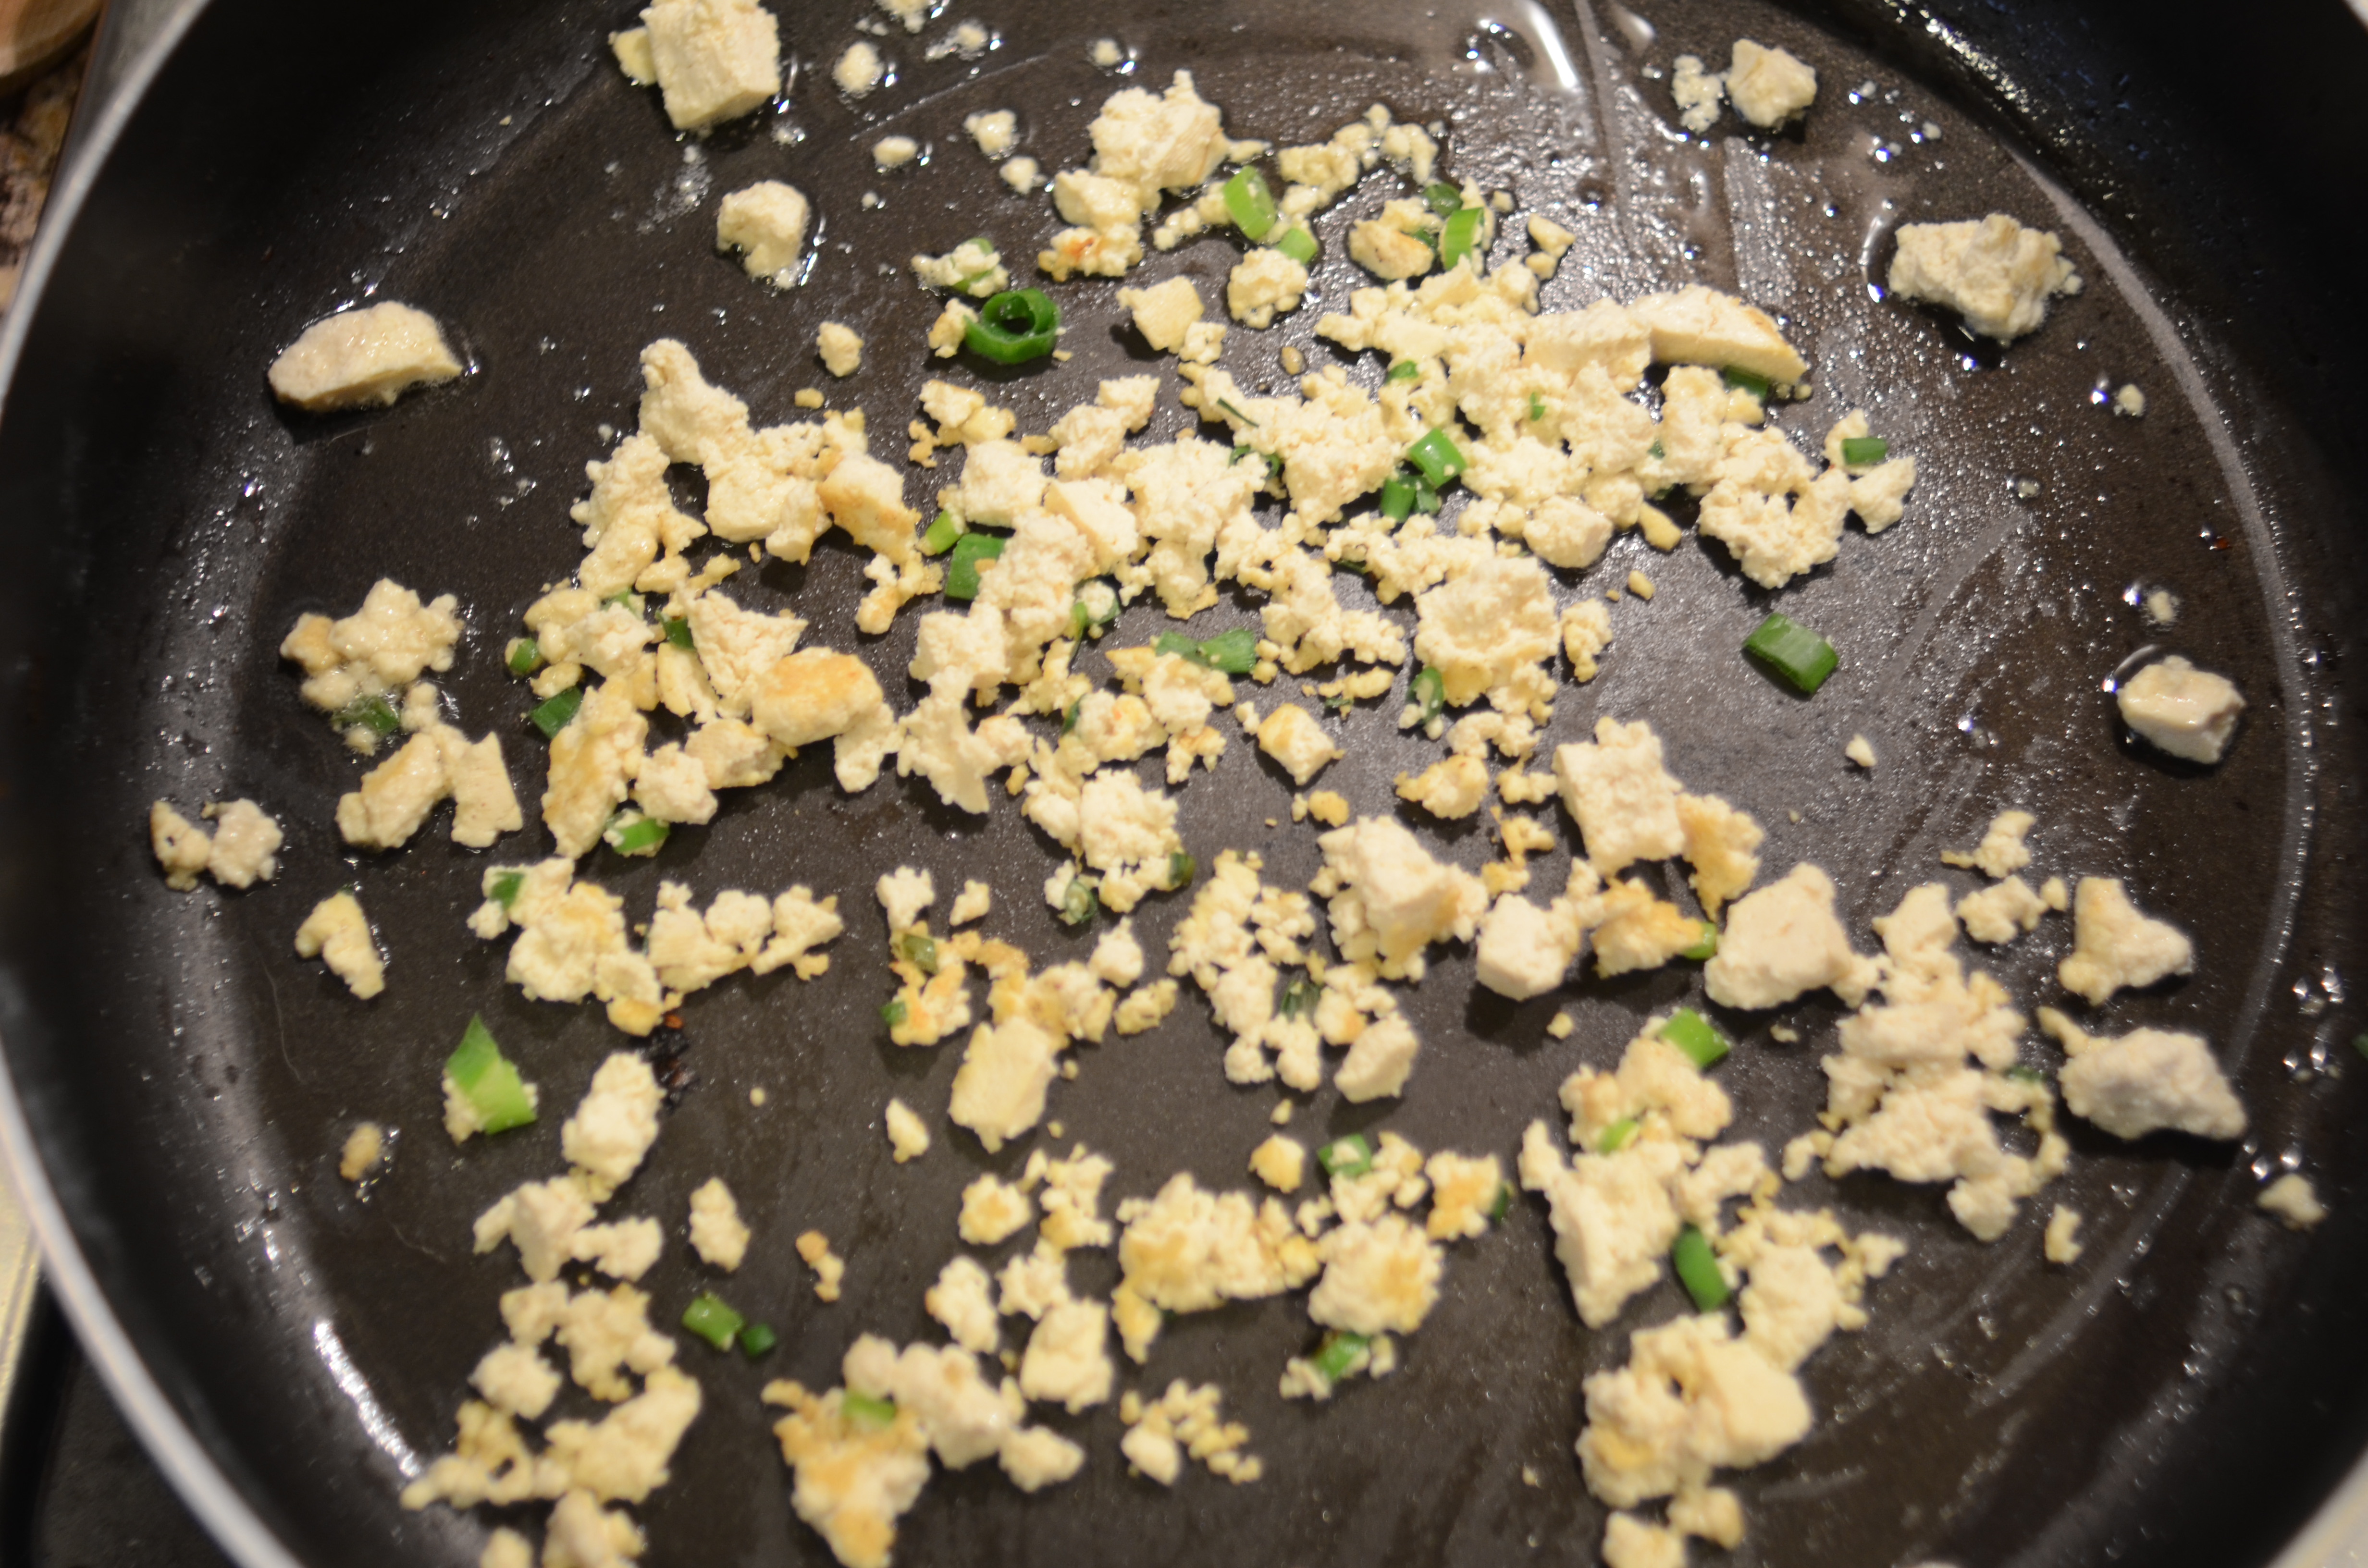
In the same skillet or wok, cook turkey, green onions, and garlic over medium heat until meat is no longer pink. While turkey cooks, whisk until blended the soy sauce, peanut butter, sugar, garlic powder, red pepper flakes, and ginger in a small bowl and set aside.

Stir the rice, bean sprouts and cilantro and cook briefly until heated through. Stir sauce into skillet.

Chop egg into small pieces; stir into skillet and heat through.
Serve with a lime wedge. Then, if you’re like me, settle in front of the TV to watch a movie.